Stockish NA build

 04-13-2013, 08:48 AM
#4
Senior Member
Thread Starter
iTrader: (2)

Join Date: Oct 2011
Location: Hickory, NC
Posts: 675
Total Cats: 9
Very good Hustler!
Dale is the man. I at best am worth to clean his shop. However, some sumbitch said they wanted pictures, I have lots of them to share and other who would never admitt it might like to see them. So, How do I embed them in the thread as full size miages?
Dale is the man. I at best am worth to clean his shop. However, some sumbitch said they wanted pictures, I have lots of them to share and other who would never admitt it might like to see them. So, How do I embed them in the thread as full size miages?

Reply
 0
0

0

 04-13-2013, 10:09 AM
#12
Senior Member
Thread Starter
iTrader: (2)
Join Date: Oct 2011
Location: Hickory, NC
Posts: 675
Total Cats: 9
I used lots of Cleavite assembly lube everywhere to protect the engine one initial start up.

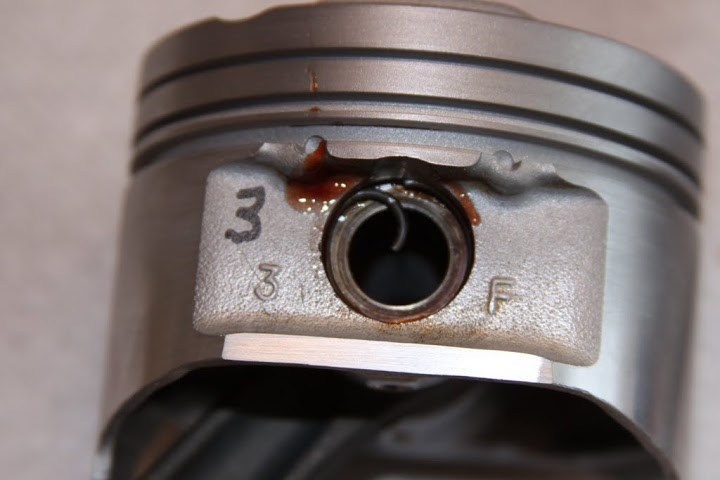
Make sure all wrist pin retaining clips are fully seated
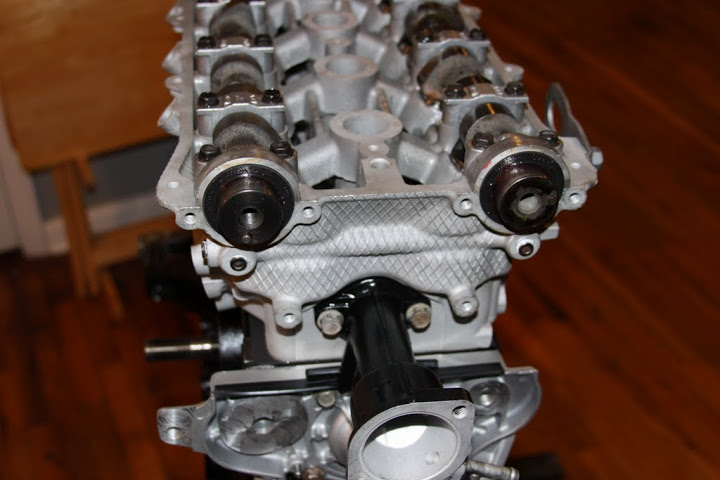
Beautifully cleaned and prepped head. The keen eye will notice the 5A cam and how the cast flashing was removed with steel shot, peened to look as cast since "porting" is not legal.
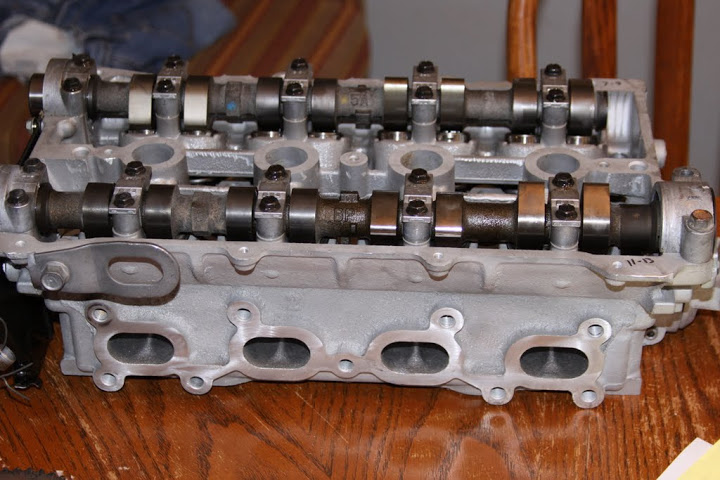
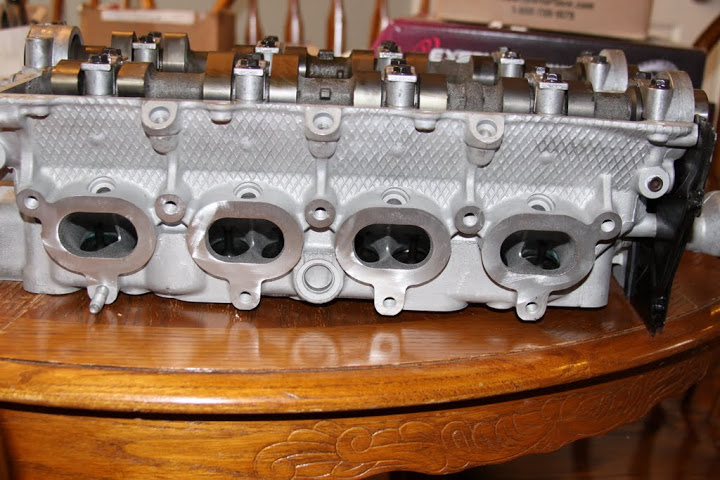
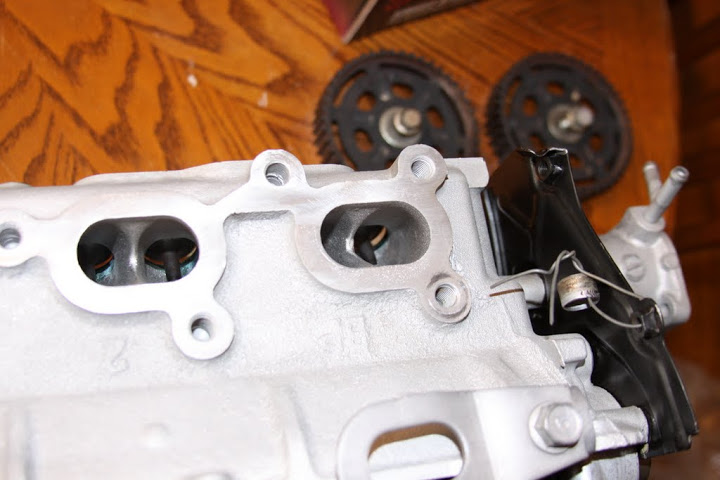
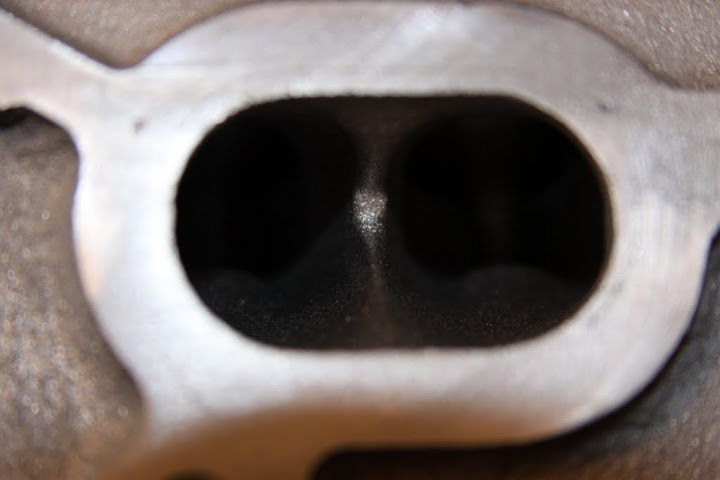
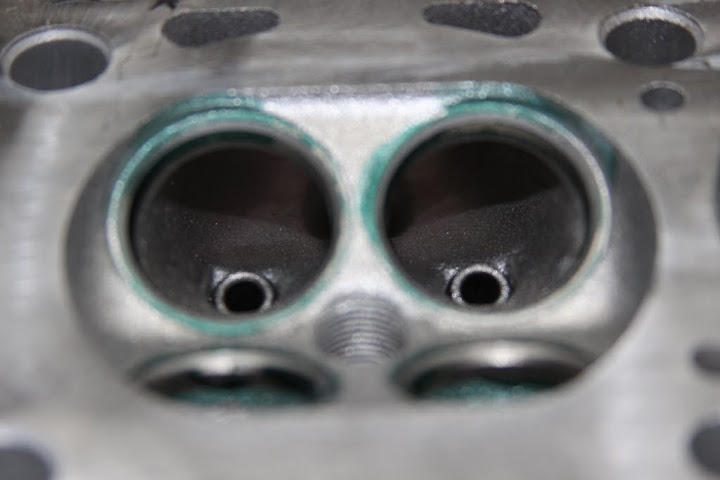
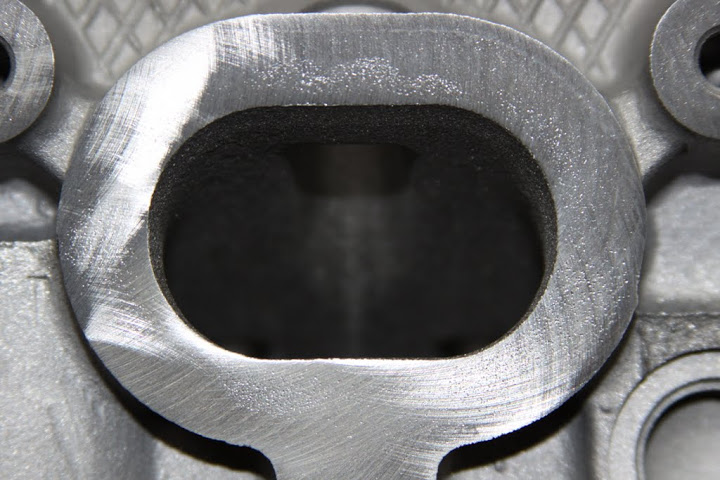
Cleaned head, properly surfaced, and valve lash all set. Notice the valves are labeled for proper identification while setting valve lash and hand lapping to the seats.
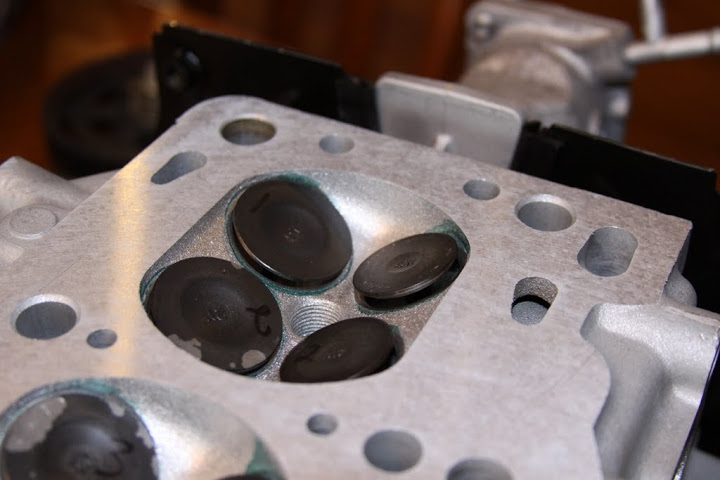
Also note how clean the water jacket housing is.....
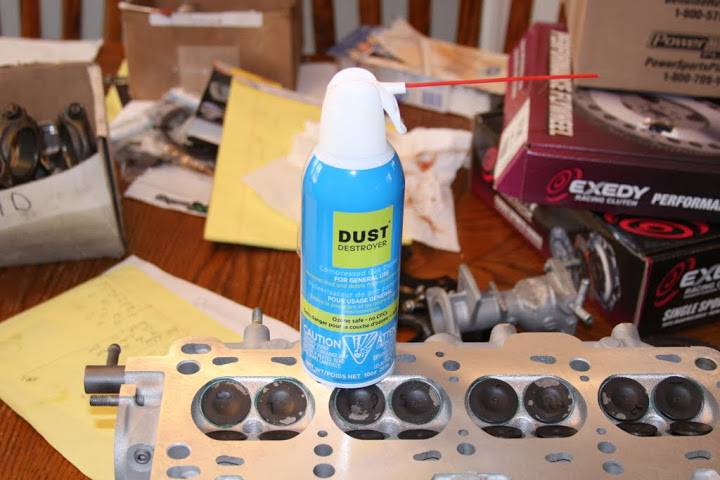
Must have CLEAN DRY air for blowing dust off components and ensure the best results possible
Make sure all wrist pin retaining clips are fully seated
Beautifully cleaned and prepped head. The keen eye will notice the 5A cam and how the cast flashing was removed with steel shot, peened to look as cast since "porting" is not legal.
Cleaned head, properly surfaced, and valve lash all set. Notice the valves are labeled for proper identification while setting valve lash and hand lapping to the seats.
Also note how clean the water jacket housing is.....
Must have CLEAN DRY air for blowing dust off components and ensure the best results possible
Last edited by Amellrotts; 04-13-2013 at 10:10 AM. Reason: typo
Reply
1
1
04-13-2013, 10:33 AM
#13
Senior Member
Thread Starter
iTrader: (2)
Join Date: Oct 2011
Location: Hickory, NC
Posts: 675
Total Cats: 9
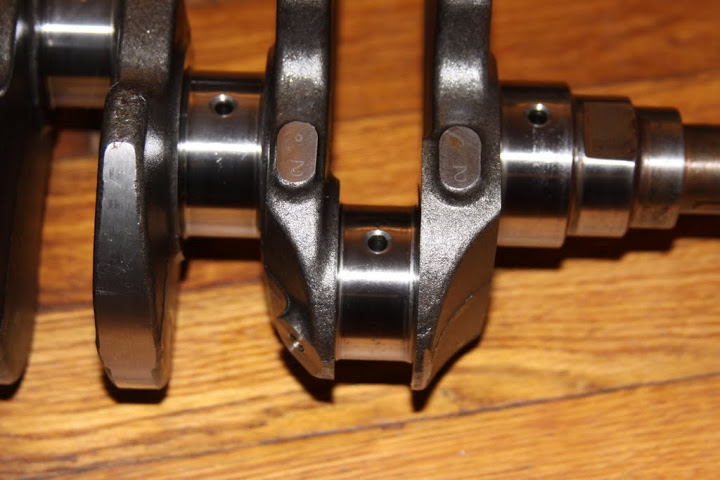
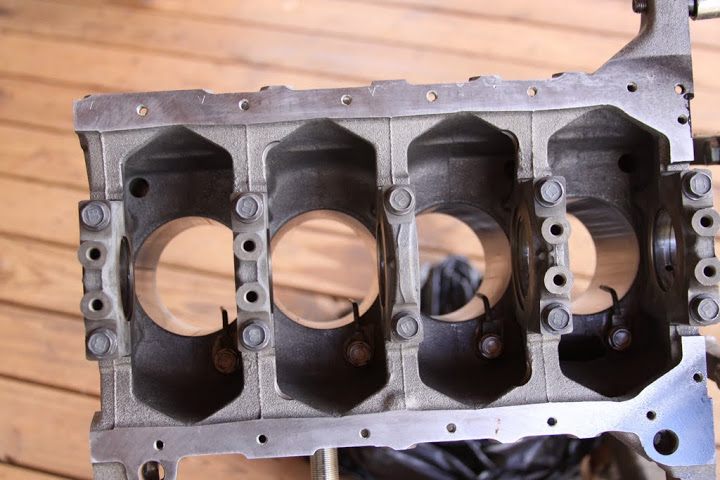
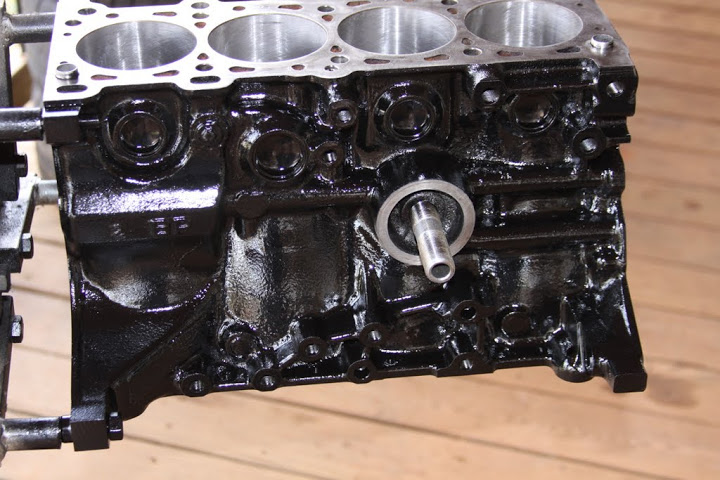
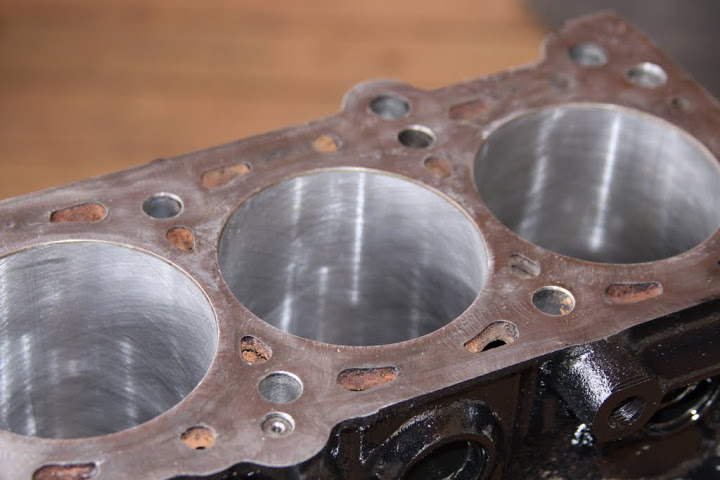
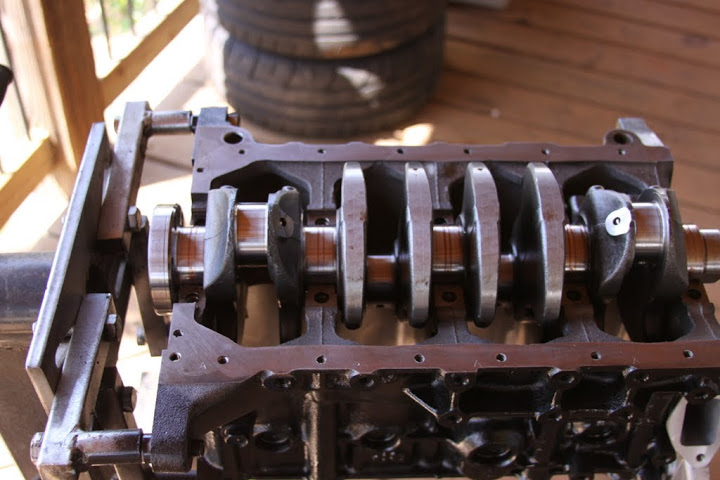
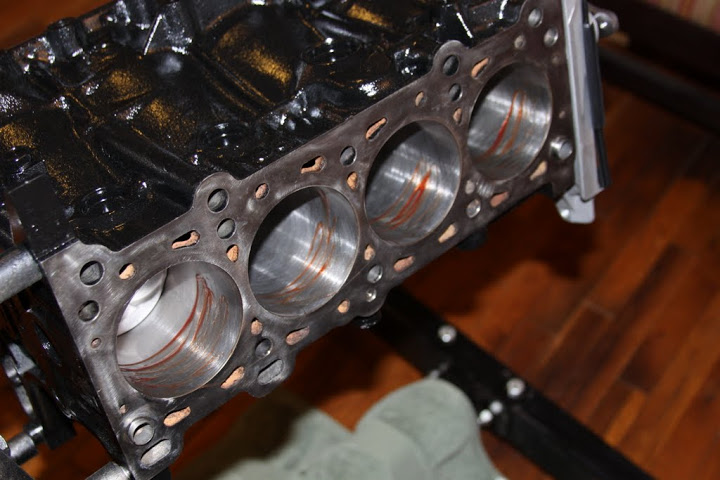
The block, cleaned of ALL material. Main bearings line bored to ensure proper oil clearance of 0.0022-0.0024 for the ACL race bearings.
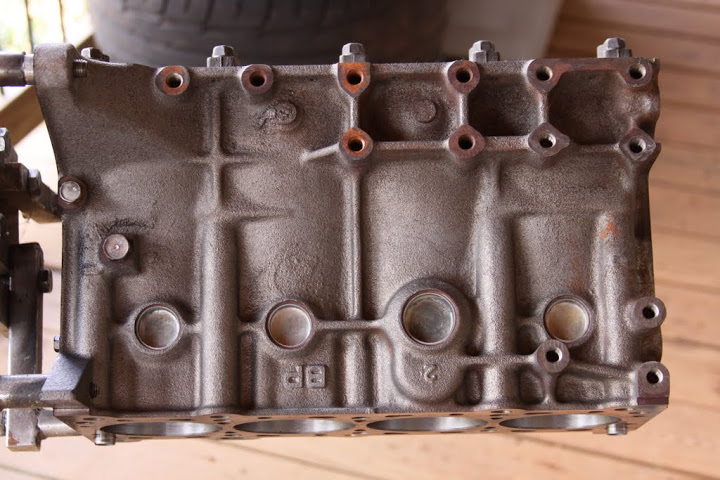
notice how clean the water jacket is, I have never had my engine components come back in such great condition. I will ALWAYS use this shop!

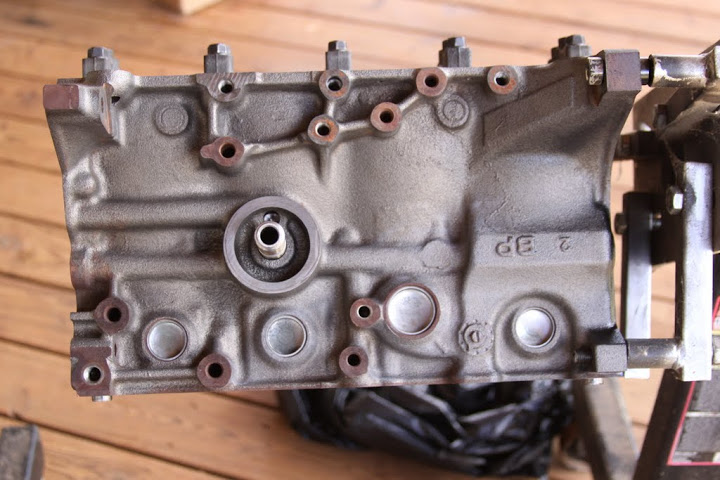
Two coats of engine enamel paint.....
Notice after painting all gasketed surfaces were cleaned of the paint
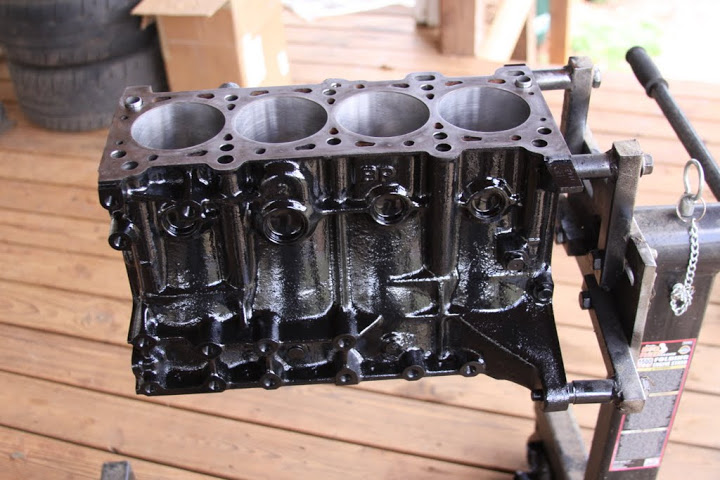
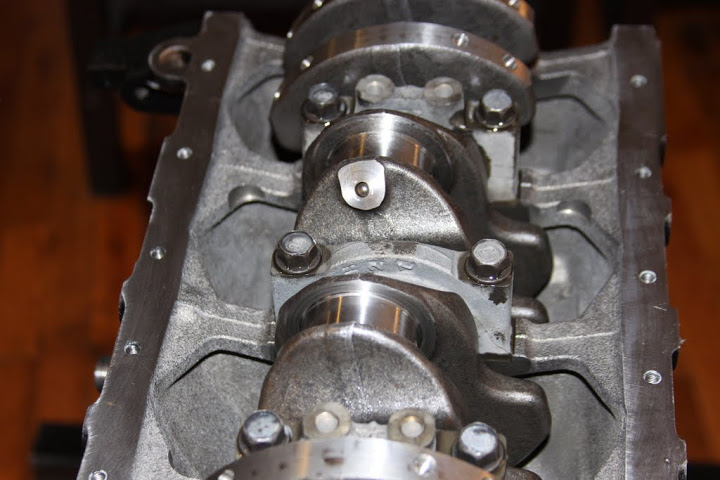
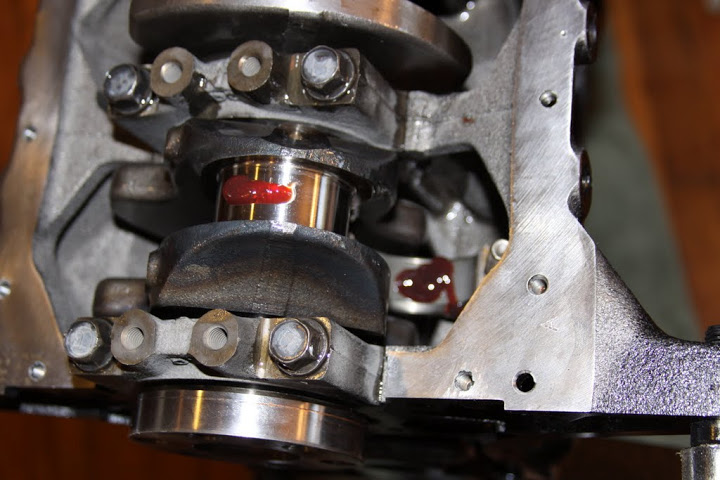
A light layer of lube on the main bearings...
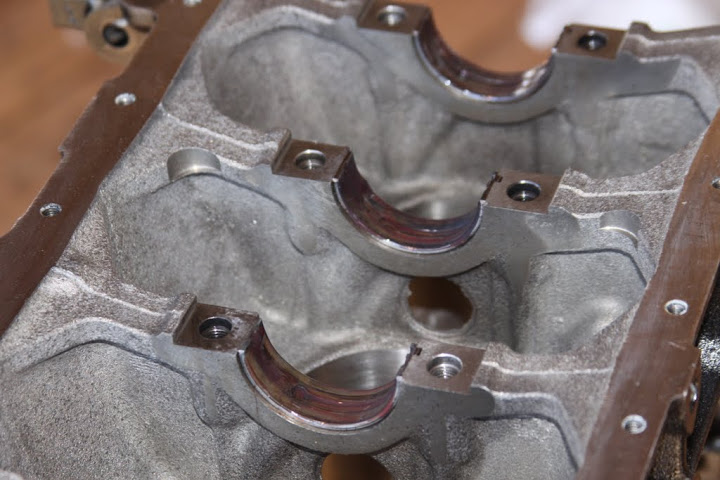
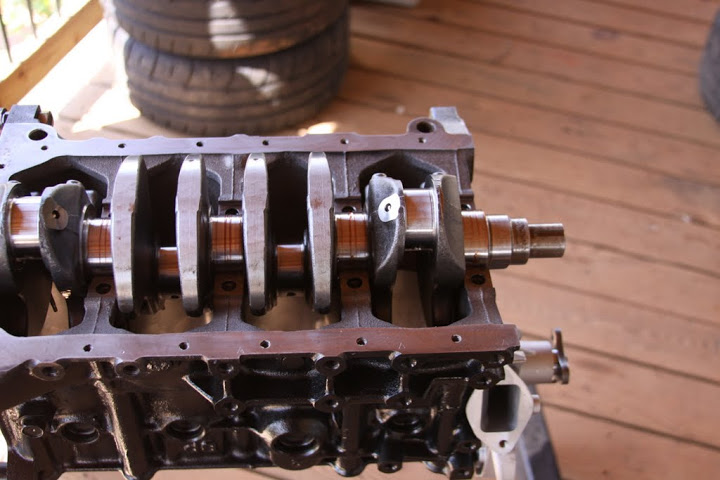
Installed the crank, spun it to evenly spread the lube
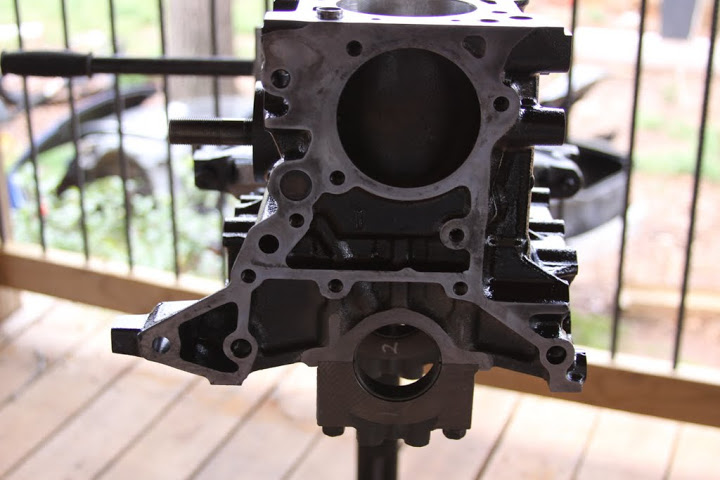
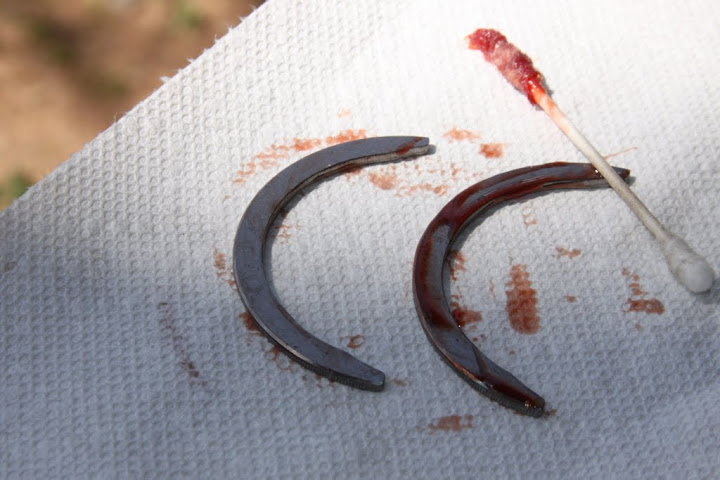
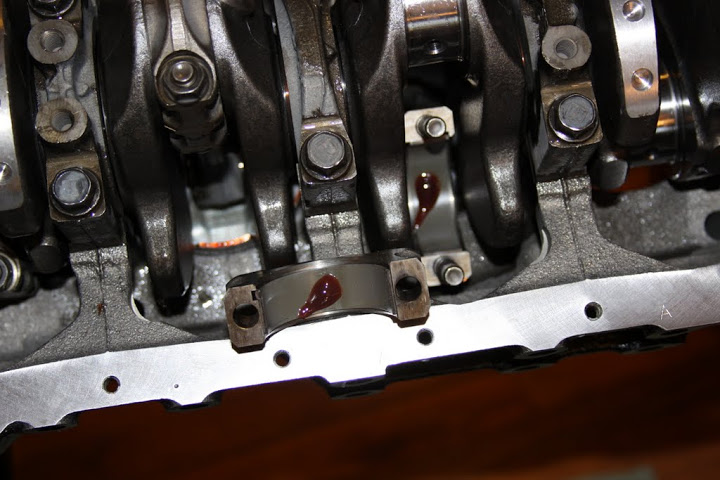
ACL trust bearings also get a fair amount of assembly lube
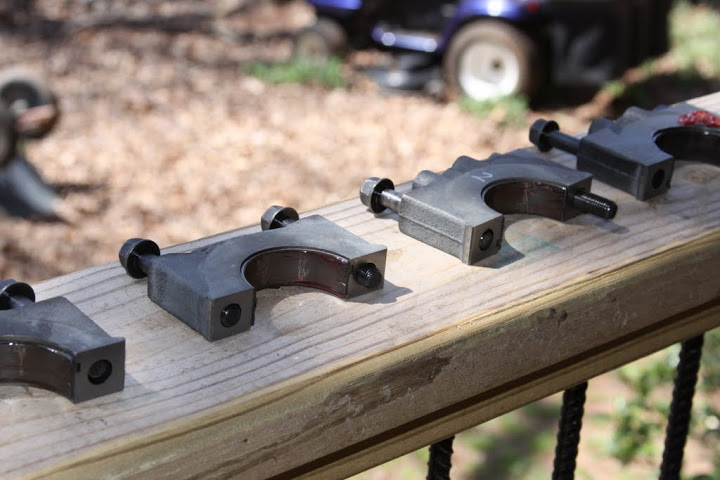
All of the main bearing caps also get a layer of lube
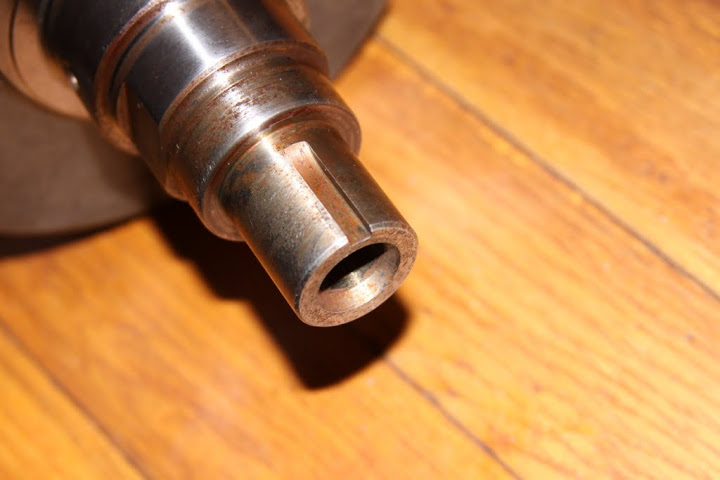
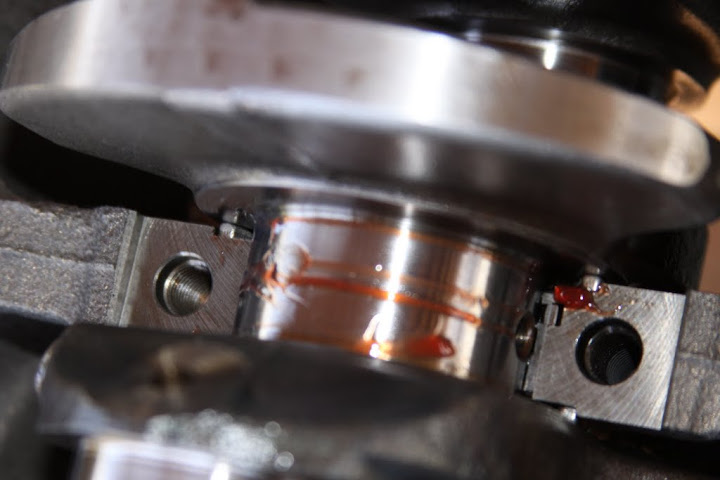
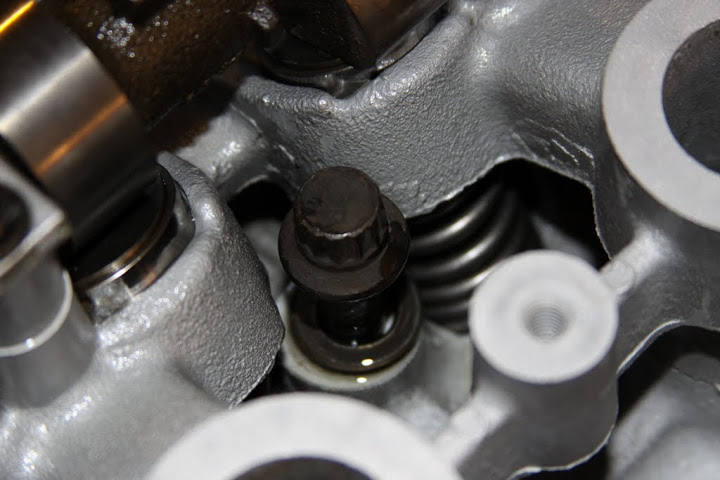
Notice the 30wt oil at the bearing cap parting line as well as thehead of the bolt. I used a pill bottle to "submerge" the main bolts in the oil to properly torque them. This procedure is common and was also used for the rod bolts.
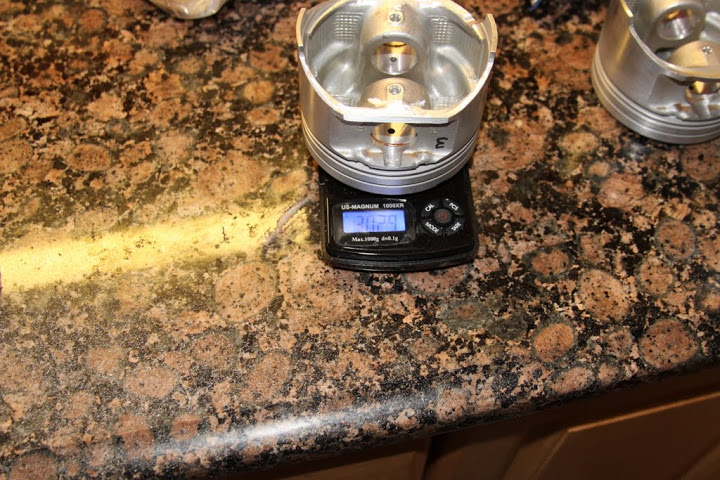
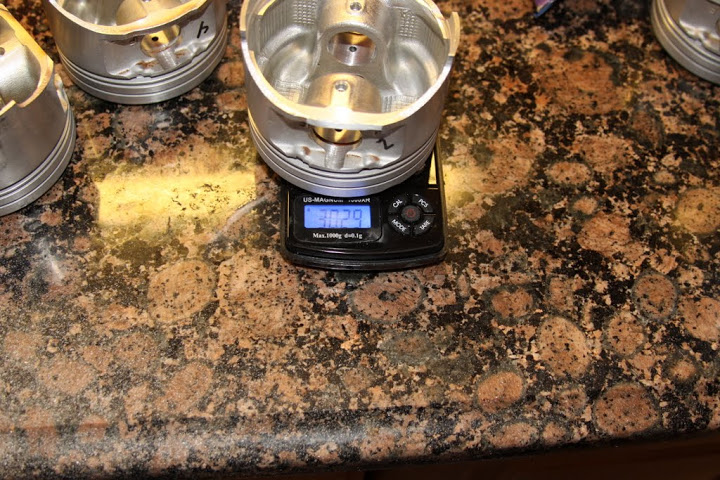
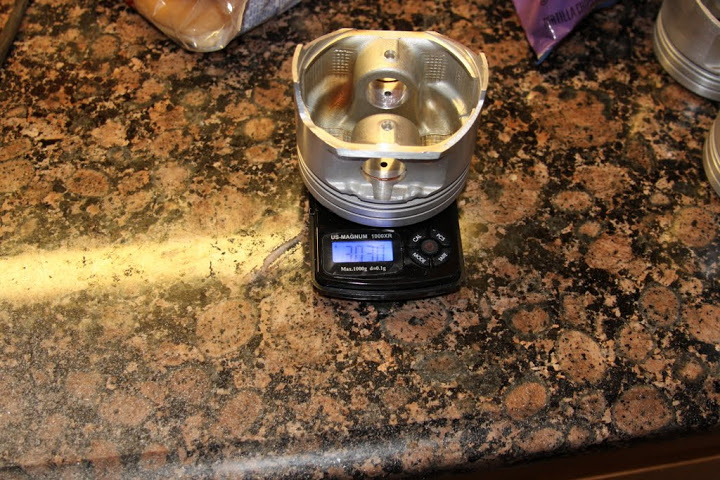
spread a layer of lube around the cylinder bores before and after the pistons are installed as to fill the cross hatch and trap an adequate amount in the oil rings.
 [IMG][IMG][IMG][IMG]
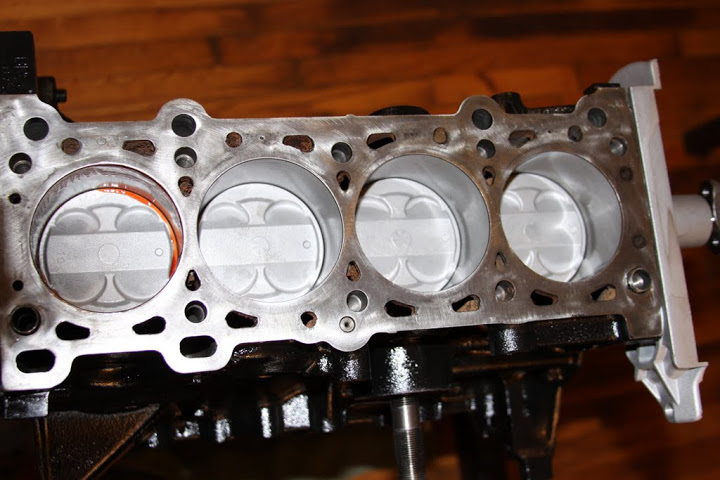 [/IMG][/IMG][/IMG][/IMG]
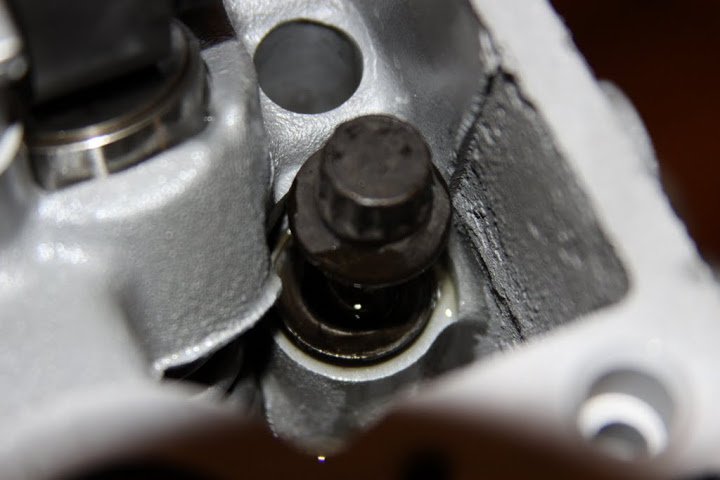
I used the submerged bolt method for the head bolts as well
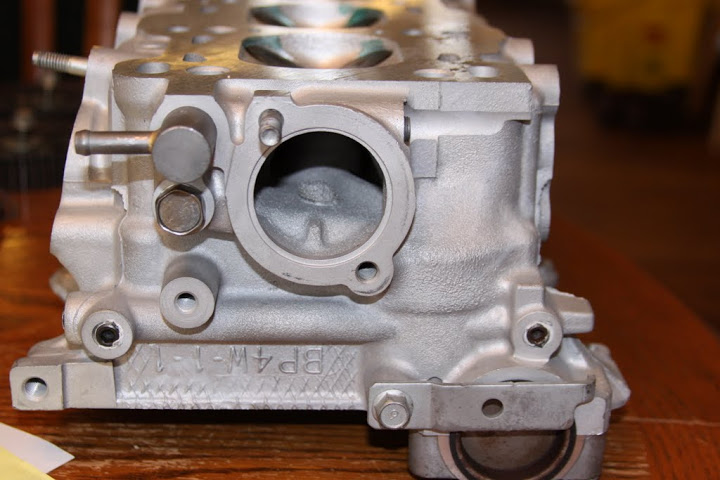
New OEM O-ring on the thermostat housing
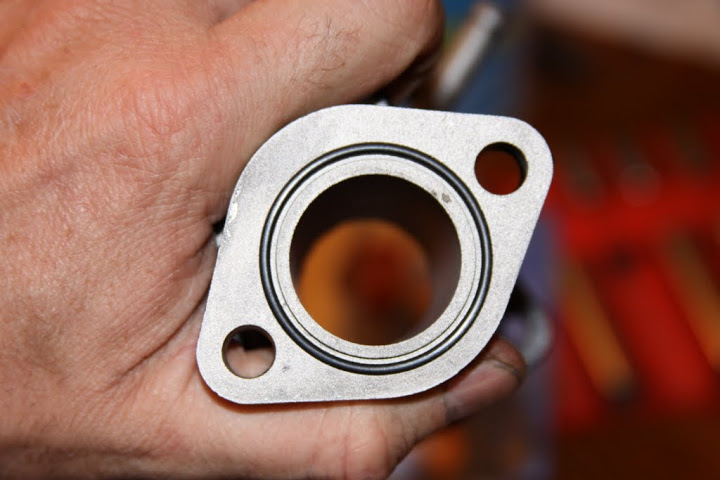
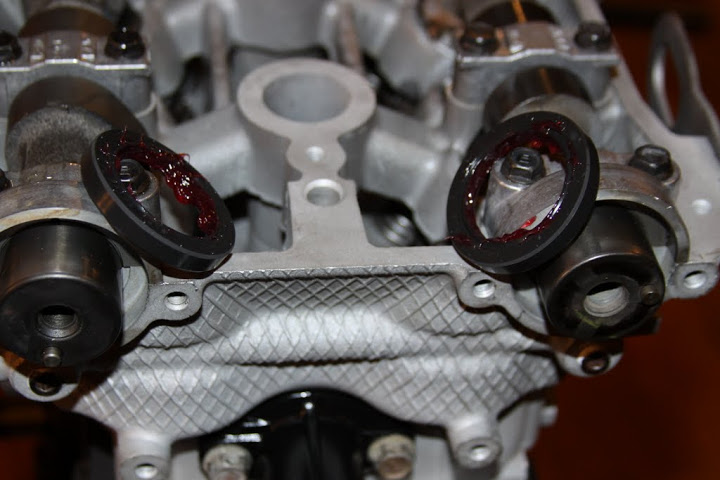
ALWAYS use quality grease to fill all oil seals prior to installation
notice how clean the water jacket is, I have never had my engine components come back in such great condition. I will ALWAYS use this shop!
Two coats of engine enamel paint.....
Notice after painting all gasketed surfaces were cleaned of the paint
A light layer of lube on the main bearings...
Installed the crank, spun it to evenly spread the lube
ACL trust bearings also get a fair amount of assembly lube
All of the main bearing caps also get a layer of lube
Notice the 30wt oil at the bearing cap parting line as well as thehead of the bolt. I used a pill bottle to "submerge" the main bolts in the oil to properly torque them. This procedure is common and was also used for the rod bolts.
spread a layer of lube around the cylinder bores before and after the pistons are installed as to fill the cross hatch and trap an adequate amount in the oil rings.
[IMG][IMG][IMG][IMG][/IMG][/IMG][/IMG][/IMG]I used the submerged bolt method for the head bolts as well
New OEM O-ring on the thermostat housing
ALWAYS use quality grease to fill all oil seals prior to installation
Reply
2
2
 pictures.
  Hustler
 ????
????


 04-17-2013, 09:29 PM
#19
Senior Member
Thread Starter
iTrader: (2)
Join Date: Oct 2011
Location: Hickory, NC
Posts: 675
Total Cats: 9
Not a damn thing....
Sorry, I had too. I built this engine for a friend. The total machine work was almost $900 but that included some "special" work. The bottom end pieces are all stock, sort of. There might be billet gears in that oil pump.....ACL bearings will run about $150 from TSE, a forum sponser and great guy! The machine shop price includes setting all oil clearances as well as the head work (matching valve springs, cleaning up cast flashing(shhhh), decking the head, valve job, and setting valve lash).
Sorry, I had too. I built this engine for a friend. The total machine work was almost $900 but that included some "special" work. The bottom end pieces are all stock, sort of. There might be billet gears in that oil pump.....ACL bearings will run about $150 from TSE, a forum sponser and great guy! The machine shop price includes setting all oil clearances as well as the head work (matching valve springs, cleaning up cast flashing(shhhh), decking the head, valve job, and setting valve lash).
Reply
0
0

Thread
Thread Starter
Forum
Replies
Last Post


