2jz Miata build thread
 01-13-2014, 01:39 PM
#1381
Elite Member
iTrader: (12)

Join Date: Nov 2009
Location: Harpers Ferry WV
Posts: 1,516
Total Cats: 20
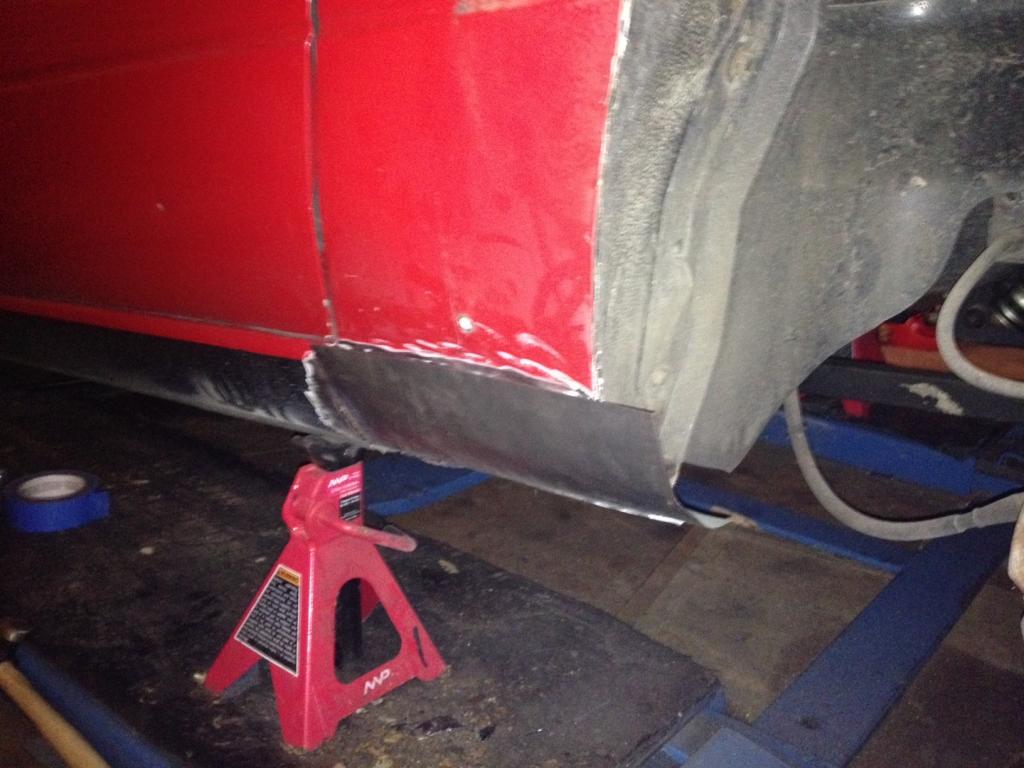
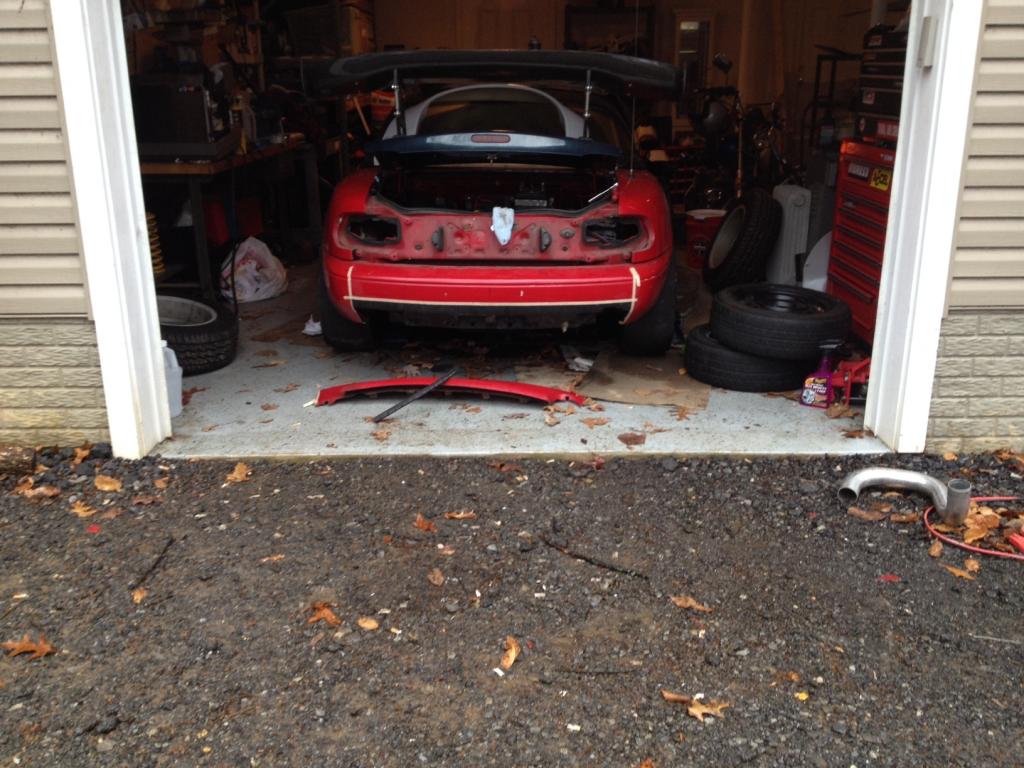
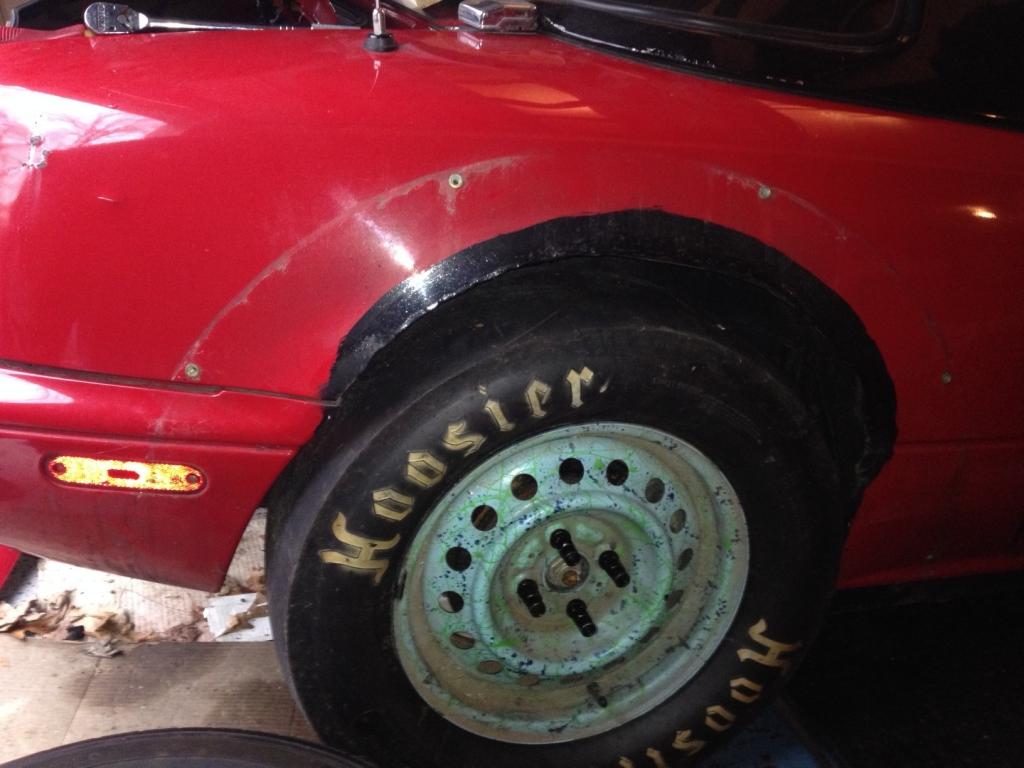
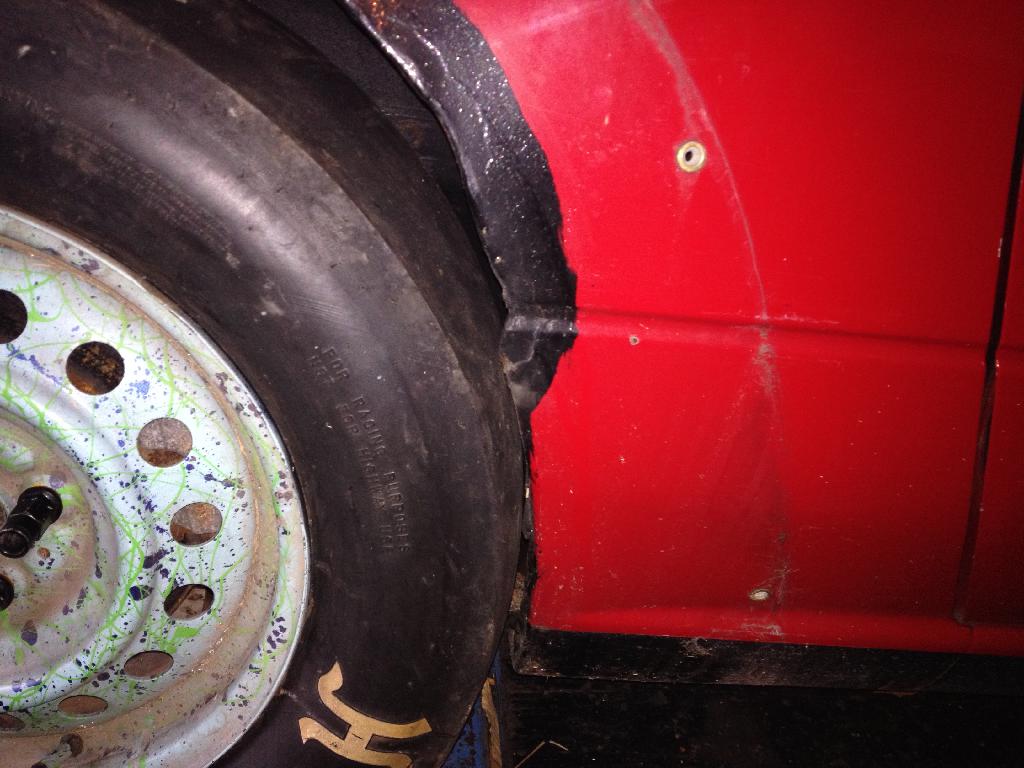
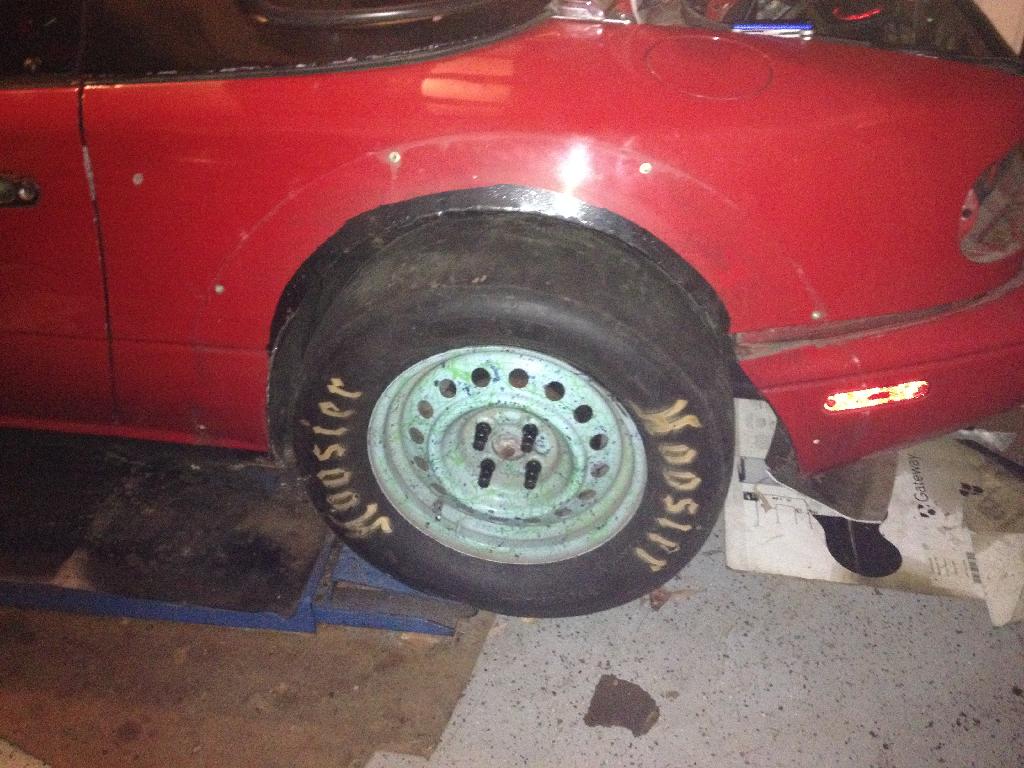
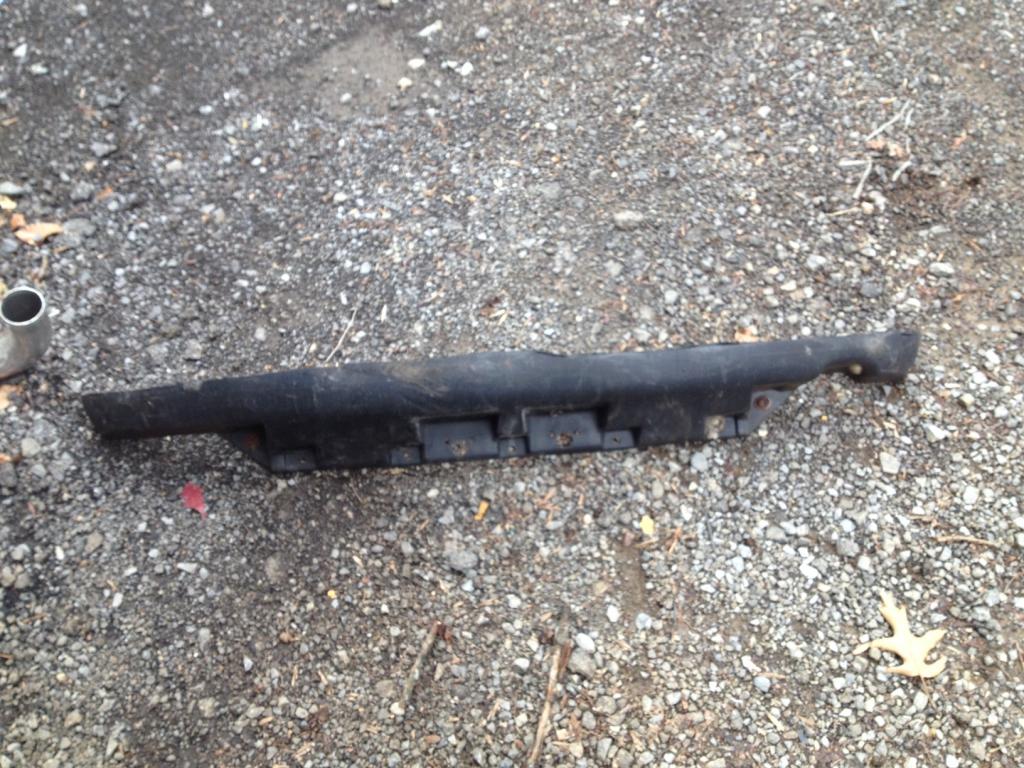
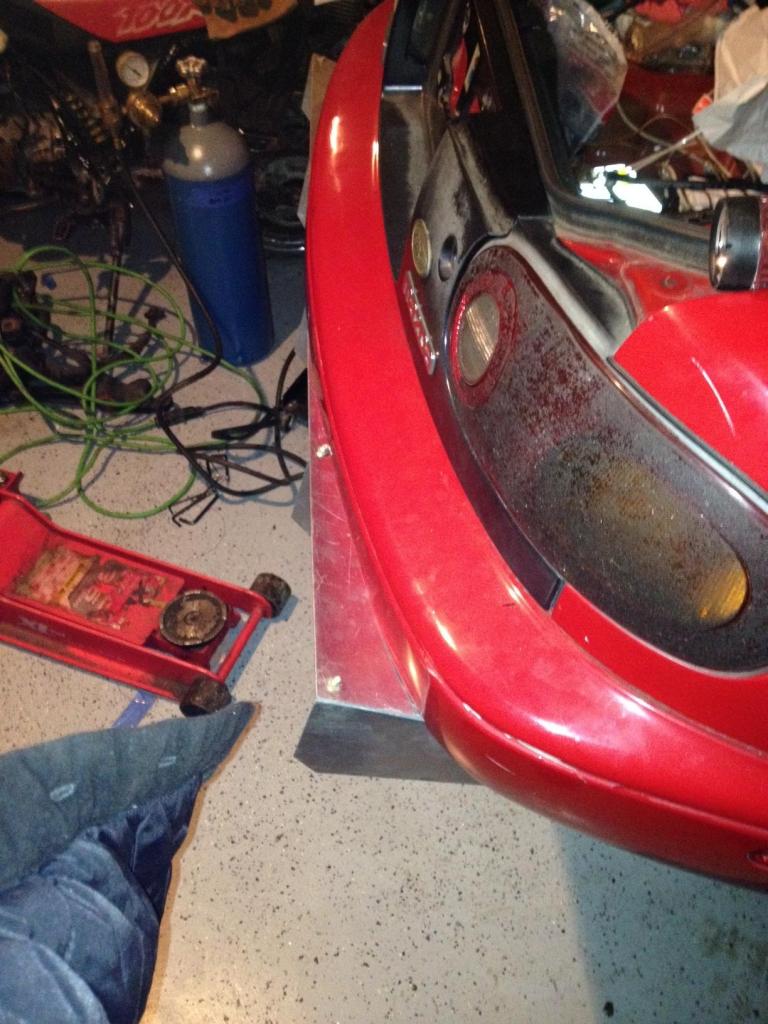
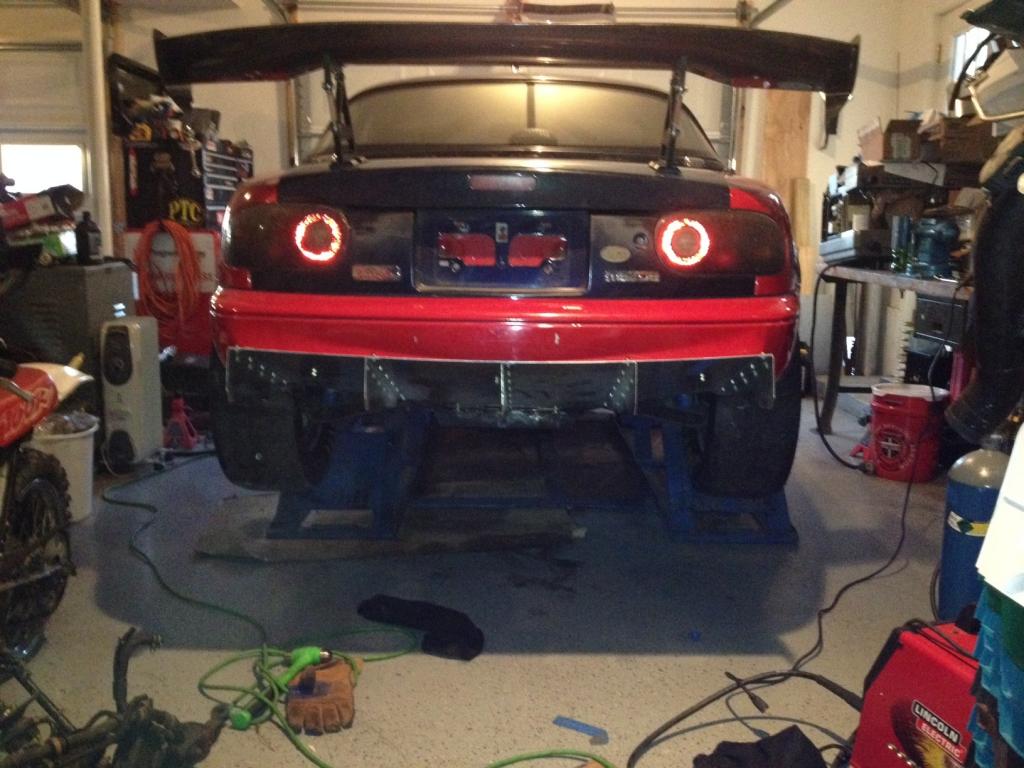
Ok I am back I got some work done this weekend. I finally got my rear diffuser installed after a rear of it sitting in my garage. I GOT THE 26X8.5" tires to fit!!!!!!! Did some more trimming on my fenders and my flares. Fixed most of my camber issues, Started on some body work. I started to repair the drivers side rocker box not done yet but getting there. I still have to install a set of hood pins. Make a support for the front of the rear flares since I trimmed out their support lol. Weld up the rear fenders where I trimmed them and then its off to the shop to finish the intercooler piping. Here are some pics you can see how much of the rear bumper support I trimmed away and you will also notice where once was the rear tow hooks are gone to clear the diffuser.
My ok body work lol
26x8.5 fitment ignore the wheels.
Fitting rear diffuser cutting up rear of car.
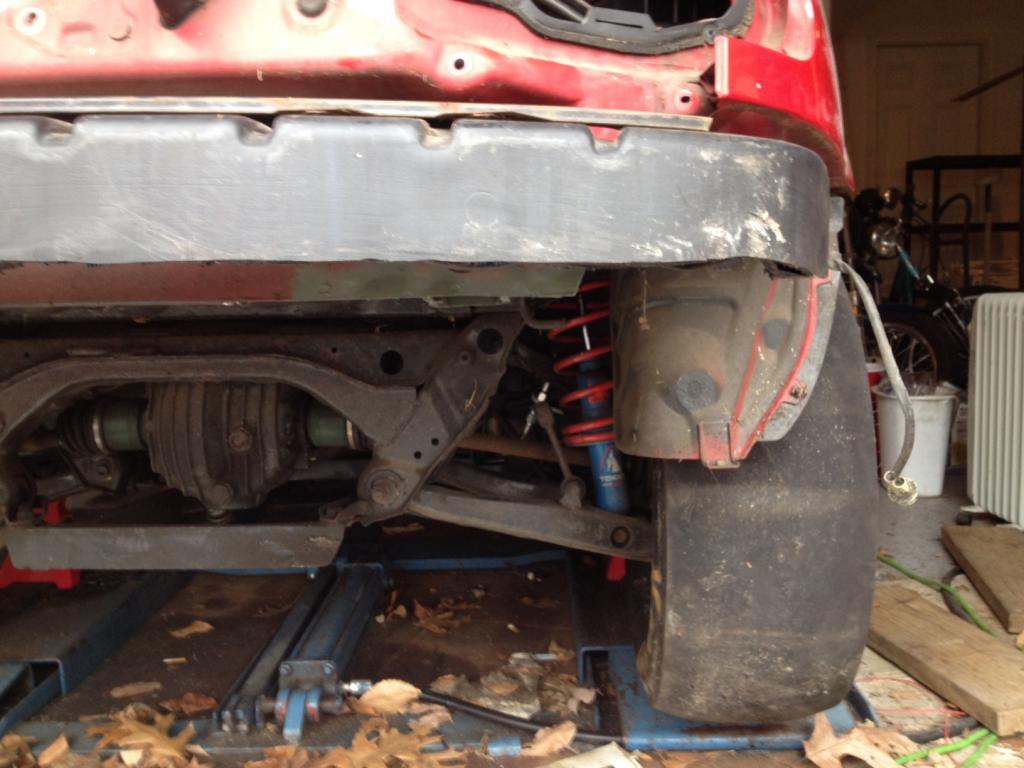
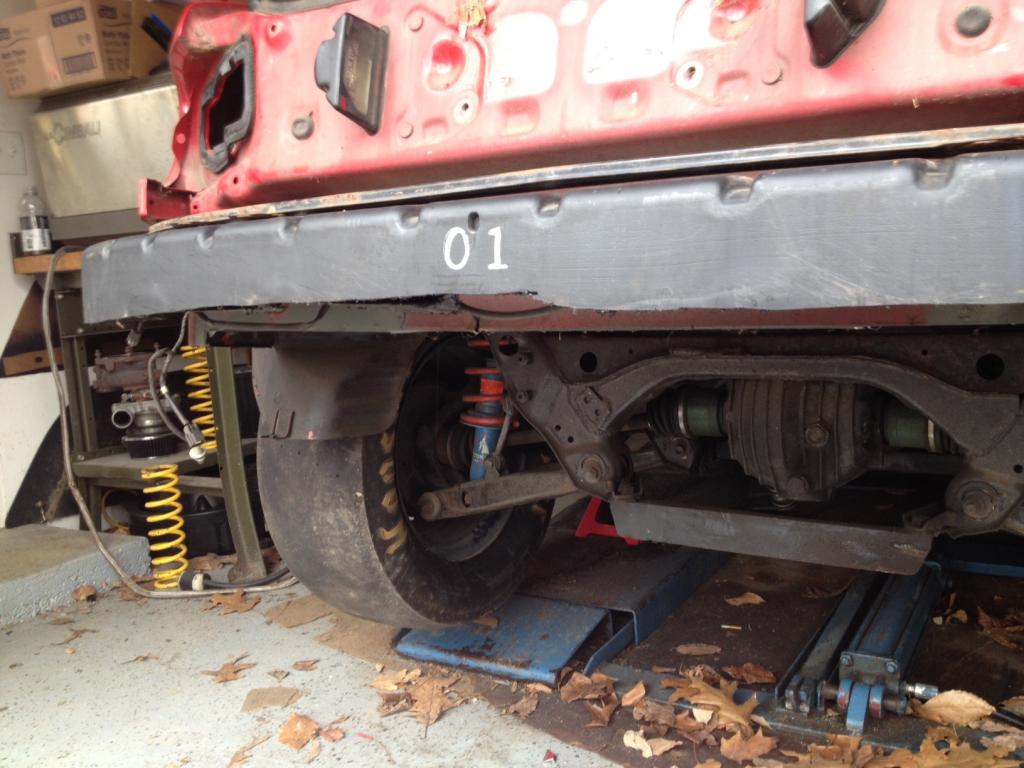
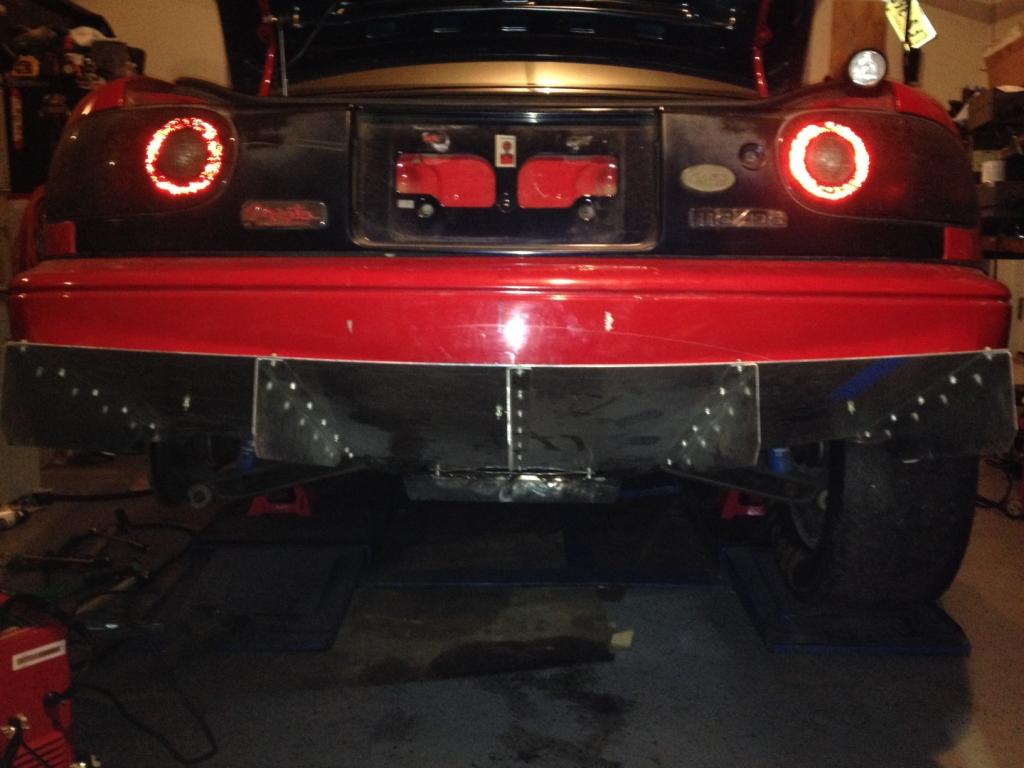
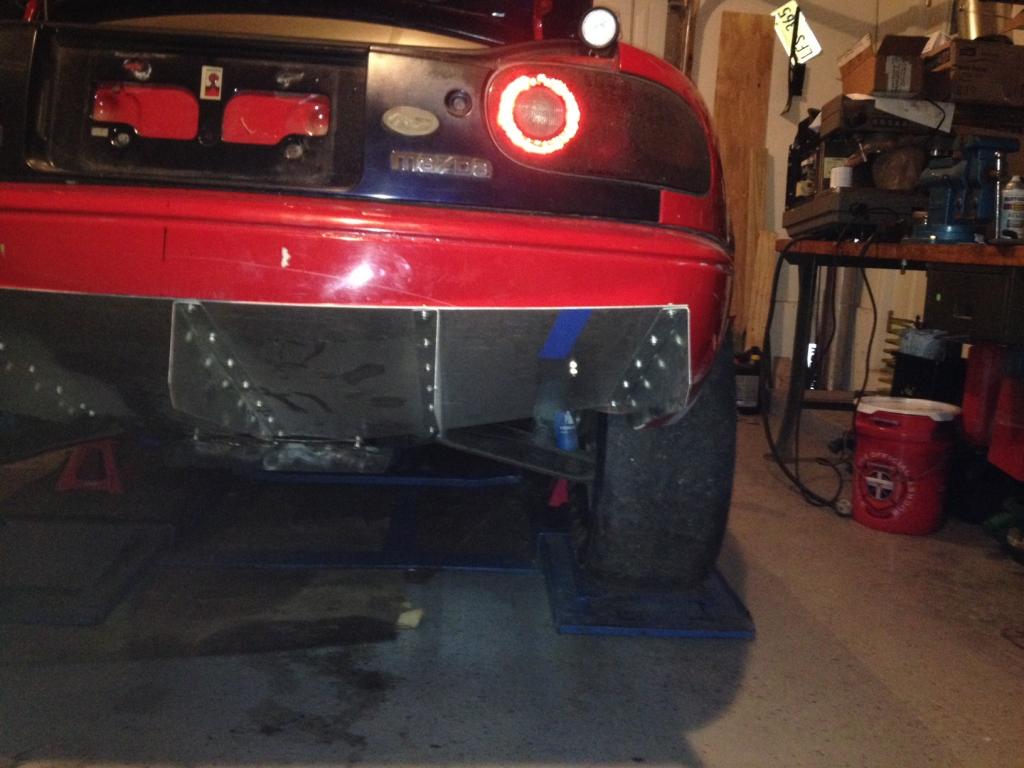

Rear diffuser installed and tires on
My ok body work lol

26x8.5 fitment ignore the wheels.


Fitting rear diffuser cutting up rear of car.


Rear diffuser installed and tires on


Reply
 0
0

0
01-15-2014, 02:13 PM
#1382
Elite Member
iTrader: (12)
Join Date: Nov 2009
Location: Harpers Ferry WV
Posts: 1,516
Total Cats: 20
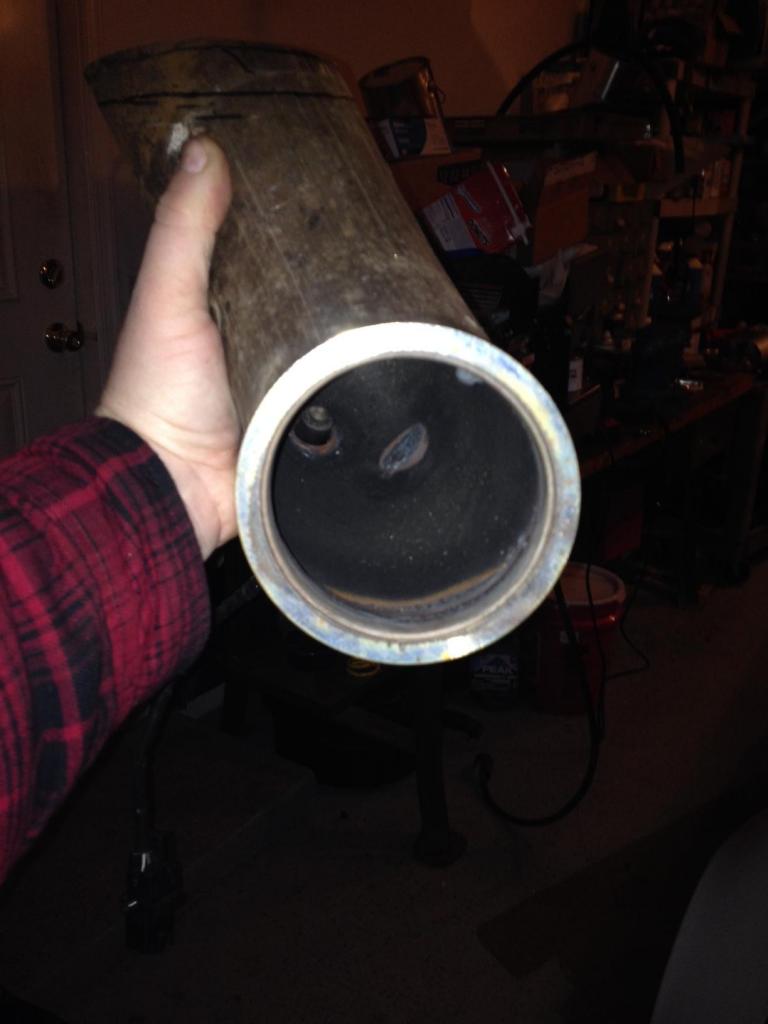
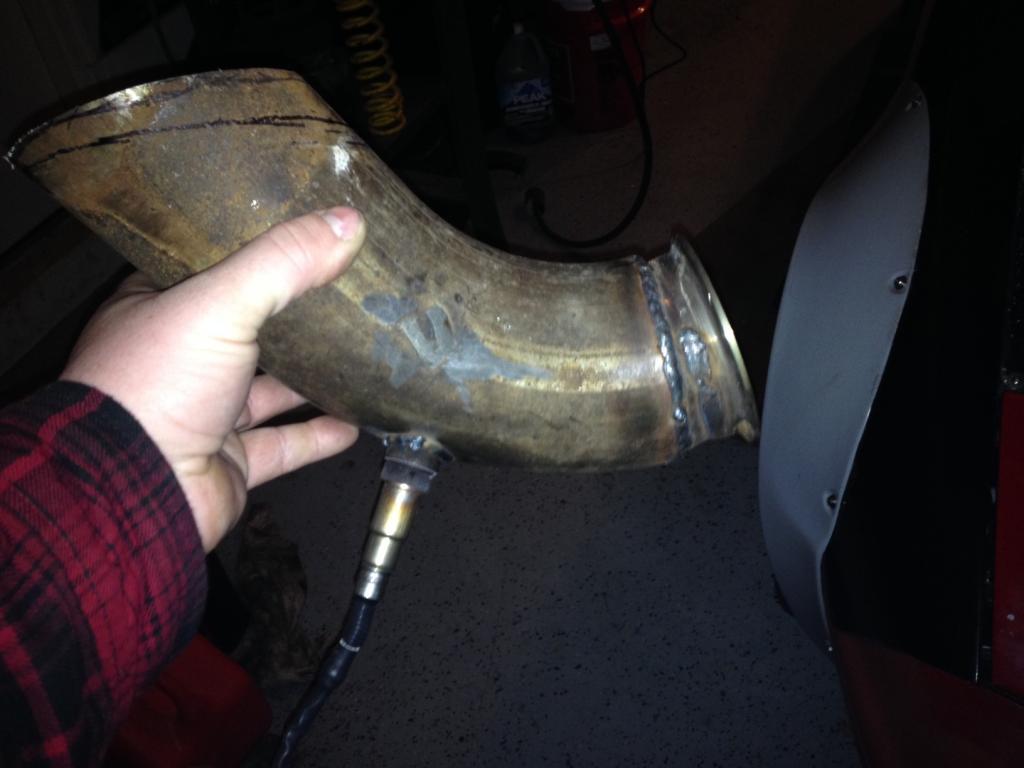
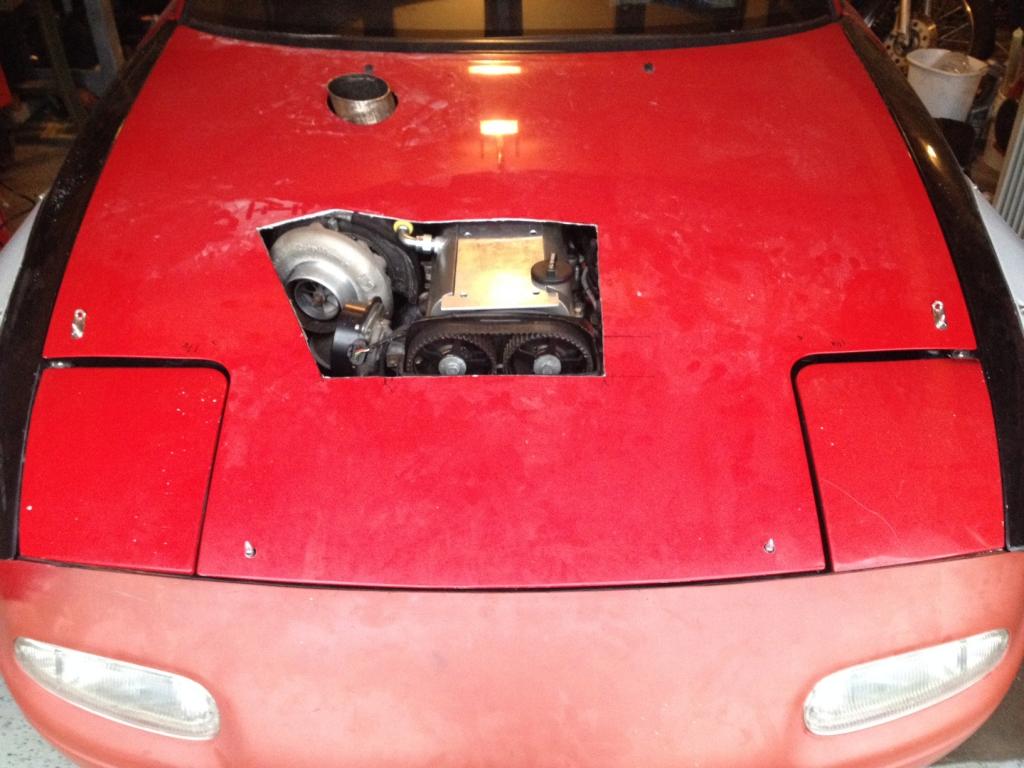
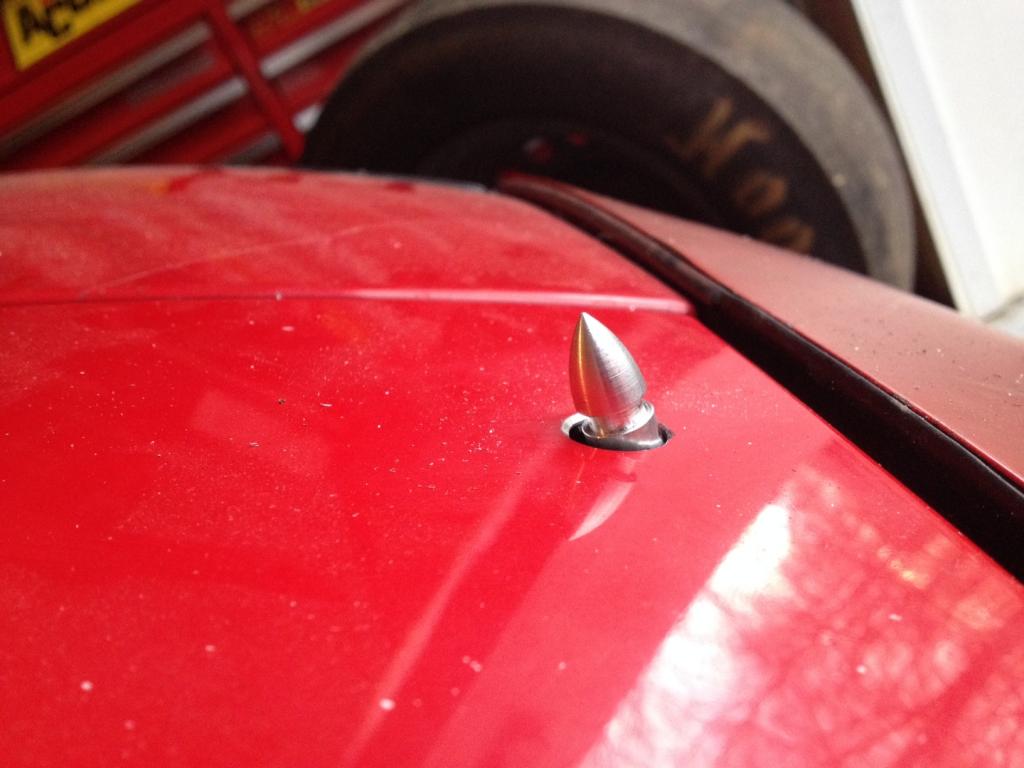
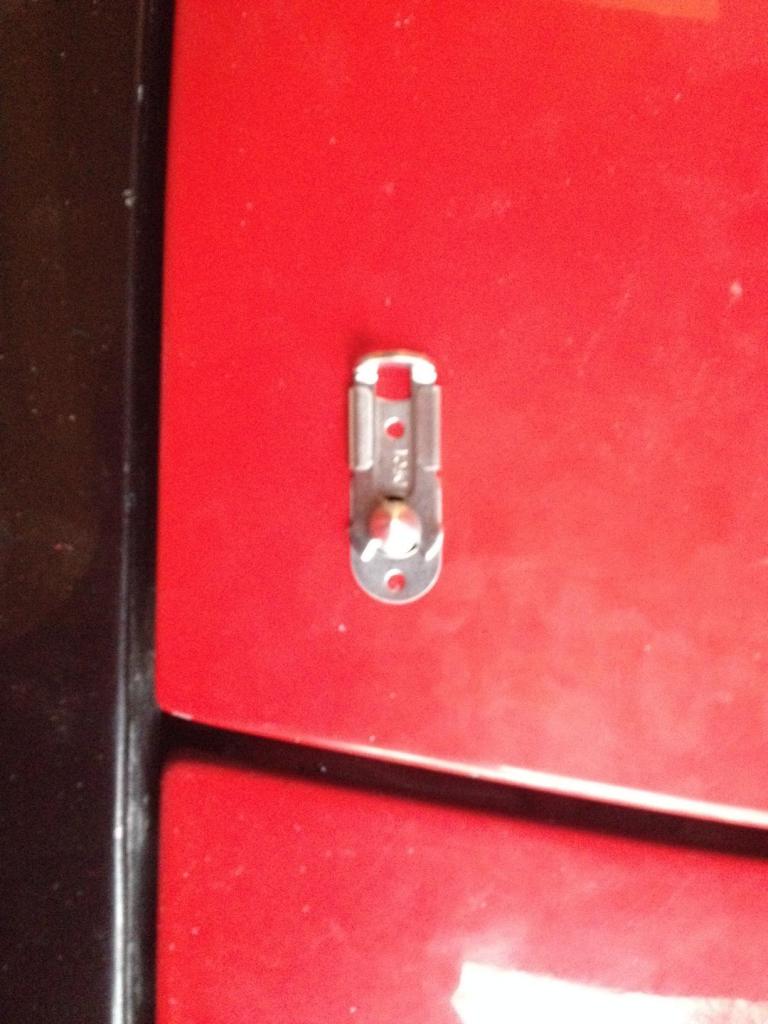
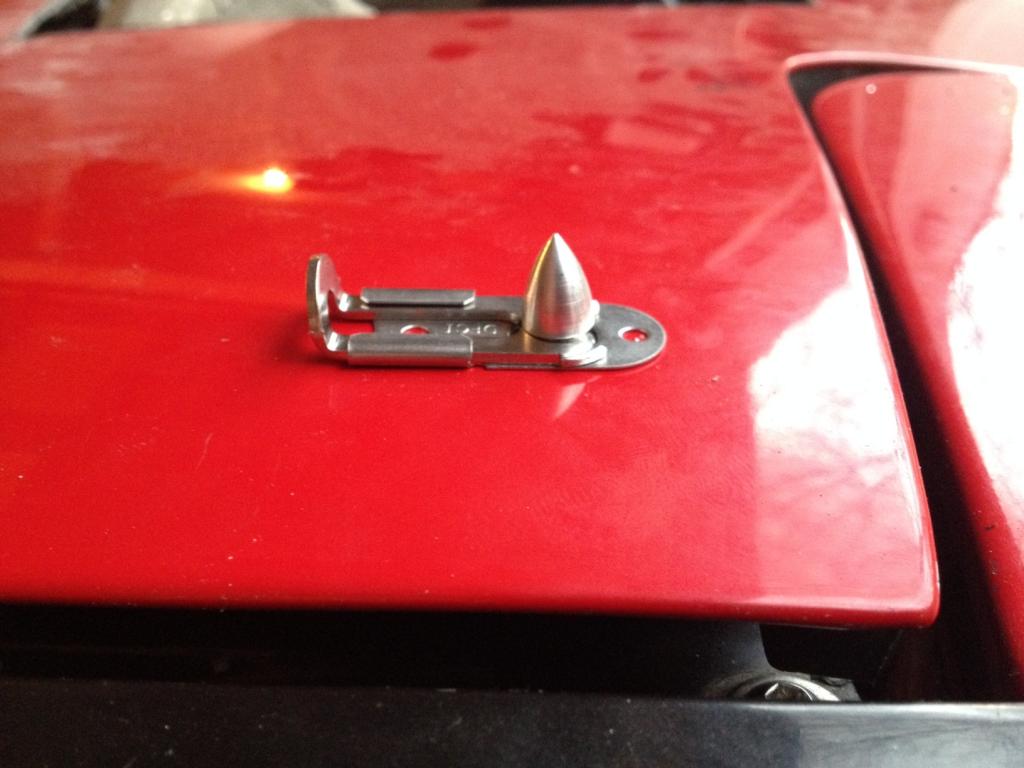
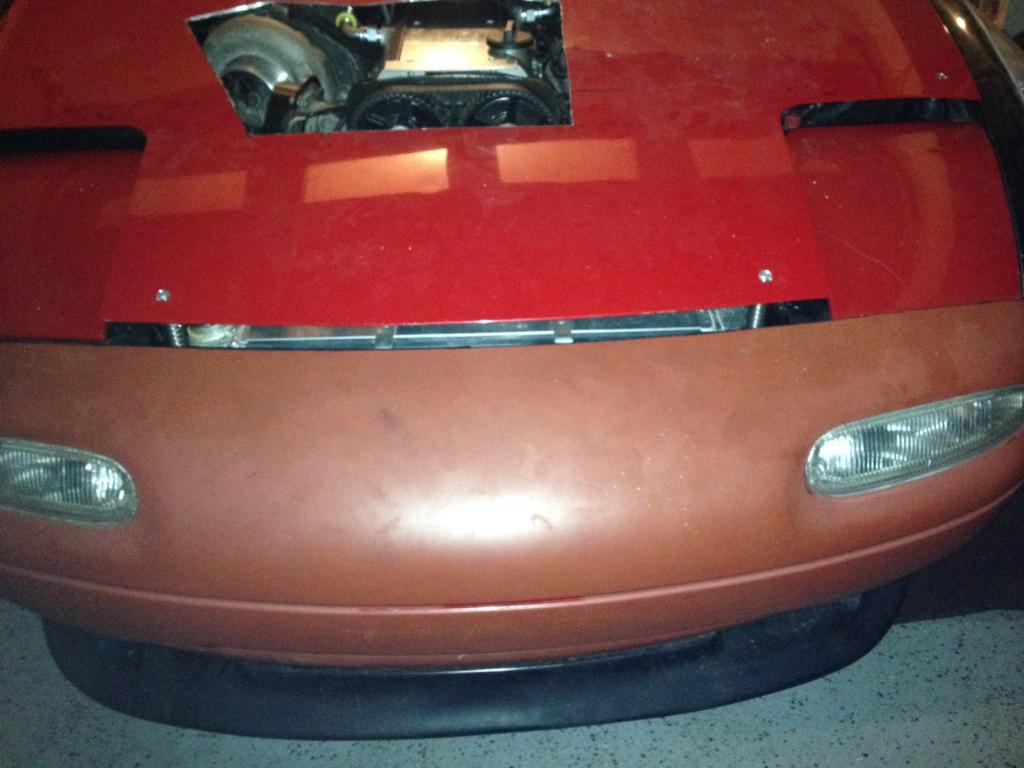
Got my hood pins almost all the way installed. My rivit gun at the house is junk so I am borrowing one from work and got some nice steel rivits from work as well. The two in the very front of the hood have too much angle so I need to machine the slot bigger so the slid lock will go thru. Also there is a shot of my exhaust with the 02 sensor location. It is the same distance from the turbo as last time witch is technically too close but I have not burned up a sensor yet so we will see how it goes. Also you can see in the one pic the sensor is place at the bend so it is basically straight out of the exhaust in hopes to get accurate reading on such a short exhaust system.


Reply
0
0
01-16-2014, 10:13 AM
#1383
Elite Member
iTrader: (12)
Join Date: Nov 2009
Location: Harpers Ferry WV
Posts: 1,516
Total Cats: 20
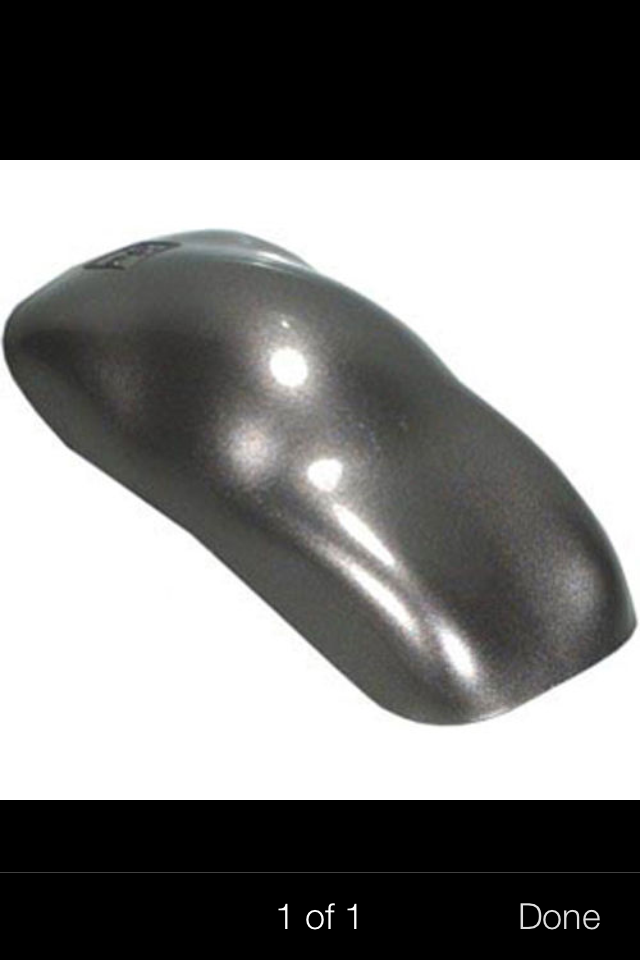
Picked the color of my car last night took me about three weeks to make a final decision lol.
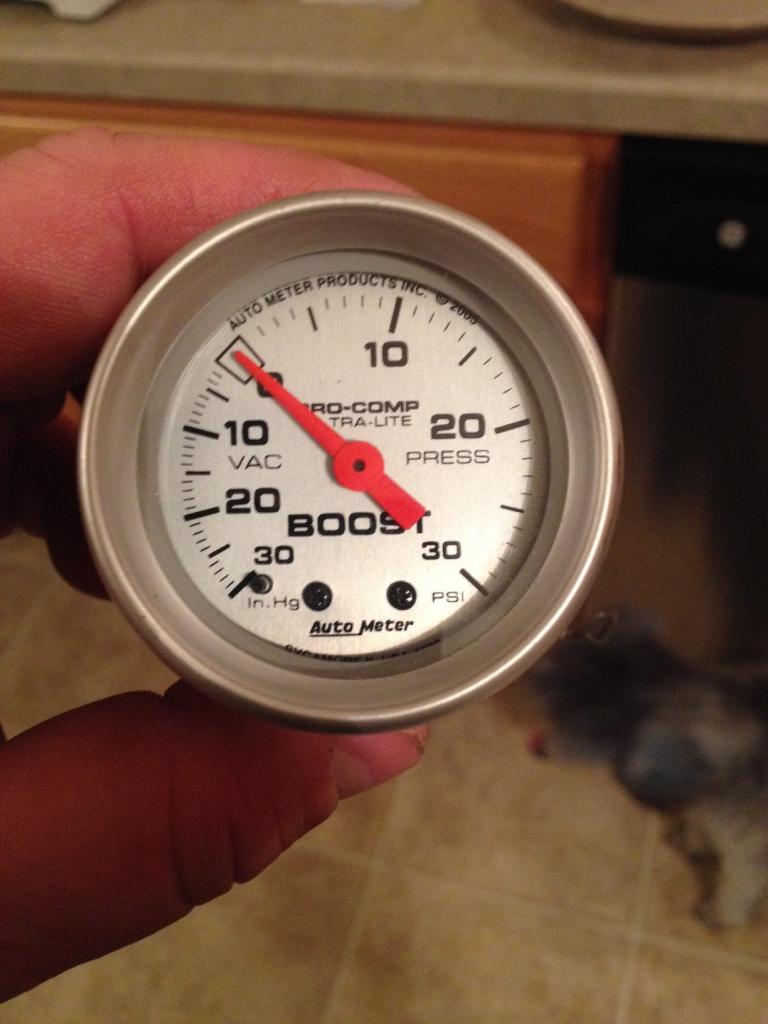
Got my new boost gauge since I am maxing out my 20psi gauge
I also found some spings at work to mount on my hood pins to assit with opening the hood they work great.
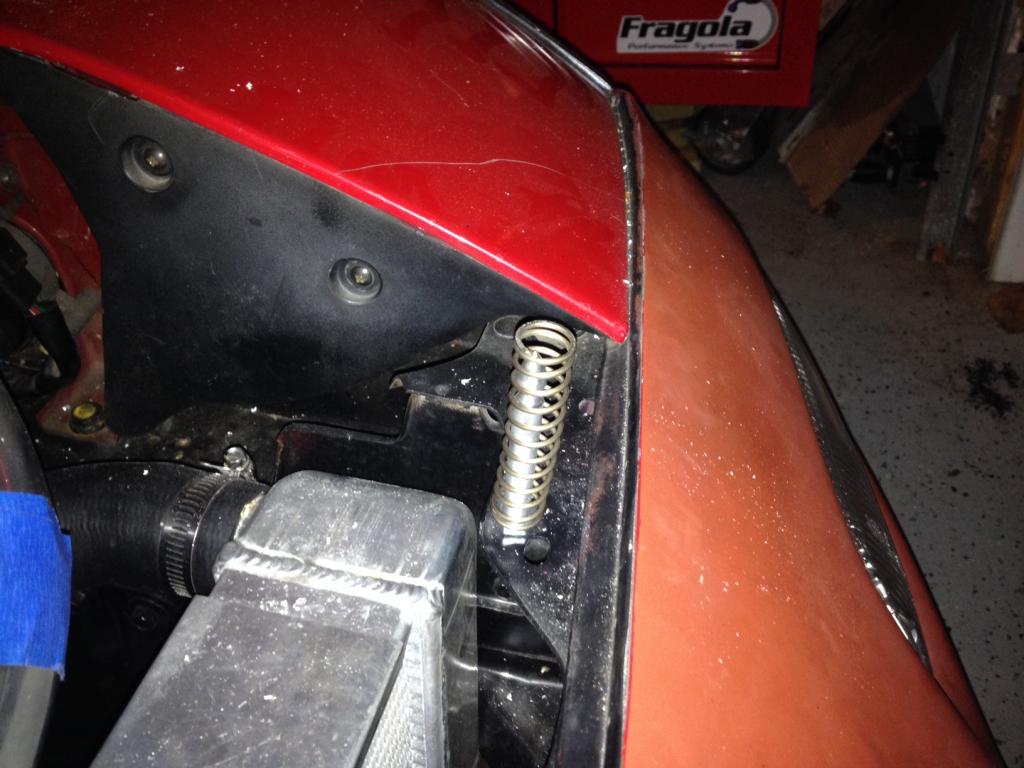

Got my new boost gauge since I am maxing out my 20psi gauge

I also found some spings at work to mount on my hood pins to assit with opening the hood they work great.


Reply
0
0
01-17-2014, 08:51 AM
#1384
Elite Member
iTrader: (12)
Join Date: Nov 2009
Location: Harpers Ferry WV
Posts: 1,516
Total Cats: 20
Ok got some more work done last night and should get more done tonight trying to push to have the car running this weekend so I can get other stuff done. Drivers side rear fender is all welded up and making brace for flare. Need to weld up the passenger side and make a brace for the flare. Also need to mount rear sway bar for the first time in 4 years, lol and look at mounting for front sway bar. Then off to the shop for charge pipes. After that its take everything off that needs powder coat and start body work to get ready for paint.
Catch can mounted and lines made. Exhaust is trimmed and sticks up 1/2" evenly around hood cut out. Need to mount boost controller and finish making charge pipe.
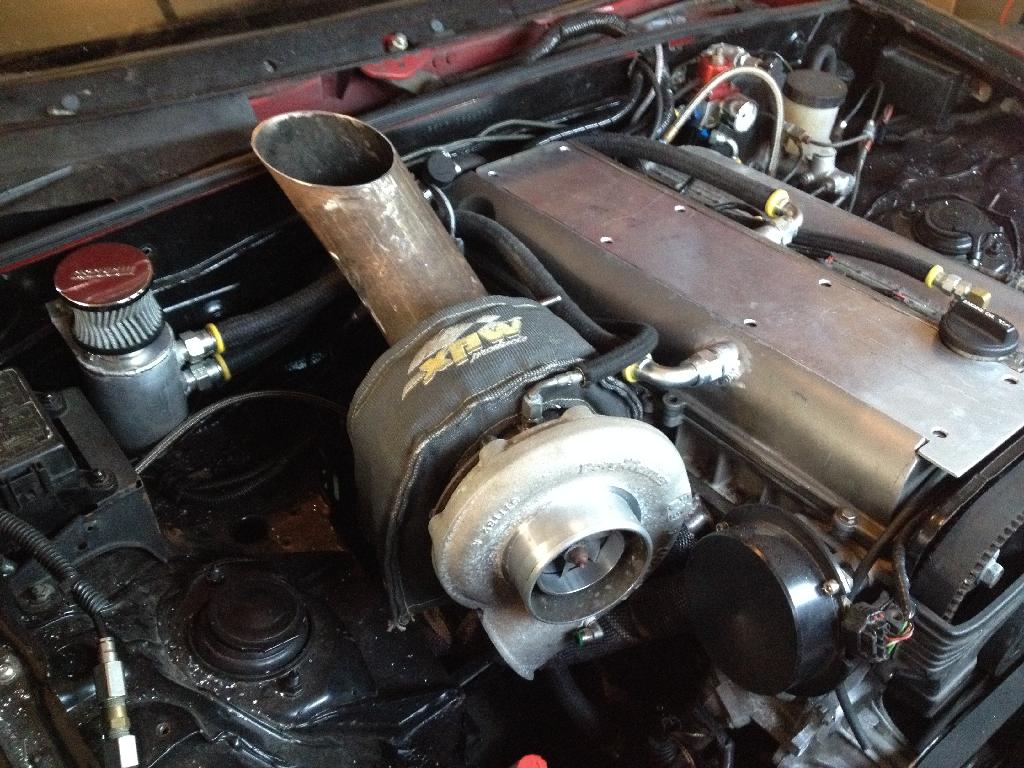
Catch can mounted and lines made. Exhaust is trimmed and sticks up 1/2" evenly around hood cut out. Need to mount boost controller and finish making charge pipe.

Reply
0
0


 01-17-2014, 11:35 AM
#1390
Elite Member
iTrader: (12)
Join Date: Nov 2009
Location: Harpers Ferry WV
Posts: 1,516
Total Cats: 20
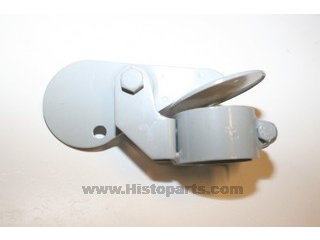
I had one a long time ago it gets old. The car sits outside most of its life it is not a garage baby so I will be making a little metal cap I can set on it when it rains as for driving in the rain the rain never seems to make it in the exhaust so no big deal there.
Reply
0
0
01-17-2014, 10:33 PM
#1392

Is heat shielding needed around the exhaust? And/or for the hood?
Or wondering if you could weld in a little flex line or something in the bottom of the exhaust, run it to the bottom of the engine bay, and water could drain out in the rain? Probably more effort than it's worth.
Or wondering if you could weld in a little flex line or something in the bottom of the exhaust, run it to the bottom of the engine bay, and water could drain out in the rain? Probably more effort than it's worth.
Reply
0
0

 01-21-2014, 10:45 AM
#1396
phuckin' the enviroment with a lil' gangster lean... This whole car is erroneous and unnecessary in every way, which is specifically why I love this build.
The facial expression that I would have driving this car would be that of a wild baboon that just came across a Kawasaki ninja power wheel.
The facial expression that I would have driving this car would be that of a wild baboon that just came across a Kawasaki ninja power wheel.
Reply
1
1
01-23-2014, 09:48 AM
#1398
Elite Member
iTrader: (12)
Join Date: Nov 2009
Location: Harpers Ferry WV
Posts: 1,516
Total Cats: 20
phuckin' the enviroment with a lil' gangster lean... This whole car is erroneous and unnecessary in every way, which is specifically why I love this build.
The facial expression that I would have driving this car would be that of a wild baboon that just came across a Kawasaki ninja power wheel.
The facial expression that I would have driving this car would be that of a wild baboon that just came across a Kawasaki ninja power wheel.
Reply
0
0
01-23-2014, 09:51 AM
#1399
Elite Member
iTrader: (12)
Join Date: Nov 2009
Location: Harpers Ferry WV
Posts: 1,516
Total Cats: 20
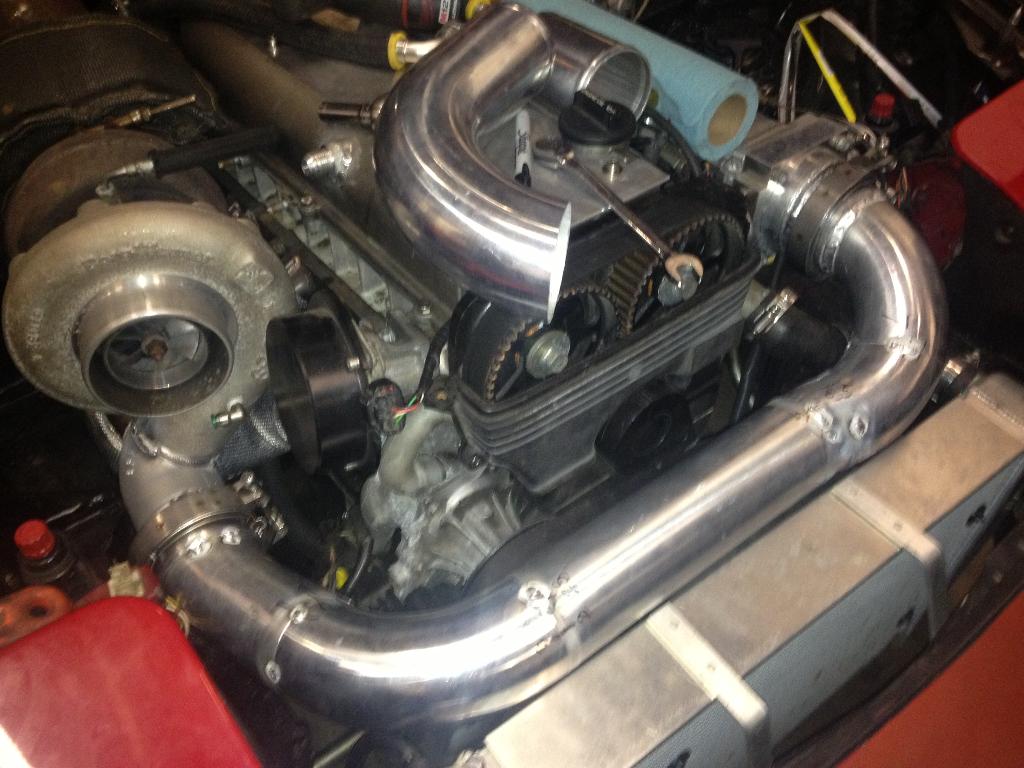
As for an update we mocked up the charge pipe on sunday I am waiting for my buddy to finish welding it he can be slow some times. It is a very busy charge pipe and the picture does not show the BOV in place witch is getting welded to the elbow on the compressor. I am very happy with the way it came out and I will post some pics when it goes together should be next week. I also ordered a bunch of fittings I am switching my BOV fic signal and most all my vacuum lines to hard plastic push to connect lines. This will be a much cleaner look and function very well. Here is a pic of the mocked up charge pipe you cant tell in this pic but the Vband clamp near the compressor only has about 1/16 extra room when taking it off it is a perfect fit.

Reply
0
0


