91' V6 Miata restoration
 11-09-2016, 06:59 AM
#1
Newb
Thread Starter

Join Date: Oct 2011
Posts: 15
Total Cats: 15
Everything starts 6 years ago, when i bought a '91 Mariner Blue Miata 80k miles (usa spec), 1.6 115cv in Torino (north Italy)
Nice and shine, (olmost) 100% stock , beautiful color, brand new soft top..
Apparently perfect right?
well.. NO!
The car was imported from Germany few years before and this meant rust.
I knew it but it was love at first sight and decided to bought it anyway..
In my mind the idea was a very little conservative restoration to fix some minor issue but after few days i realized that i should have to change my mind.
Here some pics of my miata after i bought it


Last edited by mark88; 11-09-2016 at 08:41 AM.

Reply
 1
1

1

 11-09-2016, 08:37 AM
#3
Newb
Thread Starter
Join Date: Oct 2011
Posts: 15
Total Cats: 15
The orange switch is for some kind of light made from the old owner.. but i don't care for now.
The engine is a KLZE 2.5 V6 from a Mazda 626. I bought it one year ago and it still is in the garage.
Ok now let's talk about restoration first.
After one month of occasional use the first problems appears and i decided to start a little restoration but then i realised that it would be a massive restoration!
Rust rust rust rust...
The engine is a KLZE 2.5 V6 from a Mazda 626. I bought it one year ago and it still is in the garage.
Ok now let's talk about restoration first.
After one month of occasional use the first problems appears and i decided to start a little restoration but then i realised that it would be a massive restoration!


Rust rust rust rust...
Last edited by mark88; 11-11-2016 at 10:47 AM.
Reply
0
0


 11-09-2016, 01:32 PM
#8
Supporting Vendor

Join Date: Sep 2012
Posts: 635
Total Cats: 322
Welcome! Looks like a fun project. Car looks great.
__________________
KPower Industries
Home of the original KMiata Swap

K24 NC swap is coming in 2024! Learn more
info@kpower.industries
Follow us on Facebook and Instagram
KPower Industries
Home of the original KMiata Swap
K24 NC swap is coming in 2024! Learn more
info@kpower.industries
Follow us on Facebook and Instagram
Reply
0
0
 11-10-2016, 11:53 AM
#10
Newb
Thread Starter
Join Date: Oct 2011
Posts: 15
Total Cats: 15
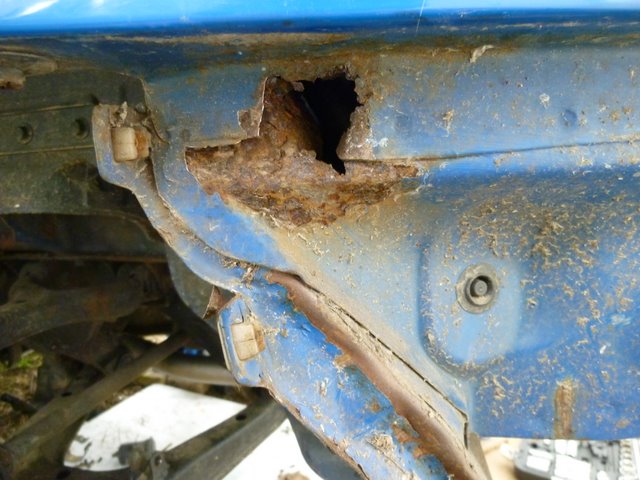
Unfortunately this is the only good parts of the car..
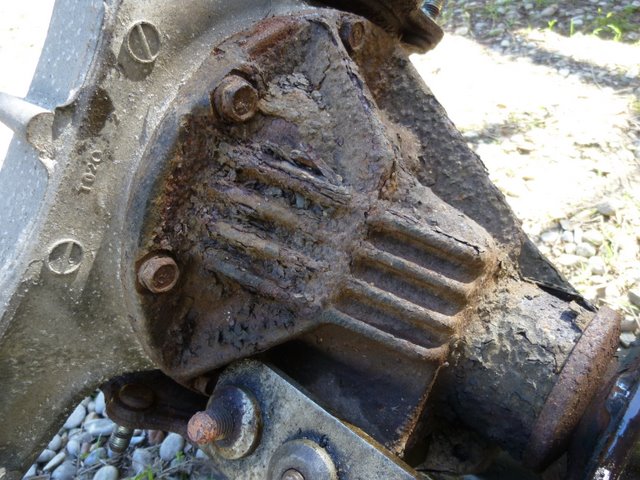
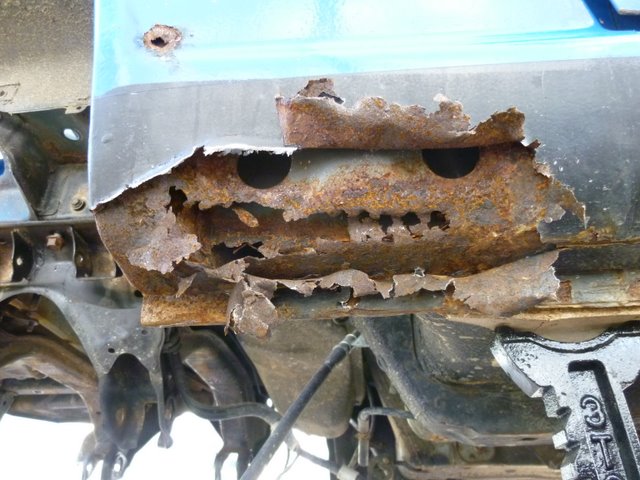
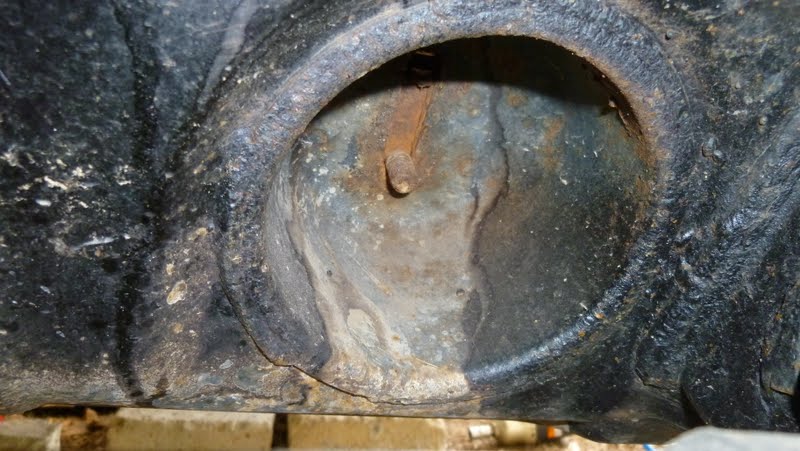
Both sills were completely rusted, the right side worse than the left, the control arms rusted too, the diff, everything!

diff
right sill
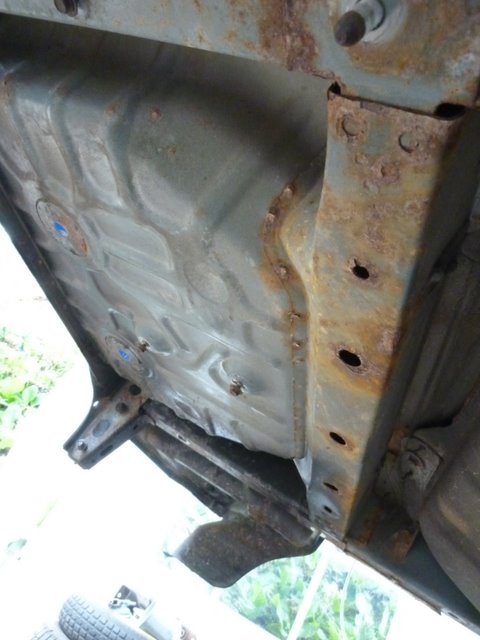
near the fuel tank
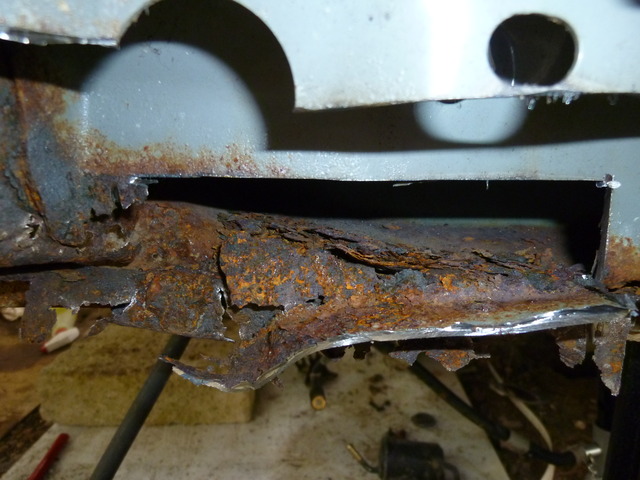
after that, i started cut off all around the rusty parts to check the real amount of damage
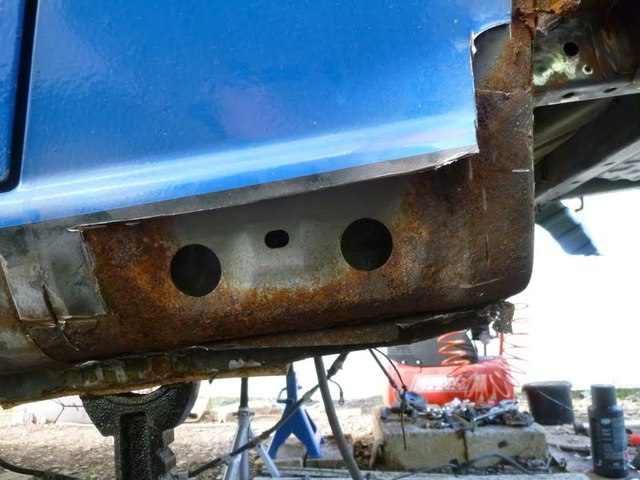
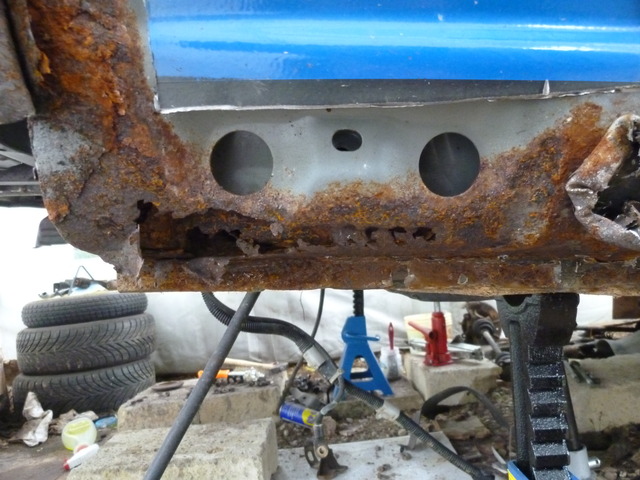
Both sills were completely rusted, the right side worse than the left, the control arms rusted too, the diff, everything!
diff

right sill

near the fuel tank

after that, i started cut off all around the rusty parts to check the real amount of damage


Last edited by mark88; 12-10-2016 at 04:06 AM.
Reply
0
0
 11-11-2016, 10:44 AM
#13
Newb
Thread Starter
Join Date: Oct 2011
Posts: 15
Total Cats: 15
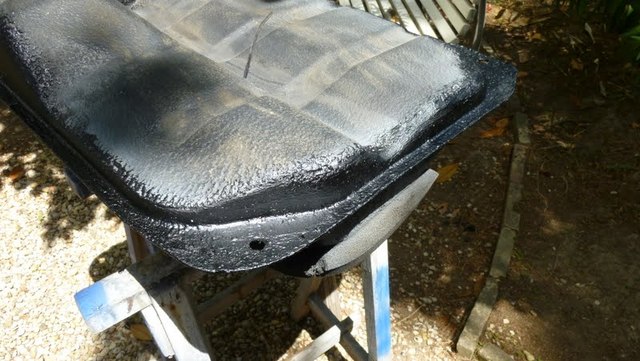
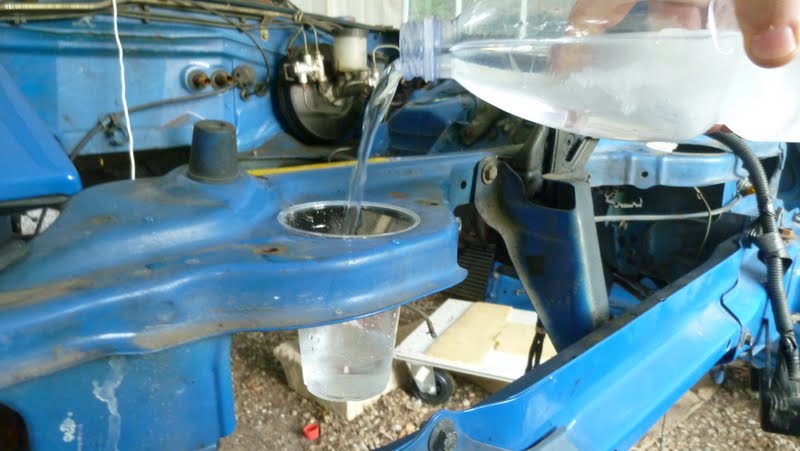
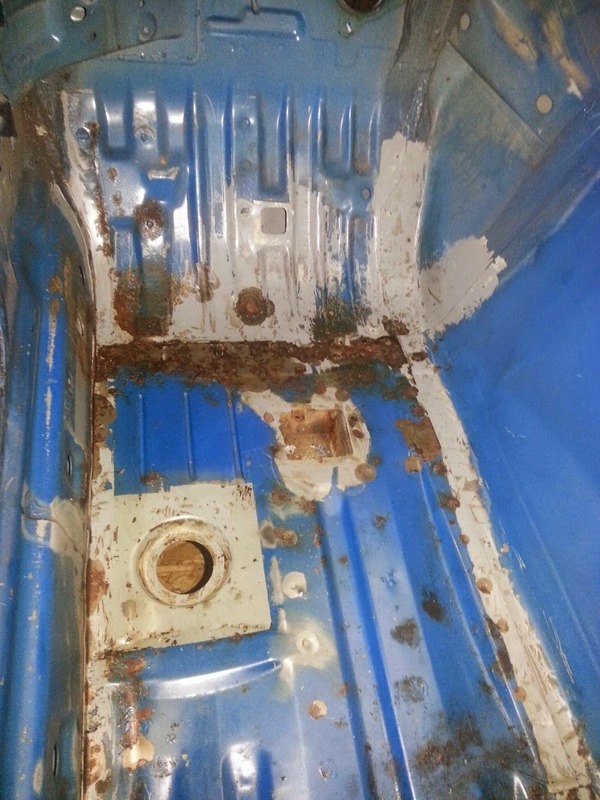
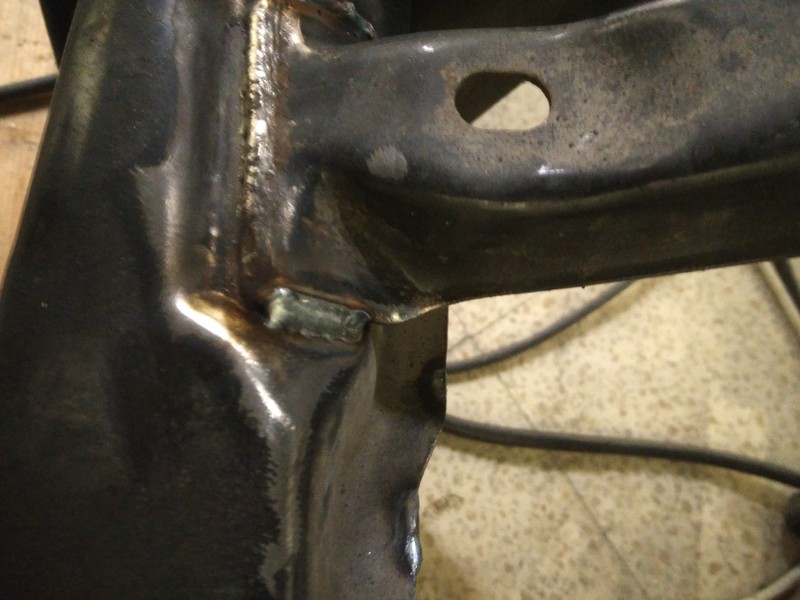
Anyway, i started with the fuel tank.
all the edges were rusted under the stone chip and all the plates too.
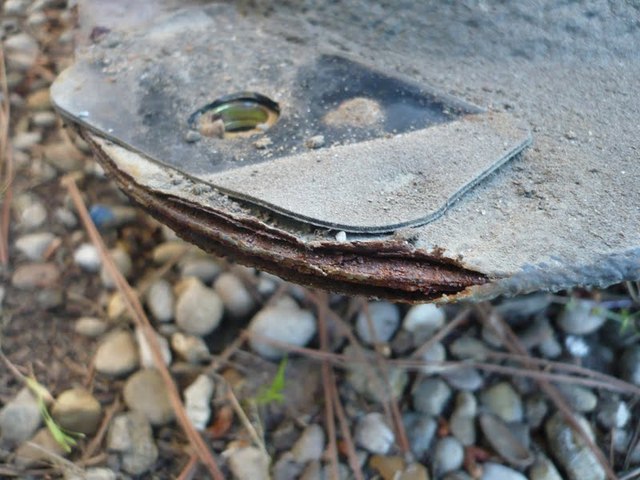
wirebrushed, welded and painted again
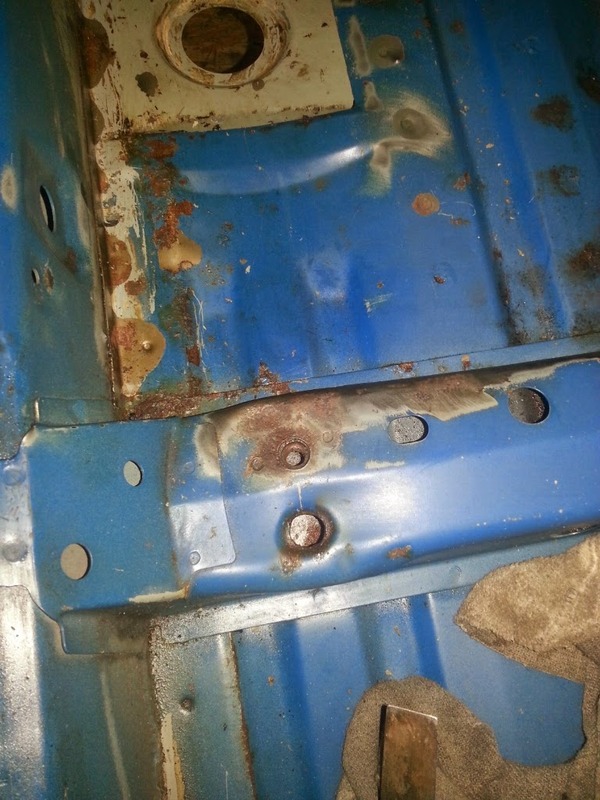
and the plates from this
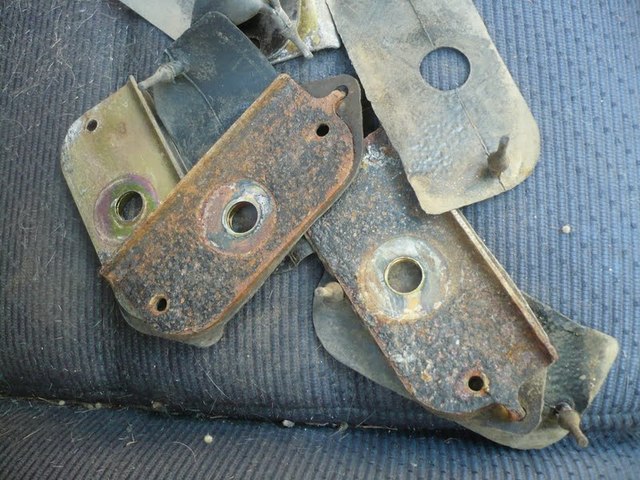
to this
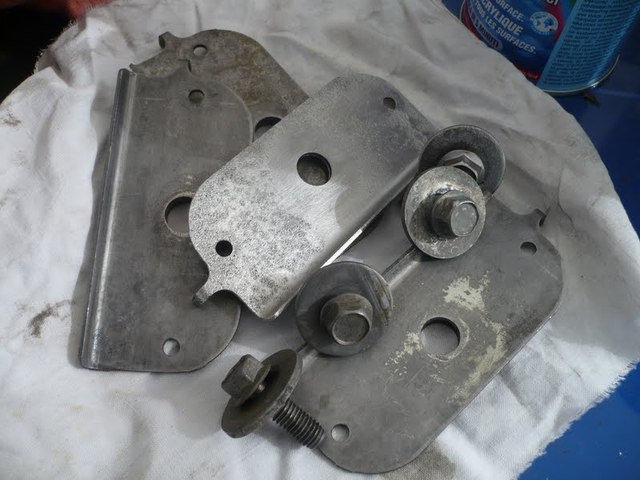
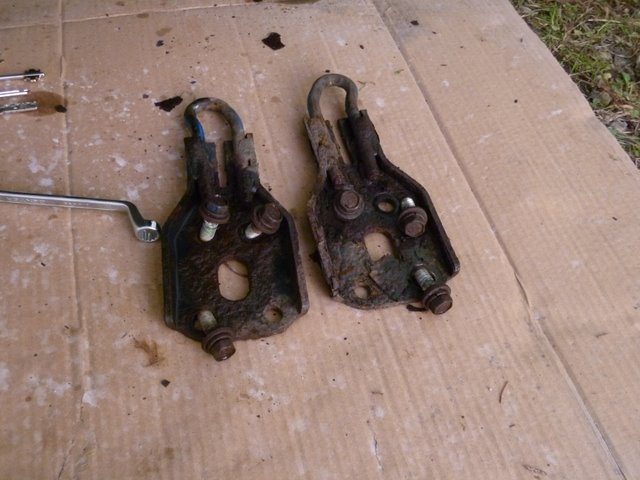
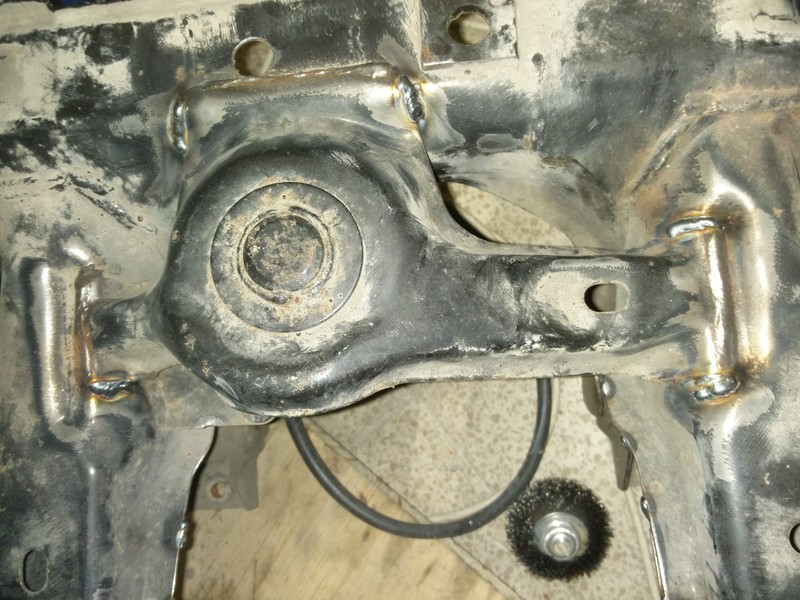
after that i started with the control arms.. very funny.
all the edges were rusted under the stone chip and all the plates too.
wirebrushed, welded and painted again

and the plates from this

to this

after that i started with the control arms.. very funny.

Last edited by mark88; 12-09-2016 at 01:45 AM.
Reply
1
1
11-17-2016, 07:57 AM
#15
Newb
Thread Starter
Join Date: Oct 2011
Posts: 15
Total Cats: 15
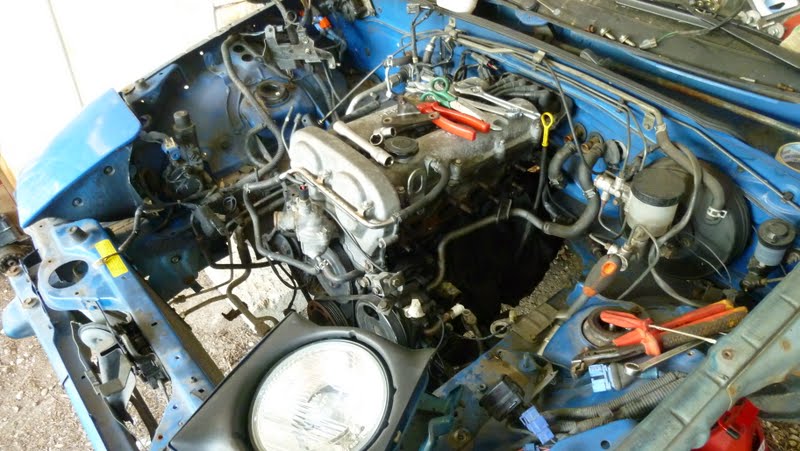
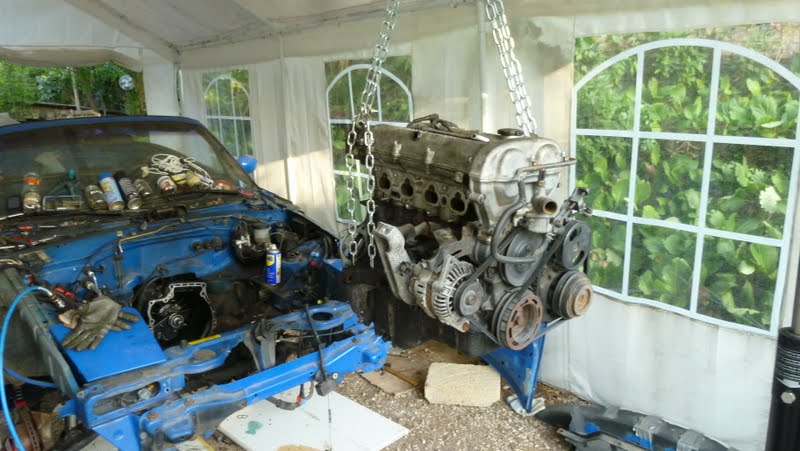
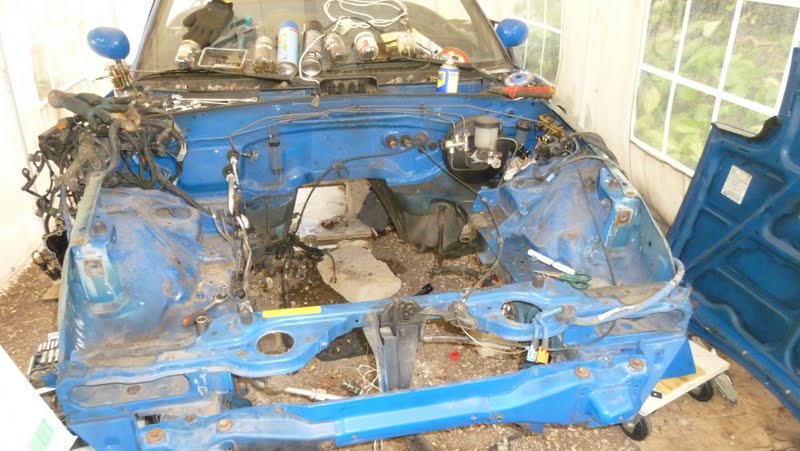
Time to remove the engine and other stuff!
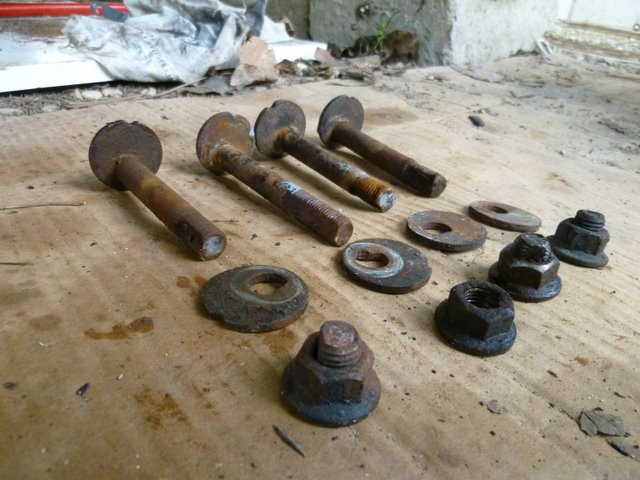
But first.. where are my engine bolts on the car
anyway..
time to rest
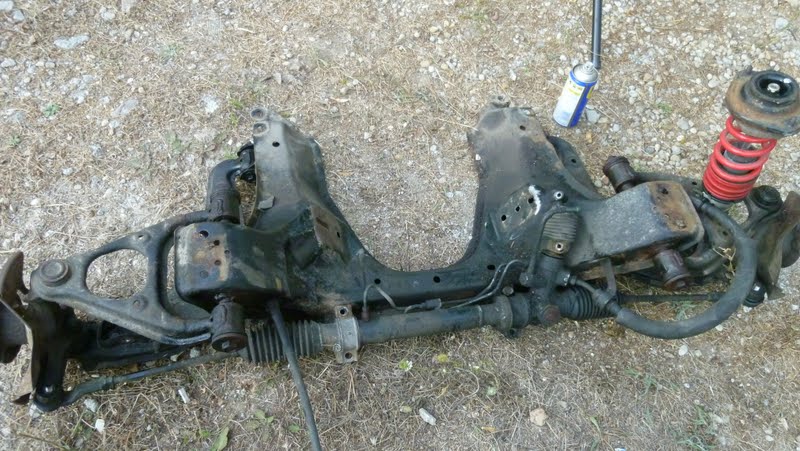
and few hours later the engine bay almost empty and front (nice and clean) axle out
But first.. where are my engine bolts on the car
anyway..
time to rest
and few hours later the engine bay almost empty and front (nice and clean) axle out
Last edited by mark88; 12-09-2016 at 01:42 AM.
Reply
0
0
12-09-2016, 02:33 AM
#16
Newb
Thread Starter
Join Date: Oct 2011
Posts: 15
Total Cats: 15
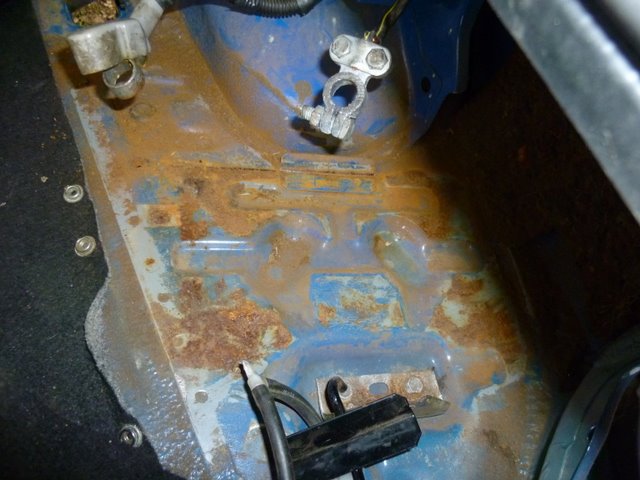
After the engine bay i mouved my work to the interior..
22 years of dry leaves, dust, and so on..
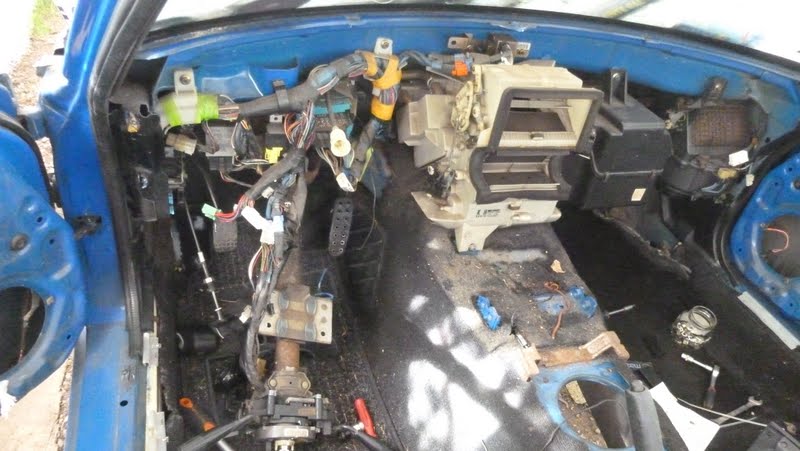
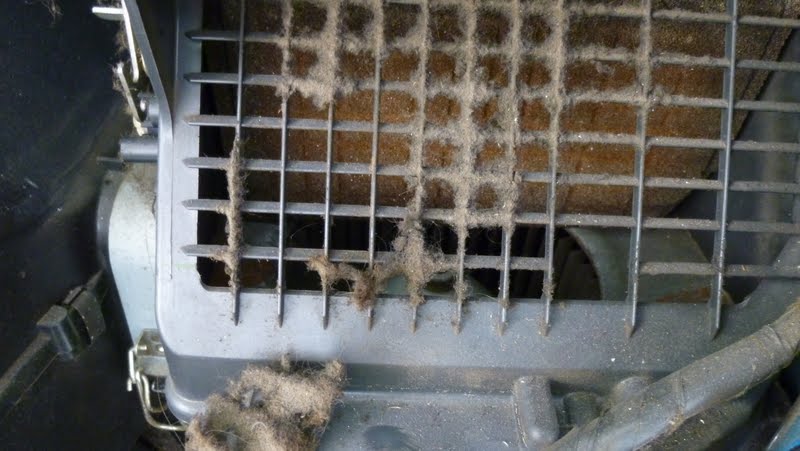
And under the carpet the same stuff.. rust!
Another problem is the driver side bended seat rod (i'm not sure is the right name)
probably some previous owner was a 150 kg man
22 years of dry leaves, dust, and so on..
And under the carpet the same stuff.. rust!
Another problem is the driver side bended seat rod (i'm not sure is the right name)
probably some previous owner was a 150 kg man
Reply
0
0


 12-21-2016, 01:35 PM
#20
Newb
Thread Starter
Join Date: Oct 2011
Posts: 15
Total Cats: 15
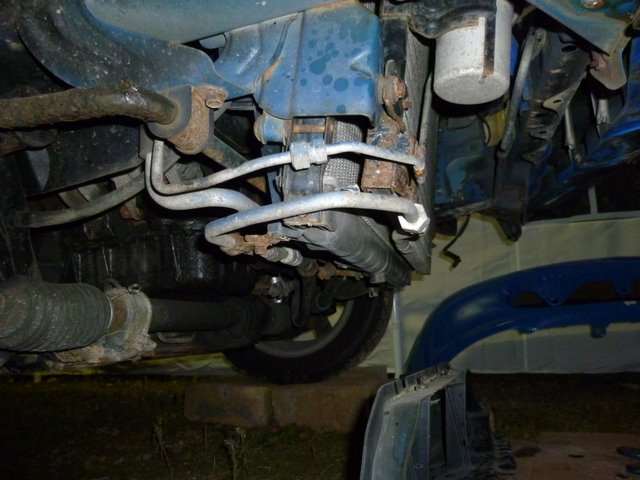
n the front side i used the original frame, on the back the rear bumper holding holes.
I'm very satisfied about the result, working under the car is very easy now!
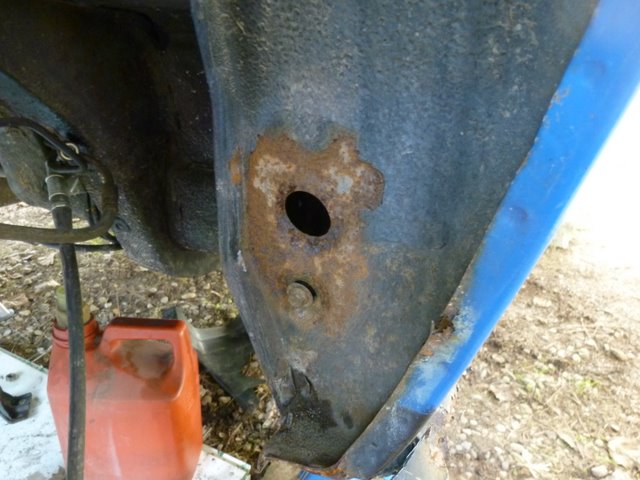
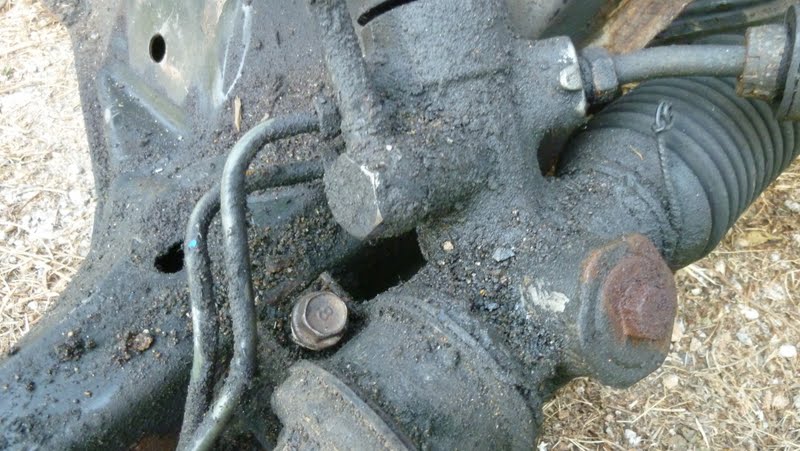
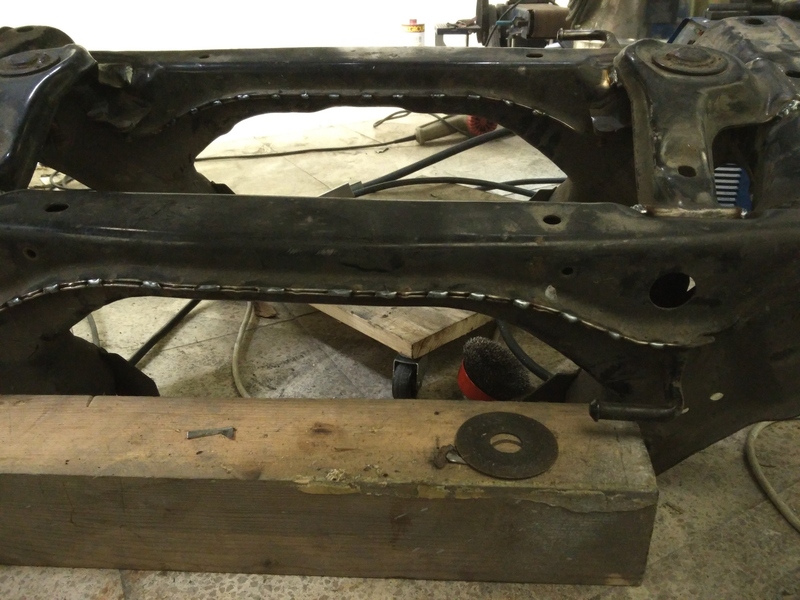
Then i started removing all the underbody stone chip protection.


A closer look at the right subframe scratched and rusted..

I'm very satisfied about the result, working under the car is very easy now!
Then i started removing all the underbody stone chip protection.


A closer look at the right subframe scratched and rusted..

Last edited by mark88; 01-07-2017 at 06:04 PM.
Reply
0
0


