When you click on links to various merchants on this site and make a purchase, this can result in this site earning a commission. Affiliate programs and affiliations include, but are not limited to, the eBay Partner Network.
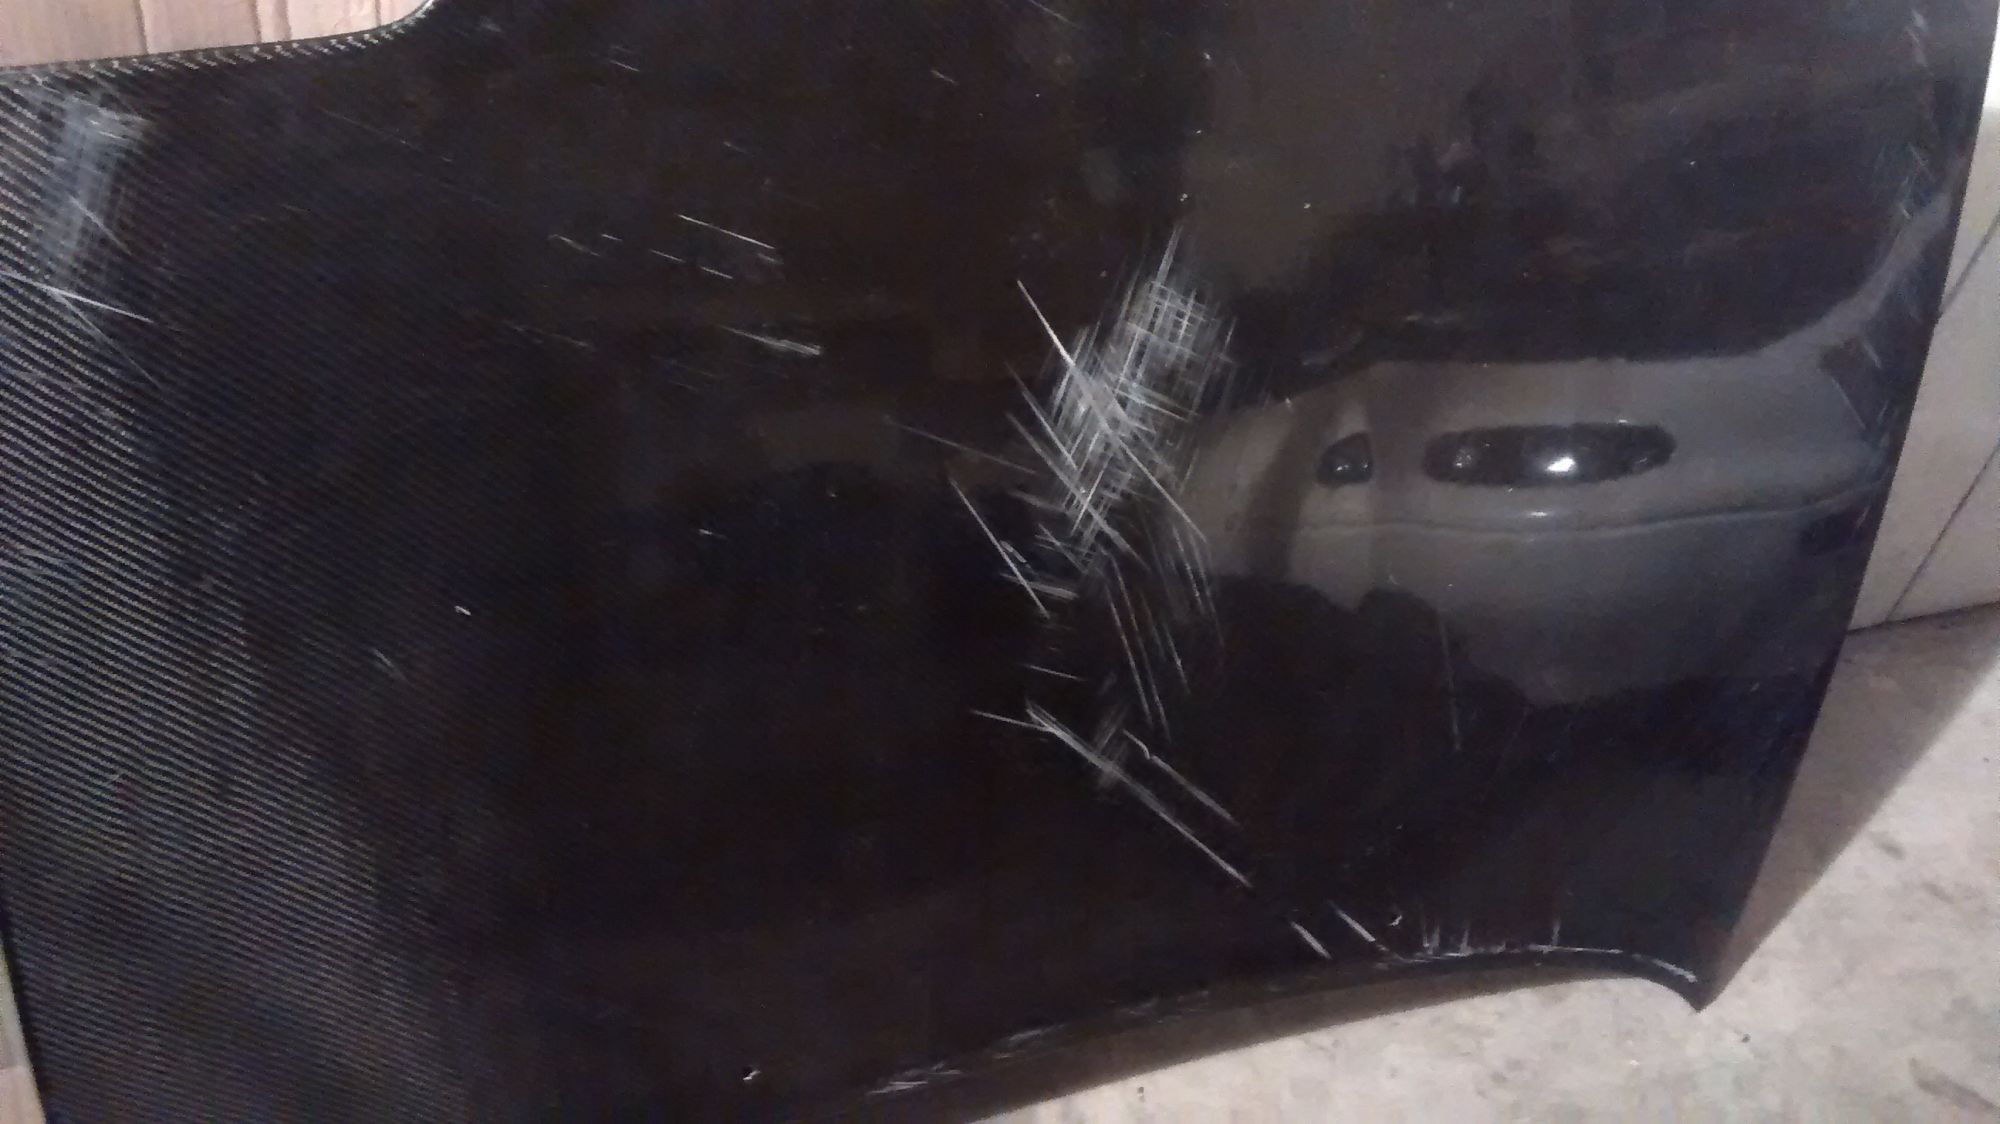
My Dad gave me a Seibon CF hood that he accidentally broke (it flew off the car he was towing at 70mph). He failed to realize that the hood didn't have the rear bolts installed in it before he started driving. It broke pretty bad but I'm going to try to fix it (since it's a ~$500 hood). If anyone was wondering, I can confirm that the CF hood is in fact a few pounds heavier than the stock NA aluminum one. I've seen it stated that people didn't believe that it was possible to get lighter than CF, but I assure you Mazda has accomplished it with our stock hoods, my official "arm-O-meter" weight comparison told me so. I want the hood for the looks (one of the few times I would do form over function).
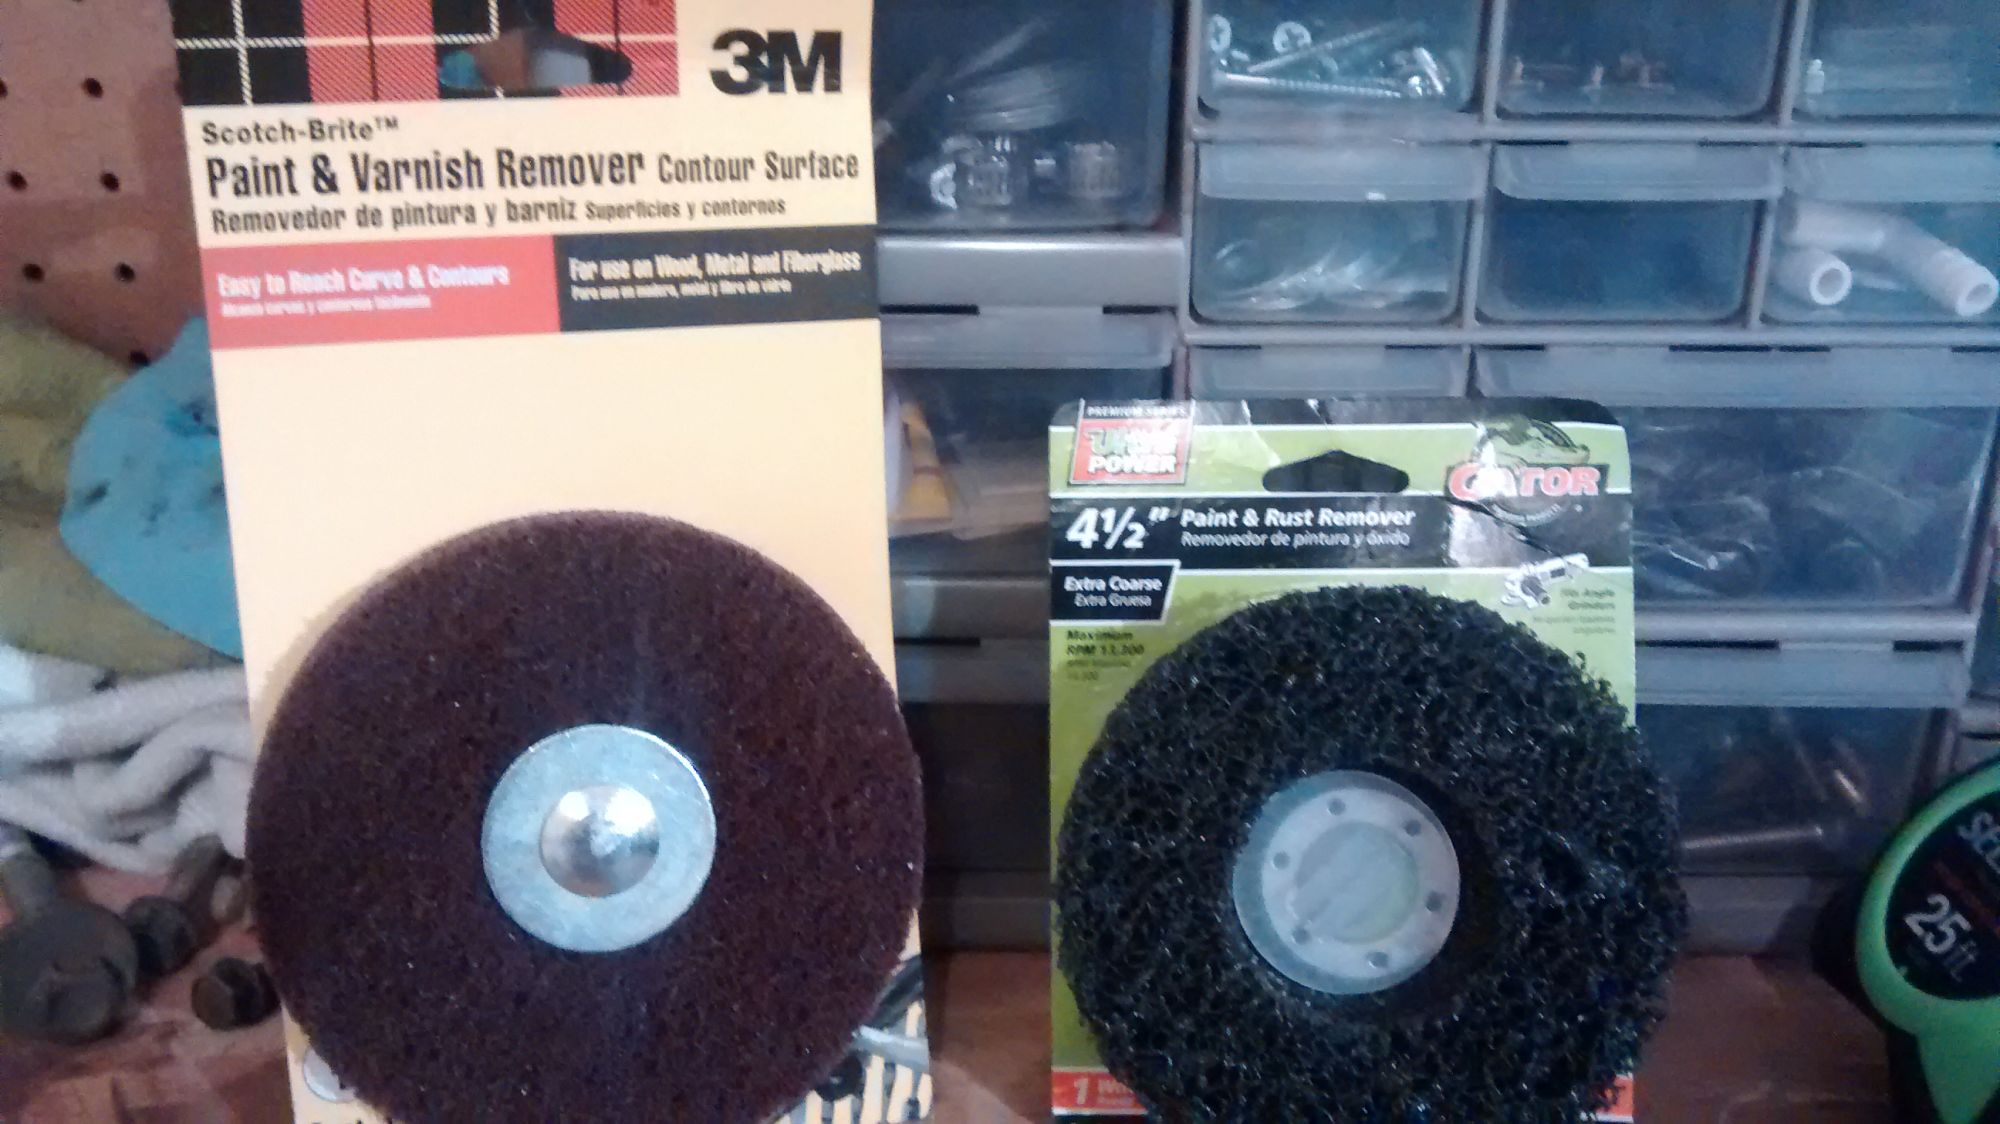
I'm waiting on products to come in the mail before I tackle that. I'm planning on wet sanding the scratches and respraying the clearcoat. On the bottom I'm going to use liberal amounts of 3M Bondo Hair that I ordered from Jegs to reinforce the structure and fill in pieces that broke off. I'll update when things happen with that project.
My Dad is also going to hook me up (on the cheap) with a hardtop that's missing its rear latches (the ones that fit over the frankenstein bolts) I'm hoping bolt-on latches will hold it securely enough to eliminate road noise. It looks like it flew off a car at some point too so I'll be refinishing it. Here's a teaser pic of how that's going to go down:
The car he bought also has these sweet door sills that I'm gonna buy from him! I looked around and apparently these were sold from a company called "mmmiata" that went out of business some ~4 years ago, So maybe they're like rare/uncommon now. Either way I like the ABS plastic way better than the aluminum door sills I've seen sold.
As the car spent more and more time down I decide that instead of going the quick and cheap route I'd spend some time and money and do things right. First thing was to fix the remaining damage from the wreck, rebuild the turbo, upgrade the god-awful Greddy downpipe, do some heat management, upgrade brakes, etc etc. This was my table after the turbo rebuild was done. It was relatively easy and I now swear by Knipex tools. They were the only C-Clamp pliers I could find that wouldn't bend when removing that huge c-clip on the turbo housing. I later had this assembly balanced professionally by some really great guys who did great work locally. If you need a turbo balanced PM me and I can get you their contact info, they do mail-in balances often. They do both component and assembly balancing.
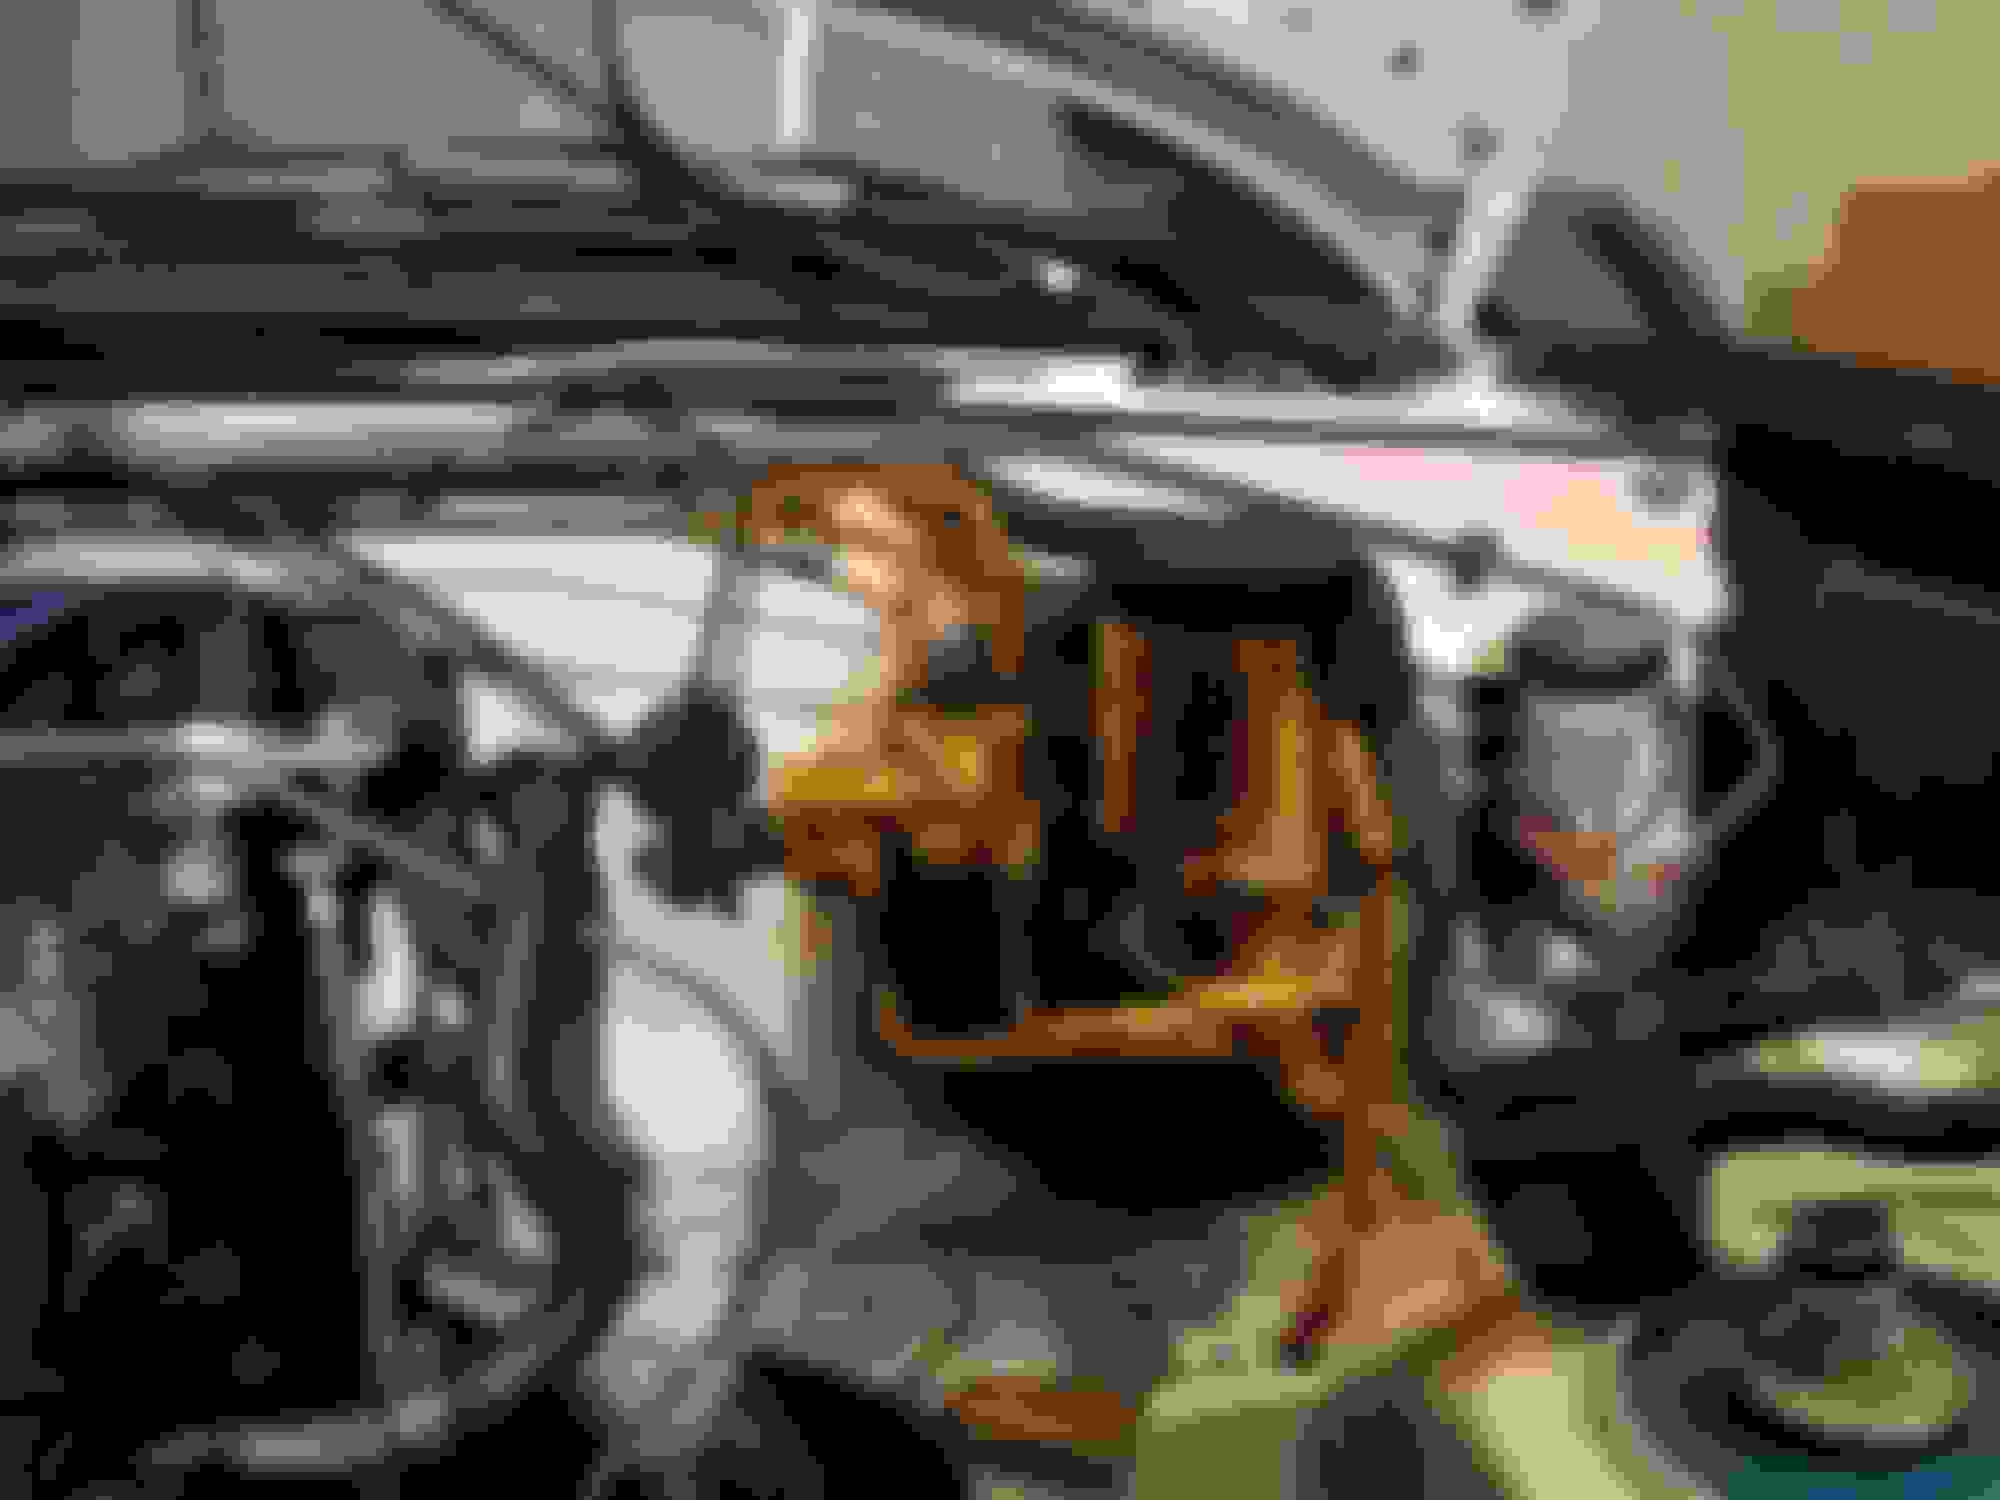
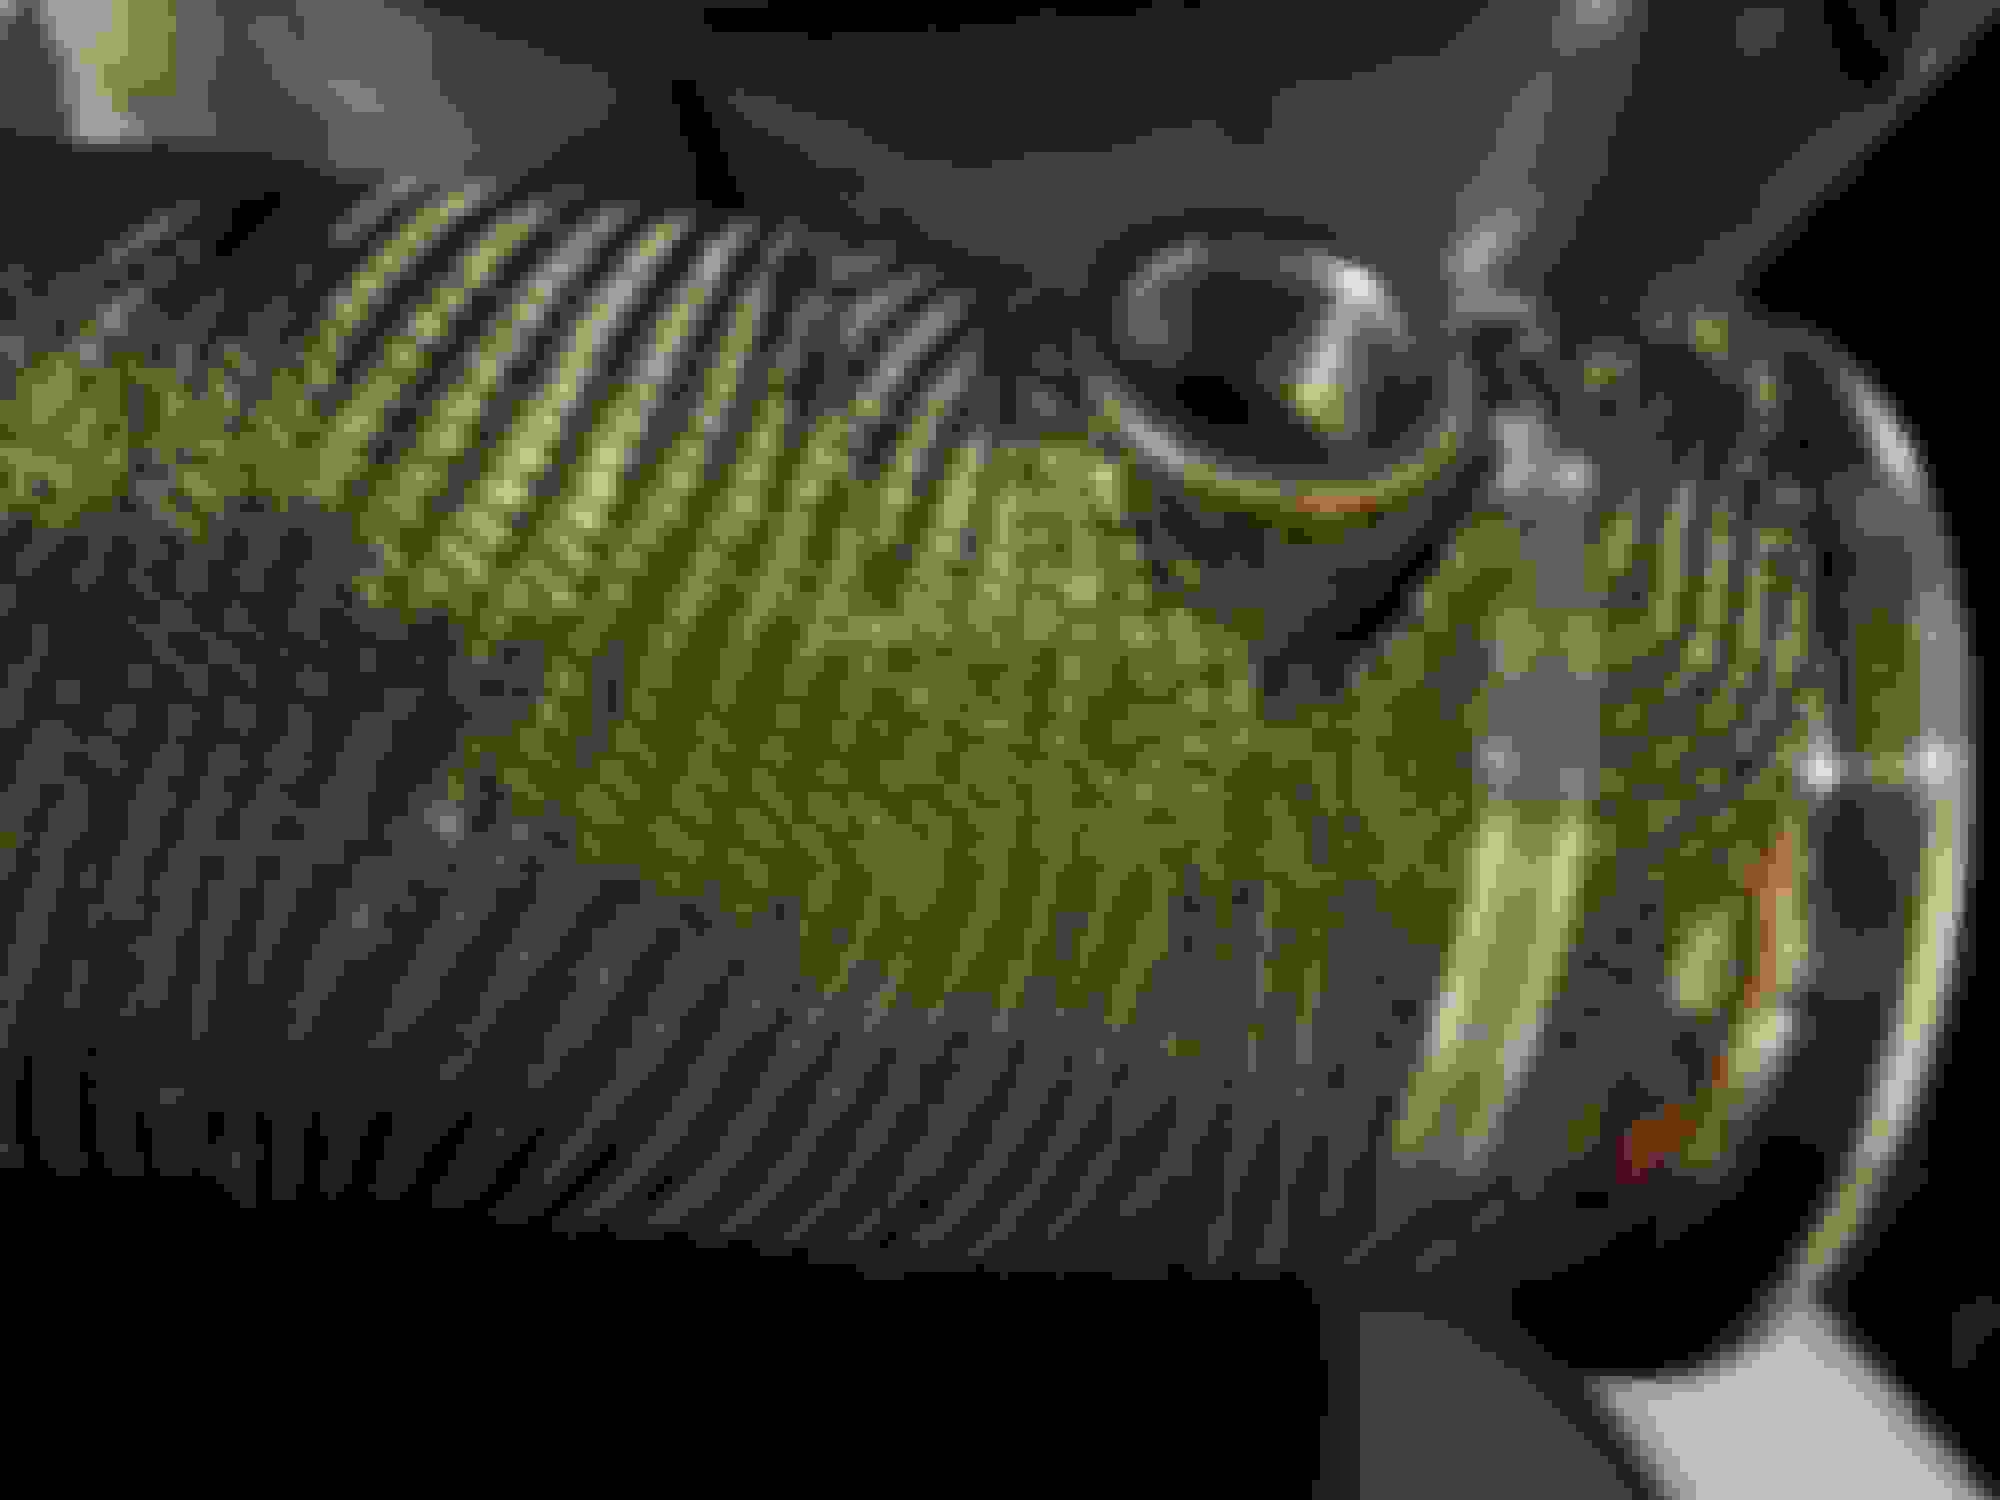
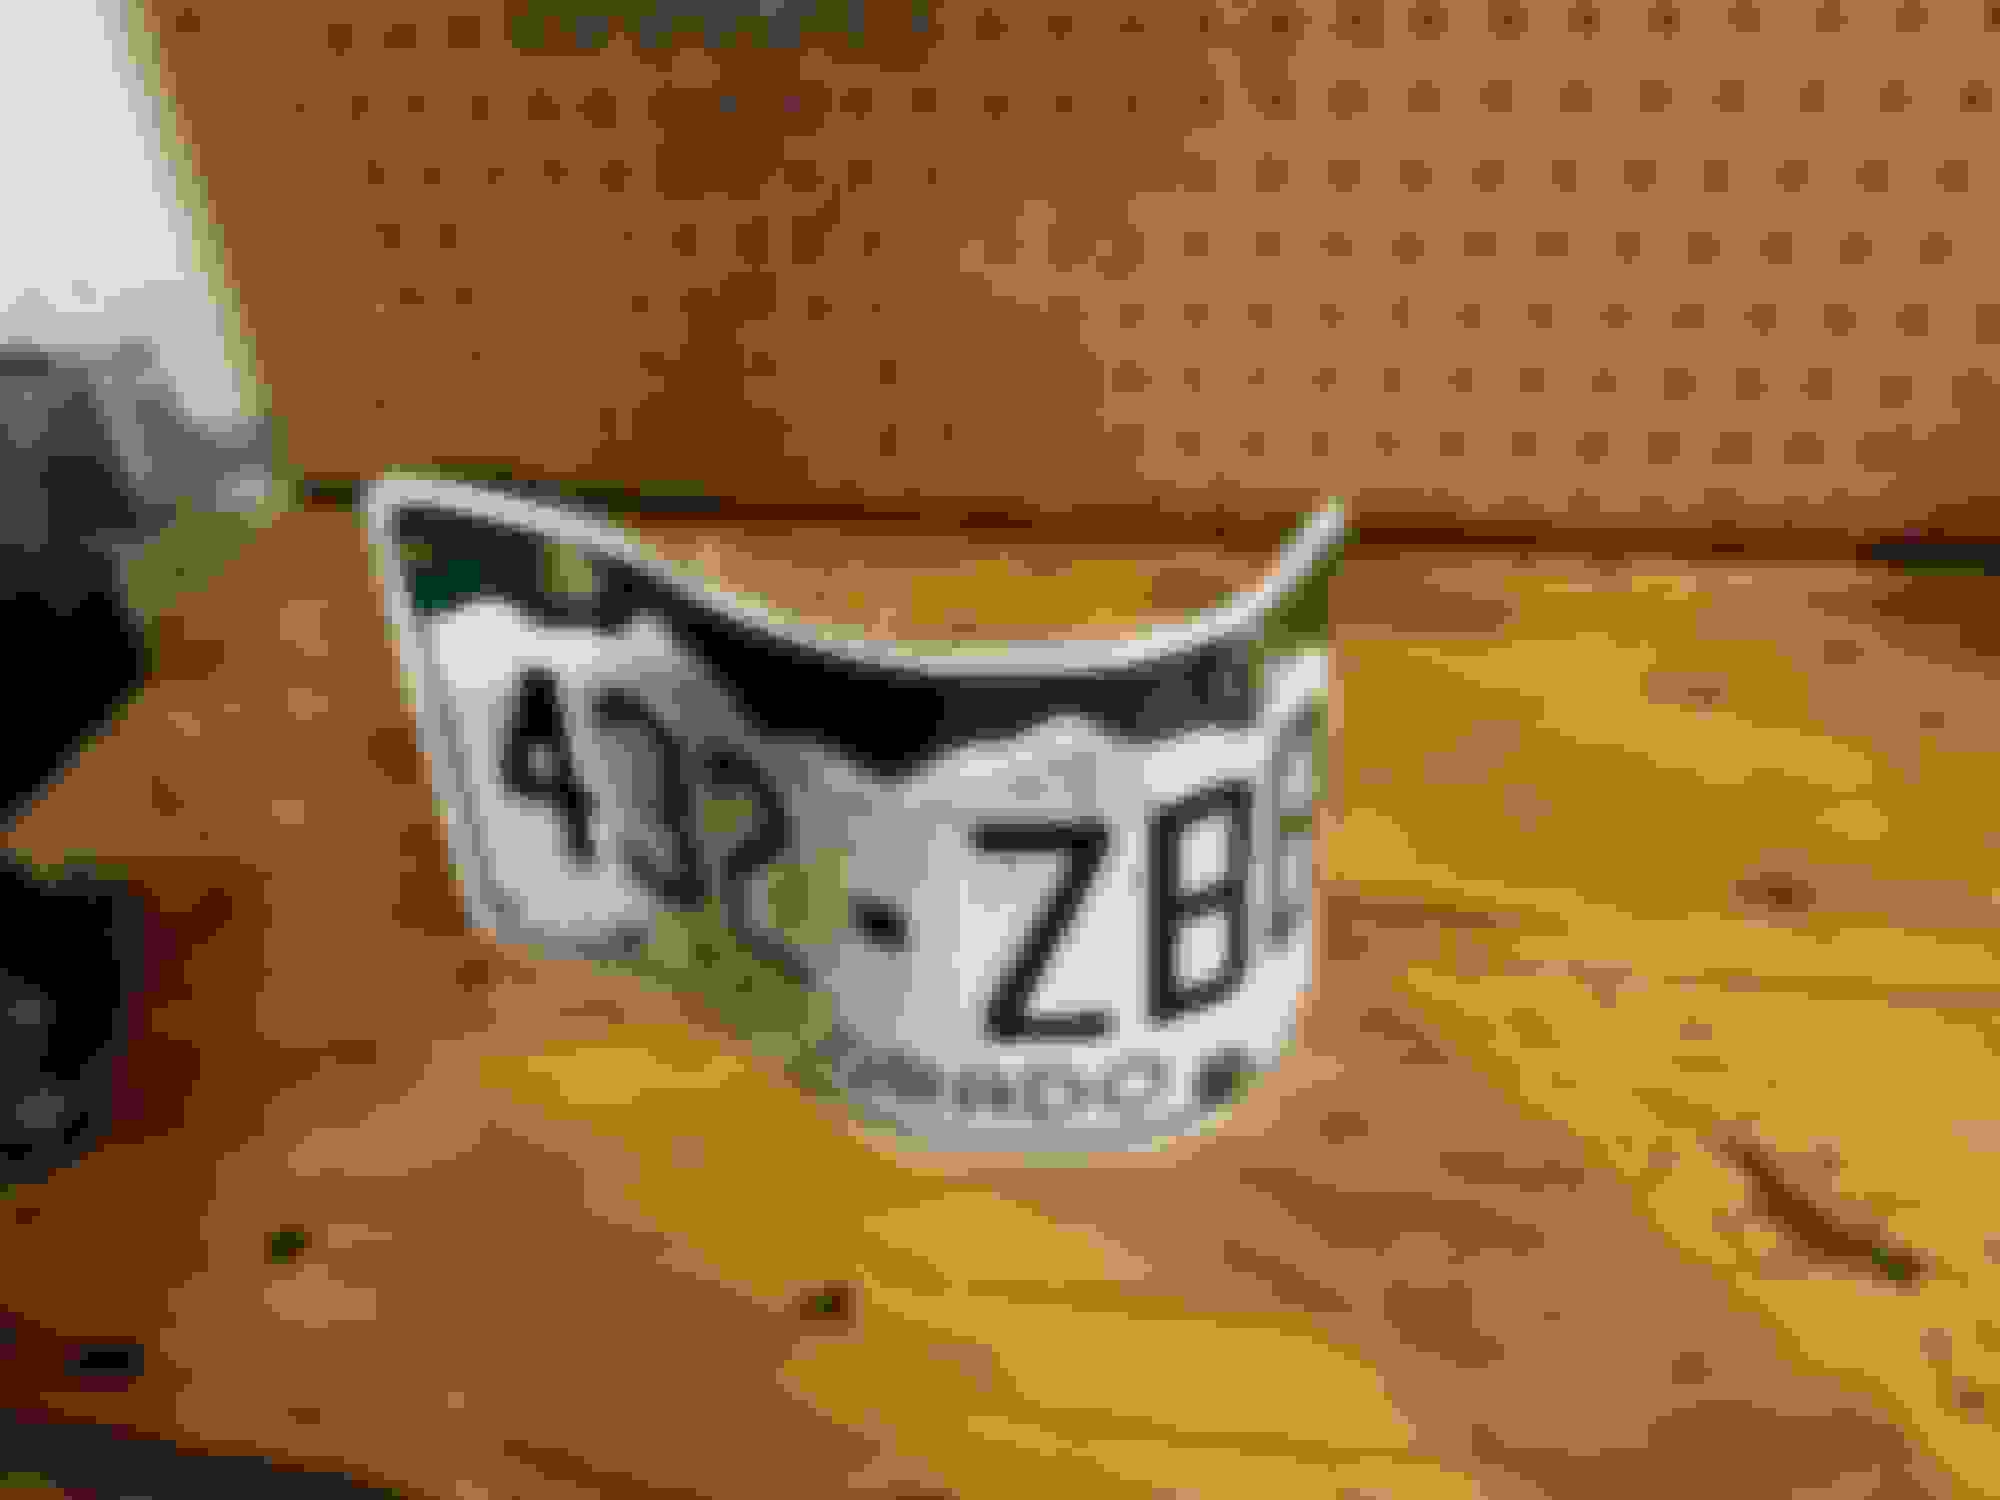
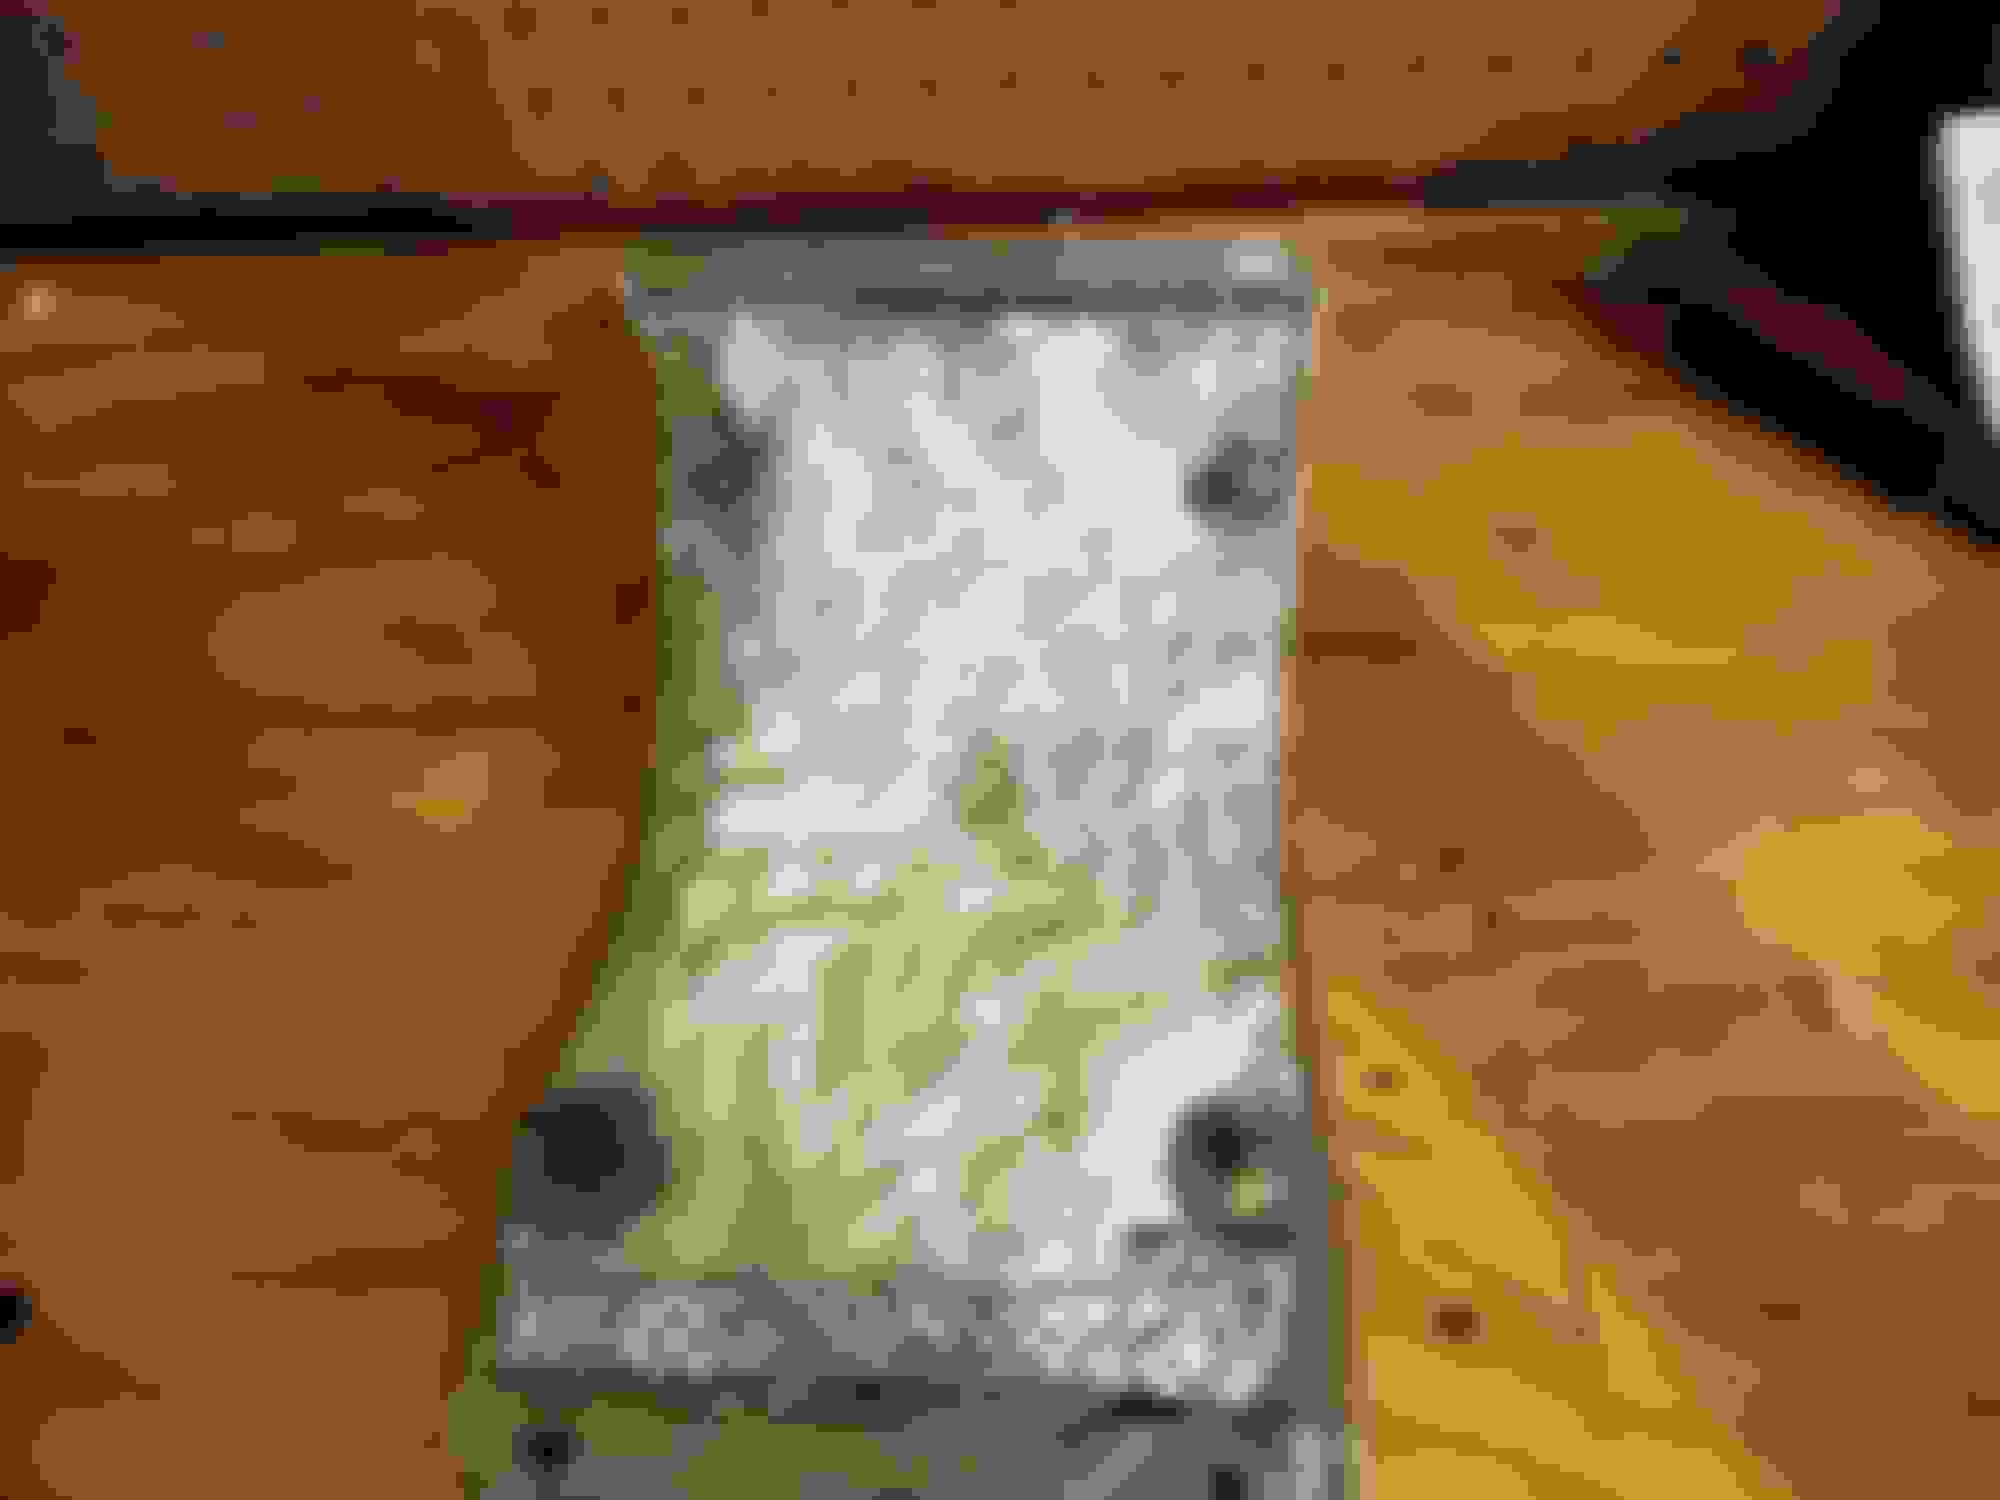
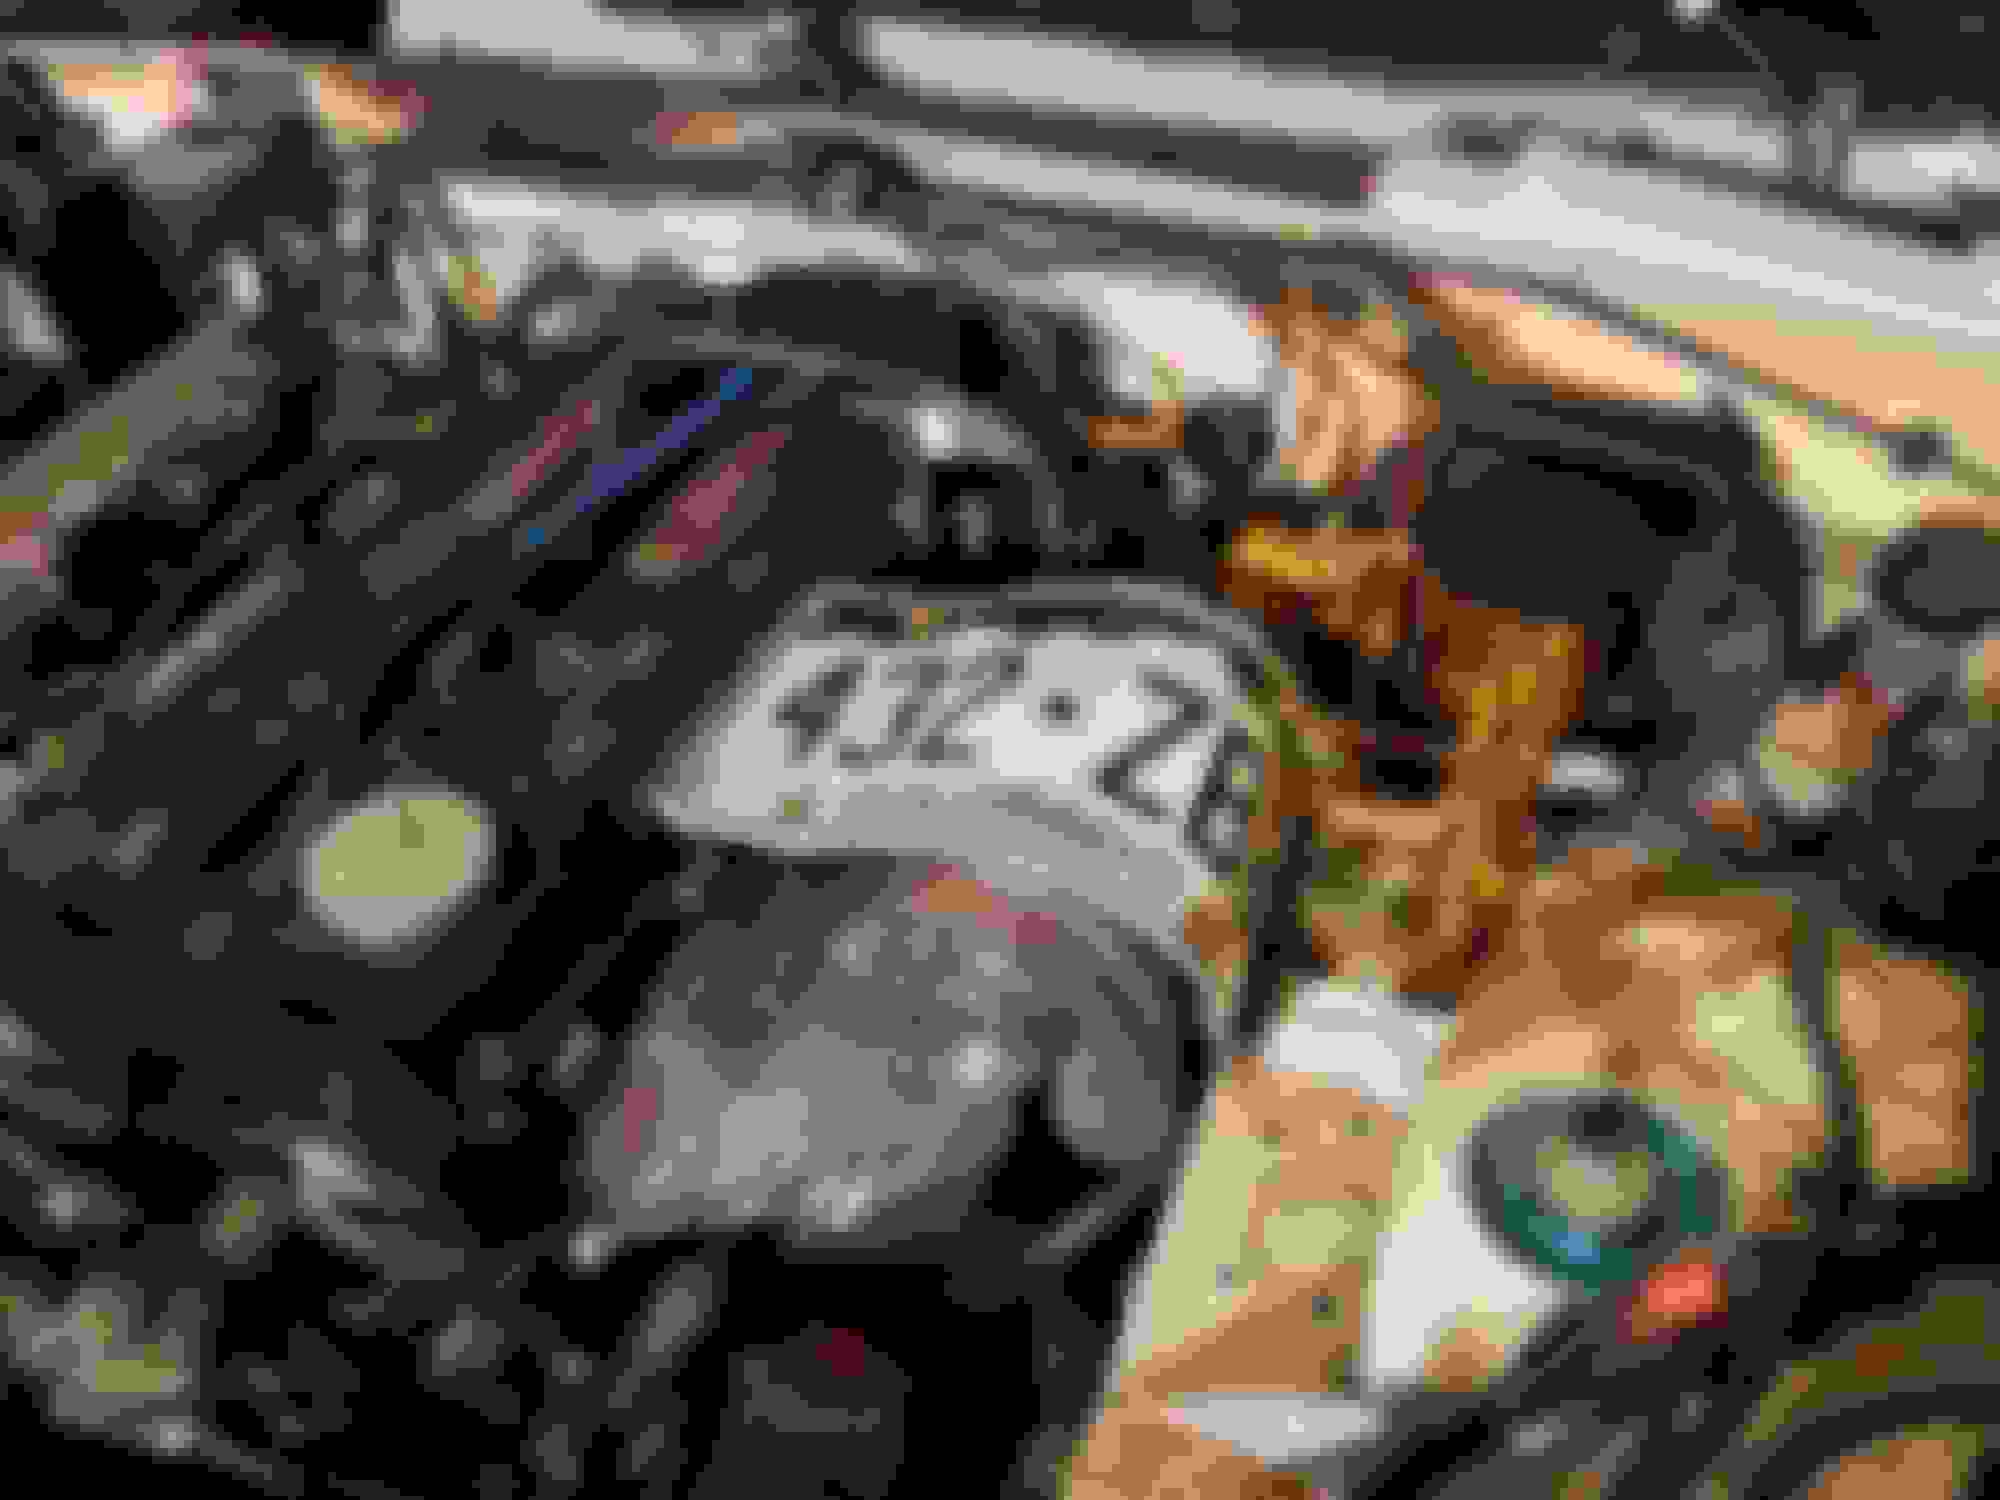
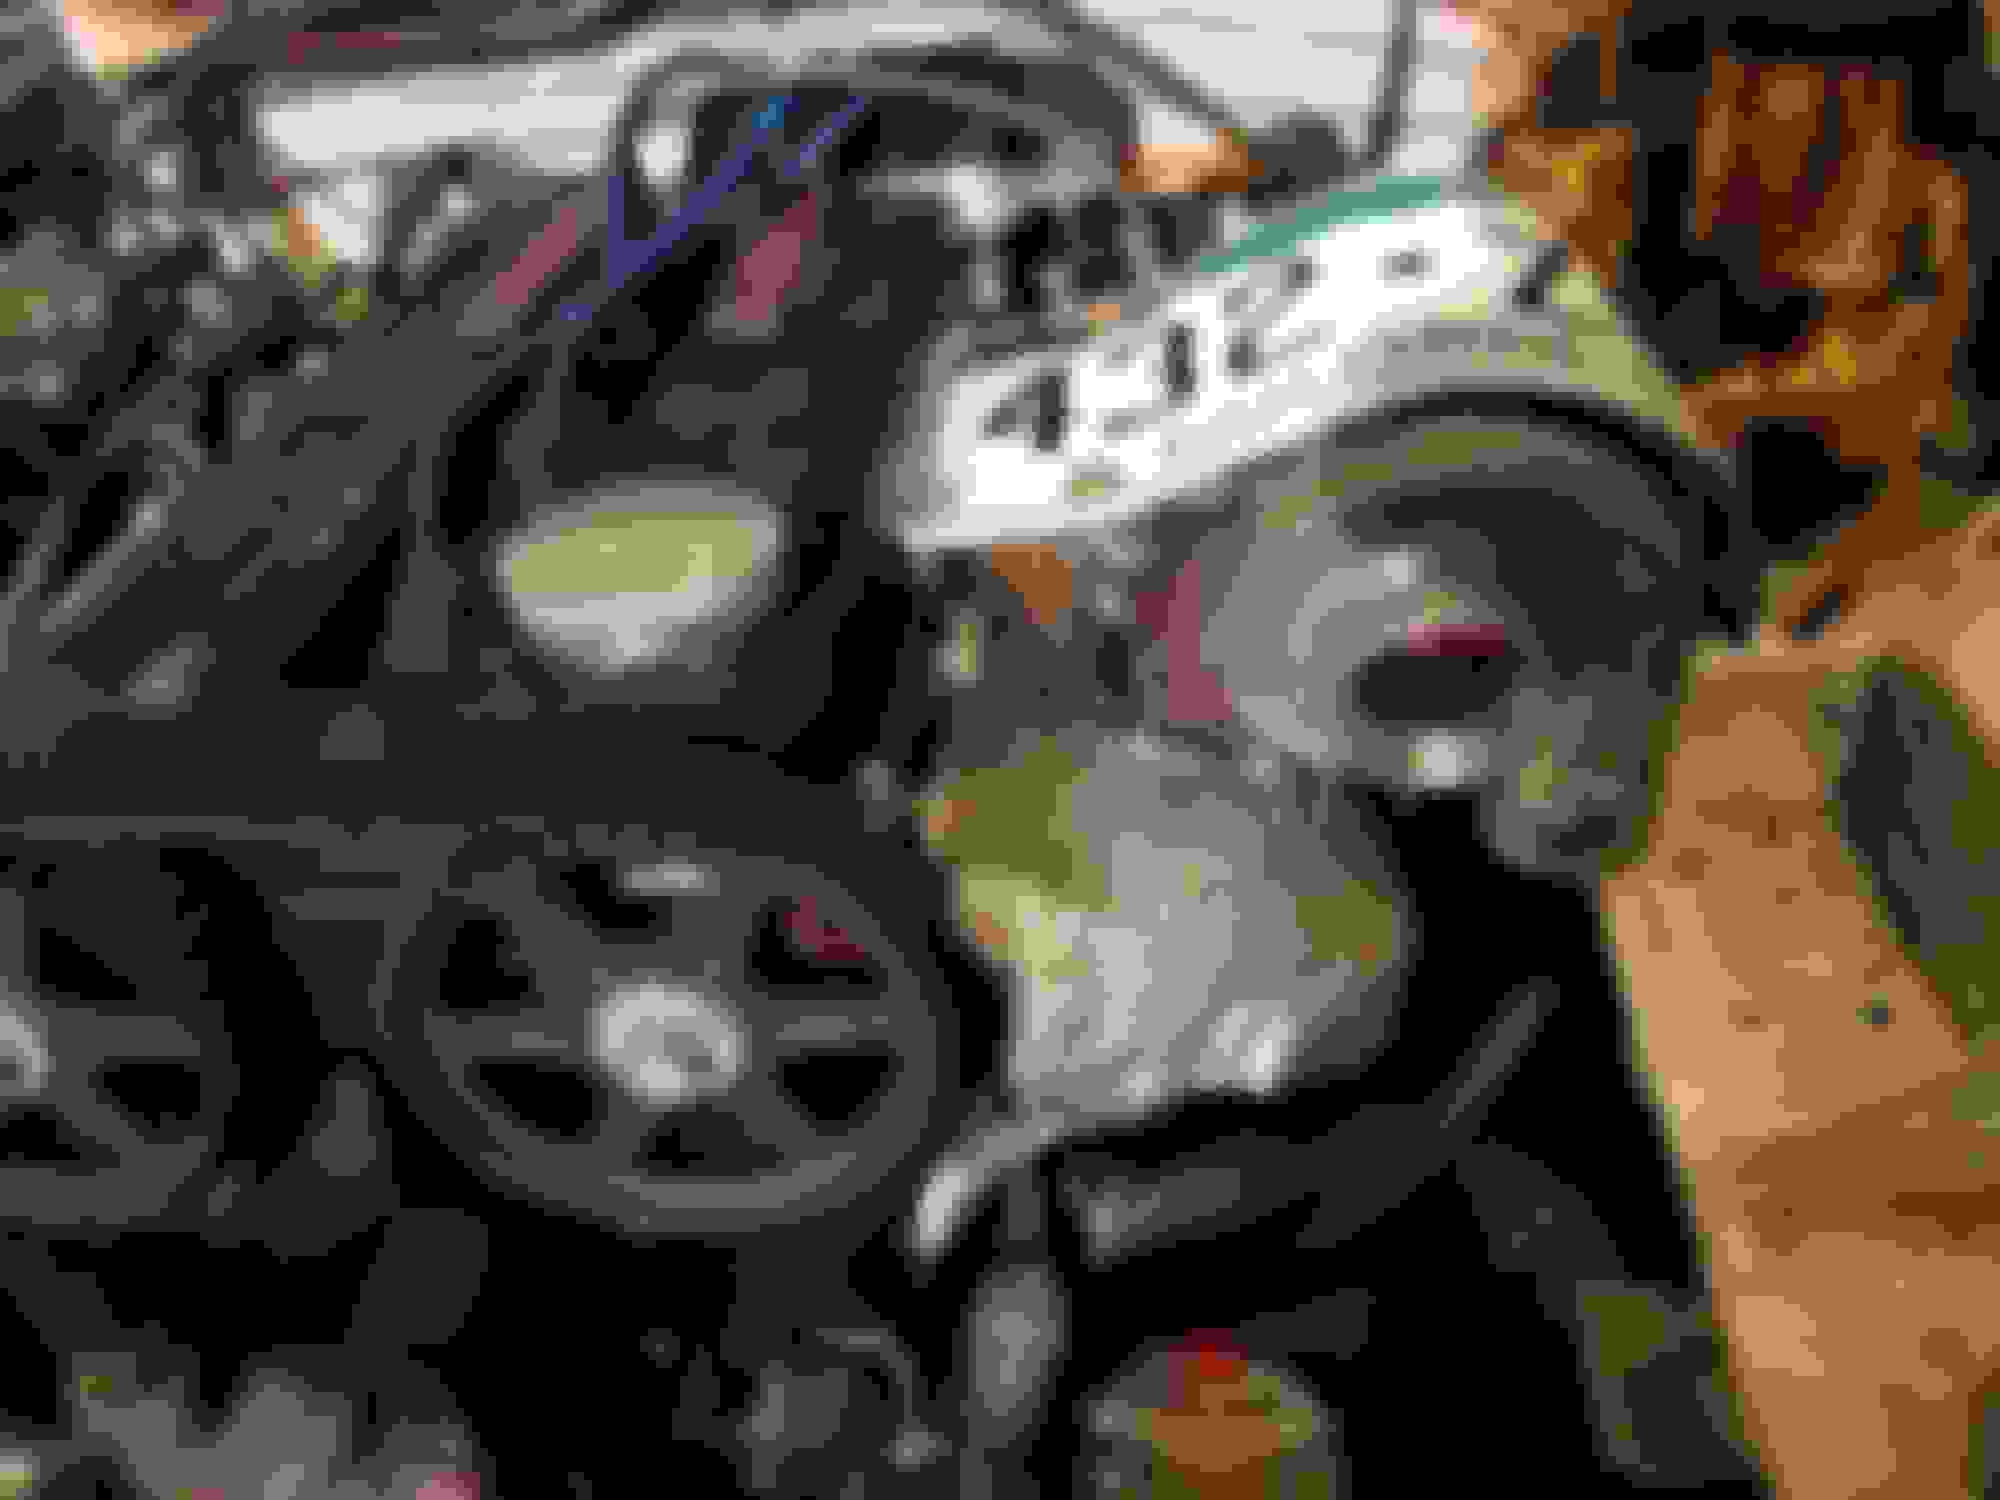
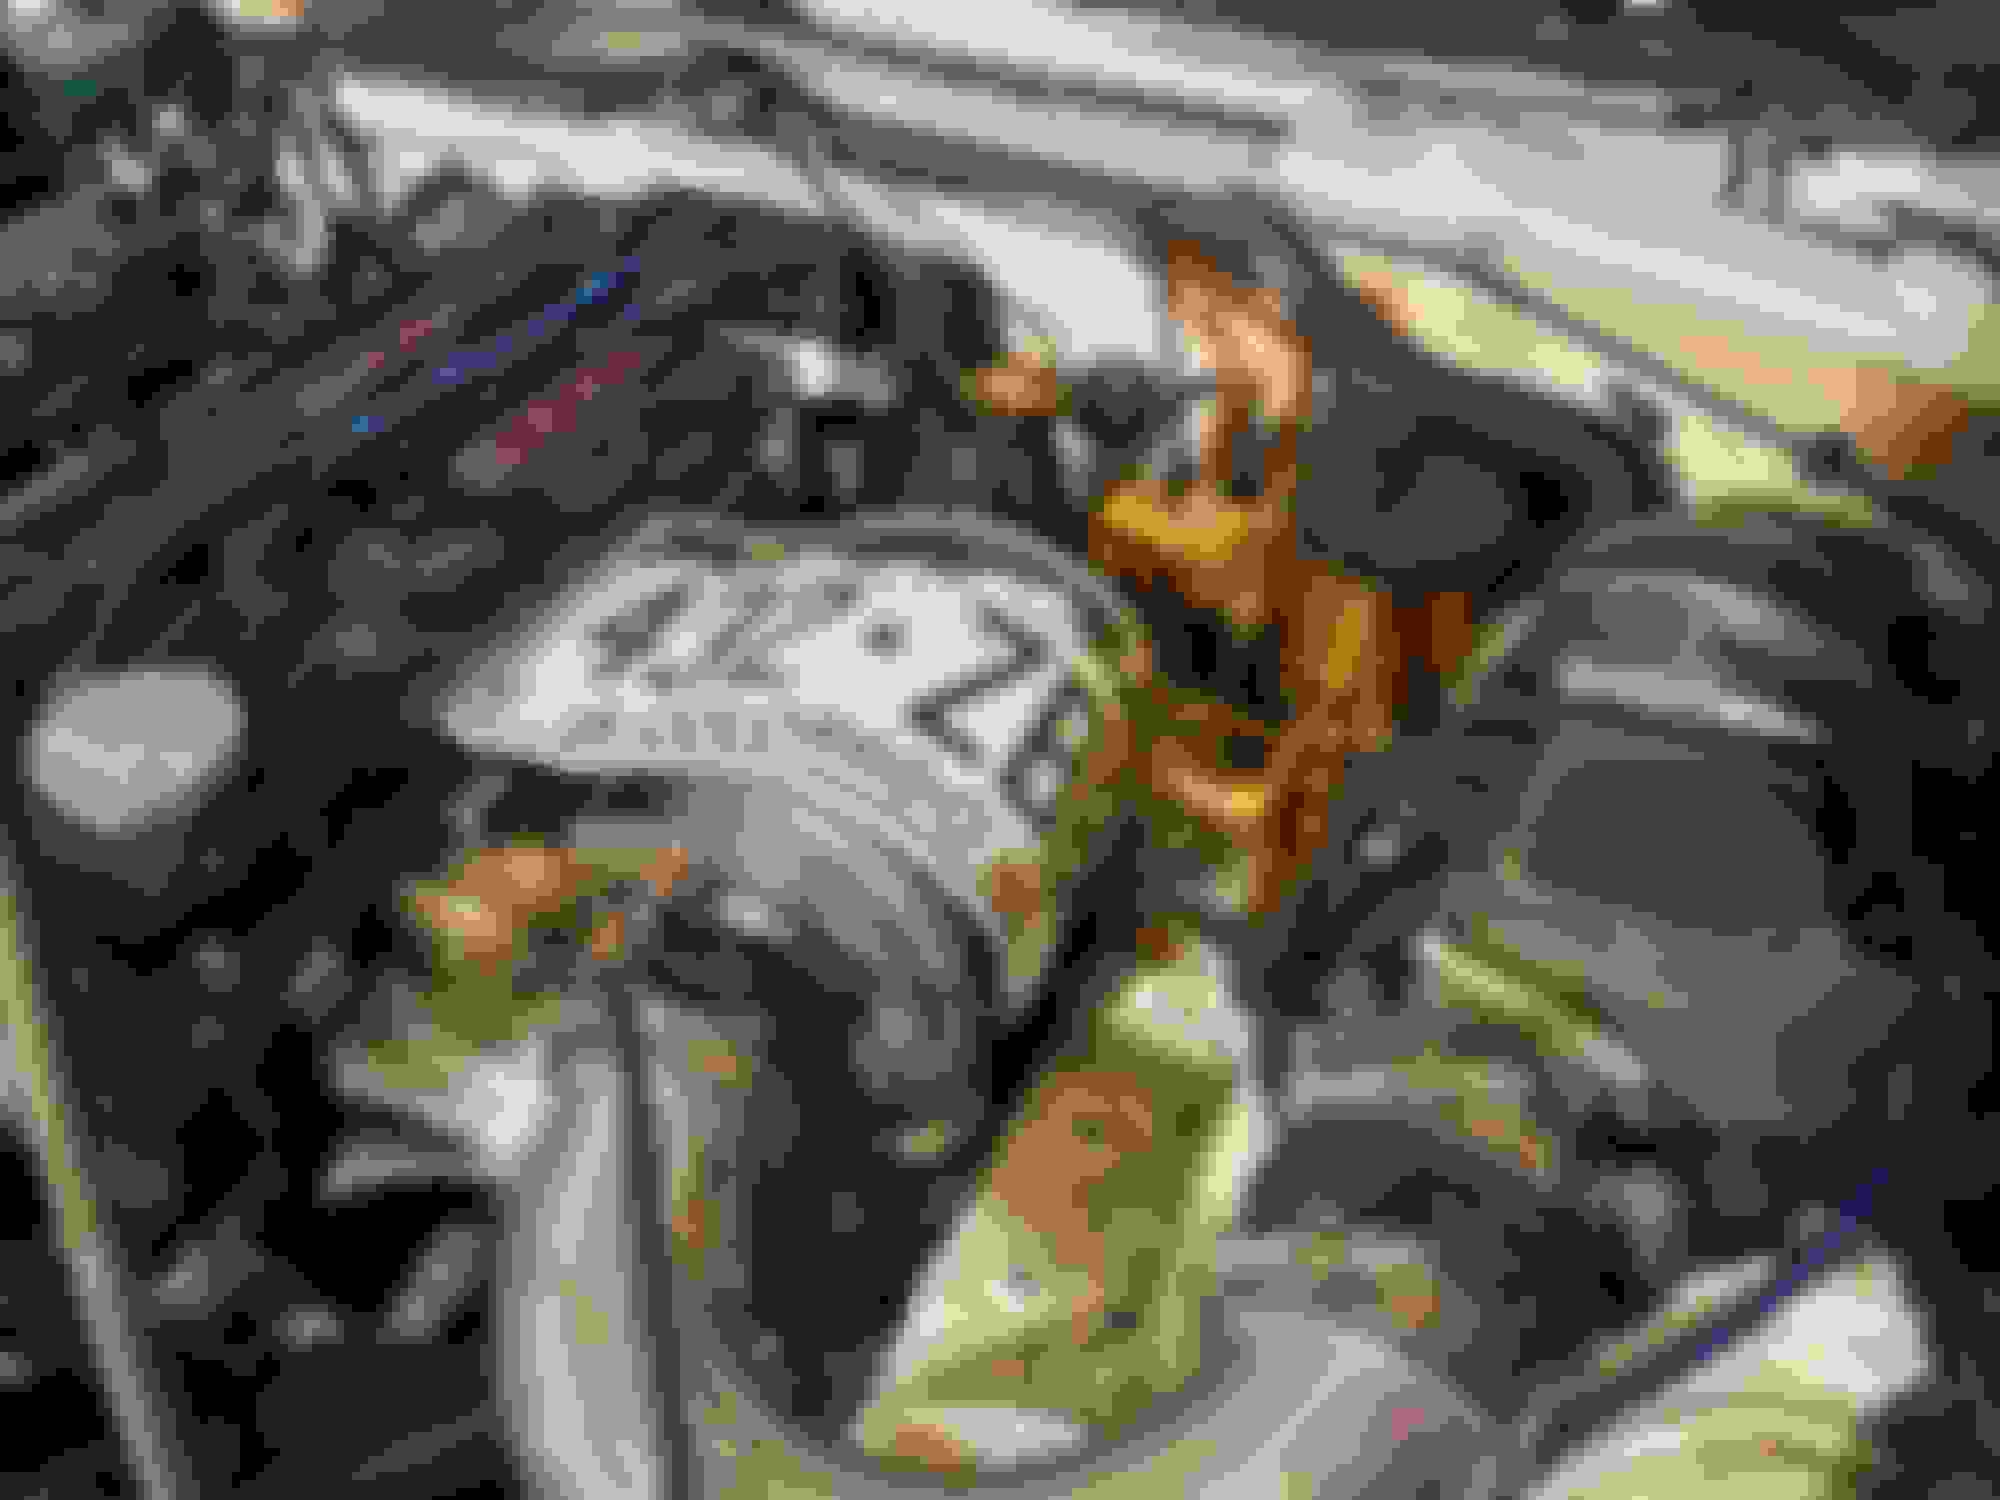
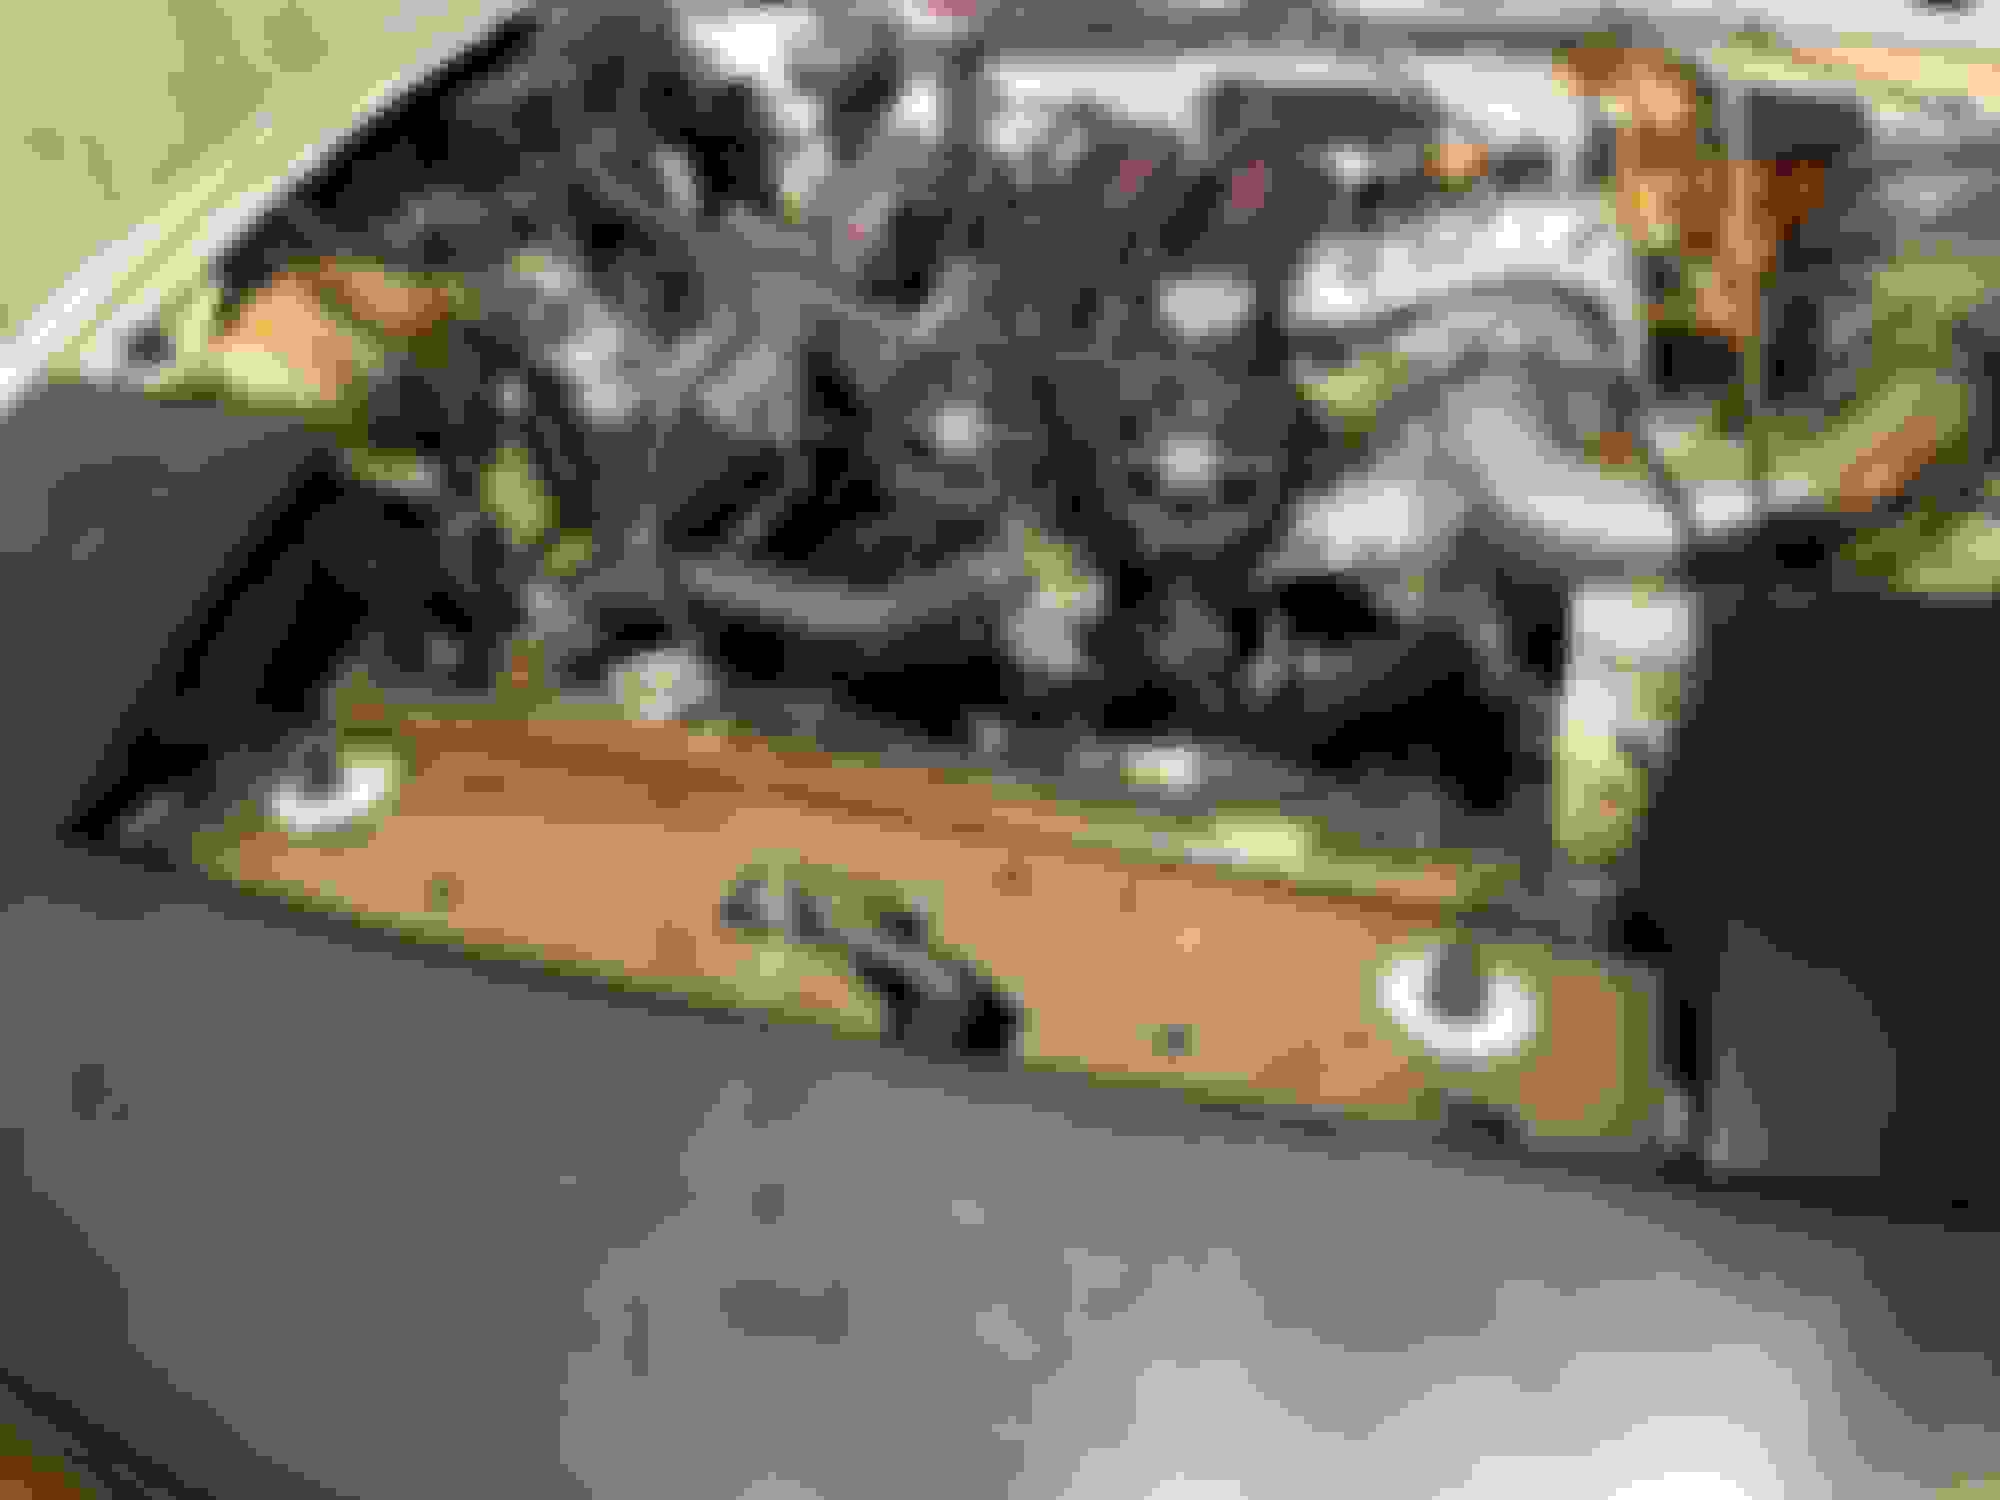
Since heat is part of what caused my issue, heat management was a major goal during the car's downtime. I upgraded the brake system with 949 Racing's Upgrade kit using new rotors, pads, and stainless steel lines. Also made sure to use high quality brake fluid this time. I upgraded the front a rear swaybars on the car to larger diameter ones in preparation for future mods. I used DEI titanium header wrap on my downpipe and their reflect-a-gold tape on the brake master. I also used my old license plate and "Header Armor" to create a turbo "blanket" to keep heat from baking the hood and wrapped the manifold in that same stuff. It was a difficult product to work with and I ended up with a lot of wasted product. It's also a pain to remove and re-install if that's needed. I also noticed my wastegate diaphragm was leaking (I had a boost "leak" somewhere and finally found it) and replaced it with a new mitsubishi unit. Of course the new one is different from the original Greddy piece so I made a new bracket out of some aluminum stock, you can see it in the last picture.
In the 2nd to last picture you will also notice I've added A/C back onto the car. I'm going hardtop-only so my comfort was a real concern on hot autocross days sitting in the grid in Arkansas.
Big thanks to Abe at ARTech Fabrication for the downpipe. It's a beautiful piece and fits a 3" pipe in a tight spot. (Almost sad I covered it up with header wrap)
I needed to make a single post about something: bolts. I want to re-iterate that Mazda made the pulley bolts too weak, here's my pictures to prove it:
The bolts that hold the pulley on are Grade 2 hardware. You can break them in half under normal torque specs if they're old. That's what happened here. It's also apparent that the previous owner had confused the bolts from something else on the car. The upgrade was simple enough and gives me serious peace of mind.
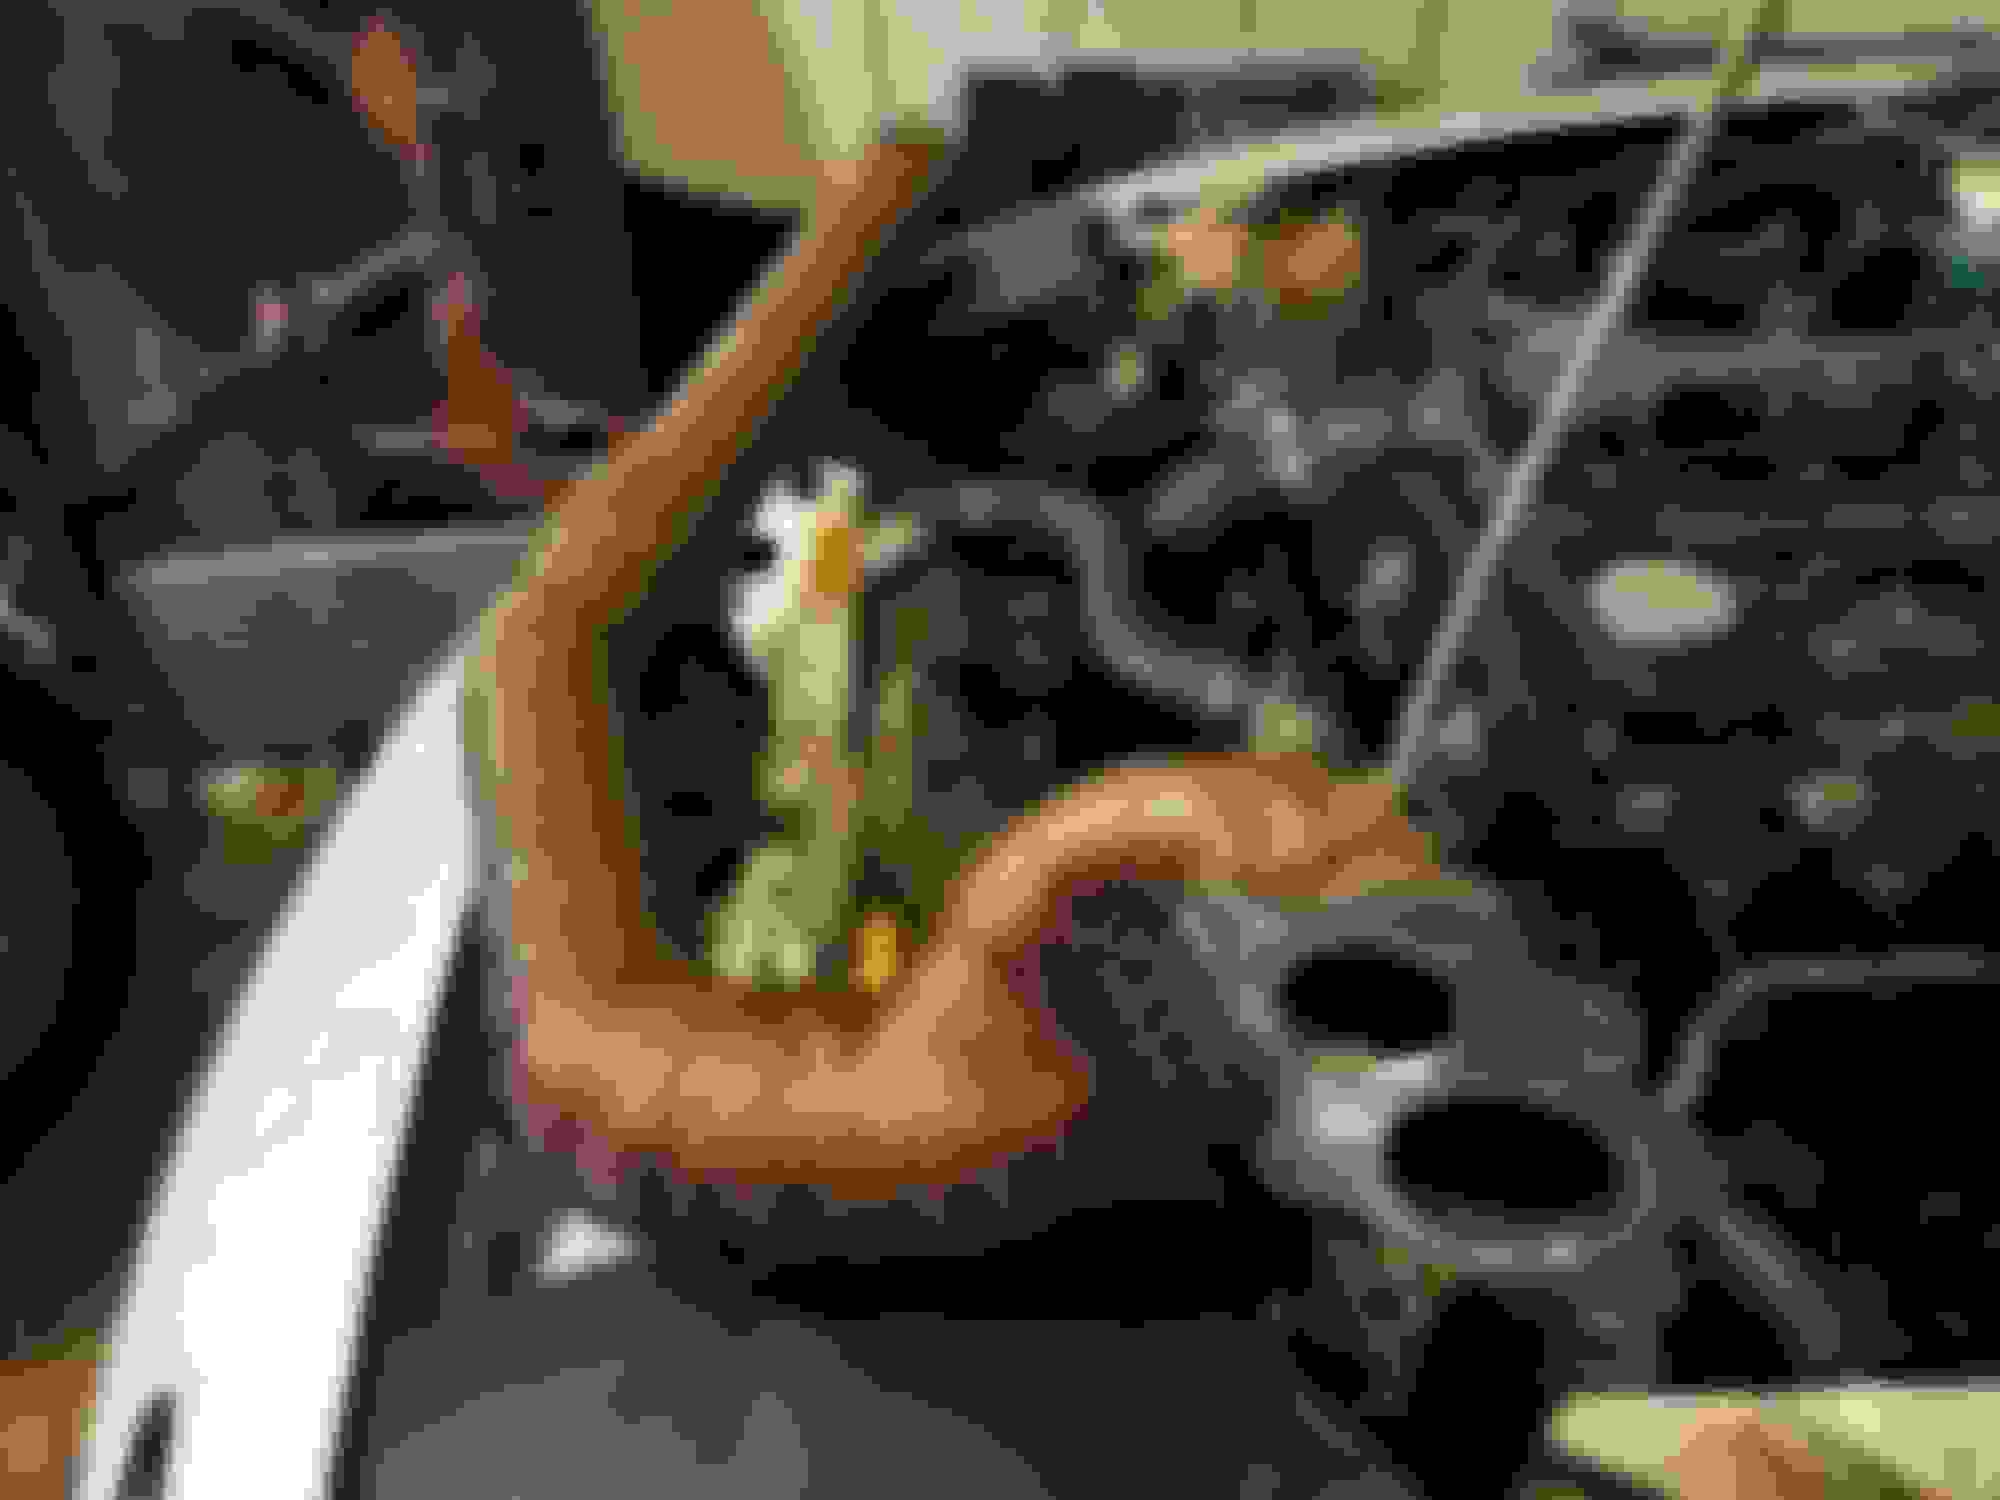
Another set of bolts I had an issue with (that's more commonly an issue for others) is the turbo manifold bolts. I bit the bullet and bought the $80 kit from FlyinMiata to never have these be an issue again. They were FAR easier to install that I expected. the first picture is what happened when my last manifold bolts came loose after a day at the track. That gasket isn't supposed to look like that...
Installed a new vibrant intercooler (has yet to be piped) and worked on some cosmetic things:
RB2 front bumper. I needed to fill in the brand name "impression" on the right side since I'm planning on vinyling the car.
It got the 3M treatment. I built this up using layers of fiberglass kittyhair, then once it was close it got a few layers of bondo and lots of sanding between each.
Quick shot of primer afterwards. Vinyl will follow eventually. Still need to do some finish work on the part so it'll accept all the turn signals properly, mount up sturdy, etc.
I also got a new phone (takes better pictures, can't you tell?) Here's a shot of the center console area again. You can better appreciate the quality of the radio surround/blanking plate. Also the JBR shift ****, the Redline shift boot and E-brake boot. Also bought the Jass Motorsports window switches in the hopes that my slow windows would speed up (since I already bought the nylon window guides)...plus these switches look good!
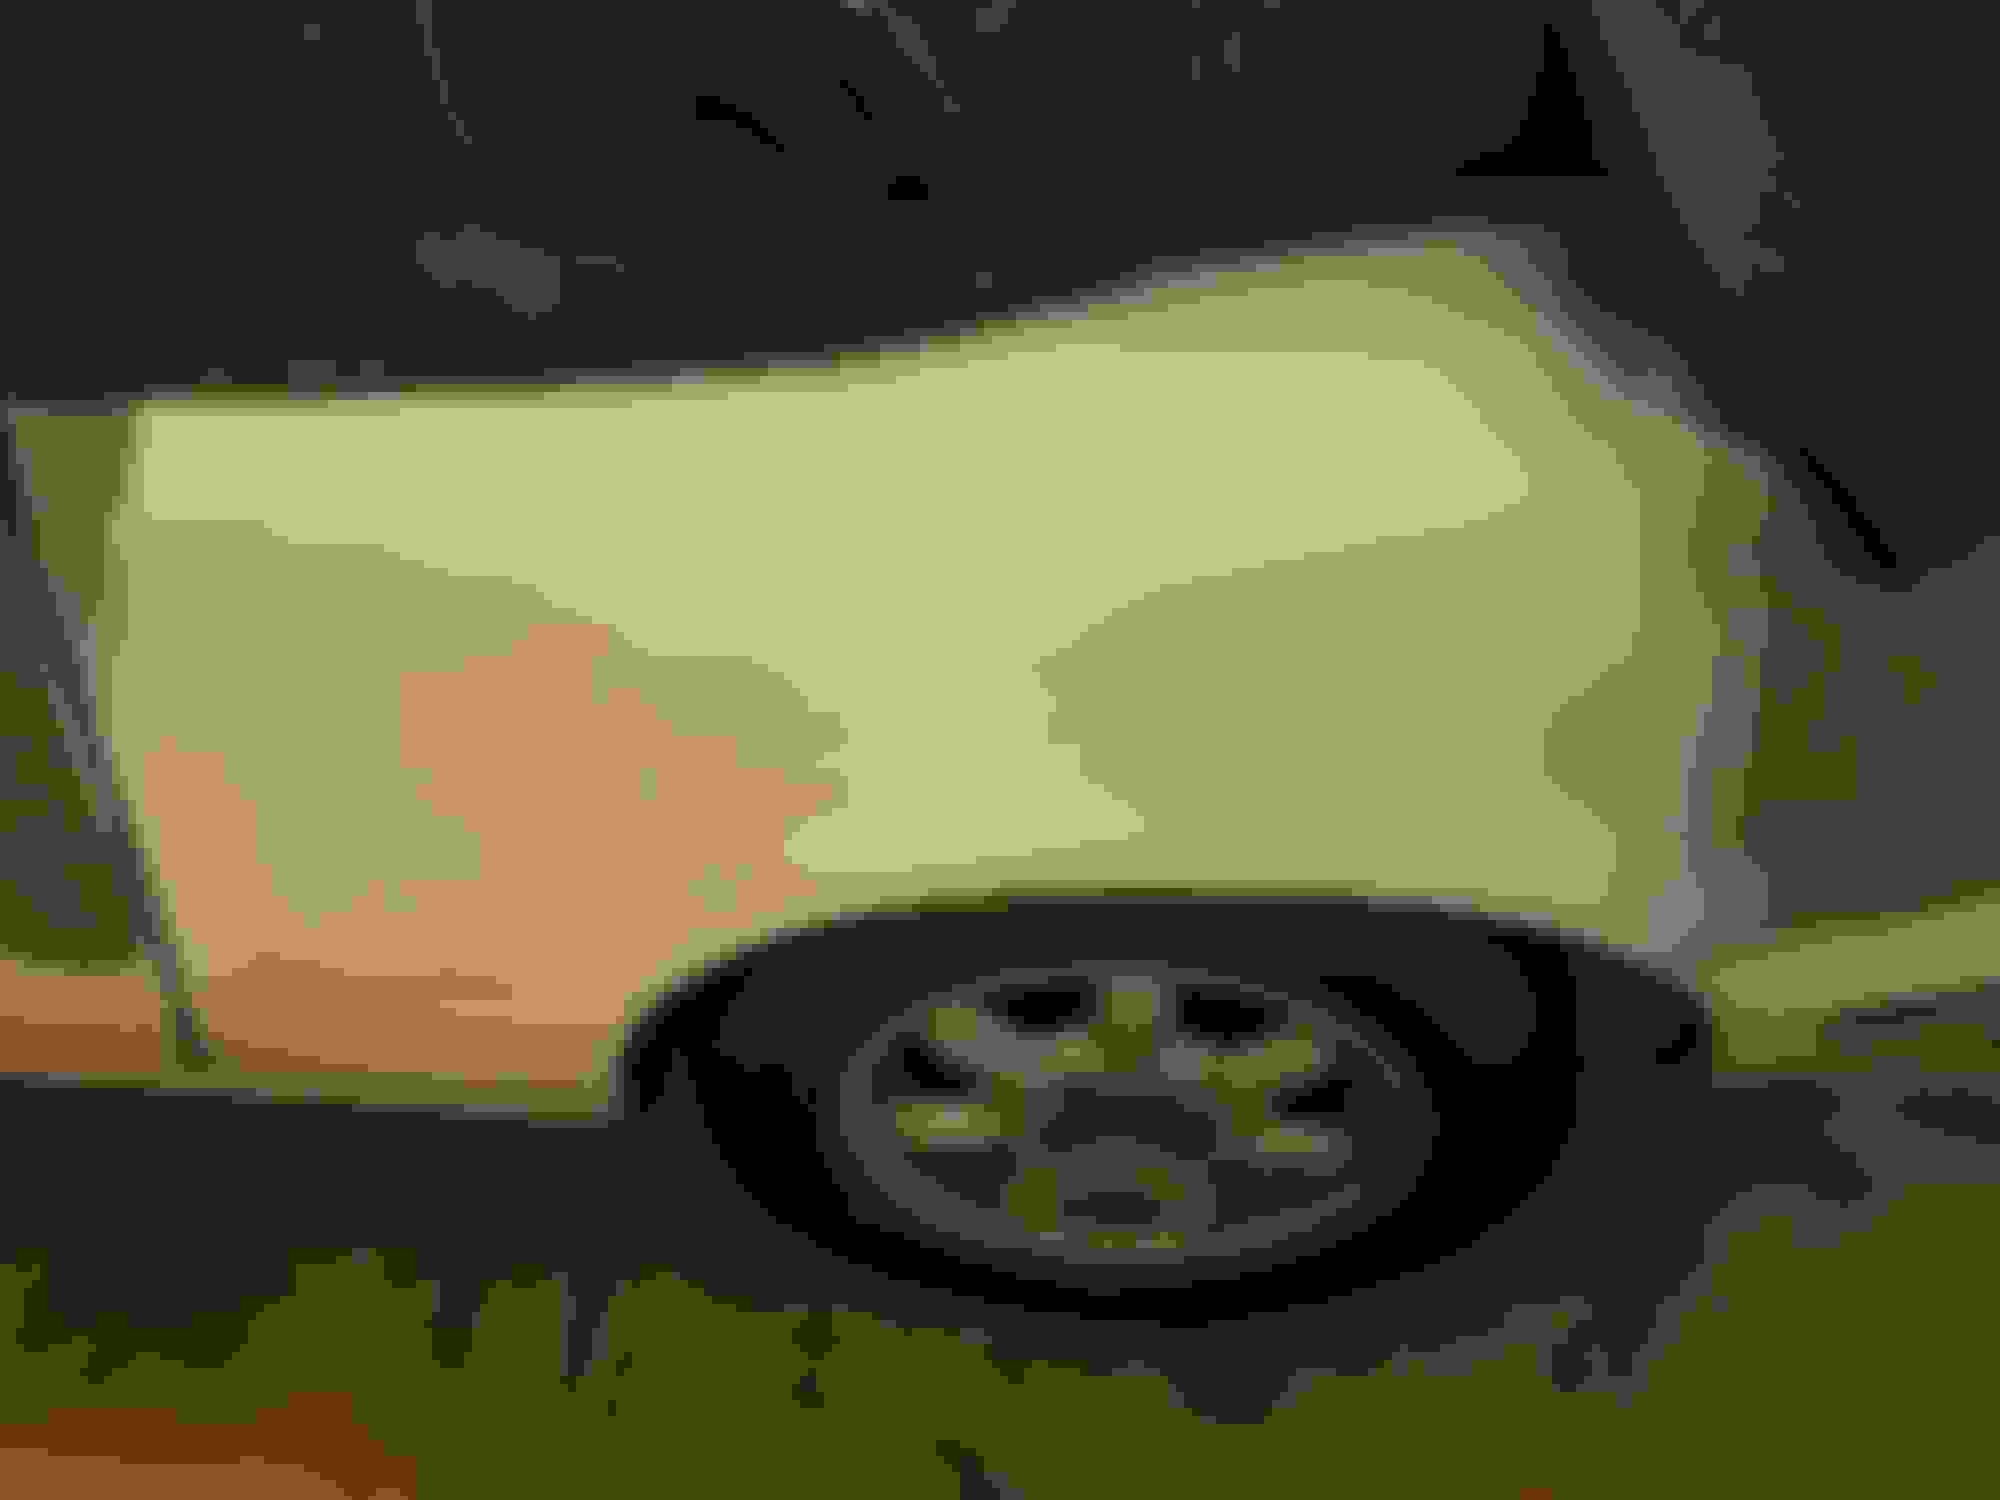
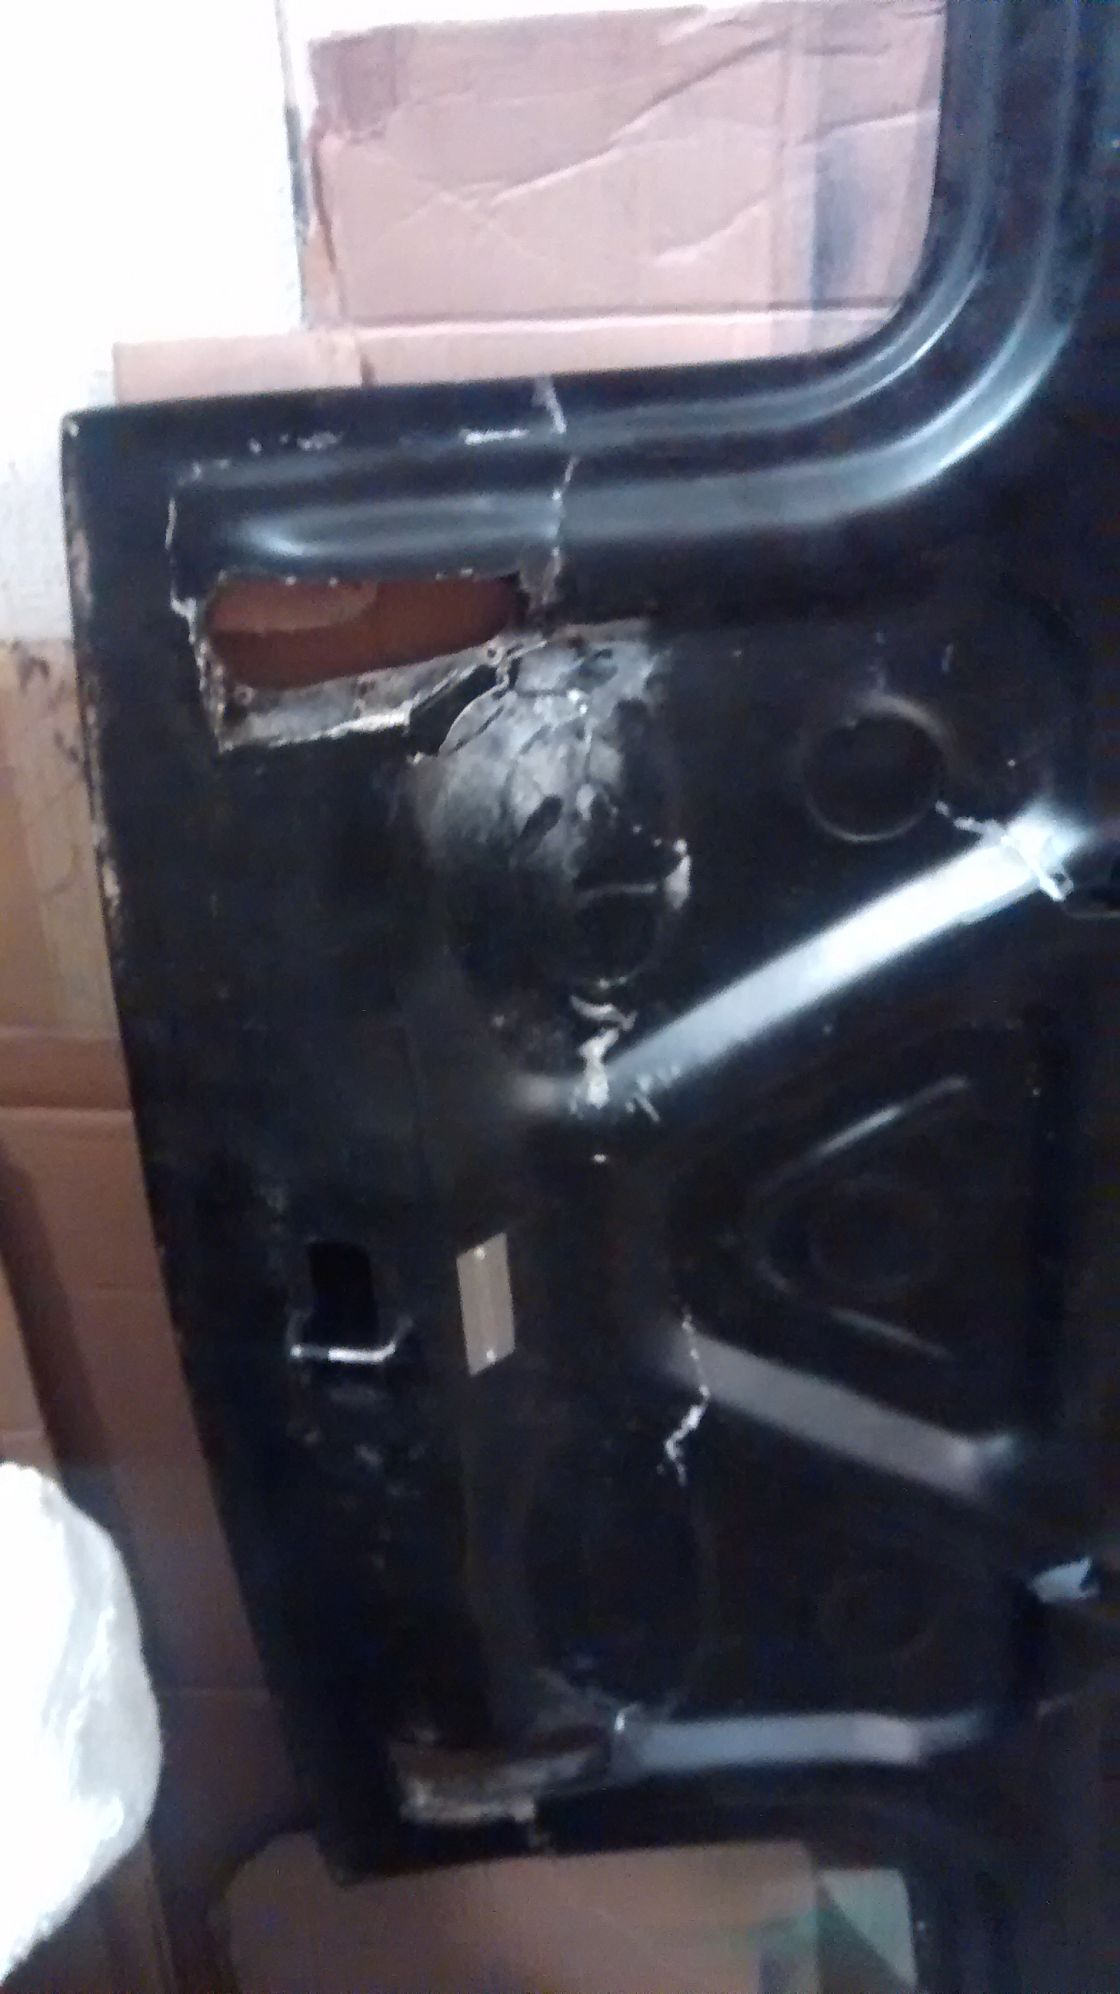
I had a dent in the driver rear quarter panel. I'm pretty sure this area will eventually be covered up by a fender flare/ cut out, but I wanted to get more experience doing body filler/work so I tried my hand at it. Was a good learning experience for sure. I learned I don't have the right tools for sanding.
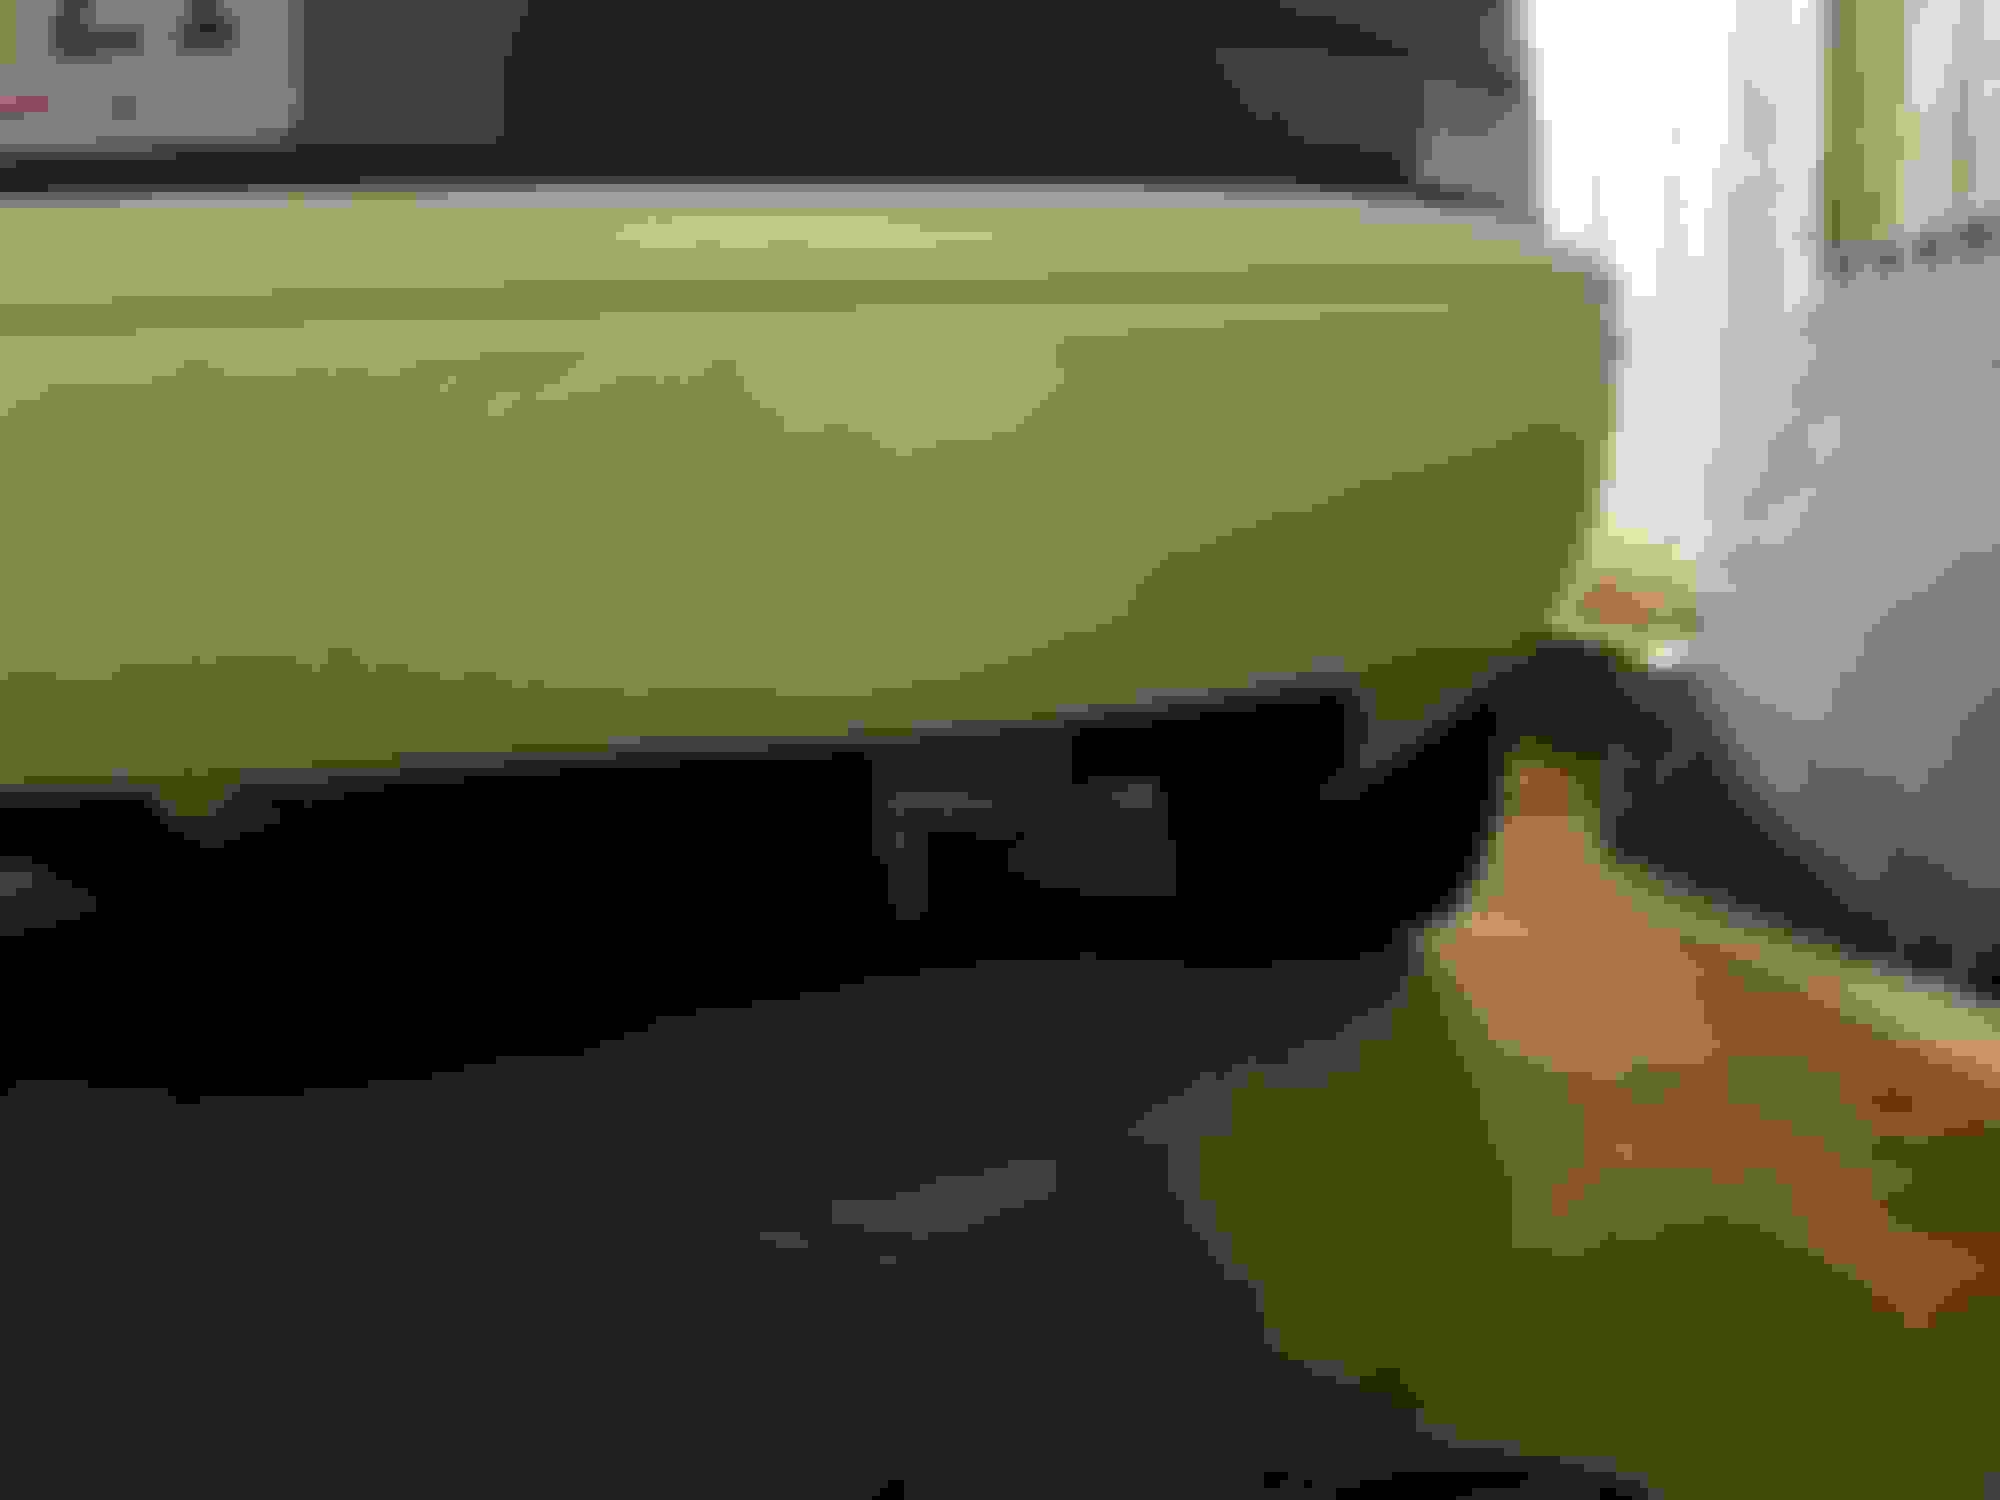
Sorry for the bad lighting here. It isn't perfect, but WAY better than what it was and definitely good enough to vinyl over.
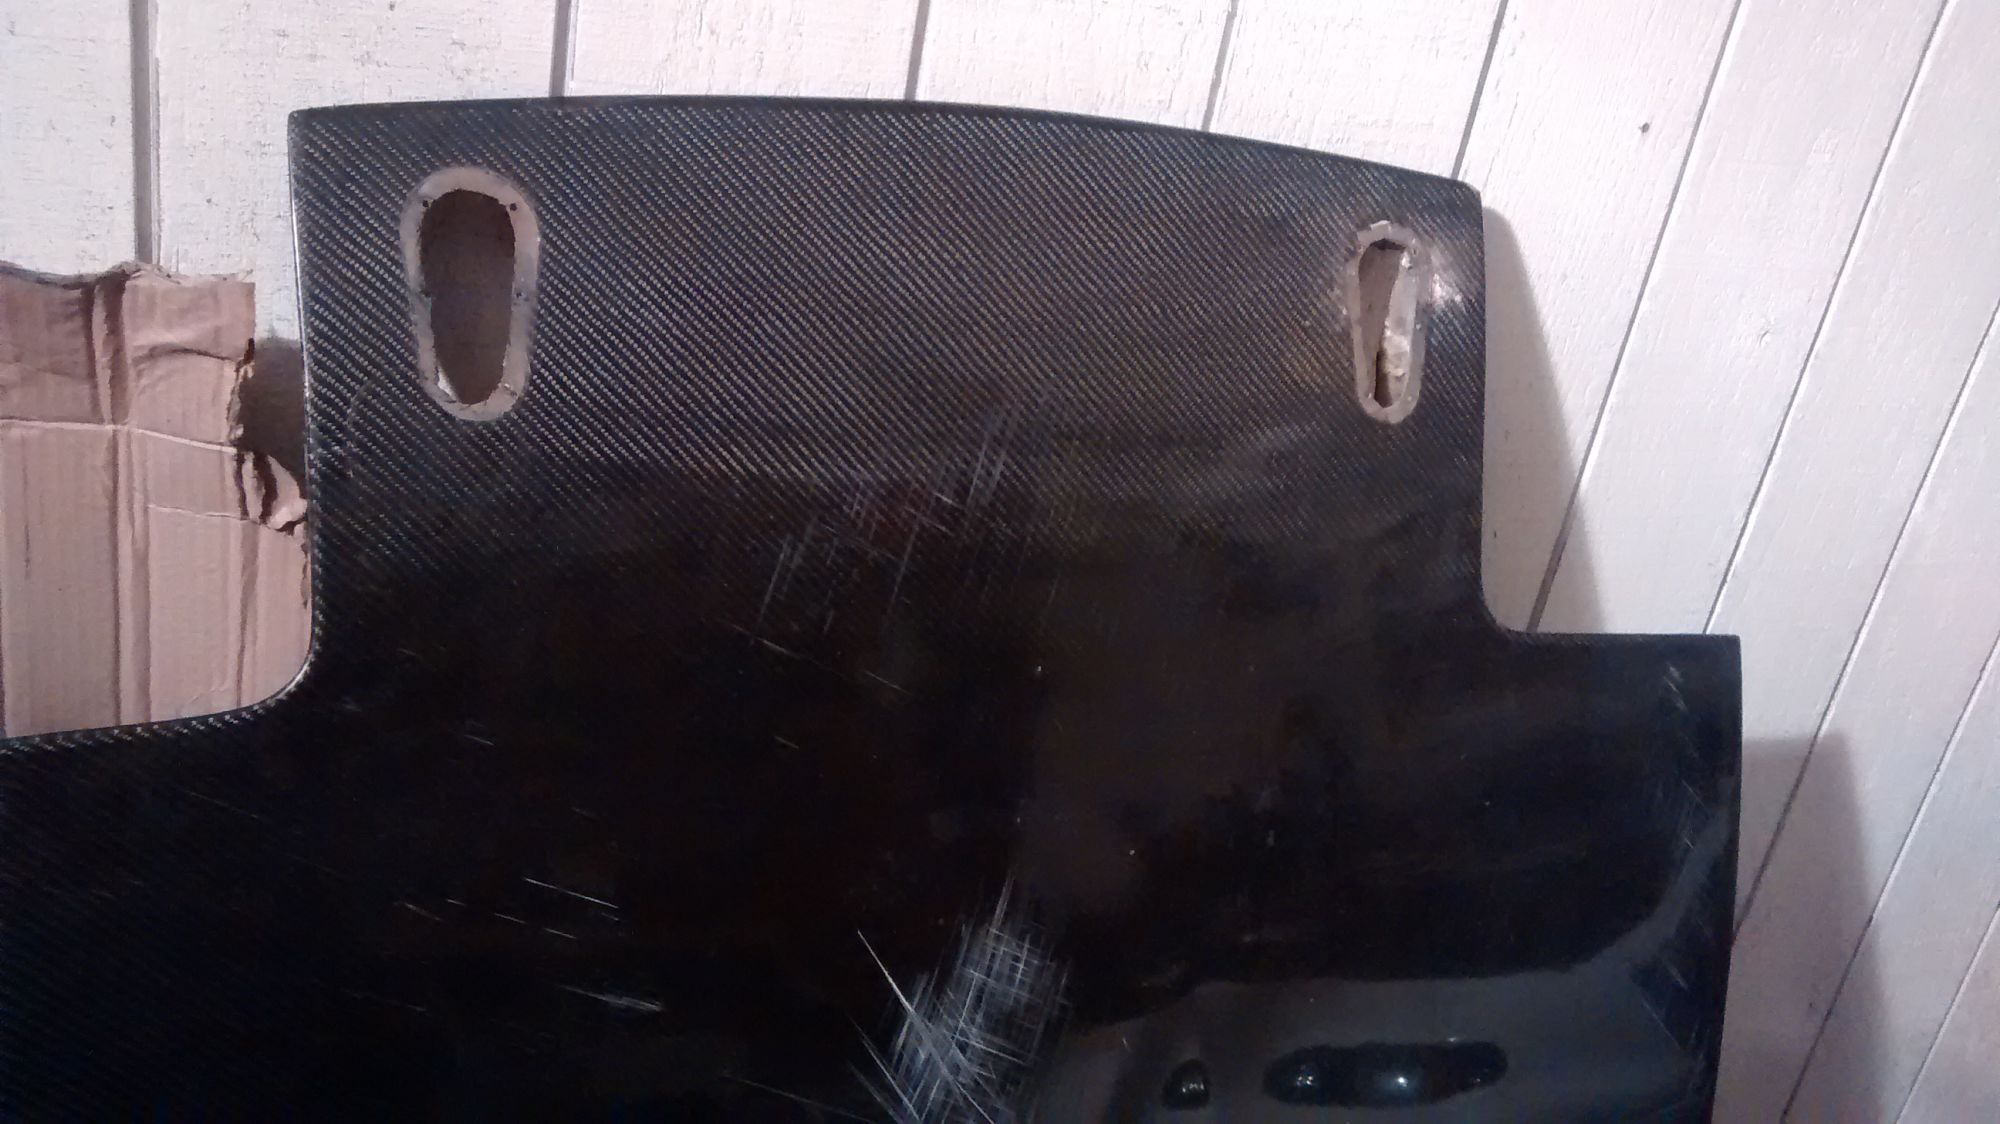
After a LOT of sanding and two layers of fiberglass.
This part was reinforced on BOTH sides of the crack. The plastic had completely torn here from the accident.
If you look back at the pictures of my accident you'll see the BEFORE of this corner of the car. It had deep gouges and a large crack. I'm very pleased with how this turned out considering how bad it was when I started.
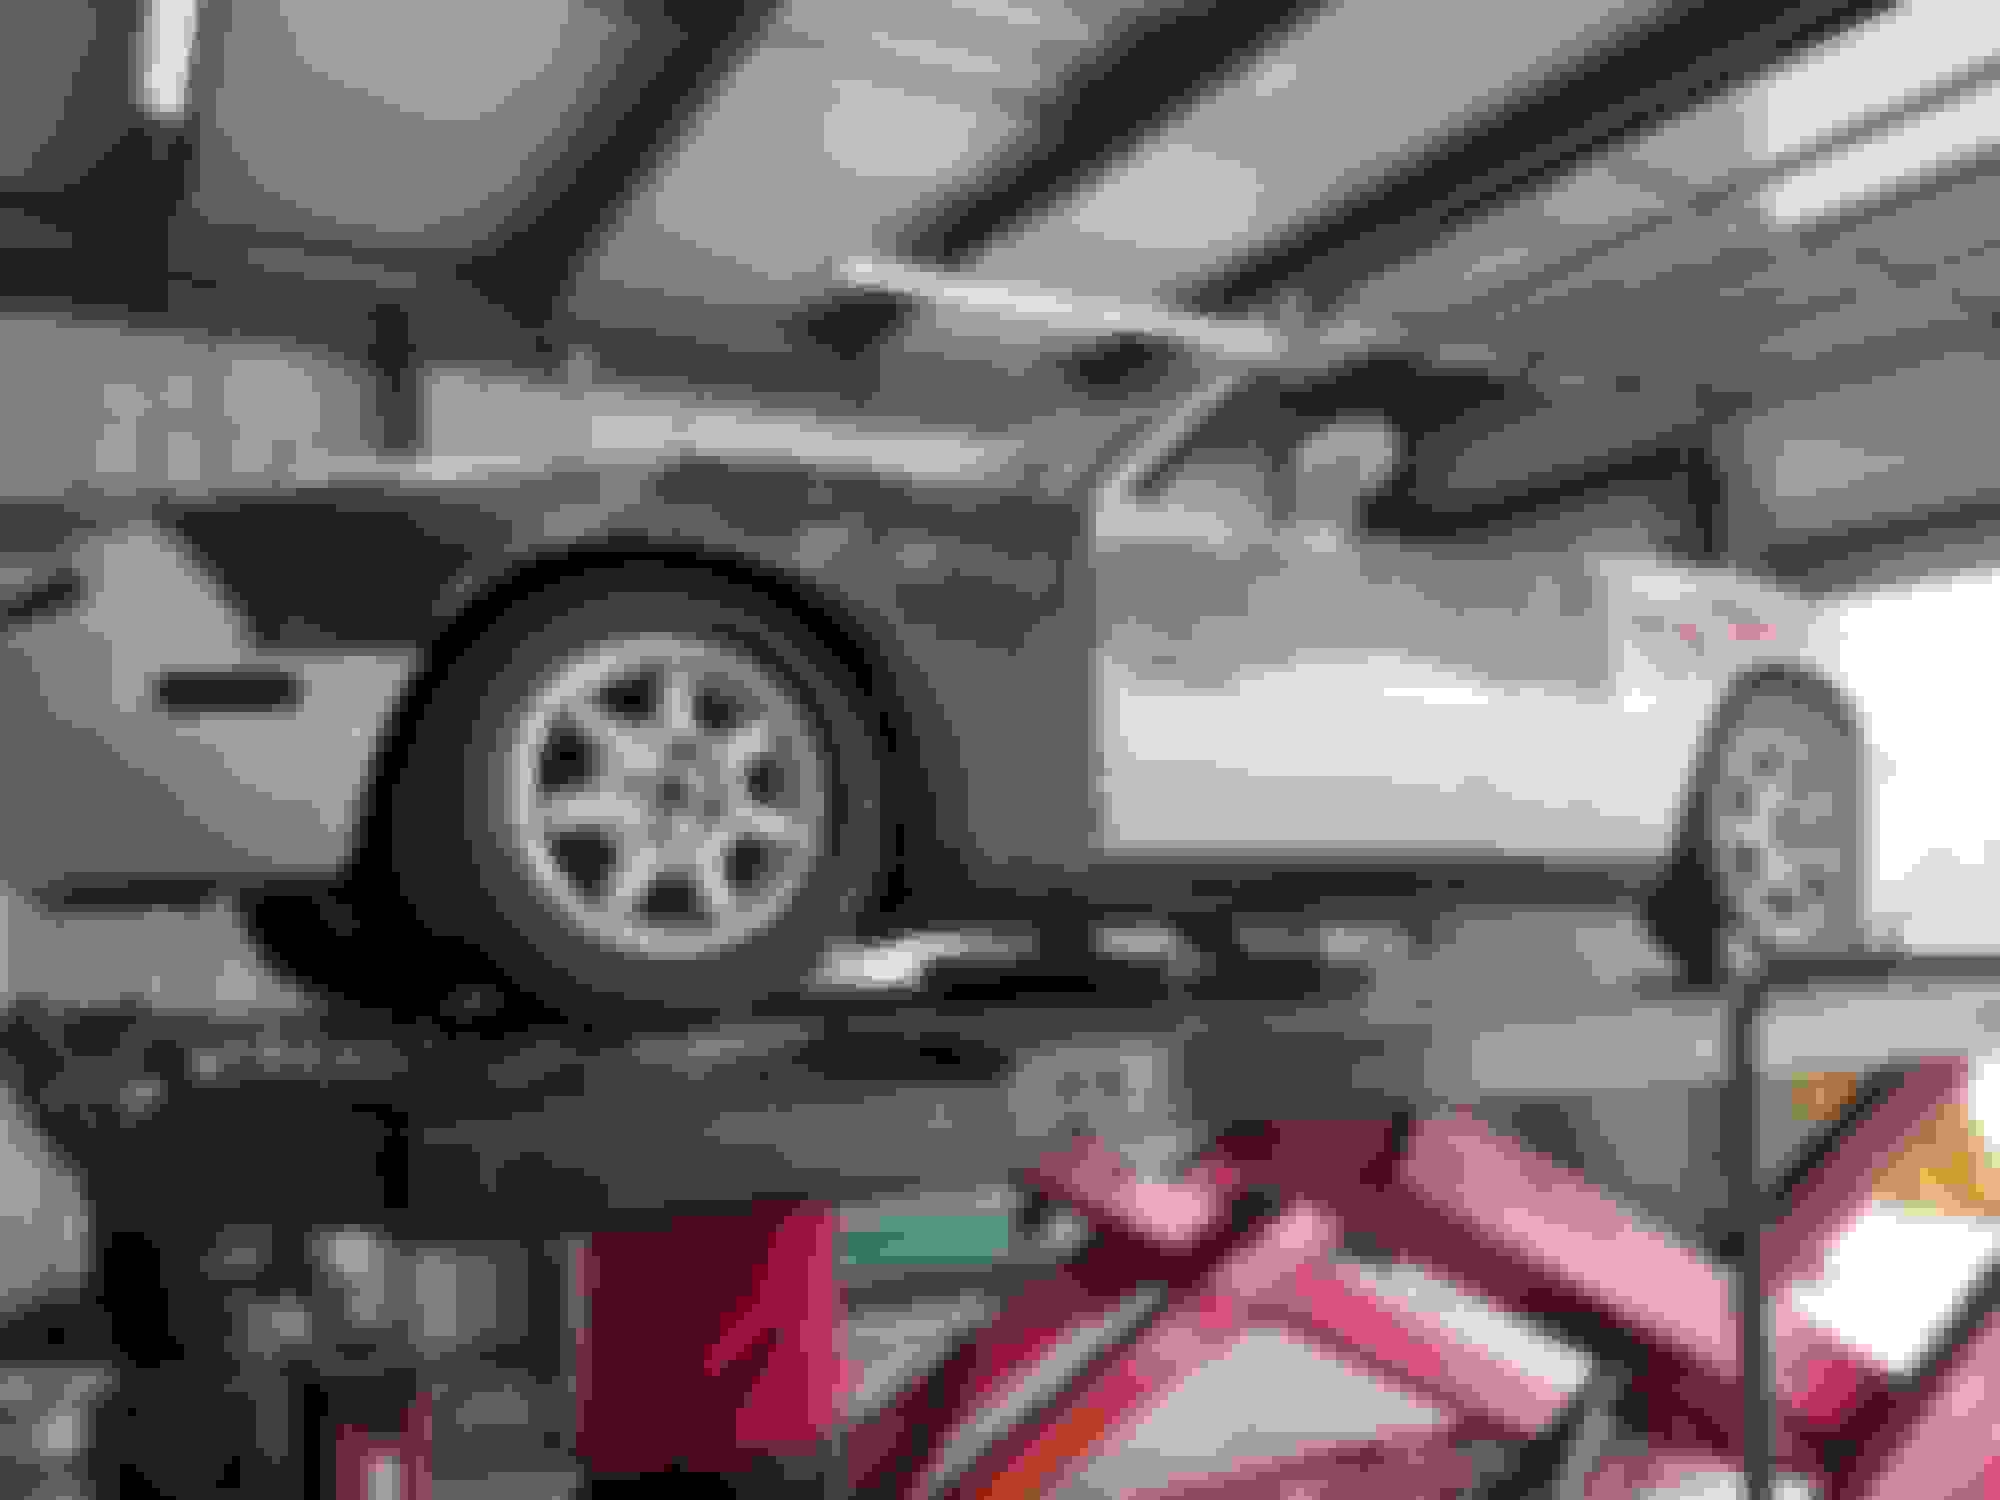
Took the car to get an alignment. I put the extended lower ball joints from 949 Racing on the car and was finally able to hit my alignment specs I wanted. Before, I was only able to get 0.0 on the driver front. Now I'm able to get over -4.5 if I wanted to! I went with a much more reasonable -2.5 front camber but I'm VERY happy with the E-LBJ as an upgrade/solution to front camber on the car. Simple to install and cheap. I made sure to do this alignment after ballast and a ride height adjustment (since replacing the entire right side suspension components). Ride height and alignment are now spot on. I also have new Falken Azenis RT615K+ all around so it's getting close to ready to run again!
Nardi Classic wheel with NRG quick release hub.
Installed the Jass Gauge Bezels. Pro-Tip, don't use Gorilla Glue Gel on this. The spots that look like scuff marks in this picture are actually an off-gassing that the product does as it dries (it gets hot and cures). Now that residue is visible on my gauge and looks like a cloud. I'm going to have to clean the metal bezels and get a new gauge cover (and uninstall the bezels and reinstall in a new housing). Huge pain.
Also picked up their A/C faceplate and a new HVAC control unit that has an A/C button (mine didn't).
Once I'm done with all these upgrades I promise I'll detail the interior!
IL Motorsports pedals installed. I LOVE these so much. They feel amazing and were SUPER simple to install. Function better than any aftermarket pedal I've had on any car. (And they look great!)
I absolutely love this thread. Just the perfect amount of hodgepodging and good parts.
I'm also amazed at how little damage your car took (based off of the picture). I wish you the best of luck!
Nice to see another person from Arkansas here. Did you wreck your car in mountain view. That looks so familiar. I've driven every curvy road in your side of the state.
Braineack- My decision to wrap the DP came from my brake failure and my concern that it came from the temps at the brake master reservoir. I took the route of "fix everything that MIGHT have been the issue" since I don't have any real data to say what the issue truly was that day. I'm not wrapping it to gain any performance increase. There is a small tertiary reason I wrapped it and that is comfort. This car gets damned hot idling between auto-x runs in the summer. I do know that the most effective way to control temps is to wrap the bottom of the car/trans tunnel, but I didn't find this out until AFTER I had done my rebuild and put the engine back in, so it'll have to wait until another day.
ByteVenom- I am glad you're enjoying it! I'll try to keep the updates a bit more steady! I've got an adventure in repairing CF hood clearcoat coming up and repairing hardtop damage too very soon!
Miataman- I was out on the "Pig Trail" near Cass. If you head south from Fayetteville on highway 23, the spot is just before the turnoff for highway 215/83. You can see the "Z" in the road on google maps after a long straight...There's a crew of us enthusiasts that are all friends in NWA, if you ever feel like going to autoX in Neosho MO or going for a cruise let me know and we'll give you details!
ataman- I was out on the "Pig Trail" near Cass. If you head south from Fayetteville on highway 23, the spot is just before the turnoff for highway 215/83. You can see the "Z" in the road on google maps after a long straight...There's a crew of us enthusiasts that are all friends in NWA, if you ever feel like going to autoX in Neosho MO or going for a cruise let me know and we'll give you details!
I wasn't even close. But I have been there with my crew. We are usually in your neck of the woods twice a year for drives, I'll hit you up. Its always good to enjoy driving in groups.
Miataman04- Good deal! I look forward to it! We've got a guy with a Honda J-series swapped into his miata, My miata, and a white NB2 amongst other cars. One of our friends is building a jeep cherokee into an auto-x machine and there's 2 S2K's and a BRZ that run around with us. All good guys that are laid back and enjoy actually driving and working on their cars (no stance lyfe here). =D
that wrap can degrade a SS DP. SS does a great job of retaining the heat, the wrap on the brake parts itself was good, but i dont think the wrap was necessary and could cause failure there. but you did a good job wrapping it.
Why wrapping a downpipe with heat wrap is a bad idea..... This stainless downpipe cracked and broke in 7 years.
Wow that's intense wear in 7 years. I'll definitely be keeping an eye on it as I drive! Another thing I noticed people say was to let the car run after getting the wrap wet so it can evaporate off and dry so I'll be conscious of that as well. Luckily the car has only been on very short drives here and there since I wrapped it so no real wear has happened. Once I get exhaust and intercooler piping fabbed up in the coming months it'll be driven a lot so I'll really watch it then and update as I go.
Yes, I believe so. I also think that humidity in the air is held against the pipe more easily with header wrap. I will be sure to keep a close eye on it over the years to make sure it doesn't start rusting.
So I finally got around to installing a helmet...
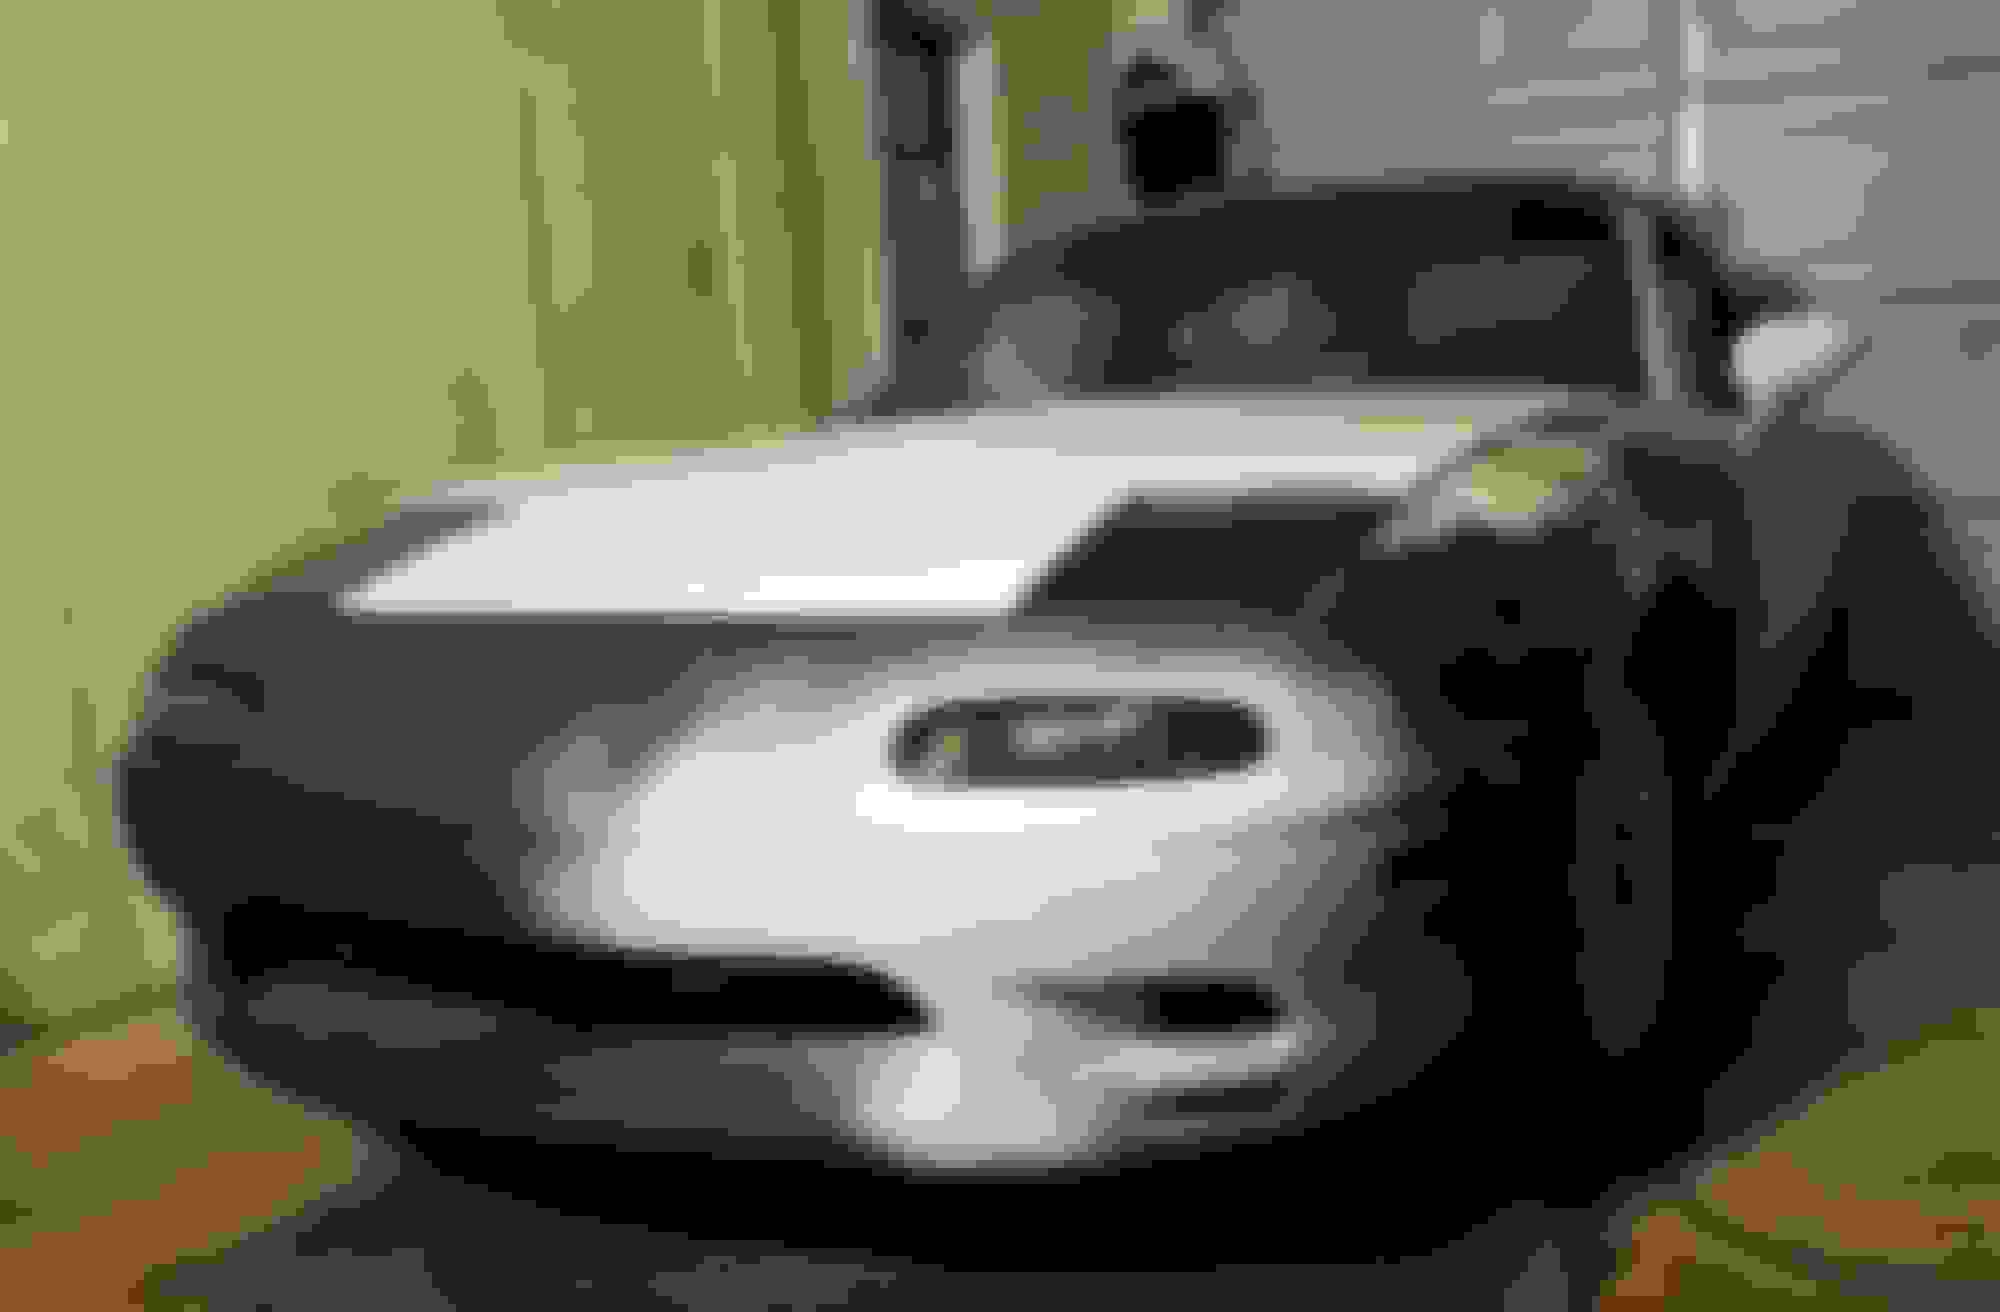
Just kidding. I finally got around to installing the RB2 front bumper I've been working on. Fitment is 7/10 I'd say. There was some fiddly/frustrating parts to the install but it's done and I'm happy with the result. The gap at the hood line is perfect, the gap at the "point" of the fender is bad, and the fitment around the turn signals is so-so. I painted the outside of the turn signal housings black so that it isn't noticeable. There's a lot of holes that aren't pre-drilled that are hard to measure and drill. Installing the upper bumper bracket on this thing was...not fun...but it's over and it looks awesome!
I had this upper radiator cooling panel given to me from a friend. I had to trim off about 1/4" on the bumper-side edge because the RB2 bumper fits a bit closer there. It's ugly and filthy right now (all the car is) and will get cleaned/detailed at a later time.
I also had help from my buddy Garrett again so we cut the side panels and installed the hard top brackets. I painted the body of the car where the bracket bolts onto black so you wouldn't see WHITE shining through that hole. I recommend anyone doing this mod do the same because when Red and mariner blue shines through that hole it looks so bad to me! (This isn't final fitment, this was just mocking up the bracket to cut the holes. The hardtop still needs body work and I'll be re-painting the inside of it since it looks pretty beat up.)
Also if you delete your soft-top, paint this back area black, where this black metal bracket goes. The bracket has to be there to hold the carpet tabs in, but normally behind it you can see the painted color of the car. Paint it to match your interior for a cleaner look! =)
 06-28-2016, 04:12 AM


 0
0