93' Miata stolen and flipped build thread
 03-23-2014, 10:01 AM
#1761
Elite Member

Join Date: Oct 2013
Location: Cedar City, UT
Posts: 2,764
Total Cats: 951
OK that was a long day.
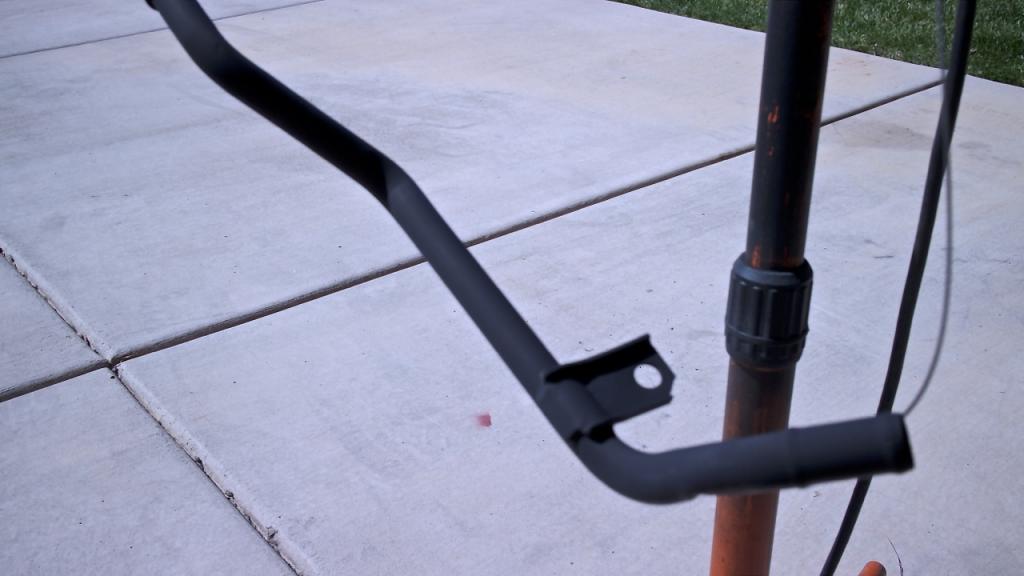
Lower coolant pipe ceramic coated. Pretty much just really high temp spray that you bake in your oven.
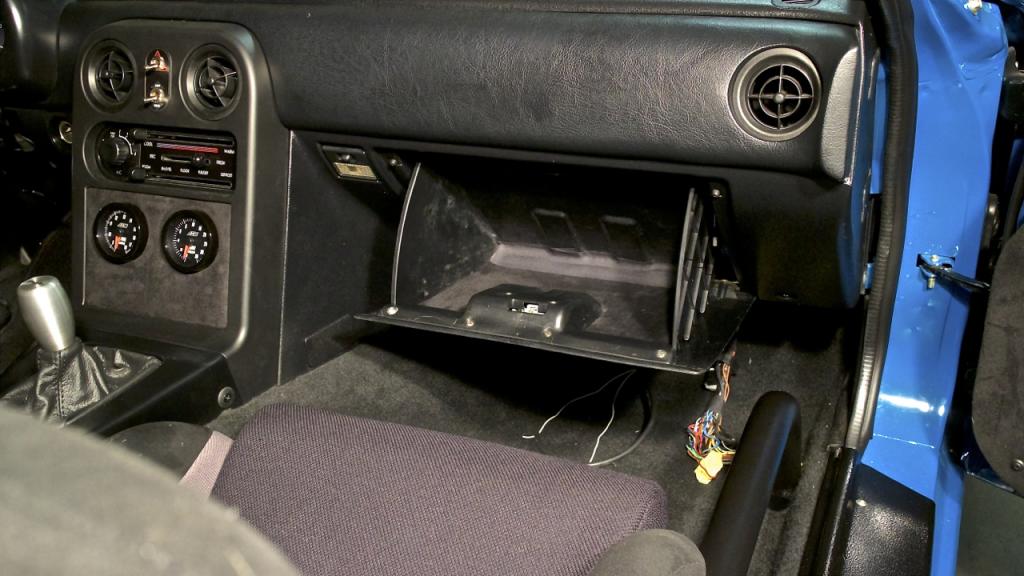
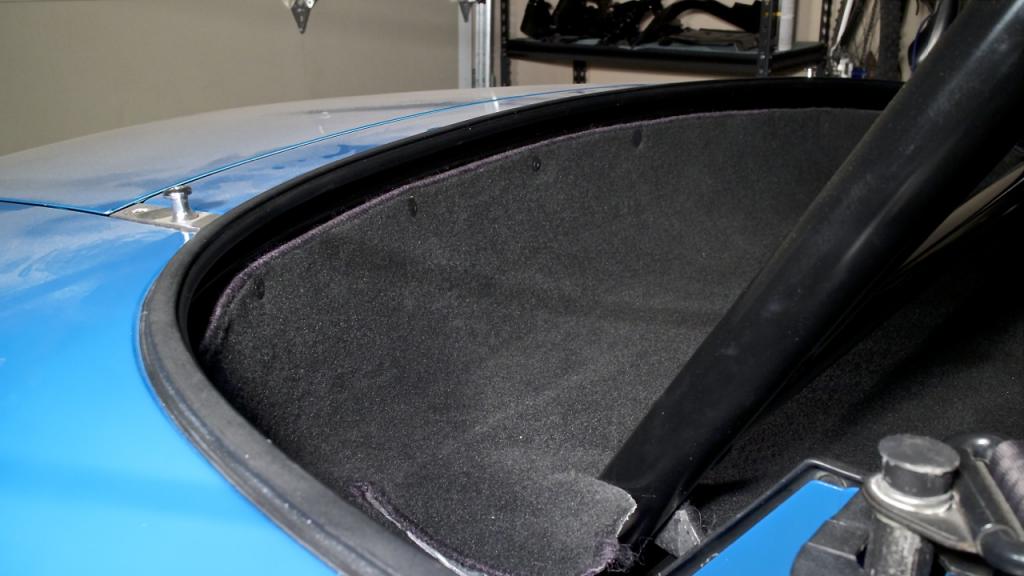
Put a little vibration dampening on the glove box
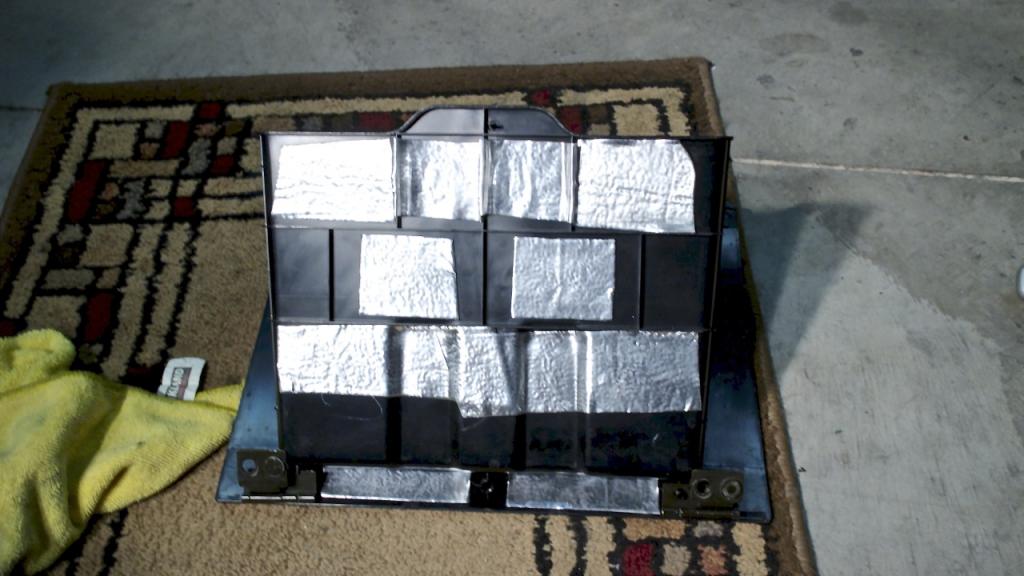
Need to clean the inside of the box but I put down some synthetic suede down in the glove box to stop anything from rattling. Looks horrible in the picture, but it looks great in person.
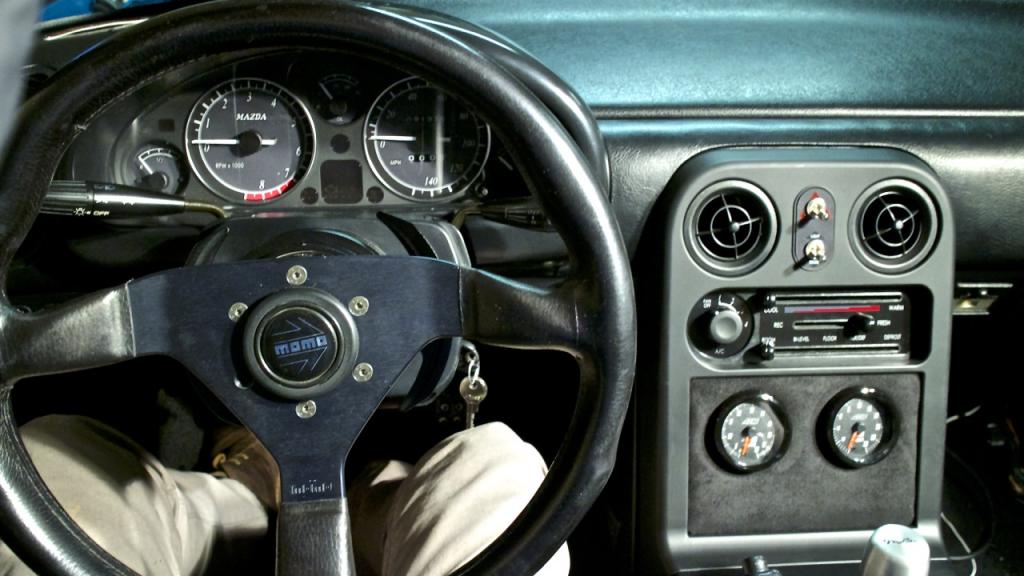
Got my seats put in. This took FOREVER. Drivers side was incredibly tight, took about 2 hours just to put it in. I had to tear the carpet padding out of the transmission tunnel and then gently persuade(read BFH) and pounded the **** out of it to give me an extra 1/2" of room.
THEN, due to how tight the brackets were to the sides of the transmission tunnel it took forever to line up all the bolts and then tighten it by little 3" turns(read 10 minutes a damn bolt). It finally went in though. Passenger side was a cinch since I didn't need the seating position as low as the drivers side.
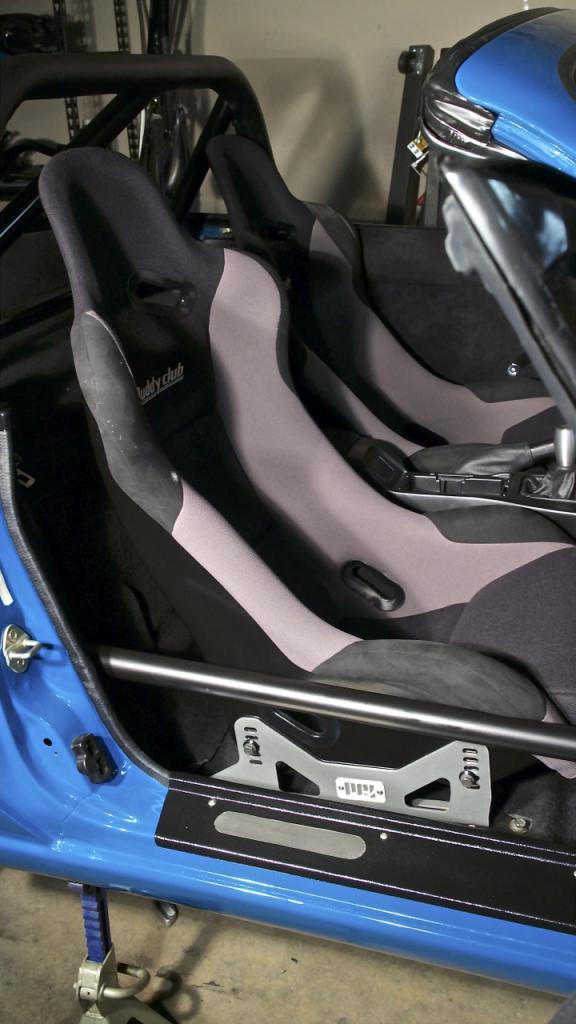
Viewing angle from the drivers side.
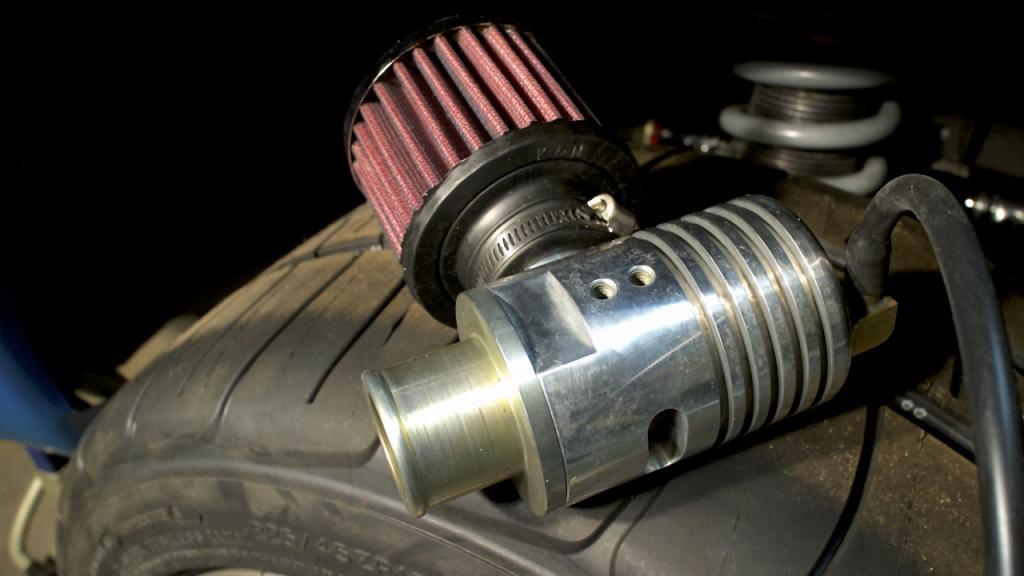
Cleaned and polished the B.O.V and put a new filter on it. Old filter was trashed.
Rear finish tray carpet installed correctly.
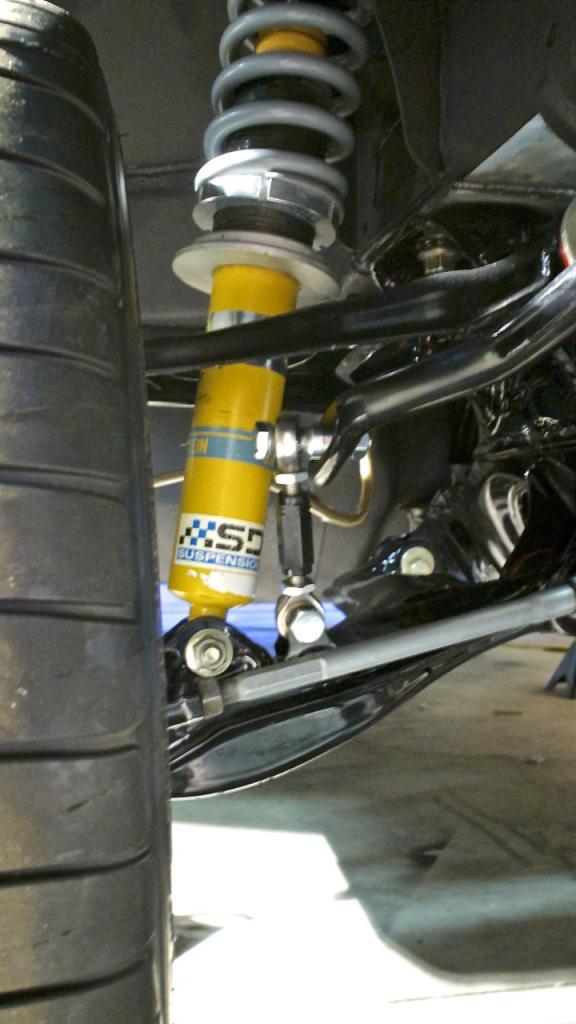
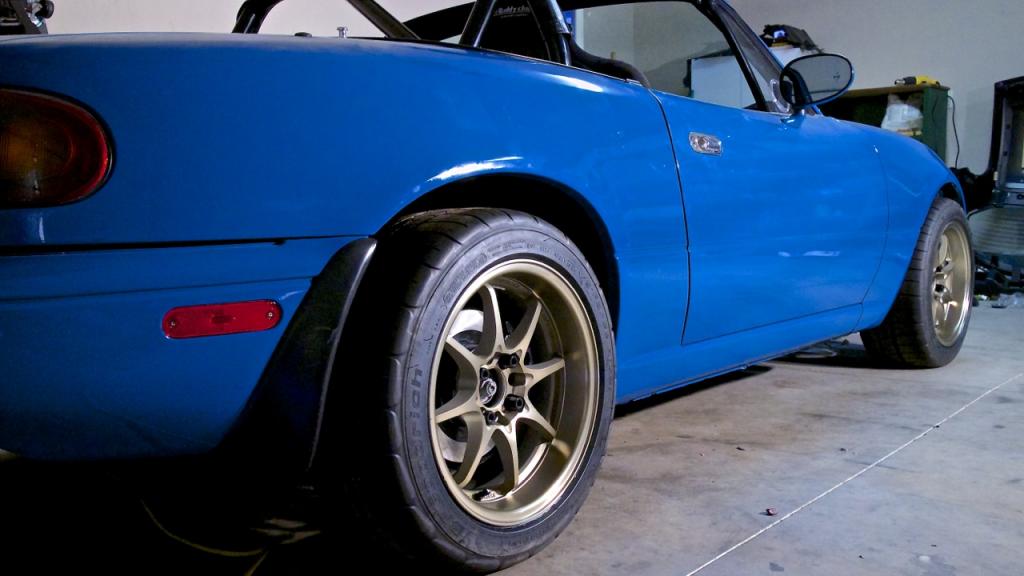
Actually used the spacers correctly on the 949 links, after jacking up each side they are perfectly 90 to the sway bar.
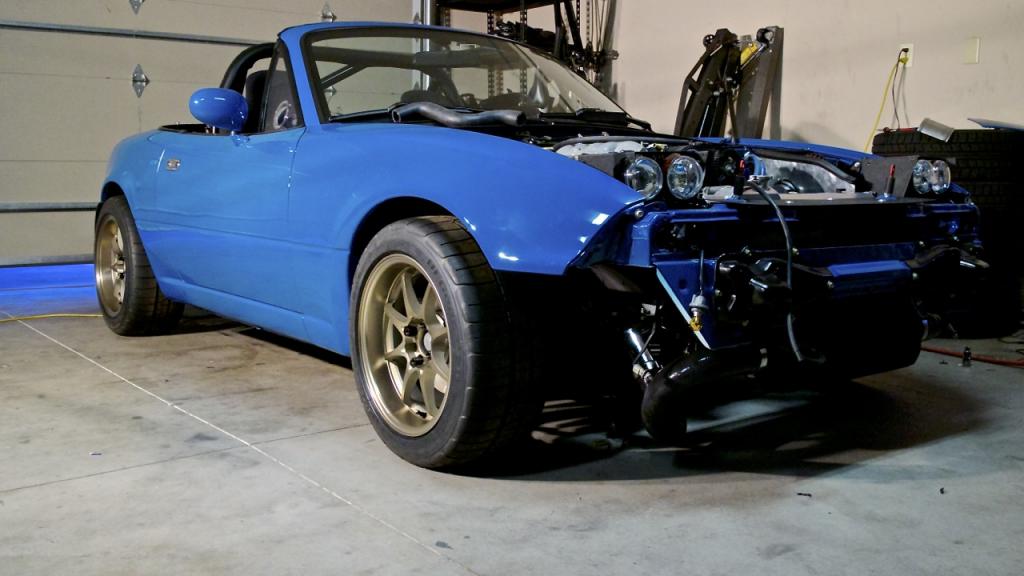
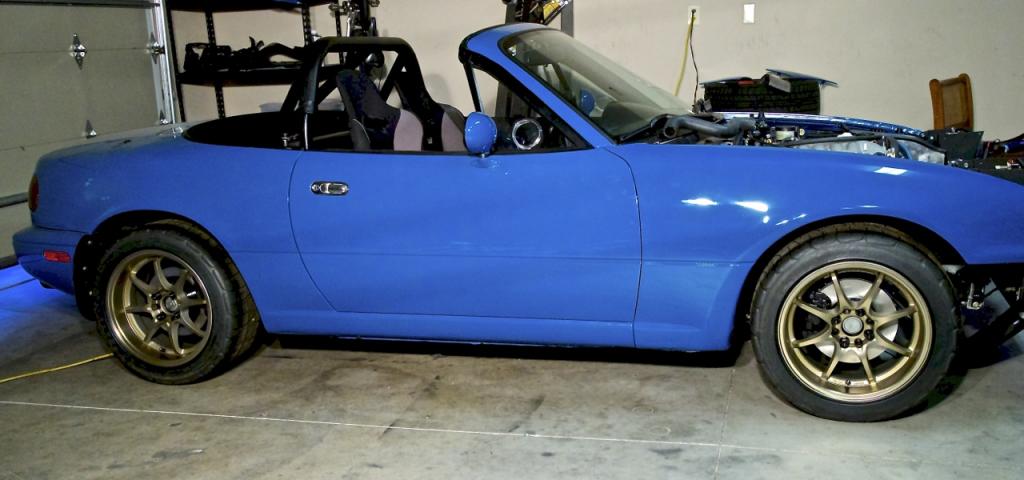
Put the fenders back on. Took a while to align it with the door properly.
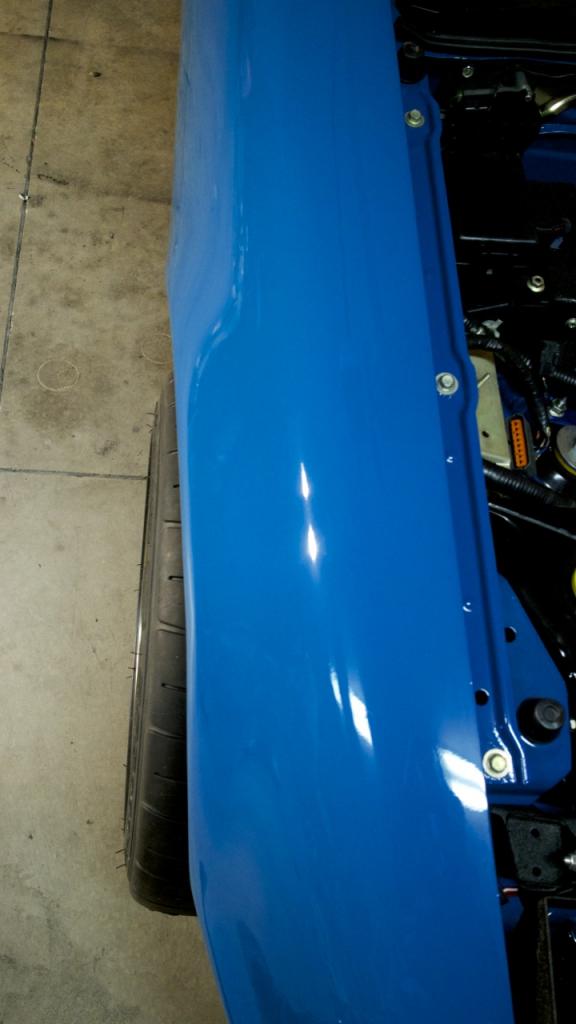
And decided to take it off the stilts and put it back on the ground, why? Why not!
Lower coolant pipe ceramic coated. Pretty much just really high temp spray that you bake in your oven.

Put a little vibration dampening on the glove box

Need to clean the inside of the box but I put down some synthetic suede down in the glove box to stop anything from rattling. Looks horrible in the picture, but it looks great in person.

Got my seats put in. This took FOREVER. Drivers side was incredibly tight, took about 2 hours just to put it in. I had to tear the carpet padding out of the transmission tunnel and then gently persuade(read BFH) and pounded the **** out of it to give me an extra 1/2" of room.
THEN, due to how tight the brackets were to the sides of the transmission tunnel it took forever to line up all the bolts and then tighten it by little 3" turns(read 10 minutes a damn bolt). It finally went in though. Passenger side was a cinch since I didn't need the seating position as low as the drivers side.

Viewing angle from the drivers side.

Cleaned and polished the B.O.V and put a new filter on it. Old filter was trashed.

Rear finish tray carpet installed correctly.

Actually used the spacers correctly on the 949 links, after jacking up each side they are perfectly 90 to the sway bar.

Put the fenders back on. Took a while to align it with the door properly.

And decided to take it off the stilts and put it back on the ground, why? Why not!


Reply
 2
2

2

 03-23-2014, 12:14 PM
#1767
Cpt. Slow

iTrader: (25)
Join Date: Oct 2005
Location: Oregon City, OR
Posts: 14,181
Total Cats: 1,131
Double post #5,381 deleted...
I seriously don't think the 11.75" kit will fit under your wheels. I had issues with my 15" enkeis, K1s, and my current Konigs. I'm guessing our drums are the same, and they just threw in a different spoke pattern. And the drum is what was interfering with the calipers, not the spokes. So nothing a spacer would fix. If I were you, I'd just keep my wheel option open and run 11" brakes, unless you're super serious about tracking.
My wheel/tire/brake combo on Goodwin's site:
Reply
0
0
03-23-2014, 12:21 PM
#1768
Elite Member
iTrader: (37)

Join Date: Apr 2010
Location: Very NorCal
Posts: 10,441
Total Cats: 1,899
About the coolant lines... are you talking about hard mounting them to the chassis? So like engine -> chassis bracket -> turbo? That sounds like a bad idea as engine movement is going to be pulling on them every time you throttle up/down.
Check out what BEGI does with their line kit:
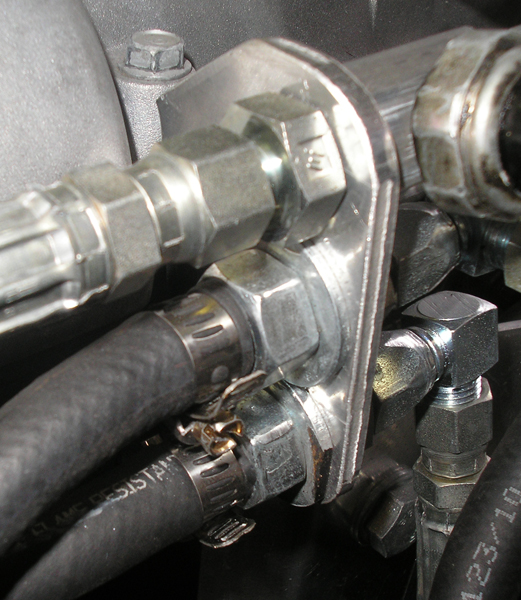
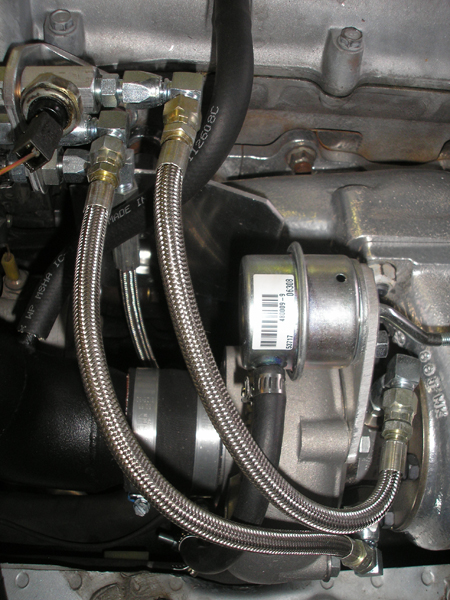
Building that aluminum bracket would be easy with basic tools, and it looks like your fittings and lines are almost the right length already.
Check out what BEGI does with their line kit:
Building that aluminum bracket would be easy with basic tools, and it looks like your fittings and lines are almost the right length already.
Reply
0
0
03-23-2014, 12:31 PM
#1769
Cpt. Slow
iTrader: (25)
Join Date: Oct 2005
Location: Oregon City, OR
Posts: 14,181
Total Cats: 1,131
For the lines, I'd honestly ditch the bulkhead fittings. They're just another place for potential leakage. Sell the water lines to someone who actually wants to put the time into a pretty bracket, or someone who doesn't care, and just buy lines long enough to go from turbo to source/return with one line.
Reply
0
0
03-23-2014, 04:29 PM
#1770
Supporting Vendor

iTrader: (1)
Join Date: Sep 2010
Location: Lake Forest, CA
Posts: 7,951
Total Cats: 1,004
^ that's what I'm thinking. I see that BEGI coolant setup and it looks like they thought "hmm, how can we introduce the most possible points of leakage into this system?"
Reply
0
0
03-23-2014, 04:37 PM
#1771
Elite Member
Join Date: Oct 2013
Location: Cedar City, UT
Posts: 2,764
Total Cats: 951
Good call on the 11" brakes.
Curly I think it is the site. I never have double post problems elsewhere.
Reply
0
0

 03-24-2014, 11:36 AM
#1775
Elite Member
Join Date: Oct 2013
Location: Cedar City, UT
Posts: 2,764
Total Cats: 951
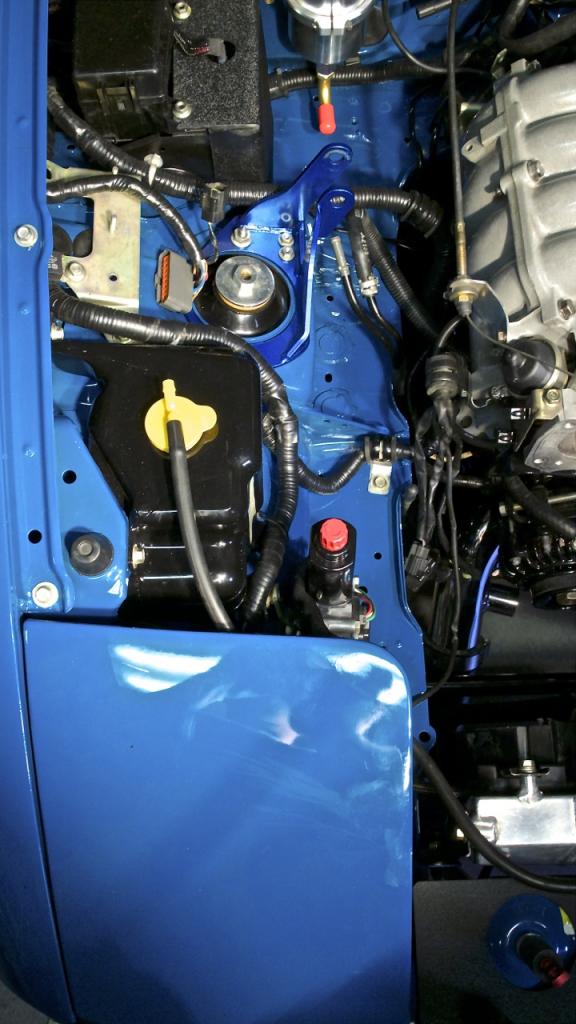
Rev 2 headlight wiring box done. If I really cared more I'd putty the seam at the top, sand it, and paint it...but I just don't care at the moment enough to do it. The way I did it this time is much sturdier since it mounts on the fuse box nuts.
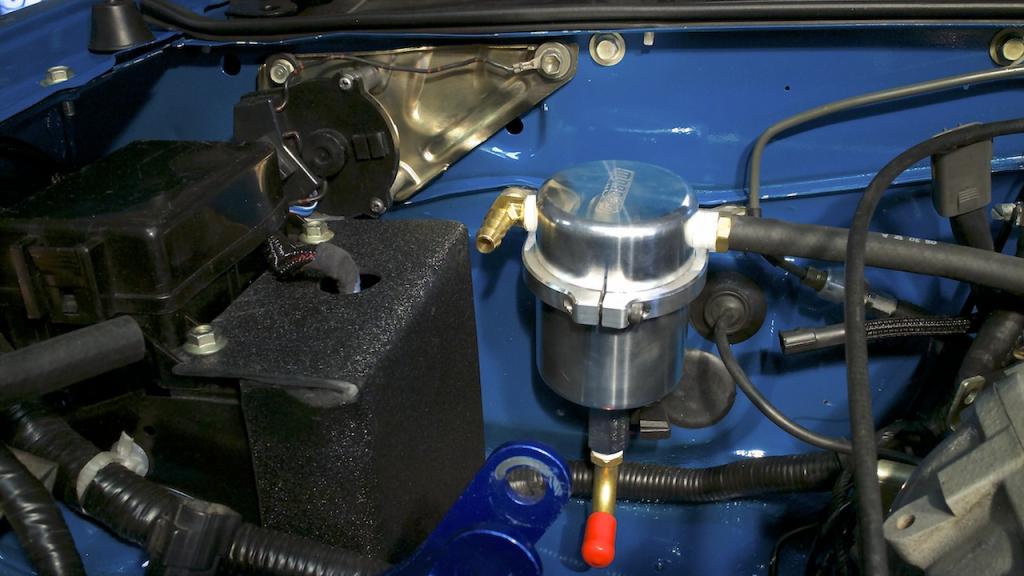
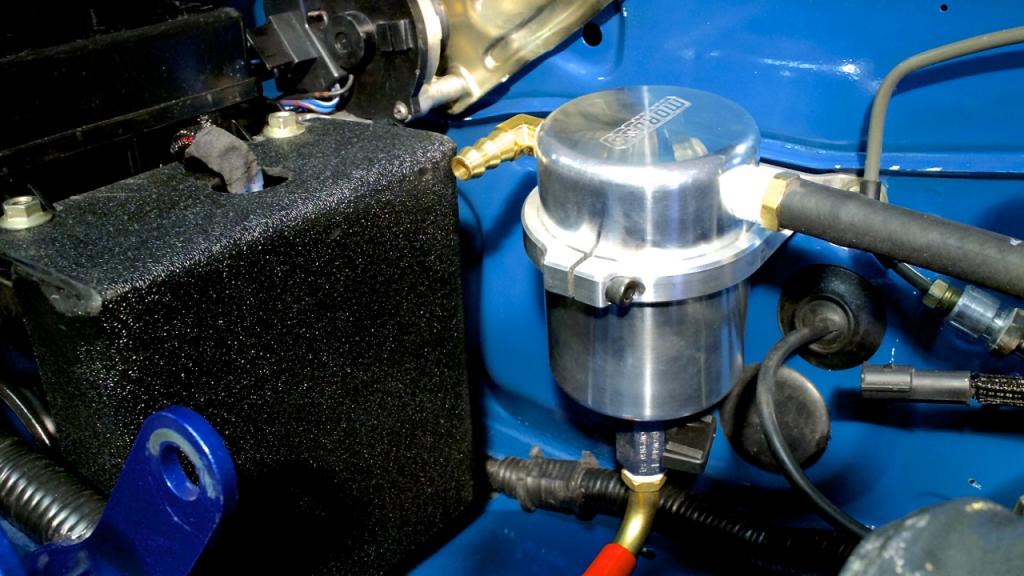
Also mounted the catch can in the easiest/most open spot on the passenger side. I bought a long while ago before I realized how cheaply you can make these things. Oh well, it looks good so who cares!
Also was able to hide a lot of the wiring under the headlight buckets. Zip tied it down well so it wouldn't interfere with the headlight motor rod.
Hopefully the new throttle body comes in today so I have more stuff to do.
Also mounted the catch can in the easiest/most open spot on the passenger side. I bought a long while ago before I realized how cheaply you can make these things. Oh well, it looks good so who cares!


Also was able to hide a lot of the wiring under the headlight buckets. Zip tied it down well so it wouldn't interfere with the headlight motor rod.
Hopefully the new throttle body comes in today so I have more stuff to do.

Last edited by Jeffbucc; 03-24-2014 at 12:27 PM.
Reply
3
3
 03-24-2014, 04:28 PM
#1778
Double post #5,381 deleted...
I seriously don't think the 11.75" kit will fit under your wheels. I had issues with my 15" enkeis, K1s, and my current Konigs. I'm guessing our drums are the same, and they just threw in a different spoke pattern. And the drum is what was interfering with the calipers, not the spokes. So nothing a spacer would fix. If I were you, I'd just keep my wheel option open and run 11" brakes, unless you're super serious about tracking.
My wheel/tire/brake combo on Goodwin's site:
11.75 brakes are full of win!
Reply
0
0
03-24-2014, 04:32 PM
#1779
Elite Member
Join Date: Oct 2013
Location: Cedar City, UT
Posts: 2,764
Total Cats: 951
The old one in the car was this leaky huge universal plastic catch can that was about the size of a gallon milk container. I'm quite happy with the Moroso piece. Sure it is expensive but damn is it well made. The lever actuated drain pipe makes emptying it a breeze too. The old version had you unscrew the base, which would have made my mounting solution a pain in the *** to remove every time to do so.
Reply
0
0
03-24-2014, 04:36 PM
#1780
The only reason I would imagine needing to go bigger is if you had E85 or a water/methanol injection that would need to capture more water vapor and/or you don't want to think about emptying your catch can more often.
The old one in the car was this leaky huge universal plastic catch can that was about the size of a gallon milk container. I'm quite happy with the Moroso piece. Sure it is expensive but damn is it well made. The lever actuated drain pipe makes emptying it a breeze too. The old version had you unscrew the base, which would have made my mounting solution a pain in the *** to remove every time to do so.
The old one in the car was this leaky huge universal plastic catch can that was about the size of a gallon milk container. I'm quite happy with the Moroso piece. Sure it is expensive but damn is it well made. The lever actuated drain pipe makes emptying it a breeze too. The old version had you unscrew the base, which would have made my mounting solution a pain in the *** to remove every time to do so.
Mishimoto Baffled Oil Catch Can, by Mishimoto
Reply
0
0


