93' Miata stolen and flipped build thread
 02-04-2014, 11:57 AM
#1041
Cpt. Slow

iTrader: (25)
Join Date: Oct 2005
Location: Oregon City, OR
Posts: 14,181
Total Cats: 1,132

Oh wait is it this one? It is the HT defroster then.
Last edited by curly; 02-04-2014 at 12:01 PM. Reason: quoted for new page

Reply
 1
1

1

 02-04-2014, 02:38 PM
#1045
Cpt. Slow
iTrader: (25)
Join Date: Oct 2005
Location: Oregon City, OR
Posts: 14,181
Total Cats: 1,132
I think I have mine on that vertical bolt you can barely see in the right of the picture. Not sure if that's factory or not.
I can tell you the fuel pump and therefore car won't work without that bolted down.
I can tell you the fuel pump and therefore car won't work without that bolted down.
Reply
1
1
02-04-2014, 04:41 PM
#1046
Elite Member

Join Date: Oct 2013
Location: Cedar City, UT
Posts: 2,764
Total Cats: 951
Mud guards installed. I was just being an obnoxious perfectionist...
 (I'm sure that gets old) but after some cleaning a little buffing and a heat gun I was able to get most of it out

Reply
0
0
02-04-2014, 04:41 PM
#1047
Elite Member
iTrader: (21)

Join Date: Jun 2007
Location: Rochester, NY
Posts: 6,593
Total Cats: 1,259
You got me curious, so I just went out and checked. Black bracket for the HT defrost is bolted to the plastic piece behind the rear cockpit brace. Kinda all part of the same plastic that surrounds the seat belt mechanism.
Could not find a white connector or ground lug. Mine is a '94, so may be different.
Could not find a white connector or ground lug. Mine is a '94, so may be different.
Reply
0
0
02-04-2014, 06:59 PM
#1050
Cpt. Slow
iTrader: (25)
Join Date: Oct 2005
Location: Oregon City, OR
Posts: 14,181
Total Cats: 1,132
The threads are most likely enough for the ground, if the coating on your new bolts is conductive, I'd probably use one of those as opposed to the painted one. Although if the bottom of the bolt isn't painted, it probably doesn't matter.
Reply
0
0
02-04-2014, 09:23 PM
#1052
Elite Member
Join Date: Oct 2013
Location: Cedar City, UT
Posts: 2,764
Total Cats: 951
OK in the HVAC project I forgot to to do the HVAC panel refresh with Revlimiter's kit. I ordered Barcode so it should look pretty amazing once I'm done.
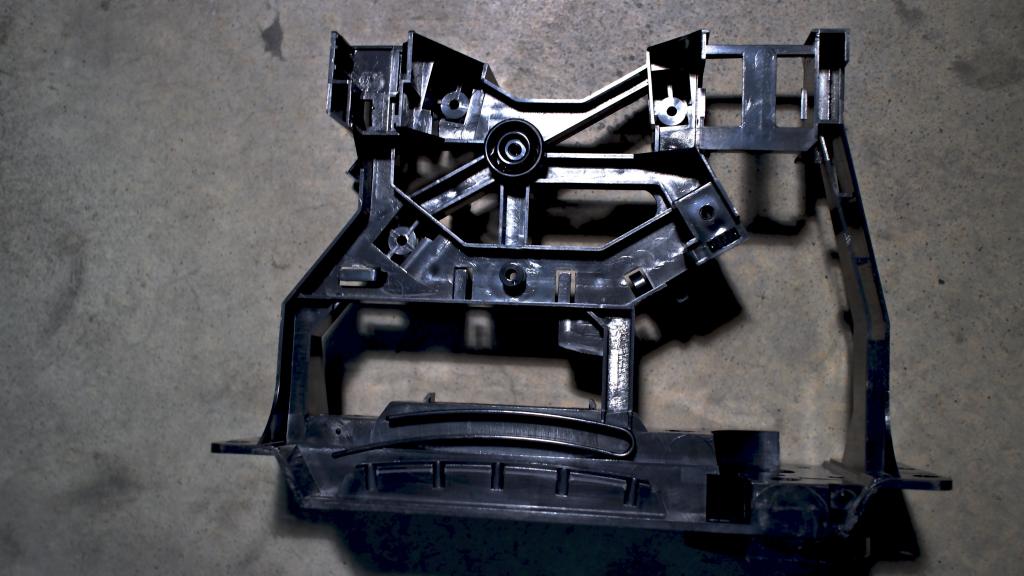
You know...once I'm done disassembling the entire control unit and putting fresh grease on all the moving parts and repainting some plastic...god I hate myself sometimes.
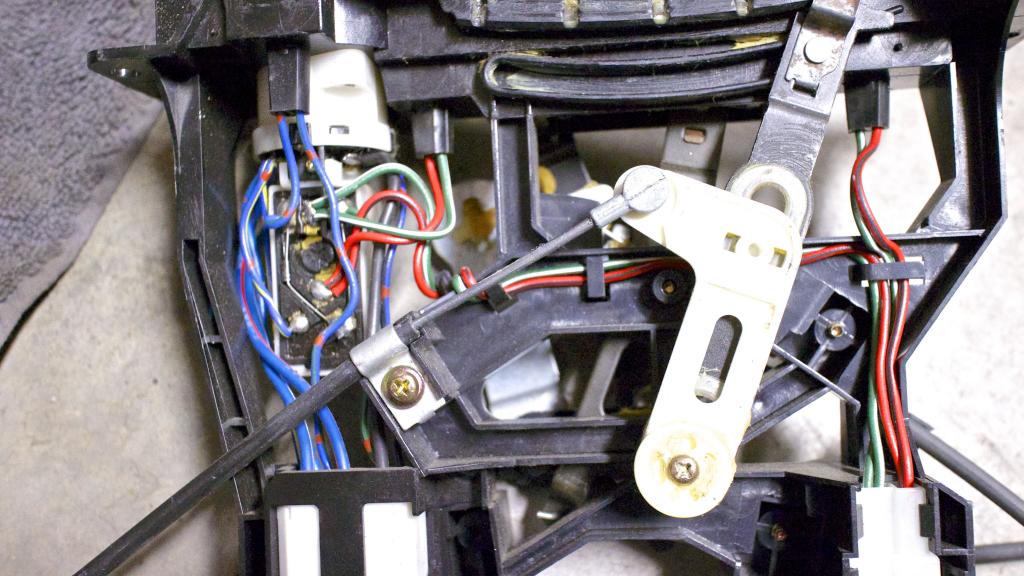
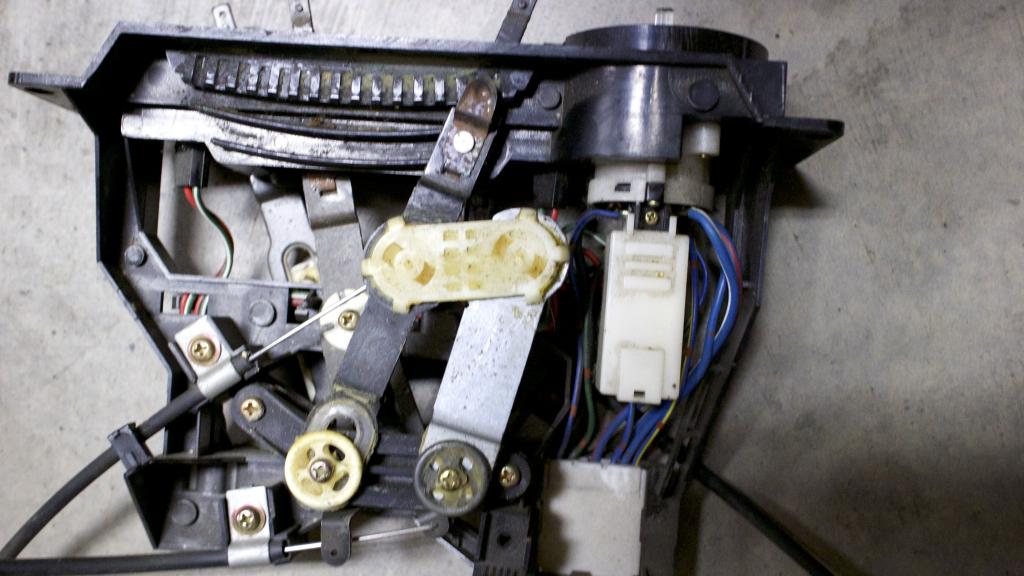
Pictures for my own sake so I can reassemble it. For every picture I show you guys I take about 20 more of each step, especially important on the complicated HVAC control systems.
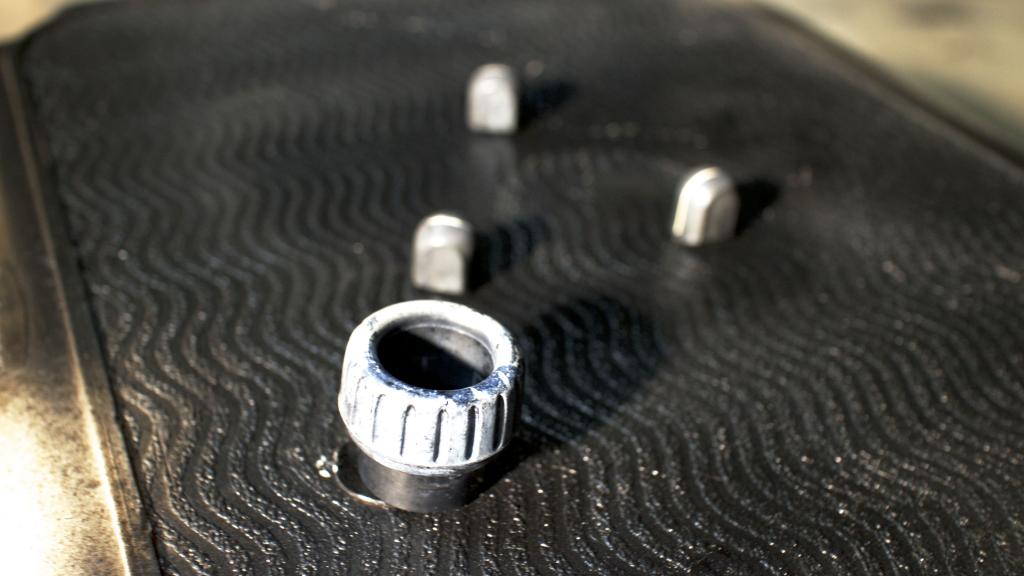
Dirt! The thing about the grease on these things is that it turns into a thick wax and THAT is what makes things not run smooth, not really the dirt but the grease drying up.
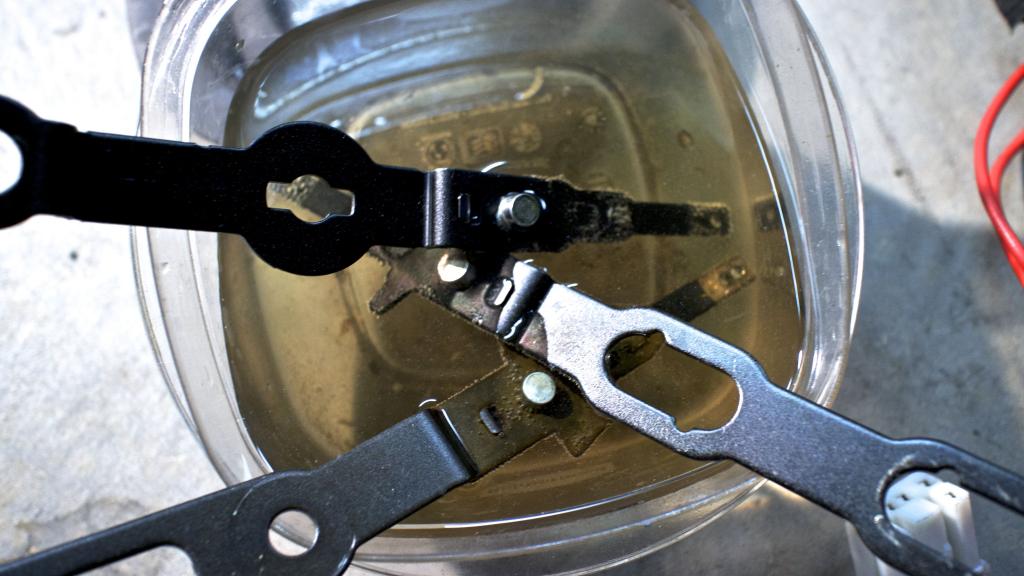
Converting rust into iron, the bubbles means it's working!...
.
.

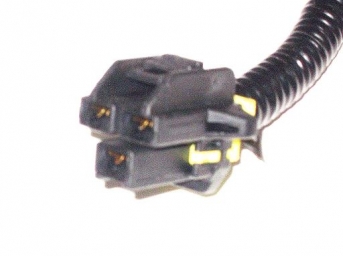
Clean electrical system. Bulbs are being replaced by cool white LEDs.
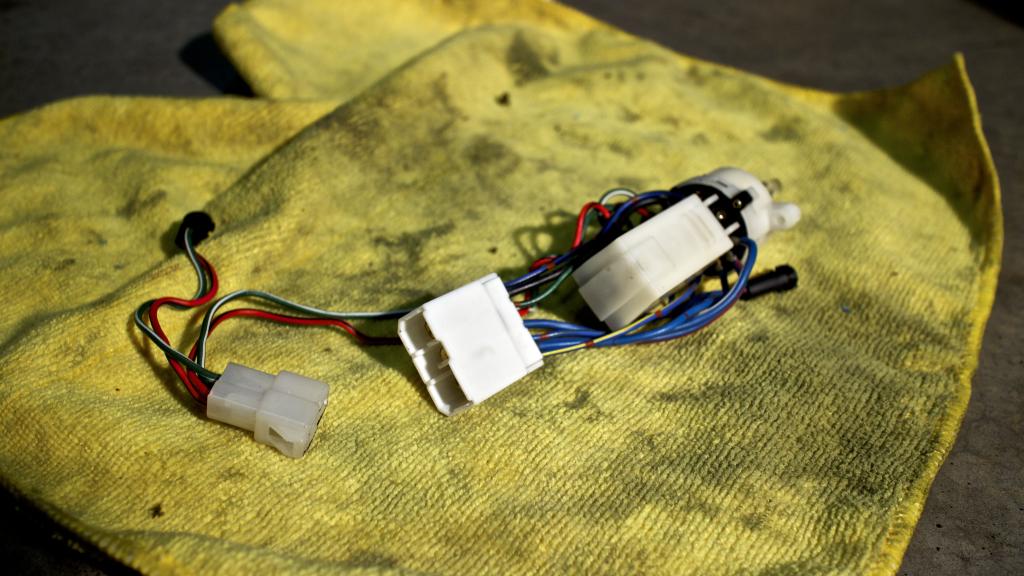
What my AC/HVAC power switch looked like, the ***** were about the same state.
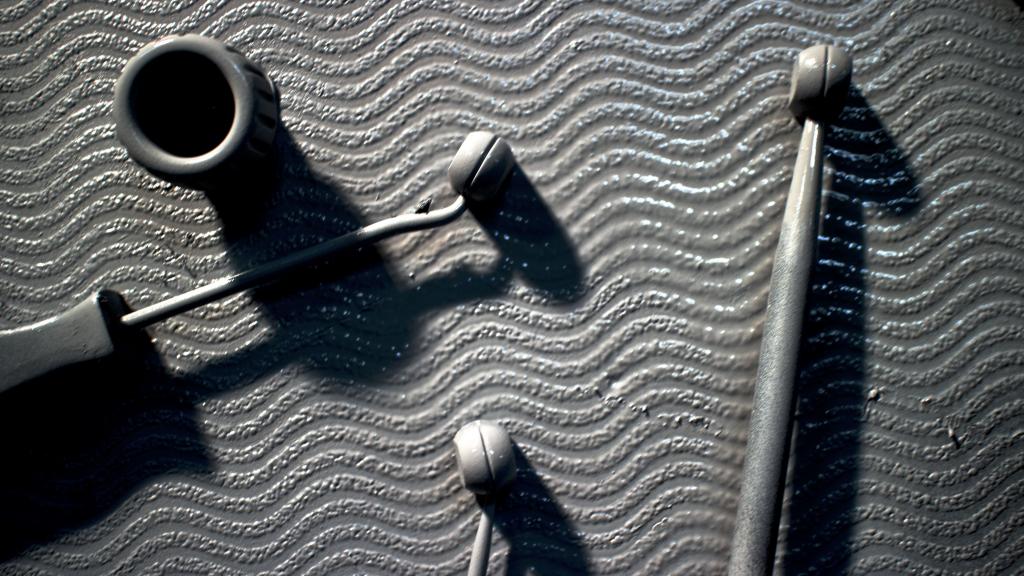
Wet Primer
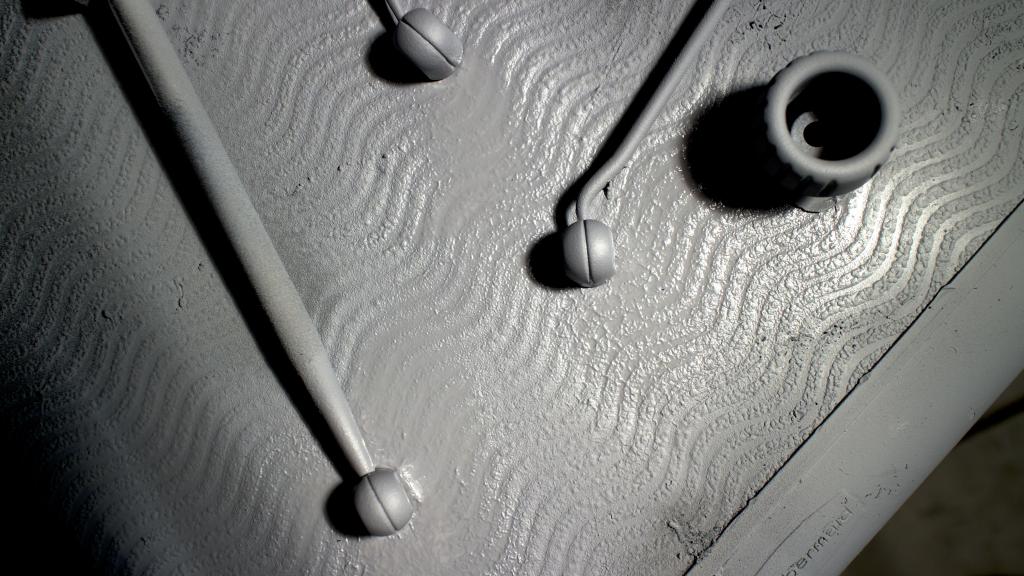
Dry, gotta wait about 3-4 hours for the primer to cure properly before painting otherwise if you paint to early and it dries before the primer does, the primer will contract as it looses moisture(dries) and create a little rupture ruining your work.
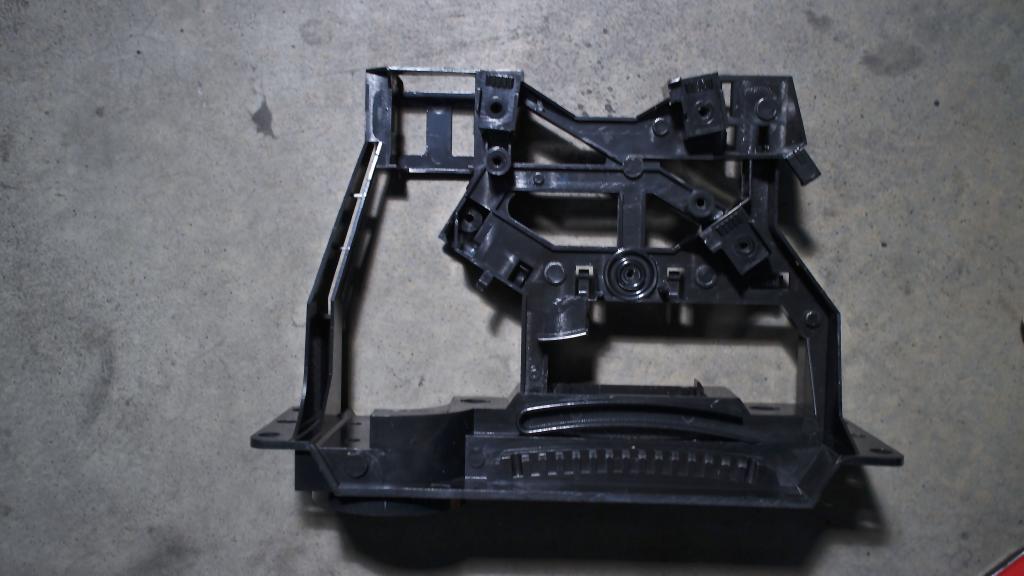
Clean housing
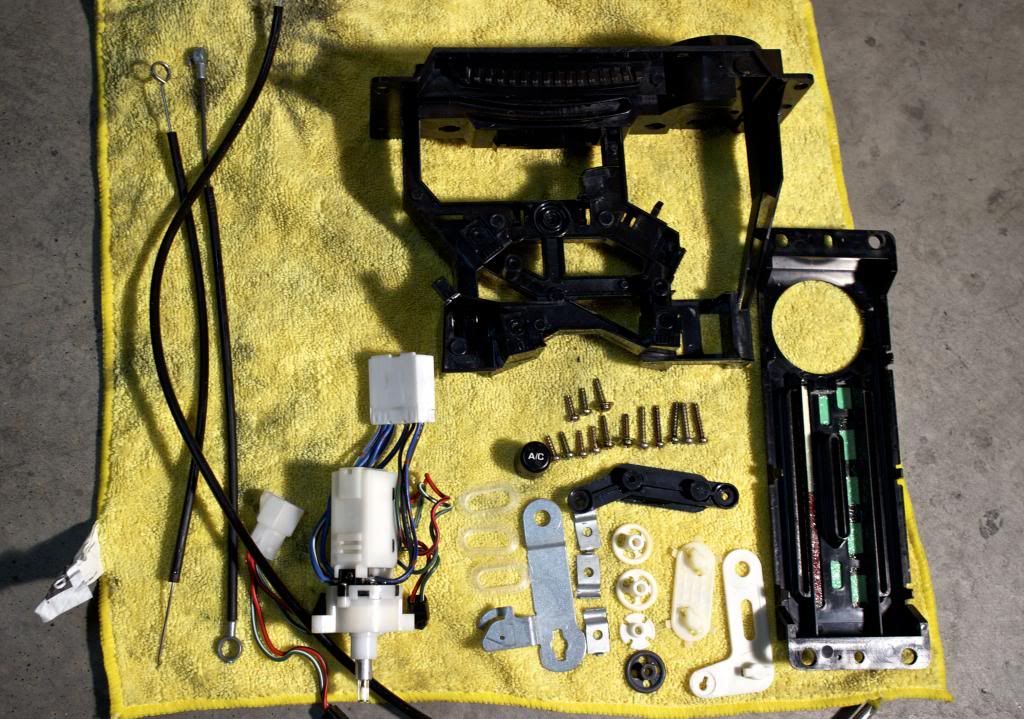
All the parts ready to go back in when I get the updated Revlimiter decals put in place. The cables I sprayed silicone into and worked them back and forth to ensure they were nice and lubed.
Sanity break time...
You know...once I'm done disassembling the entire control unit and putting fresh grease on all the moving parts and repainting some plastic...god I hate myself sometimes.
Pictures for my own sake so I can reassemble it. For every picture I show you guys I take about 20 more of each step, especially important on the complicated HVAC control systems.
Dirt! The thing about the grease on these things is that it turns into a thick wax and THAT is what makes things not run smooth, not really the dirt but the grease drying up.


Converting rust into iron, the bubbles means it's working!...
.
.

Clean electrical system. Bulbs are being replaced by cool white LEDs.

What my AC/HVAC power switch looked like, the ***** were about the same state.

Wet Primer

Dry, gotta wait about 3-4 hours for the primer to cure properly before painting otherwise if you paint to early and it dries before the primer does, the primer will contract as it looses moisture(dries) and create a little rupture ruining your work.

Clean housing


All the parts ready to go back in when I get the updated Revlimiter decals put in place. The cables I sprayed silicone into and worked them back and forth to ensure they were nice and lubed.

Sanity break time...
Reply
3
3

 02-04-2014, 11:09 PM
#1057
Elite Member
Join Date: Oct 2013
Location: Cedar City, UT
Posts: 2,764
Total Cats: 951
Better to embrace it, and own it, then be embarrassed about it! 
I'm a big fan of VHT Roll Bar & Chassis paint. You don't have to put a primer down but you do have to prep the part perfectly otherwise you get fish eyes on anything you didn't sand properly. The nice thing though is if you prep it properly it finishes soooo smooth. As it cures it really flattens up and evens up perfectly. Plus it gives it a nice satin finish, not a high gloss, which I like.
For plastic parts or trim yadda yadda, I use Dupli-color Trim paint. Gives it a perfect OEM finish on plastic and things like your windshield wipers/*****. For things with a gloss finish to them I use Roll bar & chassis BUT I use a primer when I do plastic since plastic shows flaws much more than metal. Primer helps fill in any little imperfections(I tend to use a high fill primer). With the Dupli-color paint you need to use primer.
On the engine block/hubs/diff/brake calipers I use VHT Caliper paint. It smooths out better than anything I've ever used before. Makes it almost like cheating.
And honestly that is all I have used this entire project. I will never reveal how many cans of spray paint I have gone through.
Proper prep includes light sanding with 200+ grit depending on the damage. For plastic I tend to use 300+ since scratches show through much worse.
After sanding I blast it with degreaser and use my boars hair detailing brush to get every nook and cranny. I tend not to use microfiber towels since if there is any little edge or hook it will hold on to the fibers and you won't notice until you have painted and you get extremely irate. If you did happen to do this just grab a latex/nitrile gloves and rub the part down with it and it will pull up any fibers that you left on the piece.
After that I use a different boars hair brush and put a little acetone on it and quickly go over the piece and then blast it with hot water. Then I use my air compressor(with an inline filter for grease/water vapor) to blow the water off, rather than wasting a clean towel and by chance getting fibers on the part.
Believe it or not but acetone/wax & grease remover should not be your last step in painting, IMHO. I have always had problems with paint adherence when I use that as my last stage prep. Better to be safe than sorry in my eyes.
Also light coats are a must yes....but be wary of going too light. If you aren't getting enough paint on the product you are essentially peppering the part with paint. This is either caused by not holding the paint nozzle close enough to the part or moving the paint can too fast. This causes bumps, or introducing a sandpaper-like finish. So if you do find that your part has started to accumulate that finish, on your last coat blast it a little past your "comfort zone" (I.E chance of the paint running) and if you get it just right you can lay a thick enough coat on it to give it a perfect finish.
Also if you REALLY want to get a good finish, put your work lights or a heat lamp on the part, to essentially bake the paint.
Sorry if you already knew that but I thought I'd toss out the info out for others. From what I have found due to anger/dissapointment/trial & error...it works.
Reply
8
8


 02-05-2014, 02:11 AM
#1059
Elite Member

Join Date: Mar 2006
Location: Schwarzenberg, Germany
Posts: 1,553
Total Cats: 101
I think we need a new Smilie
I would call it *jeffbug* (notice the little play with the nickname and what happens when you look at this thread - you are getting the Jeff-bug - a little devil in your brain that tells you to clean every little piece of your Miata to a better-than-factory condition...)
This:

or this:

I would call it *jeffbug* (notice the little play with the nickname and what happens when you look at this thread - you are getting the Jeff-bug - a little devil in your brain that tells you to clean every little piece of your Miata to a better-than-factory condition...)
This:
or this:
Reply
1
1
02-05-2014, 02:31 AM
#1060
Elite Member
Join Date: Oct 2013
Location: Cedar City, UT
Posts: 2,764
Total Cats: 951
I think we need a new Smilie
I would call it *jeffbug* (notice the little play with the nickname and what happens when you look at this thread - you are getting the Jeff-bug - a little devil in your brain that tells you to clean every little piece of your Miata to a better-than-factory condition...)
This or this
I would call it *jeffbug* (notice the little play with the nickname and what happens when you look at this thread - you are getting the Jeff-bug - a little devil in your brain that tells you to clean every little piece of your Miata to a better-than-factory condition...)
This or this


It needs to capture the insanity or stupidity of me though!

Reply
1
1


