93' Miata stolen and flipped build thread

 02-21-2014, 01:20 PM
#1322
Elite Member

Join Date: Oct 2013
Location: Cedar City, UT
Posts: 2,764
Total Cats: 951
I really really really want the Nakamae one, but $700 is punch you in the left ******** territory.
I am really happy with how it turned out though. It looks absolutely gorgeous. We'll see how well the paint holds up over time, but for now, I am perfectly happy with having this in my car.
It was scary painting it though. It literally took me about 10 coats to get a good even blackness. That primer really showed through. ESPECIALLY with all the nooks and crannies in the part itself. Was so hard to get even coverage without getting a drip while hitting the deep crevices.
Was it worth the time invested to get it to this point? I'm not sure, but it saved me heaps of money over getting a new/used one.


Reply
 2
2

2
 02-21-2014, 01:32 PM
#1324
Elite Member
Join Date: Oct 2013
Location: Cedar City, UT
Posts: 2,764
Total Cats: 951
How well has yours held up in your wife's car?
Stunning, glad to see your build featured here:
NA MX5 nut-and-bolt OCD rebuild | Build Threads
NA MX5 nut-and-bolt OCD rebuild | Build Threads

The site owner is a really nice guy.
Reply
0
0

 increase resale value by $200!

 02-21-2014, 02:40 PM
#1330
Elite Member
Join Date: Oct 2013
Location: Cedar City, UT
Posts: 2,764
Total Cats: 951
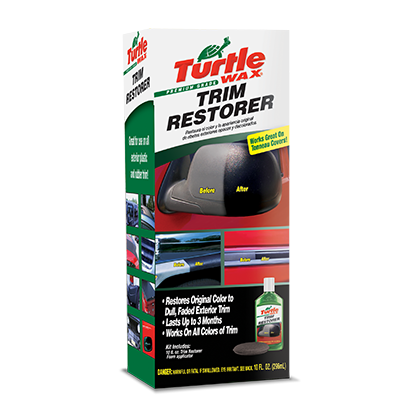
I don't really like turtle products but essentially yeah. The bees knees as far as I'm concerned is Adams Super VRT. Detailers domain carries it and it lasts forever, can be used as a tire dressing, is water proof, doesn't attract road grime, and isn't super shiny like most products. I've tried pretty much all of them and it is the easiest to apply, last the longest, doesn't smell bad, and restores pretty much everything back to factory.
Anything plastic or rubber you've seen me recondition in this thread; VRT was used...you know, after copious amounts of scrubbing and degriming.
Anything plastic or rubber you've seen me recondition in this thread; VRT was used...you know, after copious amounts of scrubbing and degriming.
Reply
1
1
 02-21-2014, 05:53 PM
#1332

Jeff, to echo everyone else, your attention to detail is second to none and very awe inspiring. Seeing what you have accomplished really motivates me to get out and "refurbish" parts on my car that I hadn't considered before.
To help some of us new guys on getting started "refinishing", would you mind making a quick list of products you've used/recommend for the various jobs? I know I would love to make a list of quick "go to" products for specific jobs.
Truly impressive work, keep it up!
To help some of us new guys on getting started "refinishing", would you mind making a quick list of products you've used/recommend for the various jobs? I know I would love to make a list of quick "go to" products for specific jobs.
Truly impressive work, keep it up!
Reply
0
0

 02-21-2014, 09:30 PM
#1335
Elite Member
Join Date: Oct 2013
Location: Cedar City, UT
Posts: 2,764
Total Cats: 951
Jeff, to echo everyone else, your attention to detail is second to none and very awe inspiring. Seeing what you have accomplished really motivates me to get out and "refurbish" parts on my car that I hadn't considered before.
To help some of us new guys on getting started "refinishing", would you mind making a quick list of products you've used/recommend for the various jobs? I know I would love to make a list of quick "go to" products for specific jobs.
Truly impressive work, keep it up!
To help some of us new guys on getting started "refinishing", would you mind making a quick list of products you've used/recommend for the various jobs? I know I would love to make a list of quick "go to" products for specific jobs.
Truly impressive work, keep it up!
When I have some time this weekend I'll type up a list of stuff I have used during this build. It is a lot of products, so I don't want to do it till I have time to sit back and relax.

So I know you guys wanted me to go leather on the door cards and the upper door card pad, but I honestly kinda wanted to try something a little different for now. Maybe later when I can justify spending that much on leather I'll go that route, but I still have all the wiring issues I need to order connectors/wiring/crimpers etc etc for. I need to keep some kind of budget on track!
 So what I went for is basically alcantra, but without the huge price tag of alcantra. It is called "super suede", or basically a synthetic suede that is almost exactly alcantra, just with a different name.
I bought a variety that they use on expensive luxury cars that is used for headliners. The upholstery shop pretty much gave me enough to do 8 door cards for $40. I think I was being a nuisance with all the questions I was asking and they just wanted to kick me out as fast as possible.
 . The cool thing about this variety of Super Suede(henceforth will be shortened to "S.S." is that it has a built in 1/8" foam backing/padding on it. So I don't need to mess with attaching a backing to the door cards! Takes a lot of the work out of the equation.
Looks pretty dirty in the pictures since it has been sitting in the upholstery shop for a while. Someone reserved it for their Porsche and never brought their car in to put it on, so he just held on to it. It has a great texture to it. SUPER soft, and easy to clean as well. I think I'm going to like it. Plus it is a little different from what most people do so that is nice as well. I'm a unique snowflake!


So I'll try and get this done tonight.
What sayest ya'll. Keep the red door pulls and just shorten them up? OR put the stock door handles back on. I'll be putting on the door handles I received from Revlimiter on the door, so I'm not sure which route I want to go. The red door pulls just didn't have a good confidence inspiring door latch feel to them.
Reply
0
0
02-21-2014, 10:20 PM
#1336
Supporting Vendor


iTrader: (1)
Join Date: Sep 2010
Location: Lake Forest, CA
Posts: 7,947
Total Cats: 1,002
I vote that stuff as freaking awesome, and that you put the stock handles back on.
No wait -- door pulls.
No, door handles.
I'm undecided :/
No wait -- door pulls.
No, door handles.
I'm undecided :/
Last edited by turbofan; 02-21-2014 at 10:22 PM. Reason: punctuation
Reply
0
0
02-22-2014, 02:01 AM
#1337
Elite Member
Join Date: Oct 2013
Location: Cedar City, UT
Posts: 2,764
Total Cats: 951
Man this fabric is hard to photograph. Looks weird in the photos but it looks amazing in person. Probably some white balance issues I am having with the camera.
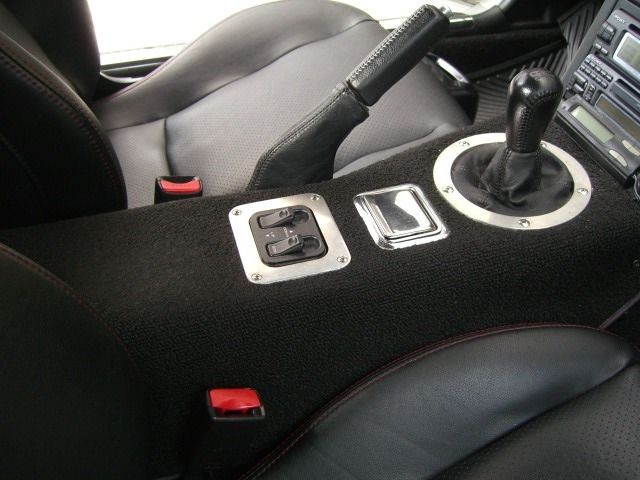
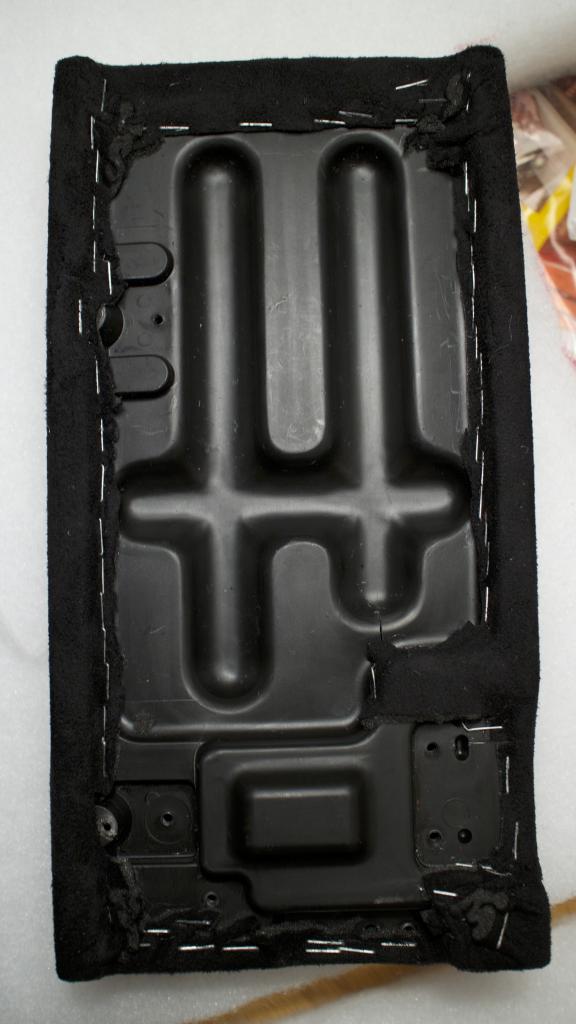
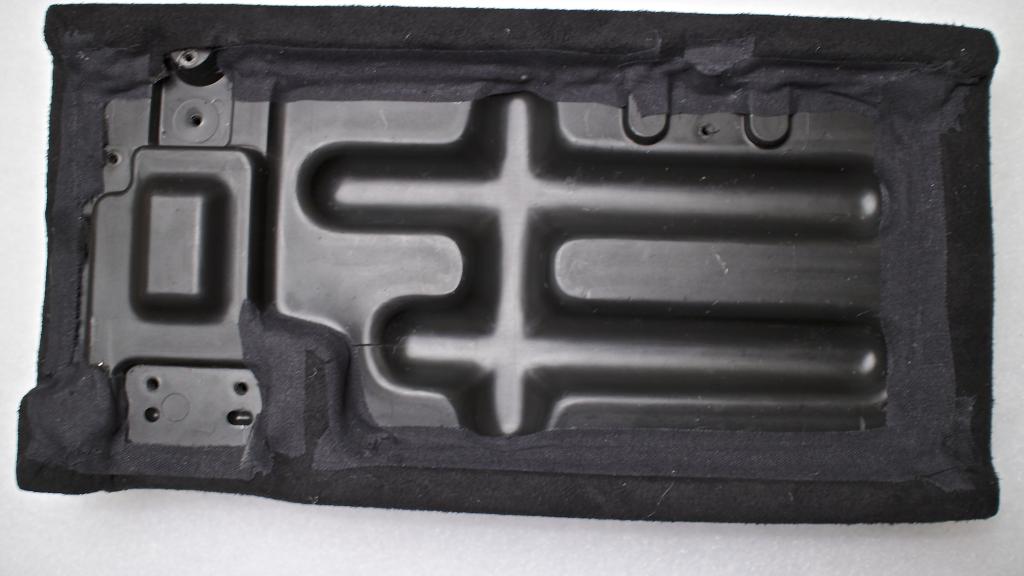
Decided to polish off the center console and make my arm pad rest to cover up the nasty oem one that was all dented and...well...badness.
Not going to go into way too much detail since I think Adam covers it pretty thoroughly on his website.(revlimiter.net - Padded Leather Armrest)
But I did alter it a tiny bit for my own satisfaction of hiding the ugly part of the job.
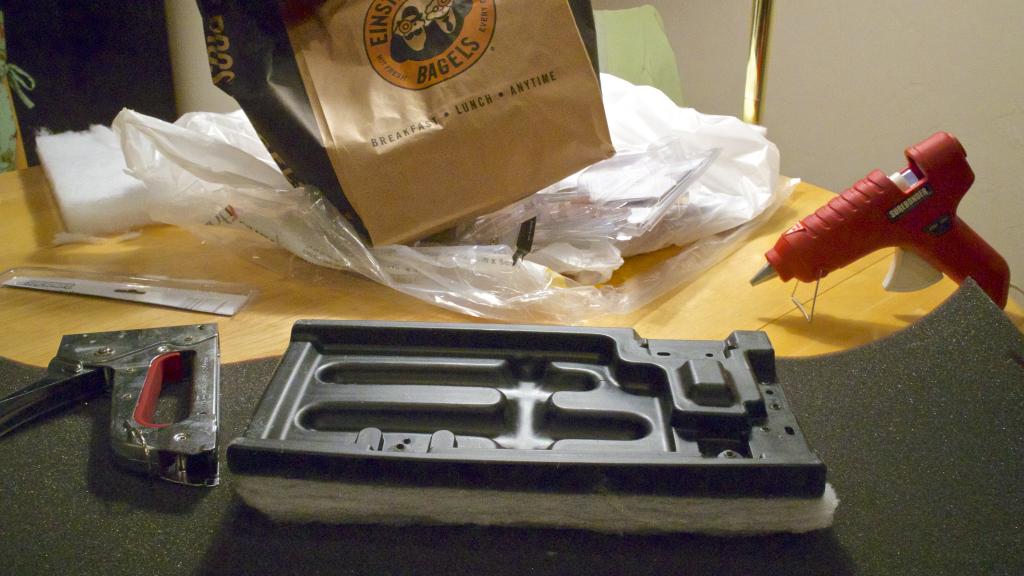
Basically grab some foam backing/padding from any craft store you have in your area(joanns walmart et al).
Cut it to the shape of the arm rest and add/remove layers to fit how thick you want your pad. Cut the edges at an angle to give it a nice curved look, and spray adhesive on it and carefully attach it to the arm pad. Careful when doing this, when the foam touches the adhesive spray...it ain't coming off.
Grab your tools. Bagels are tools. Especially Everything bagels and their crack like substance they contain.
One thing to note. You will be pulling the fabric tight, so it will compress the padding material. So go a little thicker than you think looks "right". Makes it so you can add a little more comfort to the pad.
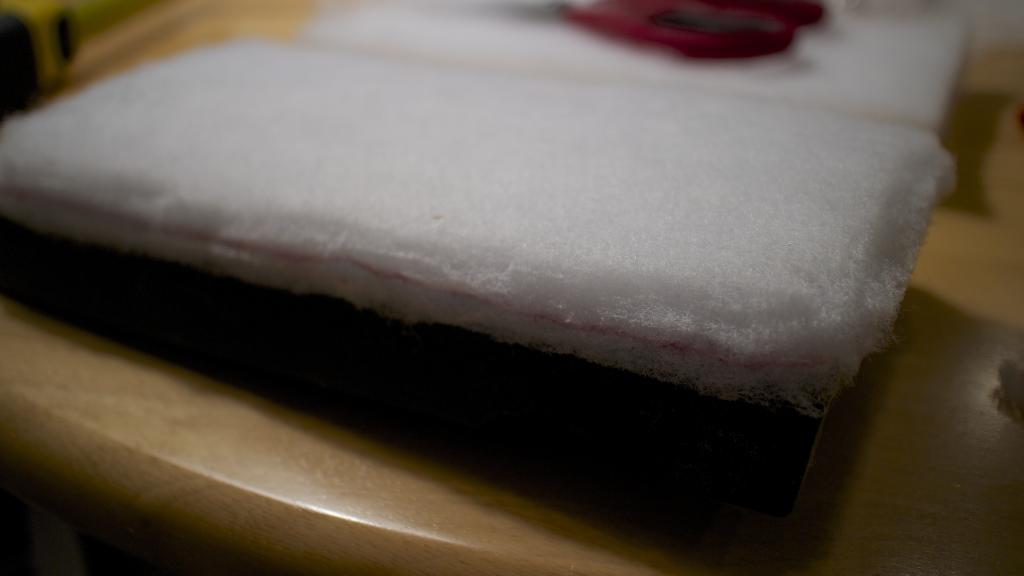
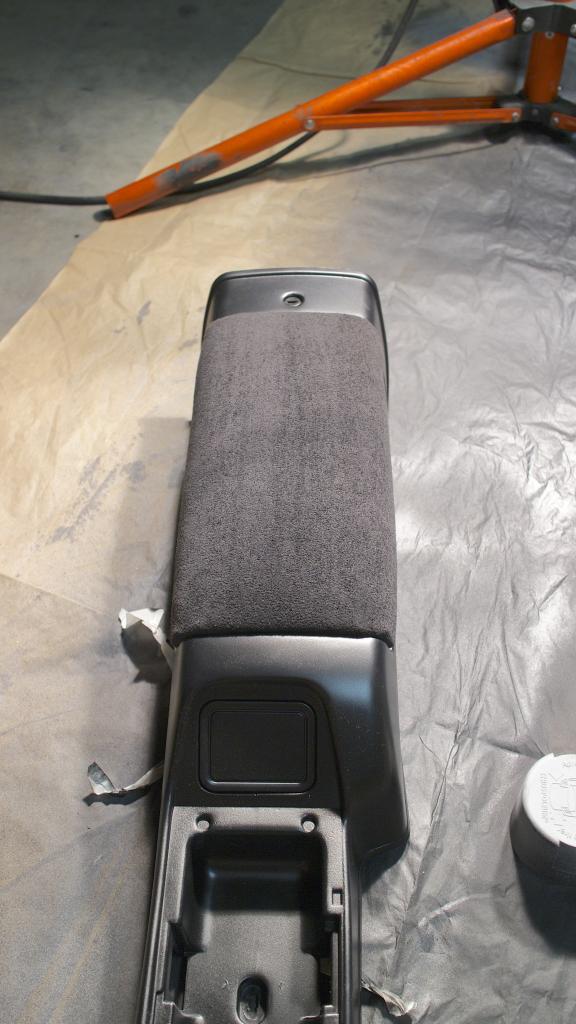
I started at the shorter ends and pulled it taught and threw a couple staples down for a good starting point. When you get your starting point, work from the starting point and don't tack it down anywhere else. If you don't pull from the starting point then you'll get the fabric bunching up a ton and won't be able to get rid of all the creases.
I started as I said on the short side and went down the left long side and then the right long side. and then played around with pulling the fabric taught in several places on the last side, to find the best way to avoid bunching.
I didn't get any photos of the process since I got kinda in the zone, but you can see what I mean.
Also, when you are about to staples a section down, move your stapler a little higher than where you want to put the staple, and then drag the stapler down to help pull it even tighter, then lay a staple down.
At that point you are done, but if you want to clean up the underside a little to hide the staples and the cut ends of the fabric. Grab either some black athletic tape/electrical tape, or in my case some anti friction tape. This stuff is really tacky and makes it easy to adhere it to anything. I mostly use it for wiring and covering up rattle points, but it worked perfect for this job.
and bolt everything back together and you are good to go! Turned out great and is super comfy.
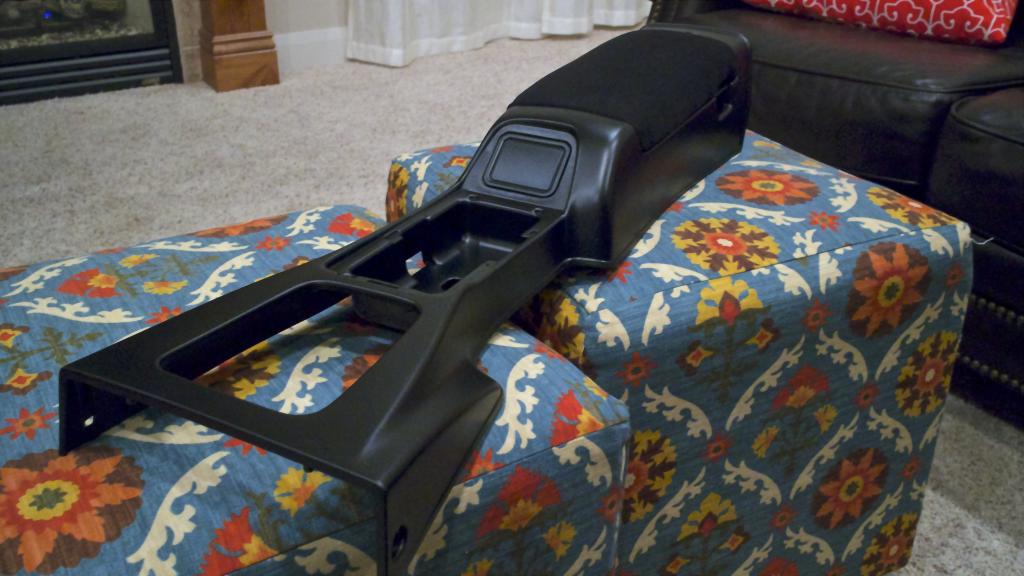
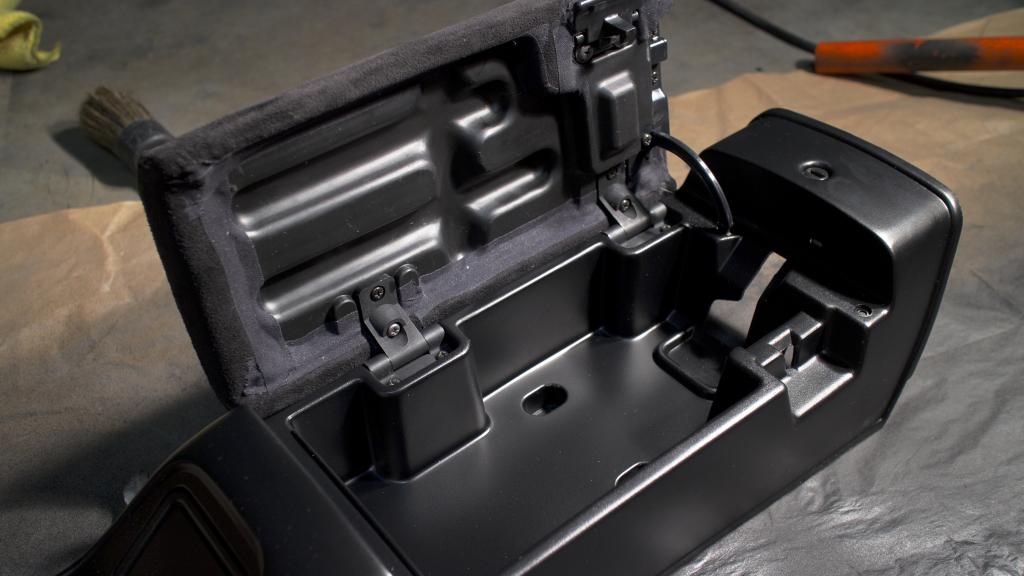
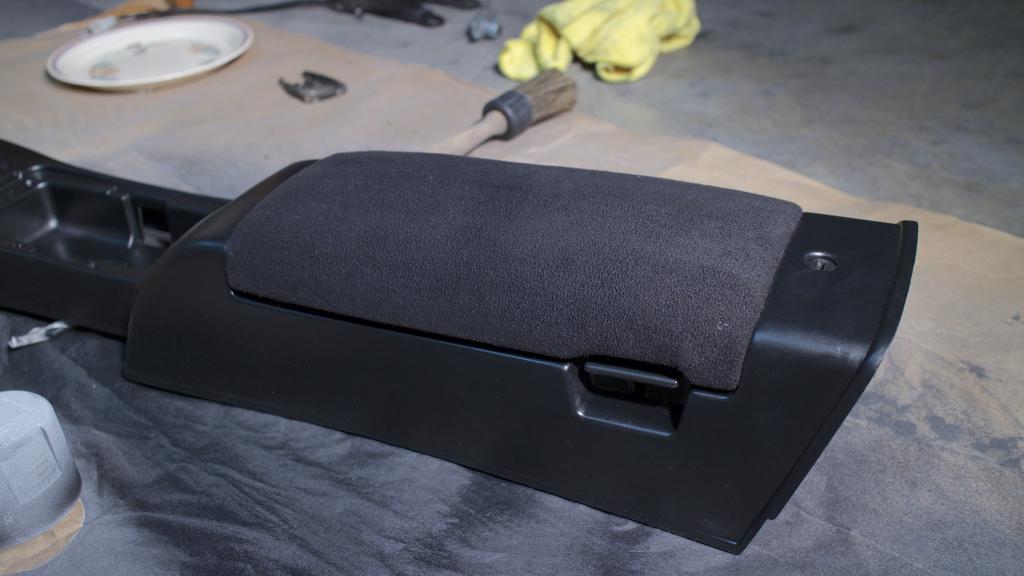
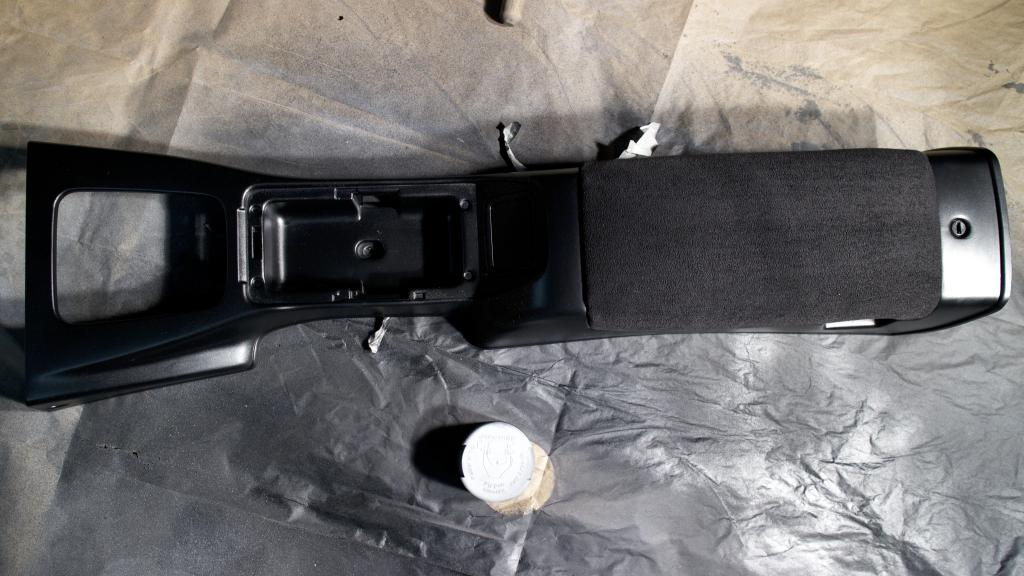
Boom baby.
Decided to polish off the center console and make my arm pad rest to cover up the nasty oem one that was all dented and...well...badness.
Not going to go into way too much detail since I think Adam covers it pretty thoroughly on his website.(revlimiter.net - Padded Leather Armrest)
But I did alter it a tiny bit for my own satisfaction of hiding the ugly part of the job.
Basically grab some foam backing/padding from any craft store you have in your area(joanns walmart et al).
Cut it to the shape of the arm rest and add/remove layers to fit how thick you want your pad. Cut the edges at an angle to give it a nice curved look, and spray adhesive on it and carefully attach it to the arm pad. Careful when doing this, when the foam touches the adhesive spray...it ain't coming off.
Grab your tools. Bagels are tools. Especially Everything bagels and their crack like substance they contain.

One thing to note. You will be pulling the fabric tight, so it will compress the padding material. So go a little thicker than you think looks "right". Makes it so you can add a little more comfort to the pad.

I started at the shorter ends and pulled it taught and threw a couple staples down for a good starting point. When you get your starting point, work from the starting point and don't tack it down anywhere else. If you don't pull from the starting point then you'll get the fabric bunching up a ton and won't be able to get rid of all the creases.
I started as I said on the short side and went down the left long side and then the right long side. and then played around with pulling the fabric taught in several places on the last side, to find the best way to avoid bunching.
I didn't get any photos of the process since I got kinda in the zone, but you can see what I mean.
Also, when you are about to staples a section down, move your stapler a little higher than where you want to put the staple, and then drag the stapler down to help pull it even tighter, then lay a staple down.

At that point you are done, but if you want to clean up the underside a little to hide the staples and the cut ends of the fabric. Grab either some black athletic tape/electrical tape, or in my case some anti friction tape. This stuff is really tacky and makes it easy to adhere it to anything. I mostly use it for wiring and covering up rattle points, but it worked perfect for this job.

and bolt everything back together and you are good to go! Turned out great and is super comfy.


Boom baby.
Reply
6
6
 Looks awesome. I like the contrast of textures.
02-22-2014, 02:13 AM
Looks awesome. I like the contrast of textures.
02-22-2014, 02:13 AM
#1339
Elite Member
Join Date: Oct 2013
Location: Cedar City, UT
Posts: 2,764
Total Cats: 951
It seriously only took me like an hour to do it. I'm surprised people buy those fugly looking pads from vendors. This is cheaper and so easy you can't really screw it up.
Padding was $5
If you bought the material I used another $5
I'm sure most have a staple gun but if not it is like $10 at most at a hardware store.
so $20 and an hour of your time give or take total.
Reply
0
0


