RedCarmel's copycat build
 02-24-2013, 11:13 PM
#1
Senior Member
Thread Starter
iTrader: (7)
Join Date: Oct 2011
Location: Horse and Buggy, PA
Posts: 704
Total Cats: 21
Alright, today seems as good as any other day to start a build thread.
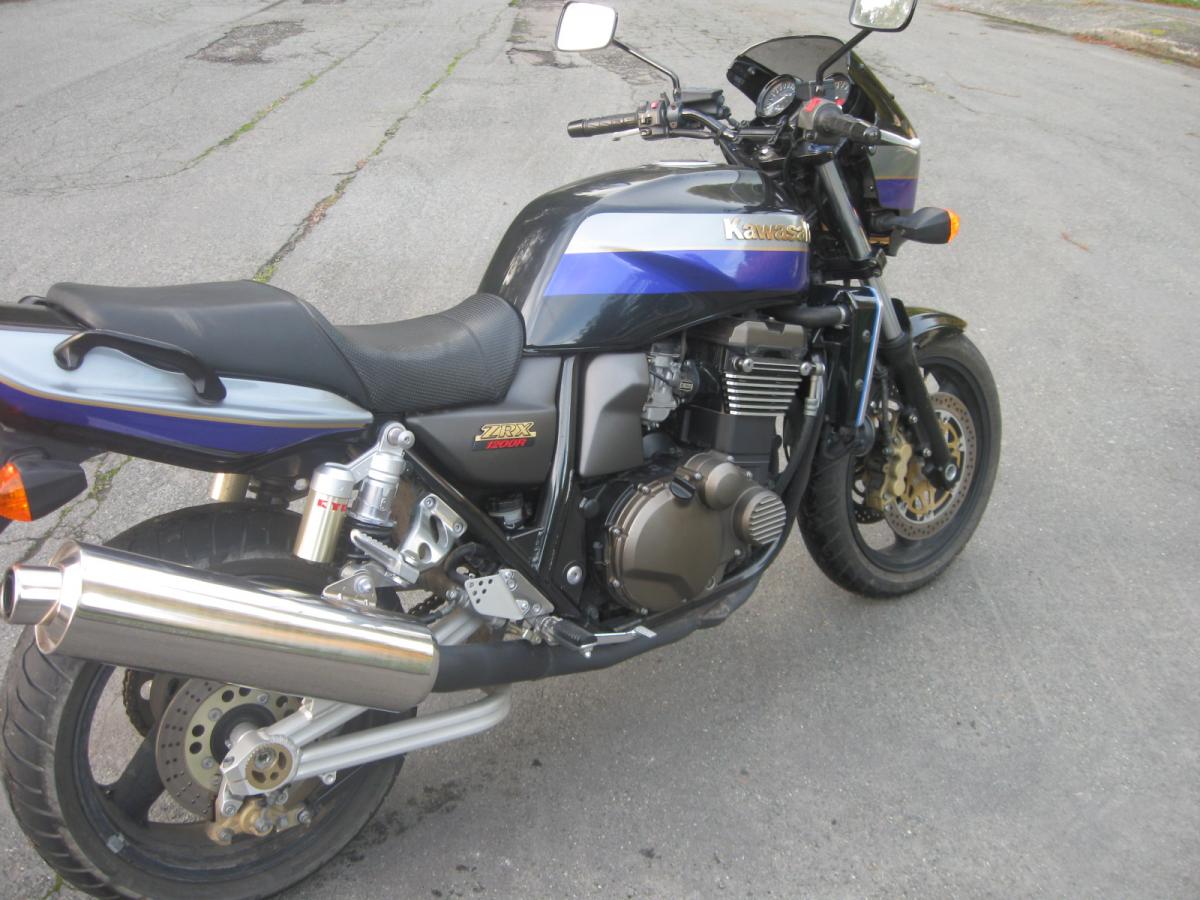
A little history - in order to afford getting a miata as a fun weekend car, I had to sell my motorcycle (it was a 2001 Kawasaki ZRX1200R). It was a sad day when I had to let it go, but honestly I know I made the right decision.
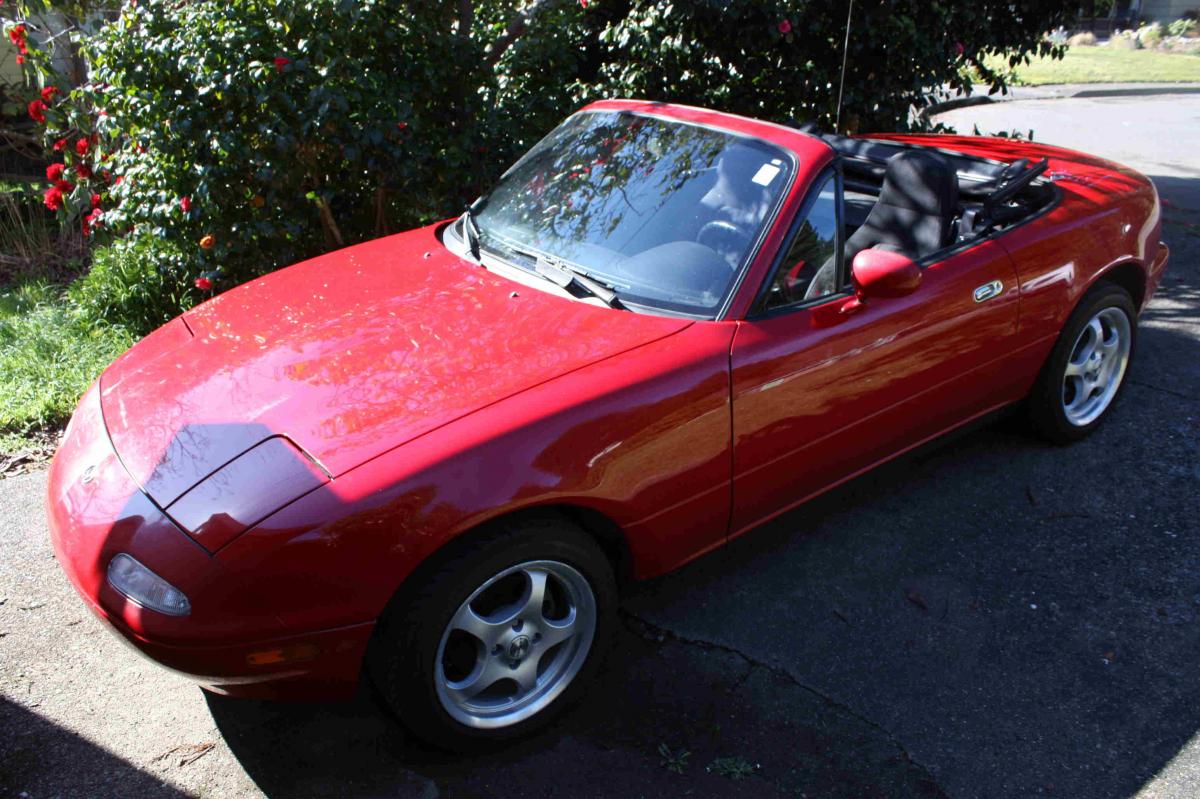
I took the cash from the bike sale and went on the miata hunt. Originally I wanted a green NB, but given my budget I knew that wasn't likely to find one in good shape. I ended up finding a red NA with a good ownership history and only 73k miles. My primary criteria was that it was a 1.8, was clean, and had no rust. This one fit the bill so it became mine. Also since it's a 1995, no OBDII is a bonus!
Here's how it sat when I bought it.
Over the two years I've owned it I've done some of the of the standard maintenance items such as rebuilding the shifter, replacing vital fluids, and doing the timing belt/water pump service
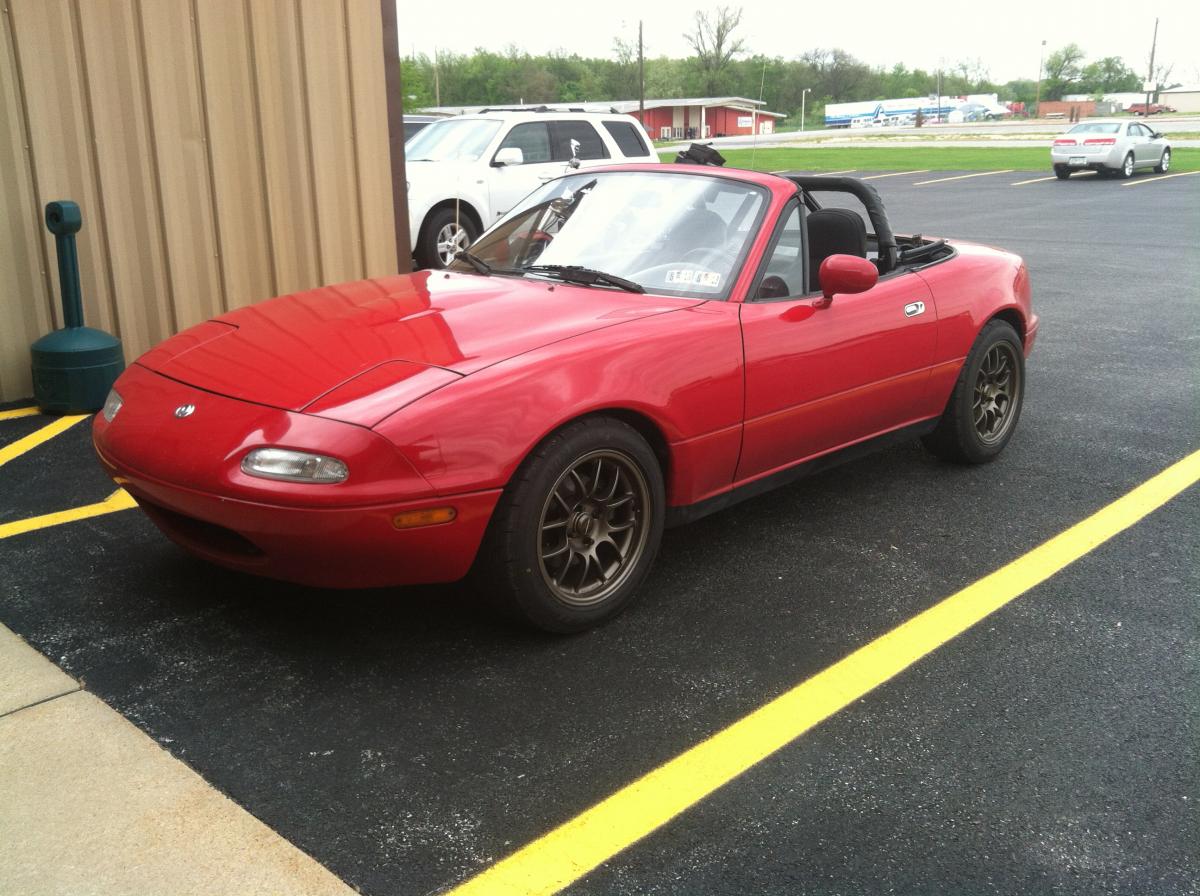
Then the modding started:
It handles great and is a blast to drive, but holy crap it is slow. So after a lot of debating over various power pathways I decided to take on building a DIY turbo system.
A little history - in order to afford getting a miata as a fun weekend car, I had to sell my motorcycle (it was a 2001 Kawasaki ZRX1200R). It was a sad day when I had to let it go, but honestly I know I made the right decision.
I took the cash from the bike sale and went on the miata hunt. Originally I wanted a green NB, but given my budget I knew that wasn't likely to find one in good shape. I ended up finding a red NA with a good ownership history and only 73k miles. My primary criteria was that it was a 1.8, was clean, and had no rust. This one fit the bill so it became mine. Also since it's a 1995, no OBDII is a bonus!
Here's how it sat when I bought it.
Over the two years I've owned it I've done some of the of the standard maintenance items such as rebuilding the shifter, replacing vital fluids, and doing the timing belt/water pump service
Then the modding started:
- Boss Frog Clearview Maxx rollbar,
- Tokico Illumina shocks with Flyin Miata springs and swaybars
- FM frame rails
- 15x8 6Uls with Star Specs
It handles great and is a blast to drive, but holy crap it is slow. So after a lot of debating over various power pathways I decided to take on building a DIY turbo system.

Reply
 0
0

0
02-24-2013, 11:40 PM
#2
Senior Member
Thread Starter
iTrader: (7)
Join Date: Oct 2011
Location: Horse and Buggy, PA
Posts: 704
Total Cats: 21
I just want to build something that's primarily streetable. I will do about three HPDEs a year with this car but it's mostly just for fun. My whp goal is 200-210.
First, with the gracious help of thirdgen, I tested compression and leakdown of my engine and I was very comfortable with the results. In fact, let me pause here to thank thirdgen for the tremendous amount of help he's given me along the way. I probably would have been banned from this forum if I publicly asked some of the stupid stuff he's had to answer for me. Props, sir!
Turbo parts
Some supporting parts I'm doing at the same time:
In addition to the above I've wired the gauges, installed the Link, tapped and installed the oil return line fitting, and drilled out all the bolts I've snapped during the disassembly process. I'm expecting a delivery soon with the cast outlet for the turbo and once I get that I can start making serious progress.
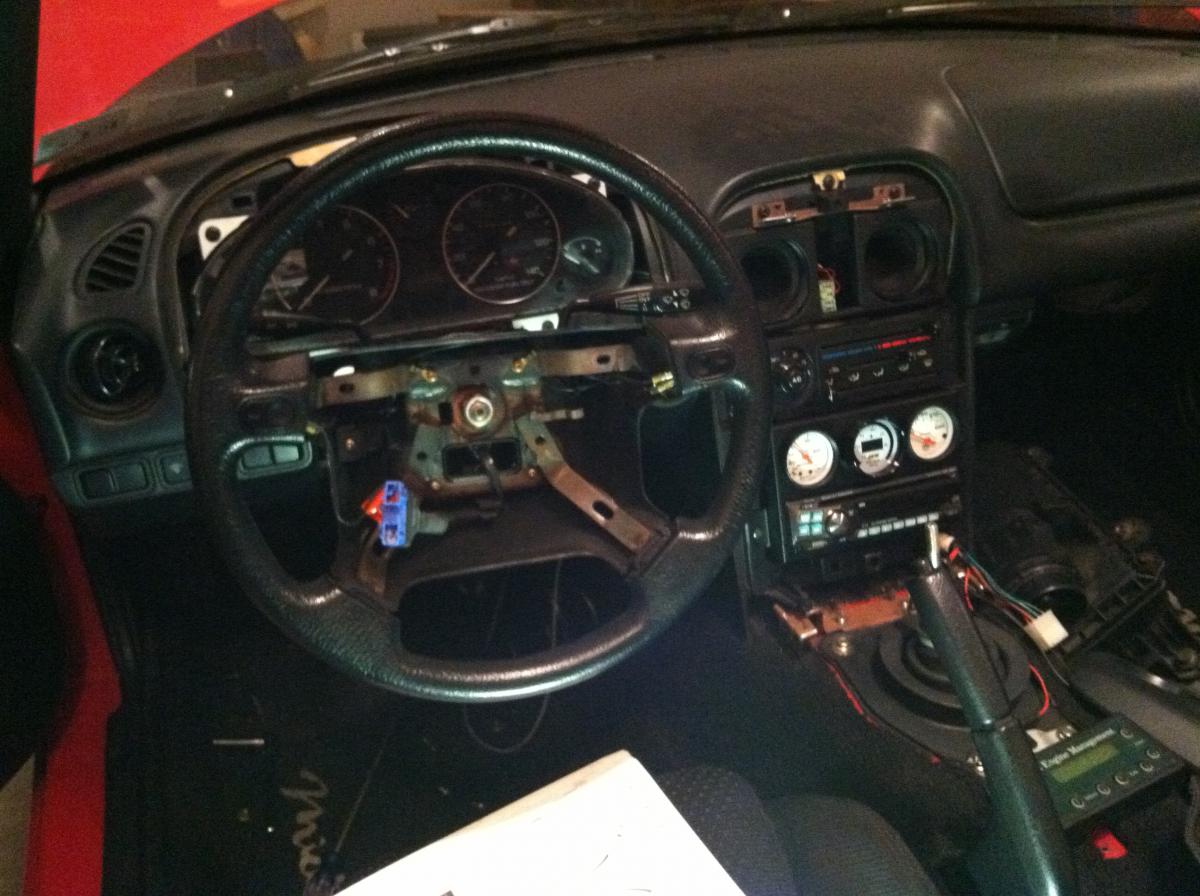
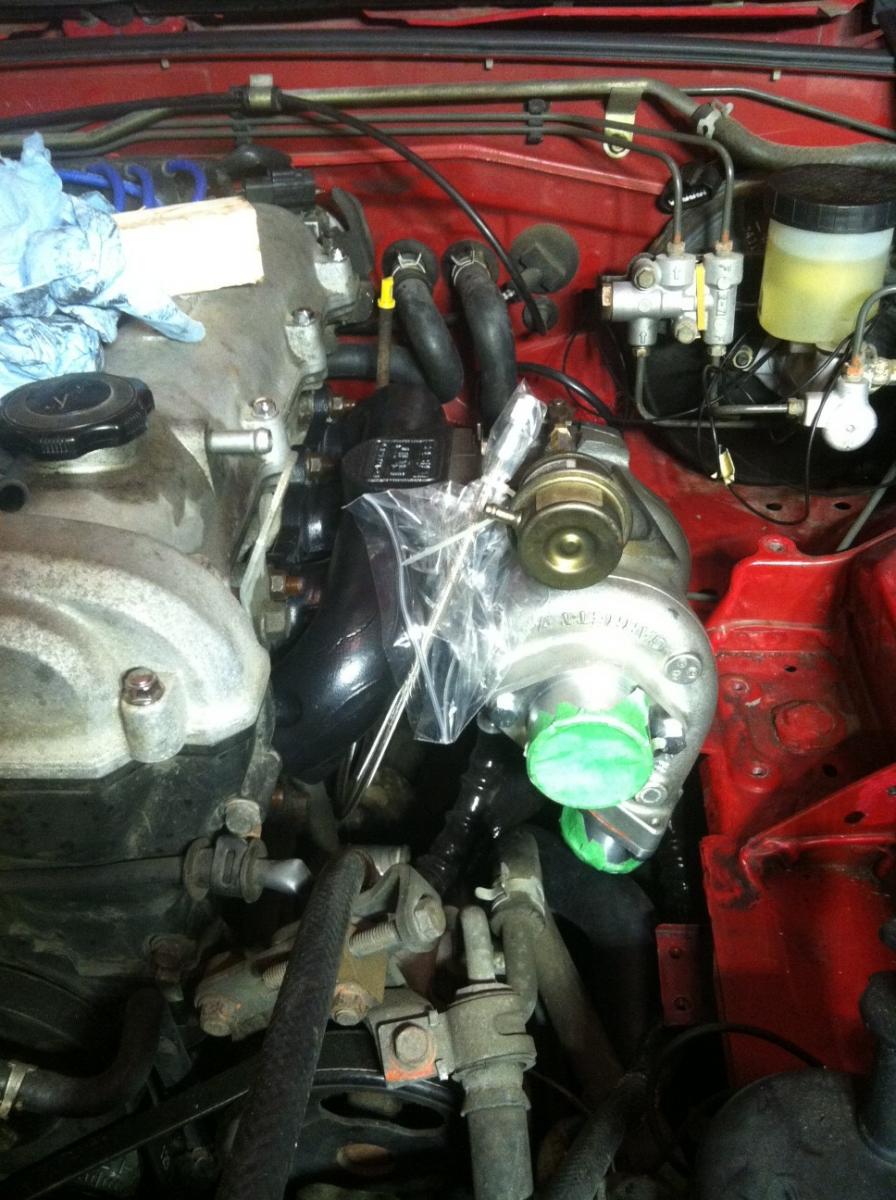
I'm not very good about taking a lot of photos, but here's one that shows how I'm mounting the gauges.
First, with the gracious help of thirdgen, I tested compression and leakdown of my engine and I was very comfortable with the results. In fact, let me pause here to thank thirdgen for the tremendous amount of help he's given me along the way. I probably would have been banned from this forum if I publicly asked some of the stupid stuff he's had to answer for me. Props, sir!
Turbo parts
- New FM cast manifold that had crooked M10 stud holes drilled in it. I got it cheap and took it to a machine shop to get the holes fixed and heli-coils installed.
- Stage 8 locking hardware for M10 studs
- Used SR20 T25 off zilvia forums
- Used complete FM link for 94-95 (I know, I know, it's not an MS but it was a good deal)
- RX-7 550cc injectors (just cleaned and serviced by Cruzin Performance)
- Used FM downpipe and 2.5" exhaust
- Used intercooler piping sourced from various forum members
- AEM UEGO
- Autometer boost and oil temp gauges
- Turbosmart Kompact Dual Port BOV
- FM1 clutch (I will use the stock flywheel but have it turned and lightened by a machine shop)
- I still need to buy an intercooler and air filter
Some supporting parts I'm doing at the same time:
- Mazdaspeed Competition motor mounts (mostly installed...Rosethal sent me one incorrect mount but they assure me the 2nd competition mount is in the mail)
- Replace "dummy" oil pressure gauge and sending unit with earlier miata version (installed)
- replace steering wheel with Nardi from a 99 (installed)
In addition to the above I've wired the gauges, installed the Link, tapped and installed the oil return line fitting, and drilled out all the bolts I've snapped during the disassembly process.
I'm expecting a delivery soon with the cast outlet for the turbo and once I get that I can start making serious progress. I'm not very good about taking a lot of photos, but here's one that shows how I'm mounting the gauges.
Reply
0
0
 02-25-2013, 10:14 AM
#4
Senior Member
Thread Starter
iTrader: (7)
Join Date: Oct 2011
Location: Horse and Buggy, PA
Posts: 704
Total Cats: 21
Hey Ray - no those were the old Borbets at the time. So your wife is encouraging you to get 6ULs? Very nice! I think the black ones would look great on your car.
I'm looking forward to seeing your build progress too. Post it up!
I'm looking forward to seeing your build progress too. Post it up!
Reply
0
0
 02-25-2013, 12:22 PM
#6
Senior Member
Thread Starter
iTrader: (7)
Join Date: Oct 2011
Location: Horse and Buggy, PA
Posts: 704
Total Cats: 21
With stock seats, fail. I plan to do a little surgery on my seat bottom to remedy that at some point. Other than that I like it real well. At some point I would also like to move the rearview mirror down an inch or so because the cross braces are still blocking my rearview a bit in the upper corners.
Reply
0
0
03-04-2013, 11:36 PM
#7
Senior Member
Thread Starter
iTrader: (7)
Join Date: Oct 2011
Location: Horse and Buggy, PA
Posts: 704
Total Cats: 21
Stage 8 locking hardware does work on this turbo, but I did need to ever so slightly grind down a few of the retaining clips so they would fit down between the nut and the turbine housing.
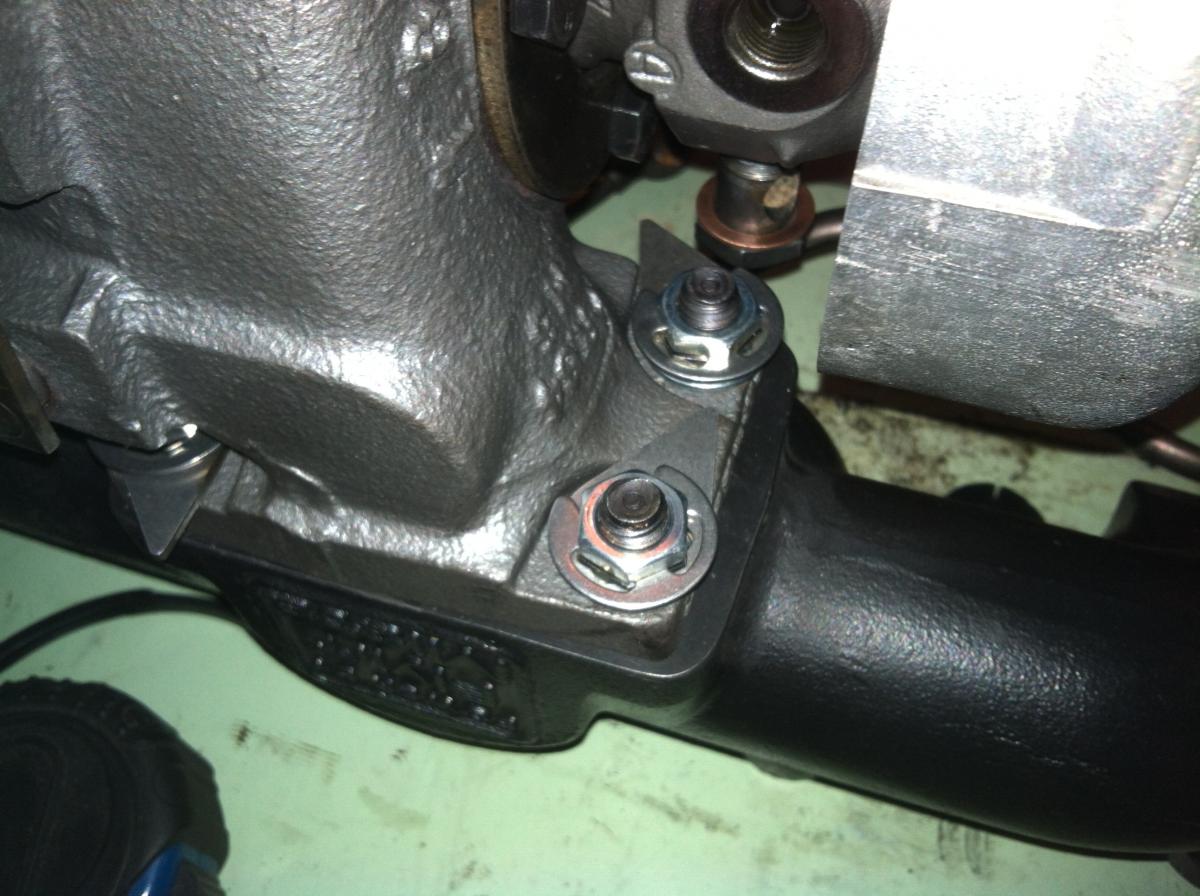
Installing studs using the double nut method
I found out my new cast outlet didn't have exactly the right pattern for the studs. I found this thread that proved to me it wasn't just me, so I got to work using a round file to shape the 5th hole as needed. It took some time but it worked out fine.
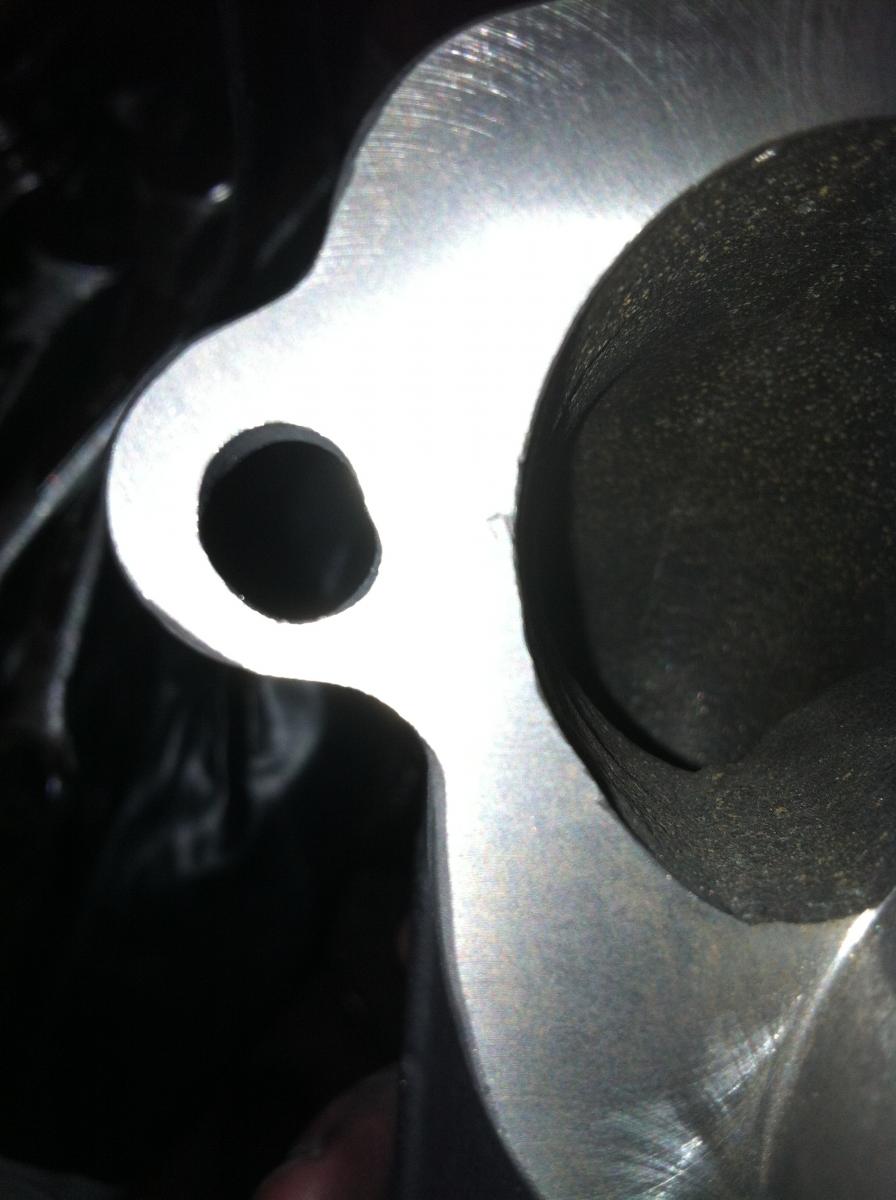
Once I get the banjo fittings for the water lines done, I should be ready to mount this on the engine. I realize that the oil drain fitting is pointed the wrong direction but if it faced the other direction it would hit intercooler piping, and I think this orientation should work ok.
Installing studs using the double nut method
I found out my new cast outlet didn't have exactly the right pattern for the studs. I found this thread that proved to me it wasn't just me, so I got to work using a round file to shape the 5th hole as needed. It took some time but it worked out fine.
Once I get the banjo fittings for the water lines done, I should be ready to mount this on the engine. I realize that the oil drain fitting is pointed the wrong direction but if it faced the other direction it would hit intercooler piping, and I think this orientation should work ok.
Reply
0
0

 03-05-2013, 07:59 AM
#9
Senior Member
Thread Starter
iTrader: (7)
Join Date: Oct 2011
Location: Horse and Buggy, PA
Posts: 704
Total Cats: 21
Thanks. I went back and forth for a couple days deciding whether or not to rebuild the turbo myself or send it out to a place like G-Pop Shop. But I stumbled on some really good reviews of a guy in Greensburg, PA that has a little side business rebuilding journal bearing turbos for the DSM community. For about $100 more than the G-Pop Shop parts kit, he did the whole thing including media blasting the turbine and center housings and repainting them with high temp paint.
Reply
0
0
03-05-2013, 04:43 PM
#10
You could cut that so it points straight down. I'm sure you could flare it even thought I'm not convinced you'd need too. Or you could cut it off completely and tap the flange. Or I have a 1/2" thick aluminum oil drain flange for a T25 turbo already tapped with a 1/2" pipe tap. You could have it. I'm sure I also have a spare 1/2" barbed hose connector. If you're using rubber hose.
It looks like you're moving right along nicely. We'll have to meet up when you're finished and we can get on the dyno.
It looks like you're moving right along nicely. We'll have to meet up when you're finished and we can get on the dyno.
Reply
0
0
03-05-2013, 08:10 PM
#12
Senior Member
Thread Starter
iTrader: (7)
Join Date: Oct 2011
Location: Horse and Buggy, PA
Posts: 704
Total Cats: 21
You could cut that so it points straight down. I'm sure you could flare it even thought I'm not convinced you'd need too. Or you could cut it off completely and tap the flange. Or I have a 1/2" thick aluminum oil drain flange for a T25 turbo already tapped with a 1/2" pipe tap. You could have it. I'm sure I also have a spare 1/2" barbed hose connector. If you're using rubber hose.
It looks like you're moving right along nicely. We'll have to meet up when you're finished and we can get on the dyno.
It looks like you're moving right along nicely. We'll have to meet up when you're finished and we can get on the dyno.
Yes, I'm thinking maybe we should even try (again) to plan an all PA meet. There seems to be a number of us around.
Here's a link to his ad
Journal Bearing Turbocharger Rebuild Service - DSM Classifieds
Reply
0
0
03-06-2013, 08:25 AM
#14
Senior Member
Thread Starter
iTrader: (7)
Join Date: Oct 2011
Location: Horse and Buggy, PA
Posts: 704
Total Cats: 21
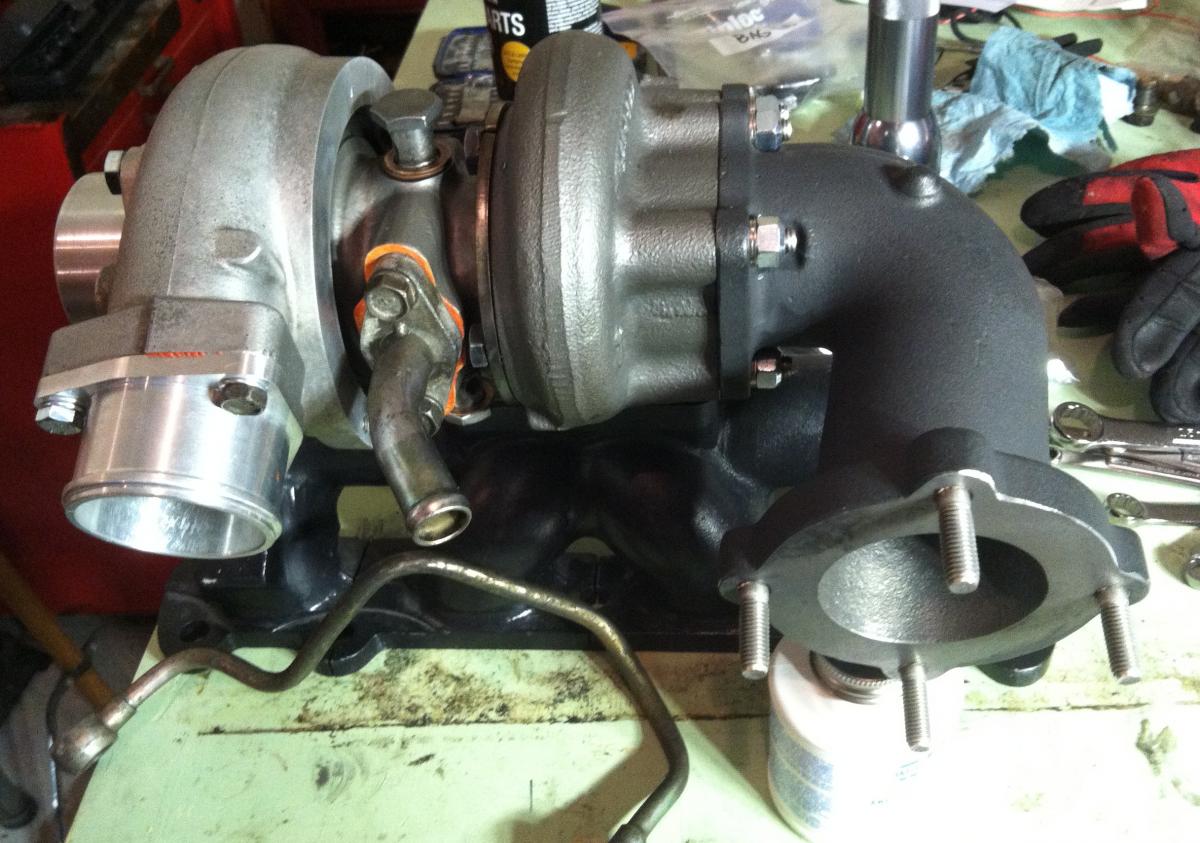
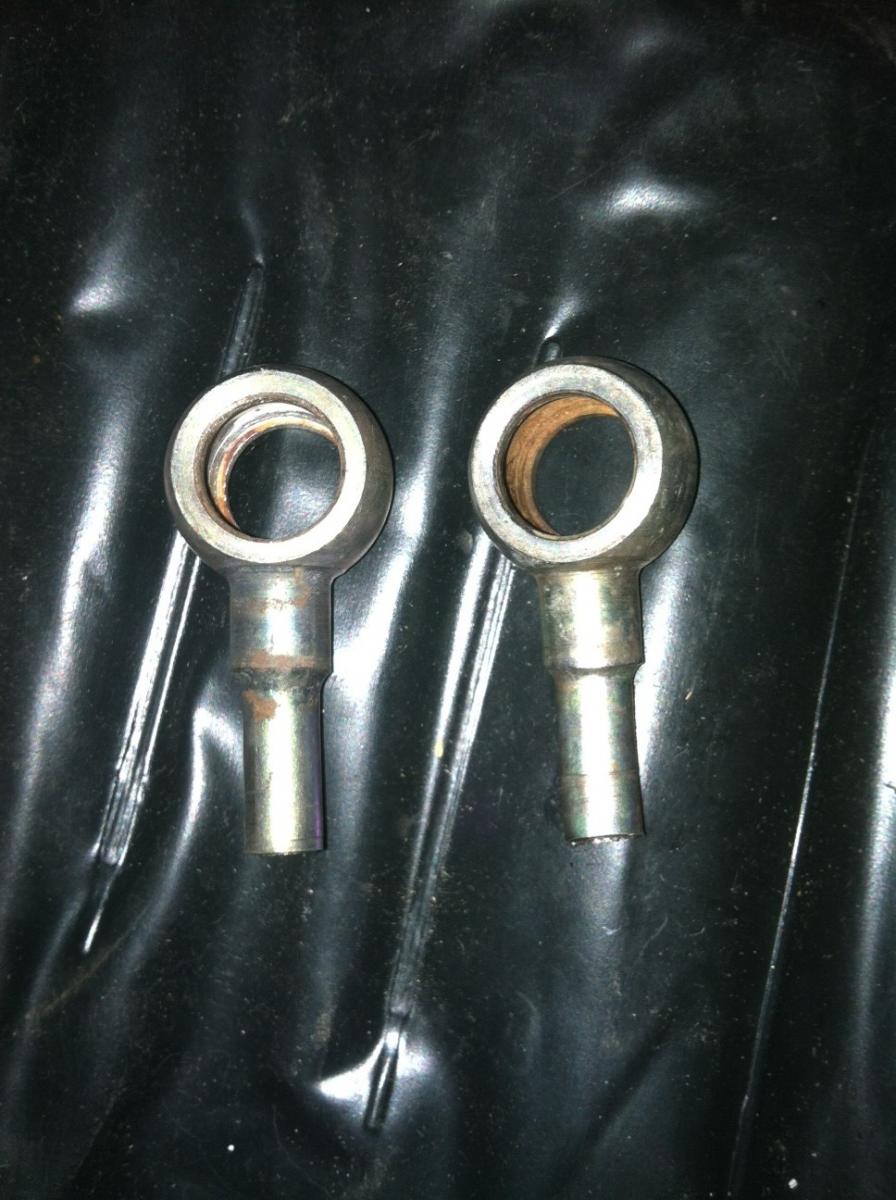
I sacrificed a stock sr20 water line in order to reuse the fittings on my build. One of them was a little rusty inside but cleaned up reasonably well.
Lines installed. An extra large heat shield on the oil drain line hides the ugly worm clamp at the top. However, I thought using another clamp just snugged up around the bottom of the heat shield to hold it in place made sense.
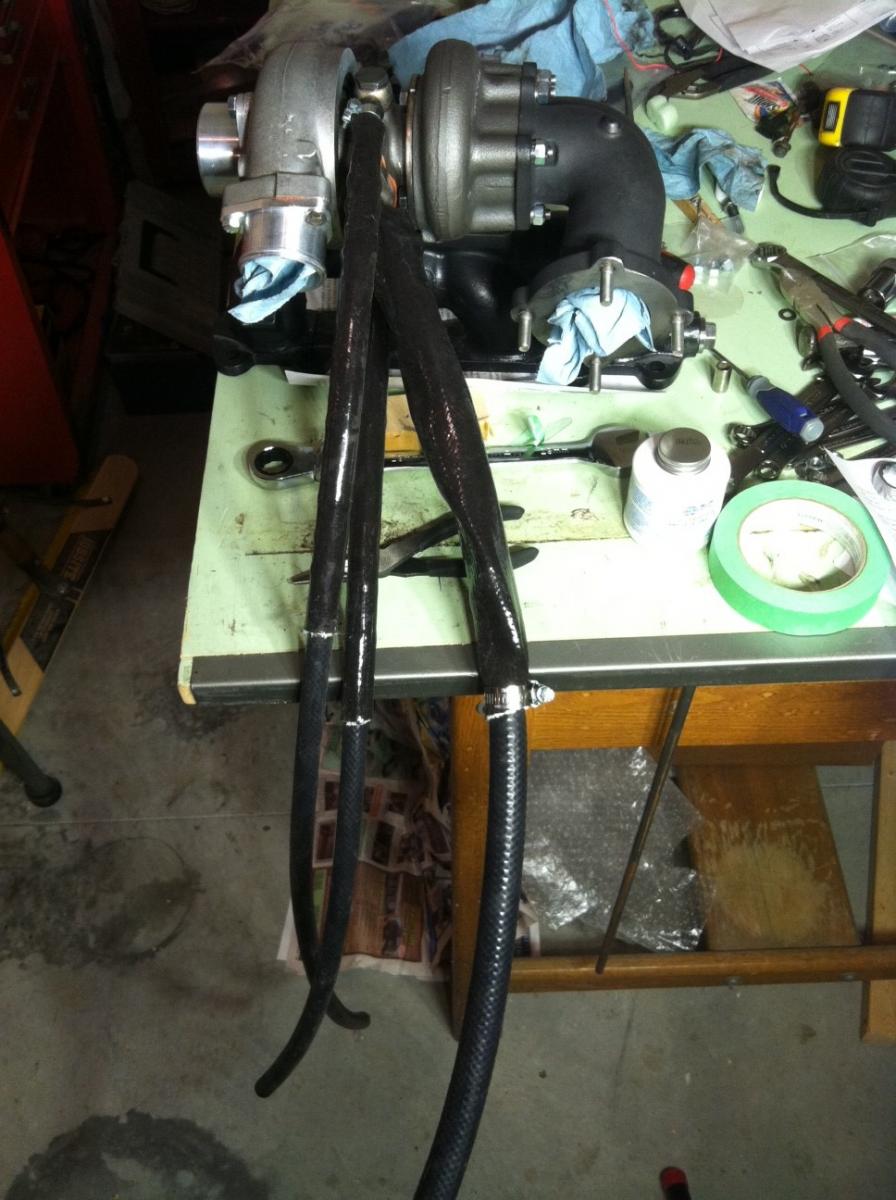
I couldn't fit this on the engine last night. I've heard that with this setup you do not need to bend or cut the frame rail, so I have not done that. I will try disconnecting one of the motor mounts and jacking the engine up a little to see if that gives me enough clearance.
Lines installed. An extra large heat shield on the oil drain line hides the ugly worm clamp at the top. However, I thought using another clamp just snugged up around the bottom of the heat shield to hold it in place made sense.
I couldn't fit this on the engine last night. I've heard that with this setup you do not need to bend or cut the frame rail, so I have not done that. I will try disconnecting one of the motor mounts and jacking the engine up a little to see if that gives me enough clearance.
Reply
0
0
 03-11-2013, 01:42 AM
#17
Senior Member
Thread Starter
iTrader: (7)
Join Date: Oct 2011
Location: Horse and Buggy, PA
Posts: 704
Total Cats: 21
Even after loosening the motor mounts and jacking the engine up, I still need to cut a slot to get it to fit.
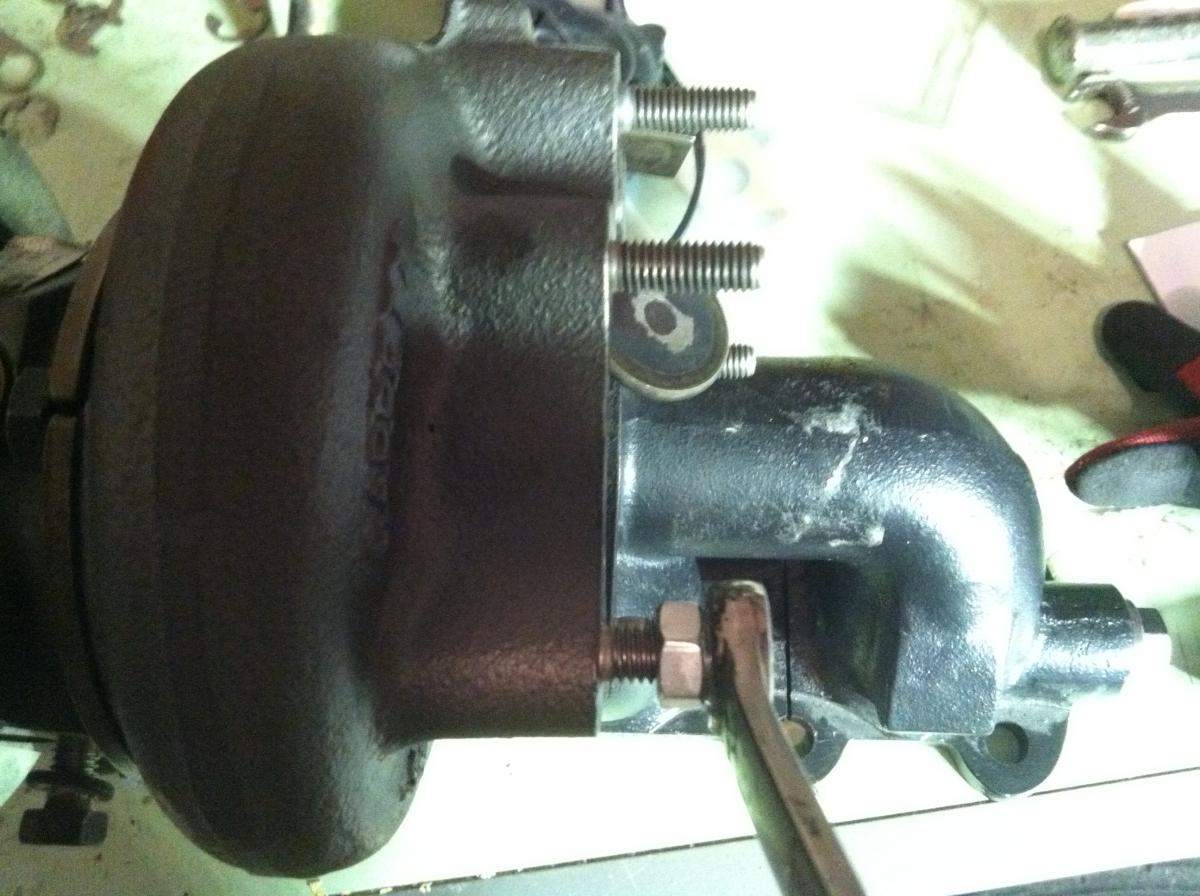
I've seen quite a few threads on how people have dealt with mounting the wastegage actuator on an SR20 turbo after rotating the compressor housing about 180 degrees. I was very close to copying Curly's exhaust clamp solution (this is the copycat build after all) when I decided to do something else. Ended up drilling and tapping mounting holes in the back side of the housing, and then shortening and threading the stock actuator rod. This way I could keep the actuator on the stock bracket and end result was very stout.
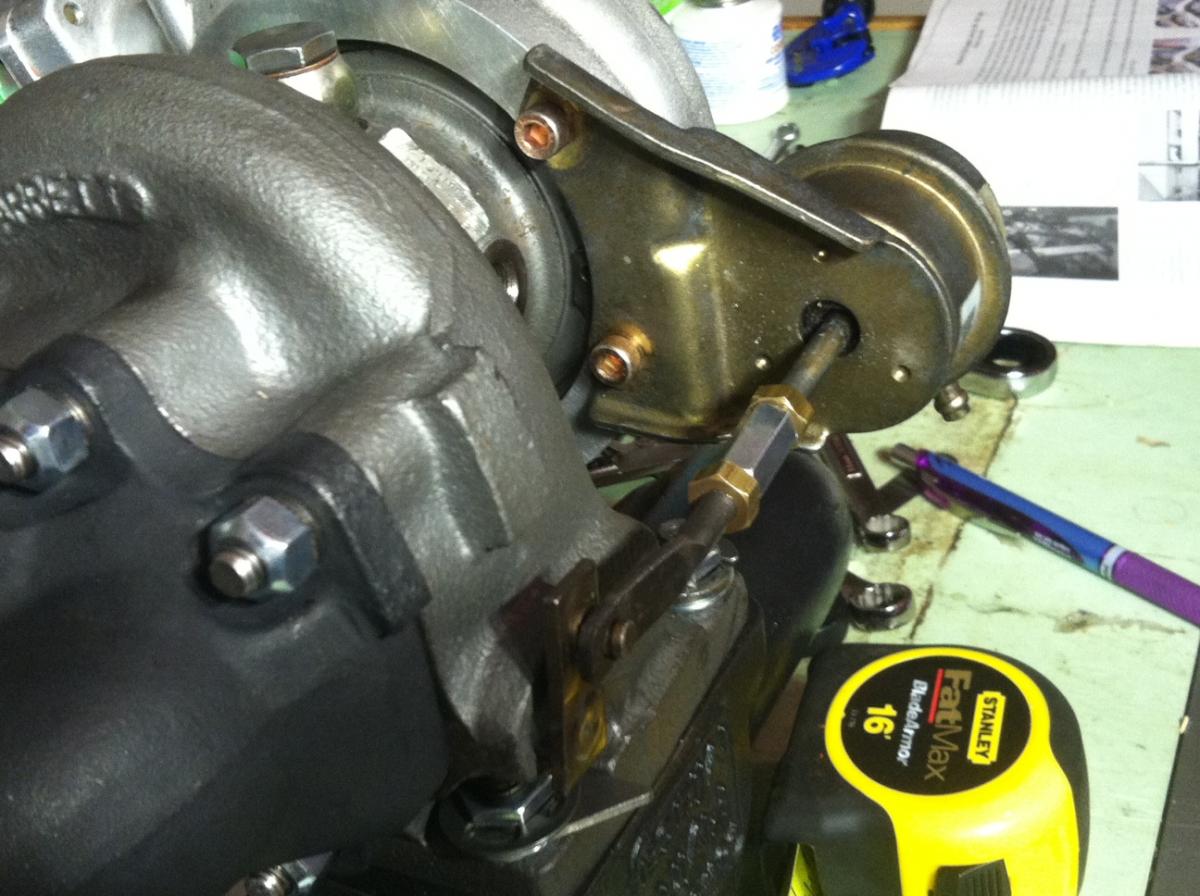
I've seen quite a few threads on how people have dealt with mounting the wastegage actuator on an SR20 turbo after rotating the compressor housing about 180 degrees. I was very close to copying Curly's exhaust clamp solution (this is the copycat build after all) when I decided to do something else. Ended up drilling and tapping mounting holes in the back side of the housing, and then shortening and threading the stock actuator rod. This way I could keep the actuator on the stock bracket and end result was very stout.
Reply
1
1
03-18-2013, 11:04 PM
#20
Senior Member
Thread Starter
iTrader: (7)
Join Date: Oct 2011
Location: Horse and Buggy, PA
Posts: 704
Total Cats: 21
Made some reasonable progress this weekend. Got the oil and water lines hooked up and most of the intercooler piping set up. I need to get to a NAPA and pick up two more t-bolts and I'll be able to finish the intercooler piping. Major stuff left is to swap the injectors, hang the exhaust, and run remaining misc vacuum lines and gauge wires.
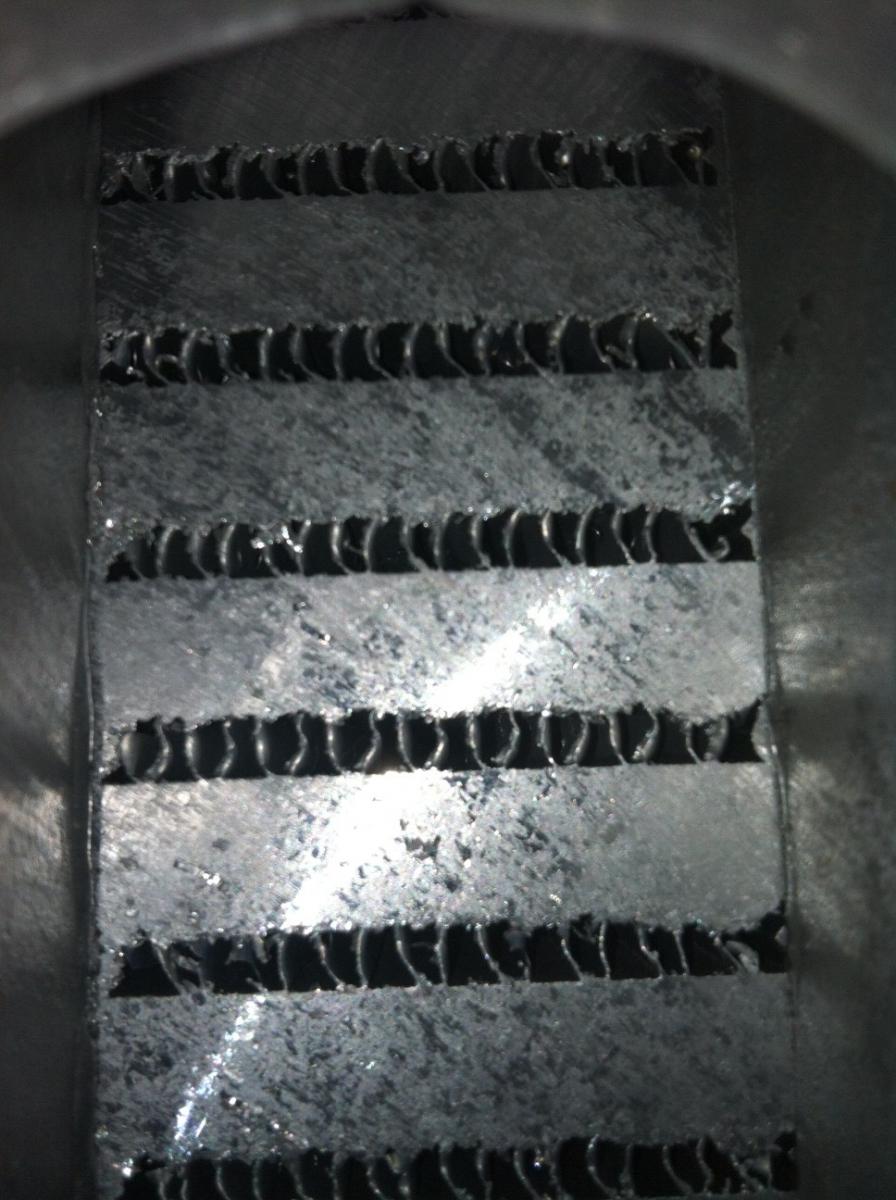
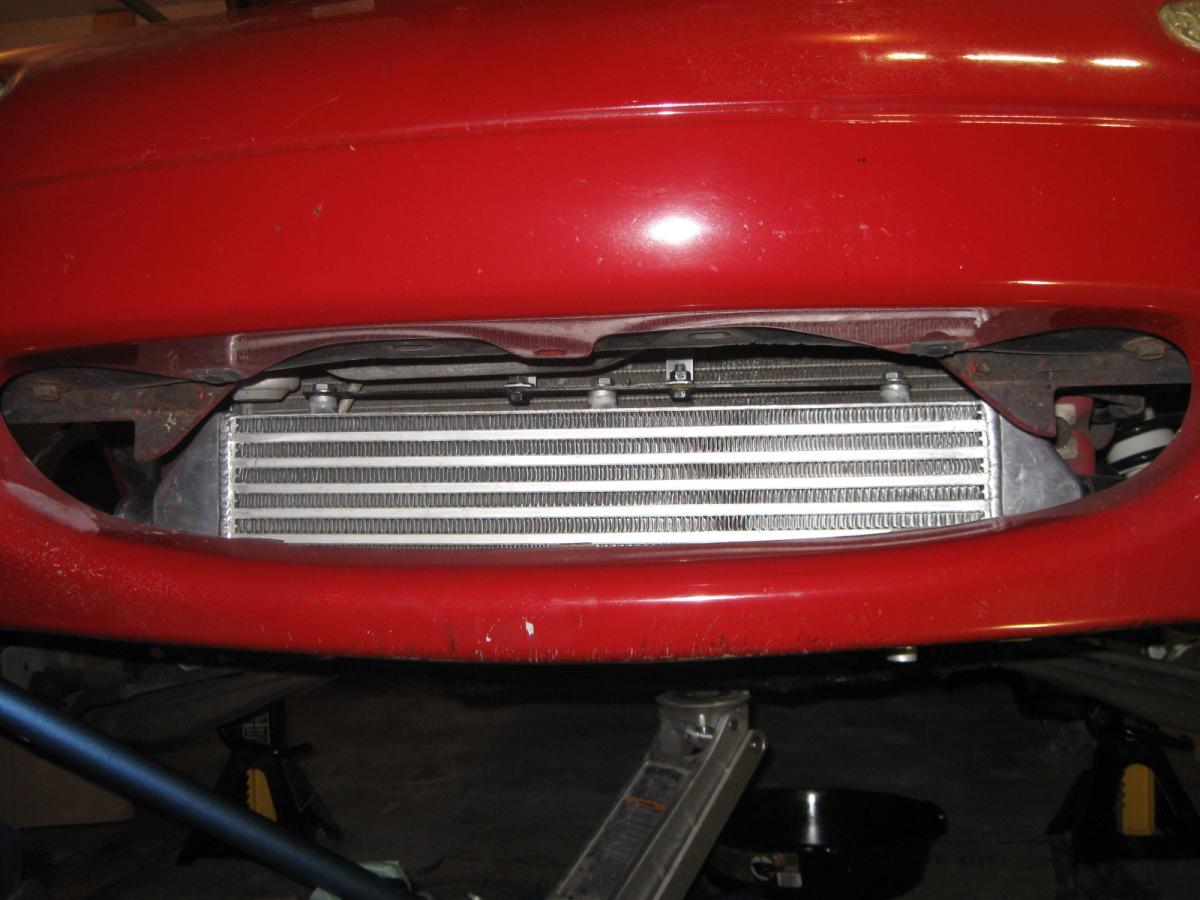
This is a CXRacing 27x6x2.5 bar & plate intercooler with 2.5" openings. Regardless of the inspection certificate I wasn't terribly impressed with the quality, but it was $80 shipped so you get what you pay for
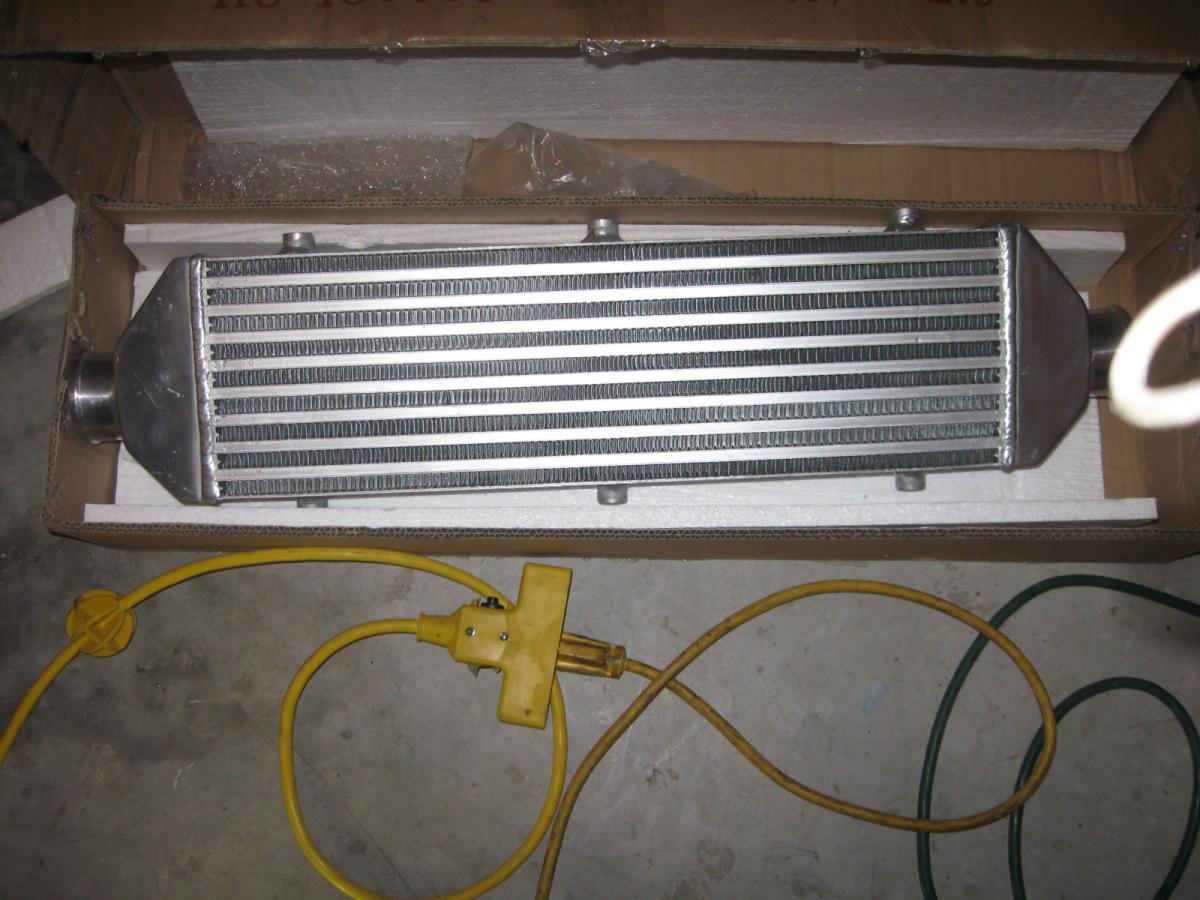

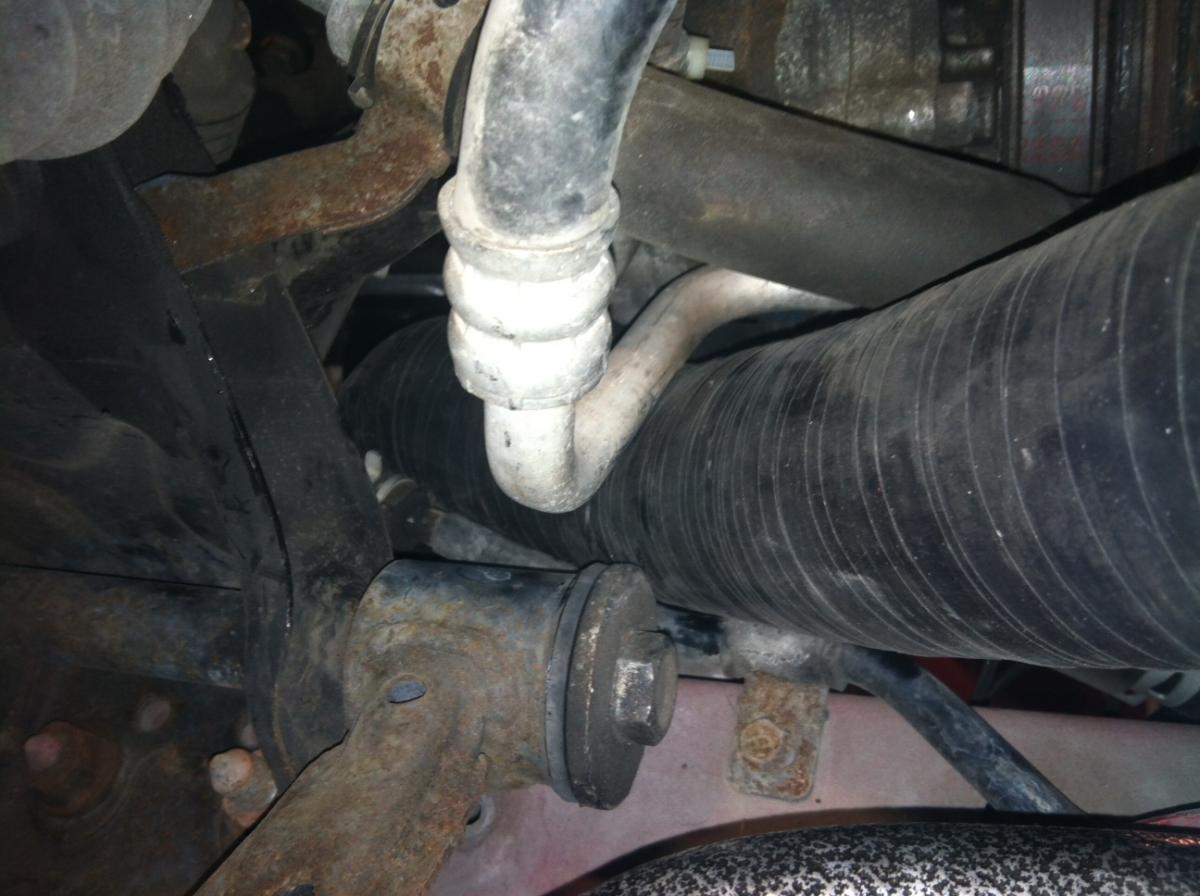
Running the intercooler piping wasn't too bad, but keeping the A/C and power steering definitely makes my life more difficult. I picked up a used FM silicone pipe for the compressor-intercooler side, and it is a tight fit, and some protection for the pipe will be in order.
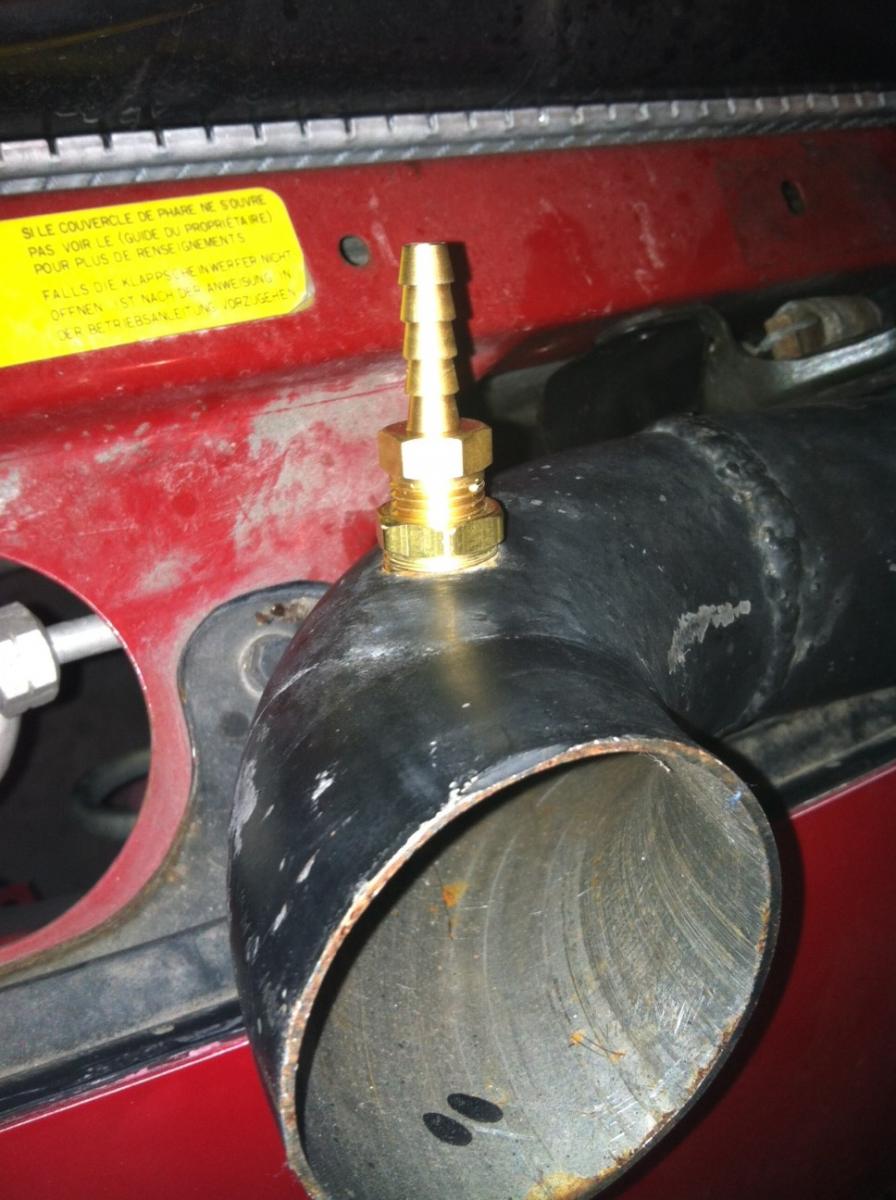
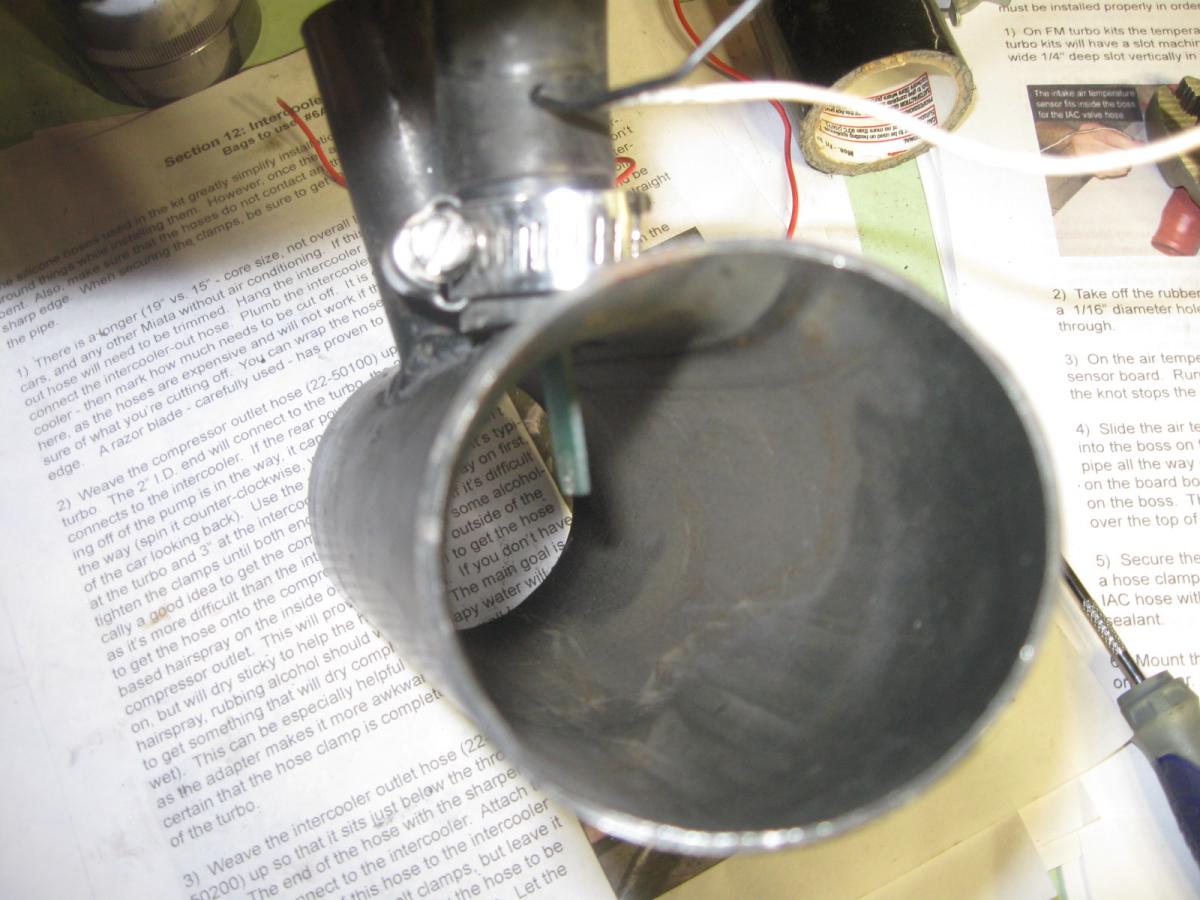
The intercooler-intake side was easier, and I'm using some metal tubing I picked up used off the forum. The guy before me was using a 3/8" hole for what I assume was his GM IAT sensor, but I adapted it for the wastegate signal source per Joe Perez's very helpful thread on boost sag.
I was less than amused about the FM Link IAT setup. I picked up a used sensor and I just hope it's not already broken.
Now that I see this picture, the intercooler is crooked. I bought some strips of aluminum and attempted to copy FM's intercooler hanger, but it will need some adjustment.
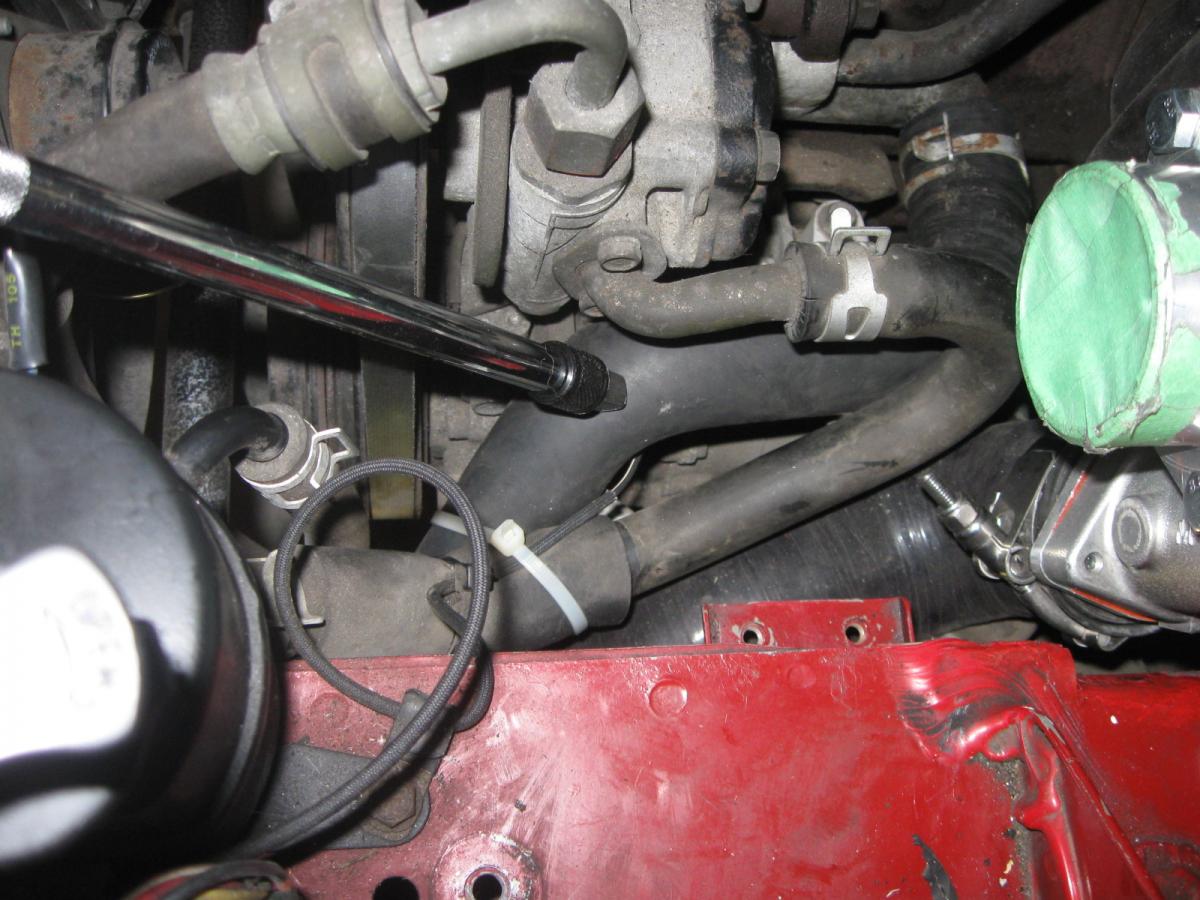
For the lower radiator hose, I saw some posts about using a universal 20" long NAPA hose, but I also saw some people with NAs had luck with using an stock NB hose. So I picked up an NB hose, but when I was installing it, it was way too long. In the end, I had to trim about 5.5" off the upper end and about 0.5" off the lower end to make it fit without kinks. Either way, I think it should work.
With any luck, I'll be wrapping up this install this weekend.
This is a CXRacing 27x6x2.5 bar & plate intercooler with 2.5" openings. Regardless of the inspection certificate I wasn't terribly impressed with the quality, but it was $80 shipped so you get what you pay for
Running the intercooler piping wasn't too bad, but keeping the A/C and power steering definitely makes my life more difficult. I picked up a used FM silicone pipe for the compressor-intercooler side, and it is a tight fit, and some protection for the pipe will be in order.
The intercooler-intake side was easier, and I'm using some metal tubing I picked up used off the forum. The guy before me was using a 3/8" hole for what I assume was his GM IAT sensor, but I adapted it for the wastegate signal source per Joe Perez's very helpful thread on boost sag.
I was less than amused about the FM Link IAT setup. I picked up a used sensor and I just hope it's not already broken.
Now that I see this picture, the intercooler is crooked. I bought some strips of aluminum and attempted to copy FM's intercooler hanger, but it will need some adjustment.
For the lower radiator hose, I saw some posts about using a universal 20" long NAPA hose, but I also saw some people with NAs had luck with using an stock NB hose. So I picked up an NB hose, but when I was installing it, it was way too long. In the end, I had to trim about 5.5" off the upper end and about 0.5" off the lower end to make it fit without kinks. Either way, I think it should work.
With any luck, I'll be wrapping up this install this weekend.
Reply
0
0


