Build Threads Building a motor? Post the progress here.

99mx5 EFR build

Thread Tools
 
Search this Thread
 
Old 05-04-2012, 12:40 PM
  #301  
Elite Member
Thread Starter
iTrader: (16)
 
99mx5's Avatar
 
Join Date: Oct 2006
Location: Las Cruces, NM
Posts: 1,647
Total Cats: 524
Default

The lettering on the rear left tire. It not enough to even mark the tire.
99mx5 is offline  
Old 06-18-2012, 02:29 AM
  #302  
Elite Member
Thread Starter
iTrader: (16)
 
99mx5's Avatar
 
Join Date: Oct 2006
Location: Las Cruces, NM
Posts: 1,647
Total Cats: 524
Default

This weekend I added ducting for the intercooler and radiator. It channels all the air from the bumper opening. The duct is made from three pieces of aluminum. I first made a template from cardboard then transferred the parts to aluminum sheet.

I used strips of cardboard to make mounting tabs then made the panels and mounted them to the tabs.
Attached Thumbnails 99mx5 EFR build-img_20120613_201853.jpg   99mx5 EFR build-img_20120613_205823.jpg   99mx5 EFR build-img_20120613_213910.jpg   99mx5 EFR build-img_20120613_213931.jpg  
99mx5 is offline  
Old 06-18-2012, 02:32 AM
  #303  
Elite Member
Thread Starter
iTrader: (16)
 
99mx5's Avatar
 
Join Date: Oct 2006
Location: Las Cruces, NM
Posts: 1,647
Total Cats: 524
Default

Once I made the sides I made the bottom panel to seal the gap between the intercooler and radiator. I then cut the leading edge to fit behind the bumper.
Attached Thumbnails 99mx5 EFR build-img_20120613_231958.jpg   99mx5 EFR build-img_20120613_232052.jpg   99mx5 EFR build-img_20120613_233306.jpg  
99mx5 is offline  
Old 06-18-2012, 02:33 AM
  #304  
Elite Member
Thread Starter
iTrader: (16)
 
99mx5's Avatar
 
Join Date: Oct 2006
Location: Las Cruces, NM
Posts: 1,647
Total Cats: 524
Default

I transferred the parts to aluminum sheet and riveted them together. It is also shown how it will fit in the bumper with the bottom panel.
Attached Thumbnails 99mx5 EFR build-img_20120615_190239.jpg   99mx5 EFR build-img_20120615_203127.jpg   99mx5 EFR build-img_20120615_203227.jpg   99mx5 EFR build-img_20120615_203211.jpg   99mx5 EFR build-img_20120615_203217.jpg  

99mx5 is offline  
Old 06-18-2012, 02:38 AM
  #305  
Elite Member
Thread Starter
iTrader: (16)
 
99mx5's Avatar
 
Join Date: Oct 2006
Location: Las Cruces, NM
Posts: 1,647
Total Cats: 524
Default

It fits nicely and directs all airflow through intercooler and rad.
Attached Thumbnails 99mx5 EFR build-img_20120615_205132.jpg   99mx5 EFR build-img_20120615_205156.jpg   99mx5 EFR build-img_20120615_205246.jpg   99mx5 EFR build-img_20120615_205344.jpg  
99mx5 is offline  
Old 06-18-2012, 02:42 AM
  #306  
Elite Member
Thread Starter
iTrader: (16)
 
99mx5's Avatar
 
Join Date: Oct 2006
Location: Las Cruces, NM
Posts: 1,647
Total Cats: 524
Default

View of ducting inside of installed bumper.
Attached Thumbnails 99mx5 EFR build-img_20120616_210148.jpg   99mx5 EFR build-img_20120616_210826.jpg   99mx5 EFR build-img_20120616_210636.jpg   99mx5 EFR build-img_20120616_211019.jpg  
99mx5 is offline  
Old 06-18-2012, 03:37 AM
  #307  
Oni
Junior Member
iTrader: (1)
 
Oni's Avatar
 
Join Date: Jan 2009
Location: Tasmania, AUS
Posts: 162
Total Cats: 3
Default

Impressive, thanks for the pics and the explanation!. Any chance you have data logs of temps from before to compare?
Oni is offline  
Old 06-18-2012, 10:43 AM
  #308  
Junior Member
iTrader: (3)
 
RavynX's Avatar
 
Join Date: Apr 2010
Location: San Antonio, TX
Posts: 410
Total Cats: 1
Default

I can has duplicate? ^_^ Nice work, man.
RavynX is offline  
Old 06-18-2012, 12:44 PM
  #309  
mkturbo.com
iTrader: (24)
 
shuiend's Avatar
 
Join Date: May 2006
Location: Charleston SC
Posts: 15,177
Total Cats: 1,681
Default

I am actually going to be doing my ducting this afternoon and the next few days. This is a great example of where to start.
shuiend is offline  
Old 06-18-2012, 05:17 PM
  #310  
Elite Member
Thread Starter
iTrader: (16)
 
99mx5's Avatar
 
Join Date: Oct 2006
Location: Las Cruces, NM
Posts: 1,647
Total Cats: 524
Default

Thanks for the comments! The trick is to use the cardboard for cutting and fitting. If you cut off too much, just tape some more on again. Try to use factory mounts on the chassis and make tabs, then attach the patterns to the tabs. When you cut the patterns, integrate the tabs to make it all in one piece.
99mx5 is offline  
Old 06-18-2012, 05:19 PM
  #311  
mkturbo.com
iTrader: (24)
 
shuiend's Avatar
 
Join Date: May 2006
Location: Charleston SC
Posts: 15,177
Total Cats: 1,681
Default

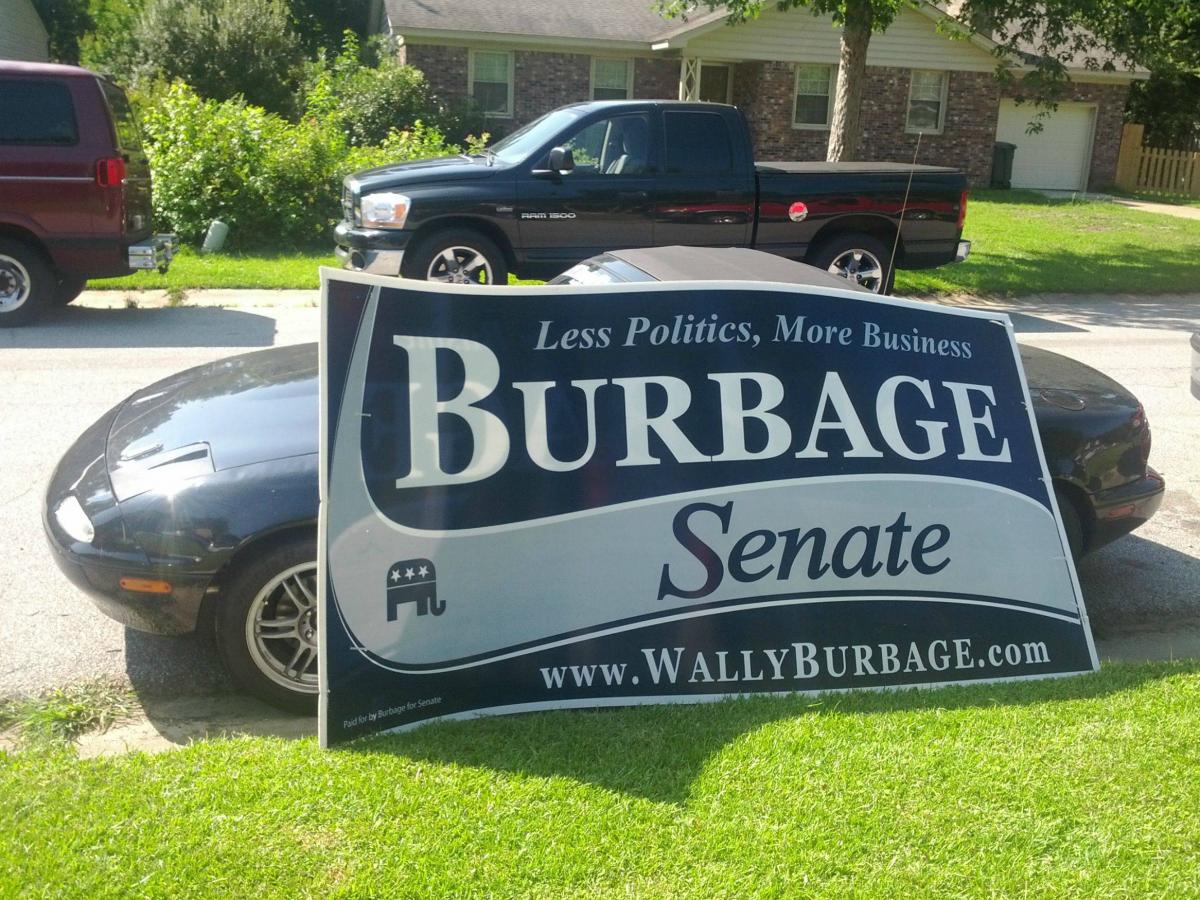
I have this nice political sign to use.
Attached Thumbnails 99mx5 EFR build-c2bvl.jpg  
shuiend is offline  
Old 06-18-2012, 06:19 PM
  #312  
Elite Member
Thread Starter
iTrader: (16)
 
99mx5's Avatar
 
Join Date: Oct 2006
Location: Las Cruces, NM
Posts: 1,647
Total Cats: 524
Default

That might be too thick to manipulate when making patterns. I use cardboard from cereal boxes and the light cardboard from document folders.
99mx5 is offline  
Old 06-18-2012, 11:28 PM
  #313  
Elite Member
iTrader: (10)
 
soviet's Avatar
 
Join Date: Jan 2010
Location: VA
Posts: 3,493
Total Cats: 268
Default

What tools did you use?
soviet is offline  
Old 06-18-2012, 11:44 PM
  #314  
Elite Member
Thread Starter
iTrader: (16)
 
99mx5's Avatar
 
Join Date: Oct 2006
Location: Las Cruces, NM
Posts: 1,647
Total Cats: 524
Default

I used scissors, tape and a stapler for the cardboard patterns . I used an air nibbler, jigsaw and tin snips to cut the metal. I used a metal brake to bend the bottom panel. I used a drill and rivet gun to assemble the parts.
99mx5 is offline  
Old 06-18-2012, 11:47 PM
  #315  
Elite Member
iTrader: (10)
 
soviet's Avatar
 
Join Date: Jan 2010
Location: VA
Posts: 3,493
Total Cats: 268
Default

A+ would read again.
I need to get a nibbler.... they are boss apparently.
soviet is offline  
Old 06-19-2012, 08:52 AM
  #316  
Senior Member
iTrader: (1)
 
stefanst's Avatar
 
Join Date: Sep 2011
Location: Lambertville, NJ
Posts: 1,215
Total Cats: 74
Default

Here's your boss Nibbler:
Attached Thumbnails 99mx5 EFR build-165_nibbler-licks-hq.gif  
stefanst is offline  
Old 06-19-2012, 09:02 AM
  #317  
VladiTuned
iTrader: (76)
 
18psi's Avatar
 
Join Date: Apr 2008
Posts: 35,821
Total Cats: 3,481
Default

very nice. maybe I missed it: what size sheet of alum did you end up needing?
18psi is offline  
Old 06-19-2012, 01:17 PM
  #318  
Elite Member
Thread Starter
iTrader: (16)
 
99mx5's Avatar
 
Join Date: Oct 2006
Location: Las Cruces, NM
Posts: 1,647
Total Cats: 524
Default

It was scrap from a friend. The sides were about 10" x 14" and the bottom was 30" x 9"
99mx5 is offline  
Old 06-19-2012, 05:51 PM
  #319  
Junior Member
iTrader: (5)
 
flying_solo's Avatar
 
Join Date: Feb 2011
Location: Chicago
Posts: 340
Total Cats: 6
Default

Looks good as usual 99
flying_solo is offline  
Old 06-19-2012, 06:19 PM
  #320  
Elite Member
iTrader: (37)
 
EO2K's Avatar
 
Join Date: Apr 2010
Location: Very NorCal
Posts: 10,441
Total Cats: 1,899
Default

Looks good! Do you have air jumping over the IC or is it sealed to the mouth?

I hate that AC dryer thing, I was going to pull mine out. Looks like you found a way to work around it.
EO2K is offline  


Quick Reply: 99mx5 EFR build


All times are GMT -4. The time now is 09:14 AM.