99mx5 EFR build
 07-23-2014, 01:05 PM
#501
Elite Member
iTrader: (37)

Join Date: Apr 2010
Location: Very NorCal
Posts: 10,441
Total Cats: 1,899
The Forge wastegate actuator also failed. the actuator shaft threaded out of the housing and the threads were worn so I swapped in the stock EFR actuator. I also figured out the EBC settings and now have it working to my satisfaction. I initially had the EBC settings bleeding boost early then holding boost late and it felt like the turbo spooled late as if I had a big turbo. The turbo now holds boost early on then bleeds late.
Also, are you now running the "Low" or "Medium" boost EFR actuator?
I also figured out the EBC settings and now have it working to my satisfaction. I initially had the EBC settings bleeding boost early then holding boost late and it felt like the turbo spooled late as if I had a big turbo. The turbo now holds boost early on then bleeds late.
- same intake manifold
- same throttle body
- sameish exhaust manifold
- same intercooler
- same exhaust
- same injectors
- same turbo
- same cops

Keep up the good work! I'm loving every minute of it.

Reply
 0
0

0
07-23-2014, 02:29 PM
#502
Elite Member
Thread Starter
iTrader: (16)

Join Date: Oct 2006
Location: Las Cruces, NM
Posts: 1,647
Total Cats: 524
Videos fixed! 
Thanks Jeffbucc, I'll post my EBC settings tonight.
EO2K, The Forge actuator shaft unscrewed from the piston. I was able to screw it back in but I damaged the threads that hold the flapper valve. The Forge is a nice unit, I just need to contact them to get a new shaft or make one to replace it. I'm currently using the medium BW actuator. I'm also using the EBC that came with the turbo. I'm running straight 91 fuel on the street and I add Torco for the track.
Reply
0
0
07-23-2014, 02:49 PM
#503
Elite Member
iTrader: (37)
Join Date: Apr 2010
Location: Very NorCal
Posts: 10,441
Total Cats: 1,899
Those numbers are on 91? Hell, now I'm really scared.
I've got the Turbosmart adjustable actuator sitting in my garage and I've been debating if I want to use it, buy a Forge adjustable or just buy the "Low" BW actuator. I've got the "Medium" that came with my 6258 but I'm interested in keeping my motor alive until I can get built. So we'll see.
Thanks for the inputs Its slightly comforting to know I'm not out here by myself.
I've got the Turbosmart adjustable actuator sitting in my garage and I've been debating if I want to use it, buy a Forge adjustable or just buy the "Low" BW actuator. I've got the "Medium" that came with my 6258 but I'm interested in keeping my motor alive until I can get built. So we'll see.
Thanks for the inputs
Its slightly comforting to know I'm not out here by myself.
Reply
0
0
 07-23-2014, 03:10 PM
#505
Elite Member
iTrader: (37)
Join Date: Apr 2010
Location: Very NorCal
Posts: 10,441
Total Cats: 1,899
Oh trust me, I know. I've watched a bunch of you guys blow up stock BPs with the 6258 for a couple years now. I've got rods/rings/pistons/bearings/949 damper/gaskets/etc sitting in the garage ready and waiting for some machine work to get done. The last "part" I need is an oil pump. I'll probably pony up for the Boundary, I just need to sell off some superfluous parts first.
I'm just trying to resist the urge to install this stuff on the stock motor. This will be even more tempting if Abe gets my stuff to be before the machine shop gets done with the motor.
I'm just trying to resist the urge to install this stuff on the stock motor. This will be even more tempting if Abe gets my stuff to be before the machine shop gets done with the motor.
Reply
0
0


 12-17-2014, 10:43 PM
#510
Elite Member
Thread Starter
iTrader: (16)
Join Date: Oct 2006
Location: Las Cruces, NM
Posts: 1,647
Total Cats: 524
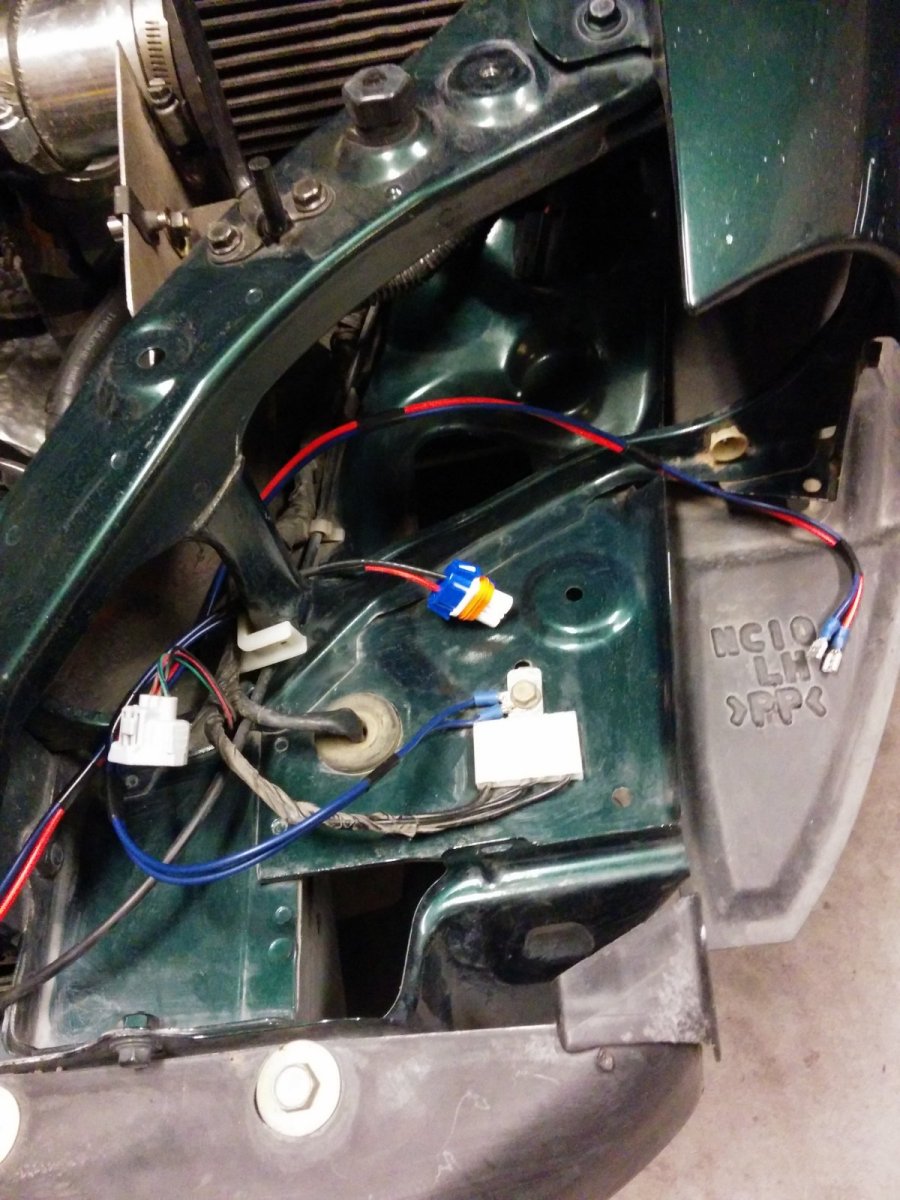
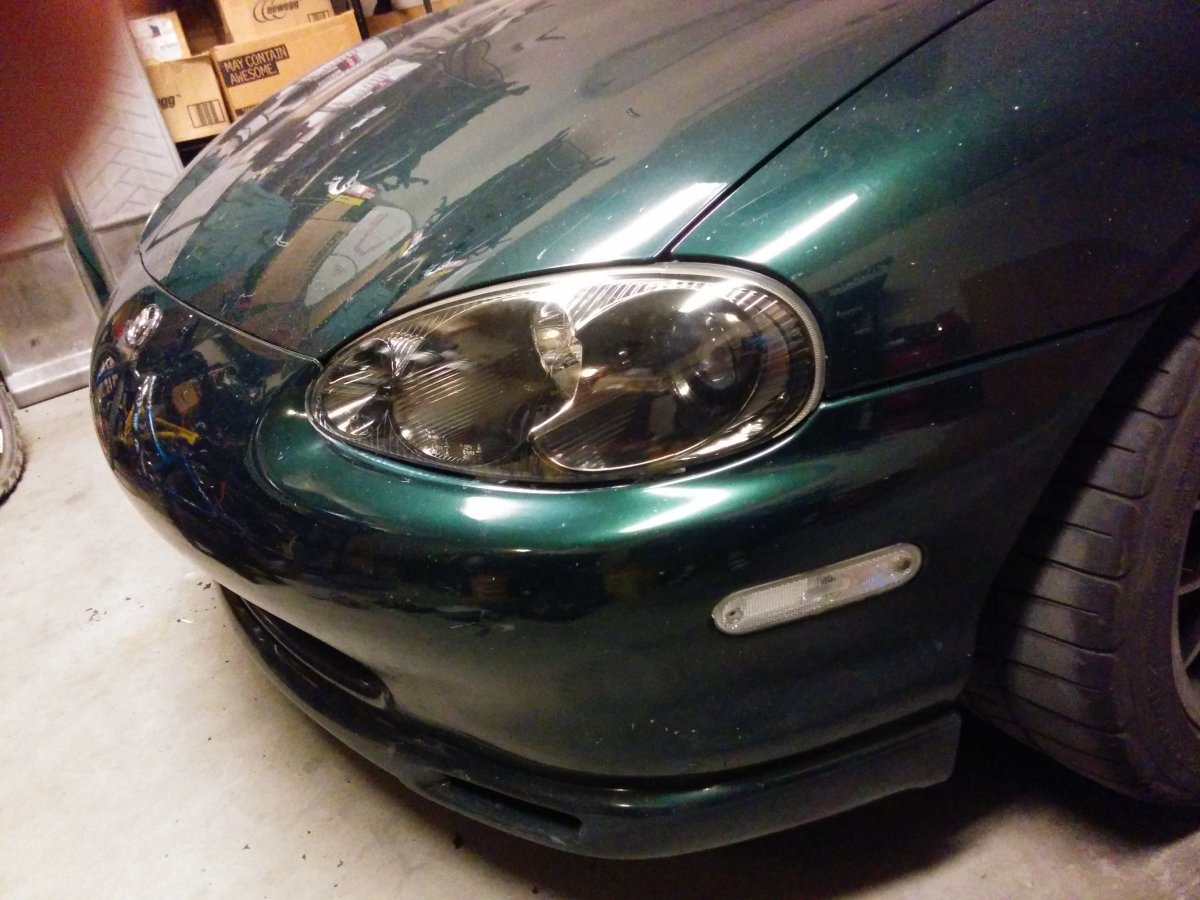
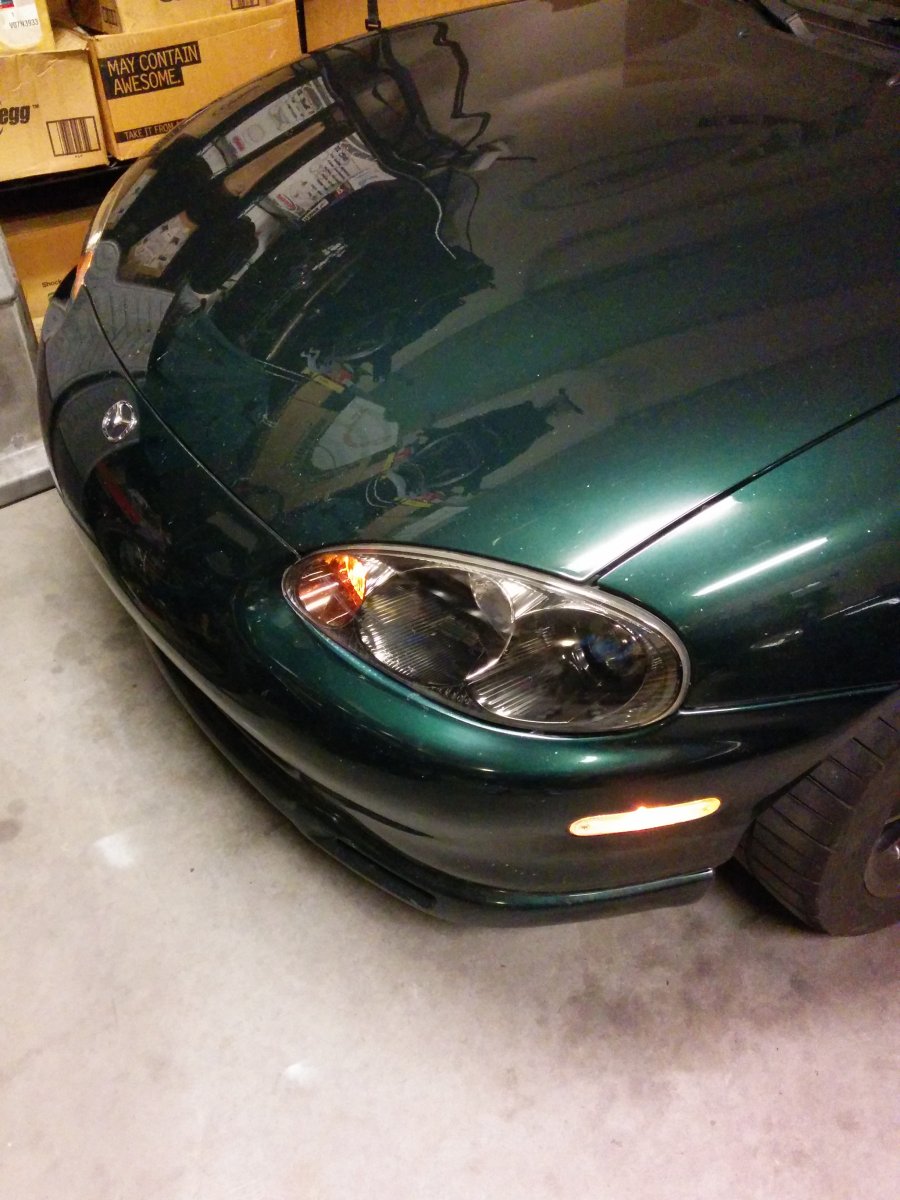
I found a sweet deal on a pair of Mazdaspeed headlights, so I decided to do the NB2 headlight swap on my NB1. The headlight connector on the 1999 miata has one wire for power and uses a floating ground to change from high beam to low beam.
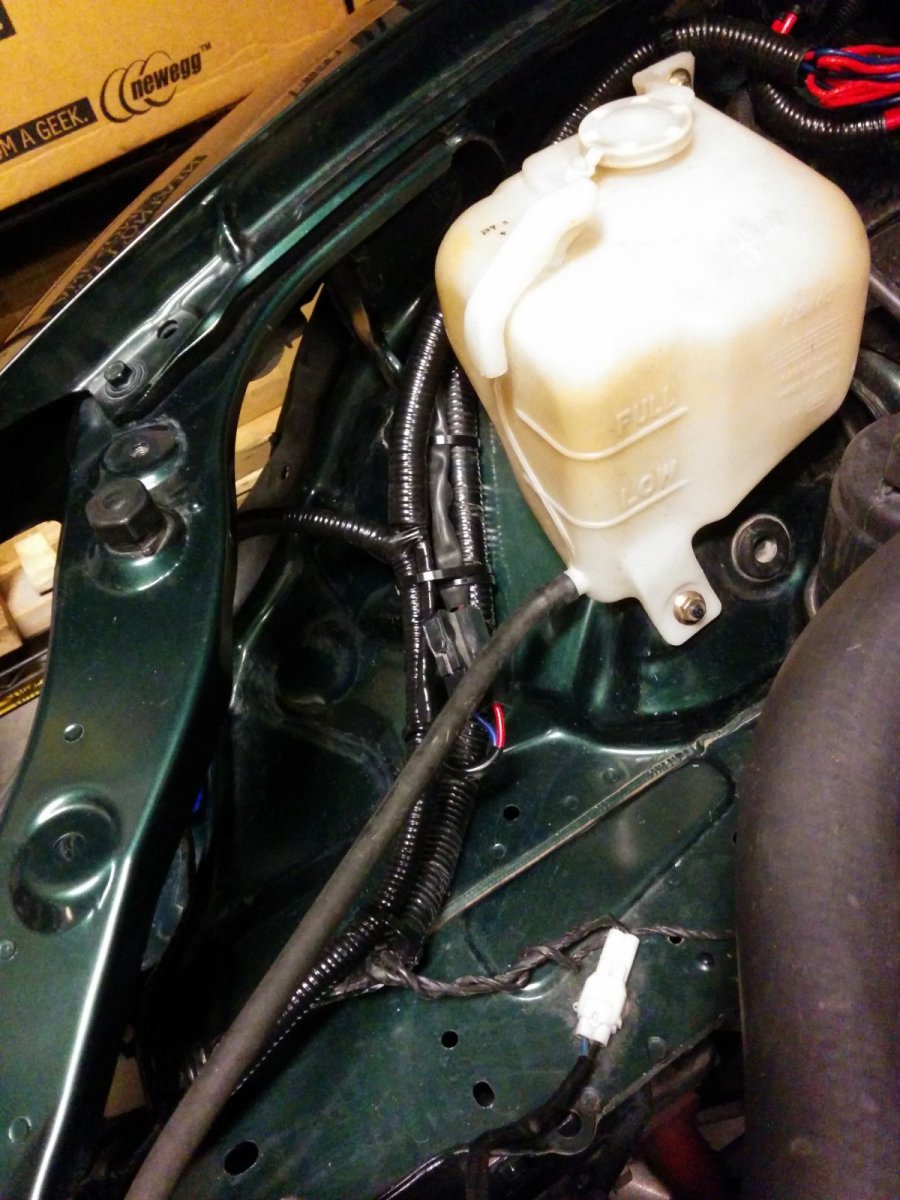
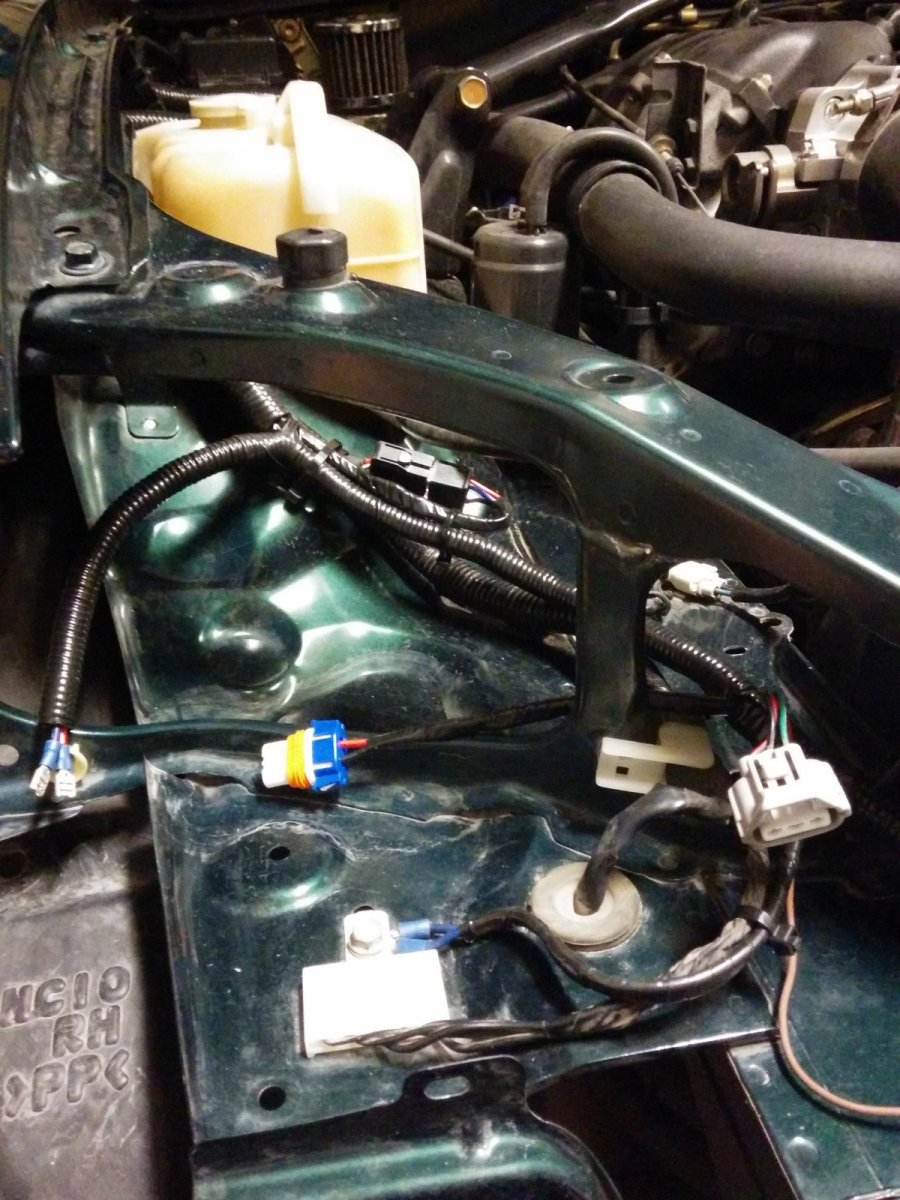
I made a harness that uses the headlight connector wires to activate the relays to switch from low to high beam. I tapped into the engine bay fuse box for power for the headlight harness. The harness allows to have all four lights on when the high beam is selected. The projector lights are the low beam and the inner lights are the high beams.
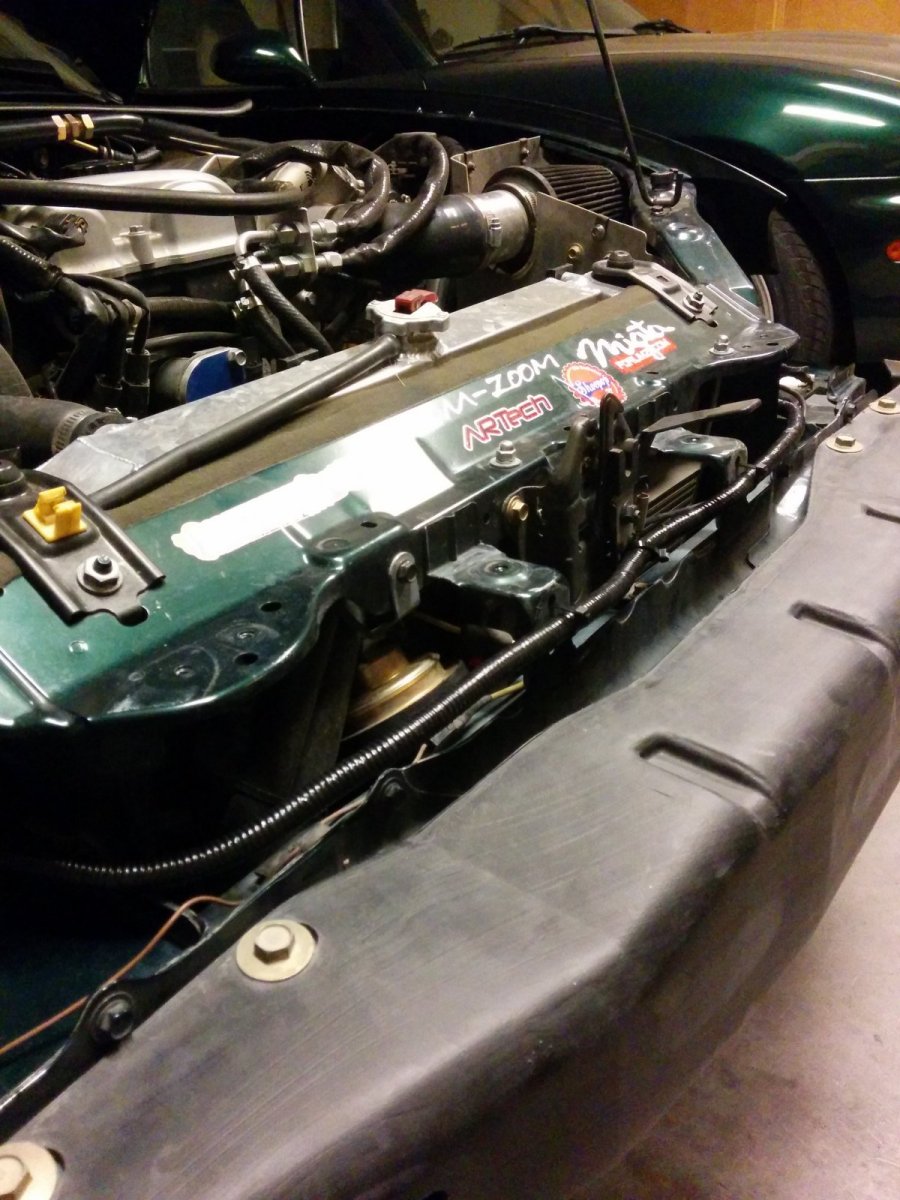
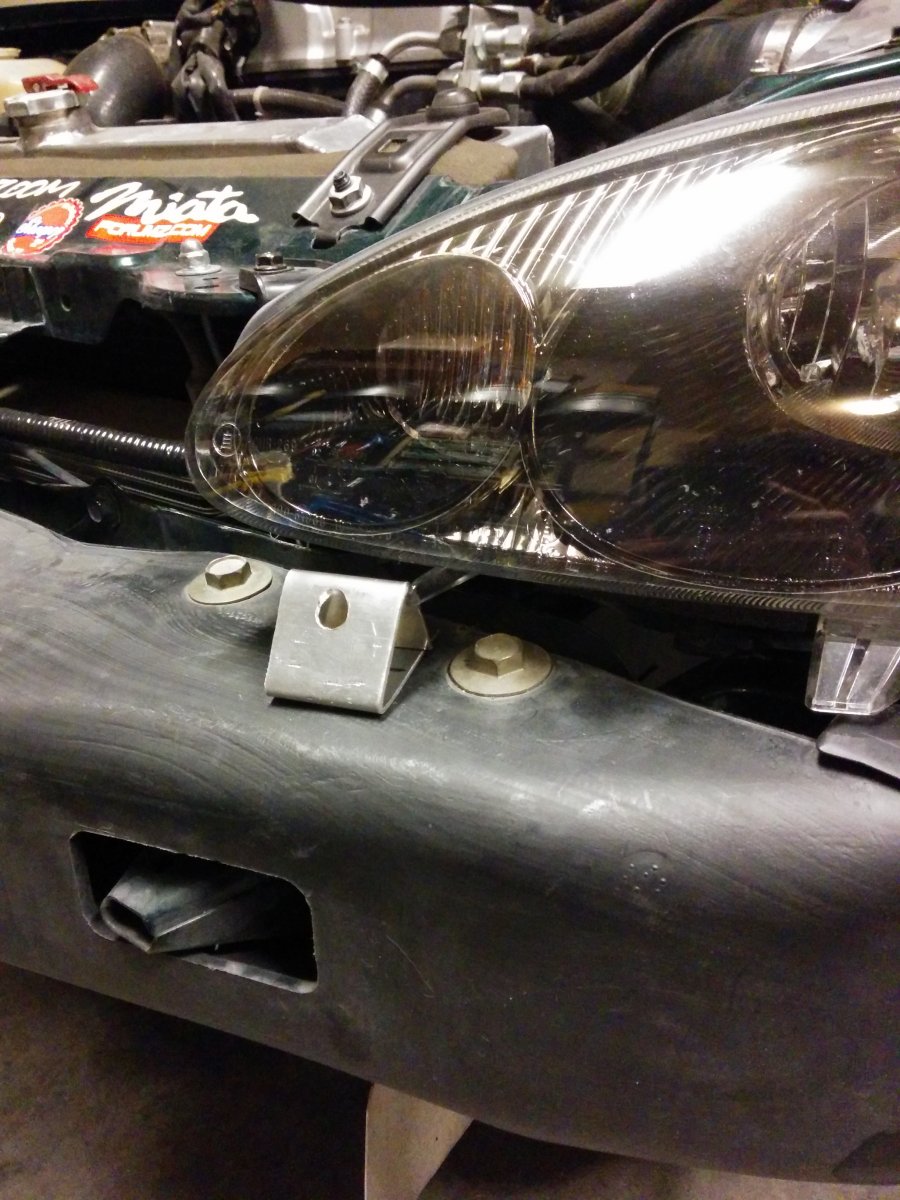
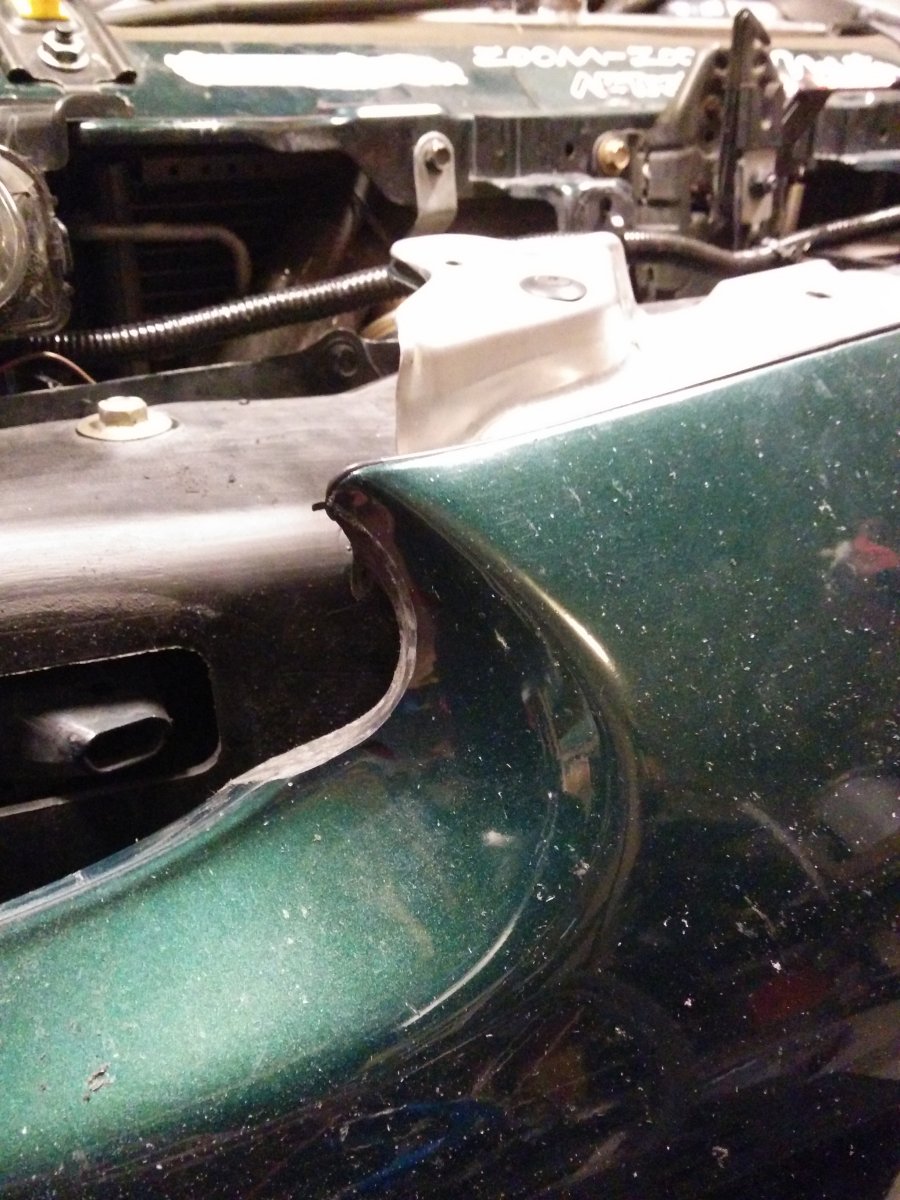
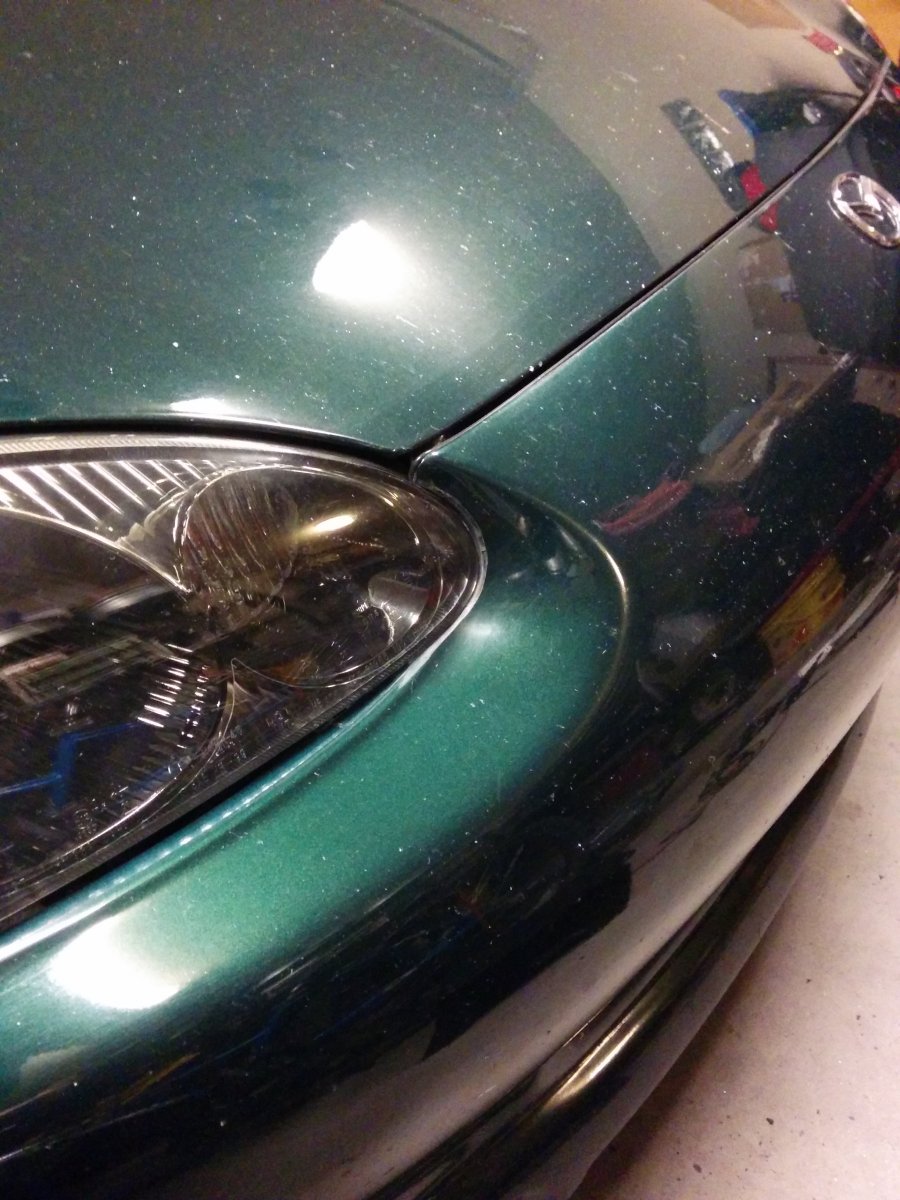
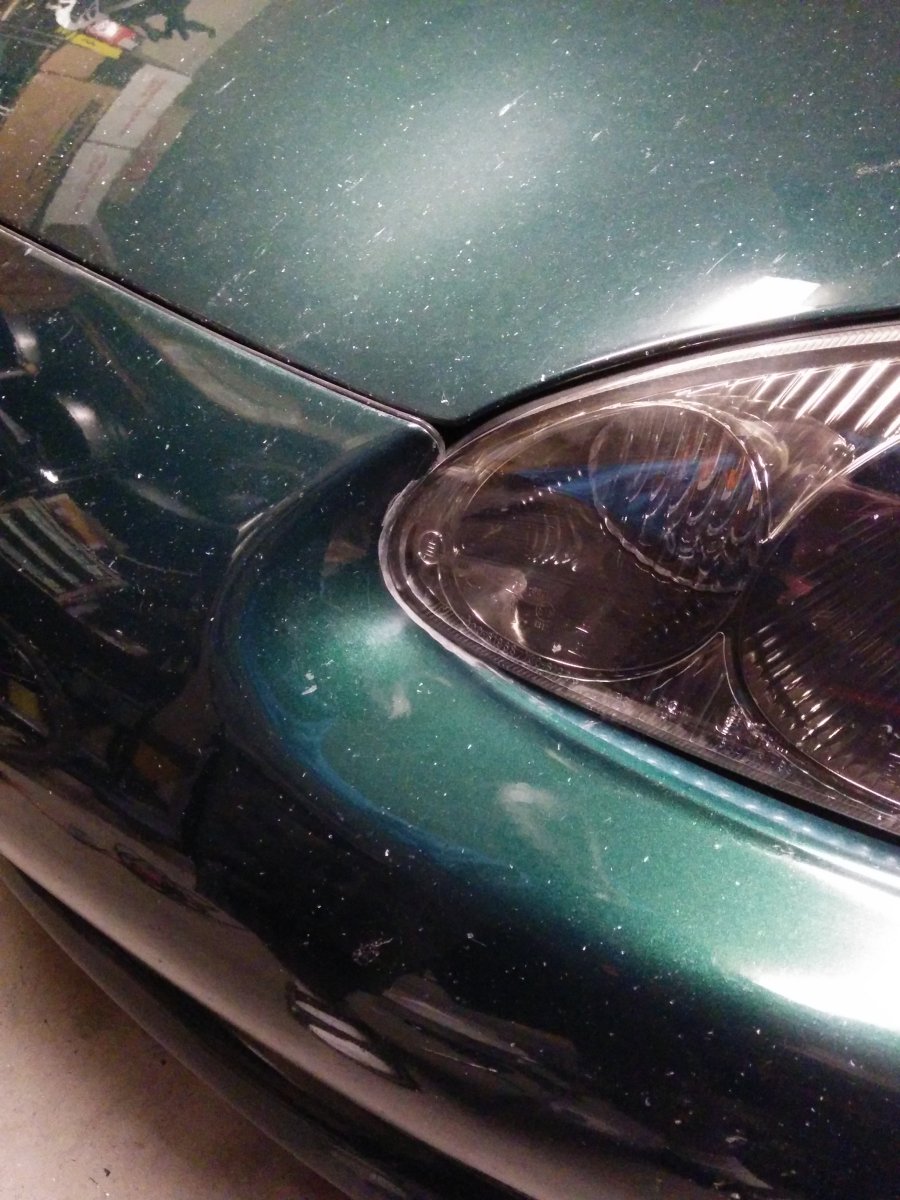
I made some spacers to lift the bumper cover so improve the fit. I plan to make a trim piece to fill the gap under the light when l touch up the parts where I cut the bumper.
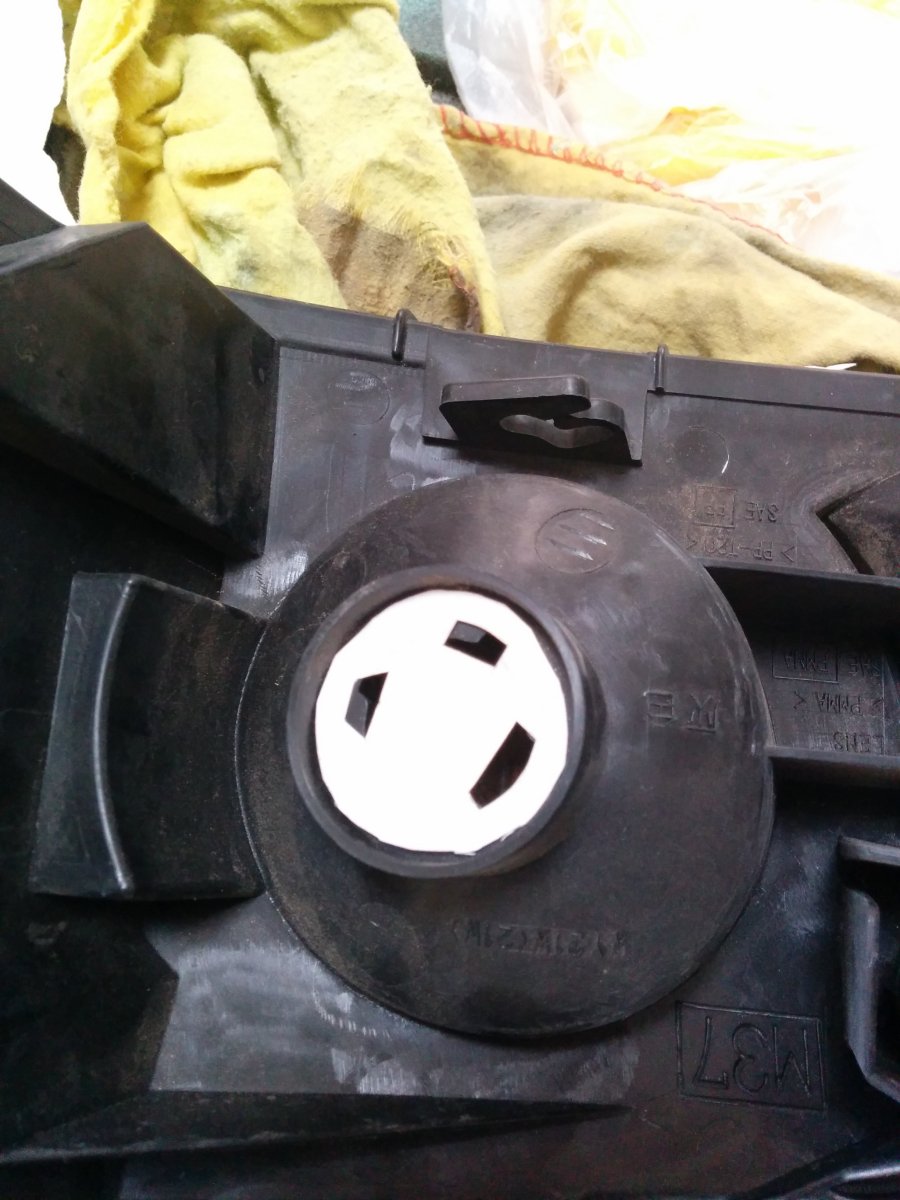
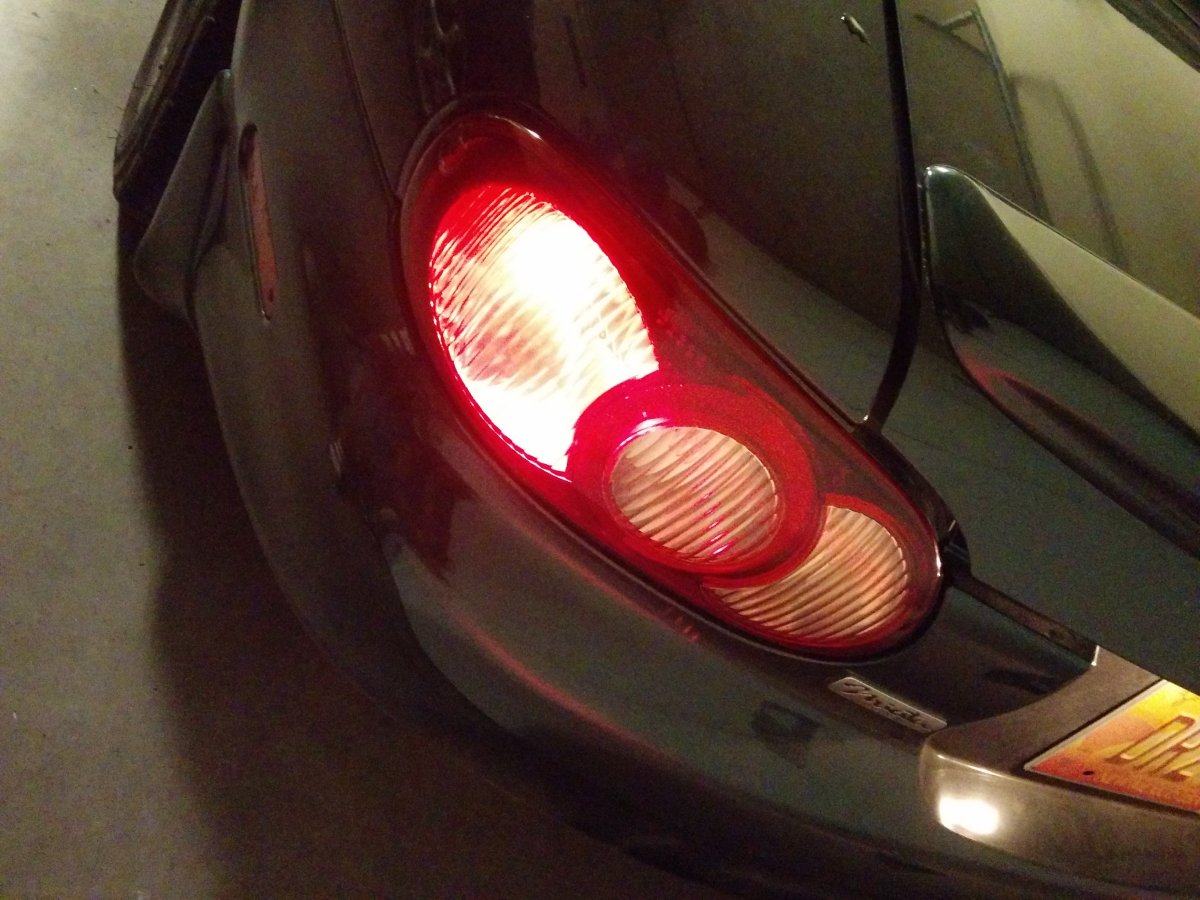
I also upgraded my rear lights. Some trimming of the housing is needed for the reverse bulb plugs. I traced the old housing and made a template to trim the new housing. The trimming does not affect functionality of the newer bulb plugs. After trimming it will work for both types of plugs.
Here is the wiring diagram I made for the harness:
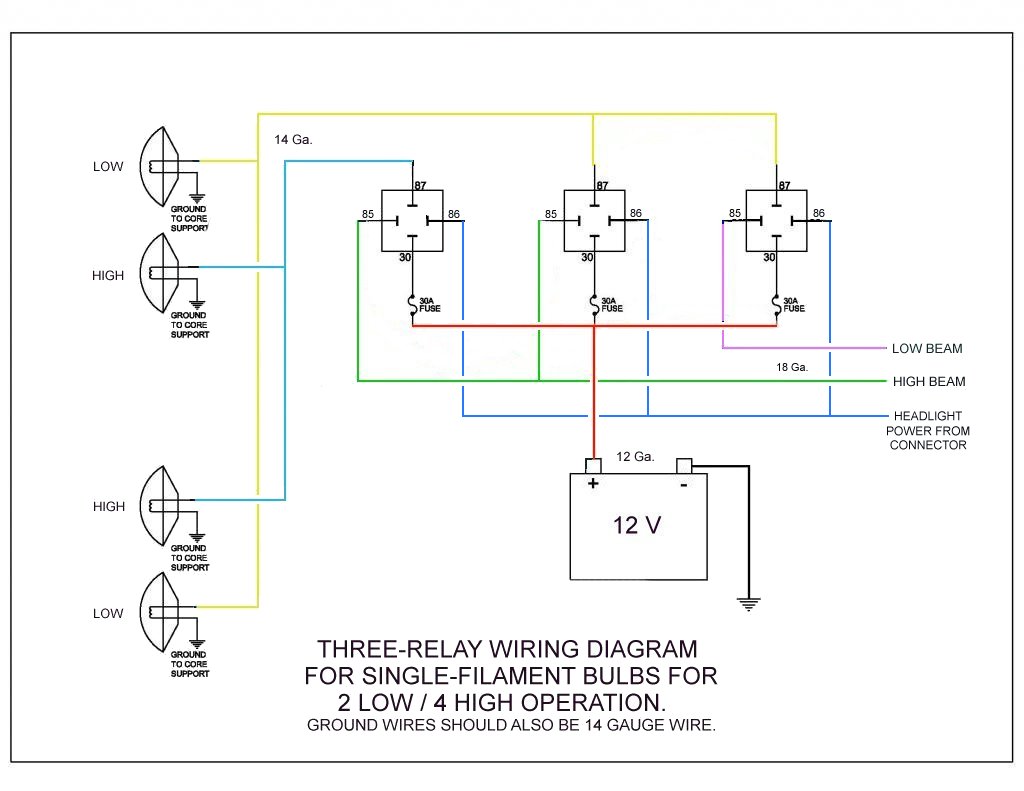
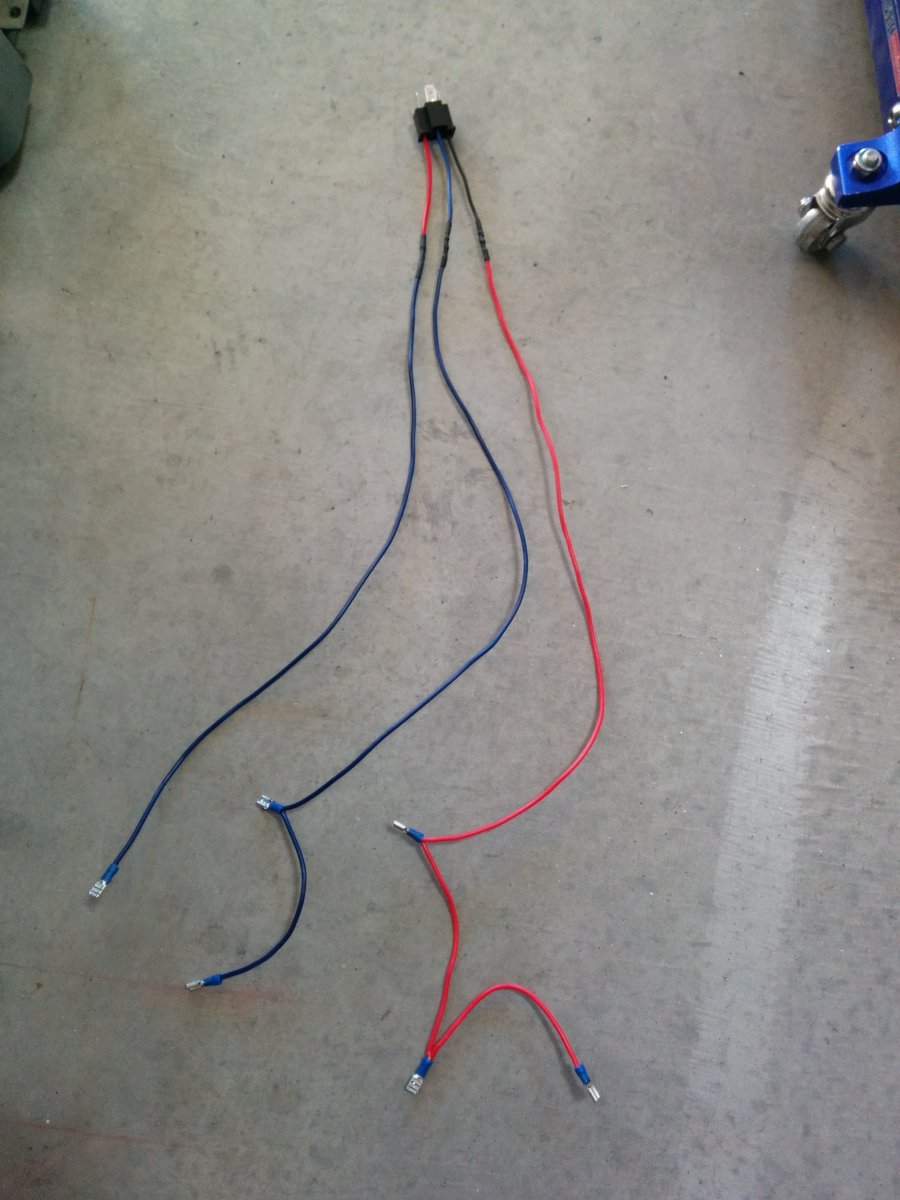
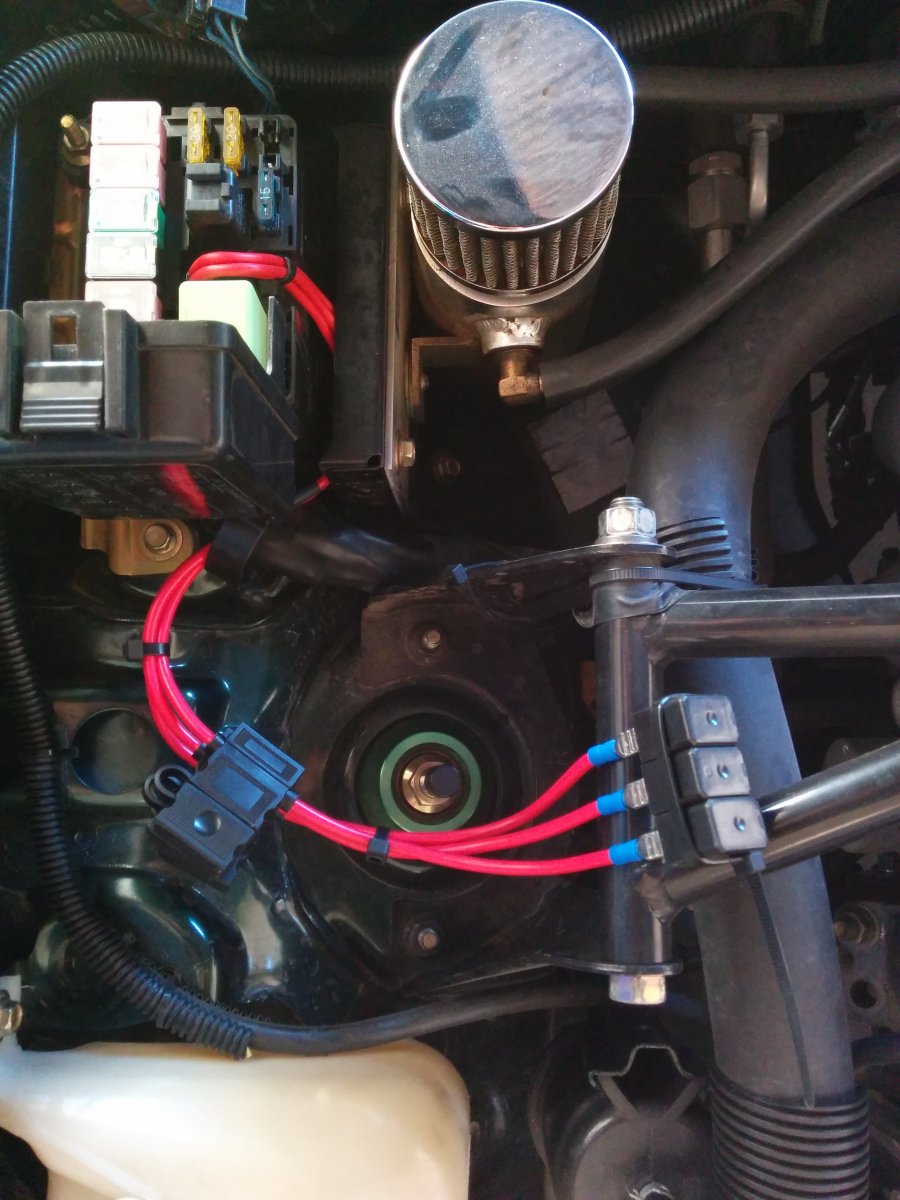
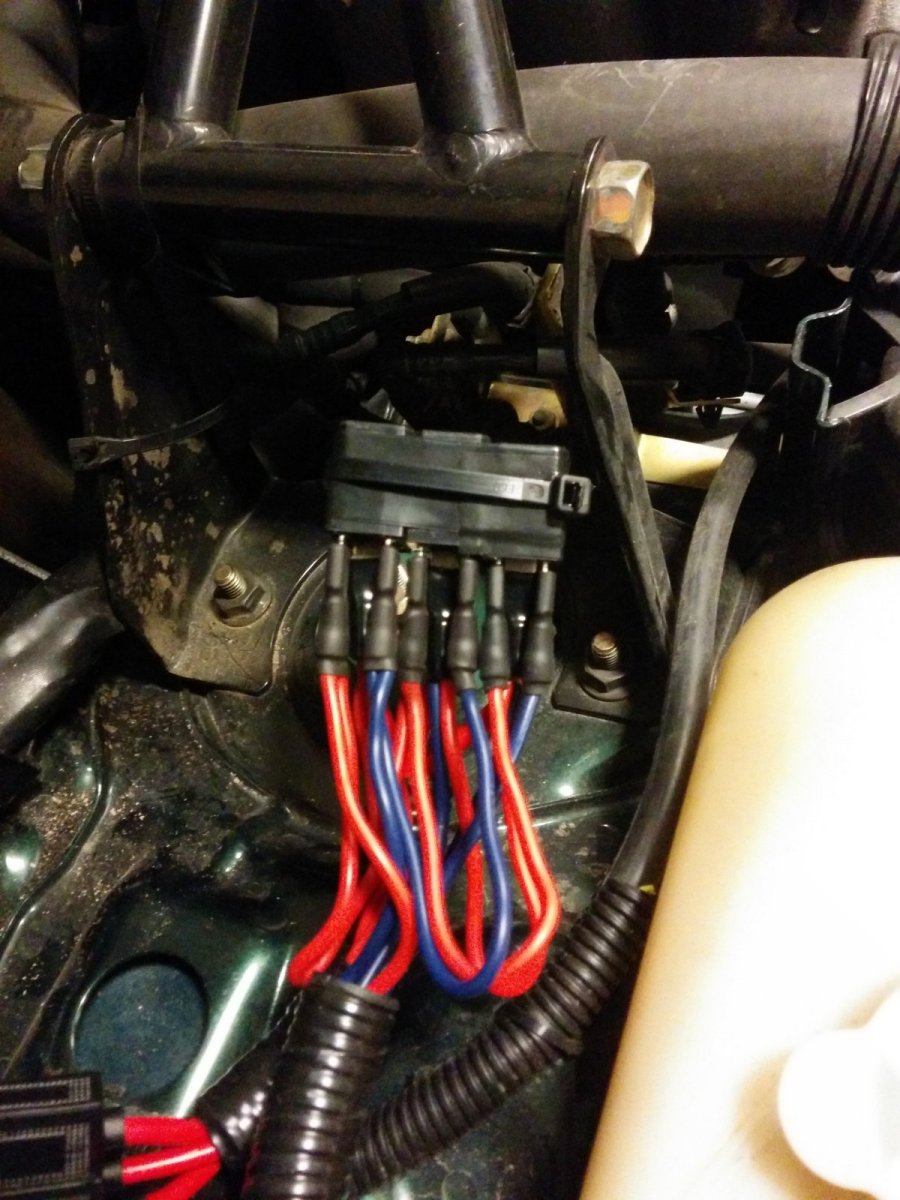
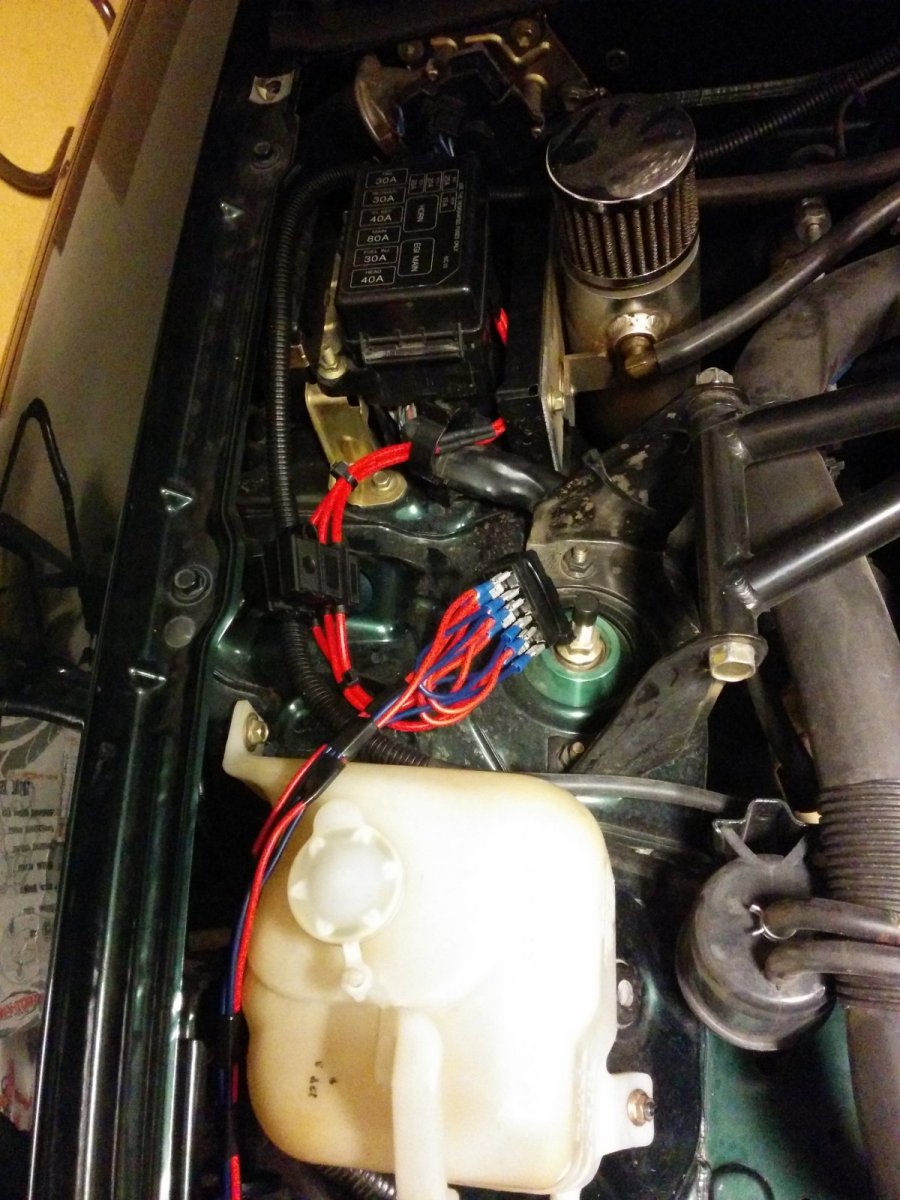
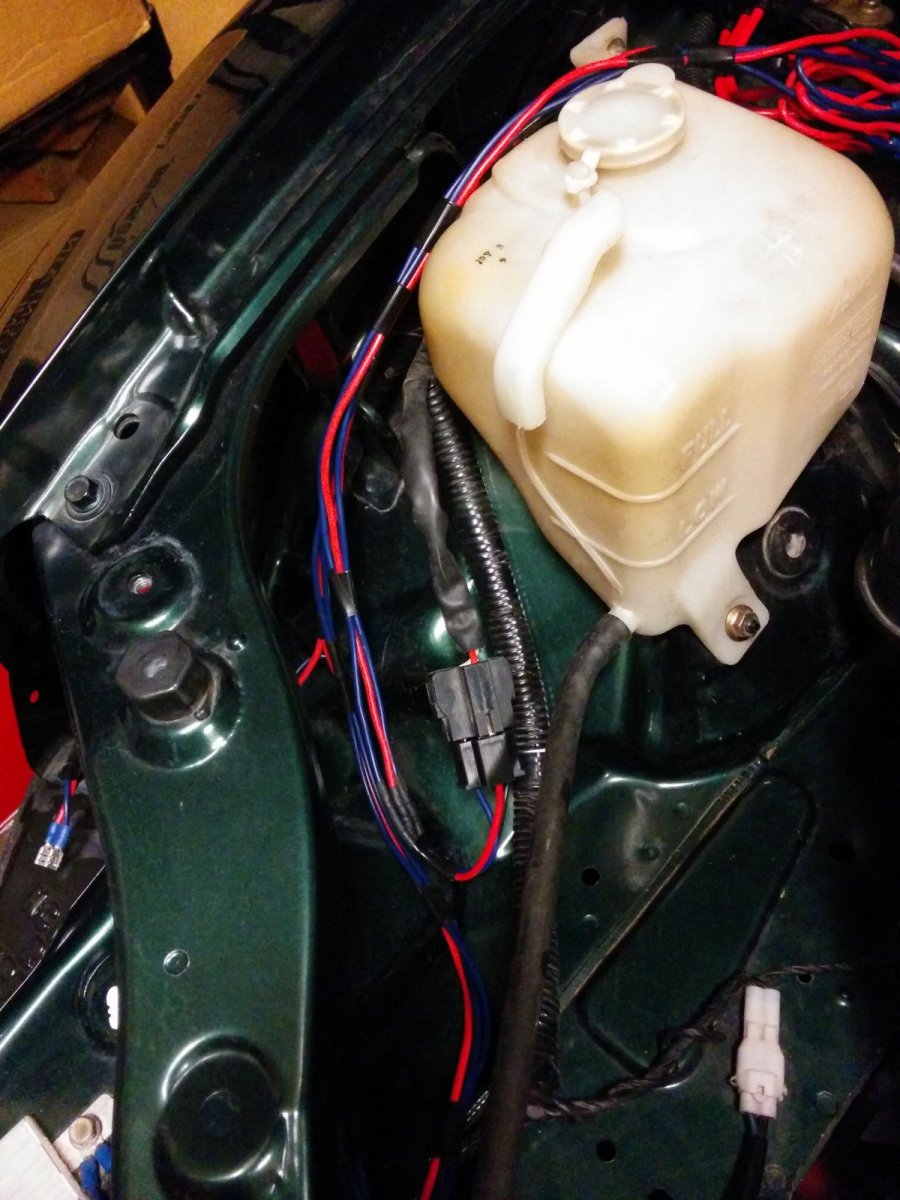
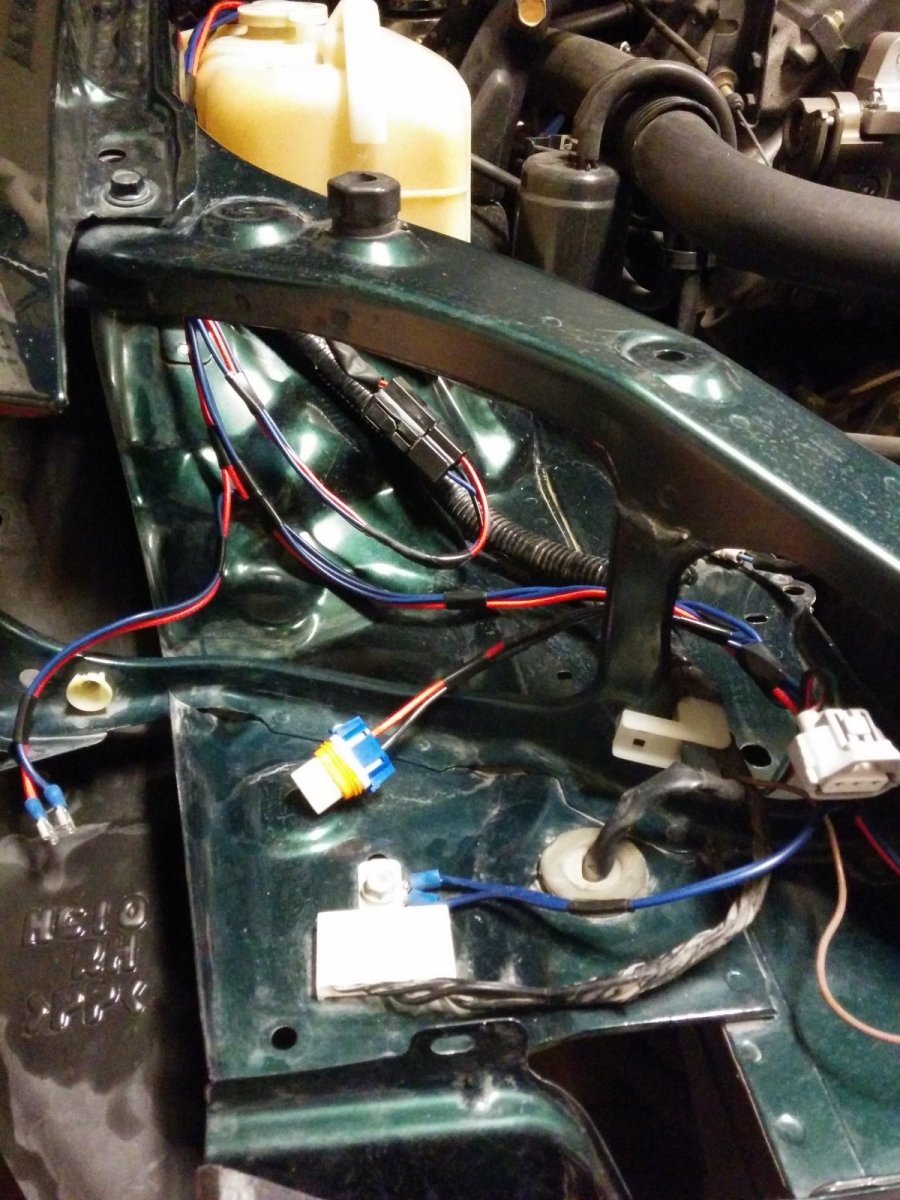
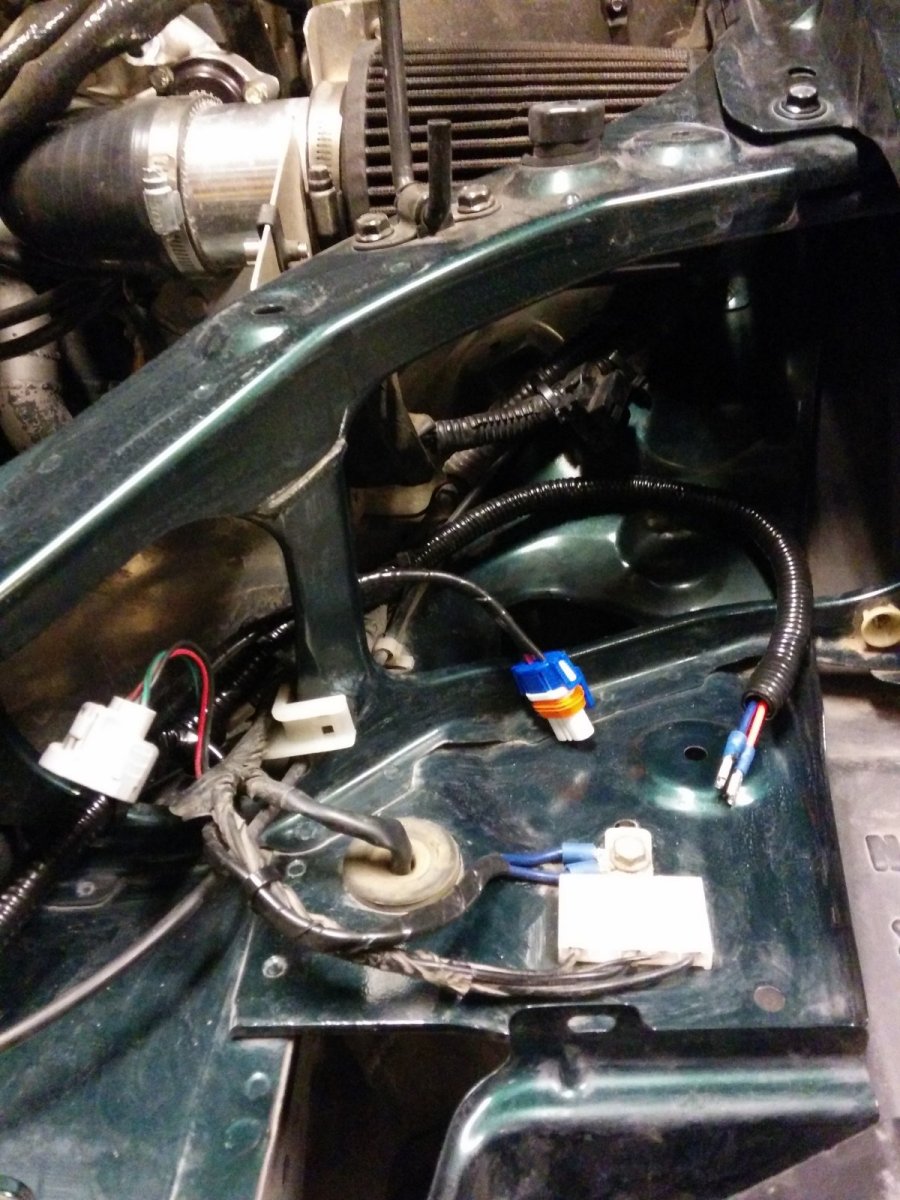
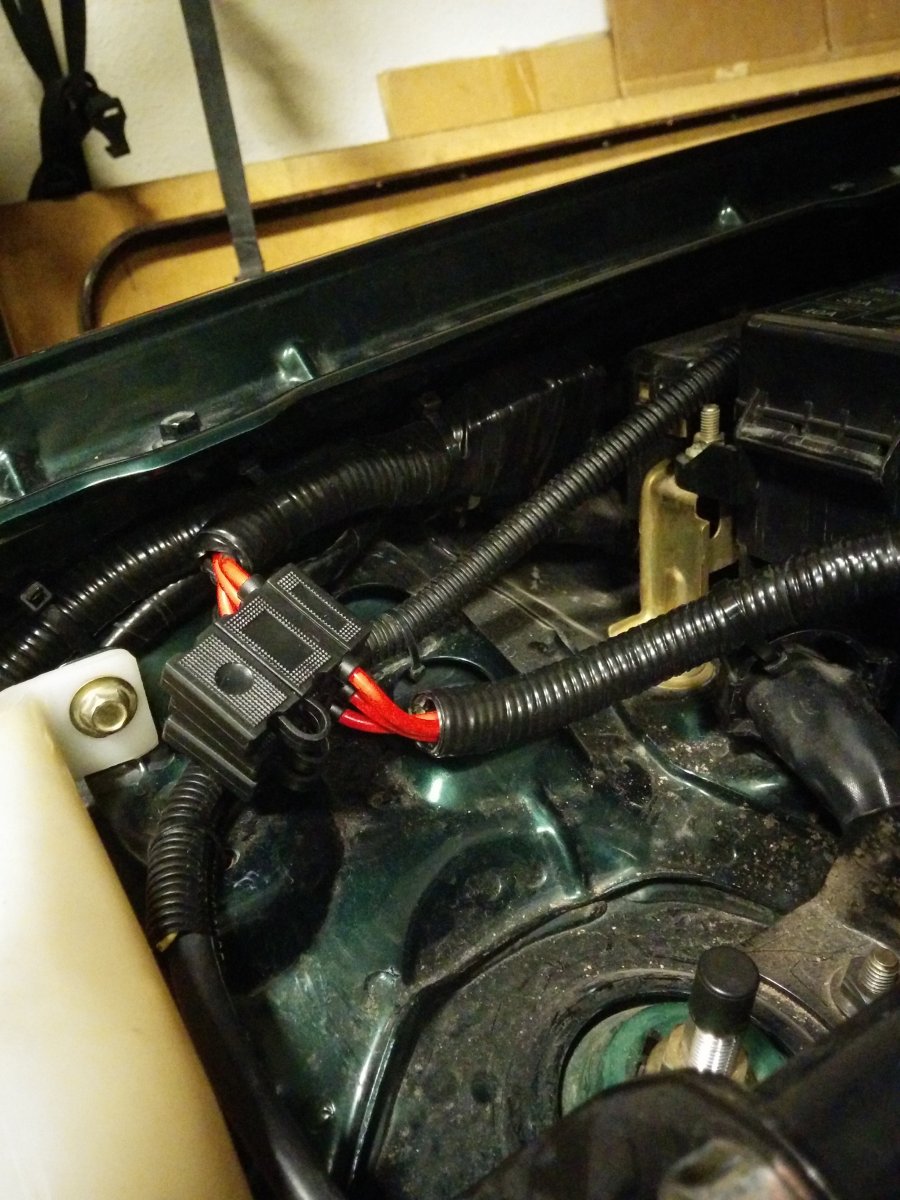

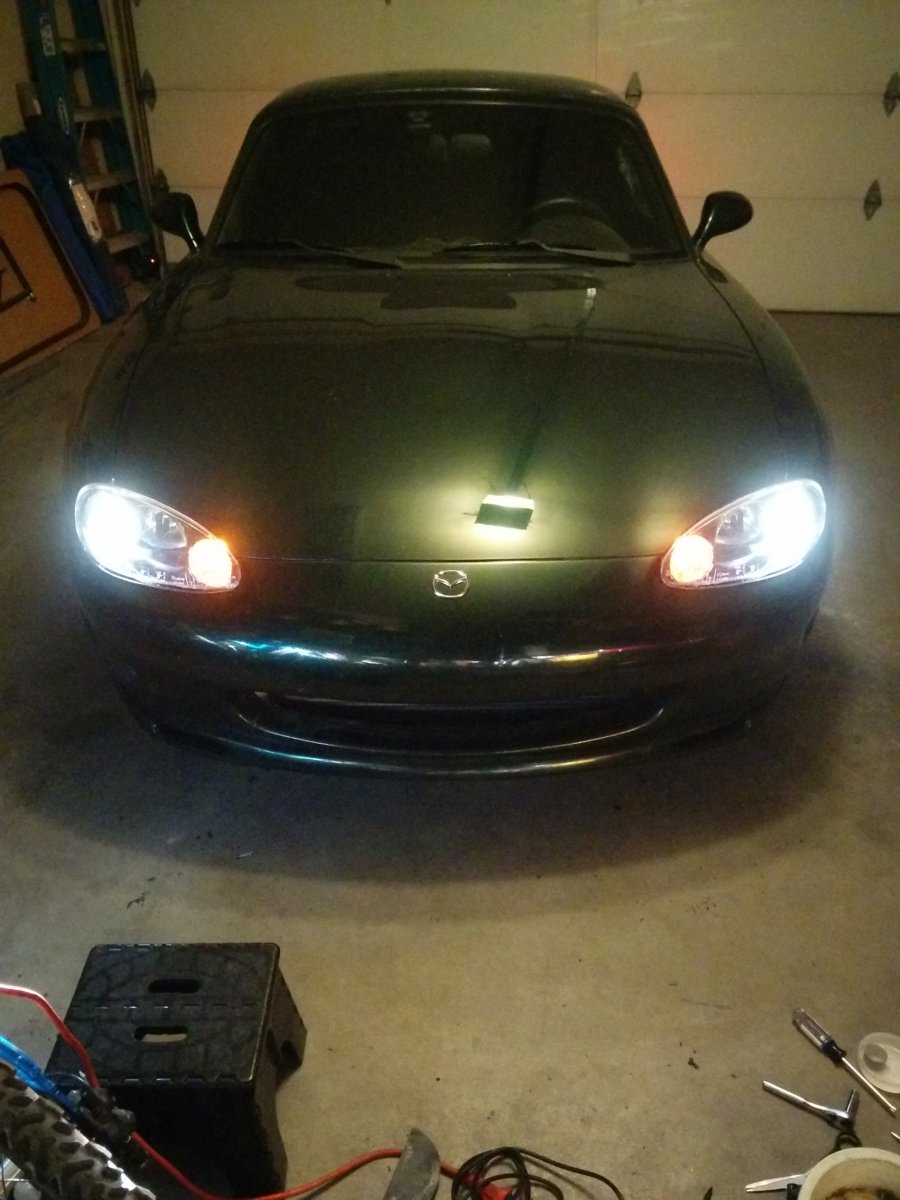

I made a harness that uses the headlight connector wires to activate the relays to switch from low to high beam. I tapped into the engine bay fuse box for power for the headlight harness. The harness allows to have all four lights on when the high beam is selected. The projector lights are the low beam and the inner lights are the high beams.
I made some spacers to lift the bumper cover so improve the fit. I plan to make a trim piece to fill the gap under the light when l touch up the parts where I cut the bumper.
I also upgraded my rear lights. Some trimming of the housing is needed for the reverse bulb plugs. I traced the old housing and made a template to trim the new housing. The trimming does not affect functionality of the newer bulb plugs. After trimming it will work for both types of plugs.
Here is the wiring diagram I made for the harness:
Reply
3
3
12-18-2014, 01:26 AM
#511
Elite Member
iTrader: (37)
Join Date: Apr 2010
Location: Very NorCal
Posts: 10,441
Total Cats: 1,899
I <3 my NB2 headlights (that also happen to be from a MSM) I like what you did with the bumper skin. I thought about doing something similar, and trying to reform the bumper with a heat gun and a lot of persuasion. Yours came out just fine.
Keep up the good work!
Keep up the good work!
Reply
0
0
12-18-2014, 01:56 AM
#512
Elite Member
Thread Starter
iTrader: (16)
Join Date: Oct 2006
Location: Las Cruces, NM
Posts: 1,647
Total Cats: 524
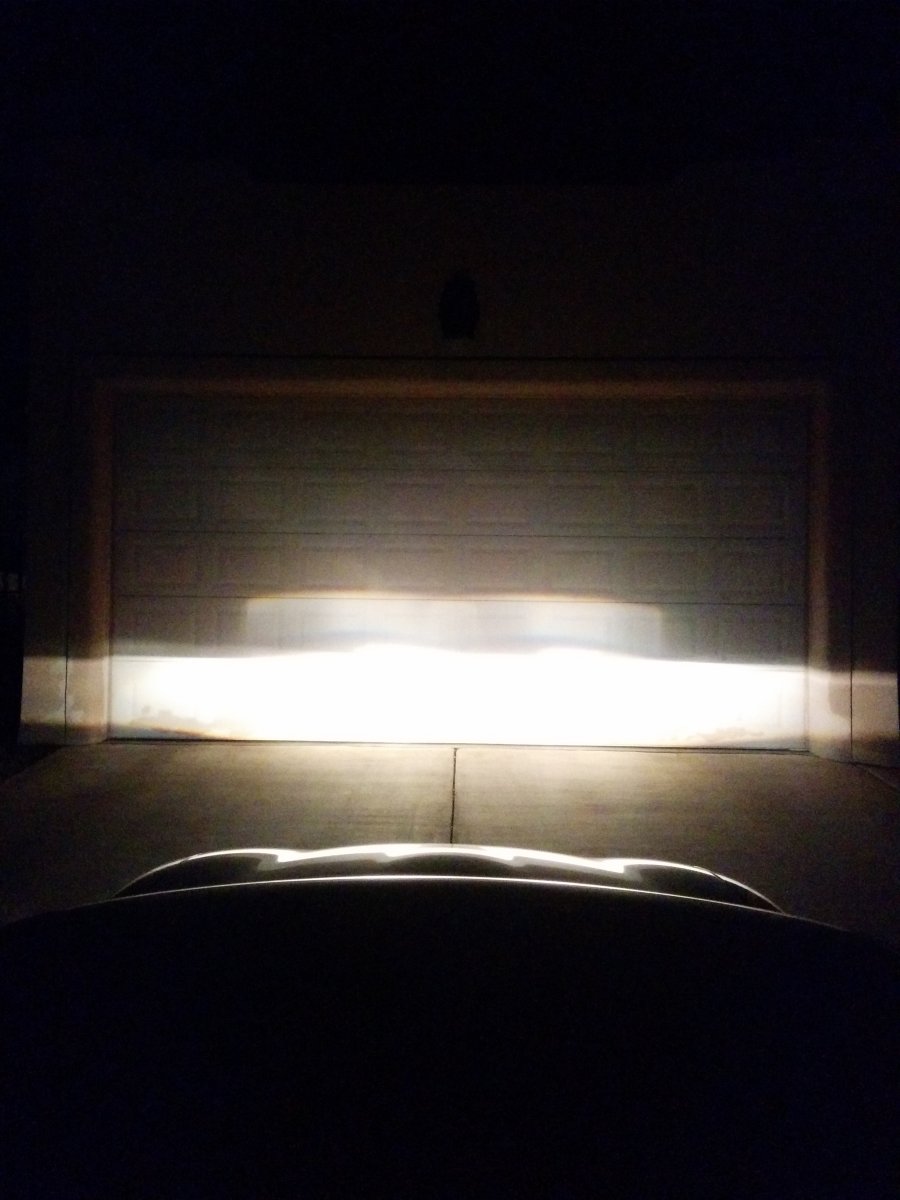
Thanks Gordon! I based my wiring on the Daniel Stern lighting page. They are really bright and have a low-resistance harness. All connections are crimped and soldered then covered with heat-shrink tubing.
I'm really liking the smoked headlight look with the emerald green. They also match the nickel 6ULs. I'll touch up the areas on the bumper that I trimmed and I'll make a rubber filler piece to fill the gap.
I agree, The NB2 lights are a big improvement over the NB1 lights. These headlights are from a 2005 Mazdaspeed, which use H7 bulbs, the 2004 housings use a 9006 for the projectors. BTW, I have a spare set of 9006 pigtails for sale.
Reply
0
0
 12-18-2014, 11:47 AM
#516
Elite Member
iTrader: (37)
Join Date: Apr 2010
Location: Very NorCal
Posts: 10,441
Total Cats: 1,899
I will say this... you don't need to go though all those hoops with the relays to make it work. I believe he did that so he could get 2 low, 4 high. Wiring up 2 low, 2 high is cake. No relays required. Even a caveman like me figured it out  But yes, absolutely awesome of you to post a diagram
I'm also in CA and we have incredibly stupid lighting rules regarding the number of "headlights" on a vehicle. I didn't want to push my luck so I just emulated the OEM setup.
Why the hate?
But yes, absolutely awesome of you to post a diagram I'm also in CA and we have incredibly stupid lighting rules regarding the number of "headlights" on a vehicle. I didn't want to push my luck so I just emulated the OEM setup.
Why the hate?
Last edited by EO2K; 12-18-2014 at 04:40 PM.
Reply
0
0
02-02-2015, 01:18 AM
#517
Elite Member
Thread Starter
iTrader: (16)
Join Date: Oct 2006
Location: Las Cruces, NM
Posts: 1,647
Total Cats: 524
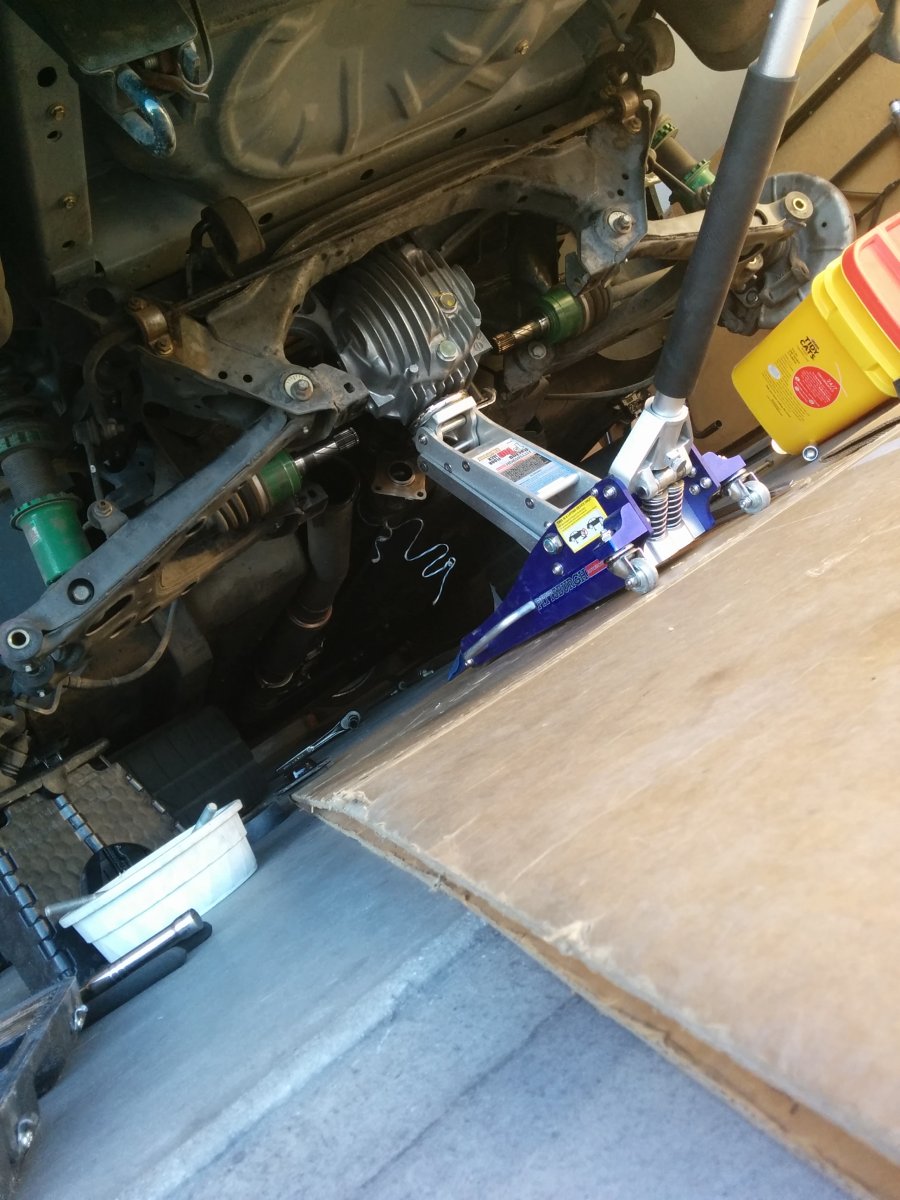
It's been a while, but I have continued to add to this project. After the longest time with a 6-speed and a 4.3 diff, I found a great deal on a 3.9. I bought the pumpkin from partsgroup and assembled it with my spare carrier.
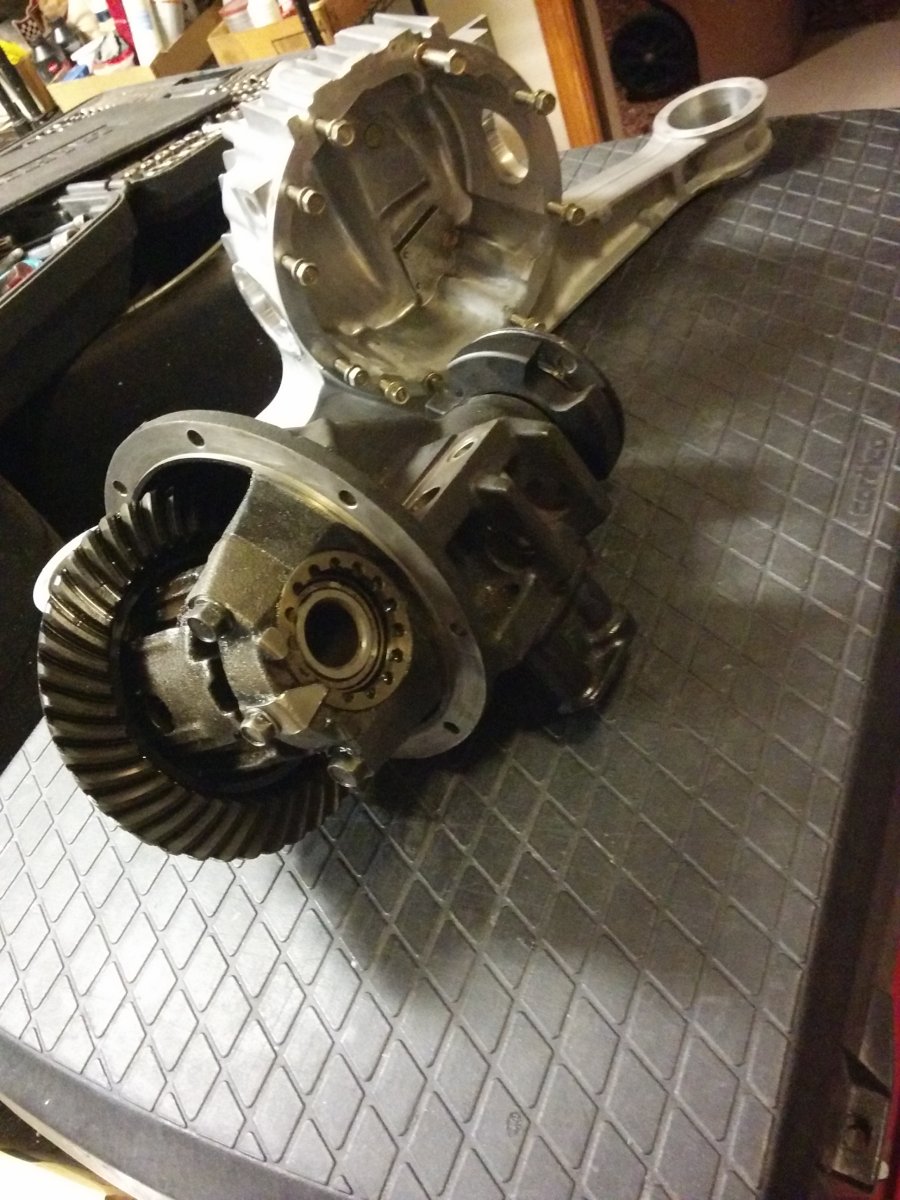
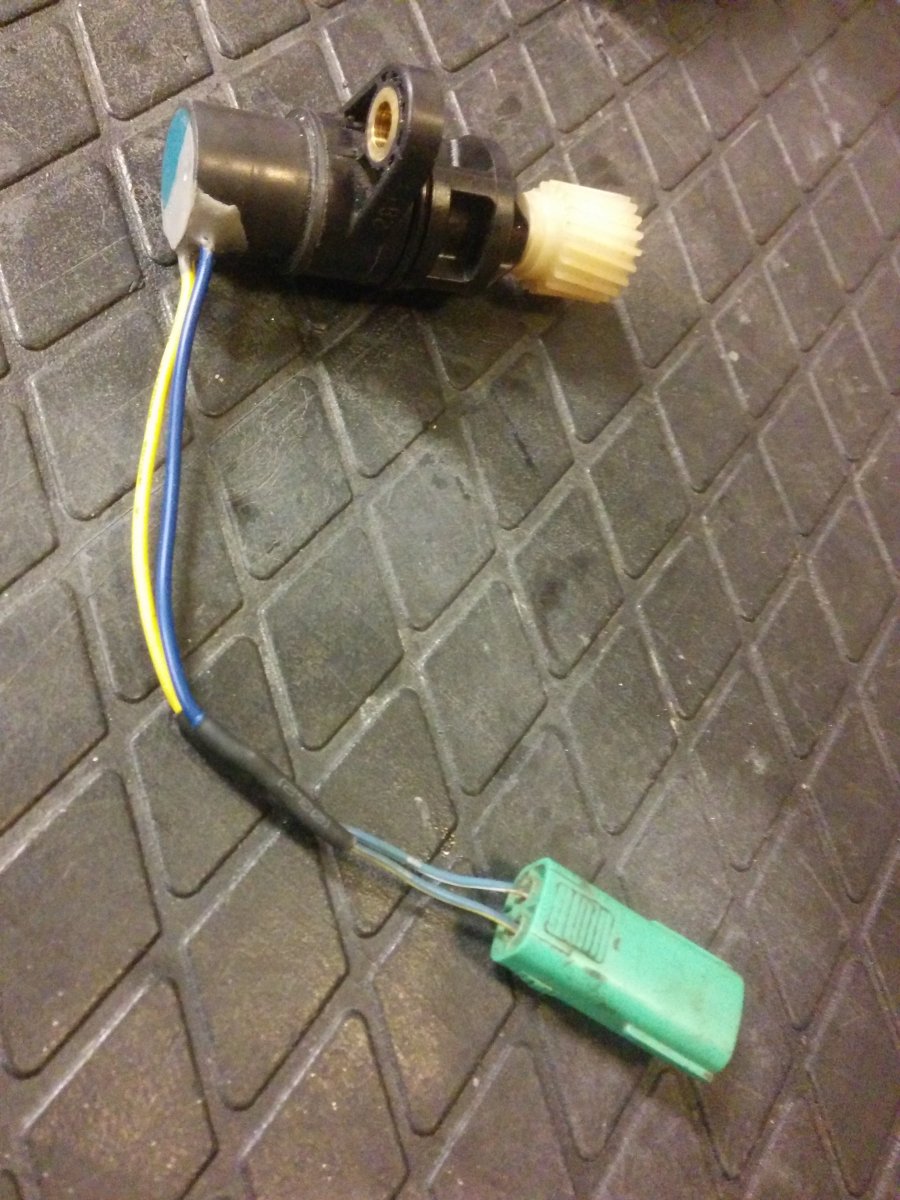
I also found that there was a 3.9 speed sensor in my spare 6-speed. Unfortunately the wires were pulled out of it. I repaired and tested it and it works. I added the connector from the old sensor and installed it.
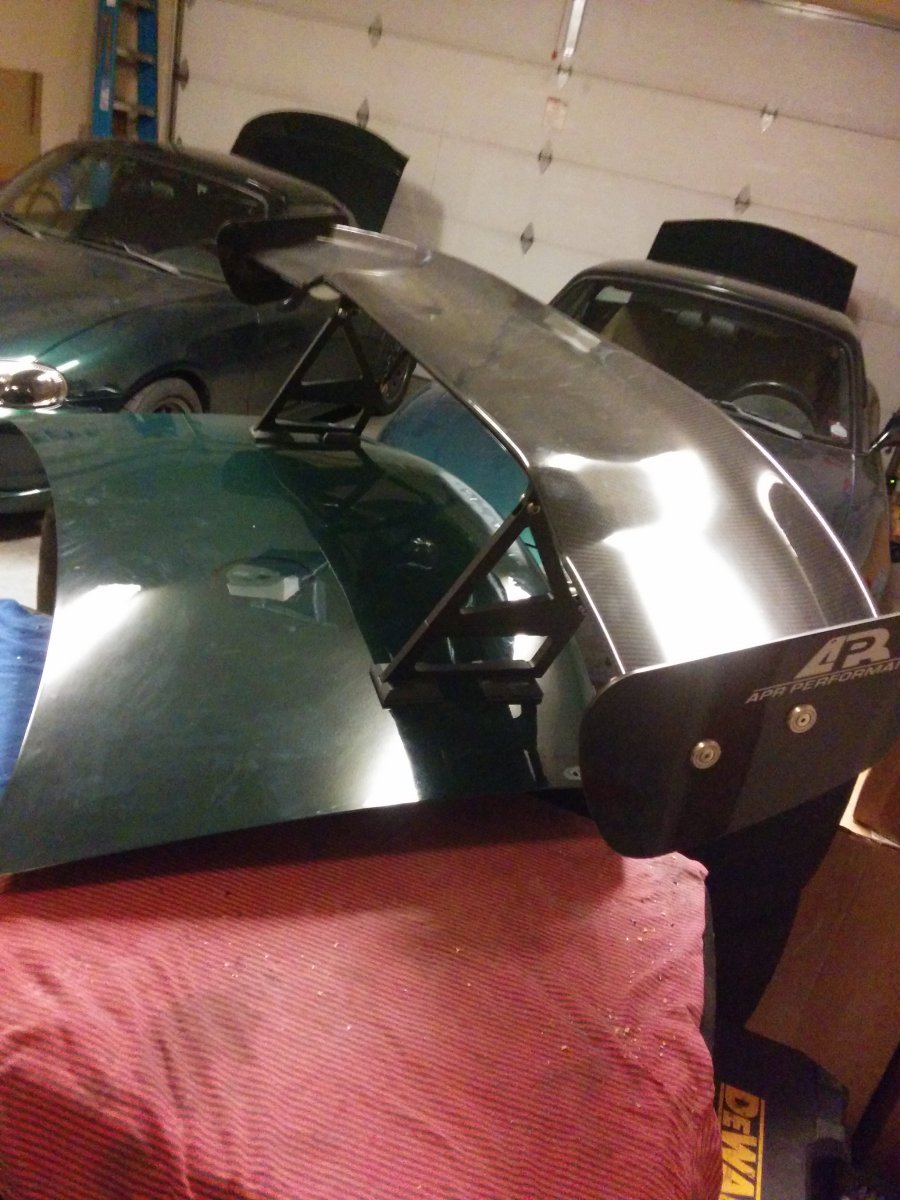
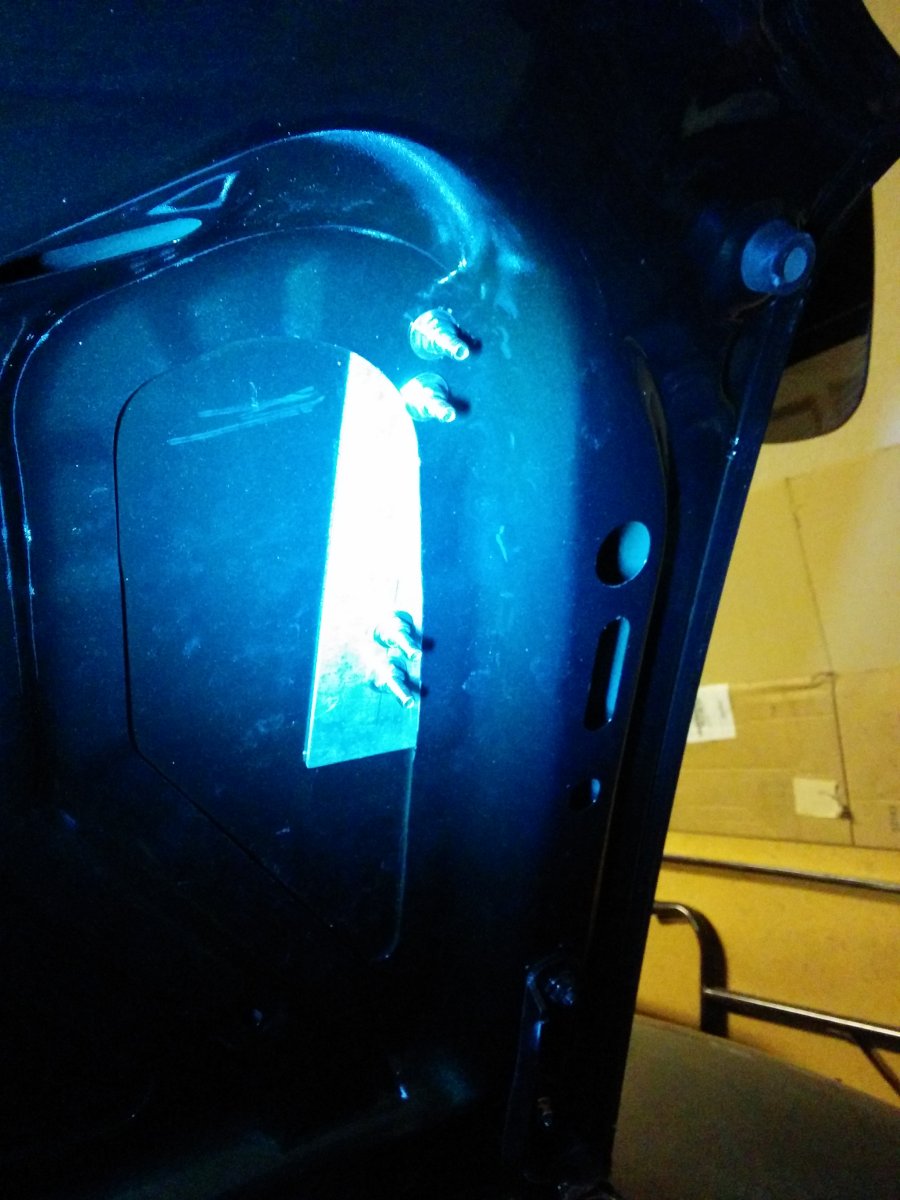
A buddy of mine had a APR GTC-200 wing for sale at a great price, so I bought it and a spare trunk lid. I flipped the lid and marked the holes for the wing. It's easier to do from the bottom because there are more reference points to make sure it's centered and has space for mounting. I also made backing plates for the supports.
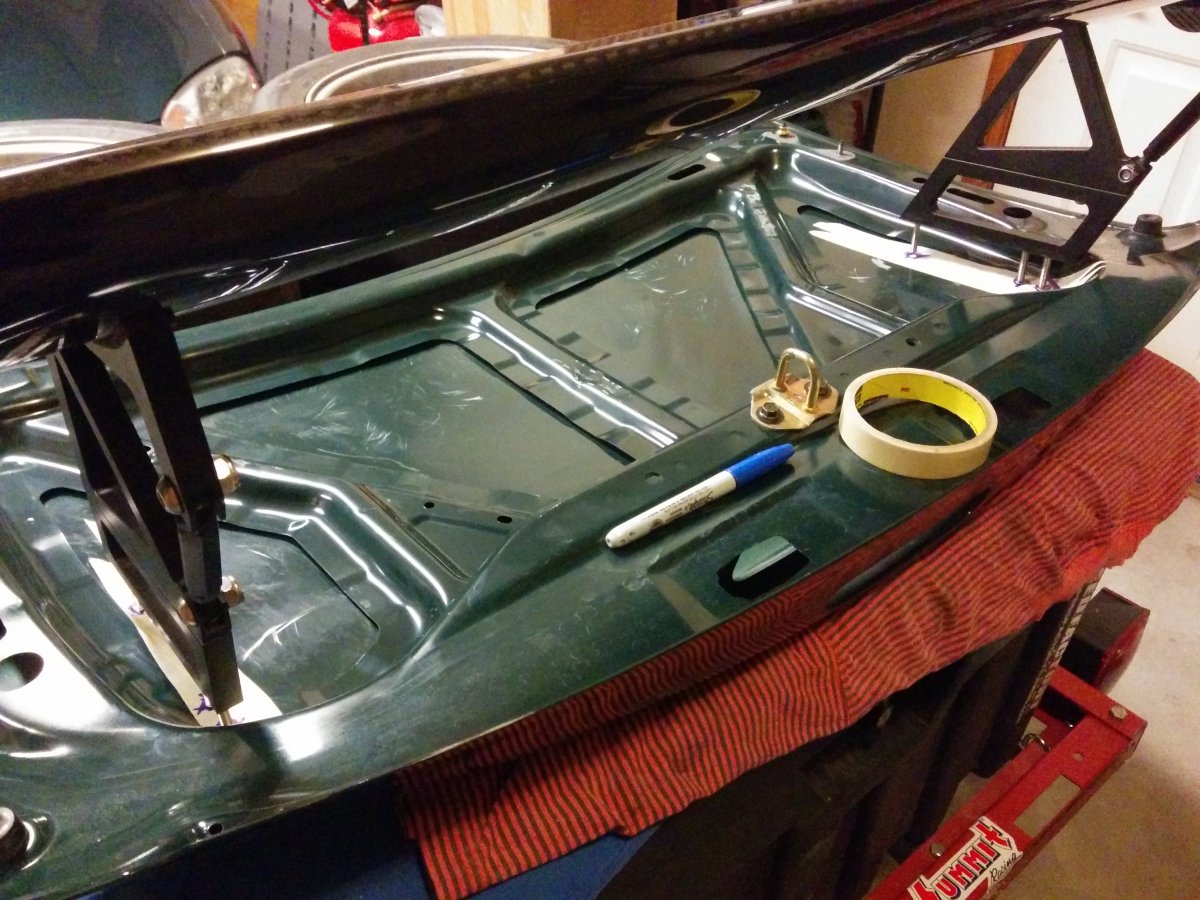
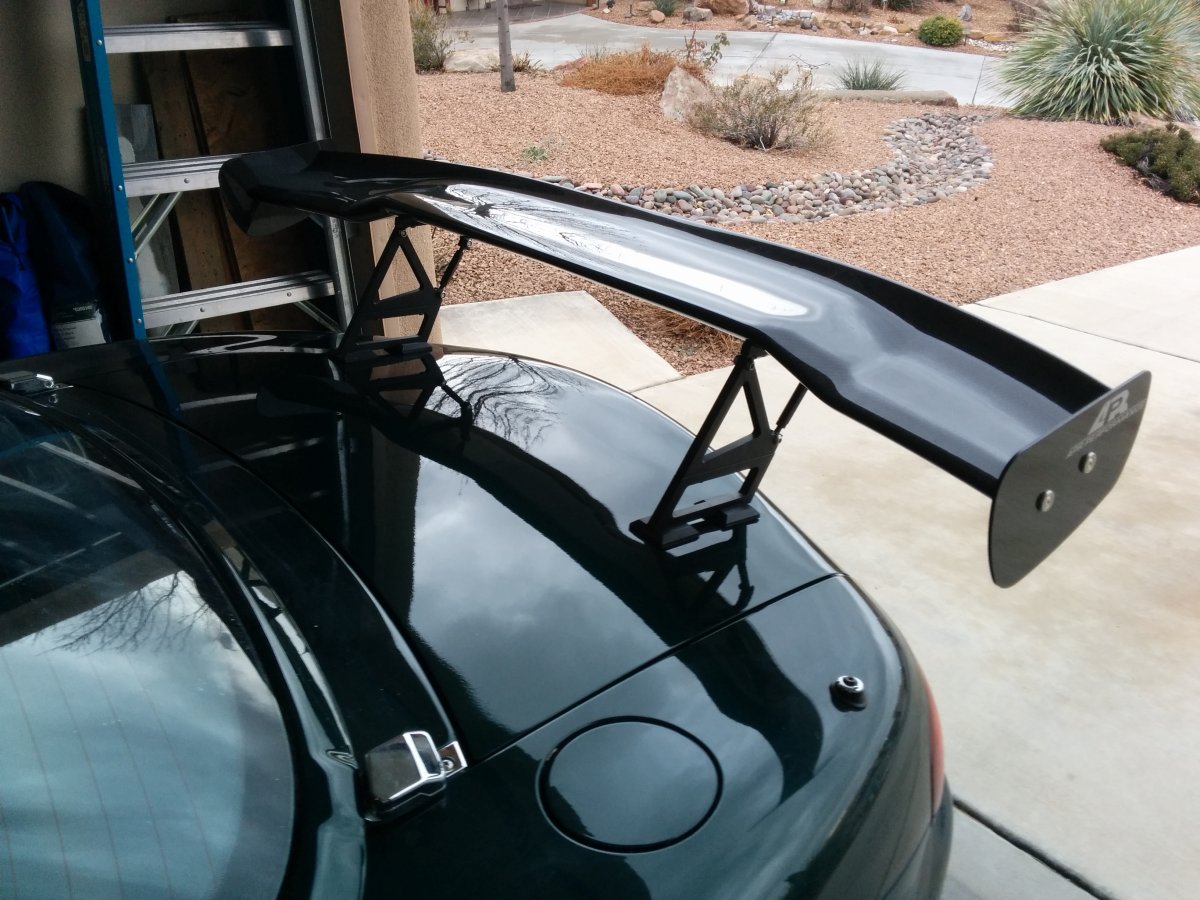
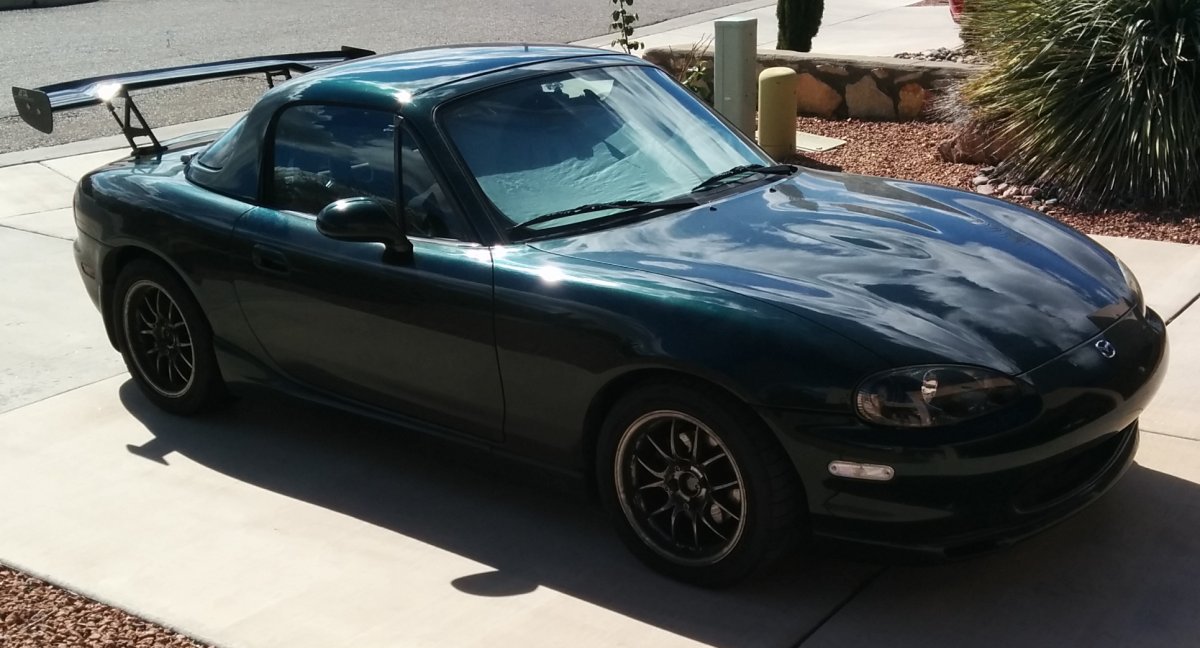
I got the lid painted and installed the lid with wing. I plan to swap trunk lids for track days.

I also found that there was a 3.9 speed sensor in my spare 6-speed. Unfortunately the wires were pulled out of it. I repaired and tested it and it works. I added the connector from the old sensor and installed it.
A buddy of mine had a APR GTC-200 wing for sale at a great price, so I bought it and a spare trunk lid. I flipped the lid and marked the holes for the wing. It's easier to do from the bottom because there are more reference points to make sure it's centered and has space for mounting. I also made backing plates for the supports.
I got the lid painted and installed the lid with wing. I plan to swap trunk lids for track days.
Reply
0
0
02-02-2015, 01:39 AM
#518
Supporting Vendor


iTrader: (1)
Join Date: Sep 2010
Location: Lake Forest, CA
Posts: 7,947
Total Cats: 1,002
Car looks great. Didn't realize you were on a 4.3 diff with that 6 speed! That's crazy. At my power levels (considerably lower than yours) my 4.1 was quite a lot too short.
Reply
0
0


