Astroboy's reliability build (pic intensive)
#62
Elite Member
Thread Starter
iTrader: (18)
Join Date: Dec 2007
Location: oahu
Posts: 1,787
Total Cats: 6
Prepped and painted the block, put together the head, and dialed in the intake cam. Hopefully I'll finish the brake lines tomorrow along with chase the main and head stud holes. Booty:


Intake ports:


Exhaust port


Intake ports:


Exhaust port


#64
Elite Member
iTrader: (12)
Join Date: Nov 2009
Location: Harpers Ferry WV
Posts: 1,516
Total Cats: 20
Looks awesome man. I have a question do you think it is really worth the time to tuck the brake lines or is it one of those personal preference things? Also does the seam welding need to be all the way across the seam or is the stitching like you have more than adequate? I need to do this to my car but I was under the impression that I had to do the whole seam.
#66
Elite Member
Thread Starter
iTrader: (18)
Join Date: Dec 2007
Location: oahu
Posts: 1,787
Total Cats: 6
Looks awesome man. I have a question do you think it is really worth the time to tuck the brake lines or is it one of those personal preference things? Also does the seam welding need to be all the way across the seam or is the stitching like you have more than adequate? I need to do this to my car but I was under the impression that I had to do the whole seam.
I have read that people have encountered that problem. Do you remember how much your tq'd the nuts? I know the gears state to tq them to 40-45 in. lbs.
#70
Elite Member
Thread Starter
iTrader: (18)
Join Date: Dec 2007
Location: oahu
Posts: 1,787
Total Cats: 6
99% done with the brake lines; 3 flares, connect the unions, and take it all apart. Found out my machinist didn't give me my circlips for the pistons back so until I get those I am kind of on pause.
Firewall

Cowl

About where I think the engine will be and how it will work out

Firewall

Cowl

About where I think the engine will be and how it will work out

#72
Elite Member
Thread Starter
iTrader: (18)
Join Date: Dec 2007
Location: oahu
Posts: 1,787
Total Cats: 6
Yes you are correct. I want to get it all put together and make sure it all works before I go introducing another adjustable thing. This way I don't have to worry about my brakes acting funny when I am focusing on getting the car running properly.
#74
Elite Member
Thread Starter
iTrader: (18)
Join Date: Dec 2007
Location: oahu
Posts: 1,787
Total Cats: 6

#75
Cpt. Slow

iTrader: (25)
Join Date: Oct 2005
Location: Oregon City, OR
Posts: 14,179
Total Cats: 1,129
If you're running an adjustable proportioning valve like Sean thinks you are, then the stock proportioning valve can be gutted to run straight through, or as a union between the two pairs of lines that go into the stock valve. The line for the rear brakes does in fact already go straight through the stock proportioning valve.
I realize in your case however, that you could have just ran a longer line, as you're re-doing all the brake lines.
I realize in your case however, that you could have just ran a longer line, as you're re-doing all the brake lines.
#78
Elite Member
Thread Starter
iTrader: (18)
Join Date: Dec 2007
Location: oahu
Posts: 1,787
Total Cats: 6
And we have rotating assembly! Finished torquing it at 12:30 this morning. Specs:
Ring gaps (top down avg): .012mm .019 .020 .020
Main bearings and rod bearings: .002" with 2 rod bearings that are a cunthair over
Mains tq'd to 60ft lbs rod bolts tq'd to 45 ft lbs all with arp assembly lube
Only thing I am worried about is the rod to crankshaft clearance, I couldn't even get a .010mm feeler gauge in there but there is no binding. Not sure if I should pull them and have them machined, especially seeing how it is all balanced. PICS?
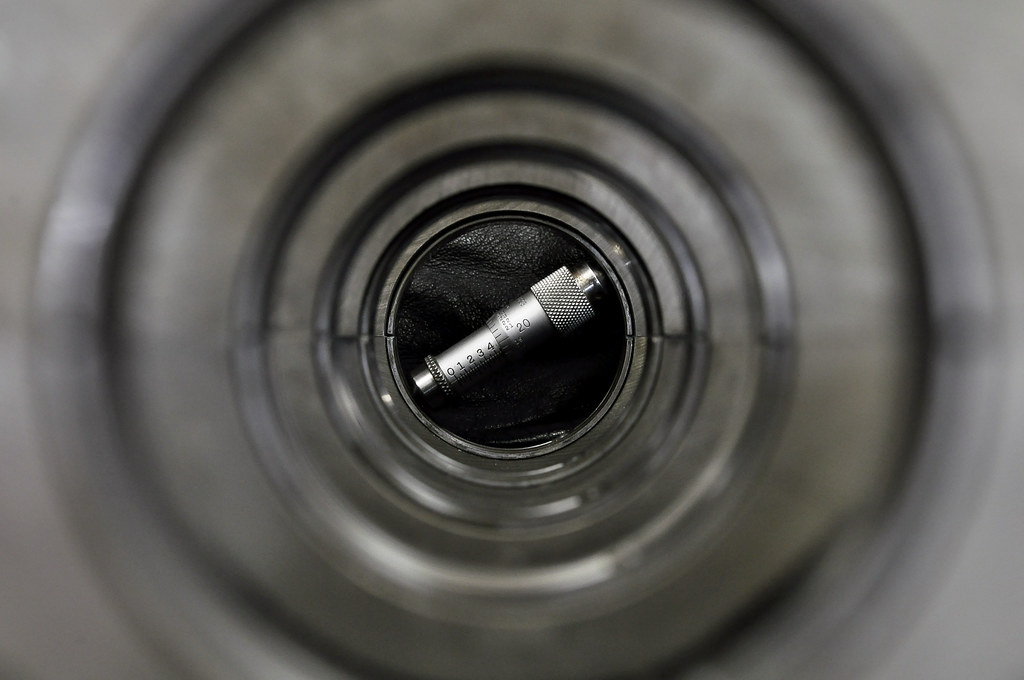
Inside mic doin work!

Bottom end

For some reason # one slug was printed upside down with the bump facing forward

Going to be attaching everything else and installing new seals in the gearbox tonight/tomorrow and hopefully slipping it in sunday.
Ring gaps (top down avg): .012mm .019 .020 .020
Main bearings and rod bearings: .002" with 2 rod bearings that are a cunthair over
Mains tq'd to 60ft lbs rod bolts tq'd to 45 ft lbs all with arp assembly lube
Only thing I am worried about is the rod to crankshaft clearance, I couldn't even get a .010mm feeler gauge in there but there is no binding. Not sure if I should pull them and have them machined, especially seeing how it is all balanced. PICS?
Inside mic doin work!

Bottom end

For some reason # one slug was printed upside down with the bump facing forward

Going to be attaching everything else and installing new seals in the gearbox tonight/tomorrow and hopefully slipping it in sunday.


 I really was happy with the color when I was laying it. It should match everything nicely. Last night I got 3/4 of the way done with the brake lines. Clutch line is done:


