Building a blonde young beefcake wearing nothing but skimpy shorts named Rocky

 09-04-2012, 11:19 AM
#684
Senior Member
Thread Starter
iTrader: (7)

Join Date: Sep 2009
Location: Royal Oak Michigan
Posts: 754
Total Cats: 68
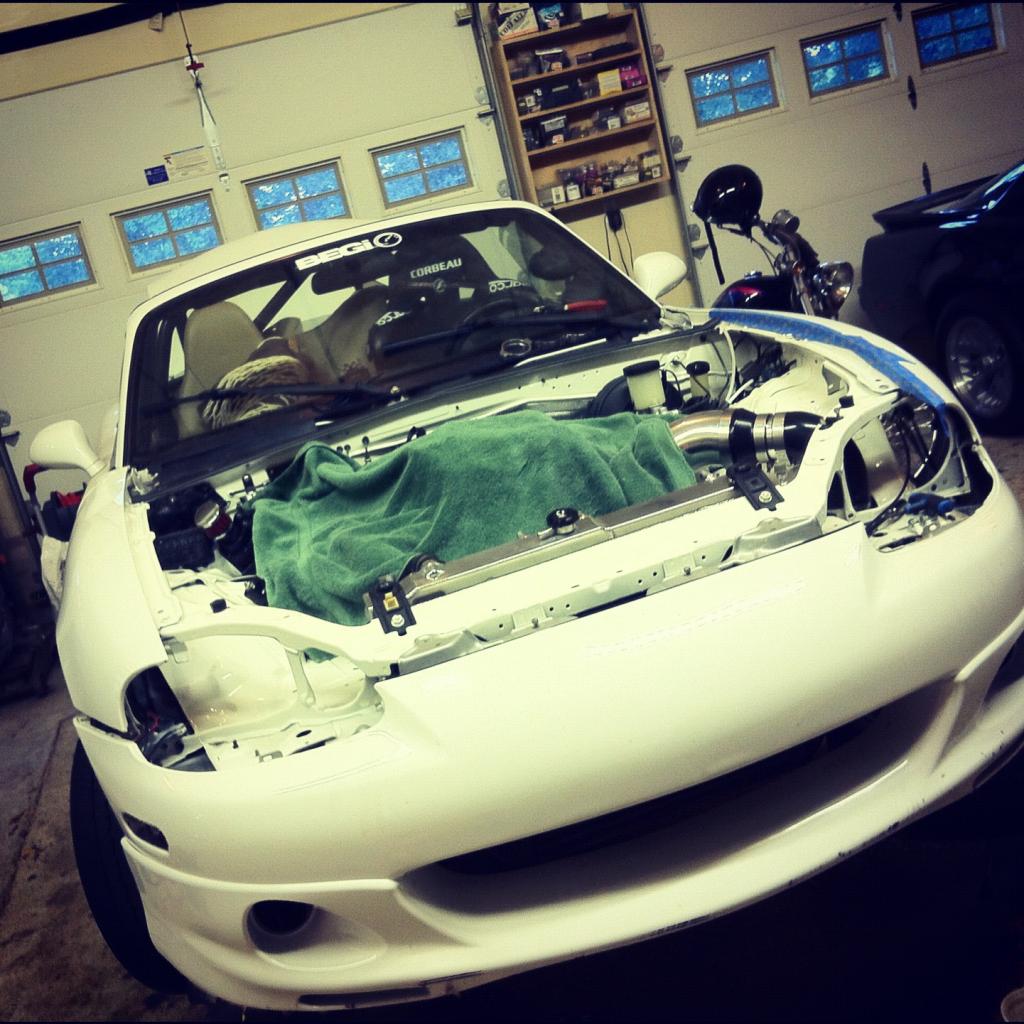
So with the manifold complete I could go ahead and get to the installation part. It’s been mocked up already for fitting the oil and coolant lines but I double checked this again.
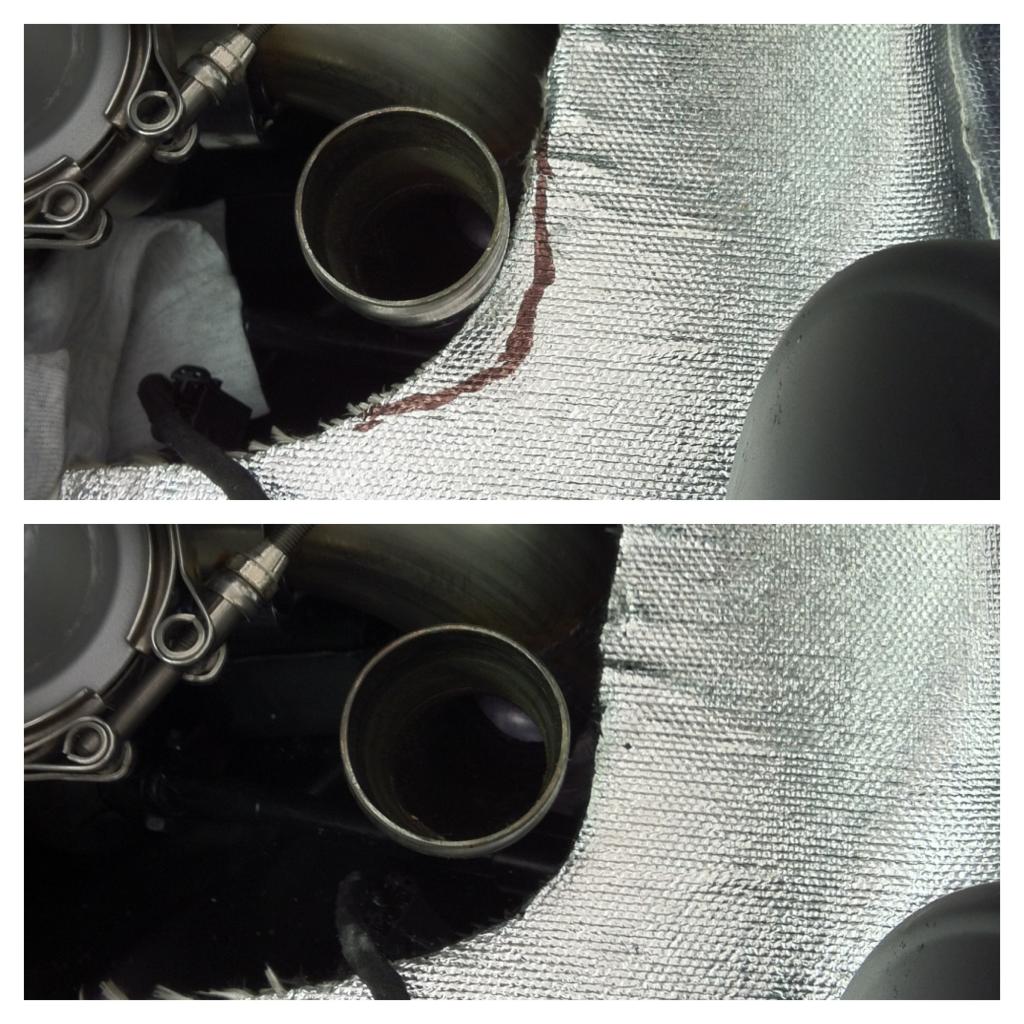
During the installation I noticed that the wastegate tube was a bit too close to the engine bay and would likely make contact with the movement of the engine. So I mocked it up to draw out where I’d be modifying the bay and made my cut. I then painted the freshly exposed metal to avoid rust.
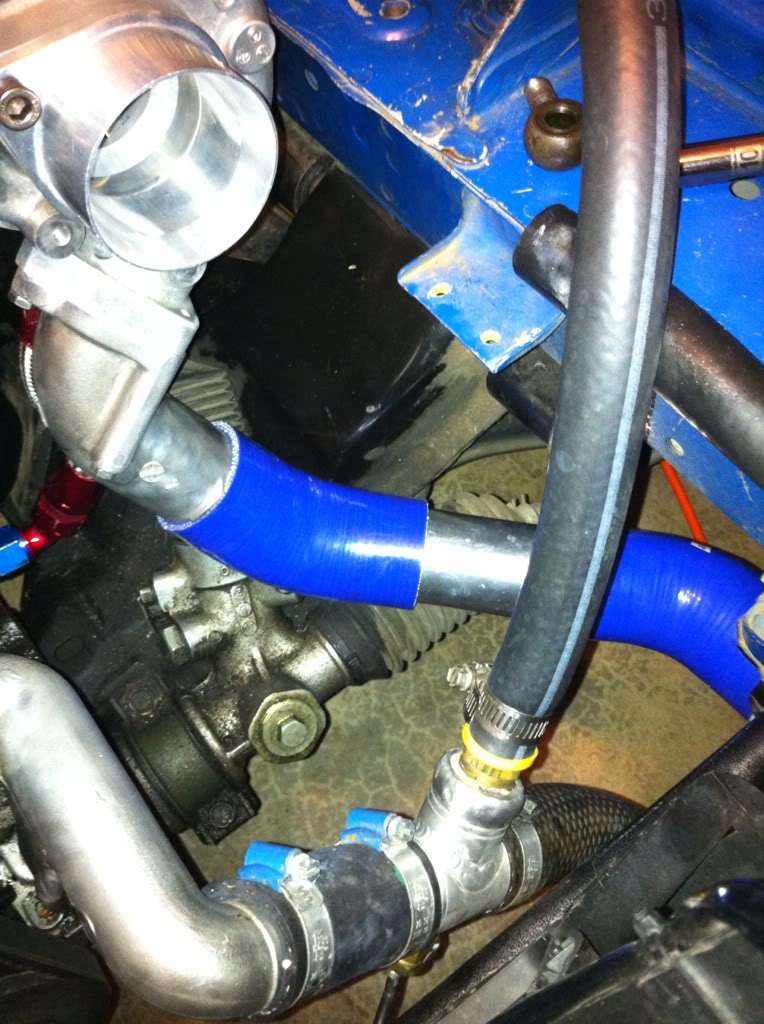
With the turbo installed I went through to check if any of the lines were making contact with anything else. To be safe I covered a couple of them with rubber line and stainless ties.
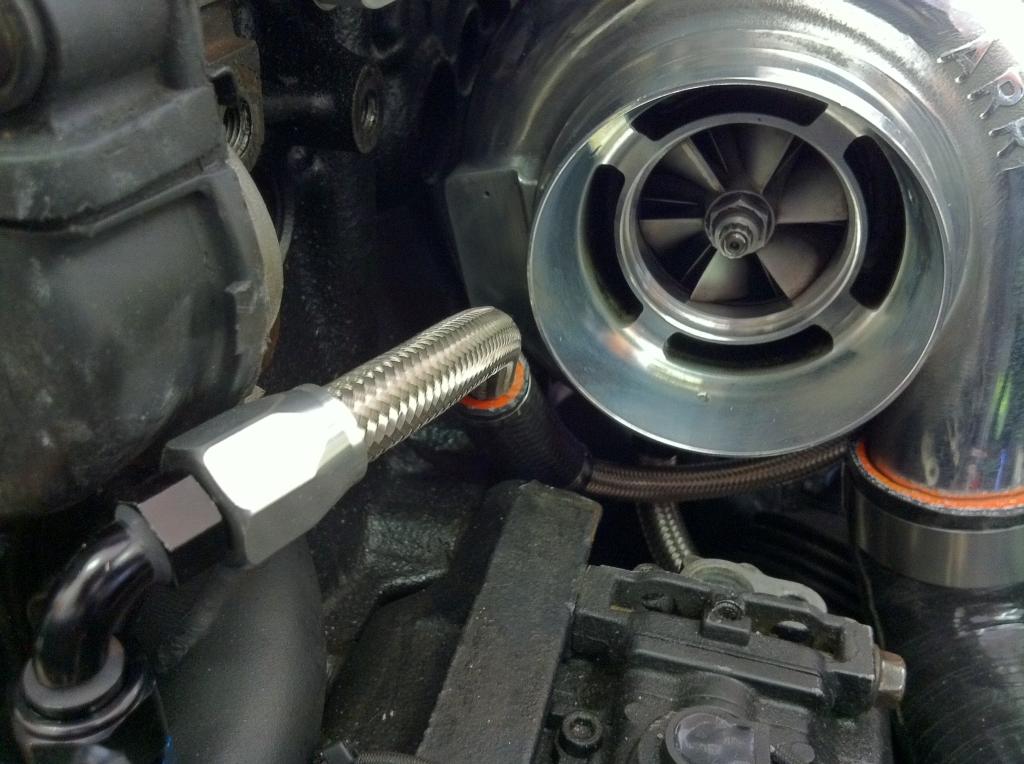
Then I installed my silicone outlet elbow. I ended up making a couple of adjustments that would keep it from making any contact with the frame. Looks like it was intended to be here.

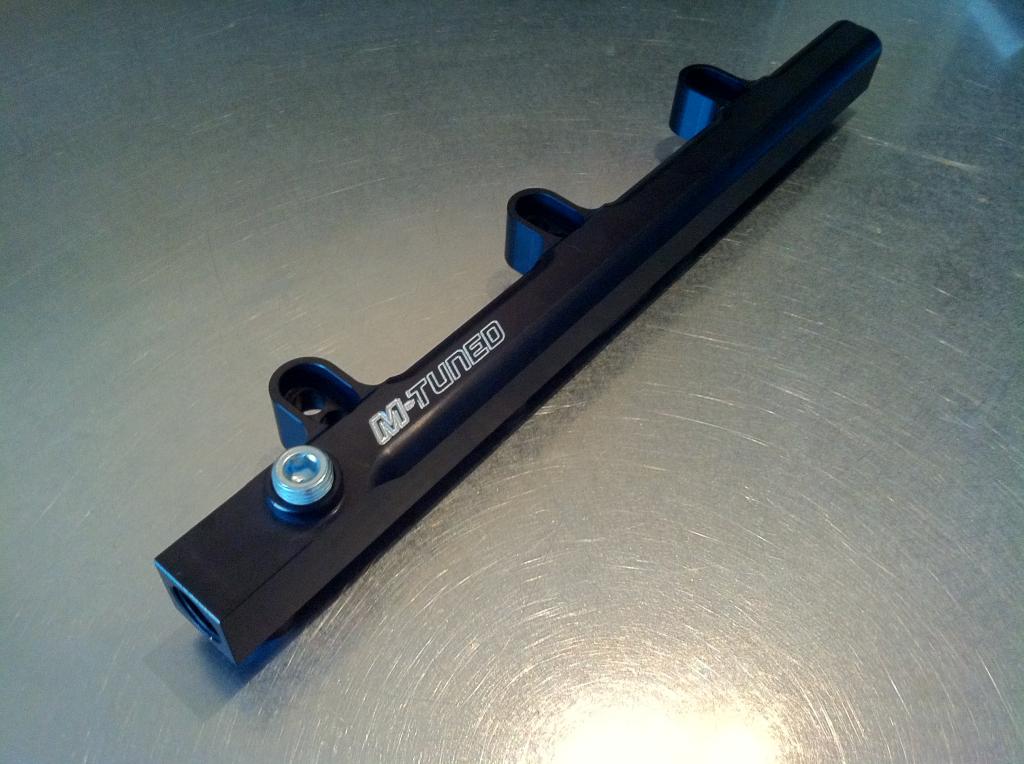
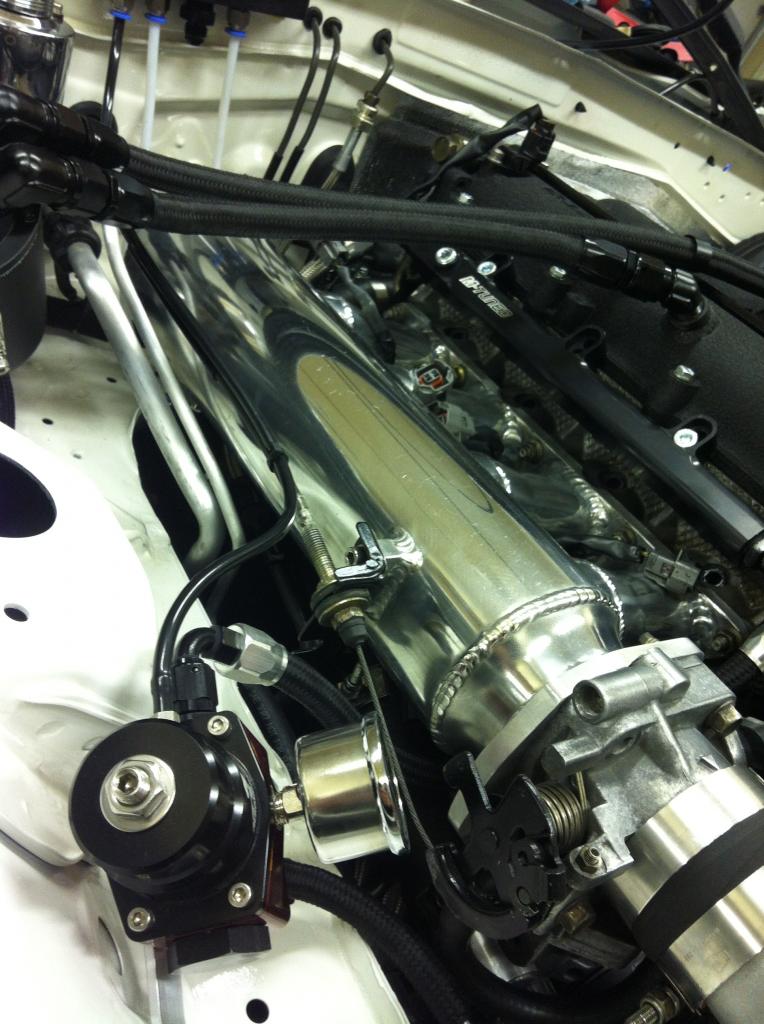
Next was to install my fuel rail. I ordered the M-Tuned rail from 949.
The website states that the rail will work with my vehicle. However I mocked it up and it made contact with the valve cover when used with the correct holes for my injector alignment. So I pulled it off the car and removed some material.
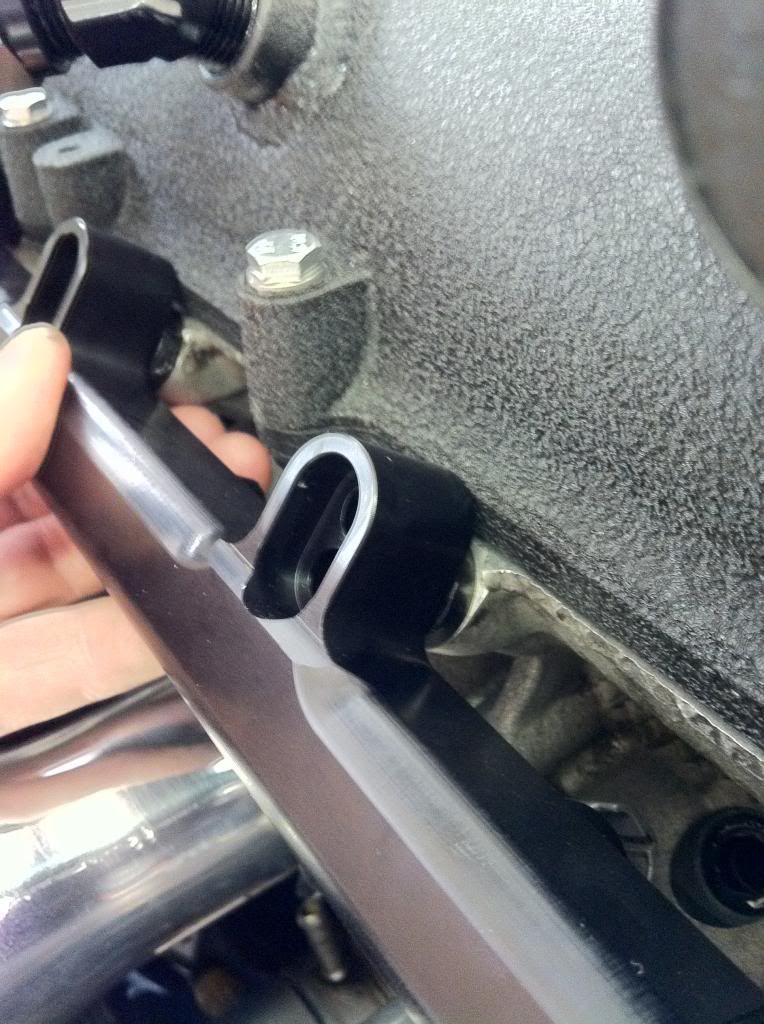
After that it was perfect.. Strange how this was overlooked…

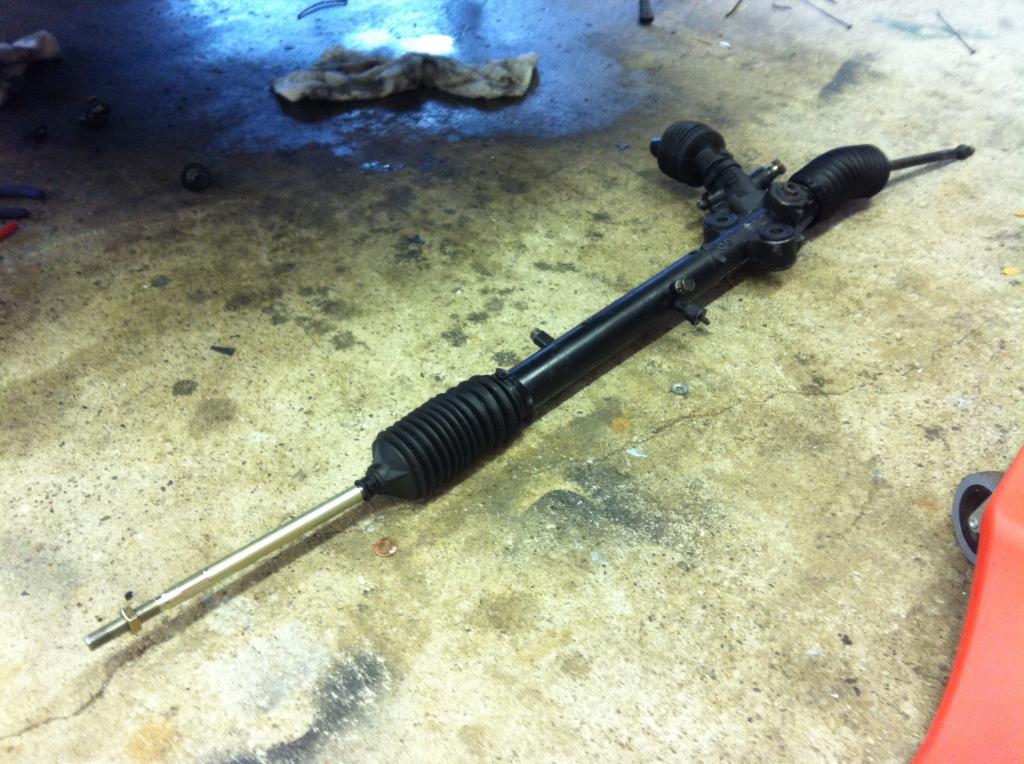
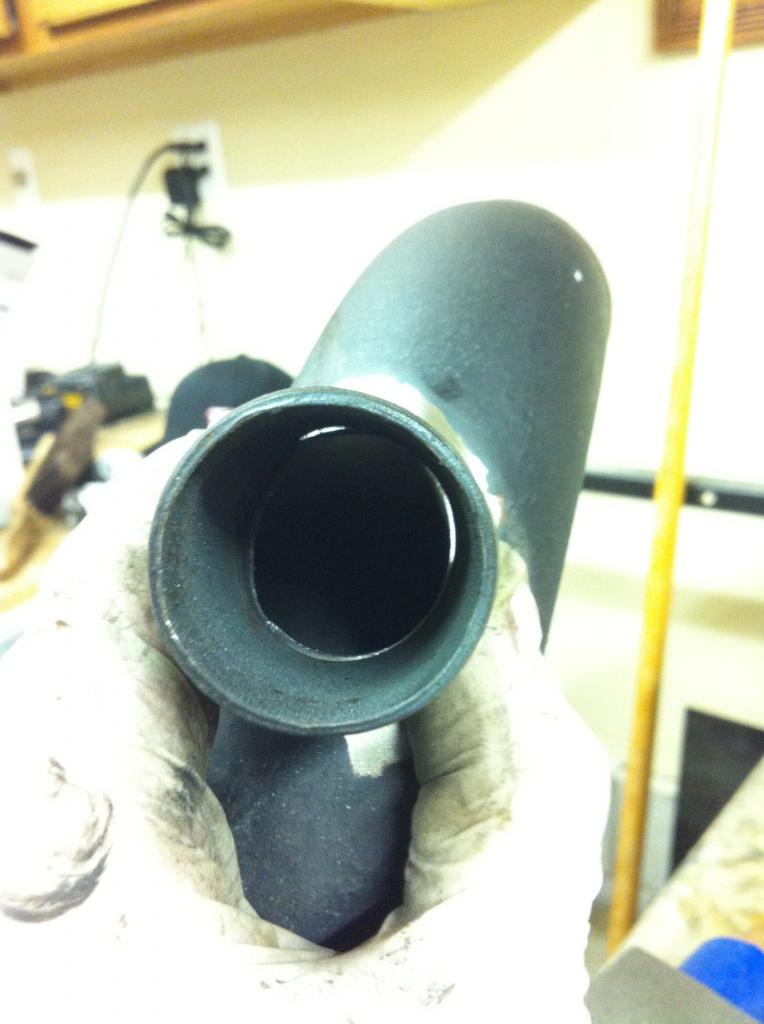
Next was to Depower my steering rack. Since I had to remove the pump, I’d rather have real manual steering. I uninstalled the rack and got it on the bench for disassembly.
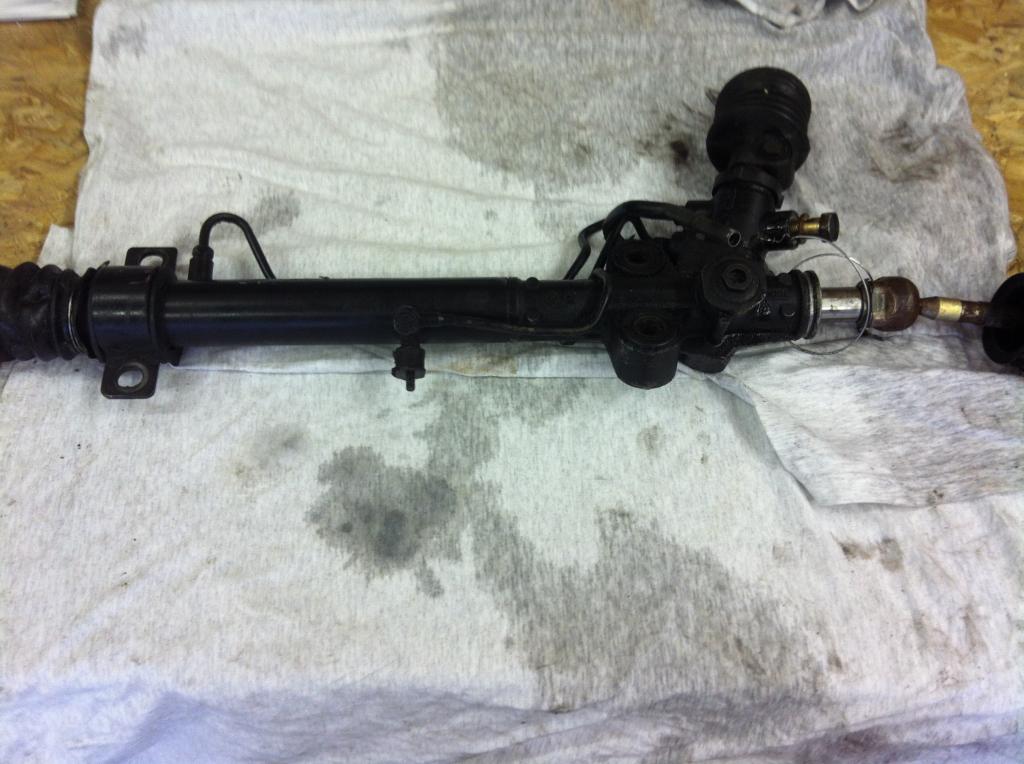
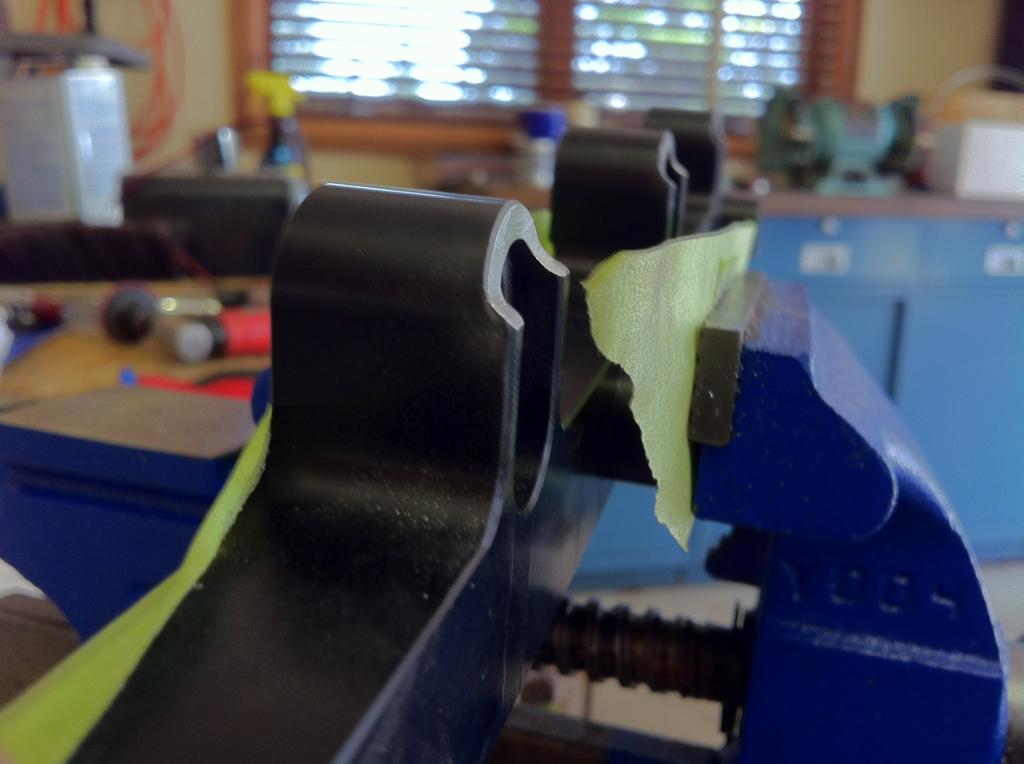
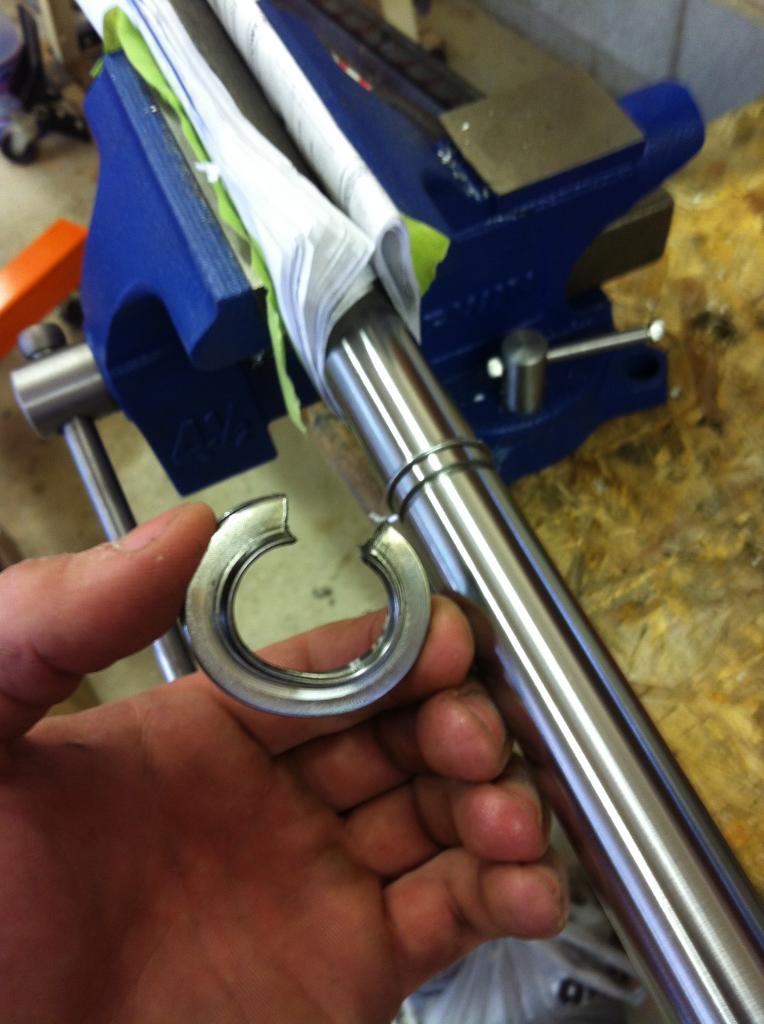
The basics of this job are to remove the seal from the shaft that was used to hydraulically push the shaft back and forth. Without a pump you just end up having to push this fluid through the lines, causing resistance. So I removed the shaft and placed it in the vice.
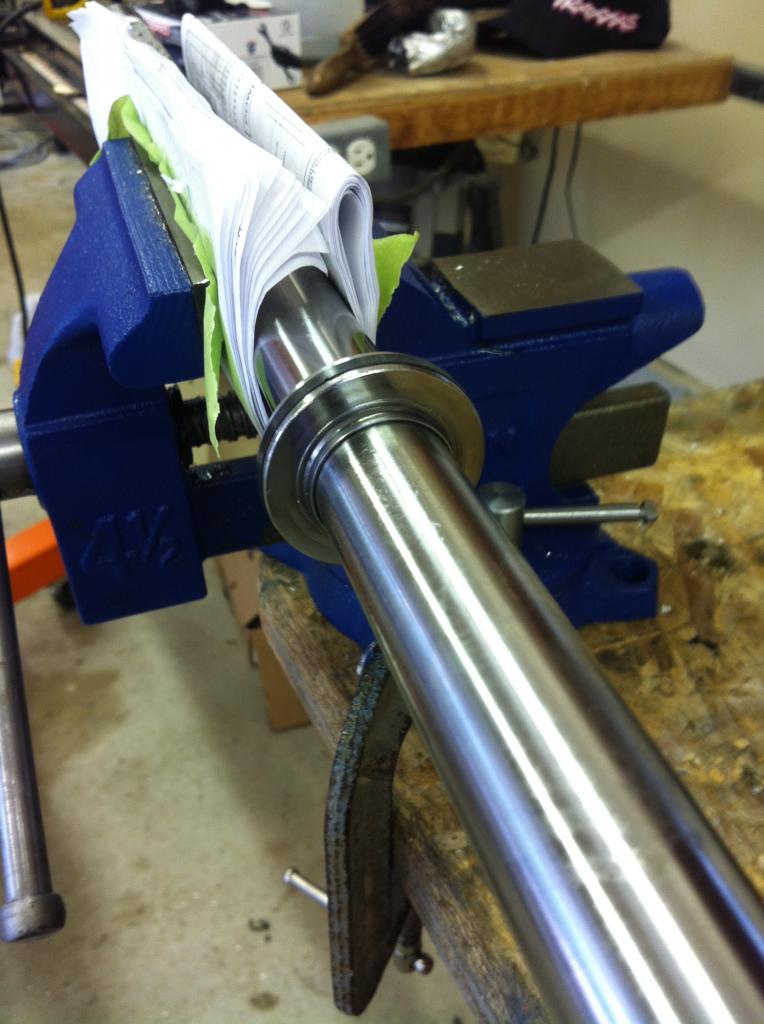
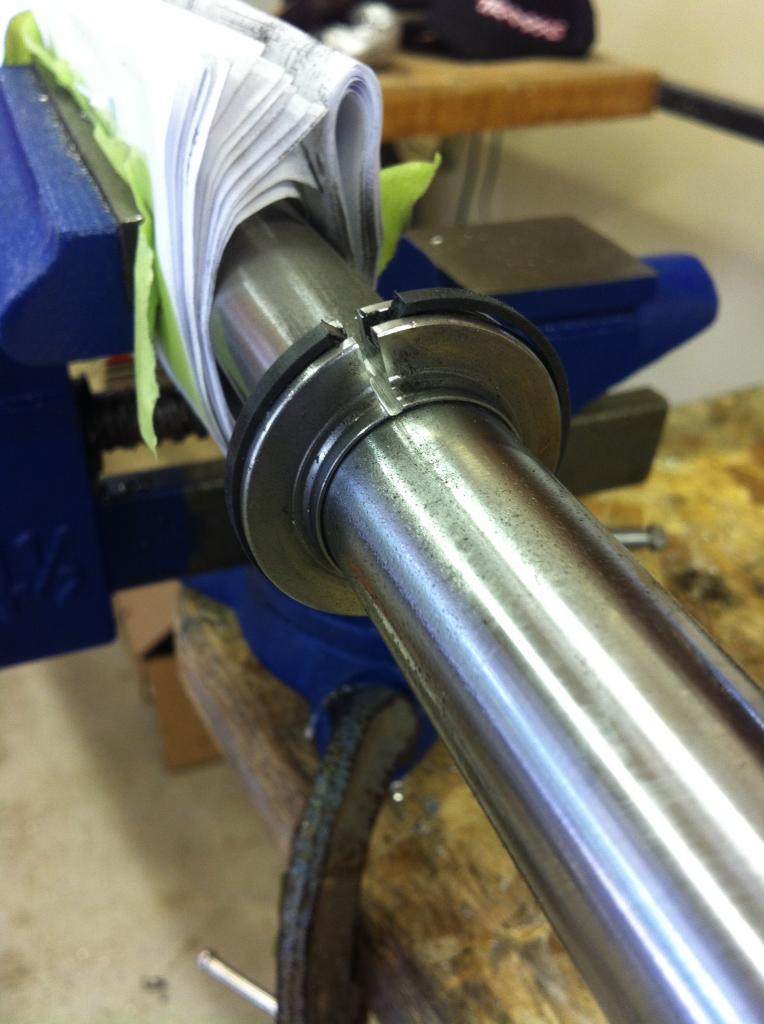
Next I cut a slice through the ring, then popped it off with a couple of pry bars.
I also noticed that I had a slight bend in my outer tie rod. Oddly enough I had one laying around so I tossed that on and reinstalled the boots.
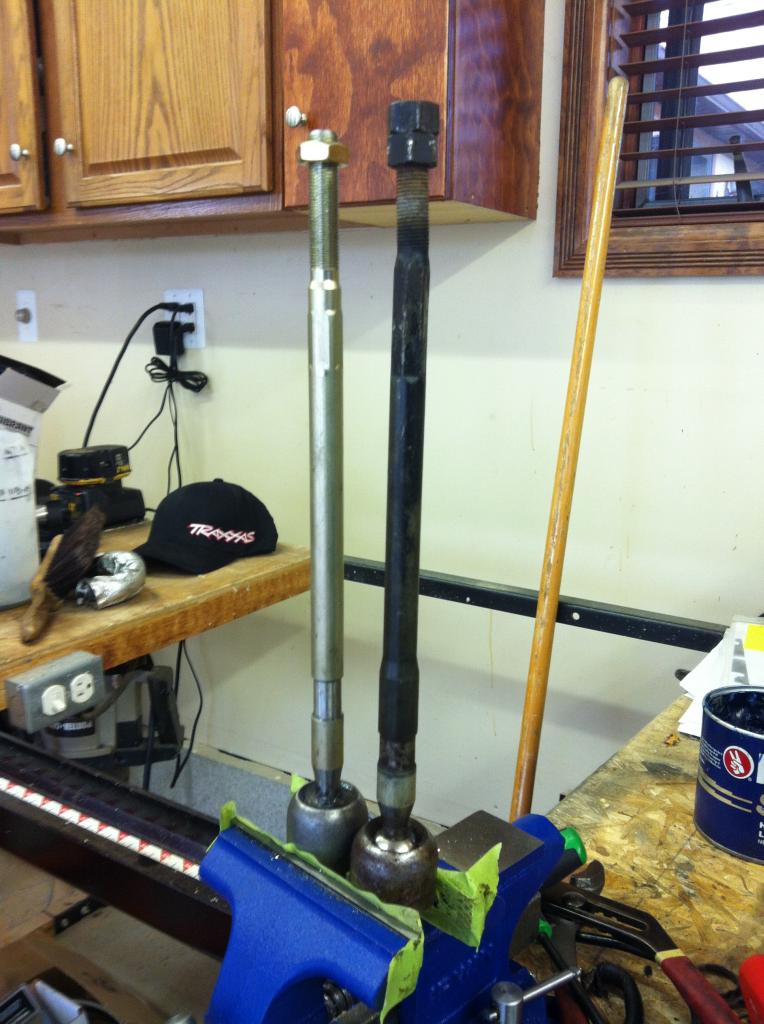
After the seal is removed, you cover the moving components with thick bearing grease and reassemble it. At this point you can remove all of the hydraulic lines but you want to cap them off to keep dust and dirt out.
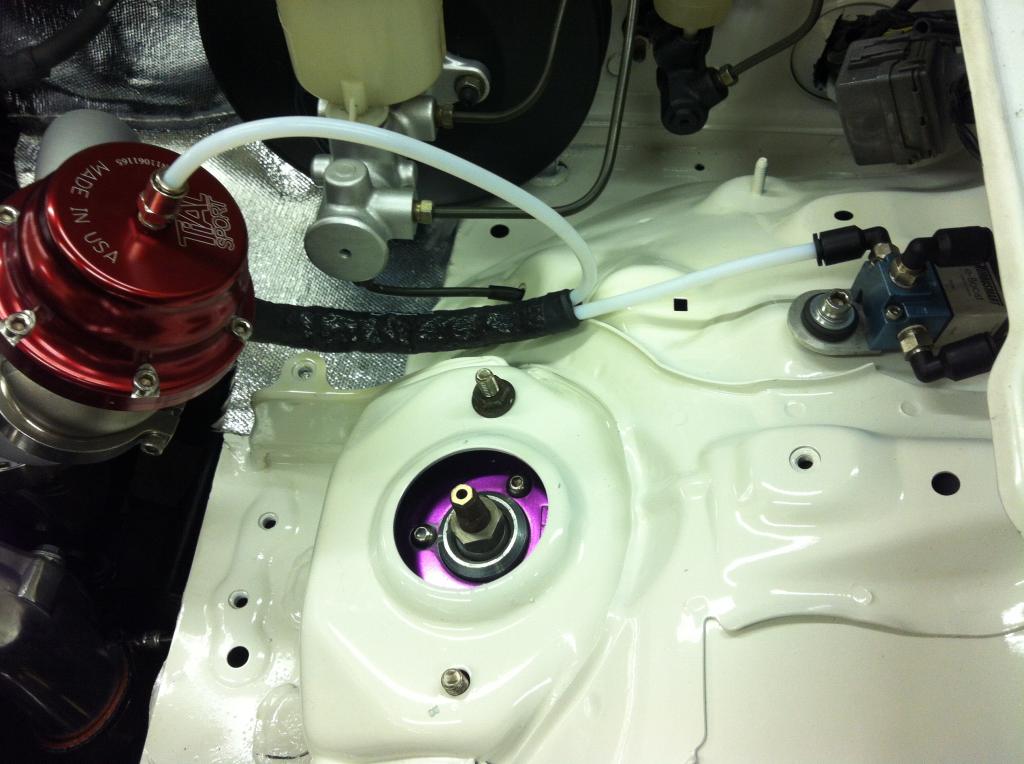
Next I moved on to some of the vacuum components. Wastegate, regulator, brake booster…
After installing each component with the hard lines I would attach an air tool with a regulator to the end of it. I’d slowly crank up the pressure to about 40-50 psi and listen for leaks. I’ve had no reason to doubt these hard lines but it’s piece of mind.
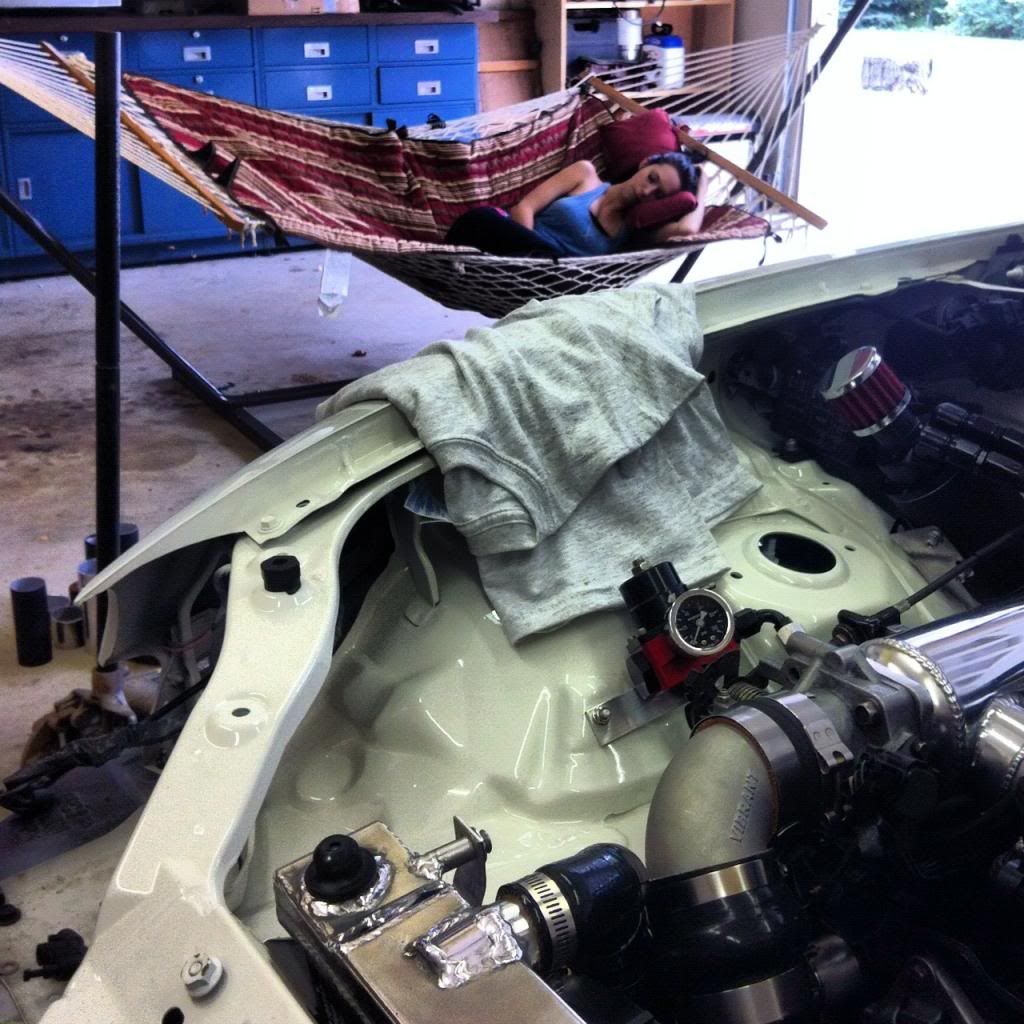
Since my girl has been hanging in the garage with me I figured I’d upgrade her seating form the riding lawn mower to a nice hammock… Looks about right.. Hammock + 50 shades of Grey = happy girl.
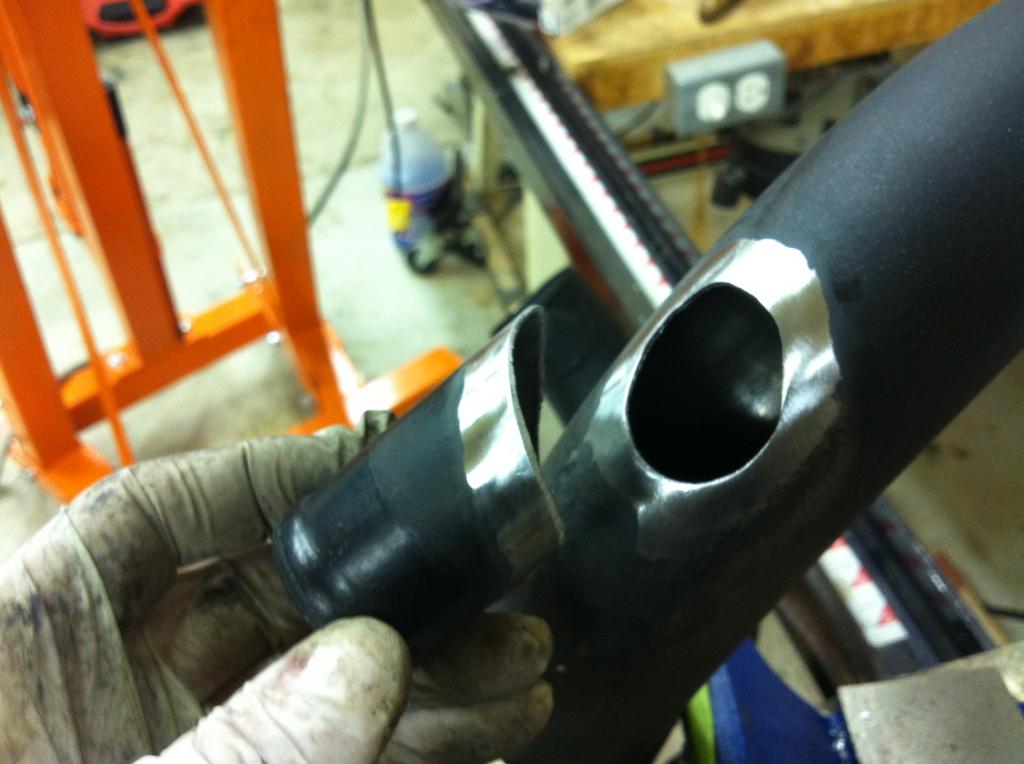
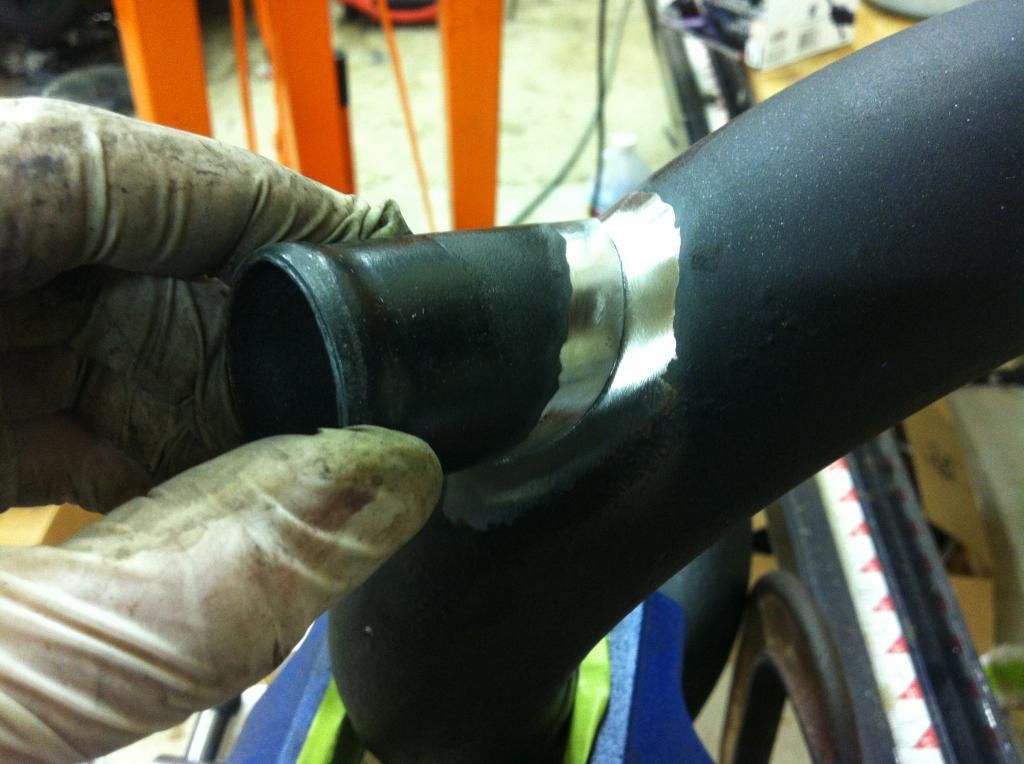
Next it was time to figure out where to put my bov. I’ll be using my Synapse recirculation valve as an atmospheric dump. I chopped off the old mounting pipe and made a new home for it just after the intercooler inside the bumper cover.
I’ll set that aside until I can make it over to my buddy’s place with a welder. So next was to replace that damn leaking diff seal. Since I’ve changed the axle a couple of times, it’s started to leak. I crawled under the car to discover this….
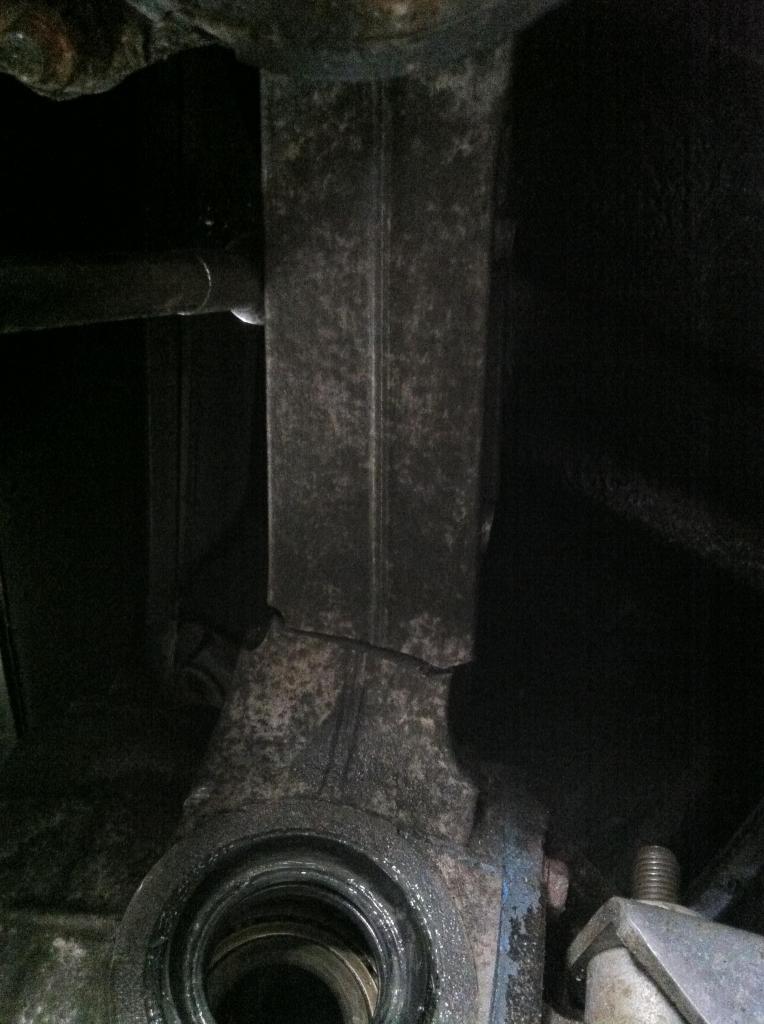
The diff arm is broken off… Since I’m using that beatrush brace, I probably couldn’t even tell it was broken. My guess is, it’s been broken for awhile now though.
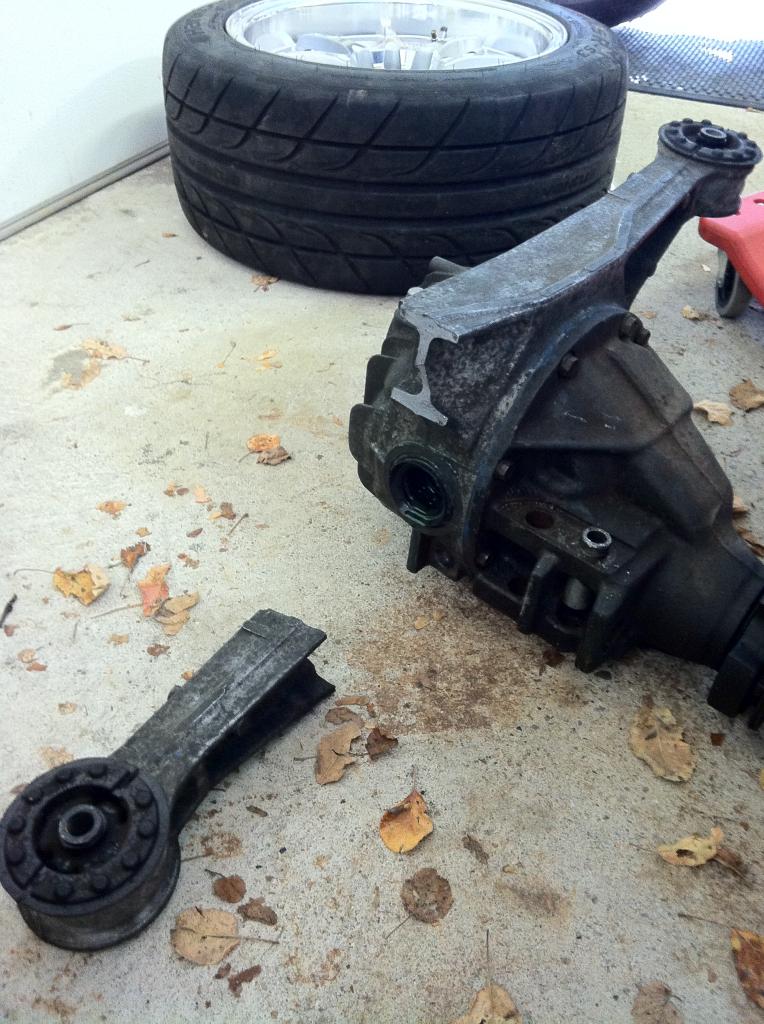
I’ll take this with me and weld it too.. I’ll likely box in the I beam part with more aluminum material. I doubt the diff internals are going to last long as it sits anyways but the arm probably won’t brake again with the beatrush brace installed.
Until next time my hoe…

Reply
 0
0

0


 09-05-2012, 01:38 PM
#693
Newb

Join Date: Jun 2012
Location: Daytona Beach, FL
Posts: 5
Total Cats: 0
Can't believe that I just spent most of my day at work reading this entire thread. Awesome stuff! Thanks for the pictures and write-ups! It's certainly much appreciated. I have big plans for my newly acquired Miata and your project has given me lots of inspiration! Thanks!
Reply
0
0
 09-05-2012, 02:43 PM
#695
Senior Member
Thread Starter
iTrader: (7)
Join Date: Sep 2009
Location: Royal Oak Michigan
Posts: 754
Total Cats: 68
 Also- I only seem break things when I go to the drag strip. Problem is, the car is pretty entertaining at the strip... just not able to handle the abuse. I'd rather keep the car on a road course where it was built to be. It just so happens to be really fun in a straight line too.
Reply
0
0
09-05-2012, 02:44 PM
#696
Senior Member
iTrader: (2)

Join Date: Sep 2009
Location: Edmonton, AB, Canada
Posts: 1,193
Total Cats: 29
Next was to Depower my steering rack. Since I had to remove the pump, I�d rather have real manual steering. I uninstalled the rack and got it on the bench for disassembly.
Did you weld the pinion shaft ? I'm sure you had but thought I'd mention it to you. Usually you document everything but I didn't see it here.
BTW are my parts still resting nicely at your place ?
Did you weld the pinion shaft ? I'm sure you had but thought I'd mention it to you. Usually you document everything but I didn't see it here.
BTW are my parts still resting nicely at your place ?
Reply
0
0
09-05-2012, 03:05 PM
#697
Truth. I'd like to keep the weakest link AFFORDABLE Also- I only seem break things when I go to the drag strip. Problem is, the car is pretty entertaining at the strip... just not able to handle the abuse. I'd rather keep the car on a road course where it was built to be. It just so happens to be really fun in a straight line too.
Also- I only seem break things when I go to the drag strip. Problem is, the car is pretty entertaining at the strip... just not able to handle the abuse. I'd rather keep the car on a road course where it was built to be. It just so happens to be really fun in a straight line too.I am glad I read your thread, because I think you have done this exactly right.
You could spend 10k on upgraded diffs, straight-cut gearboxes, heavy duty axles, etc. Or you can just take it easy and replace an axle for $50 every once in a while.
That said, there was talk of an RX-7 TII bellhousing adapter plate being mass produced for around $400. If I have the chance to go that route, I will just go all RX-7 TII including rear end. If these are actually offered for sale some day, and you blow your six speed, it might be worth looking into (and for all the others in this thread with dreams of making 450ft-lbs). Here is the thread, if anyone is interested. To figure out how to mount it, search the forums for "TII swap" and there are several results to give you some ideas.
Reply
0
0
09-05-2012, 03:06 PM
#698
Man stuff:
Quick Time BellHousing RM-4097 Quick Time Bellhousings
HURST DRIVELINE CONVERSIONS TCET5009 - Hurst Driveline Conversions Tremec TKO 600 Manual Transmissions - Overview - SummitRacing.com
Reply
0
0
09-05-2012, 03:24 PM
#699
Then you need an 8.8 diff. Then you need a custom driveshaft. Then you need custom axles. Then modify your hubs.
I guessed 10k, but it is probably not far off.
And something will still break after all that (have you seen the way he drives ) but now he will be replacing $600 custom axles instead of $50 off the shelf ones.
I guessed 10k, but it is probably not far off.
And something will still break after all that (have you seen the way he drives
) but now he will be replacing $600 custom axles instead of $50 off the shelf ones.
Reply
0
0


