DS1 has a horrible Build Thread.
 10-02-2013, 06:10 AM
#201
It will look better when I actually mount the gauges and pods in the right place. I don't like A-pillars because the gauges are too in-you-face and/or ruins your view, and I can't use the vent mount since I NEED the heat in Upstate NY. I was thinking about doing the gauge below the aftermarket radio mount but whats the point of having gauges out of your line of sight?

Reply
 0
0

0
10-12-2013, 01:24 PM
#202

First big update!!
I started this on Thursday but haven't had time to make some updates. The build has gone incredibly well so far, it was DEFINITELY nice having some things already done instead of having to fab up all the mounts and intercooler stuff and all that.
Day 1:
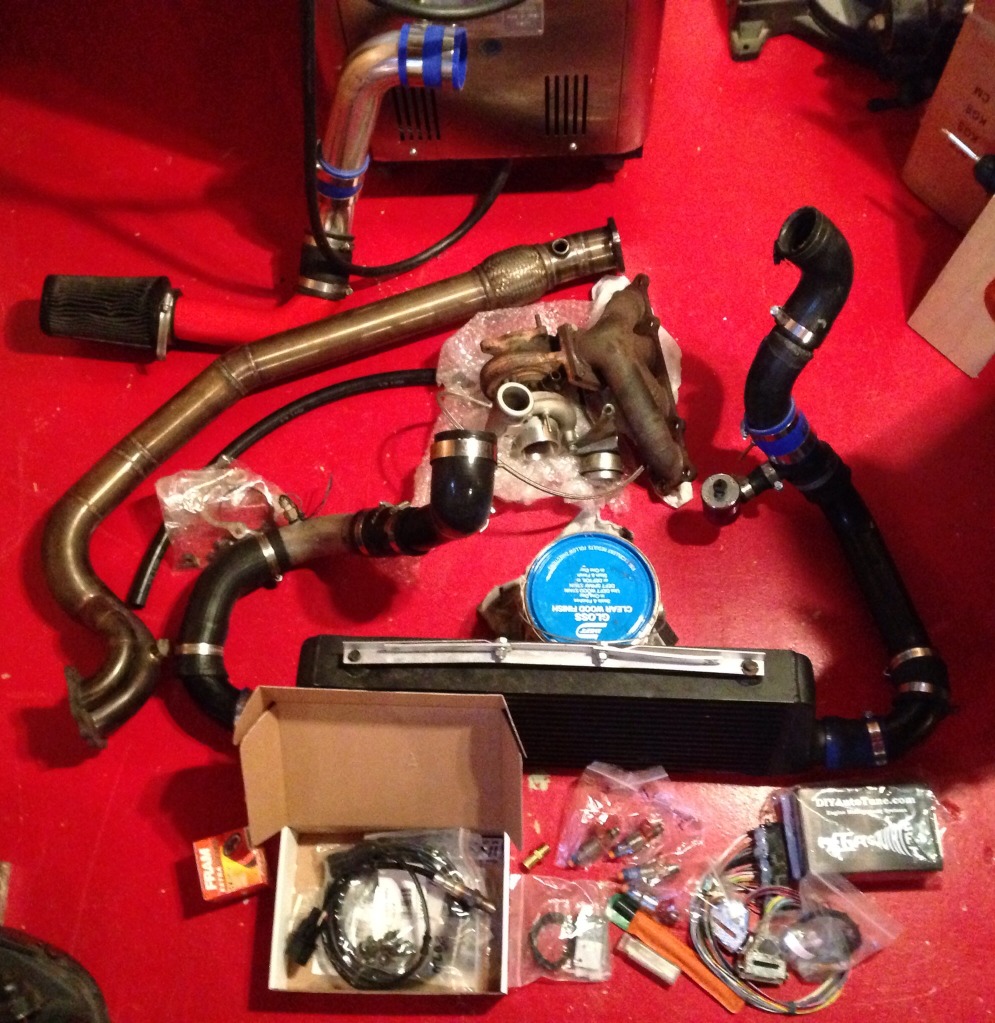
Here are all the parts. I mean ALL of them:
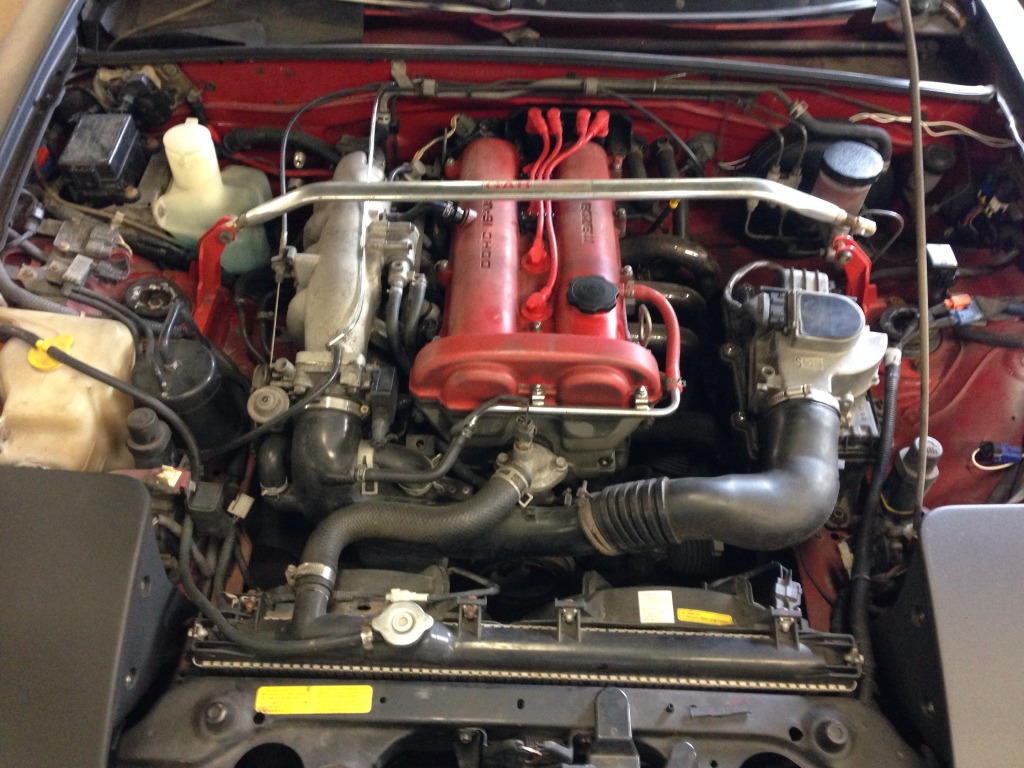
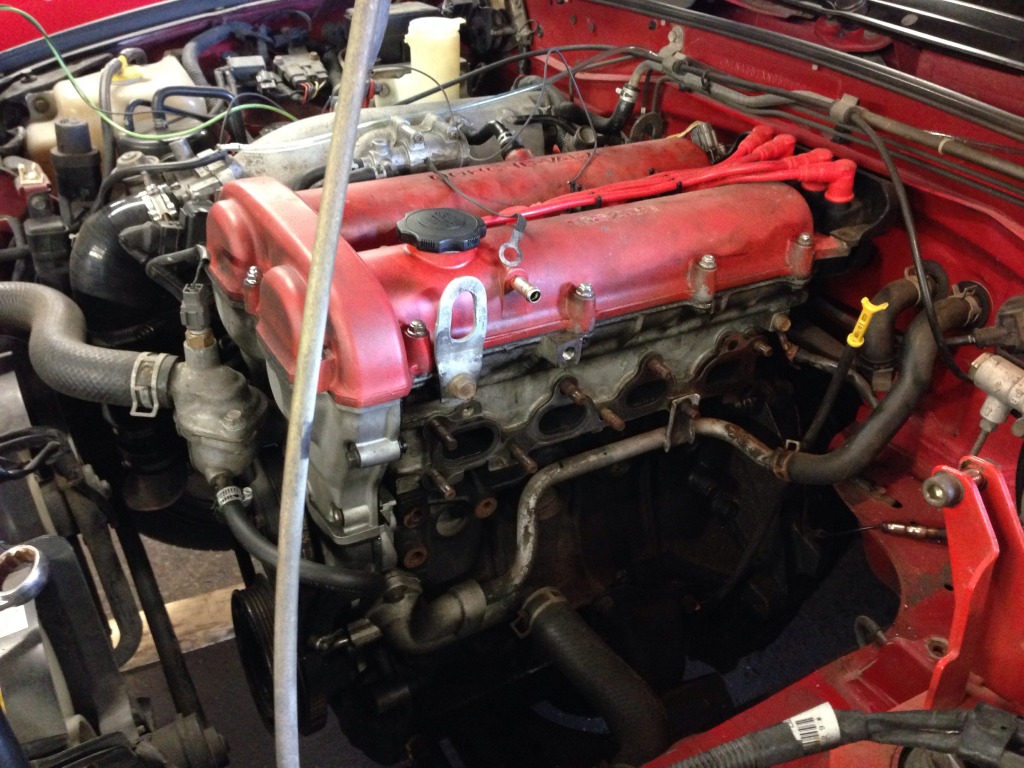
The engine bay, in "somewhat stock" form before starting to rip it apart.
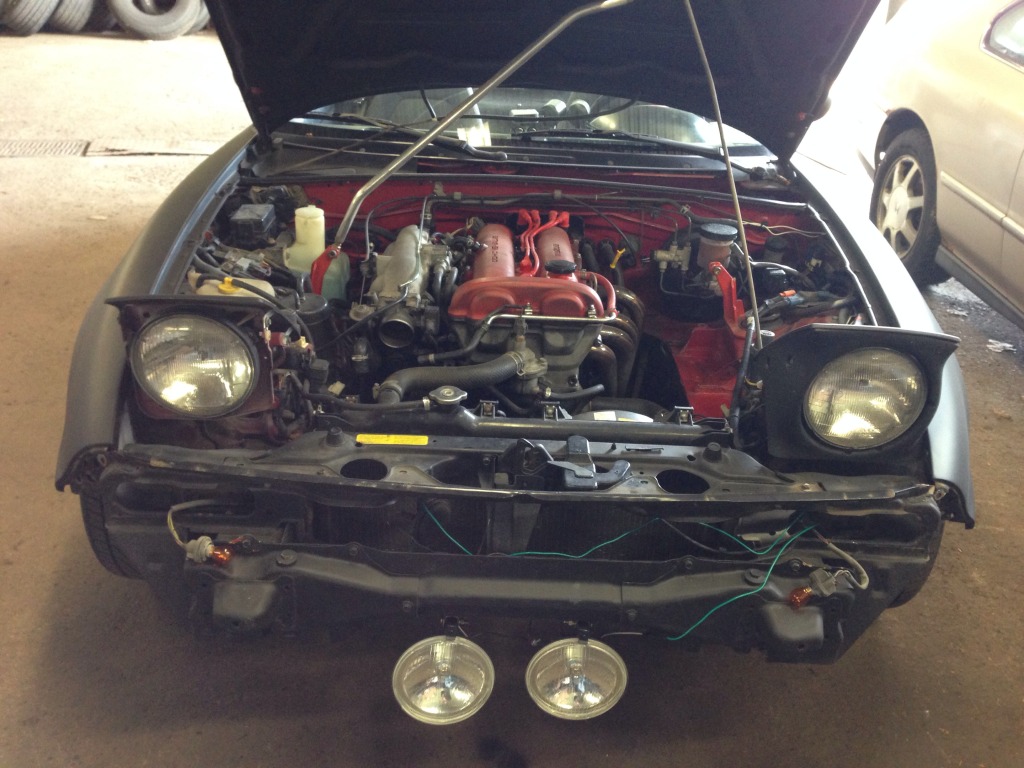
Pulled off the bumper, intake stuff, etc.
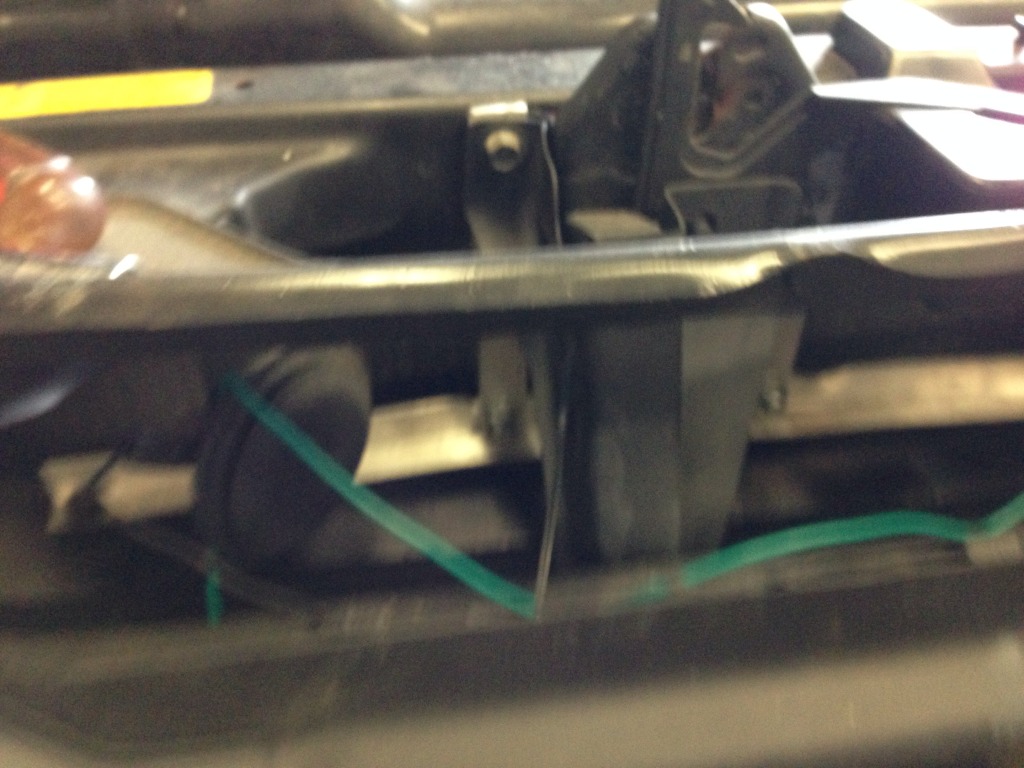
Put some longer leads on the already installed AIT, and got the intercooler mounted up and coldside piping installed.
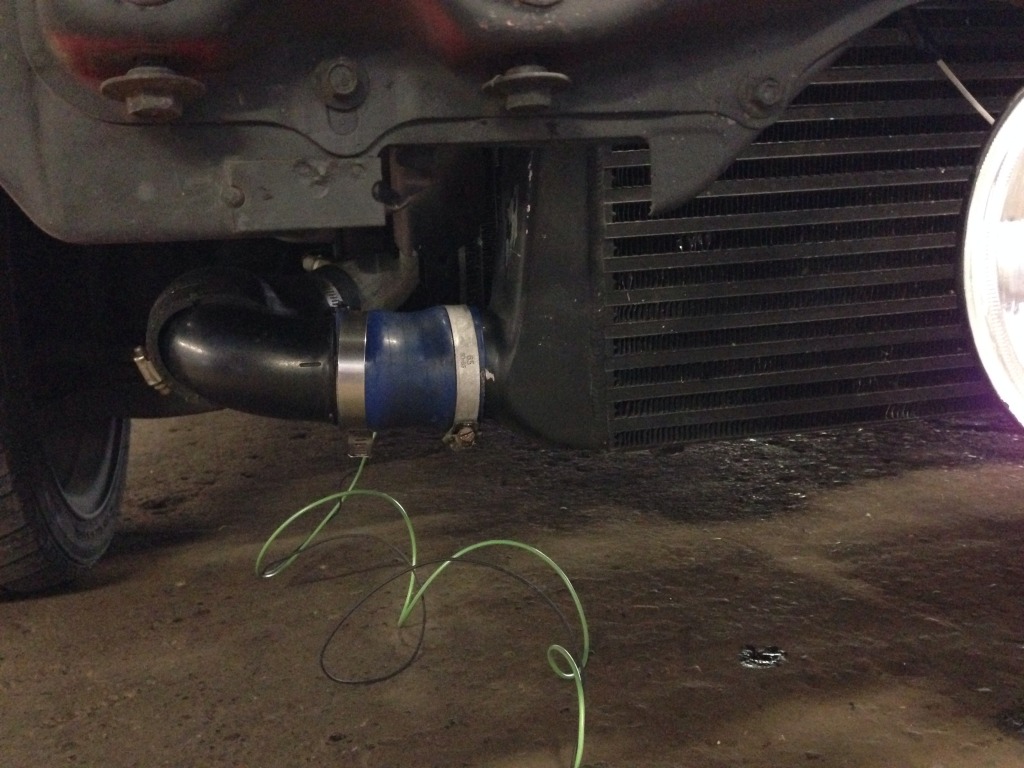
Here are the mount points I used that the bracket already on the IC seemed to go to. Hopefully they work well (I need to make some bottom brackets).
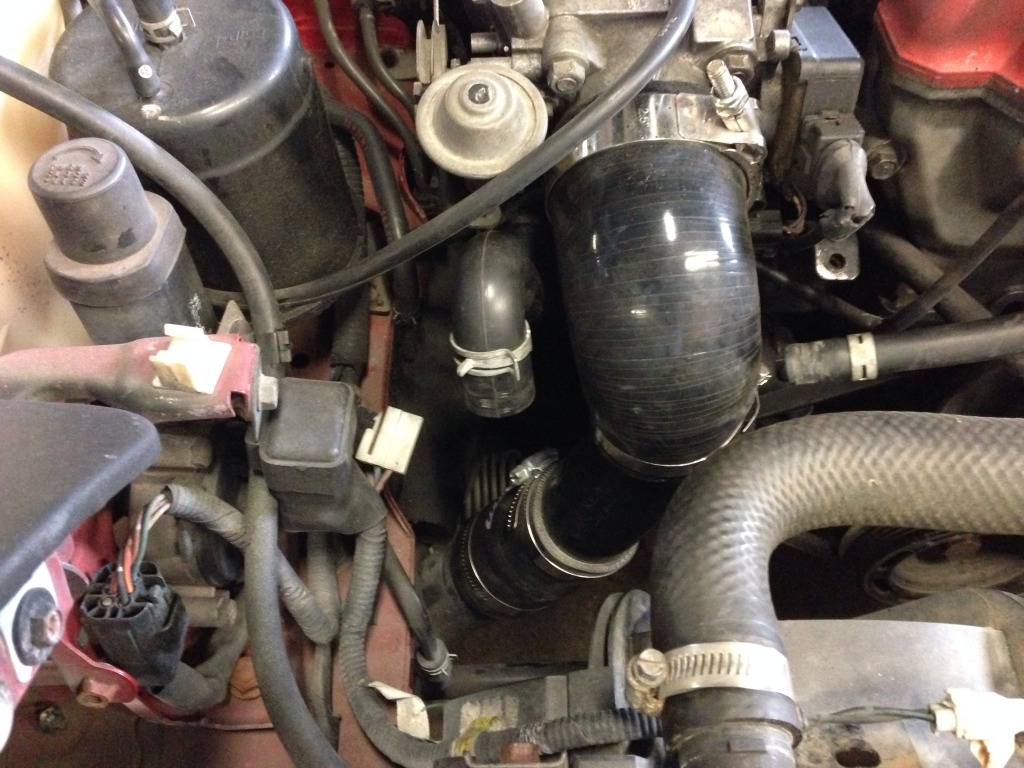
Snazzy coldside pipe installed. I need to do something with the IACV pipe though. Since I'm in a highly variable climate, I have to keep it. So I think I'm going to have to make a hole and plum it into the piping somewhere.
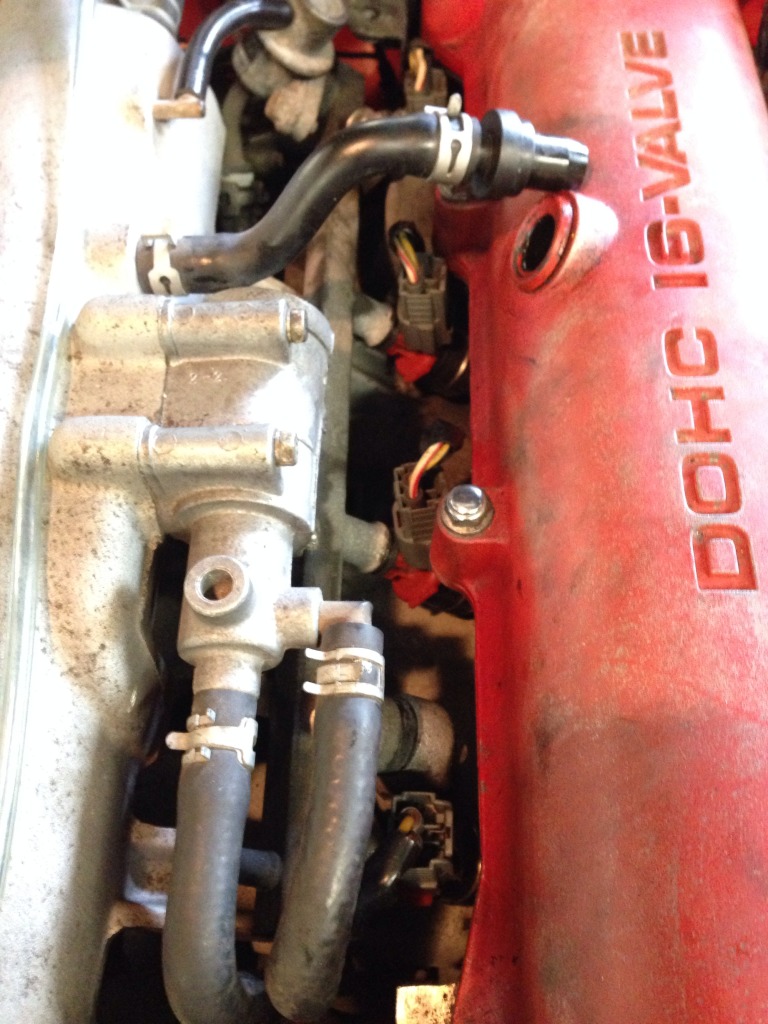
Installed the Witch Hunter cleaned and flowed 460's. Schweeeet.
Shes on the lift!
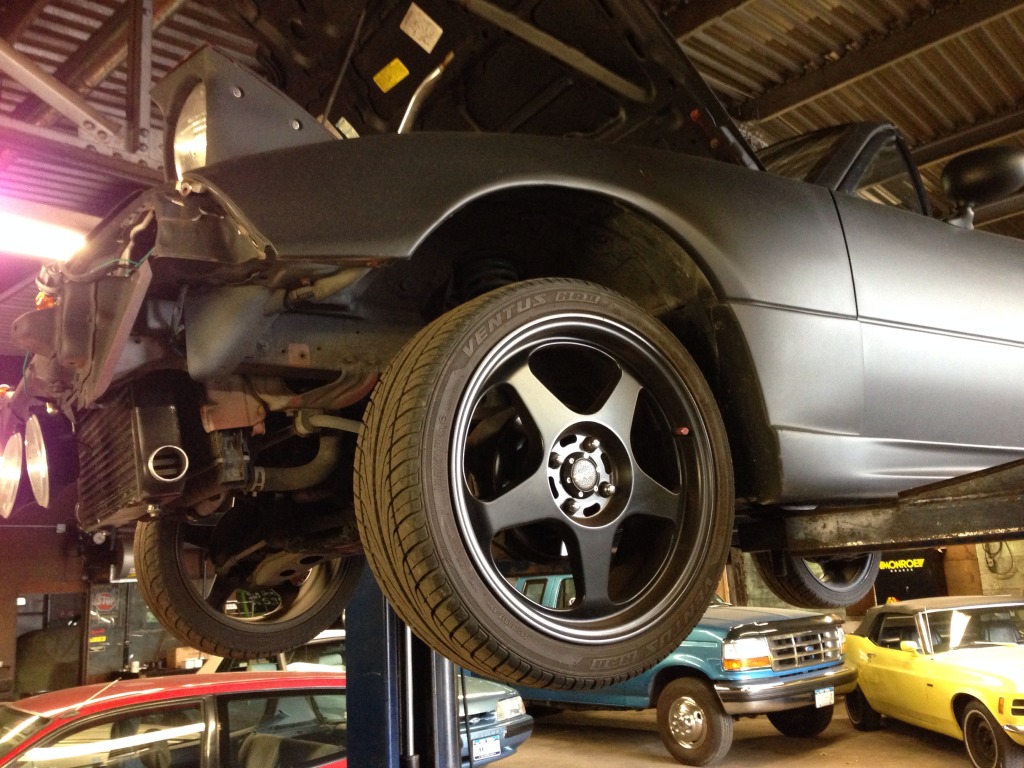
Drilling the pan was a little scary as I watched my mechanic friend go at it with a massive 1940's era drill (it was the only 1/2 drill we had). I can't believe the drill even fit, but it went mostly well....
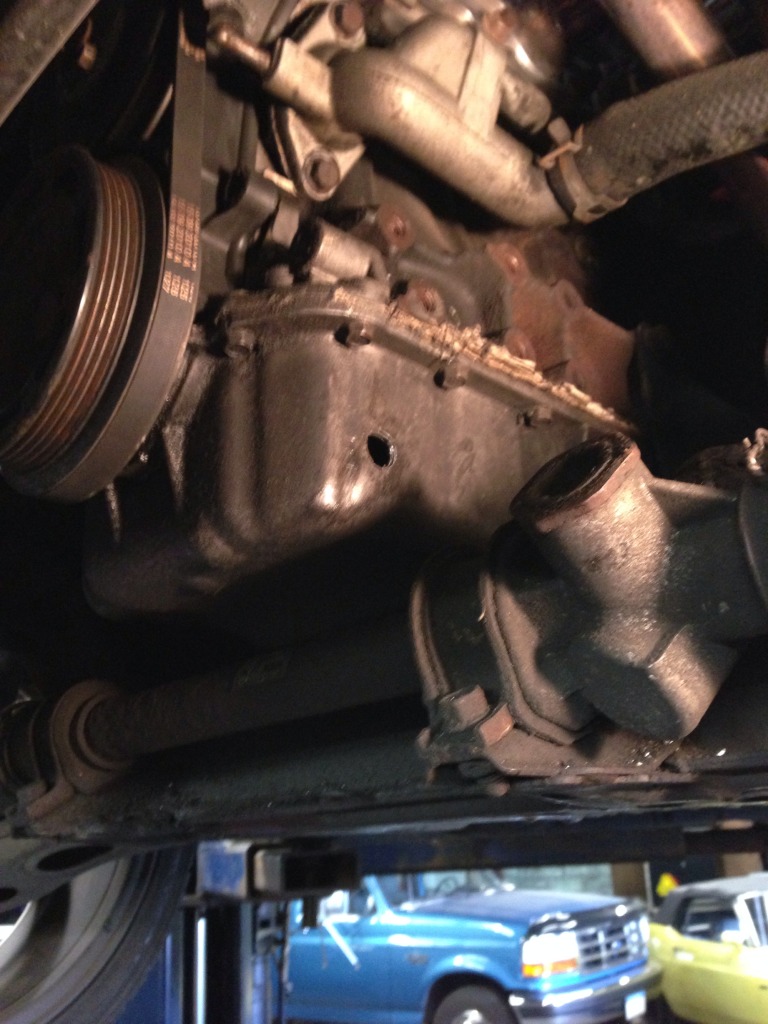
Except for this little issue:
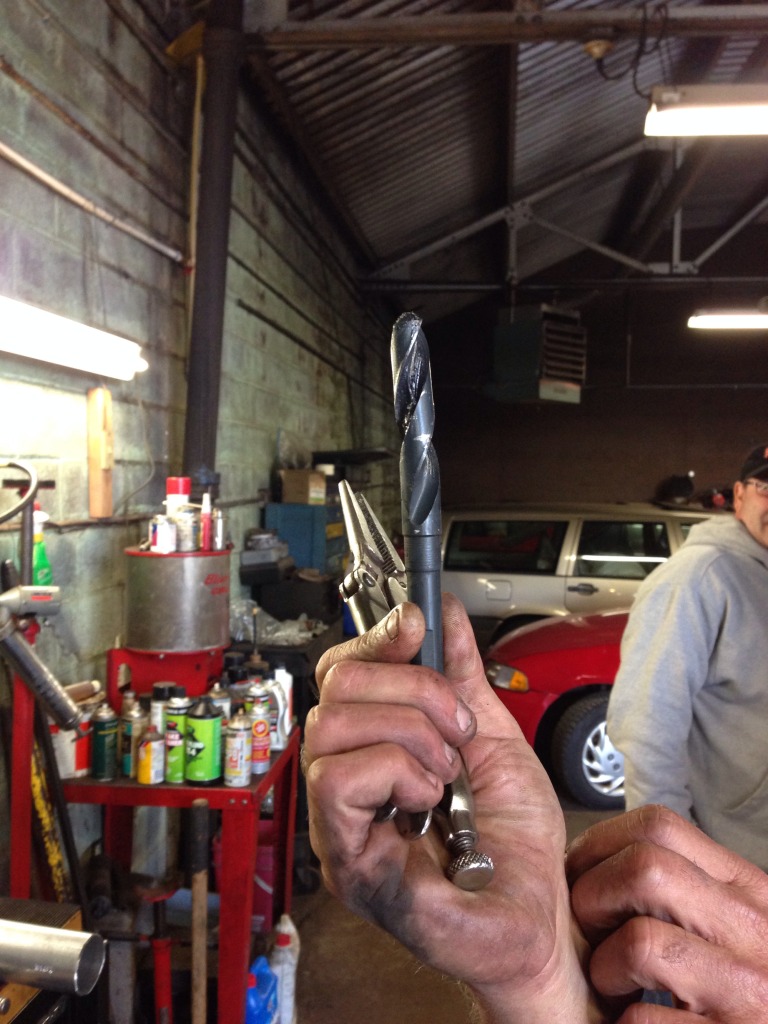
Thankfully it tapped easily and we installed the 3/8 NPT to 5/8 barb and put the 5/8 ID drain hose on. Then we drained the oil, refilled it with some old oil we had laying around, and drained it again to make sure any shavings that were in there came out.
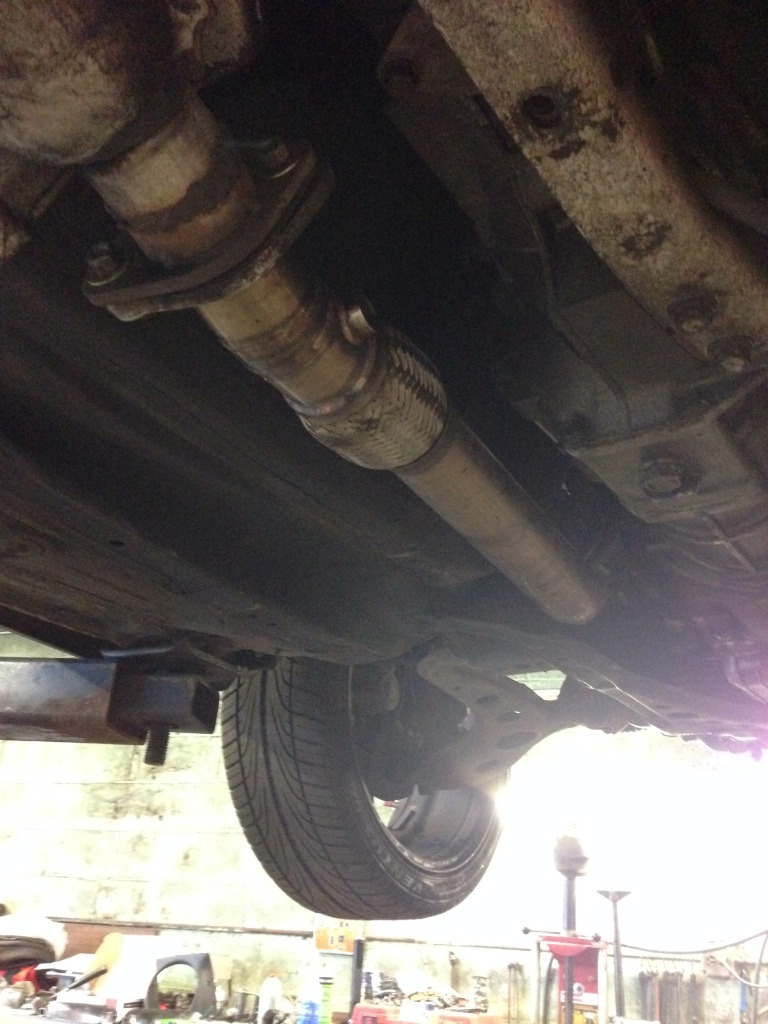
Time to get rid of my beautiful headers :'(

Lots of space when they are gone!
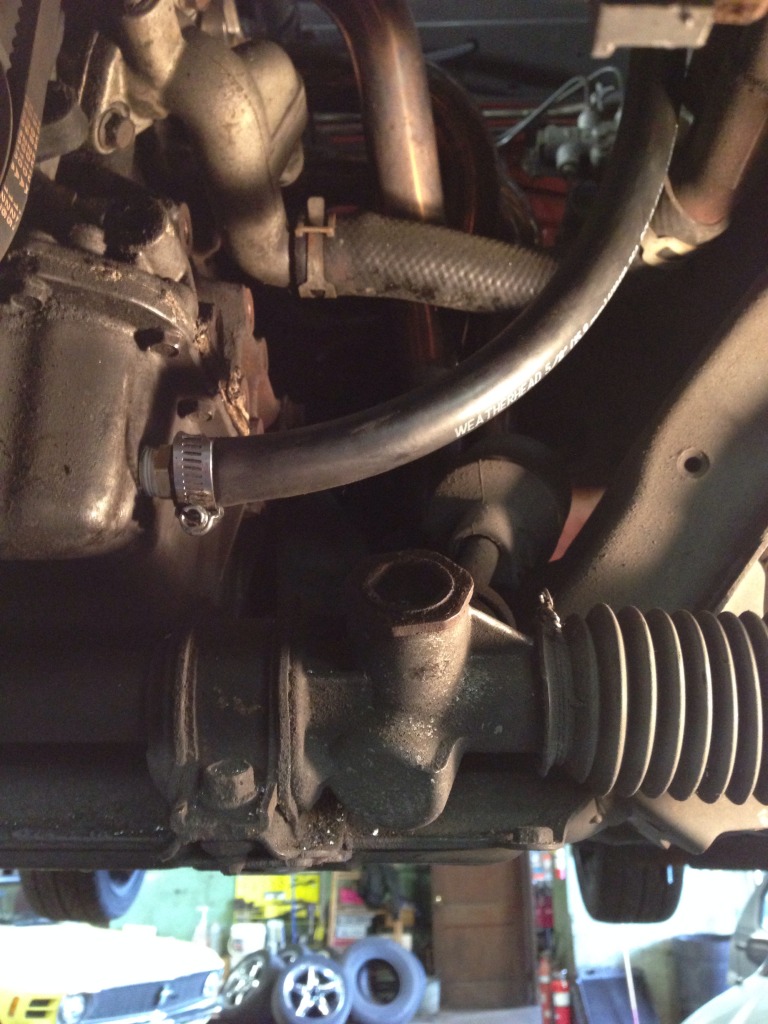
The oil feed went in easy. Very nice having the feed right on the block.
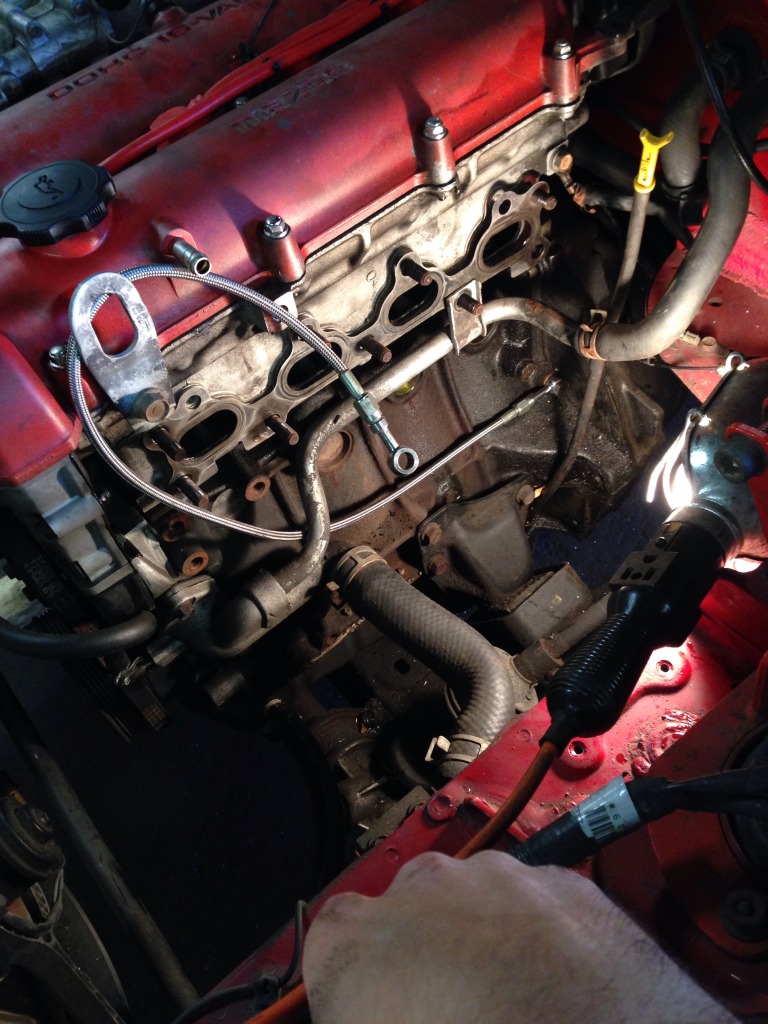
Eek! Saw a problem. One of the freeze plugs was leaking coolant. Good thing we caught it while the turbo was still out.
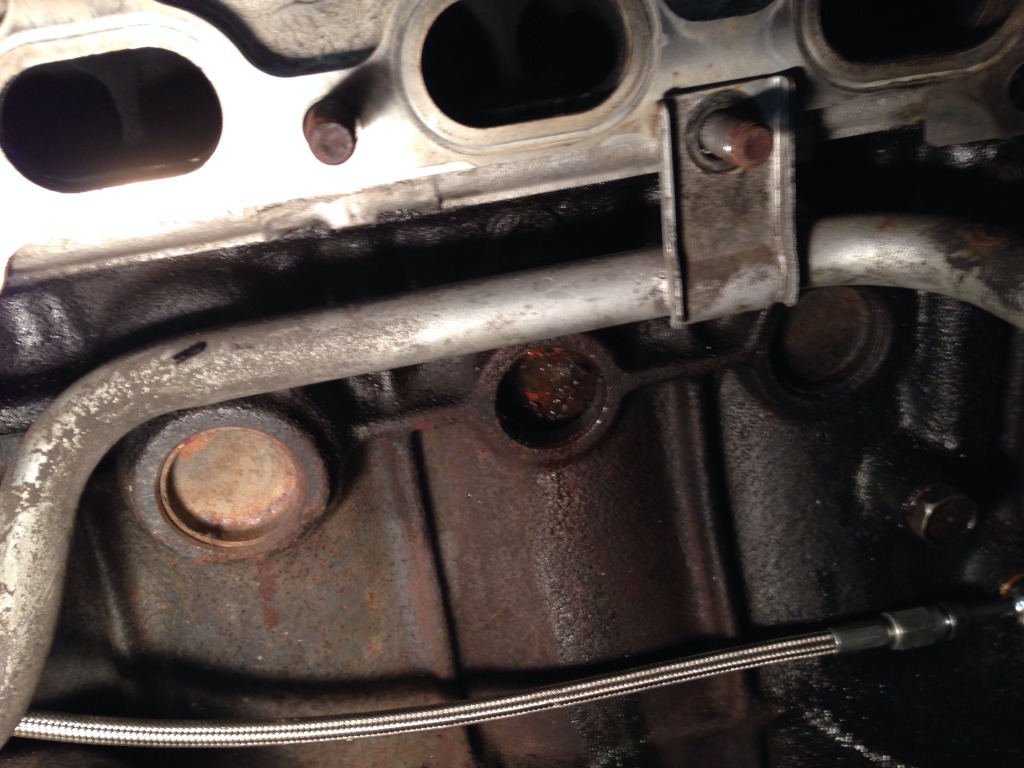
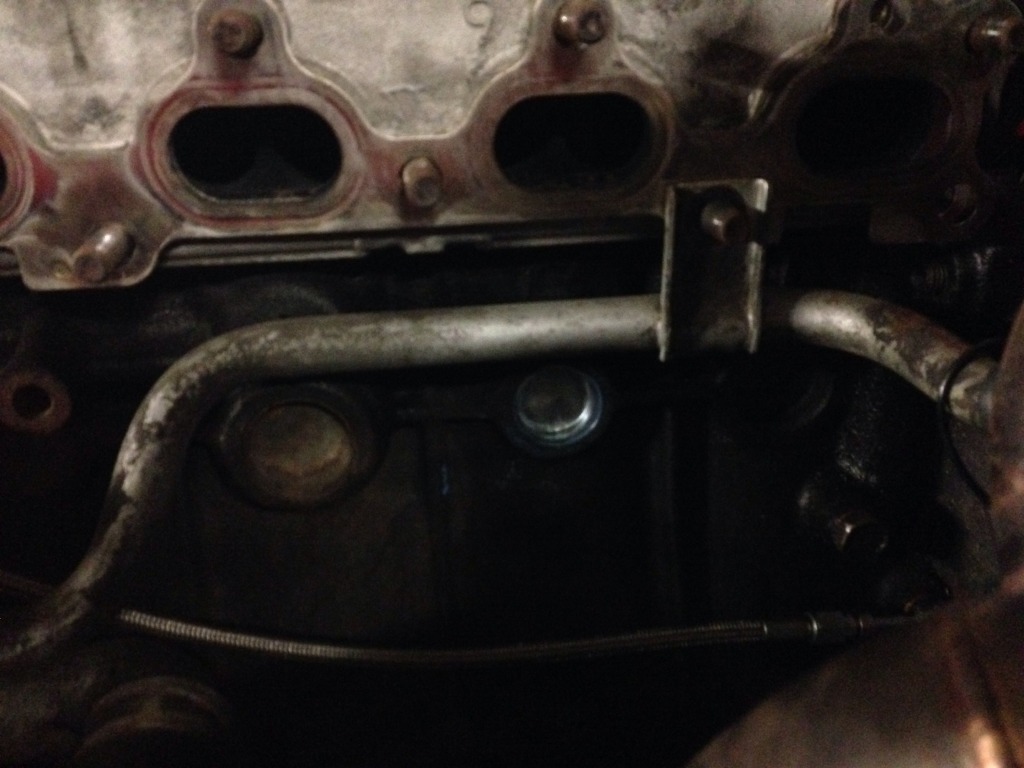
THANKFULLY the machine shop next door had the exact size (30mm for the smaller ones) we needed and we replaced it without too much hassle.
Loose fitted that snazzy ArTech DP!
And got the manifold/Turbo/DP all lined up.
So here is where day 1 ended. Great progress!!
Day 2
Day 2 was much slower. By the time I got out of work and drove around finding some little parts we needed, I only had 3 hours or so. I also got TunerStudio set up on my friends Laptop.
I got the AIT and fuel pump jumper wired up to the MAF connector. This is an "in progress" picture. I ended up cutting down some male spade connectors like the red one in the picture so all the connections where nice and tight, yet didn't have to be soldered.
Heres where things got a little crazy. In trying to setup the MS, I needed to finish installing my MTX-L wideband. I can't find a good instruction manual for my year in specific, but I did find the 12v switched power at the radio. I also need the 12v line that gets power when the headlights are on to use the dimmer function, but I don't know which friggen red/black wire it is! (there are a bunch of them). I will test it later when I have the battery hooked up.
You can also see (in progress) that I routed the new O2 sensor cable through here and now having it going down through the shifter tunnel. This seemed like the best routing.
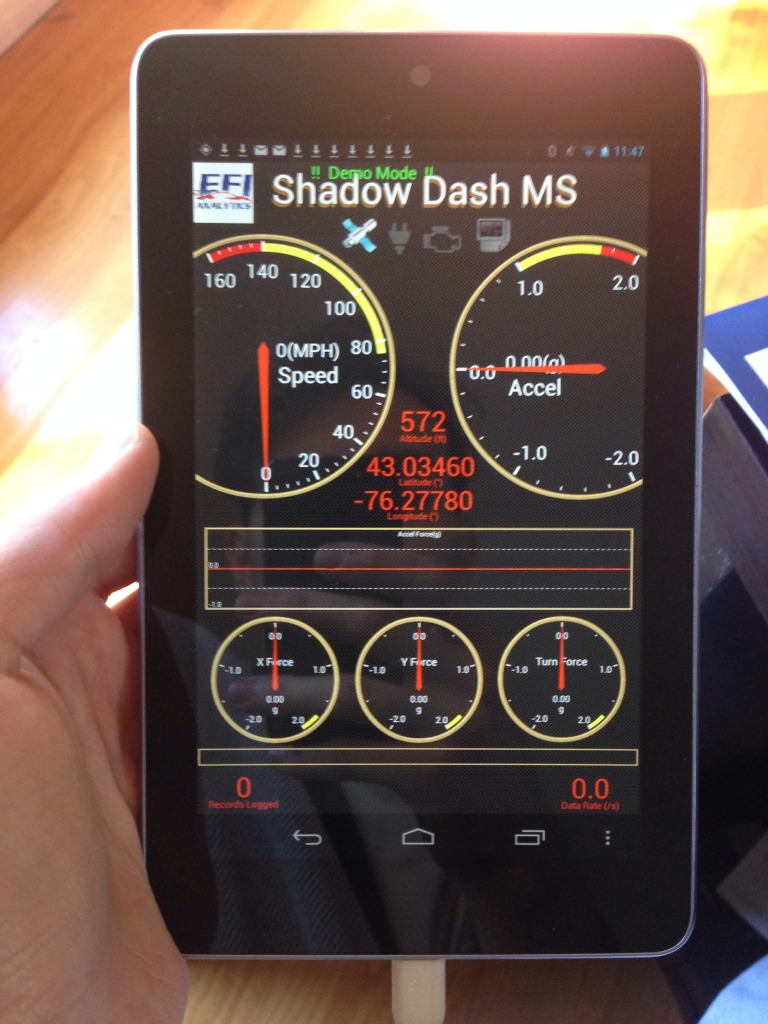
That was basically the end of day 2. Although I also installed TunerStudio on Android and that made me really happy
Questions:
Okay, here come a couple questions that I can't find answers to.
1. HOW THE HECK DO I GET A TOOL ON THE MANIFOLD NUTS?! On the Greddy manifold, the 3 nuts in the center are too big to tighten, even with my hands. They hit on the manifold. I am using the stock 15mm flanged M10 1.25 nuts. I did find one around the shop that was 13mm that works great. But I can't find to more in any fastener shop in Upstate NY. Or even online. Any ideas?
2. Is there a good install guide for a 1.6 with MTX-L and MS3X? I don't know which of the two wires to bring to the MS, etc.
3. What do I do with my stock O2 sensor?
4. What gauge light power can I hook into for the boost gauge? I know its a crazy pulse-width modulated dimmer system that Mazda put in these cars, but isn't there something I can just tap it off? I only need to do this for this one gauge.
5. Is it okay to use Neoprene vacuum line or do I need silicone (I have a ton of neoprene on hand)
I started this on Thursday but haven't had time to make some updates. The build has gone incredibly well so far, it was DEFINITELY nice having some things already done instead of having to fab up all the mounts and intercooler stuff and all that.
Day 1:
Here are all the parts. I mean ALL of them:
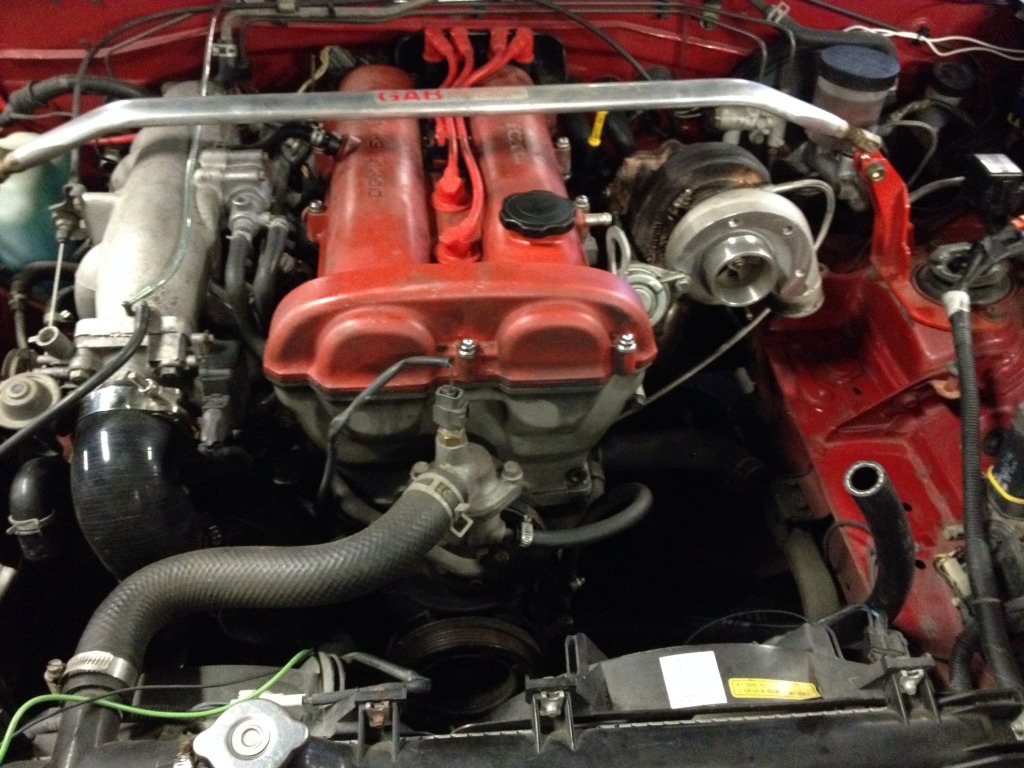
The engine bay, in "somewhat stock" form before starting to rip it apart.
Pulled off the bumper, intake stuff, etc.
Put some longer leads on the already installed AIT, and got the intercooler mounted up and coldside piping installed.
Here are the mount points I used that the bracket already on the IC seemed to go to. Hopefully they work well (I need to make some bottom brackets).
Snazzy coldside pipe installed. I need to do something with the IACV pipe though. Since I'm in a highly variable climate, I have to keep it. So I think I'm going to have to make a hole and plum it into the piping somewhere.
Installed the Witch Hunter cleaned and flowed 460's. Schweeeet.
Shes on the lift!
Drilling the pan was a little scary as I watched my mechanic friend go at it with a massive 1940's era drill (it was the only 1/2 drill we had). I can't believe the drill even fit, but it went mostly well....
Except for this little issue:
Thankfully it tapped easily and we installed the 3/8 NPT to 5/8 barb and put the 5/8 ID drain hose on. Then we drained the oil, refilled it with some old oil we had laying around, and drained it again to make sure any shavings that were in there came out.
Time to get rid of my beautiful headers :'(
Lots of space when they are gone!
The oil feed went in easy. Very nice having the feed right on the block.
Eek! Saw a problem. One of the freeze plugs was leaking coolant. Good thing we caught it while the turbo was still out.
THANKFULLY the machine shop next door had the exact size (30mm for the smaller ones) we needed and we replaced it without too much hassle.
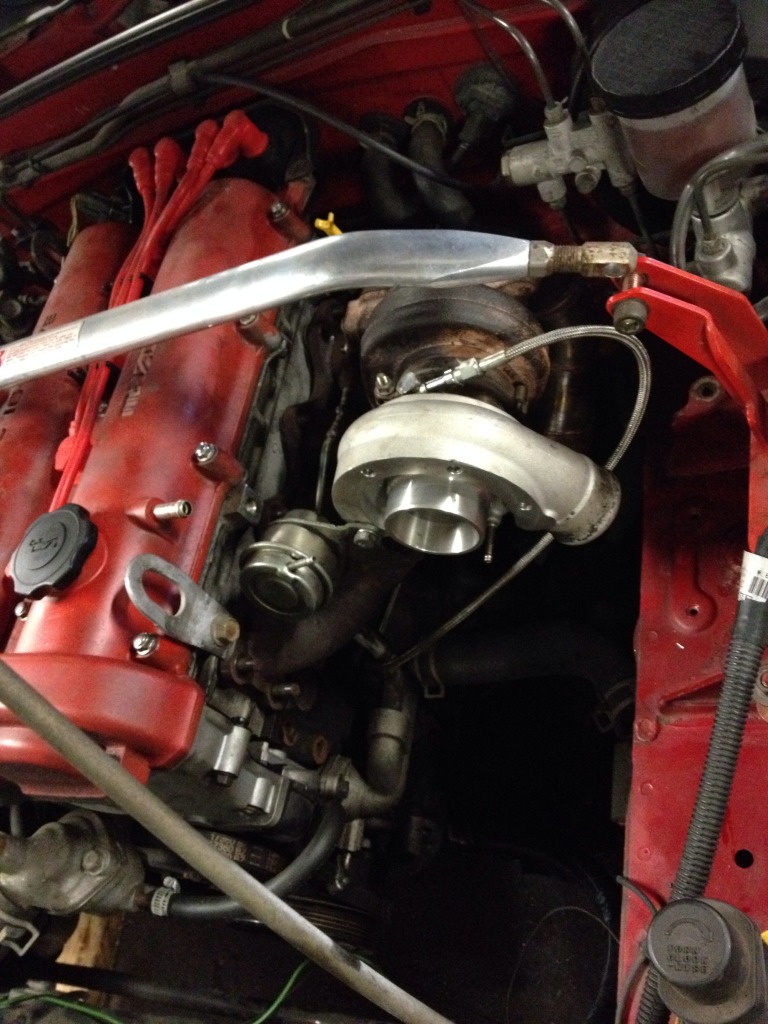
Loose fitted that snazzy ArTech DP!
And got the manifold/Turbo/DP all lined up.
So here is where day 1 ended. Great progress!!
Day 2
Day 2 was much slower. By the time I got out of work and drove around finding some little parts we needed, I only had 3 hours or so. I also got TunerStudio set up on my friends Laptop.
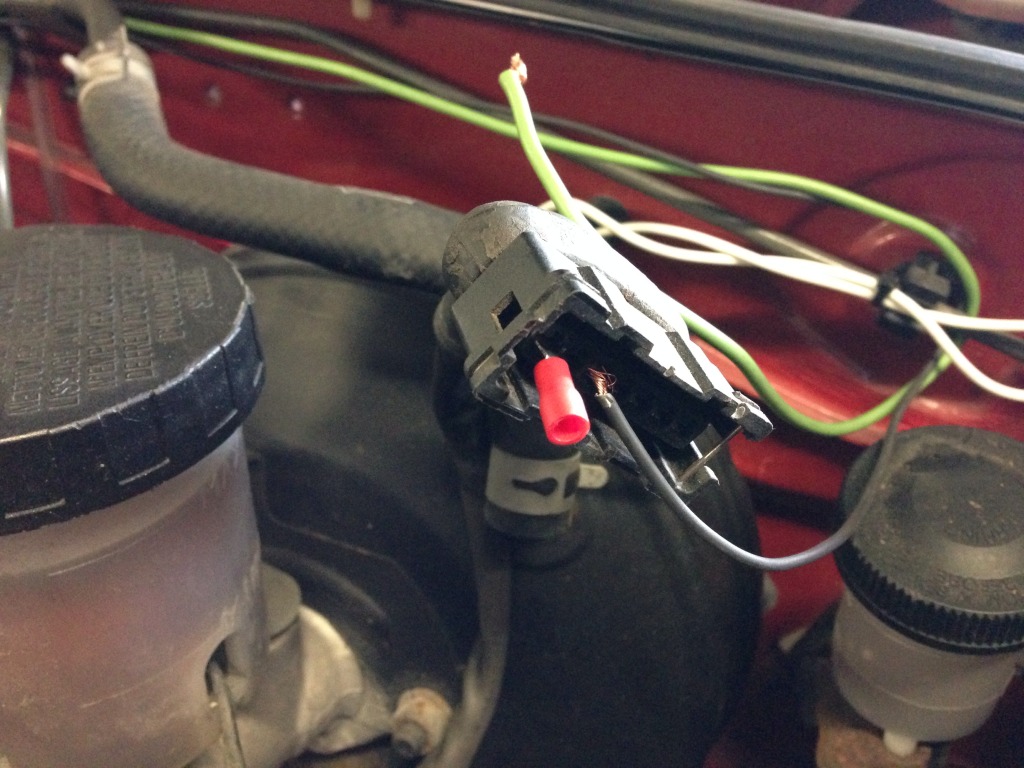
I got the AIT and fuel pump jumper wired up to the MAF connector. This is an "in progress" picture. I ended up cutting down some male spade connectors like the red one in the picture so all the connections where nice and tight, yet didn't have to be soldered.
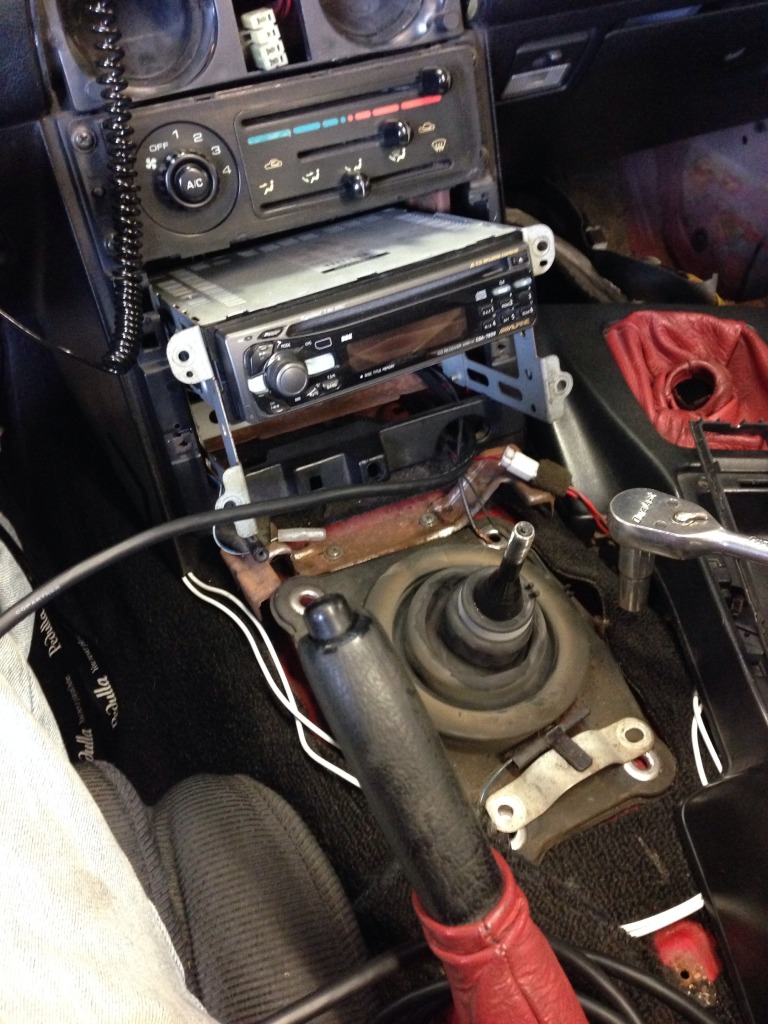
Heres where things got a little crazy. In trying to setup the MS, I needed to finish installing my MTX-L wideband. I can't find a good instruction manual for my year in specific, but I did find the 12v switched power at the radio. I also need the 12v line that gets power when the headlights are on to use the dimmer function, but I don't know which friggen red/black wire it is! (there are a bunch of them). I will test it later when I have the battery hooked up.
You can also see (in progress) that I routed the new O2 sensor cable through here and now having it going down through the shifter tunnel. This seemed like the best routing.
That was basically the end of day 2. Although I also installed TunerStudio on Android and that made me really happy
Questions:
Okay, here come a couple questions that I can't find answers to.
1. HOW THE HECK DO I GET A TOOL ON THE MANIFOLD NUTS?! On the Greddy manifold, the 3 nuts in the center are too big to tighten, even with my hands. They hit on the manifold. I am using the stock 15mm flanged M10 1.25 nuts. I did find one around the shop that was 13mm that works great. But I can't find to more in any fastener shop in Upstate NY. Or even online. Any ideas?
2. Is there a good install guide for a 1.6 with MTX-L and MS3X? I don't know which of the two wires to bring to the MS, etc.
3. What do I do with my stock O2 sensor?
4. What gauge light power can I hook into for the boost gauge? I know its a crazy pulse-width modulated dimmer system that Mazda put in these cars, but isn't there something I can just tap it off? I only need to do this for this one gauge.
5. Is it okay to use Neoprene vacuum line or do I need silicone (I have a ton of neoprene on hand)
Reply
1
1
 10-12-2013, 09:05 PM
#204
I'm a terrible person

iTrader: (19)
Join Date: Apr 2009
Location: Arizona
Posts: 7,174
Total Cats: 180
Look at the guide for the MTX-L, it tells you what wire is 0-5v. The other two should be power/sensor ground. The sensor ground should be grounded at the MS. Power should be switched 12v. Then I believe there is another you attach to your lighting circuit so it get's brighter when you turn on your lights.
Reply
0
0
10-12-2013, 10:53 PM
#206
My car is power nothing so the power window idea won't work. Thanks though.
Ohhhh okay. So I use the yellow wire because it has the 0-5v output, not the brown one because that has .1-1v output.
Also, when you say ground to the ECU, that means I need to attach the ground money directly to the ground coming from the ECU? Or just the same place that the ECU grounds to? (Uhh... On the engine block, right?
Reply
1
1
10-12-2013, 11:01 PM
#208
They do have these nuts. They aren't exactly what I was looking for, but at least they don't have the flange on them. Only problem is it says ships in 3 to 5 business days..: that's way too long!
http://www.clipsandfasteners.com/M10...c_p/a14797.htm
http://www.clipsandfasteners.com/M10...c_p/a14797.htm
Reply
0
0


