When you click on links to various merchants on this site and make a purchase, this can result in this site earning a commission. Affiliate programs and affiliations include, but are not limited to, the eBay Partner Network.
K BAI- A Tale of One Man's Struggle to Do it Right
Hi MT.net
This shall serve as my official introduction and build thread for the small red monster that has been occupying my garage space for the past year or so. My name is Aaron Elfering and like many of you, I’ve spent far too much time, money and valuable sleep time thinking about cars, modifying cars and mostly why they won’t behave.
Last summer I picked up my first Miata, a 1990 1.6 with ~140k miles in immaculate shape for $2600. It was one of the few cars that my girlfriend was really fond of and I knew had a great reputation as an exciting and affordable car to own, modify and do some light autox/track duty in. I knew that I’d get around to light modifications with the car eventually but really wanted to focus on it being her car as much as mine. The car had already had Koni Yellows and paired lowering springs all around as well as what look to be some heavy sway bars (not sure of the make).
We drove it into fall, I picked up a hard top locally for $1200. I helped her learn how to drive with a manual transmission and helped her get a better grasp on her fundamental mechanics over the next few months. I knew that I wanted to modify the car eventually and really get her involved with things like basic bolt ons, and getting the maintenance up to snuff in the best ways possible.
After a few weeks of driving the car she had become comfortable enough to drive it to work on her own and I was thrilled. She had been really nervous about the idea of regularly revving the car so high (driving it between 4-6k at pretty much all times) and the engine being that loud made her uncomfortable. This being my first small, rev happy Japanese car, I had just assumed that everything that I had read must have been correct and in order to really go anywhere the car engine had to be at fairly high RPMS. But CHRIST ON A BIKE it was slow… Driving on the freeway and longer stretches was fine, but traffic light to traffic light felt down right dangerous, like I could get out and run faster than the car would drive below 3500 rpms. I had read they were turds but this couldn’t be right.
I did a ton of reading, had the girlfriend help me do small things like changing the plugs/wires, changed the air filter, fuel filter, the CAS, the coils, cleaned the injectors, ran 93 octane…All things considered the car should be running as best as possible. We continued to drive it and she had taken it out with her mother for a nice shopping trip with the top down, I got a call on their way back that it had stalled at an intersection and she couldn’t get it started again or into gear… Not good. She managed to get things working again and limped it home, in second because she was afraid of being locked out of another gear. It sat for a while until I went out to check the timing one day. We had broken a serpentine belt on it a while back and it must have broken the reference marks clean off the timing cover (or they were never there). I procured a new timing cover, put it on and proceeded to check the timing…. Or tried to….
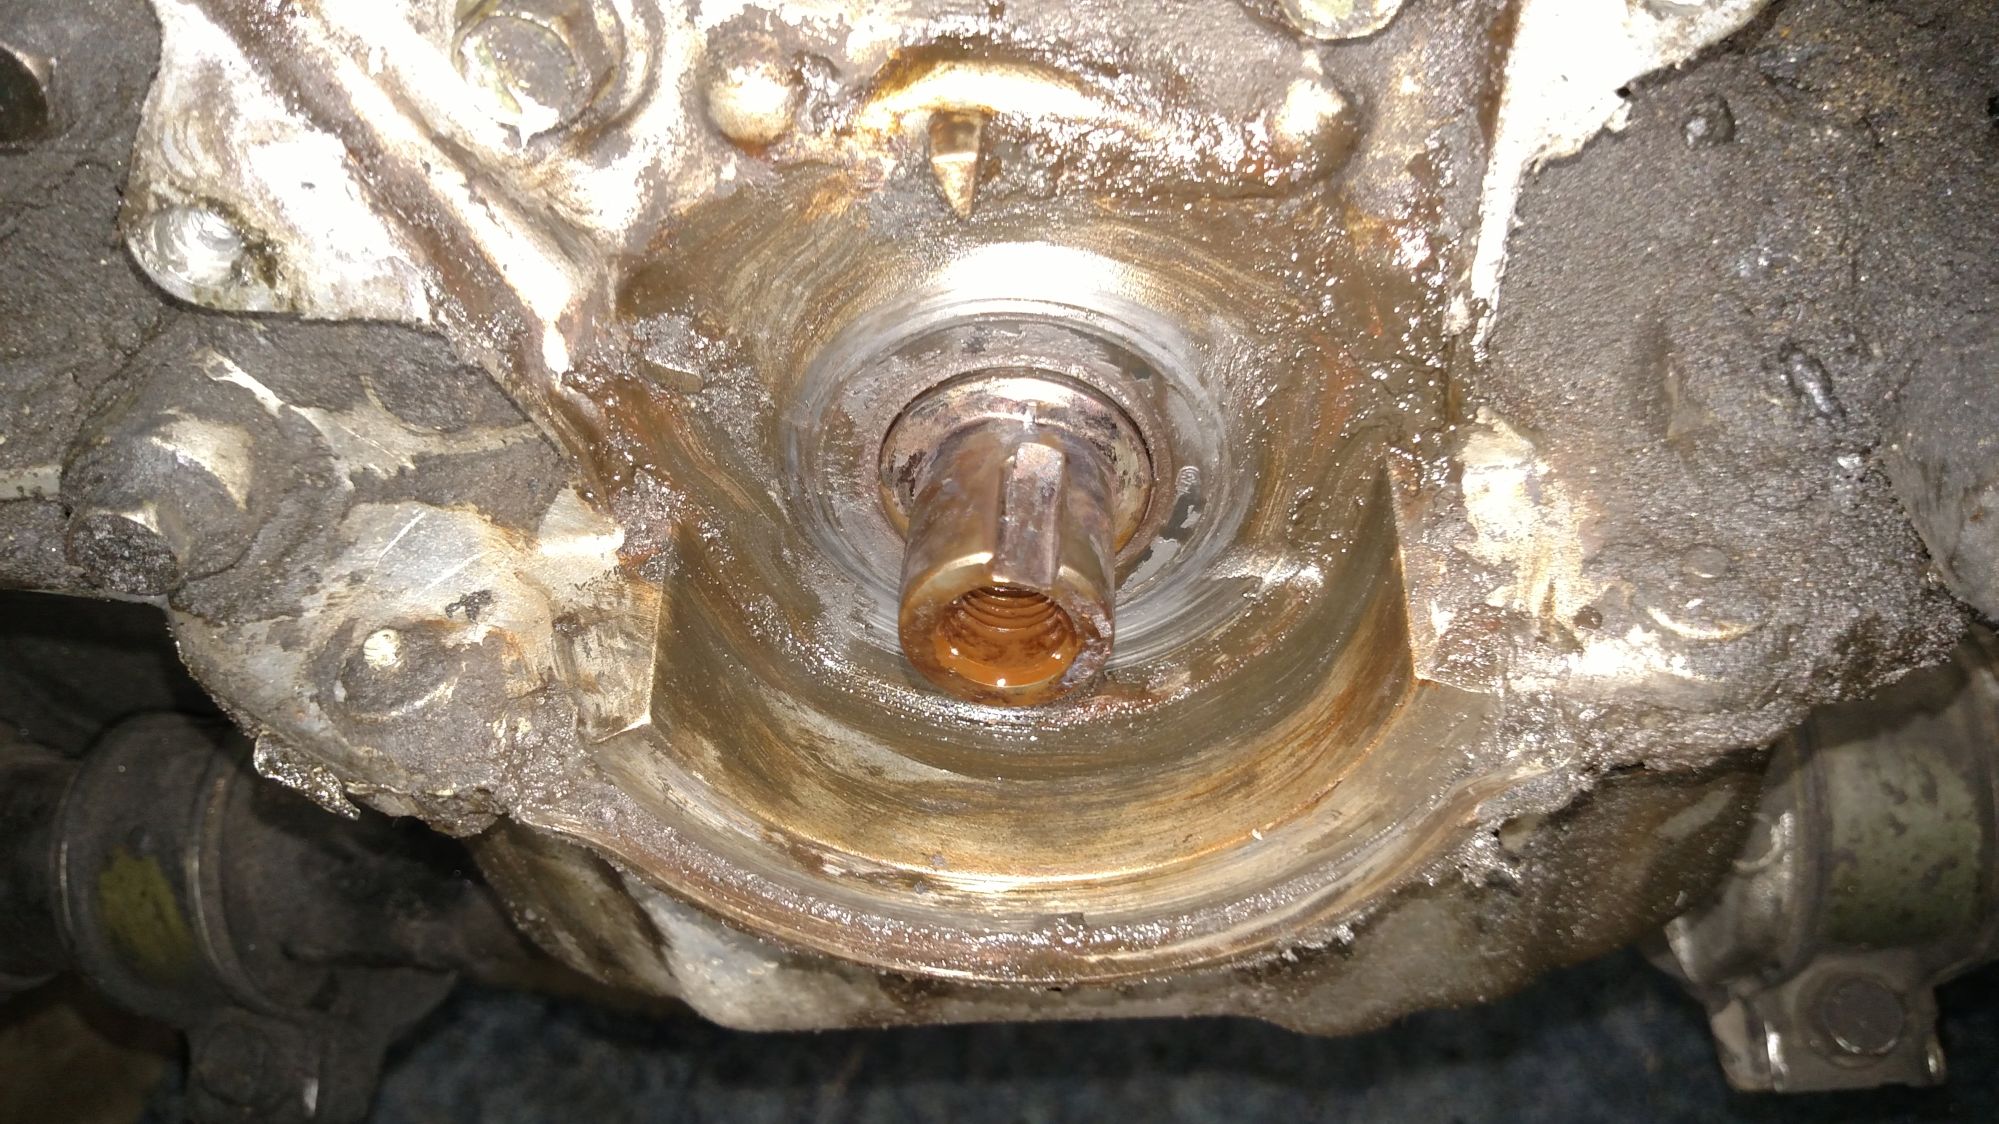
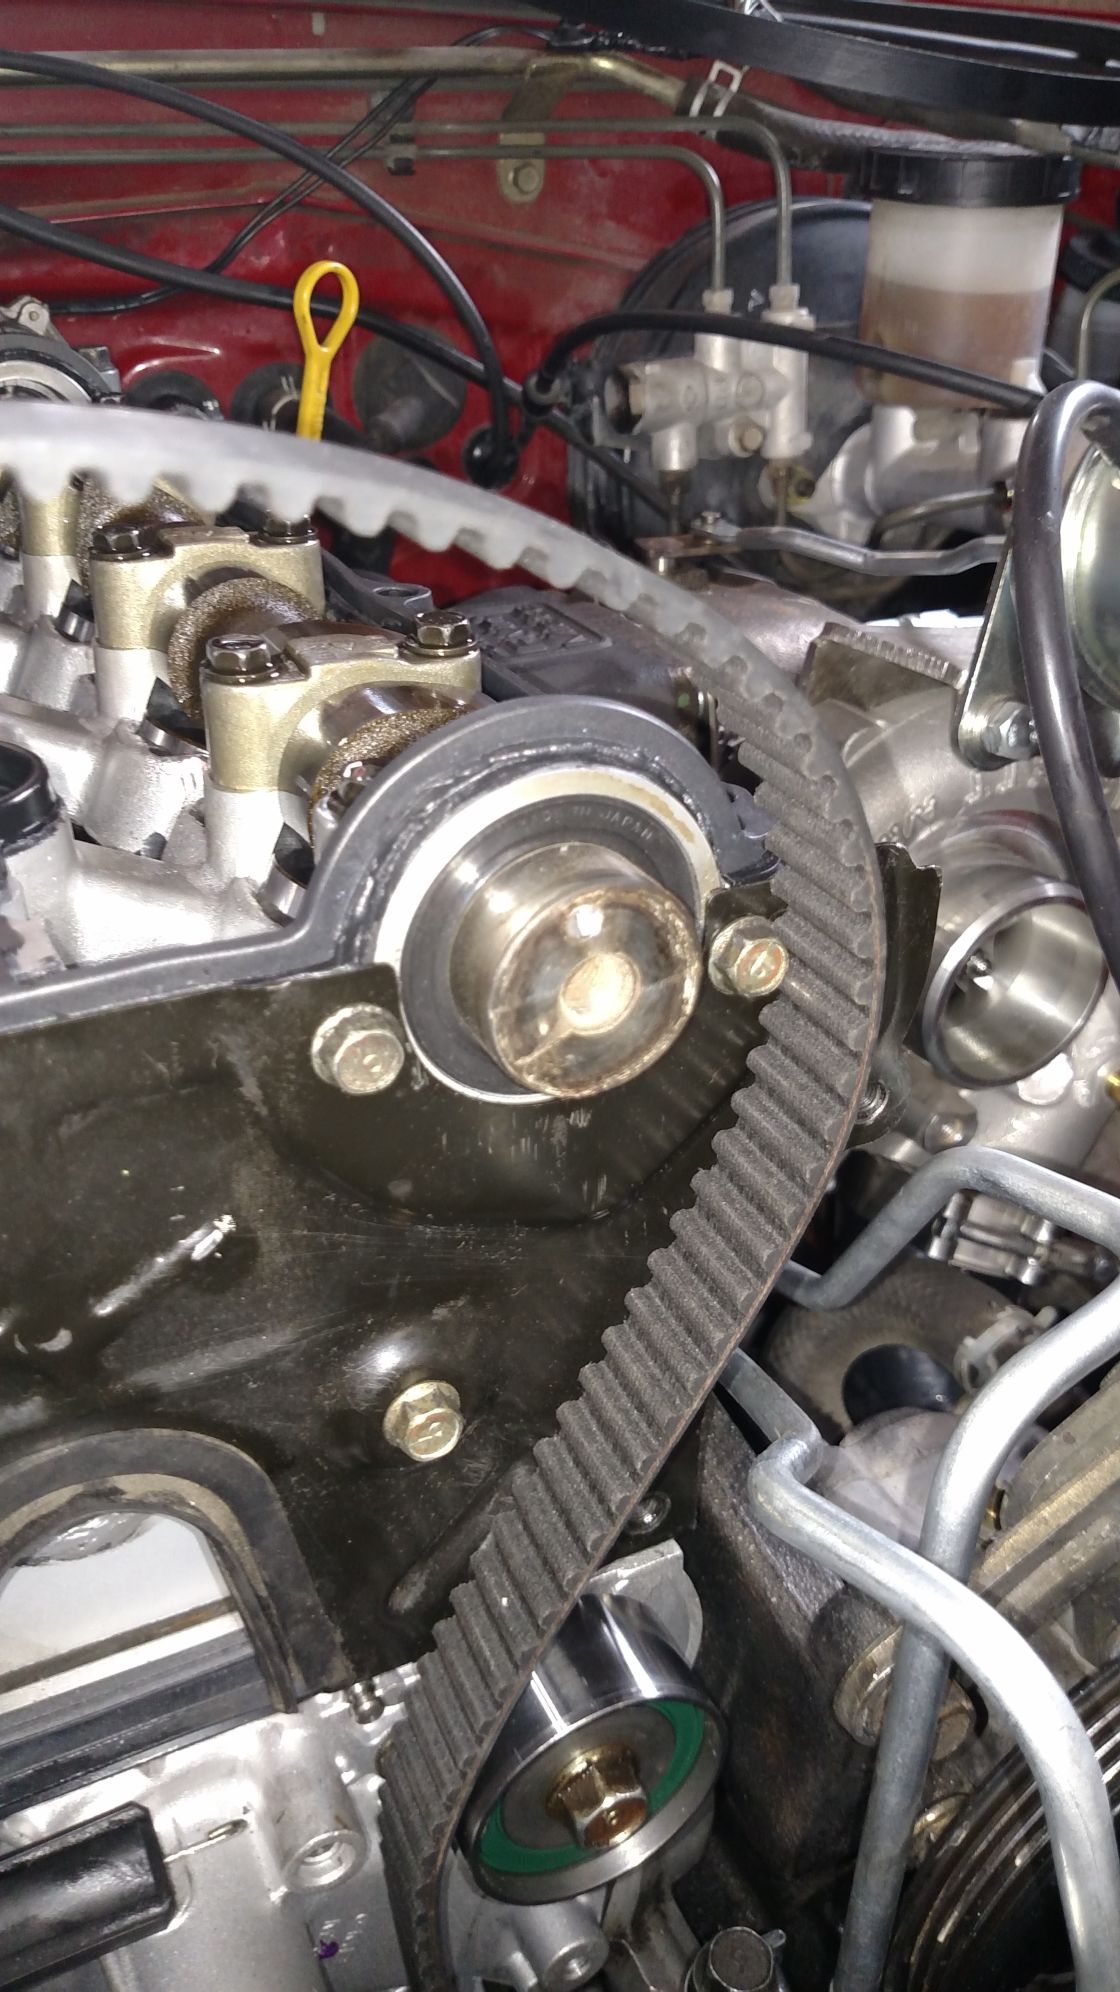
After all of the reading I had done, I already knew what the problem was. I had seen it talked about in most of the threads I had poured through but refused to believe that it could happen to my car… I tore off the timing covers again, removed the timing belt and pulley and was greeted by this.
1.6 crank nose failure in its purest form...
The key had a very nice notch about half way through the top portion of it where the crank gear had been eating it away. With everything assembled, the crank pulley had what I would guess to be ~10* of play in it that could be wiggled back and forth by hand effortlessly. No wonder it was so damn slow off the line...
I promptly walked back inside, and refused to come to terms with the problem at hand for the rest of the winter.
A few months later when things started to warm up, I had decided that the loctite fix, in this case, was not for me. I didnt like the idea of the car I so badly wanted my girlfriend to enjoy with me failing somewhere because I used a bandaid fix. After all, all the cool kids had 1.8s anyways...
After a few weeks of scouring a 94 1.8 motor came up on craigslist for $100. Right on.
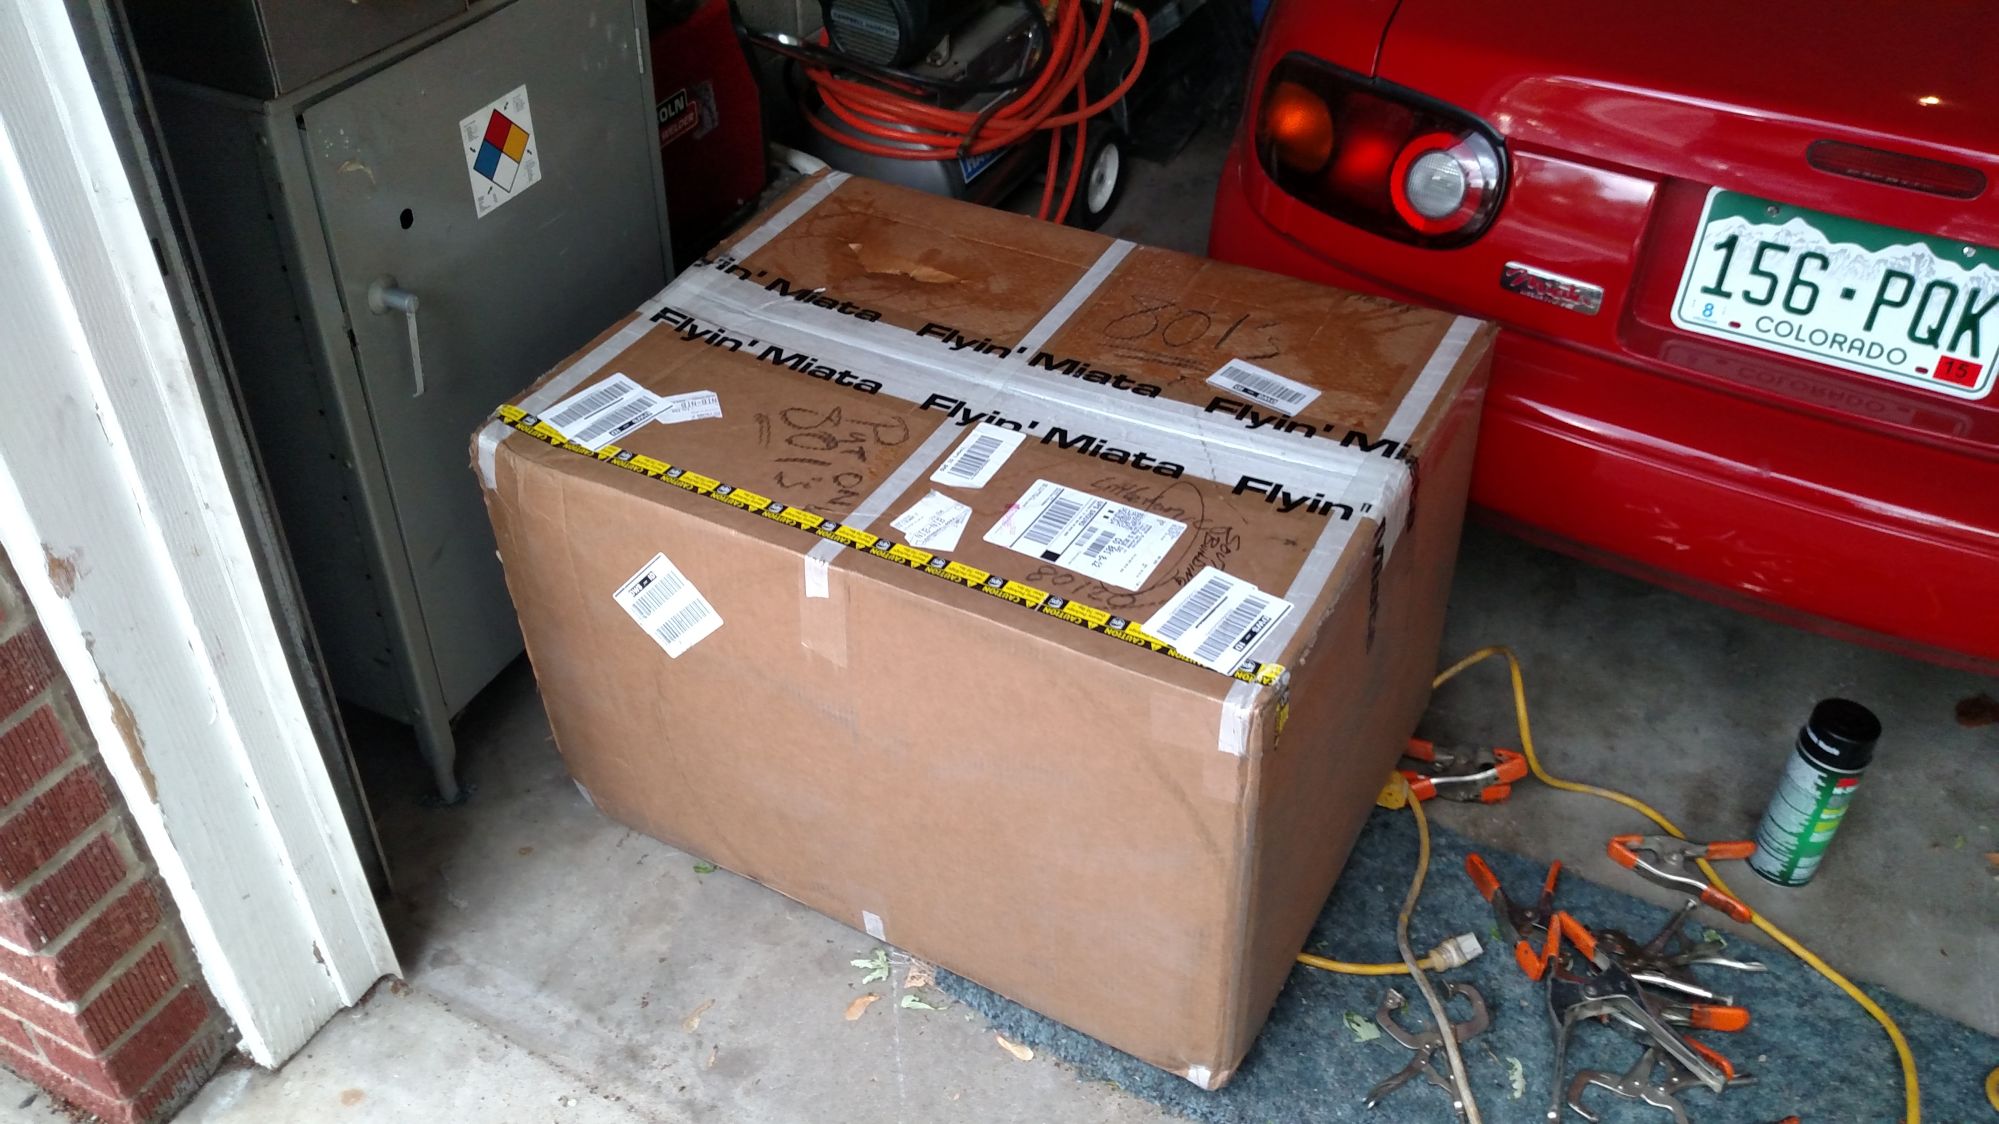
Bought the 1.8 rebuild and swap kit from Flyin Miata, procurred an exaust manifold and some motor mount brackets along with the intake crossover tube and alternator.
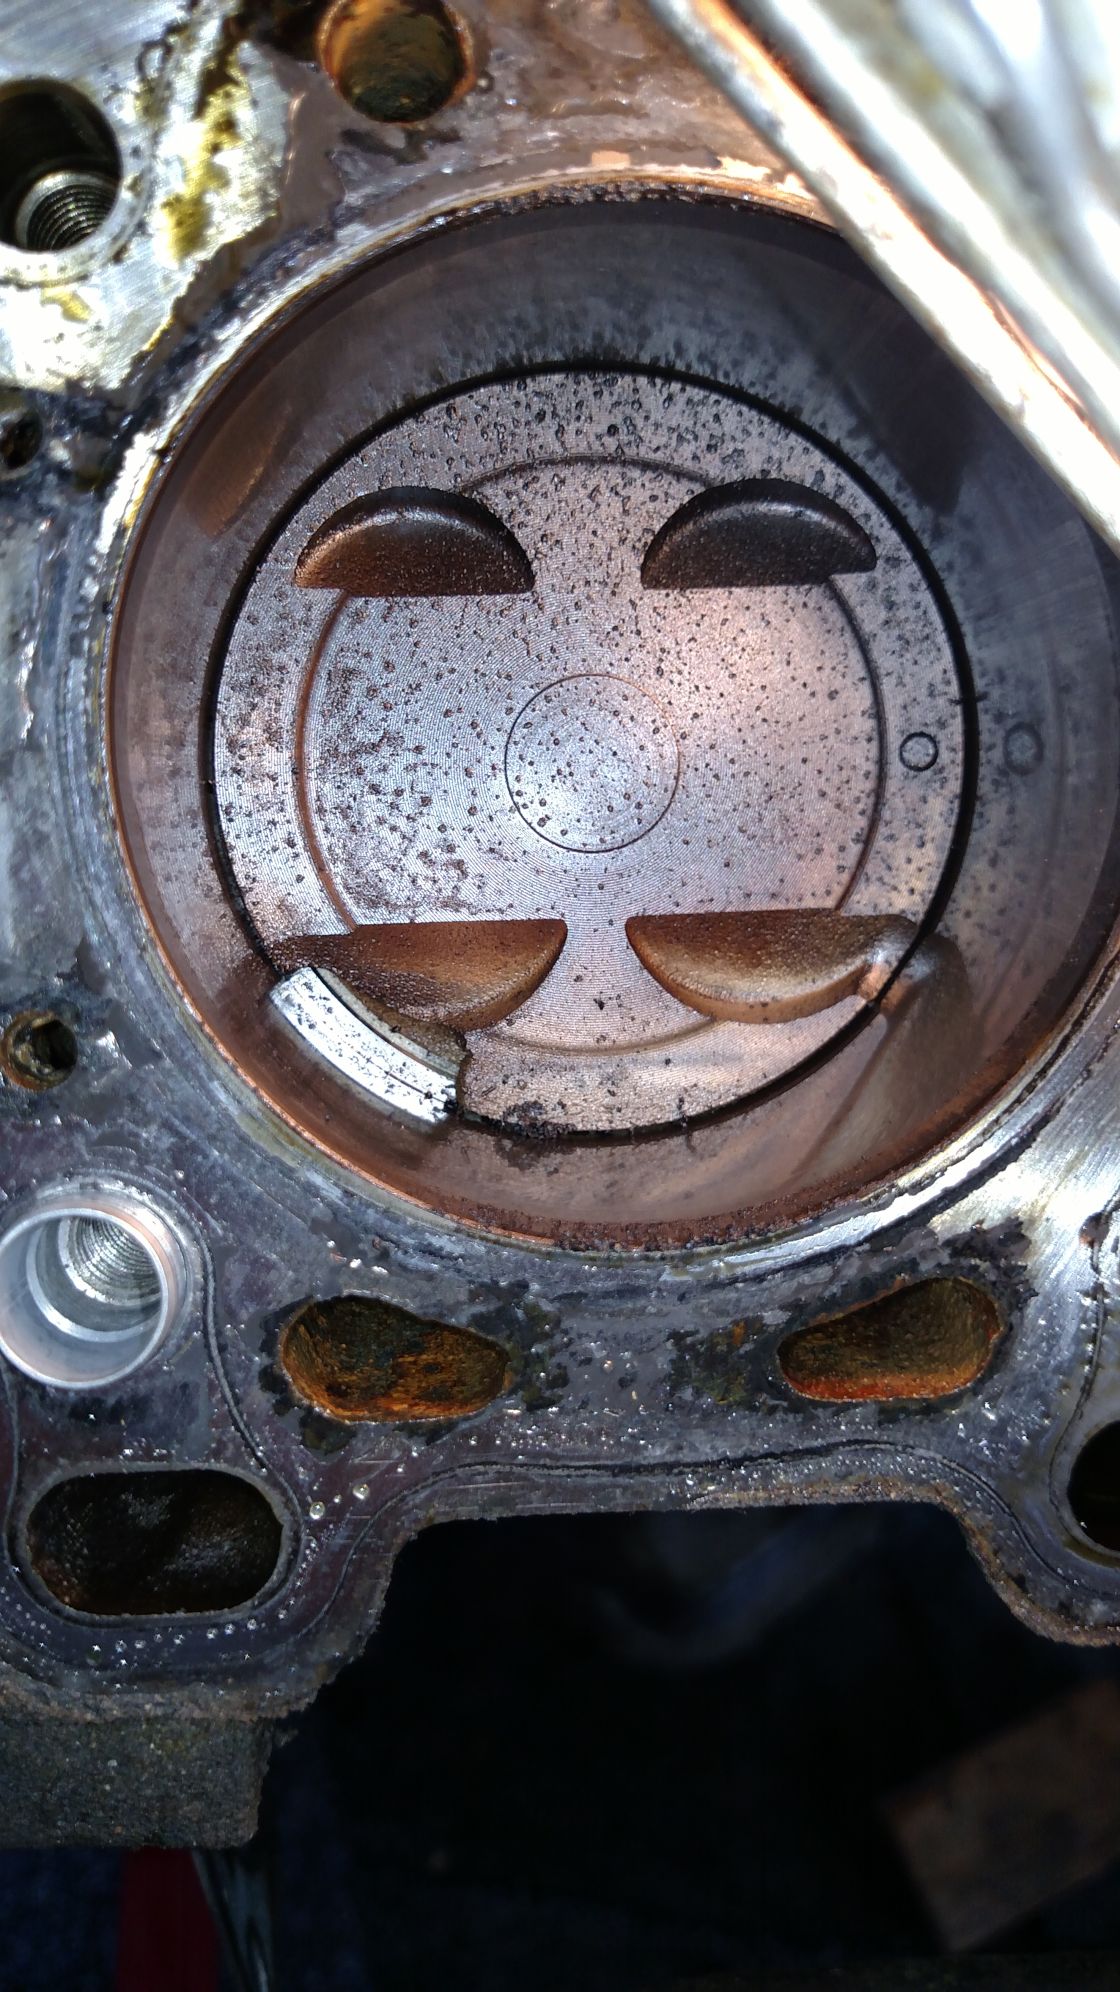
The guy I bought it from had said it had low compression on cylinder 4, probably a headgasket leak... God damnit. Wrong.
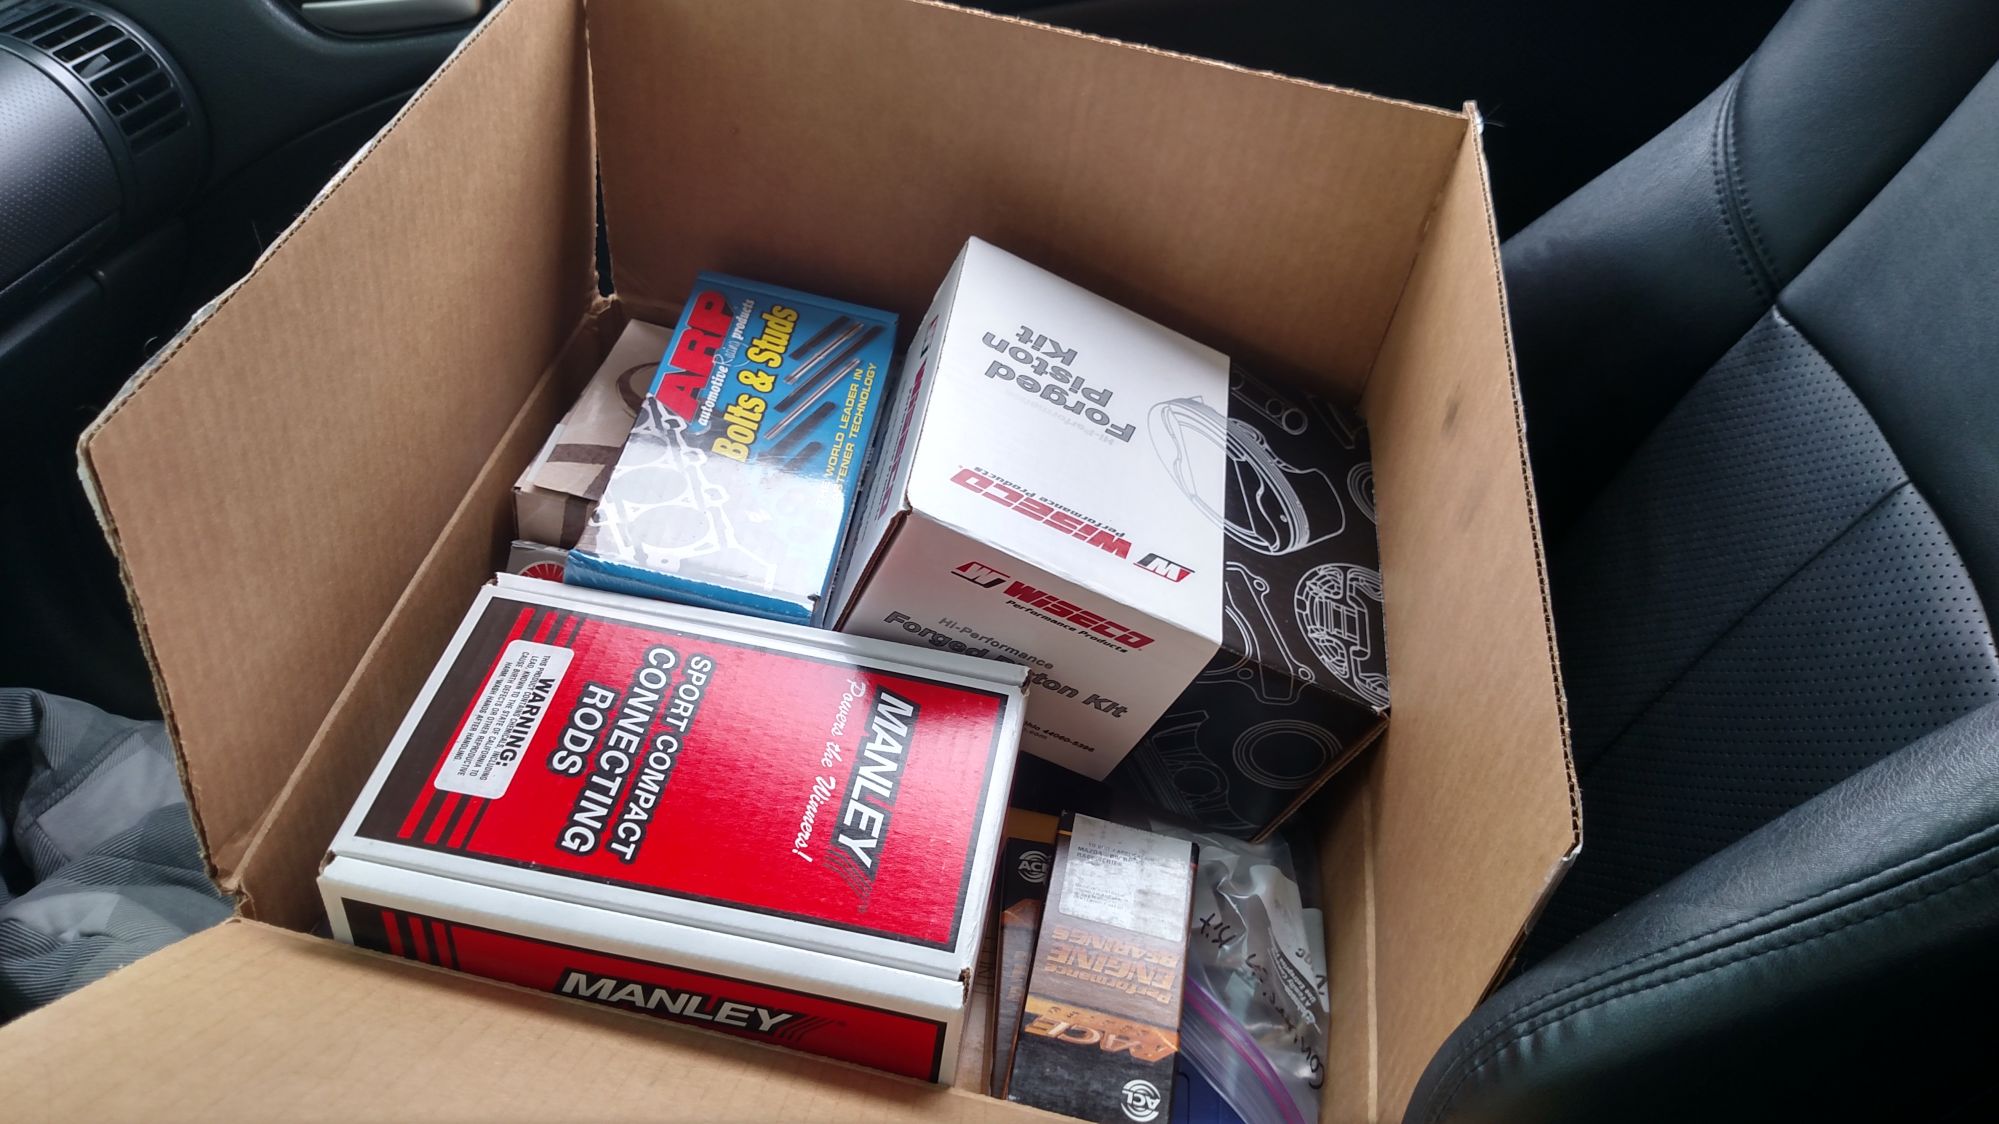
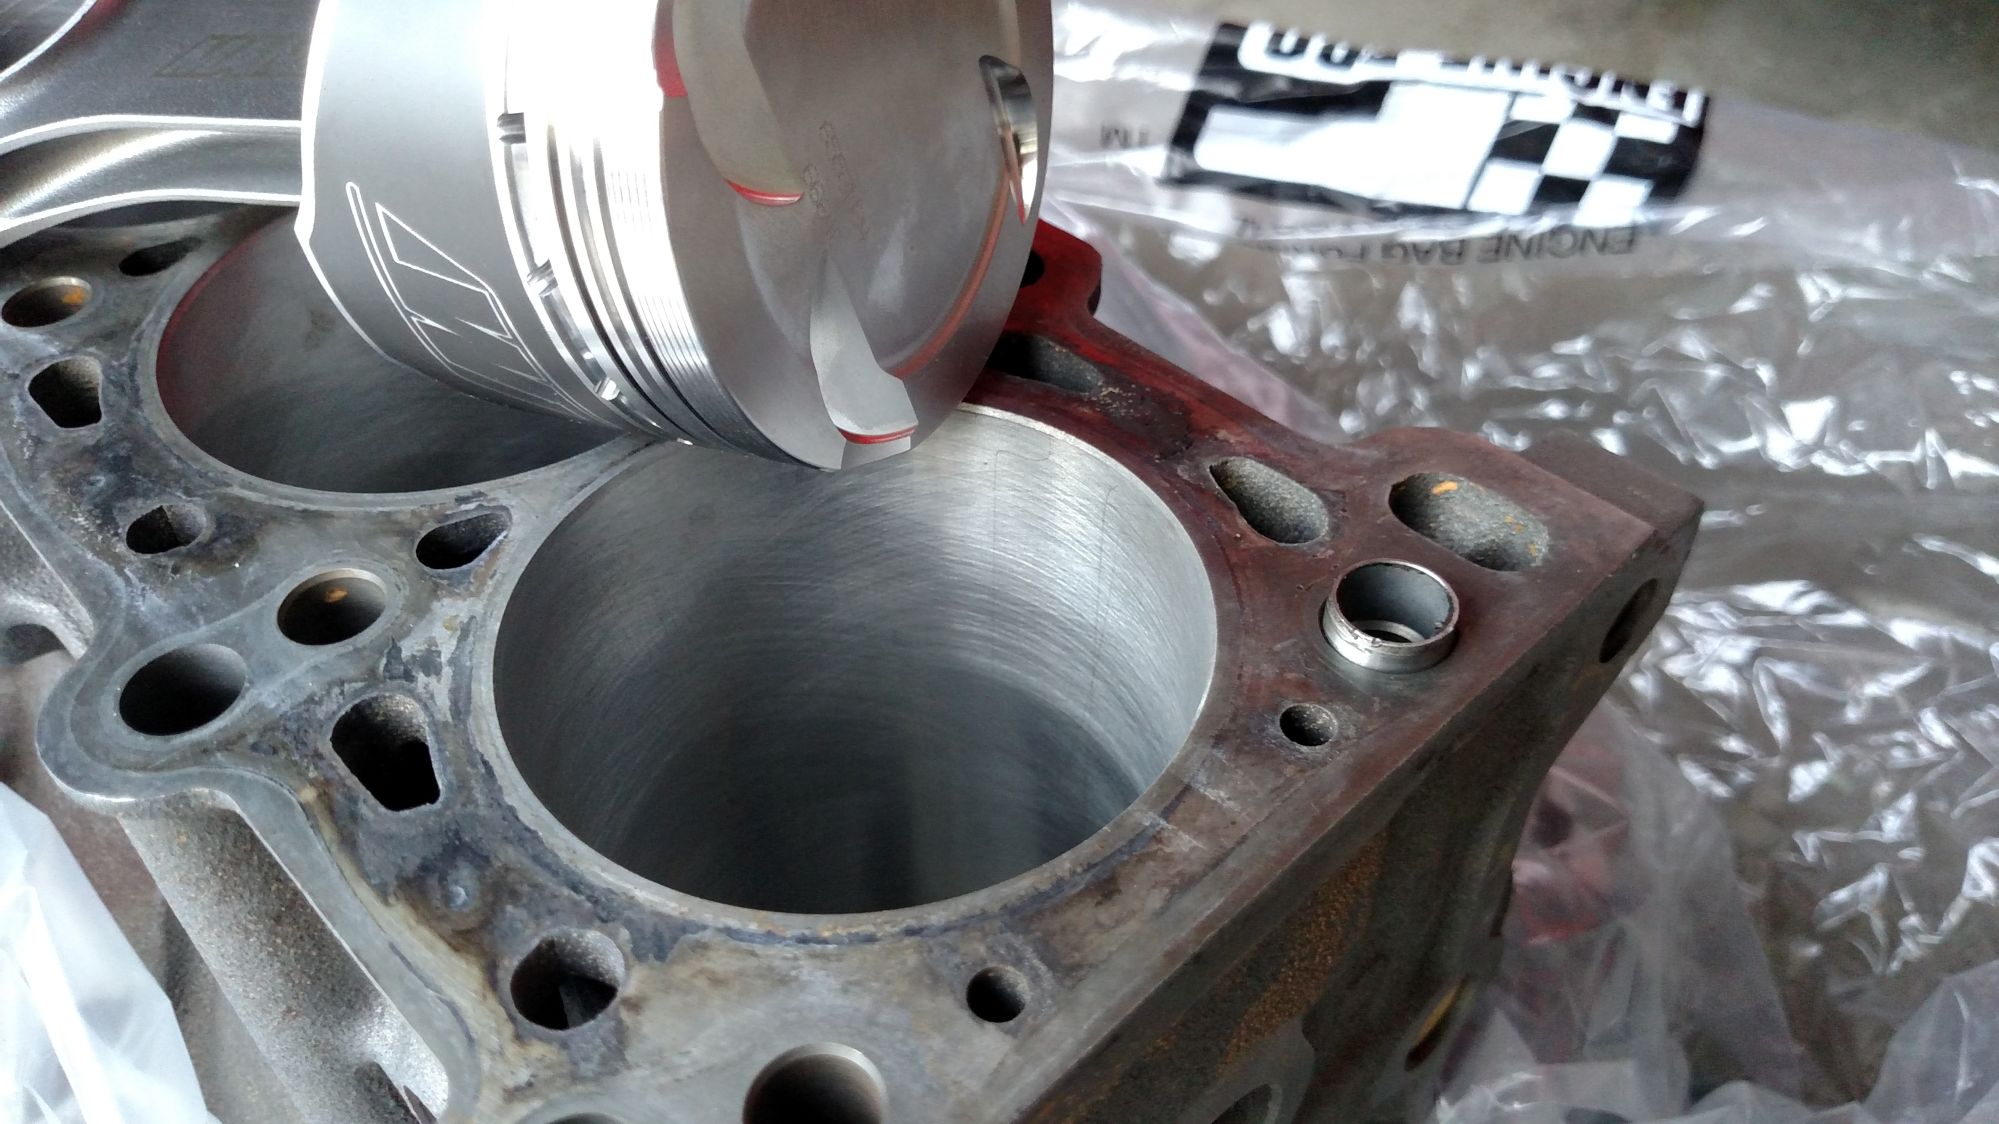
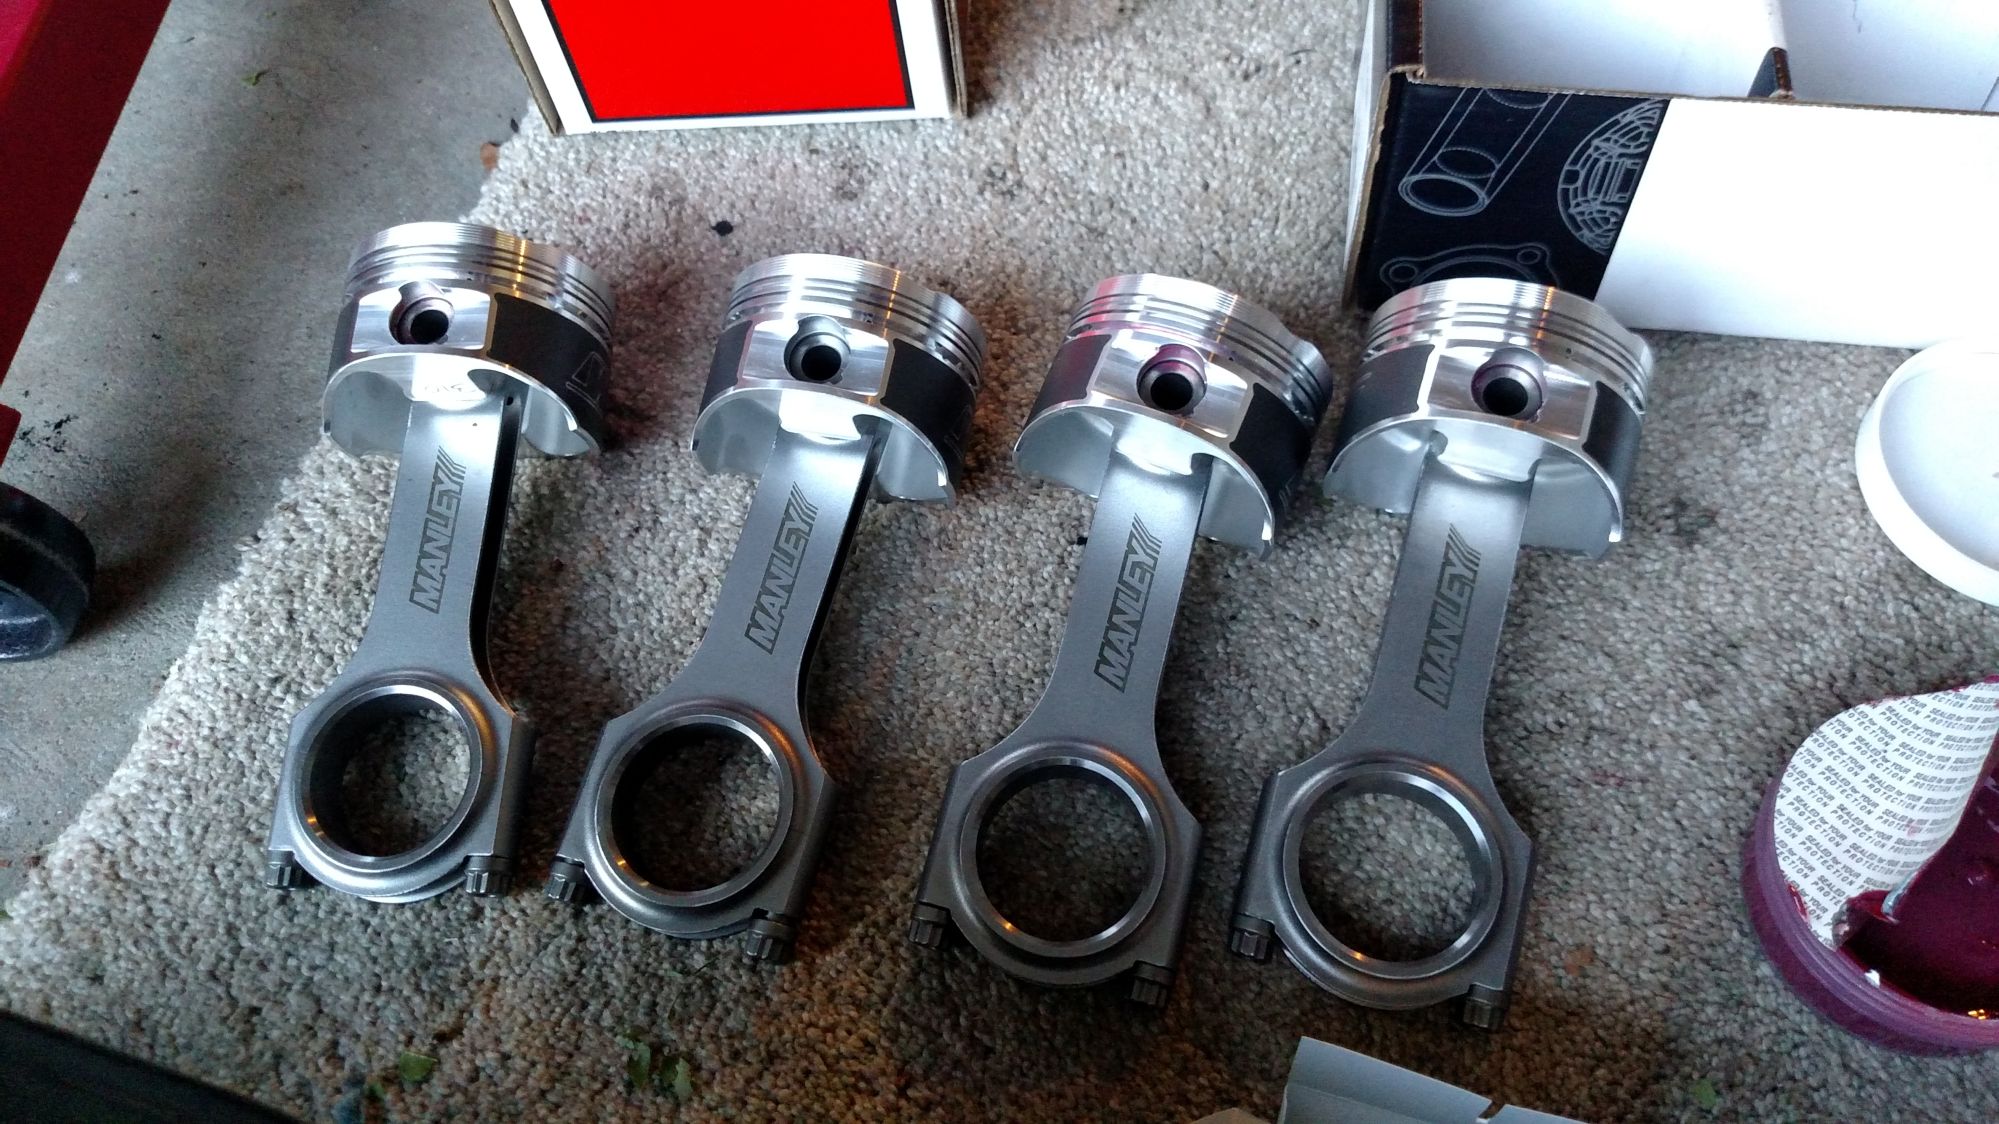
It was at that moment in time, that an overwhelming moment of clarity rushed over me. I wasn't going to dick around and pull a junk yard piston, I was going to throw down for some forged pistons... And why in Raptor Jesus' name would I pair forged pistons to OEM cast rods? And what kind of ******* would I be if I drove around in a naturally aspirated miata with forged pistons and rods? It was fate, the heavens desired that this car be fitted with a turbocharger and who am I to deny this little jalopy of its destiny? No, I would be its champion!
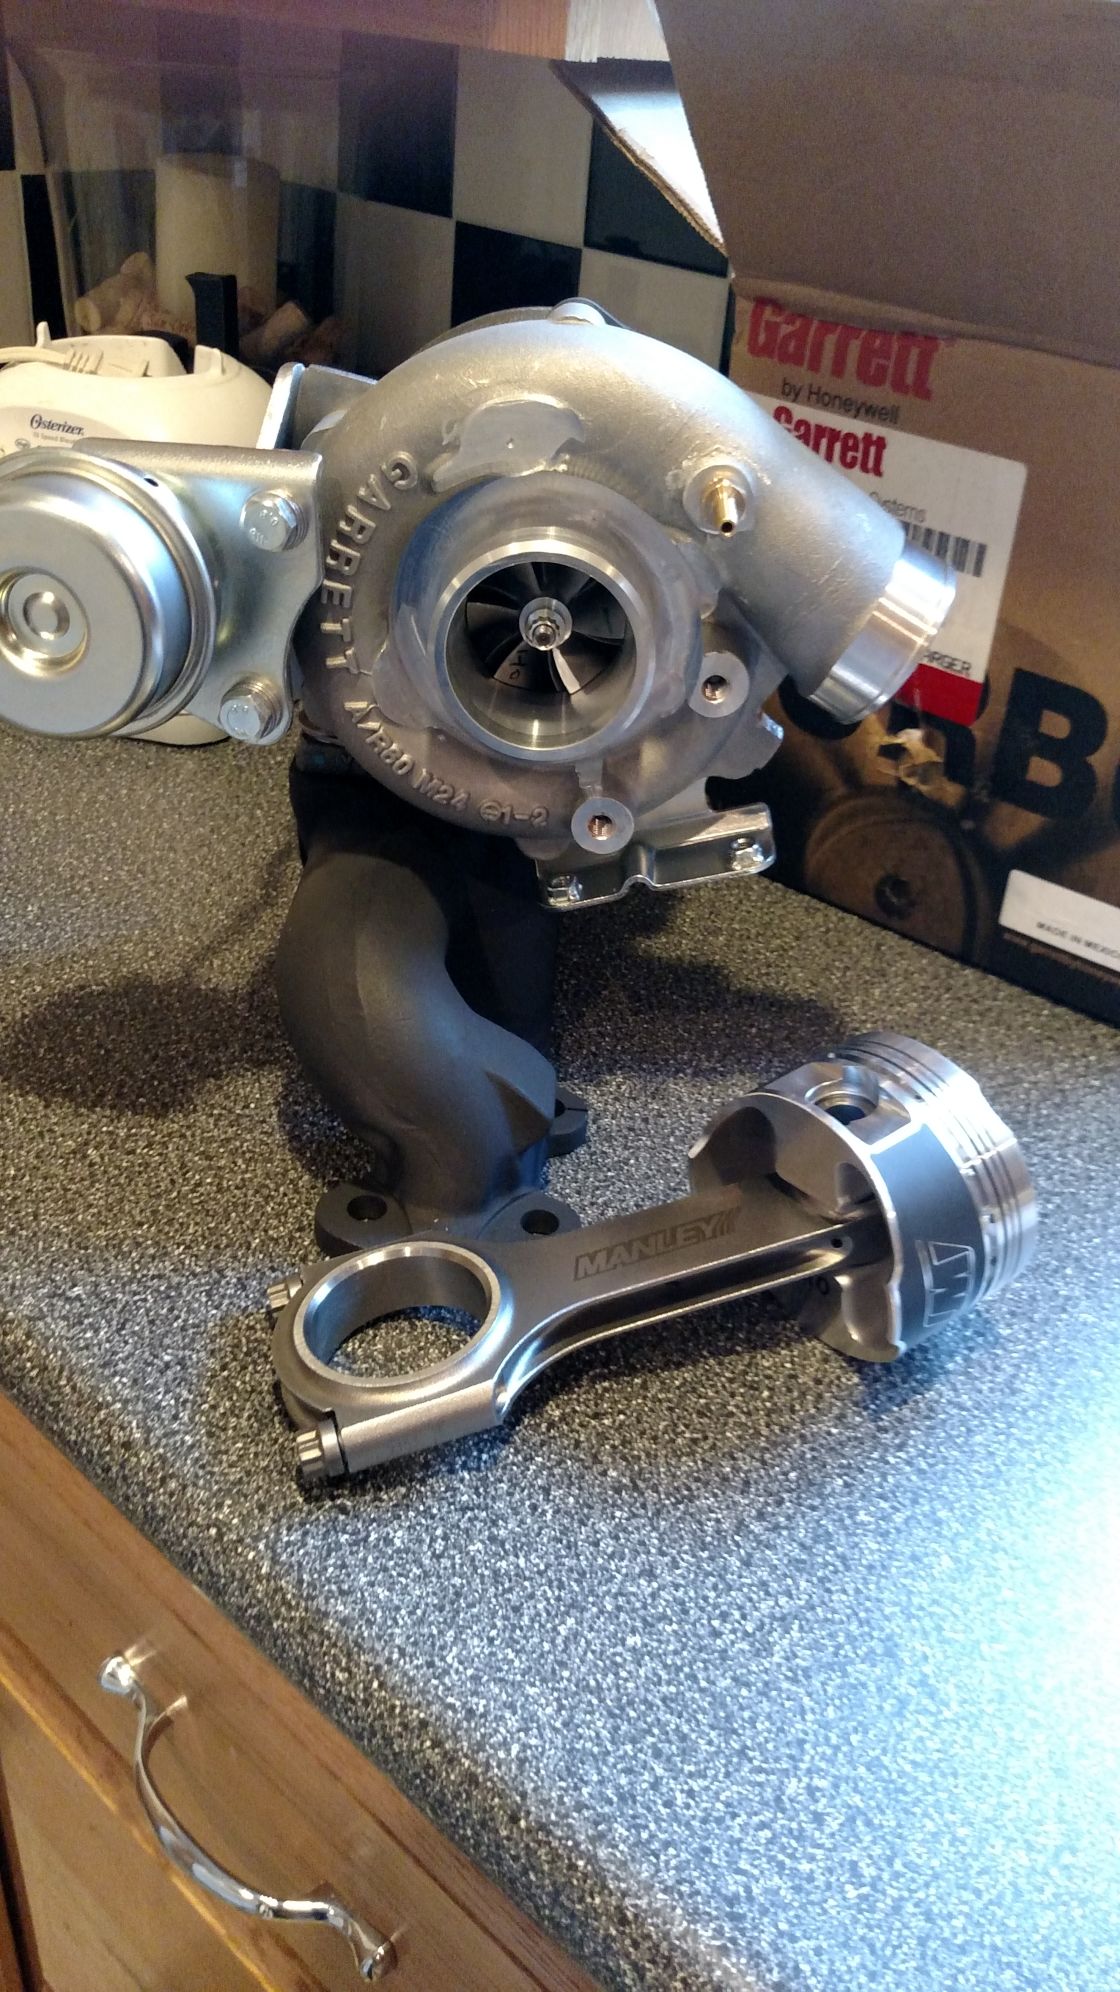
I ordered a set of Weisco 84mm pistons and Manley rods for a grand total of about $750.00 (Worlds cheaper than the VW internals I was used to), and a whole bunch of other goodies... We can make it better than it was... Better. Faster. Stronger. WE MUST REBUILD IT!
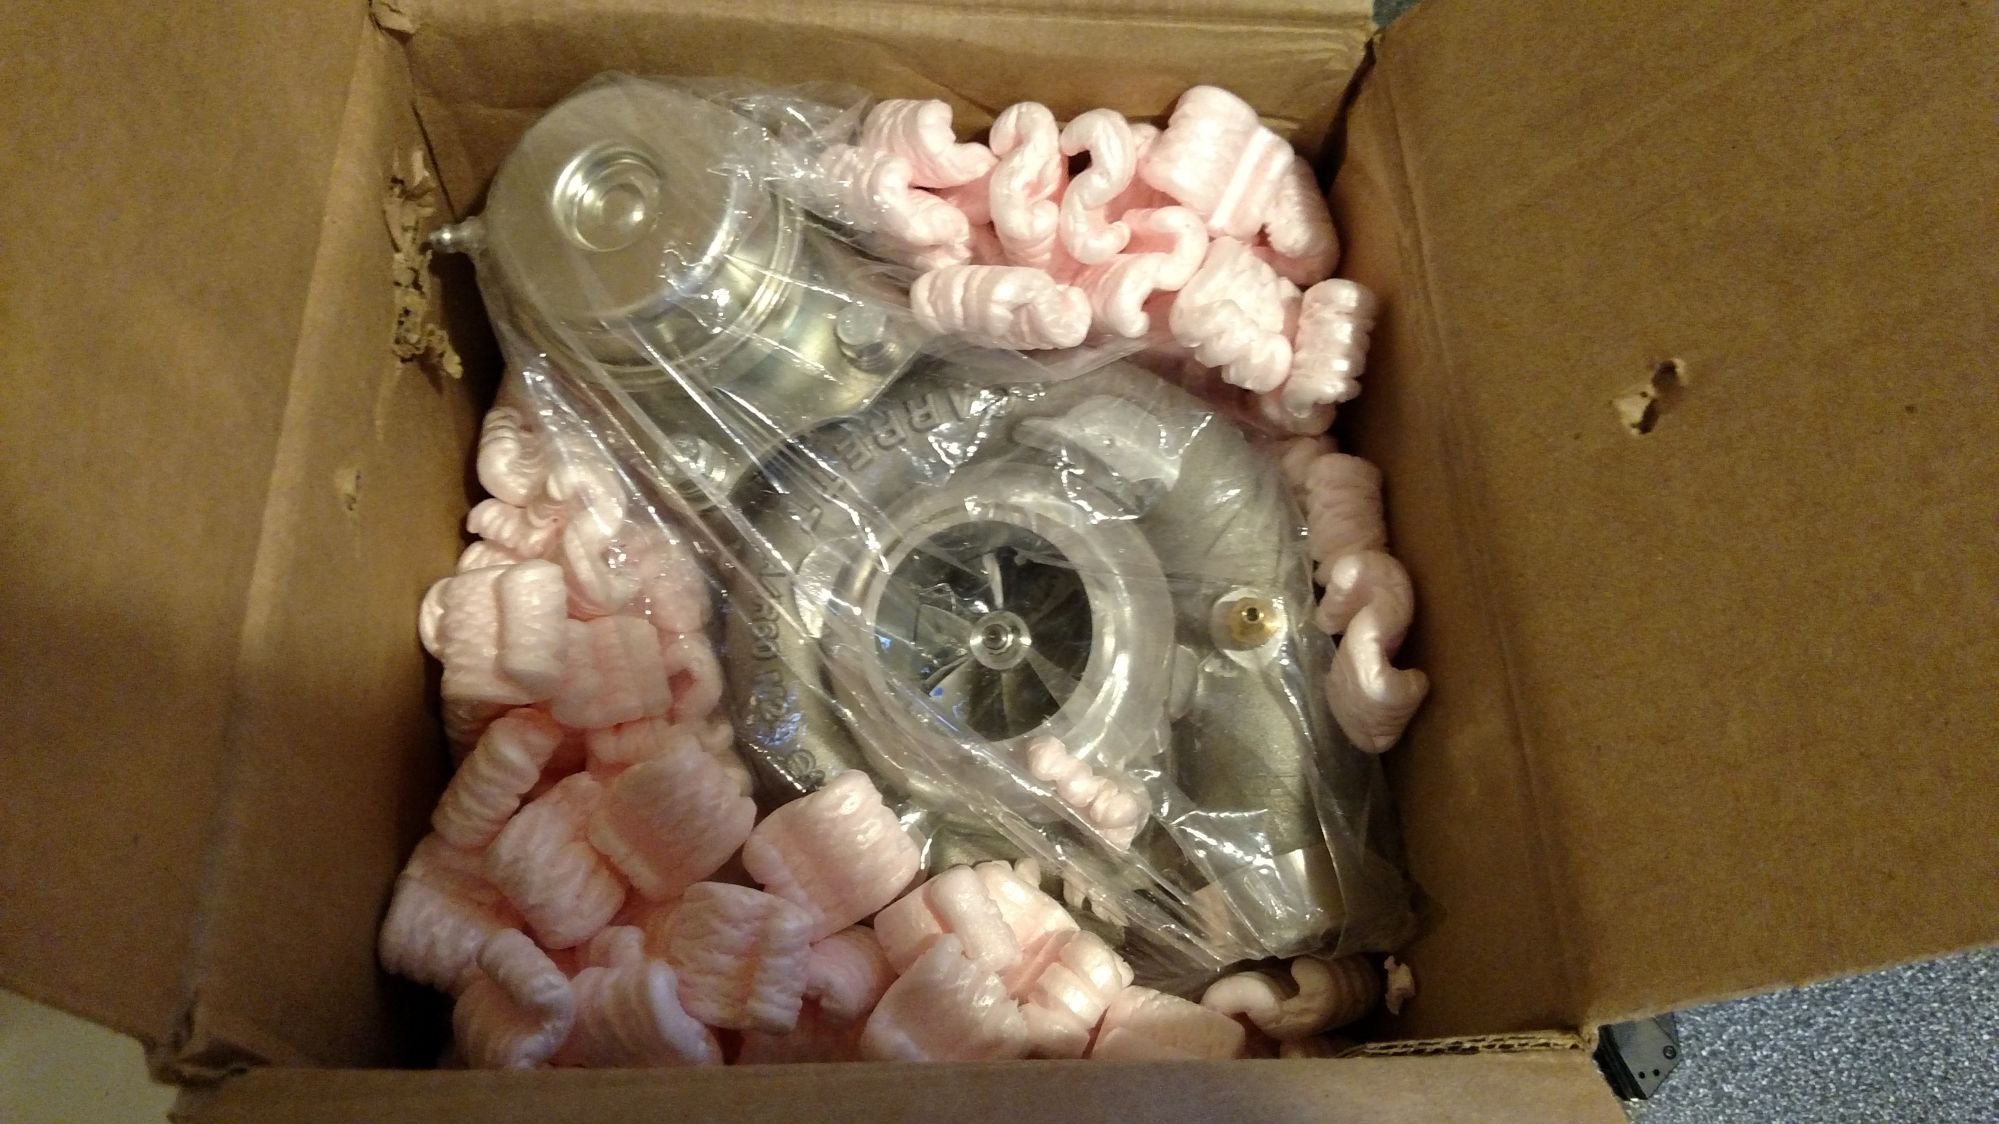
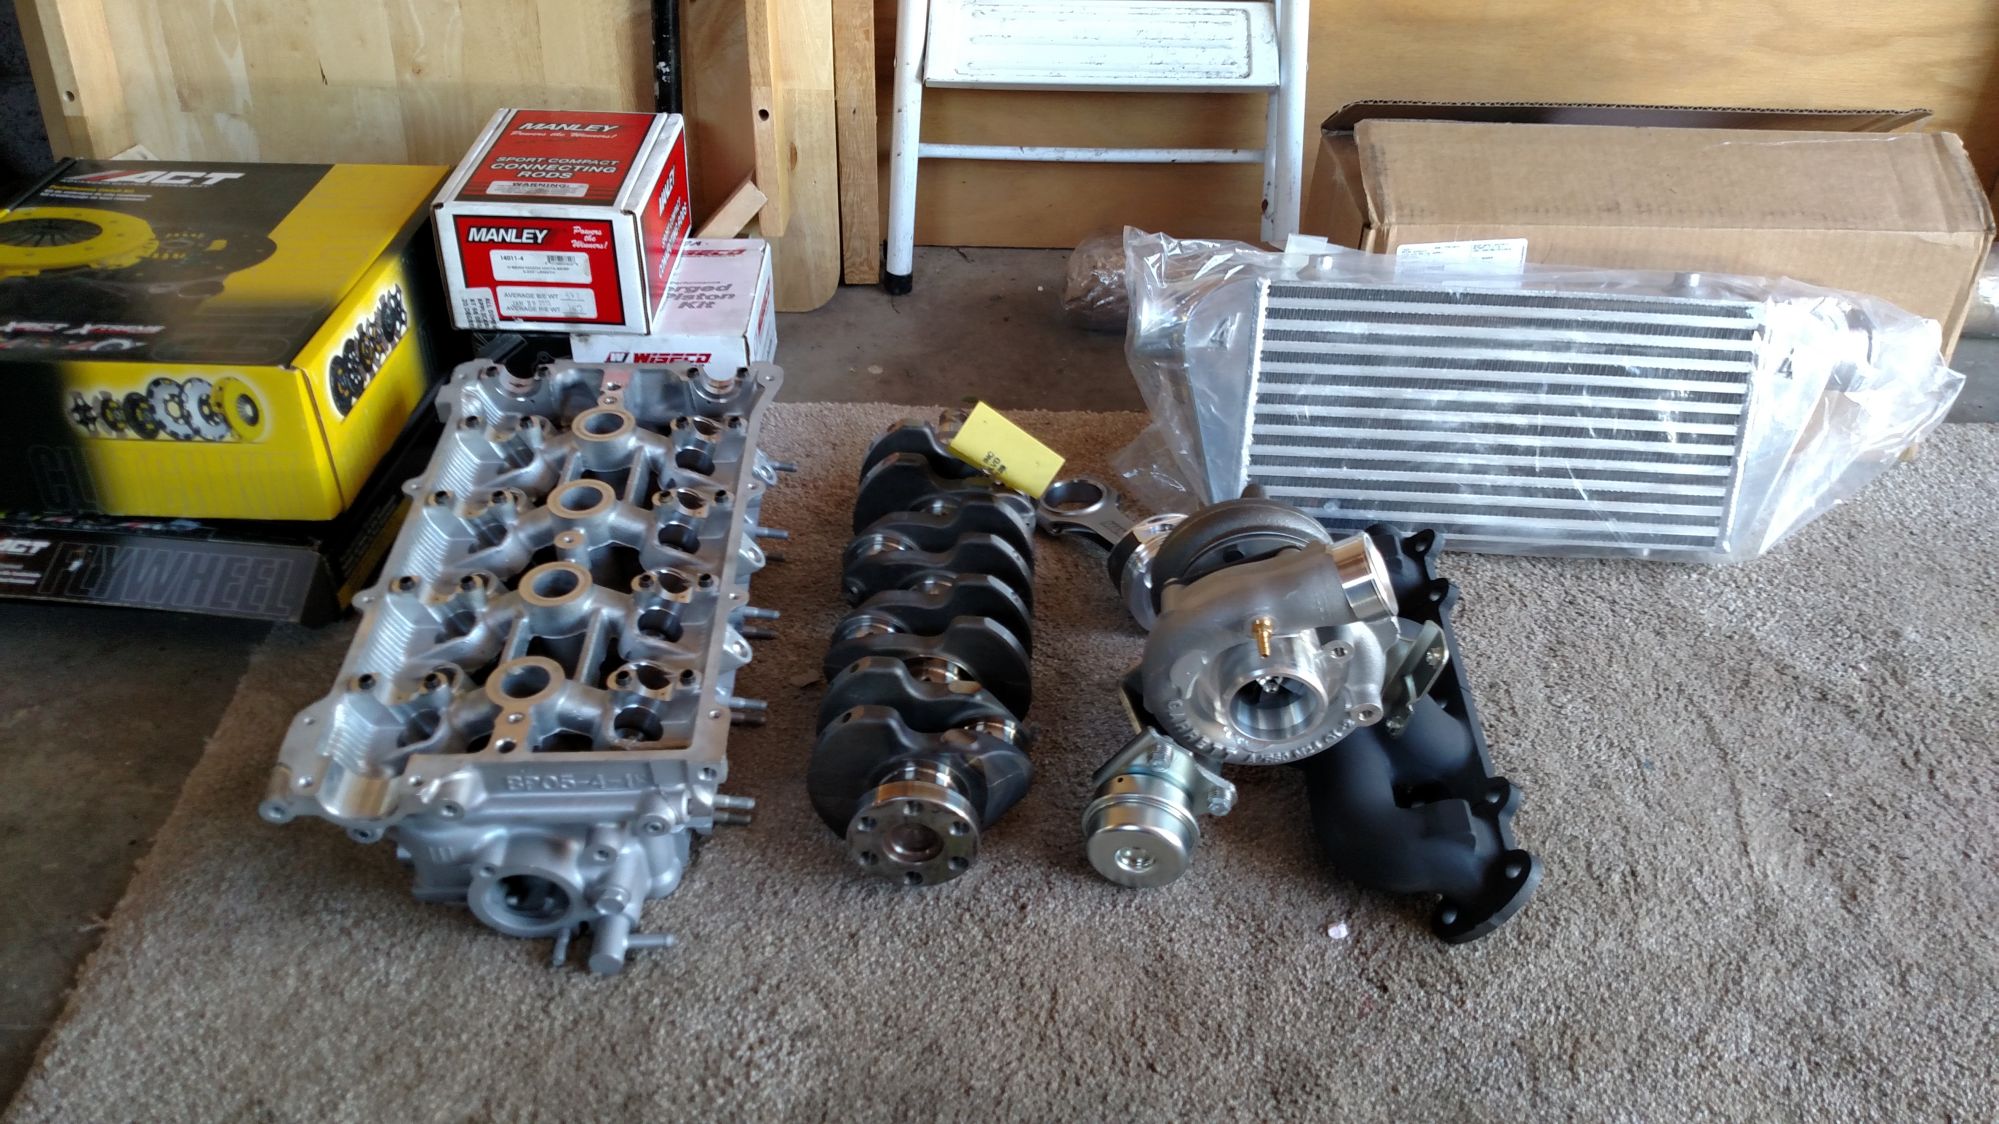
Shortly later I placed a call to Flyin Miata and purchased their no electronics turbo kit as well as some Deatchwerks 700cc injectors.
What good would all that new power be when my factory clutch turned into magic smoke right away?
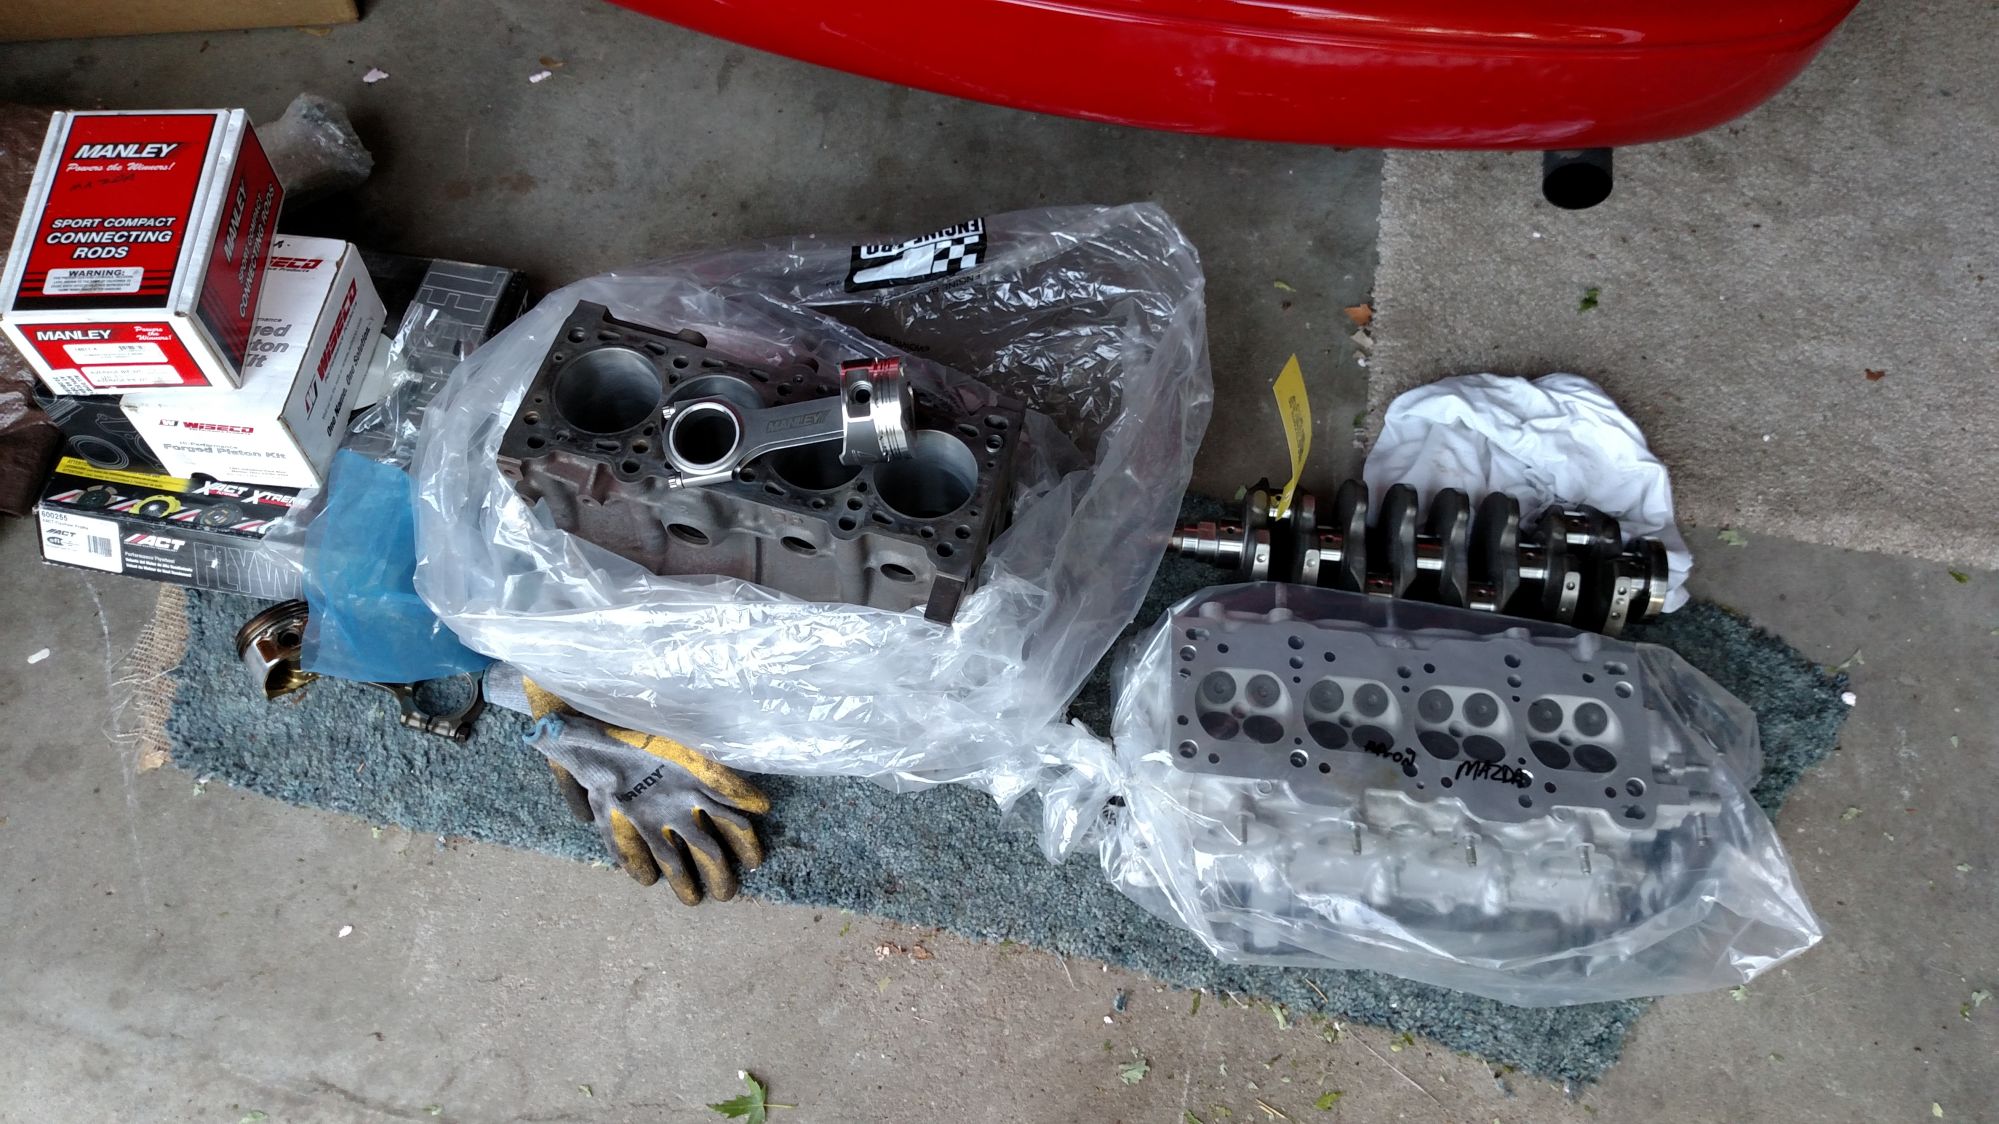
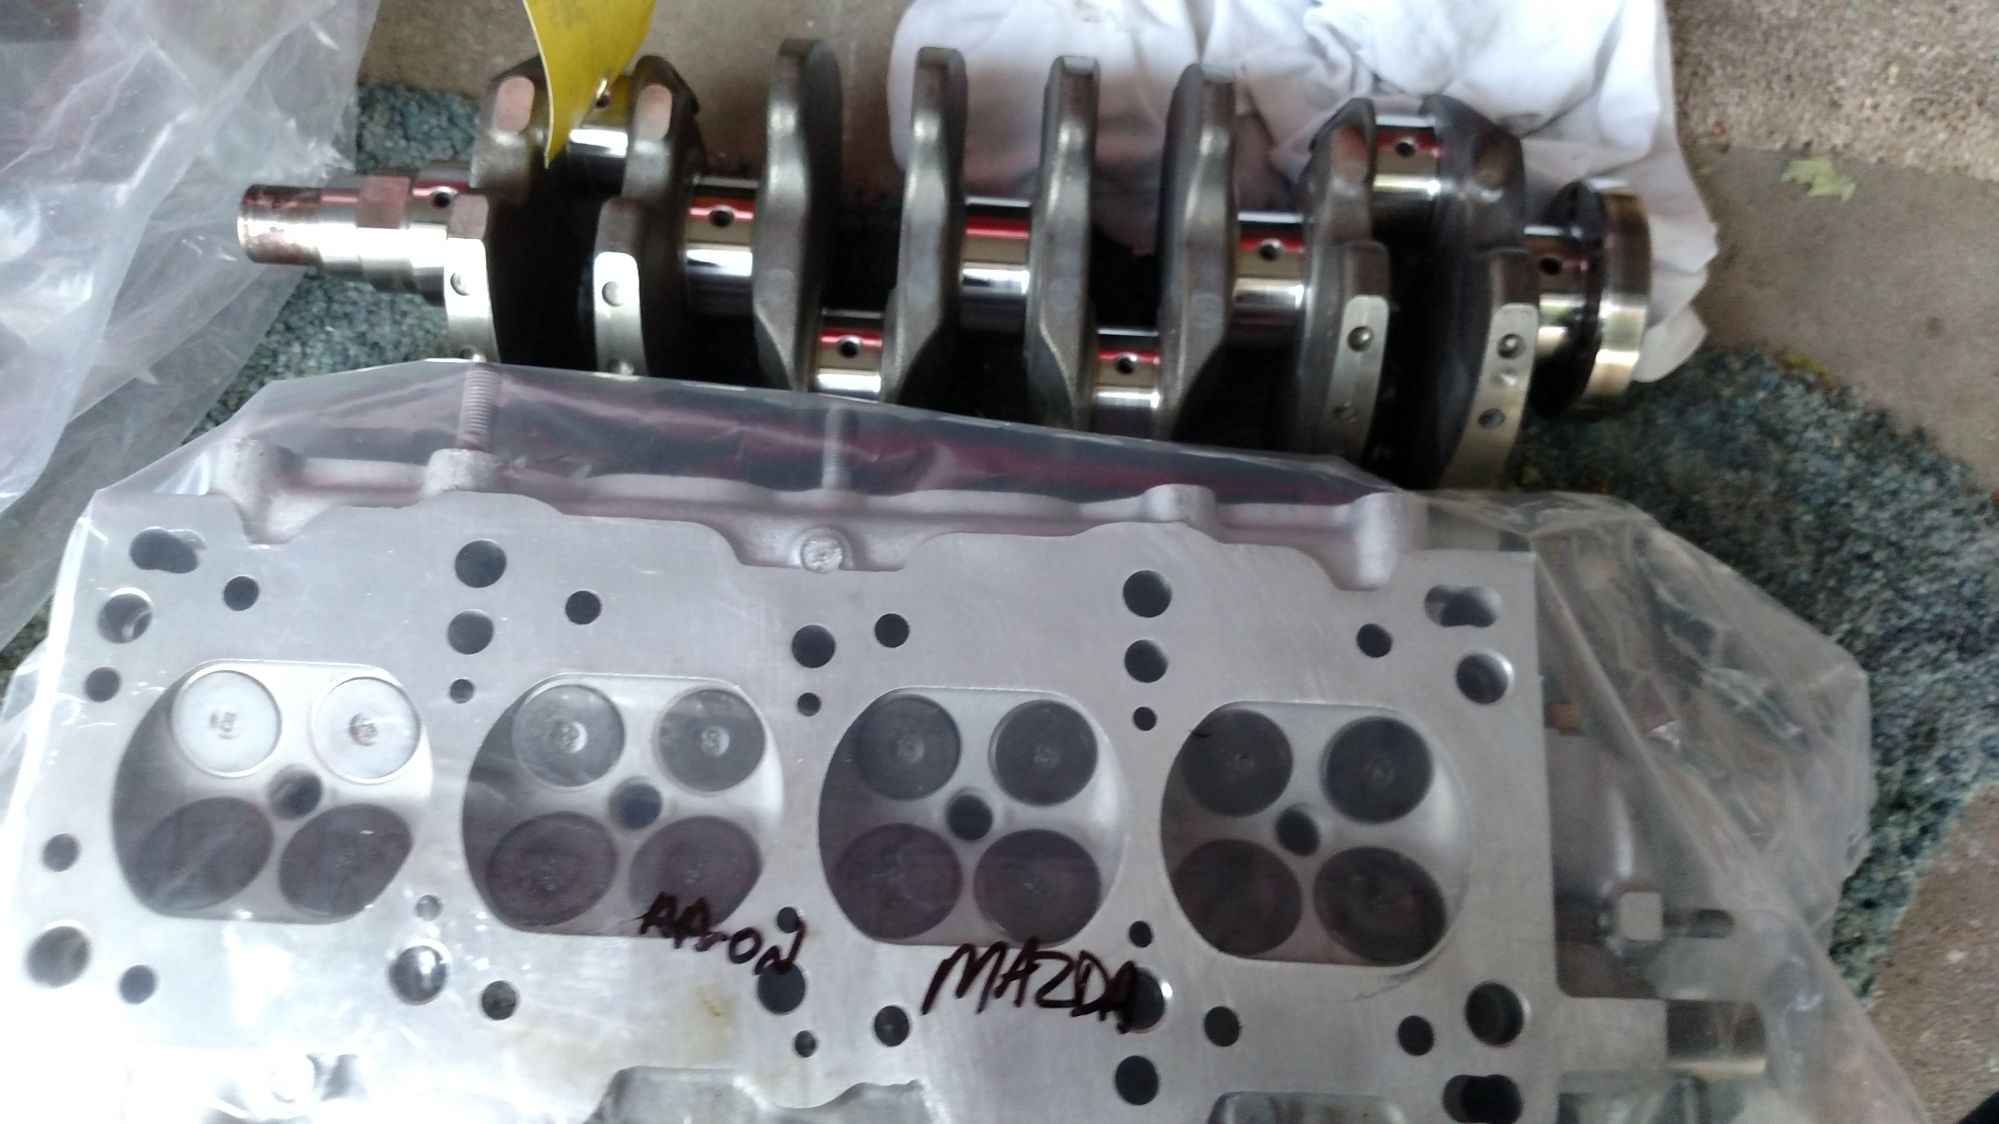
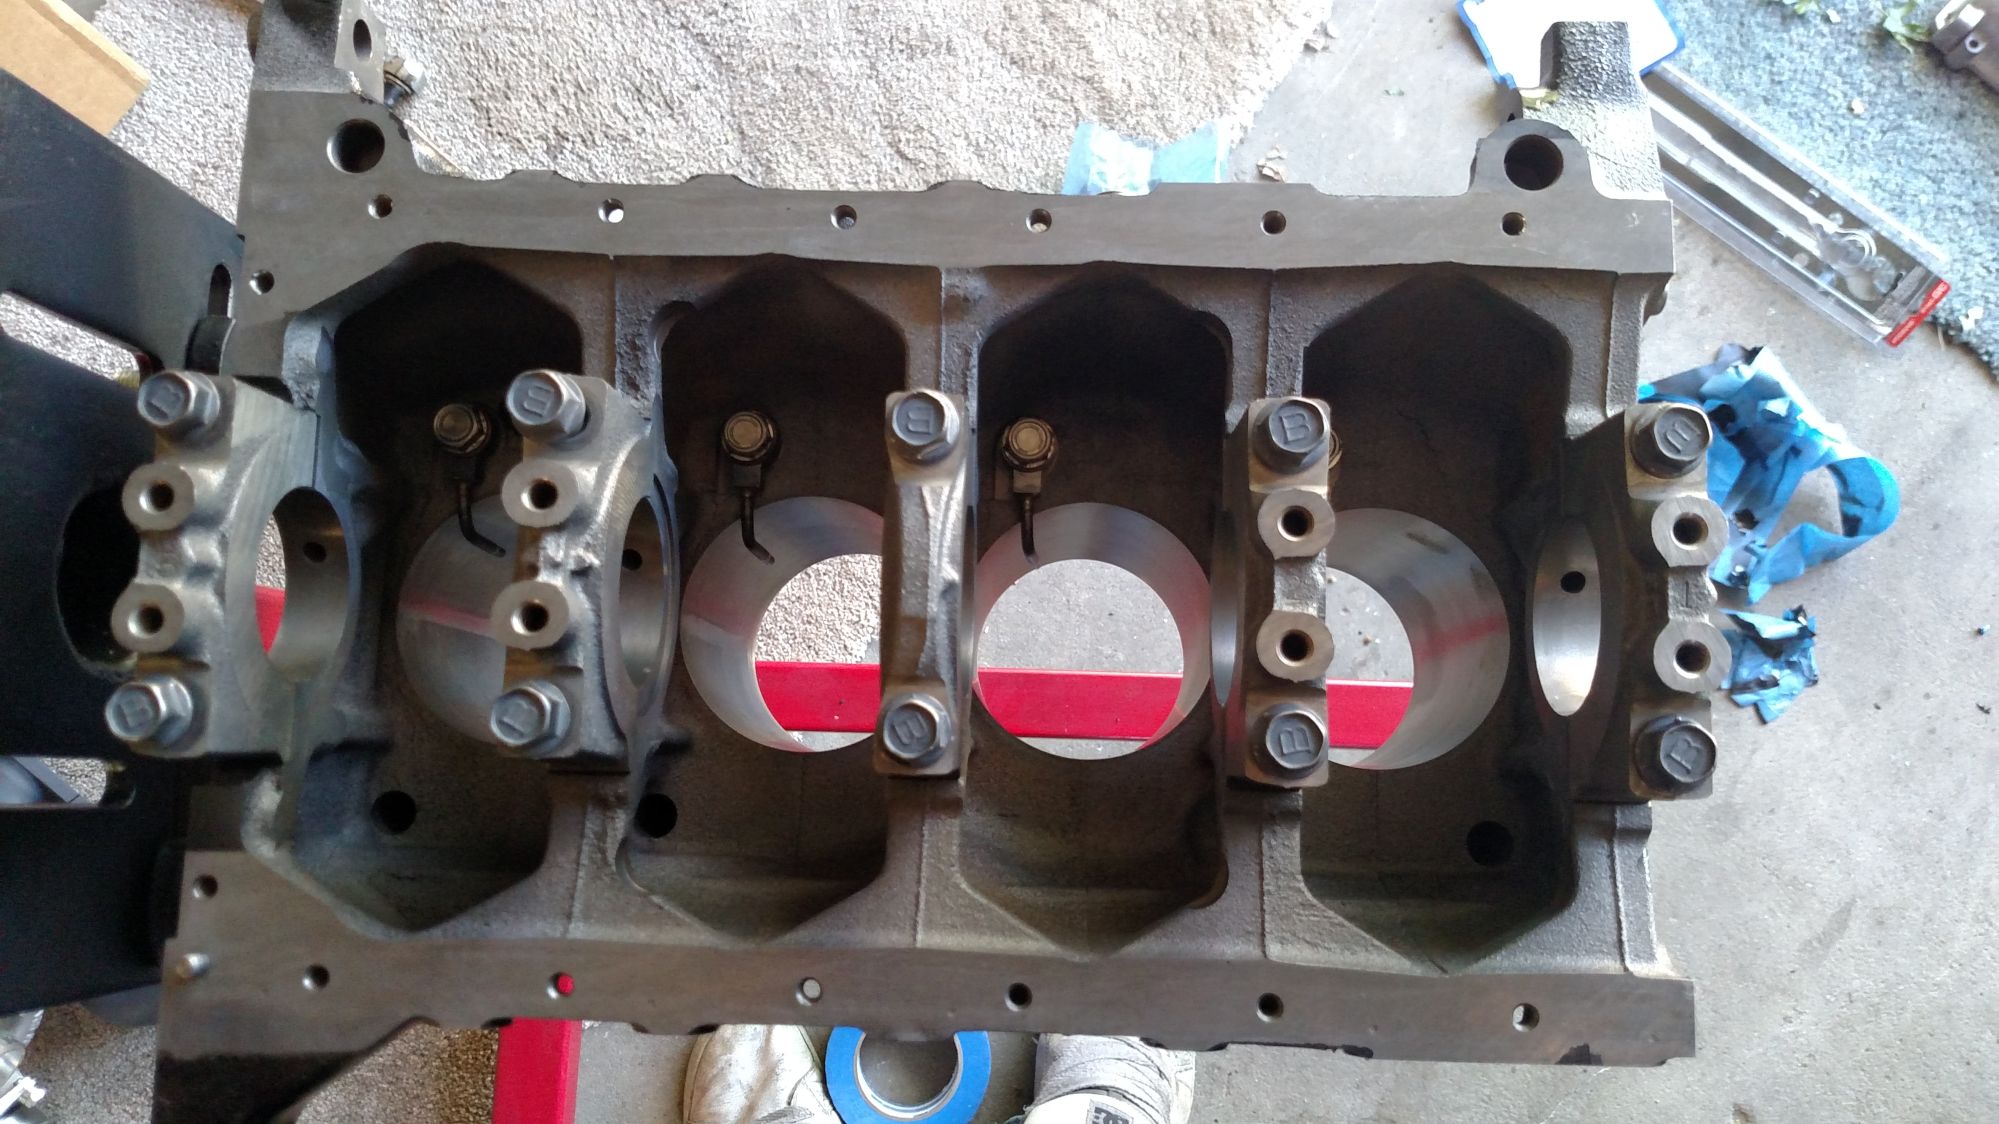
Meanwhile, I had sent the beat up 1.8 motor off to a local machine shop for some TLC. I had the rotational assembly balanced, the head surface leveled, the valves checked and the valve stem seals replaced, the block bored over and honed to accommodate the new, beefier pistons and everything cleaned up all shiny and new.
It took the guy forever but I got out of there for about $520 and im pleased with the results.
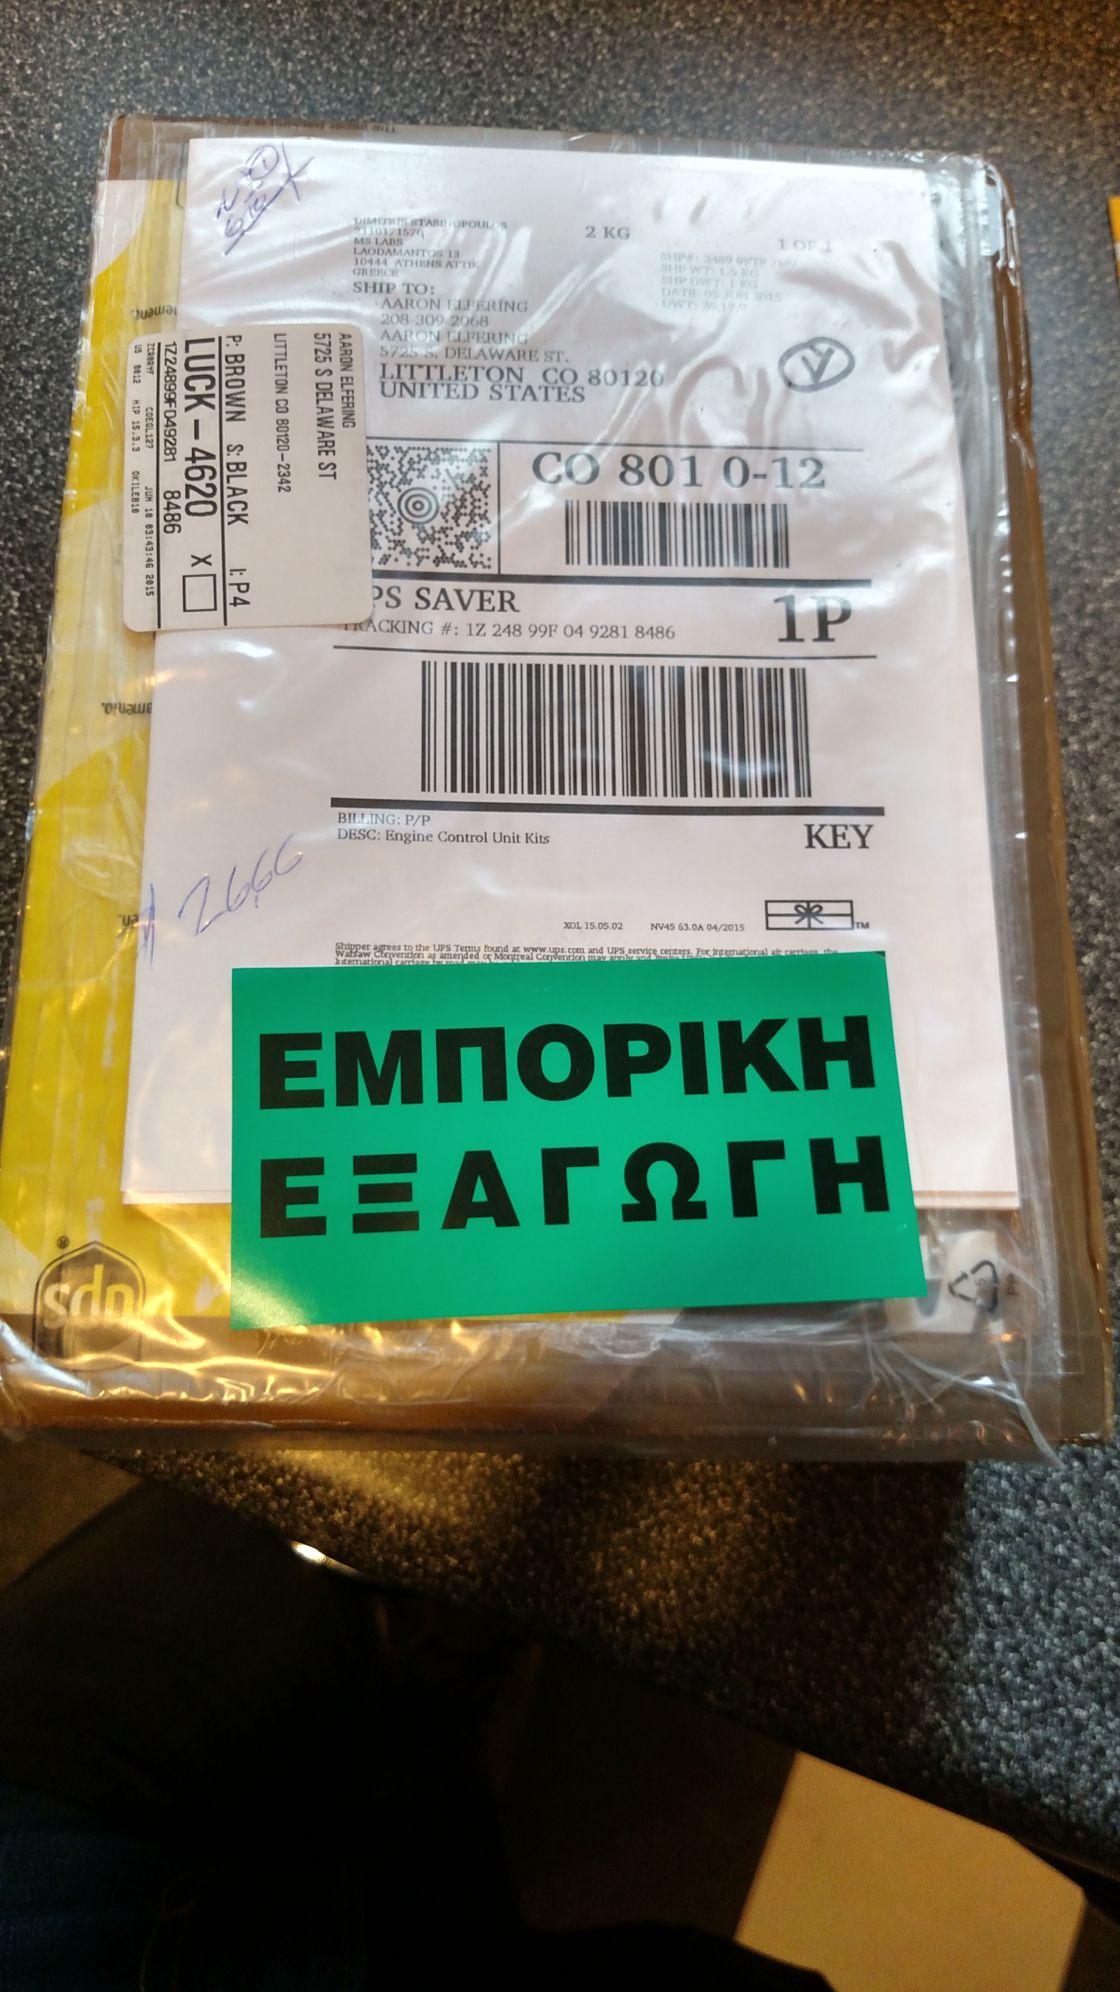
And of course what would all this shiny metal do for me without the brains?
Strait from the cradle of western civilization and bankruptcy itself...
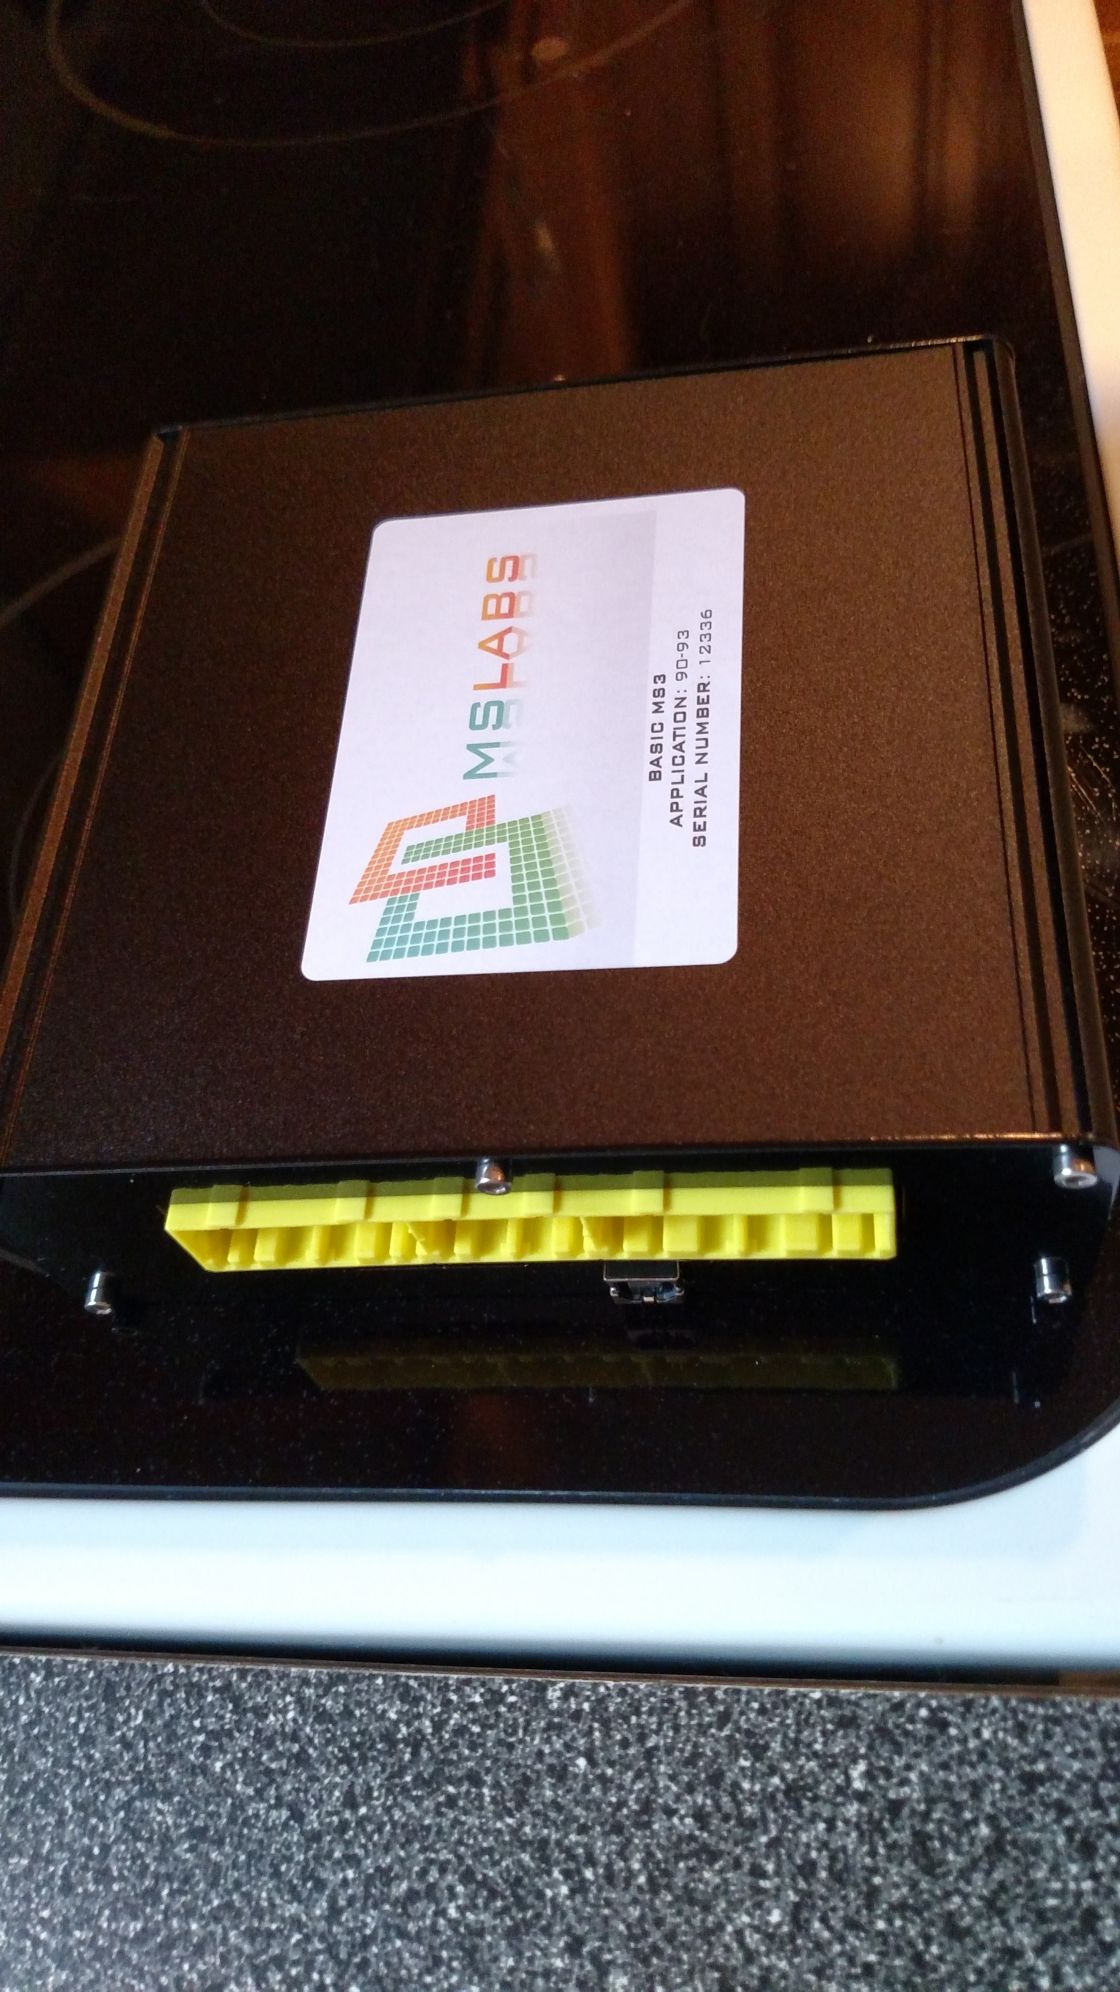
I had our friend Rev. build me a MS3 basic board that I'm still learning with. This isn't my first soiree into Megasquirt land, I had a mk2 GTI that I had VR6 swapped and run an MS2 box in that, doing all the wiring with the help of friends. In the end, I had alot of nagging problems that left a bad taste in my mouth. THIS IS WORLDS BETTER...
With the brunt of it all ordered and my bank account thoroughly depleted, I threw myself into the garage as often as I could and read up on areas I wasn't entirely sure about and began to assemble the goodies I had acquired.
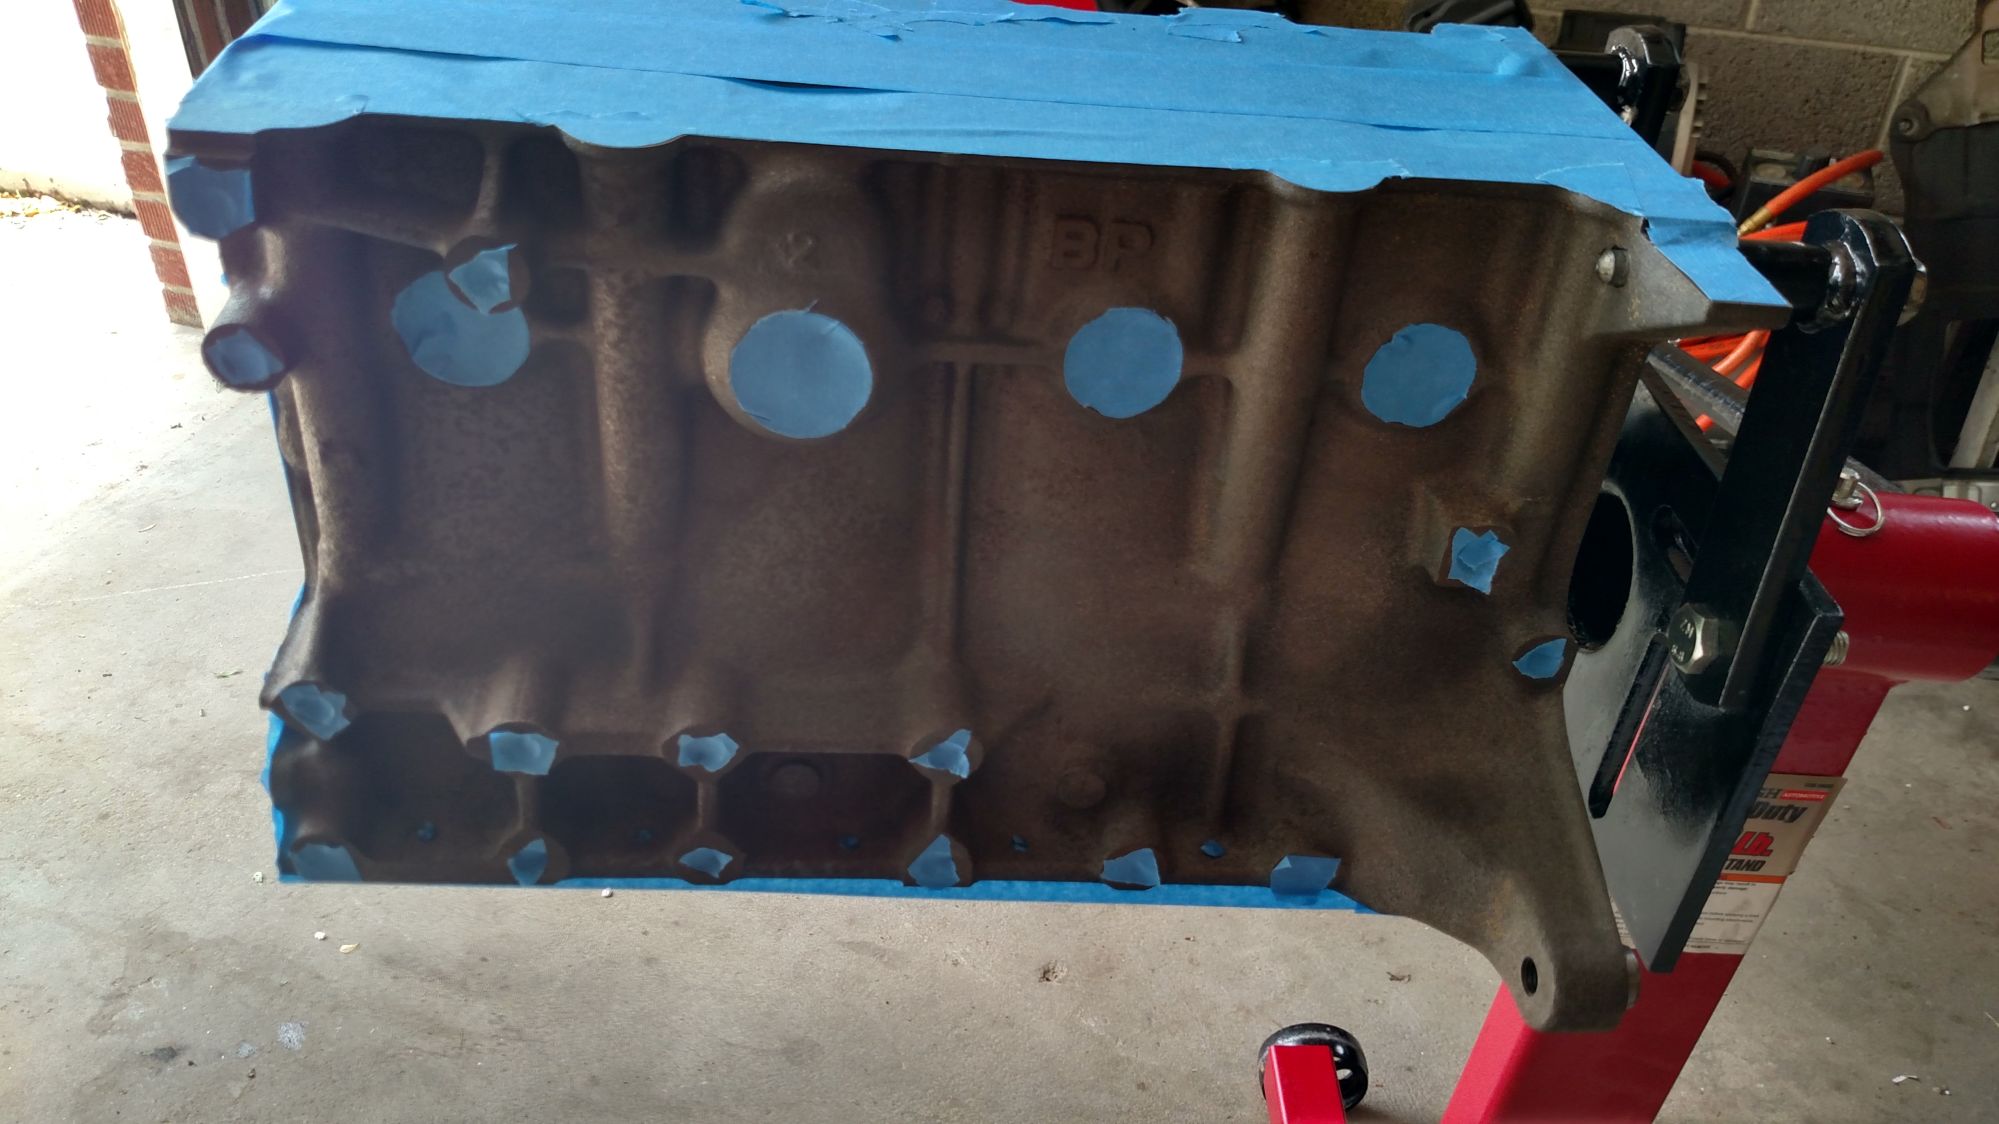
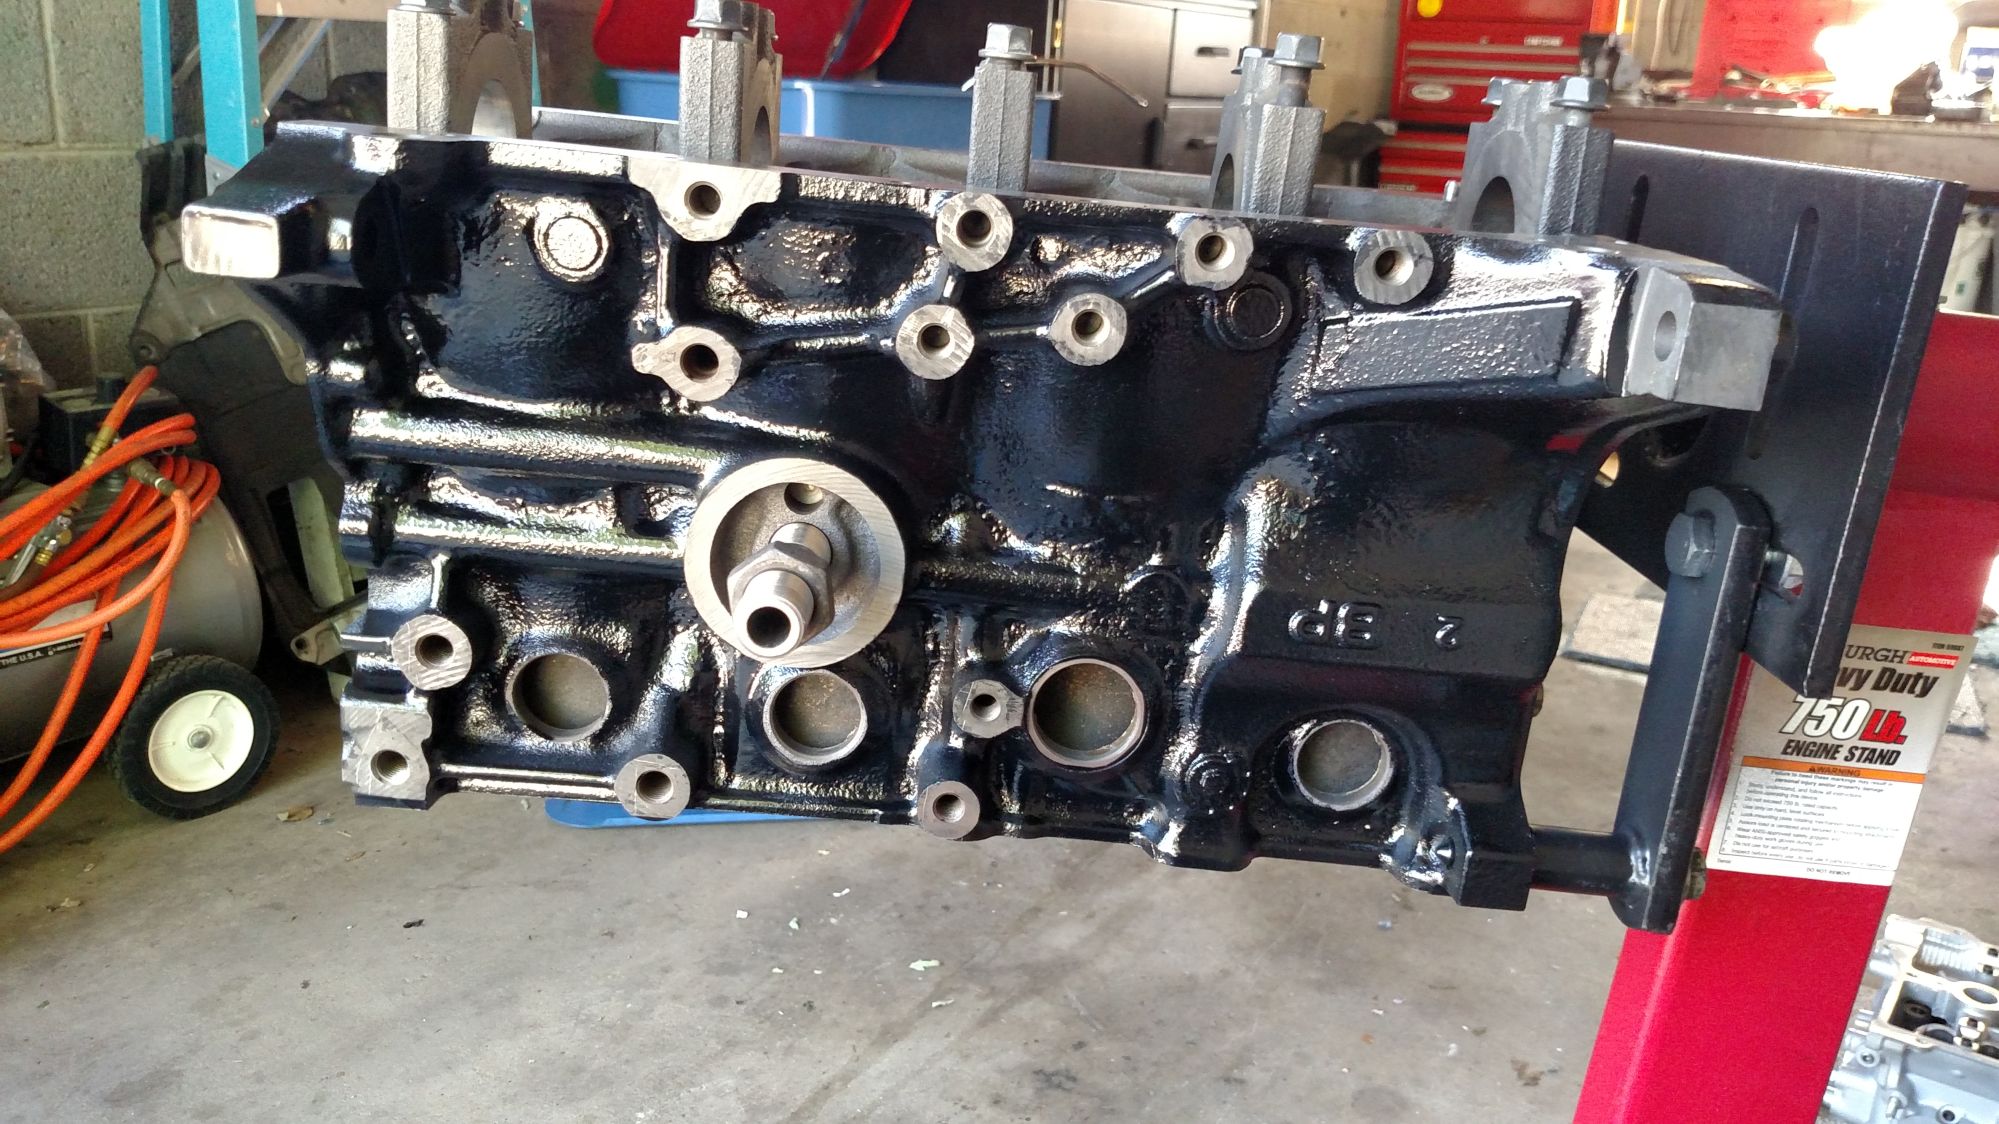
Masked off and painted the block with high temp engine paint.
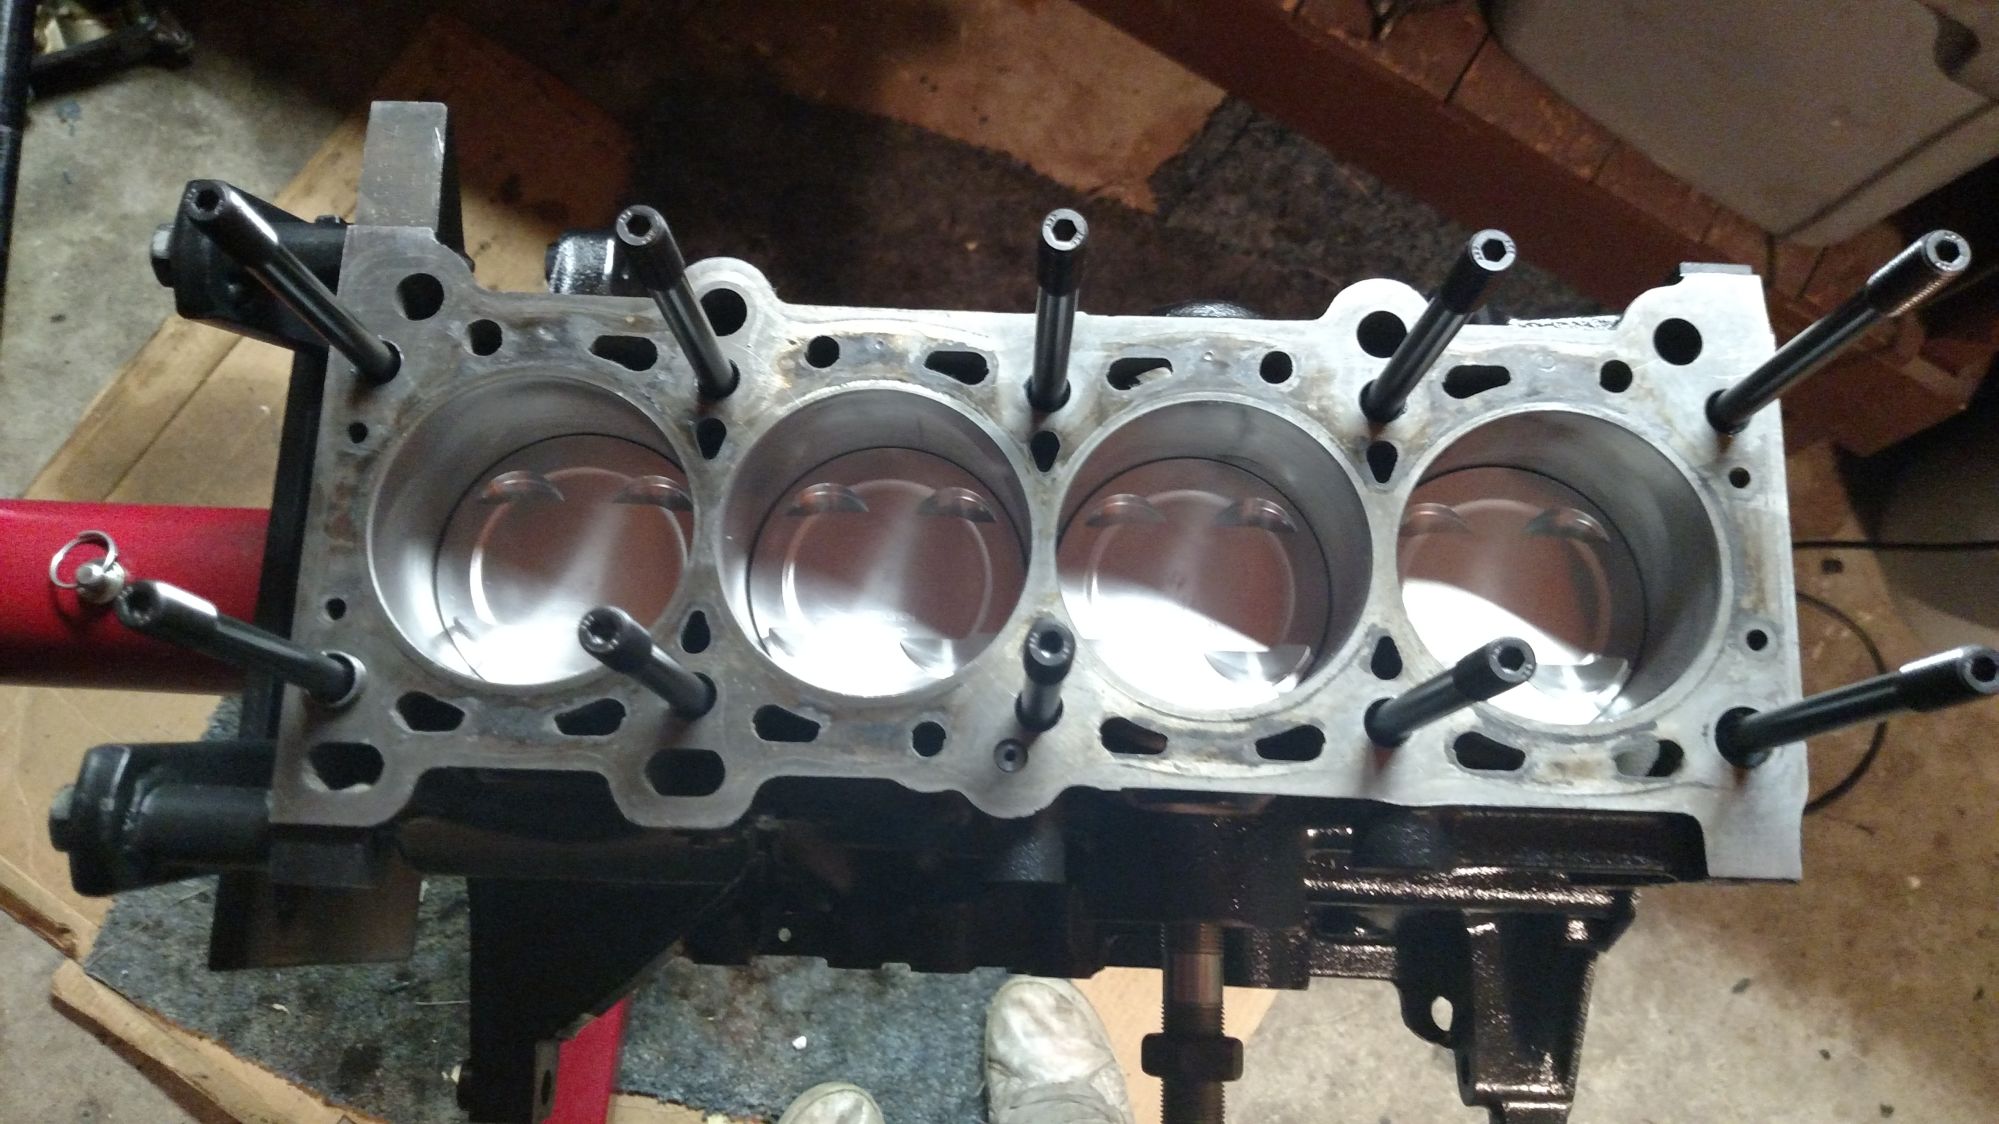
Internals in and mated to the crank and some ARP studs in, all torqued to spec.
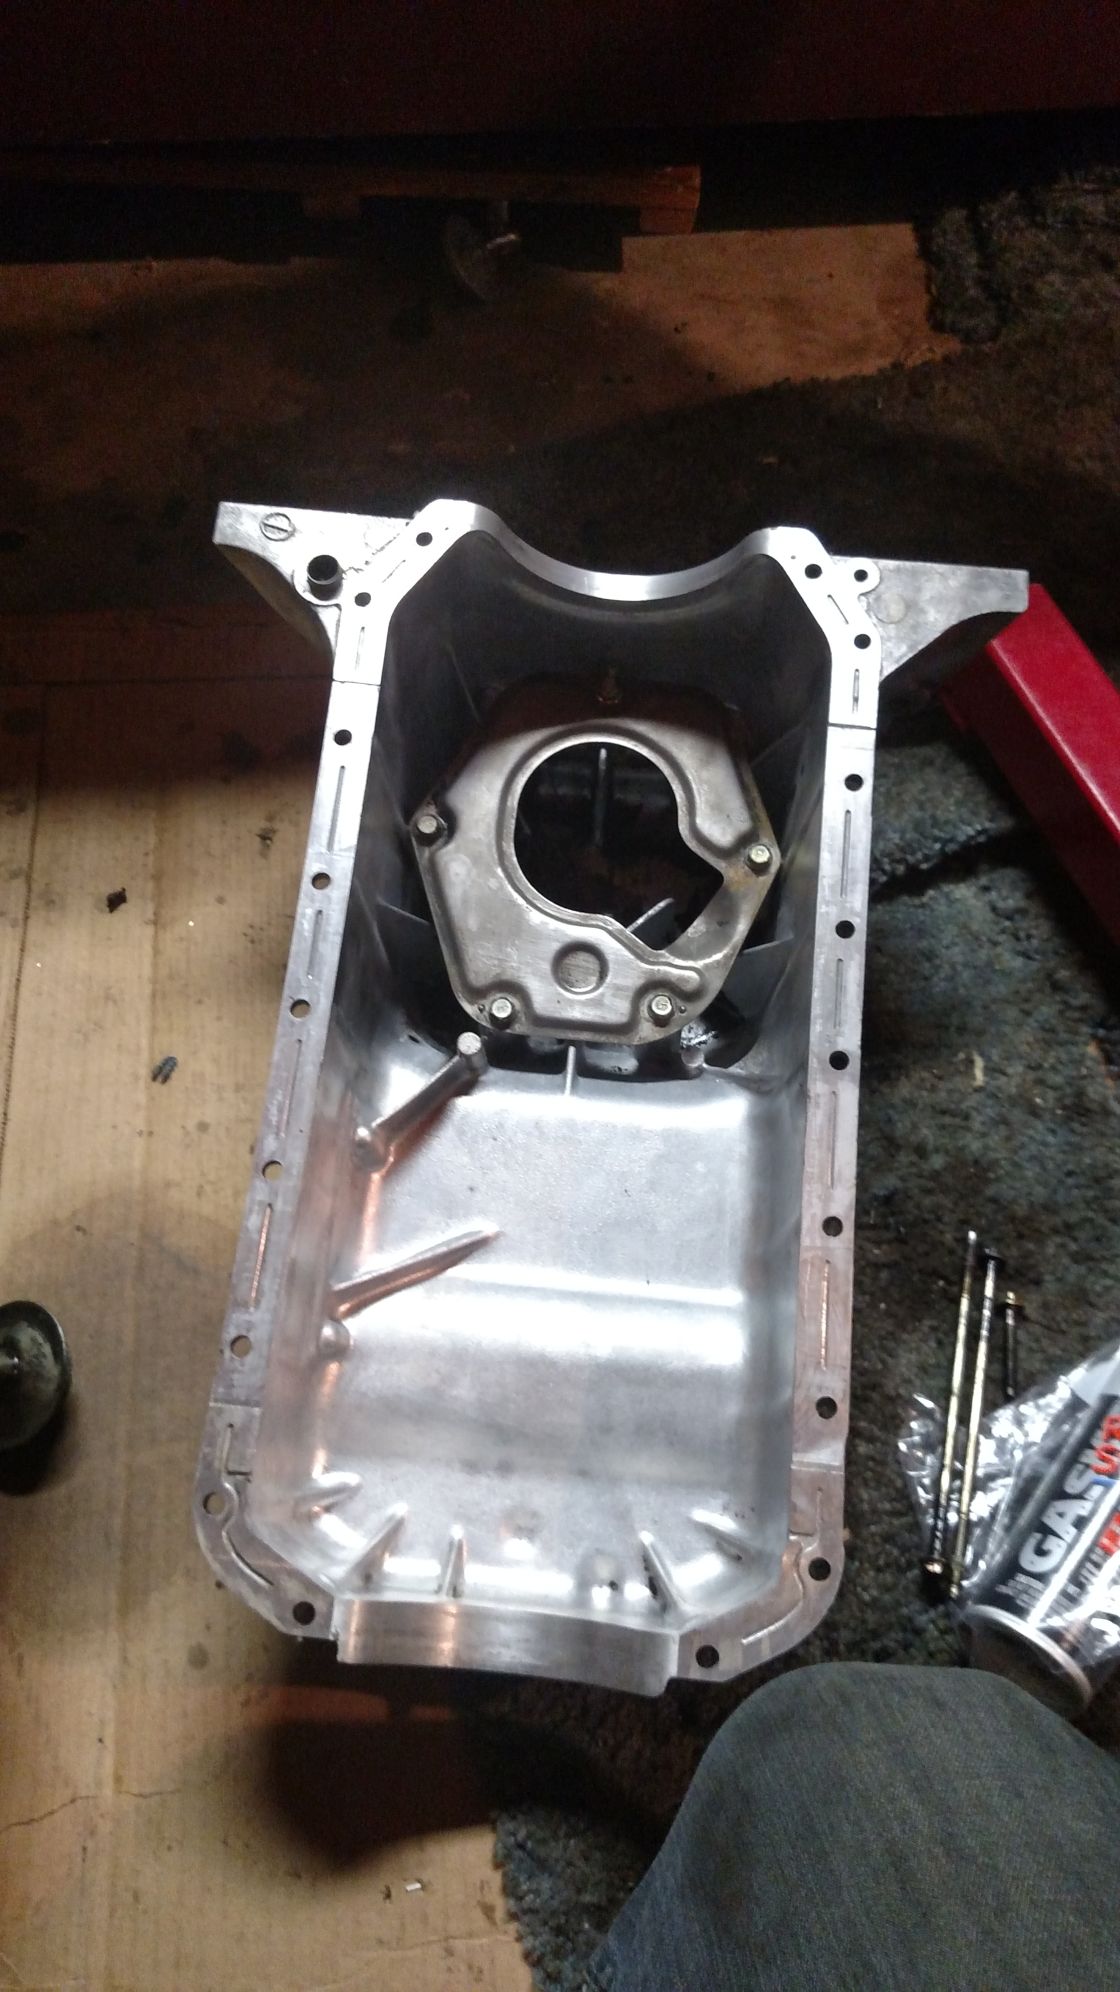
You could eat out of that oil pan.
Kept on assembling for a week or so until I found something else I had been looking for at a good price here in the classifieds.
4.1 Torsen out of a 95 with axles and driveline shipped to my door for ~$600. Can't beat that. Thanks again Browning!
Last edited by Elfering; 10-22-2015 at 05:54 PM.
Reason: Updated
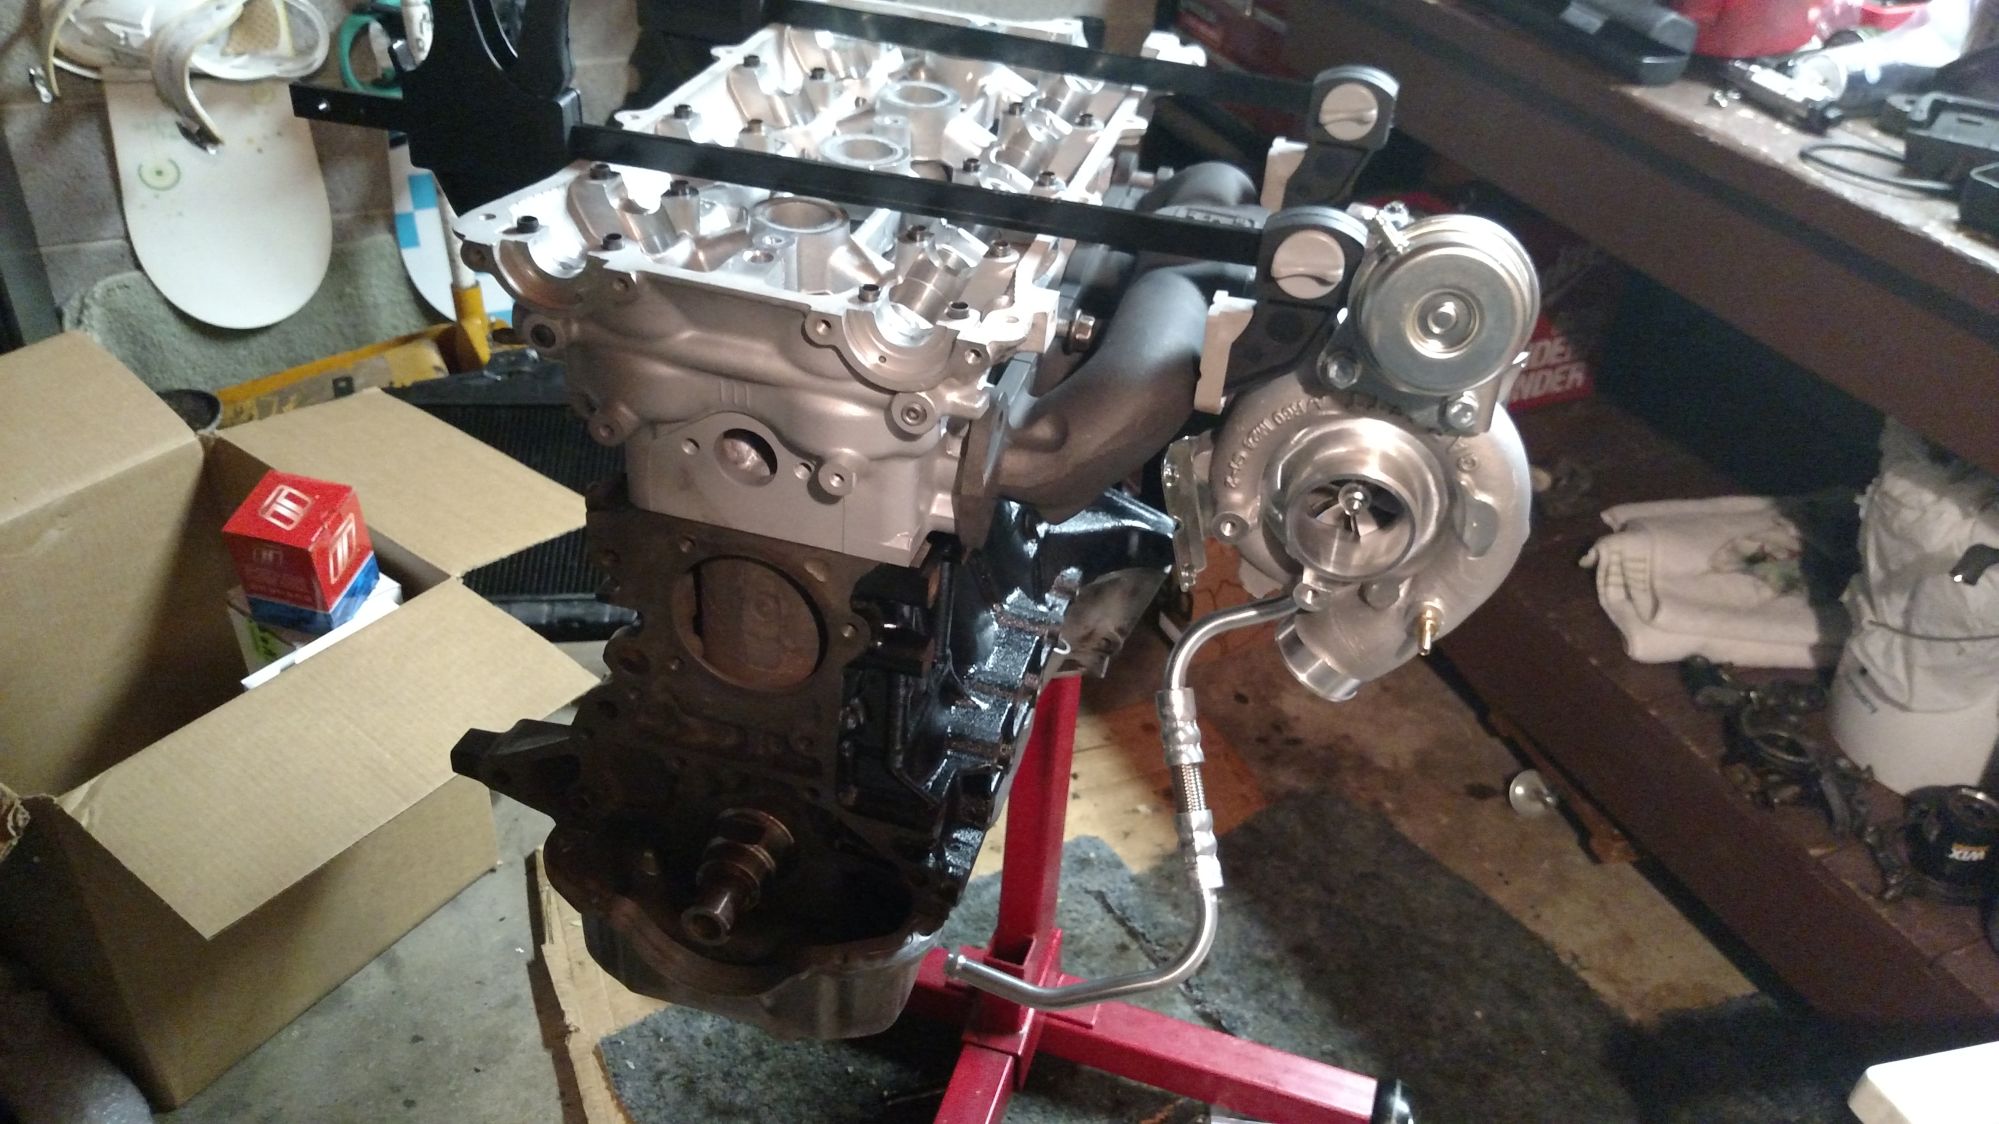
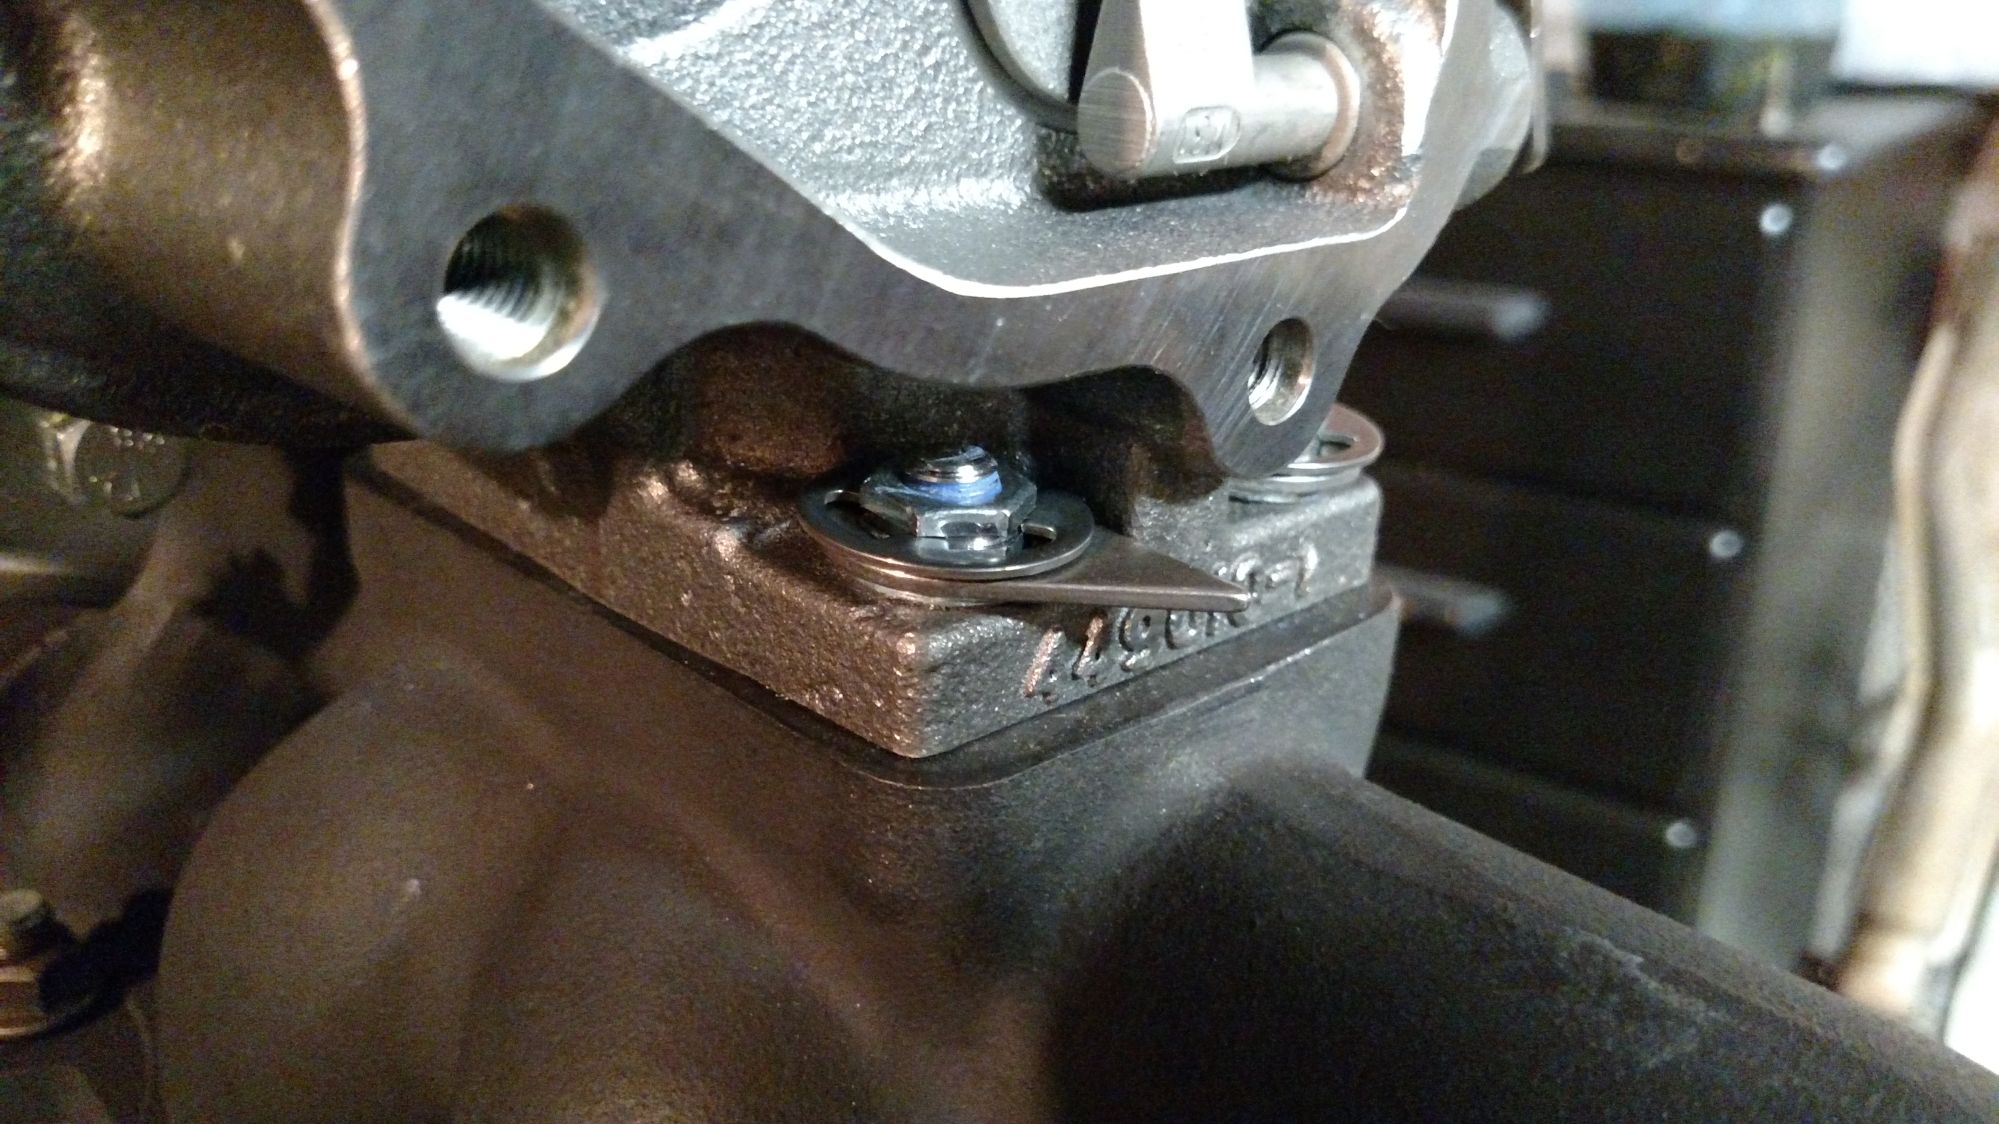
Fully assembled Turbo/Manifold with FM 8mm Inconel Studs, Stage 8 locking hardware and Resbond. I will say, this is the first time I've used anything like Resbond and Im really interested to see if it makes the difference people say it will. Admittedly, I really don't see this car seeing the same stress that a lot of people put their manifold assembly through. I guess we'll see!
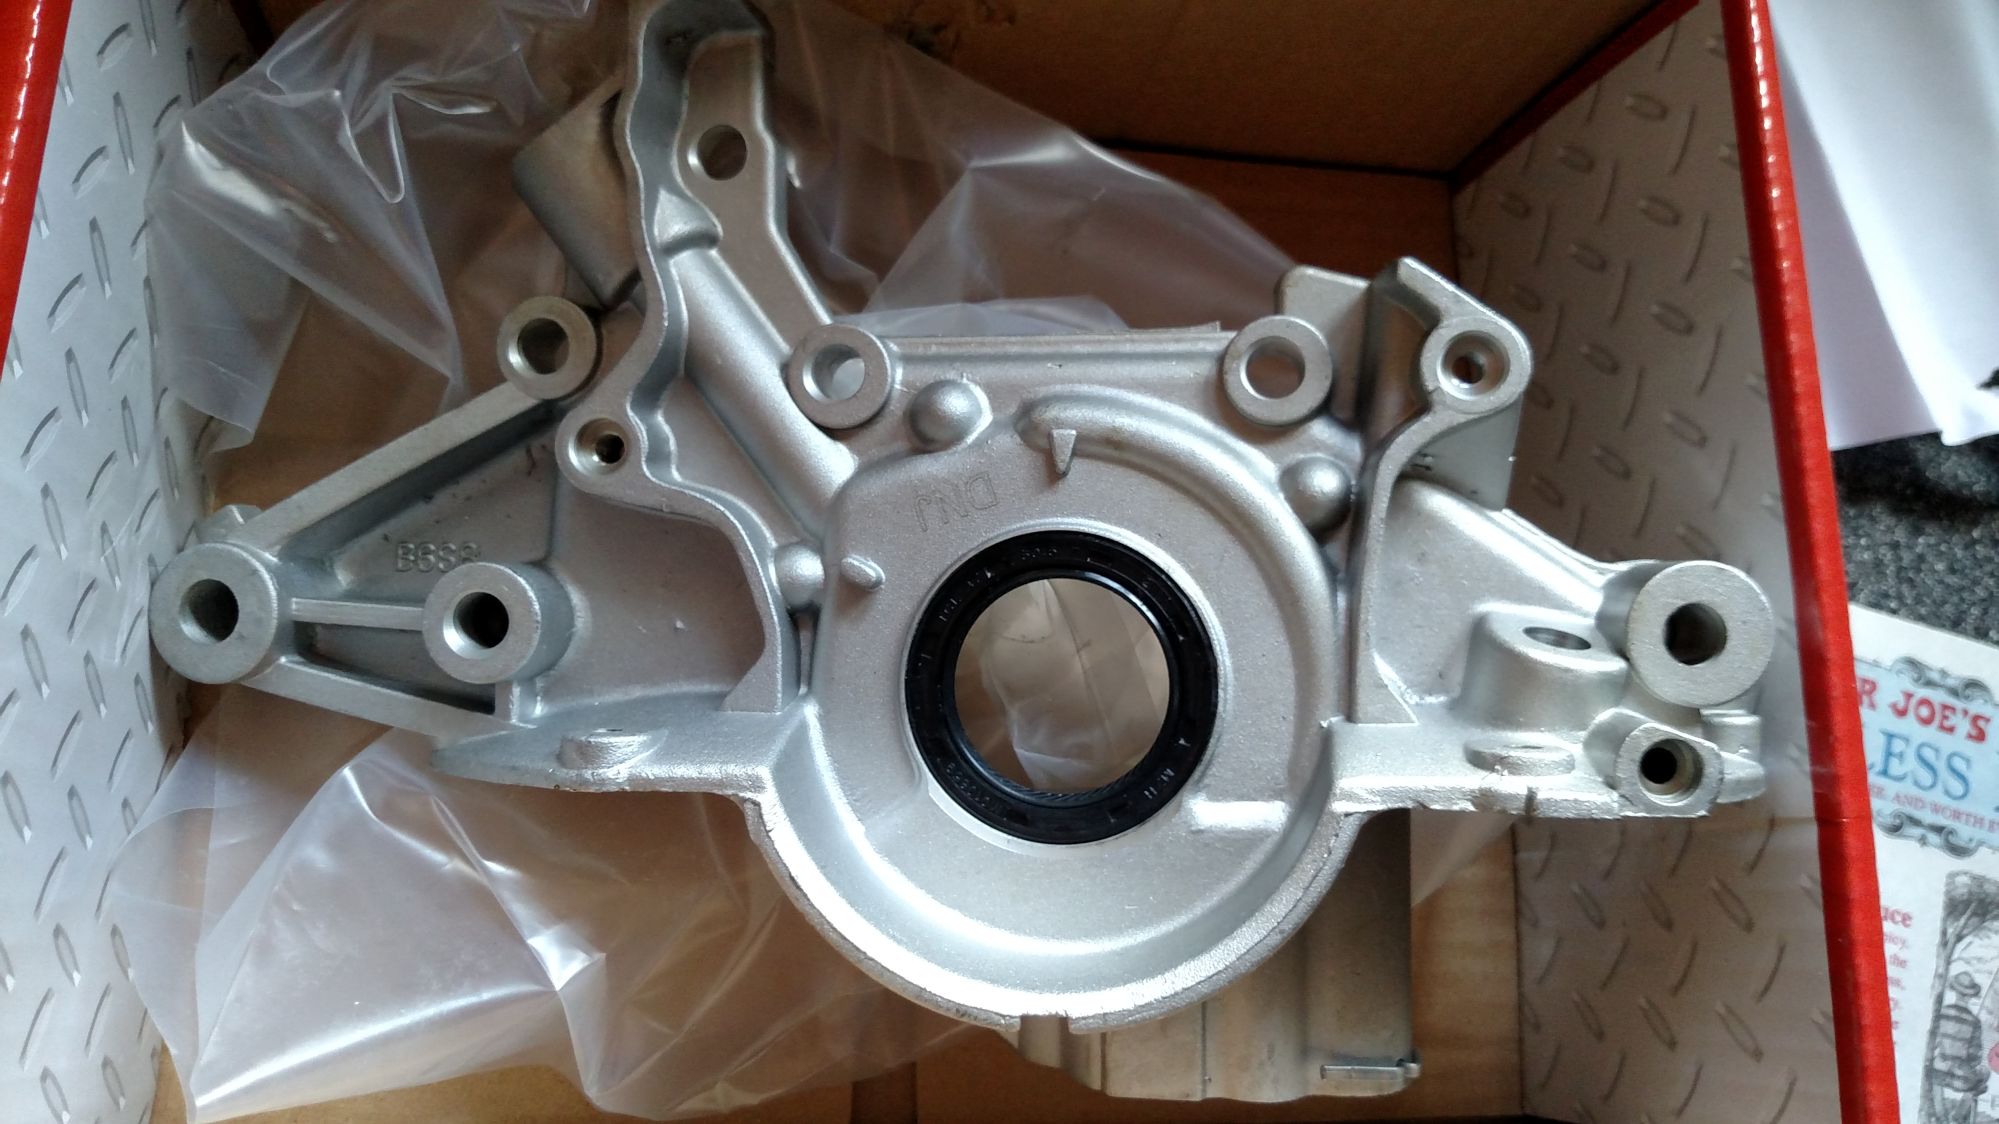
While I was stripping down the 1.8 block to bring to the machine shop, I ran into some trouble getting the old crank timing gear off the nose of the crank. Like an ***, I decided to break out ye old mini sledge and flat head to try and get the gear off and, like an ***, I ended up damaging not only the gear but the surface near the seal on the oil pump as well... I didnt feel comfortable reusing the factory oil pump thinking it would end up with a leak that I didn't want to deal with. I ended up buying a DNJ oil pump online for about $100. (If anyone has any experience with these, I'd love to hear about it. I couldn't find any real reviews for this one and I had a generally hard time finding good information on aftermarket replacement oil pumps.) After further reading after my purchase I think I probably would have waited and sprung for a pump with billet gears, I have no cams or headwork done to warrant super high rpms so I'm really hoping that a little common sense and mechanical empathy will leave me in safe waters here.
Fortunately I noticed a sizable hole in the top of it that I'm fairly sure is the oil dipstick hole for the 323. I looked at the old pump and was able to gingerly tap out a plug that was in the same spot. I slathered it in some JB weld and it popped in perfectly. So far so good.
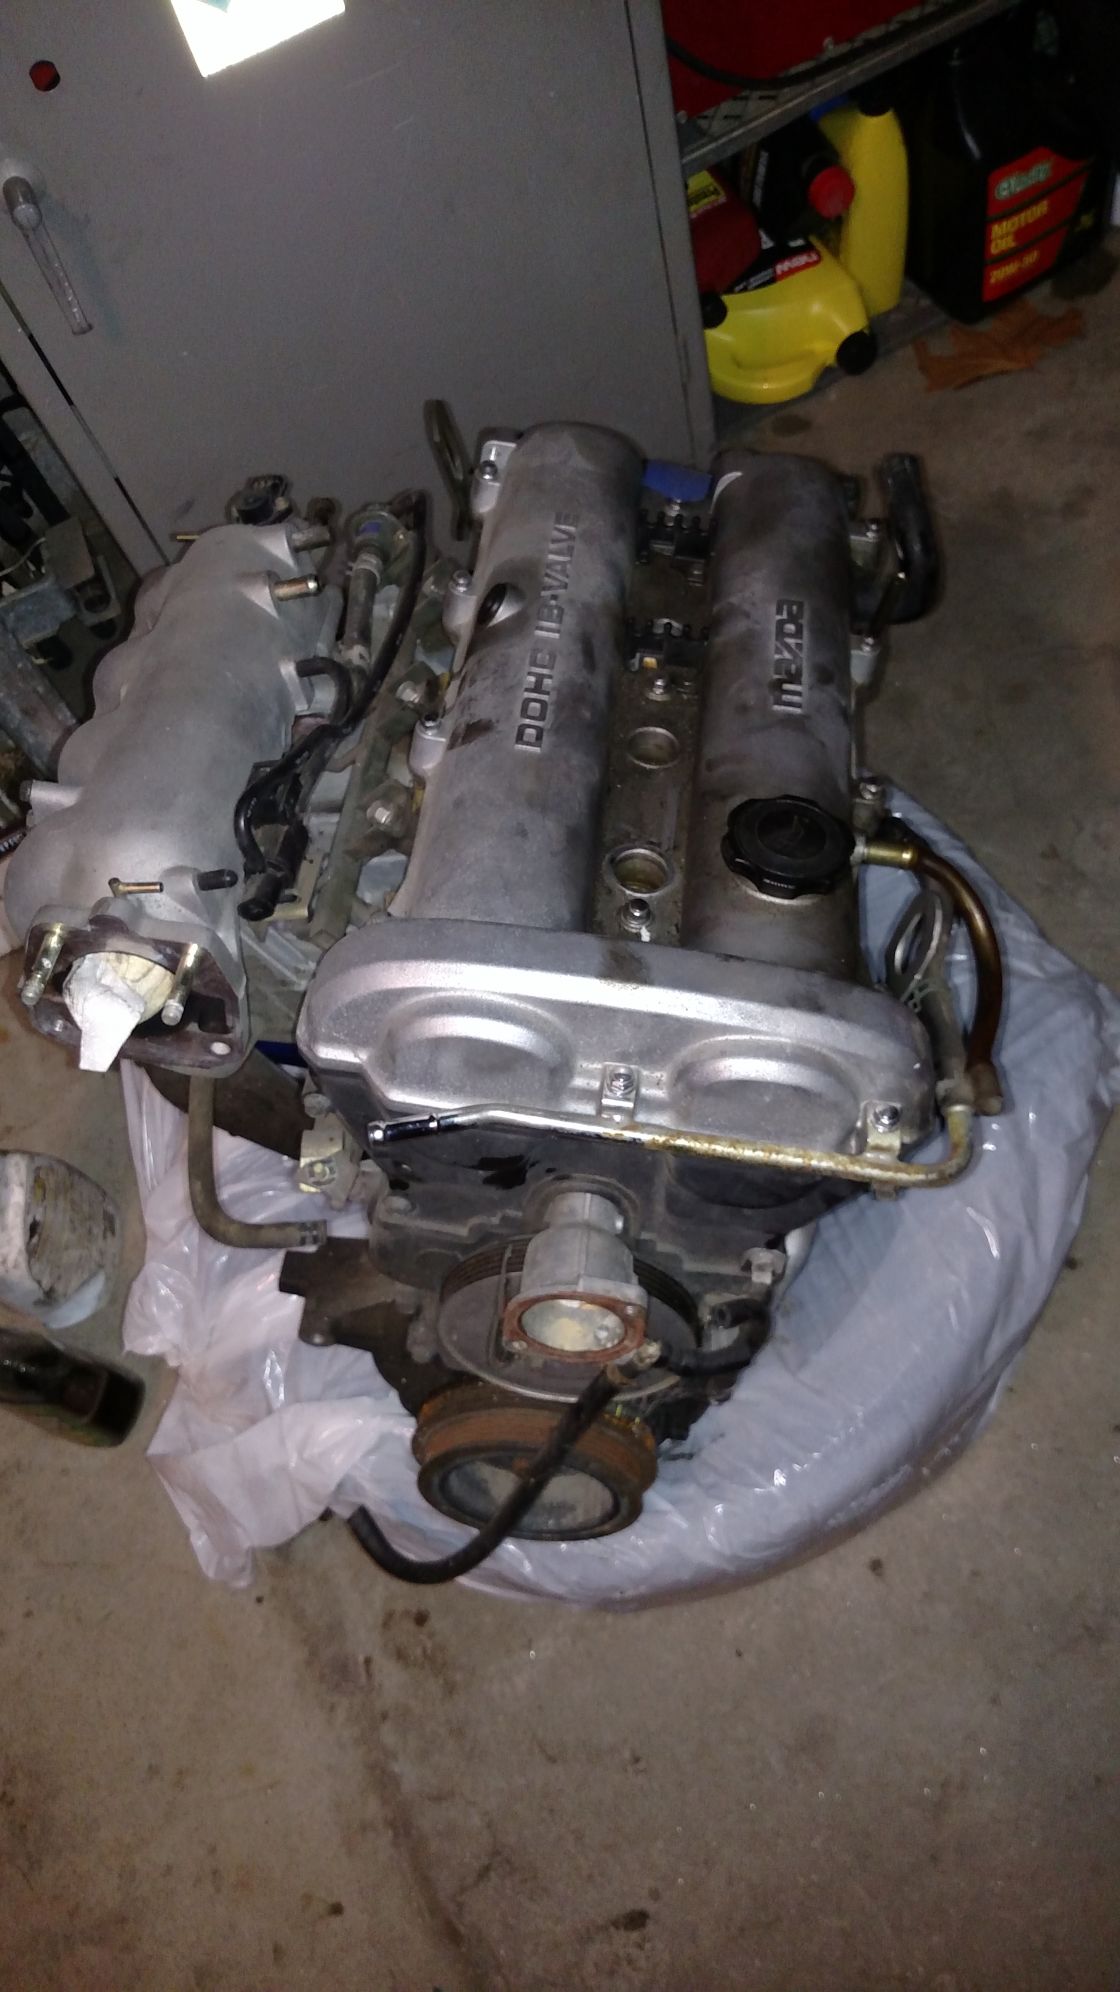
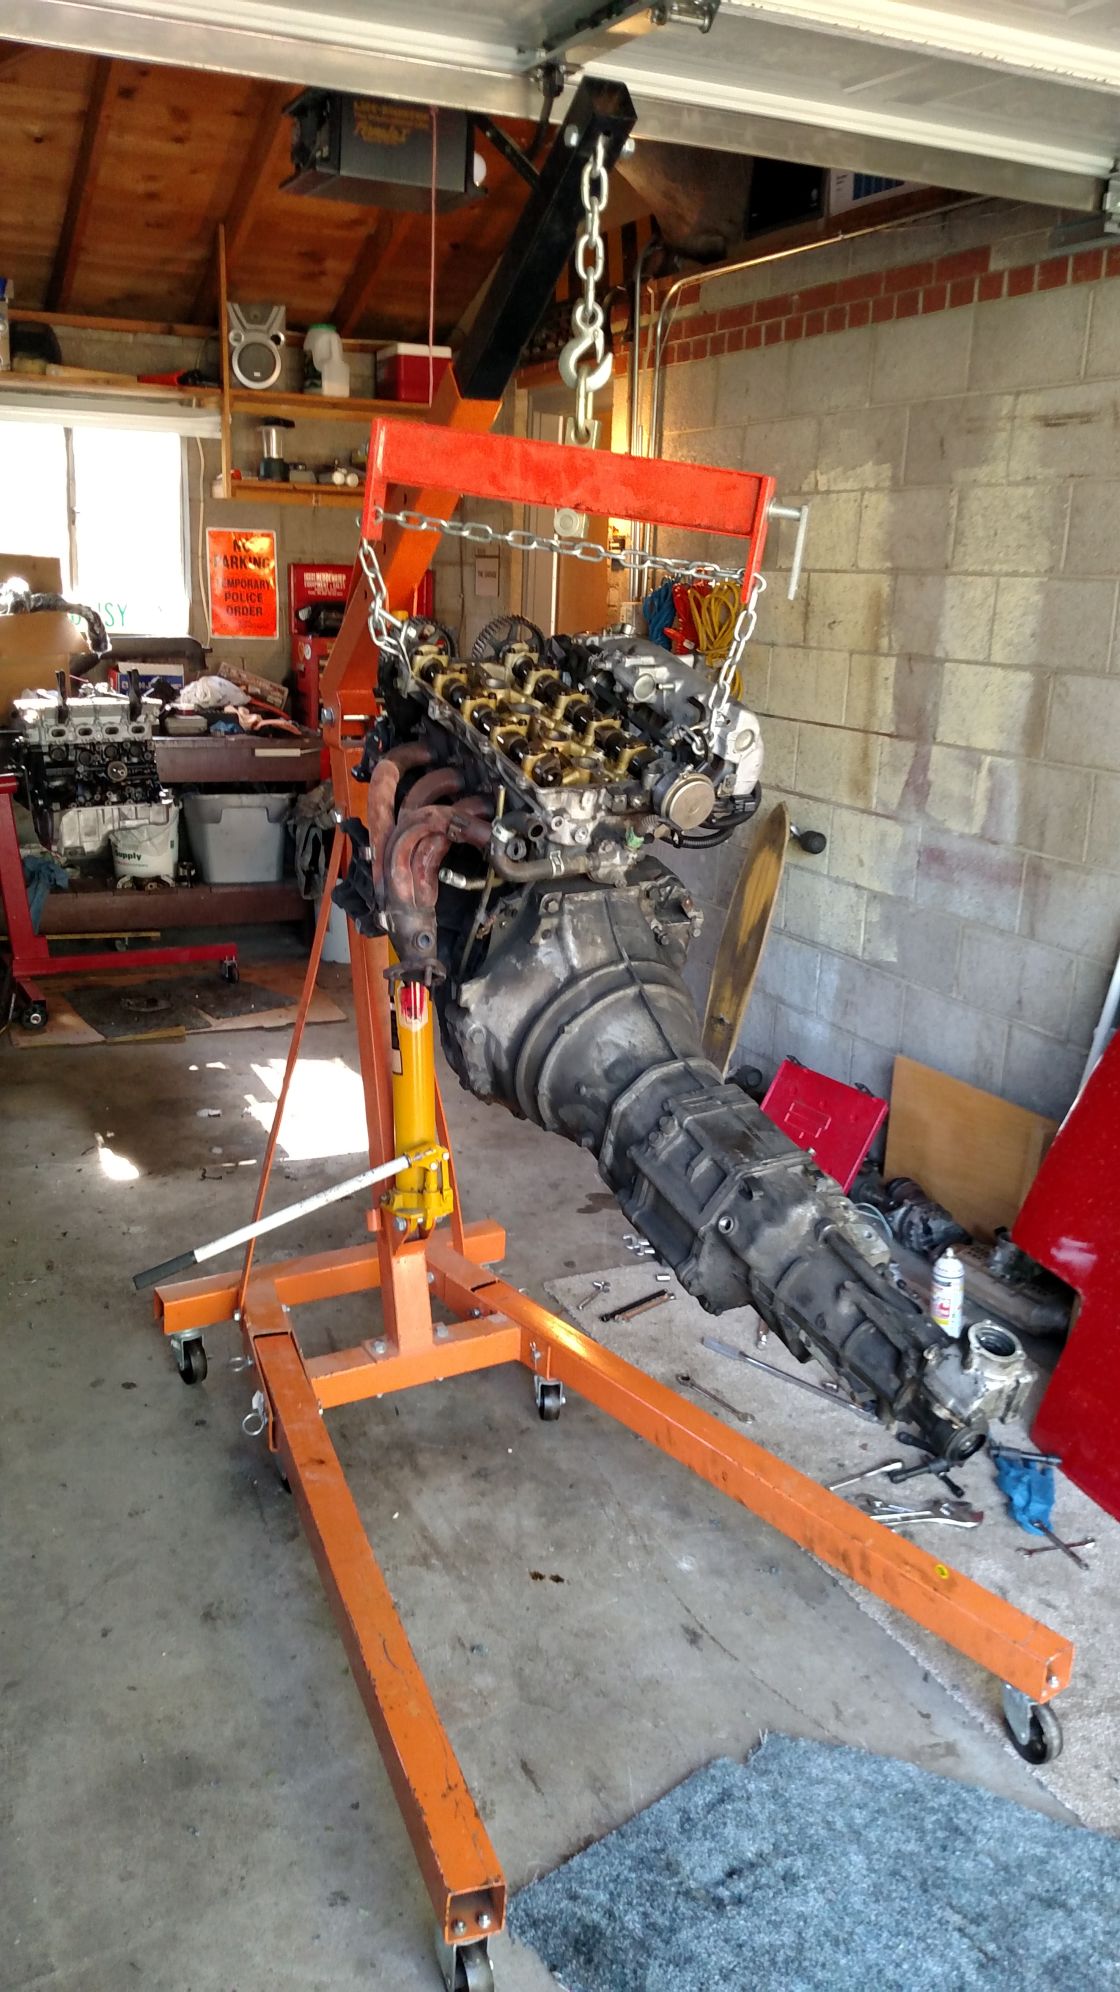
Finally, it was time to pull pull the old 1.6. This little motor saw ~144k miles without a beat and would likely still be cruising had somebody just paid a little more attention during the timing belt change. It now sits on an engine stand and has been serving as a model for me when I need to use it to better understand something.
Good bye little 1.6. We salute you!
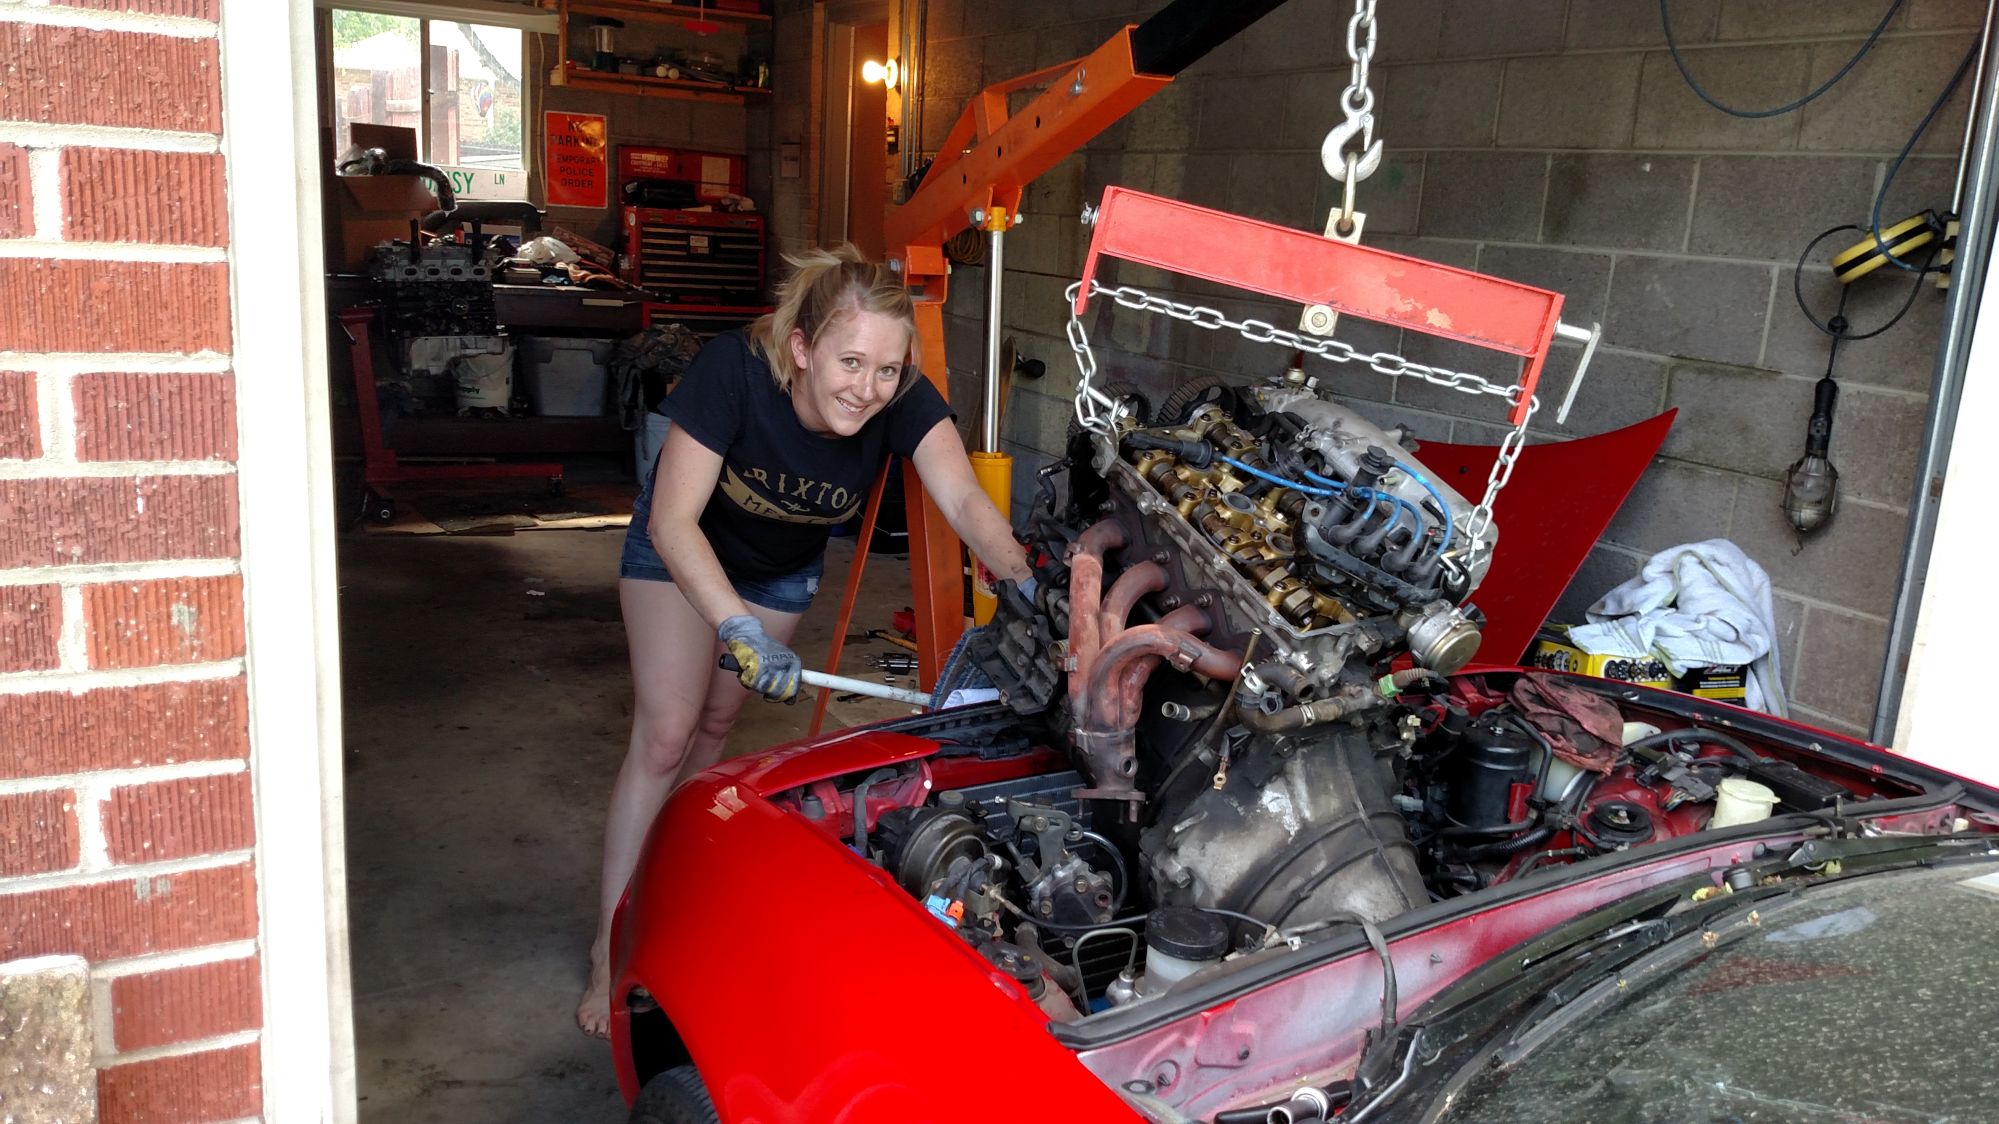
While wrestling the end of the transmission from the transmission tunnel I looked out of the cab and rushed to take quite possible my favorite picture ever!
My beautiful and talented girlfriend has been helping me along the way and I was thrilled to get this picture of her (even though she's keeping the weight of engine from smashing up the AC condenser or fire wall). Seriously though, she's awesome.
With the old motor out I separated the transmission from the block and started cleaning.
Meanwhile, the rest of the motor build continued.
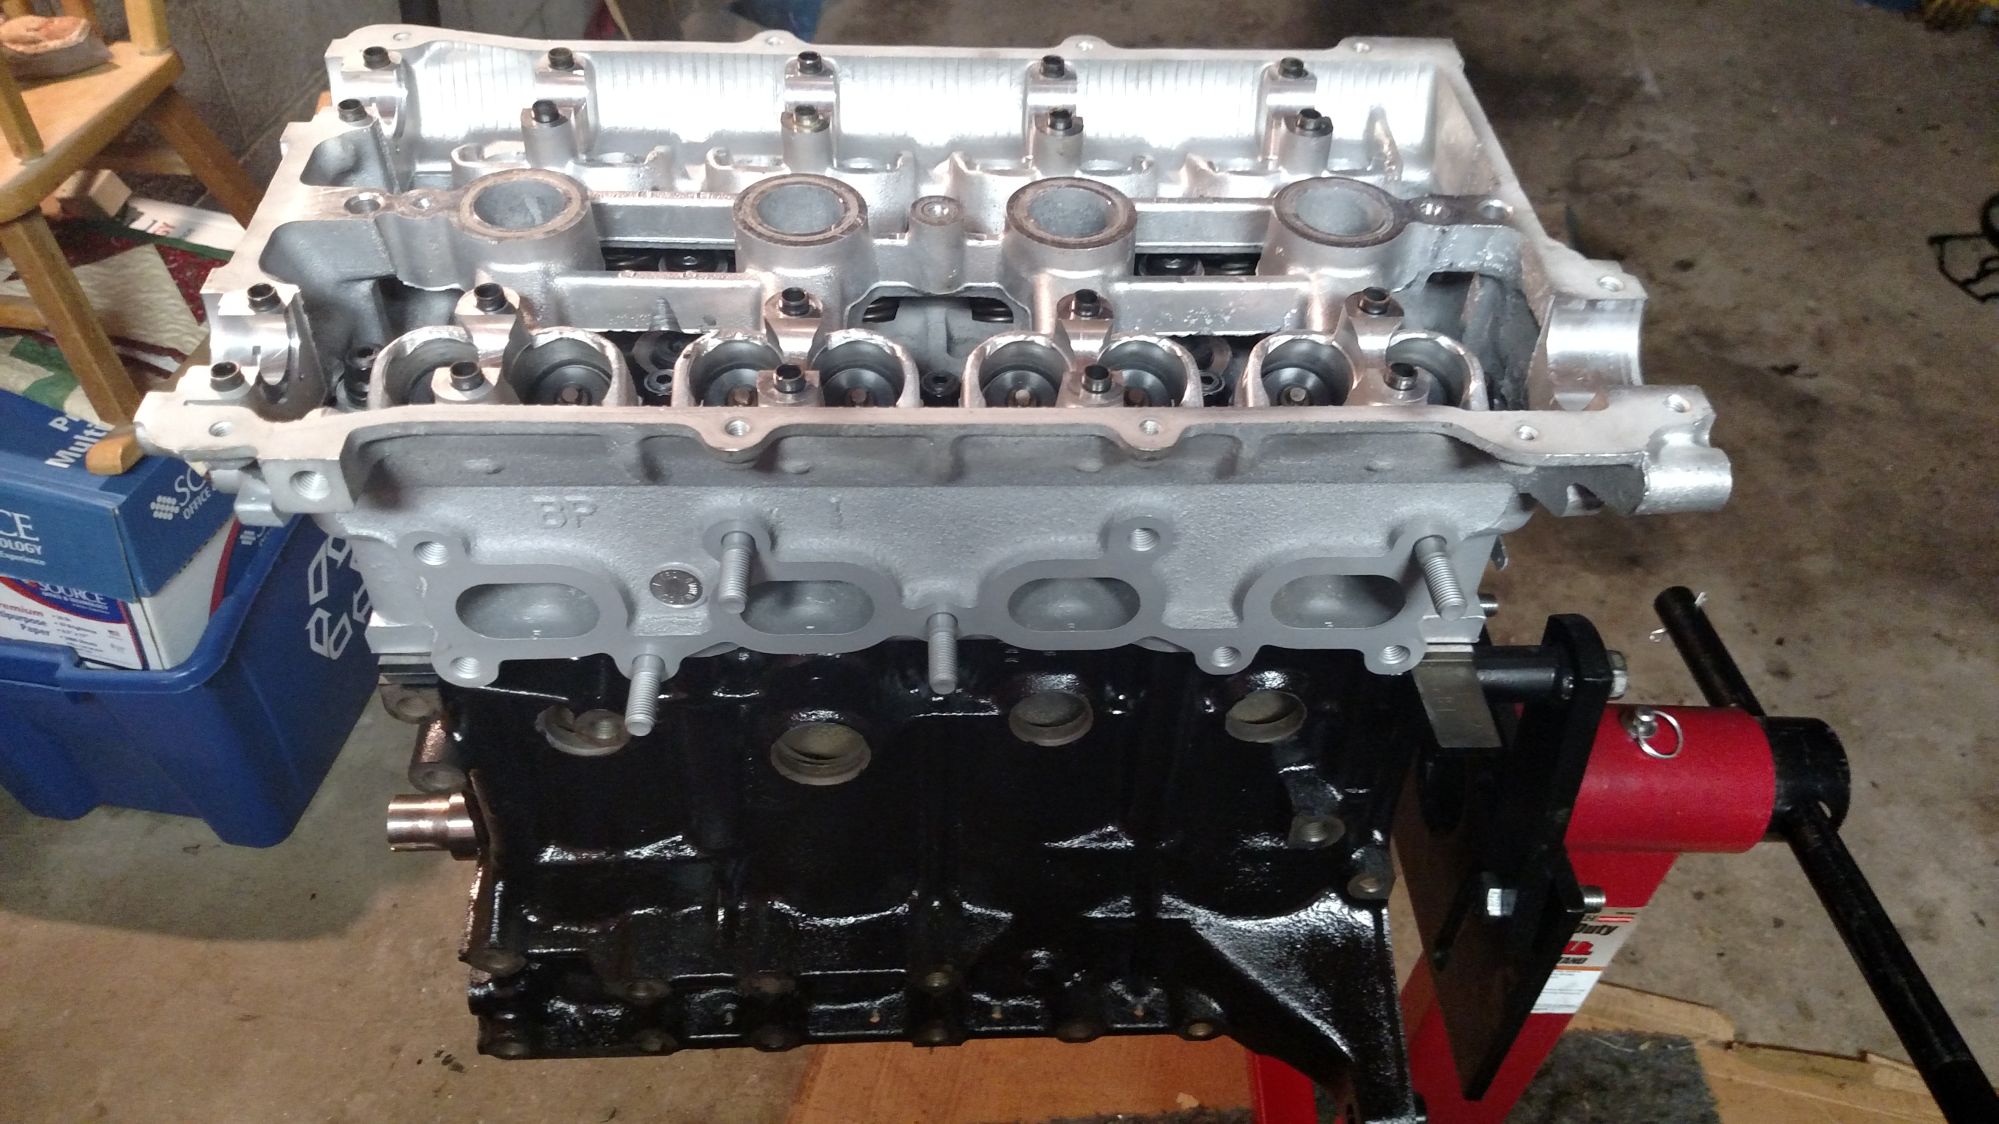
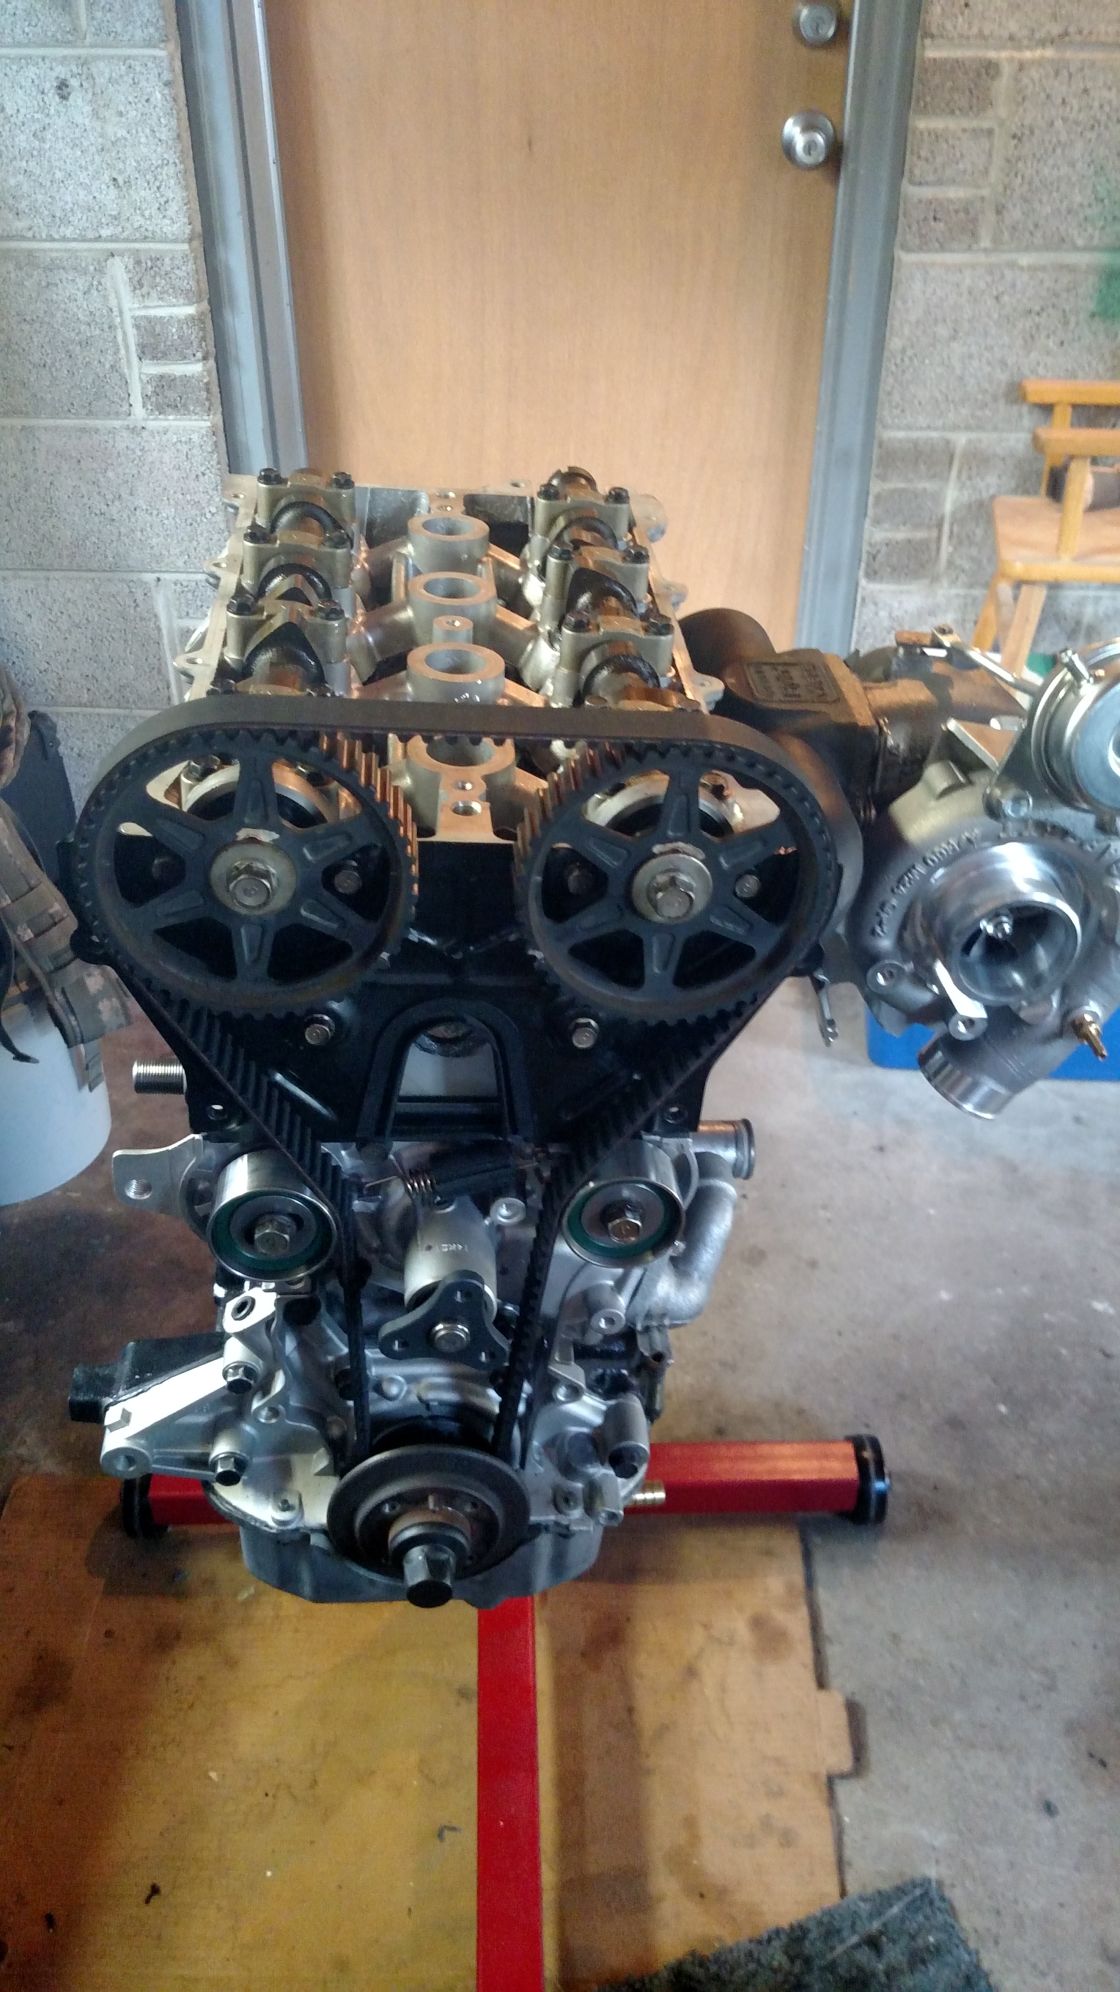
Oil Pump, water pump and cams in. Timed. All buttoned up.
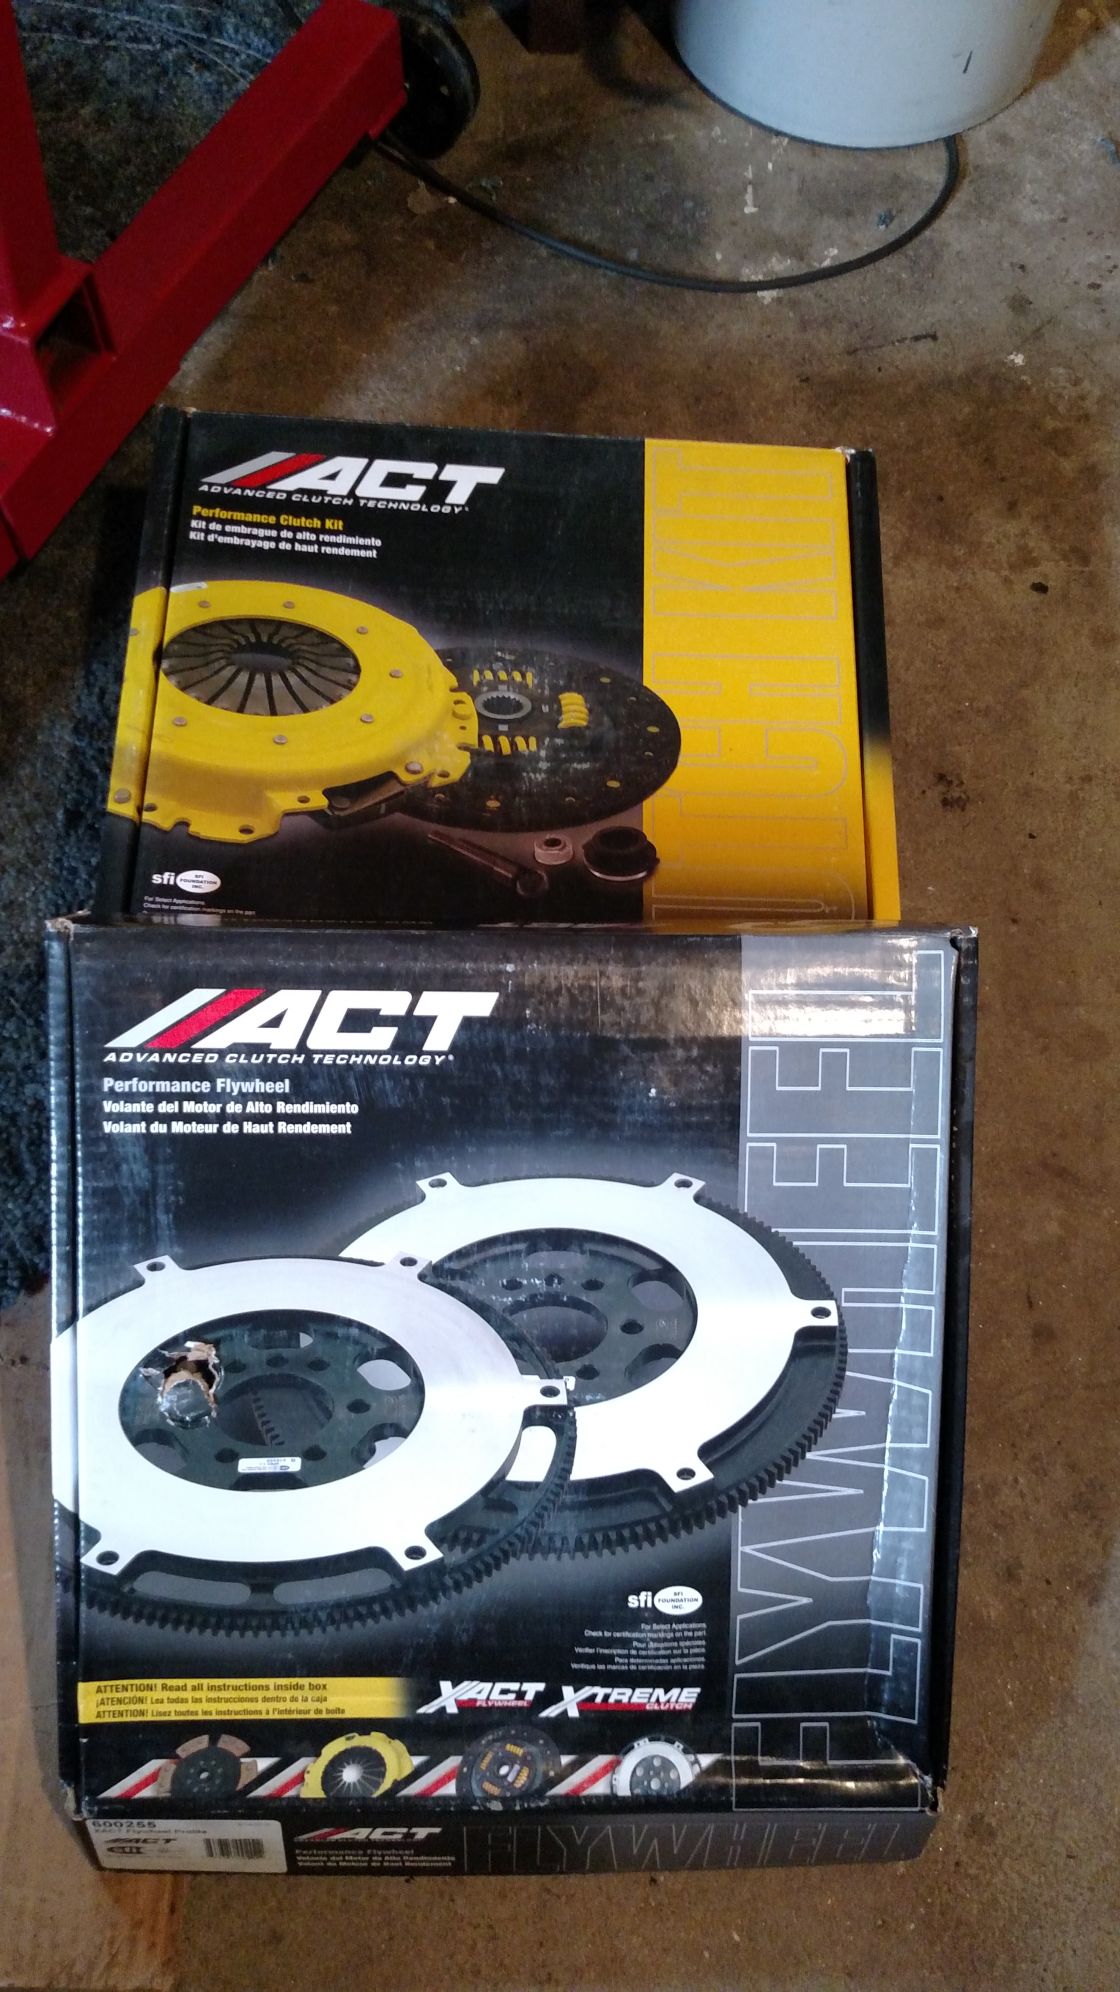
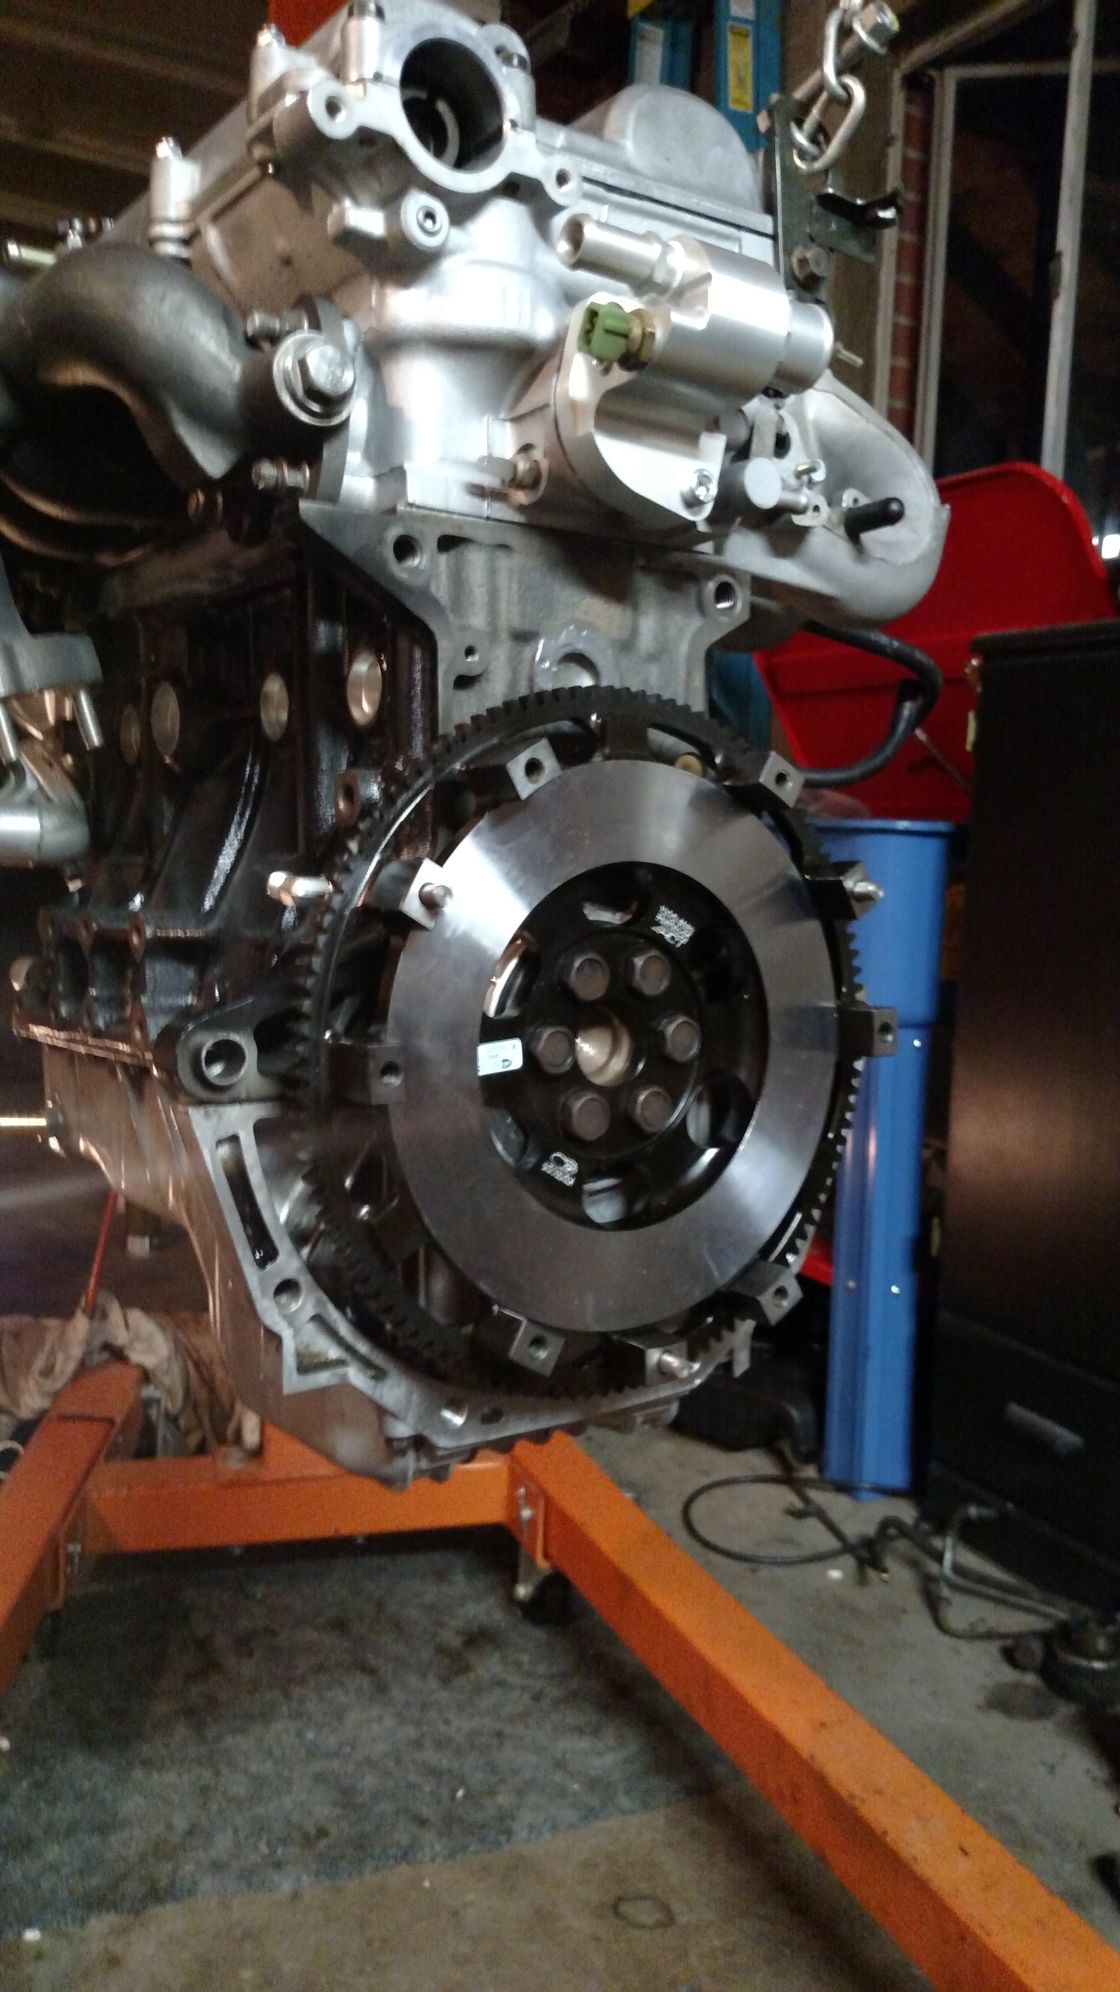
Then time for some drive train love. I was really excited for this bit an am really hoping the clutch isn't too tough for drive ability and can hold up to the power Im hoping to make. I originally really wanted to go with the FM Happy Meal clutch kit but they were on back order for a few months at the time.
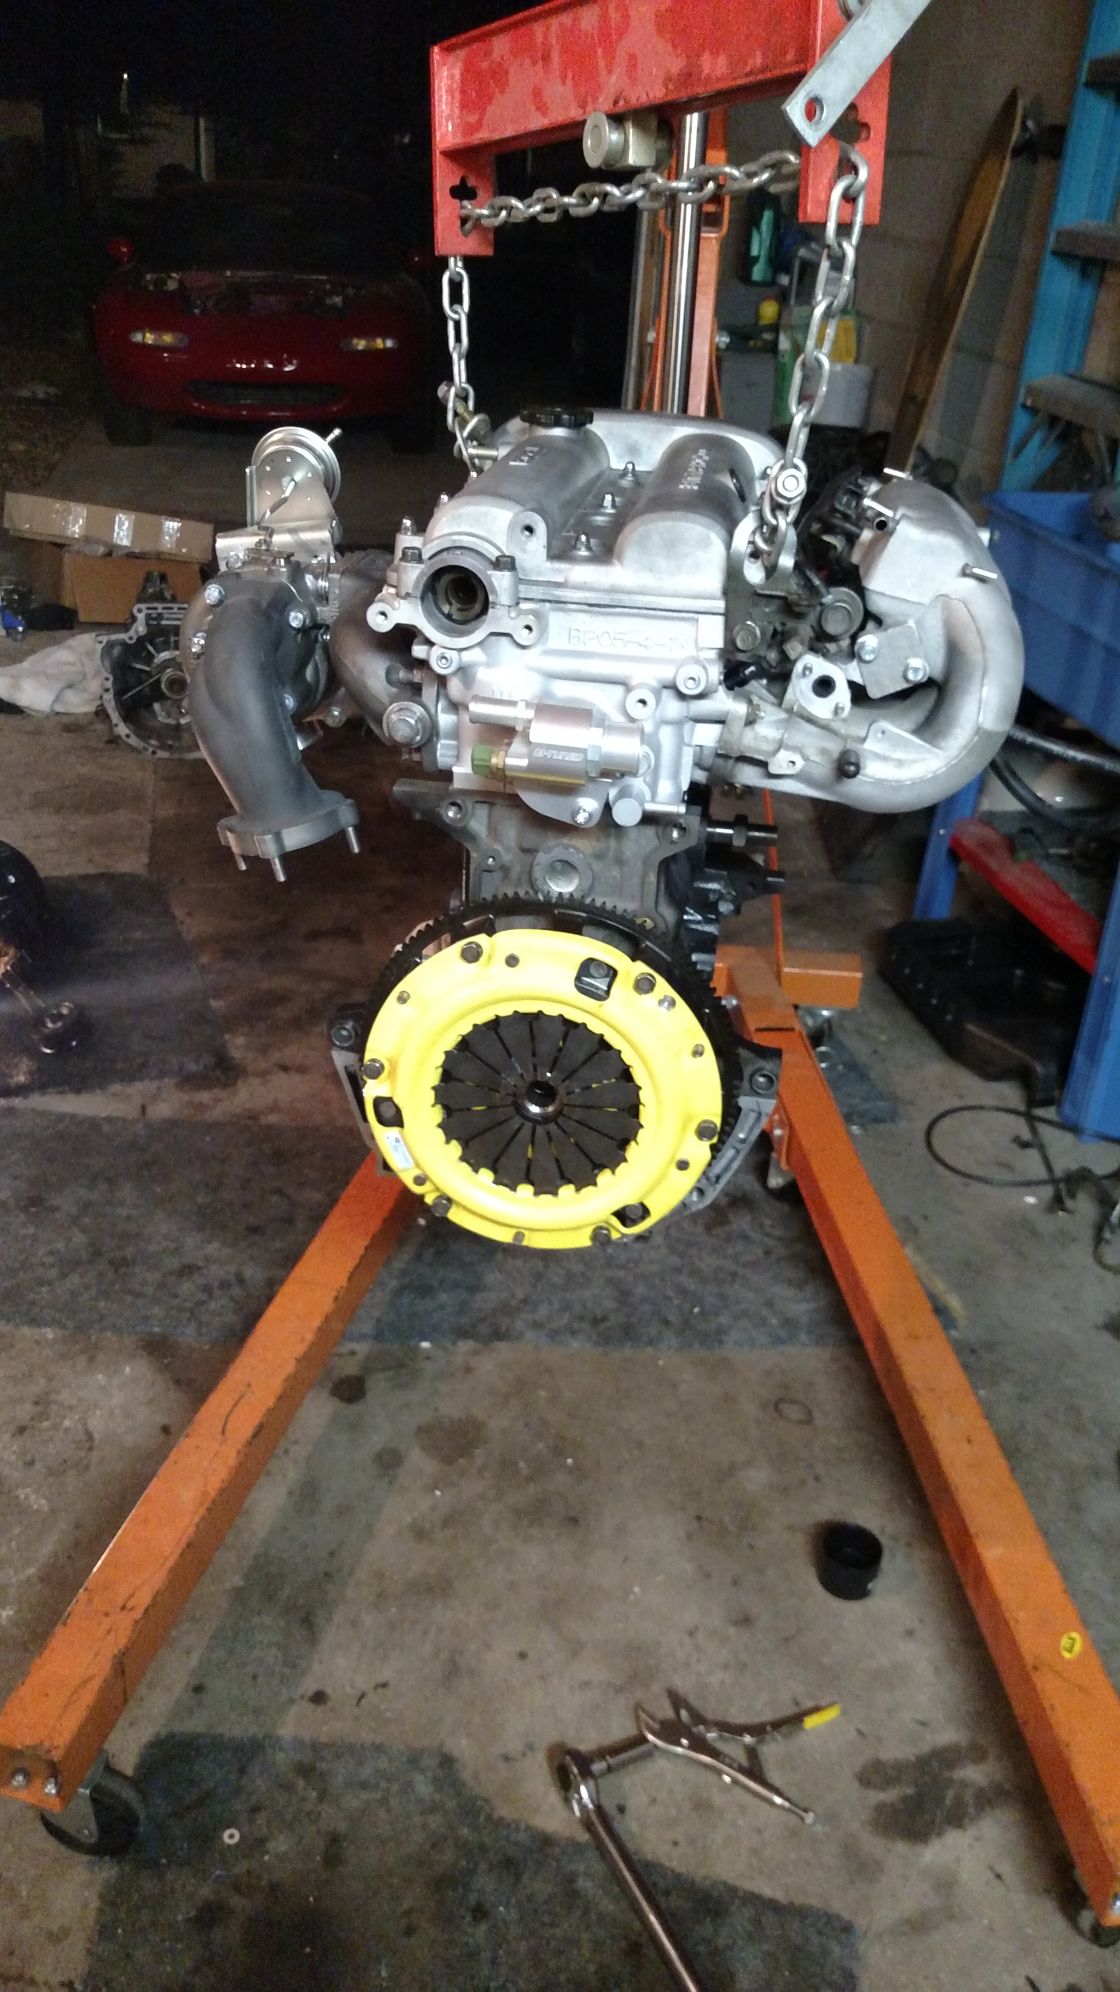
New ACT 9 lb flywheel, pressure plate and Stage 2 clutch as well as throw-out bearing and pilot bearing installed. (Before anyone notices, I had this assembled and torqued up 2-3 times before I actually took these pictures and then realized I'd have to take it all apart to install the bellhousing/starter shield).
With the new drive train bits installed, I mated the clean transmission to the block and proceeded to wrap up some of the loose ends. Some of you may have noticed the coolant reroute temp sensor housing in place. I picked up a brand new M-Tuned reroute from Curly for a good price and made sure to install the difficult parts before putting the motor in. Im hoping to get some good results out of that.
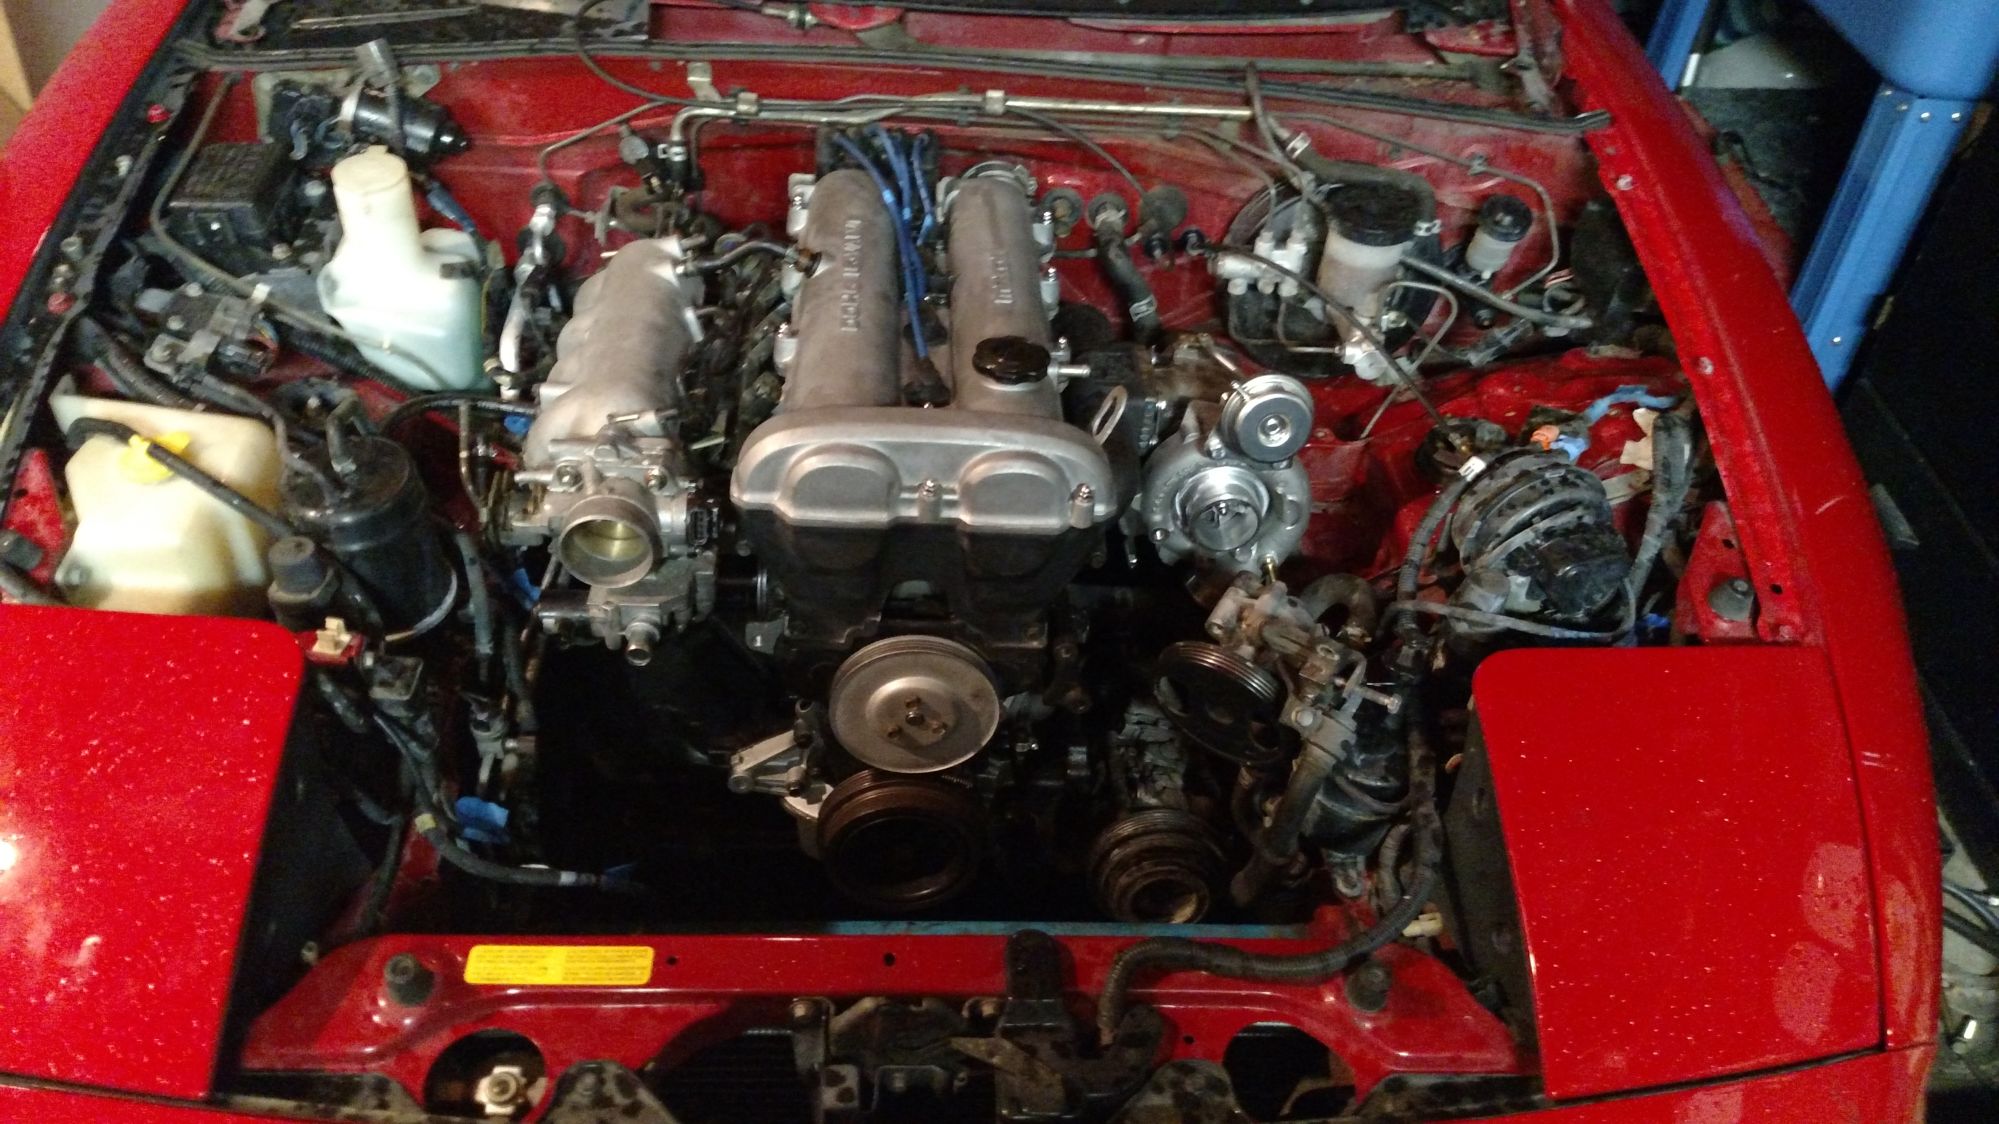
After triple checking a few things and crossing my fingers that I got the important bits correct, it was time to wrestle the new motor back into the engine bay and check fitments.
IT FITS!!!!! With more help from my lovely assistant, we were able to cram everything in with no real problems!
Almost immediately I had flash back to the FM turbo kit install instructions saying "Hey, There are some fitment issues with the cold side of the turbo and the miata frame rails, you need to trim that **** down." Well, they're right. It sits damn close to the rail and I can see the cold side getting chewed up and making some awful noises with just a little bit of engine flex. I spent the better part of an evening with the motor pushed to the side so I could dremel out a notch to allow for a little more movement. I freed up about an inch of space which makes thing much better. I filed everything down as nicely as possible and in the end its not entirely too janky. At some point when the motor comes back up I'll likely clean this up a bit more. Point is, read the directions. This is important.
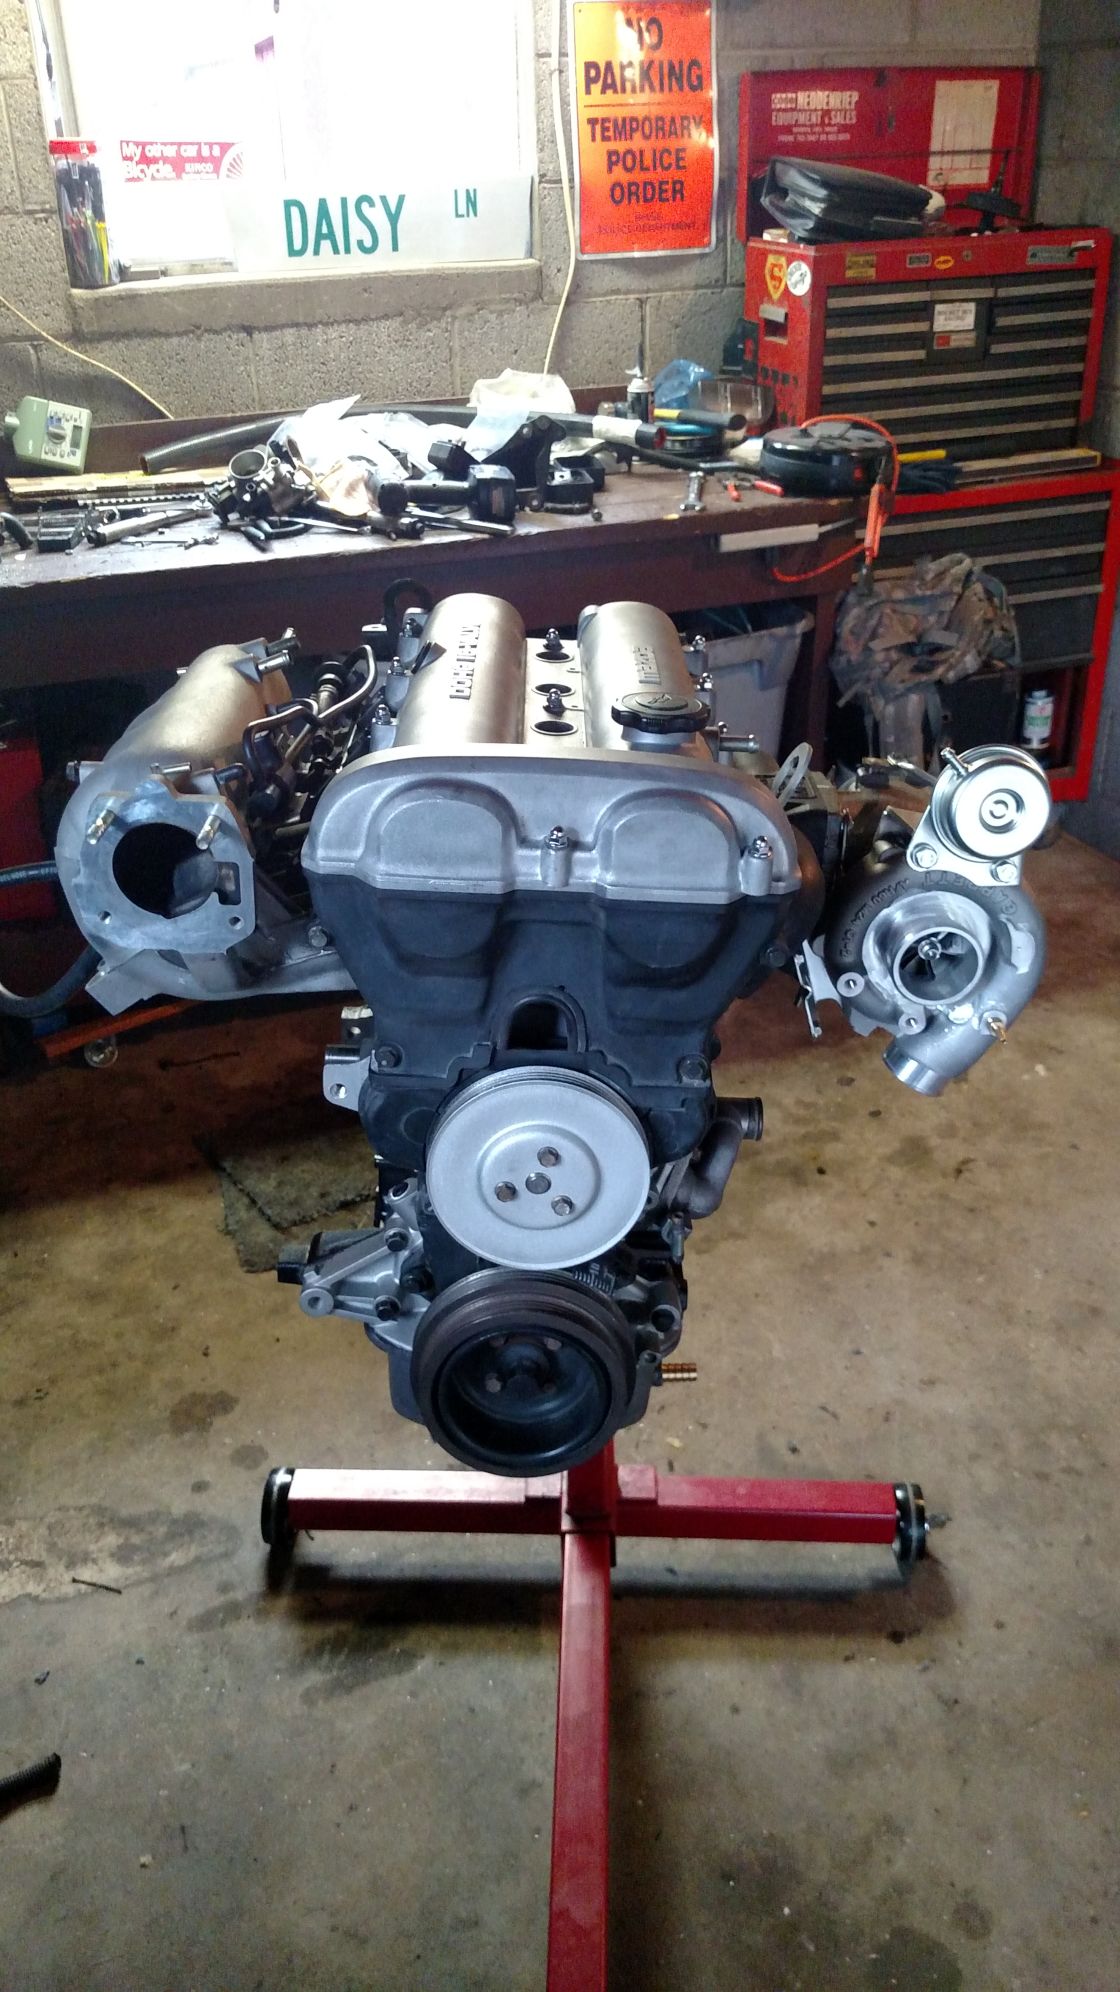
I kept plugging away and got things pieced together as they came up, eventually it all came together like this.
I went to the parts store to find a coolant hose with a good S bend in it to get around the charge pipe leading into the TB cleanly and joined it to my re-reroute hose.
I couldn't close the hood cleanly with the rubber lining on the top of the intake shielding and the hood wouldn't close as nicely as I wanted so I've ditched it until I can trim the aluminium down.
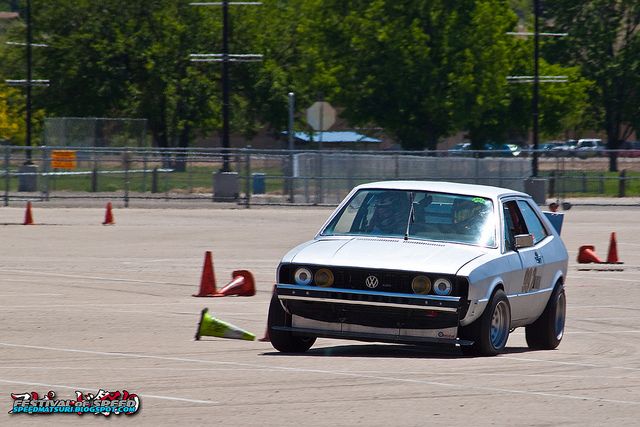
With the engine bay all sorted out, it was time to get the Megasquirt box sorted out get the car closer to starting. I had a good friend of mine come into town and rather than showing him around Denver like any decent friend would have done, I locked us both in the garage for the weekend and we proceeded to put the finishing touches on the car and plug in the MS. My friend has a good bit of MS experience with a few different cars, one of which is a '77 Mk1 VW Scirocco that has been turned into the epitome of a purpose built, DIY race car. Its very fast and very impressive.
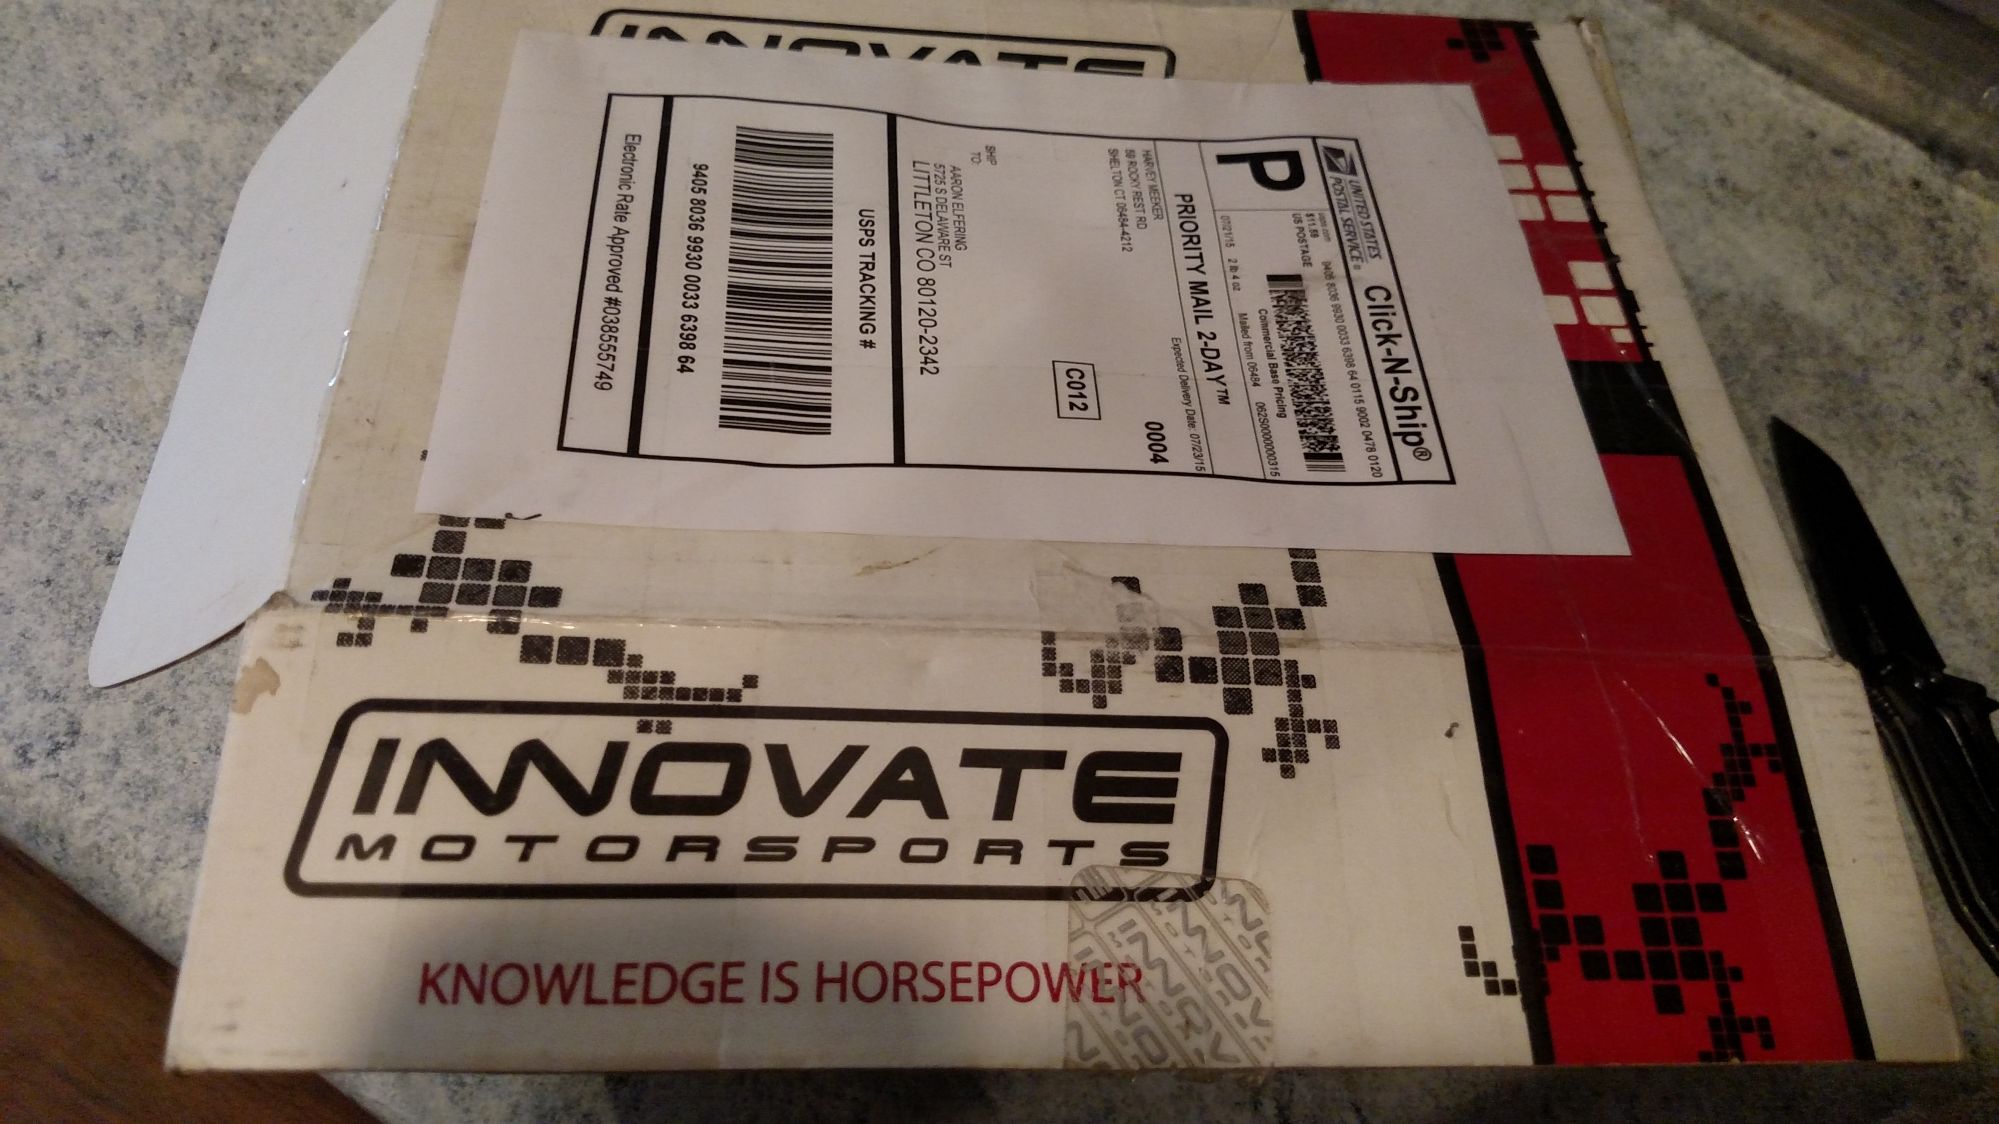
Previously I had snagged a used LC-1 off of someone in the classifieds. $100 bucks with the gauge! I had planned to use the Spartan 2 (Spartan Lambda Controller 2 | 14Point7) just because its so damn cheap and I've heard direct reports of it doing its job very well, I never intended to run the gauge but the price was right and I had previous experience with the LC-1 so in it went.
With some good help from my friend, we got everything installed per instructions and our own experience, added fluids, filled the diff and trans with Mobil 75w-90 and the moment of truth was upon us. And as such things often go, it turned out to be several moments of truth....
The car would crank strong, would spark, and stumble but we couldnt get things to work quite right. I changed the plug wire around and made a few other forgettable changes and it came to life! On to checking timing... Only the timing was nowhere close to being correct... My friend had to take off literally as soon as we got the car to idle with incorrect timing for the first time so we waived bon voyage to him and I took a break from the garage for a week or so.
After loads of reading and diss-assembling/checking/re-assembling I was incredibly confident that my physical timing was not wrong (I seriously became a master at miata timing belts after this). Along the way I took a good look at the rest of my motor and continued to pour through forums until one day, lightning struck my brain...
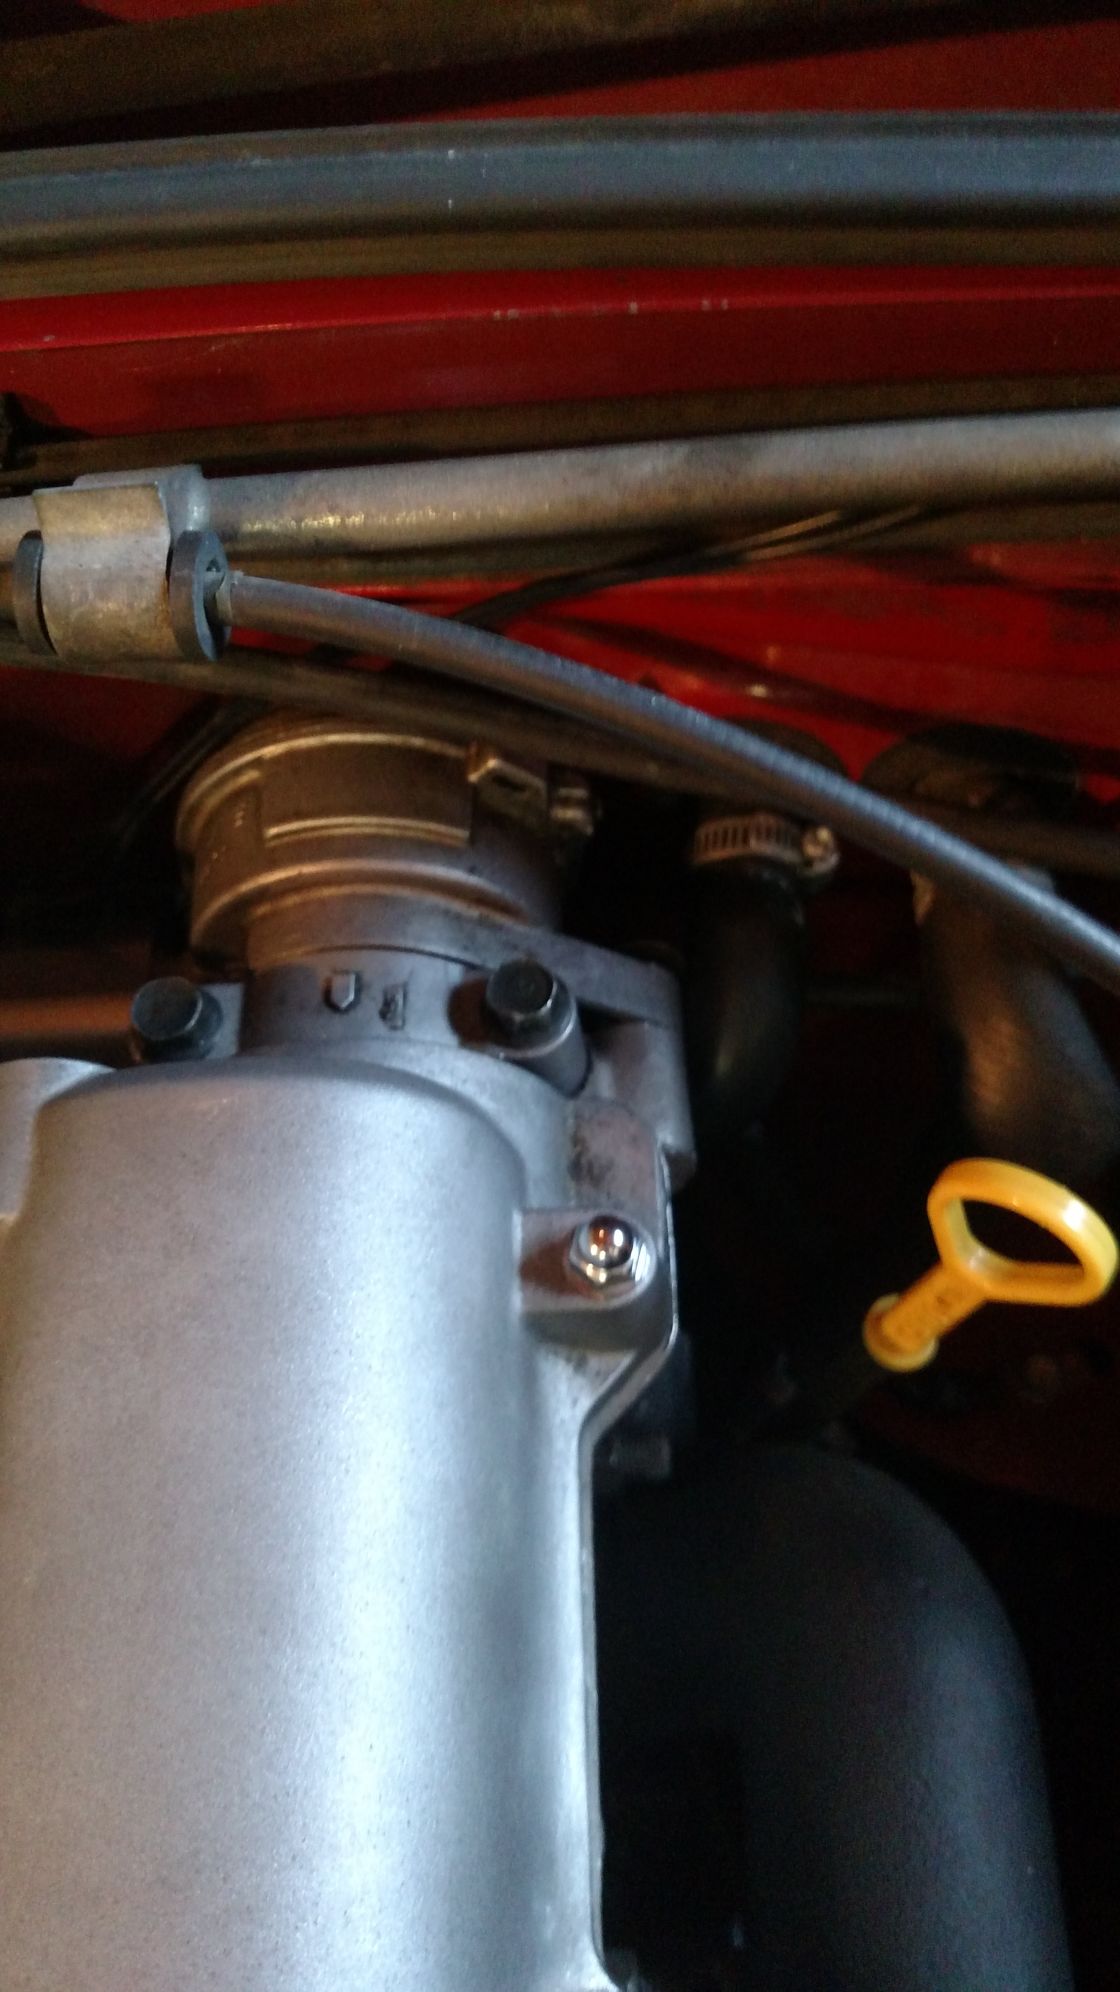
This is not how a CAS should be positioned....
But I'll be god damned if it doesn't bolt in and pivot perfectly that way... For what ever reason (I think its a ground strap bolt) Mazda put a bolt hole on the drivers side of the CAS as well as one on the passenger side that seems less obvious. This is where the CAS is supposed to bolt up, with the plug facing upwards... I corrected that and ultimately thought my problem was solved. Not so. At this point I couldn't even get the car to idle like it previously had so back to the forums I went. Unfortunately everything pointed back to my timing again. As instructed, I manually put the motor to TDC and checked my crank pulley marks. By the looks of things I was about 5 Degrees off based on my crank pulley mark which, after checking the proper gear marks, meant that the crank damper had begun to slip.
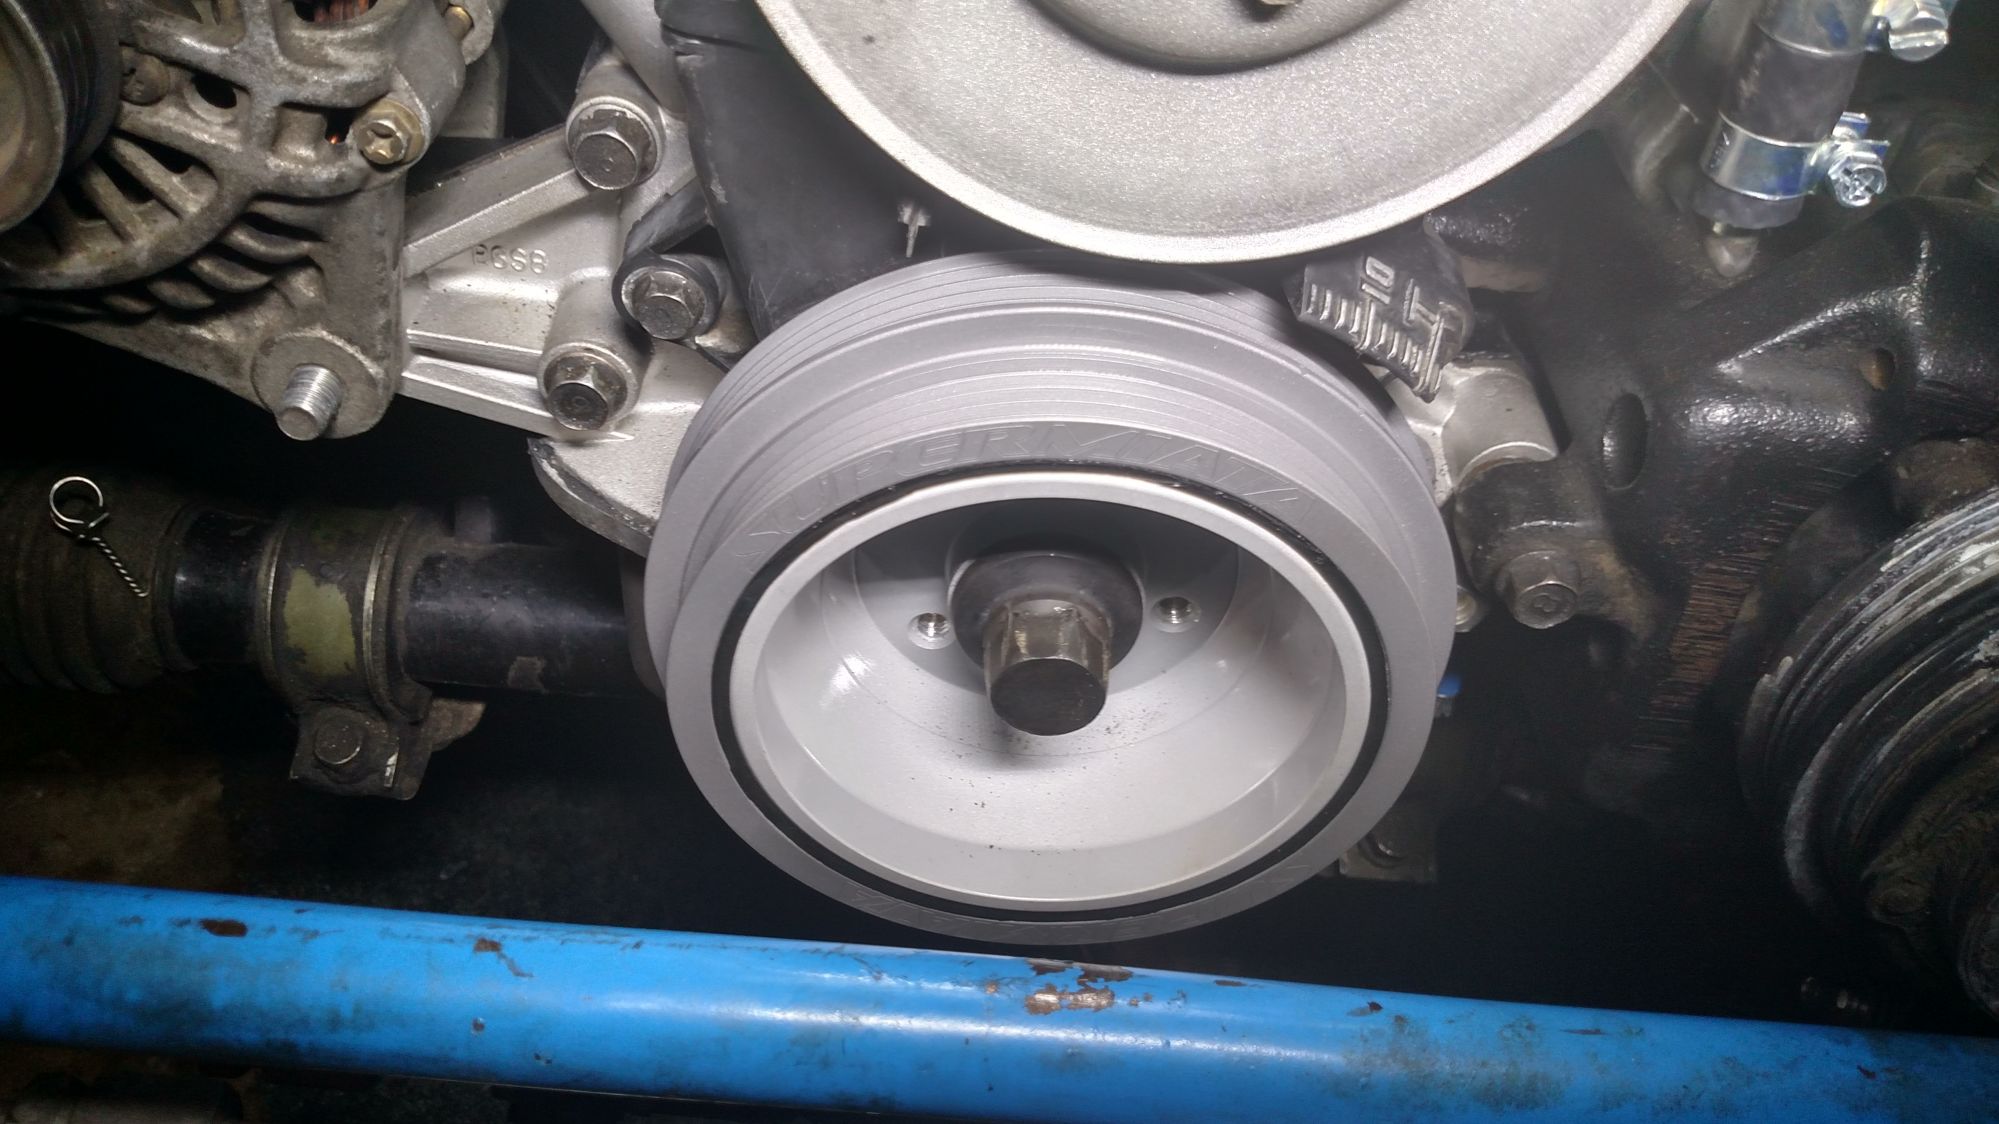
Excited to get my car driving and thinking this was the key, I put in an order for a SuperMiata pulley/dampener and was very pleased with the end product.
It pressed on nicely by tightening the crank bolt up, I do hope I don't have to pull it off for anything minor though. Hopefully this will spare my aftermarket oil pump a little bit of unnecessary thrashing and balance nicely with the lightweight flywheel.
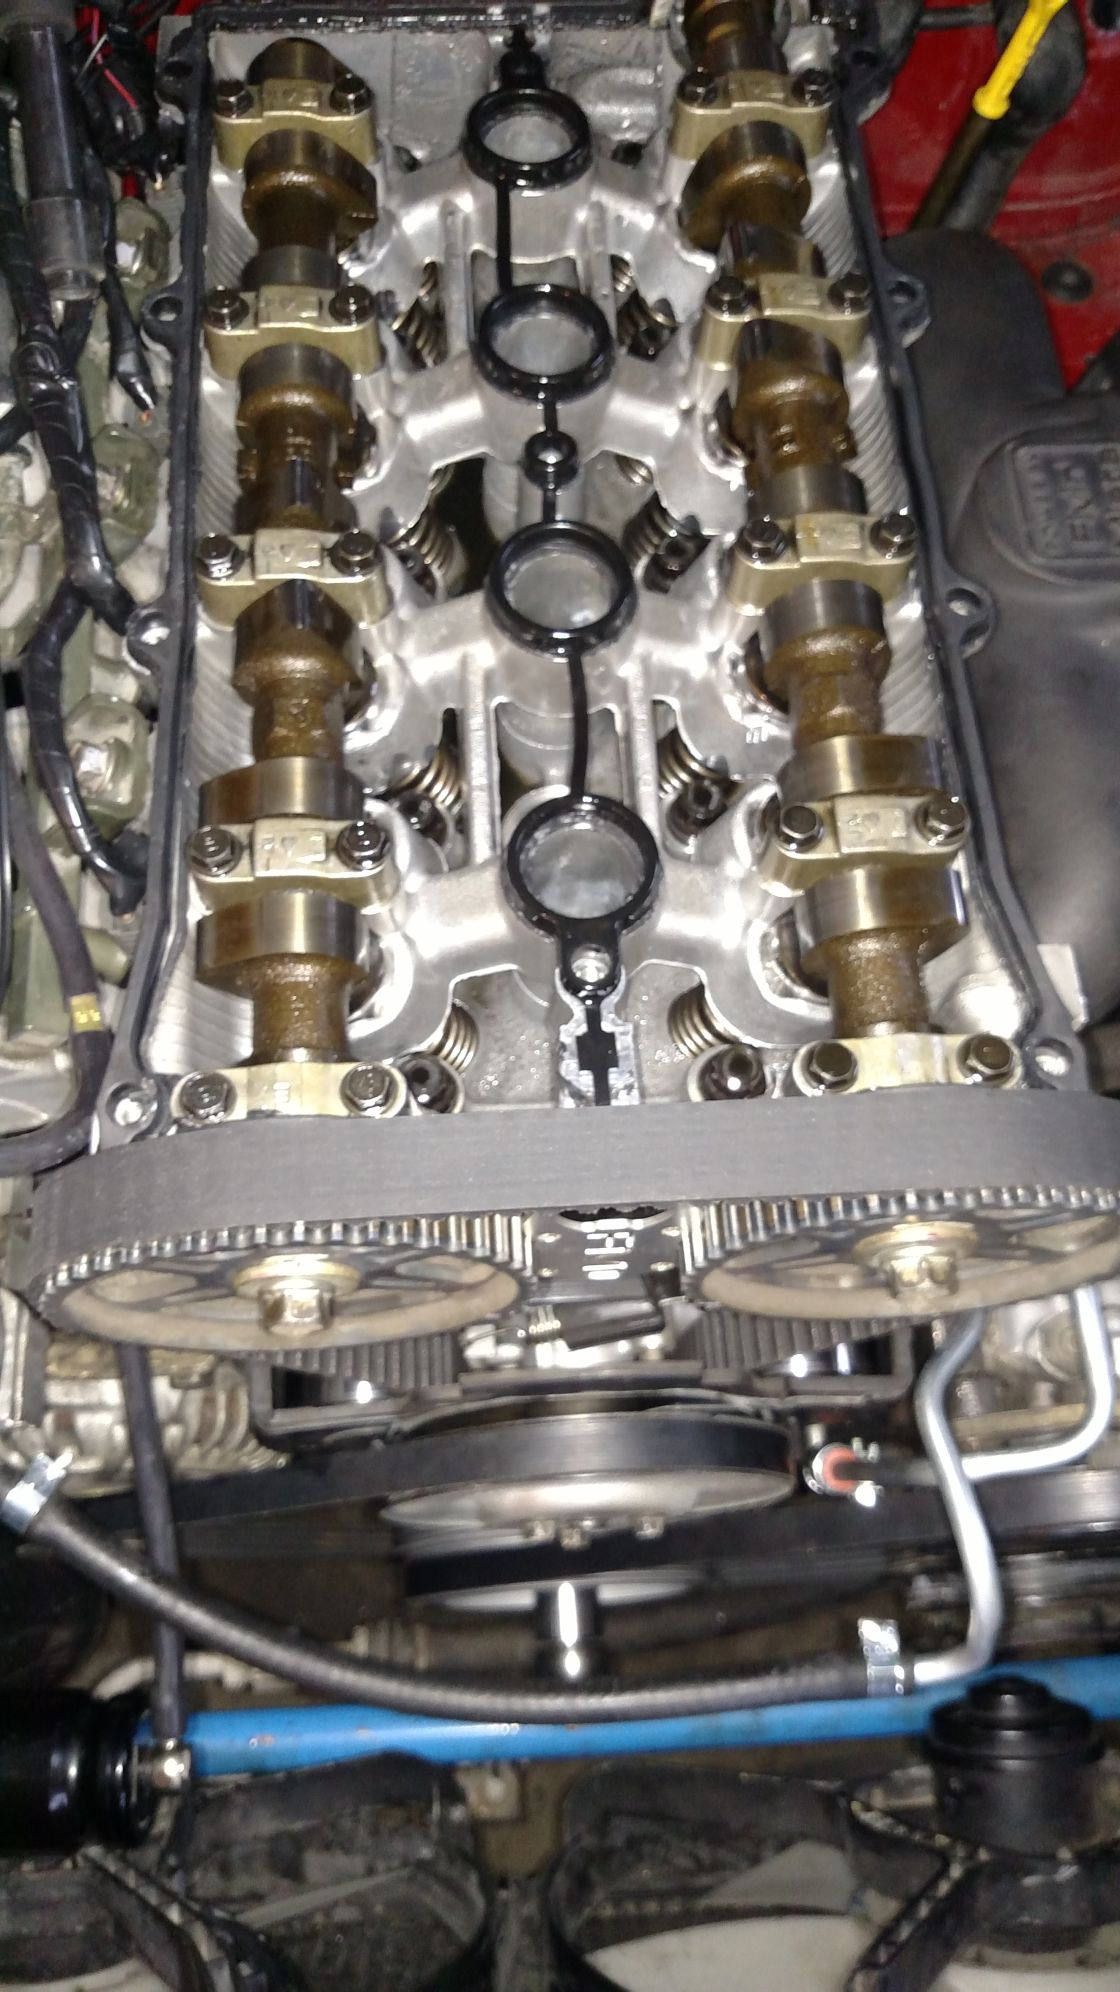
Long story short, this did not solve all my problems magically but at least I knew I had accurate timing marks to make decisions off of. I was told that the first two intake cam lobes and first two exhaust cam lobes should be pointing almost directly at 9 o'clock and 3 o'clock respectively. Something wasn't right.
After snapping some pictures it was quickly noted by the good folks at MT.net that the small pin that holds the cam gear in place with the cam is not always the most robust piece and can be prone to breaking.
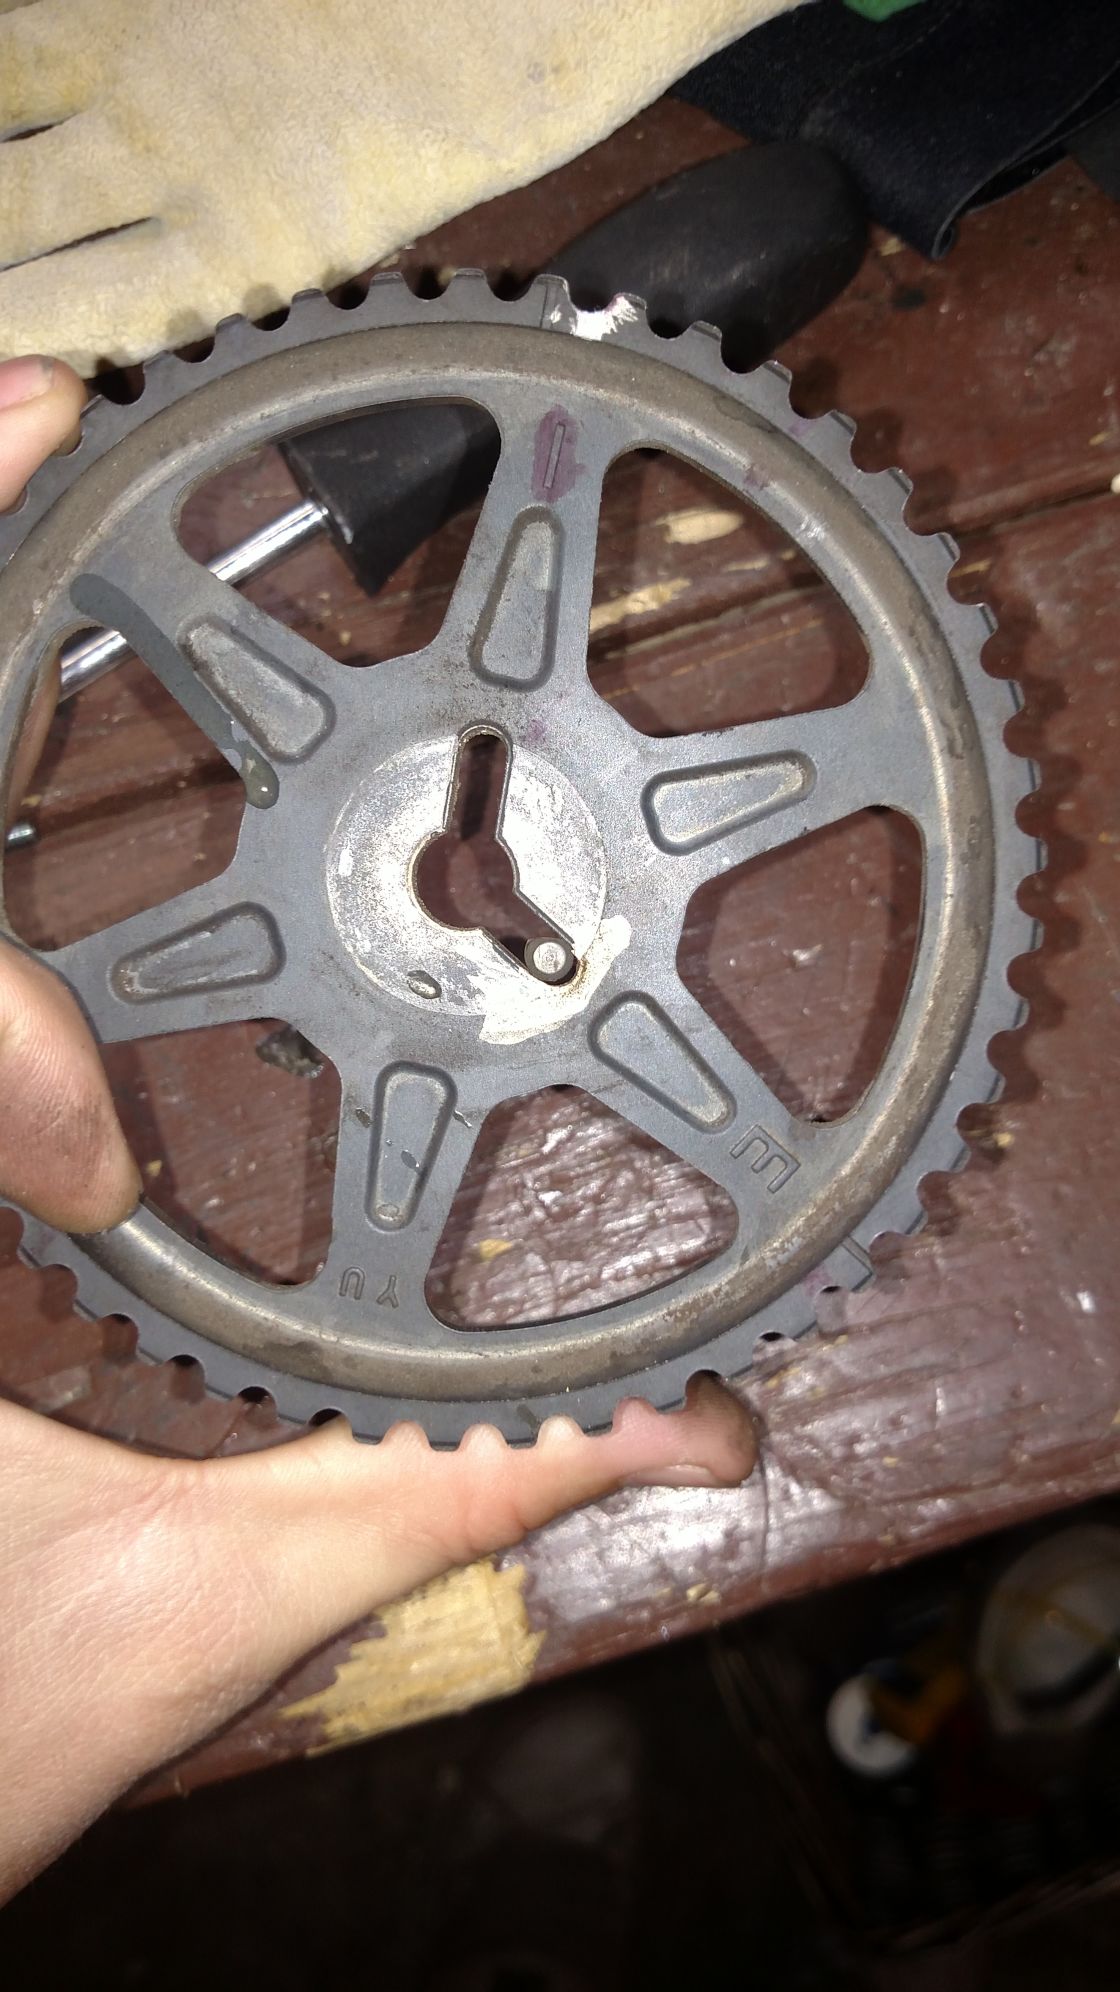
Lo and Behold.... Not cool, Bro.
I looked at replacing the dowel, its supposedly very doable. For $20 I was able to pull a complete exhaust cam at a local scrapyard the same day. Popped it in, reassembled and HALLELUJAH! Played with the CAS a bit and the timing is dead on, 10* btdc. Car roared to life and idled like it was supposed to. After an uncomfortable amount of smoke that I had to repeatedly convince myself was from burn off I was thrilled!
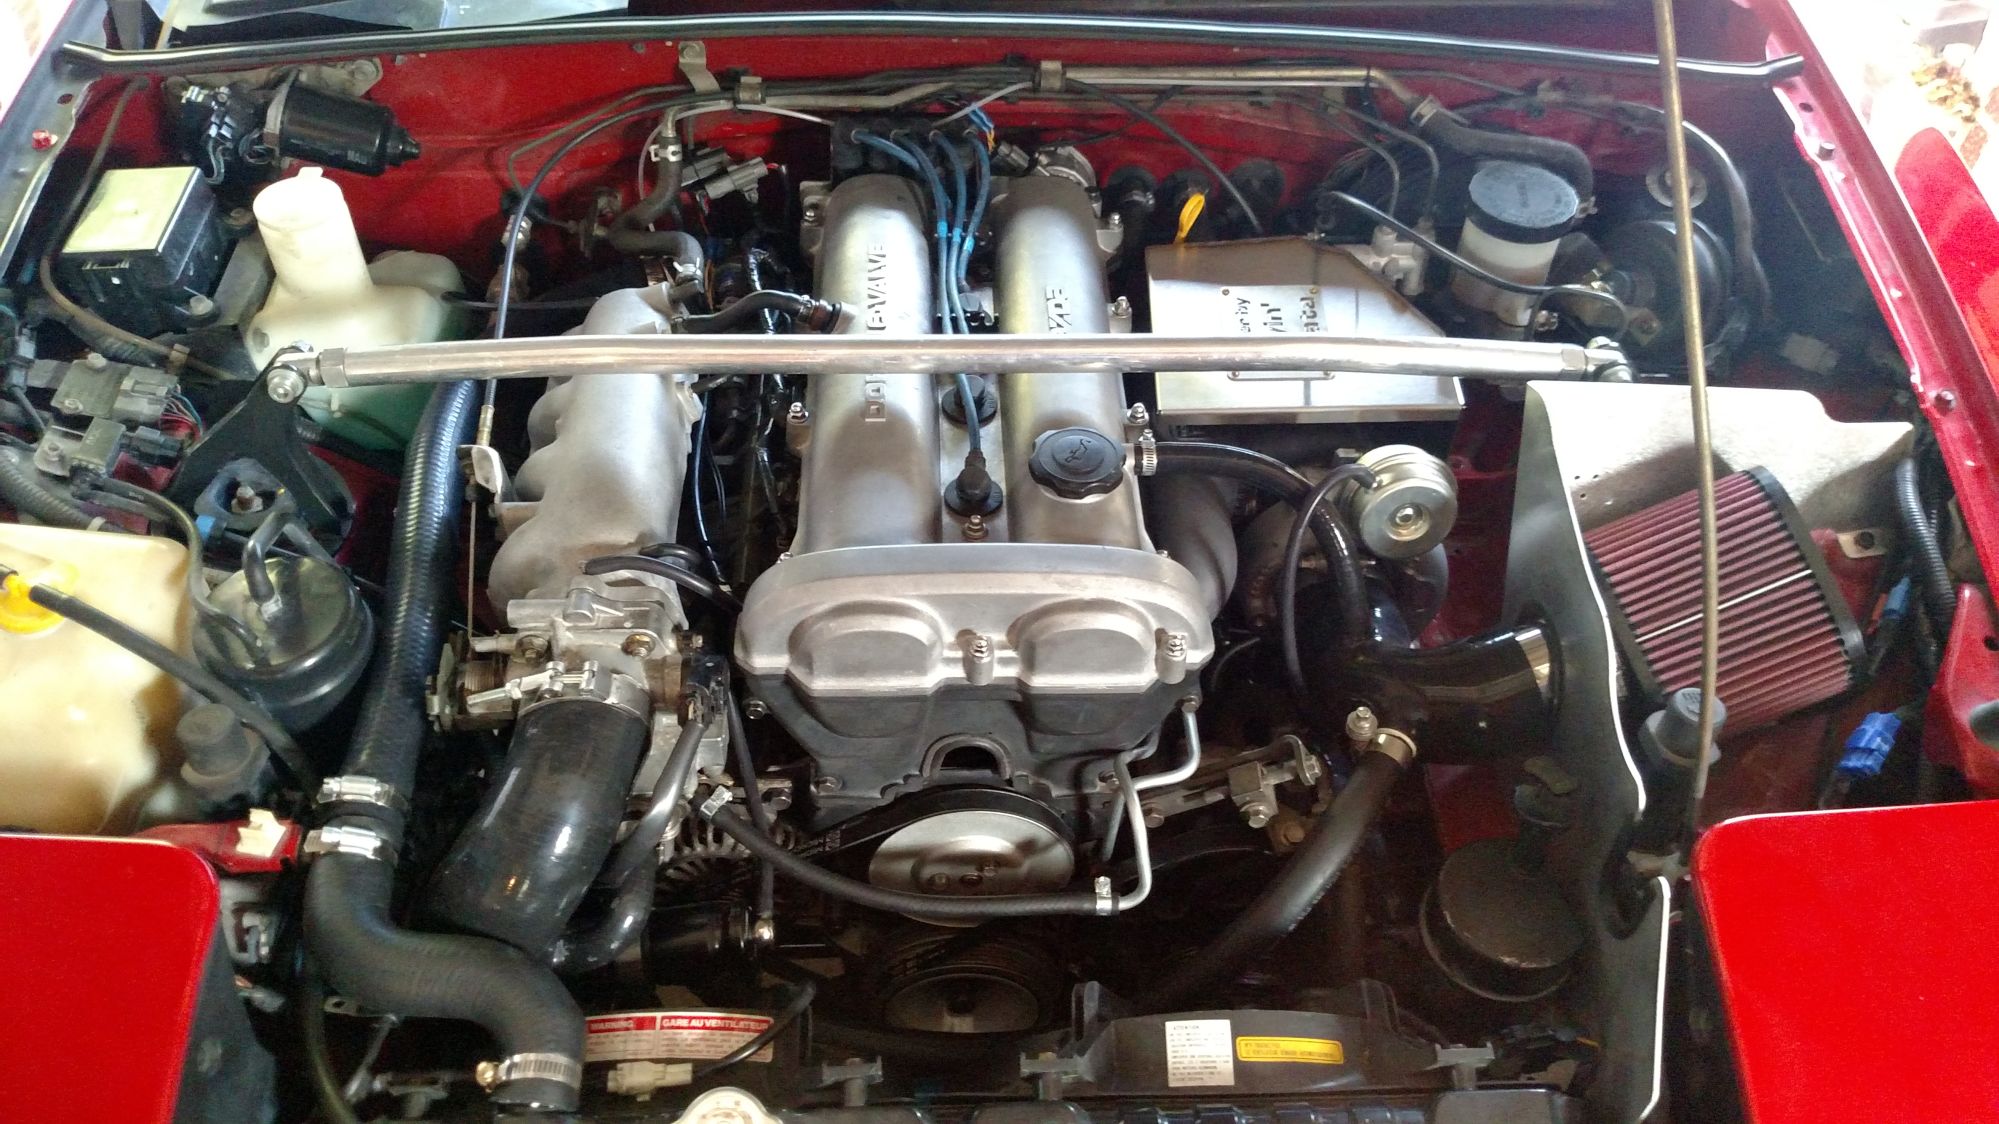
A little bit of idle enrichment later and things were looking great! After some clutch line bleeding, and some small changes/cleanup It was time for a first drive! Took it around the block in the dark that night and things were feeling great. I had to come back and fix the boost gauge that night, but got to take it out the next day to give it the best attempt at an early tune and a break in run for the piston rings. It's currently on wastegate pressure of ~5-7 lbs and is a completely changed car! Even from a dead stop this thing is proper quick, a huge change from what it was like before.
That's the brunt of my 6 month build process in retrospect. For what its worth, this has been a fantastic and strait forward project and could be done by anyone with a good collection of basic tools and a reasonable amount of general mechanical/automotive knowledge. I've done larger projects than this before but there was nothing that was positively difficult or confusing about it. So far I've been impressed with the quality of every piece/part that I've ordered. I feel like Flyin' Miata has put together a very solid kit, and I was very impressed with the level of detail and instruction that is given about each piece. In retrospect, it certainly wasn't cheap, I'm sure that I payed FM enough to pay some serious college tuition. I absolutely could have pieced this together on my own and made it work for a lot cheaper, infact, were I to do it again, I'd probably opt for something like Shieund's group buy turbo package. That being said this was my first time with these cars I am absolutely happy I chose the FM kit. It did make this project about as easy as it could be and I'm sure saved me from alot of trial and error as well as wait time.
This car is still far from finished or dialed in but so far the swap and the turbo conversion are both things I would recommend to any Miata enthusiast that's looking to coax some serious zip out of their car.
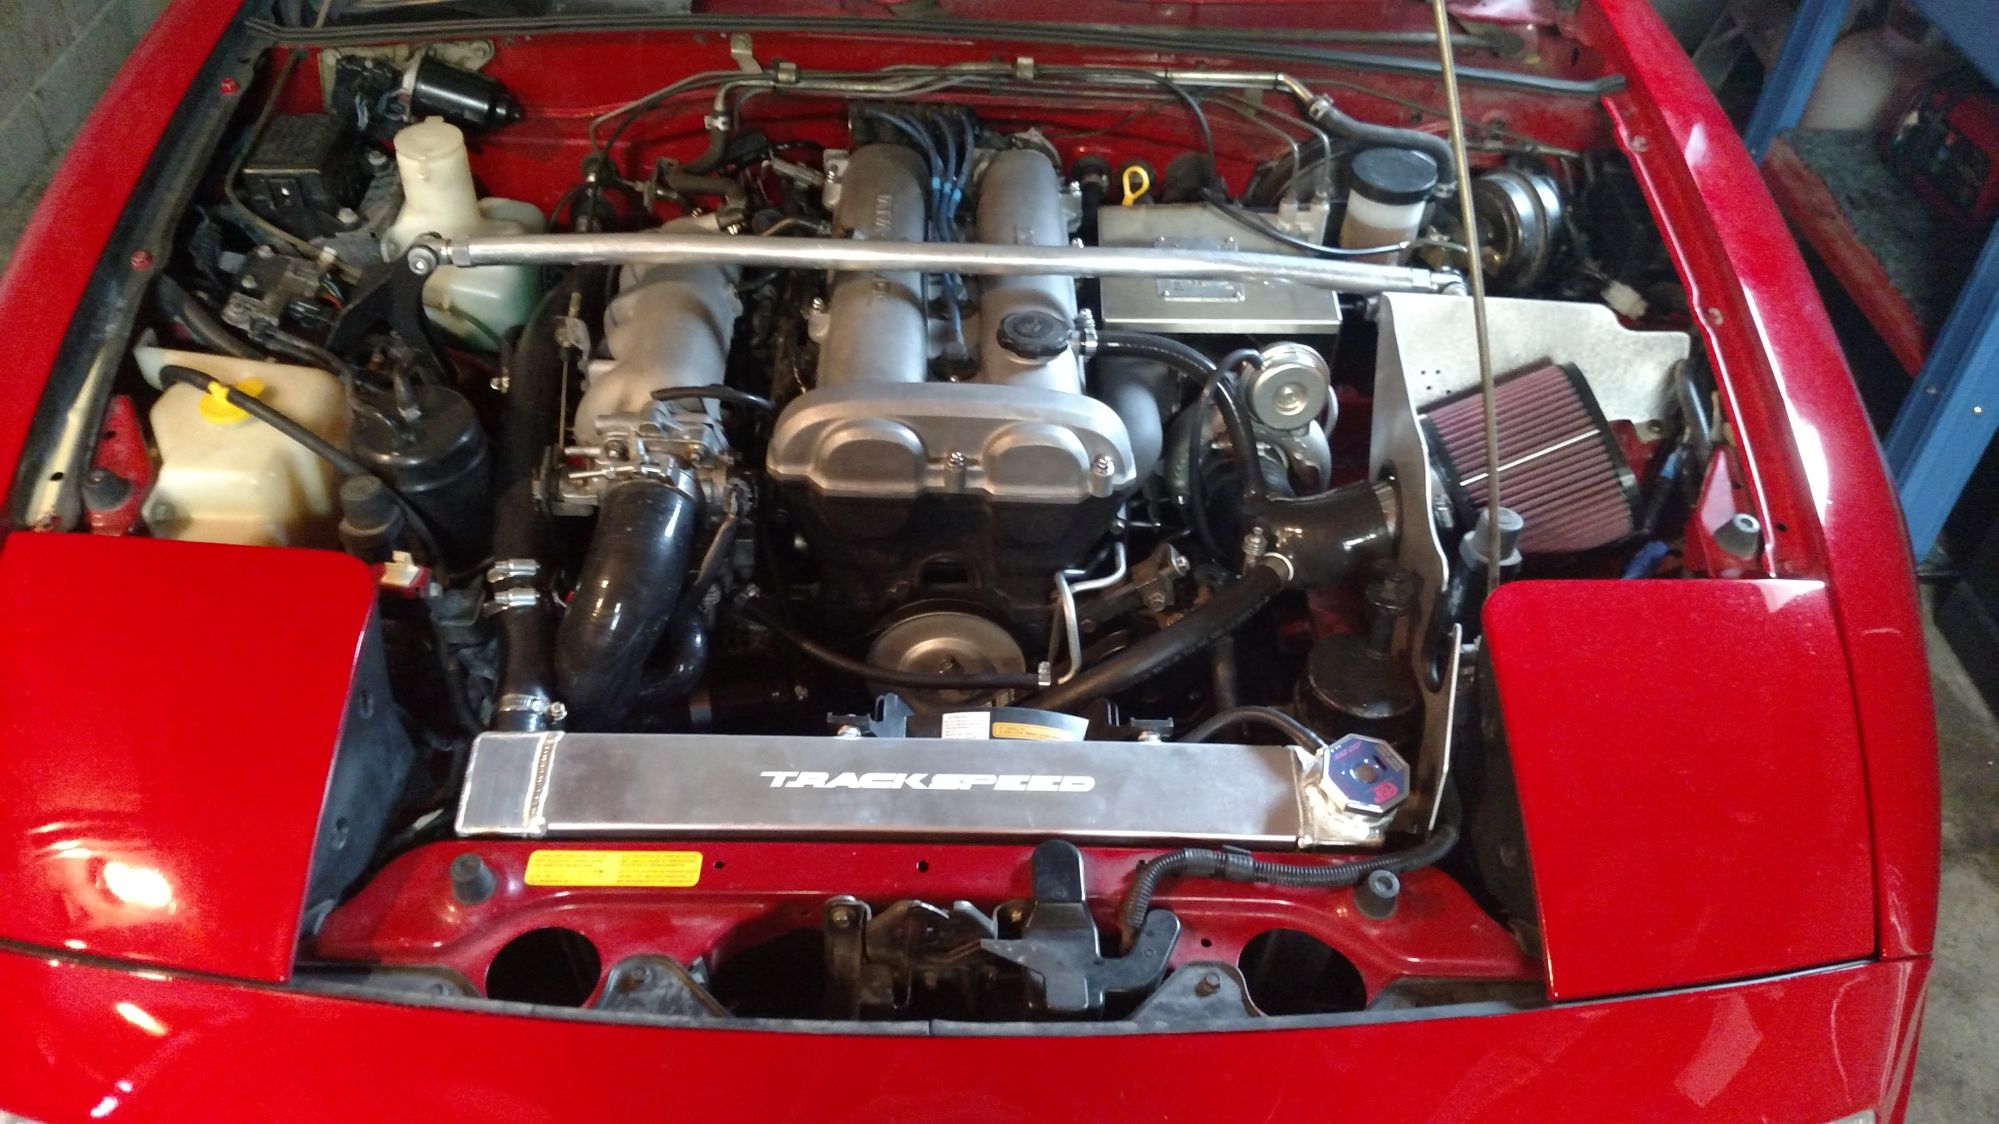
At long last, I can finally take some pictures of our car... Thanks for reading!
Thanks for the kind words all! Its been driving around for about two weeks or so now pretty well but I noticed pretty damn quickly that keeping her cool was going to be a major problem. I have my under tray installed but I was still having a real hard time keeping temps below ~220* Its been pretty warm here in Denver up until the last day or so and even mild traffic causes my temperatures to really become a problem. I've had to baby it quite a bit, keeping it out of boost, driving it/keeping it cool with something like 10 lbs would be impossible.
So.
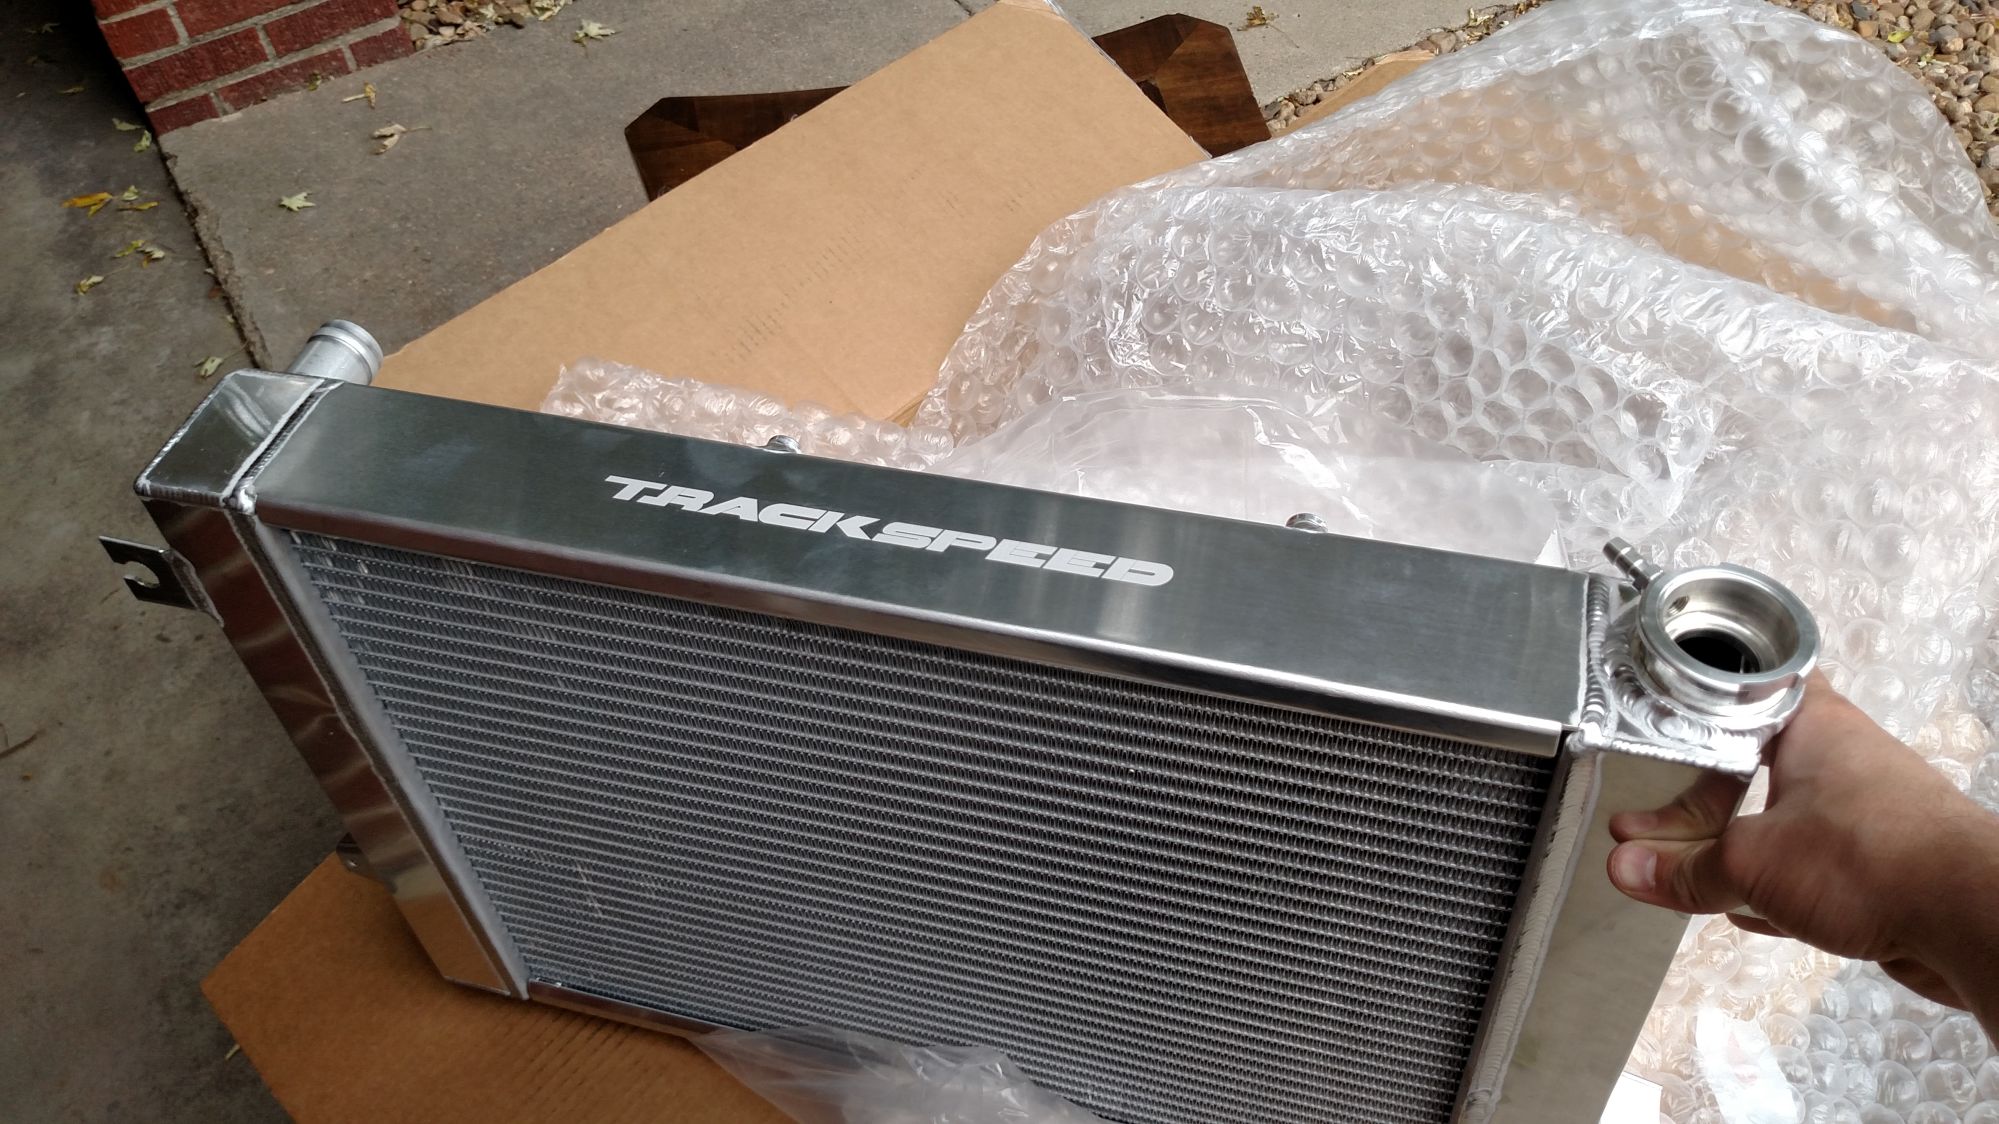
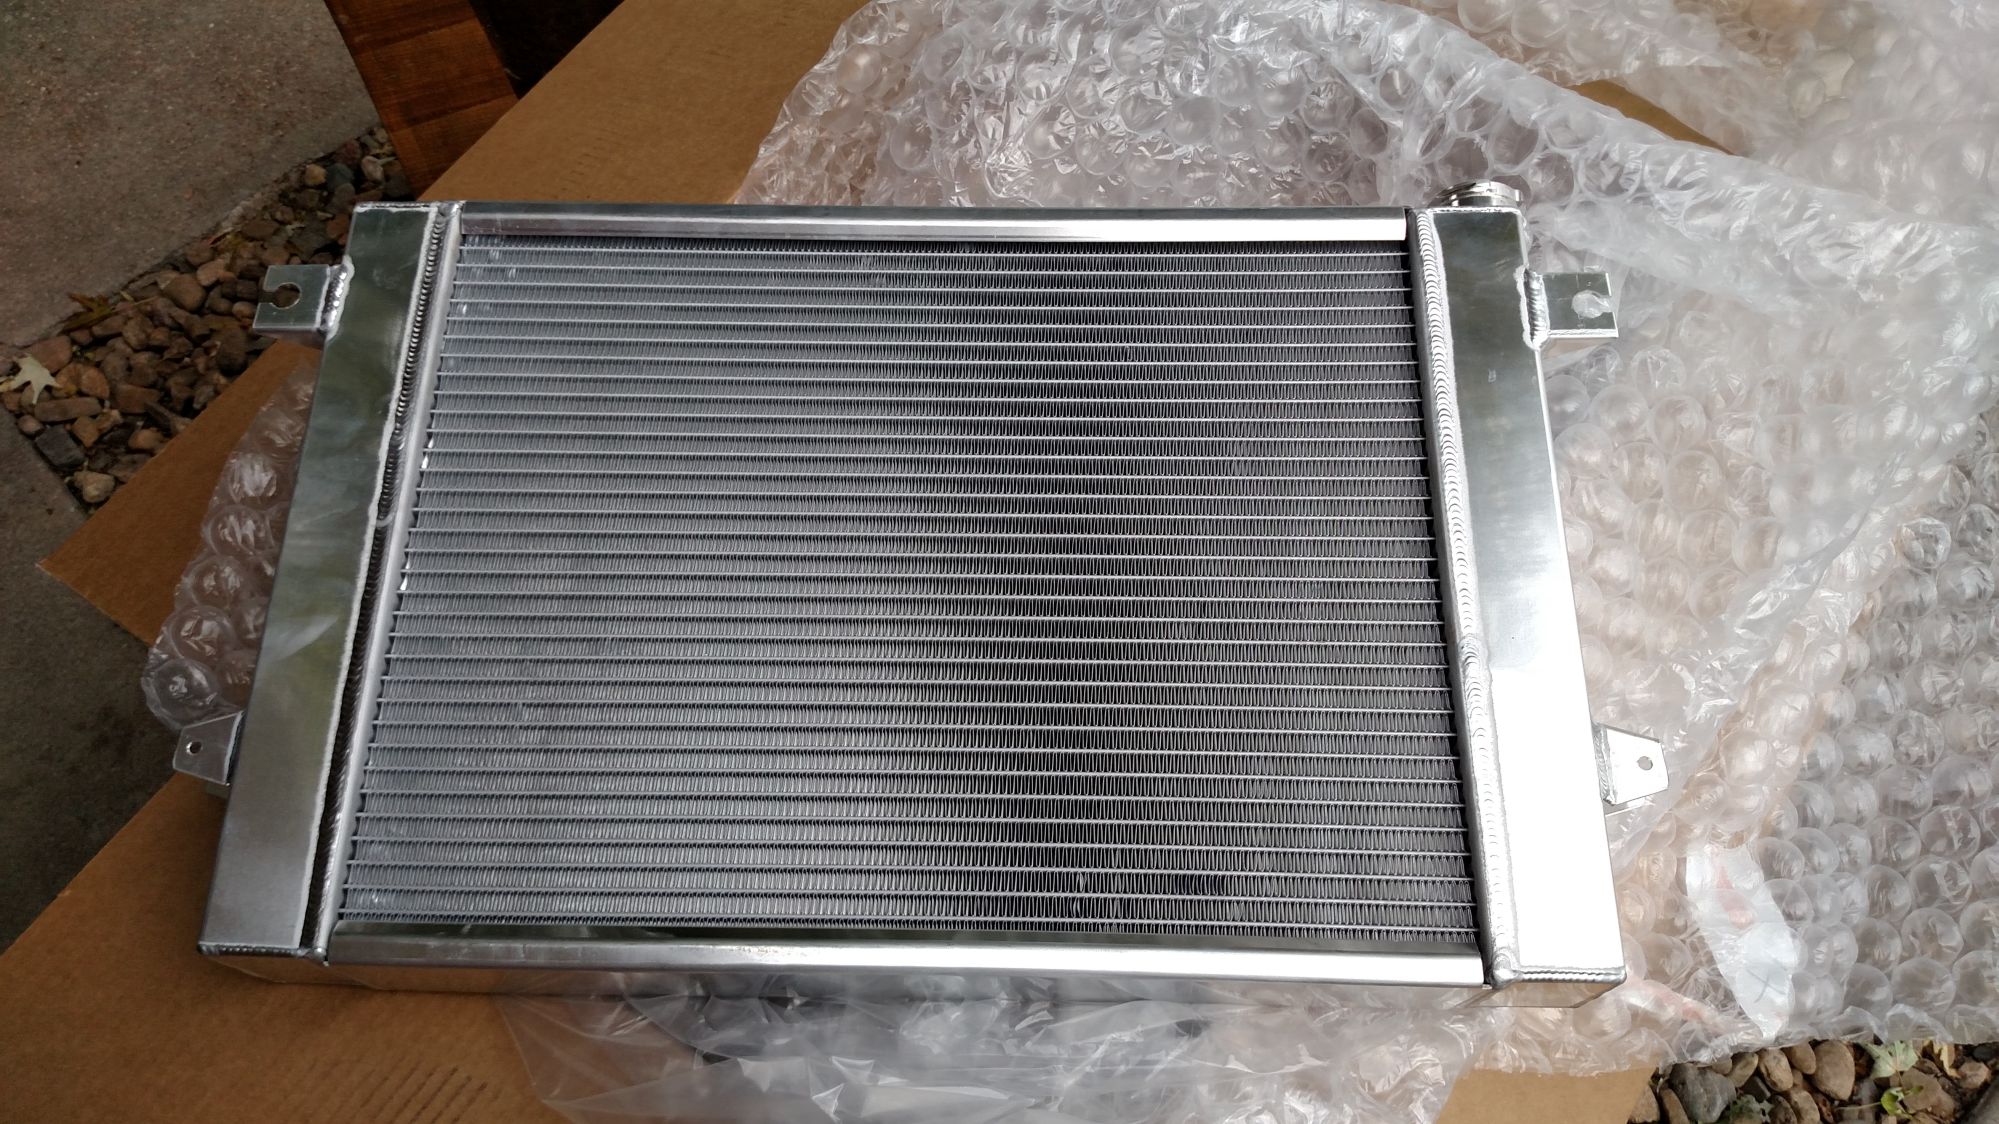
I spent last Wednesday installing a Track Speed Engineering uber-pass radiator.
It shipped super fast and I was really impressed with it out of the box. Nice welds and the beefiest damn radiator cap setup I've ever seen! Its a thing of beauty on the inside too. I was watching in flow as I was bleeding the coolant system, this might be my favorite piece of the car. While I was doing that I deleted the AC system as well. I seem to remember it working before I took the car down but I'd get nothing but hot air out of it afterwards, I suspect my super high coolant temps didn't help things though. Being the considerate citizen of earth that I am, and because I didn't want brain cancer, I drove her accross town to have the AC drained before I took it apart. As I kind of suspected, there wasn't a damn bit of freon in there so out it went. Easy enough to remove and I even remembered to replace that damned oil pump bolt that people seem to forget.
All in all the AC removal might have been overkill with this beefy *** radiator but it freed up some room near my lower rad hose and intercooler piping (it was super cramped before and I really didn't like the idea of the rubbing that would occur over time). Hell, this radiator in itself seems like it may have been overkill for my situation. It seems like quite a few people get away with making a fair amount of power with just ducting and the Koyo 37mm, I expect they're walking a thin line though. I've dealt with cooling problems before and the extra peace of mind is worth the added $200 to me any day.
I fixed a small coolant leak off the back of the head today. I saw the car dripping, got down to inspect and was put in a REAAAAAAAAL foul mood when I saw coolant leaking off the clutch slave cylinder boot and out of the transmission weep hole. I have been worried about that damn freeze plug in the bell housing since I noticed it was there... After spending about 2 hours mentally preparing myself to have to pull the entire engine/transmission just to replace the freeze plug, I went back out for a second look and realized it was the line running to the oil warmer sandwich plate.
Thank God.
I buttoned that up, checked for further leaks then went and drove it pretty hard today. Ran like a champ! I need to get my idle smoothed out a little. Its choppy at times right now and runs around 1100 RPM. Does anyone know how much the idle adjustment screw on the TB plays a part in the idle for these cars? I've made some adjustments there but it really hasn't seemed to make much difference, even going pretty much end to end.
I also have a pretty gnarly noise that happens on cold start up, I think its either enrichment related or flyhweel clatter. Any input on either of these would be appreciated. I'll try and get a video of it next time.
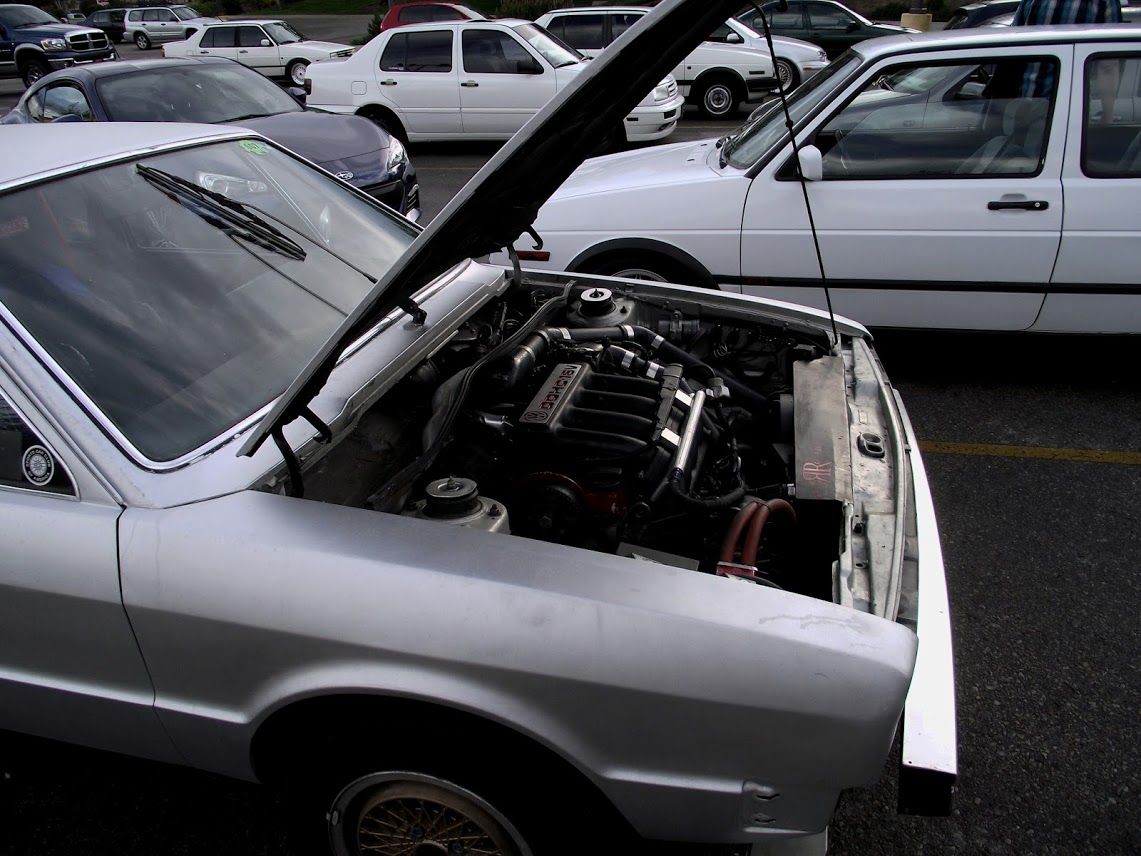
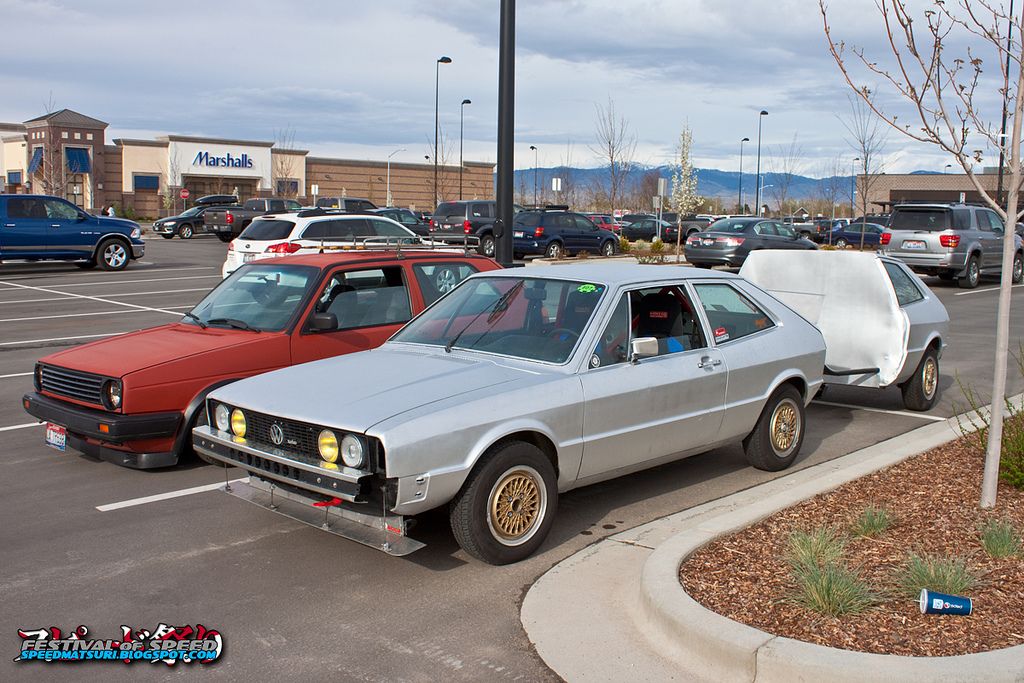
Why couldn't my swap be this nice and straight forward?
So clean. I hate you.
I had my battles, my friend. Your build looks really good, you've got a lot of parts I'm envious of. Just couldn't be that much of a baller. I'm really trying to keep this from being too much of a runaway build.
I love the hell out of Mariner blue. Easily my favorite color for these. My red is actually a Maaco respray, I was really surprised when I dug up the receipt. They did a great job on it and it matches the factory red on the trunk lid and hard top perfectly.
Leave the throttle body screw alone. Tune your idle settings in ms and win this is a nice car I wish mine went as smooth as your install did. No idea about the noises maybe post a video up??\
Just put the boost controller in, turned it out from 5-7 psi to 10-11 and am letting tuner studio do its thing. Its really coming alive and you can really hear those ball bearings sing. I'll tune like this for another week or so then bump it up to 13-15 psi, then probably try and bump it to a max of about 18.
I think I found the source of my startup rattle. It looks like there's not much wiggle room between the block/body and the downpipe. With my startup still a little rough and the occasional rough idle, I think the downpipe is being banged around when the motor stumbles. Been reading a bit on how to fix that.
After letting the car hide from the snow for the last couple months, I've been driving it while I do some work on my DD B5 S4.
I still have some refining to do with my tune, especially concerning idle, but more importantly I've noticed that the last few times I've driven it, my oil pressure gauge reads extremely low as soon as the oil warms up and this really has me worried.
As soon as I cold start the car the gauge pretty much maxes out for the first few minutes then gradually settles down to just below 30 psi. By the time I've driven the car for about 10 minutes the gauge begins to sit extremely low at idle, even flickering back and forth between 0 and what I'd call 10 psi on the gauge.
From the reading I've done it sounds like most people have problems with the oil pressure sending unit so I changed that out from the one I got with my 94 engine to the one I had from the original 90 motor (I had no problems with it before) and gave it an oil change and a new filter as well. I also cleaned the terminal and plug as best I could.(Both senders are the true psi senders not the later ones).
Unfortunately it's still happening after the change up so I'm hoping someone can give me some further insight. I'm fearful that the DNJ oil pump I knew I skimped on has **** the bed on me and am looking at buying the billet 949 racing pump as a next step if no one has any better suggestions.
I'd check oil pressure against another source before condemning it. The gauges are often inaccurate. The behavior you describe, high pressure when cold and then diminishing as oil temp comes up, is exactly the behavior to expect from healthy components. It's also why Mazda went to an "idiot" gauge starting in 1995. Sigh.
While mine doesn't seem to go quite as low as yours does, it exhibits the very same behavior. Mine is a '94, completely stock. It's always acted that way.
 10-13-2015, 06:15 PM


 1
1


 this is a nice car I wish mine went as smooth as your install did. No idea about the noises maybe post a video up??\


