MatosMiata's build, turning a booger into something worth looking at
 03-03-2016, 11:05 PM
#102
Junior Member
Thread Starter

Join Date: Jan 2012
Location: Miami
Posts: 316
Total Cats: 3
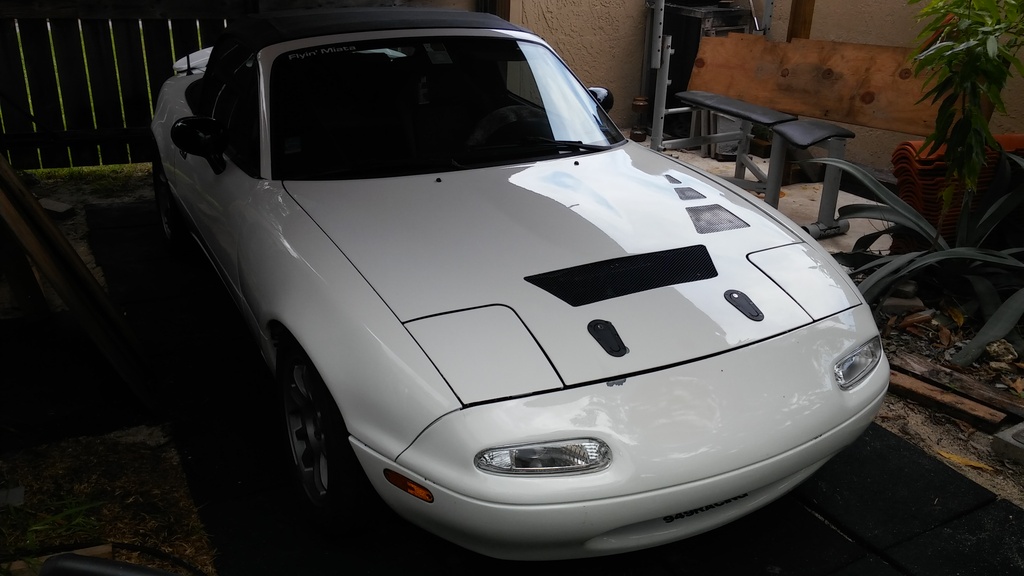
Gave the car a good wash followed by sealing with Klasse acrylic sealant. Really neat stuff. I used a new method I got from my coworker, Aaron. I sprayed the entire body and wheels with Purple Power and let it sit. From there, I hit it with my pressure washer and watched as most of the filth came right off. All I had to do was a light scrubbing to remove some baked on crud and the car was ready for drying and sealing.
The car has a nice gloss when it's clean
The car has a nice gloss when it's clean


Reply
 0
0

0

 03-03-2016, 11:06 PM
#104
Junior Member
Thread Starter
Join Date: Jan 2012
Location: Miami
Posts: 316
Total Cats: 3
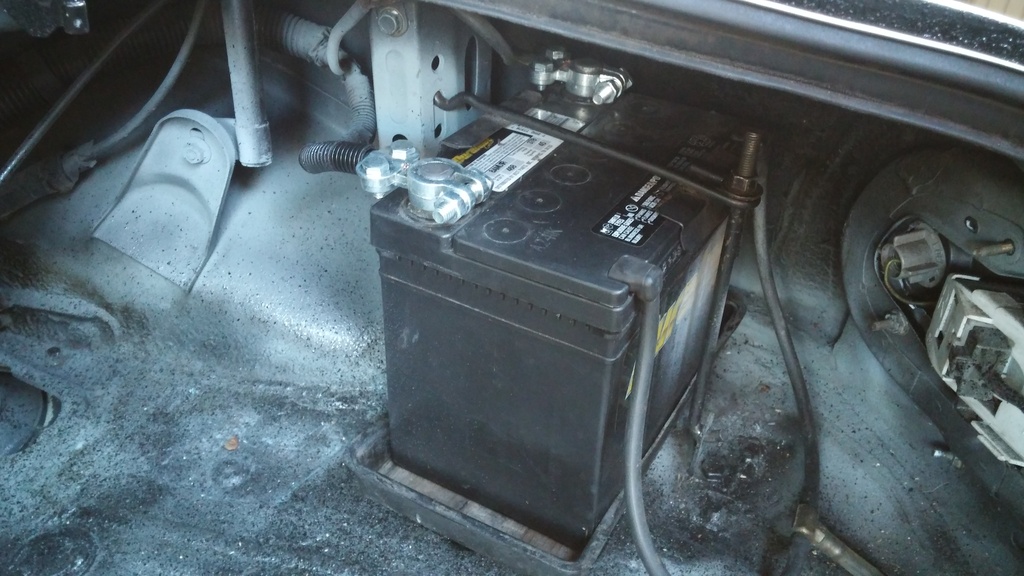
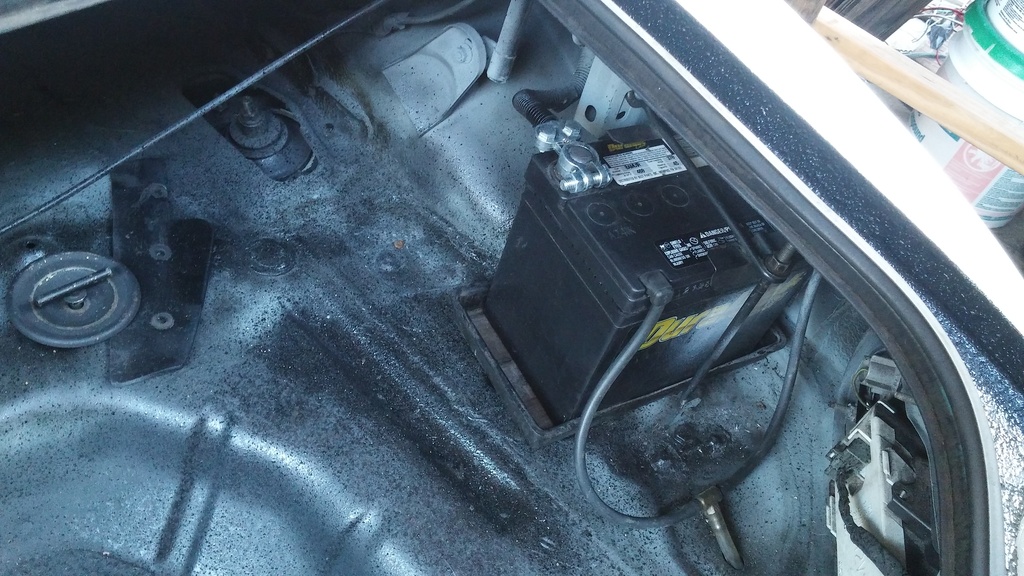
It's very nice to have terminals that actually fit and don't look hideous.
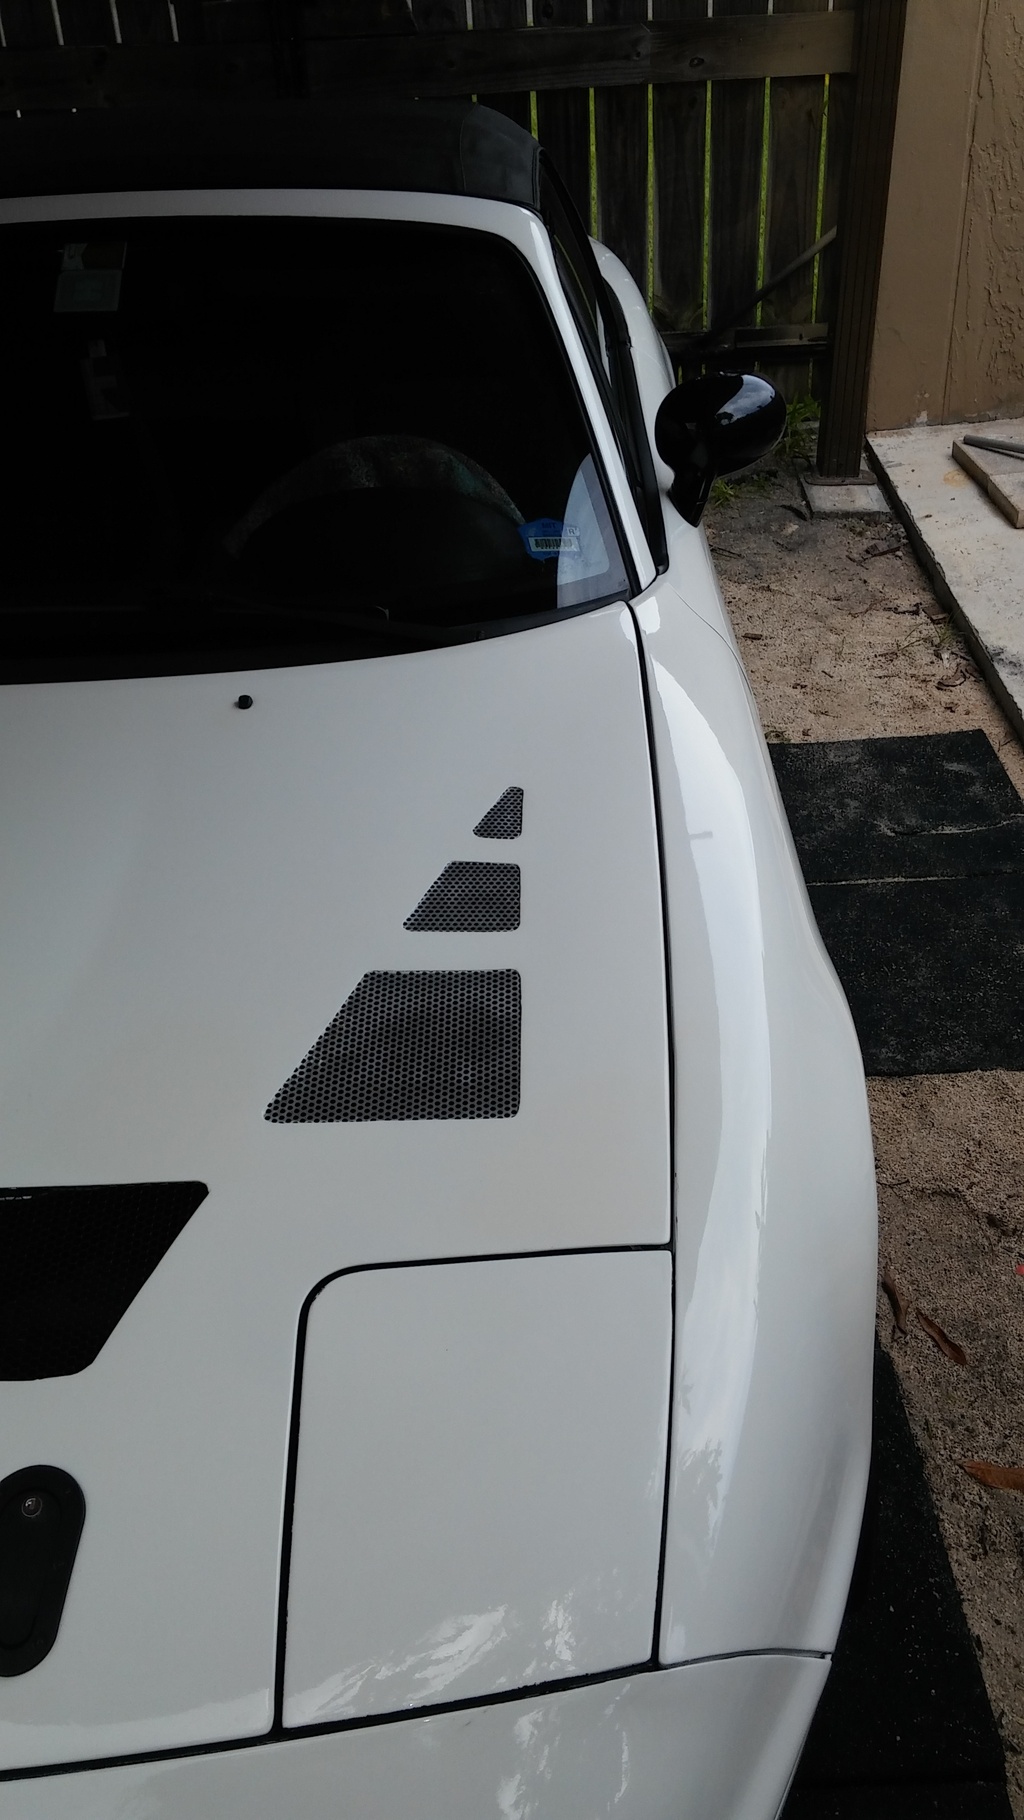
I have to get around to painting my trunk black, it looks bad in all that primer. Not motivated to deal with fumes though, even with a new respirator.

I have to get around to painting my trunk black, it looks bad in all that primer. Not motivated to deal with fumes though, even with a new respirator.

Reply
0
0

 03-03-2016, 11:07 PM
#107
Junior Member
Thread Starter
Join Date: Jan 2012
Location: Miami
Posts: 316
Total Cats: 3
So my Power Steering suddenly gave out. There's fluid in the reservoir, don't see any leaks, the pump isn't even a year old. Not sure where to approach this from. Will likely replace the pump.
Reply
0
0
03-03-2016, 11:08 PM
#108
Junior Member
Thread Starter
Join Date: Jan 2012
Location: Miami
Posts: 316
Total Cats: 3
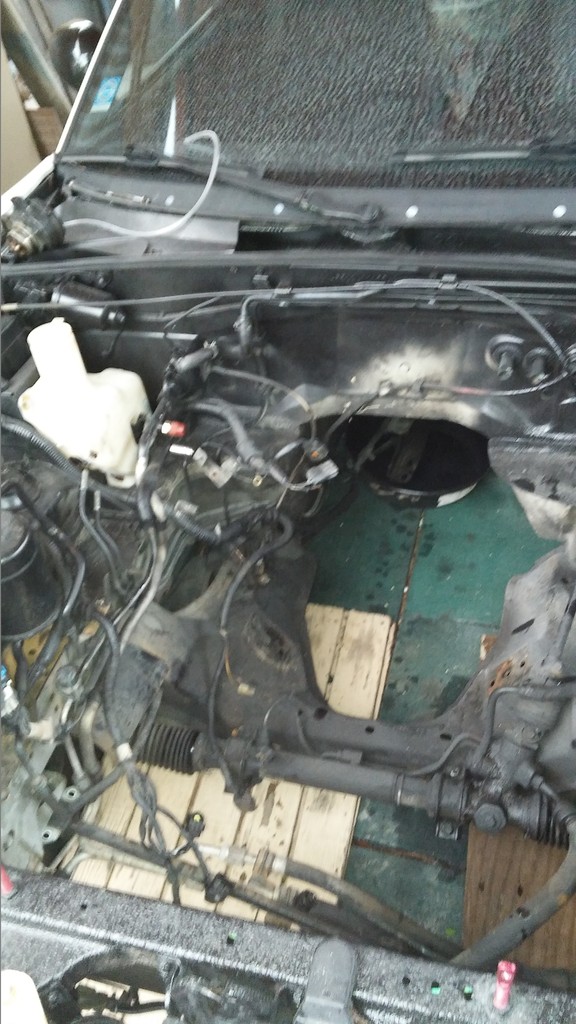
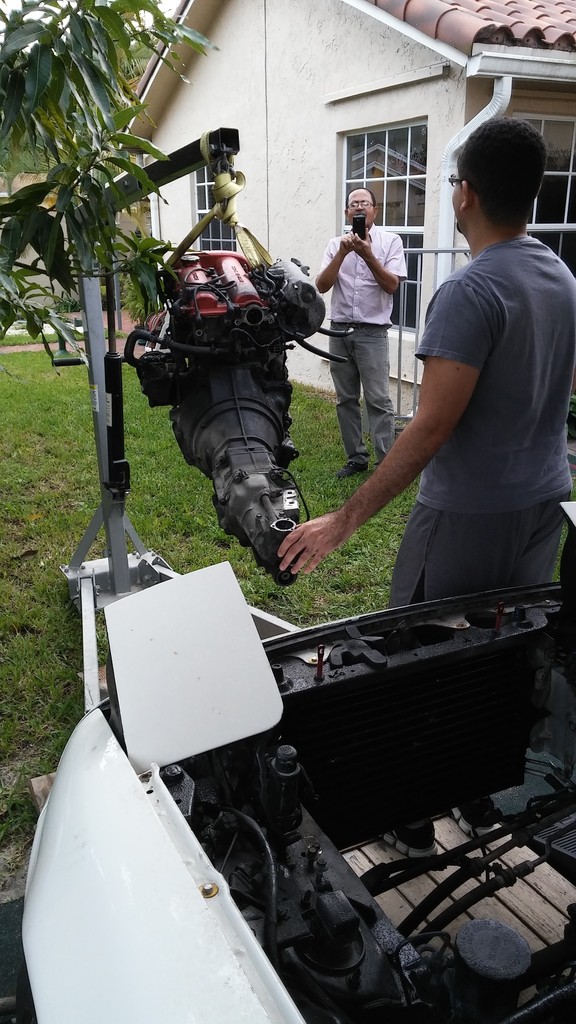
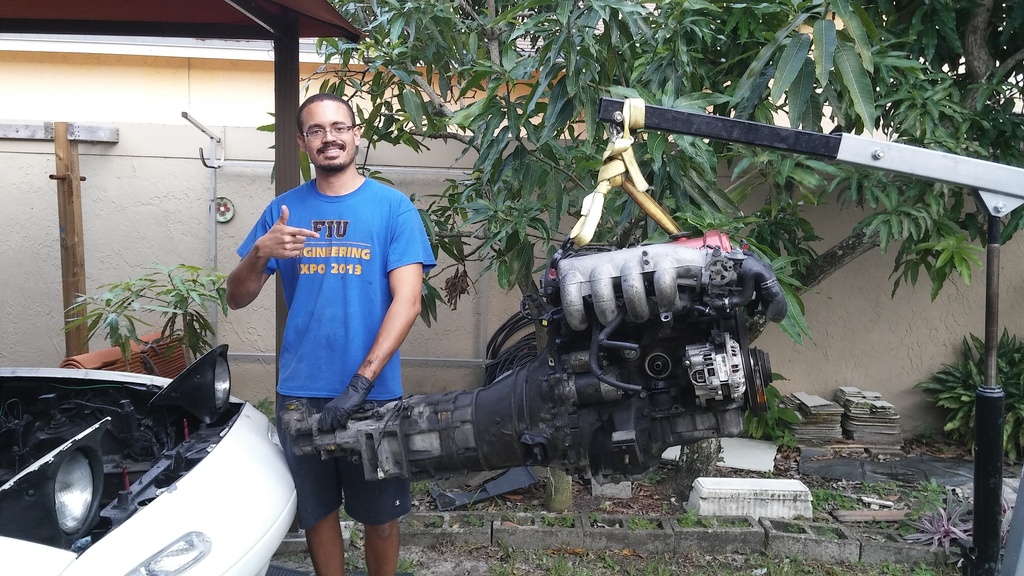
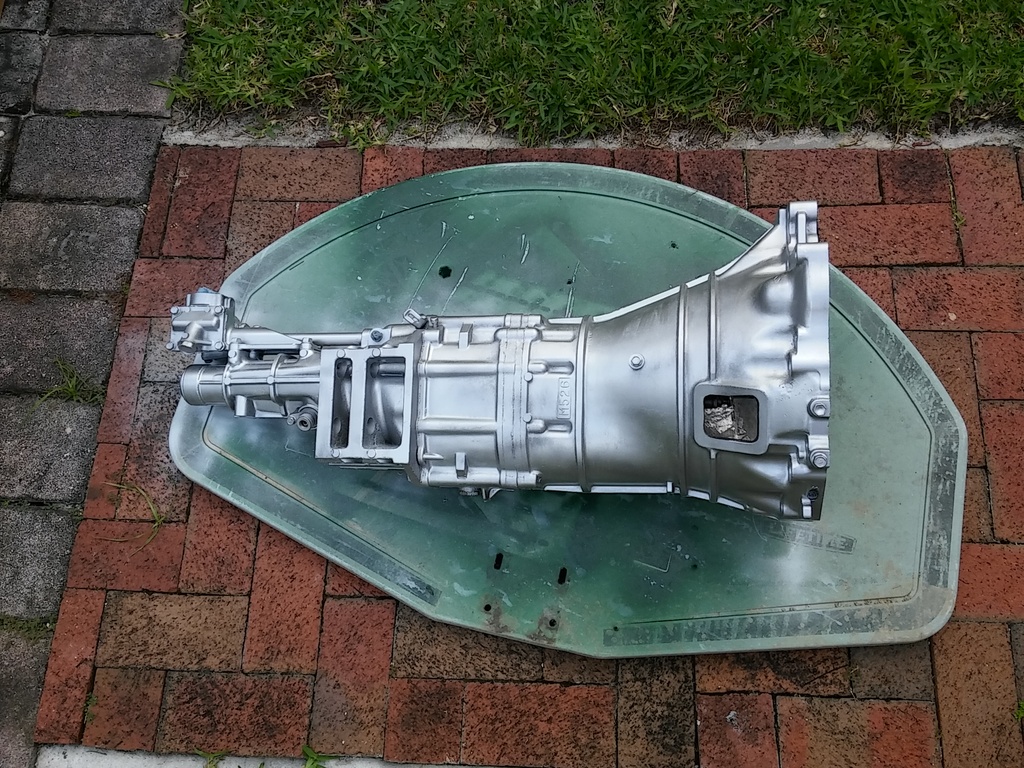
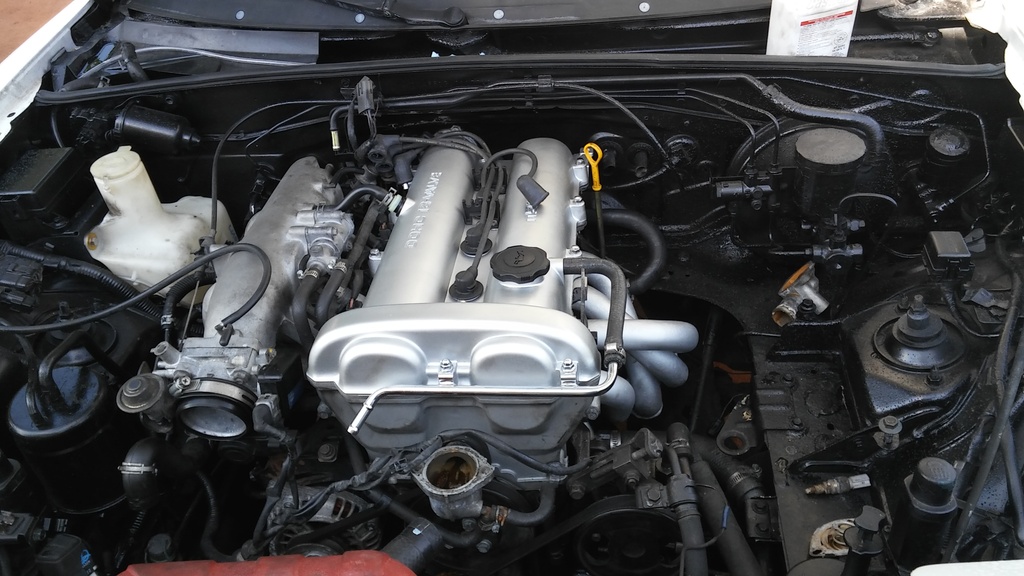
12-25-2015 Power steering randomly came back. Then my oil pump failed on the way home from work. So I bought a new engine from a 92. I pulled my old engine out and I'm working on getting the new ready to install. No upgrades planned just yet, still unsure as to the future of the car. Pulling the old engine out was easy. I drained all of the fluids, removed the radiator, undid the AC lines, undid all of the electrical on the engine and trans, undid the speedo cable, removed the bolts attaching the trans to the PPF, undid the motor mounts, and pulled the engine out with the trans still attached. No need to undo the driveshaft, the trans will slide right off as you pull the engine forward.
The empty engine bay:
My brother and my dad helped pull the cherry picker back:
The trophy shot:
The empty engine bay:

My brother and my dad helped pull the cherry picker back:

The trophy shot:

Reply
0
0
03-05-2016, 12:08 AM
#109
Junior Member
Thread Starter
Join Date: Jan 2012
Location: Miami
Posts: 316
Total Cats: 3
Quick update: The new engine is in the car and is running quite well. Unlike my last engine, this one has a smooth purr at idle and revs quite freely. It was obviously well cared for by its previous owners. I'll have pictures up soon.
Reply
0
0
03-05-2016, 12:09 AM
#110
Junior Member
Thread Starter
Join Date: Jan 2012
Location: Miami
Posts: 316
Total Cats: 3
I got my new engine from an older dude with quite the nice collection. I went by his warehouse and got a tour, followed by buying an immaculate 92 engine with everything, including the entire AC(under dash components included) for an awesome price. He's building a race car so he had no need of any of it.
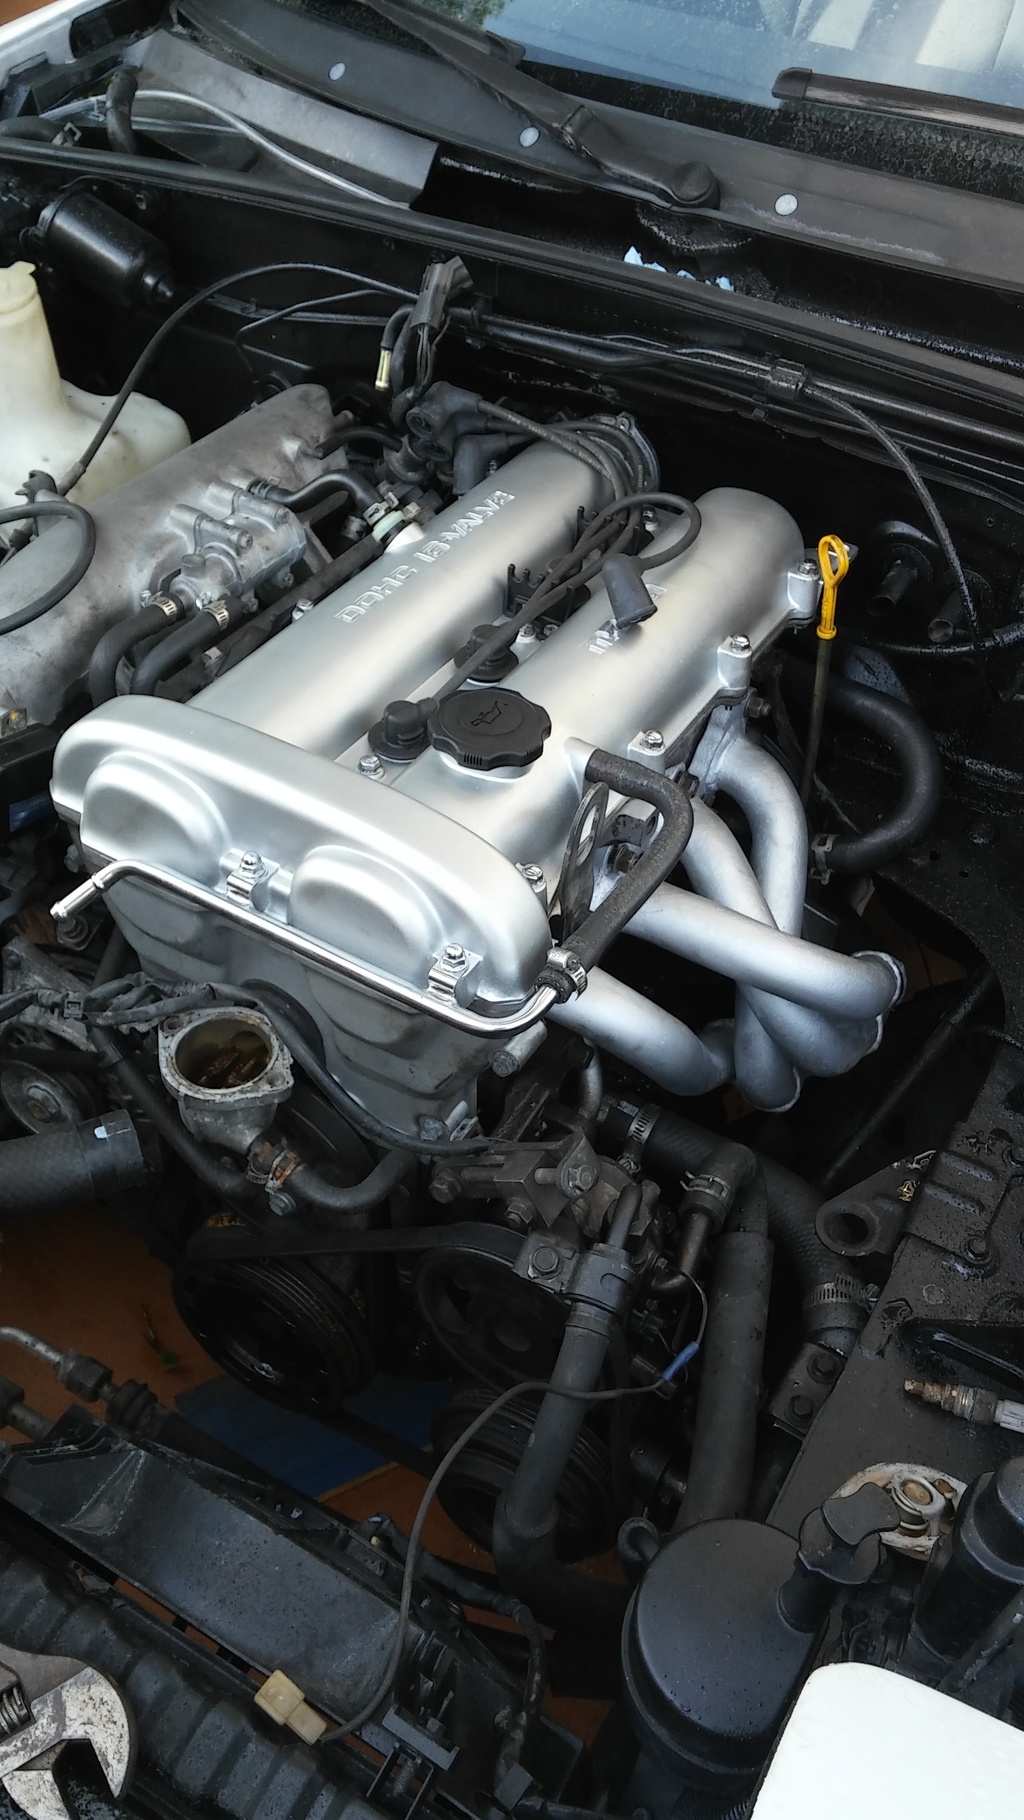
I started by cleaning and painting the valve cover, header, thermostat housing, and airflow meter. I then transferred all of the new hoses, alternator, and nicer parts I had added to my engine. I kept most of the accessories and such that came with the new engine as they were in far better condition. That includes a brand new clutch.
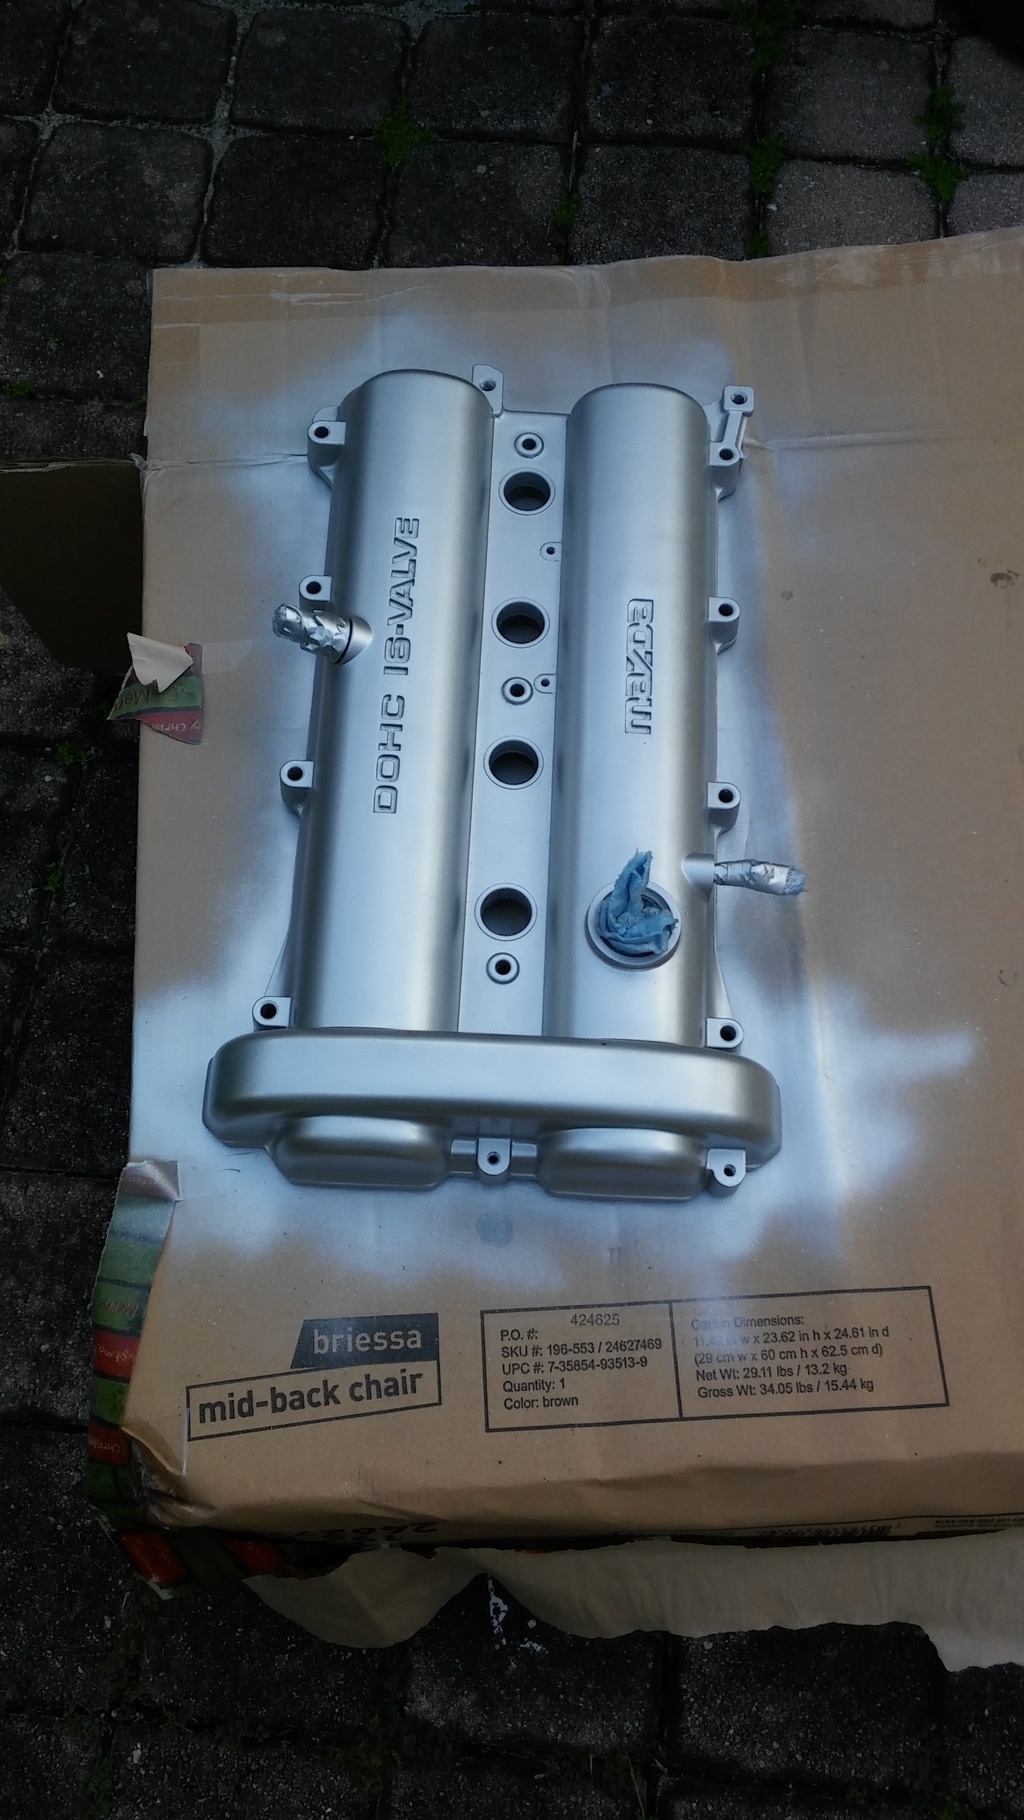
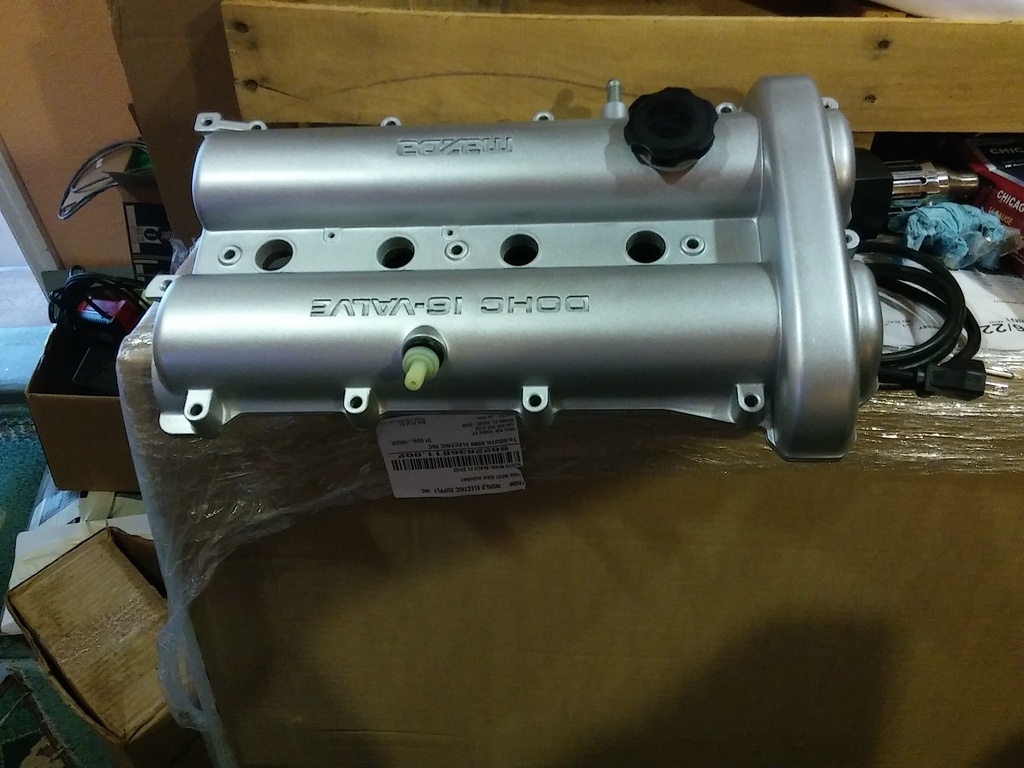
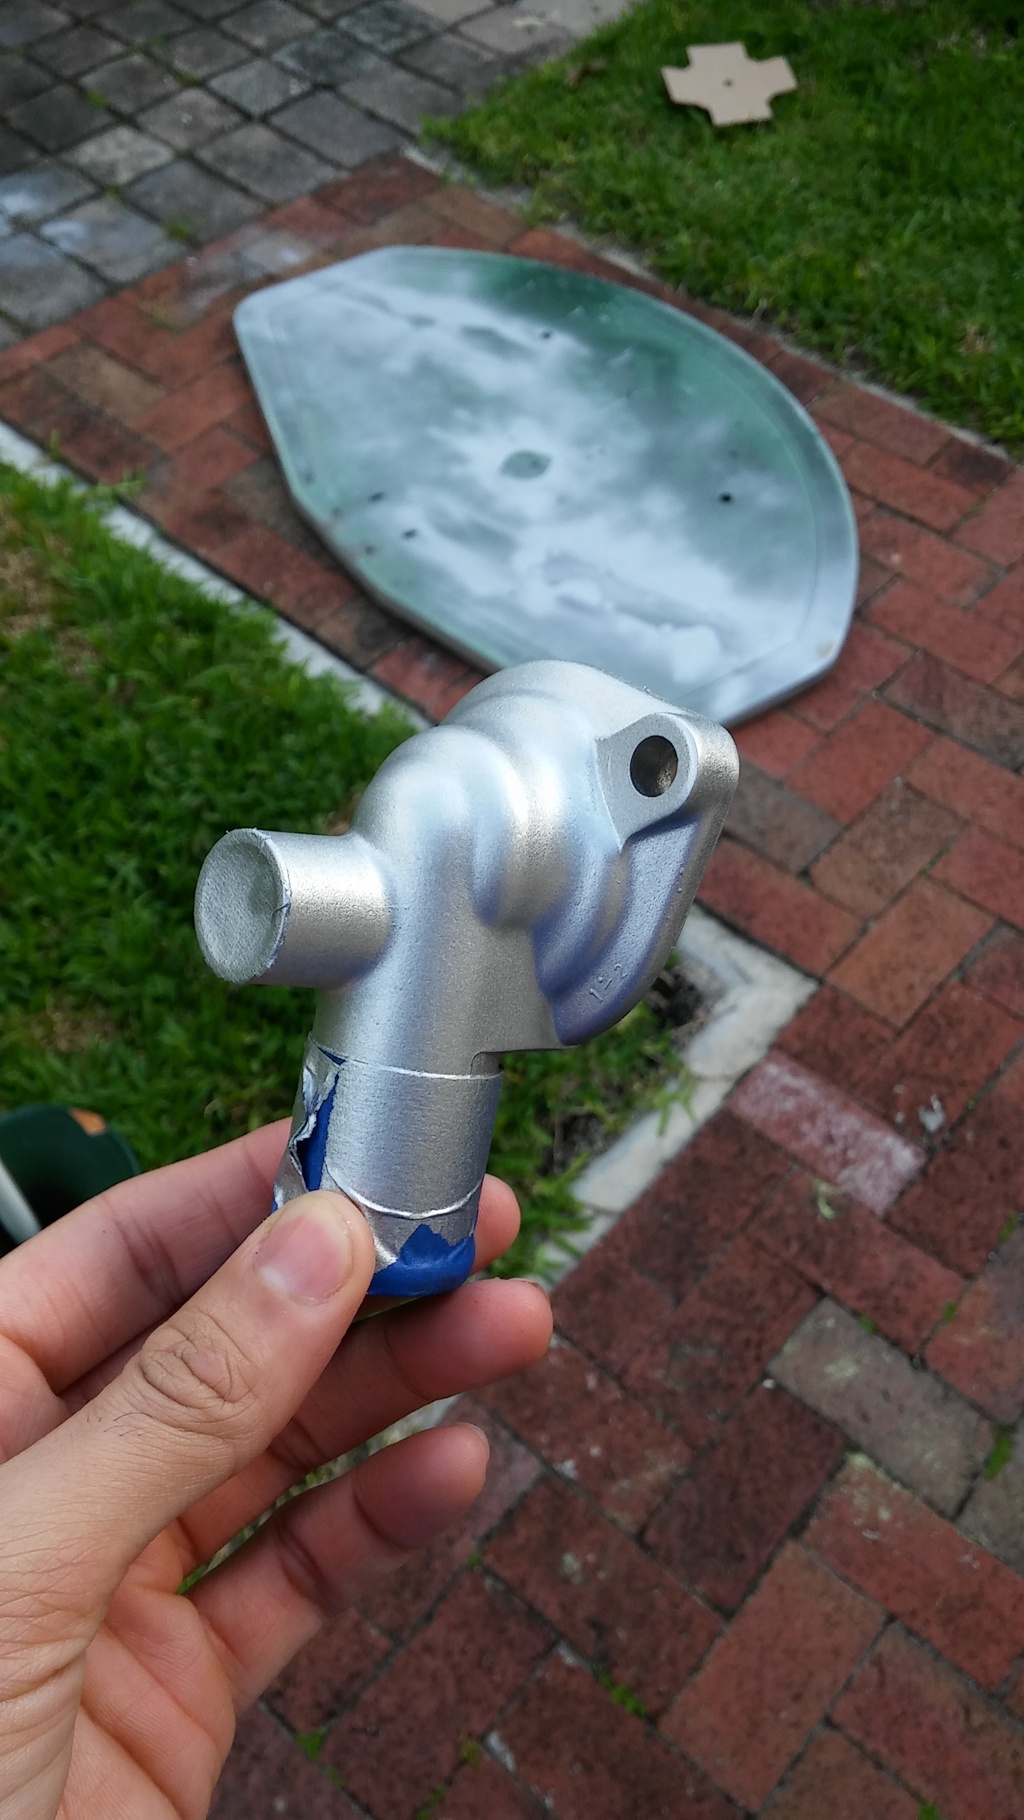
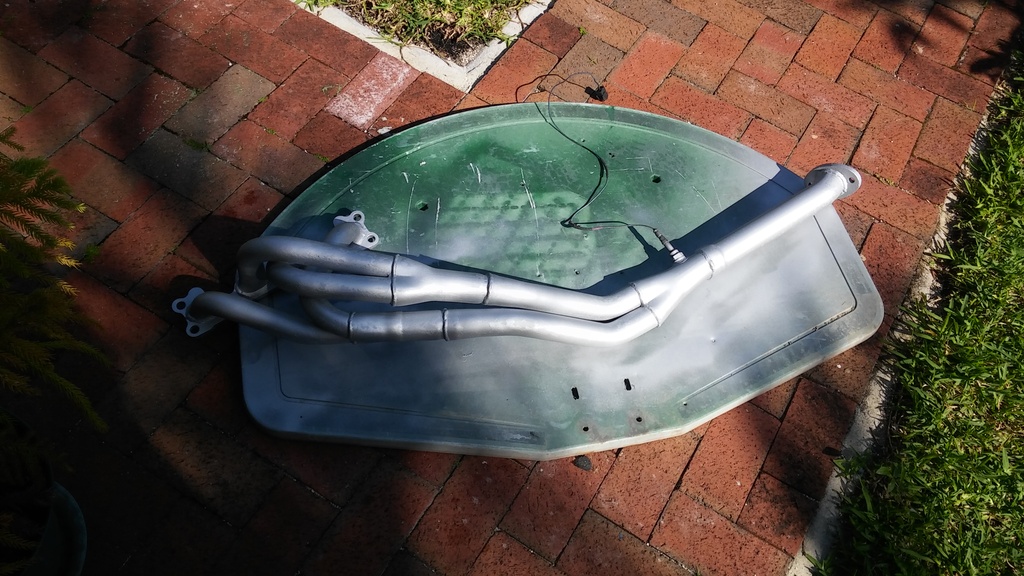
I started by cleaning and painting the valve cover, header, thermostat housing, and airflow meter. I then transferred all of the new hoses, alternator, and nicer parts I had added to my engine. I kept most of the accessories and such that came with the new engine as they were in far better condition. That includes a brand new clutch.


Reply
0
0

 03-05-2016, 12:10 AM
#112
Junior Member
Thread Starter
Join Date: Jan 2012
Location: Miami
Posts: 316
Total Cats: 3
Then I got the engine in. This ended up being a four man job with my brother and I guiding it, while my dad and my cousin adjusted the hoist. That's extra funny because I put a Mustang 5.0 V8 in with the help of just one buddy lol. Extra hands make the process much smoother though.

Brand new thermostat and gasket (not sold together for whatever reason)
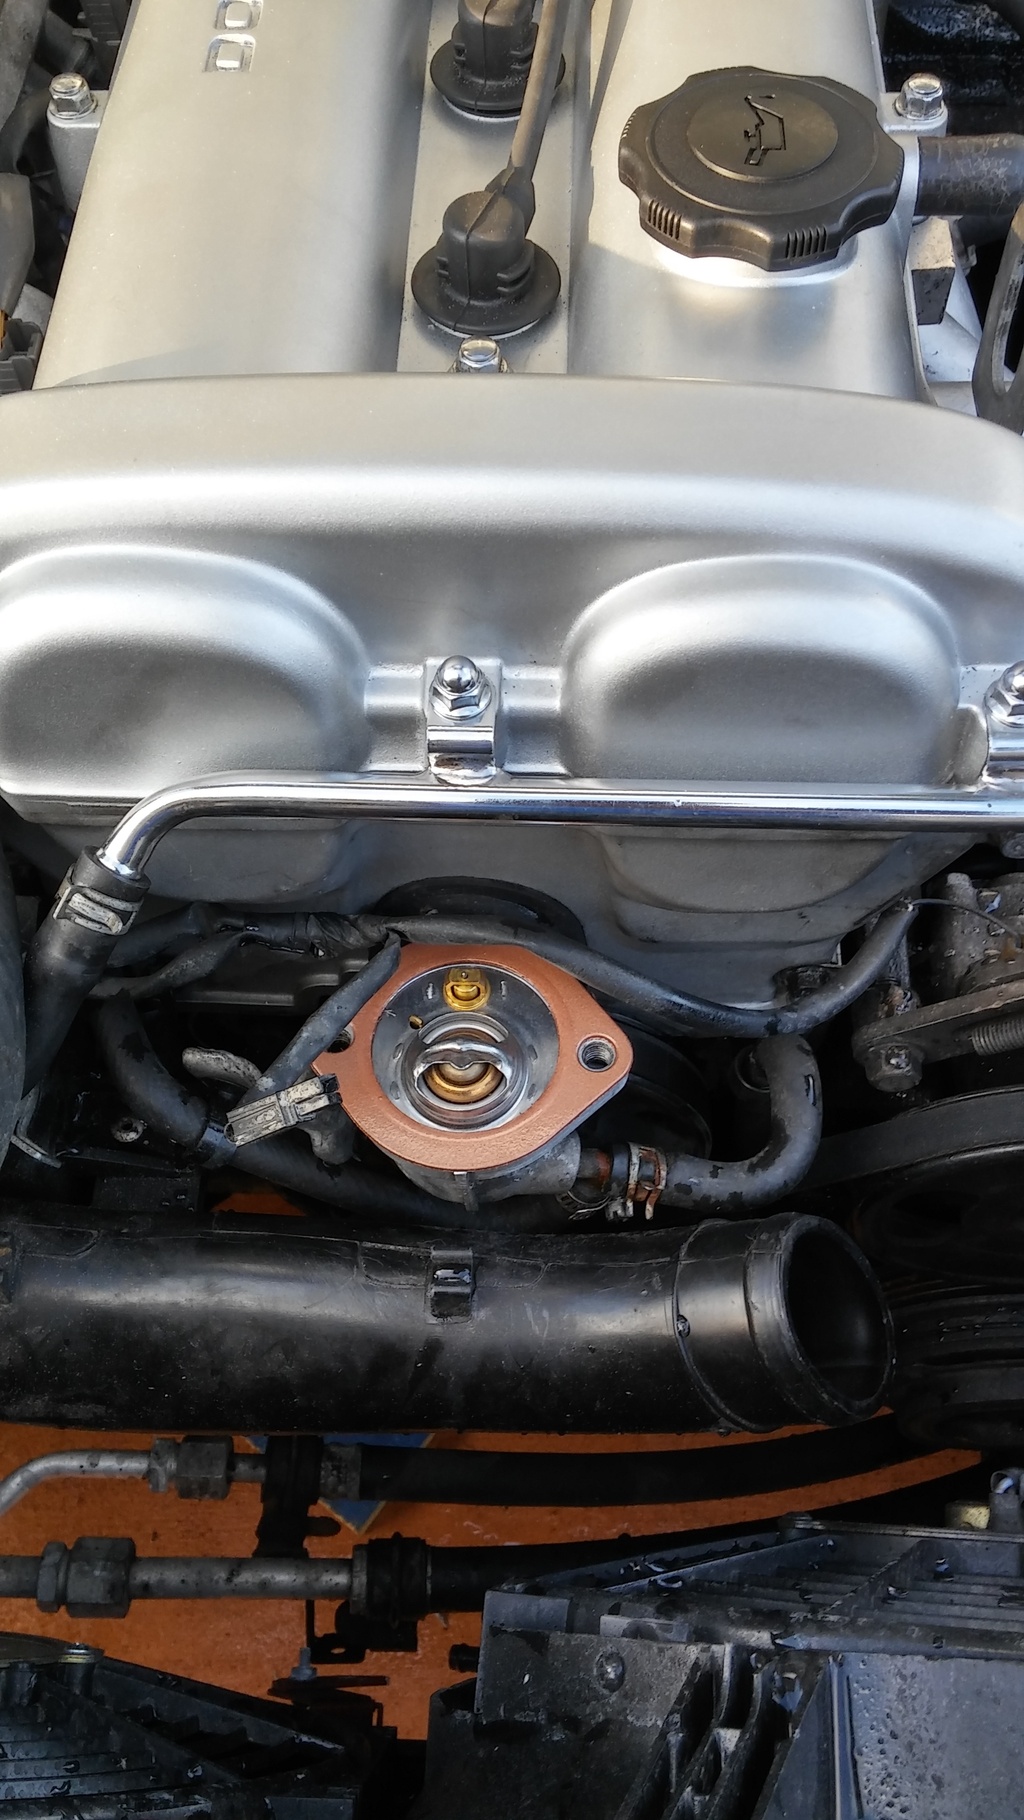


Brand new thermostat and gasket (not sold together for whatever reason)

Reply
0
0
03-05-2016, 12:12 AM
#113
Junior Member
Thread Starter
Join Date: Jan 2012
Location: Miami
Posts: 316
Total Cats: 3
Once all the hoses, wires and other odds and ends were buttoned up, I added all the fluids and the car cranked right up on the first try.
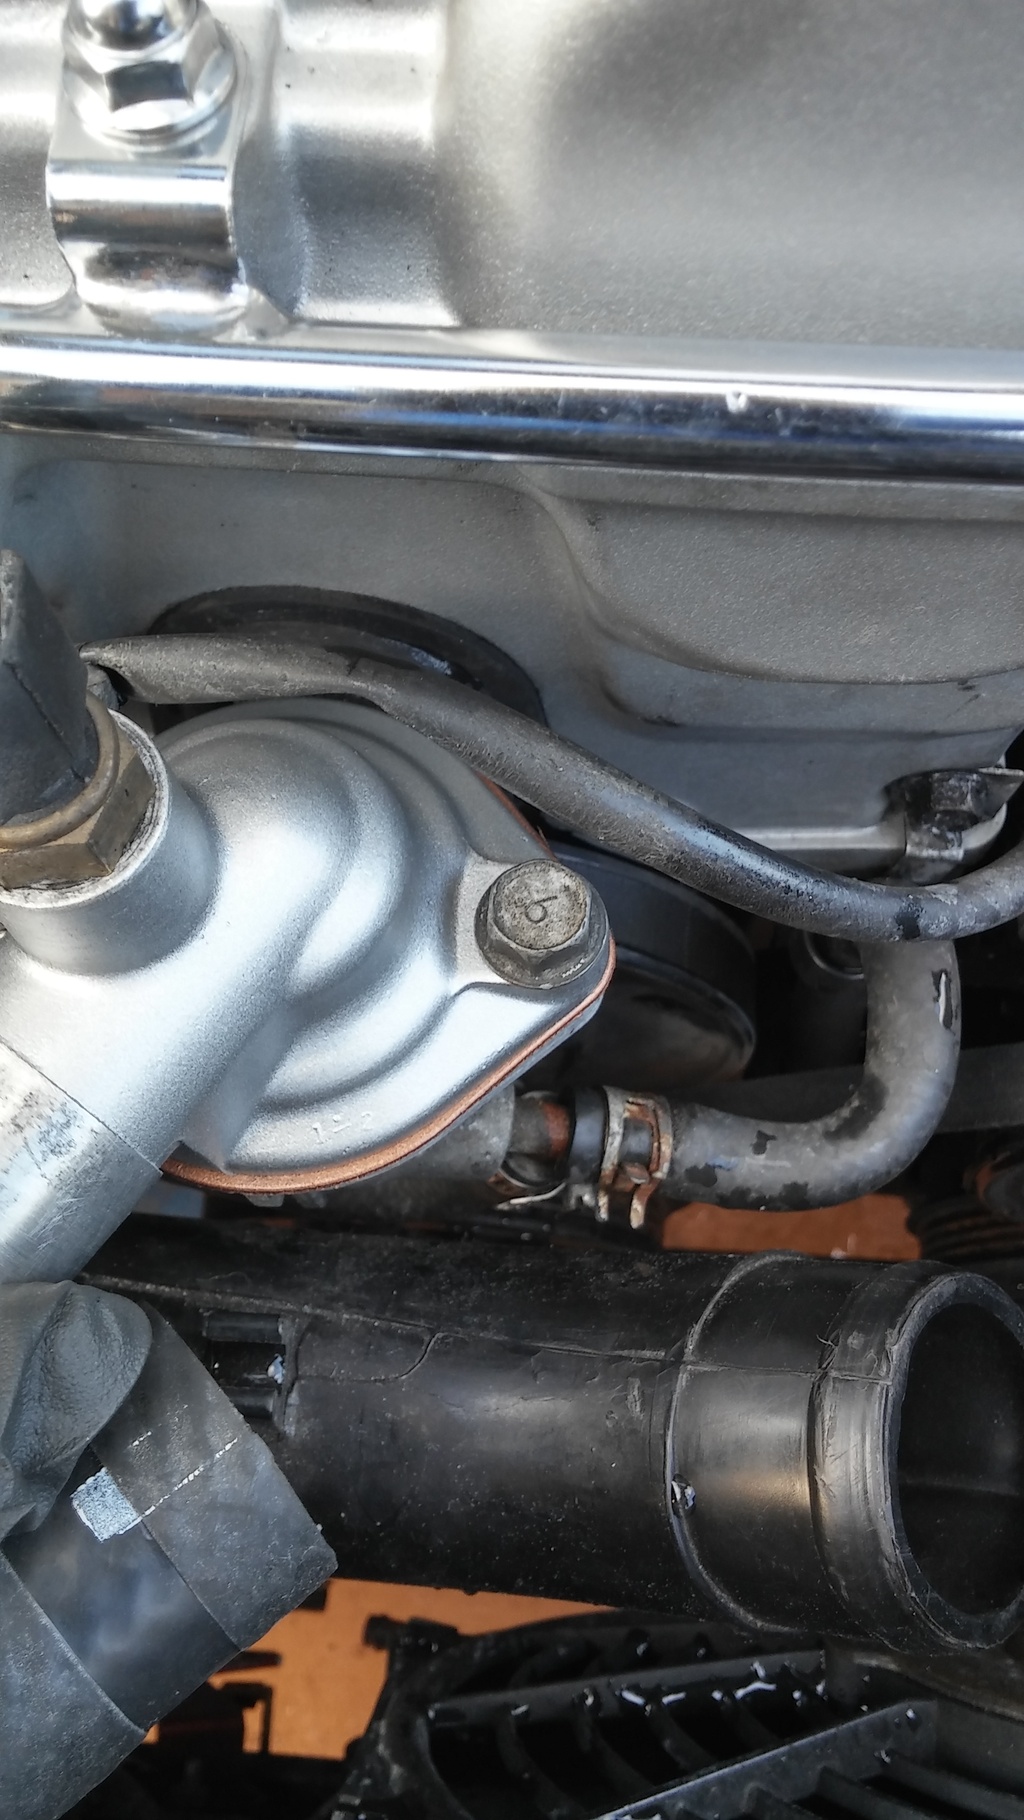
The finished product, I really should have painted the intake manifold as well. The rest of the engine is literally clean enough to eat off of.
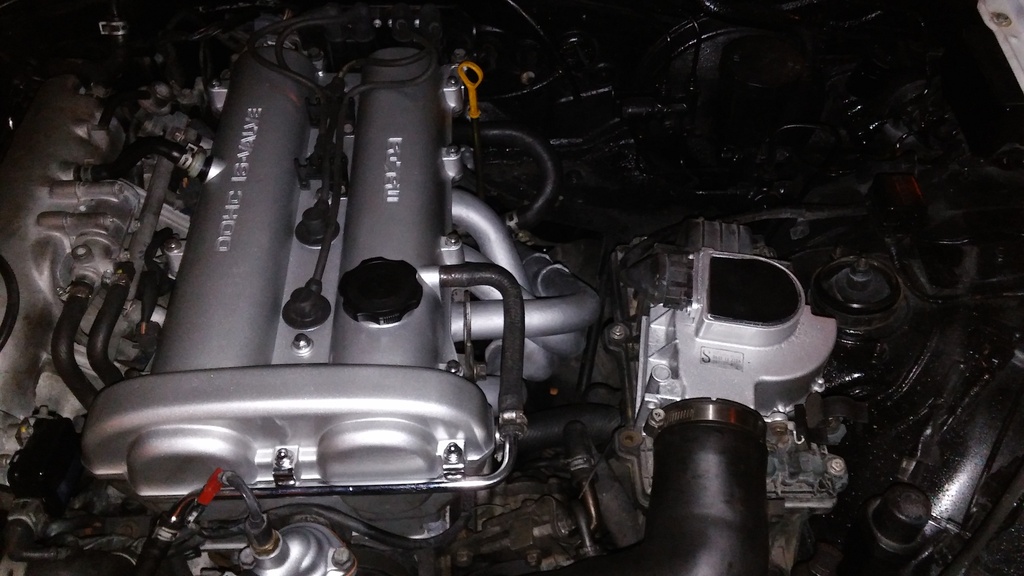
Major key: If you actually follow the curing instructions on the back of the header paint can, the paint will not burn off.

The finished product, I really should have painted the intake manifold as well. The rest of the engine is literally clean enough to eat off of.

Major key: If you actually follow the curing instructions on the back of the header paint can, the paint will not burn off.
Reply
0
0
03-05-2016, 12:13 AM
#115
Junior Member
Thread Starter
Join Date: Jan 2012
Location: Miami
Posts: 316
Total Cats: 3
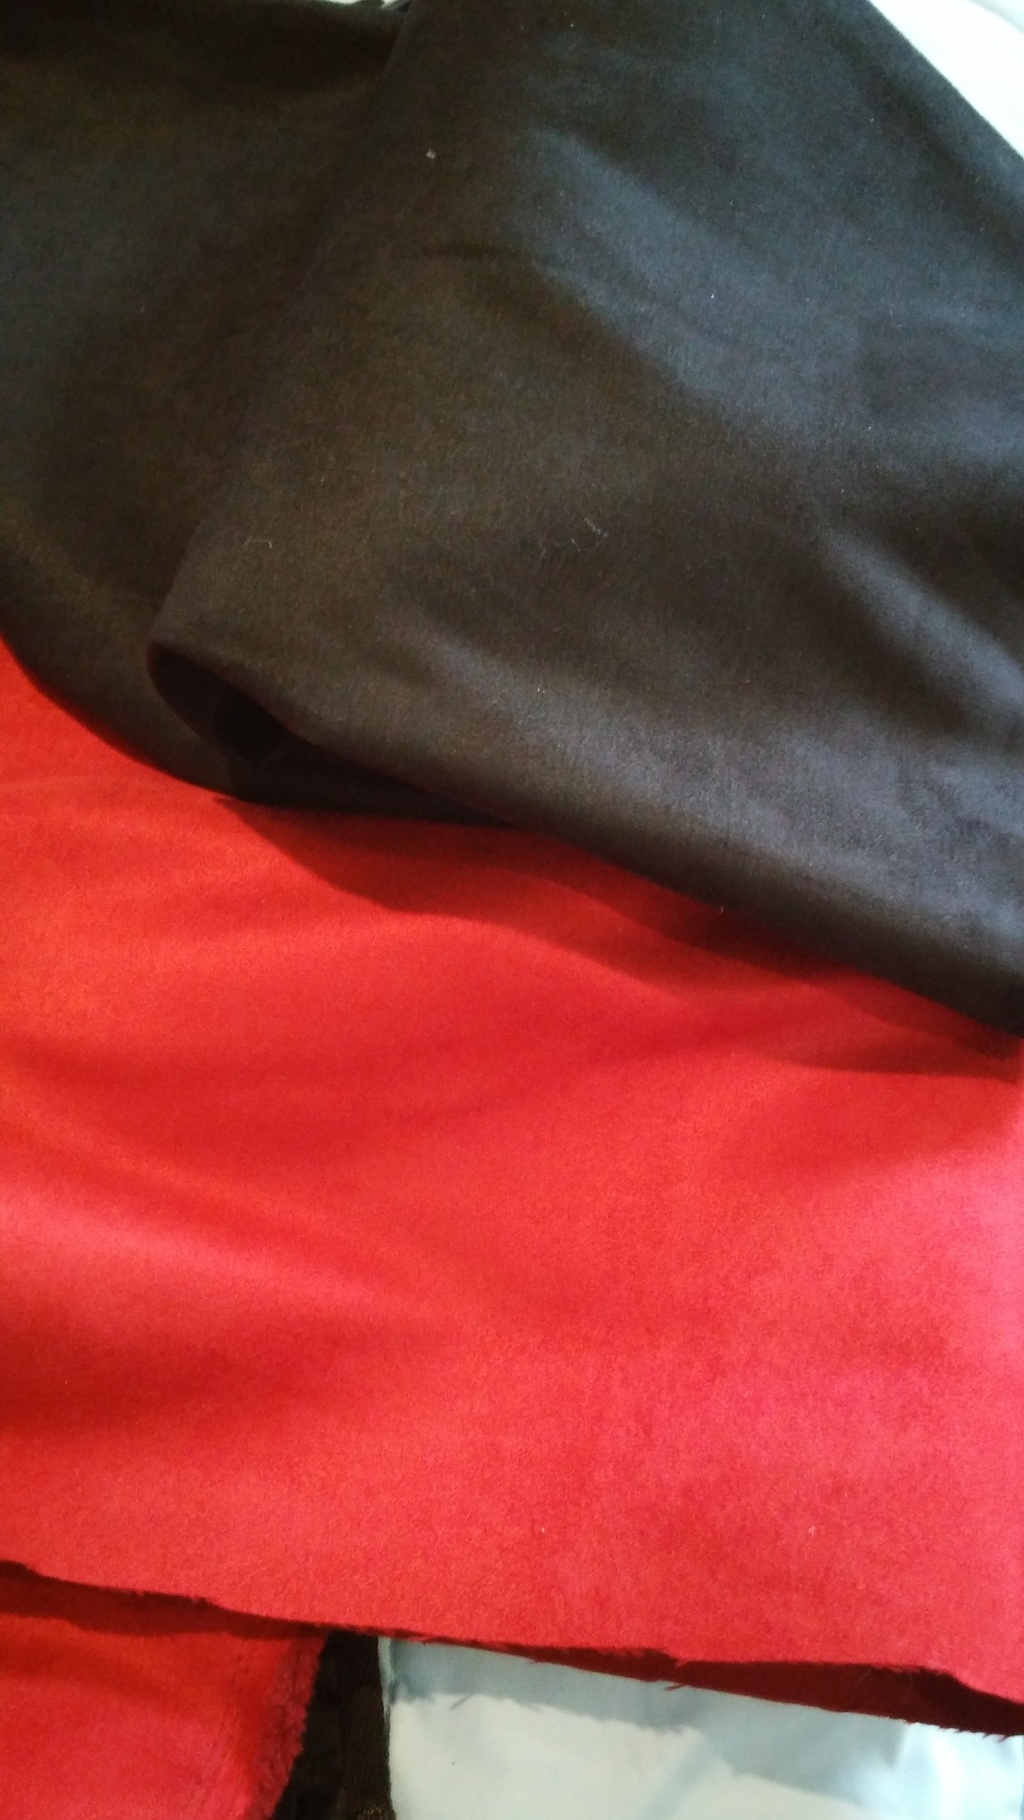
Going to wrap my door panels, finally. Also plan to wrap the center console lid. If I do well, I may do the crash pad and upper door panels in this red. I got all this sueded microfiber stuff at Joanne Fabrics for $34. They've got most of the whole store %50 off if anyone else wants to try their hand at this.

Reply
0
0
03-05-2016, 12:14 AM
#116
Junior Member
Thread Starter
Join Date: Jan 2012
Location: Miami
Posts: 316
Total Cats: 3
I took a brief hiatus from my car projects to attend the funeral of my uncle, Dario Enrique Cueto Soriano. He was my uncle, my Godfather, and one of the people that inspired me to become an engineer. Upon returning to Miami, I got back to my car projects, both for the mental break and because my uncle would have wanted me to push forward. He was always so interested in both the progress of my career and all of my car projects. He thought the Miata was pretty sweet, so I came back and made it a little sweeter. No more exposed ABS door panels or cracked center console.
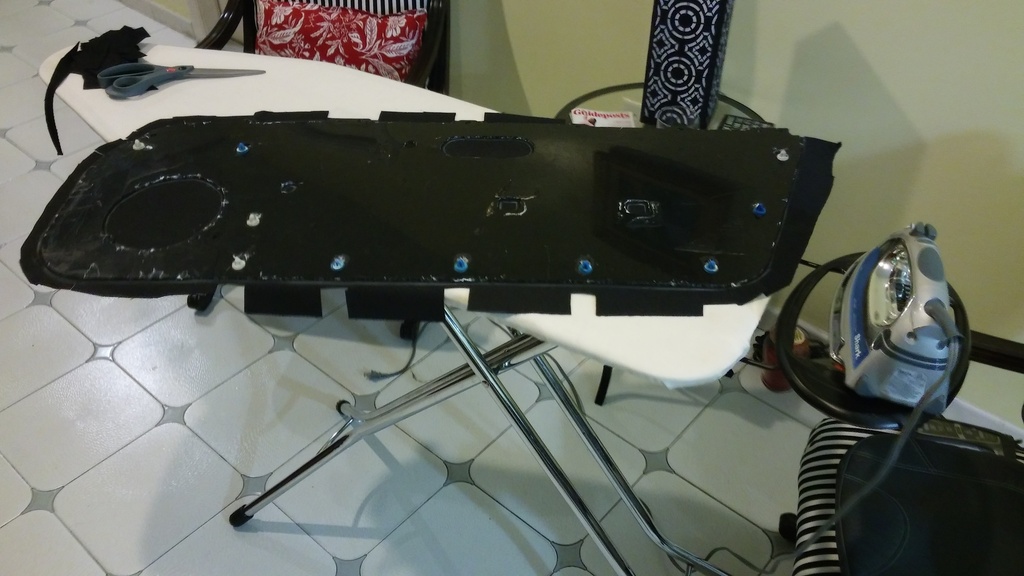
I started by tracing out the panels onto the back of a microfiber sheet using chalk

Then, I cut around the shape, leaving a couple inches of extra material all around
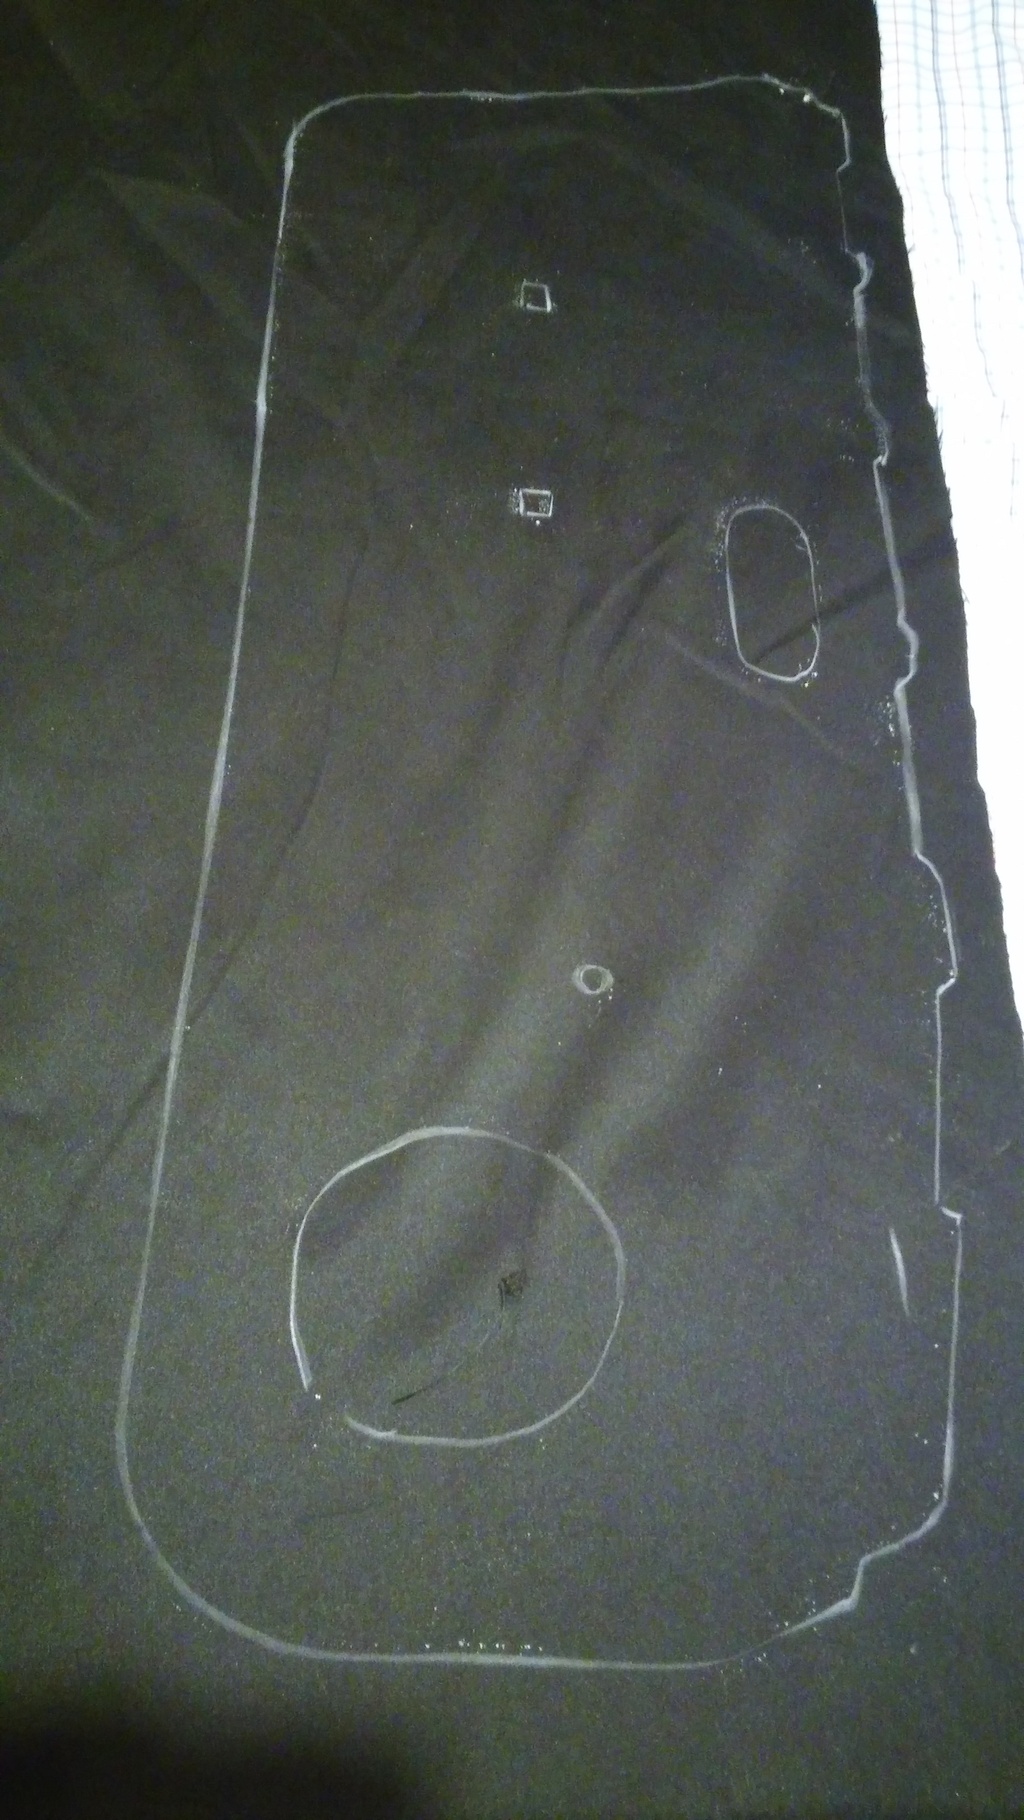
From there, I sprayed the panel with headliner and carpet adhesive, and allowed it to set
for 5 min. Do this part outdoors and be sure to use a respirator mask.

Reply
0
0
03-05-2016, 12:15 AM
#117
Junior Member
Thread Starter
Join Date: Jan 2012
Location: Miami
Posts: 316
Total Cats: 3
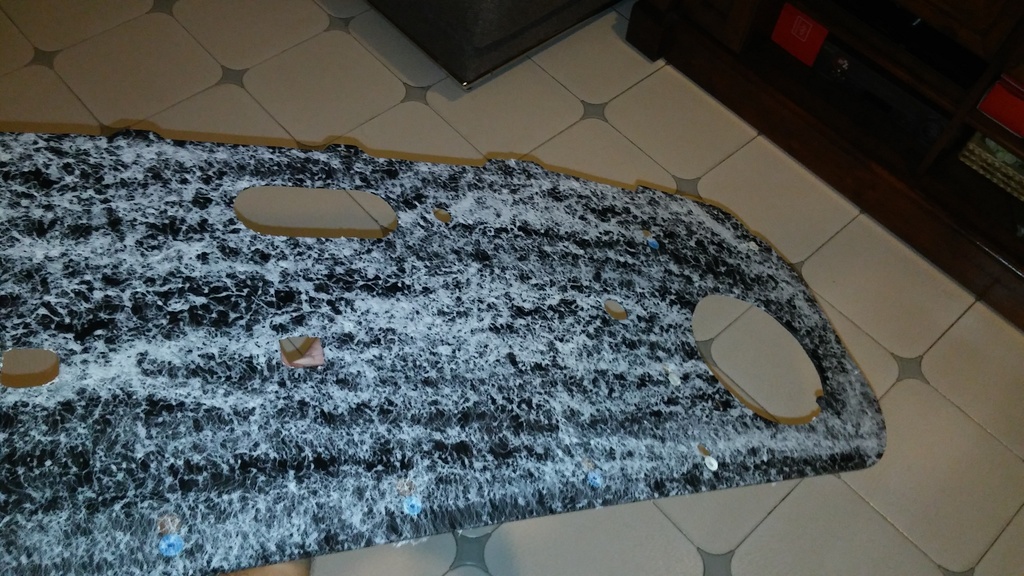
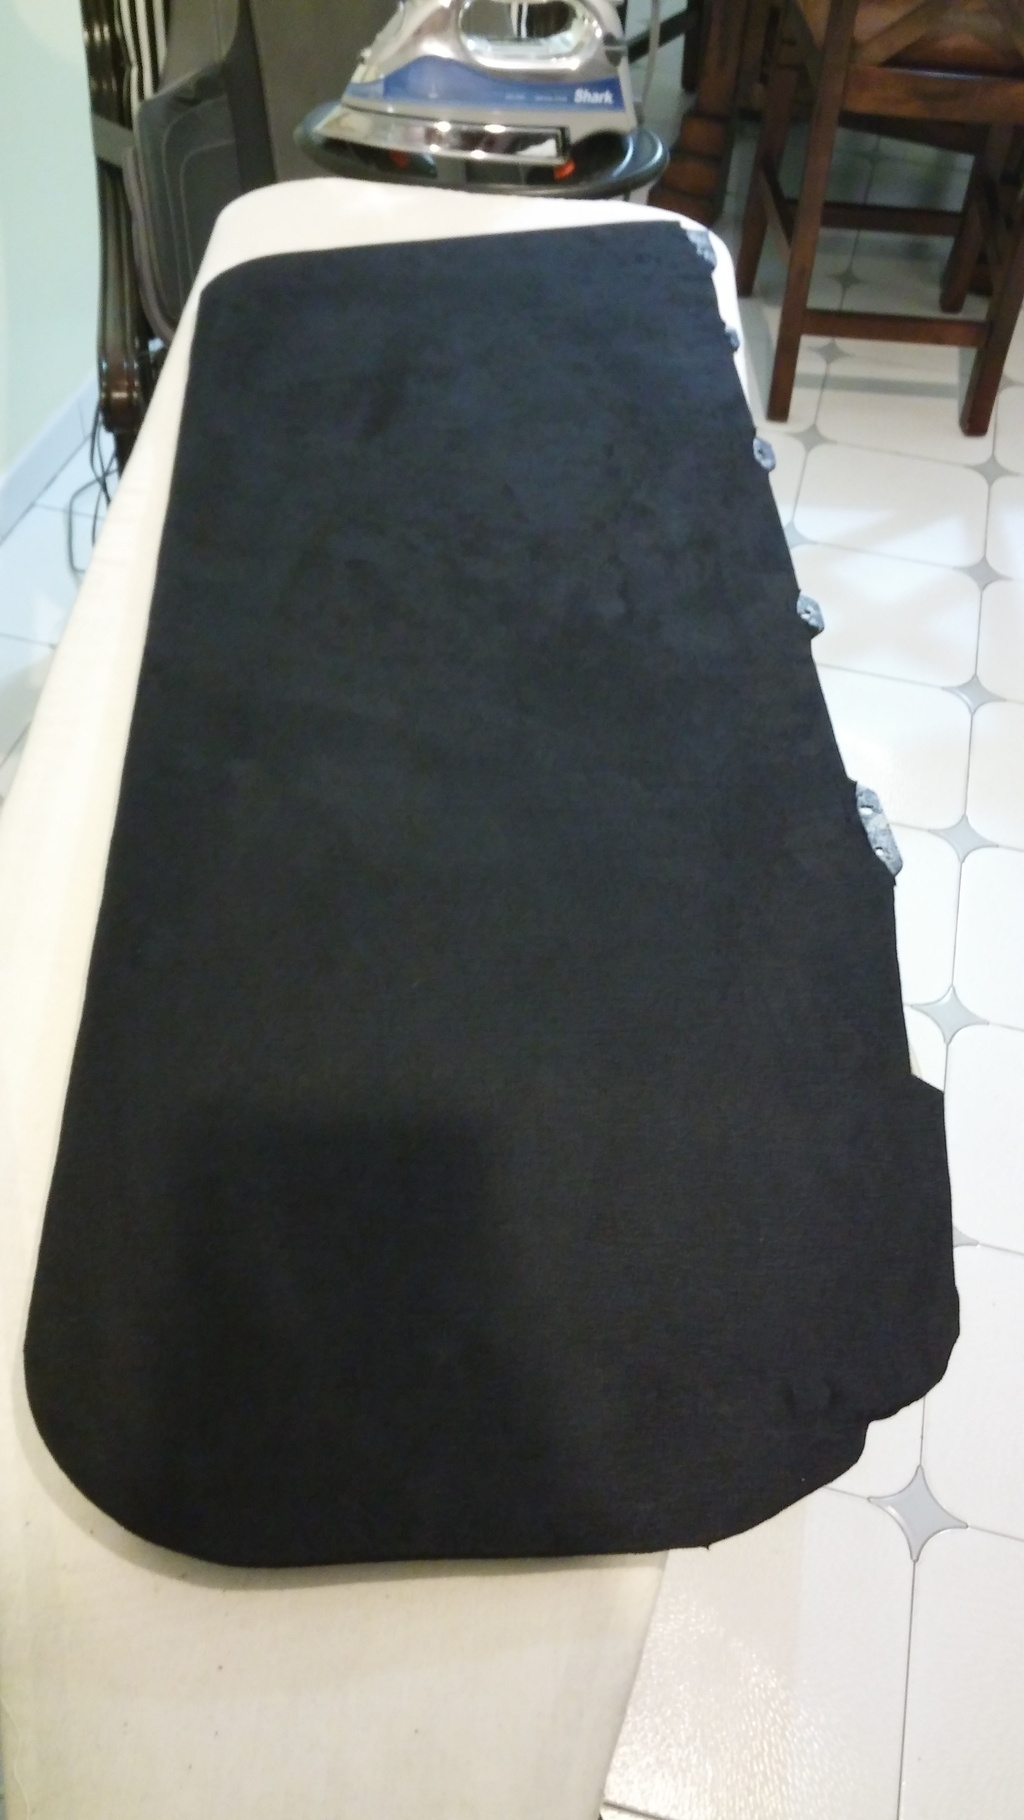
Once the adhesive tacked up, I put the panels down onto the microfiber and spread the material nice and flat so there were no wrinkles.
Then I went around making cutouts for the panel clips and making relief cuts for the corners
Once satisfied with the finish, I sprayed the back of the panel with adhesive in areas where material would fold over. I then folded over the material, being extra careful to pull the corners nicely
Then I went around making cutouts for the panel clips and making relief cuts for the corners

Once satisfied with the finish, I sprayed the back of the panel with adhesive in areas where material would fold over. I then folded over the material, being extra careful to pull the corners nicely
Reply
0
0
03-05-2016, 12:16 AM
#118
Junior Member
Thread Starter
Join Date: Jan 2012
Location: Miami
Posts: 316
Total Cats: 3
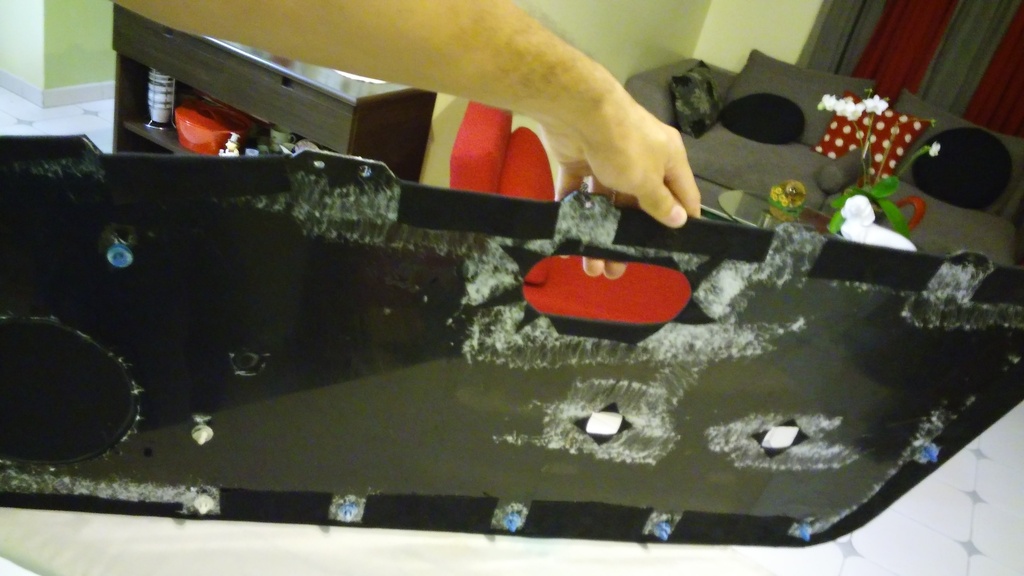
Then I flipped the panel over and cut away material I had left on the tips that the crash pad holds on to
From here, I sliced into the cutouts with a razor blade and then used the shears to make relief cuts so I could pull the material around back. I decided against removing the material that covers the speaker area. It looks much cleaner this way.
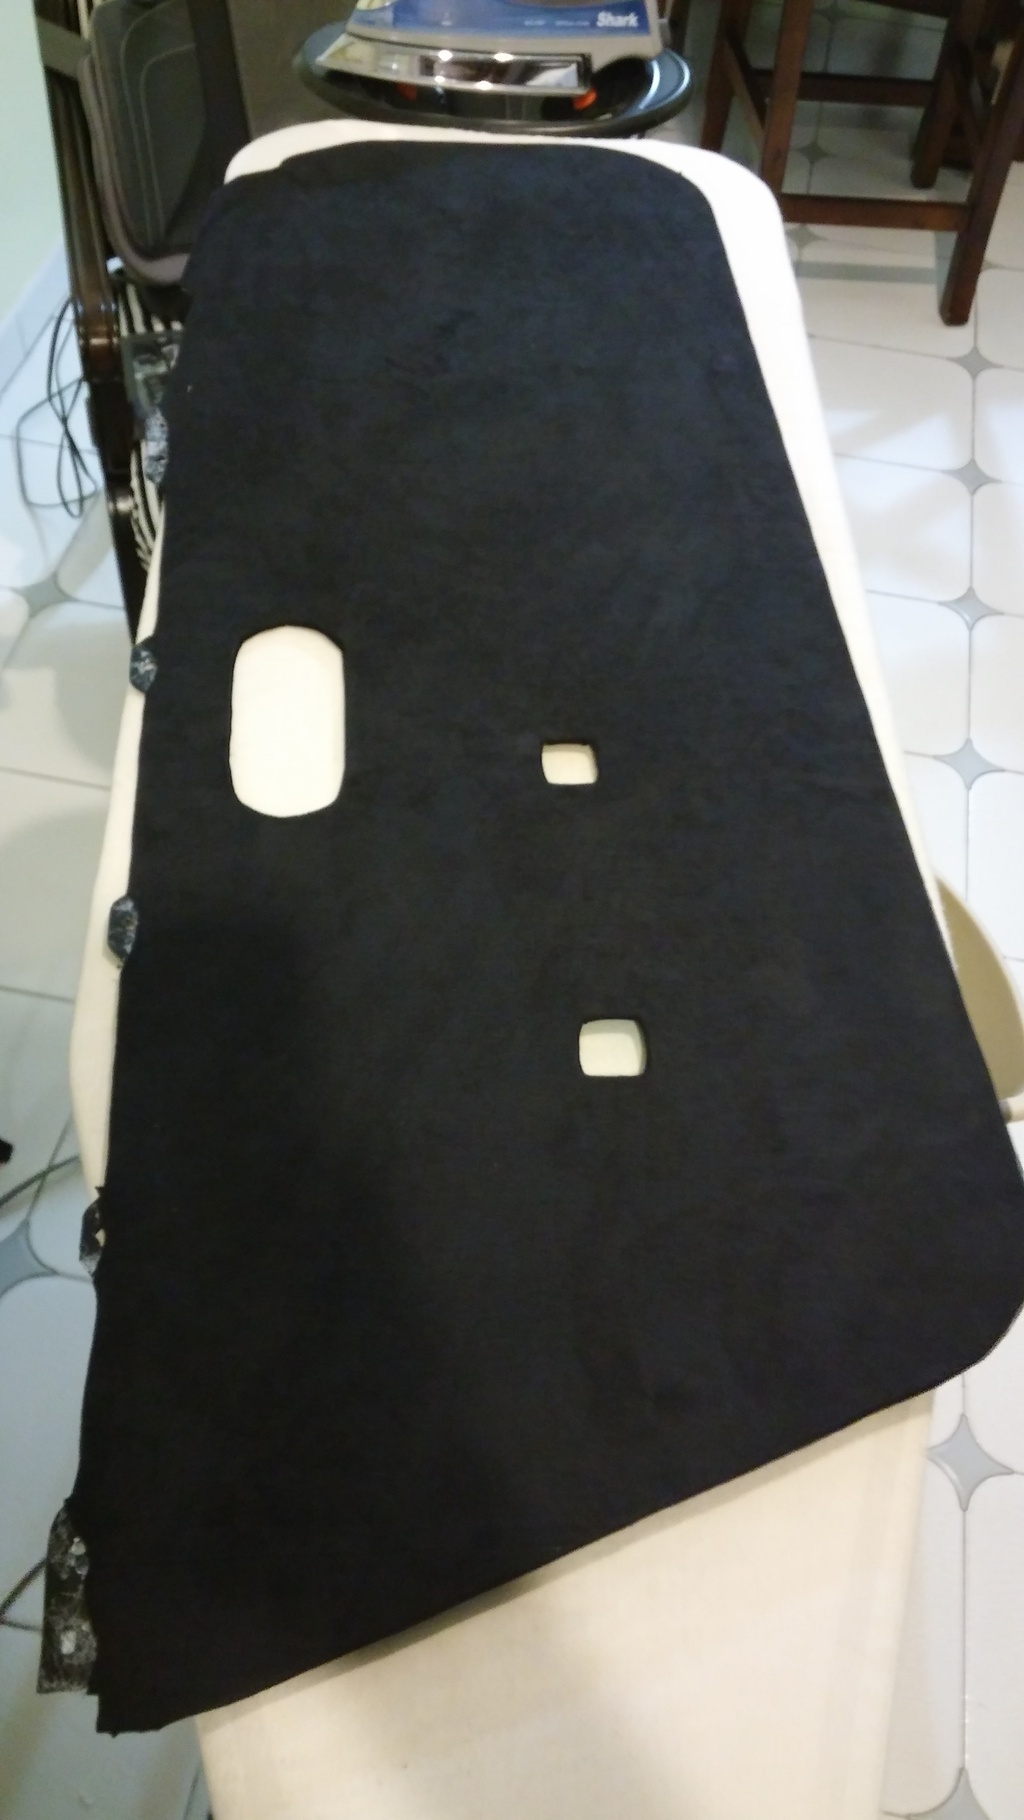
Here is a view from the back

From here, I sliced into the cutouts with a razor blade and then used the shears to make relief cuts so I could pull the material around back. I decided against removing the material that covers the speaker area. It looks much cleaner this way.

Here is a view from the back

Reply
0
0

 03-05-2016, 12:17 AM
#120
Junior Member
Thread Starter
Join Date: Jan 2012
Location: Miami
Posts: 316
Total Cats: 3
I had previously begun the center console wrapping. I actually finished it before I did the door panels. It came out alright, I may redo it in the future.
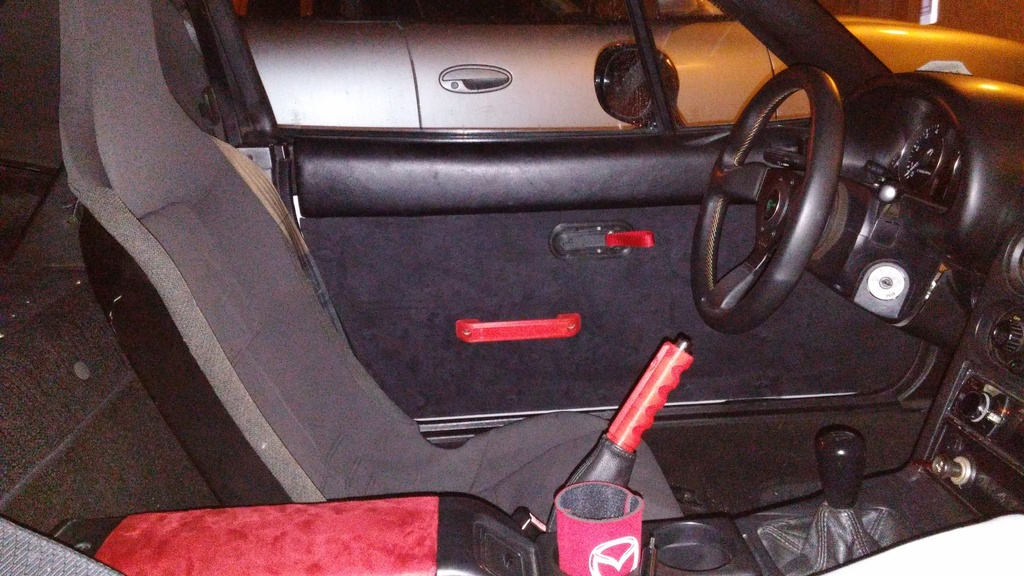
All the red actually matches better in person than in the photo. Under the flash, the materials reflect differently.

All the red actually matches better in person than in the photo. Under the flash, the materials reflect differently.
Reply
0
0


