My '91 Turbo track build - GeneSplicer
 02-06-2010, 09:22 AM
#1
Elite Member
Thread Starter
iTrader: (14)

Join Date: Sep 2009
Location: Birmingham, AL
Posts: 2,101
Total Cats: 180
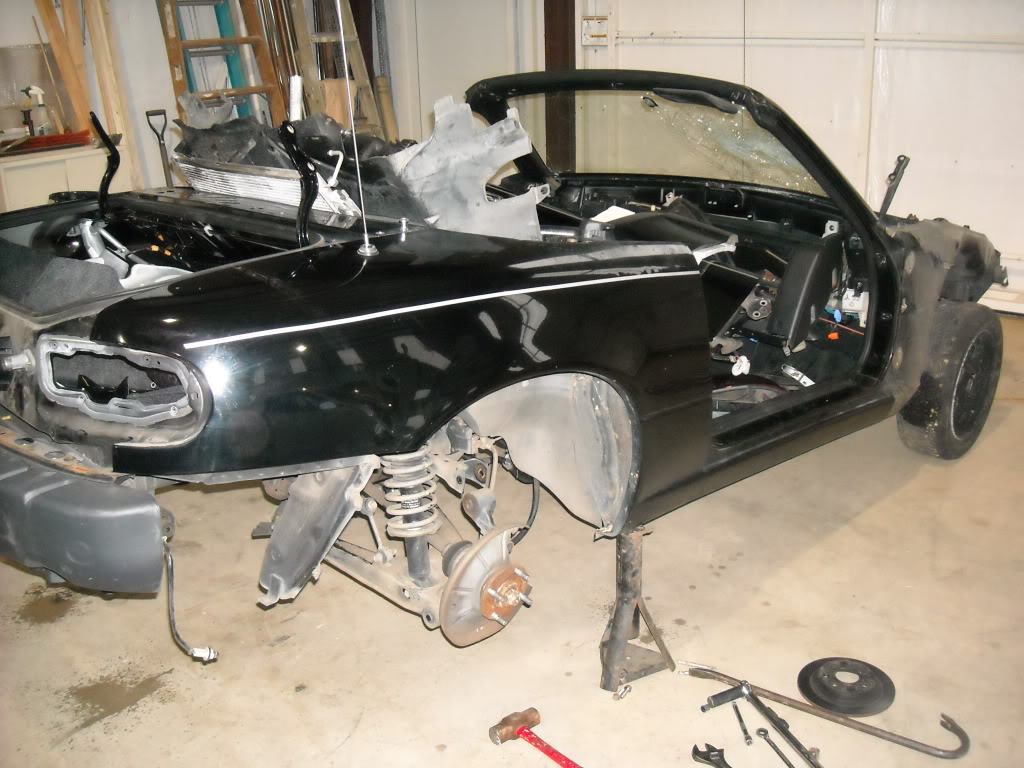
Thought I'd finally start posting up some pics and vids of the car/build...
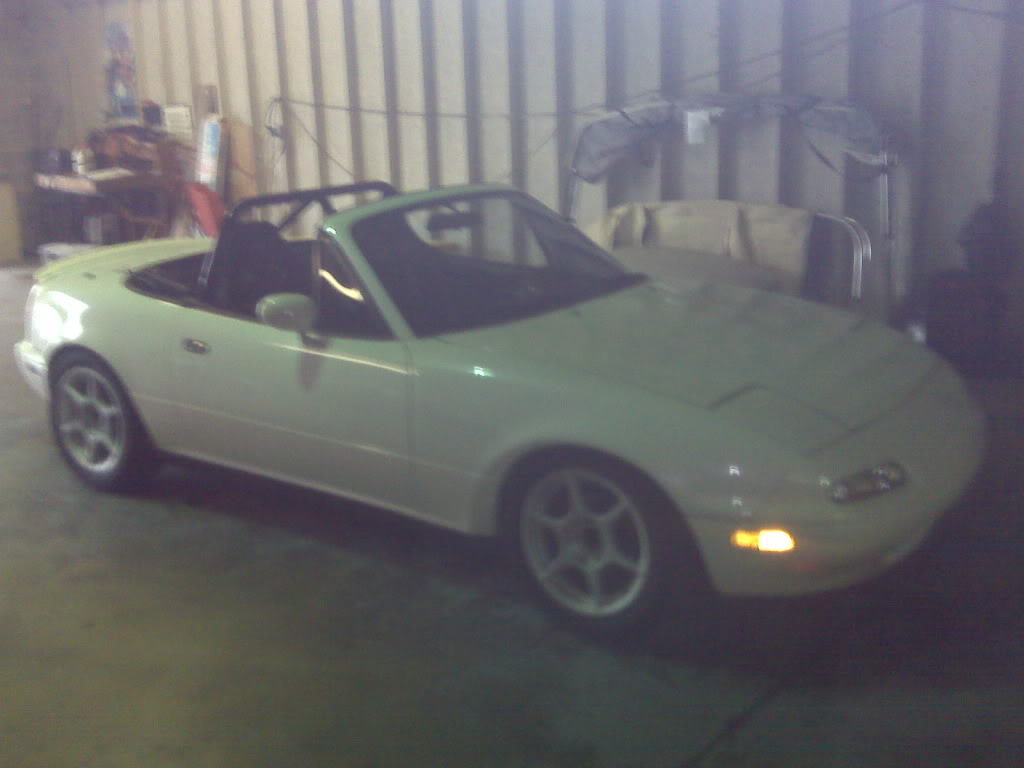
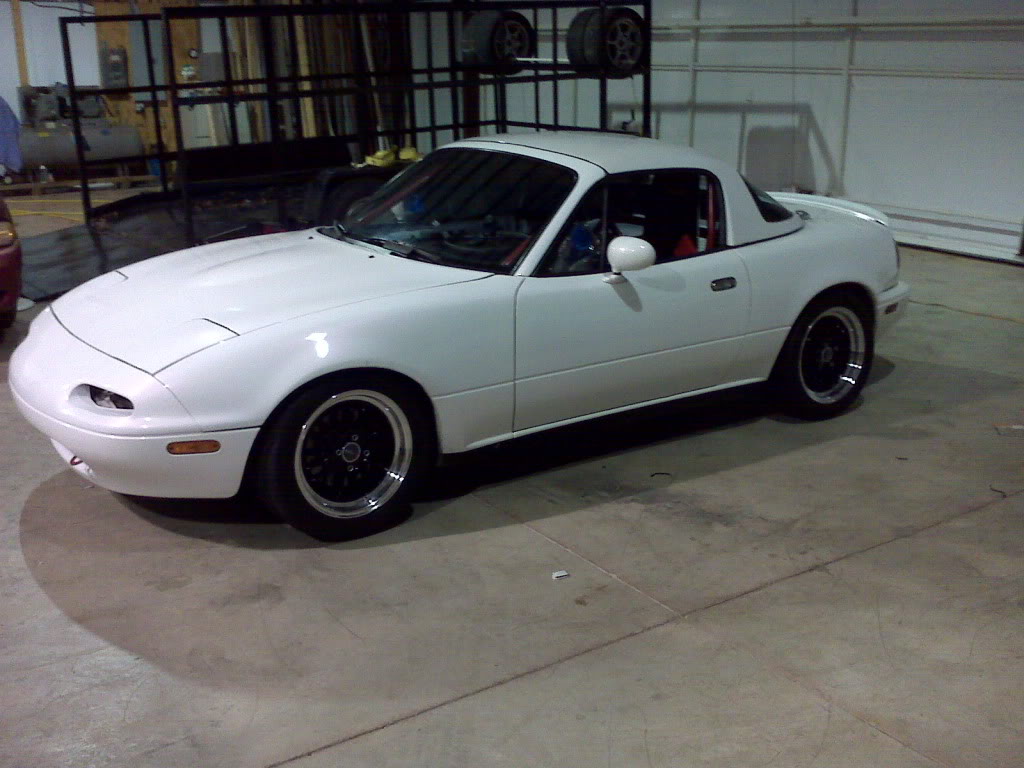
Found it like this last August:
GC coilovers, Koni adjustable yellows, Eibachs (650/300 I think... need to verify), 1.8 front/rear upgrade, braided brake and clutch lines, 15x7 Kosie K1 rims with a set of 205 V710s, a set of 225 V710s, wornout set of 205 RA1s, a set of factory 14" wheels, Corbuae seats, with Gforce 5pt harnesses, Kirk racing bar with side bars (mgeoffriau has it now), stock 1.6/5spd/rear end, racingbeat front and rear sway bars, and Hard top lieing against the back wall.
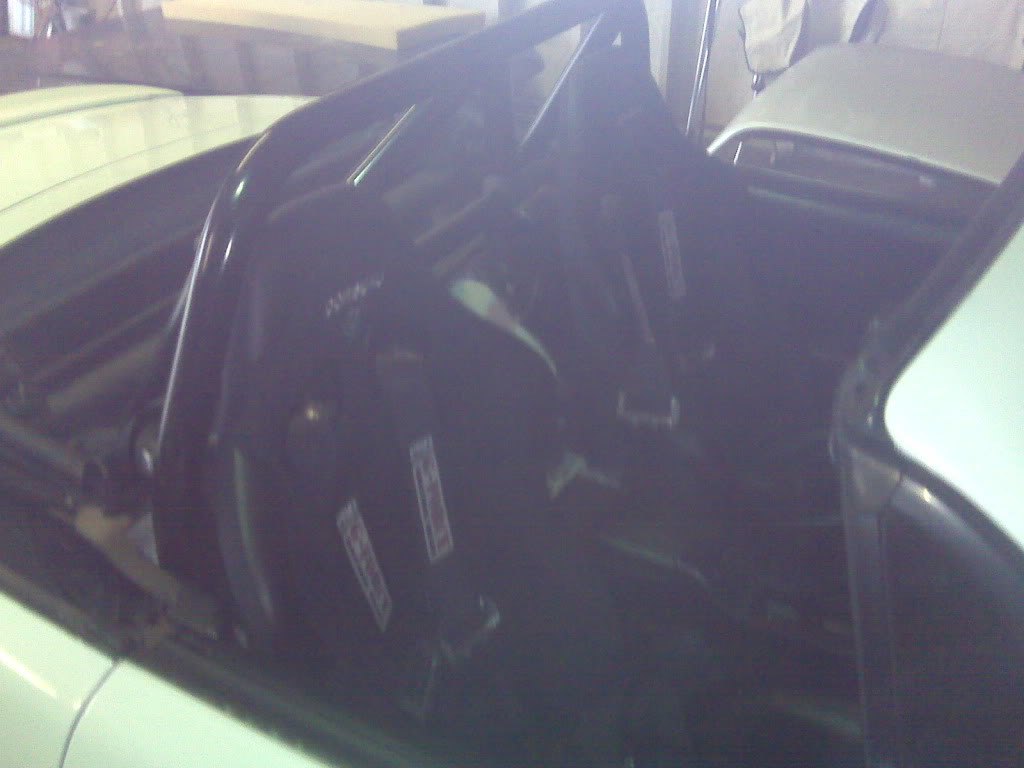
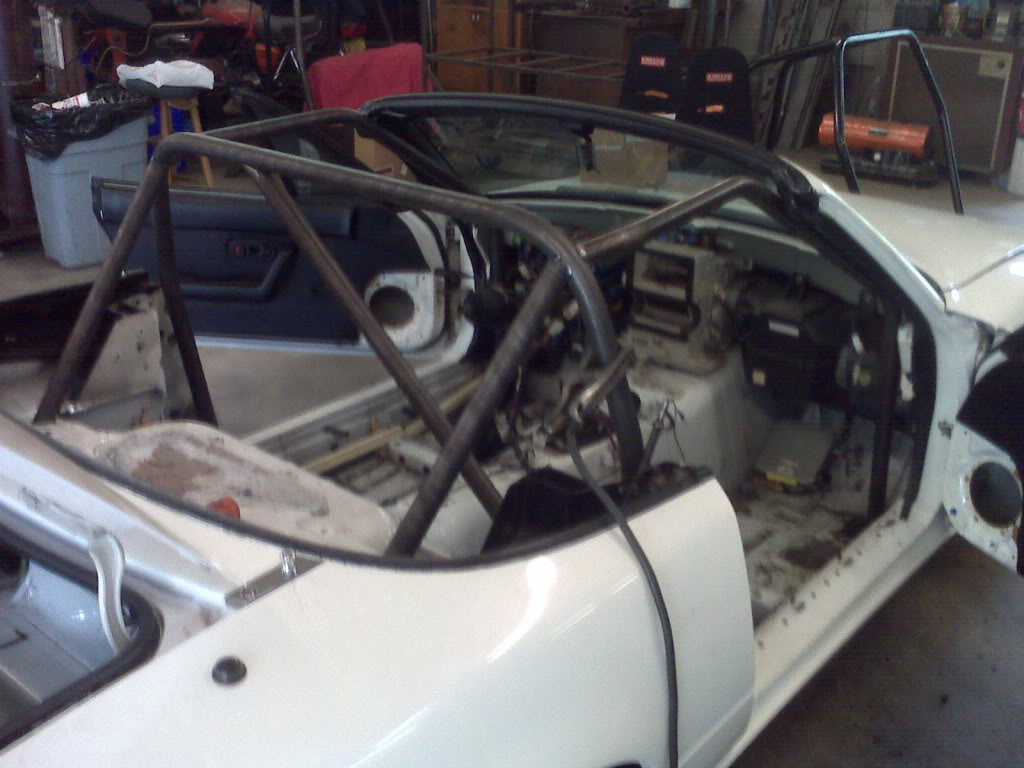
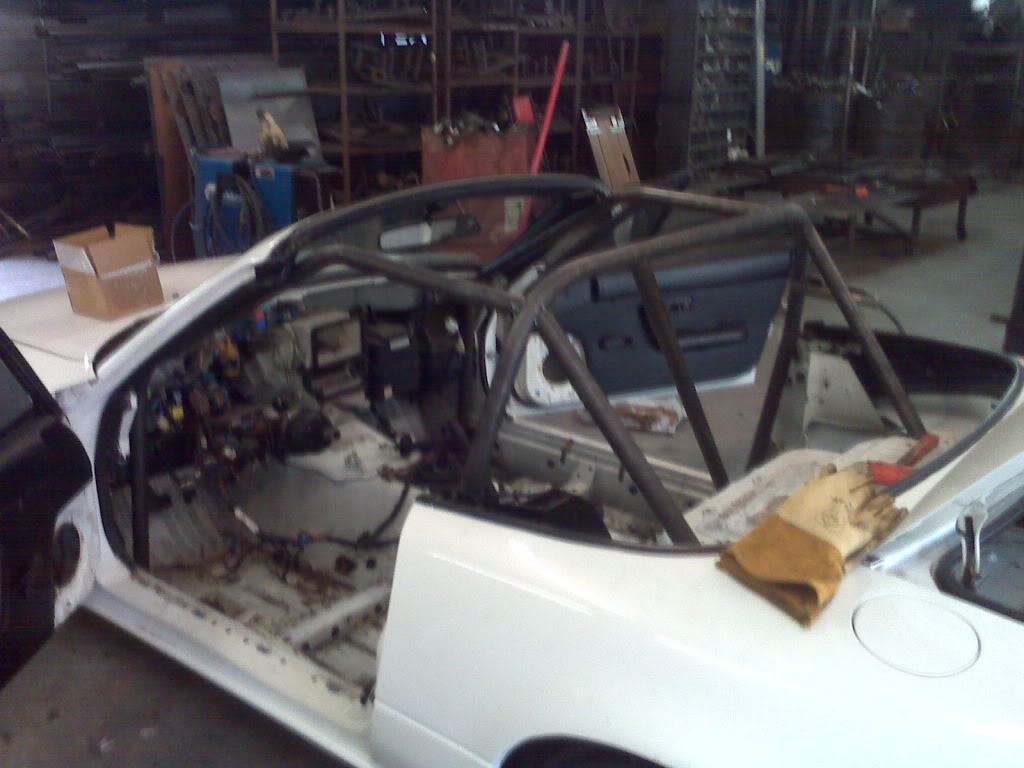
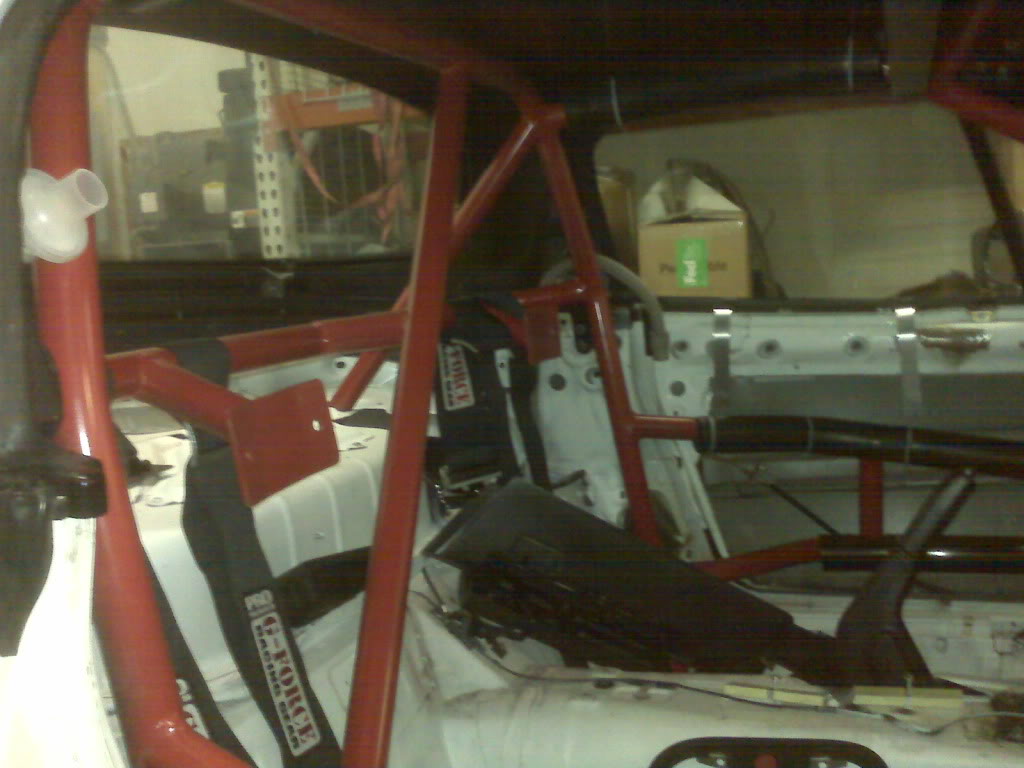
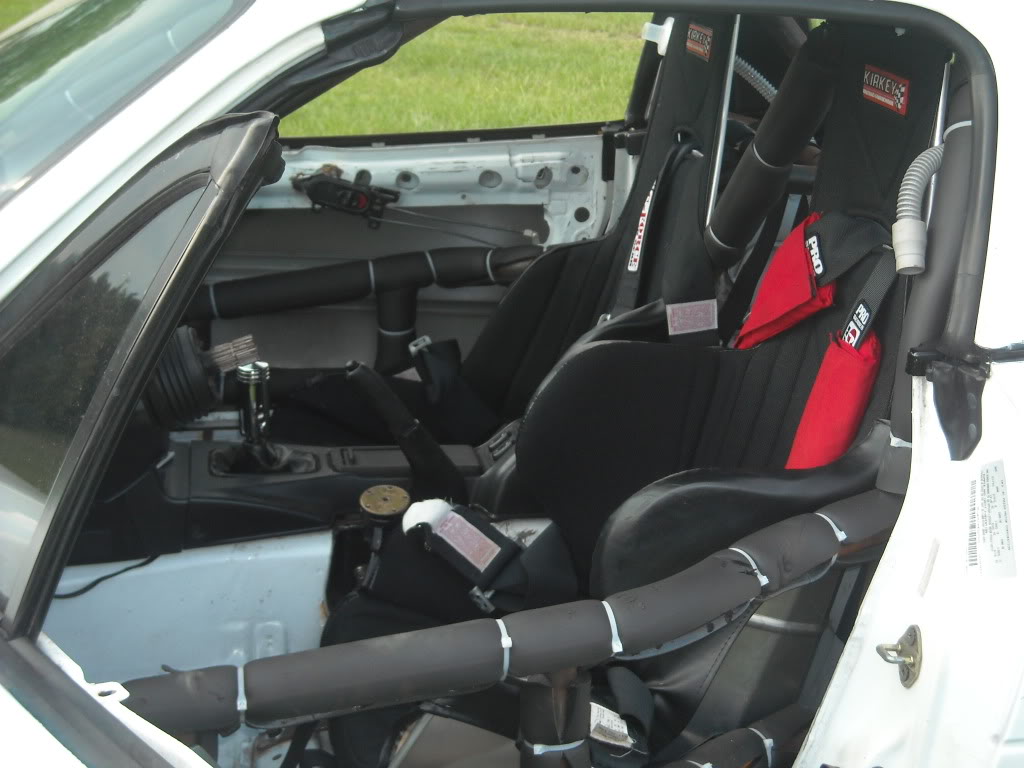
Then I promptly had a cage with nascar bars installed by Mark at Kirk Racing (he did an awesome job!) He also installed the Kirkey seats.
Bought a set of Drag rims off ebay... they didn't break apart... yet!
Then after driving several events as is, 1st being BMWCCA then Chin, last Audi... I hope you can see my line, brake points, and over-all still improve... much more needed yet however.
Tube vids:
My very first tyrack experience with BMWCCA LINK
Chin Motorsports (I solo'ed but promptly flat-spotted one of my front V710s and I didn't have a backup - day over) LINK
AUDI Club Part 1 (solo) LINK
AUDI Club part 2 (solo) some fun drift action LINK
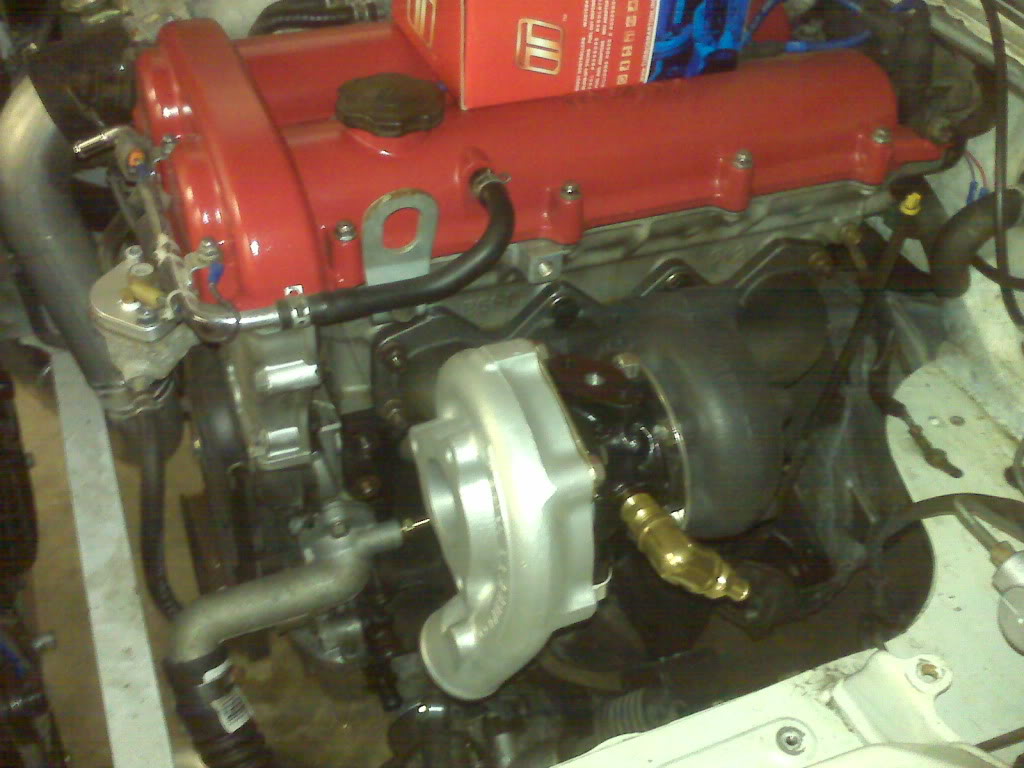
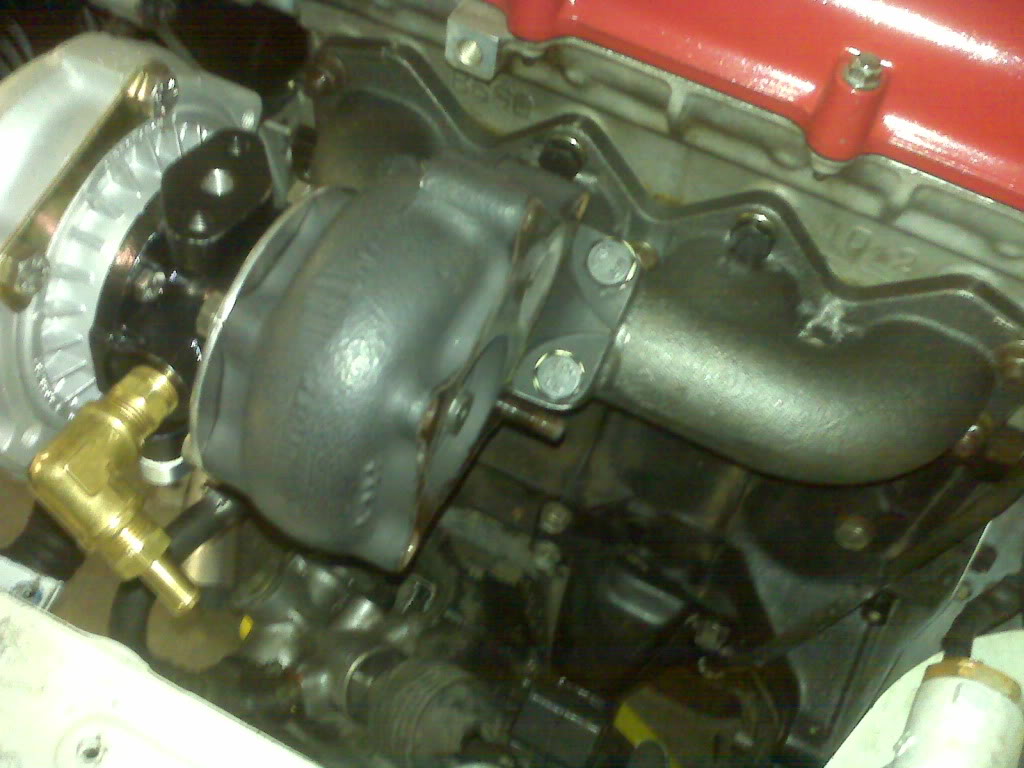
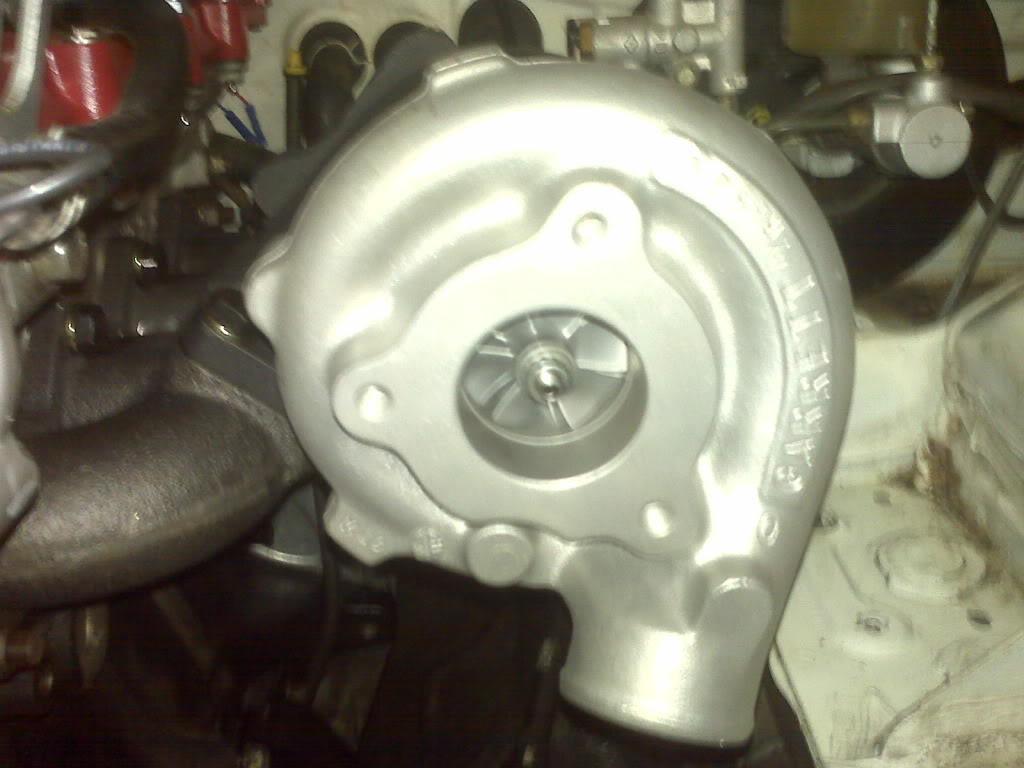
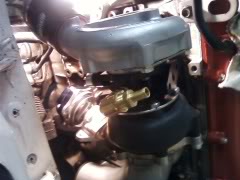
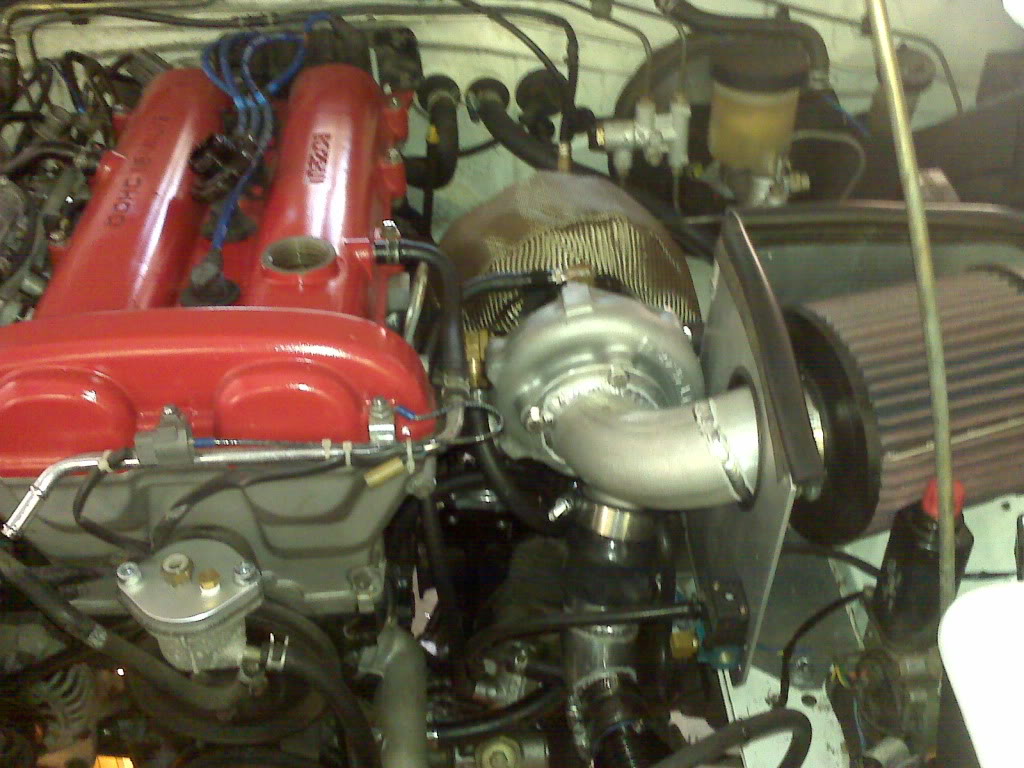
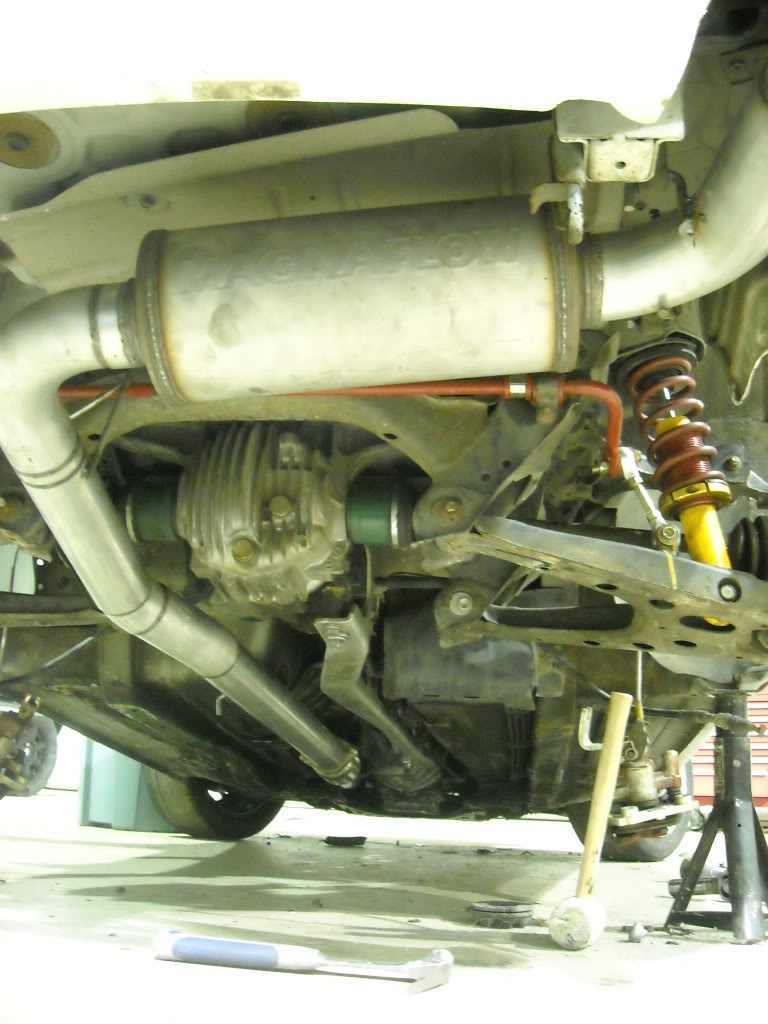
Then after the fall DEs were basically over, I proceeded in taking the Miata to SuperNaturalTurbo (home) and had Reed install a Garret T3 with .42AR and 50 trim. He fabbed a 3" down pipe all the way out. Also put on a magnaflow muffler.
I bought a bunch of stuff the Ebay way -
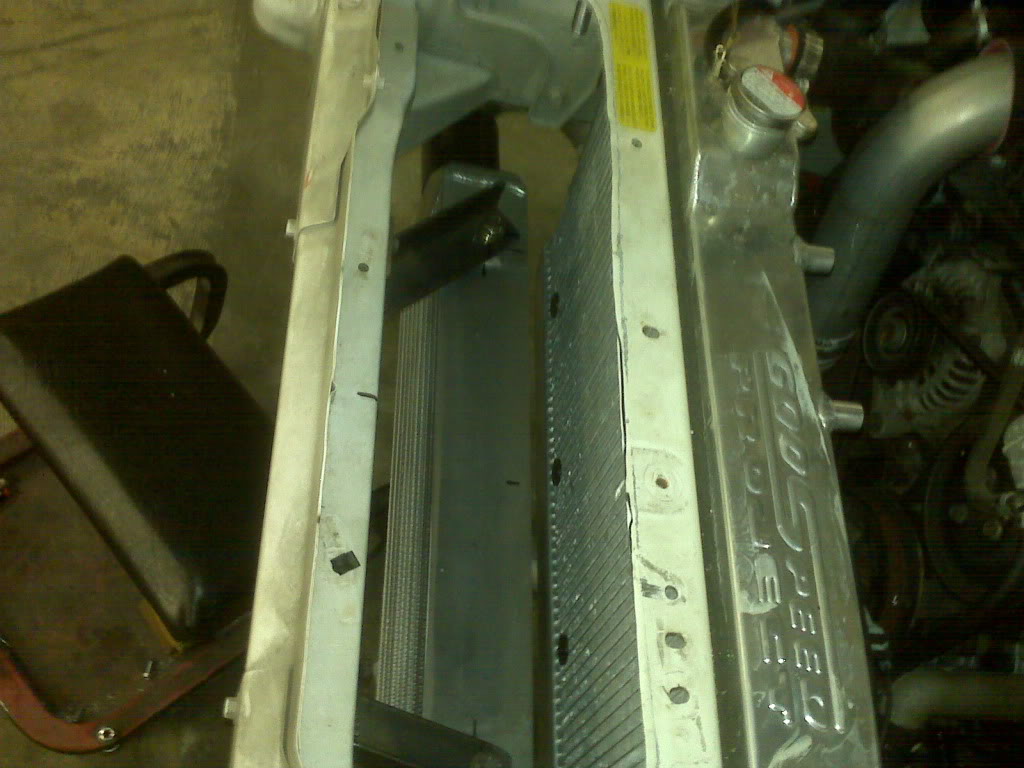
GodSpeed radiator
Bar/plate intercooler
25row oil cooler
tacotaco cast manifold
oil sandwich plate adapter (which sucked ***)
The other stuffs were the M-Tuned reroute kit
MegaSquirtPNP
LC-1 wideband with meter
TRE 255 fuel pump
Supra 440cc injectors
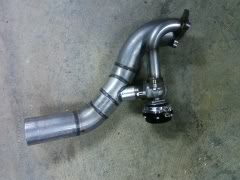
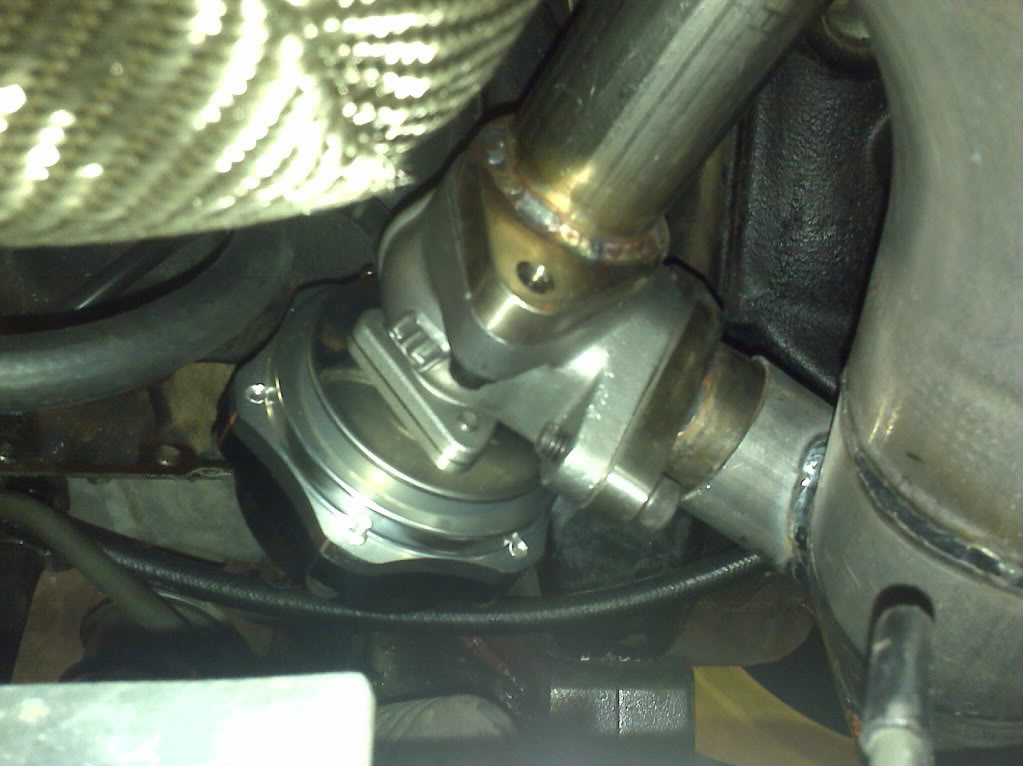
TurboSmart blowoff and Wastegate valves
1.8L ACT Pro-lite flywheel and Exedy 3puck clutch
Brembo 1.8 Slotted front rotors with Carbotech XP10 pads (rears have Hawks)
In progress to install:
1.8 open diff swap
Front OEM clip
Fender flares
ThermoTech insulation for the lines and tunnel
On order:
5 of Emilio's 15x9 6UL Nickels
'94 1.8 block (David?)
Need to order:
275/35 Hoosiers
OS Giken LSD (I may break down and get an RX7 clutch LSD for now)
The install progress:
He's re-doing the intake flange
Wells TPS201 installed
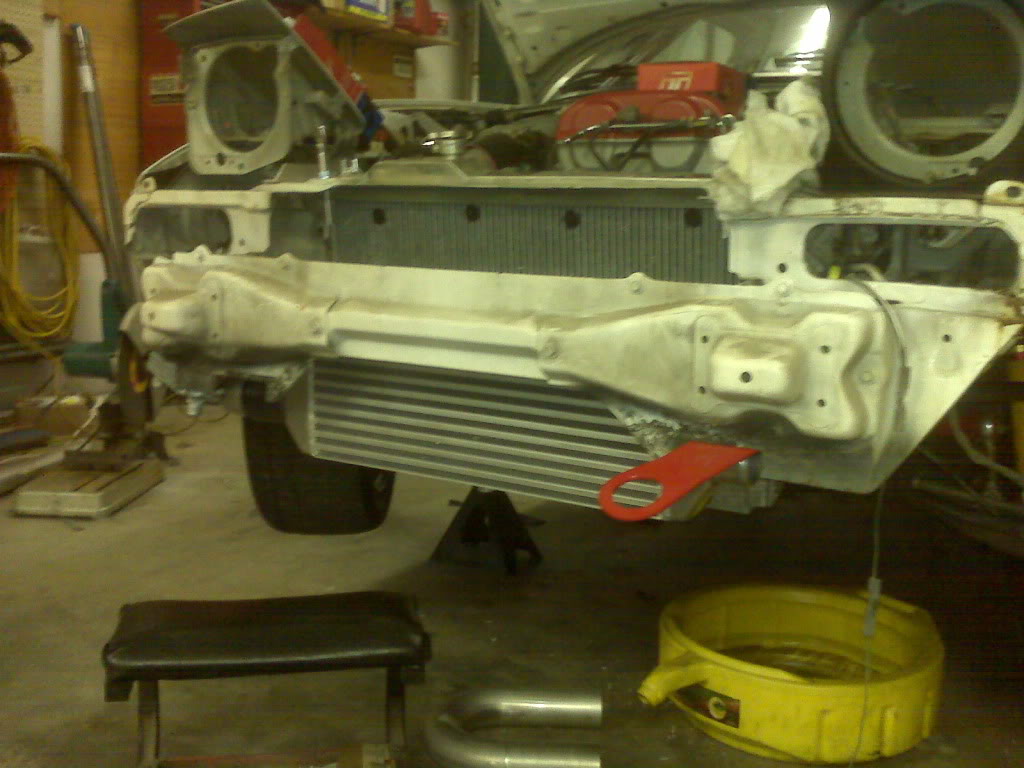
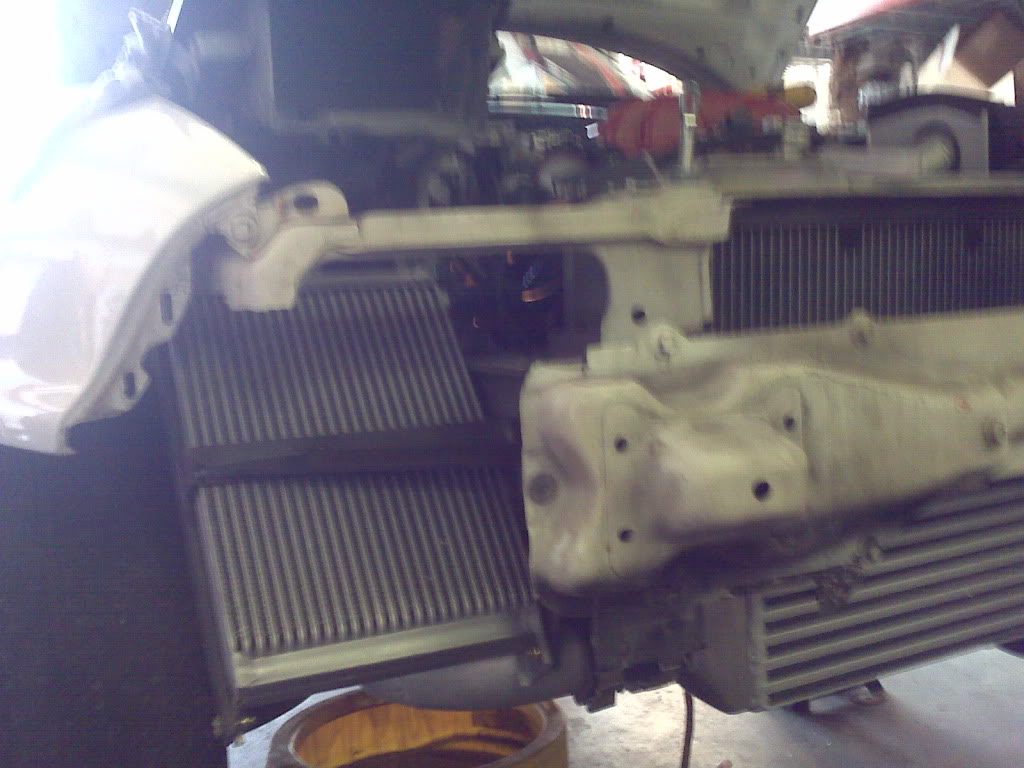
In progress- Ducting for max cooling!
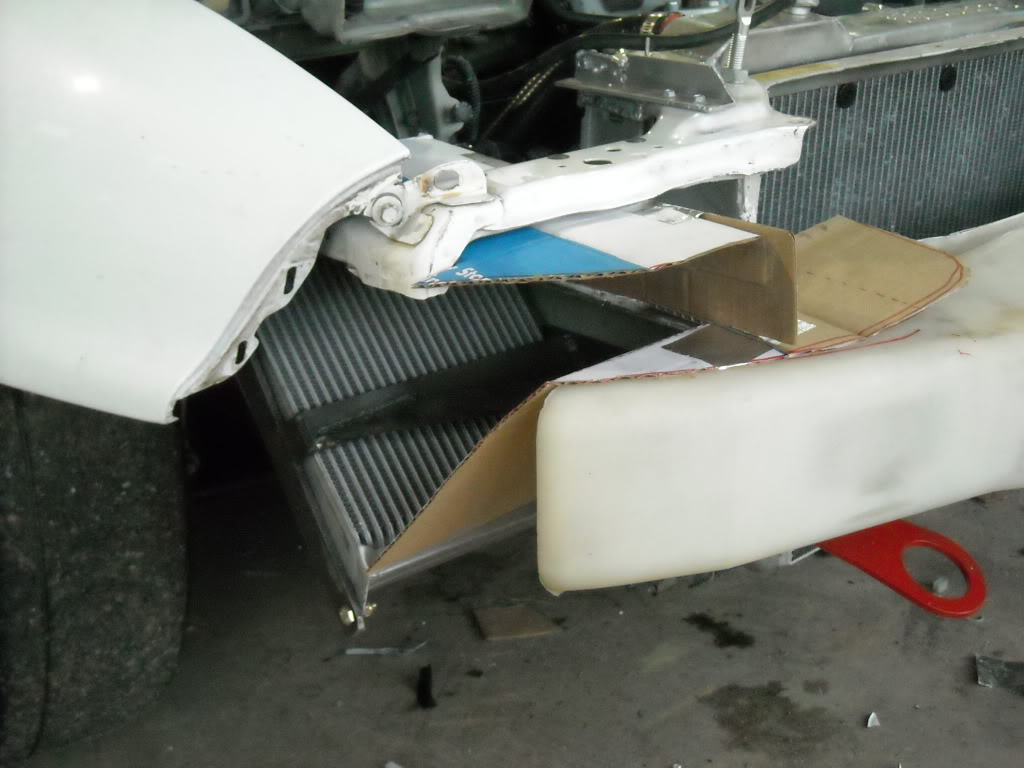
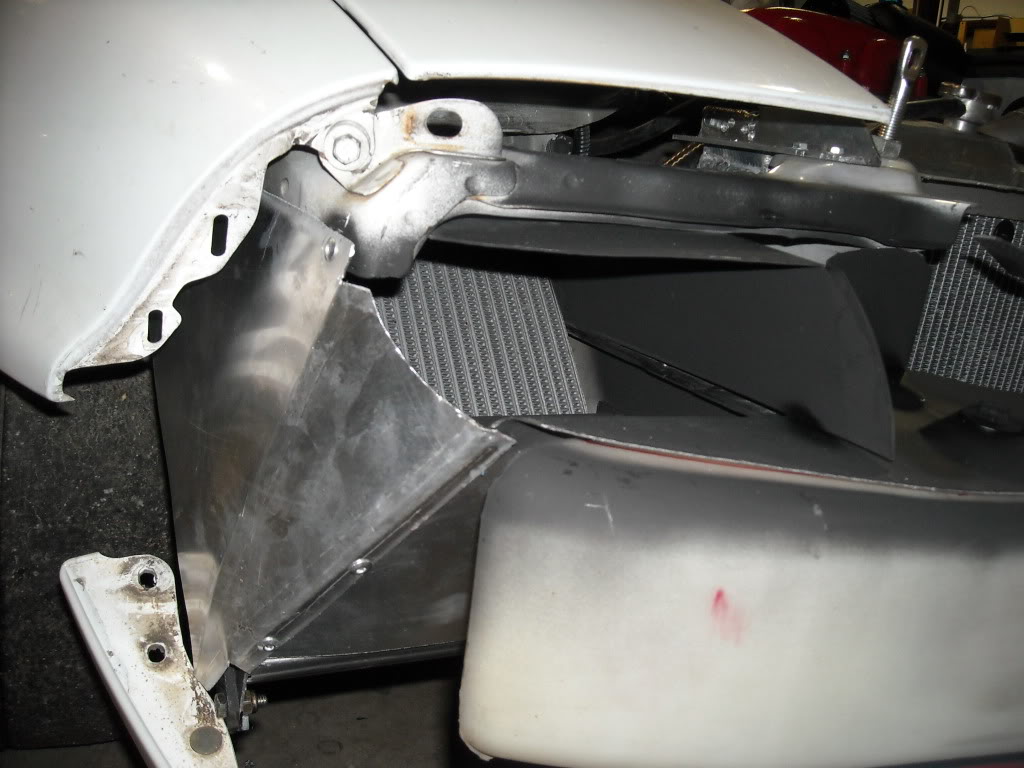
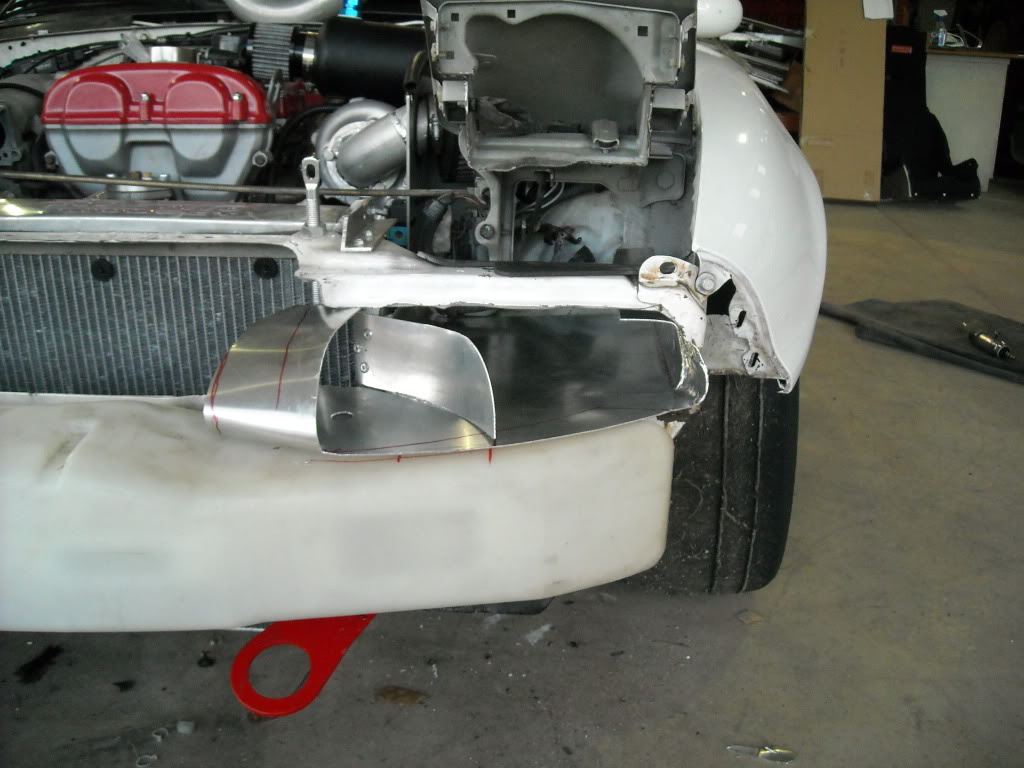
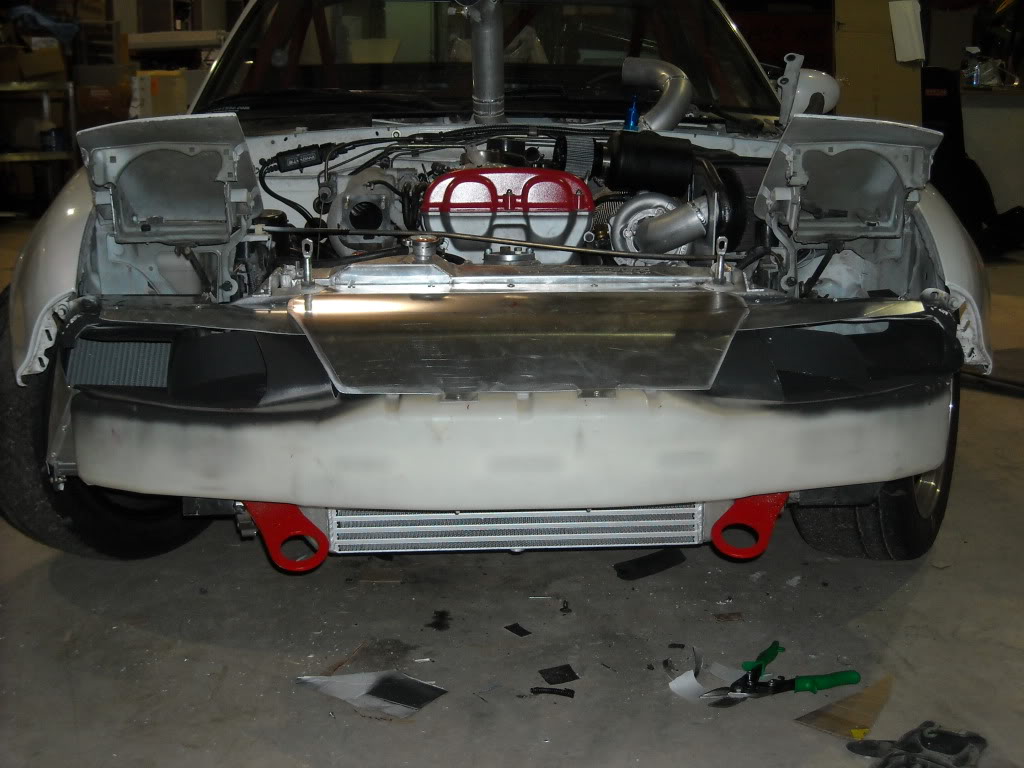
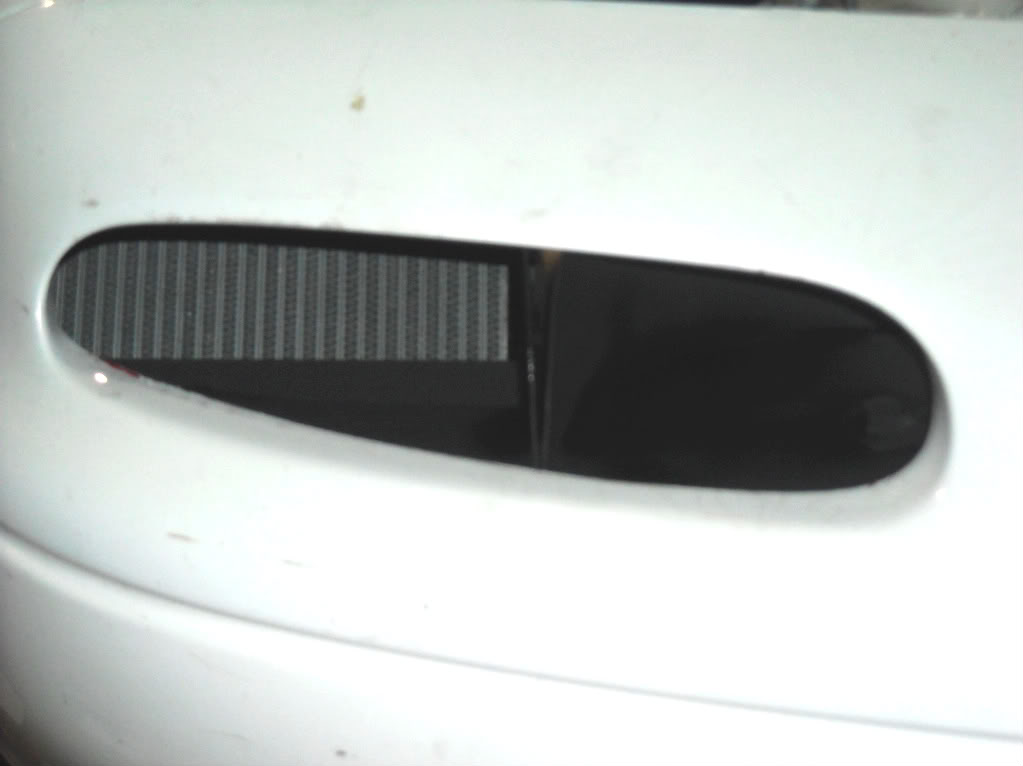
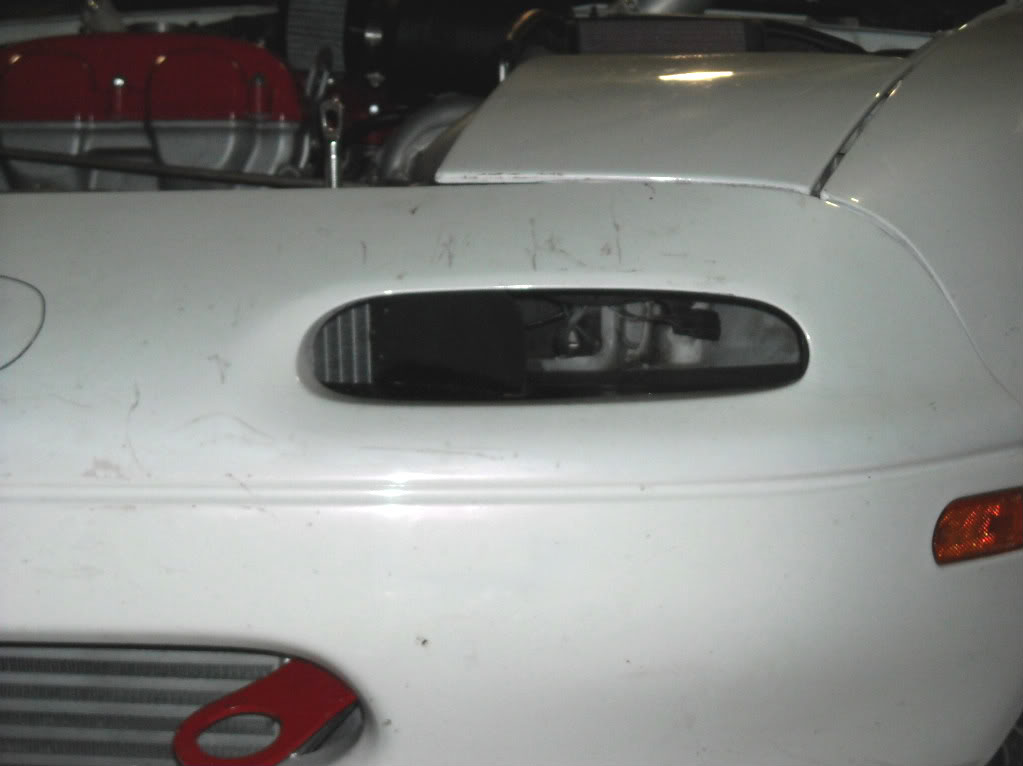
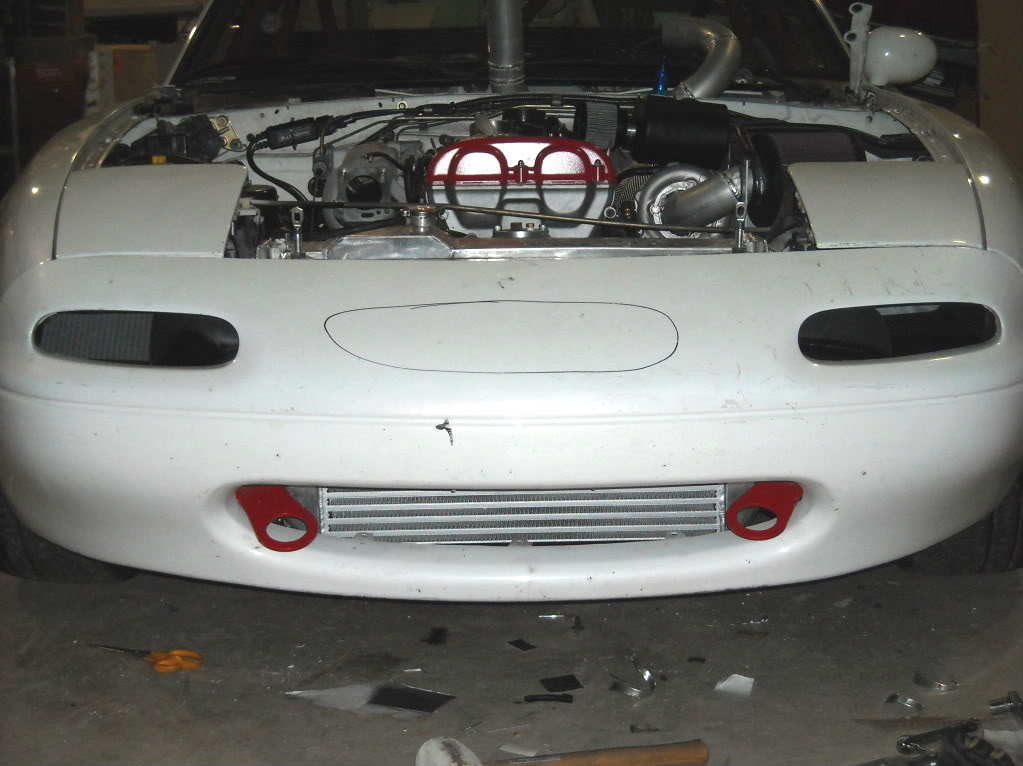
I've got to finish the underpanel ducting
I plan on cutting from the bumper and clip where they meet to get a little air ducted straight to the radiator from underneath.
Also in progress - cutting fenders for the flares, louvering the hump on the hood.
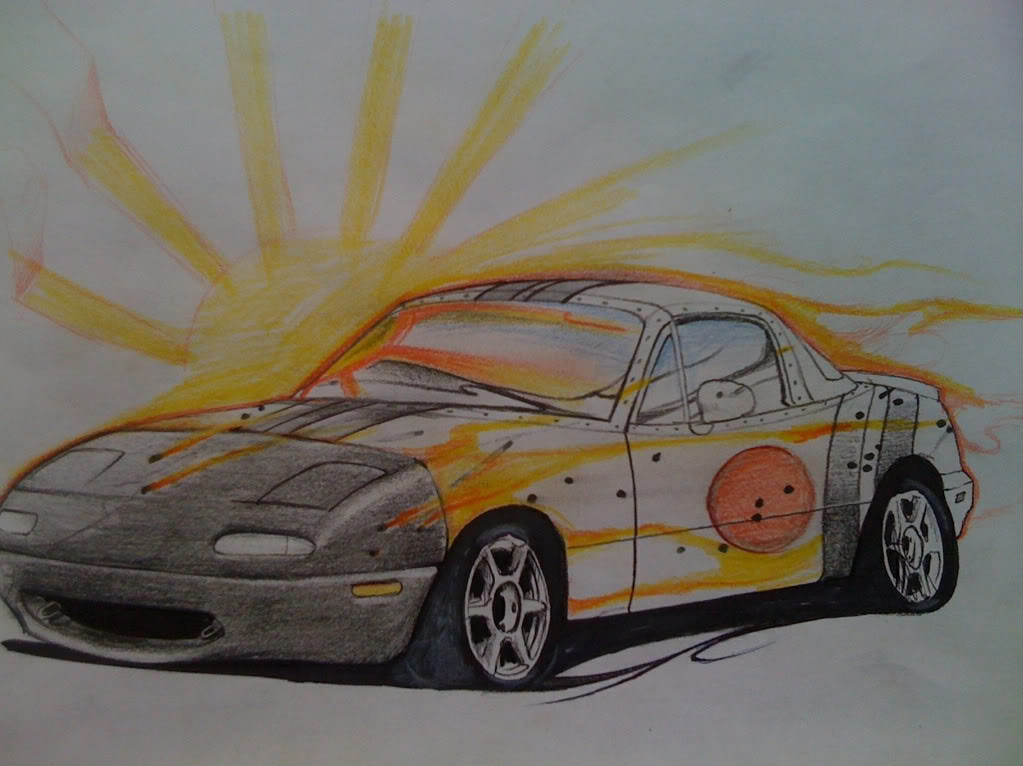
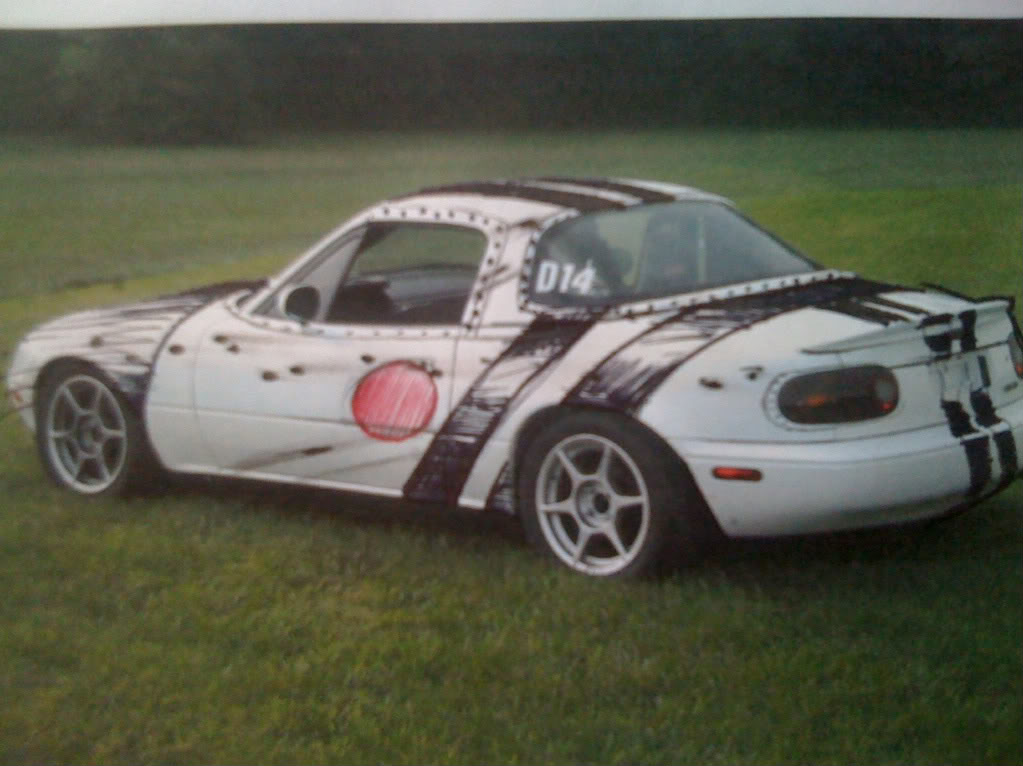
The paint scheme... going on a Jap Zero theme my Mike Pare' AirbrushMike
Concepts:
I apologize for some the the pics as they were taking with my blackberry...
Found it like this last August:
GC coilovers, Koni adjustable yellows, Eibachs (650/300 I think... need to verify), 1.8 front/rear upgrade, braided brake and clutch lines, 15x7 Kosie K1 rims with a set of 205 V710s, a set of 225 V710s, wornout set of 205 RA1s, a set of factory 14" wheels, Corbuae seats, with Gforce 5pt harnesses, Kirk racing bar with side bars (mgeoffriau has it now), stock 1.6/5spd/rear end, racingbeat front and rear sway bars, and Hard top lieing against the back wall.
Then I promptly had a cage with nascar bars installed by Mark at Kirk Racing (he did an awesome job!) He also installed the Kirkey seats.
Bought a set of Drag rims off ebay... they didn't break apart... yet!
Then after driving several events as is, 1st being BMWCCA then Chin, last Audi... I hope you can see my line, brake points, and over-all still improve... much more needed yet however.
Tube vids:
My very first tyrack experience with BMWCCA LINK
Chin Motorsports (I solo'ed but promptly flat-spotted one of my front V710s and I didn't have a backup - day over) LINK
AUDI Club Part 1 (solo) LINK
AUDI Club part 2 (solo) some fun drift action LINK
Then after the fall DEs were basically over, I proceeded in taking the Miata to SuperNaturalTurbo (home) and had Reed install a Garret T3 with .42AR and 50 trim. He fabbed a 3" down pipe all the way out. Also put on a magnaflow muffler.
I bought a bunch of stuff the Ebay way -
GodSpeed radiator
Bar/plate intercooler
25row oil cooler
tacotaco cast manifold
oil sandwich plate adapter (which sucked ***)
The other stuffs were the M-Tuned reroute kit
MegaSquirtPNP
LC-1 wideband with meter
TRE 255 fuel pump
Supra 440cc injectors
TurboSmart blowoff and Wastegate valves
1.8L ACT Pro-lite flywheel and Exedy 3puck clutch
Brembo 1.8 Slotted front rotors with Carbotech XP10 pads (rears have Hawks)
In progress to install:
1.8 open diff swap
Front OEM clip
Fender flares
ThermoTech insulation for the lines and tunnel
On order:
5 of Emilio's 15x9 6UL Nickels
'94 1.8 block (David?)
Need to order:
275/35 Hoosiers
OS Giken LSD (I may break down and get an RX7 clutch LSD for now)
The install progress:
He's re-doing the intake flange
Wells TPS201 installed
In progress- Ducting for max cooling!
I've got to finish the underpanel ducting
I plan on cutting from the bumper and clip where they meet to get a little air ducted straight to the radiator from underneath.
Also in progress - cutting fenders for the flares, louvering the hump on the hood.
The paint scheme... going on a Jap Zero theme my Mike Pare' AirbrushMike
Concepts:
I apologize for some the the pics as they were taking with my blackberry...
Last edited by GeneSplicer; 02-06-2010 at 10:11 PM.

Reply
 2
2

2

 02-06-2010, 11:37 AM
#4
Cpt. Slow

iTrader: (25)
Join Date: Oct 2005
Location: Oregon City, OR
Posts: 14,179
Total Cats: 1,129
Good build. Strange mix of expensive parts and cheaper ones (ex: clutch and seats). Could you explain what kind of louvers you're putting in the hood? Were fans of extraction hoods.
Anybody else think a zero theme is a little inappropriate? And I'm as unpatriotic as they come.
Anybody else think a zero theme is a little inappropriate? And I'm as unpatriotic as they come.
Reply
0
0
02-06-2010, 11:54 AM
#5
I didn't want to diss it, since I like the build otherwise, so I kept my mouth shut.
Good mechanically, but I would NEVER go with that kind of paint scheme. I did recently see a guy planning a P-51 paint scheme on his NB...which might be more acceptable, but makes a lot less sense really.
Good mechanically, but I would NEVER go with that kind of paint scheme. I did recently see a guy planning a P-51 paint scheme on his NB...which might be more acceptable, but makes a lot less sense really.
Reply
0
0
02-06-2010, 04:44 PM
#6
Senior Member
iTrader: (4)

Join Date: Jan 2008
Location: Falls Church, VA
Posts: 1,361
Total Cats: 17
Read your LC-1 manual again. On track you are probably going to overheat the sensor because that location is too close to the turbine outlet. Put it way down in front of the cat, or in that vicinity if you are catless.
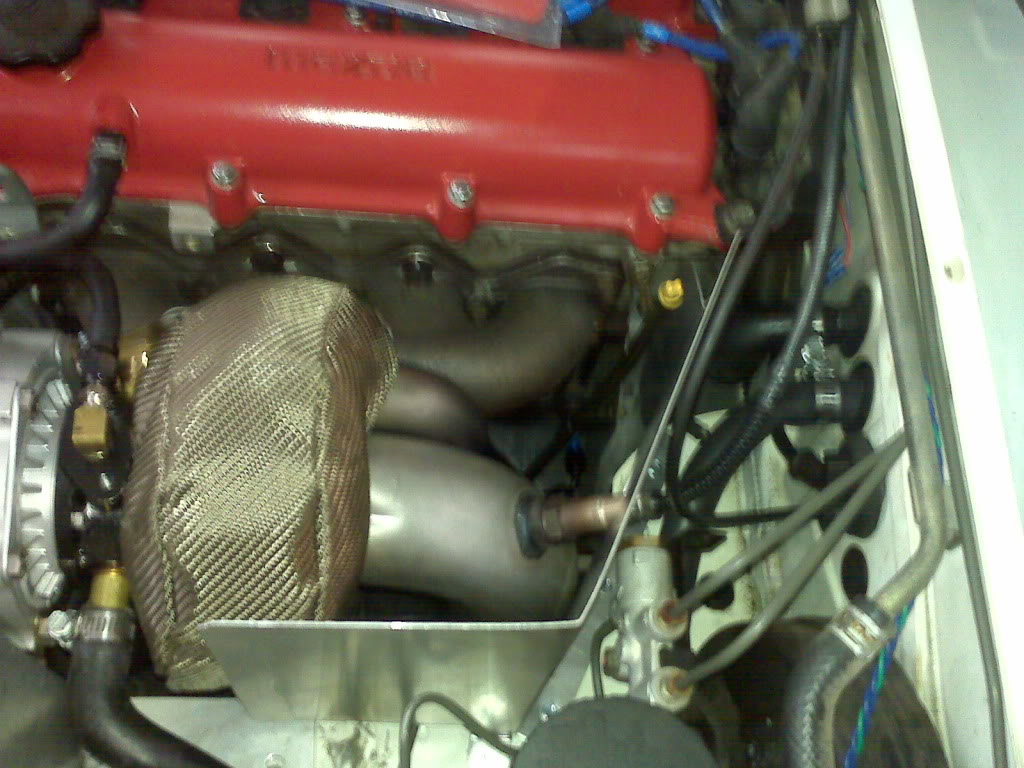
I'd probably ditch the turbo blanket and I'm curious to see how the tacotaco mani holds up to a beating, but this build has potential. I wouldn't care if my paint job offended anybody but I will point out that the Japanese Zero was manufactured by Mitsubishi, not Mazda. Also, I like seeing pics of ductwork.
I'd probably ditch the turbo blanket and I'm curious to see how the tacotaco mani holds up to a beating, but this build has potential. I wouldn't care if my paint job offended anybody but I will point out that the Japanese Zero was manufactured by Mitsubishi, not Mazda.
Also, I like seeing pics of ductwork.
Reply
0
0
 02-06-2010, 06:26 PM
#8

Props for learning how to drive the car before adding HP.
I also find you mix of parts odd, some cheap stuff (like manifold and oil sandwich) and some seriously baller stuff (os giken and 275's).
I guess if I had the money for an os giken diff and 275's I'd pay more than $150 for a manifold. Luckily I don't have the money so I don't have to worry about such things.
Overall very nice build, love the ducting work.
Good luck.
Reply
0
0
02-06-2010, 06:53 PM
#9
Elite Member
Thread Starter
iTrader: (14)
Join Date: Sep 2009
Location: Birmingham, AL
Posts: 2,101
Total Cats: 180
Yeah, if some of the cheap stuff breaks, it'll be replaced with better stuff. Now remember, (not sure if I said it) but the eventual plan is to replace the 1.6 with a 1.8, maybe by mid summer, in which case the manifold will be a custom build then and a larger turbo. Some of these parts were to get us by, and if they work, then I'll keep... like the intercooler and radiator.
Tahnks for the heads up on the LC-1. I did not read the manual, nor did I install it. I'll point it out to the builder and see what we do. The turbo blanket, just to keep the radiant heat down and out the exhaust.
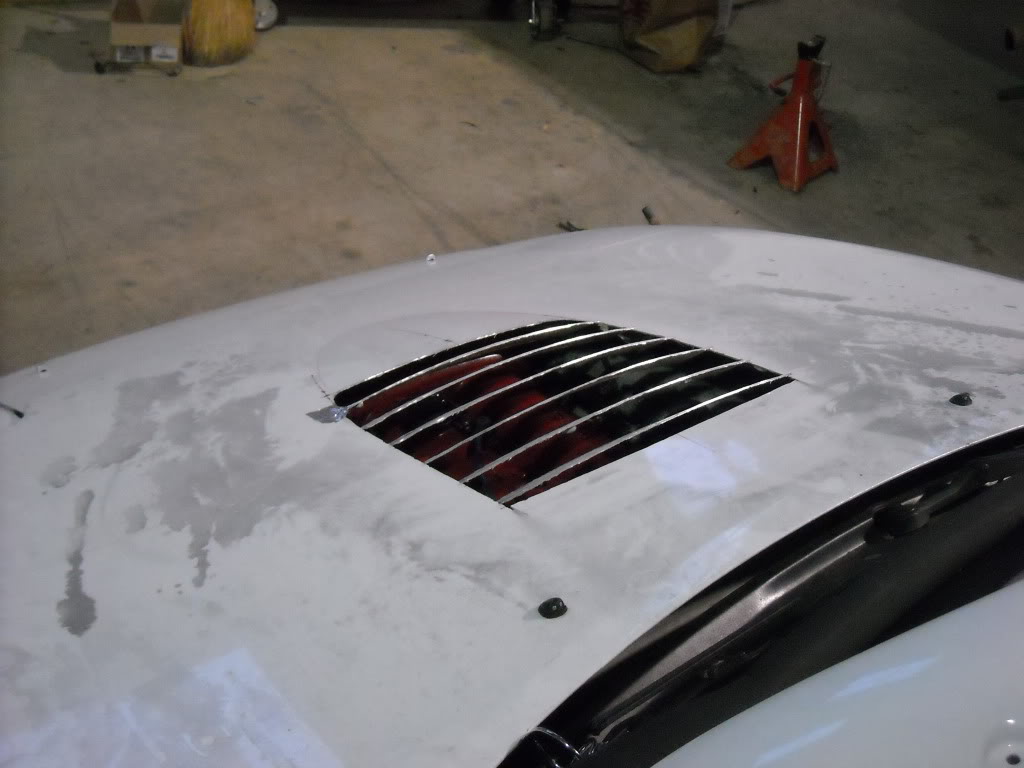
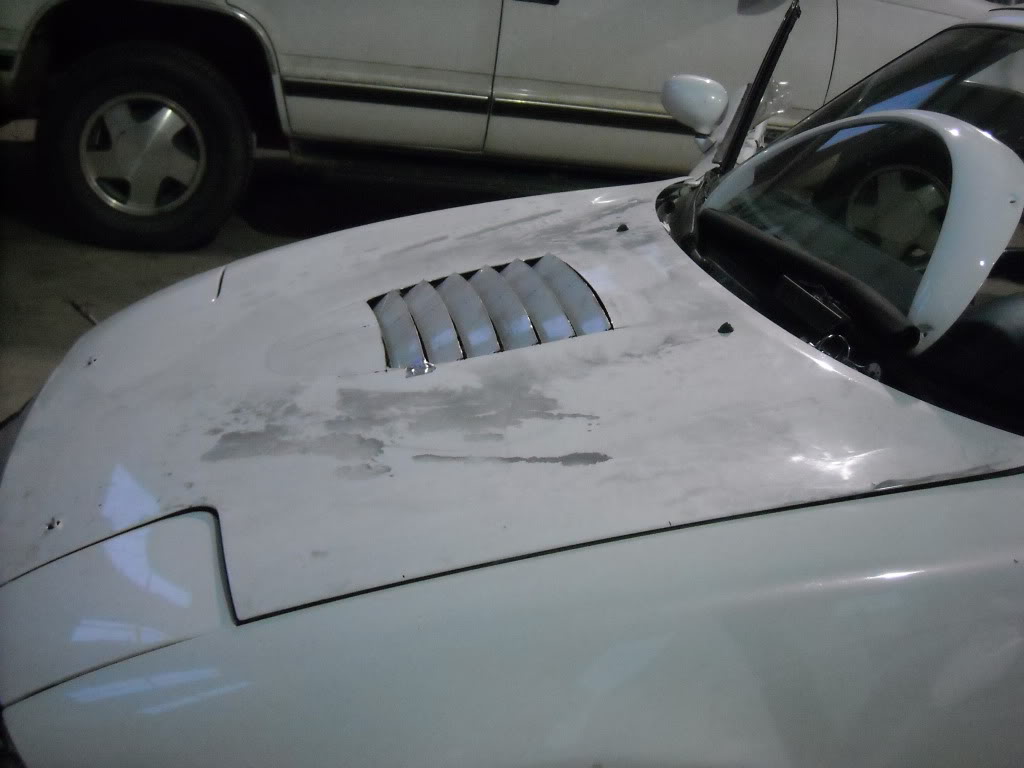
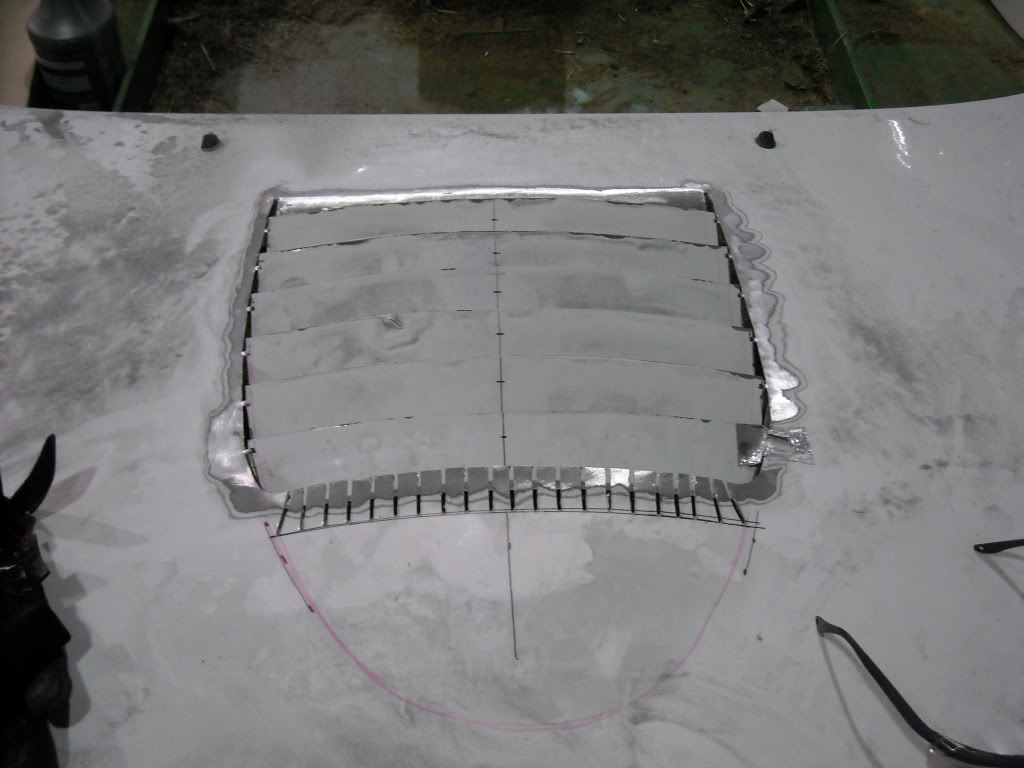
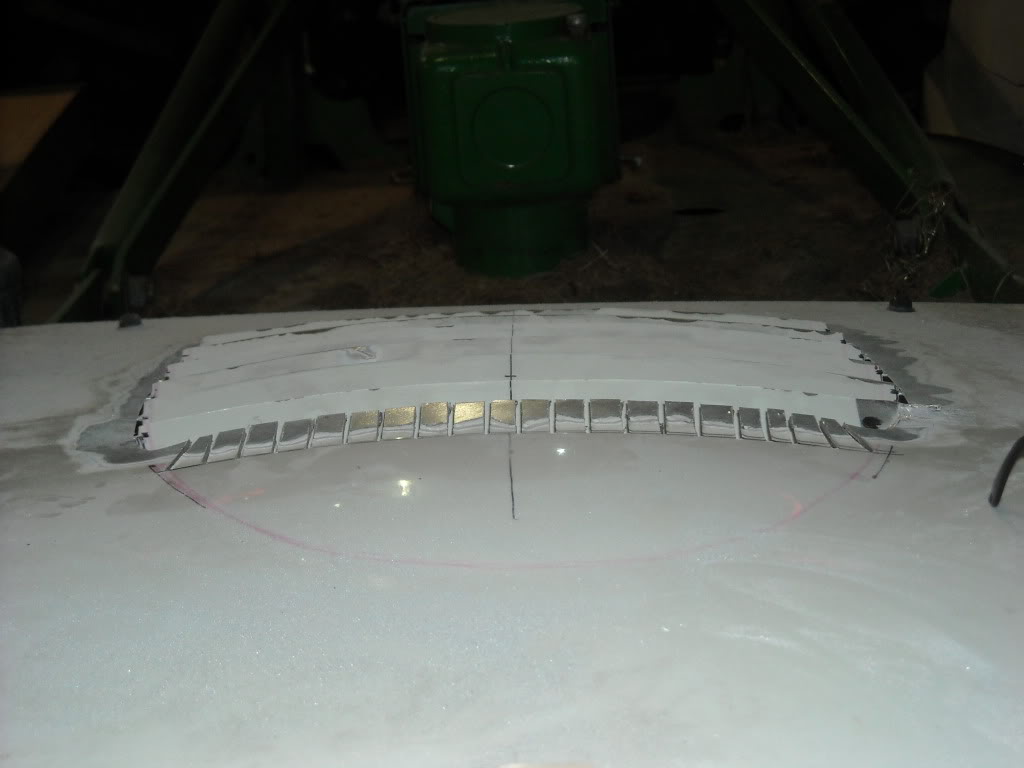
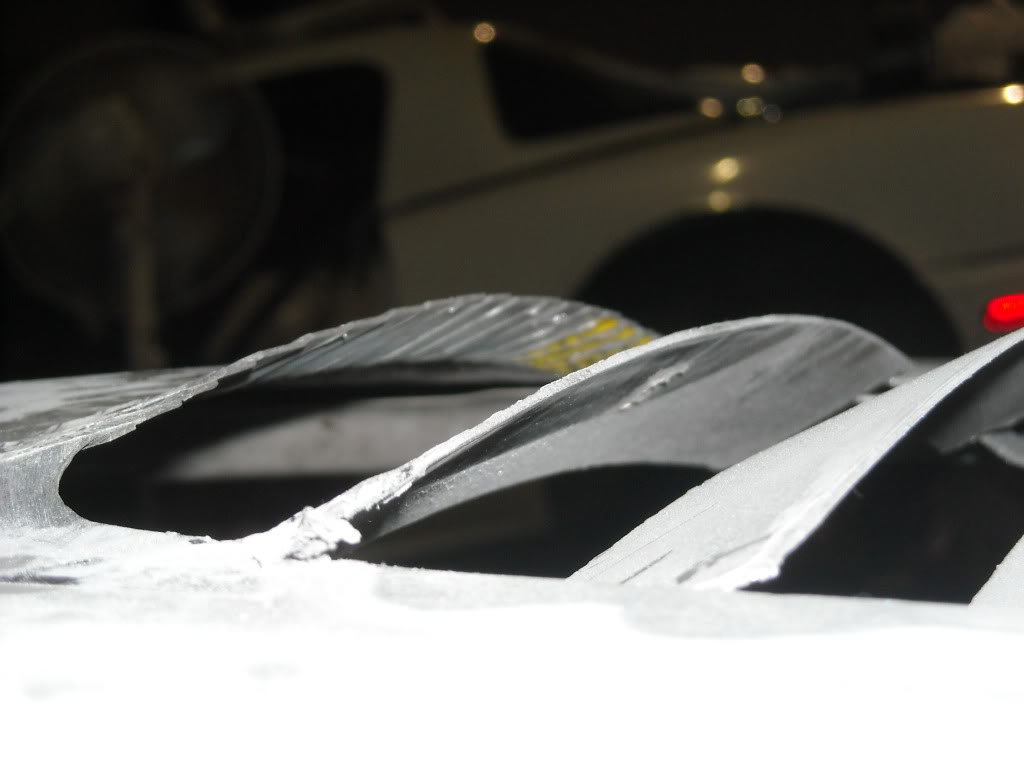
Louvering the hood - I'll have to see if it works, but I'm simply cutting 5-6 slightly arched lines across the raised bump in the hood, leaving 1/4" tabs on the sides (from perpendicular cuts to the arched ones) and twist them in position. Then will reinforce and add lips with fiberglass. Not sure if it'll work, but cheaper than a vented hood for now!
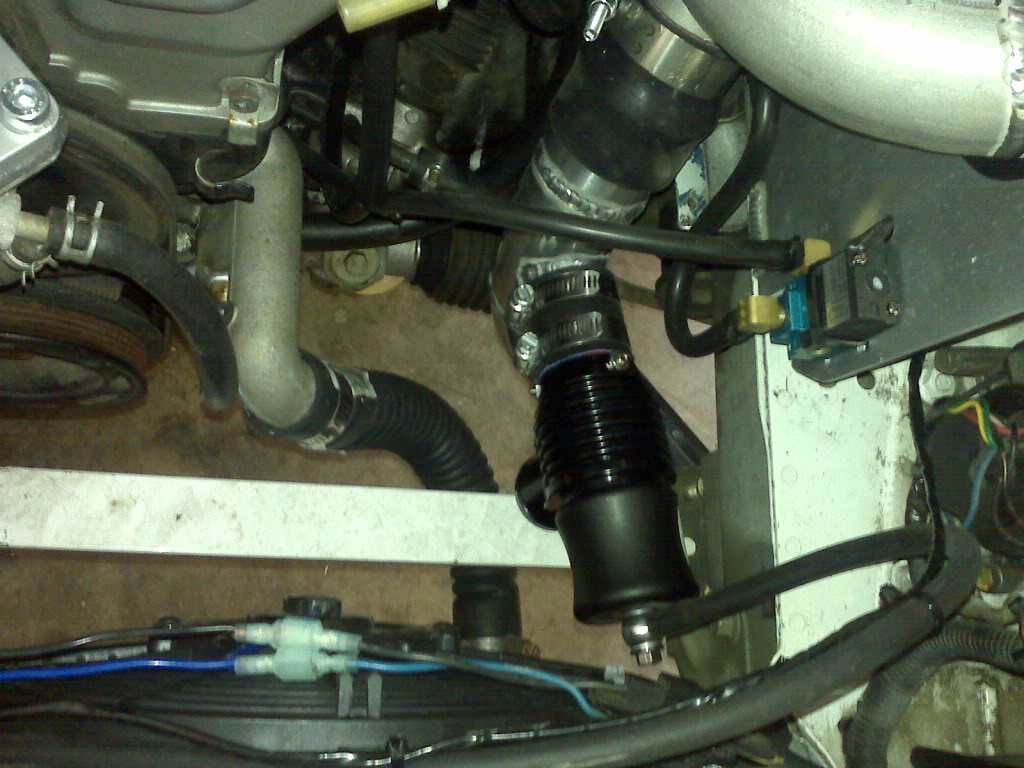
I'm surpised no one has asked why the BOV is off the compressor side of the turbo?
Haven't 'bought' the OS Giken yet, nor the 275s, but it's in the works.
Zero theme... hell yeah. If people get offened by this theme... that's their problem, not mine. I love the concept as the car was build in the Hiroshima plant anyway. The paint scheme will be like its been shot up on fire and going down. And if they question my patriotism, ****, I'll show them my military disability card and vet tag on my truck... 101st AB. I've earned it.
Cut both the rear fenders out today, mounted the flares on the rear, ran out of nut rivets to do the fronts.
Tahnks for the heads up on the LC-1. I did not read the manual, nor did I install it. I'll point it out to the builder and see what we do. The turbo blanket, just to keep the radiant heat down and out the exhaust.
Louvering the hood - I'll have to see if it works, but I'm simply cutting 5-6 slightly arched lines across the raised bump in the hood, leaving 1/4" tabs on the sides (from perpendicular cuts to the arched ones) and twist them in position. Then will reinforce and add lips with fiberglass. Not sure if it'll work, but cheaper than a vented hood for now!
I'm surpised no one has asked why the BOV is off the compressor side of the turbo?
Haven't 'bought' the OS Giken yet, nor the 275s, but it's in the works.
Zero theme... hell yeah. If people get offened by this theme... that's their problem, not mine. I love the concept as the car was build in the Hiroshima plant anyway. The paint scheme will be like its been shot up on fire and going down. And if they question my patriotism, ****, I'll show them my military disability card and vet tag on my truck... 101st AB. I've earned it.
Cut both the rear fenders out today, mounted the flares on the rear, ran out of nut rivets to do the fronts.
Last edited by GeneSplicer; 02-06-2010 at 07:06 PM.
Reply
0
0
02-19-2010, 11:26 PM
#11
Elite Member
Thread Starter
iTrader: (14)
Join Date: Sep 2009
Location: Birmingham, AL
Posts: 2,101
Total Cats: 180
Let's see... last 2 weeks:
Ordered the OS Giken from Emilio (and bearing/seal kit)
Pulled the 1.8 diff from donor car (open diff), installed it and now have to pull it back out to install said above LSD!
Relocated the LC-1 WB to a safer position about 3' from the dump pipe
Painted the crappy 1.8 rear calipers, had the rear rotors resurfaced, and have a new set of carbotech rear XP8s - - waiting to install after I get the LSD in (it's a lot easier to yank the half-shafts out with the spindle loose.)
Did some more ducting...
will try to get some more pics up.
Reply
0
0
02-23-2010, 09:16 PM
#13
Elite Member
Thread Starter
iTrader: (14)
Join Date: Sep 2009
Location: Birmingham, AL
Posts: 2,101
Total Cats: 180
Pic time!
SO, here's some more progress pics.
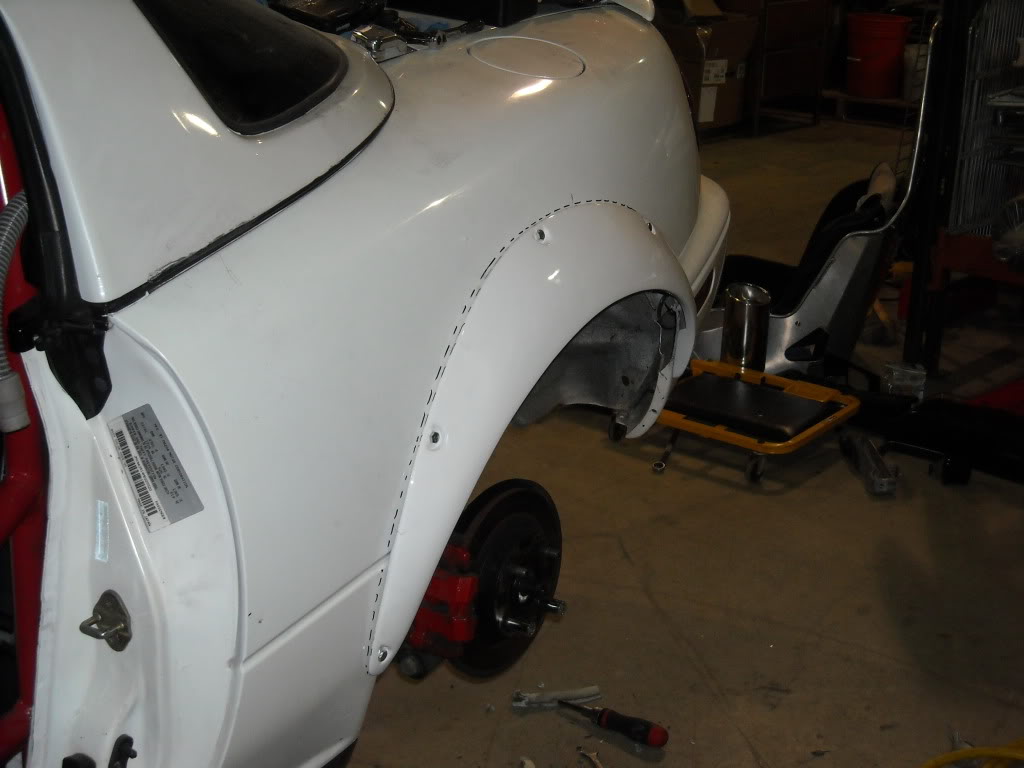
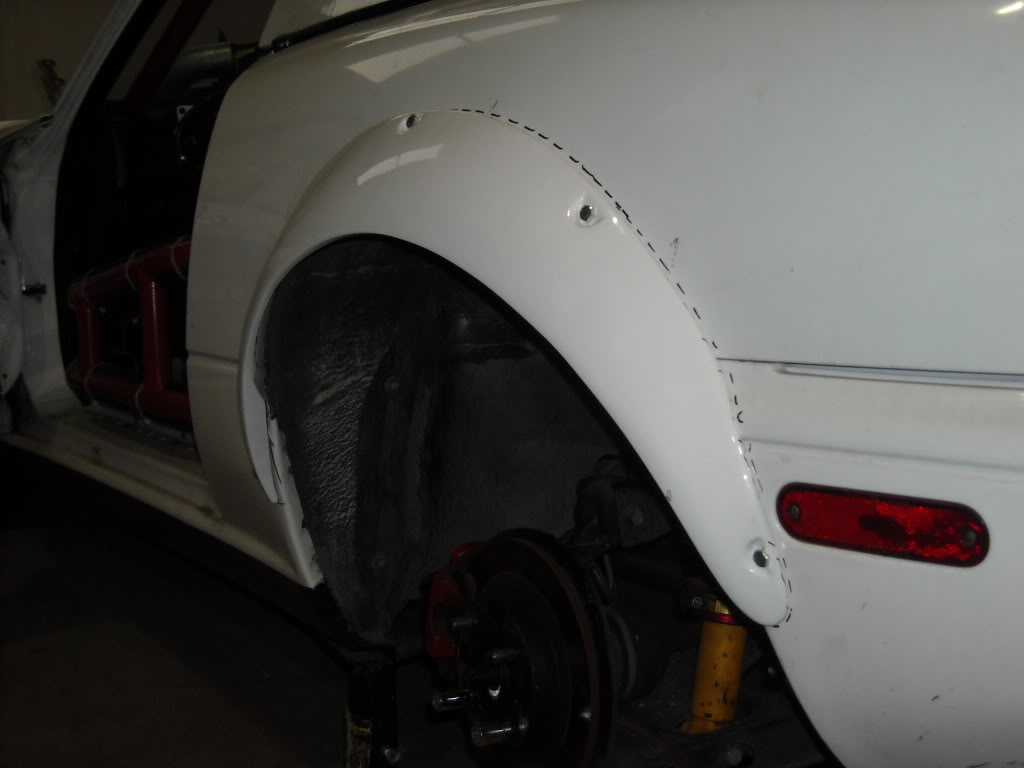
Flares! I used nut rivets for easy mounting/replacement.
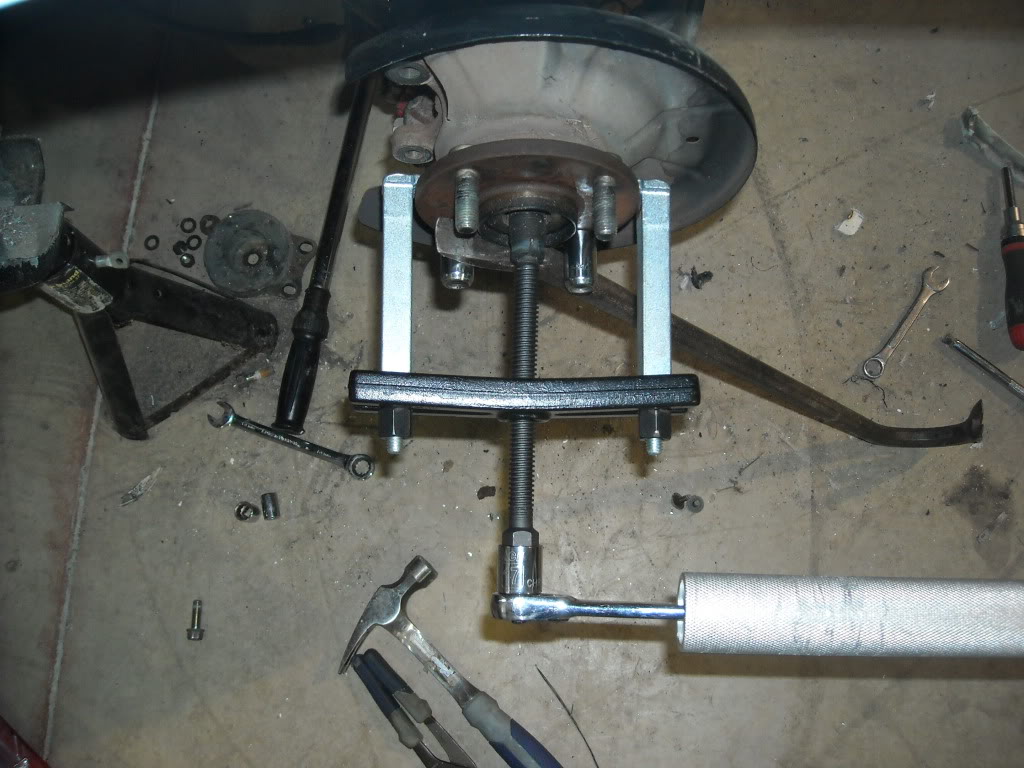
Time for swapping in the 1.8 diff from the donor
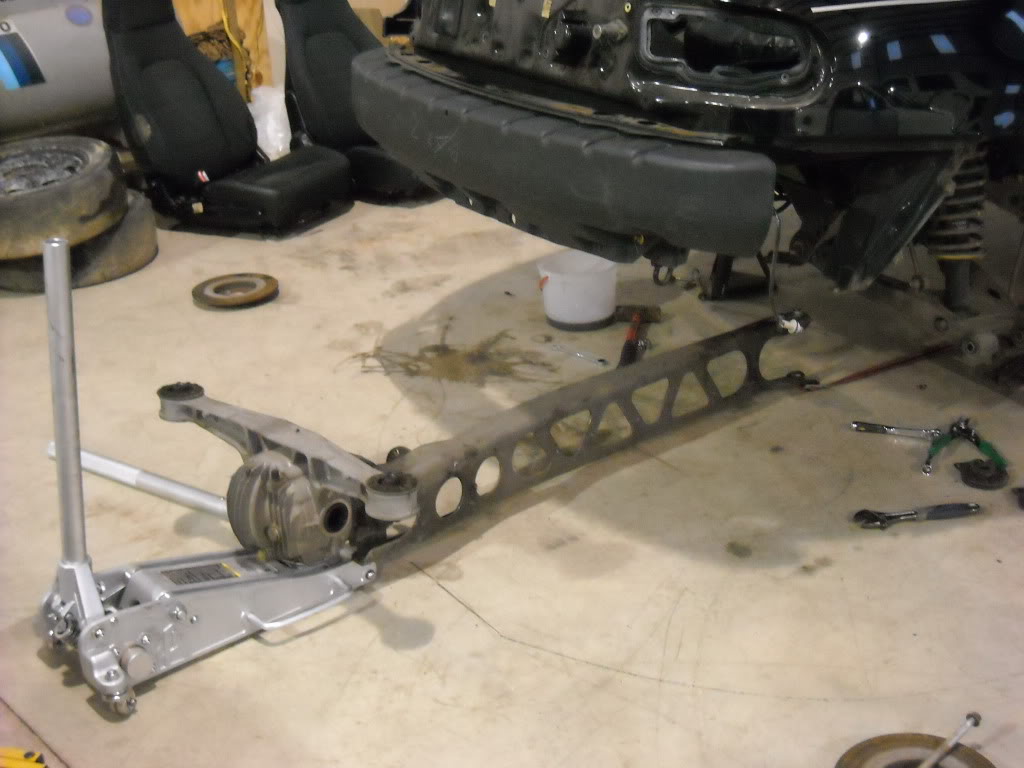
Dam driver's side half-shaft welded in hub, bending the puller. So I just pulled out the whole axles and hubs and installed the ones from the '96 donor.
Installed (and back out for OS Giken install )
)
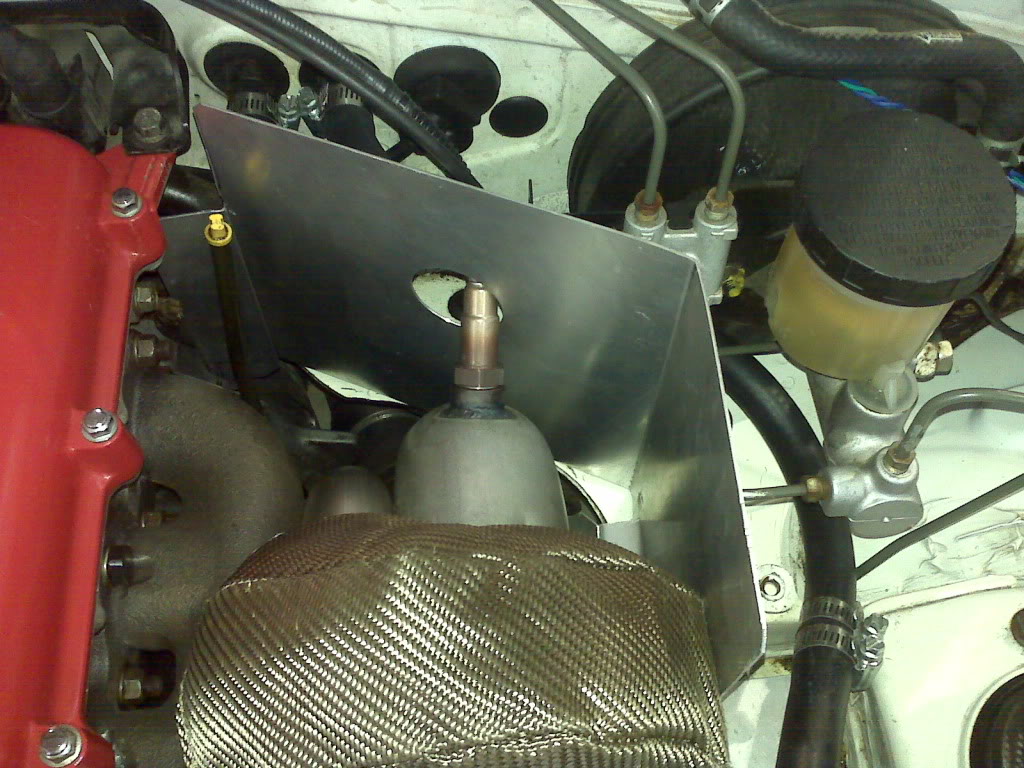
My DIY suction accumulator oil catch - yes, from the ditched AC system.

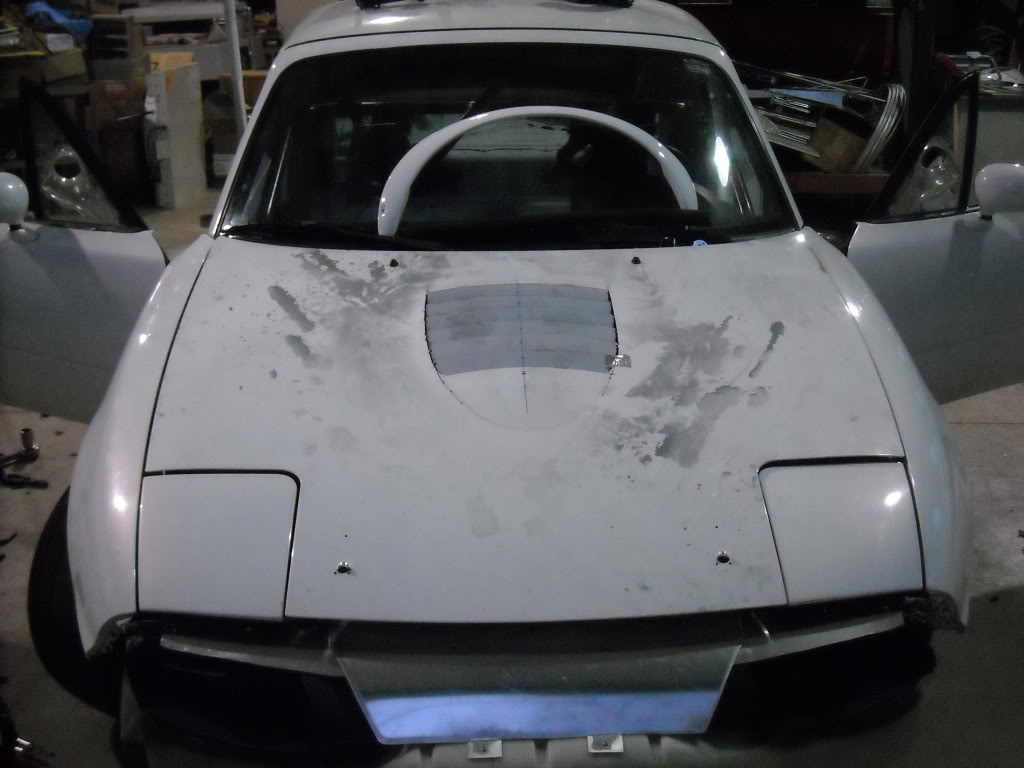
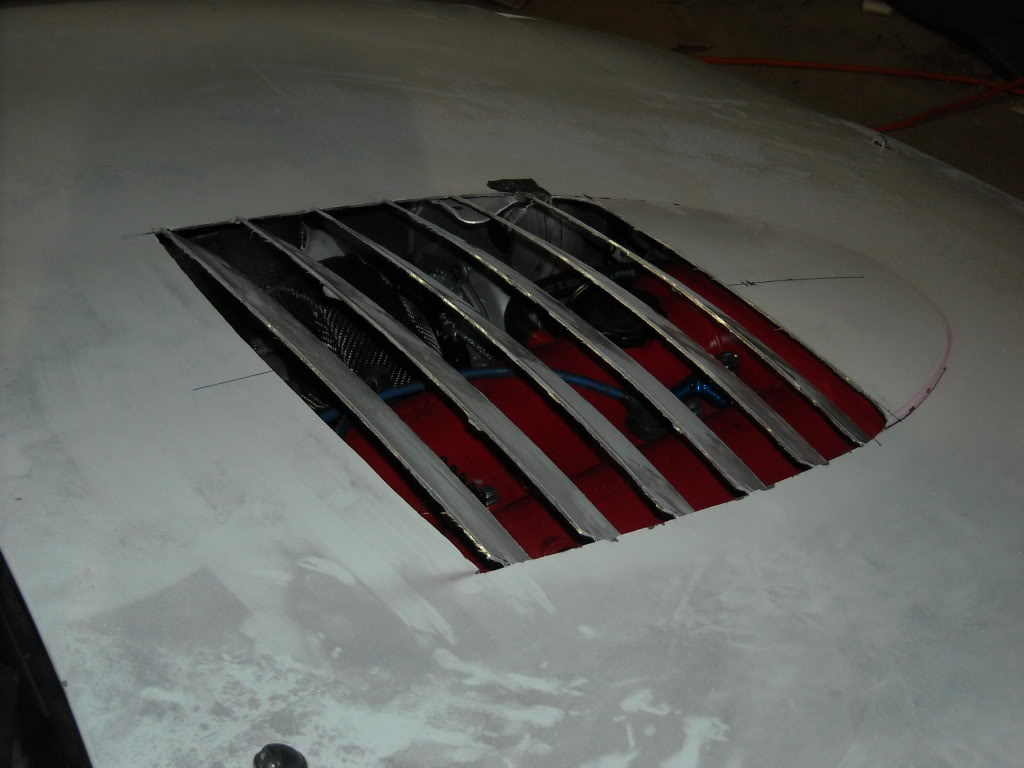
And I hacked into the hood tonight. Tried my best to get the louvered look. Used a cuttoff wheel for most the job. I thought I'd at least try before spending another $500 on extractor hood. Will finish it up with some fiberglass and filler. It won't be perfect, just hope it's functional.
SO, here's some more progress pics.
Flares! I used nut rivets for easy mounting/replacement.
Time for swapping in the 1.8 diff from the donor
Dam driver's side half-shaft welded in hub, bending the puller. So I just pulled out the whole axles and hubs and installed the ones from the '96 donor.
Installed (and back out for OS Giken install
)My DIY suction accumulator oil catch - yes, from the ditched AC system.
And I hacked into the hood tonight. Tried my best to get the louvered look. Used a cuttoff wheel for most the job. I thought I'd at least try before spending another $500 on extractor hood. Will finish it up with some fiberglass and filler. It won't be perfect, just hope it's functional.
Reply
0
0
02-23-2010, 09:28 PM
#14
Elite Member
Thread Starter
iTrader: (14)
Join Date: Sep 2009
Location: Birmingham, AL
Posts: 2,101
Total Cats: 180
Read your LC-1 manual again. On track you are probably going to overheat the sensor because that location is too close to the turbine outlet. Put it way down in front of the cat, or in that vicinity if you are catless.
I'd probably ditch the turbo blanket and I'm curious to see how the tacotaco mani holds up to a beating, but this build has potential. I wouldn't care if my paint job offended anybody but I will point out that the Japanese Zero was manufactured by Mitsubishi, not Mazda. Also, I like seeing pics of ductwork.
I'd probably ditch the turbo blanket and I'm curious to see how the tacotaco mani holds up to a beating, but this build has potential. I wouldn't care if my paint job offended anybody but I will point out that the Japanese Zero was manufactured by Mitsubishi, not Mazda.
Also, I like seeing pics of ductwork. 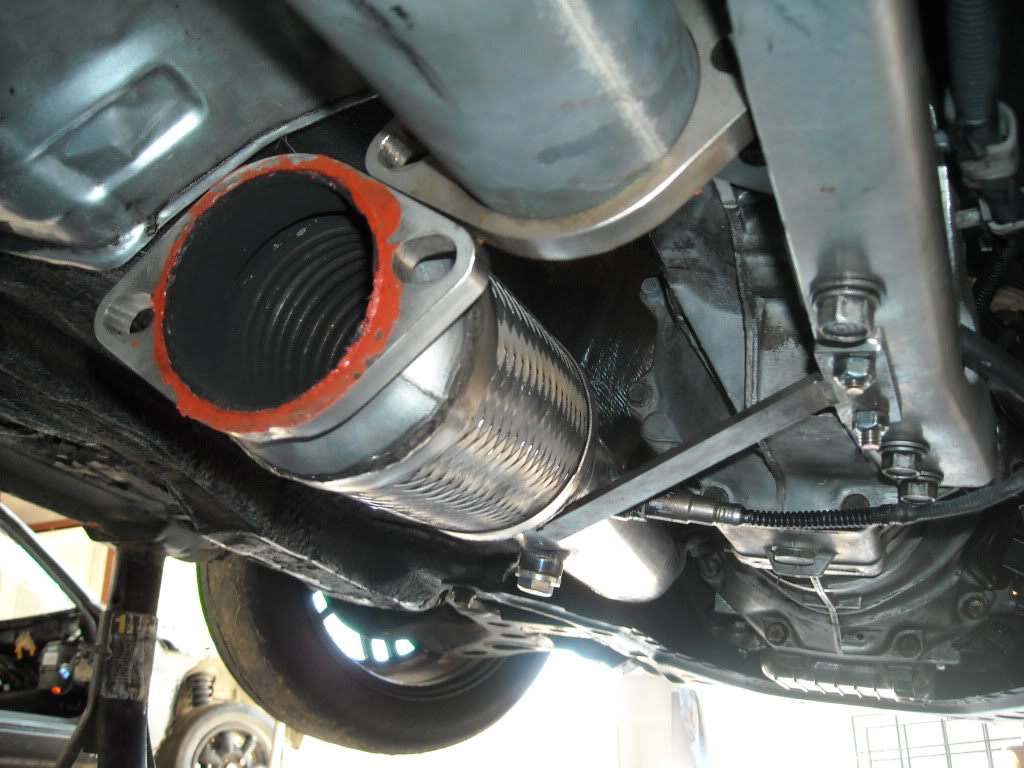
Reply
0
0
 02-23-2010, 11:04 PM
#16
Elite Member
Thread Starter
iTrader: (14)
Join Date: Sep 2009
Location: Birmingham, AL
Posts: 2,101
Total Cats: 180
If it were a daily driver, I'd worry about it... but it's always kept in the shop and at a track day under a pop-up. Shouldn't cause any issues, and when driving, the vented out air 'should' keep any water from entering.
Reply
0
0
02-24-2010, 08:55 AM
#18
Elite Member
Thread Starter
iTrader: (14)
Join Date: Sep 2009
Location: Birmingham, AL
Posts: 2,101
Total Cats: 180
Thanks man - 'Hopefully' the manifold will last just long enough before I have the 1.8 ready to drop in... hopefully. I knew it would be a temporary thing, hence why some of the cheap stuff.
Reply
0
0


