When you click on links to various merchants on this site and make a purchase, this can result in this site earning a commission. Affiliate programs and affiliations include, but are not limited to, the eBay Partner Network.
Rather than posting noob questions in the forums and getting flamed, I figured I'd start a build thread and let you guys ruin me in my own noob quarantine area. There are other "noob" threads where people are welding and fabbing custom parts... this will not be one of those. At least for a while.
Before everyone jumps to "screw 1.6L, screw SC... 1.8 swap and turbo"- understand that I know fuq-all about tuning. I've been doing searches and researching Megasquirt for months, and I'm going to start where I'm at and learn this shi+. Possibly this thread will end like the other build threads: VVT swap, honkin turbo, big wheels and tires, crash into deer or tree, start over.
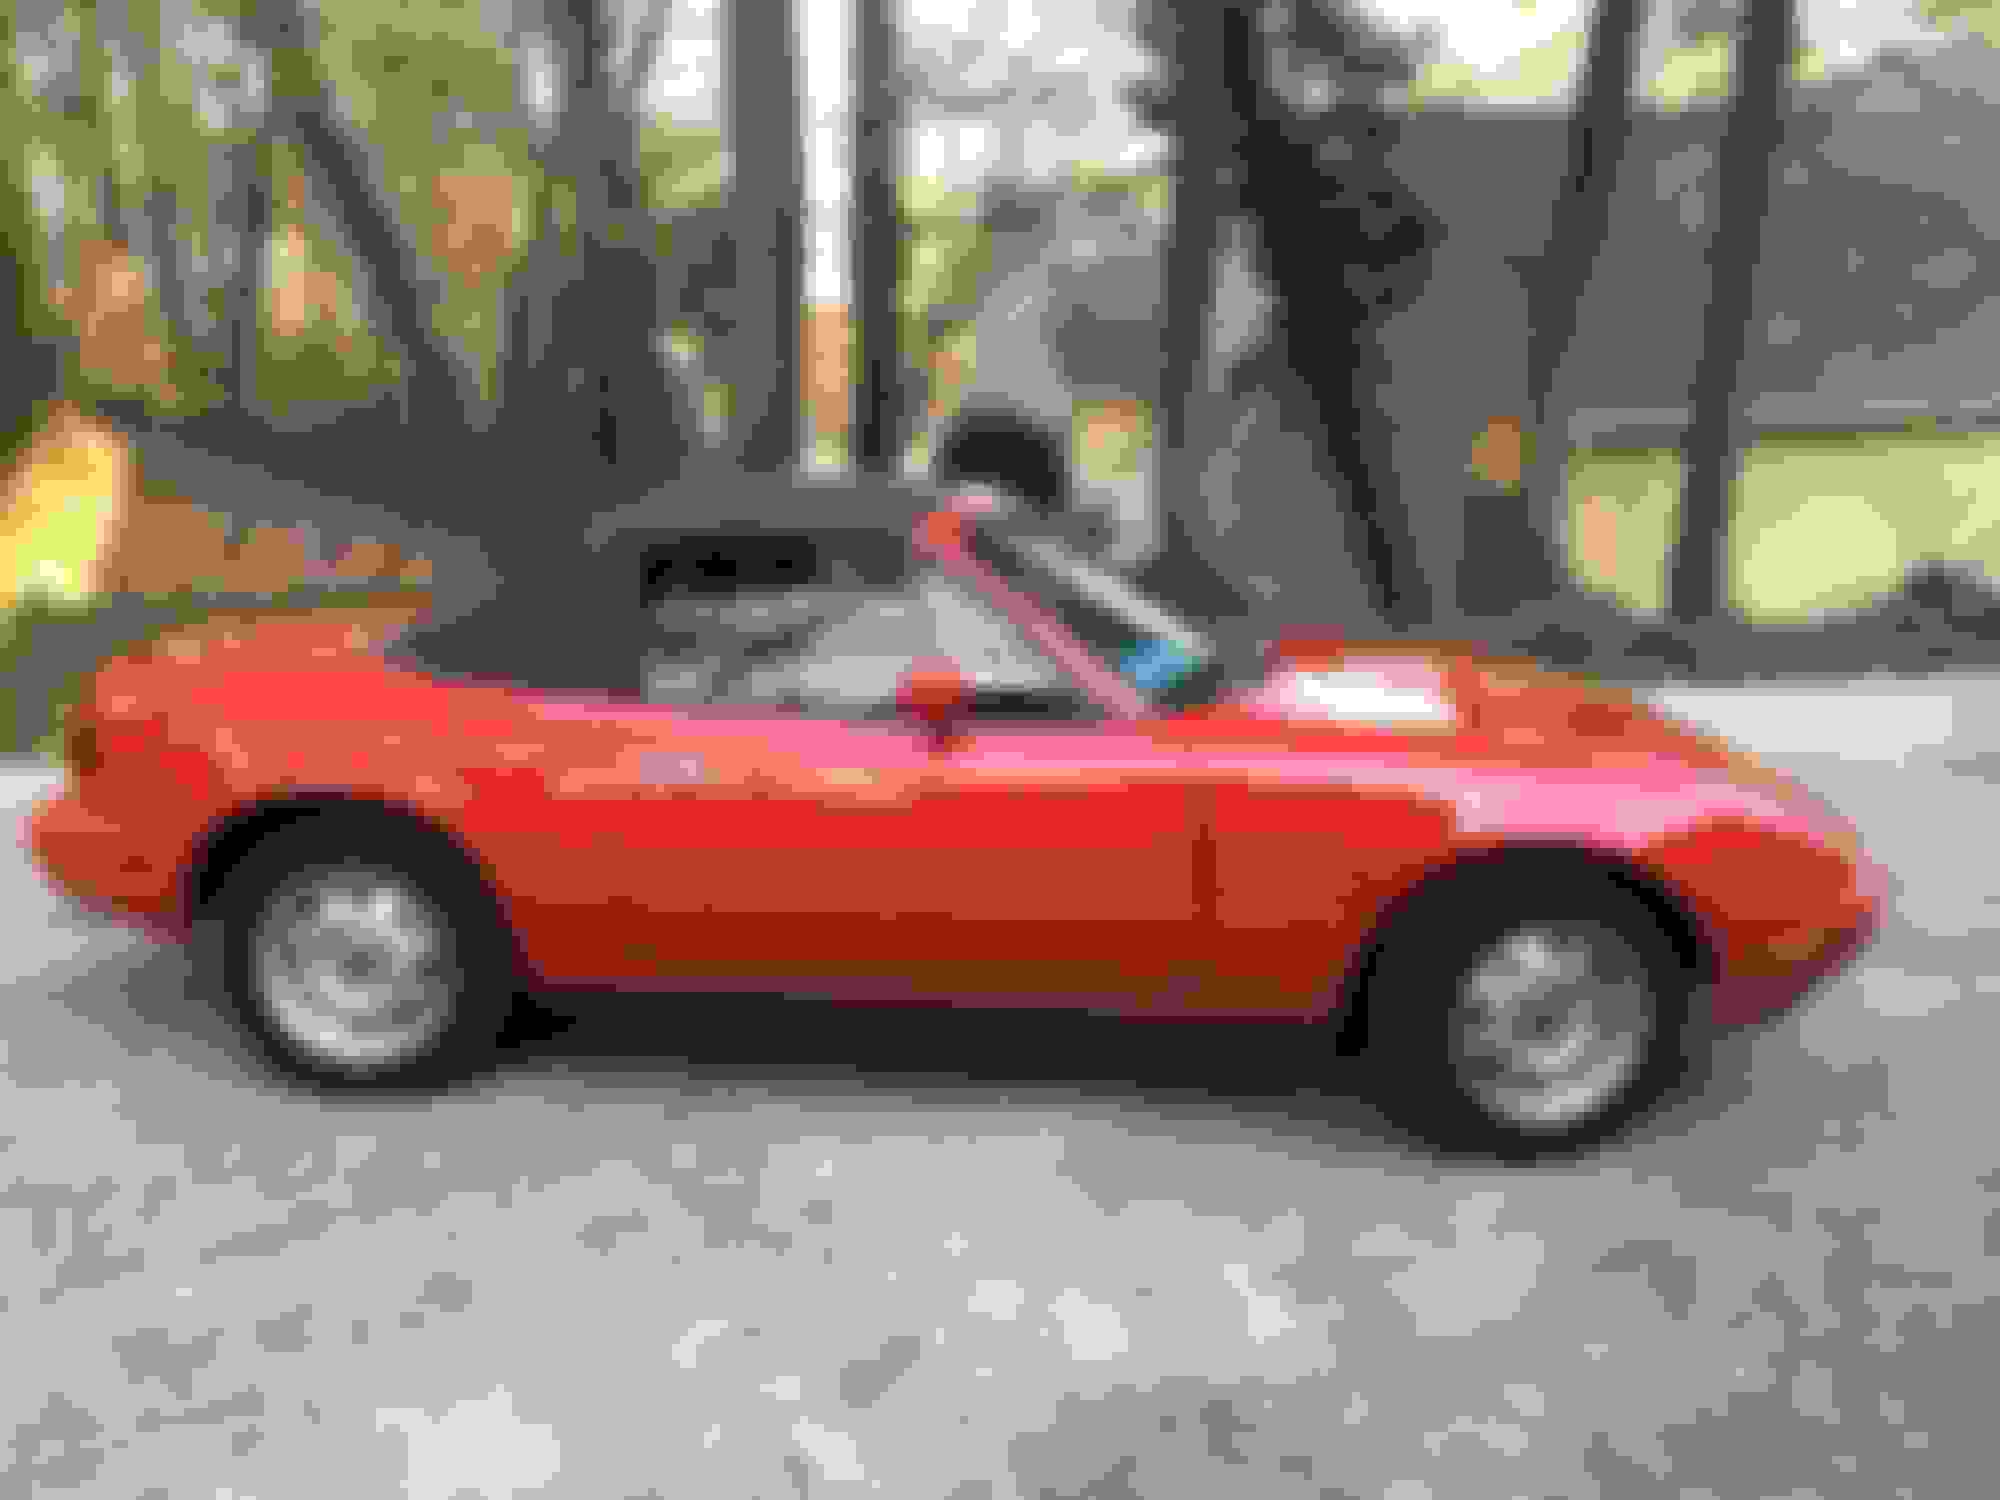
This is the car when I got it last March, pretty much exactly the way it rolled off the production line. 1992 base model 1.6L, 132k miles. No PS, AC. Pretty good engine compression, 170 on cylinder 3 and 180 on the others. Just out of emissions here in GA.
Last edited by Schroedinger; 04-23-2018 at 04:40 PM.
Stuff happened:
- full maintenance baseline
- stock Daisies with Yoko S.Drive tires
- Roadstersport 3 catback exhaust
- suspension. NB B6 Bilsteins, FM springs, NB top hats, FCM bump stops
- Innovate LC-2 WBO2, AFR and boost gauges
- Torsen 4.1 swap
- Jackson Racing M45 kit, AFPR, JR Boost Timing controller. Makes 6-7 psi, good AFR's, drives great.
The car now:
Car is great. My local MT.net friends who have gone all the way down this rabbit hole tell me to leave it this way and drive the hell out of it. I'm stubborn and not very smart.
So I bought one of these and started hording associate stuff.
Here is my action plan- I could use some feedback and recommendations.
1) remove AFPR, timing box. Wire SC bypass open to prevent boost.
2) Install MSPNP2 per instructions using stock narrowband O2, run base map. Get the hang of tuning for a couple of weeks.
3) Connect WBO2, adjust MS settings accordingly (question- is it better to wire the WBO2 into the stock O2 harness, or use the accessory pin 21 on the MS? Do I need to pull the WB jumper inside the case?)
4) Build variable TPS using a stock TPS that I scavenged from another 1.6L, and a Wells TPS201. Install, tune startup, idle and accel enrichments.
5) Install IAT sensor, delete AFM. (Question: better to install IAT in the dummy throttle body or the crossover pipe to avoid heat soak? I checked hot engine temps of both with an IR thermometer, they were the same. I figure the crossover pipe has less thermal mass, so may be better?) Should I just intercool at this stage with the CX Racing kit, or perhaps the Vibrant 12800, and put the IAT in the recommended down-low position?)
6) Unwire SC bypass, tune for boost, hope the 1.6L injectors can keep up at stock fuel pressures and 6 lbs of boost (calculations say that they can, but barely). Drive and autotune fuel.
7) Install FlowForce 640cc injectors (already have them), wrestle with dead times, and pretty much re-do the entire tune.
8) Dyno tune and get the spark map right. Drive the hell out of the car for a while, maybe forever.
9) Get bored... VVT 1.8 swap, rippin turbo, blow money on bigger wheels and tires, crash into tree.
Last edited by Schroedinger; 02-01-2017 at 04:25 PM.
Thinking this through more carefully... maybe it would be best to put the intercooler in before Step 5 (IAT/AFM delete). That way I can get the IAT in the best location to start with. It will cool the charge and drop boost a bit (maybe 5 psi instead of 6), minimizing the likelihood that I go lean because of the small injectors and detonate.
I could reverse steps 6 and 7 and put the FF640 injectors in before I boost. However, some of the threads I'm reading have me convinced that these things are going to be a bitch to tune. Still not sure I made the best decision in buying them...
Swap 6 and 7. Just do the FF injectors before boosting. No reason to press your luck.
The IAT in the AFM heat soaks like a ****. My GM IAT in the dummy throttle body does the same. Can't say about crossover pipe, I am putting in an intercooler and gonna stick it in the end tank.
Skip the narrow band and just wire up the wide band first thing. I tied my wideband into the stock wiring by cutting the wire right off the narrow band sensor and tieing in there.
Also, I have had zero issues making the car drive and respond better than stock even without a variable TPS and doing everything off mapdot. Though I am tossing in a vTPS over the winter cause I have one.
On the subject of TPS. The stock 1.6 one, being switches, shorts out the MS V-Ref to ground and makes it very angry. Dissconect it, though plugging it in makes a great anti-theft device.
Thinking this through more carefully... maybe it would be best to put the intercooler in before Step 5 (IAT/AFM delete). That way I can get the IAT in the best location to start with. It will cool the charge and drop boost a bit (maybe 5 psi instead of 6), minimizing the likelihood that I go lean because of the small injectors and detonate.
I could reverse steps 6 and 7 and put the FF640 injectors in before I boost. However, some of the threads I'm reading have me convinced that these things are going to be a bitch to tune. Still not sure I made the best decision in buying them...
If you intercool, I reccomend looking into dual throttle bodies.
The FF injectors are easy to tune for driving. Exactly the same as the stock ones. Only issues I had were idle, but I bought an un matched set of ford injectors off ebay and that may be my issue. Worst case, just get the sequential injection modual and wire for full sequential. Once I did that it was cake.
Other option is to leave the AFPR and just use the stock injectors. That will work just as well.
You will be amazed how smoothly the car runs on the MS compared to stock.
Thanks for the advice guys. Some very encouraging stuff here. I really don't want to get down the road of intercoolers and dual throttle bodies to manage 6 psi of boost, simply to solve the IAT heat soak problem. Might just try the crossover pipe and see if I can get away with it. Maybe I can get a little creative with heat shields to keep the radiator heat away from the IAT.
Last edited by Schroedinger; 02-02-2017 at 08:11 AM.
I had planned to put the MS in this weekend. After doing another week's research, I'm pretty overwhelmed and I started procrastinating with other projects that I've had laying around in the garage. So I got started with these...
I had the seats out, so I finally got around to doing this...
... and then I figured with the seats out and the carpet pulled up, I'd go up under the dash and run the WBO2 signal wire to the ECU bay. But while I was up there, I thought about my rattling speedometer cable. So I figured why not replace that as well? Of course, that involved removing the coil pack and CAS, at which point I was looking directly at the back of the engine block. So after the speedo cable, I got started on this...
Man, what a PITA to get that thing bolted to the back of the block. I have everything assembled but didn't have any coolant; will fill it up, get it off the jack stands and drive it around.
I'm running out of excuses to NOT put the MS in...
Yeah, that is why I am pulling the engine for clutch and rerout. I just can't be arsed to deal with the mess back there.
Get the wideband working with the stock ecu for a few days and watch what is going on. (It has a narrow band output somewhere, where depends on which one you have).
After that, set it up so you can just switch betweem the MS and the stock ecu easilly. I did that for about three days while fiddling with idle and start up, then after that, never had to switch back again.
In retrospect, it would have been easier to just pull the motor- especially considering that I have a new clutch and flywheel sitting in my garage waiting to go in. Total work time for the reroute was about 3 hours; at least 2 of those were spent dealing with the back of the block, which would have taken about 15 minutes out of the car.
That's a good idea about setting up to run either ECU for a while. I still have the stock O2 sensor running to the stock ECU, and was going to run the wideband into the accessory port Pin 21 on the MS. That would make it easy to switch back and forth between the two.
My one friend said the same thing about doing the rerout. And his leaks now, and he is ignoring it.
The LC-2 shpuld have both a wideband and a narrow band output. So you can hook the narrow band to the stock pin and the wide band to the extea one. Then you just move the connectors over and unplug or plug in the TPS to switch.
I keep bringing up the tps because Inkept forgetting and wondering what the hell was wrong all the sudden.
Yeah, narrow band goes to pin 2N, although I would patch it in right at the O2 sensor. Since that has a connector, no nees to cut into the stock harness.
It should have a setting in tunerstudio, duno where it would be though. I have only ever worked with my MS3x, would need to poke around.
Been traveling like a fool; gone for 18 of the last 20 days. This job is really getting in the way of me working on my crapbucket Miata.
Only had an hour or two to goof around with the car today. Continued my quest for better cooling; removed the front airbag sensor and installed a radiator shroud.
There are two rattles behind the dash that drive me CRAZY- one behind the instrument cluster, and one behind the glove box. I thought the speedometer cable would fix the instrument cluster, but no dice. I think I might need to replace the rubber grommets for my heater core pipes. When I took down the glove box and started whacking stuff with a rubber mallet, I figured out that the rattle was coming from the engine bay. Turns out it was the cruise control actuator, which hasn't had a purpose since I moved the throttle body before the supercharger and disconnected the cable. Out it came...
The M45 supercharger was making a little noise while running... a very light metallic dragging sound. Did the research, figured out that the nose coupler probably needs to be replaced. Ordered a rebuild kit from Superchargers Online.
I figured that I would just remove the nose cone of the supercharger and swap the coupler, easy peasy. Wrong. The mounting bracket that holds the SC to the engine block sandwiches the two halves of the SC together, so the SC must be removed. No problem, just need to loosen the two bracket bolts and remove everything, right?
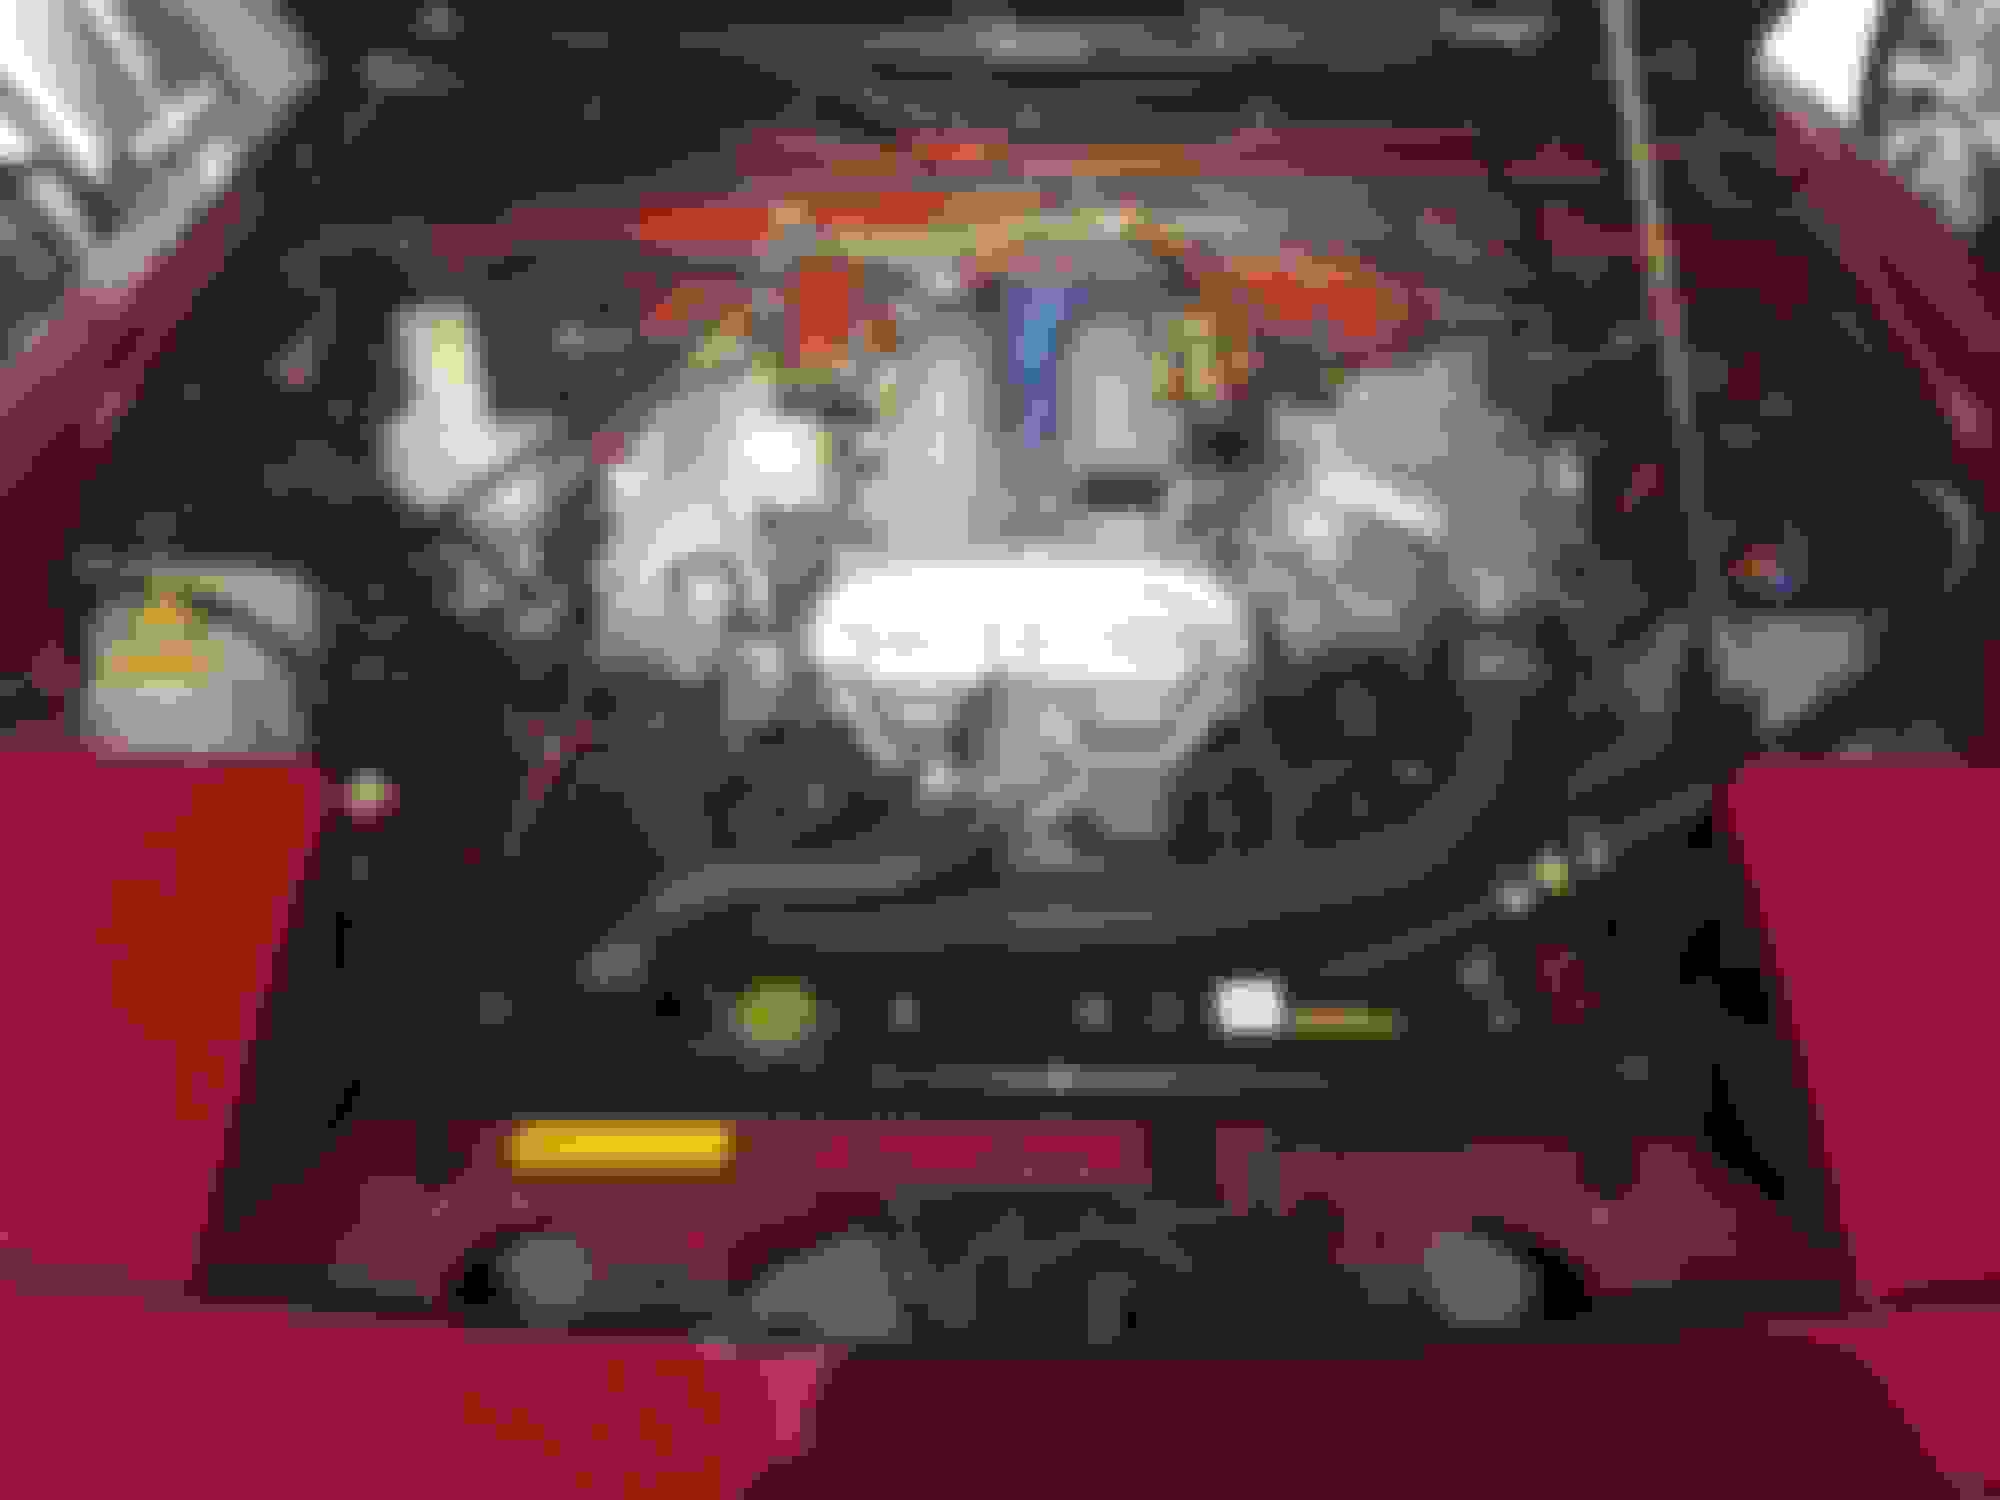
Wrong. Bolts are frozen solid, and I rounded the gotdam heads trying to loosen them. Now I need to remove the bolts that hold the SC to the bracket and take it off that way, so I can use a proper socket and impact to remove the block bolts. Except the one black SC/bracket bolt interferes with the head, as shown in the picture. So now I'm Dremeling off the bolt flange so I can get it past the head and get this bitch off.
THEN I looked below the SC, and saw this:
The power steering bracket that holds the lower mounting point of the supercharger is cracked. MOTHER... FOKKER.
So I have to remove all this *****. At this point I'm thinking about revising my whole plan. New plan goes:
- remove and sell JRSC M45 supercharger kit. Put engine back to stock
- install MS-PNP2, play with it, learn to tune.
- order MS-3X kit, take my time building it. When complete, sell off MS-PNP2.
- remove 1.6L motor and sell or sink to bottom of lake. VVT swap this bitch per the awesome thread here, end up with same power as 1.6L SC but N/A.
So yeah, I should have followed the steps laid out in the FAQ's and stickies when I first read them a year ago. That's what I get for ignoring good advice.
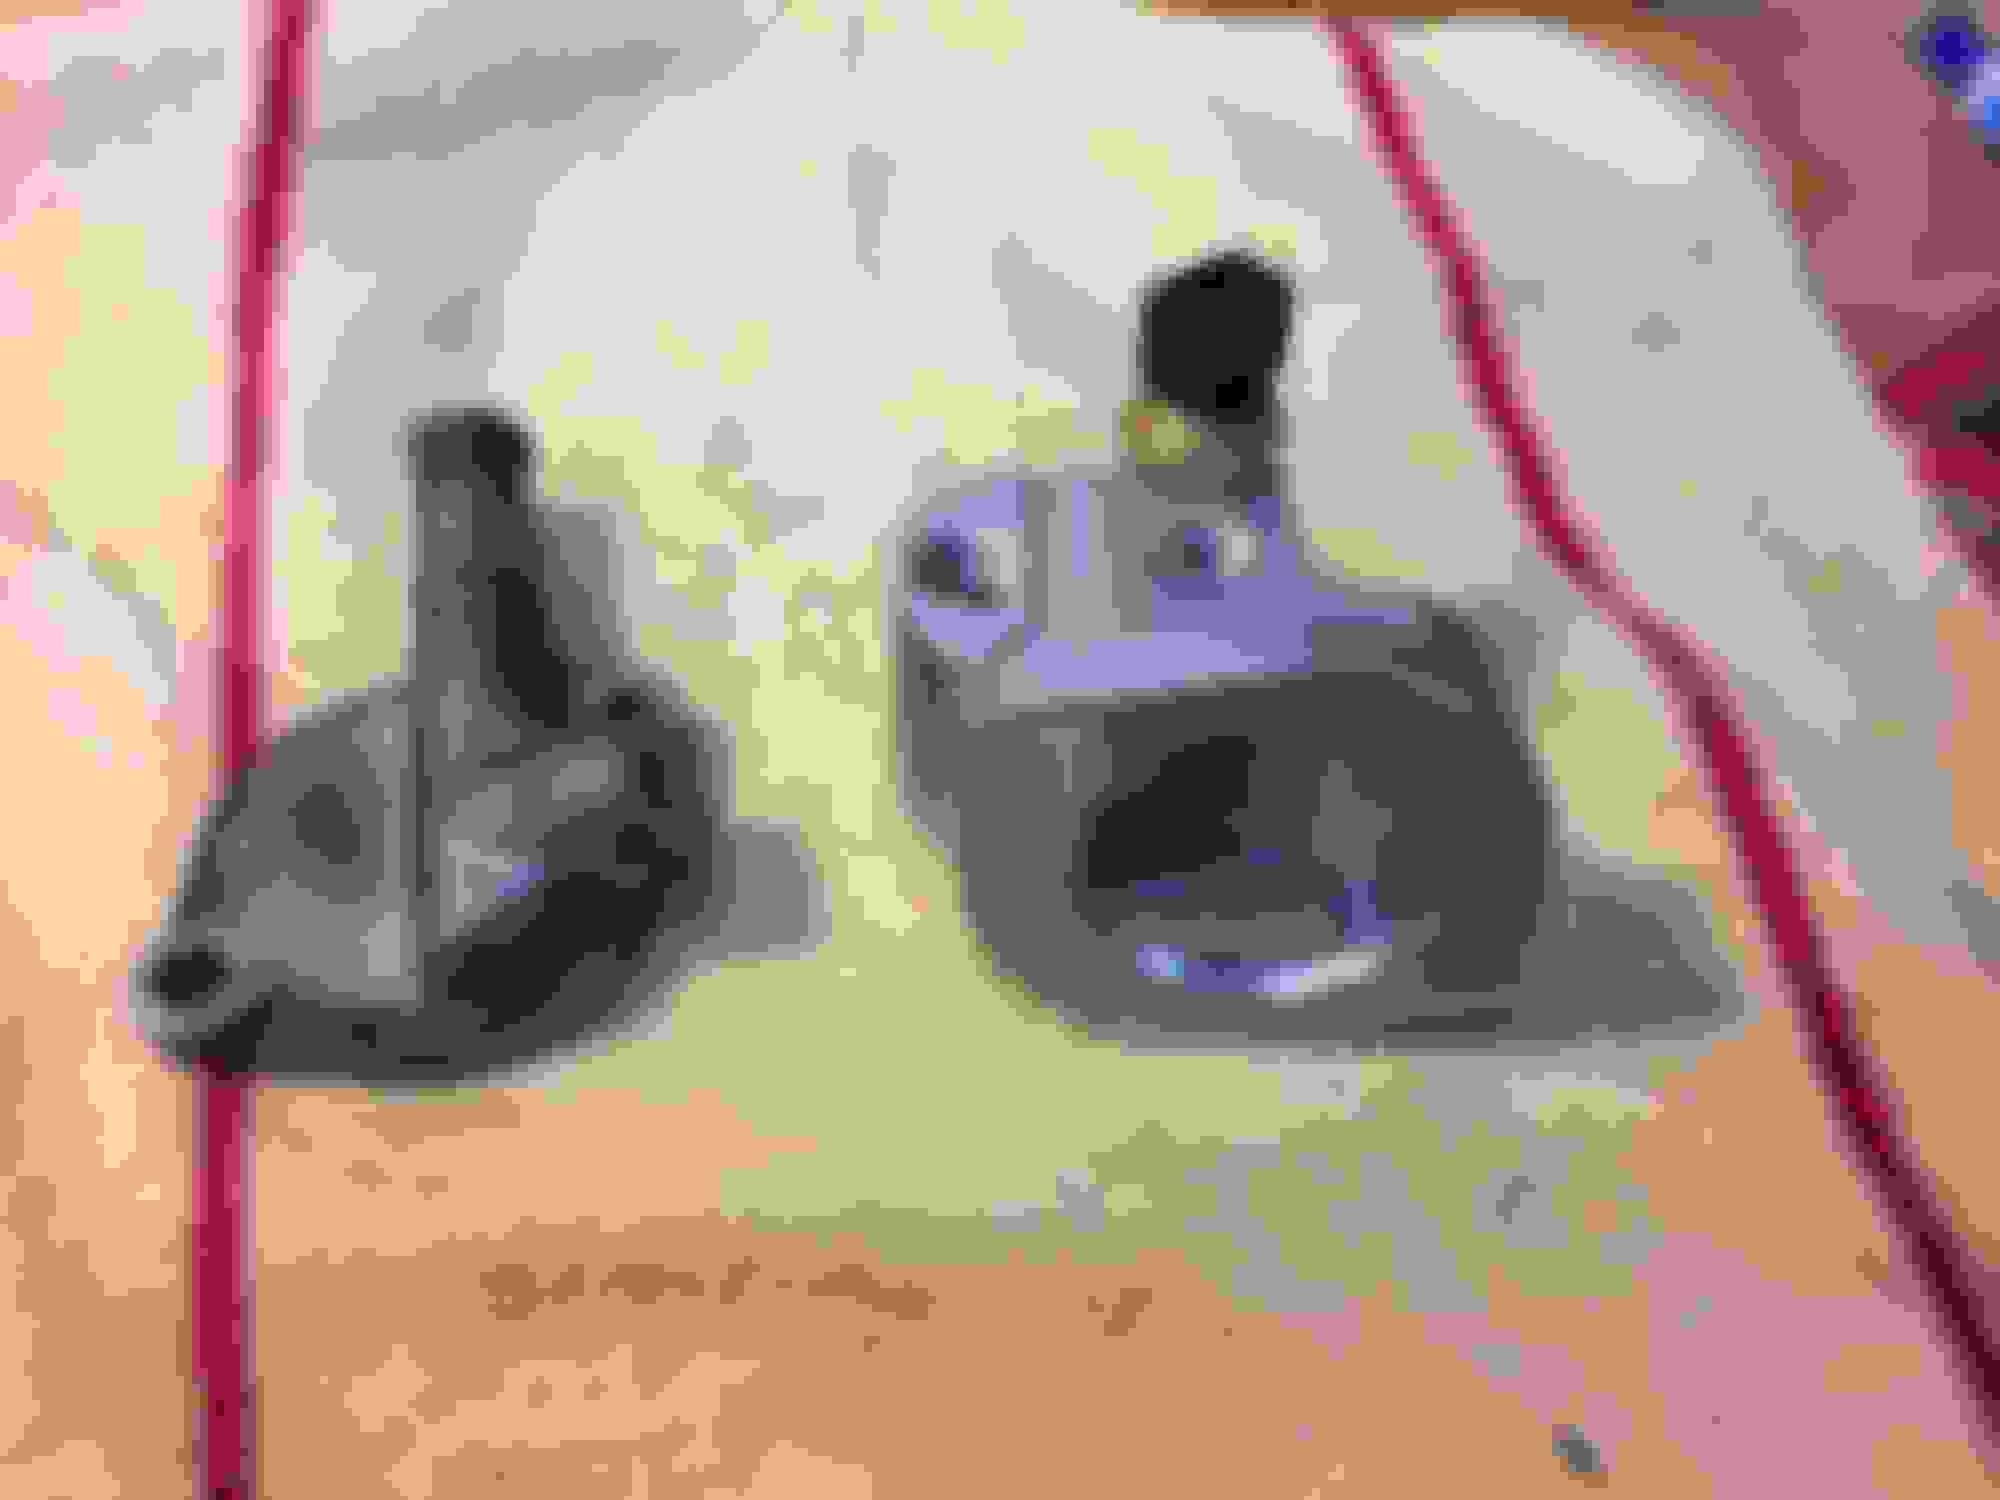
Well, after I cooled off I got back to following the original plan. I finished dremelling the hell out of the mounting bolts, Took out supercharger, opened it up and replaced nose coupler.
After all this, it looked like the nose coupler had already been replaced, and recently. The one that came out looked brand new, no play at all.
So the metallic sound I was hearing was coming from the broken power steering bracket. I determined that the original bracket had broken because the SC mounting bracket wasn't square between the SC and the PS bracket, and was applying a torque to the PS bracket. Only a matter of time before the cast iron fatigued. I replaced the PS bracket, and this time I shimmed it with washers so that it was square.
I had to replace the bolts that mount the SC to the head. The originals were 10x1.25, 20mm long, with a low profile head. Closest I could find locally was 10x1.25, 25mm long with a standard head. Few minutes on the bench grinder, the new ones were close enough to use.
So I'm back to my 6-7psi of boost, which feels pretty good.
Last edited by Schroedinger; 03-25-2017 at 01:33 PM.
Well, I finally hit my limit with random buzzes behind the dash. Its' terrible between 3-4k RPM, there are loud buzzes on both sides of the dash. I started pulling things... glove box, steering panel, tombstone... next thing I knew, here I was.
It's cathartic having that dash off. I can now undo 25 years worth of janky-*** wiring for security systems, stereos, etc. I can re-do my wiring for the WBO2, using proper crimp connectors instead of solder connections. I can clean out 25 years of nasty that resides in there. I can zip-tie and foam tape everything to death. Might as well replace the heater core and grommets while I'm in there.
Ironically, I still haven't found what was causing the buzzes.
Been a long time since I updated this thread. Started a new job, very busy.
So after spending a few months pulling the dash and doing all sorts of other stuff to get rid of the vibration, I noticed this on top of the supercharger last week:
Which is a perfect match for this spot on the hood:
Problem solved. When I fixed the broken power steering bracket that was holding the supercharger up, I installed the supercharger too far towards the front of the car. The hood was vibrating against the supercharger.
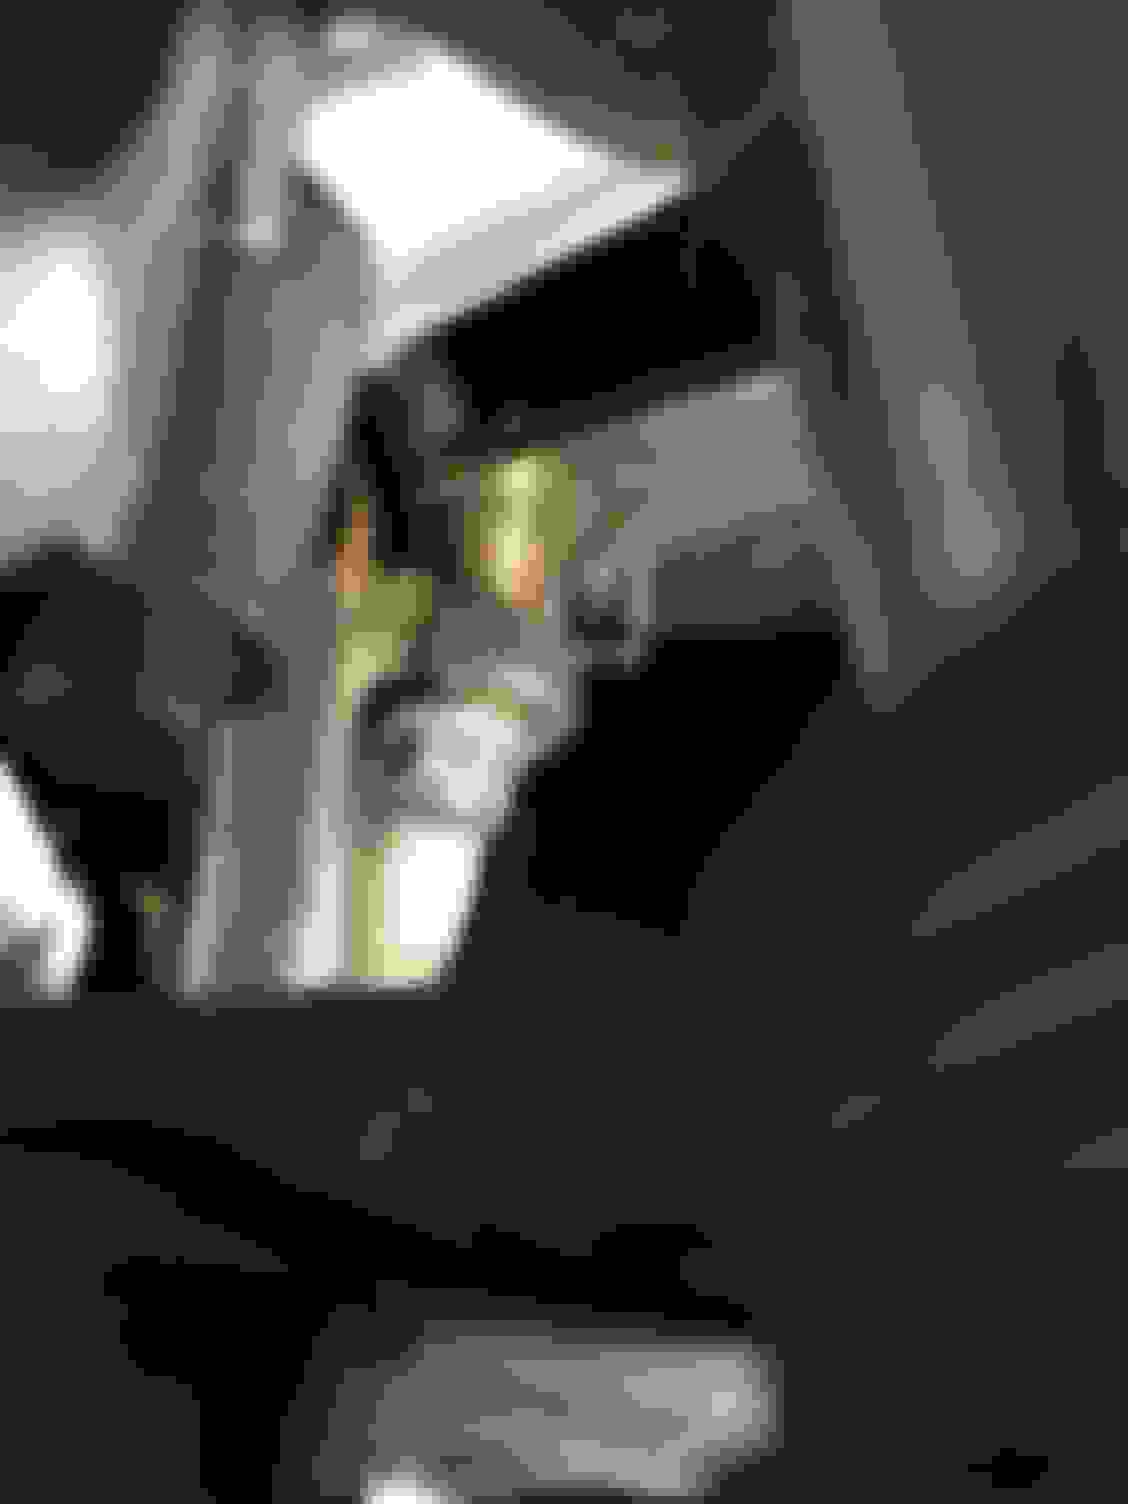
So... time to take everything apart again. Except this time, when I had the crossover tube off, I installed the IAT sensor:
Don't need no stinkin' IAC hose across my engine bay. Check valve/ air filter dongle idea courtesy of x_25.
And said buh-bye to the AFM. Decided to keep the DDM Works cold air intake where it's at.
I had already run the wire from the Innovate LC-2 wideband into the engine bay when I pulled the dash, so I spliced it into the harness. I pulled the Jackson Racing boost timing controller, fixed the wiring around the ECU harness, and:
Boom. Megasquirt installed at about midnight last night.
This morning I hooked the computer up, loaded the basemap, changed all the necessary settings, and cranked it. Started right up, and idled beautifully. Set the timing, and took it for a little drive. It runs really well. It's pretty rich in most areas; upgrading my TunerStudio tonight, and I'll do some VEAL autotuning. When it warmed up the idle was hunting around, so I switched it to open loop; dead stable at 900 rpm now, I think I'm just going to leave it open loop.
It does go lean on hot restarts, which I'm assuming is heat soak of the IAT sensor, but it's pretty manageable, around AFR 15. No detonation or anything. If it doesn't get any worse, I'll probably just live with the IAT where it's at.
I'm fired up. It only took me five months to get this done, but my car is running and I'm on the road to power.
 02-01-2017, 03:44 PM


 0
0