Onyxyth's build, FM no electronics / Rev MS2
 09-16-2013, 03:40 PM
#1
Senior Member
Thread Starter
iTrader: (2)

Join Date: May 2013
Location: Boyertown, PA
Posts: 735
Total Cats: 62
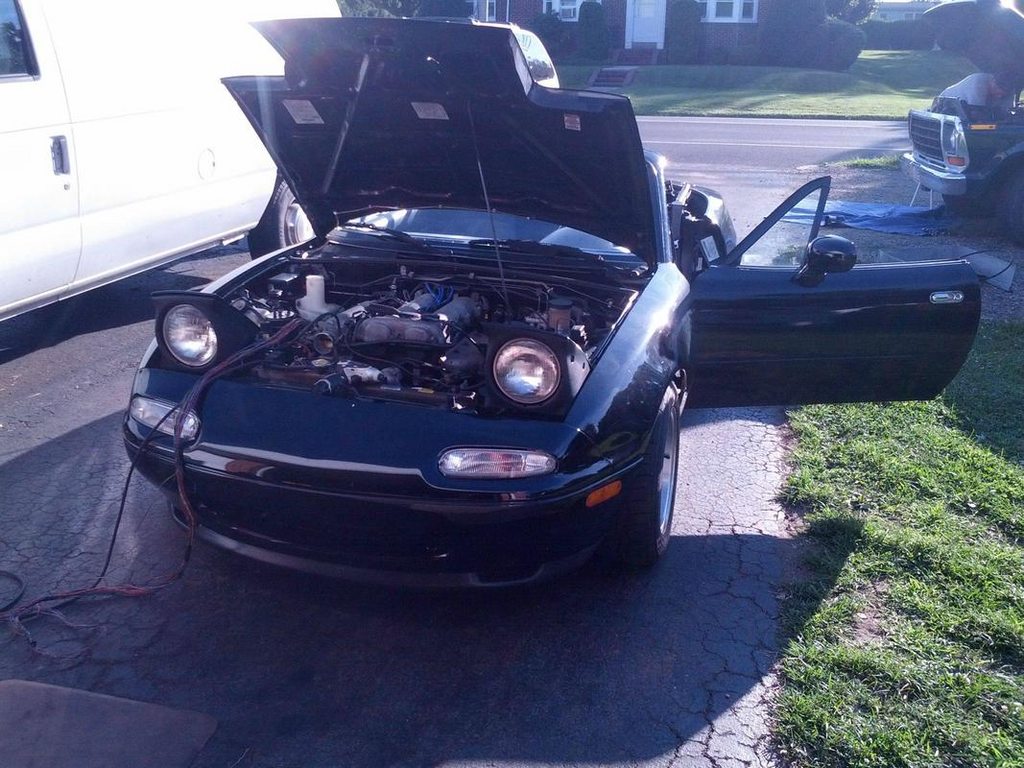
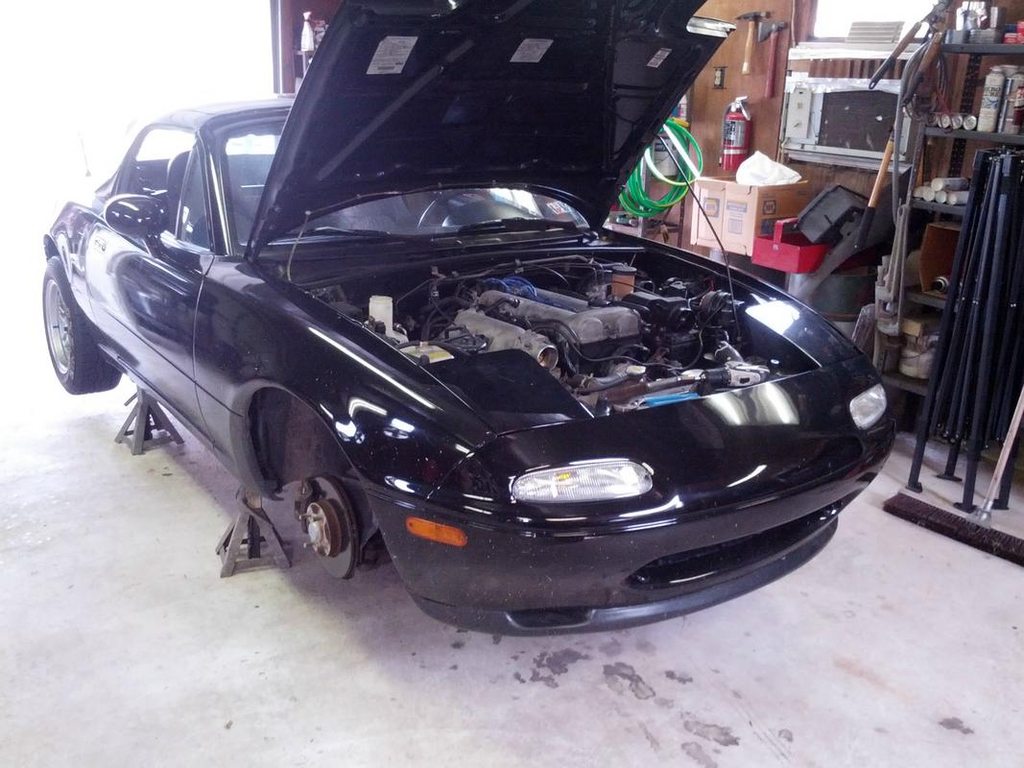
Since my car is up and running decent I figured I would post some pictures of the process. Before finding this site I didn't know a single thing about turbos or tuning. That was only ~5 months ago.
This build is about as cookie cutter as it gets. I don't have much fab experience so I wanted parts that I knew would fit without too much fiddling.
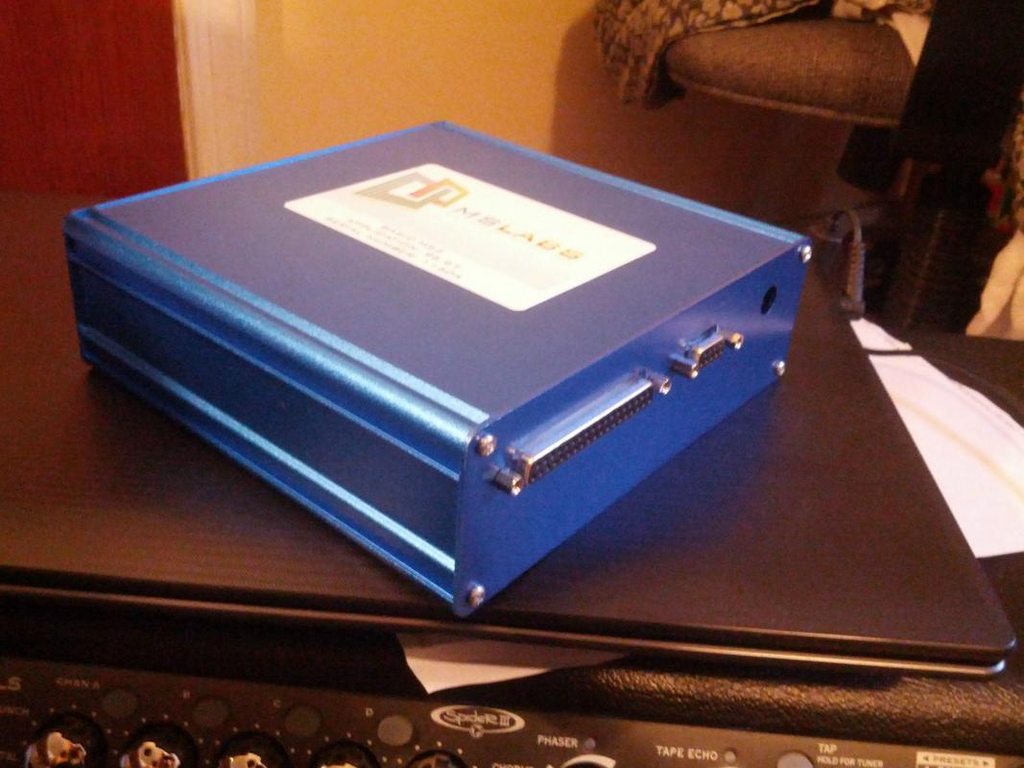
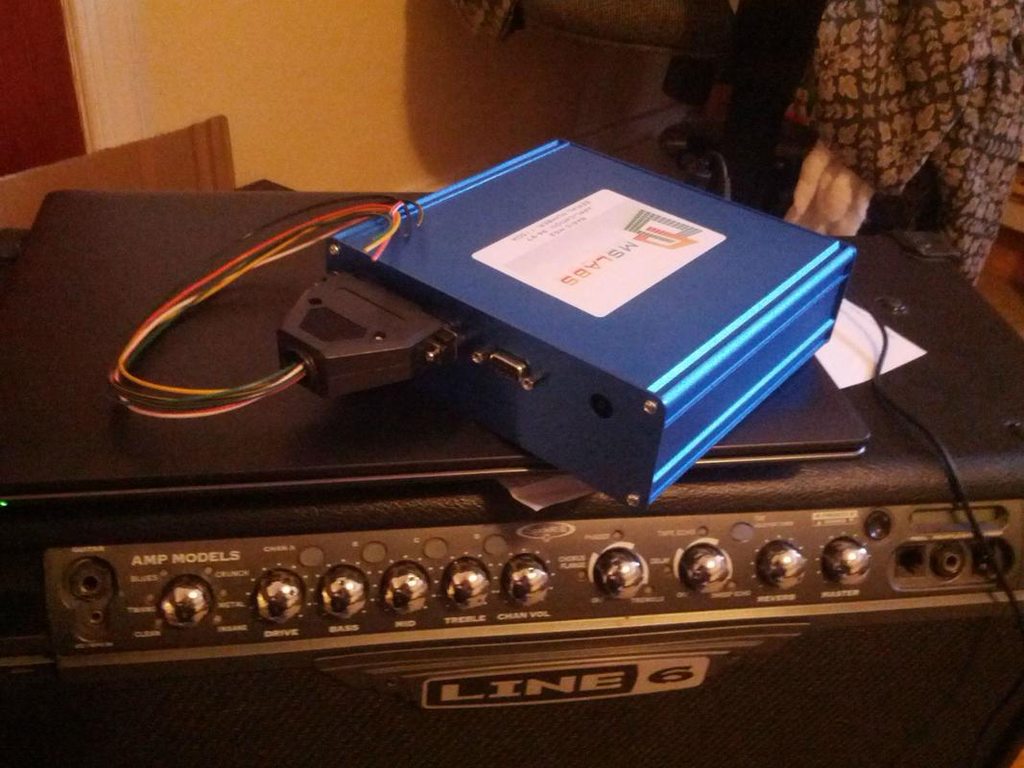
First thing I bought was a Rev MS2 Basic, it does everything I need to to do. I'm sure some will say I should have held out for a MS3 but mreh.
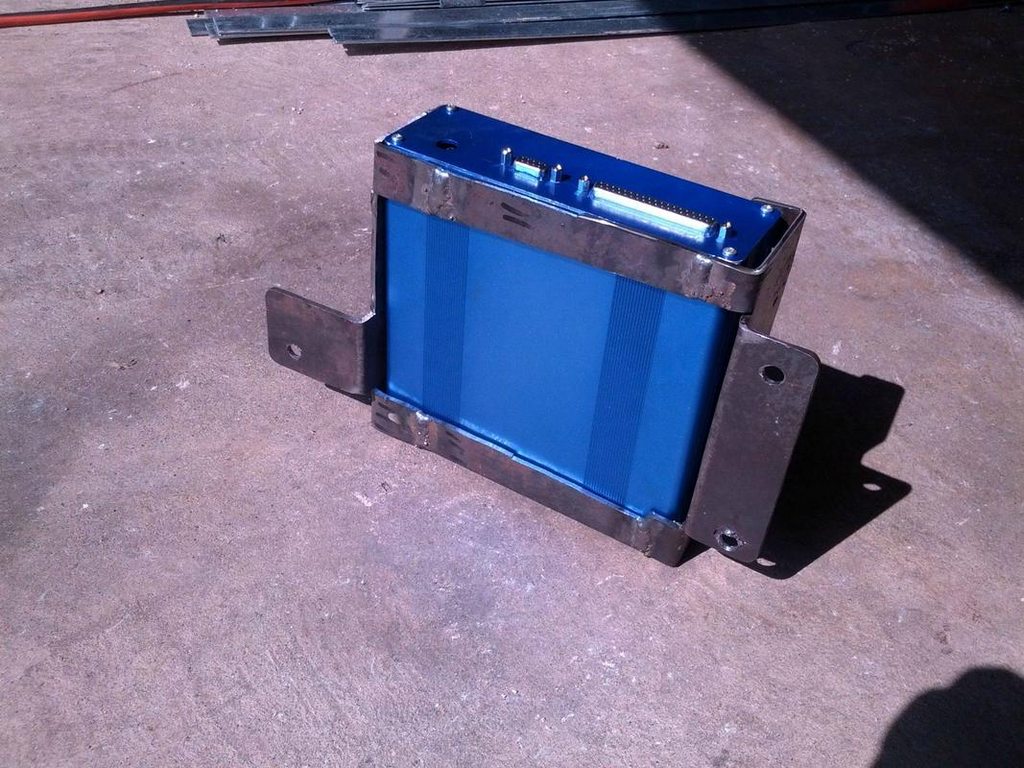
I made this ugly bracket to hold it. Obviously I don't do much fab work. Put foam on the inside so it doesn't rattle or scratch the MS.
I ripped a wiring harness out of a junkyard car and used it to wire the IAT and extend the wideband wiring.
I also ended up using it to wire new grounds for the TPS and CLT since they were giving BS readings. Reverent helped with the diagnosis which helped a ton.
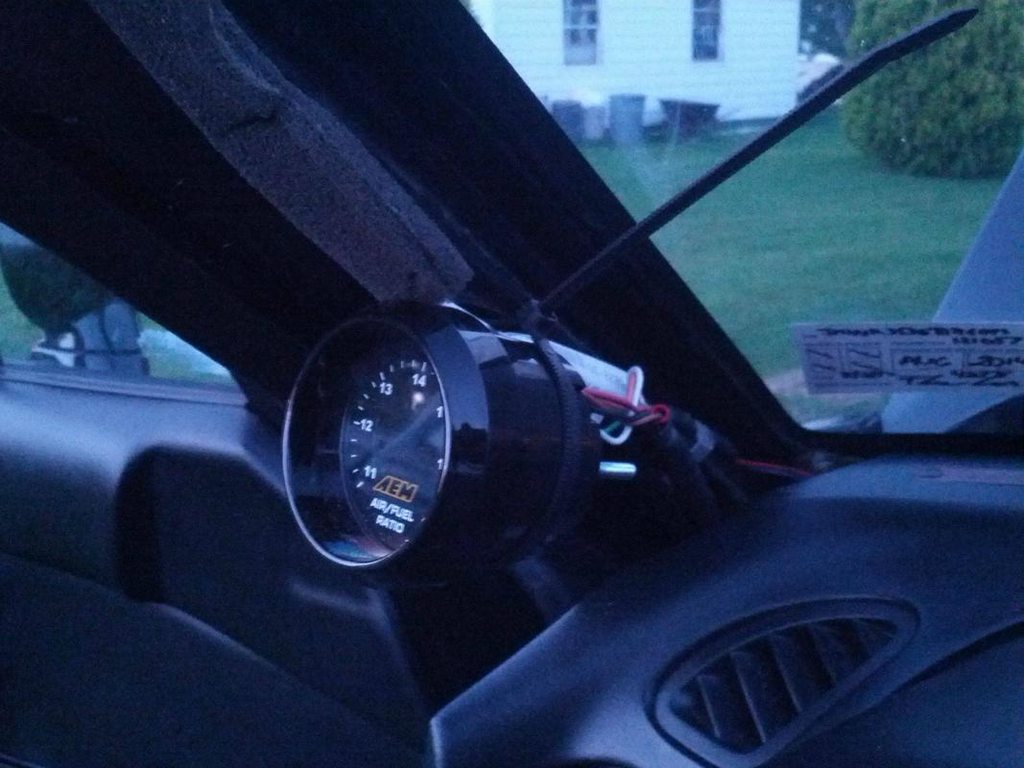
Temporary wideband mounting.. I knew I had a dual pod on order with the FM kit so I didn't bother doing anything fancy.
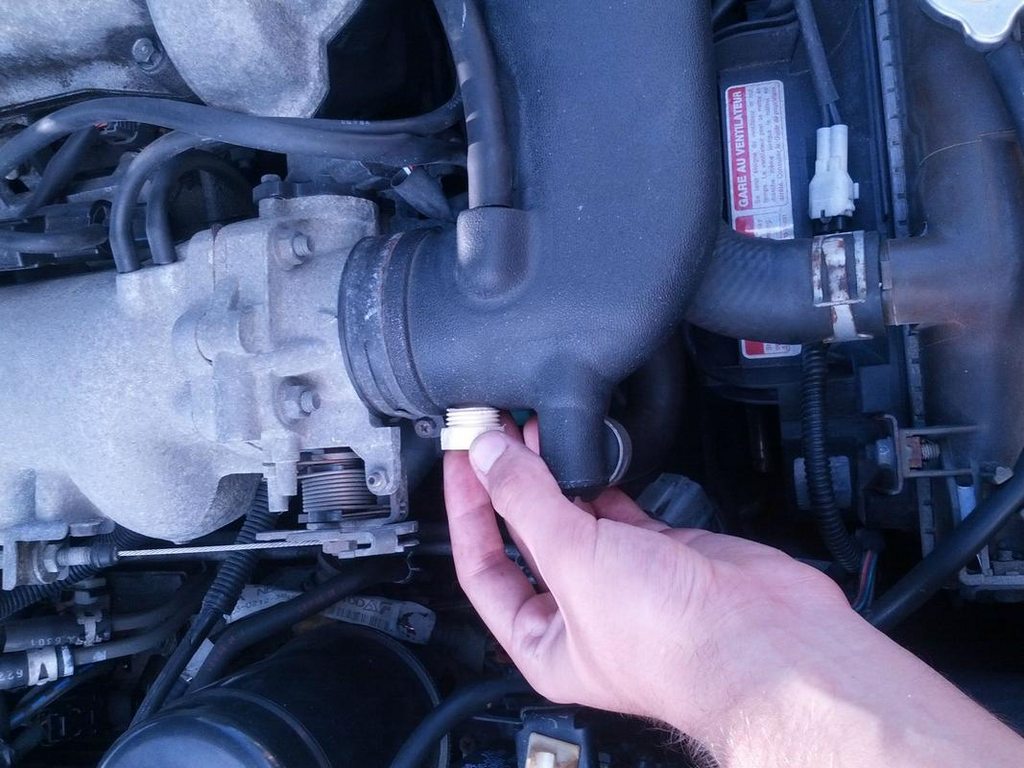
Here's where I originally mounted the IAT. I spent a solid hour making this nice PVC bung that I drilled and tapped for the sensor. It ended up being a TERRIBLE idea. It would heatsoak very quickly. Eventually I put the IAT over by the airbox, inside the fender intake tube, which worked marginally better.
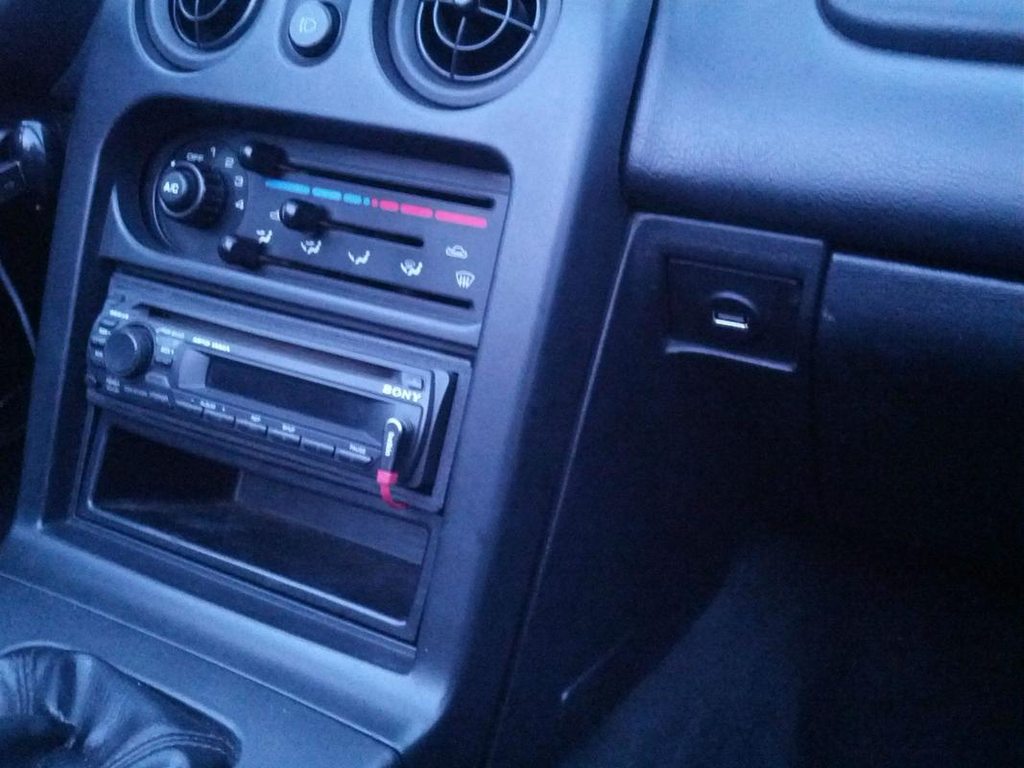
I bought and mounted it in a blank off plate on the passenger side. I have a serial to USB adapter on the end of the MS which runs up the center console to the mounted port. Also bought a flat 3.5mm cable to tidy up the aux port for my zune.
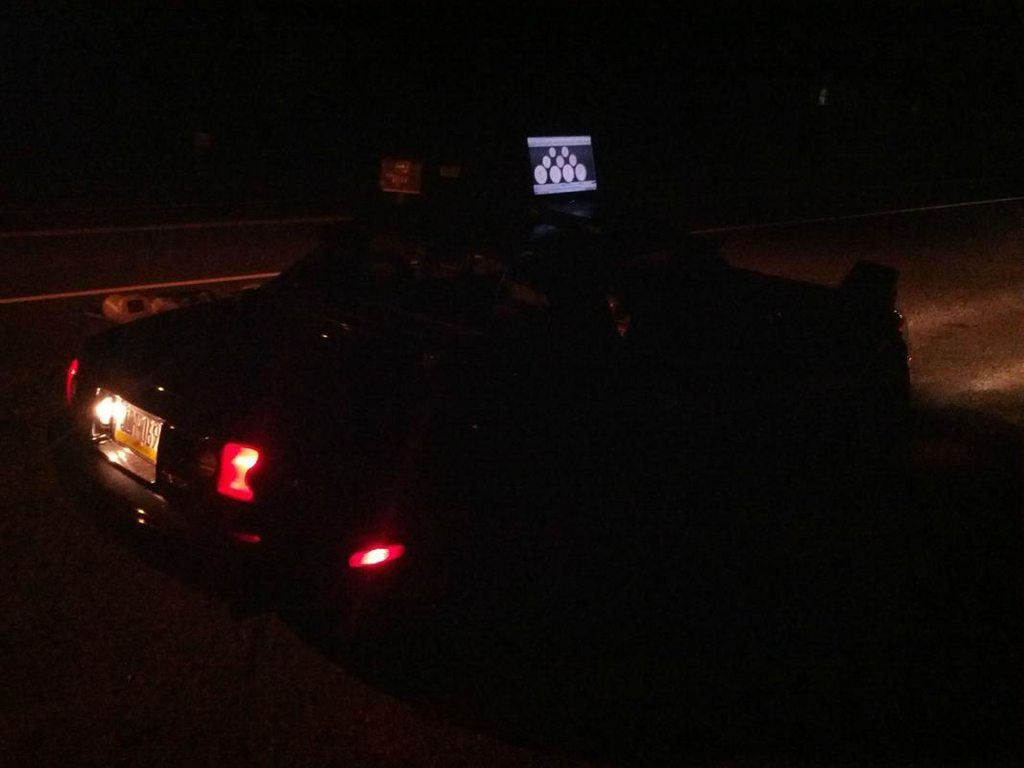
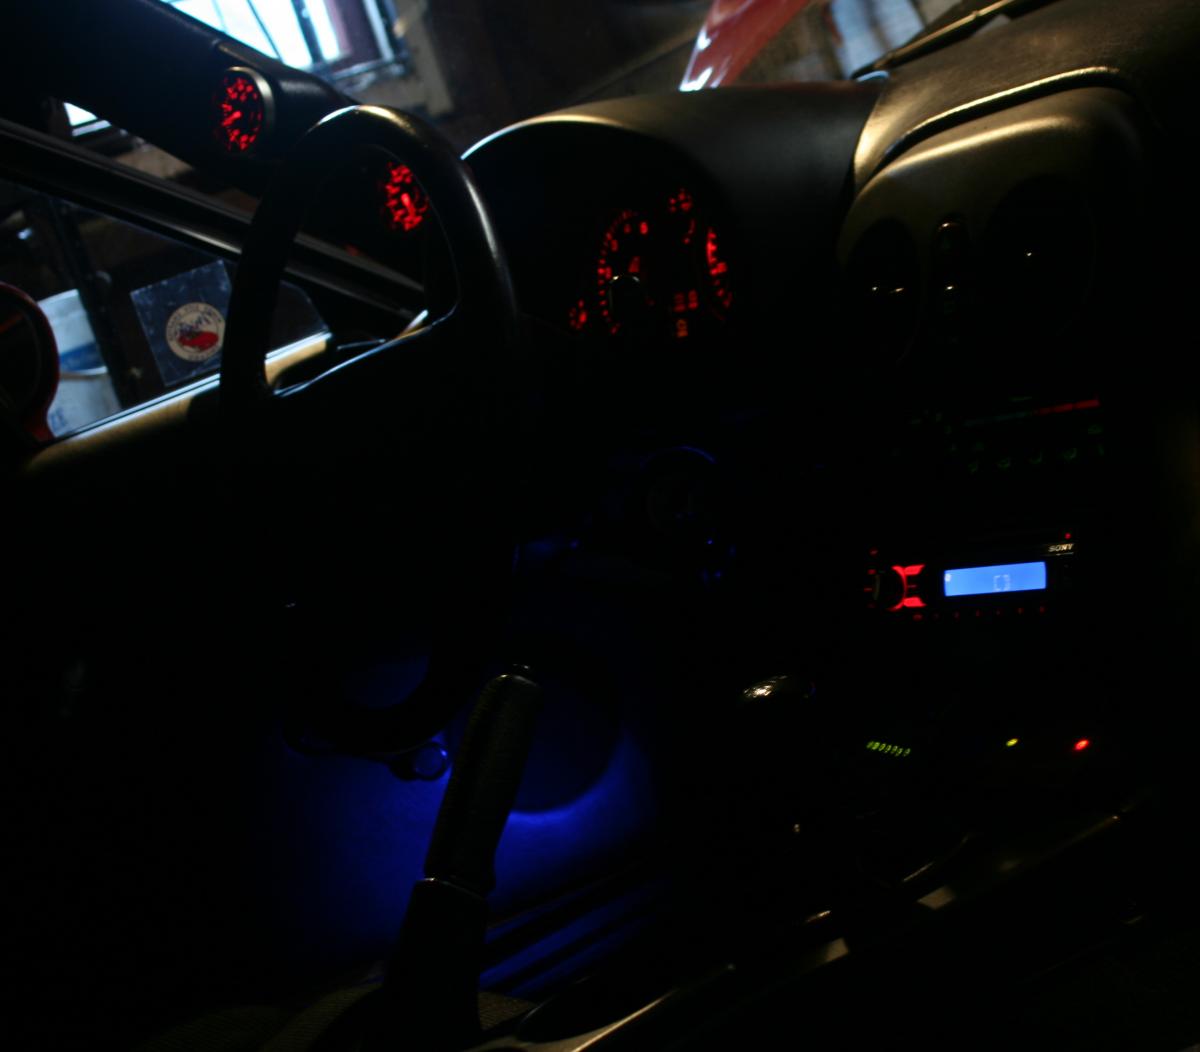
Late night idle tuning. Kind of a cool picture.
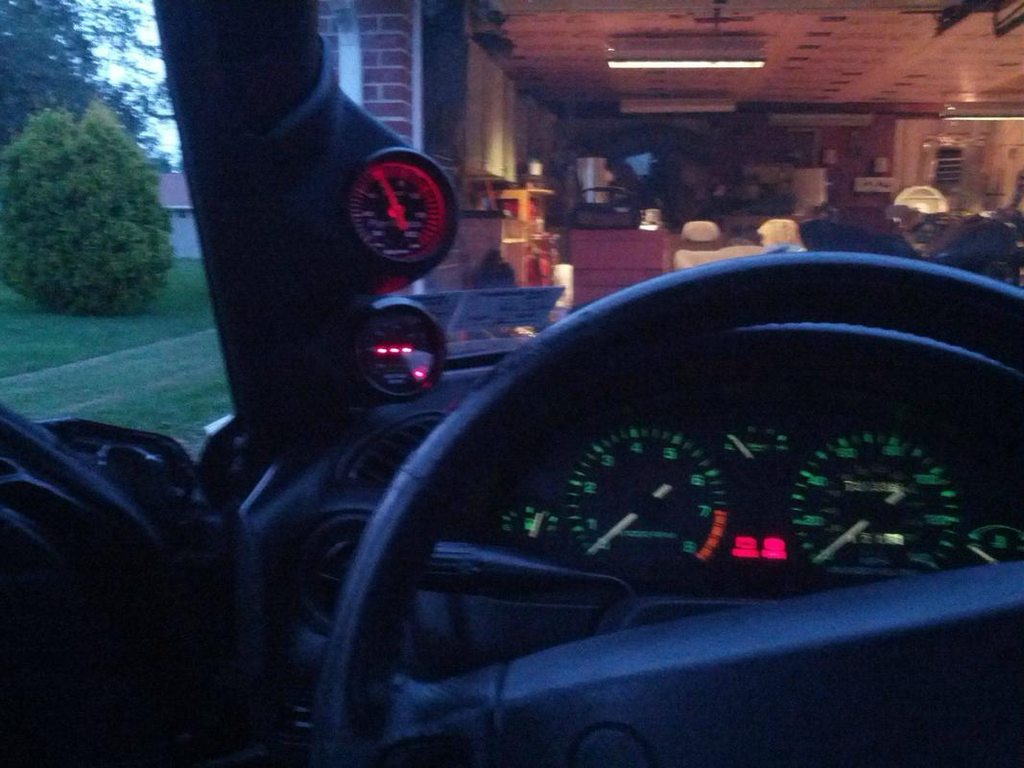
My FM kit arrived but I didn't really have the time to install it yet. Hooked up the boost gauge and installed the dual pod in the meantime. I think I installed my injectors sometime around here as well.

ooo it glows red +10 hp

Finally got some time to install it. Took about 5 "days" to installed (I worked until about 3pm, then would work on the car til about 10pm).
Jack 'er up
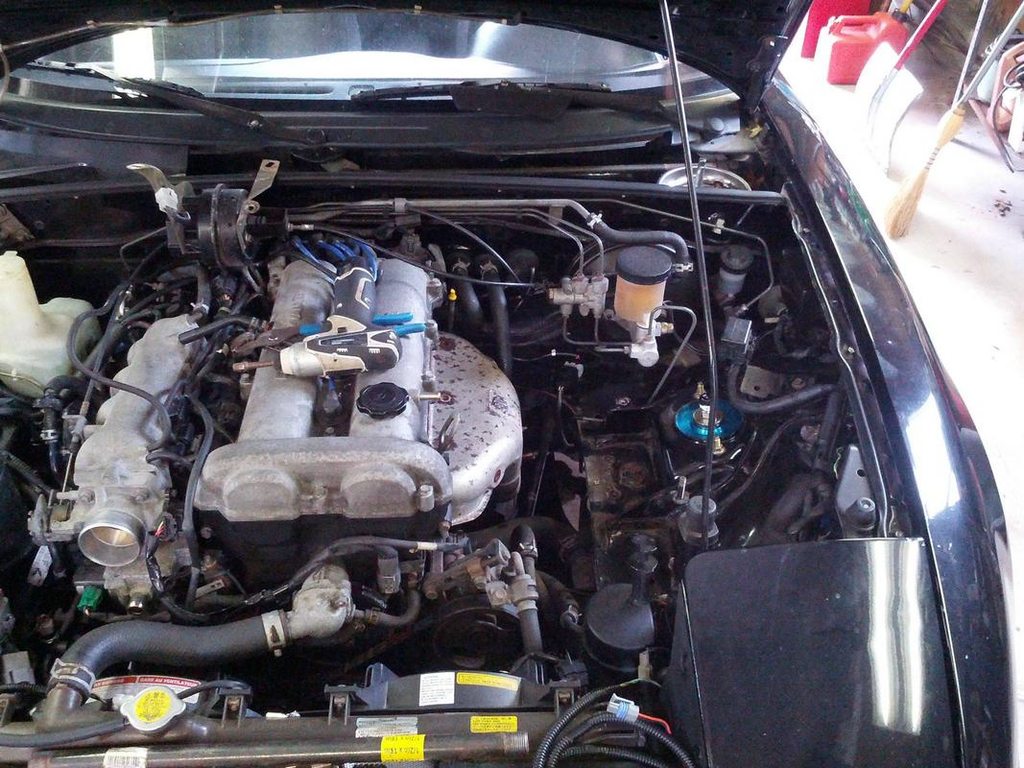
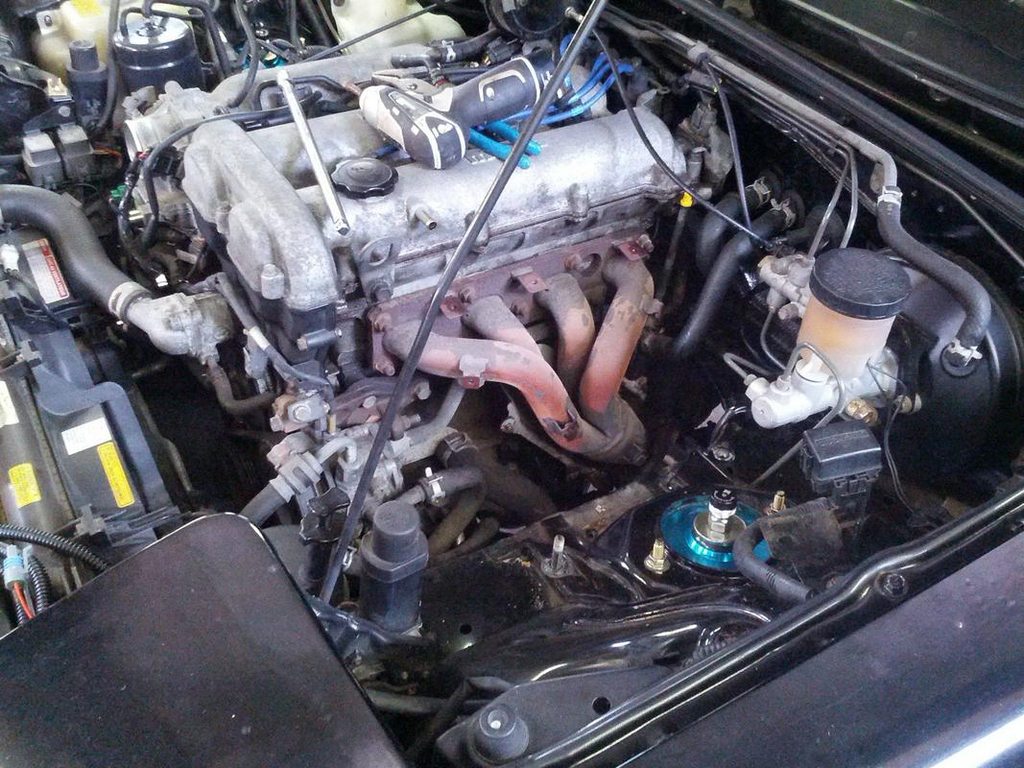
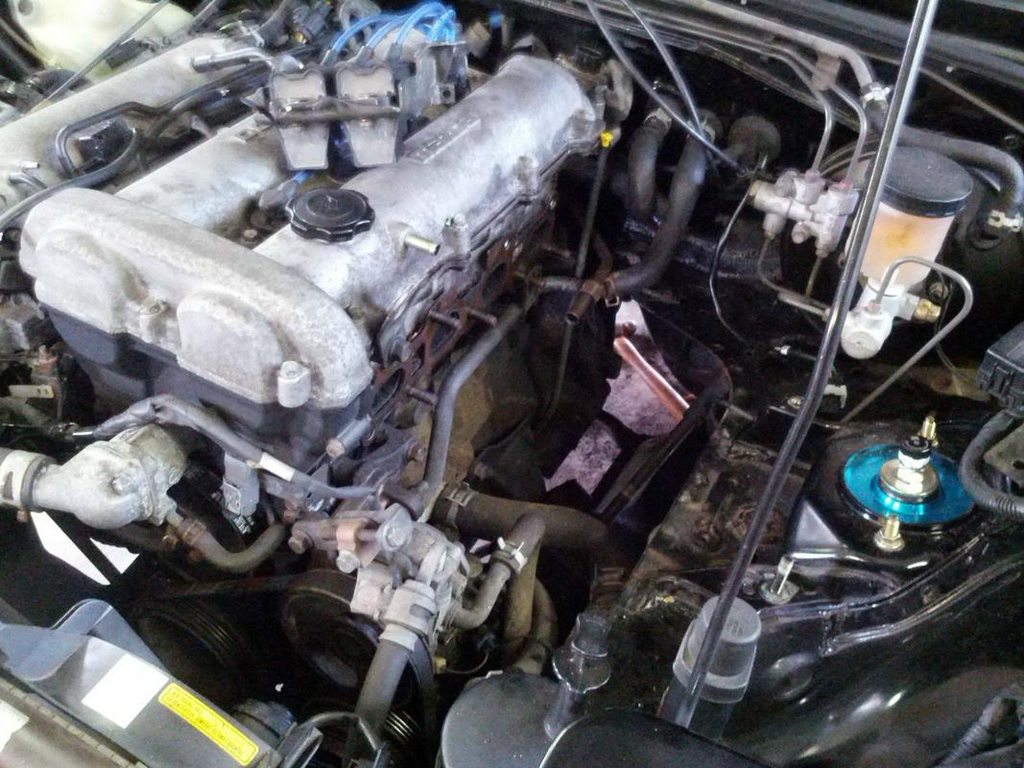
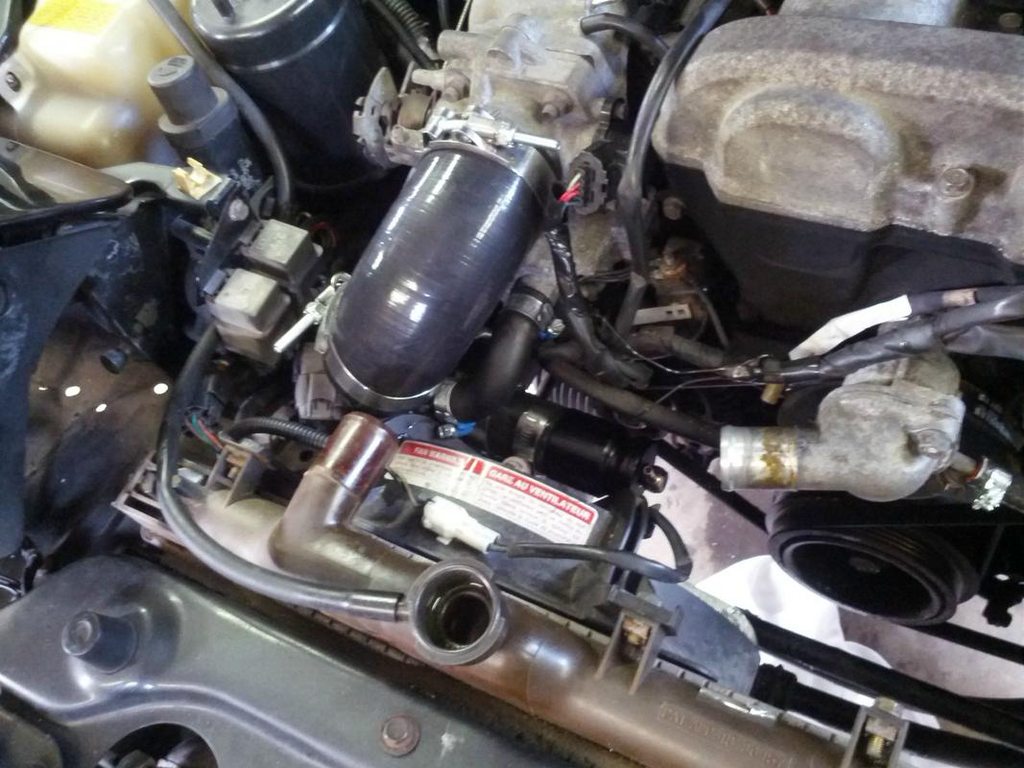
intake things off..
Broke most of these heatsheild bolts. Even after soaking them in Aerokroil for 2ish hours.
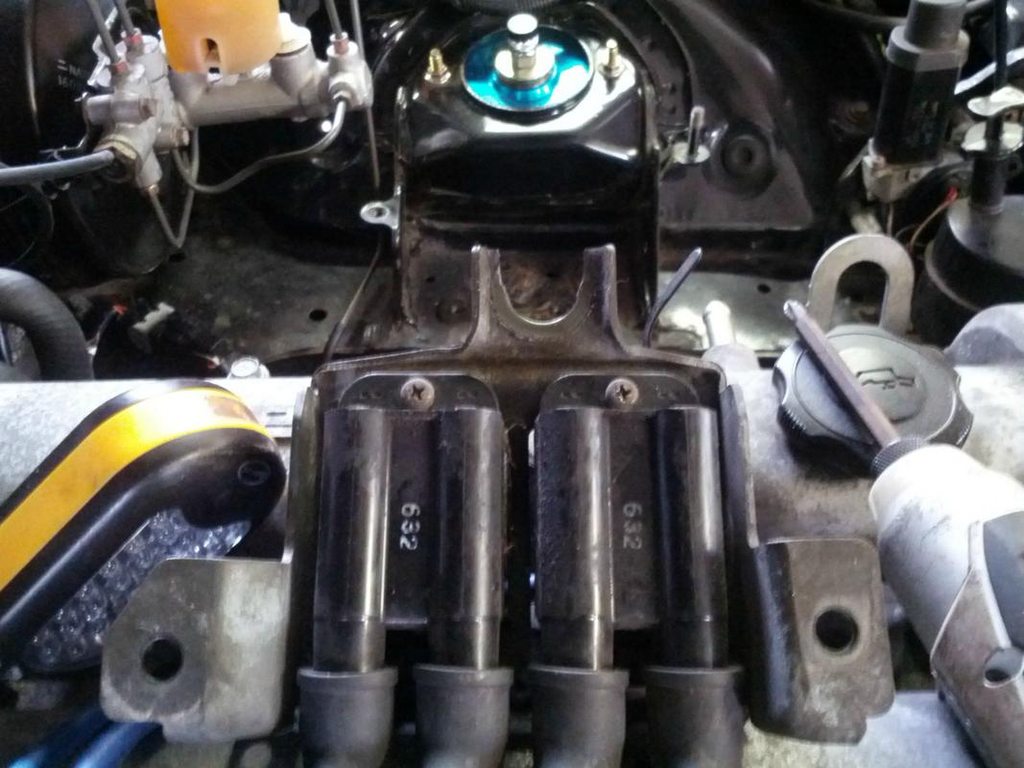
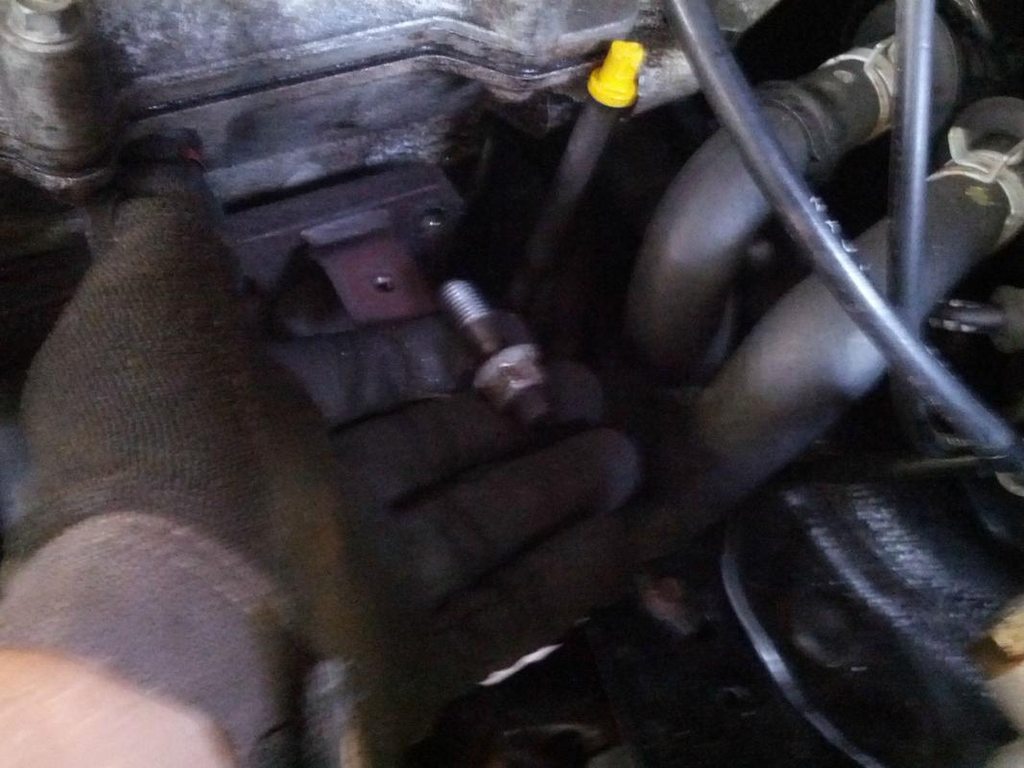
I ground this down so you can remove it without fussing with that bottom bolt. I forget where I saw this originally but it's a great idea.
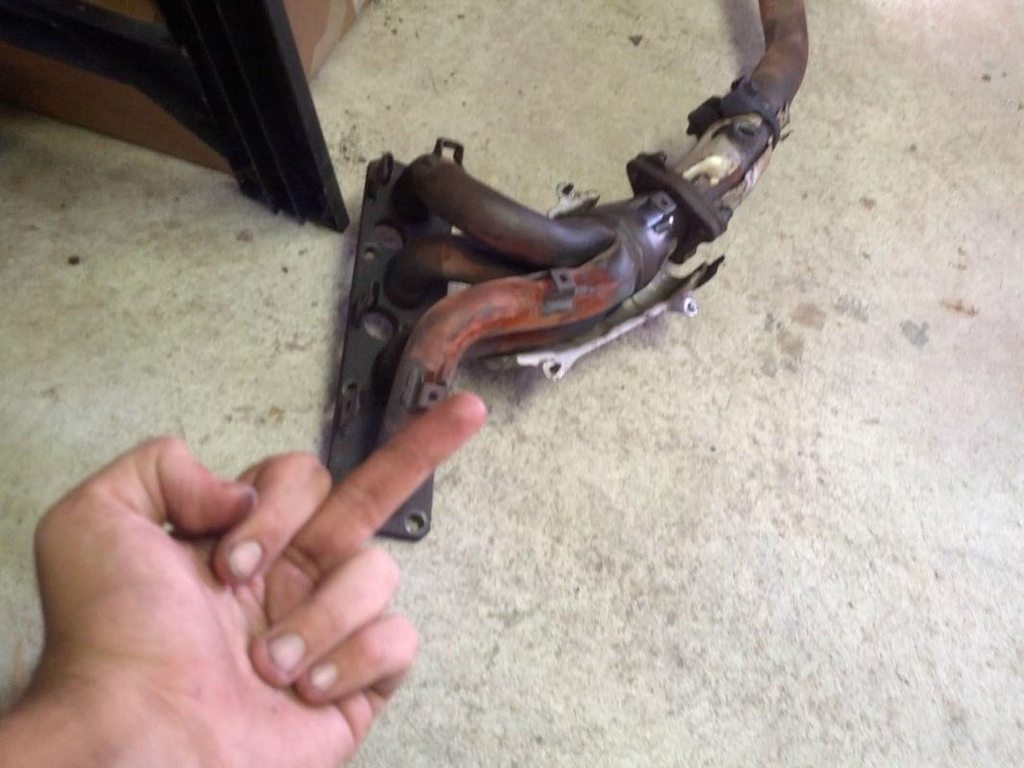
I had to grind off both the downpipe to cat bolts. This ended up taking the majority of the first day because I couldn't fit the big grinder in there. Had to use the pneumatic one which would only grind for about a minute before the compressor had to run.
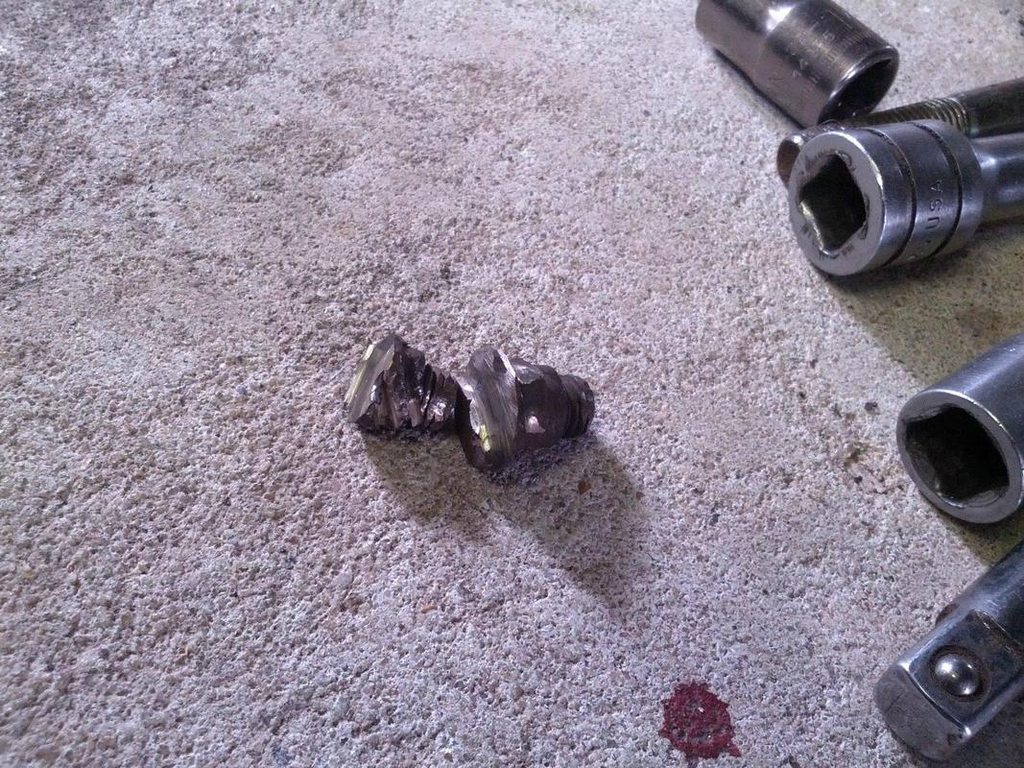
Wait.. aren't these supposed to be nuts? great!
Finally.
This is about how I felt after the first day. Damn northeast cars and their rusty exhaust.
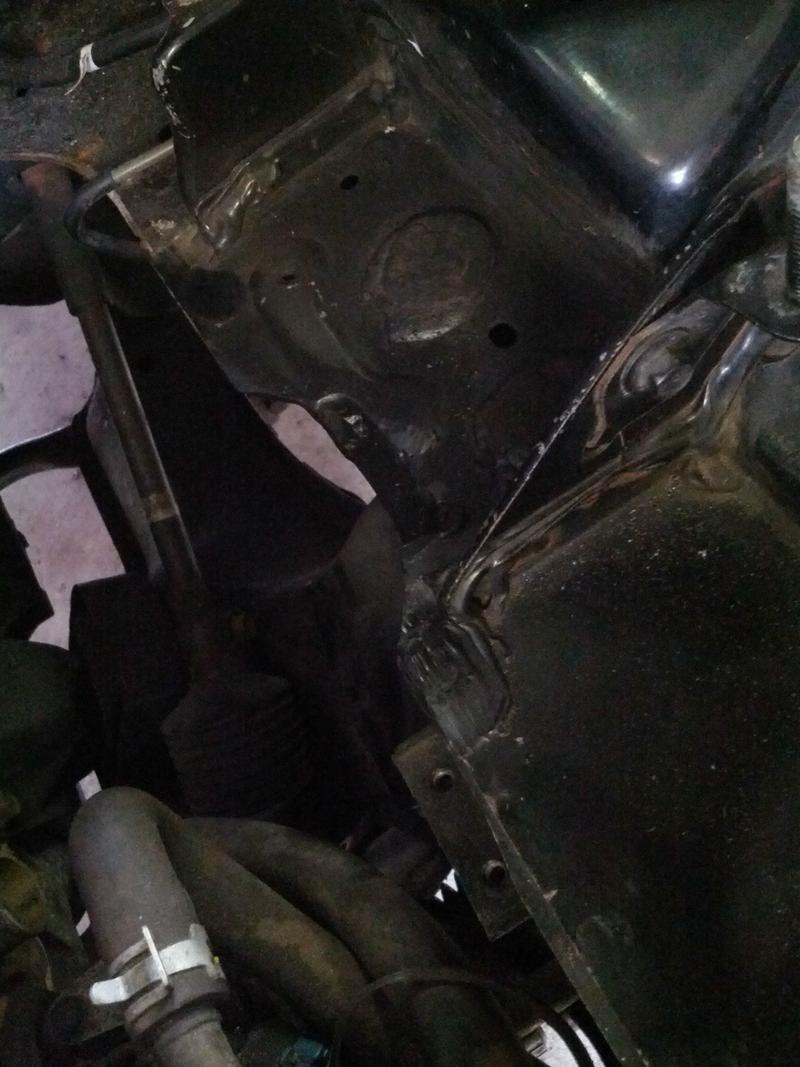
So here's where the cringe worthy stuff starts. My car is an R-titled car and was smashed in the front at some point. There was a crease in the frame rail, which lined up perfectly with where FM suggests you slot the frame. I ended up going a bit overboard and notching about 1/2" into the frame and welding it back up. Overkill but everything fits now.
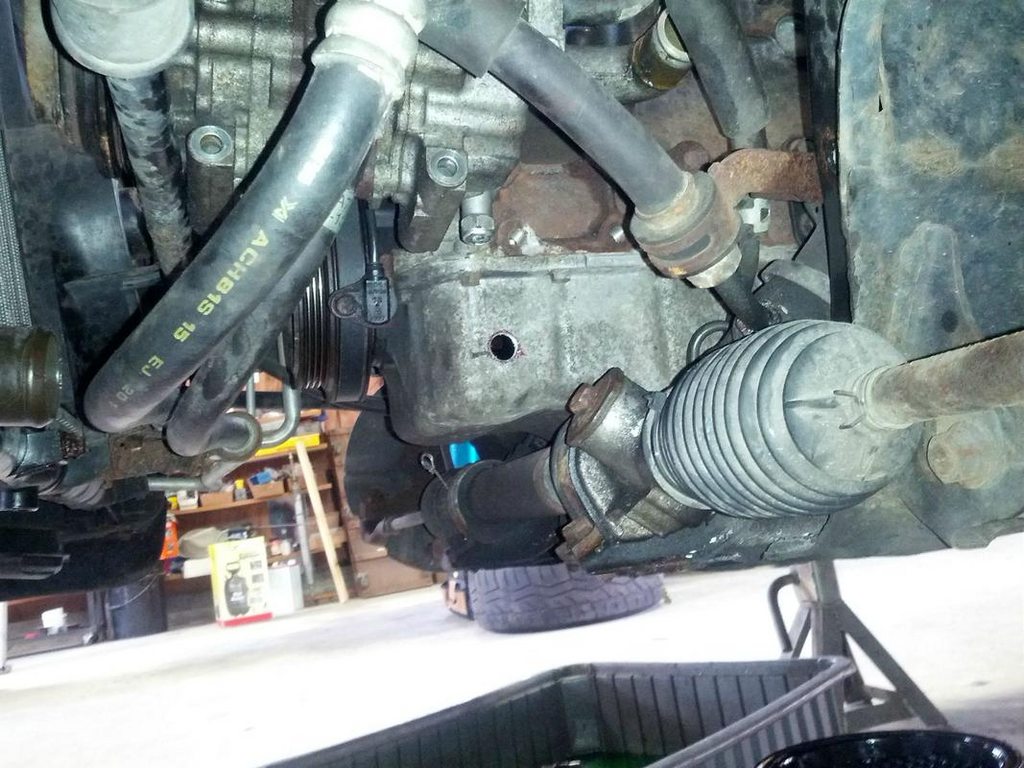
And then while drilling the oil drain hole, the bit walked (a lot). You can see the line where the middle should be. Probably walked a solid 3/8"
At this point I nearly ripped out the AC, since I hadn't got it working with the MS yet, I figured what's the difference. I took a second look at everything and realized I could probably get away with just notching out the AC bracket..
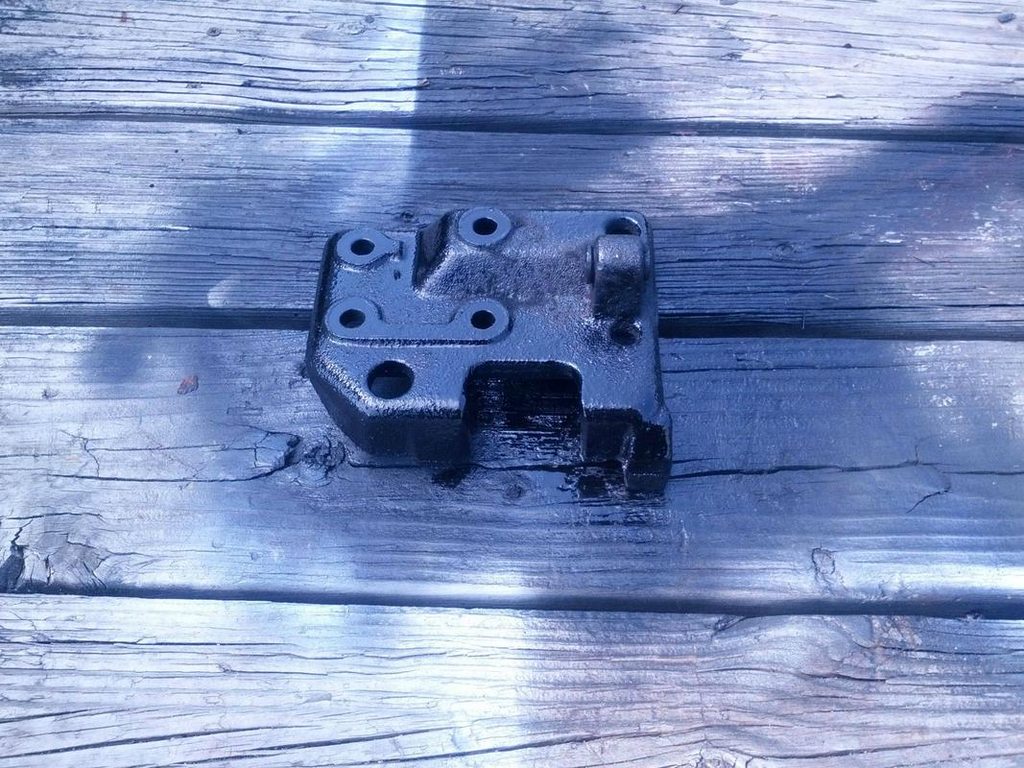
Perfect! (kinda)
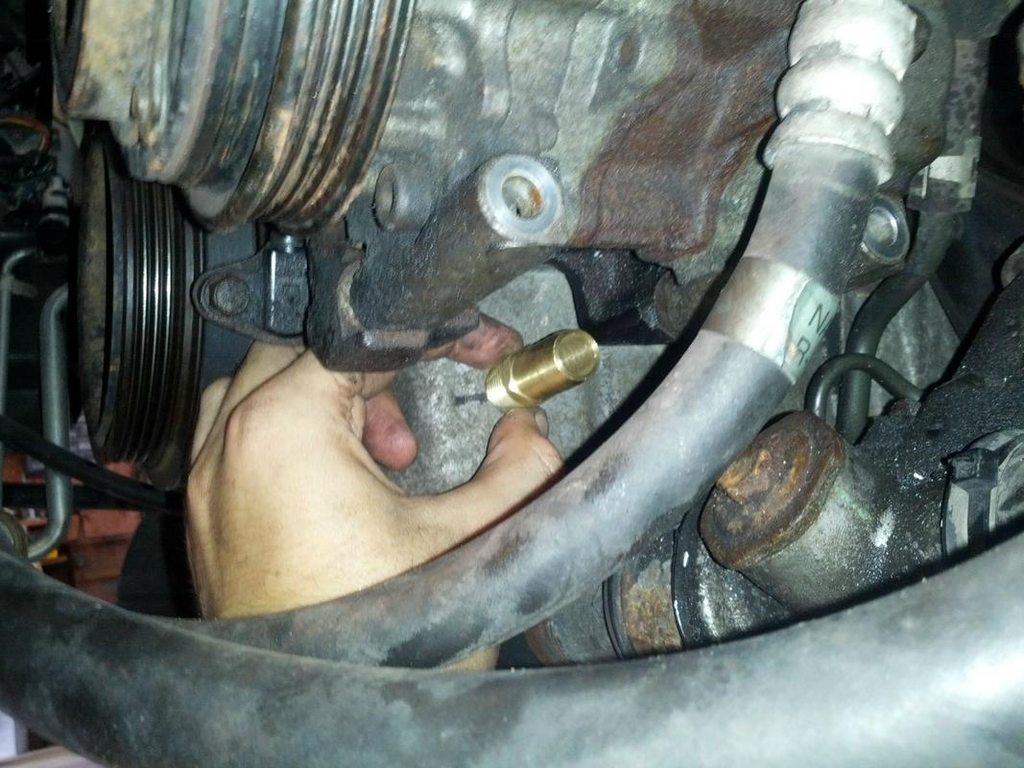
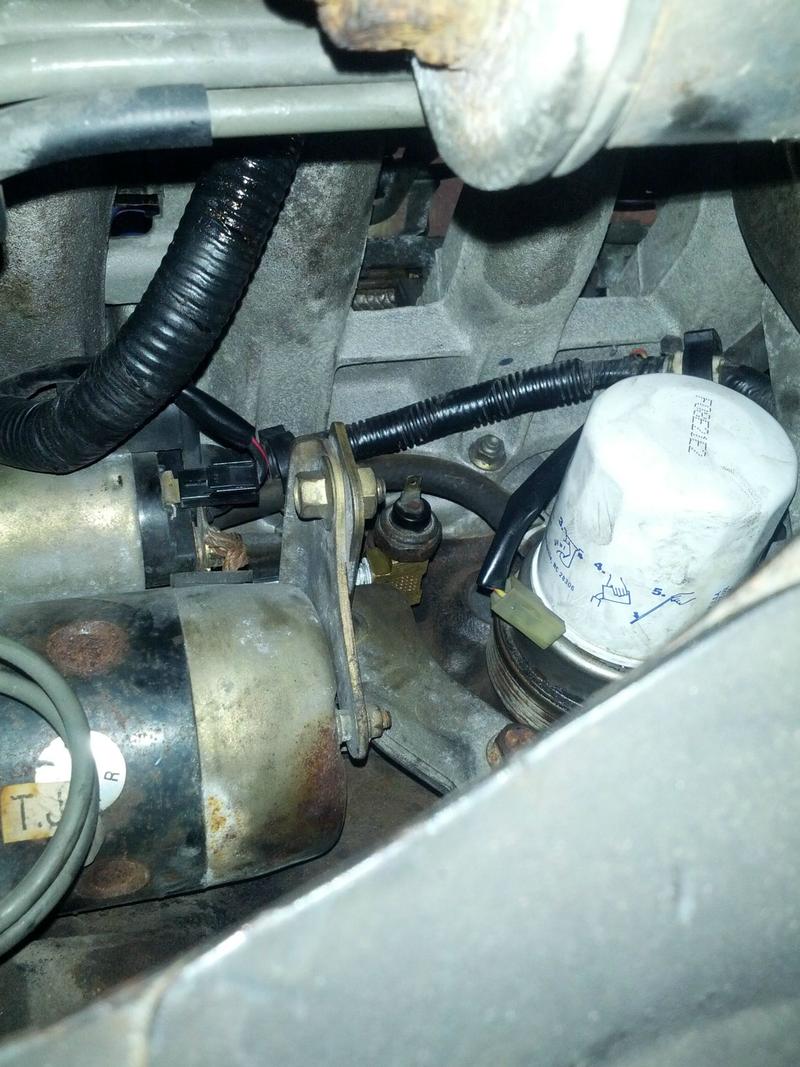
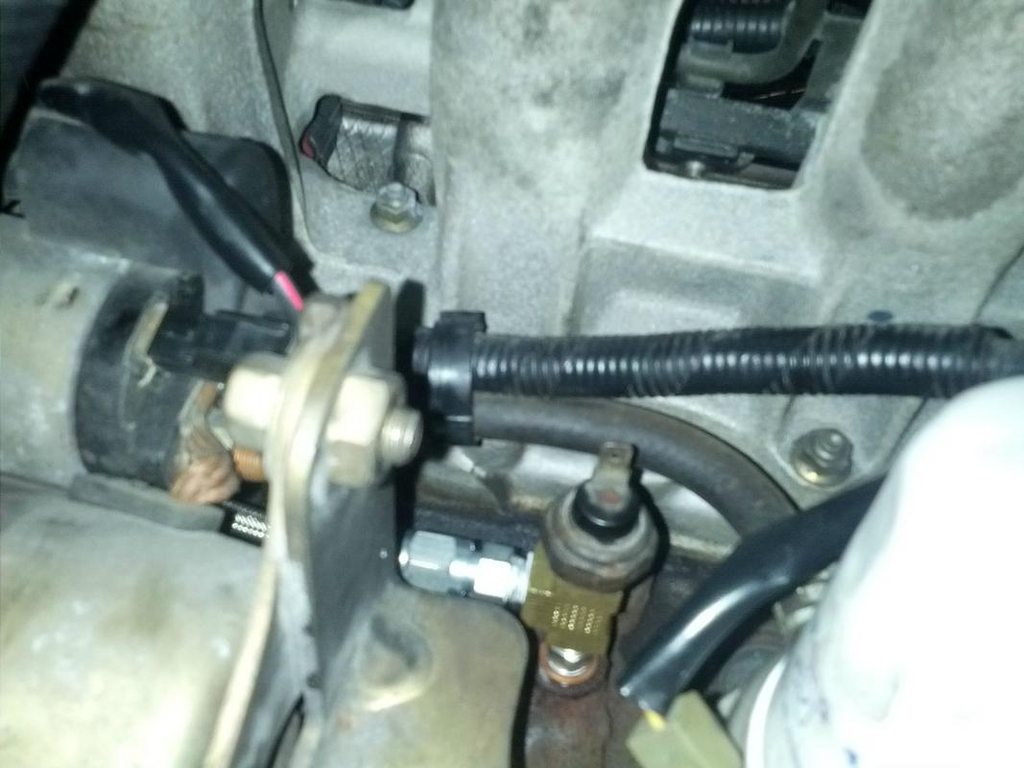
Pretty sure I just took these next two so I could see if I had everything lined up right. But here they are anyway. Oil feed under the intake side, using FMs tee and feed line.
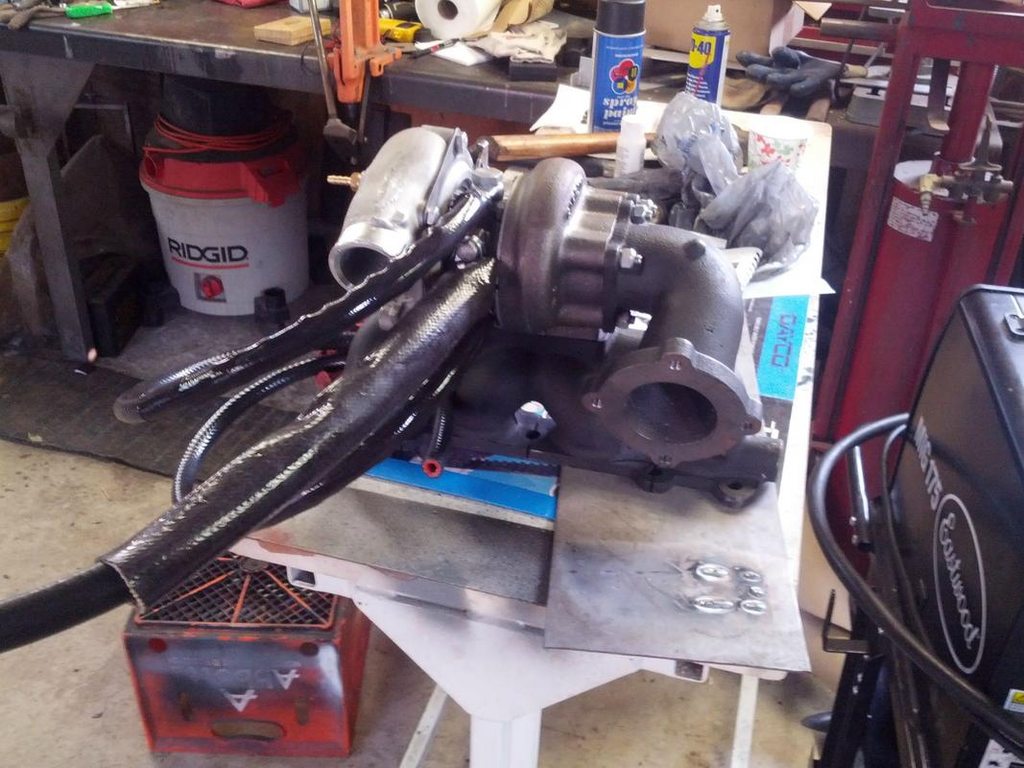
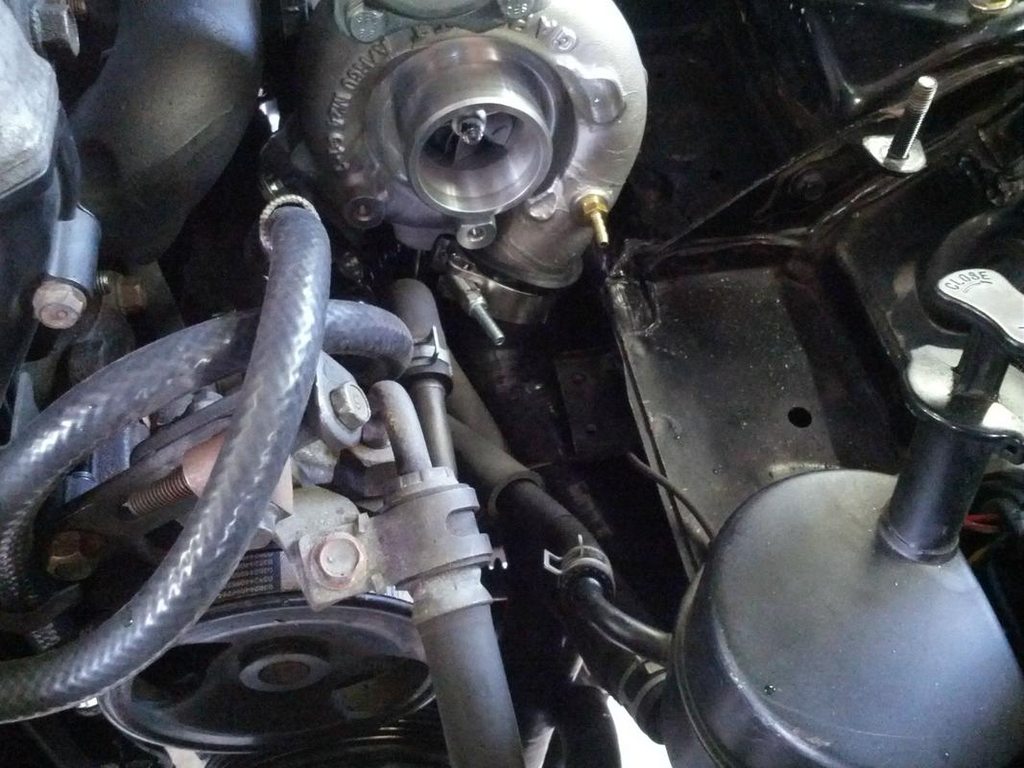
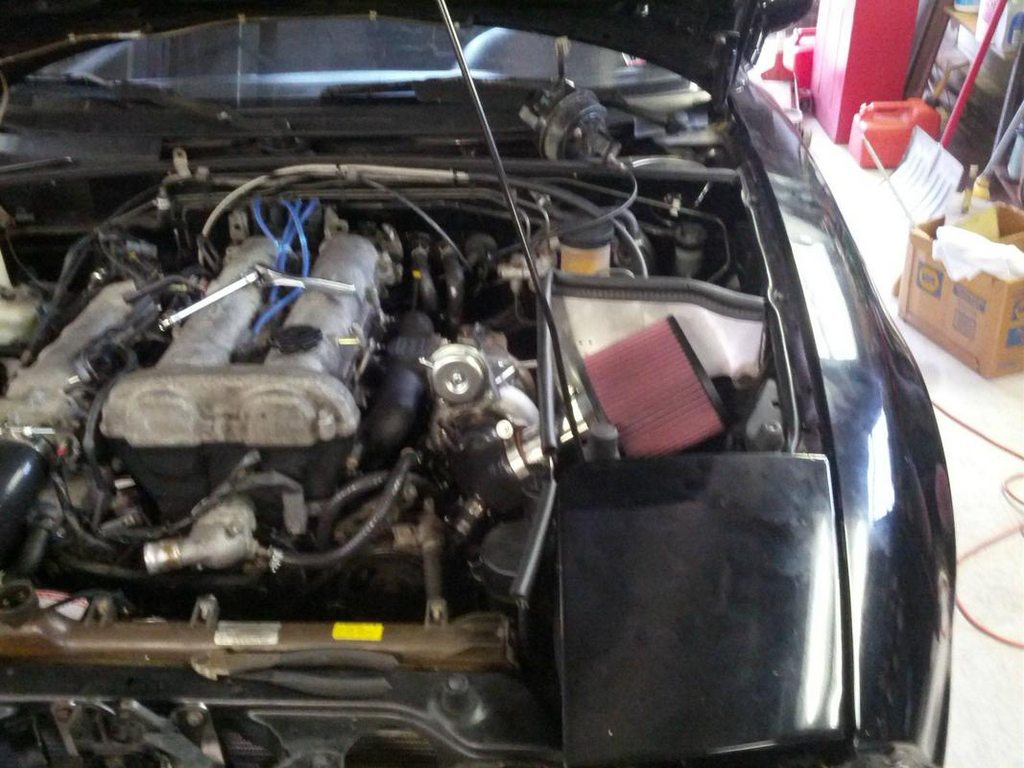
I started working a bit faster, so there aren't as many pictures. But here's the turbo and plumbing.
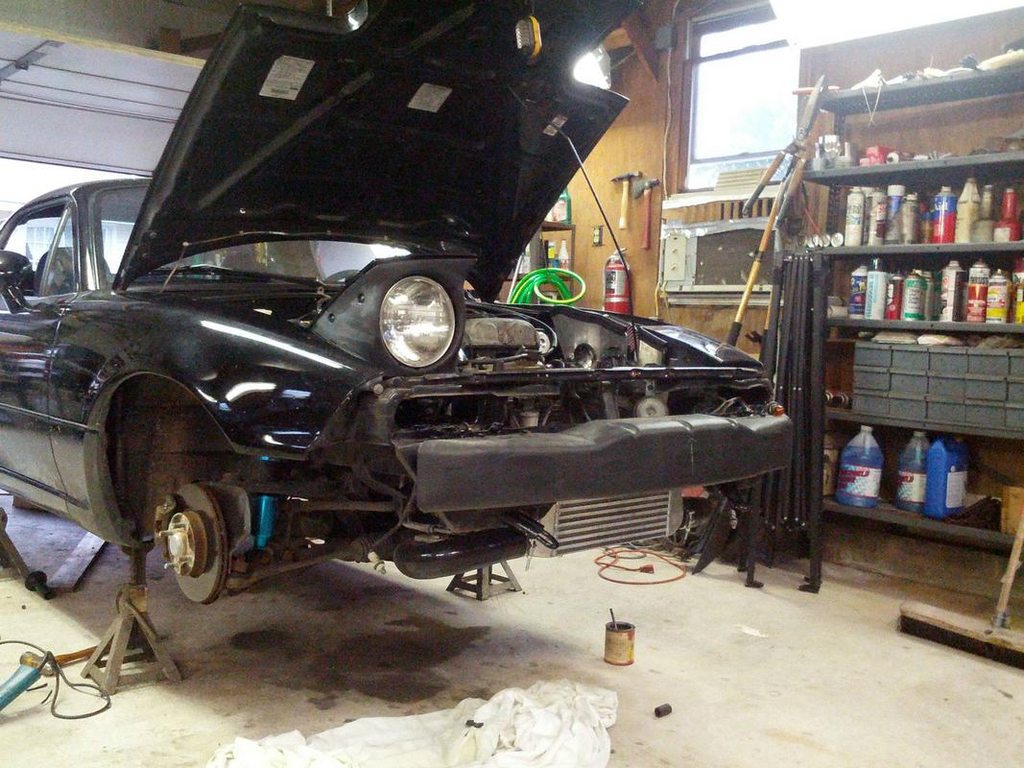
Broke both hood latch bolts while mounting the intercooler. Had to take off the bumper to drill and tap them. Should have just taken the bumper off in the first place, though. I ended up scratching it pretty well.
Intercooler mounted.

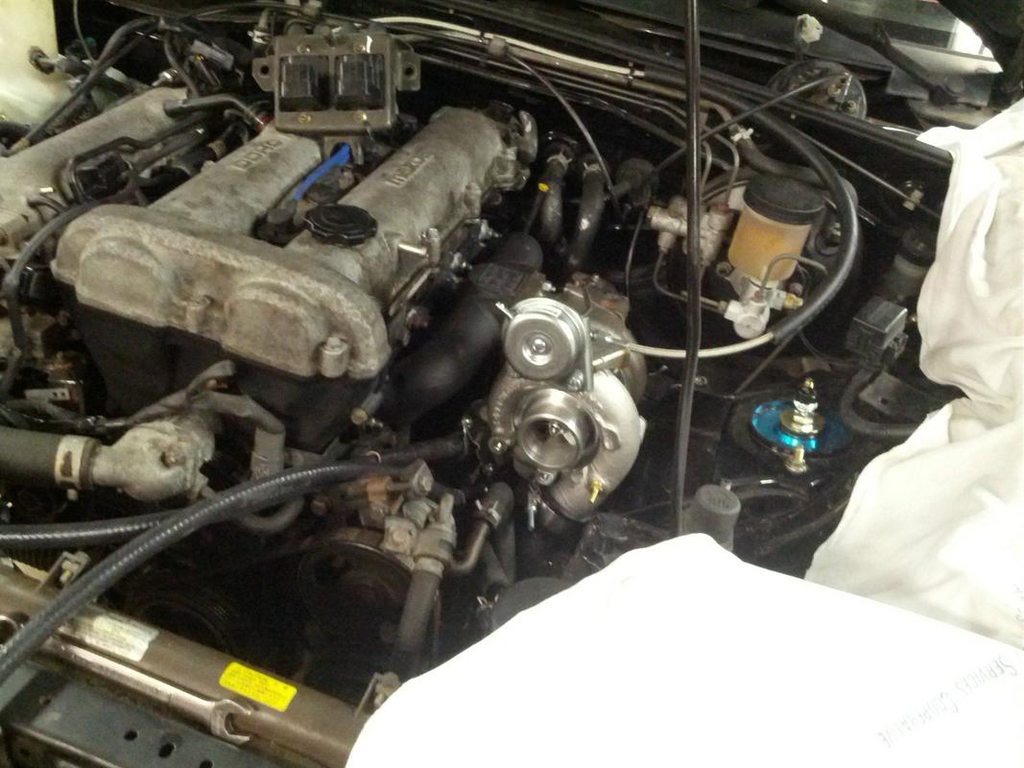
Turbo mounted
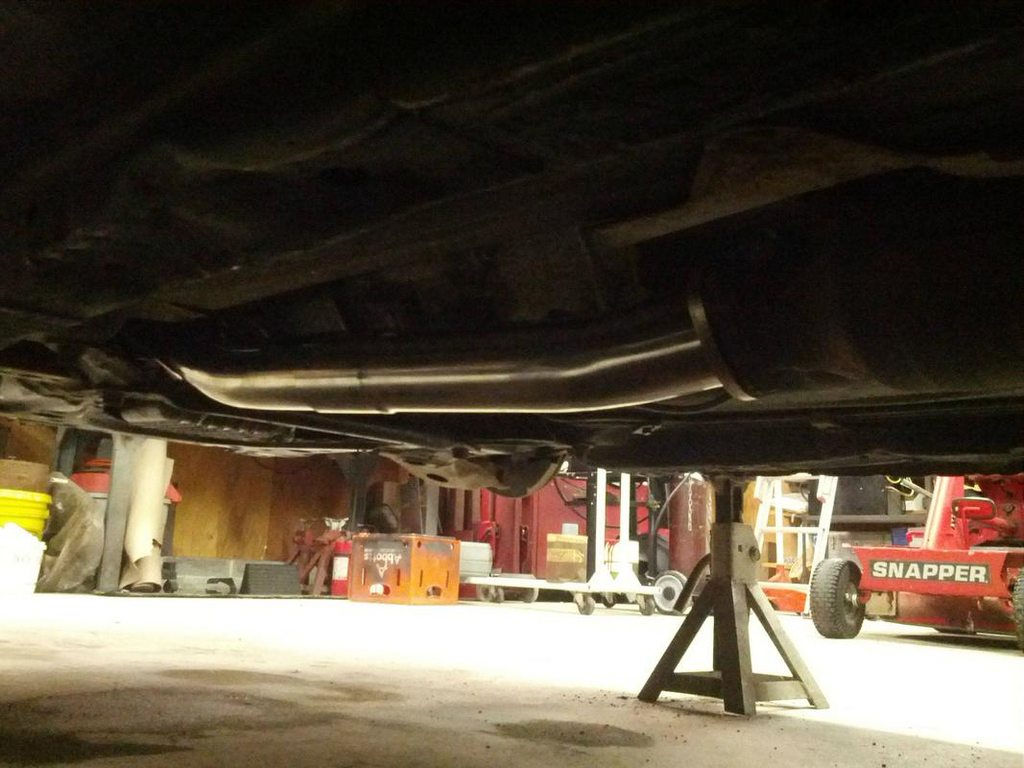
Downpipe mounted (to stock exhuast lolol)
BOV and intercooler piping done.
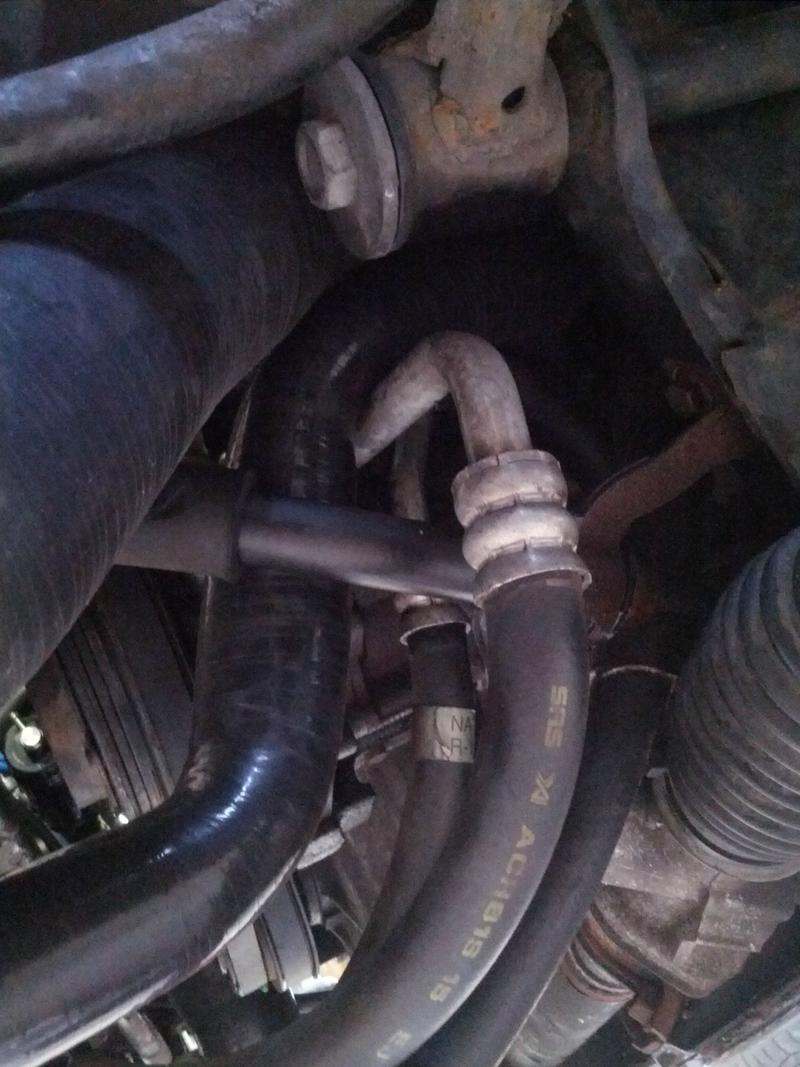
Water lines and intercooler to compressor piping.. damn that's tight.
Really tight. I'm going to keep and eye on this.
Blurry airbox

First start.. Success!!
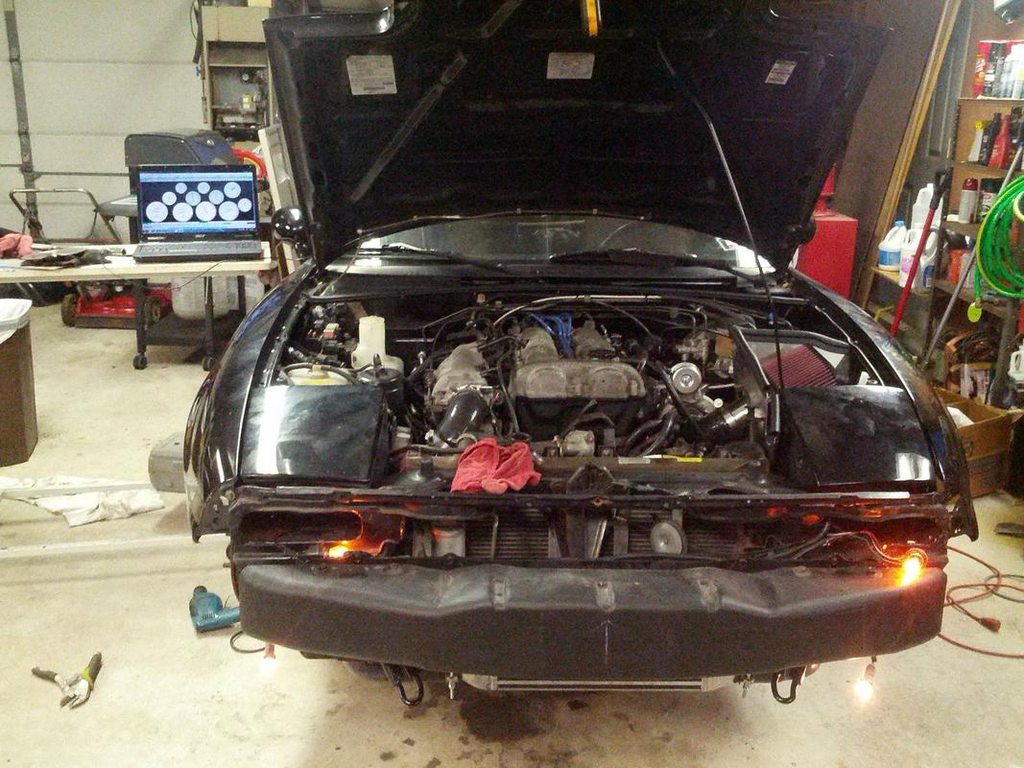
A bit of a leak from the top radiator hose. But oil and the turbo water lines were fine.
So that was thursday night. Friday I put the bumper back on and trimmed up the rad mouth and splash pans. Took it out for a initial test drive and holy ****! It's only running wastegate pressure (5-6psi) but it feels great. It was running quite rich in boost, about 10.5-11.0 initially so I pulled some fuel and got it to a more reasonable 11.3-11.5 and obviously still tuning it from there (11.8 target)
So the plans from here are:
Radiator - Not sure how temps will hold up, they've been fine so far but it's also been pretty cool outside.
New clutch - it holds fine under boost, but it'll slip with quick gear changes.
Exhaust - Probably a Artech or Enthuzacar piece.
Wastegate port? I've heard of boost creep problems on the 2560 and a larger exhaust. We'll see.
???
More boost
In that order.
This build is about as cookie cutter as it gets. I don't have much fab experience so I wanted parts that I knew would fit without too much fiddling.
First thing I bought was a Rev MS2 Basic, it does everything I need to to do. I'm sure some will say I should have held out for a MS3 but mreh.
I made this ugly bracket to hold it. Obviously I don't do much fab work. Put foam on the inside so it doesn't rattle or scratch the MS.
I ripped a wiring harness out of a junkyard car and used it to wire the IAT and extend the wideband wiring.
I also ended up using it to wire new grounds for the TPS and CLT since they were giving BS readings. Reverent helped with the diagnosis which helped a ton.
Temporary wideband mounting.. I knew I had a dual pod on order with the FM kit so I didn't bother doing anything fancy.
Here's where I originally mounted the IAT. I spent a solid hour making this nice PVC bung that I drilled and tapped for the sensor. It ended up being a TERRIBLE idea. It would heatsoak very quickly. Eventually I put the IAT over by the airbox, inside the fender intake tube, which worked marginally better.
I bought and mounted it in a blank off plate on the passenger side. I have a serial to USB adapter on the end of the MS which runs up the center console to the mounted port. Also bought a flat 3.5mm cable to tidy up the aux port for my zune.
Late night idle tuning. Kind of a cool picture.
My FM kit arrived but I didn't really have the time to install it yet. Hooked up the boost gauge and installed the dual pod in the meantime. I think I installed my injectors sometime around here as well.
ooo it glows red
+10 hpFinally got some time to install it. Took about 5 "days" to installed (I worked until about 3pm, then would work on the car til about 10pm).
Jack 'er up
intake things off..
Broke most of these heatsheild bolts. Even after soaking them in Aerokroil for 2ish hours.
I ground this down so you can remove it without fussing with that bottom bolt. I forget where I saw this originally but it's a great idea.
I had to grind off both the downpipe to cat bolts. This ended up taking the majority of the first day because I couldn't fit the big grinder in there. Had to use the pneumatic one which would only grind for about a minute before the compressor had to run.
Wait.. aren't these supposed to be nuts? great!
Finally.
This is about how I felt after the first day. Damn northeast cars and their rusty exhaust.
So here's where the cringe worthy stuff starts. My car is an R-titled car and was smashed in the front at some point. There was a crease in the frame rail, which lined up perfectly with where FM suggests you slot the frame. I ended up going a bit overboard and notching about 1/2" into the frame and welding it back up. Overkill but everything fits now.
And then while drilling the oil drain hole, the bit walked (a lot). You can see the line where the middle should be. Probably walked a solid 3/8"
At this point I nearly ripped out the AC, since I hadn't got it working with the MS yet, I figured what's the difference. I took a second look at everything and realized I could probably get away with just notching out the AC bracket..
Perfect! (kinda)
Pretty sure I just took these next two so I could see if I had everything lined up right. But here they are anyway. Oil feed under the intake side, using FMs tee and feed line.
I started working a bit faster, so there aren't as many pictures. But here's the turbo and plumbing.
Broke both hood latch bolts while mounting the intercooler. Had to take off the bumper to drill and tap them. Should have just taken the bumper off in the first place, though. I ended up scratching it pretty well.
Intercooler mounted.
Turbo mounted
Downpipe mounted (to stock exhuast lolol)
BOV and intercooler piping done.
Water lines and intercooler to compressor piping.. damn that's tight.
Really tight. I'm going to keep and eye on this.
Blurry airbox
First start.. Success!!
A bit of a leak from the top radiator hose. But oil and the turbo water lines were fine.
So that was thursday night. Friday I put the bumper back on and trimmed up the rad mouth and splash pans. Took it out for a initial test drive and holy ****! It's only running wastegate pressure (5-6psi) but it feels great. It was running quite rich in boost, about 10.5-11.0 initially so I pulled some fuel and got it to a more reasonable 11.3-11.5 and obviously still tuning it from there (11.8 target)
So the plans from here are:
Radiator - Not sure how temps will hold up, they've been fine so far but it's also been pretty cool outside.
New clutch - it holds fine under boost, but it'll slip with quick gear changes.
Exhaust - Probably a Artech or Enthuzacar piece.
Wastegate port? I've heard of boost creep problems on the 2560 and a larger exhaust. We'll see.
???
More boost
In that order.
Last edited by Onyxyth; 09-16-2013 at 05:16 PM.

Reply
 0
0

0
09-16-2013, 08:11 PM
#2
Senior Member
iTrader: (7)
Join Date: Oct 2011
Location: Horse and Buggy, PA
Posts: 704
Total Cats: 21
Looking good. I ended up using pieces of cut up rubber hose to act as a buffer for when things got real tight with the IC piping. Just held on with zip ties for now but still holding on after 2500 miles.
Reply
0
0
 09-19-2013, 02:44 PM
#4
Senior Member
Thread Starter
iTrader: (2)
Join Date: May 2013
Location: Boyertown, PA
Posts: 735
Total Cats: 62
Thanks guys, I've been looking at the clutch replacement article on m.net and it's pretty straightforward. Just need the $$.
The other day I noticed that the AFR on my AEM gauge and the one on Tunerstudio don't agree in the richer areas. VEAL would tune boost cells to what it thought was about 11.8, which in reality was closer to 10.8. The wideband is grounded through the ECU as per reverents instructions (b/y wire). So I'm not sure what the real issue is.
I've been trying to compensate using the calibration table and they're a good bit closer now. about .1 - .2 off with the gauge always richer.
I'm also going to install that fancy FM heatsheild today. I left it off just in case there were any initial problems.
Reply
0
0
09-19-2013, 02:54 PM
#5
Elite Member

iTrader: (5)
Join Date: Oct 2011
Location: Detroit (the part with no rules or laws)
Posts: 5,677
Total Cats: 800
Good start, basically what i did. I put the FM1 clutch in originally and it worked great. I also went with the FM exhaust, but it caused boost creep, so i had to port a channel to my wastegate. If you do it yourself, go around everything, i noticed the FM cast stuff had a bit of sharp edges on it.
Reply
0
0
09-22-2013, 05:27 PM
#9
Senior Member
Thread Starter
iTrader: (2)
Join Date: May 2013
Location: Boyertown, PA
Posts: 735
Total Cats: 62
So it seems temperatures are going to be an issue, according to datalogging I saw a max CLT of 228! during a few pulls today. 67F ambient. Cruising at 60 mph temps are 215-220 range. So radiator is definitely the next step.
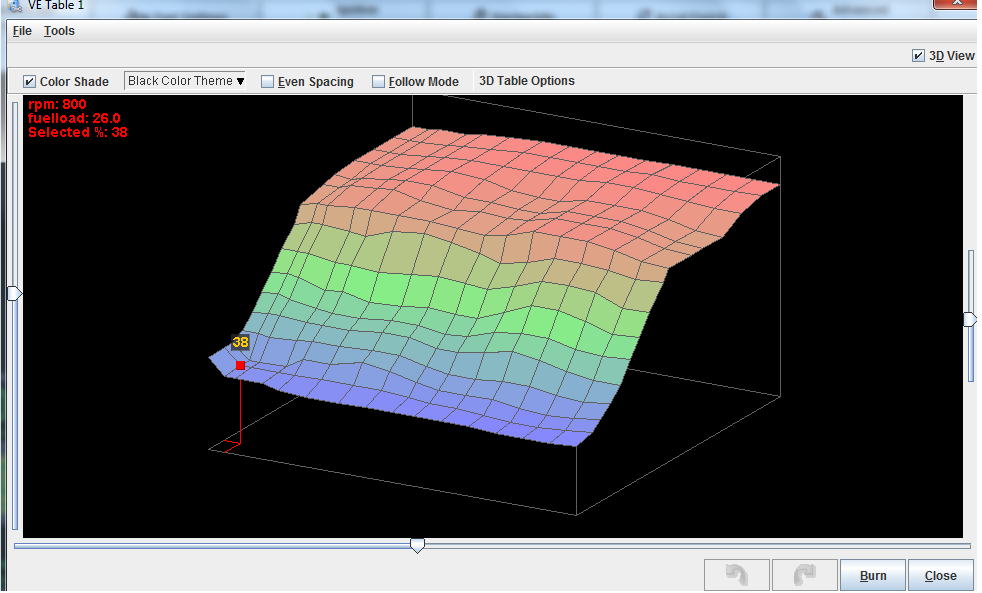
Other than that, the car runs great. Here's what the VE table looks like after a few hours tuning. Is that plateau in boost pretty normal? it seems the difference in fuel need between 1psi and 6psi boost is pretty minimal, even the same in many areas. (ignore the block of 100s, that was manually done). I feel like some of the low/mid kpa & high rev areas should be richer but it's rare I'm ever in that situation.

I find the 3D view more useful generally..
Other than that, the car runs great. Here's what the VE table looks like after a few hours tuning. Is that plateau in boost pretty normal? it seems the difference in fuel need between 1psi and 6psi boost is pretty minimal, even the same in many areas. (ignore the block of 100s, that was manually done). I feel like some of the low/mid kpa & high rev areas should be richer but it's rare I'm ever in that situation.
I find the 3D view more useful generally..
Last edited by Onyxyth; 09-22-2013 at 05:54 PM.
Reply
0
0
09-23-2013, 01:58 AM
#10
if your rad is not properly shrouded you need to do that before you do anything else to your cooling system.
that ve map doesn't look quite right to me, but that's not as important as a proper log showing whether it actually holds targets consistently, which I'm guessing it doesn't. probably needs more fine tuning.
that ve map doesn't look quite right to me, but that's not as important as a proper log showing whether it actually holds targets consistently, which I'm guessing it doesn't. probably needs more fine tuning.
Reply
0
0
09-23-2013, 04:17 PM
#11

WOW NICE START! I have EZs too. I thought I was the only MTers that ran them. Not bad for the price. I ran into the exact same heating issues. I have the same kit as you too I just run 460cc and a MS2. The best way I found to lower temps is through ducting. A coolant reroute will help but ducting is the best thing. Order some roll plastic from here Colored Plastic Rolls, 10 Ft. - Speedway Motors, America's Oldest Speed Shop and get creative. I used roll plastic, rivets and 3M High Heat/ Cold temp foil tape. First I cut my roll plastic and riveted it into the body sealing around the radiator and intercooler as best as I could. Then for the little gaps I took the foil tape and sealed everything up. I run a mishimoto rad but I think it is too thick to do much good. If I were you I would try ducting first than coolant reroute. As long as your stock rad is good. I would think it would be fine. Ultimately at idle you want to be able to feel air being pulled by the fans through the front of the intercooler. Enough that a sheet of paper can stick to it. Remember you can jump the Ground and TFA(I think) in the diagnostic box to run your fans while the car is cold. **** that reminds me you should run your fans in parallel. Look up Hakuna's guide its really easy. I hope this helps.
Reply
0
0
09-23-2013, 04:30 PM
#12
Oh also you should just run the base map. I am not familar with Rev MS2 but I have a Brain built one and I started with the base map similar to the one on this page DIYPNP MegaSquirt installation for the Mazda Miata and worked my way up as I modded and changed things around. The car runs safely and solid. Just be sure to change the req fuel and set your timing you know the basic stuff. Once you get it going I can send you a better spark map you can compare and use at your own risk. Works great for me but every car is different.
EDIT Also with your intercooler piping rubbing on the control arm. Mine was doing the same thing. It will began to try and rub through. I recommend re clocking the turbo. I did it this last weekend and now have about a thumb size worth of gap. I put a glob of grease on the piping and drove around to see if it rubbed and it never made contact.
EDIT Also with your intercooler piping rubbing on the control arm. Mine was doing the same thing. It will began to try and rub through. I recommend re clocking the turbo. I did it this last weekend and now have about a thumb size worth of gap. I put a glob of grease on the piping and drove around to see if it rubbed and it never made contact.
Reply
0
0
09-23-2013, 06:19 PM
#13
Senior Member
Thread Starter
iTrader: (2)
Join Date: May 2013
Location: Boyertown, PA
Posts: 735
Total Cats: 62
I'm using the stock rad mouth and undertray currently. Been looking into making something a bit better.
As far as overall tune goes, it runs well. I've got the injector parameters/idle control/accel enrich/fuel cut all pretty much sorted so the car runs smooth. I'm keeping Revs base ignition map for a while. The fuel map above is decent at the moment, but is obviously rough, about 14.7-15.0 in cruise and 11.4-11.8 in boost. I really just need to get the tune nailed down so I can fine tune MAT corrections so the tune will stay consistent with the weather. It'll run 11.8 in boost at night (~50F ambient) then run more like 11.0 during the day (70F ambient). I guess that's pretty normal.
As far as overall tune goes, it runs well. I've got the injector parameters/idle control/accel enrich/fuel cut all pretty much sorted so the car runs smooth. I'm keeping Revs base ignition map for a while. The fuel map above is decent at the moment, but is obviously rough, about 14.7-15.0 in cruise and 11.4-11.8 in boost. I really just need to get the tune nailed down so I can fine tune MAT corrections so the tune will stay consistent with the weather. It'll run 11.8 in boost at night (~50F ambient) then run more like 11.0 during the day (70F ambient). I guess that's pretty normal.
Reply
0
0
09-24-2013, 05:52 PM
#14
Senior Member
Thread Starter
iTrader: (2)
Join Date: May 2013
Location: Boyertown, PA
Posts: 735
Total Cats: 62
Made a log of a pull in third gear. It's holding AFR targets pretty well, except in the beginning <2000rpm. I think the accel enrichments need more tuning.
I popped it in virtual dyno and it says roughly 147hp/155tq, I would think that's fairly accurate, torque seems high though.
Log is attached.
I popped it in virtual dyno and it says roughly 147hp/155tq, I would think that's fairly accurate, torque seems high though.
Log is attached.
Reply
0
0

 06-29-2014, 03:42 PM
#18
Senior Member
Thread Starter
iTrader: (2)
Join Date: May 2013
Location: Boyertown, PA
Posts: 735
Total Cats: 62
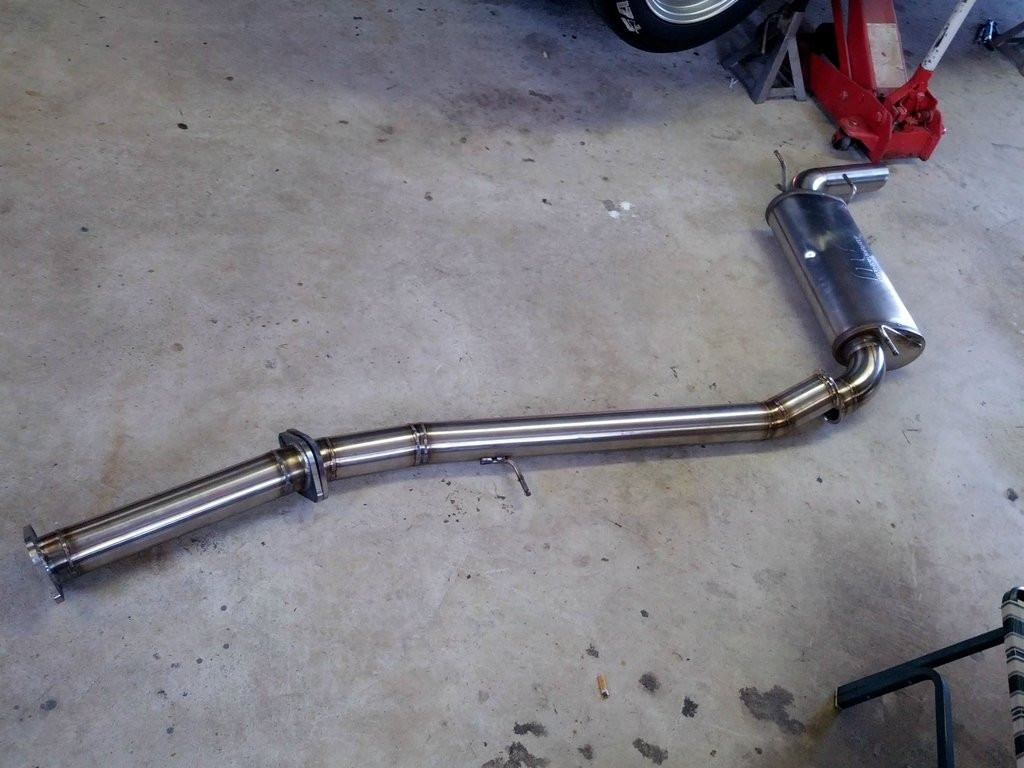
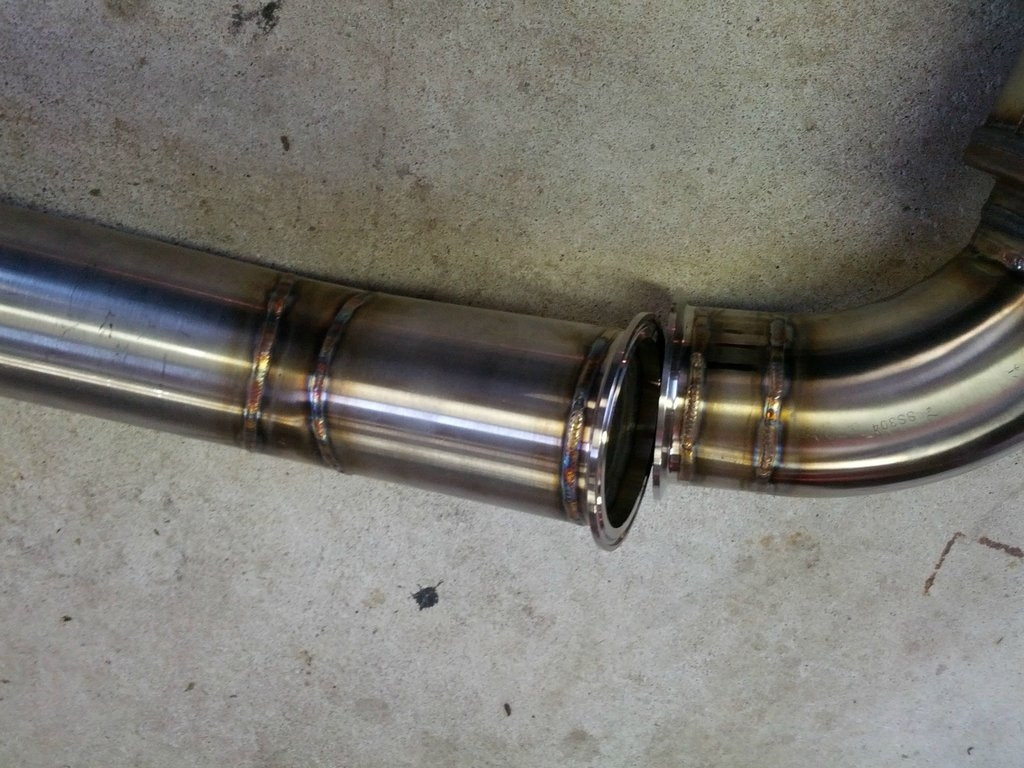
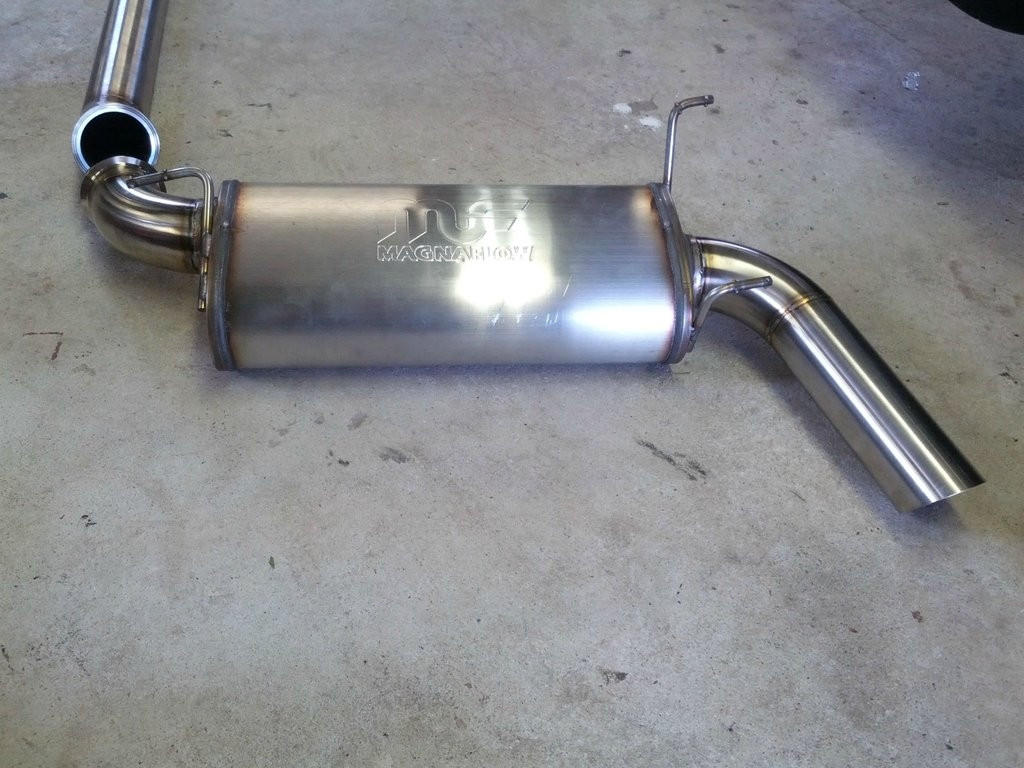
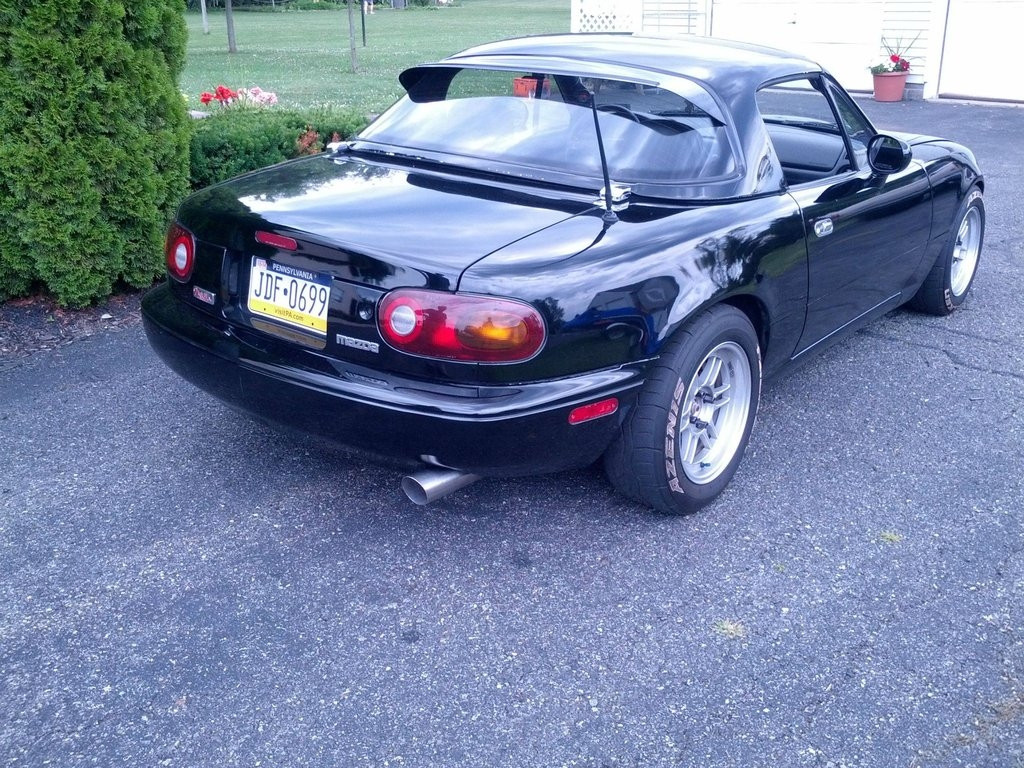
Been a while since I updated this. FM Happy Meal with the 10lb flywheel was put in last weekend. Artech exhaust came yesterday and was installed today.
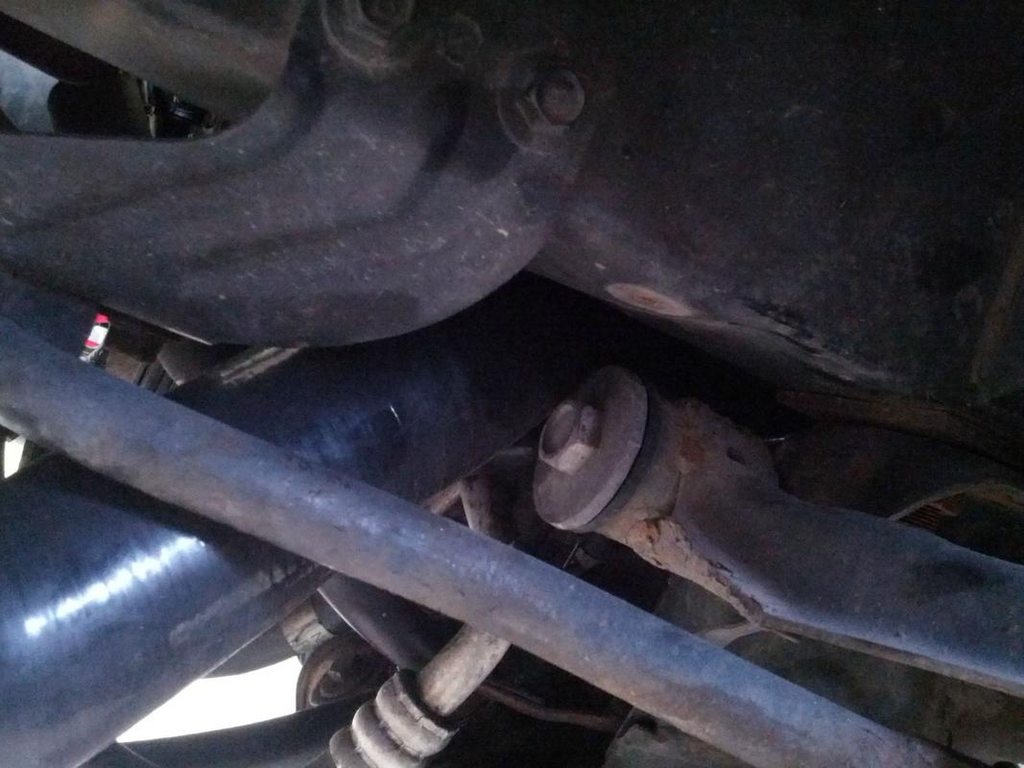
No pics of the clutch install but it was pretty painless. Couldn't get that one PPF bolt out of the diff mount, so I just had to leave the PPF hanging. It got in the way but I was still able to get the transmission out.
Exhaust install went pretty smooth as well. Picked up 2x Walker #31574 gaskets from a v6 Blazer cause the flanges were leaking a bit. Gaskets are 3 1/32" ID so they fit pretty well. The bolt holes had to be slotted a bit.
Pics of exhuast..
Reply
0
0


