EFR6258 on a VVT W PS/AC
 09-25-2013, 09:09 PM
#1
Senior Member
Thread Starter
iTrader: (2)

Join Date: Oct 2011
Location: Hickory, NC
Posts: 675
Total Cats: 9
Well, it is not done yet, but it is up and running.....STRONG!
I am sure I will forget a lot of what I did but here goes my attempt at a build thread.....
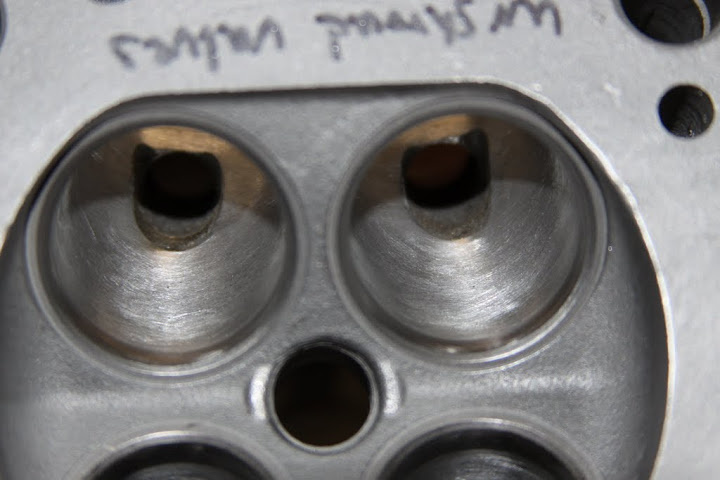
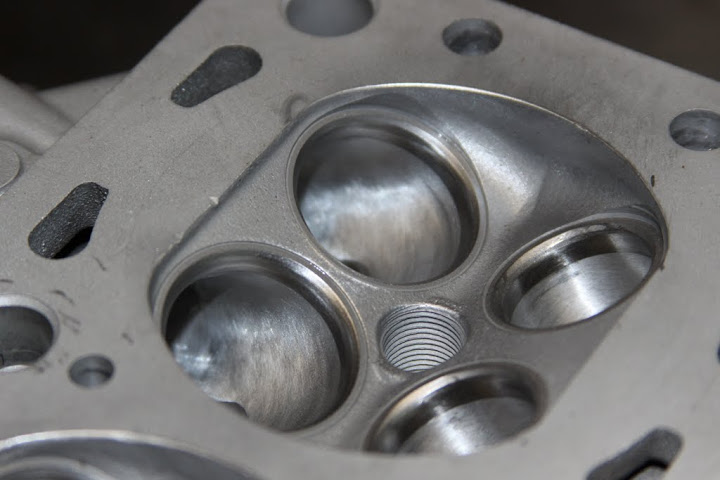
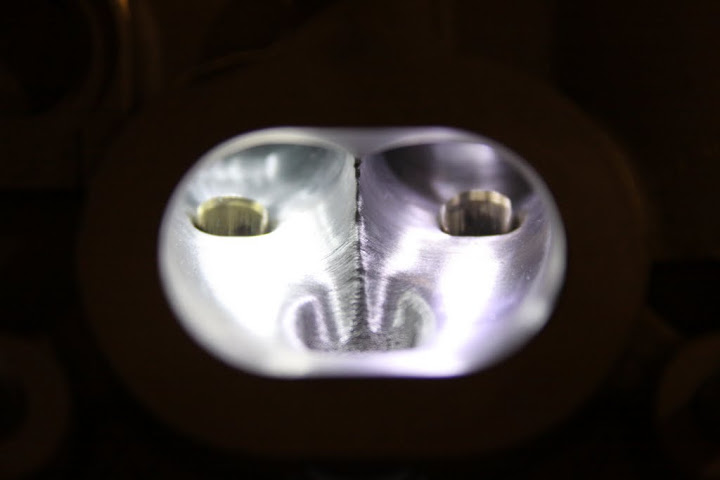
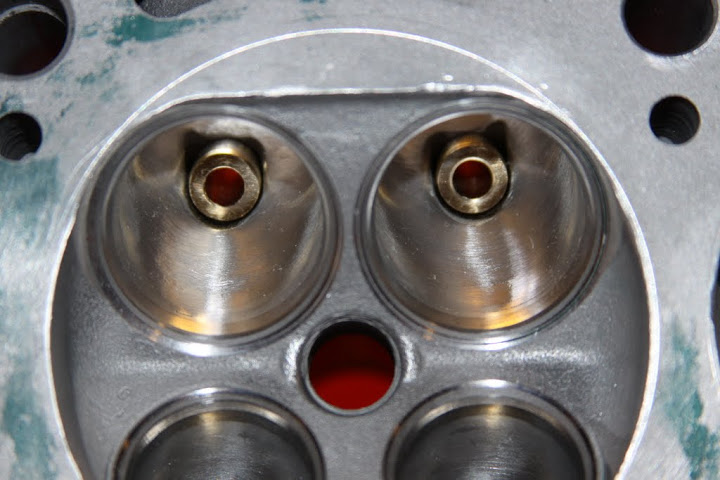
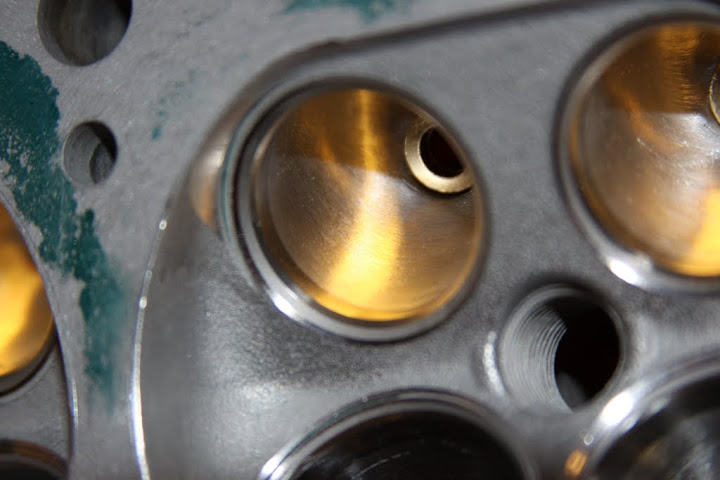
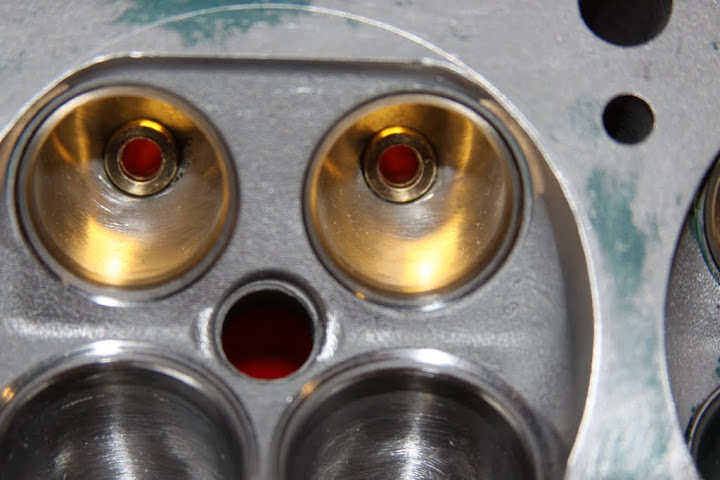
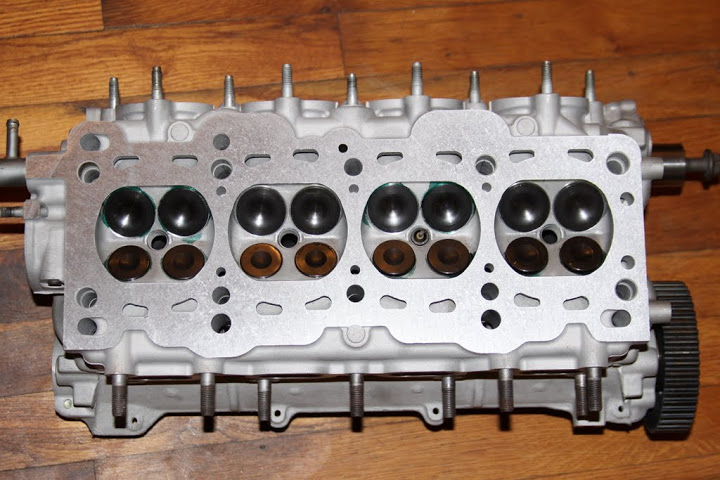
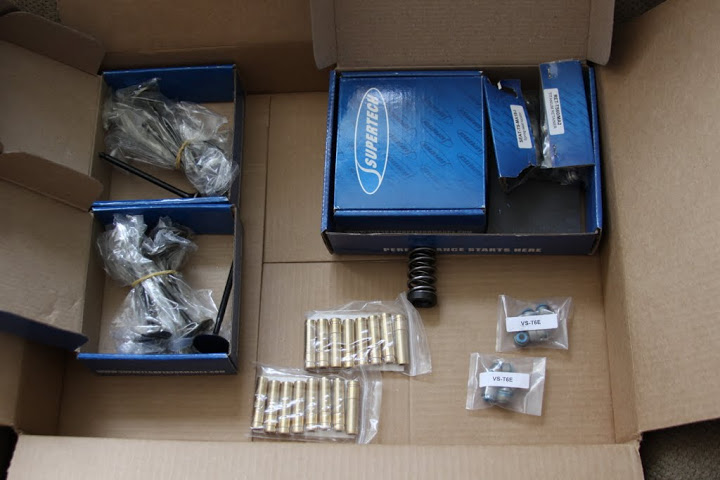
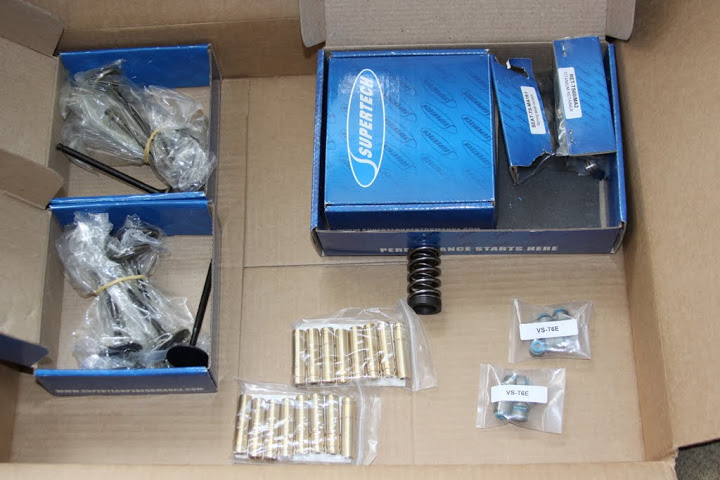
I started with a VVT head. Had SuperTech (ST) +1 valves installed on both the intake and exhaust. I used the light dual spring setup by ST. I installed new bronze guides after the head was ported and polished resulting in more than a 20% increase in flow. I had it flow benched for possibly ordering custom cams at a later date.
Lots of rough casting flash....
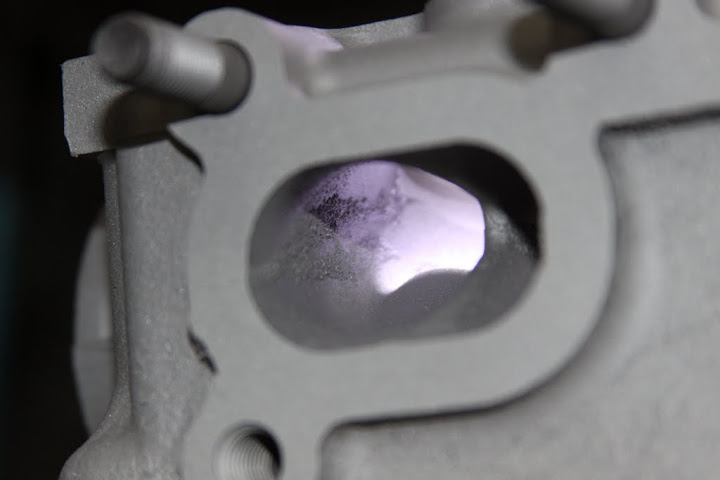
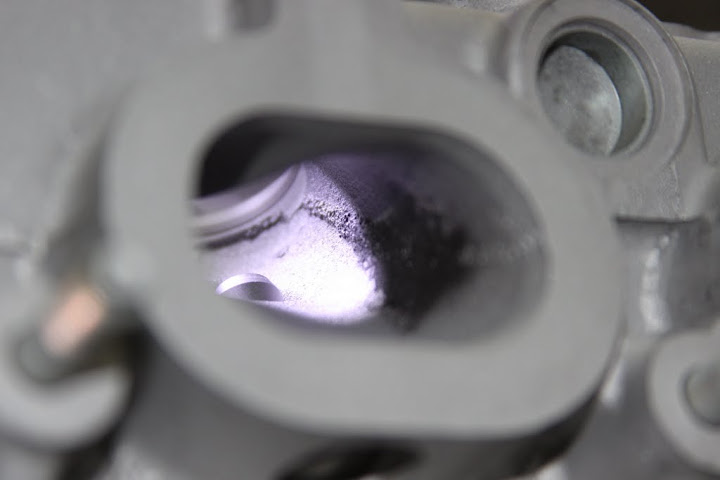
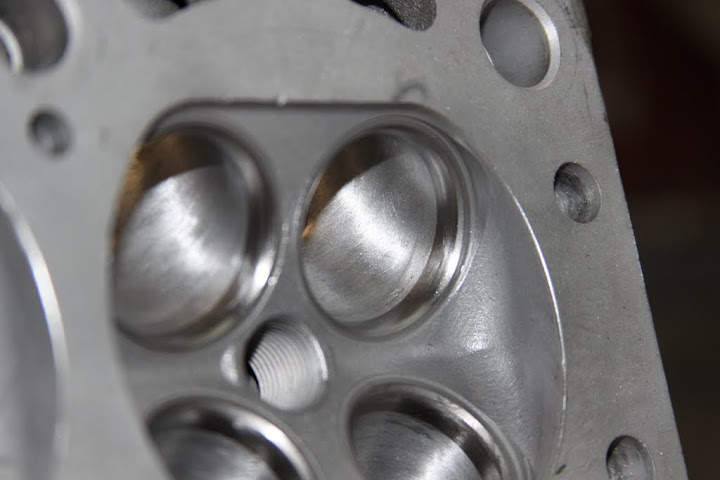
Then a little of this happens....
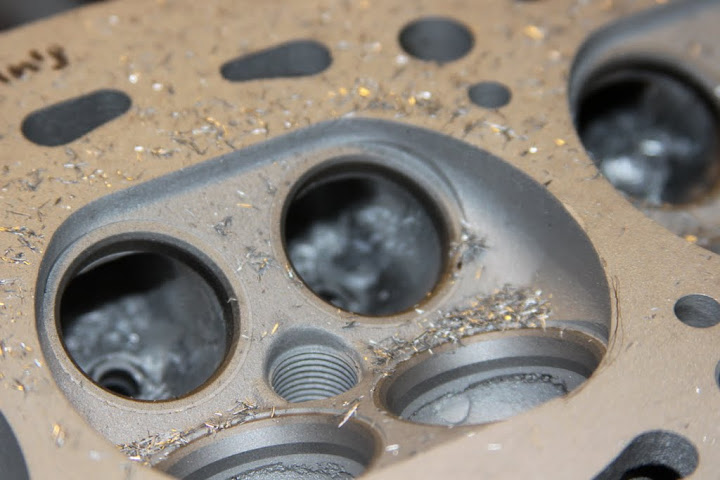
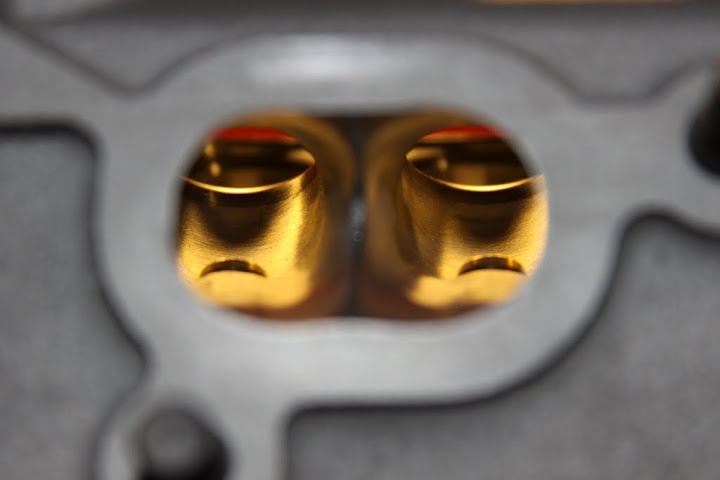
we get this next
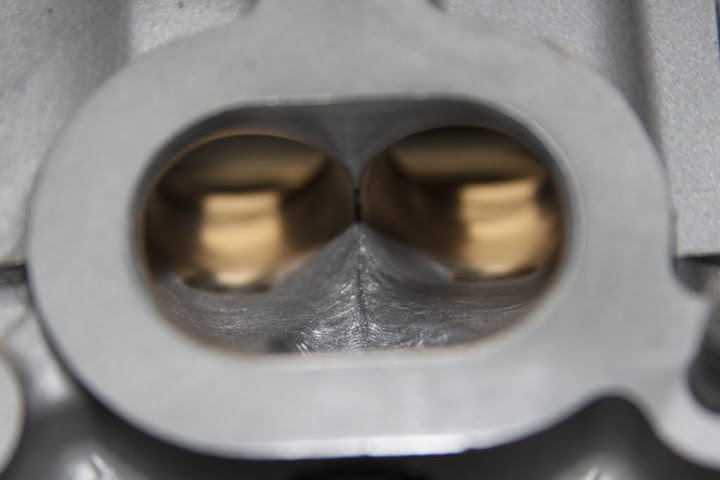
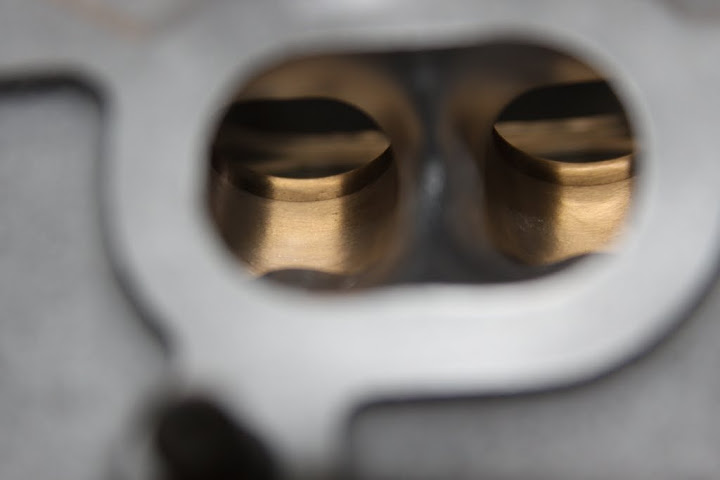

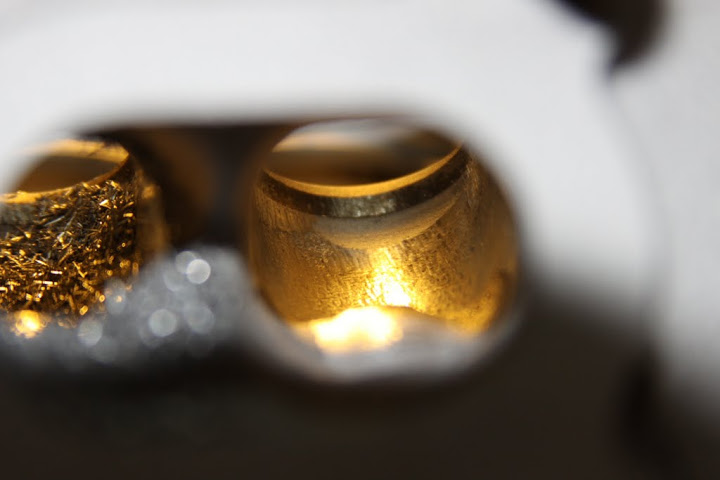
New guides
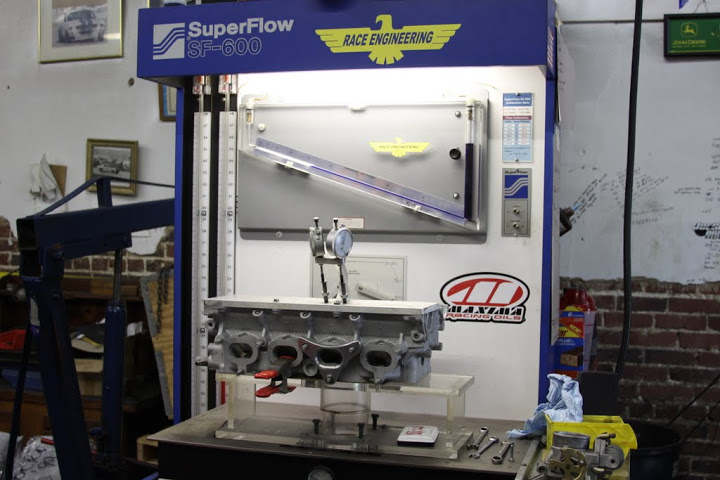
Then we flow benched it to see the improvements
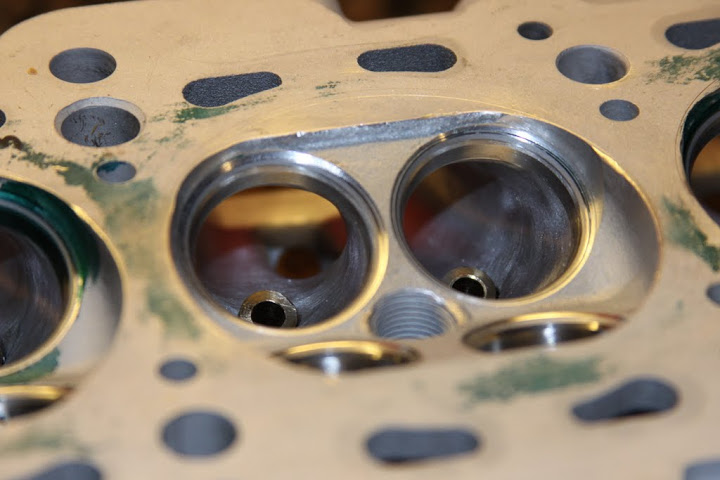
final assembly on the head leaves us with
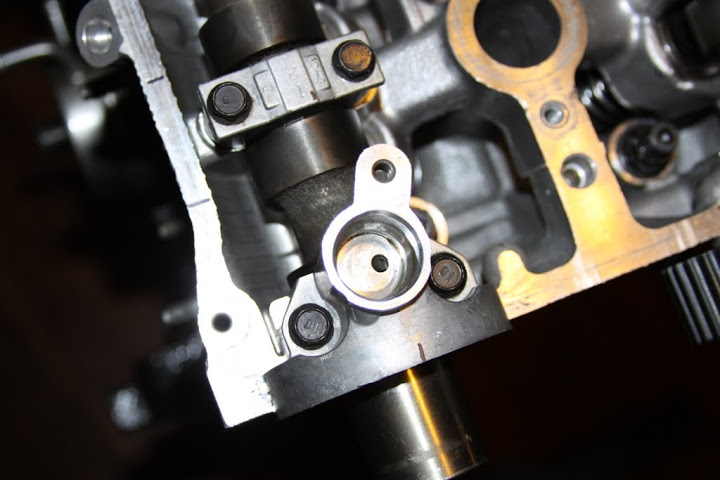
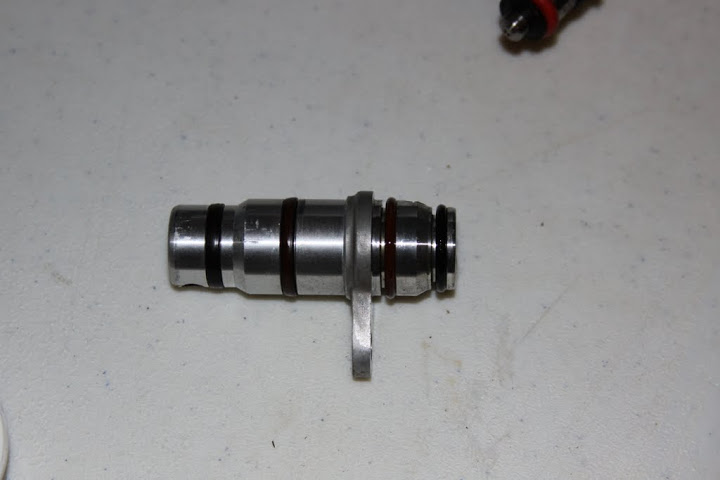
Cleaned all the hidden places and replaced the O-rings
I am sure I will forget a lot of what I did but here goes my attempt at a build thread.....
I started with a VVT head. Had SuperTech (ST) +1 valves installed on both the intake and exhaust. I used the light dual spring setup by ST. I installed new bronze guides after the head was ported and polished resulting in more than a 20% increase in flow. I had it flow benched for possibly ordering custom cams at a later date.
Lots of rough casting flash....
Then a little of this happens....
we get this next
New guides
Then we flow benched it to see the improvements
final assembly on the head leaves us with
Cleaned all the hidden places and replaced the O-rings

Reply
 1
1

1
 09-25-2013, 10:16 PM
#4
Senior Member
Thread Starter
iTrader: (2)
Join Date: Oct 2011
Location: Hickory, NC
Posts: 675
Total Cats: 9
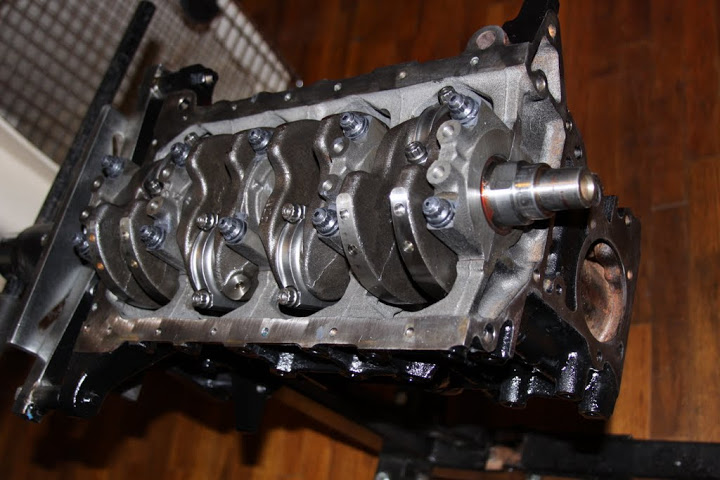
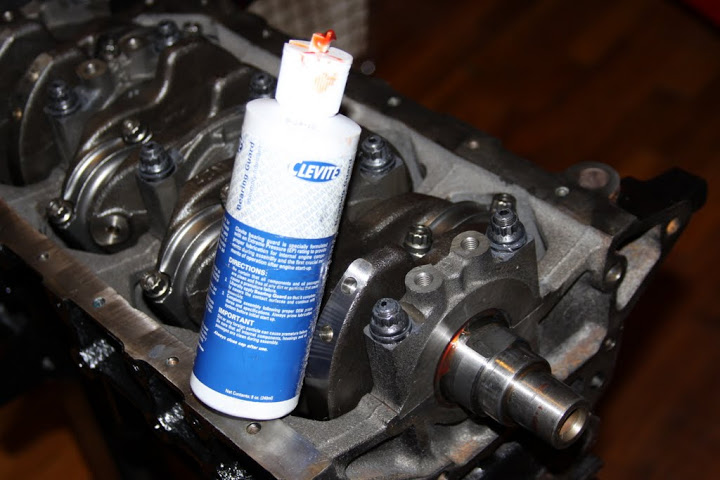
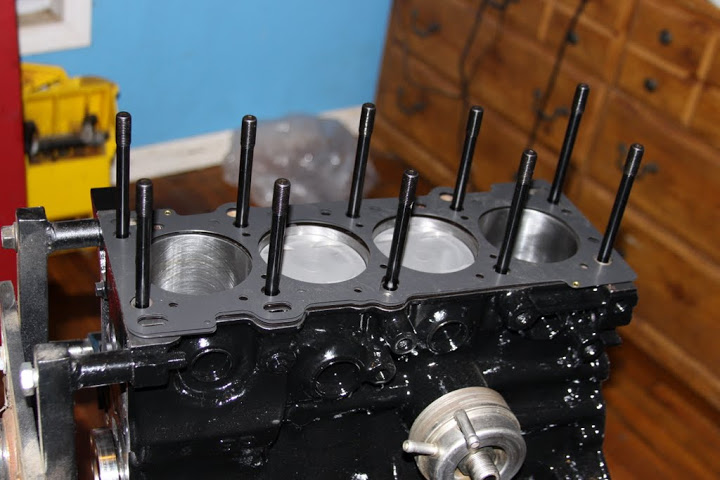
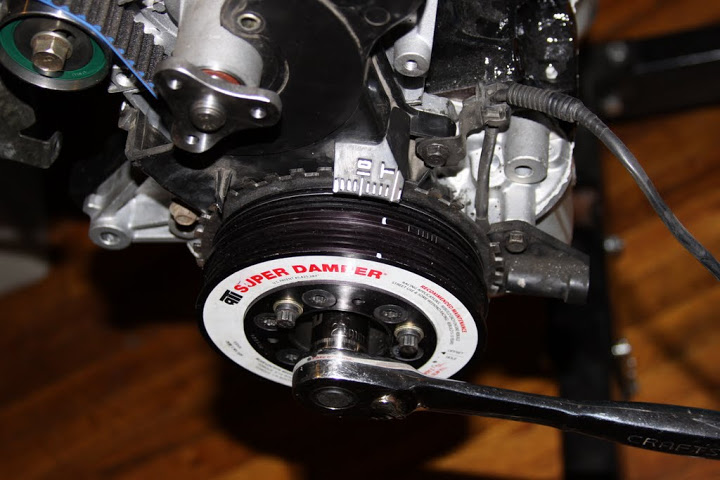
After the head was done I balanced the ST 8.6:1 83.5mm pistons and Manley rods. Installed the ARP main/head studs. Boundary Engineering Extreme oil pump, ATI Damper, and ACL Race bearings.
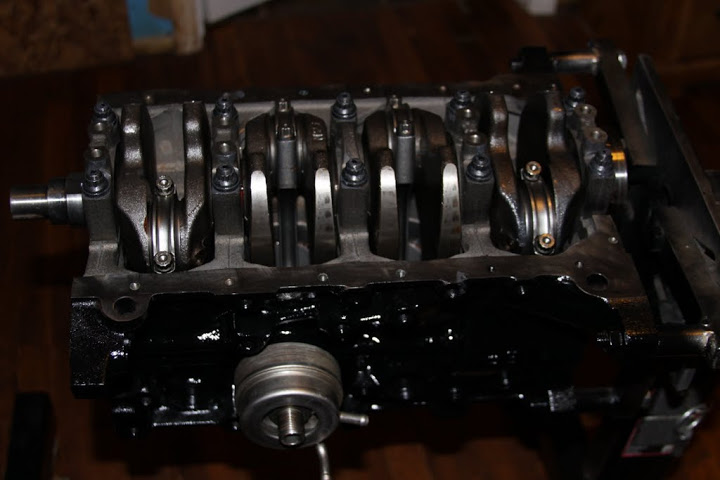
Pretty painted block
Lots of this stuff
Block was resurfaced and line bored
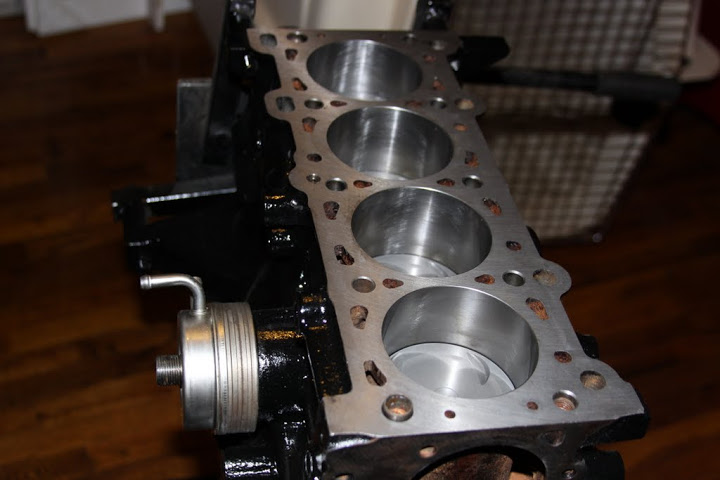
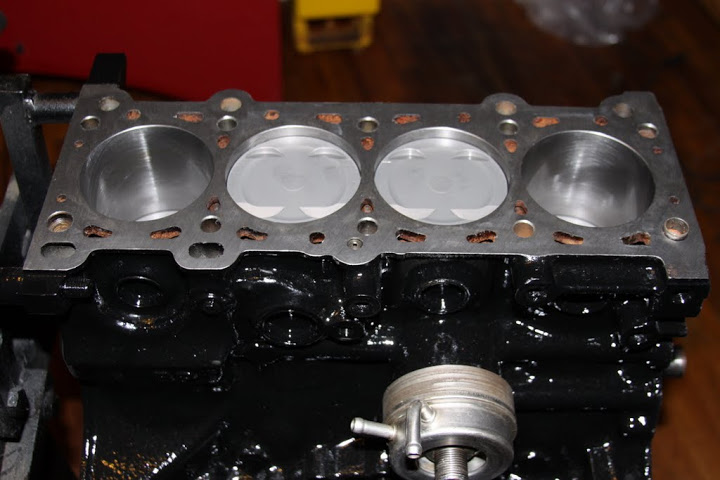

94-00 head gasket installed properly
Gates Racing timing belt
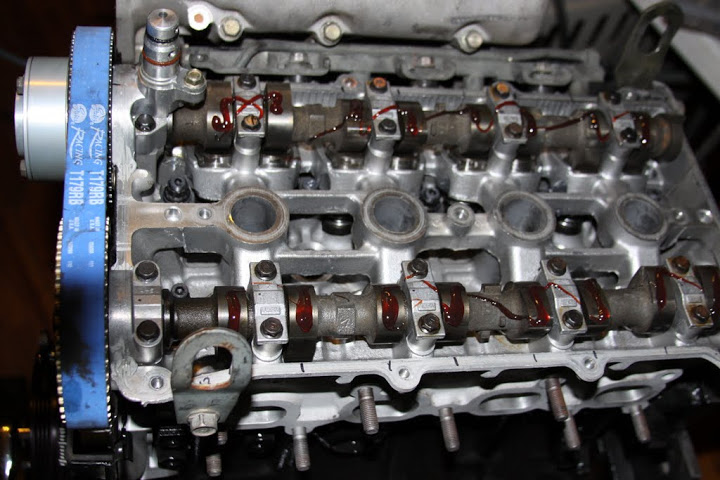
Adjustable cam gear for exhaust side to maximize tune ability to increase low end spool since that was the main goal of this build....

Continuing with the mindset of spool over maximum flow I made a low volume exhaust manifold based on the Absurd flow design out of schedule 40 mild steel weld els from the local plumbing supply house.
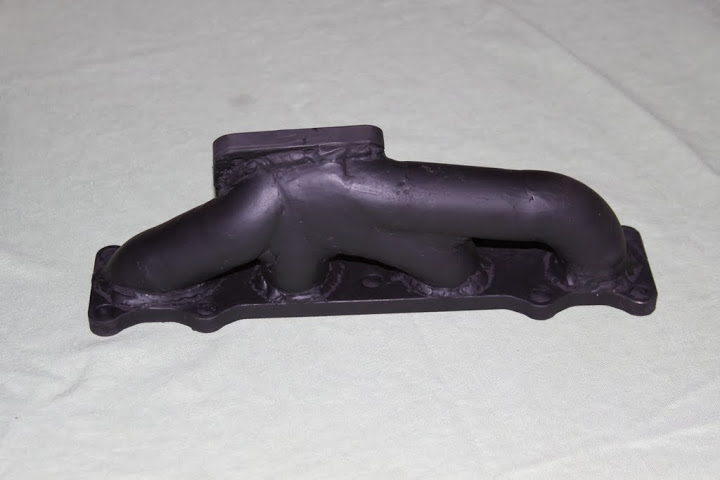
Little ugly but hey, it was my first one and I was using flux core wire! 0.035 at 185amps on 220V Lincoln welder
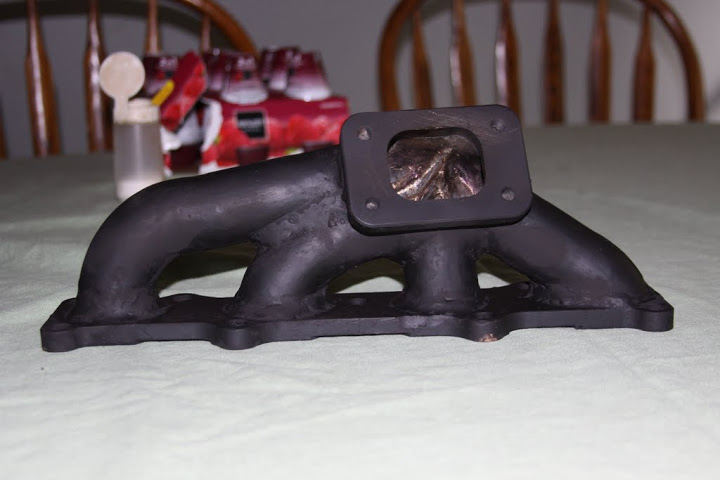
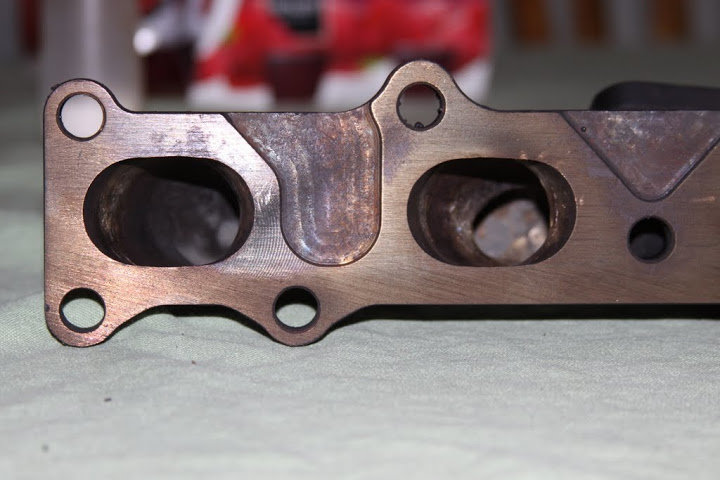
I used a die grinder to clean up the inside ports.....
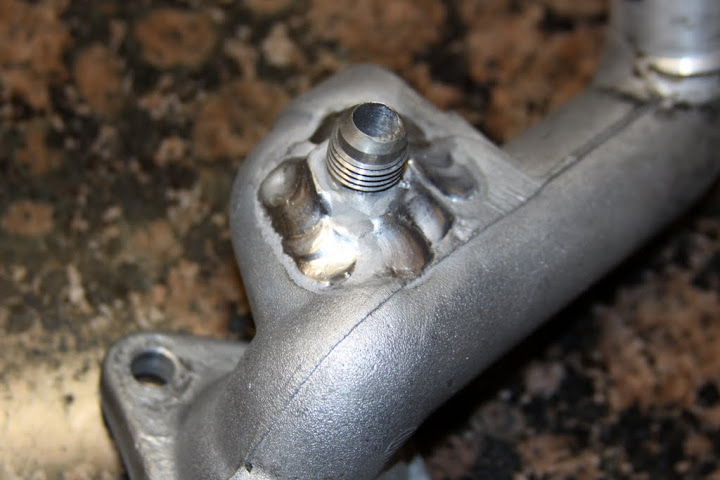
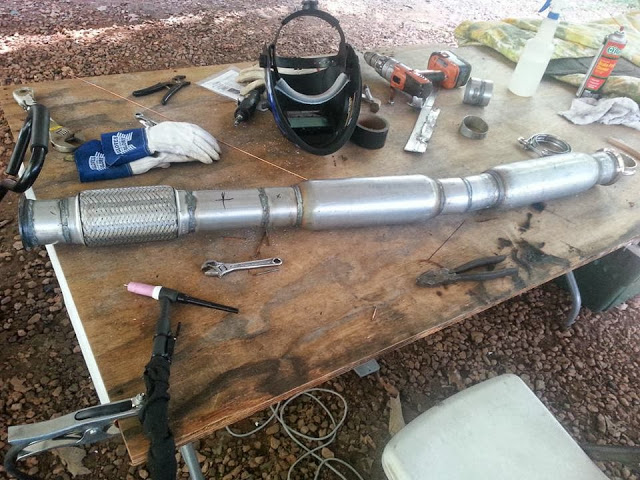
Then I bought a Tig welder and started getting experience. I welded a -6AN fitting to the water pump and drilled through it to allow my turbo coolant to return to the system before the pump.
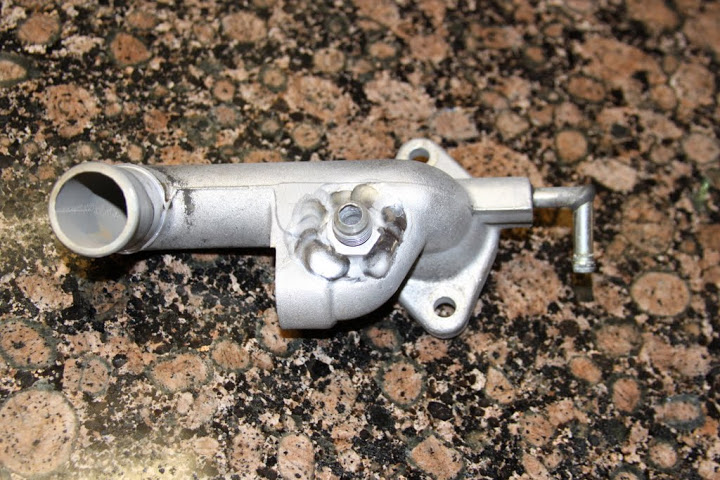
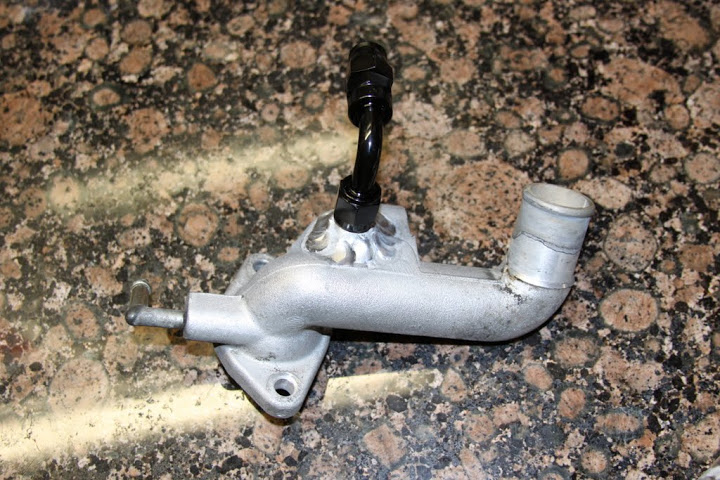
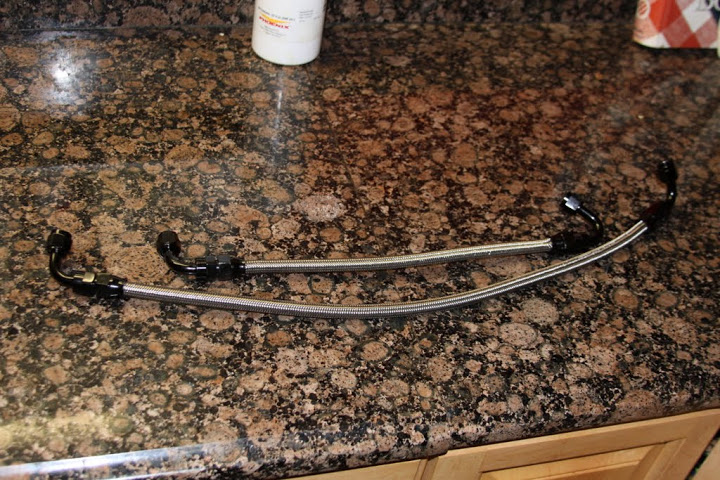
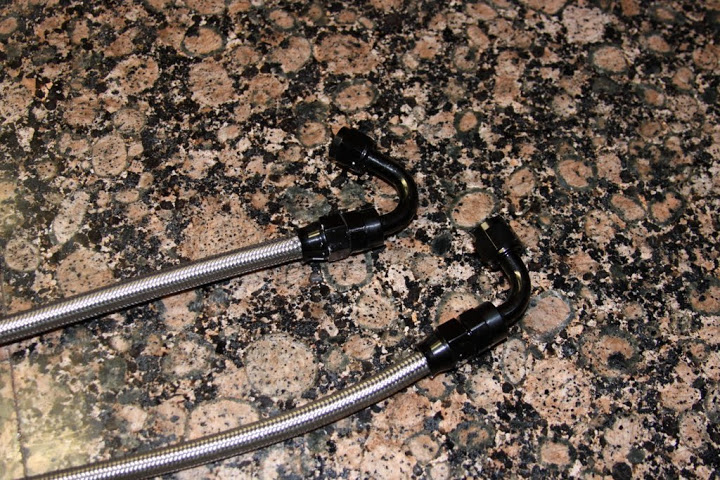
Stainless oil/coolant lines with AN fittings for the clean professional installation. Really happy with the look of the black fittings over the bling bling blue/red.
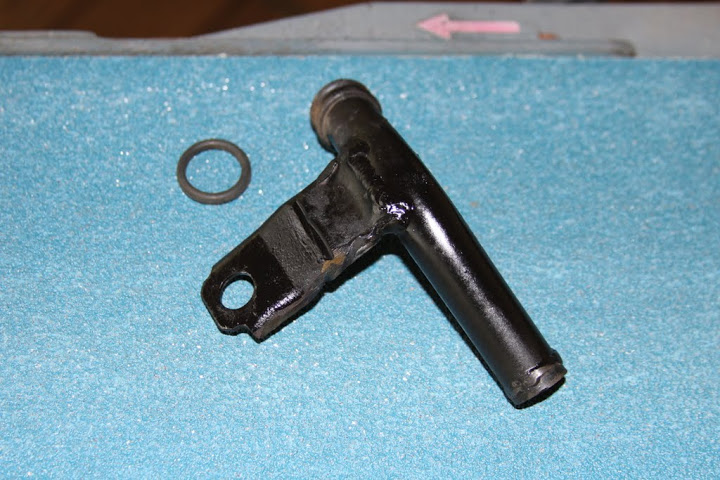
To route the coolant from the heater core to the water pump I wanted to avoid the down pipe area so I cut the steel line that fits into the housing and welded a bead around the end to prevent the hose from coming off. I welded a tab to hold it in place with one of the bolts that secures the PS pump to the block. Notice the second O-ring? Ask me why it is there.....lets just say you should remove it before welding the pipe, even if you think you are keeping it cool.....
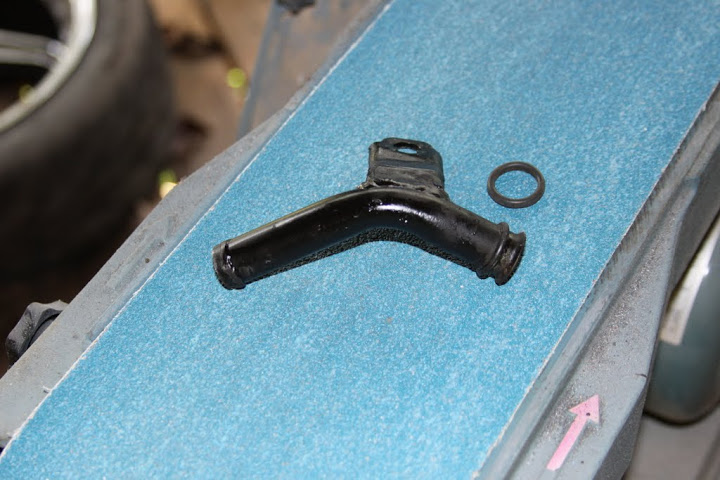

The piece is sitting on my 49" belt sander that I found indispensable while fabricating my exhaust and IC charge pipes.
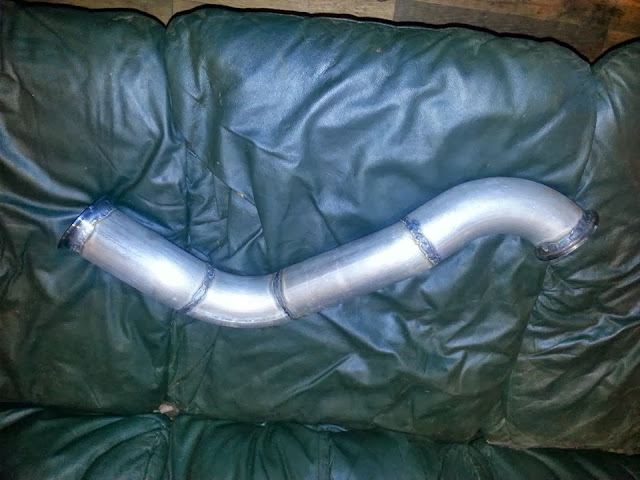
I am happy with my tig welding skills for a self taught noob
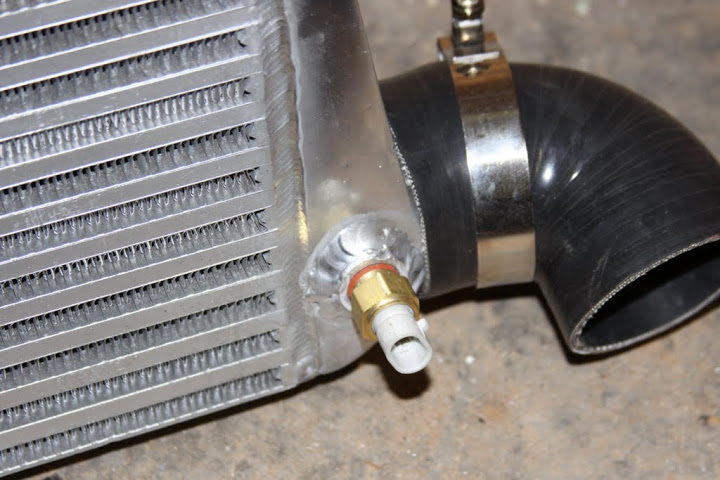
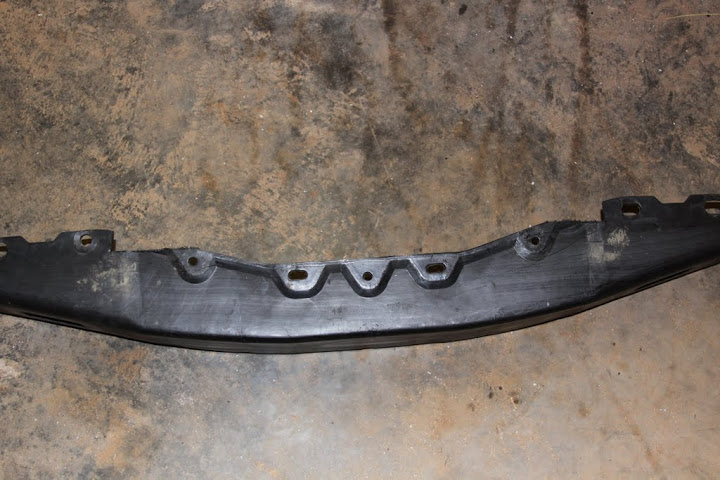
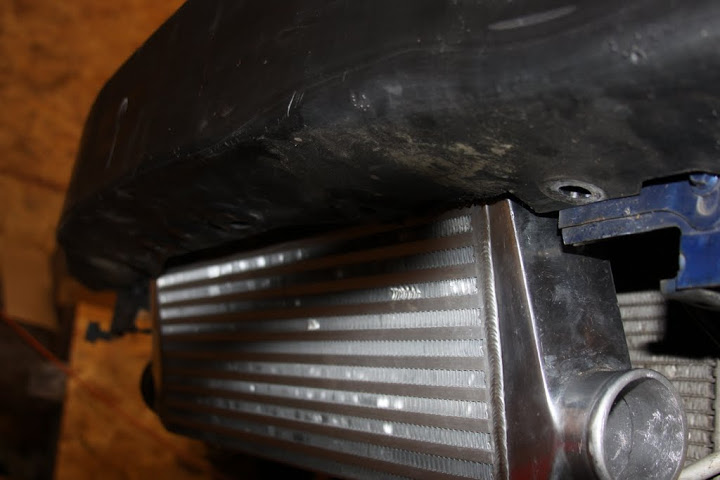
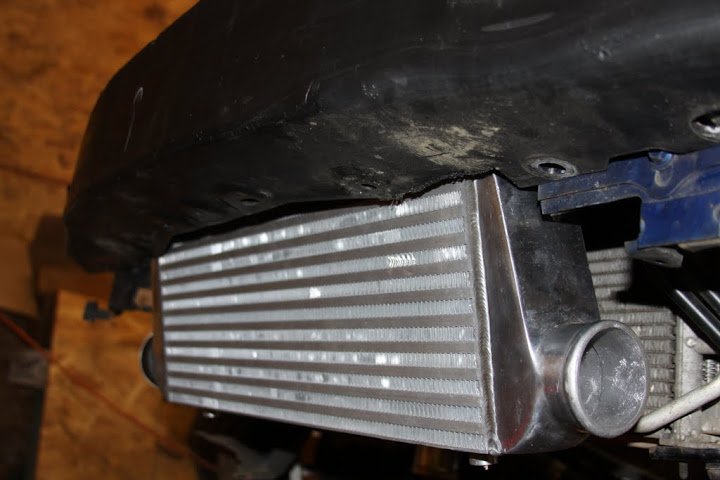
A slight modification to the bumper support to allow clearance of the FMIC

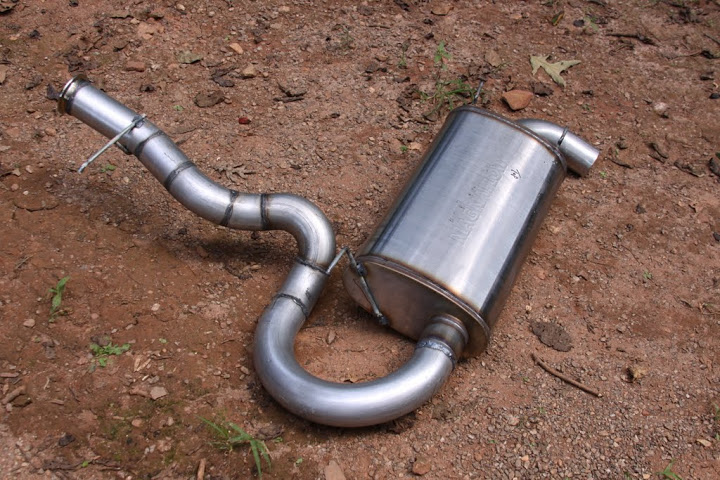
I used 3" mandrel bent aluminized 16ga steel for the exhaust. I used two 18" resonators and the big dog Magnaflow muffler.

Reply
3
3
09-25-2013, 10:40 PM
#5
Senior Member
Thread Starter
iTrader: (2)
Join Date: Oct 2011
Location: Hickory, NC
Posts: 675
Total Cats: 9
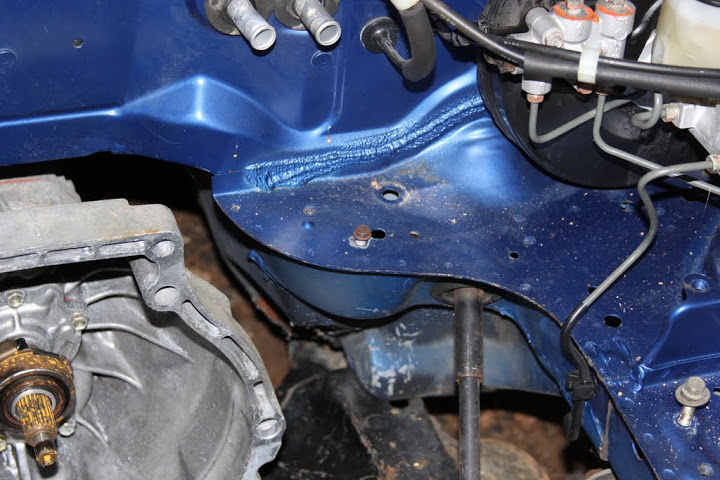
Before
After
I cut the package shelf at the firewall like the guys who do V8 swaps to give me more room for the down pipe. I cut it, welded in a piece of like sized sheet metal, then used seam sealer from a auto body supply shop ($23 a tube!!!), and painted it with made to order matching enamel paint.
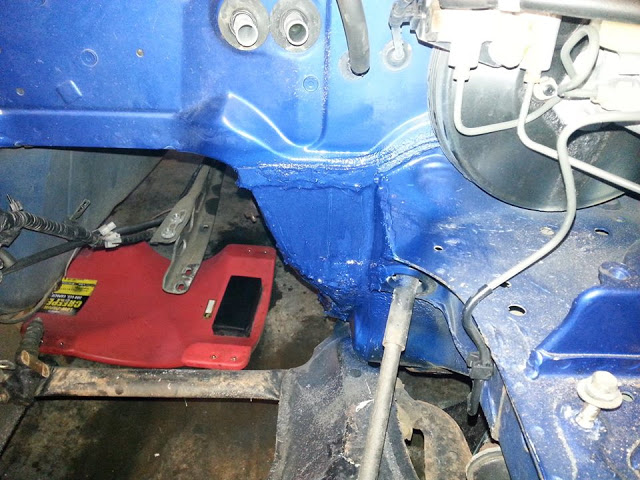
After
I cut the package shelf at the firewall like the guys who do V8 swaps to give me more room for the down pipe. I cut it, welded in a piece of like sized sheet metal, then used seam sealer from a auto body supply shop ($23 a tube!!!), and painted it with made to order matching enamel paint.
Reply
1
1


 09-26-2013, 12:52 AM
#9
Senior Member
Thread Starter
iTrader: (2)
Join Date: Oct 2011
Location: Hickory, NC
Posts: 675
Total Cats: 9
Hell yeah! I put 1300 miles on in three days of canyon carving in the mountains of NC/TN/VA. Not a bad test for my build I think? It had about 150 miles on it before I headed up the hill. There were about 120 miatas there, my guess is 20 were forced induction. I was definitely one of the fastest ones there and I was, am, still learning my setup. Just before going to the event I put on new wheels (9" 6UL), tires (225 Rivals), and shocks (Ohlins DFV) plus I tripled the power so the car was all new to me. I love how the EFR spools coming out of the corners. Can't wait to get the EBC and knock control working properly to really experience what this car truly has. I did discover I will be in the market for a BBK in the near future! One run coming down the mountain found my HPS pads at their limit!
Reply
0
0


 11-06-2013, 09:08 PM
#14
Senior Member
Thread Starter
iTrader: (2)
Join Date: Oct 2011
Location: Hickory, NC
Posts: 675
Total Cats: 9
Thanks!
ID 850's, Reverant built MS3 with extras.
Come west and we will hit the mountains together! The car is a lot of fun....I will try to post some video soon..... I hope to dyno next week and will post results then. I am not happy with the results from the first trip to the dyno (305/310).
ID 850's, Reverant built MS3 with extras.
Come west and we will hit the mountains together! The car is a lot of fun....I will try to post some video soon..... I hope to dyno next week and will post results then. I am not happy with the results from the first trip to the dyno (305/310).
Reply
0
0
11-06-2013, 09:30 PM
#16
Senior Member
Thread Starter
iTrader: (2)
Join Date: Oct 2011
Location: Hickory, NC
Posts: 675
Total Cats: 9
I think you mean the Appalachian mountains.....
I don't remember the details of the flow bench....the data is in terms of flow above the benchmark which is an average of many stock VVT heads. I remember it was just a little better than 20% more flow than stock. I forgot the paper at the shop that did the flow bench.....pretty sure he recorded it in his book though. If not, I will pull the head and do it again when it is time to order cams....
I don't remember the details of the flow bench....the data is in terms of flow above the benchmark which is an average of many stock VVT heads. I remember it was just a little better than 20% more flow than stock. I forgot the paper at the shop that did the flow bench.....pretty sure he recorded it in his book though. If not, I will pull the head and do it again when it is time to order cams....
Reply
0
0
11-16-2013, 05:45 PM
#17
Senior Member
Thread Starter
iTrader: (2)
Join Date: Oct 2011
Location: Hickory, NC
Posts: 675
Total Cats: 9
It has been a while.....I am finally starting to work on my car again. Here are a couple teaser pictures of what I did today.....
In an effort to continue with my copy of Soviet's awesomeness I wanted to use the LS truck coils. I welded 1/2" aluminum stand offs to the valve cover and tapped them M5X.80 so I can mount the coils with the same bolts that GM did. I had to mount them on the exhaust side and I will fab a heat shield to protect them. I also had to mount them aft of the plug holes to clear the factory strut tower. I also welded AN-10 bungs for an oil catch can. Will be traveling north next week and probably won't get to the dyno until the first week of December. Hoping to see 370 on the Mustang dyno.....
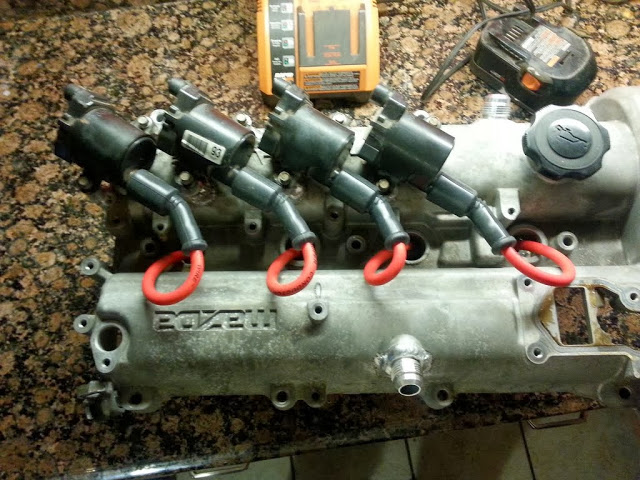
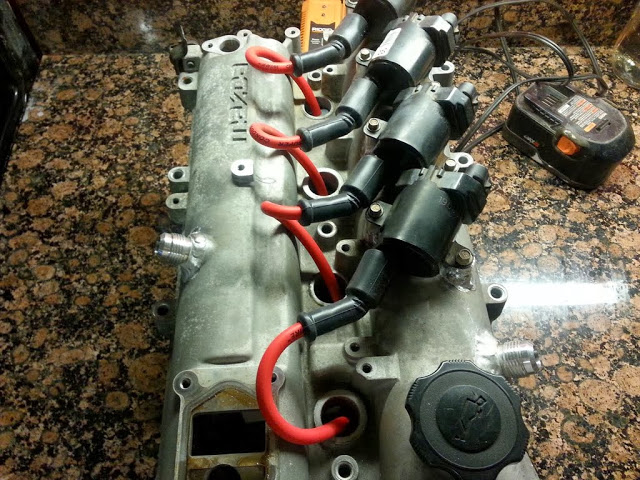
In an effort to continue with my copy of Soviet's awesomeness I wanted to use the LS truck coils. I welded 1/2" aluminum stand offs to the valve cover and tapped them M5X.80 so I can mount the coils with the same bolts that GM did. I had to mount them on the exhaust side and I will fab a heat shield to protect them. I also had to mount them aft of the plug holes to clear the factory strut tower. I also welded AN-10 bungs for an oil catch can. Will be traveling north next week and probably won't get to the dyno until the first week of December. Hoping to see 370 on the Mustang dyno.....
Reply
0
0
 11-16-2013, 08:30 PM
#19
Senior Member
Thread Starter
iTrader: (2)
Join Date: Oct 2011
Location: Hickory, NC
Posts: 675
Total Cats: 9
Thanks! After reading for two years what other on this site are doing I am trying to build the very best turbo setup I can. I look forward to seeing what "all of it" will produce on the dyno......
Reply
0
0


