When you click on links to various merchants on this site and make a purchase, this can result in this site earning a commission. Affiliate programs and affiliations include, but are not limited to, the eBay Partner Network.
I brazed it. It would look way better if I hadnt tried welding it first. I made my adapter plate and got most stuff fitted, all I have left is to cut the rod to length and drill the 2nd hole in it. I forgot to take pictures of everything. I ended up having to put the actual shift in backwards, had to cut up the shifter hole a little, and I had to drill a couple holes in the tunnel to get to the rear bolts. Pictures will make it easier to understand. I could have gotten away with just the holes or maybe not at all if the tranny's shifter was a couple inches further forward. I could have cut the same amount out of the tranny hole if I just used the camaro tail housing and stock shifter I think. I'm going to have to make a custom shift stick to get the **** where I want, the ebay stuff is usable right now, but with the bolt on shifter stick it'll be easier to frabricobble something together for better placement.
Leafy. If you have a driveshaft can you take a measurement from the shift rail (approx location) to the top of the driveshaft yoke (at its highest position).
That would have worked. I realized once I was done that on the freeze plug versions you just want the hole tangent to the highest point on the freeze plug.
I've done some things this week. Working on this shifter stuff, I'm not sure if my standards for fab work have gone up or if my skills have gone down. I know for certain that whenever I have the proper tool that bit comes out looking pretty decent, IE the welds, or holes I drill in the drill press.
Heres the shifter adapter plate. I found something to be hitting on the plate in the housing so I had to lift it, that also seems to have helped the actual shift geometry.
clutch master adapter. I cant believe the v8 swap buys pay so much for these, If I'd have found my 3.5"x3/8" bar of aluminum sooner it would have been made with that.
Shift linkage done. I woller up the roll pin hole inside the shifter and also kind of realized that it would be a huge pain in the dick to take apart with a roll pin there so I switched to a countersink bolt, and now I have a nice countersinking tool.
I also made the boring felt seal for the hole and hondabonded it on. we'll see how well that holds up. Its only got to keep splashing gear oil off the exhaust.
Yup, that harness is definitely from mazda, its tangled as **** right out of the loom.
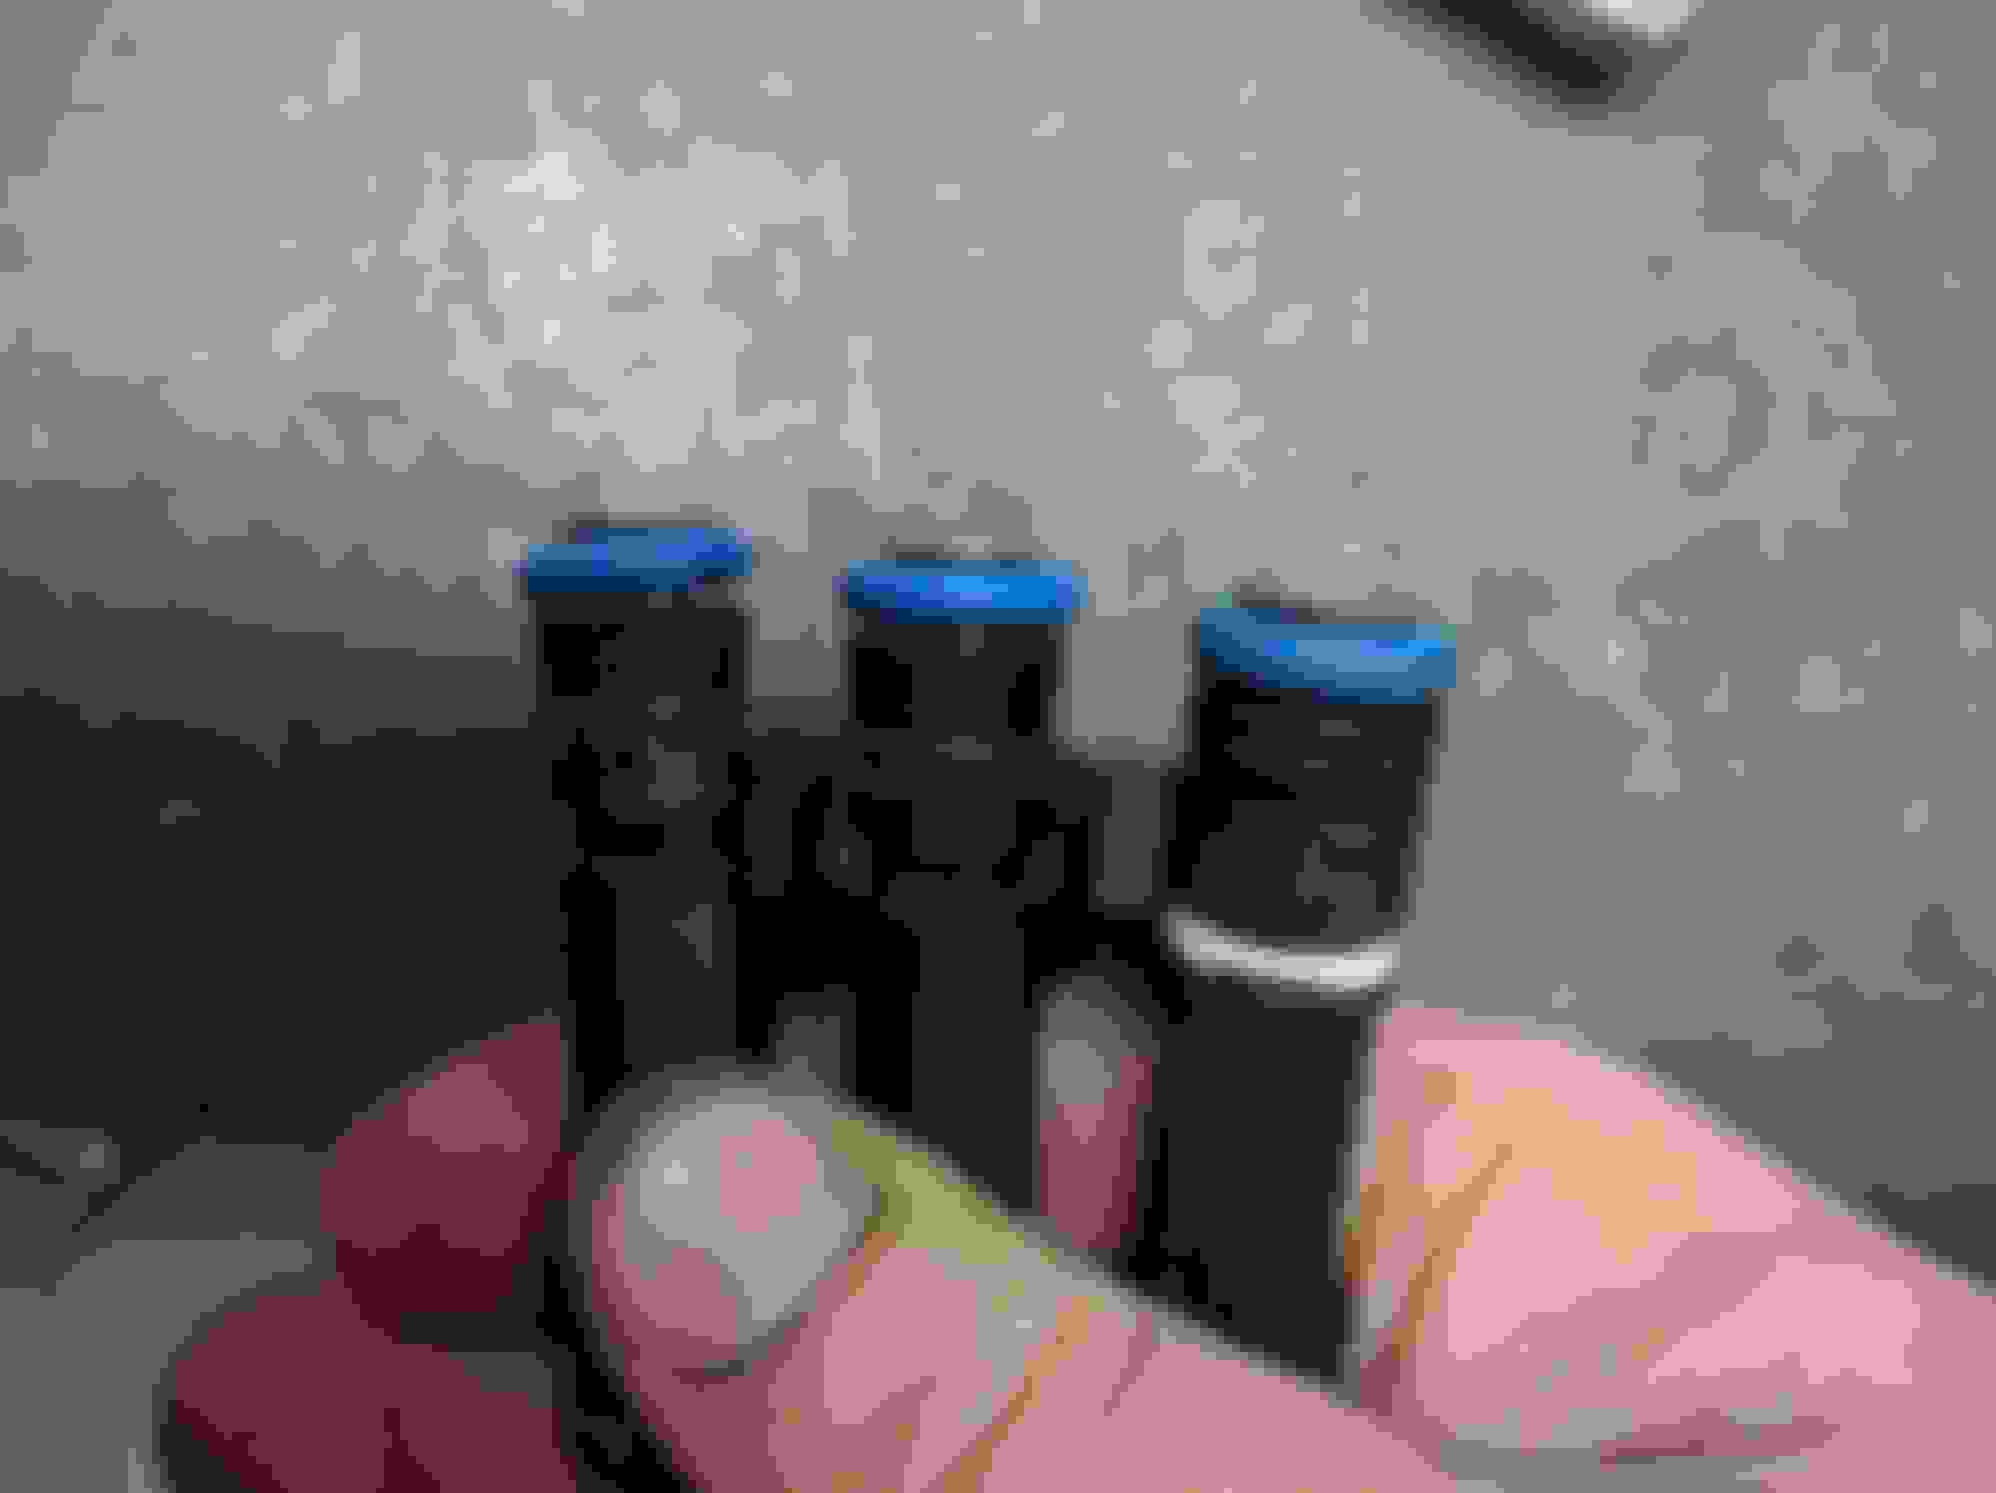
I'm glad I convinced mom to buy dad that label maker a year ago. Its most of the way there. damn thing has 26 wires though, too bad the bulk head connectors I bought only take 22 at a time. You can also see the egr blockoff plate I made out of the aforementioned 3/8" aluminum bar. Of course half way through this one I regretted being a cheap **** and not just buying one for $40.
**** yeah, linesman splices.
Avert your eyes from that fuel rail abomination. The side you can see actually welded nice and sealed. The other side that I added the fitting to to make it flow through wouldnt seal, kept cracking and I eventually buggered up the fuel injector seat and gave the **** up on it. Its some sort of china 3xx internal stress disaster stainless and the factory use some weird *** copper colored brazing **** on it that also liked to **** up my welds. I bough a couple more $30 factory rails to work on. I would have been completely willing to pay someone $200 to not have to weld on a fuel rail. But alas, some people just dont like money.
More stuff this weekend. Cleaned up the chassis side wiring for power and stuff, ran the brake lines in the cowl. Started on the fuel lines, and stopped because it sucked hard and I didnt feel like dealing with it.
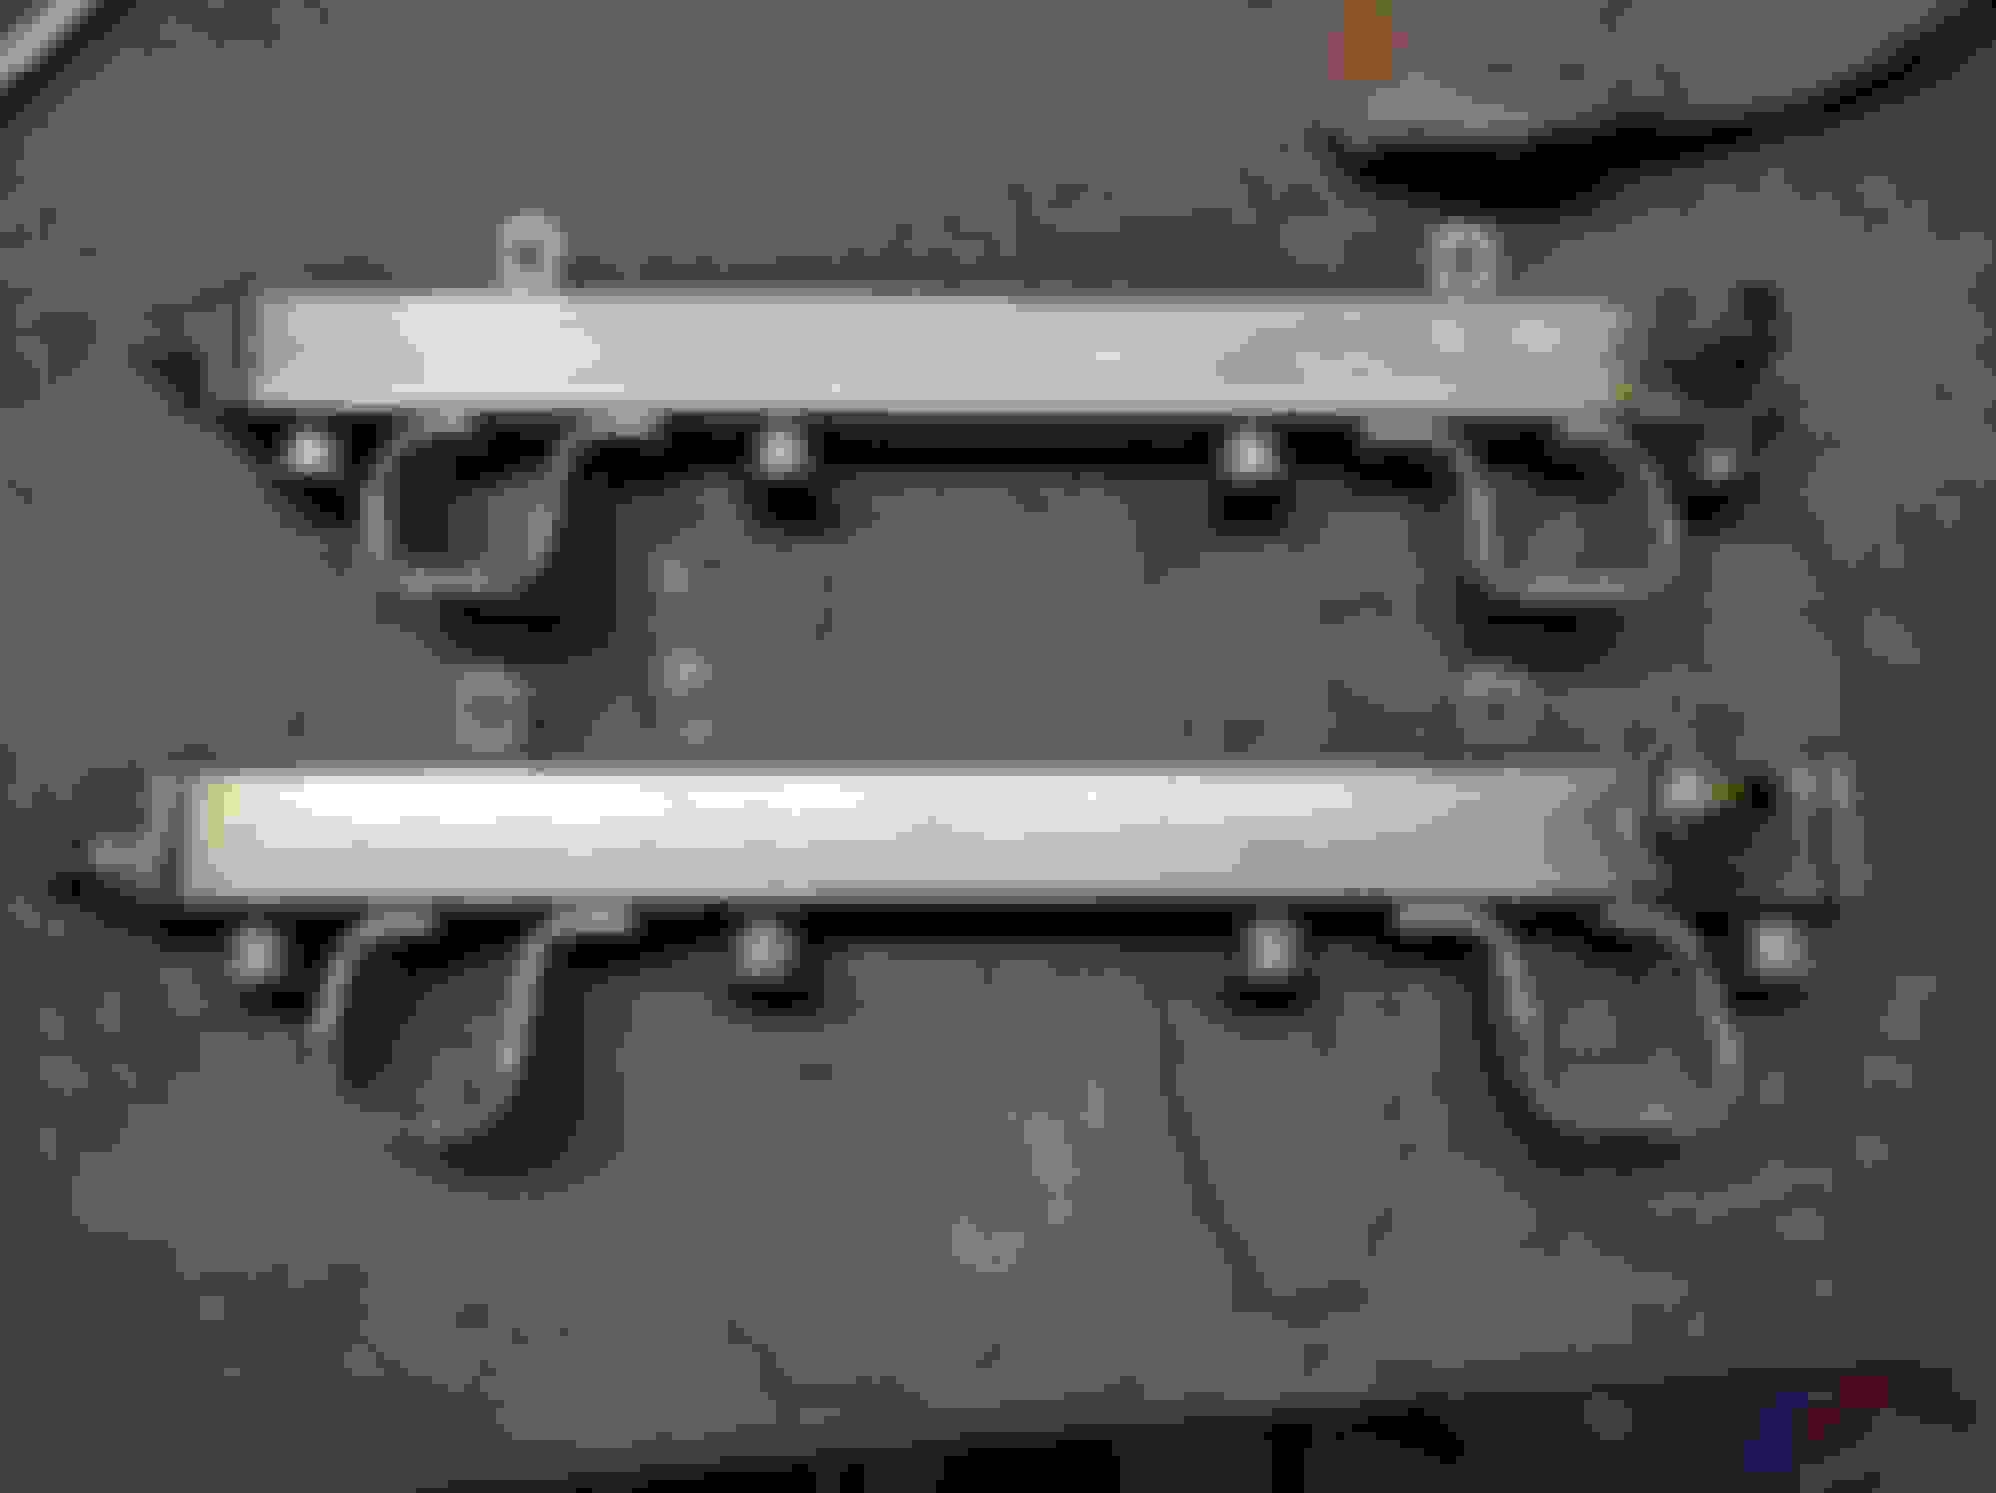
Bought a couple new fuel rails. This one had the inlet on the bottom instead of the top, weird. But I learned my lesson and stayed as far away from the brazing as I could and I got it to seal. As a backup plan I also bought an older stock duratec one that has a fuel pressure sensor that I was going to use as a return line if I failed again. Looks like I have a spare. I didnt like these ebay stainless weld bungs, they were heavier and had a 1/32" smaller flow hole than the earls steel ones, but they were stainless.
Also installed the new injectors. The duratec and mzr use EV14s from the factory, but they're every so slightly different. They're less than 1/8" longer than standard 60mm EV14s and the have this extra groove for the retainer clips. I just dremeled it in with the cutting wheel. These are like $150 cheaper per set than the "direct fit" deatchwerks for the NC miata, and flow an extra 100cc/min. Unmodifed on the left, modded in the middle, stock on the right.
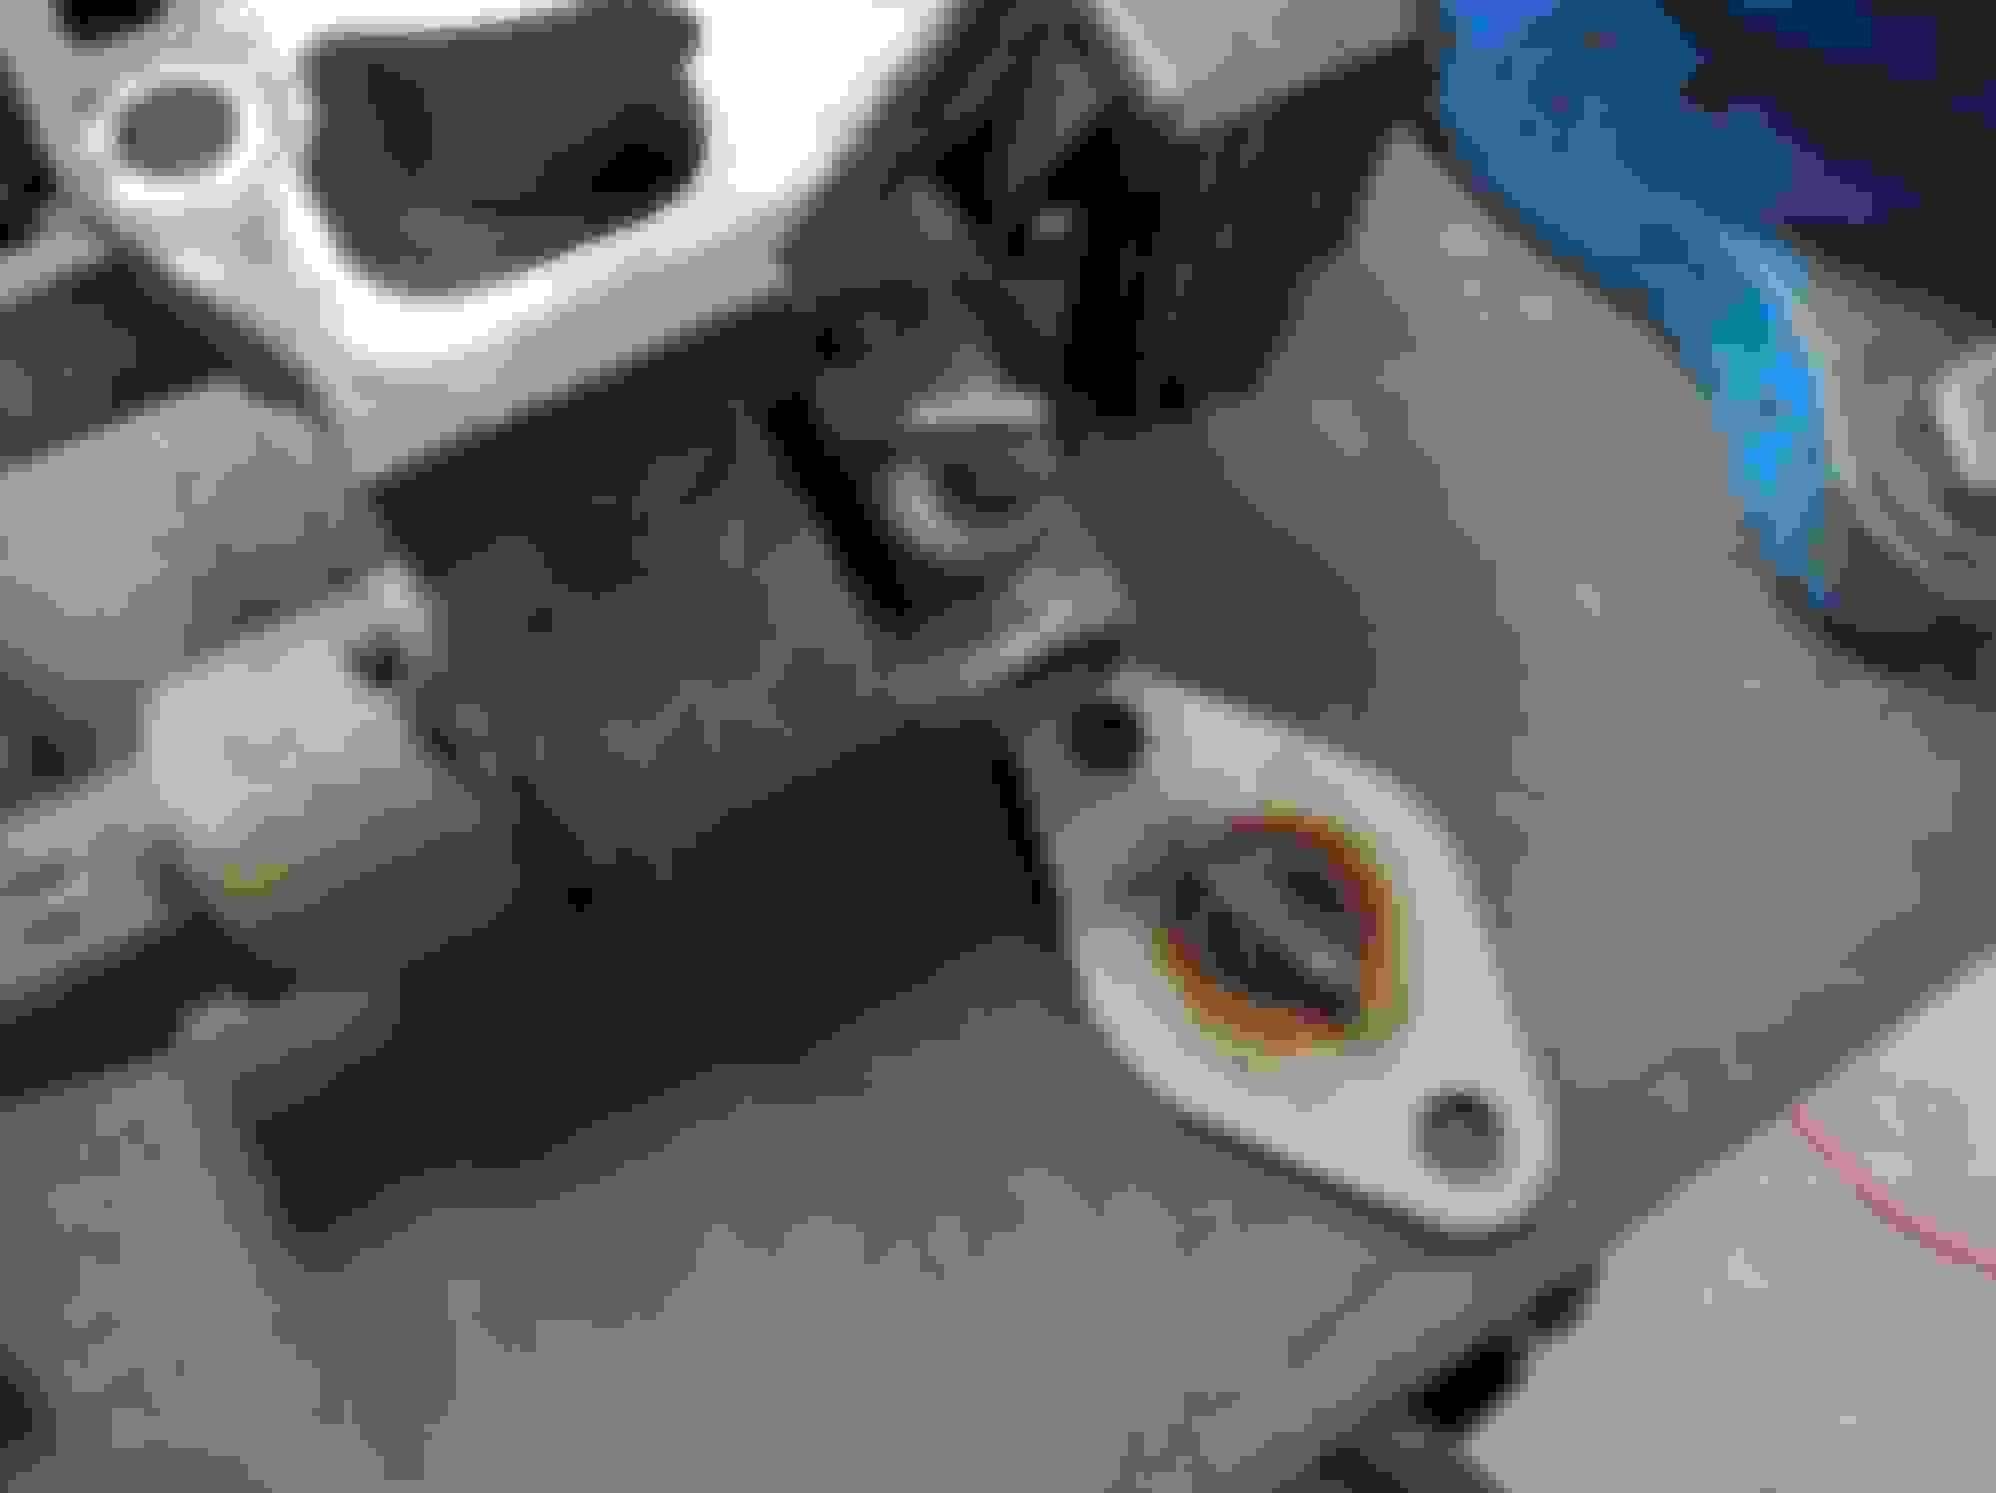
Got more cleanup done. Blocked off the EGR with the factory EGR tube. And blocked a weird pre-throttle body air nipple on the subaru throttle body.
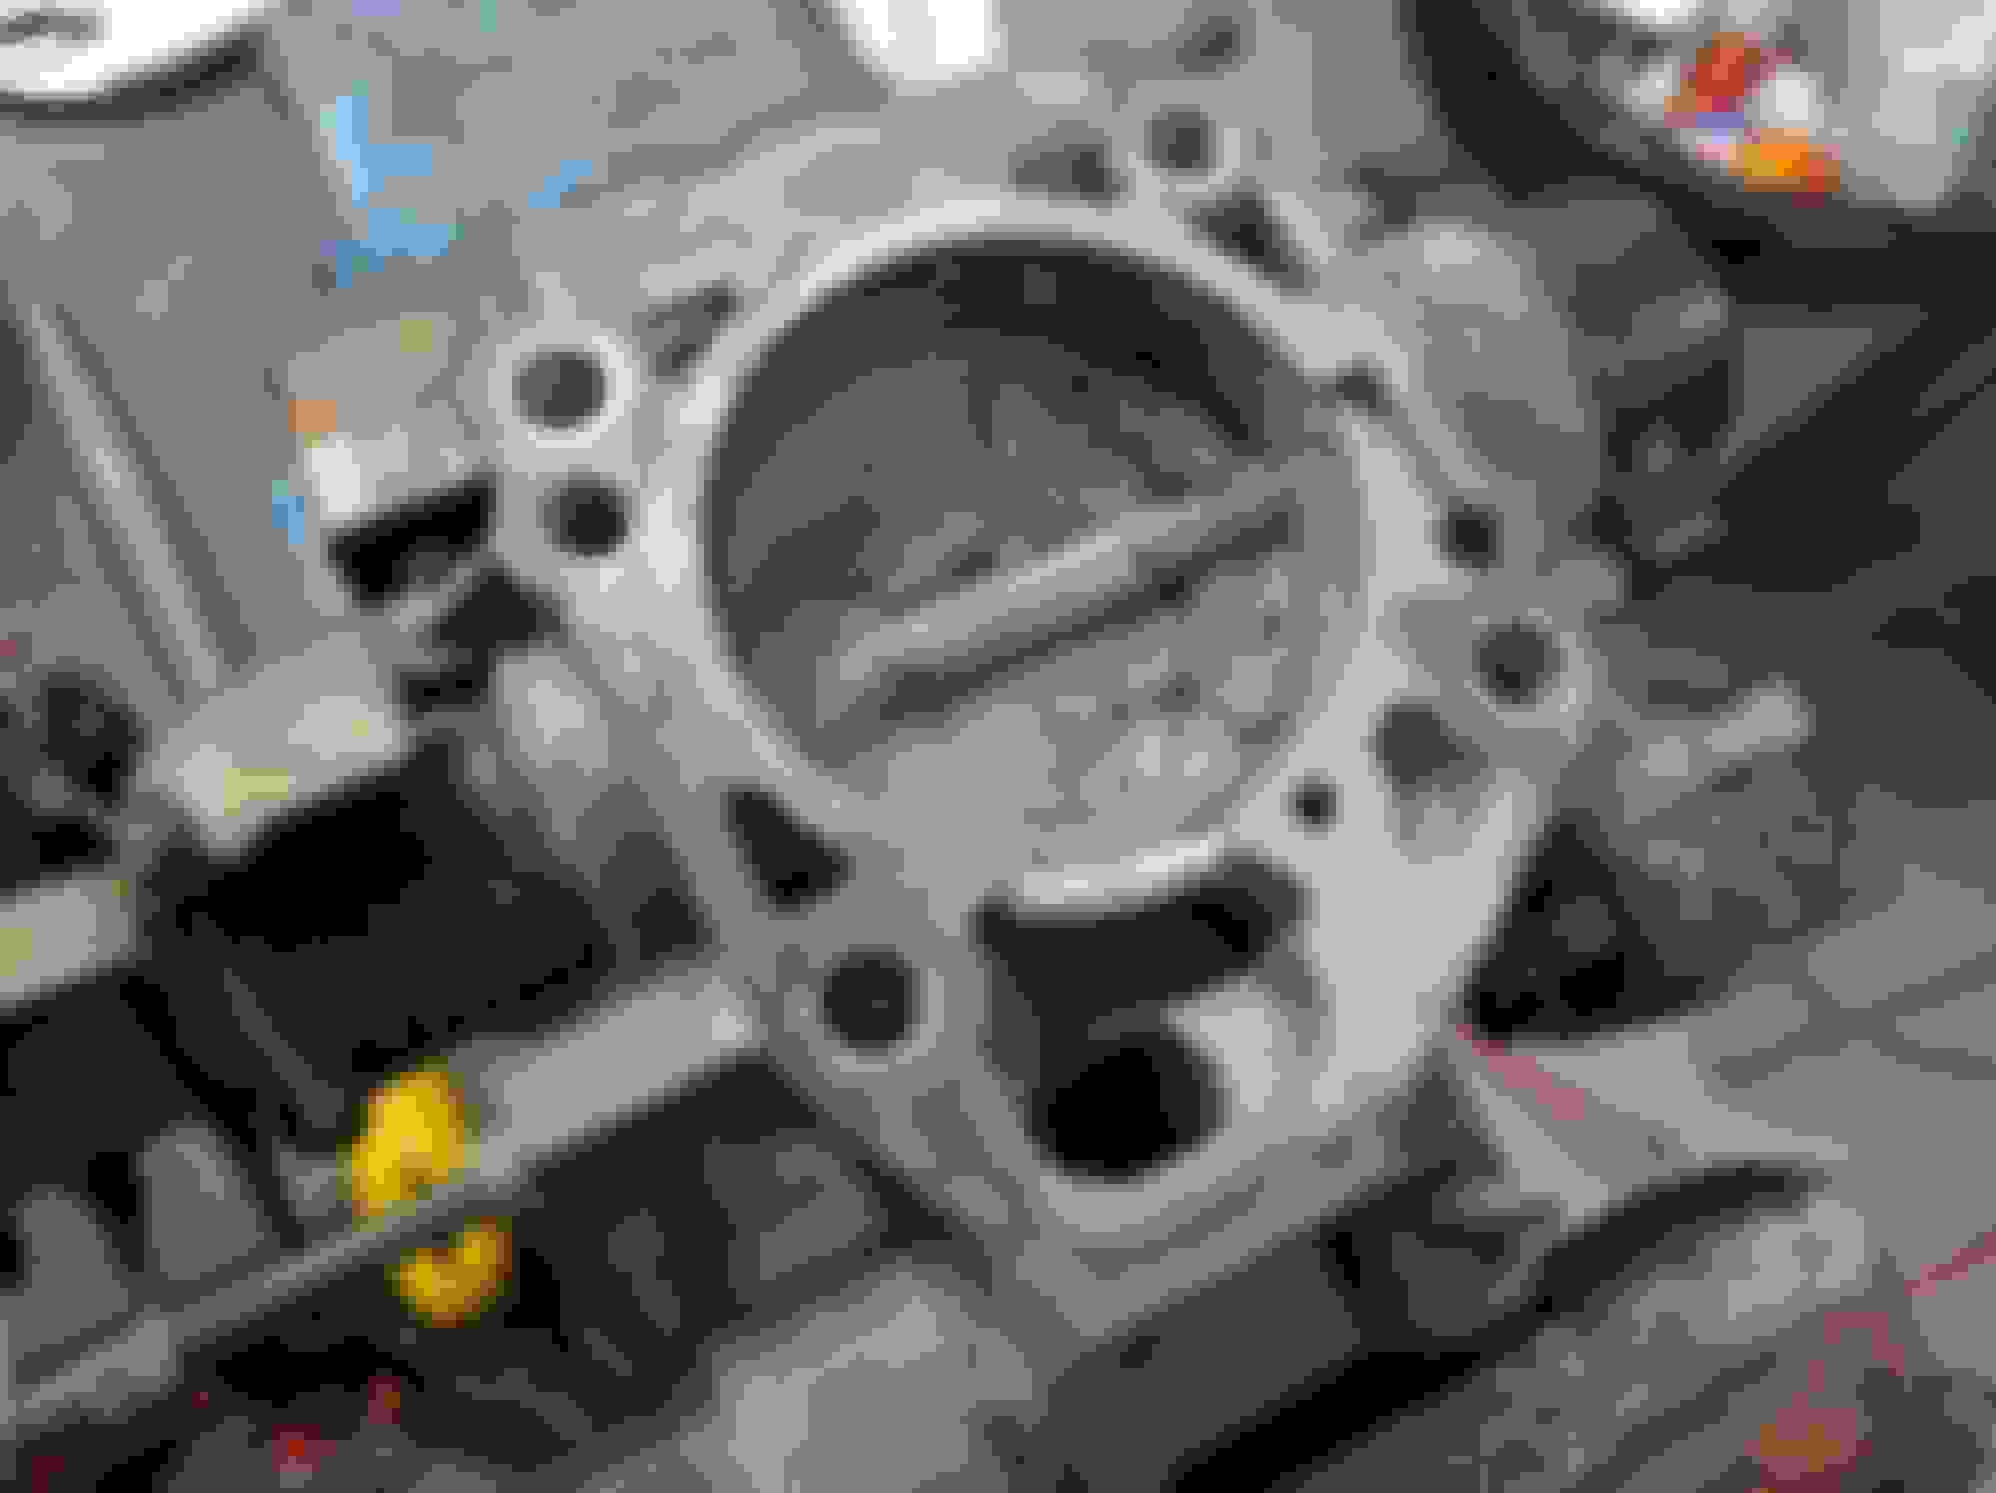
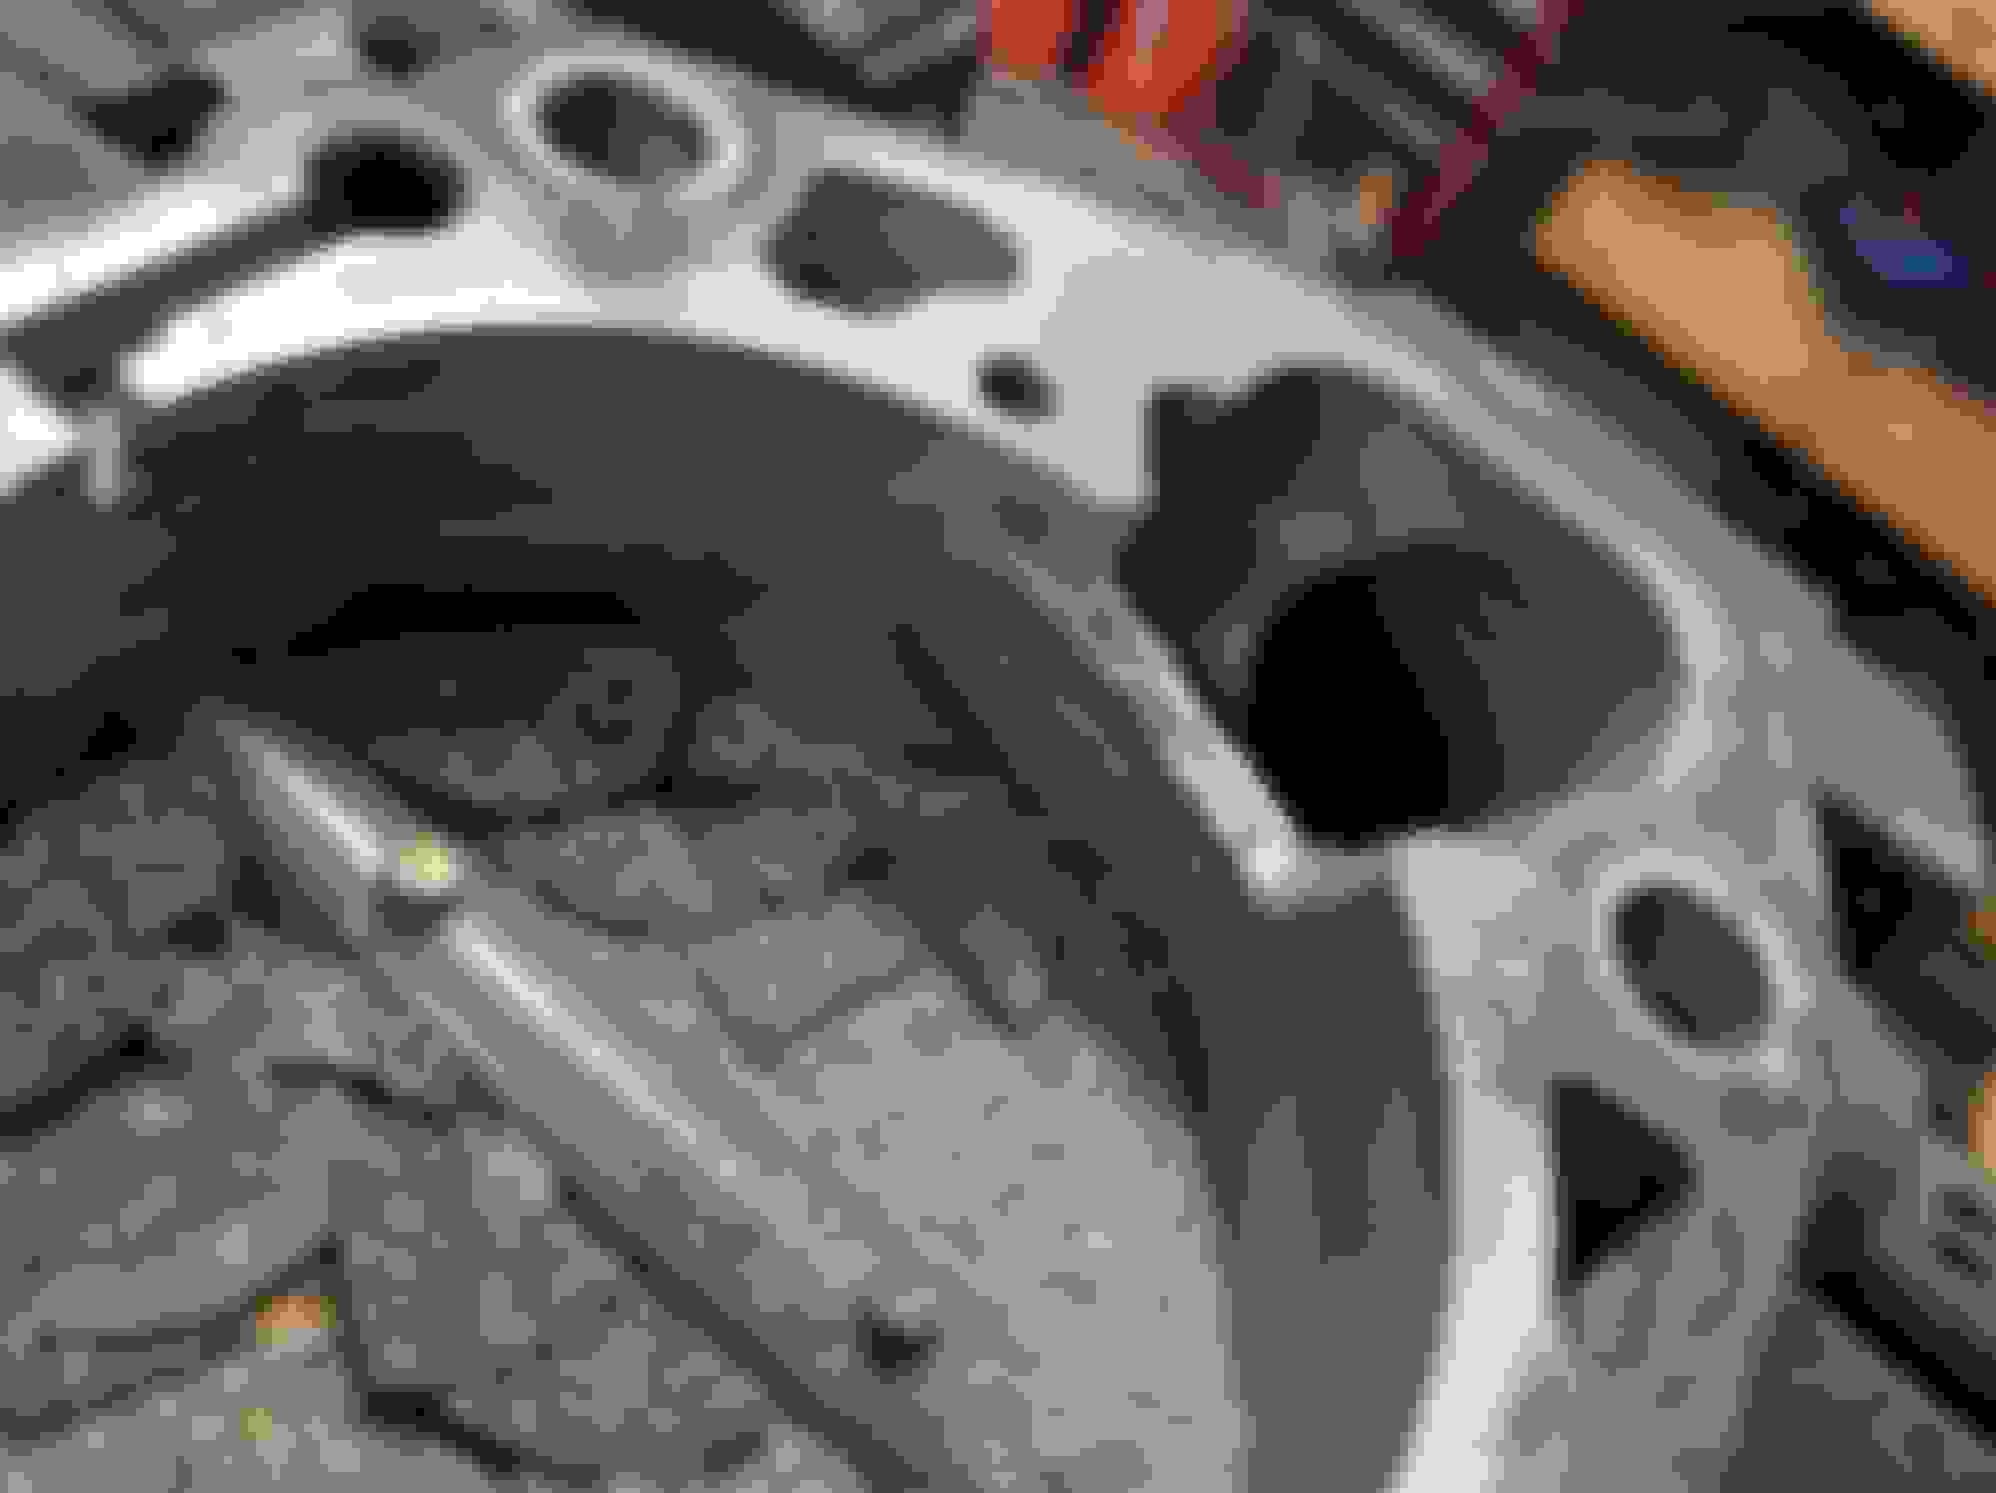
Made some air channel for the iac on the throttle body, I had to block the direct path with a plate so the oring on the mainfold would seal. As you can see, many small cutoff wheels died this day.
Intake manifold on.
I made the throttle cable bracket out of scraps but I forgot to take a picture of it. When testing to see if it was strong enough to not have play I noticed that the intake manifold was flexing instead so time for some JB weld reinforcement.
Then I spent almost all day today doing the fuel lines. Coming out of the fuel filter I step up to the 3/8" line. And right near the filter I swap the factory return from 5/16 to 3/8. Using -5 AN flares, seems fine. Also mounted the tiny fuel lab regulator and hard plumed the return line. Its kind of ugly by the engine bay. I also need to come up with a way to mount it under the car. Also need to order the correct size fuel line clamp.
I also decided I have no ******* room for the electrical bulkhead connectors so I'm just going to run the ms3p in front of the drivers side headlight and wire direct to it with disconnects for the chassis side stuff from the rest of the harness.
Ordered china 3 core honda radiator.
Ordered Gendron front sway bar since initial install requires removing the radiator.
Trying to figure out the intercooler now. I can either get a small "v-mount style" and have less than optimal inlet location or I can just make one. And doing that, is that pimptastic garrett core really worth it over a treadstone or vibrant core. I think it is. I think I want a $600 intercooler to go next to me $60 radiator. God that sounds dumb.
I think the garrett core is worthwhile but damn its $. as silly as it seems, I think that I might get a vibrant/cx racing core in the sizing of a garrett core that I want, and when I get it all together and running well get the garrett core to weld my custom end tanks to. theres too much to spend $ on to fully commit to a $ intercooler up front for me if that's the difference between finishing it and driving but not with a nice intercooler or having the intercooler but having a few things outstanding.
I'm strongly leaning towards the treadstone core, since they're definitively better than the cx racing, and not much more money. And still over $200 less than the garrett.
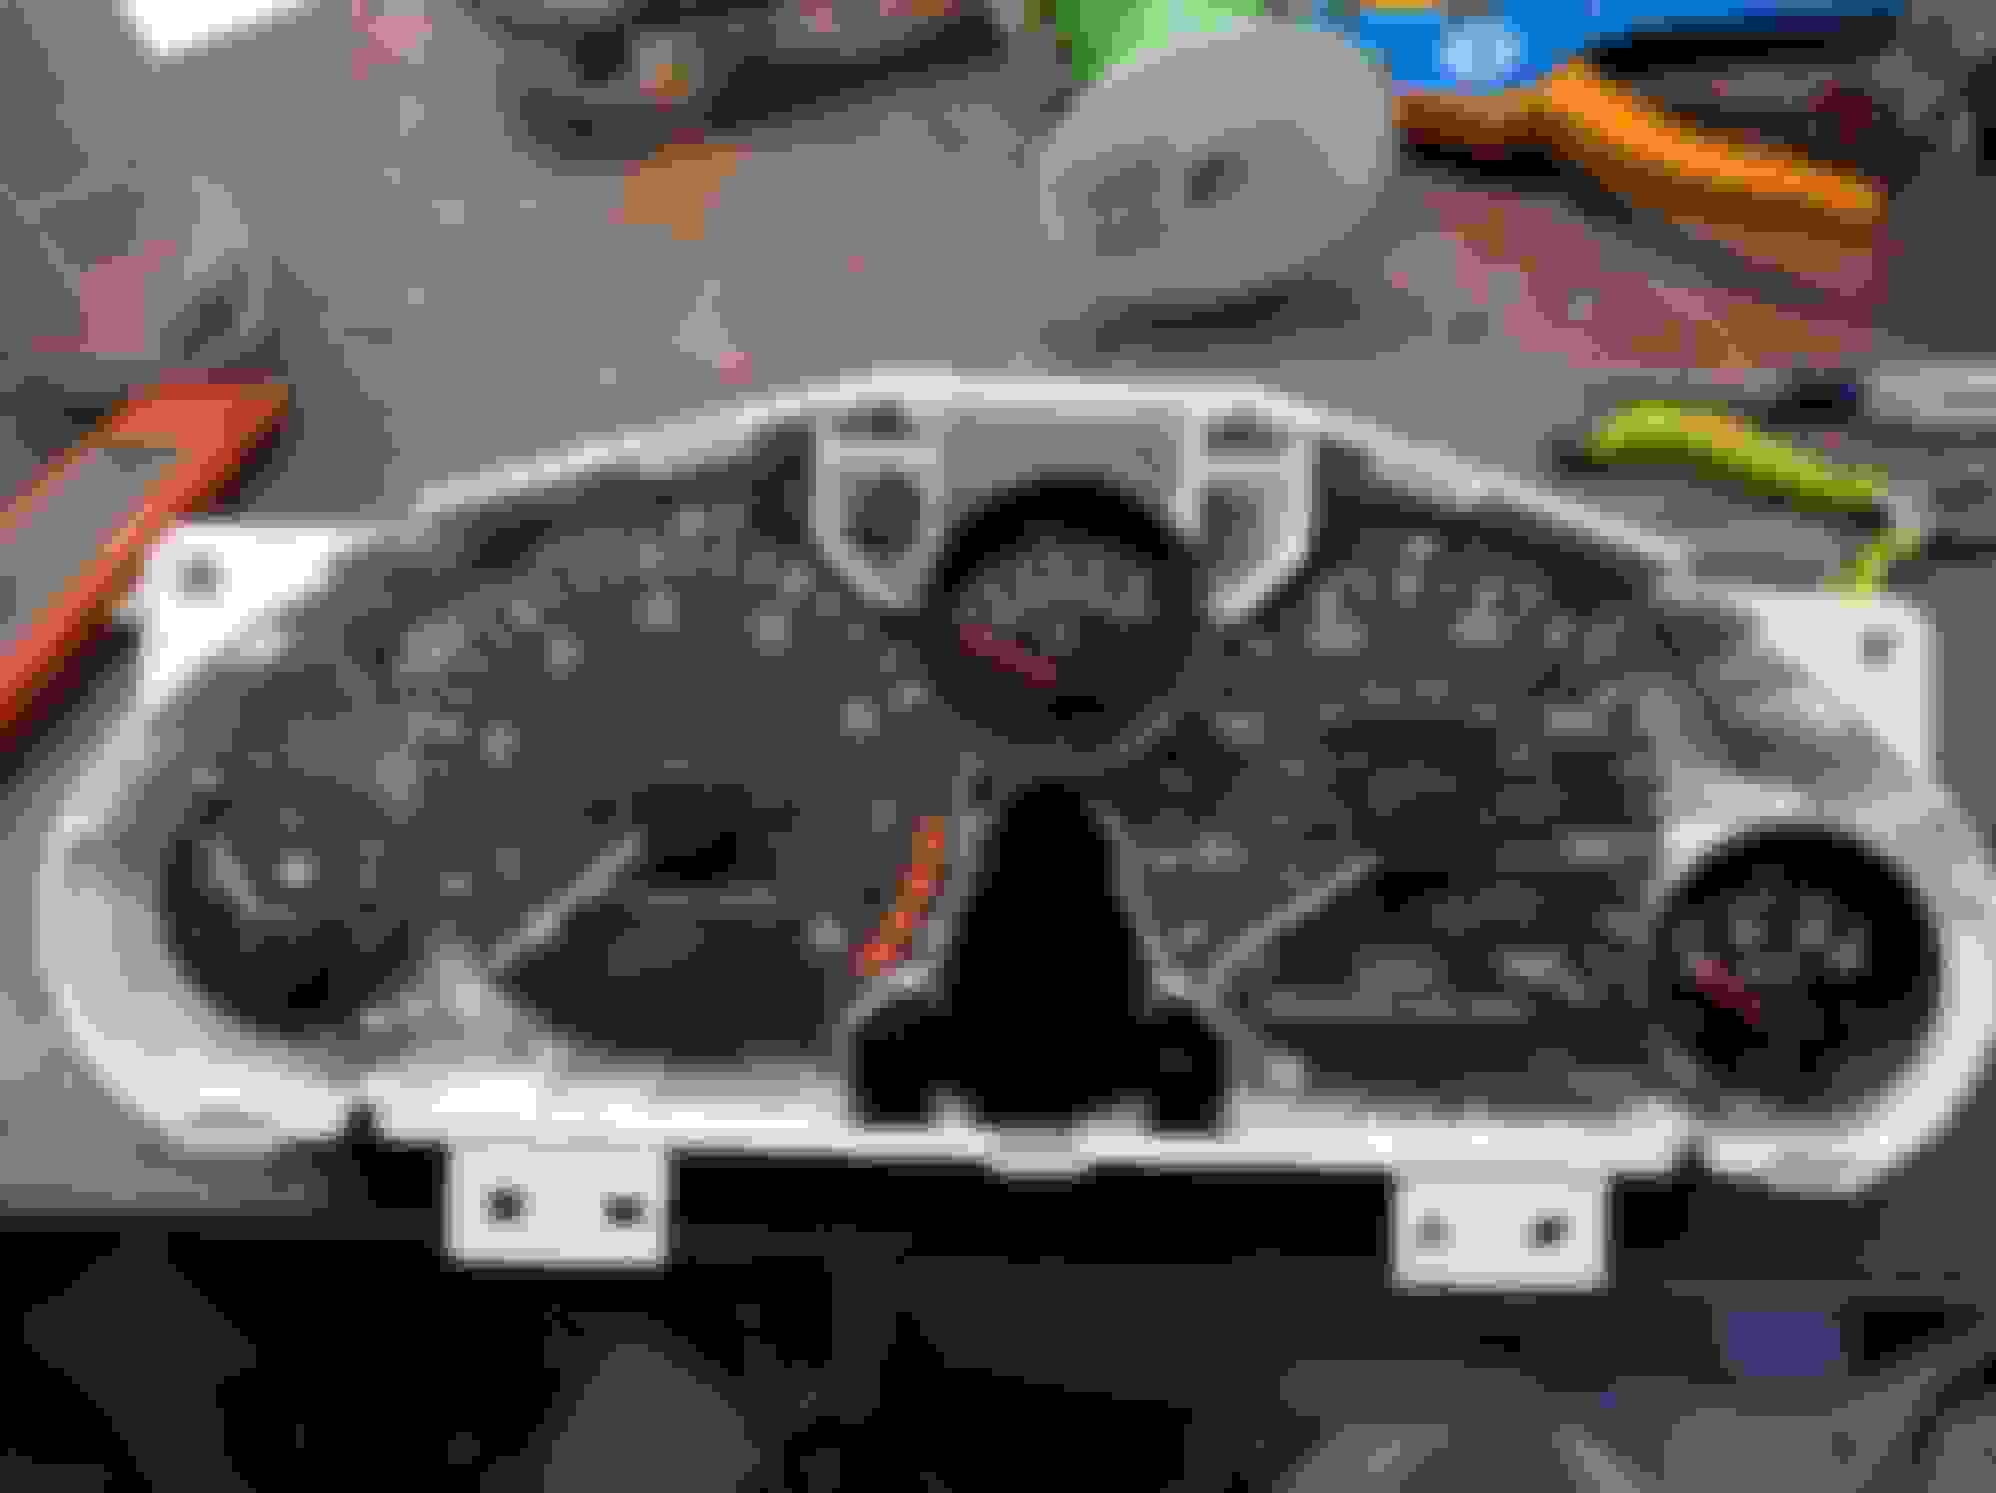
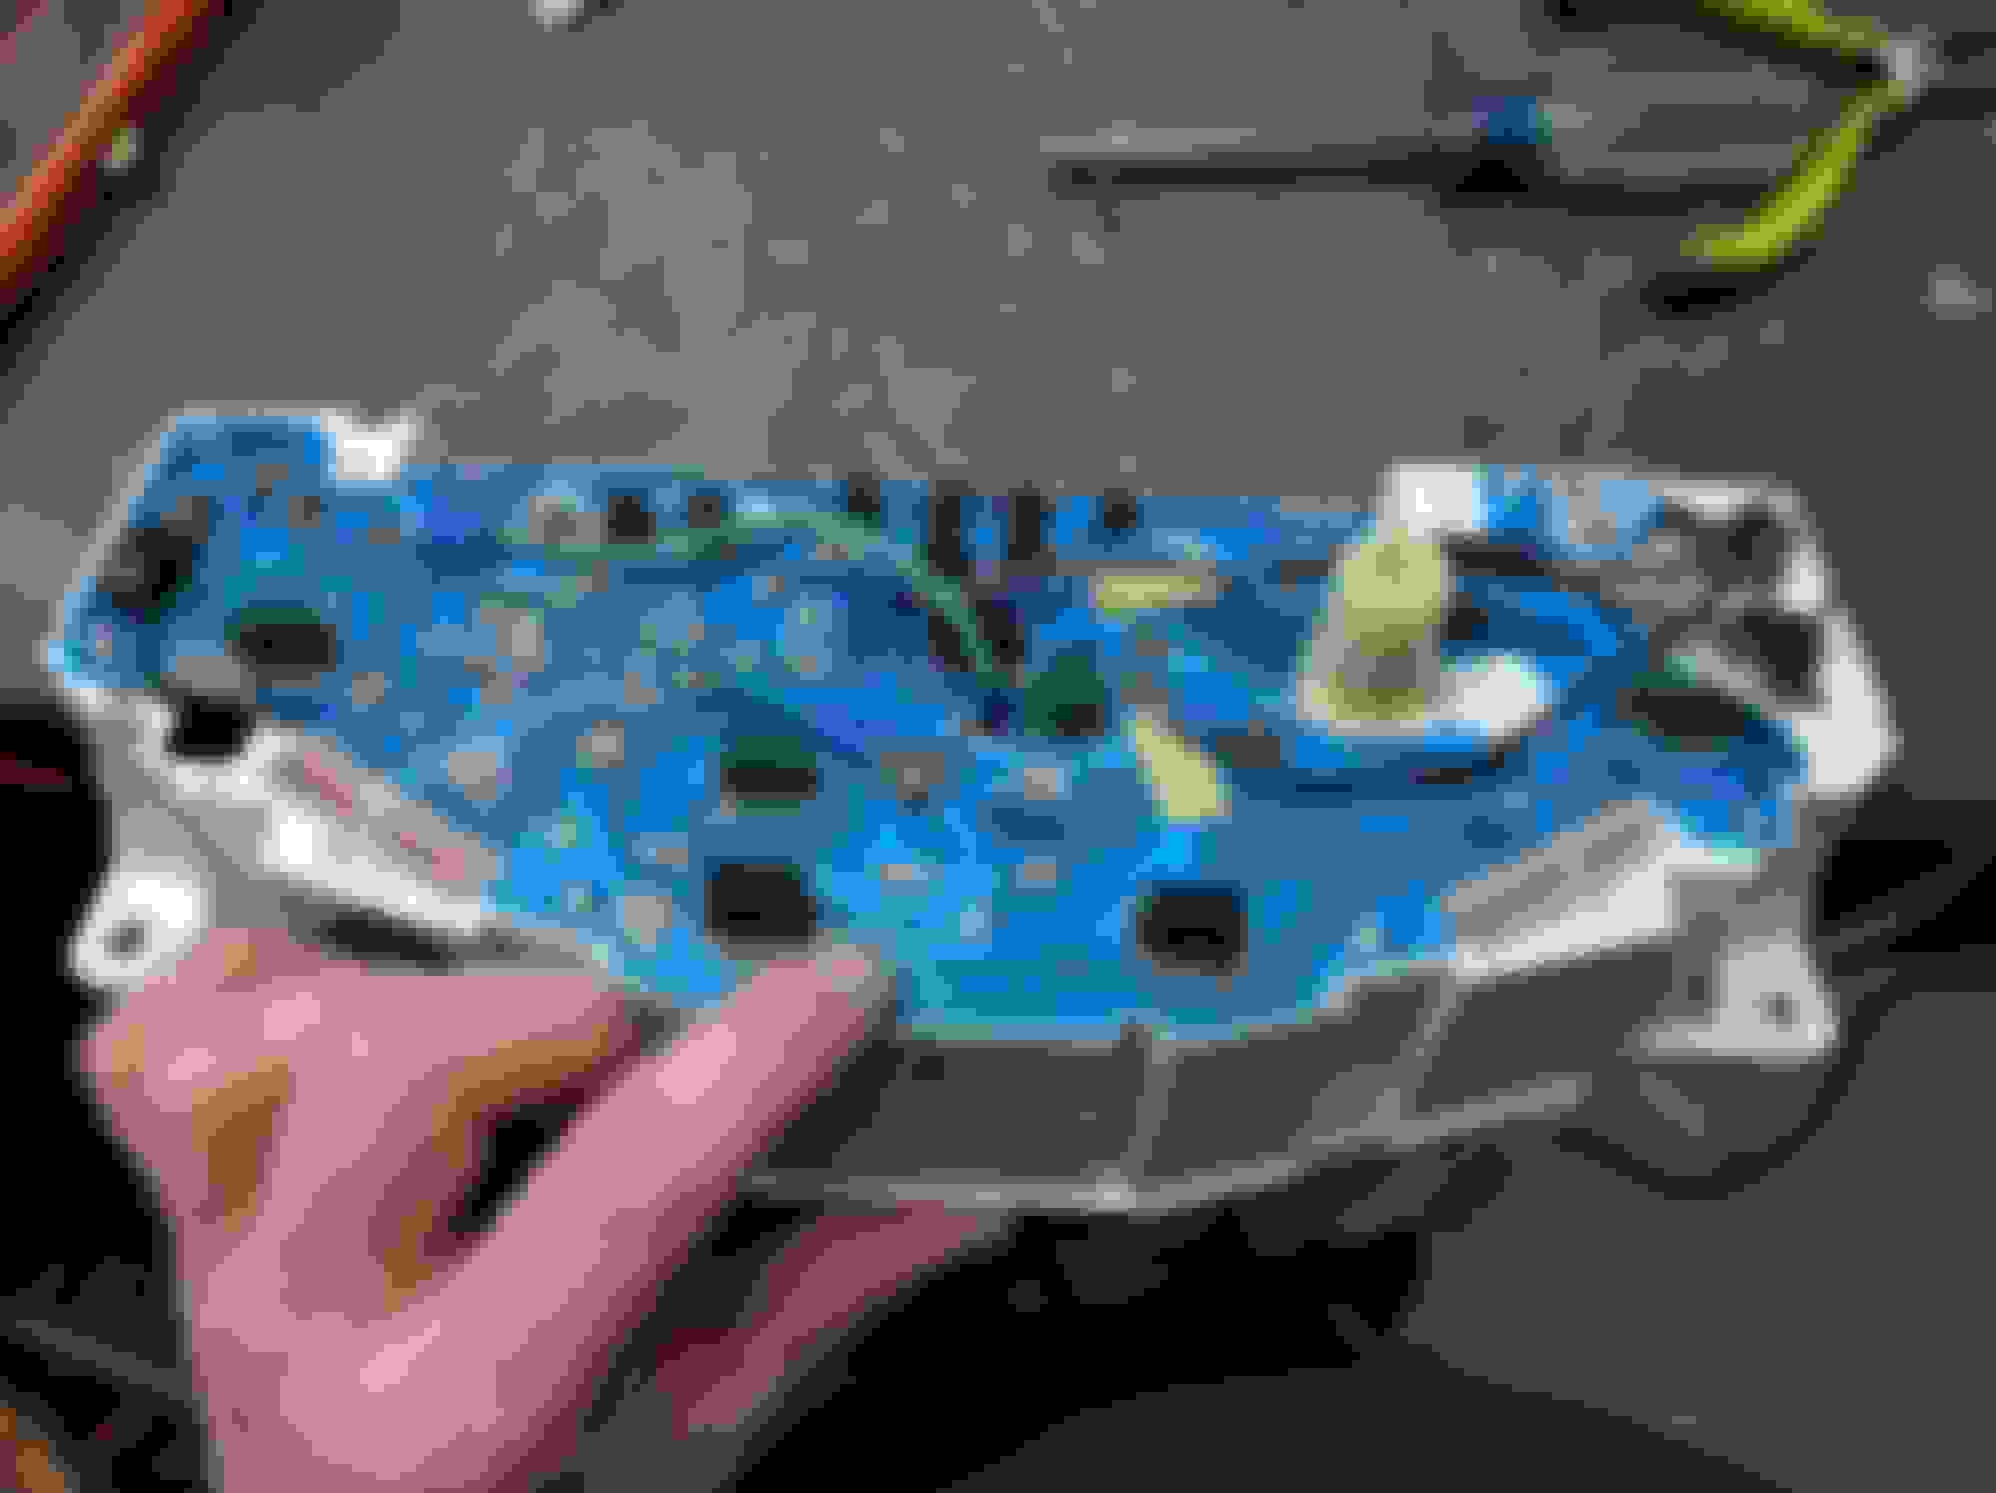
Almost done wiring. Got the new oil pressure gauge in at least well enough. I also decided that since I'm going to do a full rewire on the car next year I can hack and slash the chassis wiring and not feel too bad.
I got the white connector on the MS all finished, but I right dickered up the grey connector because I didnt read the directions right or something. I was going to order another pair from DIY for $60 and then I realized the housings are only $9 a piece on mouser. Its the ******* 53 cent a piece terminals why their kit is so expensive, but I've got all the terminals I need.
Housing Part Numbers 776164-4 for Grey 776164-2 for White
Finished the wiring. wasted a couple hours on saturday trying to figure out why it wouldn't connect to the laptop. ******* chinese children that made the USB cable I hacked up to use in the harness put the wire colors exactly backwards from standard. Wasted some time sunday ******* around with the stepper IAC control because I thought A and B were the coil numbers and 1 and 2 were the ends of the coil when I wired it the first time. Its the other way around. Also, fuel pump is just a pwm input on the MS which means it can backfeed current, guess who originally wired their FP relay so the switching side was always power, this guy. So more butchering was done to the wiring harness. I also made the fans linked together. I have everything working that I can test without the engine running except the MAP sensor. I'm pretty sure its wired right, but map signal is getting 0v at ambient, the iat part of the sensor is giving believable numbers using the "ford" calibration from the MS. I dont really trust the IAT calibration and something is fucky with the voltage so I just said **** it and bought the GM 3 bar TMAP instead.
I tested and the CUT50D will cut sch10 321 stainless pipe even with 110V powering it, so I'll be doing the more complicated turbo manifold. Hopefully I'll get going on that next weekend, so I have enough time to get it sent to swain before the first race april 8th.
I played with the cut50 on my 321 sched40. And the cuts weren't pretty enough for my liking, and it hardened the **** out of the pipe. So I stuck with a belt sander and grinding wheel.
Leafy, do you know any good welders in the area? I need a couple of minor things done. I sent you a PM. If you're up for it, I could throw some dollarz and/or booze your way.
I played with the cut50 on my 321 sched40. And the cuts weren't pretty enough for my liking, and it hardened the **** out of the pipe. So I stuck with a belt sander and grinding wheel.
PS, OP gauge is crooked
It should have only hardened the slag. In my case either manifold is going to require some weird *** cuts to work. but now I know I can make decent ones with the cut50 I'll make the fancy one.
got the gendron bar in, enough to mock up the turbo at least. This car has been hit so it needs some alignment work with the bar.
modified a v band at work to work with the weird IRL flange. The non-concentricity is BW fault.
I've got 2 tubes done from the manifold and a 3rd that needs the slag ground out. Forgot to take pictures. I was going to go by my 3d model but I couldnt get the surfaces to unwrap correctly to print them out to wrap them around the pipe. So i'm just doing it old school. All the pipes to do the full 3.5" system are here too.
 12-07-2016, 11:04 AM


 0
0