Build Threads Building a motor? Post the progress here.

The Definitive "VVT swap into 91 chassis" Failure Build

Thread Tools
 
Search this Thread
 
Old 02-09-2016, 06:39 AM
  #1  
Junior Member
Thread Starter
 
Eunos91's Avatar
 
Join Date: Jan 2016
Location: Munich
Posts: 362
Total Cats: 93
Default The Definitive "VVT swap into 91 chassis" Failure Build

so, starting my own thread about my VVT swap. It mostly serves as a place to dump my pictures and entertain others while I mess up.

Motivated by the (excellent) VVT swap megathread and a long lust for power I pulled the trigger on an NBFL engine. The previous owner had tried to put it in his 1.6 NB with a broken engine. Somewhen along the swap, probably while realizing his plan to install the complete NBFL harness might not be all that clever, he called it quits and bought a complete NB to replace the previous one.

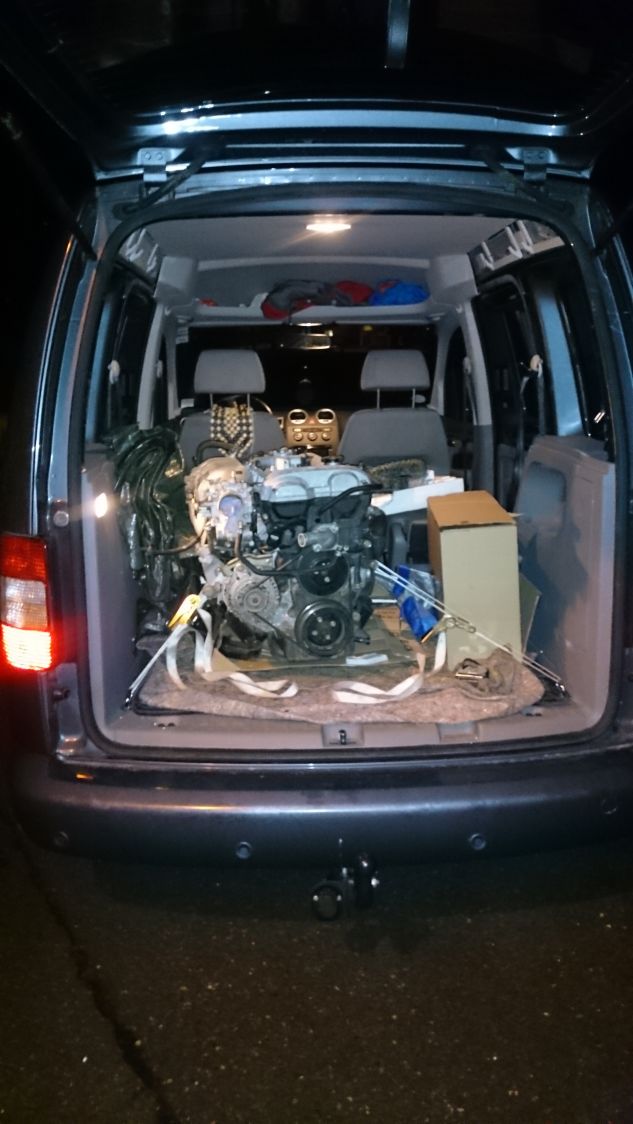
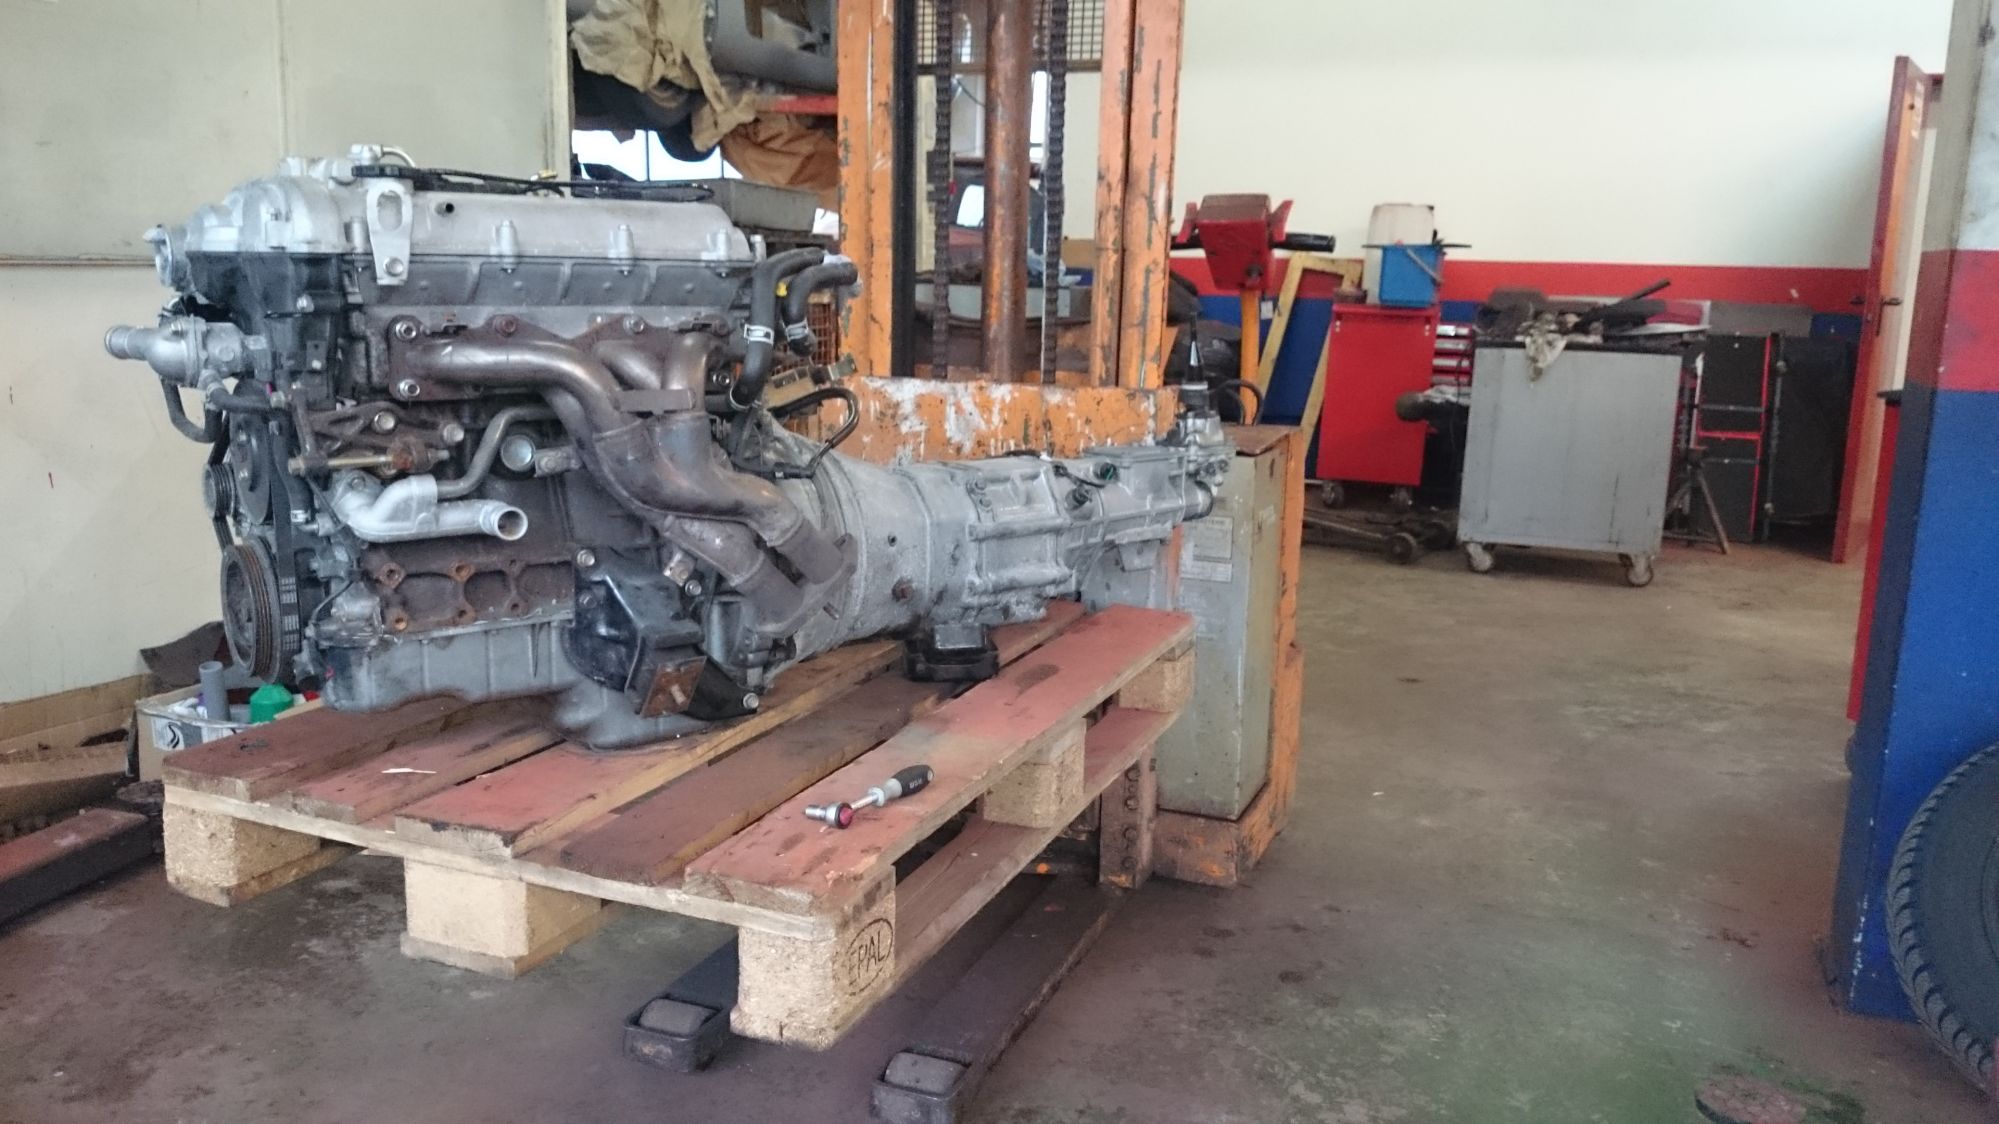
In comes Eunos91 with a borrowed VW Caddy to steal the VVT engine


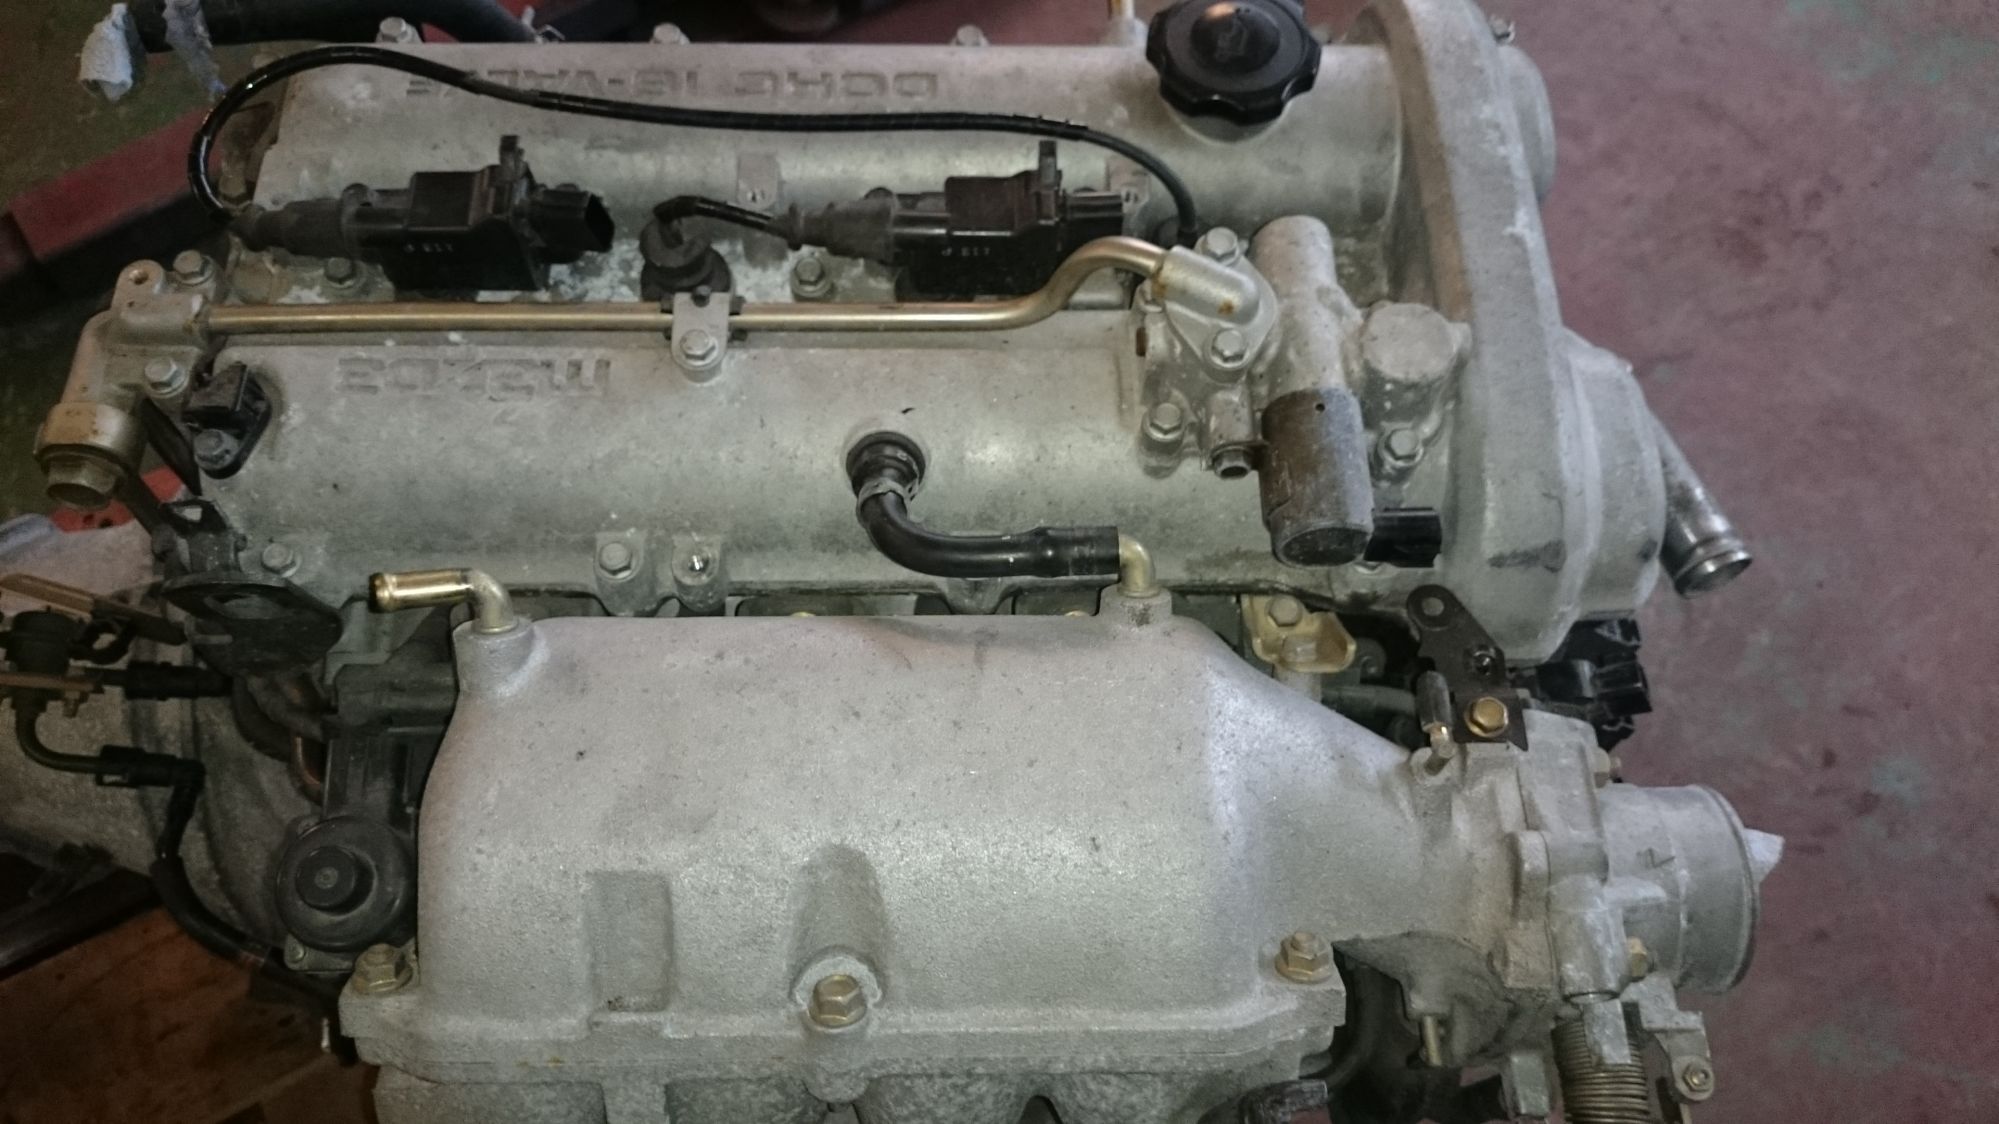
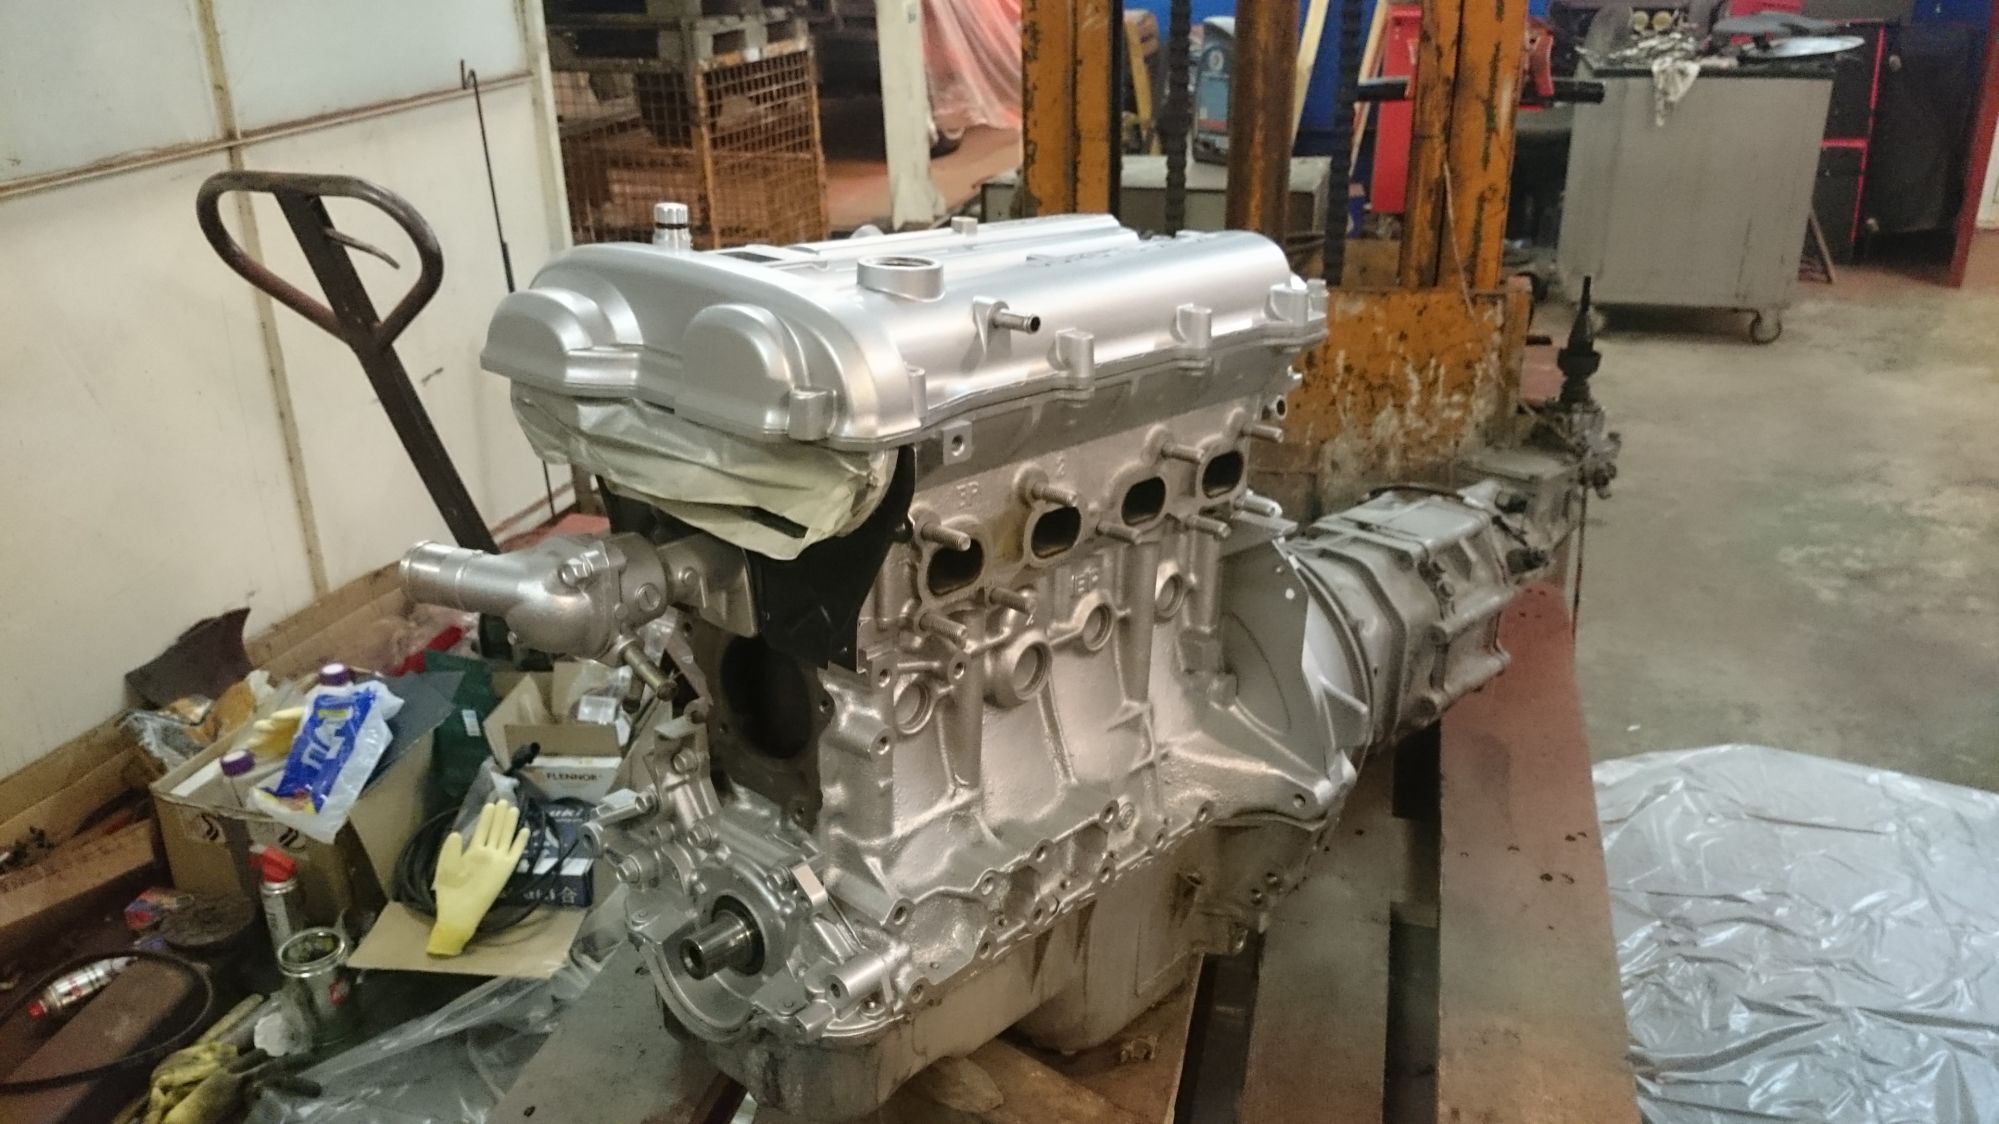
european flat top goodness... nomnomnom


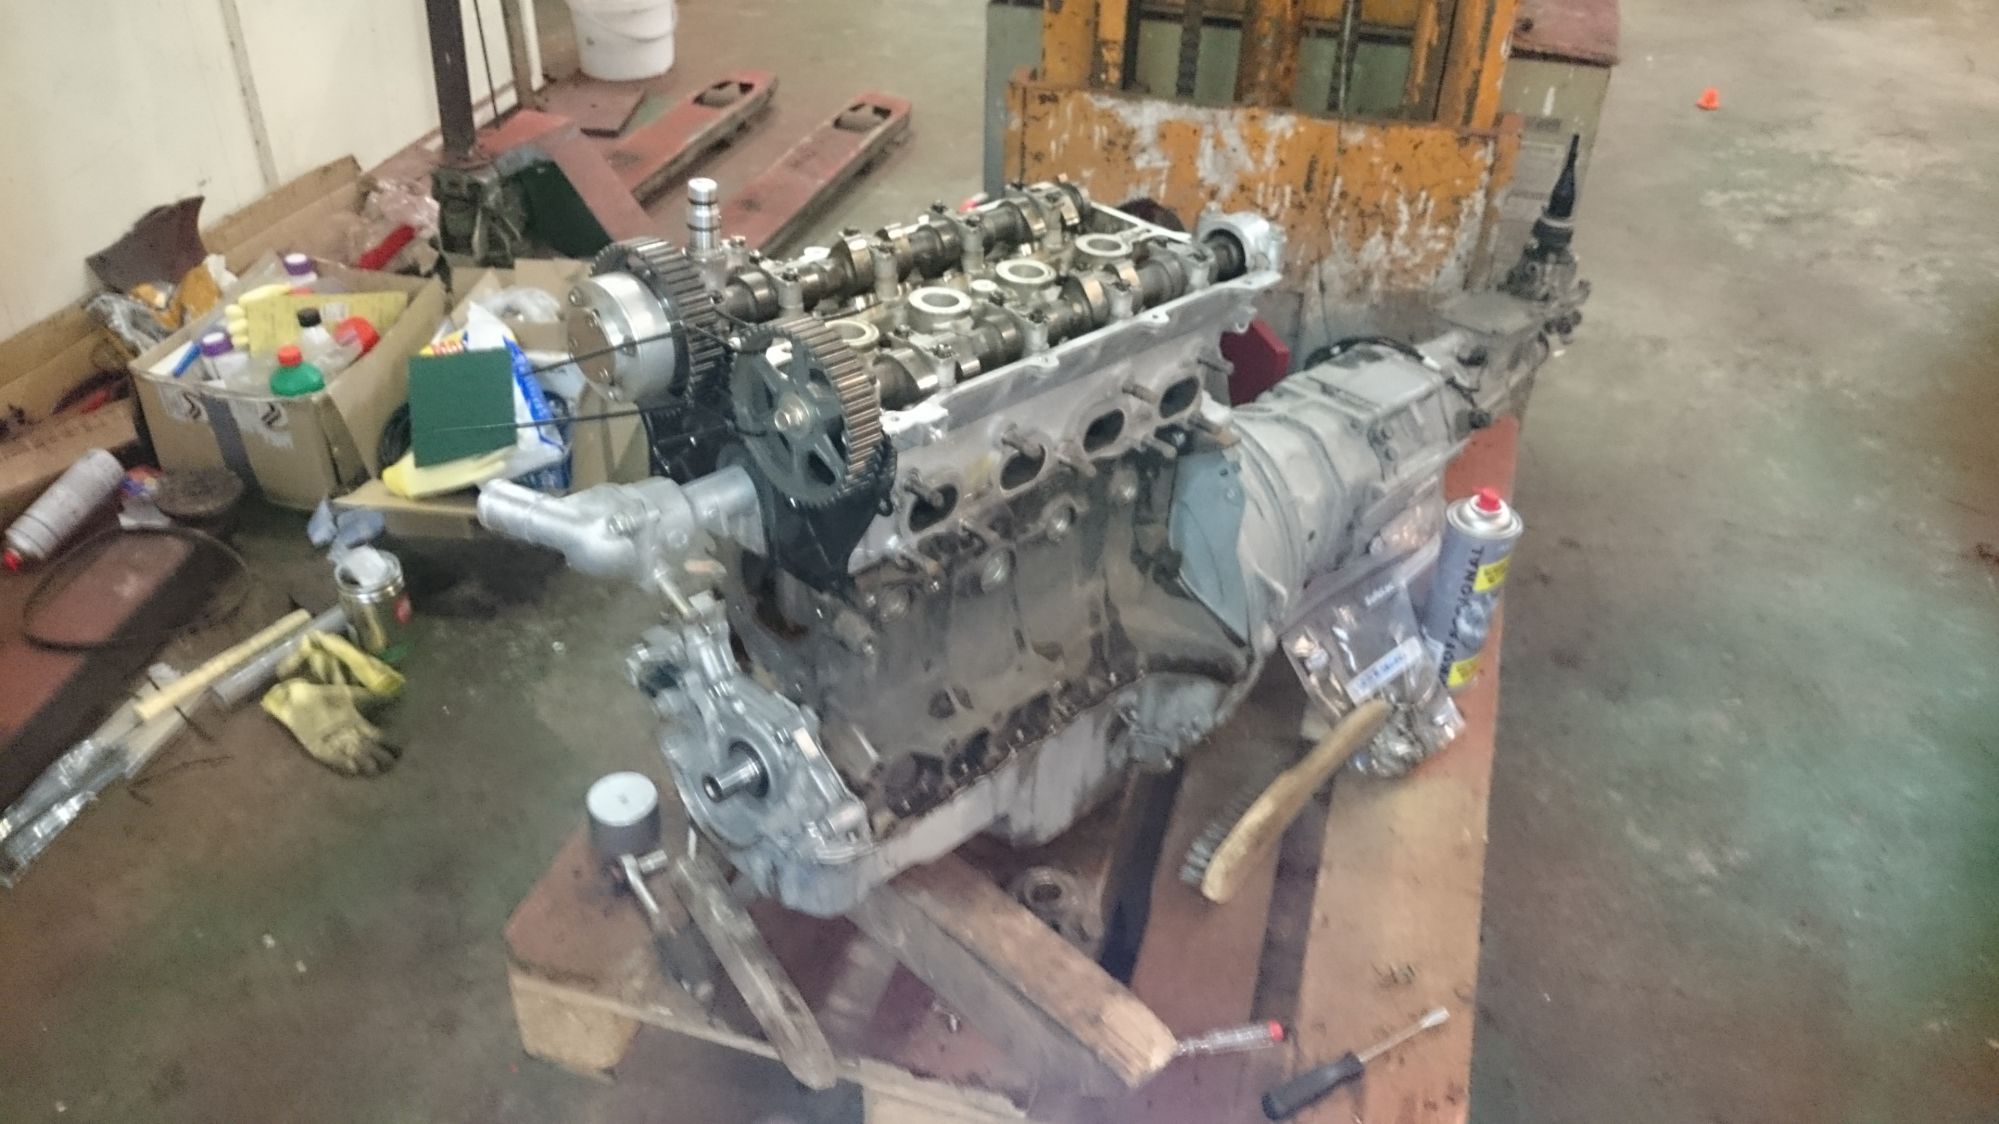
replaced timing belt, water pump and front crankshaft seal while I was at it. No need to lock the cams if you have zip ties.

Attached Thumbnails The Definitive "VVT swap into 91 chassis" Failure Build-80-dsc_1196_1c8c3cf0c92fd130ac6fde634d960825b66987be.jpg   The Definitive "VVT swap into 91 chassis" Failure Build-80-dsc_1200_0e253267549ad7616e10c23751a6b59521fa5952.jpg   The Definitive "VVT swap into 91 chassis" Failure Build-80-dsc_1204_63cf65d2e518048bb752573be174523160a18b00.jpg   The Definitive "VVT swap into 91 chassis" Failure Build-80-dsc_1214_2a49467b1b57b130addbd62d530ad4c2f02fc75b.jpg  
Eunos91 is offline  
Old 02-09-2016, 07:16 AM
  #2  
Junior Member
Thread Starter
 
Eunos91's Avatar
 
Join Date: Jan 2016
Location: Munich
Posts: 362
Total Cats: 93
Default

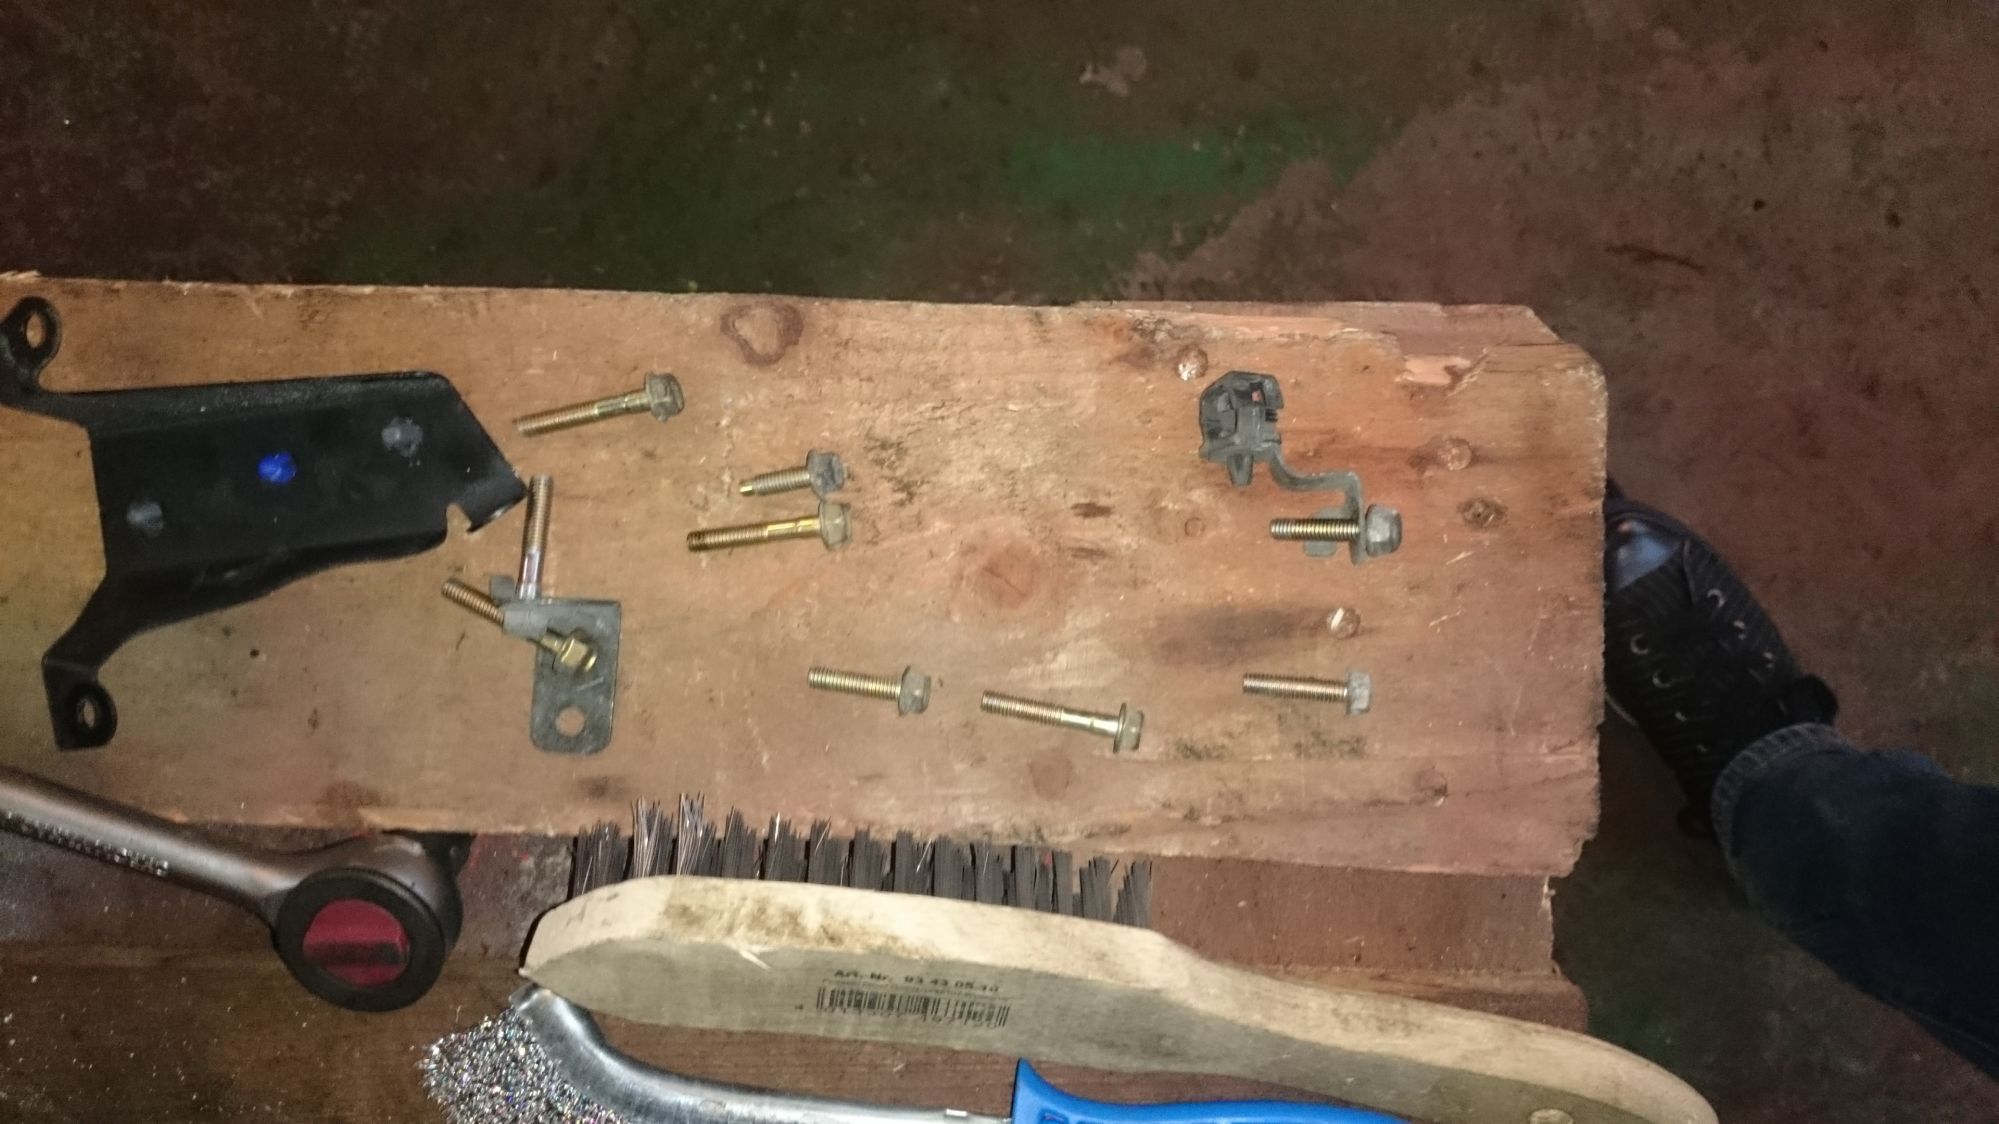
in comes my (t)rusty friend Mr. Wirebrush to help clean the engine


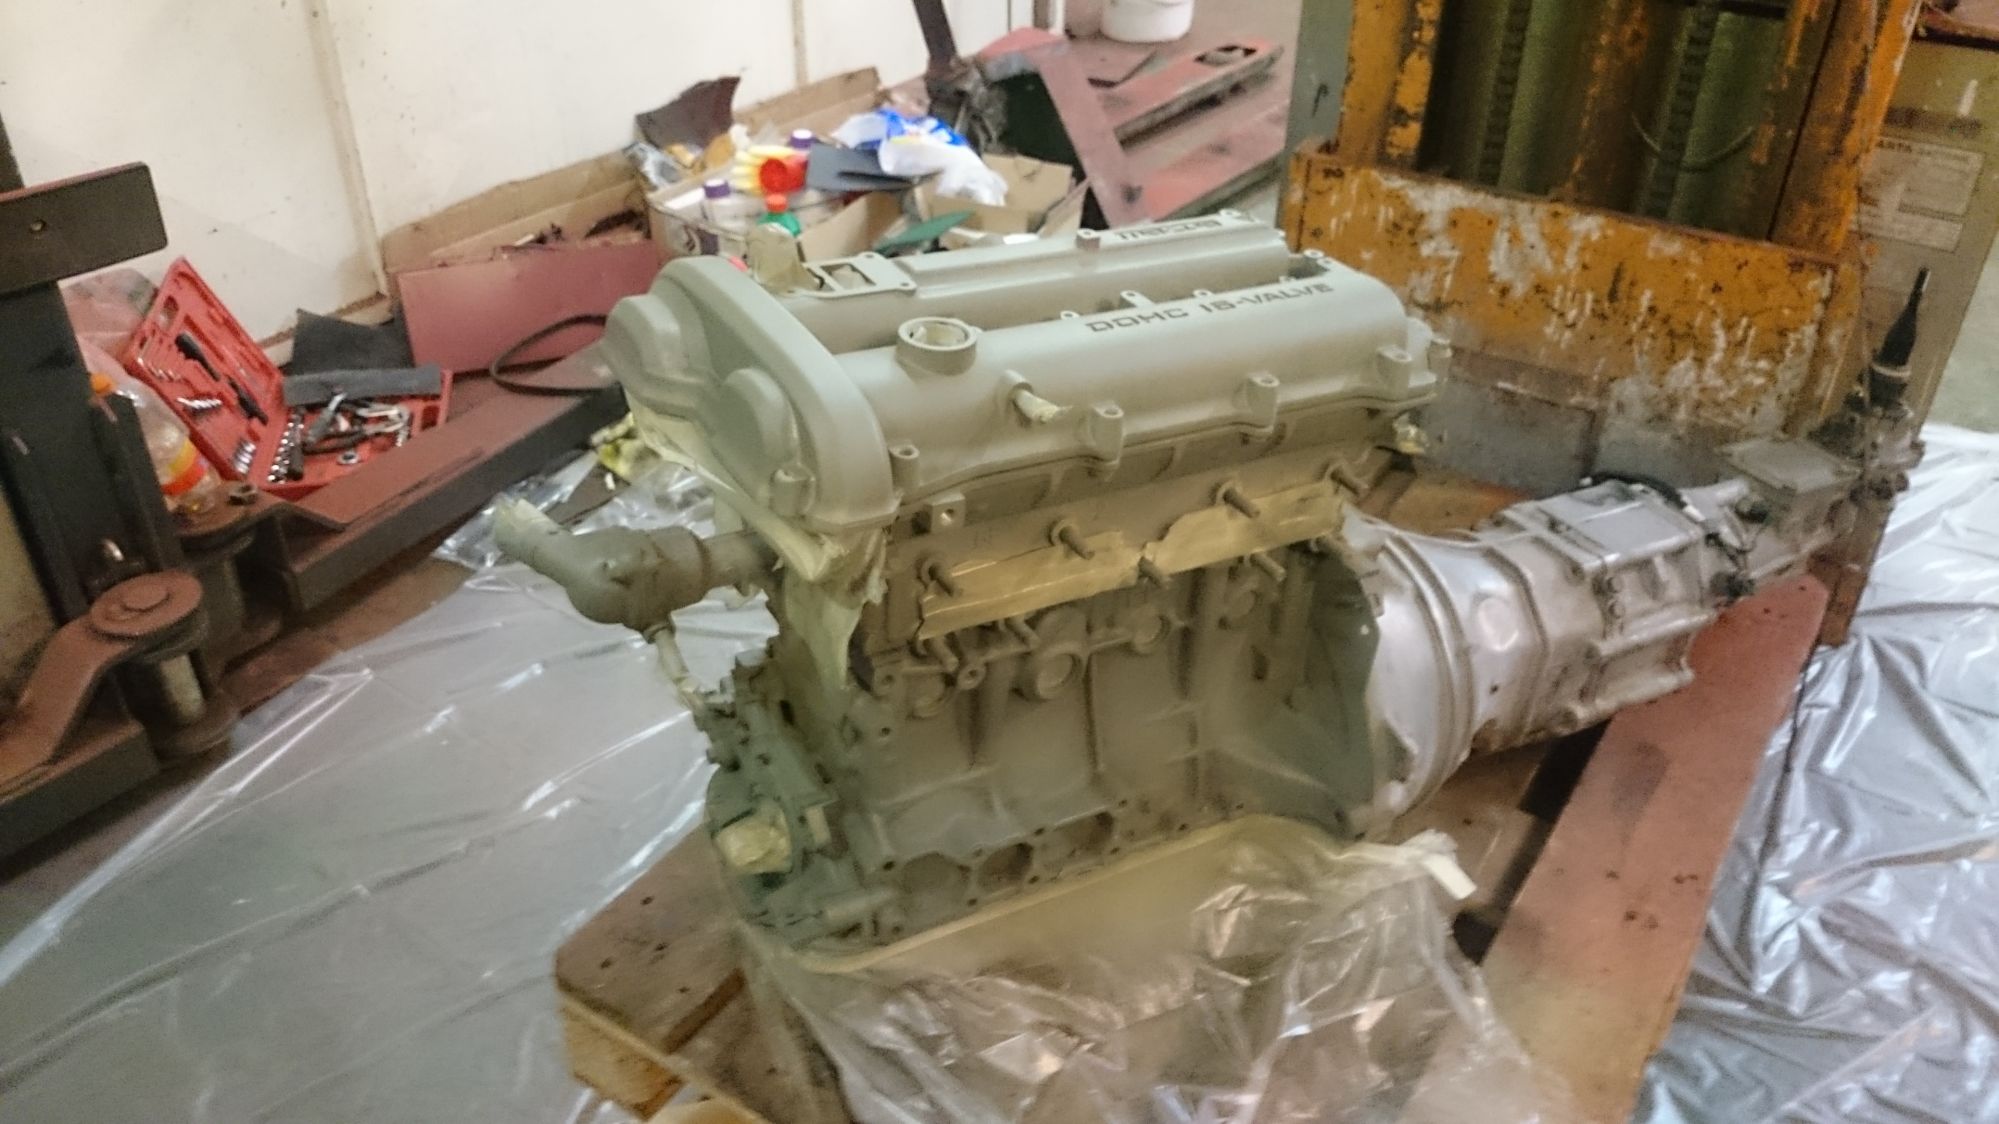
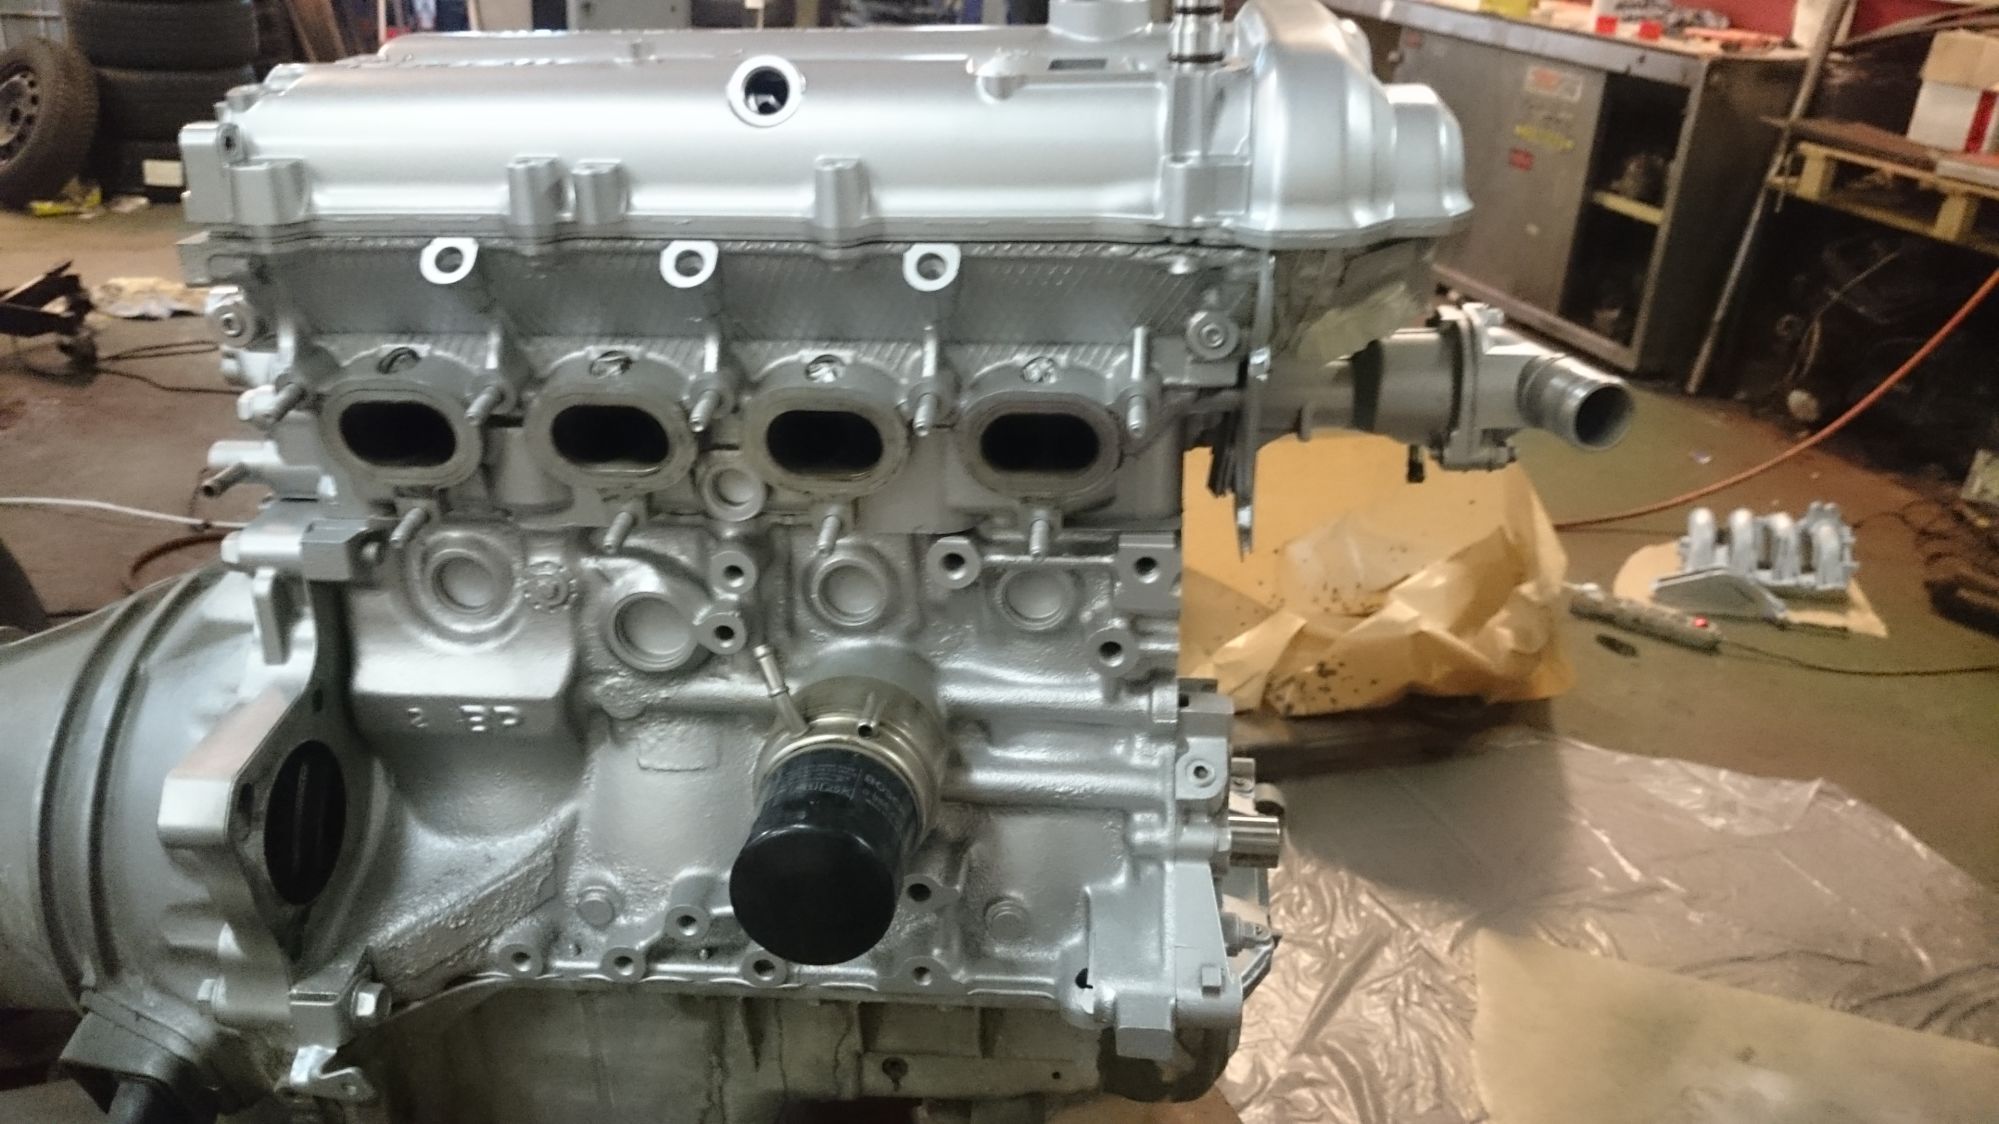
painted the engine using VHT self-etch primer and engine paint


replaced the NBFL alternator with a unit from a Mazda 323 (Protegé). It has the same internal alternator control, but is a tad more powerful. I mainly bought it because I got it cheap and it was available


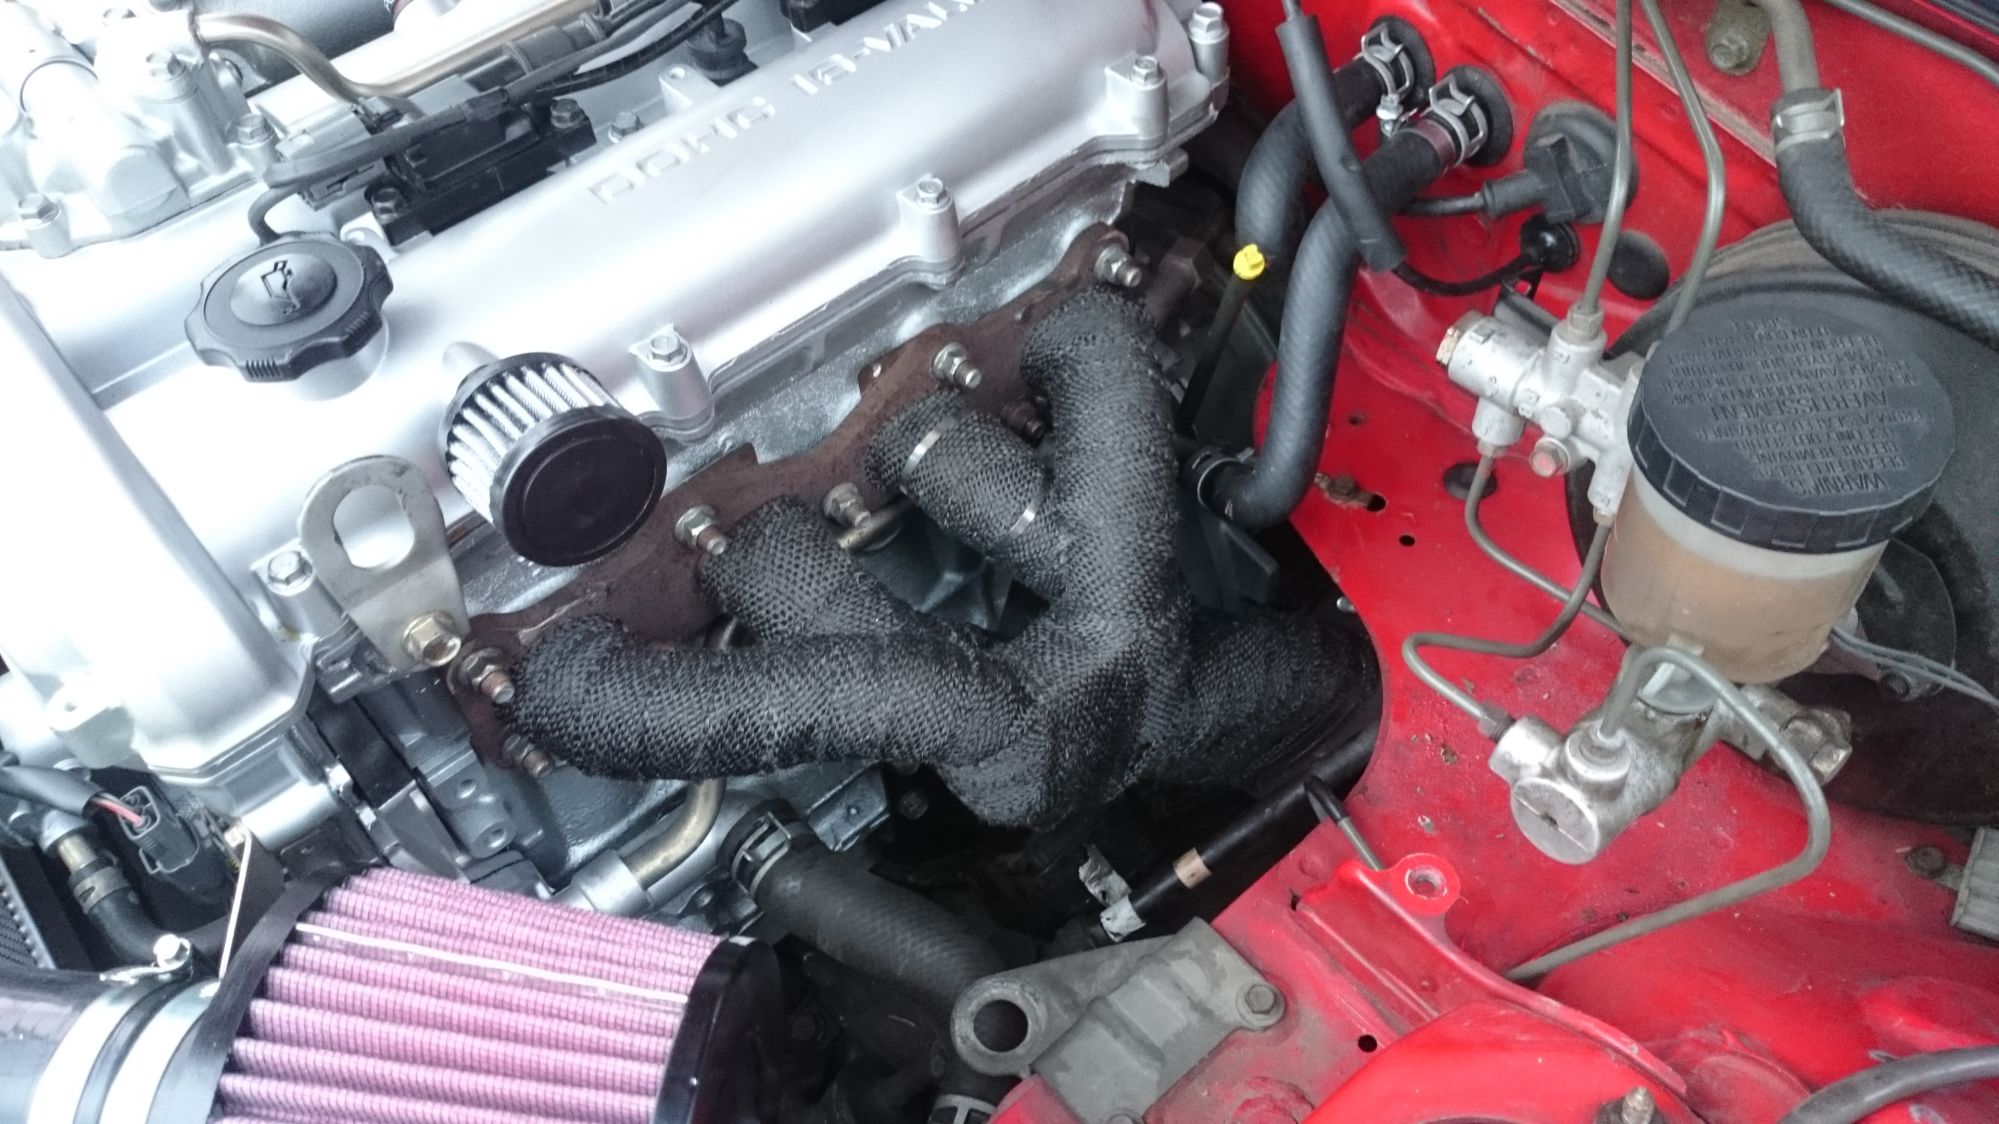
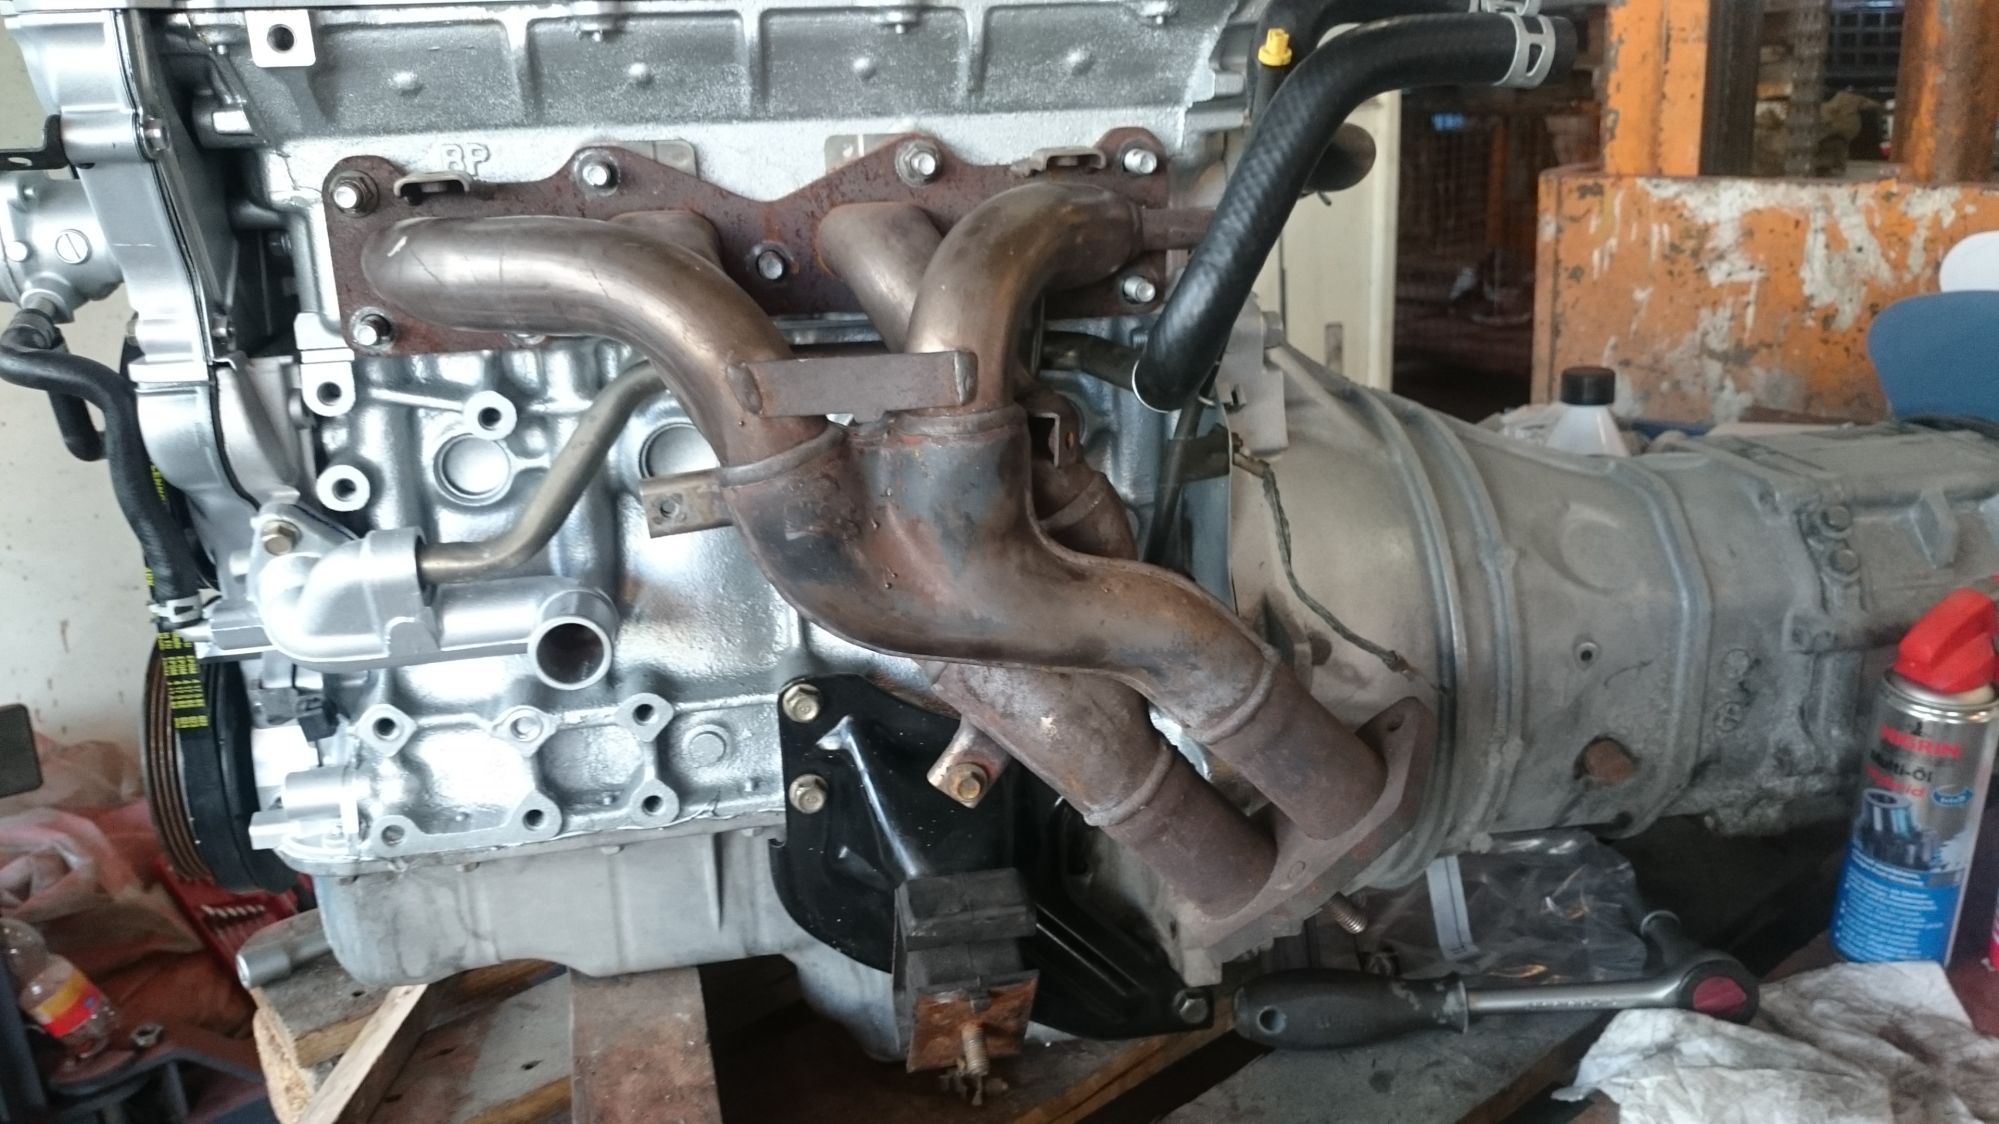
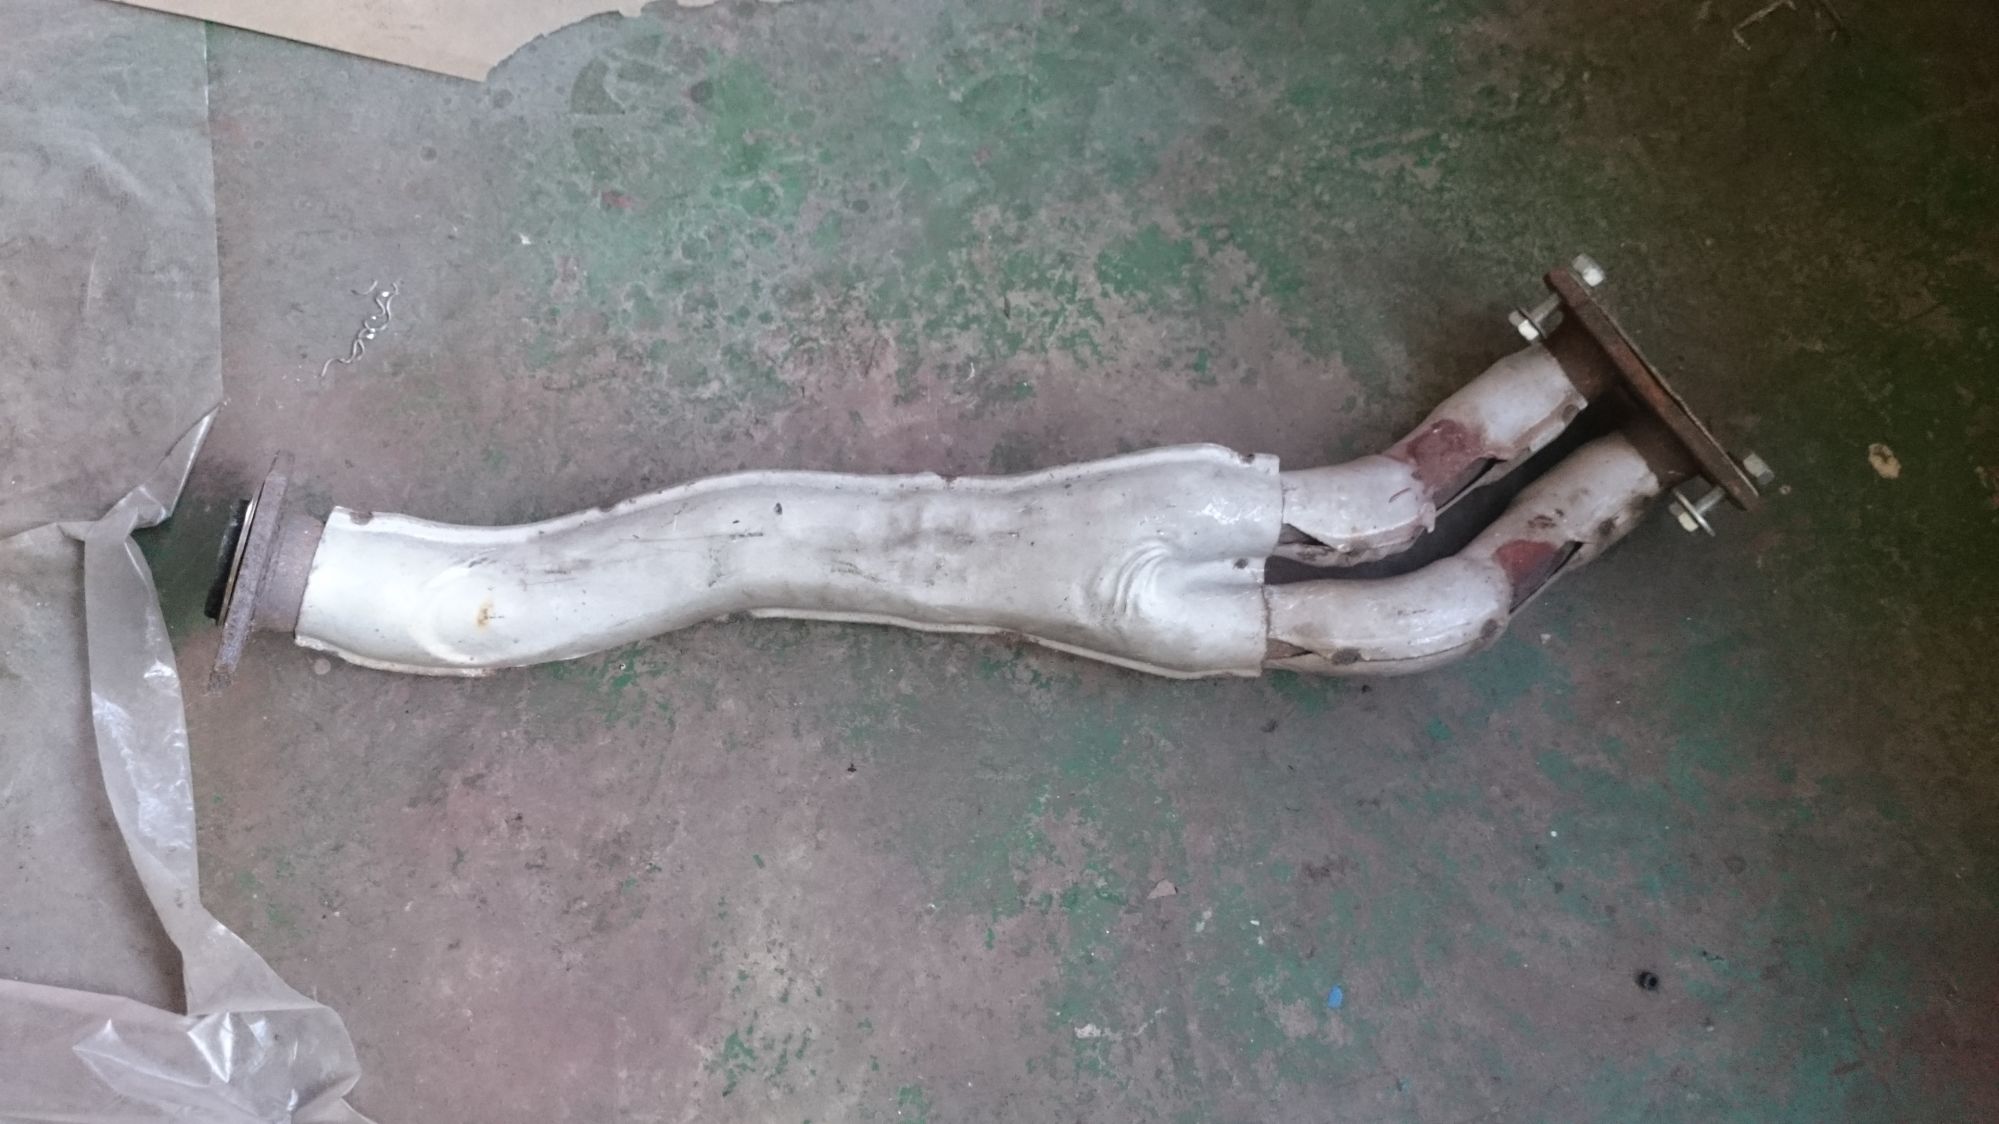
I didn't want to use a 94-97 header, but rather the stock NBFL 4-2-1 header. Unfortunately what the seller gave me was the 1.8 NBFL header and a 1.6 NB downpipe. They match; however none of them had a bung for the O2 sensor. Since my 1.6 NA header had a crack anyway, I simpley cut off the section with the o2 bung and had it welded into the 1.6 NB downpipe. I also cut of the rearmost 20 cm of the 1.6 NA downpipe and had it welded to the 1.6 NB downpipe. Thus the NBFL header mounts to my 1.6 NA cat. Unfortunately no pics, but it was less trouble than expected. Header and downpipe were eventually wrapped in header wrap.


VVT engine ready to go into the 91 chassis

Attached Thumbnails The Definitive "VVT swap into 91 chassis" Failure Build-80-dsc_1213_e7ce50784da7f033ac660f89632eee54b83d124e.jpg   The Definitive "VVT swap into 91 chassis" Failure Build-80-dsc_1221_68b0fe2be6ed5ad687e05f5f1cdaec7821ce08a4.jpg   The Definitive "VVT swap into 91 chassis" Failure Build-80-dsc_1226_9ac9736de212d5d4cbe8296f81f3d9f093bfd4db.jpg   The Definitive "VVT swap into 91 chassis" Failure Build-80-dsc_1228_fbf68ed4a68ab31bd1e64d470d39a890c70a5889.jpg   The Definitive "VVT swap into 91 chassis" Failure Build-80-dsc_1229_51aec10795d7d0efa711c9b562166b72452dfdf9.jpg  

The Definitive "VVT swap into 91 chassis" Failure Build-80-dsc_1247_b9d0bb1cbab462bf76788e3a66f7c421c4d09066.jpg   The Definitive "VVT swap into 91 chassis" Failure Build-80-dsc_1242_eef5a7d25b77e85c6e589fac856873a9ed8ebfc2.jpg   The Definitive "VVT swap into 91 chassis" Failure Build-80-dsc_1241_8cdd7c7ca0821356cd7e759fb2ce4a8d986ea6e6.jpg  
Eunos91 is offline  
Old 02-09-2016, 07:27 AM
  #3  
Elite Member
iTrader: (4)
 
psyber_0ptix's Avatar
 
Join Date: Mar 2012
Location: Northern VA
Posts: 4,648
Total Cats: 544
Default

Hi. That's a lot of paint in places.
psyber_0ptix is offline  
Old 02-09-2016, 07:27 AM
  #4  
Elite Member
iTrader: (4)
 
psyber_0ptix's Avatar
 
Join Date: Mar 2012
Location: Northern VA
Posts: 4,648
Total Cats: 544
Default

Wait, You're in Munich?!?! Can you find me a job and help me get my car to pass TüV?
psyber_0ptix is offline  
Old 02-09-2016, 09:51 AM
  #5  
Senior Member
iTrader: (1)
 
stefanst's Avatar
 
Join Date: Sep 2011
Location: Lambertville, NJ
Posts: 1,215
Total Cats: 74
Default

And a squaretop intake manifold. VVT + Squaretop seems to be the ultimate in stock NA power. Glueckwunsch!
stefanst is offline  
Old 02-09-2016, 12:03 PM
  #6  
Junior Member
Thread Starter
 
Eunos91's Avatar
 
Join Date: Jan 2016
Location: Munich
Posts: 362
Total Cats: 93
Default

Originally Posted by psyber_0ptix
Hi. That's a lot of paint in places.
don't worry, I did make sure to seal all openings. Prep work makes for 99% of the final result

Originally Posted by psyber_0ptix
Wait, You're in Munich?!?! Can you find me a job and help me get my car to pass TüV?
Unfortunately: No, and no - I'm in the same boat :( temporarily unemployed (whoohoo, spare time to work on the car...) and and a foreigner myself. Still gotta figure out that whole TÜV thing; however there's a specialist who can builds TÜV approved. Not quite around the corner though...

Originally Posted by stefanst
And a squaretop intake manifold. VVT + Squaretop seems to be the ultimate in stock NA power. Glueckwunsch!
thanks. Luckily we get squaretops from the factory. To get even more power I got myself a MS3-Pro with a WestfieldMX5 built PCB.
Eunos91 is offline  
Old 02-09-2016, 12:22 PM
  #7  
Junior Member
Thread Starter
 
Eunos91's Avatar
 
Join Date: Jan 2016
Location: Munich
Posts: 362
Total Cats: 93
Default

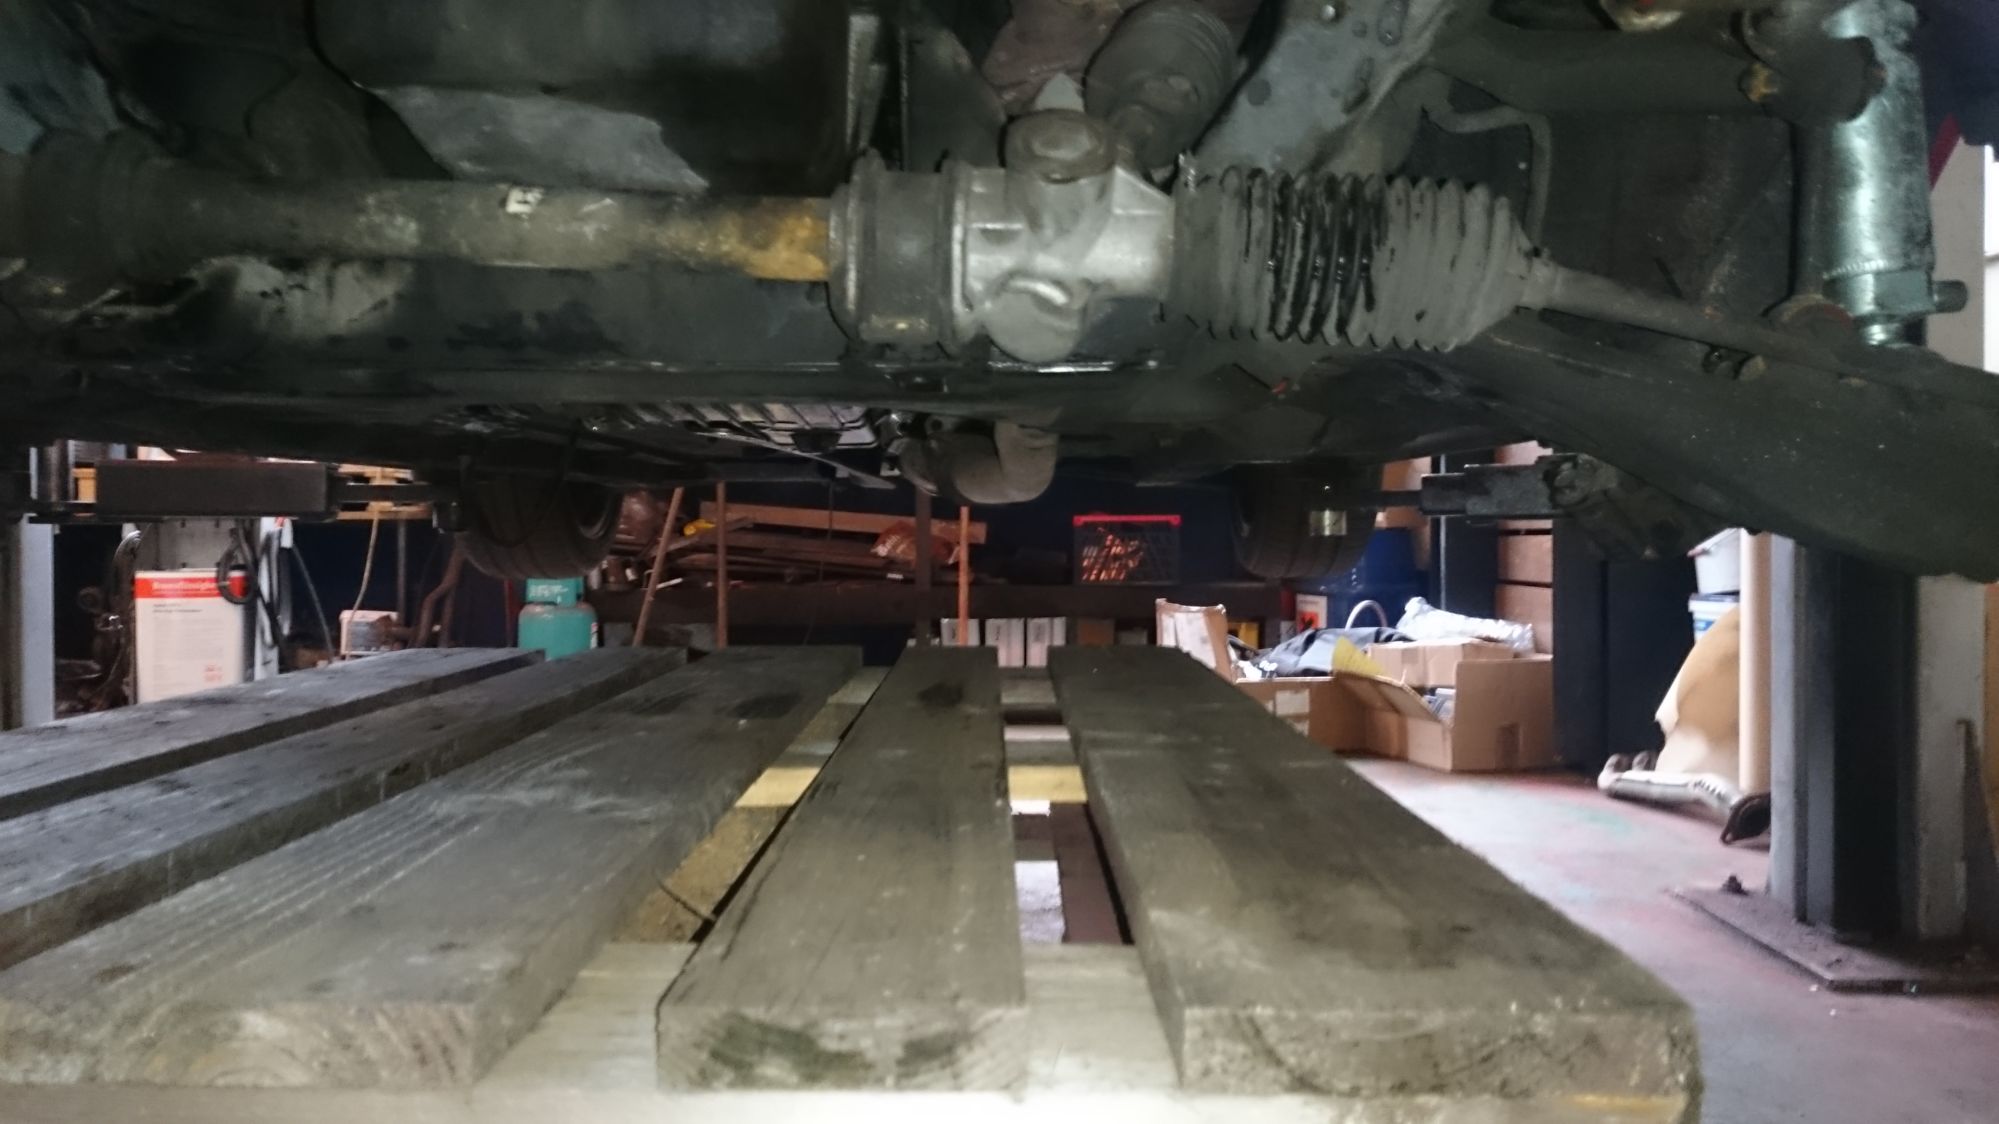
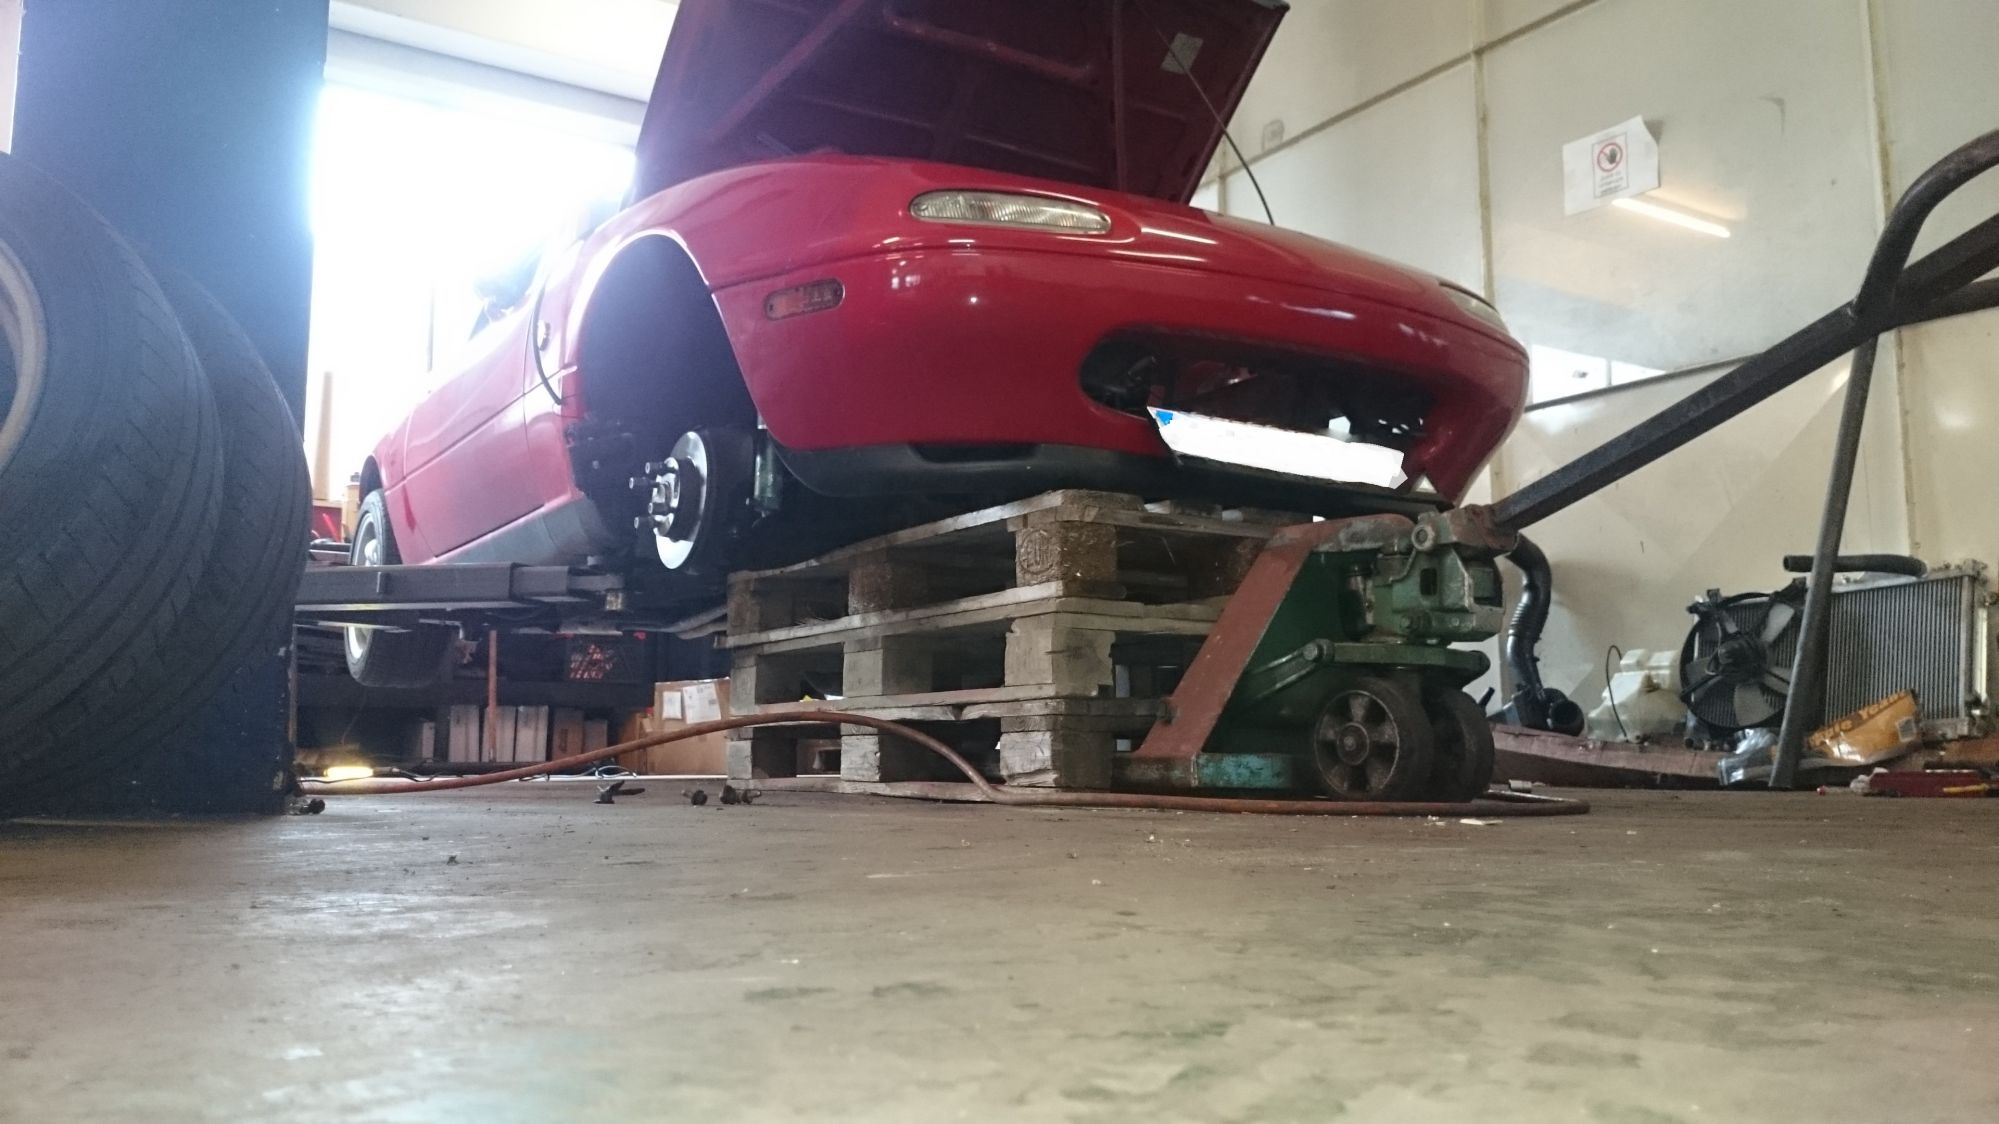
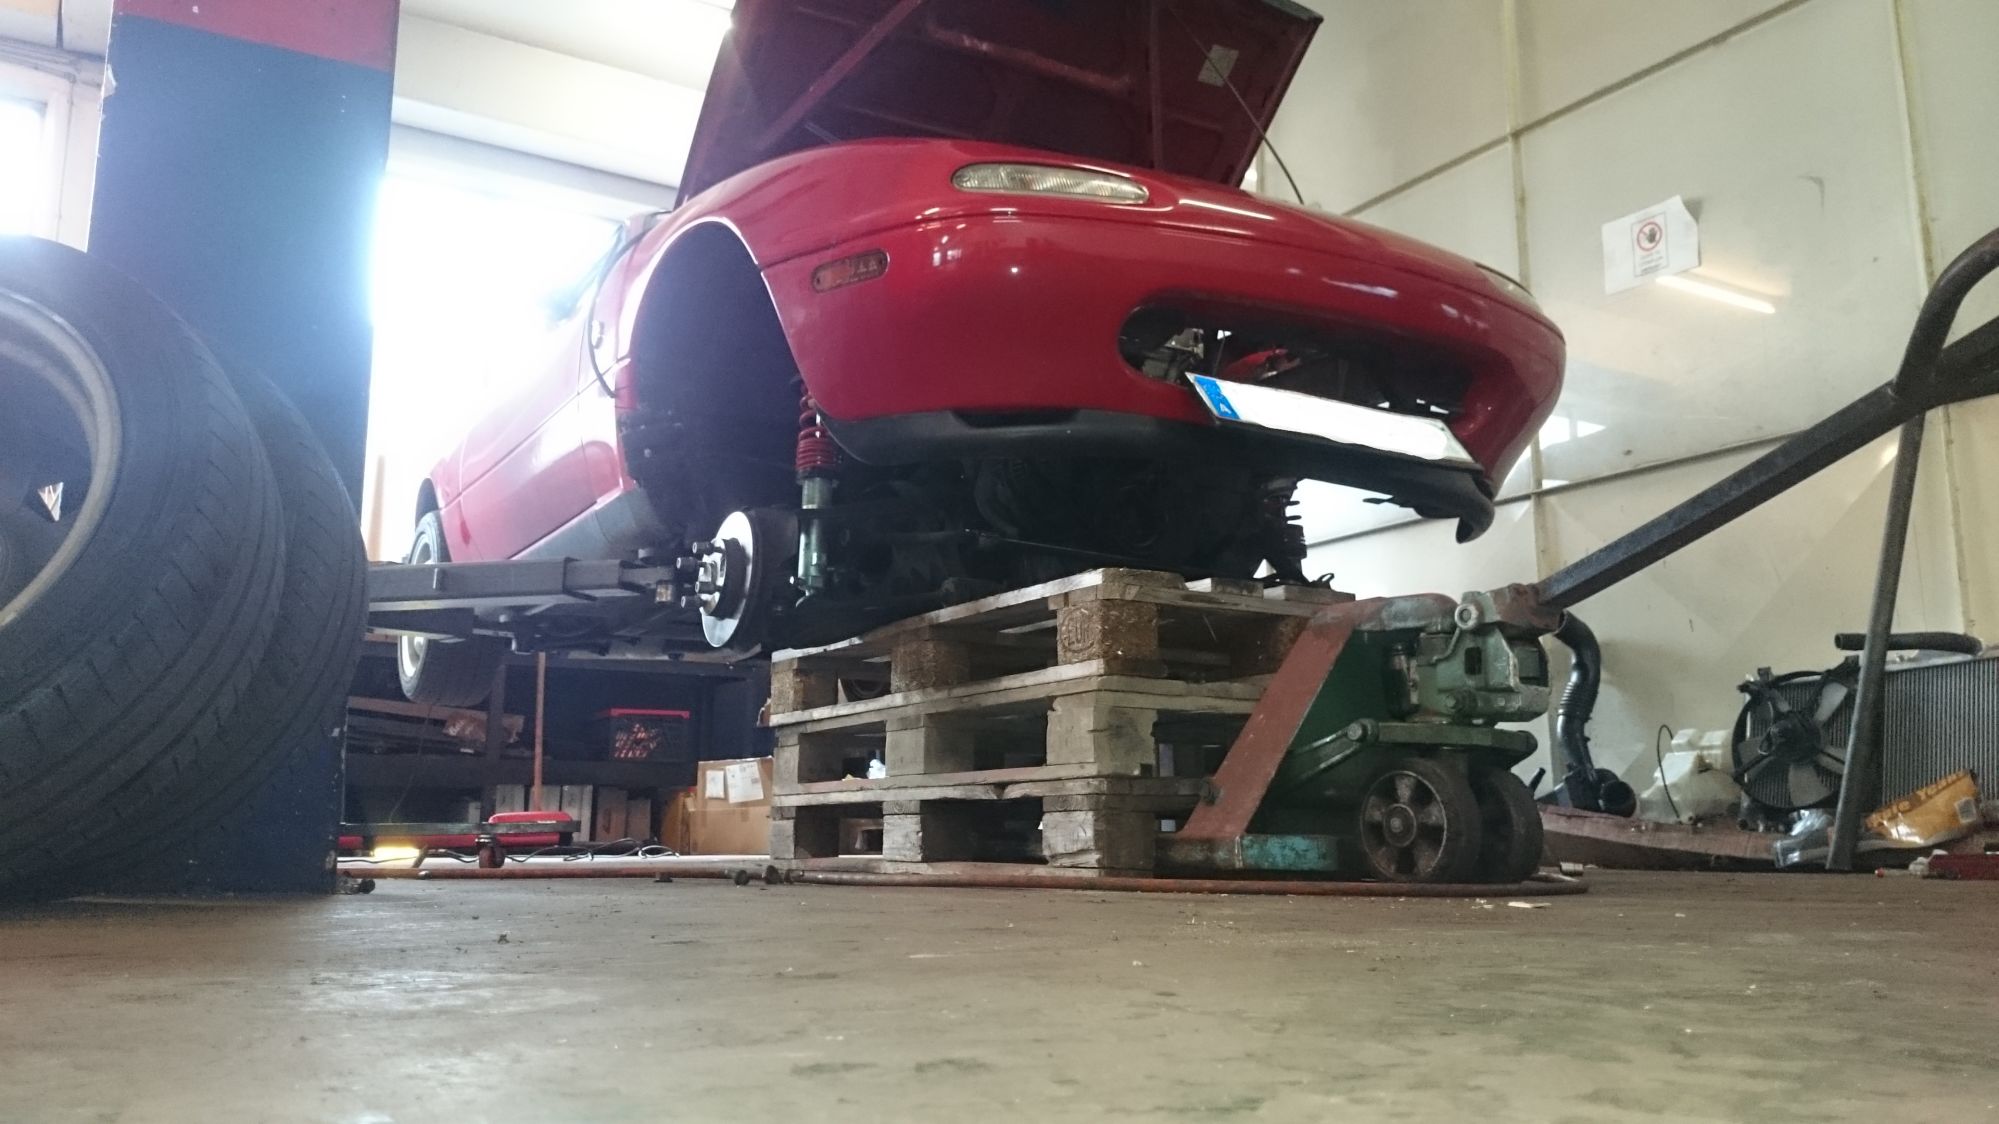
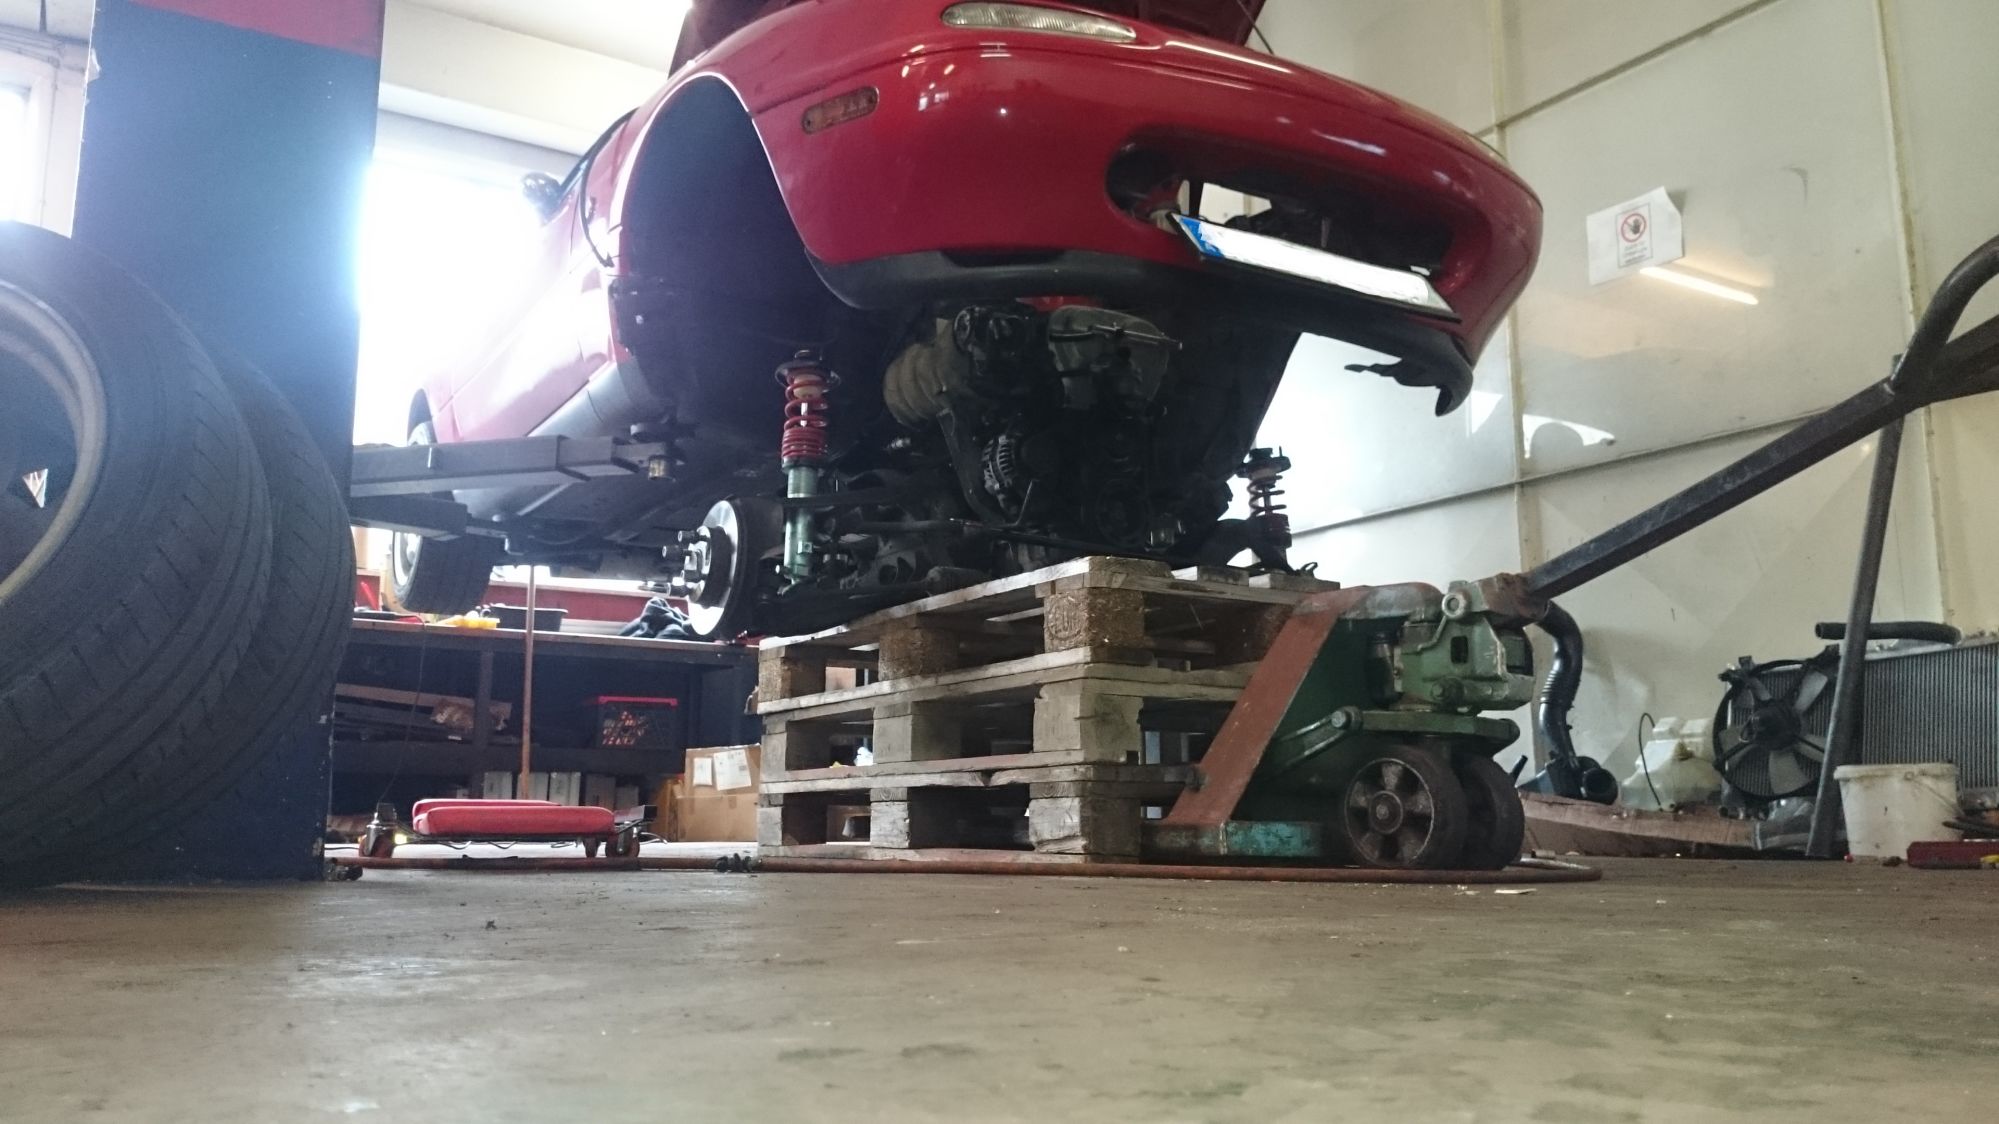
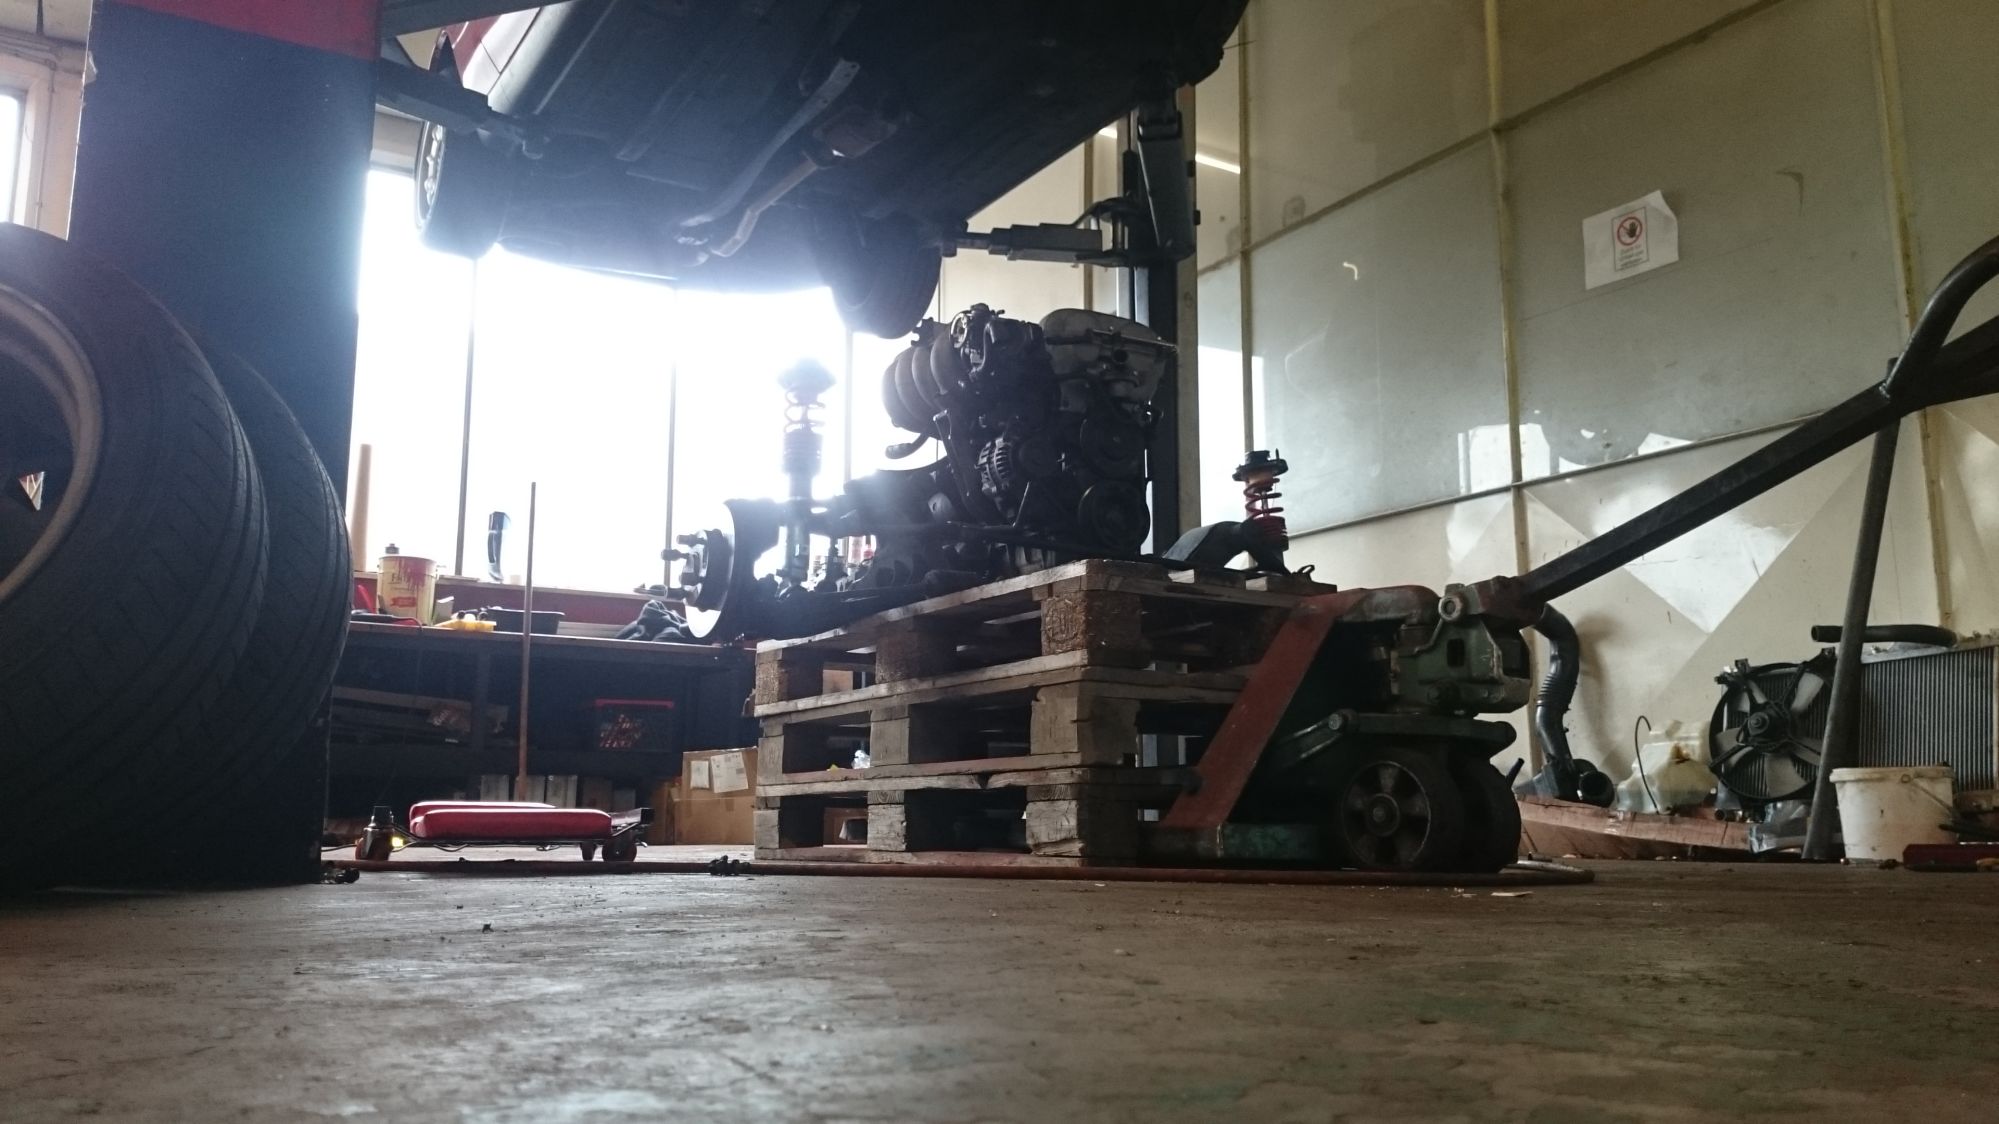
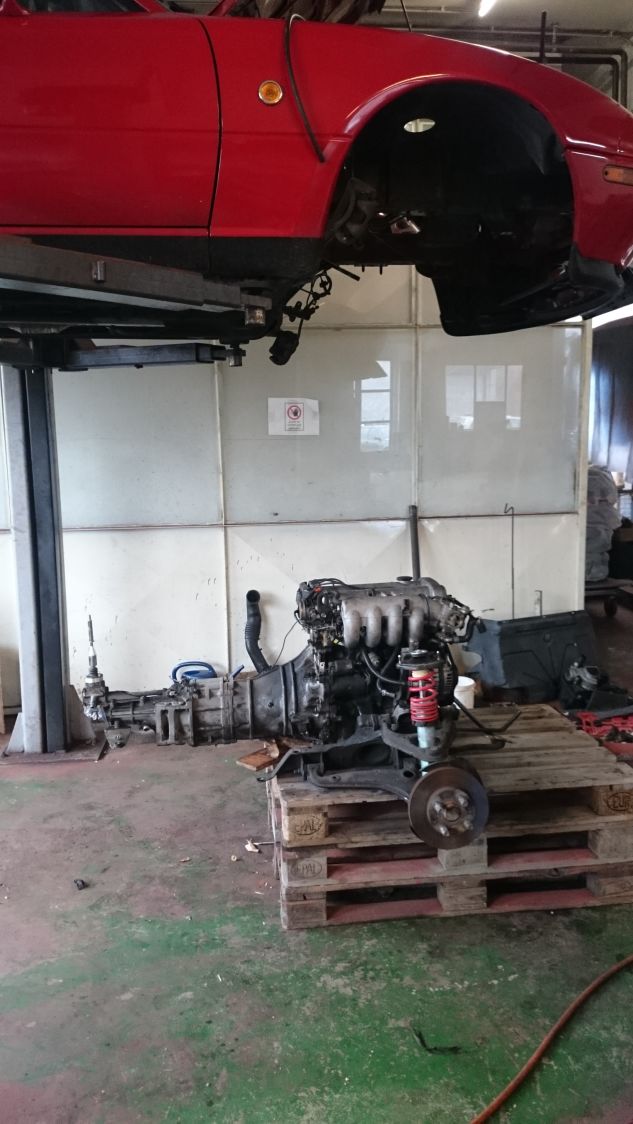
so, with the new engine ready it was time to get the old one out. Working all by myself and not having access to an engine hoist with a load leveller, I decided to remove the engine from below. I didn't want to scratch my engine bay by trying to hold the engine at a level and pulling it out.

Turns out it is pretty easy as long as you have access to a lifter.


Attached Thumbnails The Definitive "VVT swap into 91 chassis" Failure Build-80-dsc_1318_f20ba1c164cb078bfc6e60c699161a8523a76748.jpg   The Definitive "VVT swap into 91 chassis" Failure Build-80-dsc_1323_042282924e00b1ccd5a5d93d7a472492ef731e4f.jpg   The Definitive "VVT swap into 91 chassis" Failure Build-80-dsc_1325_6da0981ff605dce3a6a61ba36f6ff33445dae6e5.jpg   The Definitive "VVT swap into 91 chassis" Failure Build-80-dsc_1328_a7a02b6e857d0506701ebb7f3d42821268005bba.jpg   The Definitive "VVT swap into 91 chassis" Failure Build-80-dsc_1329_205ad4a3bd7c8001ba3f0a6cb049c242d6bdd4e2.jpg  

The Definitive "VVT swap into 91 chassis" Failure Build-80-dsc_1330_28408cb546e220054790e0ffc24b164ddfac1ef9.jpg   The Definitive "VVT swap into 91 chassis" Failure Build-80-dsc_1332_1232df62520306ff3cd1d928da75cc030eed9ec0.jpg  
Eunos91 is offline  
Old 02-09-2016, 12:40 PM
  #8  
Junior Member
Thread Starter
 
Eunos91's Avatar
 
Join Date: Jan 2016
Location: Munich
Posts: 362
Total Cats: 93
Default

finally it was time to put the VVT engine in


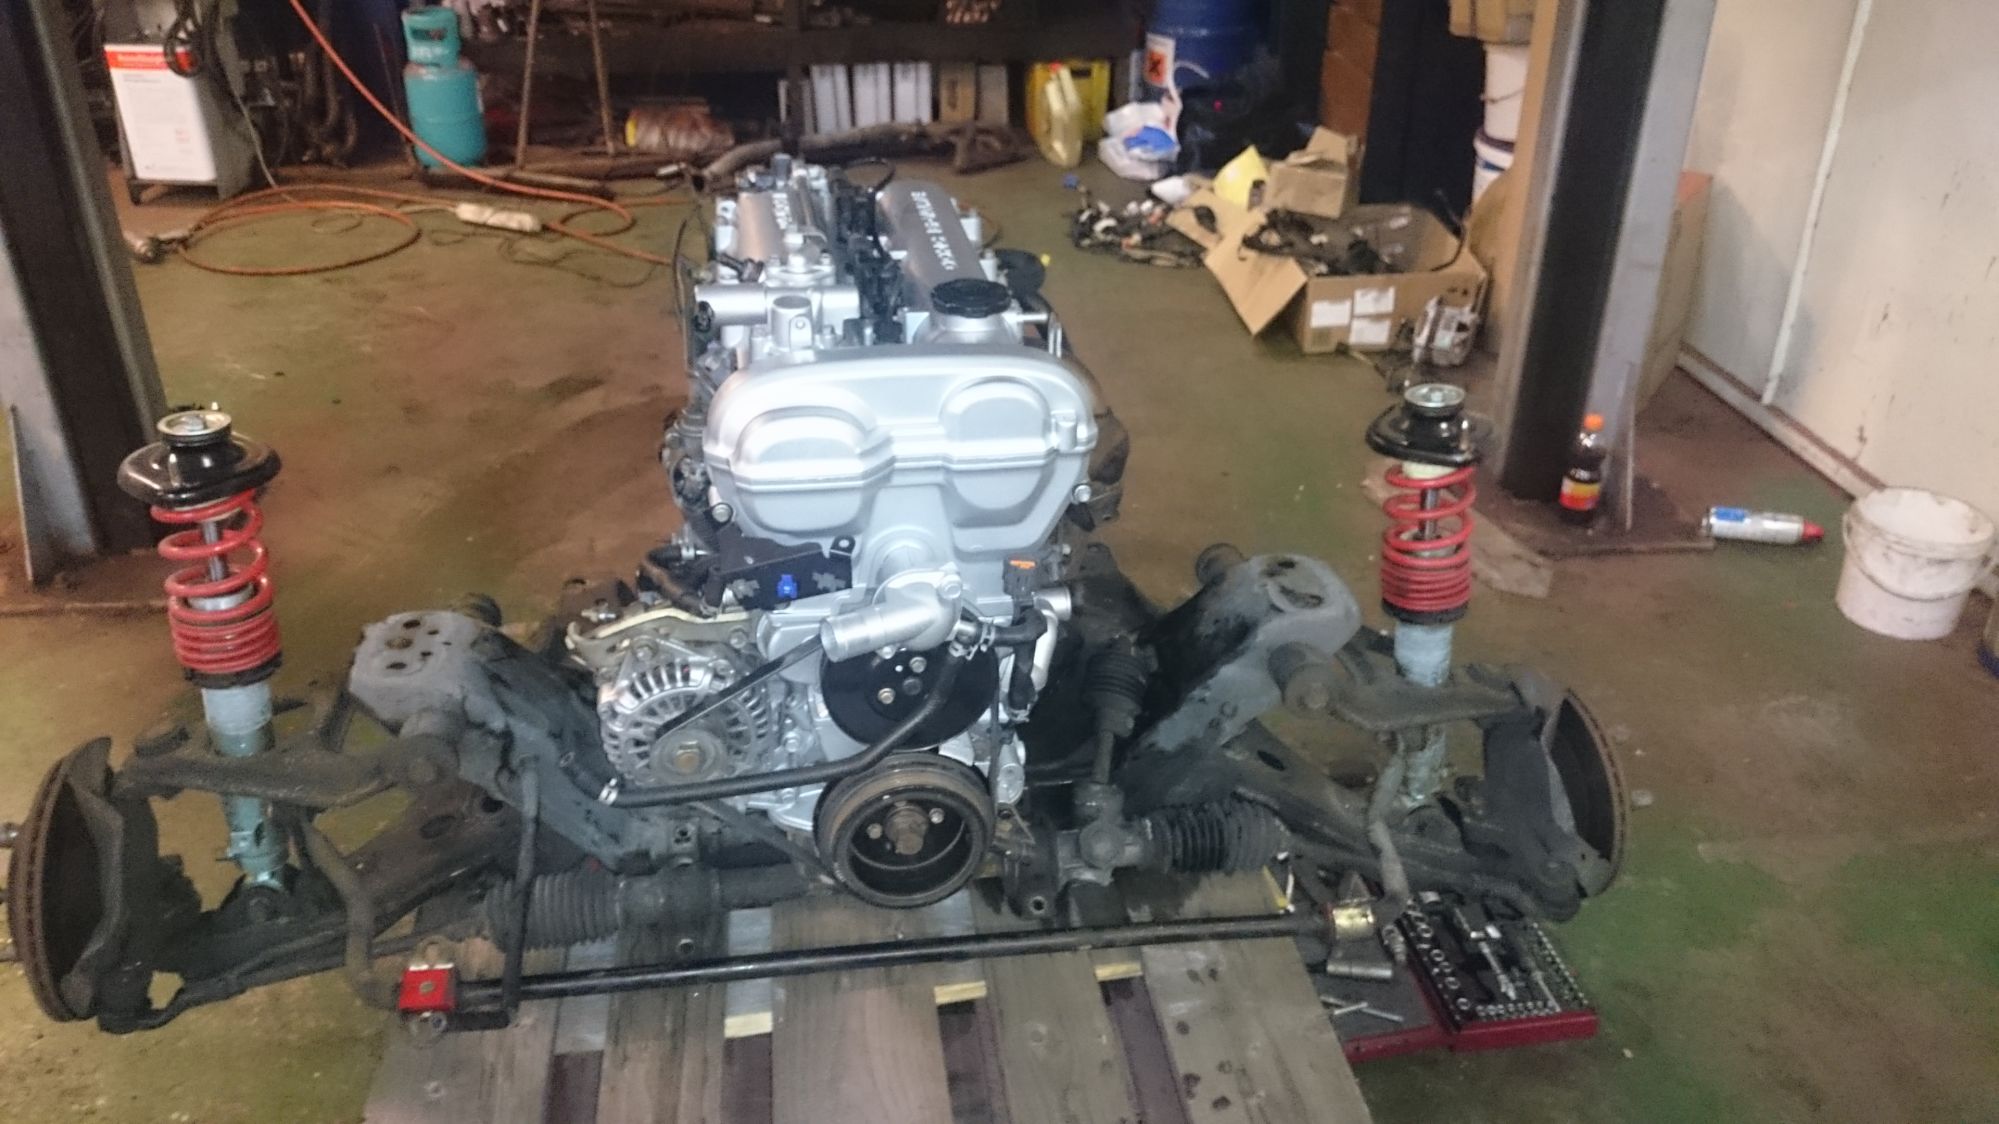
unfortunately once all the wiring and assembly was done, things turned sour

1. the car wouldn't start - seems I'm not getting any spark. I checked all the CAS and CPS wires for continuity and it seemed ok. I suppose it misses some adjustments in Tunerstudio. I think I brought all the right wires out on the ECU connector. Unfortunately I couldn't spend more time checking the settings of the 01-05 basemap, because

2. I soon noticed a constant dripping of oil coming from the oil pan. Seems I must have cracked the oil pan while transporting the engine Subframe has to come off again to have the pan welded (no, 01-05 oil pans don't grow on trees over here, and yes, I have a specialist at hand who knows how to properly weld cast aluminium)

So here I am right now... still looking for new motivation to get going again.
Attached Thumbnails The Definitive "VVT swap into 91 chassis" Failure Build-80-dsc_1335_4f14afe7ee59c3a5ab2df7fc78658f1195b6f822.jpg  
Eunos91 is offline  
Old 02-09-2016, 01:17 PM
  #9  
Elite Member
iTrader: (4)
 
psyber_0ptix's Avatar
 
Join Date: Mar 2012
Location: Northern VA
Posts: 4,648
Total Cats: 544
Default

Crank sensor gap is ok?

I know I had to adjust the pots on the board for the crank/cam input until it registered in the megasquirt.
psyber_0ptix is offline  
Old 02-09-2016, 01:23 PM
  #10  
Junior Member
Thread Starter
 
Eunos91's Avatar
 
Join Date: Jan 2016
Location: Munich
Posts: 362
Total Cats: 93
Default

i *think* it is spaced correctly. I will run a composite log once I find the time to get back to the garage. Unfortunately I don't have my own garage here, so I had to rent a working space 30 min from Munich. When the oil pan crack was discovered I quit, pushed the car out onto the street and went to have a few anti-depression beers
Eunos91 is offline  
Old 02-18-2016, 01:26 PM
  #11  
Junior Member
Thread Starter
 
Eunos91's Avatar
 
Join Date: Jan 2016
Location: Munich
Posts: 362
Total Cats: 93
Default

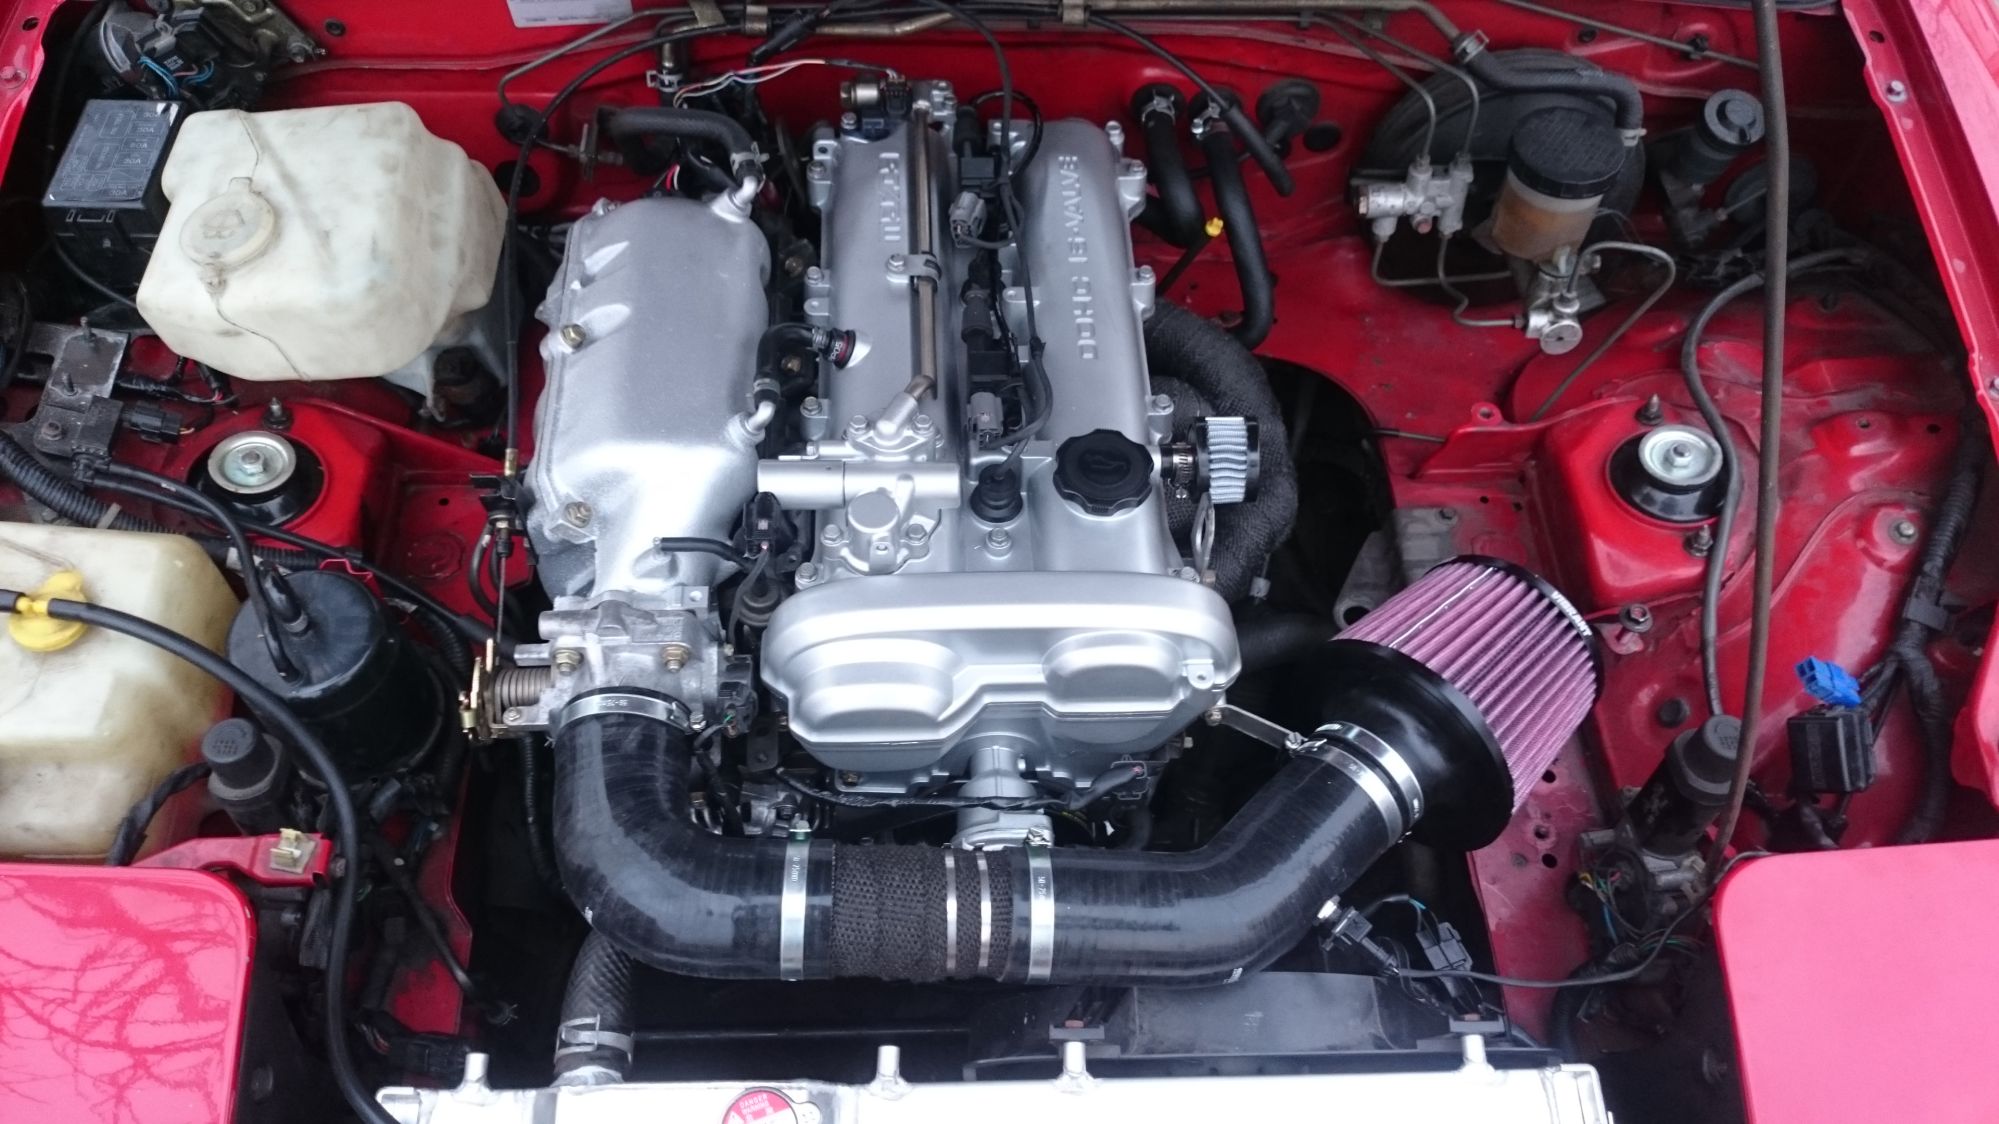
Picture of the engine bay after the swap. Instead of having the oil pan welded by a specialist, I will first try to seal it using metal epoxy. If it fails I can still have it welded then.


Attached Thumbnails The Definitive "VVT swap into 91 chassis" Failure Build-80-dsc_1614_9dda2d2fcf66f5002738357b6a7671e0a2c5d4f9.jpg   The Definitive "VVT swap into 91 chassis" Failure Build-80-dsc_1613_44a7abc15ebcf64f5c01a5f513fe2967d5a6467c.jpg   The Definitive "VVT swap into 91 chassis" Failure Build-80-dsc_1612_3a91c73962982ba35a6d3c7514979dc6bb1b895f.jpg  
Eunos91 is offline  
Old 02-18-2016, 06:54 PM
  #12  
Cpt. Slow
iTrader: (25)
 
curly's Avatar
 
Join Date: Oct 2005
Location: Oregon City, OR
Posts: 14,175
Total Cats: 1,129
Default

Not a failure at all, swap looks great! I'm stealing the silver paint for my next block.
curly is offline  
Old 02-18-2016, 08:28 PM
  #13  
Junior Member
Thread Starter
 
Eunos91's Avatar
 
Join Date: Jan 2016
Location: Munich
Posts: 362
Total Cats: 93
Default

Originally Posted by curly
Not a failure at all, swap looks great! I'm stealing the silver paint for my next block.
that's the point: it looks great, but is still a non-runner LOL

VHT engine paint is great. I had already used it on my motorcycle and got incredibly much positive feedback on how it looks. Prep is key, especially with aluminium. Clean, sand, clean, then give it another quick scrub, wipe the dust off and instantly primer it. Don't give the aluminium too much time to build another layer of protective oxide.
Eunos91 is offline  
Old 03-26-2016, 06:56 PM
  #14  
Junior Member
Thread Starter
 
Eunos91's Avatar
 
Join Date: Jan 2016
Location: Munich
Posts: 362
Total Cats: 93
Default

so, metal epoxy (the putty type) didn't work as it wouldn't adhere properly to the metal. I ended up installing a new oil pan...

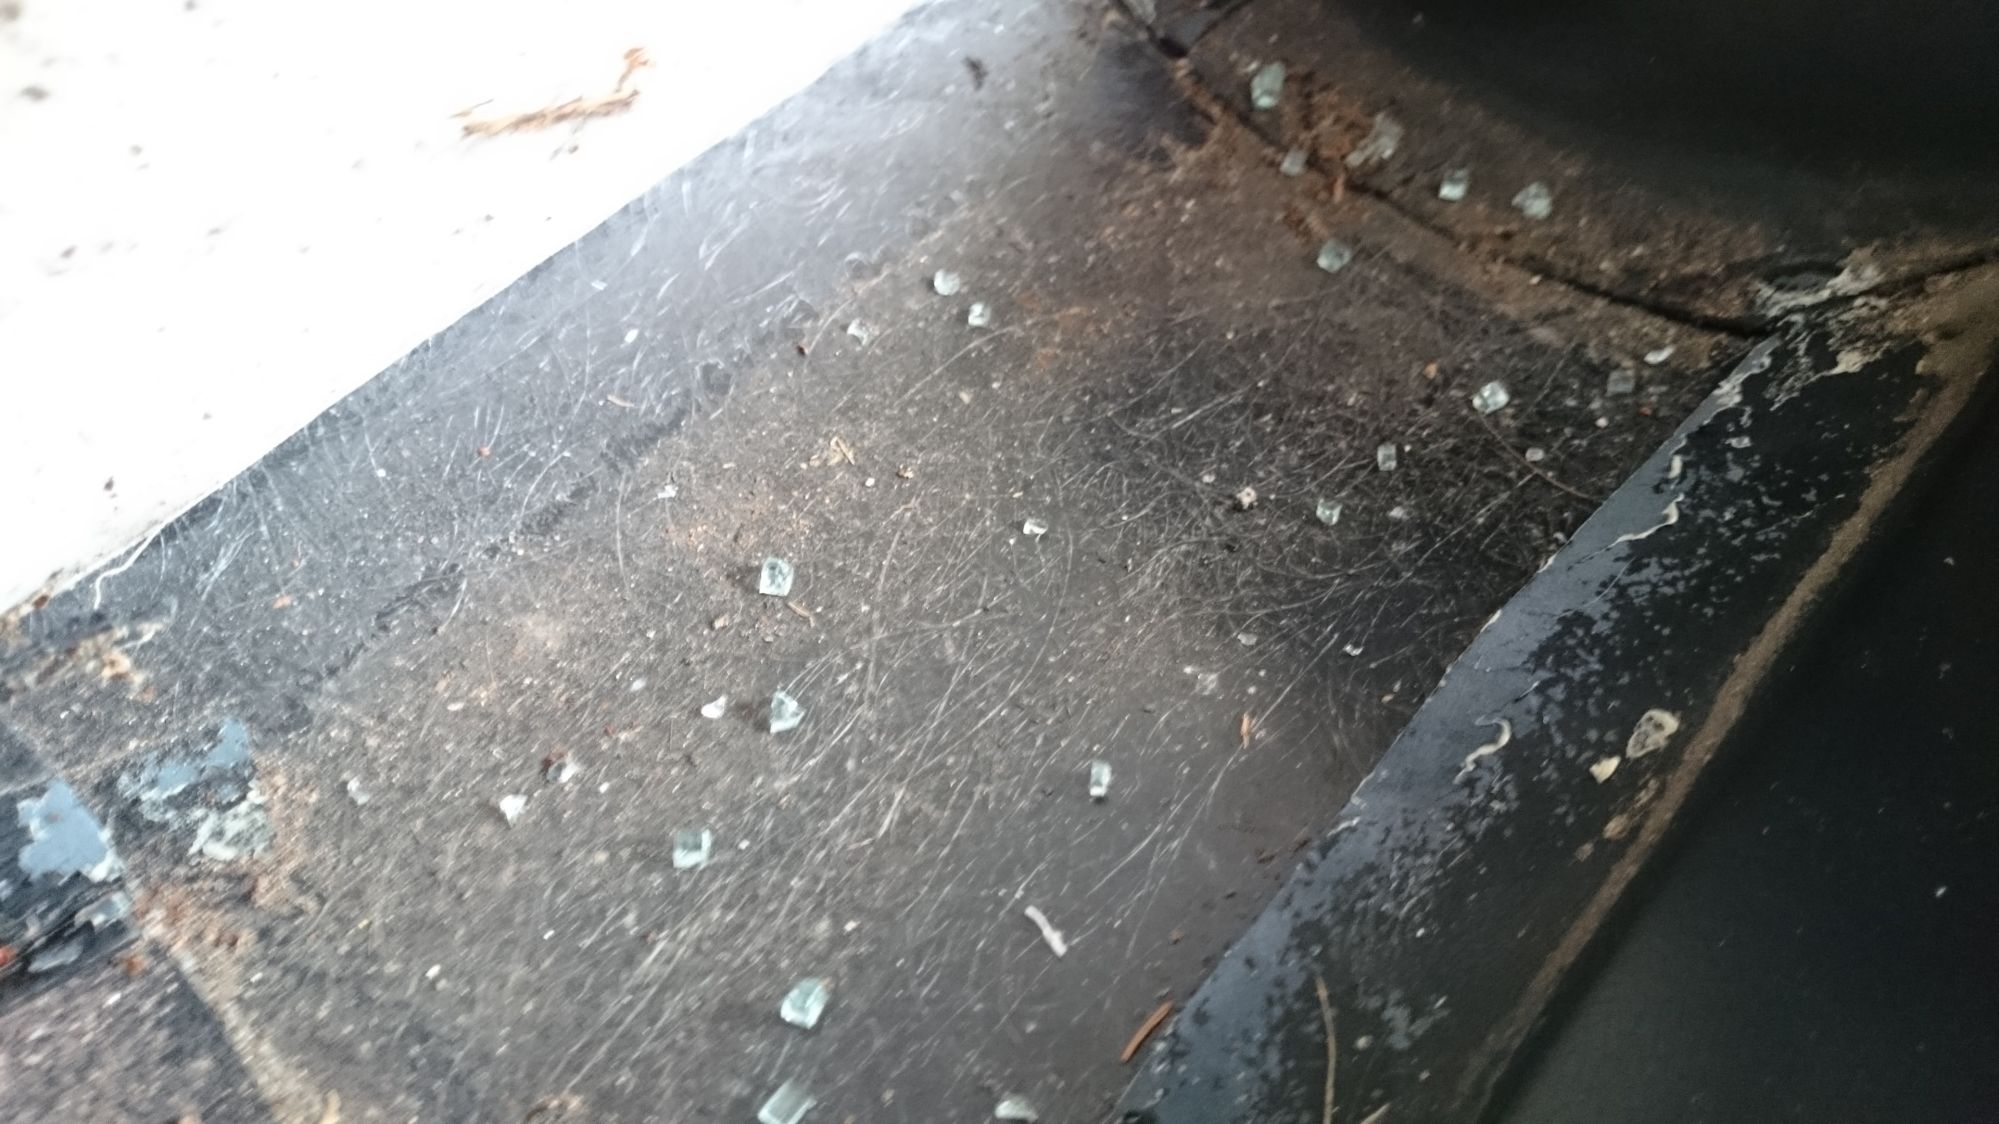
While doing the swap it came to my mind: "why not also change the seats for something safer with higher headrests?" So I got myself some Elise seats. Once again not easy to come by. I eventually found a pair of Mk1 Elise seats with a scuffed side bolster, partially worn out leather and a dark blue hue. Dark enough to appear black upon inspection, but once mounted in the car the blue hue would hurt too much.

So I started taking them apart. Seems they must have been taken from a crashed Elise. Pieces of glass in the crevices


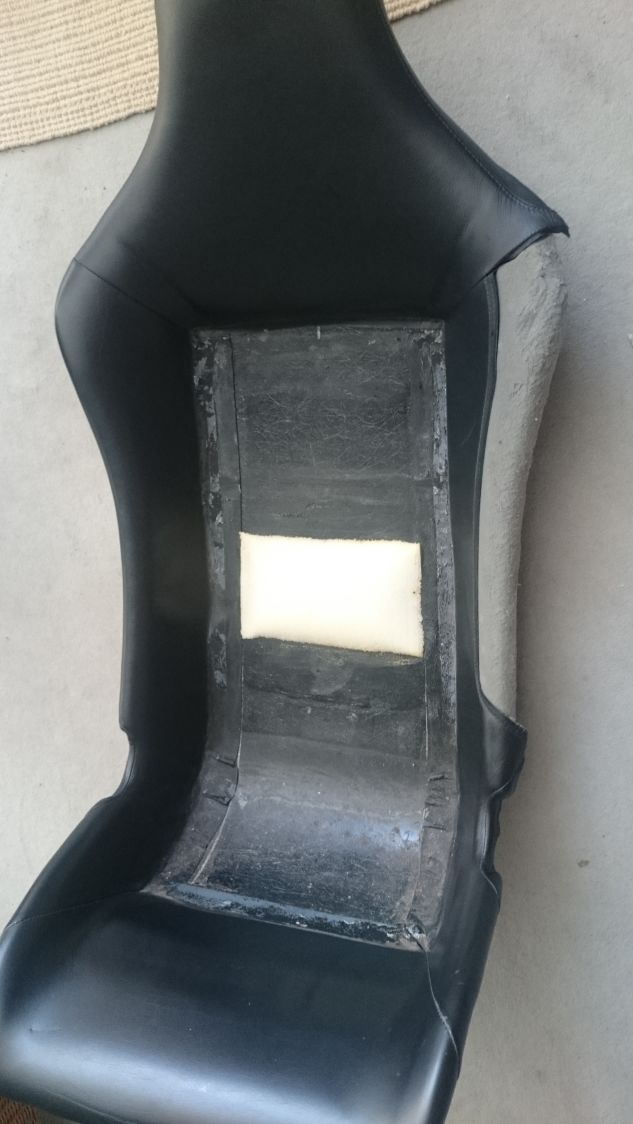
center section and side bolster removed


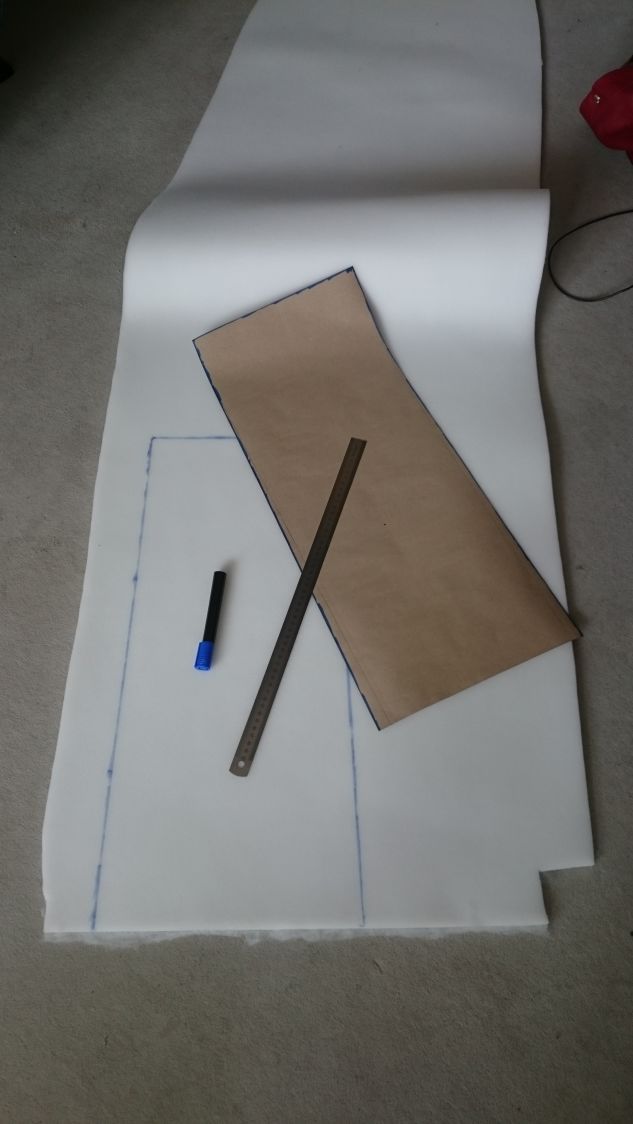
making templates for the foam backing (10 instead of stock 5 mm for added "comfort")


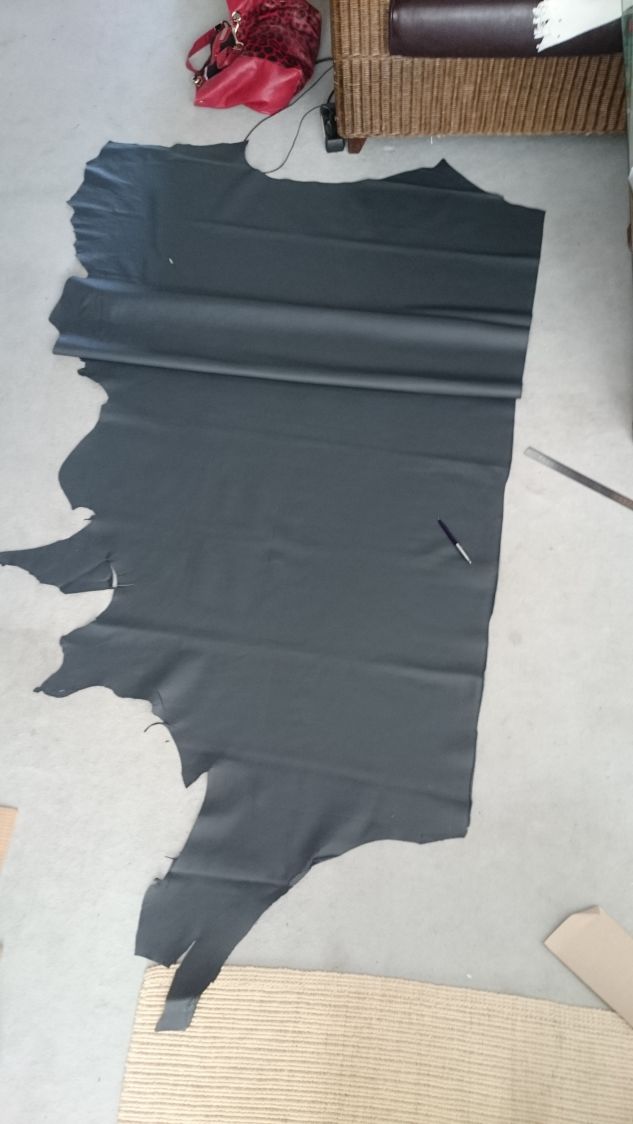
got myself half a cow. The structure matched the stock leather; the color (dark grey) however didn't
Attached Thumbnails The Definitive "VVT swap into 91 chassis" Failure Build-80-dsc_1683_1d944cc010a87d4c76767b6c5c66246b61b4241a.jpg   The Definitive "VVT swap into 91 chassis" Failure Build-80-dsc_1684_4eb731a0cdf851ea640c1420ca7c533c4c6f46d1.jpg   The Definitive "VVT swap into 91 chassis" Failure Build-80-dsc_1664_b0900f8b4c002fa1d0322318685ebc035bea3d75.jpg   The Definitive "VVT swap into 91 chassis" Failure Build-80-dsc_1662_54a6deff8d044f97d616b629352e5b7415ed1d56.jpg  
Eunos91 is offline  
Old 03-26-2016, 07:07 PM
  #15  
Junior Member
Thread Starter
 
Eunos91's Avatar
 
Join Date: Jan 2016
Location: Munich
Posts: 362
Total Cats: 93
Default

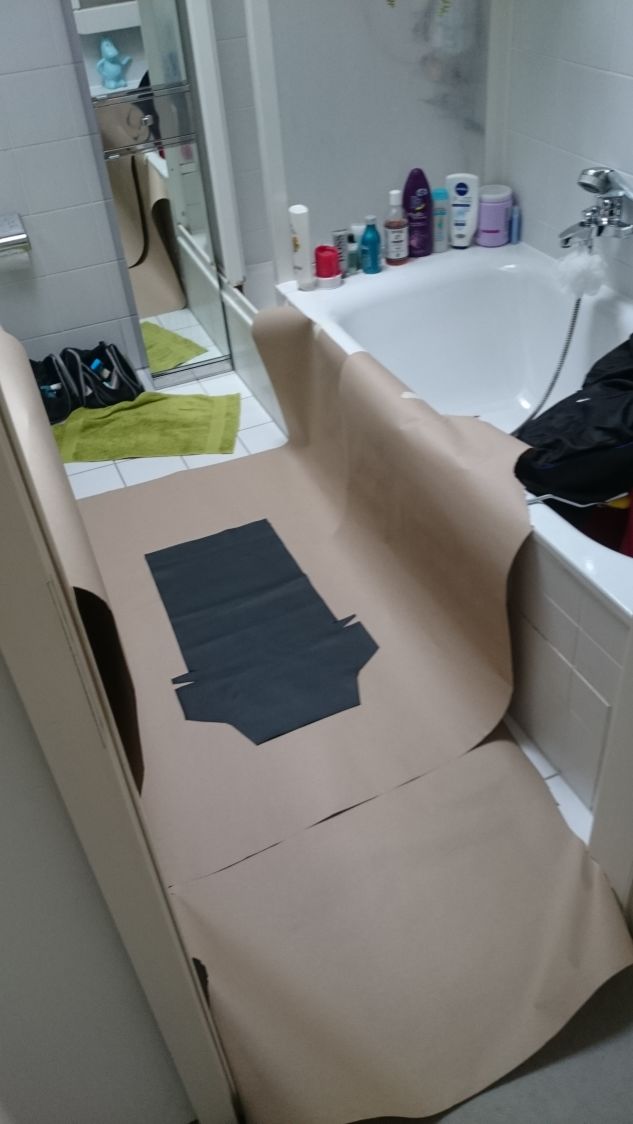
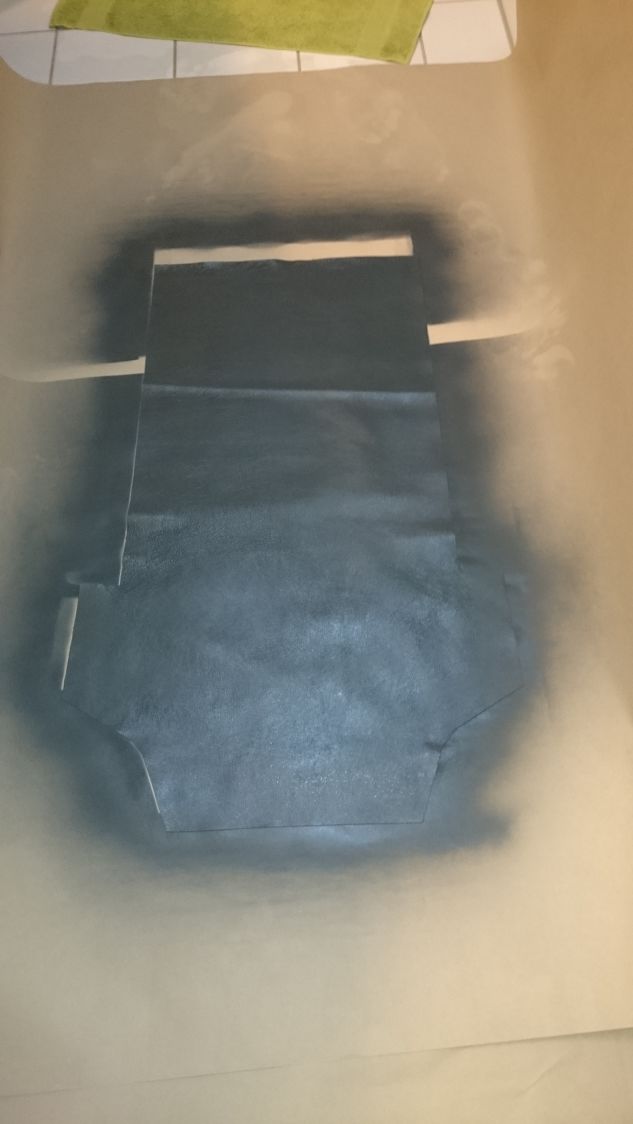
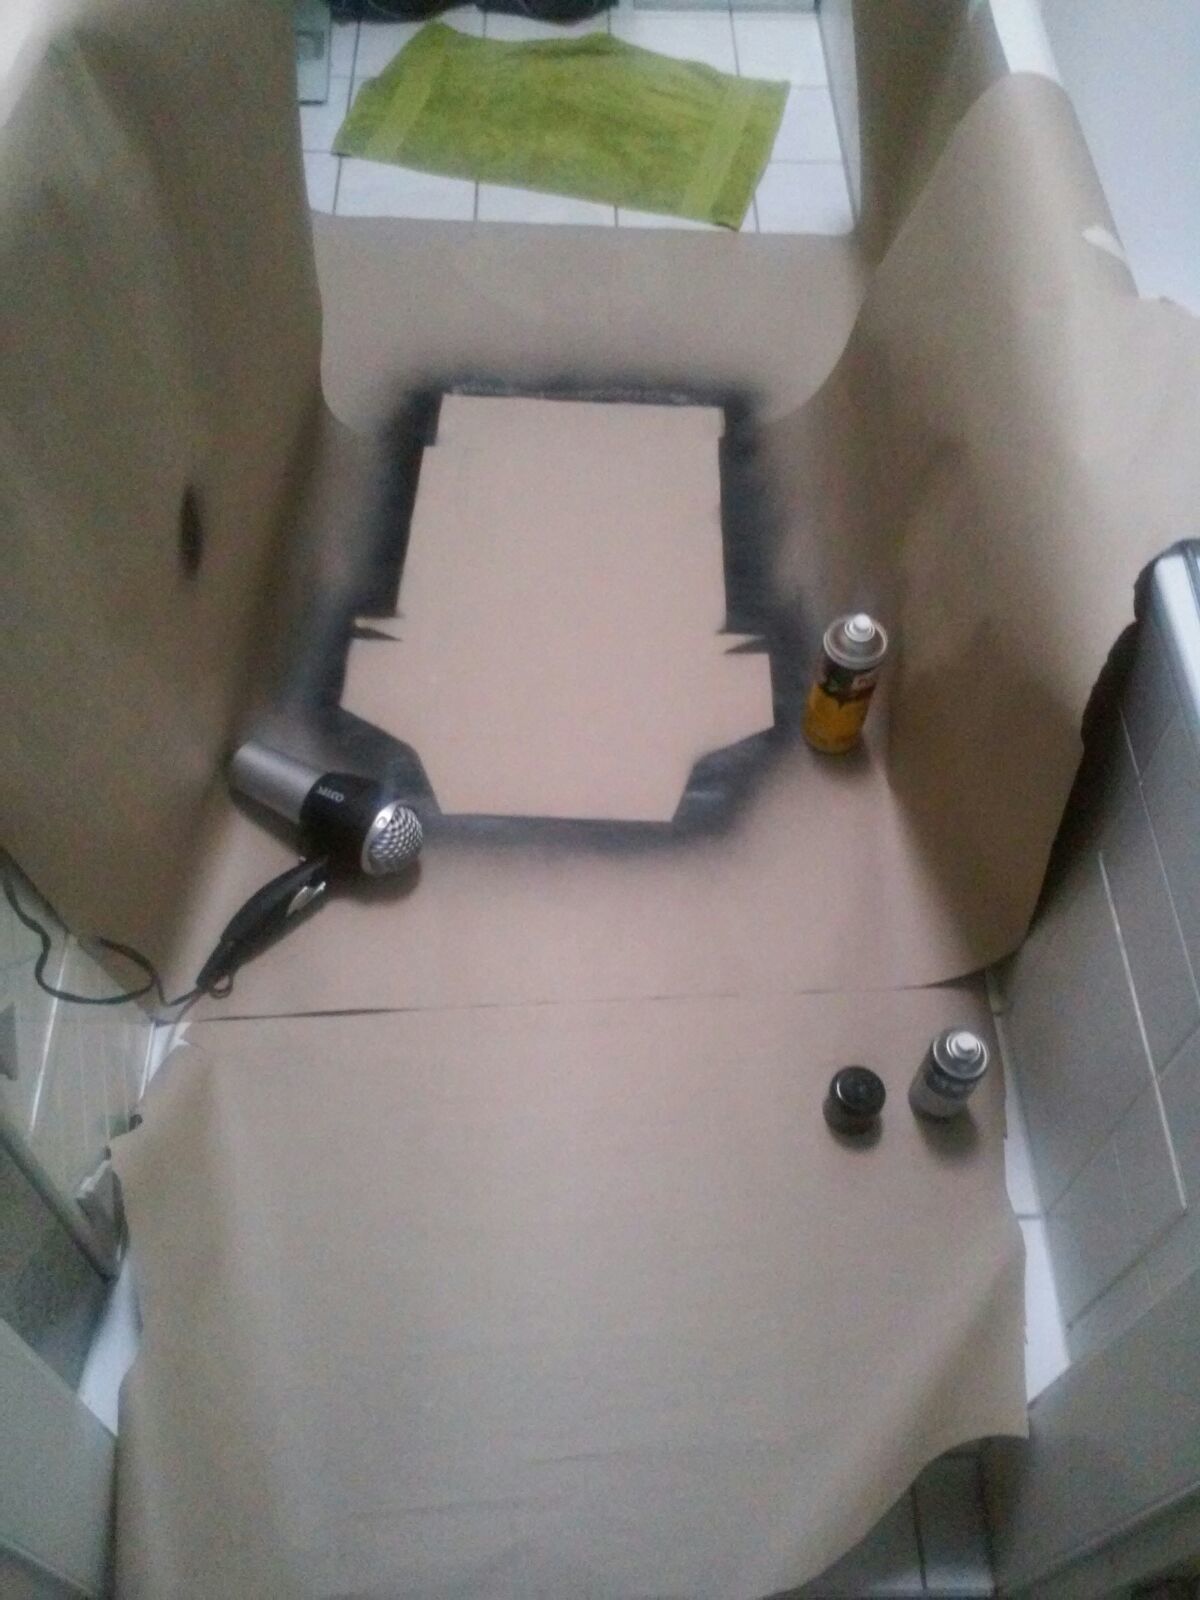
setting up the world's tiniest paint booth (my wife's bathroom) to paint the leather for the center section. Needless to say the wide was stoked.


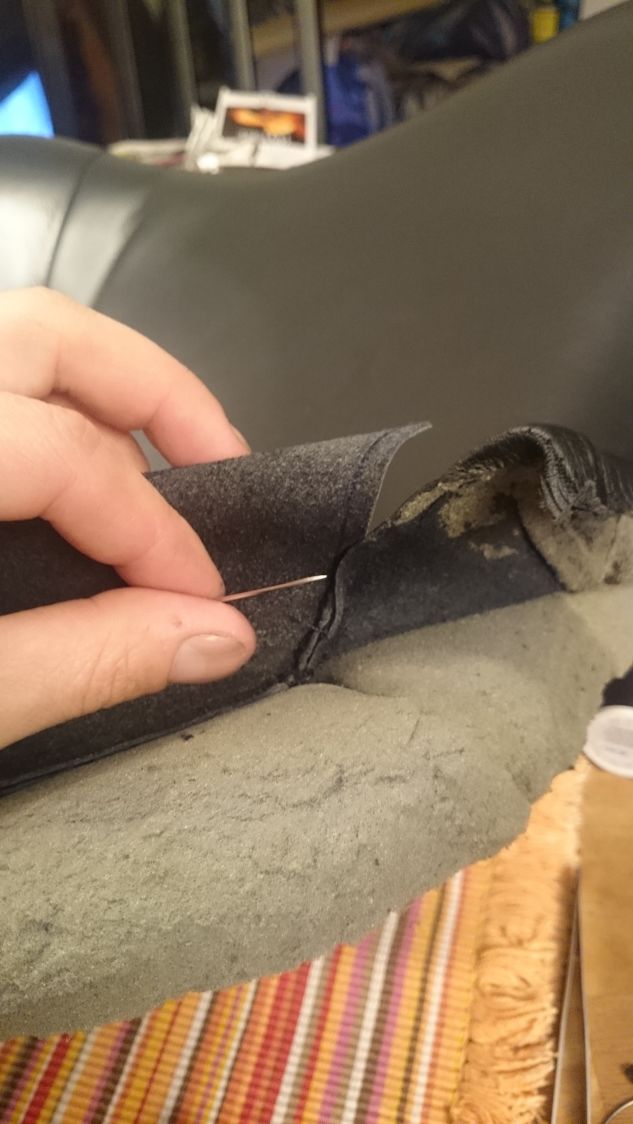
I then sewed replacement sections (leather rather than the stock fabric material) to the original leather. By hand. What a PITA.


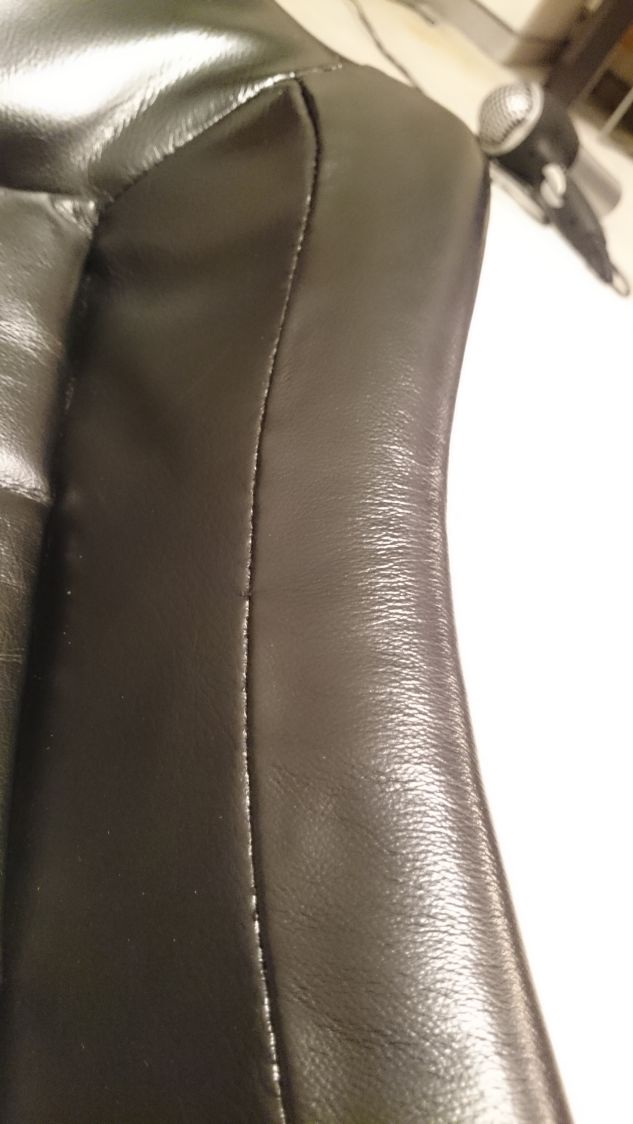
the results were ok, but nothing spectacular. You can see it was handmade by a non-professional


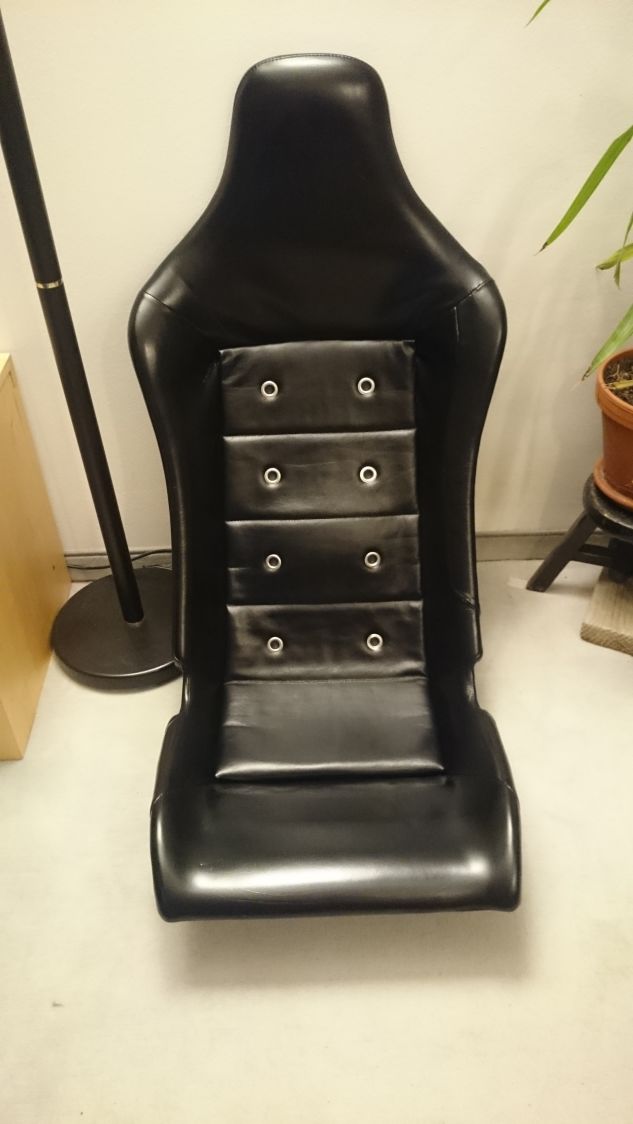
Rivets were added to the center sections of both seats for extra vintage galore. I also had a professional add four horizontal seams. The final result after dying the seats black:


the leather probably needs some time to "get seated" and will hopefully look better than it currently does. However sitting in the seats is a lot better than with stock seats. The headrests reach higher. Gone are the days of neckbraking anxiety.
Attached Thumbnails The Definitive "VVT swap into 91 chassis" Failure Build-80-dsc_1665_55a088b1c1d0227a3875f5172721cba08312ec0d.jpg   The Definitive "VVT swap into 91 chassis" Failure Build-80-dsc_1669_4b350523599f0ac37bcdd6e0ebd5af8d7bb47da4.jpg   The Definitive "VVT swap into 91 chassis" Failure Build-80-img_20160306_wa0001_63be3bd817572601c509af96f414664602b01763.jpg   The Definitive "VVT swap into 91 chassis" Failure Build-80-img_20160306_wa0024_311d7e09c3fb9ae0a851b7de3cf4417ca55a6447.jpg   The Definitive "VVT swap into 91 chassis" Failure Build-80-dsc_1710_bf337c3fb3cf4ddbaa01c74f1bbf597ab1180756.jpg  

The Definitive "VVT swap into 91 chassis" Failure Build-80-dsc_1709_875439605da4a2d21678c5d2a4a2b0bc53108506.jpg  
Eunos91 is offline  
Old 03-26-2016, 07:07 PM
  #16  
Junior Member
Thread Starter
 
Eunos91's Avatar
 
Join Date: Jan 2016
Location: Munich
Posts: 362
Total Cats: 93
Default

double post
Eunos91 is offline  
Old 03-26-2016, 07:33 PM
  #17  
Junior Member
Thread Starter
 
Eunos91's Avatar
 
Join Date: Jan 2016
Location: Munich
Posts: 362
Total Cats: 93
Default

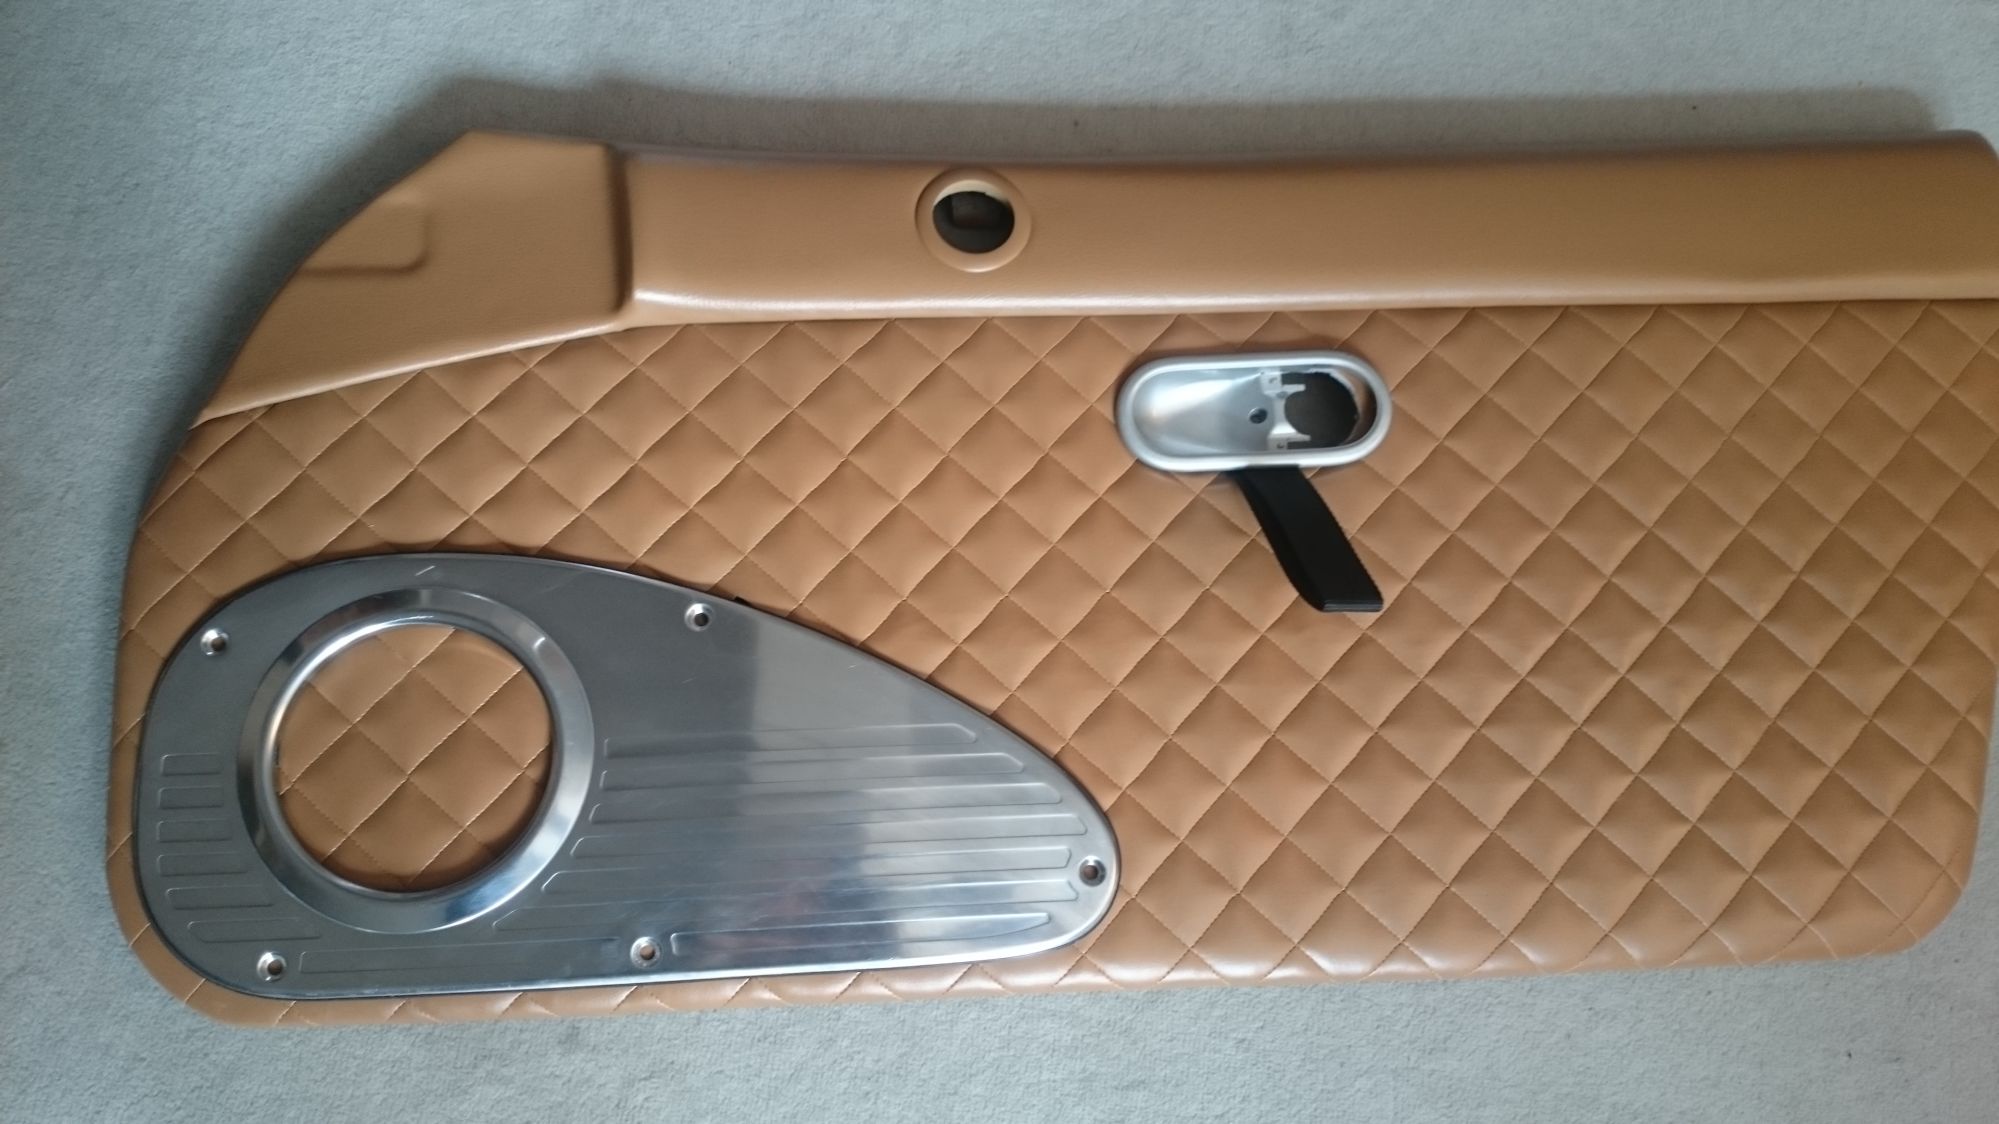
so then I was thinking: "while making new seats, why not go full retard?"

so I did.


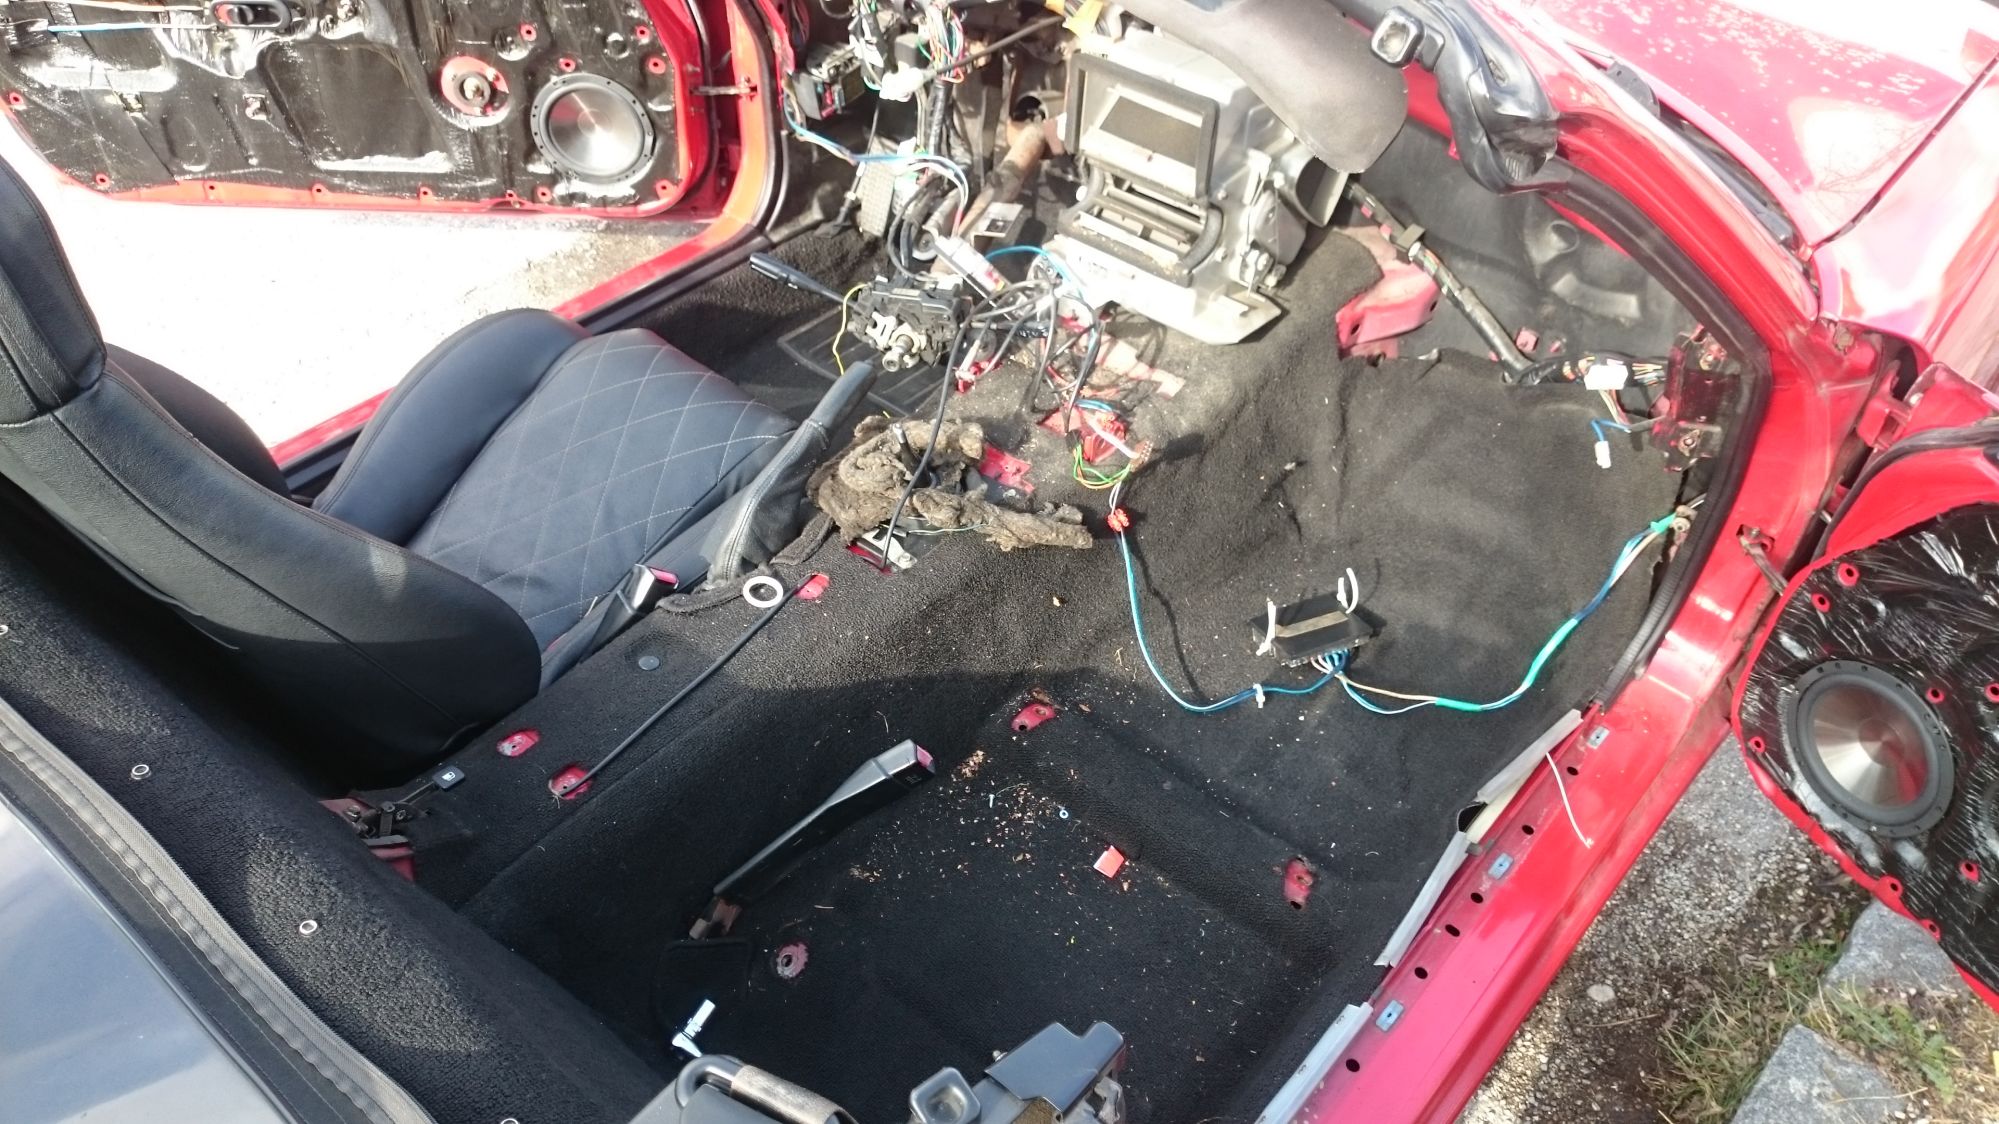
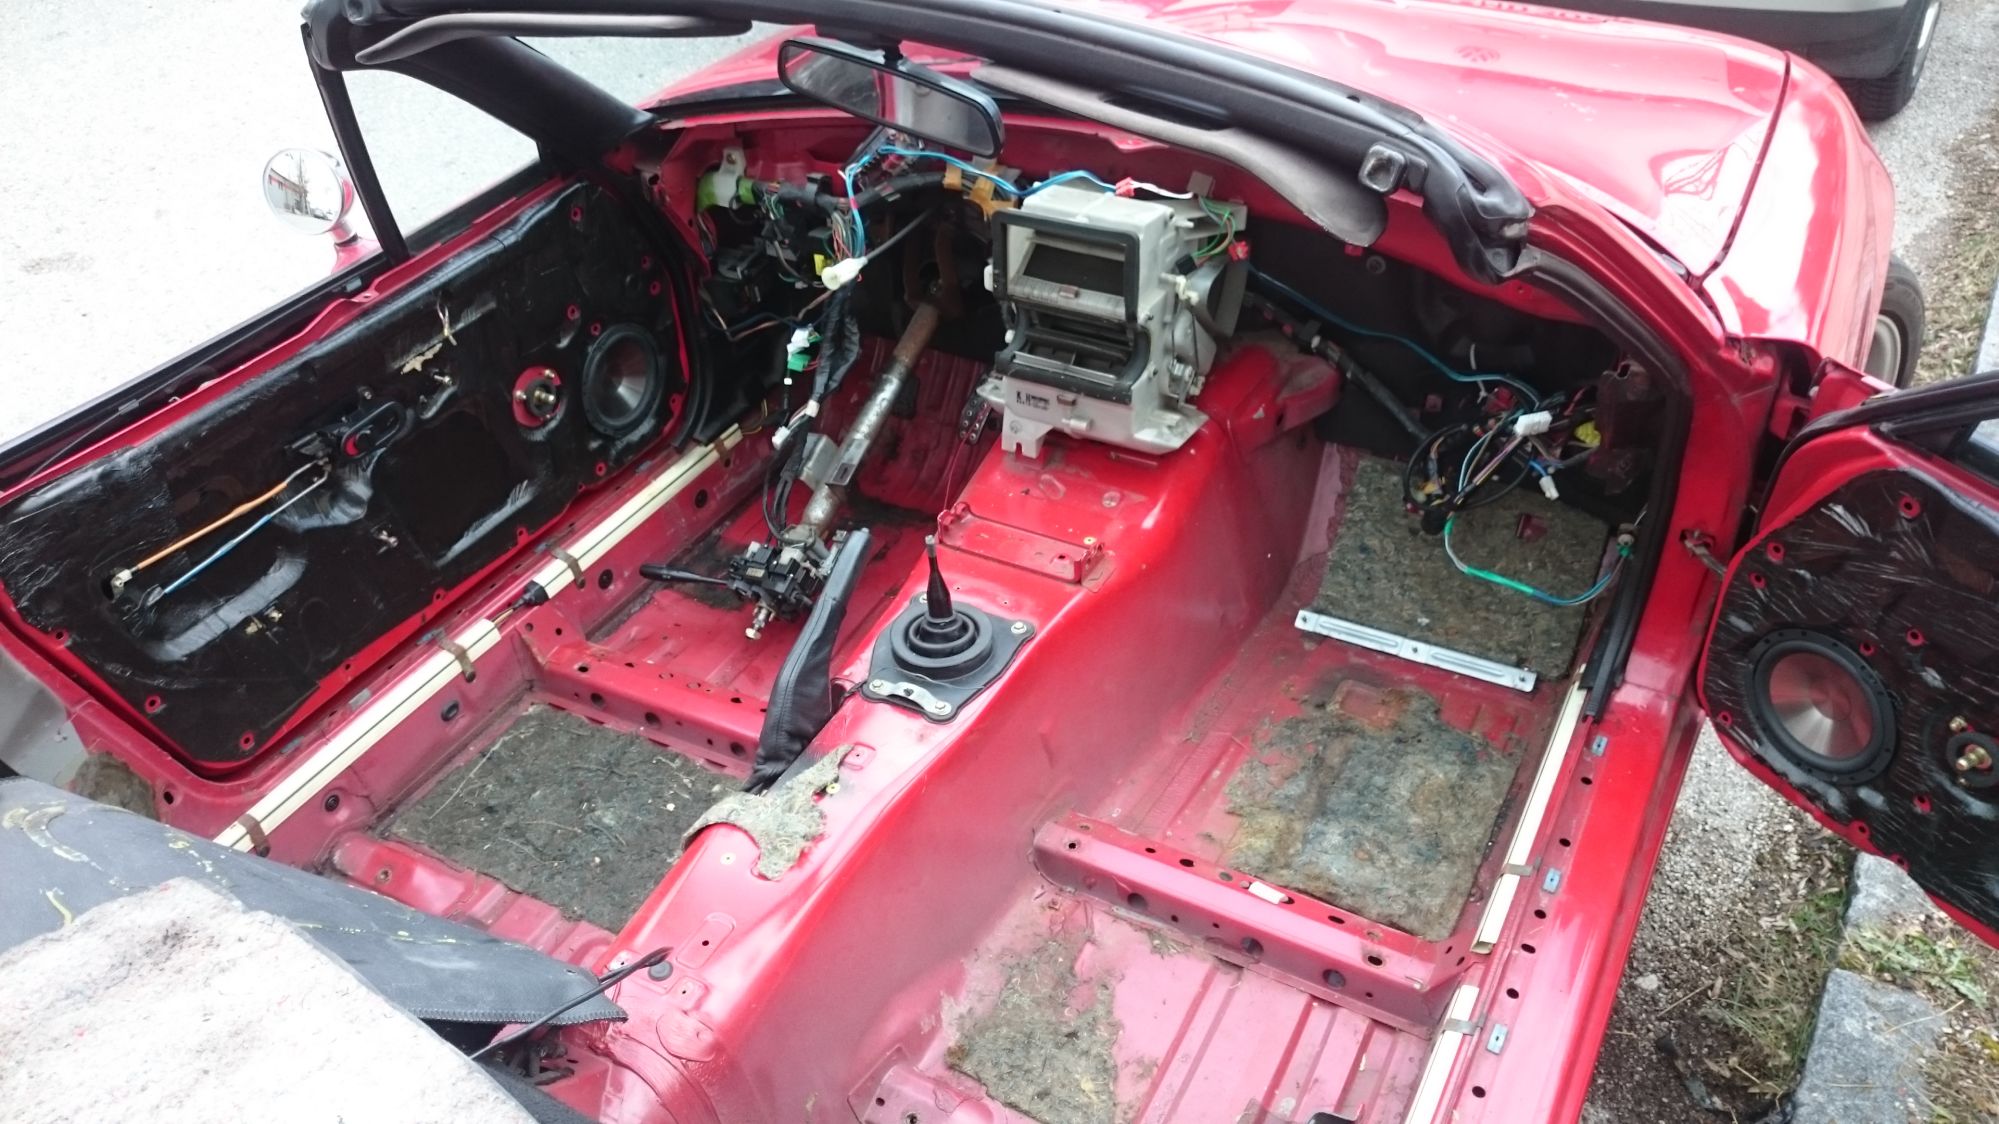
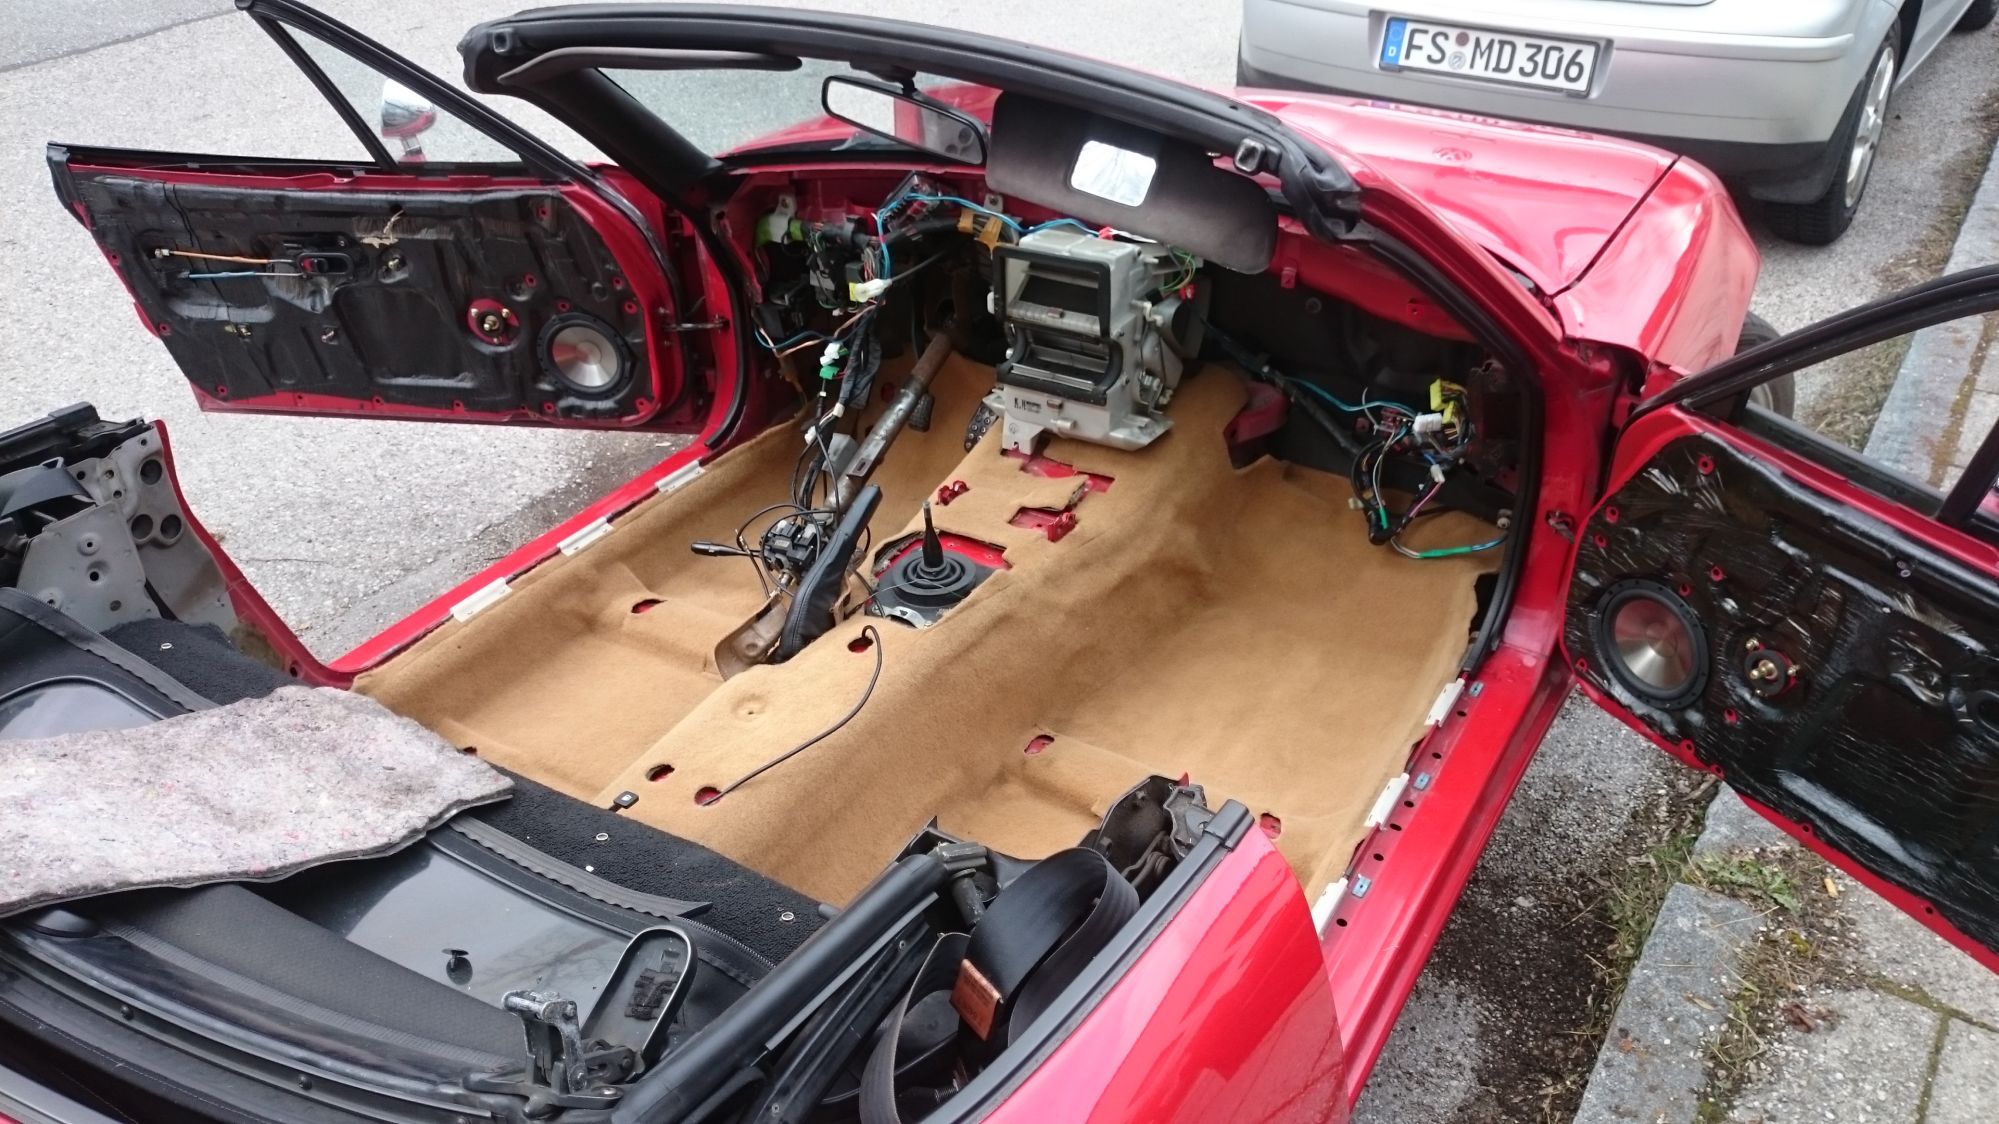
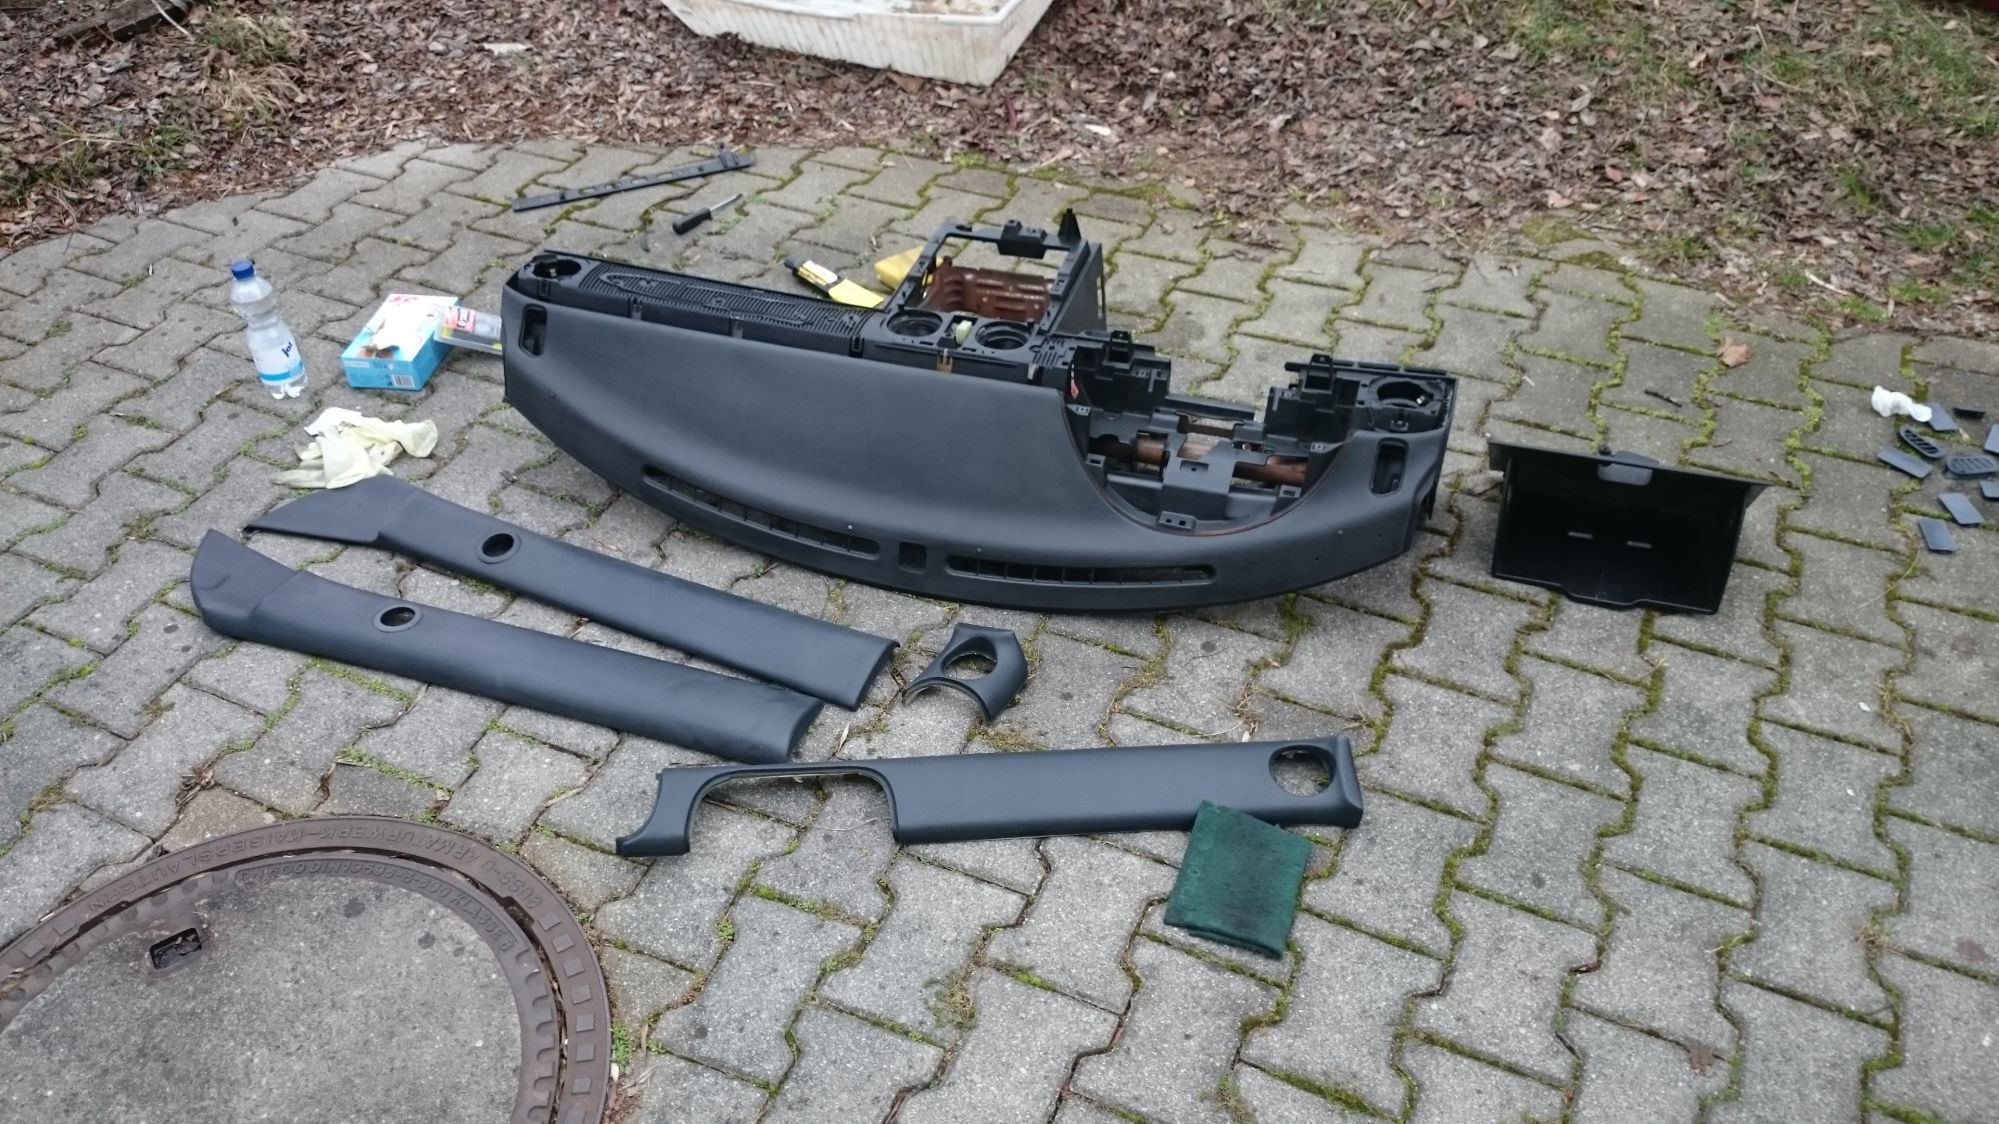
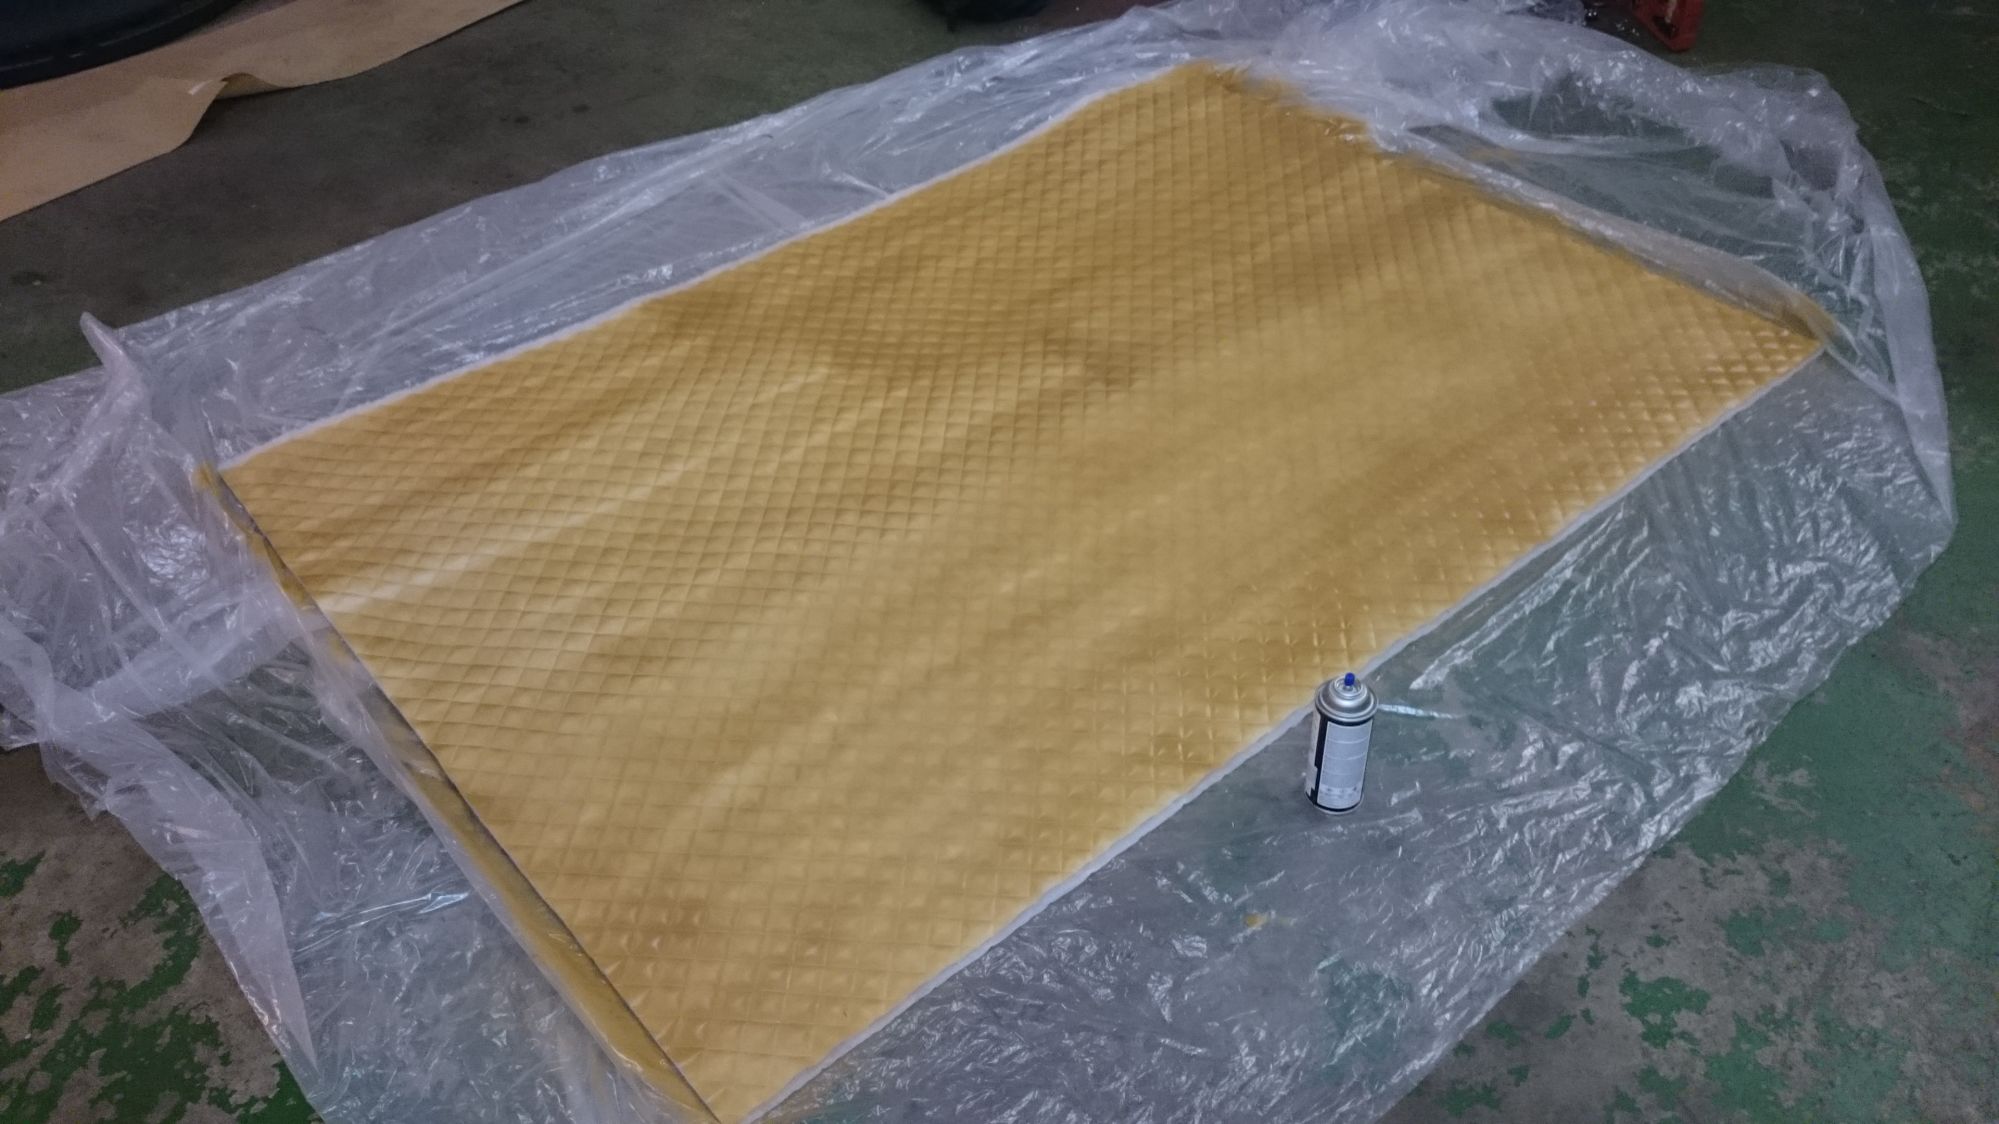
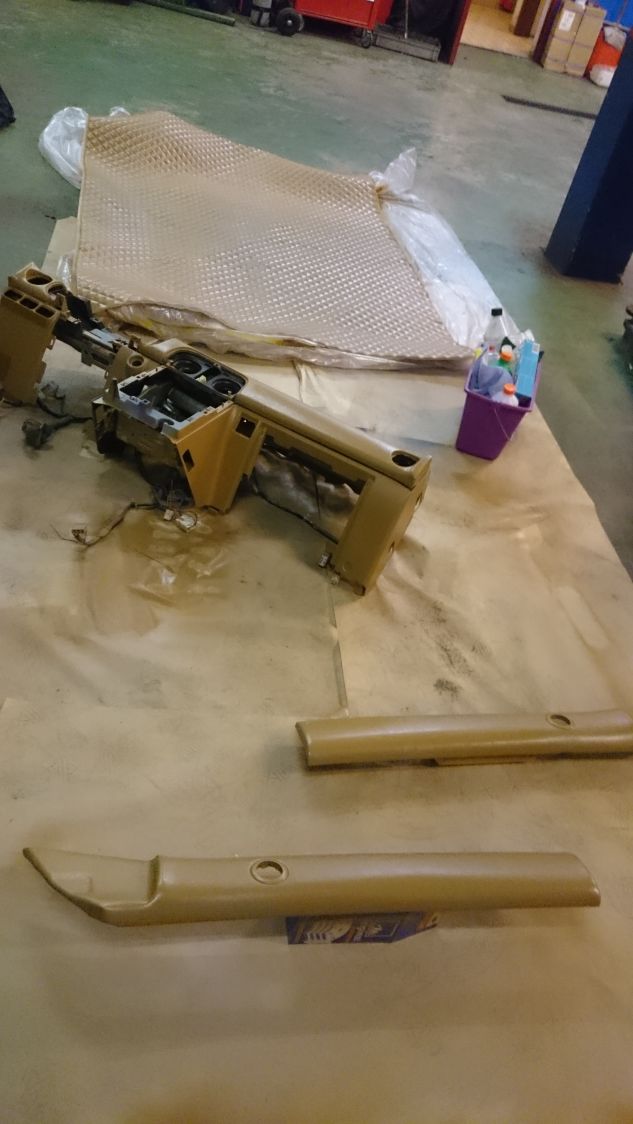
also I dyed my black interior to LE tan using SEM color coat "camel". Prep is the key. I used a 50:50 mix of alcohol and ammonia 25%. you MUST use that stuff outside; it will still be horrible to work with. It did however remove all dirt, grime and silicone


I wanted to use LE teardrop speaker covers. However these will not fit without significant modification to the window winders and a little bit of trimming. Still gotta look into alternative winders. Maybe I'll try to make others fit (VW T2 van maybe...) somewhen later. Right now no LE covers for me :(


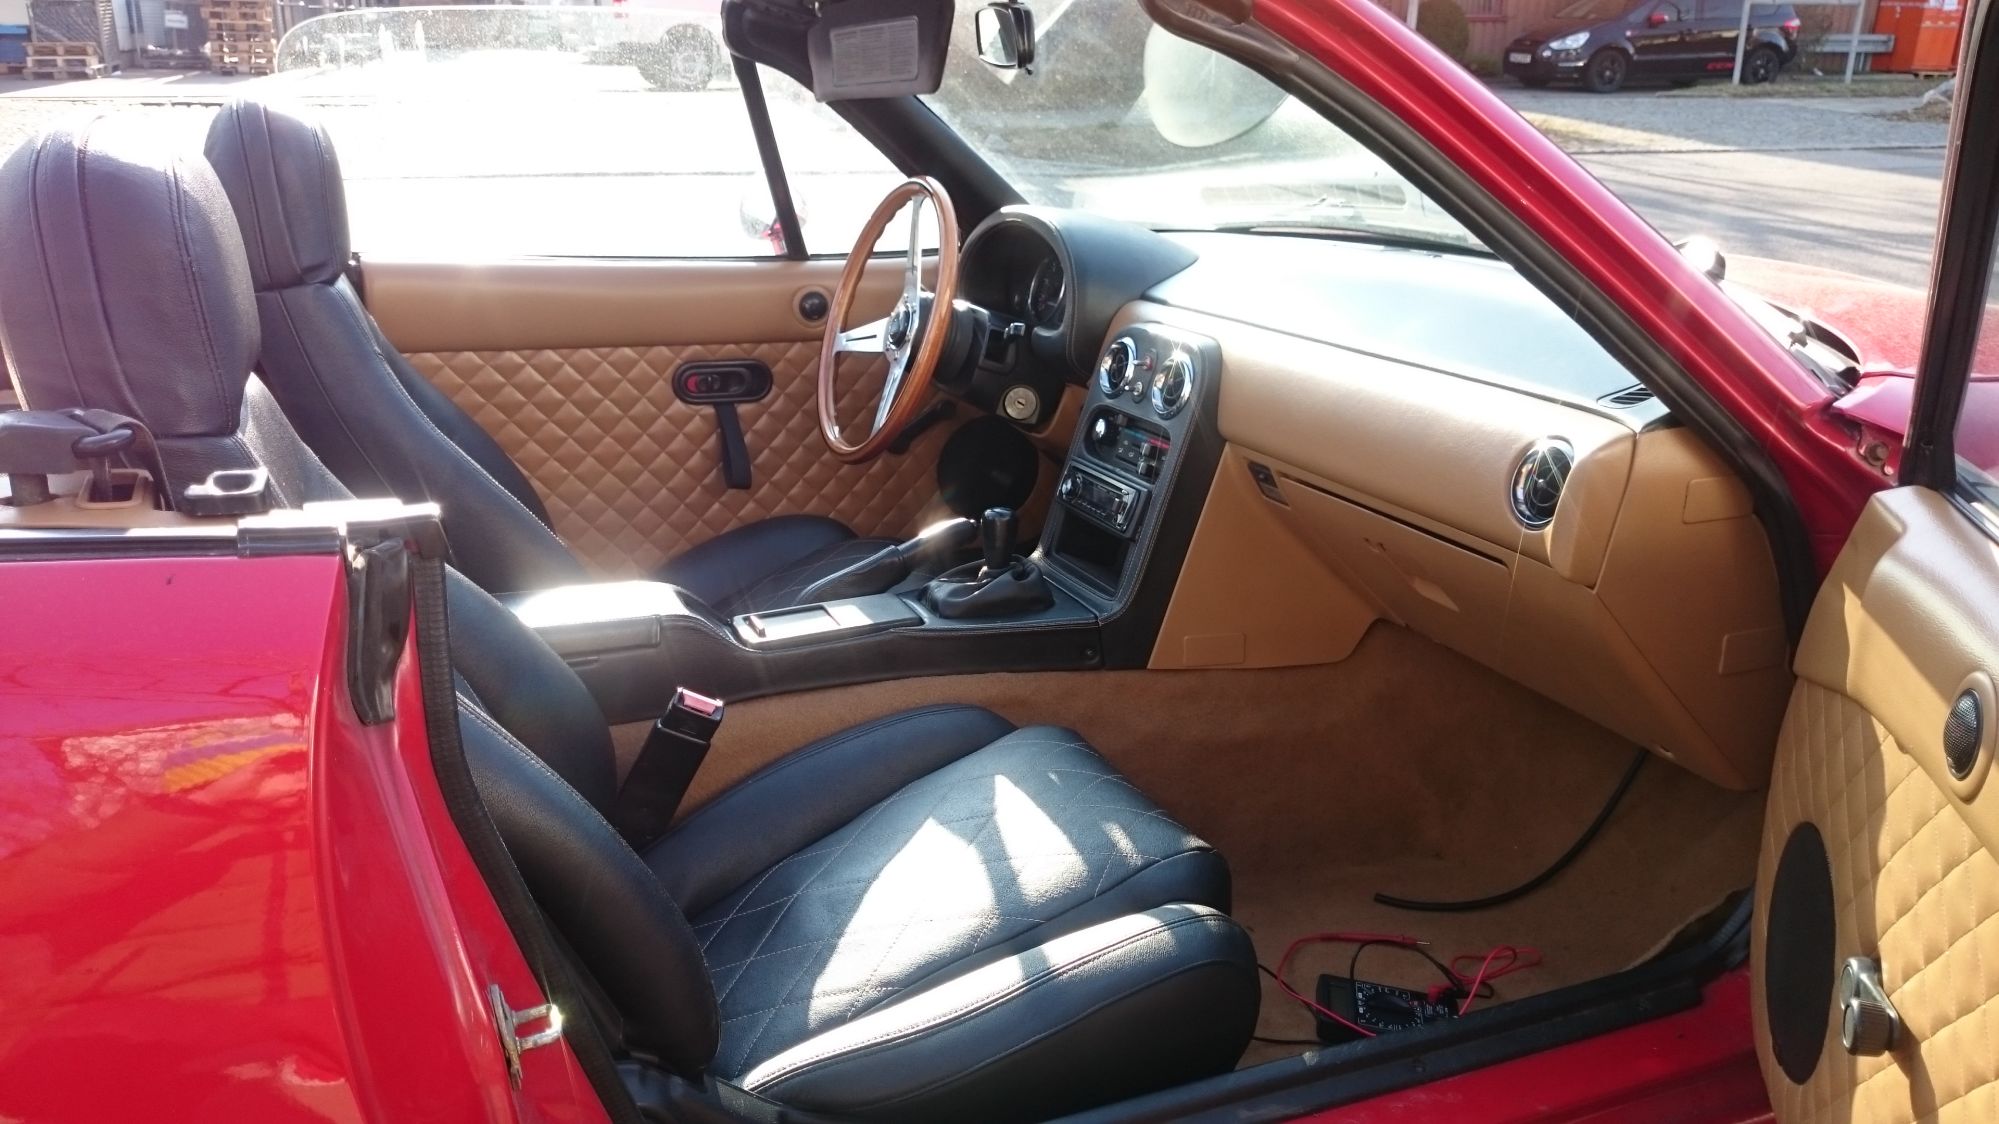
and everything inside the car again (still with the old seats):


Attached Thumbnails The Definitive "VVT swap into 91 chassis" Failure Build-80-img_20160307_wa0000_fac7c8978625ddc7b0088af895b4b087406050e6.jpg   The Definitive "VVT swap into 91 chassis" Failure Build-80-dsc_1690_b2925e22100e9b9dc609b6a5c6d2ec74107667fb.jpg   The Definitive "VVT swap into 91 chassis" Failure Build-80-dsc_1691_afeb6a7e8373dae6ece7b9b07876d7334a32f393.jpg   The Definitive "VVT swap into 91 chassis" Failure Build-80-dsc_1673_c4fc721f6bc6546c3a5278afb171b367bbeaf29a.jpg   The Definitive "VVT swap into 91 chassis" Failure Build-80-dsc_1676_358eea35f8f6c85ae49cc22a23597c168a12ad6d.jpg  

The Definitive "VVT swap into 91 chassis" Failure Build-80-dsc_1682_7c5c9d5585c8c7d5d01efe7556b0a6275c4c8830.jpg   The Definitive "VVT swap into 91 chassis" Failure Build-80-dsc_1699_6ed644734117ce983bd5feada371963584cc63f0.jpg   The Definitive "VVT swap into 91 chassis" Failure Build-80-dsc_1720_2a41a4a27eb37101fa5c398a16c200391944aa46.jpg  
Eunos91 is offline  
Old 03-26-2016, 07:39 PM
  #18  
Junior Member
Thread Starter
 
Eunos91's Avatar
 
Join Date: Jan 2016
Location: Munich
Posts: 362
Total Cats: 93
Default

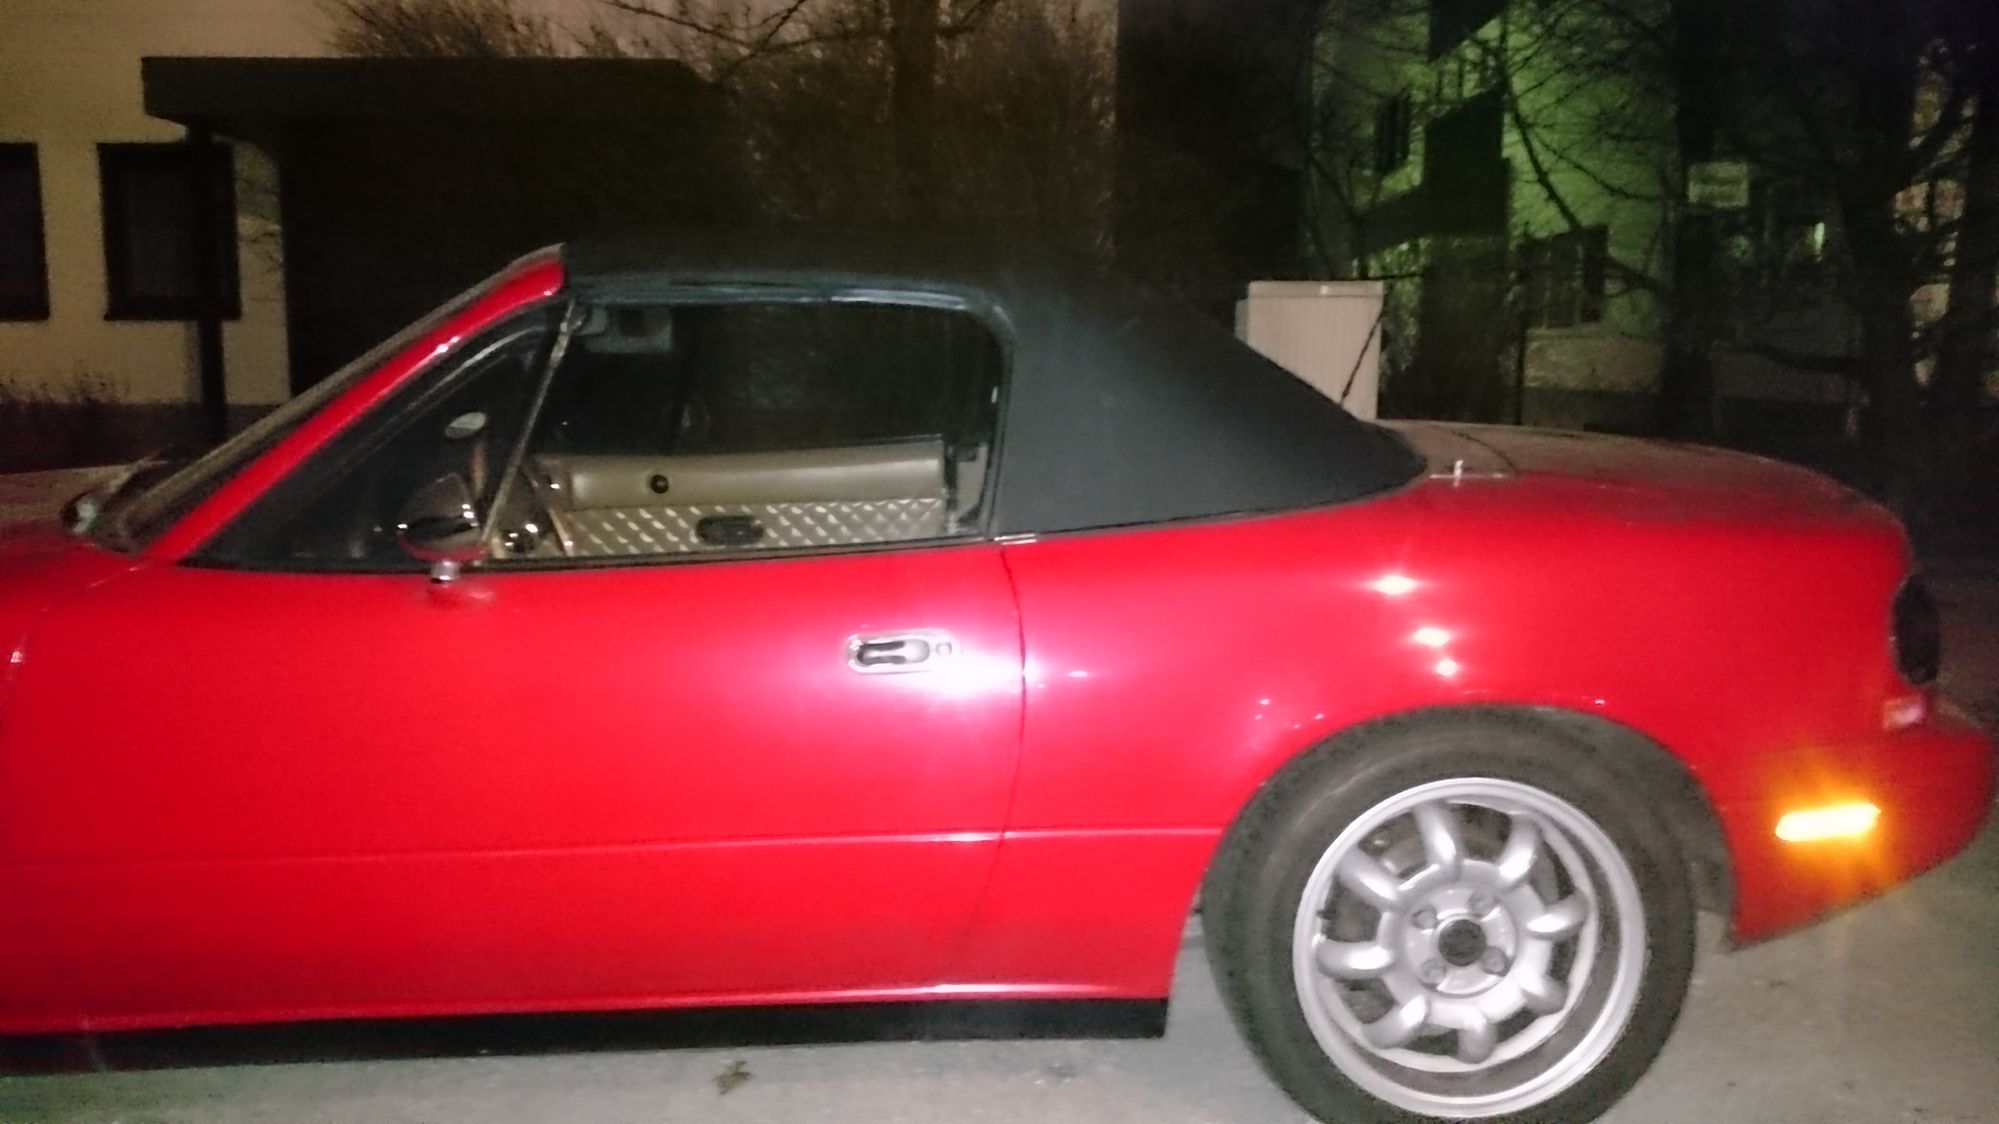
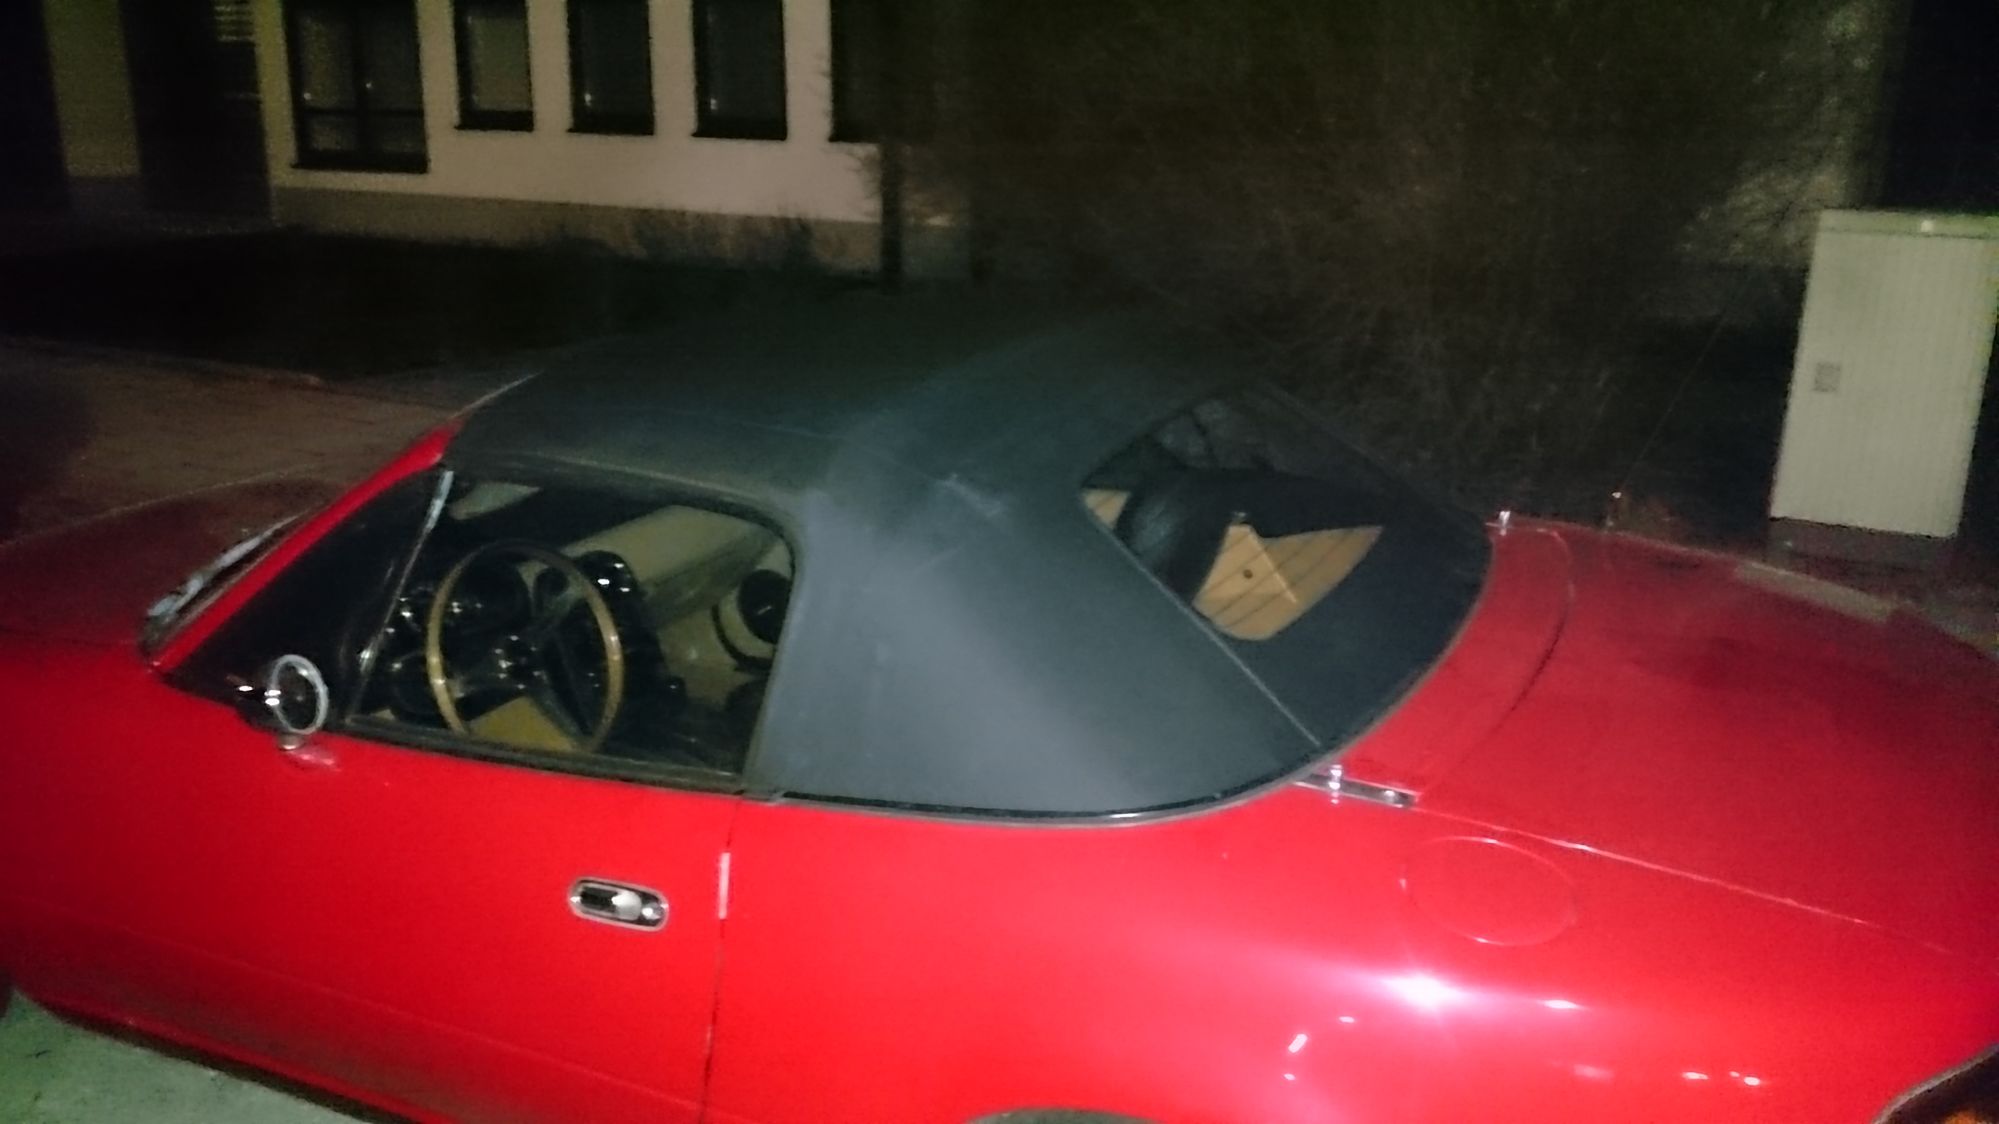
and finally I also installed a brand new NB soft top. Nothing special about that beside that fact that I was ding it all alone at midnight with temperatures around 0°C...


So now all that's left is getting that darn MS3-Pro to run the VVT engine...
Attached Thumbnails The Definitive "VVT swap into 91 chassis" Failure Build-80-dsc_1732_55d46863c3de767e414219f2c7a18384b487d546.jpg   The Definitive "VVT swap into 91 chassis" Failure Build-80-dsc_1734_a9a3a13fccb69bea9266bcaf95617a80977cc3be.jpg  
Eunos91 is offline  
Old 04-04-2017, 08:21 AM
  #19  
Newb
 
c.v.r's Avatar
 
Join Date: Apr 2017
Posts: 8
Total Cats: -2
Default what did youuse as instruction guide amd what about fuel system?

I am in the same boat in the swap and also in a 91 chassis. Also running pnp pro. What was your solution for fuel system ? using the 2000 fuel rail ?
Kind regards,
Cedric
PS: amazing build and even more amazing interior
c.v.r is offline  
Old 04-04-2017, 11:21 AM
  #20  
Junior Member
Thread Starter
 
Eunos91's Avatar
 
Join Date: Jan 2016
Location: Munich
Posts: 362
Total Cats: 93
Default

Thanks! I'm having difficulties remembering what parts exactly I used. I think it was a EUDM 99-00 NB fuel rail with the 90-93 FPR as stated in the VVT Swap thread. This and various other threads here were where I got most instructions from. Savington and others did a great service to the community compiling all info

EDIT: looking at the pictures I must have used a normal NB fuel rail together with the NB FPR. No modification whatsoever.
Eunos91 is offline  
Related Topics
Thread
Thread Starter
Forum
Replies
Last Post
EunosMonster
General Miata Chat
17
02-11-2016 10:11 PM
dwink
Engine Performance
25
02-08-2016 04:41 PM
JayMoney
Meet and Greet
1
02-08-2016 03:19 PM
estephens13
AEM
2
02-07-2016 11:06 PM
Jay.Egocentrical
Meet and Greet
3
02-03-2016 05:44 PM


Quick Reply: The Definitive "VVT swap into 91 chassis" Failure Build


All times are GMT -4. The time now is 10:56 PM.