Build Threads Building a motor? Post the progress here.

Windows 95 Upgrade

Thread Tools
 
Search this Thread
 
Old 03-31-2016, 11:11 PM
  #1  
Junior Member
Thread Starter
 
Windows95's Avatar
 
Join Date: Feb 2015
Posts: 142
Total Cats: 6
Default Windows 95 Upgrade

Hey guys. A little over a year ago I sought advice for starting my build. I've included my checklist below and where I'm at with things:

Completed
  • DIYPNP2 - Issues: Radiator fan always on, Rough idle after engine is warm
  • IAT sensor and cone filter (where MAF and oem airbox used to be)
  • LC-2 Wideband - Issues: AFR gauge is pegged
  • Injectors - 550cc from RX-7
  • Racing Beat midpipe (P/N 56435)
  • High flow cat (Magnaflow 59956)
  • eBay 2.5" to 4" muffler
Acquired PartsTo Do
  • Upgrade clutch - Leaning toward FM Level 1 Happy Meal - Will this even be necessary with the 2554 kit I have??
  • Install turbo kit - Which oil pan tap method is recommended, the one described in post #15 on Hornetball's build thread or the one described in BEGi's installation guide?
  • Get the car professionally tuned on the dyno
  • Body work!
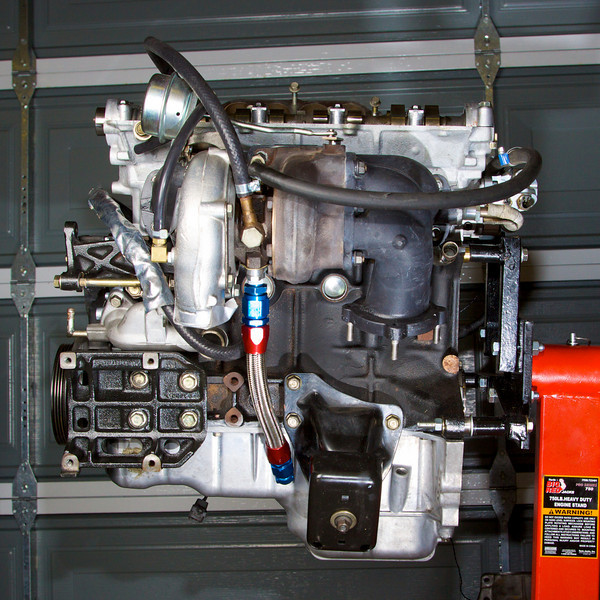
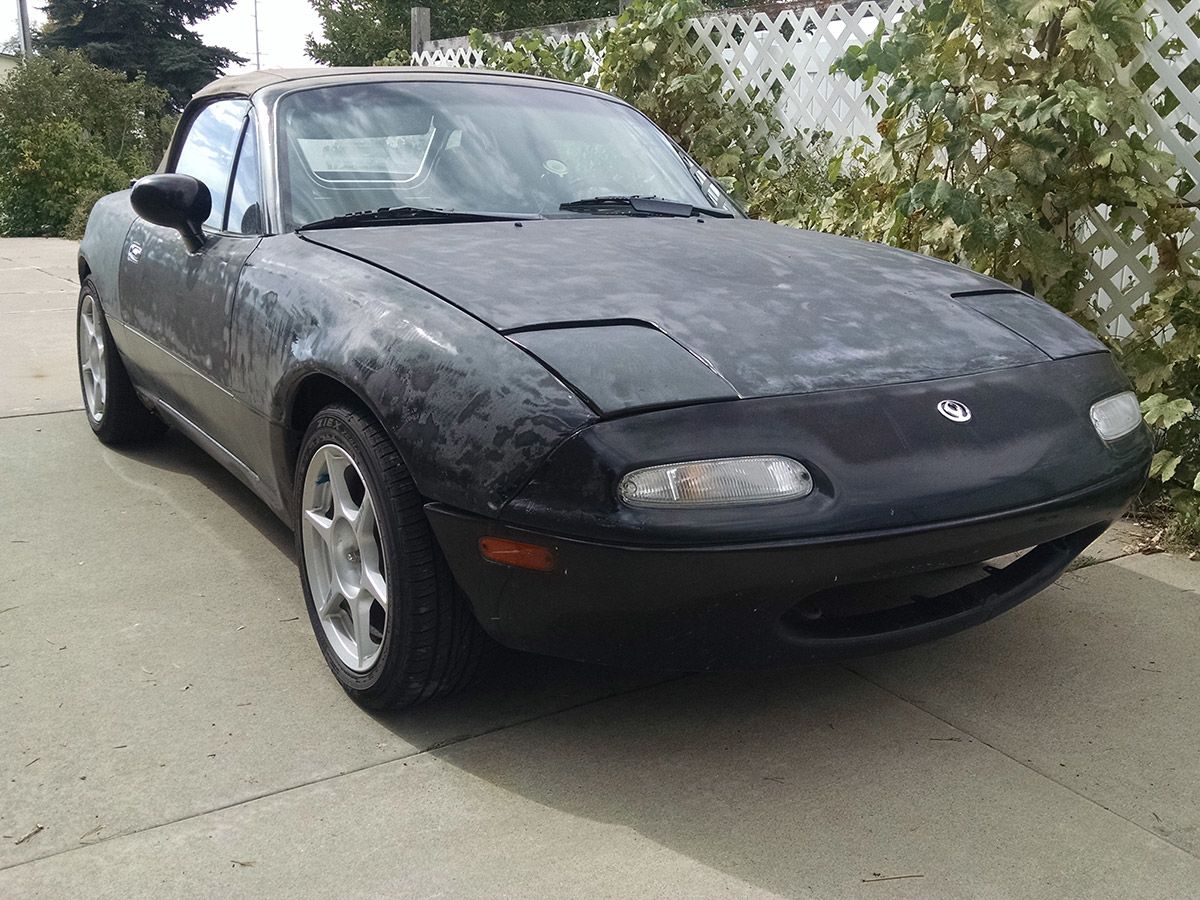
The car is basically stock. It has P/S, A/C, and cruise. The clutch and radiator were recently replace before I bought it. Given the issues I've stated above, should I hold off on installing the turbo kit or should I just go for it? Or should I cut and run before I break something?


Attached Thumbnails Windows 95 Upgrade-80-miata_32579972161a4bf637419fd870027107a92899bb.jpg  

Last edited by Windows95; 04-09-2016 at 12:52 PM. Reason: Updated links
Windows95 is offline  
Old 04-05-2016, 12:50 AM
  #2  
Junior Member
Thread Starter
 
Windows95's Avatar
 
Join Date: Feb 2015
Posts: 142
Total Cats: 6
Default

Anyone have an opinion on the oil tap method? If not, I think I'll just go by the book...hoping to tackle it next weekend.
Windows95 is offline  
Old 04-05-2016, 03:17 AM
  #3  
Elite Member
iTrader: (16)
 
patsmx5's Avatar
 
Join Date: Aug 2007
Location: Houston, TX
Posts: 9,297
Total Cats: 476
Default

Look up my build thread, I copied what hornetball did on my turbo setup, and it works great and was very easy to do.
patsmx5 is online now  
Old 04-06-2016, 02:53 AM
  #4  
Junior Member
Thread Starter
 
Windows95's Avatar
 
Join Date: Feb 2015
Posts: 142
Total Cats: 6
Default

Originally Posted by patsmx5
Look up my build thread, I copied what hornetball did on my turbo setup, and it works great and was very easy to do.
I read through the entire thread describing your compound turbo project. That's unreal. I actually didn't see any post that described how you tapped the oil pan, but no worries, I think I have a pretty good idea. Did you go 1/2" like hornet or 3/8"?

If the former, it looks like P/N SUM-220851N from Summit would do the trick.
Windows95 is offline  
Old 04-06-2016, 03:18 AM
  #5  
Elite Member
iTrader: (16)
 
patsmx5's Avatar
 
Join Date: Aug 2007
Location: Houston, TX
Posts: 9,297
Total Cats: 476
Default

Originally Posted by Windows95
I read through the entire thread describing your compound turbo project. That's unreal. I actually didn't see any post that described how you tapped the oil pan, but no worries, I think I have a pretty good idea. Did you go 1/2" like hornet or 3/8"?

If the former, it looks like P/N SUM-220851N from Summit would do the trick.
Hmm I know he told me about it, I thought I even posted a pic...


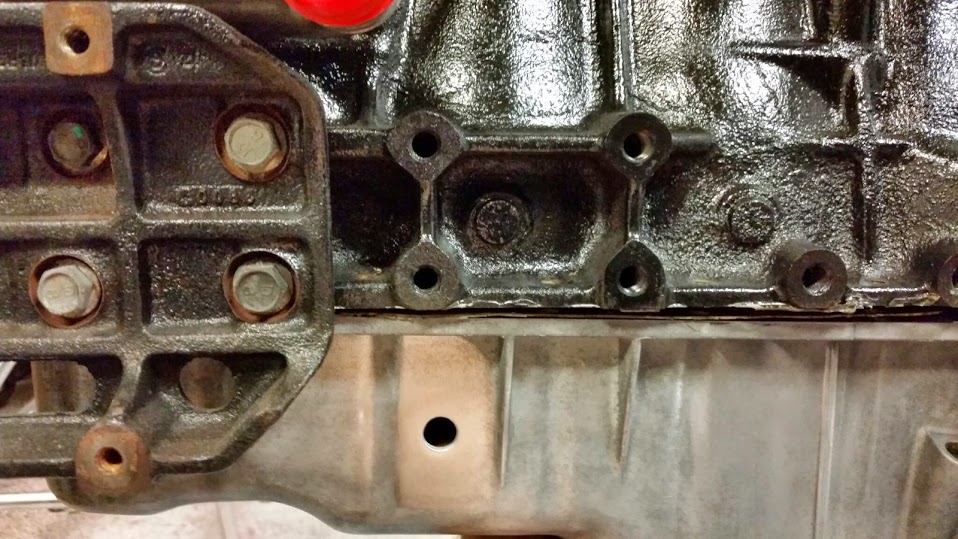
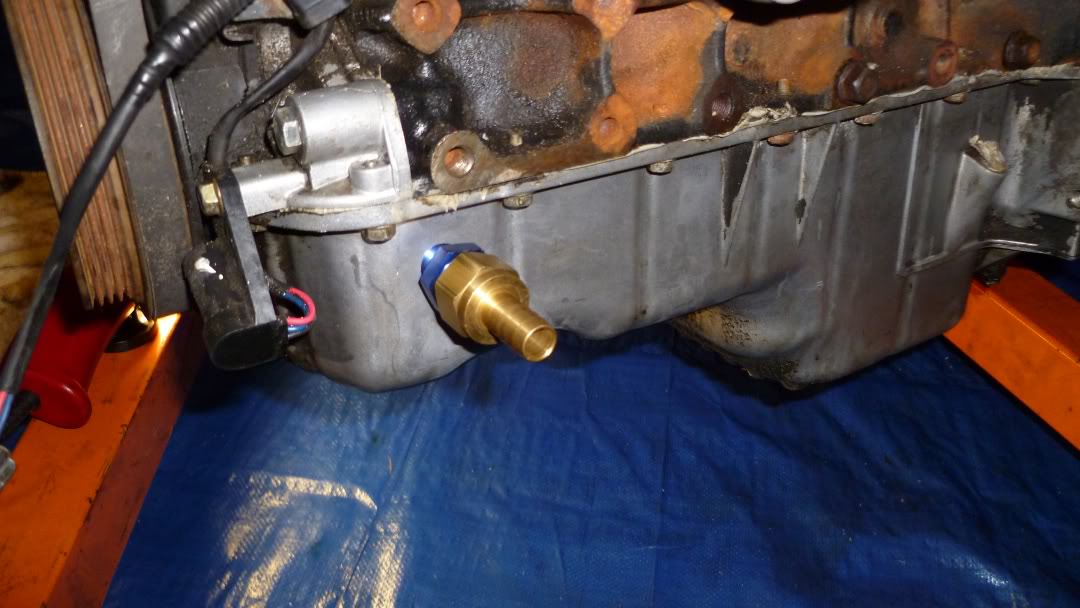
I did it with 1/2" NPT, straight fitting, and hooked the hose to it and bent the hose around to hook to the turbo.

Also I used a shop-vac to blow air into the valve cover where the oil cap goes, this puts positive pressure to blow out metal from the tap when drilling/tapping the pan. WHen done there was like 5 specs of metal in the pan, and I could stick my finger in to get them out no problem.

Yeap, here's a pic:

Attached Thumbnails Windows 95 Upgrade-20160214_172021_zpsybds9ut5.jpg  
patsmx5 is online now  
Old 05-10-2016, 09:53 PM
  #6  
Junior Member
Thread Starter
 
Windows95's Avatar
 
Join Date: Feb 2015
Posts: 142
Total Cats: 6
Default Tapped Pan

I finally drilled the pan last weekend. I put a brass plug in the hole until I get around to installing the turbo kit. Photos attached.


Attached Thumbnails Windows 95 Upgrade-2016-05-10-19.23.28.jpg   Windows 95 Upgrade-2016-05-10-19.22.57.jpg  
Windows95 is offline  
Old 05-10-2016, 09:56 PM
  #7  
Moderator
iTrader: (1)
 
Girz0r's Avatar
 
Join Date: Jun 2014
Location: Austin, TX
Posts: 3,033
Total Cats: 324
Default

Interesting location, Why not on the driver side?
Girz0r is offline  
Old 05-10-2016, 10:31 PM
  #8  
Junior Member
Thread Starter
 
Windows95's Avatar
 
Join Date: Feb 2015
Posts: 142
Total Cats: 6
Default

Not sure what you mean. That is the driver's side of the front of the pan...
Windows95 is offline  
Old 05-11-2016, 08:56 AM
  #9  
Moderator
iTrader: (1)
 
Girz0r's Avatar
 
Join Date: Jun 2014
Location: Austin, TX
Posts: 3,033
Total Cats: 324
Default

I've never seen the front of the pan used

Spot #1


Spot #2


Spot #3

Attached Thumbnails Windows 95 Upgrade-20140802_215301.jpg   Windows 95 Upgrade-p1000168_1080x608.jpg  
Girz0r is offline  
Old 05-11-2016, 10:06 AM
  #10  
Boost Pope
iTrader: (8)
 
Joe Perez's Avatar
 
Join Date: Sep 2005
Location: Chicago. (The less-murder part.)
Posts: 33,026
Total Cats: 6,592
Default

Front-mount turbo, obviously.

Attached Thumbnails Windows 95 Upgrade-80-blob_906da4c157fa3fec6d7f60b92b885558f58bbc65.png  
Joe Perez is online now  
Old 05-11-2016, 10:19 AM
  #11  
VladiTuned
iTrader: (76)
 
18psi's Avatar
 
Join Date: Apr 2008
Posts: 35,821
Total Cats: 3,481
Default

lol that's the most idiotic location I've ever seen
18psi is offline  
Old 05-11-2016, 01:30 PM
  #12  
Elite Member
iTrader: (4)
 
hornetball's Avatar
 
Join Date: Mar 2008
Location: Granbury, TX
Posts: 6,301
Total Cats: 696
Default

Originally Posted by 18psi
lol that's the most idiotic location I've ever seen
I did it that way because it had great clearance for drilling with everything still installed on the car. Going on 40K miles with that drain location. Would do again.

https://www.miataturbo.net/build-thr...37/#post695144
hornetball is offline  
Old 05-11-2016, 01:32 PM
  #13  
VladiTuned
iTrader: (76)
 
18psi's Avatar
 
Join Date: Apr 2008
Posts: 35,821
Total Cats: 3,481
Default

if you don't have ac why wouldn't you drill in the traditional spot? its also really easy to access. just seems really weird and silly

this guy looks like he has ac too, so there's a belt there, and the drain now has to go around all that
18psi is offline  
Old 05-11-2016, 01:34 PM
  #14  
Elite Member
iTrader: (4)
 
hornetball's Avatar
 
Join Date: Mar 2008
Location: Granbury, TX
Posts: 6,301
Total Cats: 696
Default

We both have AC. Works perfectly with AC. Pictures in link.
hornetball is offline  
Old 05-11-2016, 03:23 PM
  #15  
Senior Member
 
mmmjesse's Avatar
 
Join Date: Aug 2007
Posts: 574
Total Cats: 44
Default

Out of curiosity, do you have R39 installed in your diypnp?

Originally Posted by Windows95
Hey guys. A little over a year ago I sought advice for starting my build. I've included my checklist below and where I'm at with things:

Completed
mmmjesse is offline  
Old 05-11-2016, 11:12 PM
  #16  
Junior Member
Thread Starter
 
Windows95's Avatar
 
Join Date: Feb 2015
Posts: 142
Total Cats: 6
Default

Originally Posted by mmmjesse
Out of curiosity, do you have R39 installed in your diypnp?
I followed this assembly guide and I don't recall installing it. I can check next time I open it up.
Windows95 is offline  
Old 11-15-2016, 10:32 PM
  #17  
Junior Member
Thread Starter
 
Windows95's Avatar
 
Join Date: Feb 2015
Posts: 142
Total Cats: 6
Default Exhaust removal

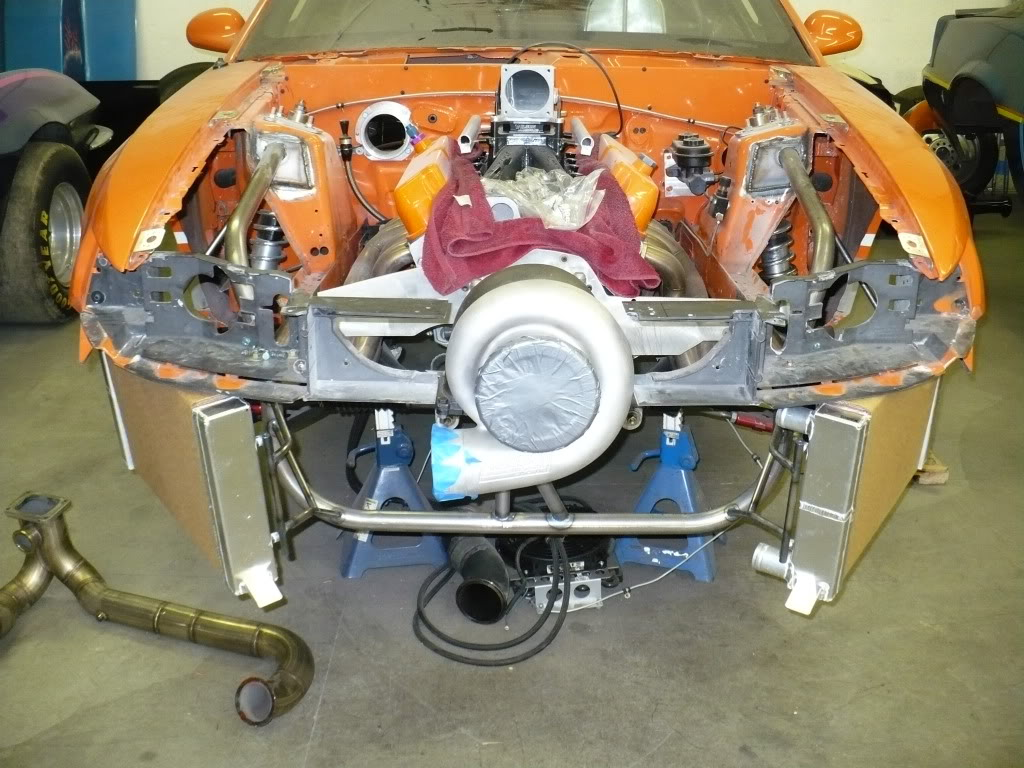
A little update: I removed the exhaust manifold and everything behind it. The EGR tube was a challenge. I didn't have a flare wrench so I bought one. For reference, the nut is the same size as the O2 sensor, 22mm or 7/8". Spraying it with PB blaster wasn't enough. I had to get it nice and hot with a heat gun and stand halfway in the engine bay so I could apply pressure to the end of the wrench with my foot. At least it's off! A log-style cast iron manifold from BEGi will be replacing it. It has a bung for the EGR tube, but it looks like I'll need this 90 degree adapter as well as the ferrule fitting. If one of you guys who did an EGR delete has this laying around, I'd be happy to buy it off you.


Here is a pic of the old exhaust setup. It includes a 2.5" Magnaflow 59956 cat, Racing Beat 2.375 midpipe, and eBay 2.5" to 4" muffler tip–all with welded flanges. I'll be replacing it with a full 3" Enthuza.

Windows95 is offline  
Old 11-16-2016, 08:55 AM
  #18  
Elite Member
iTrader: (4)
 
psyber_0ptix's Avatar
 
Join Date: Mar 2012
Location: Northern VA
Posts: 4,648
Total Cats: 544
Default

Are you required to keep EGR?
psyber_0ptix is offline  
Old 11-16-2016, 02:32 PM
  #19  
Junior Member
Thread Starter
 
Windows95's Avatar
 
Join Date: Feb 2015
Posts: 142
Total Cats: 6
Default

Originally Posted by psyber_0ptix
Are you required to keep EGR?
Not exactly, because I have an MS2, but let me walk you through my logic. The new 3" exhaust system I'll be installing utilizes a test pipe instead of a catalytic converter. I'd love to be able to pass the smog test without a cat, and I think my chances will be higher if I keep the EGR. If not, I guess I can always replace the test pipe with a Magnaflow 59559, but it would be nice if I can avoid that. Is that realistic?

I've also read that deleting the EGR doesn't result in performance gains, so if the only advantage is saving $50 on the fittings, I'm fine keeping it. If there are other benefits I'm not aware of, I'd be interested in learning about them.
Windows95 is offline  
Old 04-22-2017, 07:12 PM
  #20  
Junior Member
Thread Starter
 
Windows95's Avatar
 
Join Date: Feb 2015
Posts: 142
Total Cats: 6
Default Manifold Installed

Bolted on the manifold this weekend.

Next round I'll be tackling the coolant lines.
Windows95 is offline  


Quick Reply: Windows 95 Upgrade


All times are GMT -4. The time now is 03:08 PM.