
3d printed intake for N/A NA miatas


 11-01-2015, 04:30 PM
#245
Senior Member

Thread Starter
iTrader: (1)

Join Date: Jul 2012
Location: durham NC
Posts: 792
Total Cats: 143
Kind of- I make small amounts of progress here and there. I really need to pass off the design to someone else to do the fabrication work since I clearly do not have the time I had hoped to put into this. I have talked to a few companies about this and I just need to follow up to see if I can make it happen.

Reply
 0
0

0
11-08-2015, 12:29 PM
#246
Senior Member
Thread Starter
iTrader: (1)
Join Date: Jul 2012
Location: durham NC
Posts: 792
Total Cats: 143
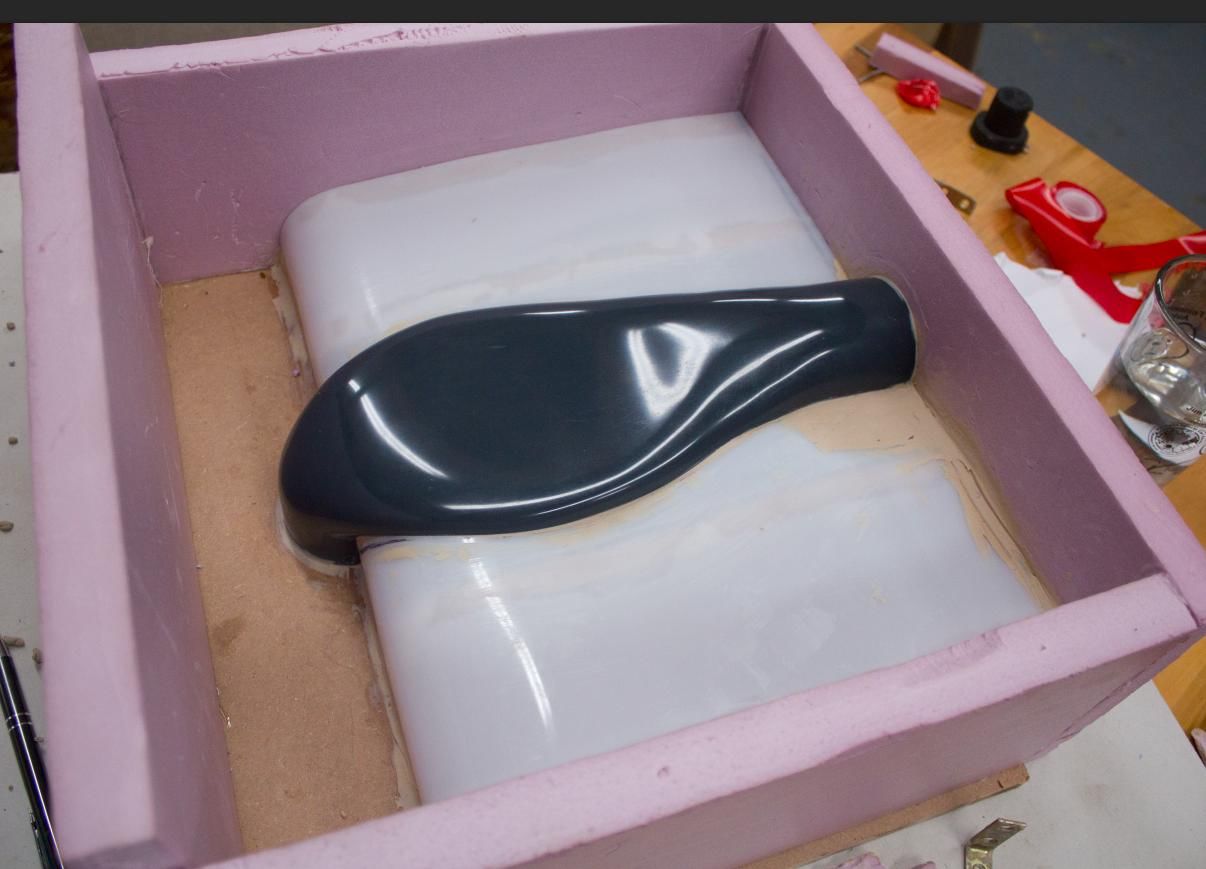
I started pouring silicone for the molds. After this first half gallon pour, my ebay vacuum chamber's gasket failed so now I have cured silicone for an incomplete part. Hopefully new silicone will bond to cured silicone and I won't have to redo all the clay work on these parting lines:
Reply
0
0
11-08-2015, 12:44 PM
#247
I started pouring silicone for the molds. After this first half gallon pour, my ebay vacuum chamber's gasket failed so now I have cured silicone for an incomplete part. Hopefully new silicone will bond to cured silicone and I won't have to redo all the clay work on these parting lines:
Reply
0
0


 11-26-2015, 10:32 AM
#252
Junior Member

Join Date: May 2015
Posts: 64
Total Cats: 3
Just read all 13 pages as well, and just bought a relocated windshield washer fluid reservoir to prepare (since I have a ABS car) and a skunk2 TB for the heck of it.
I was curious when you are able to release your production version are you thinking of selling just the intake or complete kits of all the parts? Would be cool to get pieces like your heat shield you made to put behind the filter.
Can't wait!
I was curious when you are able to release your production version are you thinking of selling just the intake or complete kits of all the parts? Would be cool to get pieces like your heat shield you made to put behind the filter.
Can't wait!
Reply
0
0

 11-27-2015, 07:35 AM
#254
Senior Member
Thread Starter
iTrader: (1)
Join Date: Jul 2012
Location: durham NC
Posts: 792
Total Cats: 143
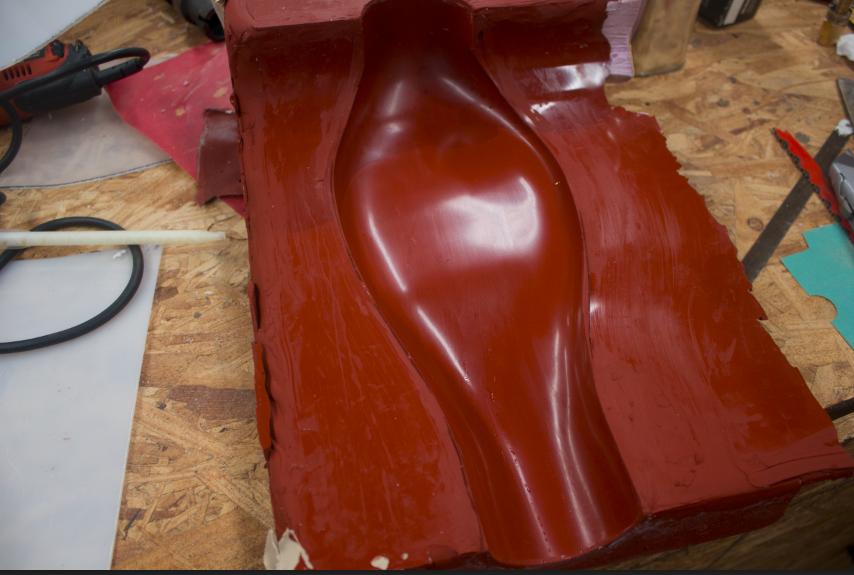
I have both sides of the mold poured and am waiting on a bag sealer to make tubular vaccum bag sections. I will probably try and make one this weekend with a taped together bag 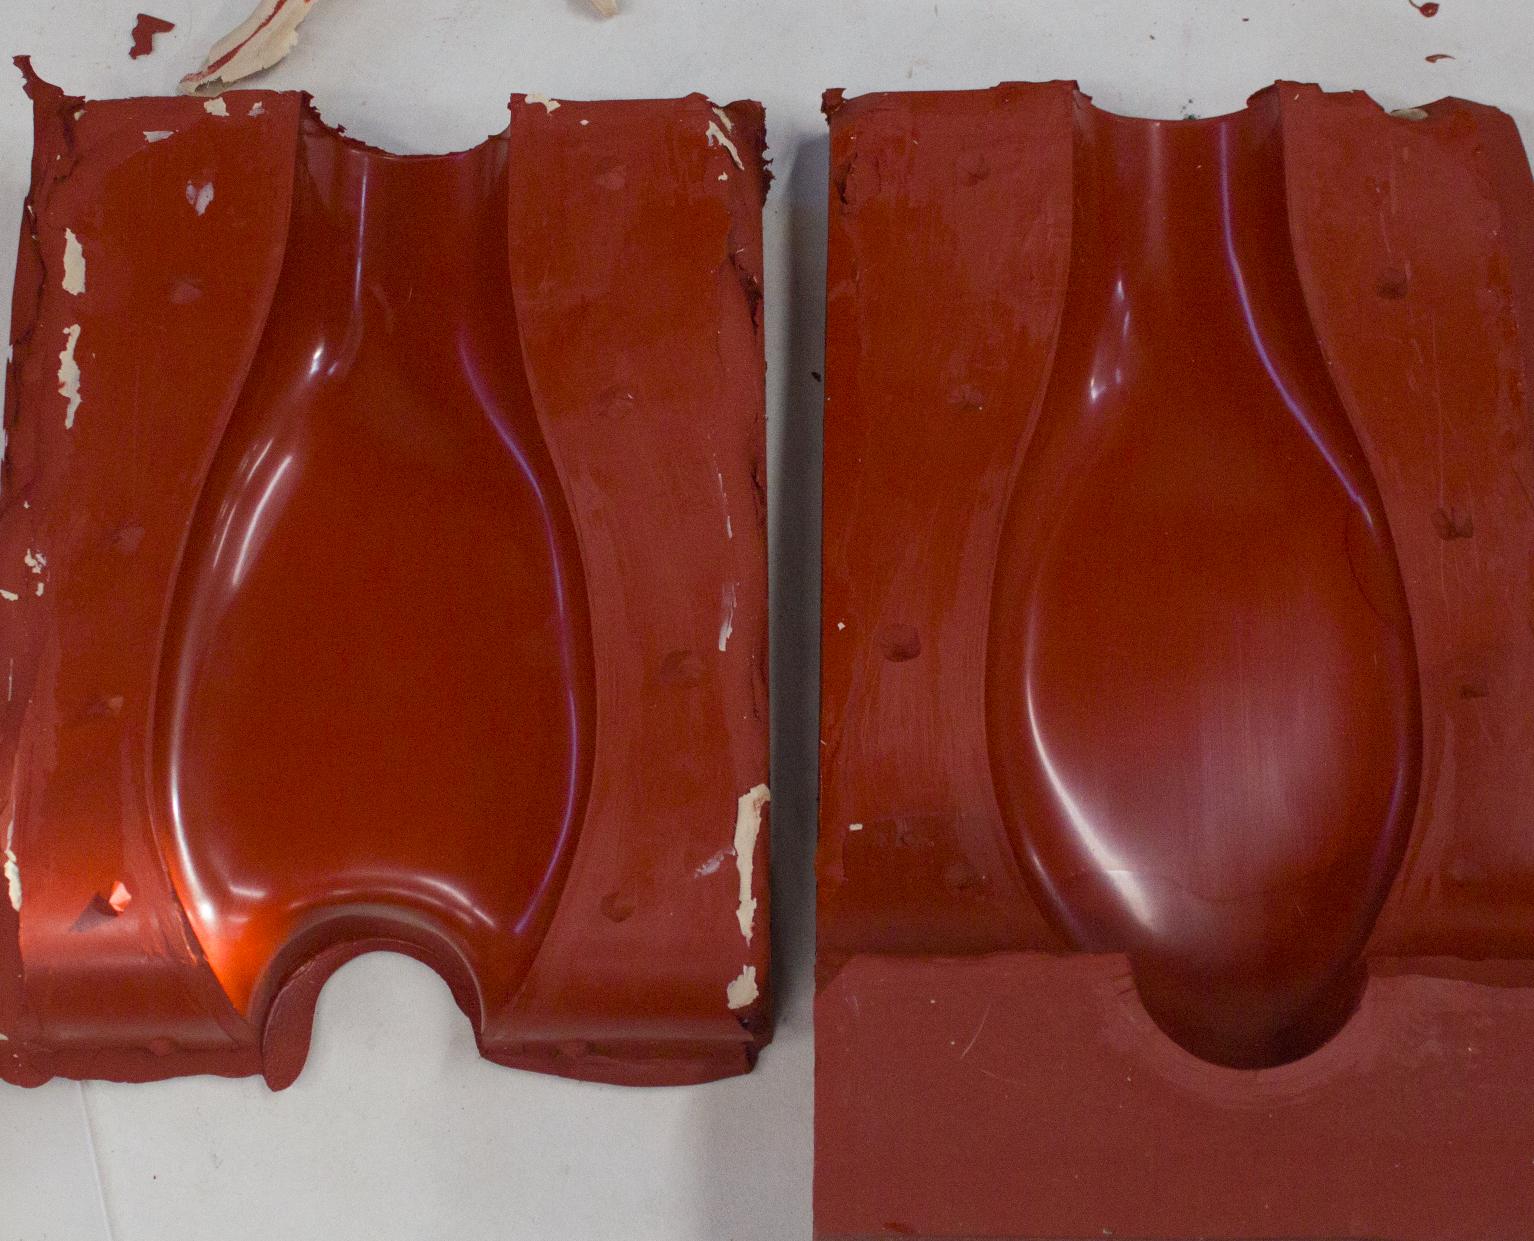
Last edited by asmasm; 11-27-2015 at 12:39 PM.
Reply
0
0
11-28-2015, 01:17 PM
#255
Senior Member
Thread Starter
iTrader: (1)
Join Date: Jul 2012
Location: durham NC
Posts: 792
Total Cats: 143
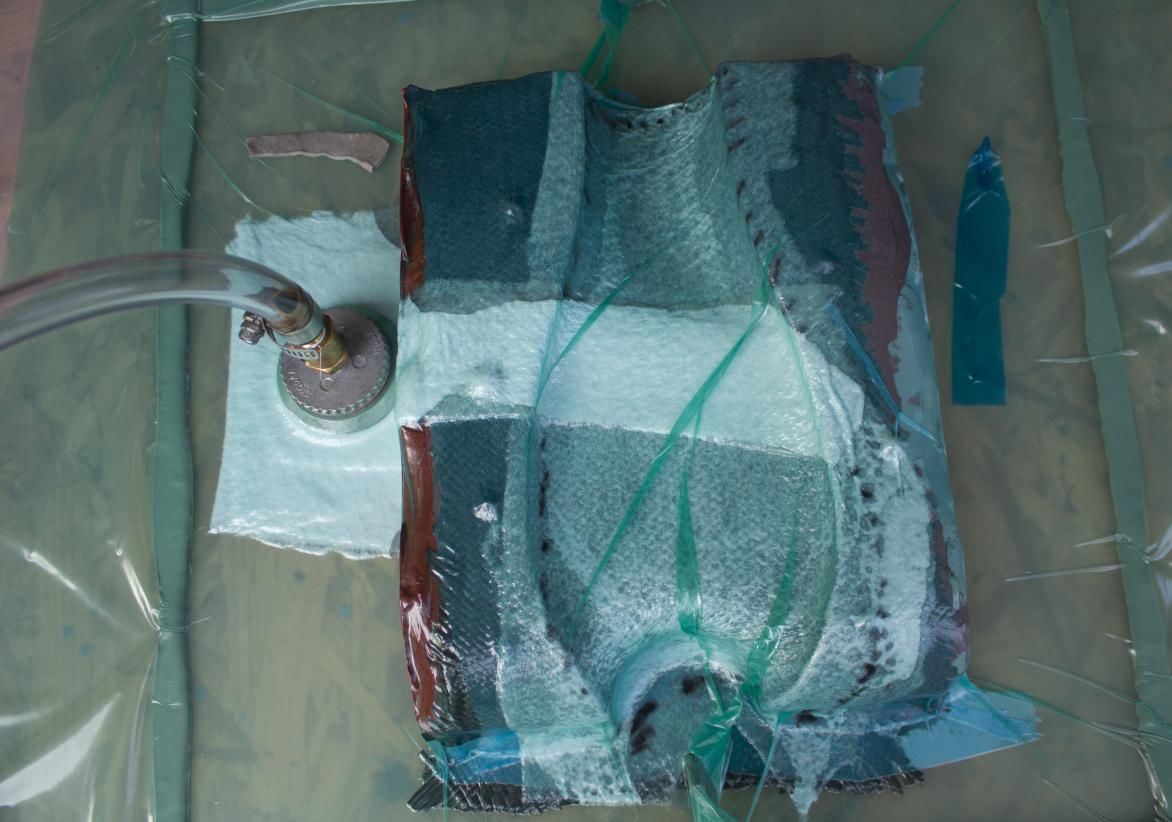
This one might come out like crap, haven't been able to find all the leaks in my vacuum bag and as a result of moving the bag around the stack (but hopefully not the carbon) has shifted around. I still have some leaks but my pump is rated to run continuously and I am getting 29.xxx inch vacuum.
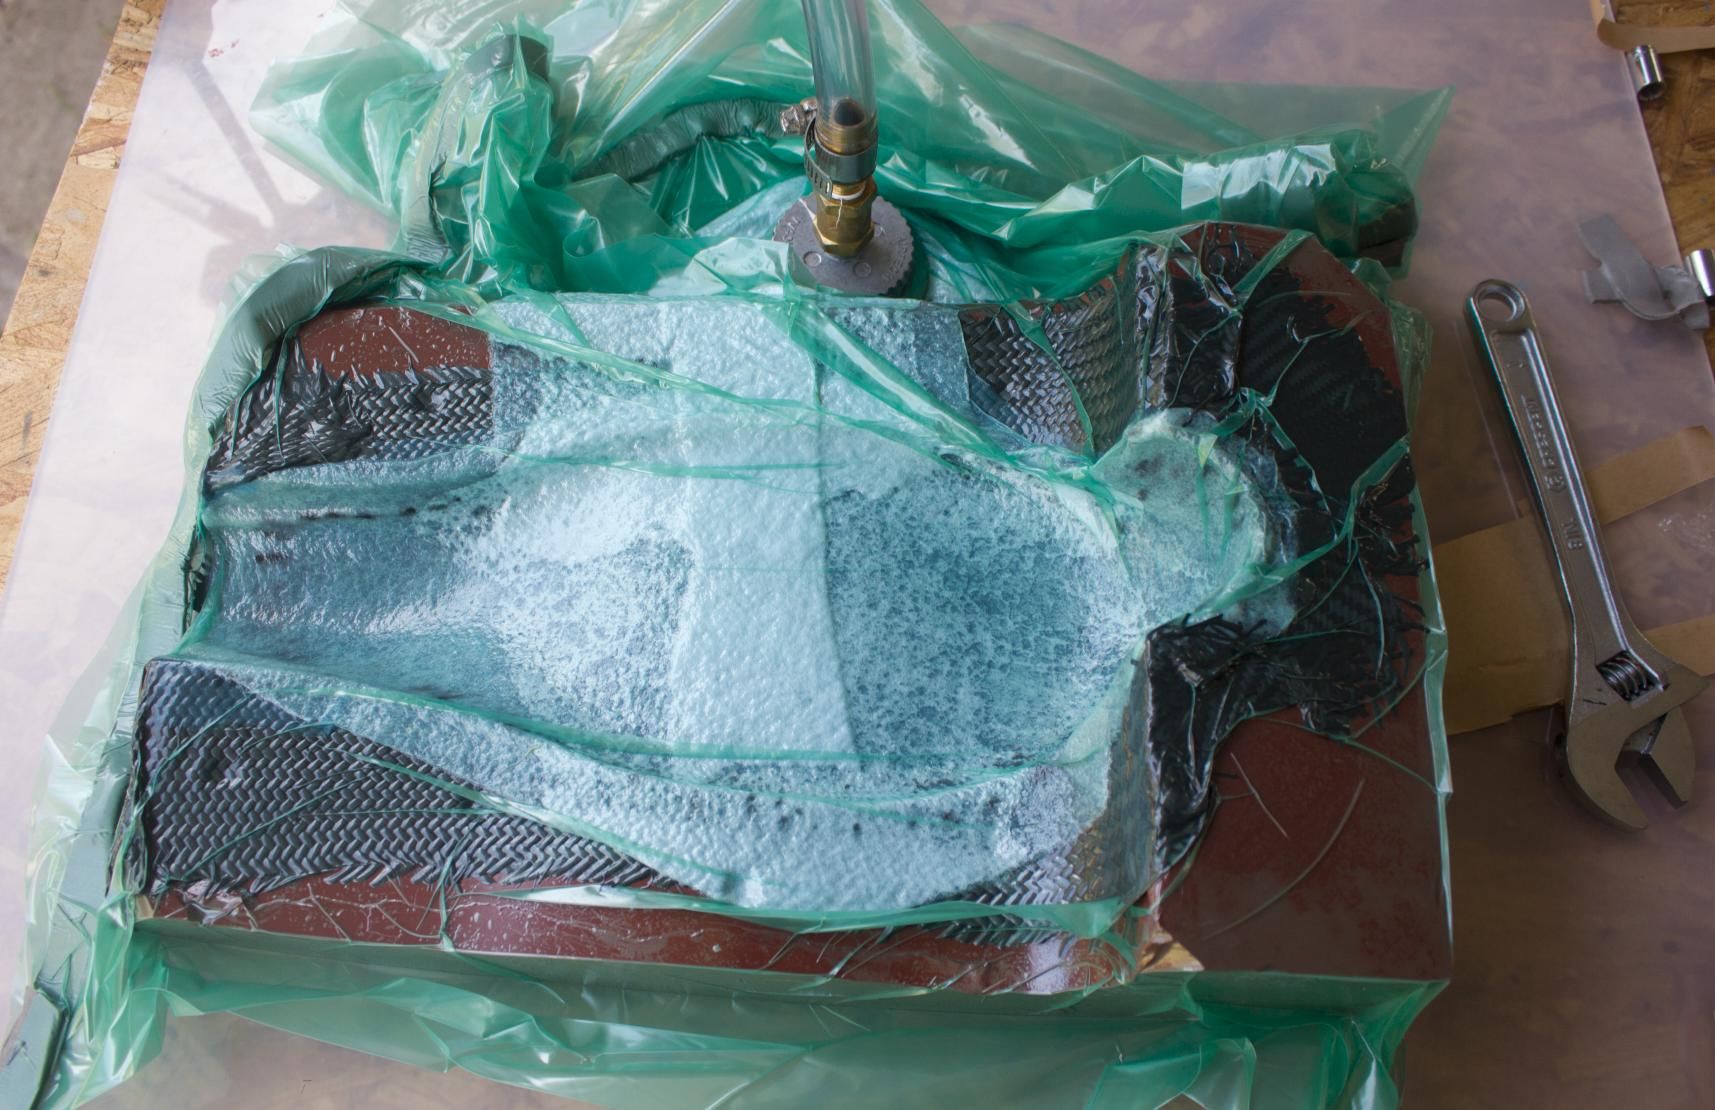
I also need to make a simple manifold so I can bag two things at once.
I also need to make a simple manifold so I can bag two things at once.
Reply
0
0
11-28-2015, 08:33 PM
#256
Senior Member
Thread Starter
iTrader: (1)
Join Date: Jul 2012
Location: durham NC
Posts: 792
Total Cats: 143
It turns out I don't have the self control to wait overnight for a part to cure. Cured at 105F for 8 hours, did a tap test and it felt solid, so I de-molded and found a perfect half of an intake:
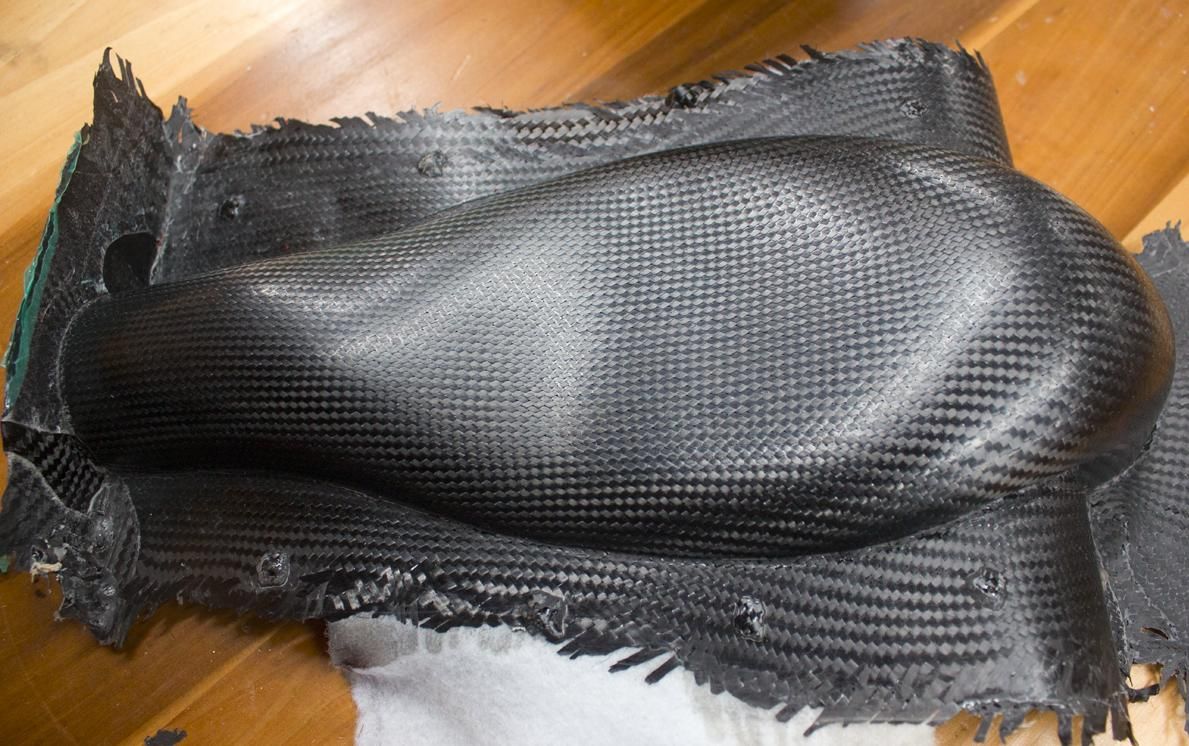
Other half tomorrow. Also, there are certainly downsides to working with silicone molds but de-moulding is not one of them. I have some overhangs and it basically fell right out of the mold.
Other half tomorrow. Also, there are certainly downsides to working with silicone molds but de-moulding is not one of them. I have some overhangs and it basically fell right out of the mold.
Last edited by asmasm; 11-28-2015 at 09:05 PM.
Reply
0
0


 11-29-2015, 12:37 PM
#260
Senior Member
Thread Starter
iTrader: (1)
Join Date: Jul 2012
Location: durham NC
Posts: 792
Total Cats: 143
part 2:
Also,
sanding flat with the flange makes for a prefect parting line but it is super labor intensive. This took small section took 10 minutes with a block and 150 grit. I am going to get a flex attachment for my dremel and some permagrit attachments.
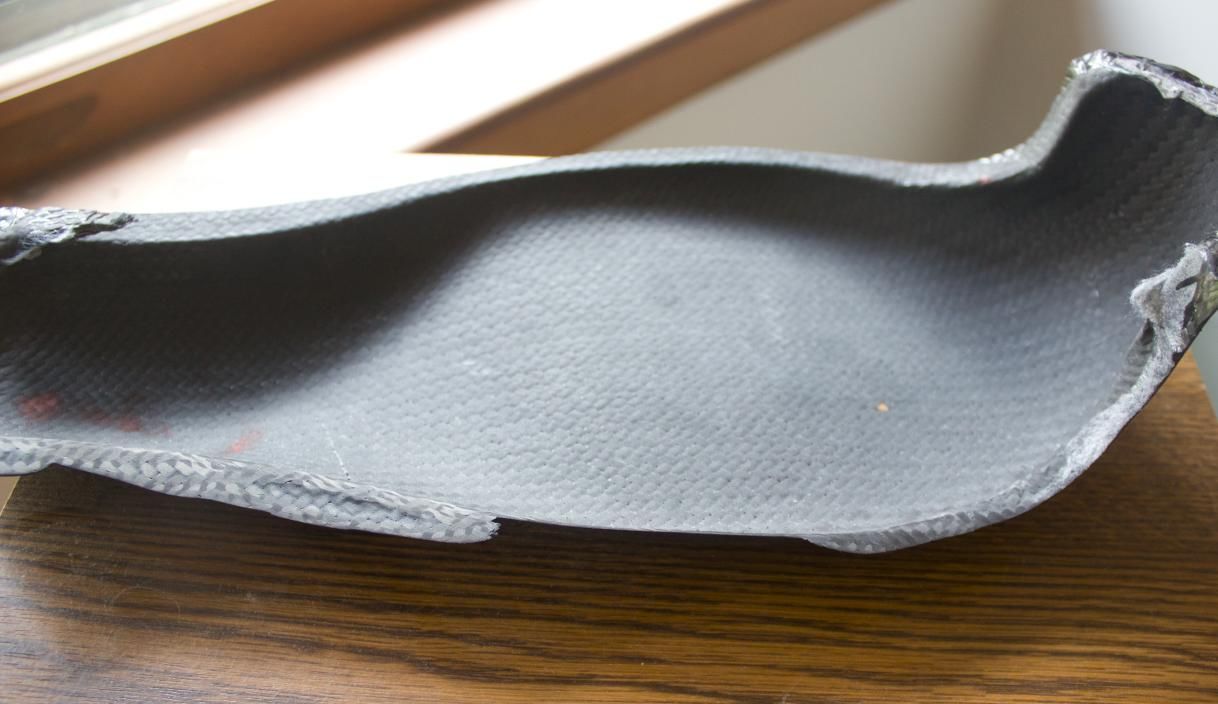
Has anyone ever wet sanded with a dremel? I want to keep thigns very wet to keep the carbon dust out of the air. I figure water will rust out the flex head parts pretty quickly any kind of oil will be prone to igniting. Ideas?
Also,
sanding flat with the flange makes for a prefect parting line but it is super labor intensive. This took small section took 10 minutes with a block and 150 grit. I am going to get a flex attachment for my dremel and some permagrit attachments.
Has anyone ever wet sanded with a dremel? I want to keep thigns very wet to keep the carbon dust out of the air. I figure water will rust out the flex head parts pretty quickly any kind of oil will be prone to igniting. Ideas?
Reply
0
0


