How a cylinder head is measured for thickness.
#1
Senior Member
Thread Starter
iTrader: (1)
Join Date: Mar 2012
Location: Pensacola Fla.
Posts: 588
Total Cats: 203
How a cylinder head is measured for thickness.
Block style head.
This is a fairly simple thing to do.
This will also help in setting the timing belt and calculate combustion chamber size.
New head thickness is 5.200
The Mitsubishi factory manual says a combined total of .008 may be removed from the block and head.
AERA (Automotive Engine Rebuilders Association) says .015 can be milled from the head.
So by AERA specs the Min thickness will be 5.185
The tools needed will be few.
Something to use to clean the head gasket surface
And a set of venier calipers,
Paper and pen.
The first thing to do is remove the head from the engine.
Remove both the exhaust and intake manifolds.
Now on the work bench, remove the cam caps
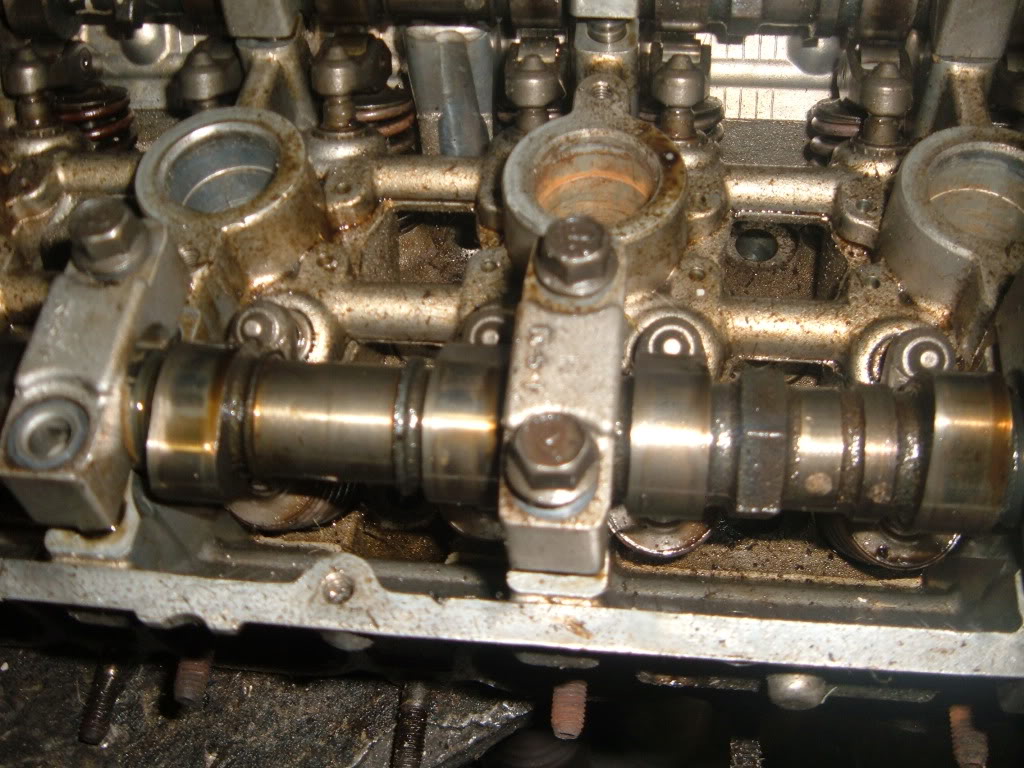
The cams and followers.
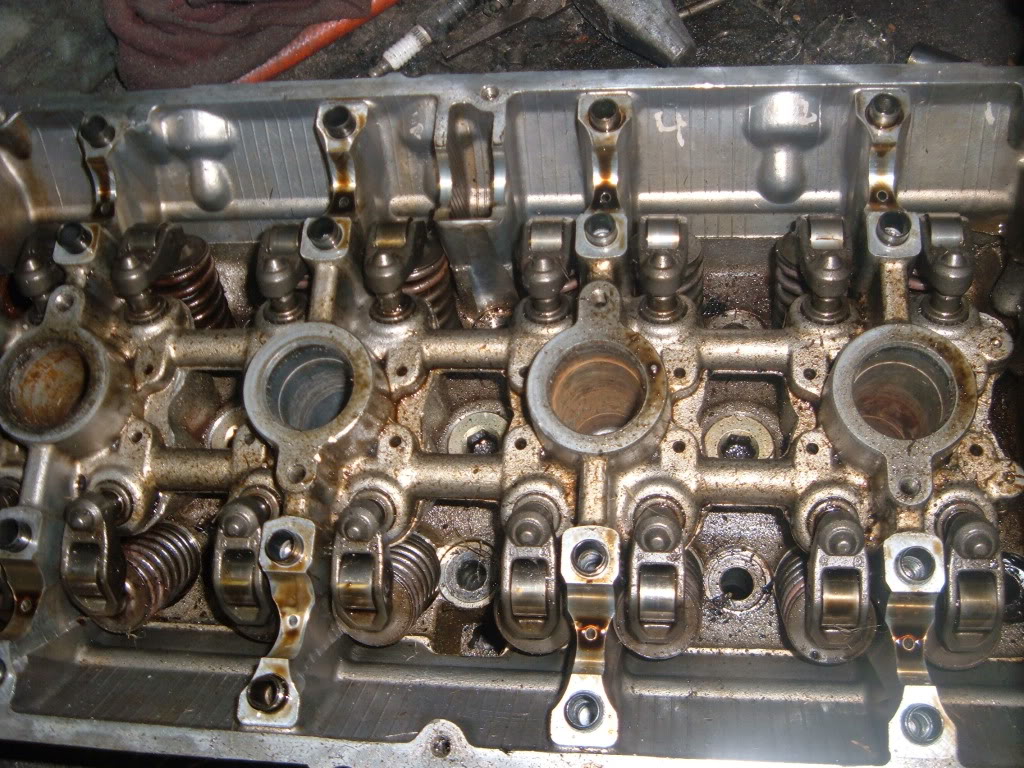
Next roll the head over so the head gasket surface is up.
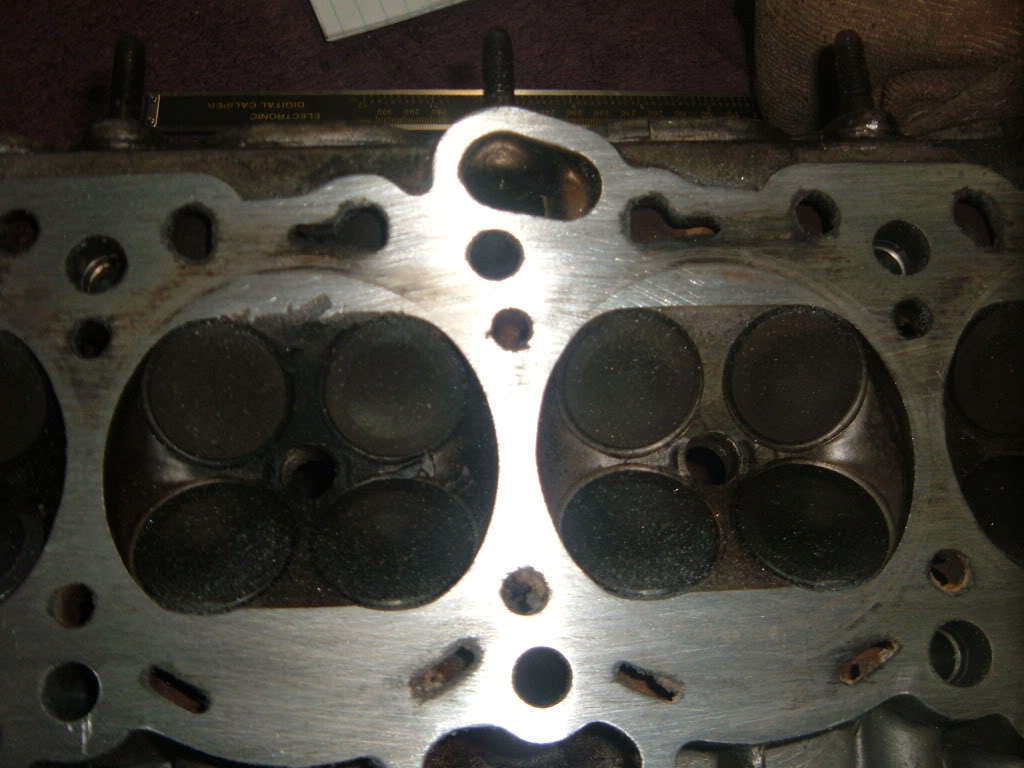
Now the head gasket surface needs to be cleaned of any old gasket material.
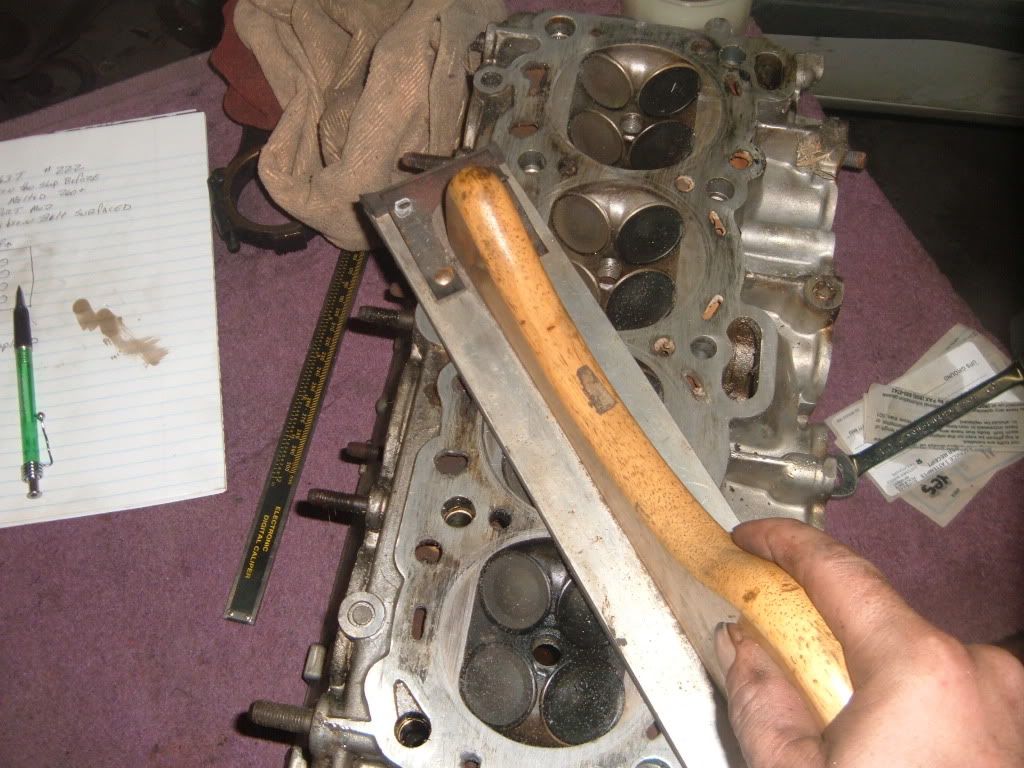
I use a stiff backed long body board.
Now roll the head so one port side is up,
I will start on the exhaust side.
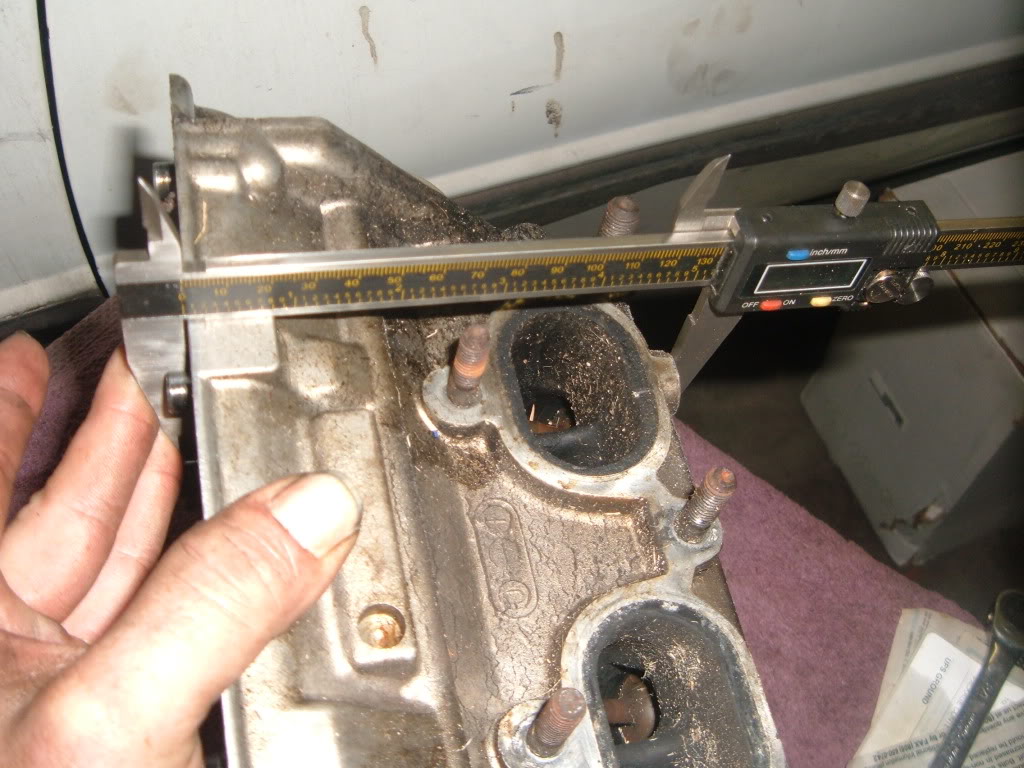
Measure from the valve cover rail to the head gasket surface.
I will also use the cam cap mating surface on the top, it will help keep the calipers square.
Make a note of the measurement.
This is Exhaust Front
On this head it was 5.193
Next I will move to the rear of the head.
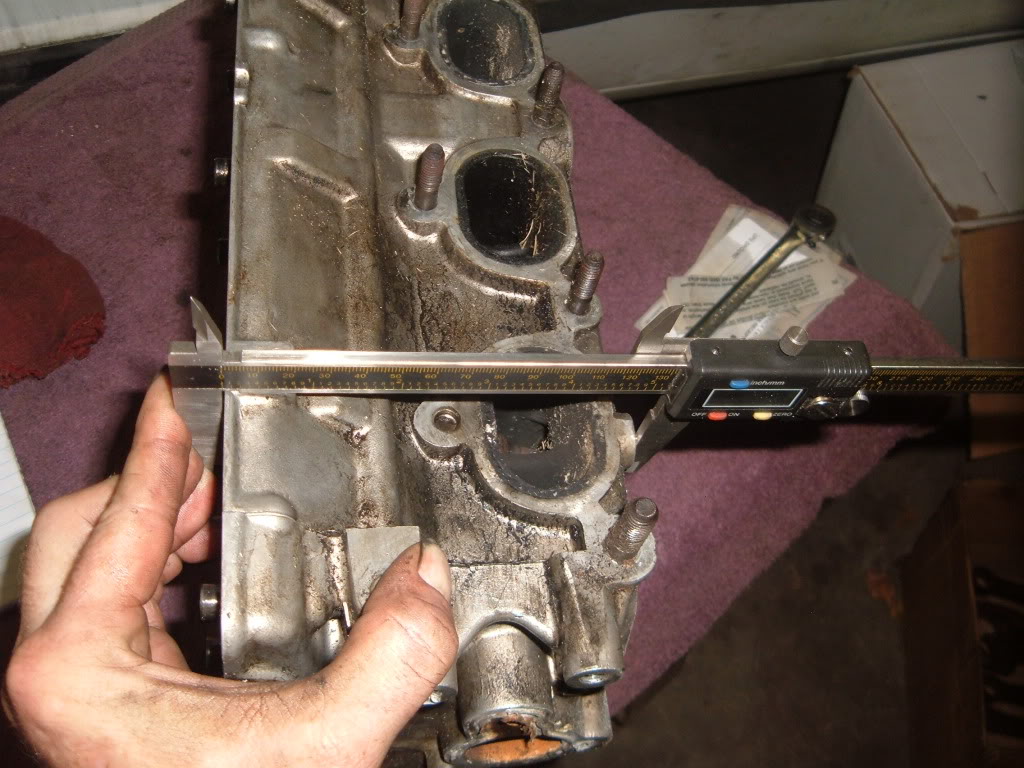
Make note of this measurement.
This is Exhaust Rear
Here I measured 5.190
Next roll the head over to the Intake side.
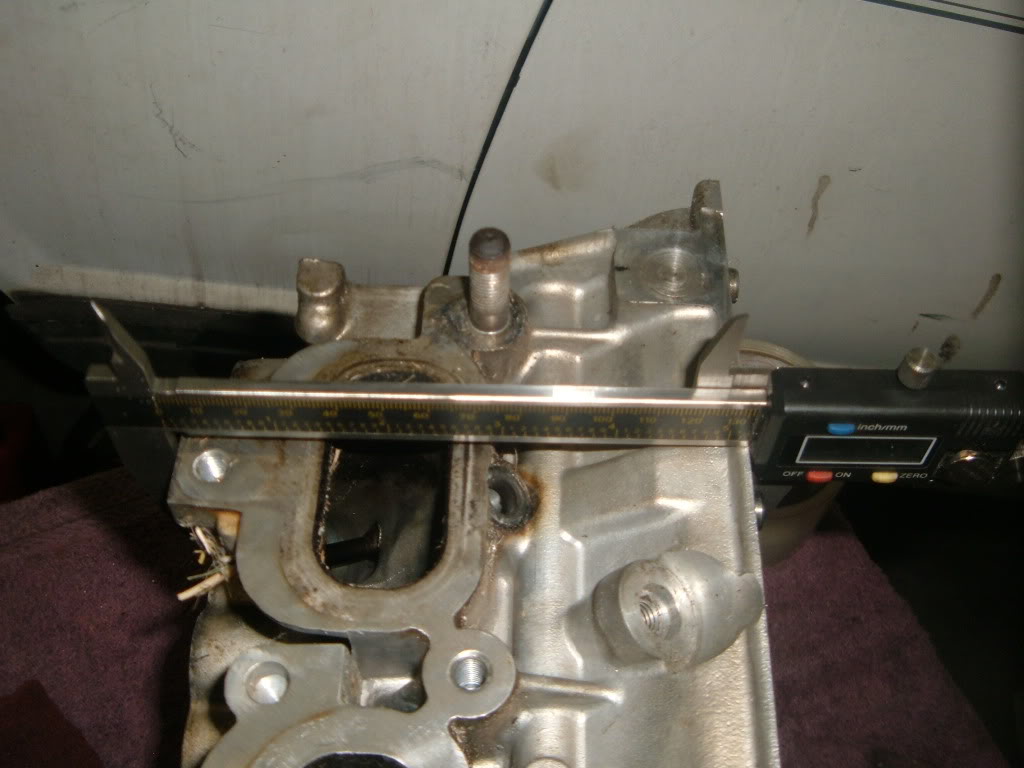
This is the Intake Front
The measurement is 5.191
Now to take the forth and final measurement.
This is the Intake Rear
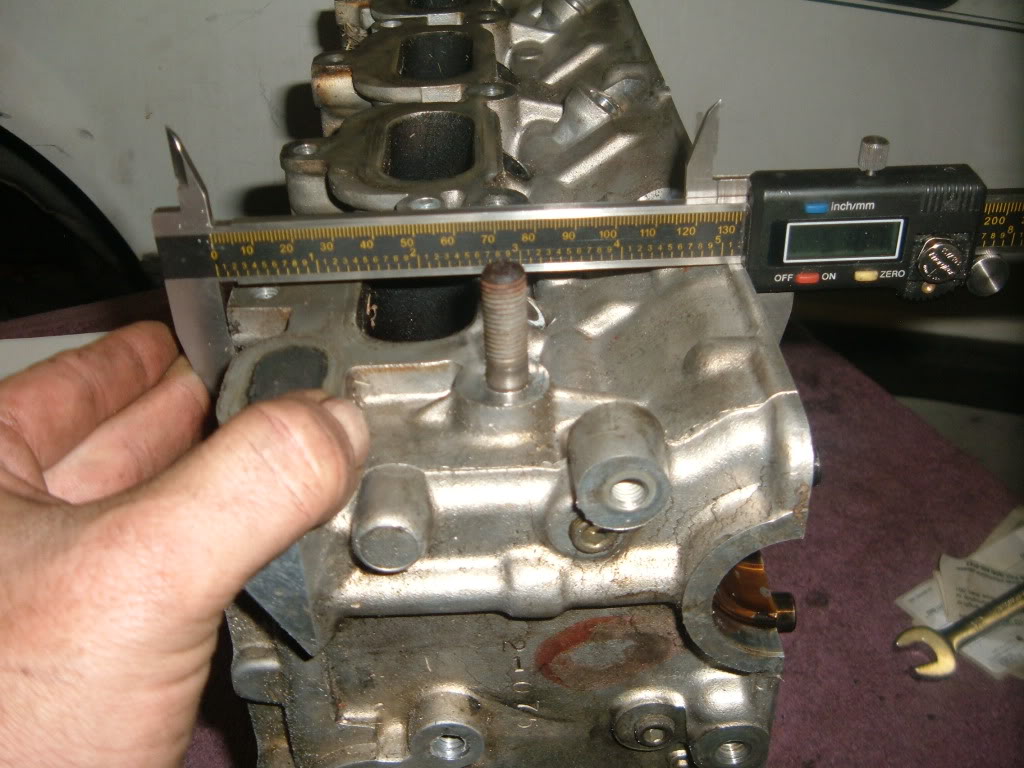
This measured 5.188
So now with the 4 measurements.
EF=5.193 IF=5.191
ER=5.190 IR=5.188
We see the head is not parallel to the valve cover rail.
We can see that from side to side there is .003 difference
And the same .003 from front to back.
Note also this head was belt surfaced before.
This is not a badly surfaced head for being belt surfaced.
The combustion camber volumes will still not be equal.
This procedure will hold true for any "box style" cylinder head.
Other related links
https://www.miataturbo.net/showthrea...636#post855636
https://www.miataturbo.net/showthrea...665#post862665
Block style head.
This is a fairly simple thing to do.
This will also help in setting the timing belt and calculate combustion chamber size.
New head thickness is 5.200
The Mitsubishi factory manual says a combined total of .008 may be removed from the block and head.
AERA (Automotive Engine Rebuilders Association) says .015 can be milled from the head.
So by AERA specs the Min thickness will be 5.185
The tools needed will be few.
Something to use to clean the head gasket surface
And a set of venier calipers,
Paper and pen.
The first thing to do is remove the head from the engine.
Remove both the exhaust and intake manifolds.
Now on the work bench, remove the cam caps

The cams and followers.

Next roll the head over so the head gasket surface is up.

Now the head gasket surface needs to be cleaned of any old gasket material.

I use a stiff backed long body board.
Now roll the head so one port side is up,
I will start on the exhaust side.

Measure from the valve cover rail to the head gasket surface.
I will also use the cam cap mating surface on the top, it will help keep the calipers square.
Make a note of the measurement.
This is Exhaust Front
On this head it was 5.193
Next I will move to the rear of the head.

Make note of this measurement.
This is Exhaust Rear
Here I measured 5.190
Next roll the head over to the Intake side.

This is the Intake Front
The measurement is 5.191
Now to take the forth and final measurement.
This is the Intake Rear

This measured 5.188
So now with the 4 measurements.
EF=5.193 IF=5.191
ER=5.190 IR=5.188
We see the head is not parallel to the valve cover rail.
We can see that from side to side there is .003 difference
And the same .003 from front to back.
Note also this head was belt surfaced before.
This is not a badly surfaced head for being belt surfaced.
The combustion camber volumes will still not be equal.
This procedure will hold true for any "box style" cylinder head.
Other related links
https://www.miataturbo.net/showthrea...636#post855636
https://www.miataturbo.net/showthrea...665#post862665
Thread
Thread Starter
Forum
Replies
Last Post


