
The custom fabrication thread! (Post pics of stuff you have made)
 04-26-2013, 01:11 PM
#361
Elite Member

iTrader: (9)
Join Date: Jun 2006
Location: Chesterfield, NJ
Posts: 6,892
Total Cats: 399
I see the 3" 90deg 304ss unpolished without straight sections at $34 each. But yeah, ideally the polished with legs would be used, those are $65 from mcmaster. Fail. 

Reply
 0
0

0
04-26-2013, 02:52 PM
#364
Newb

Join Date: Mar 2008
Posts: 41
Total Cats: -2
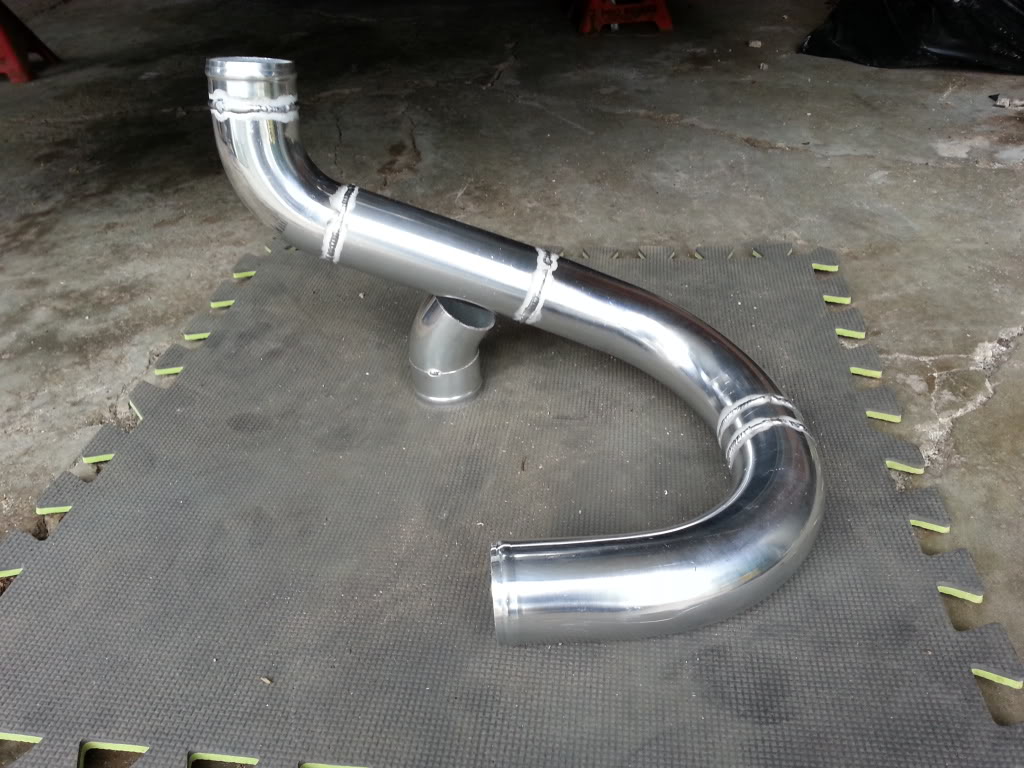
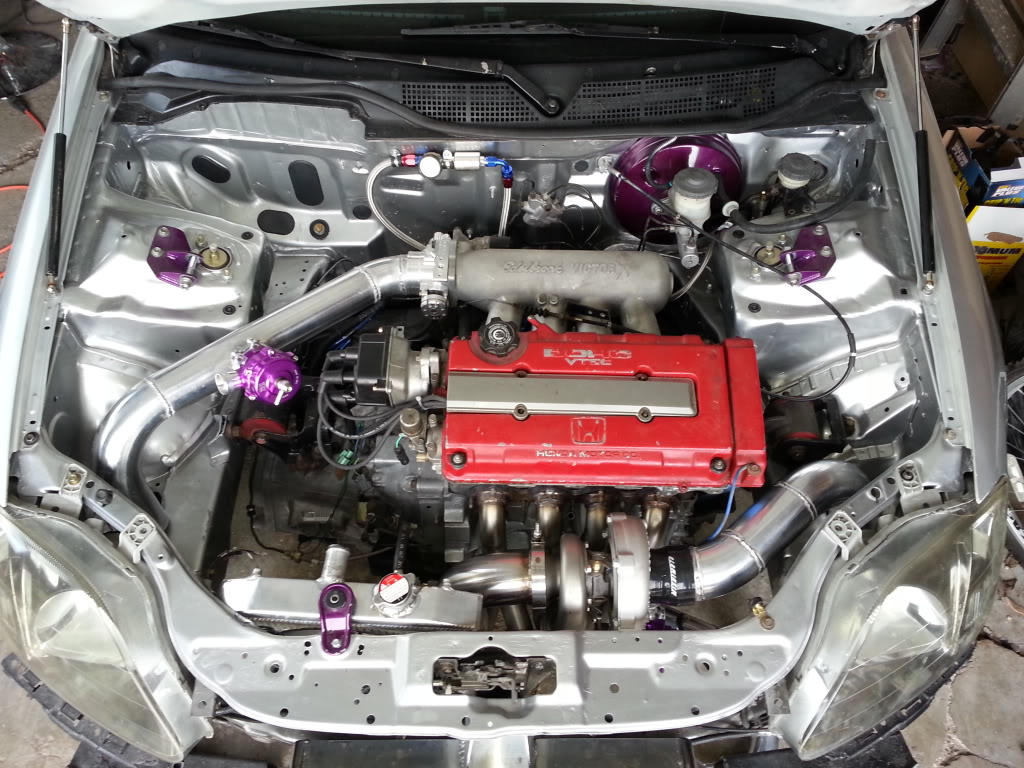
Nothing super impressive but I thought I'd share. Modified my Maxim Works header to better accomidate my Rotrex charger (Yup, bring on the Supercharger hate!  )
)


Then mated it to a 3" catback (essentially made everything from the secondary runners, back) Nice project to learn from and if I were to do it I'd do so many things differently

)Then mated it to a 3" catback (essentially made everything from the secondary runners, back) Nice project to learn from and if I were to do it I'd do so many things differently
Reply
0
0
04-26-2013, 04:36 PM
#367
Newb
Join Date: Mar 2008
Posts: 41
Total Cats: -2
Thanks guys,
I know this is mainly a picture thread but a bit of background info:
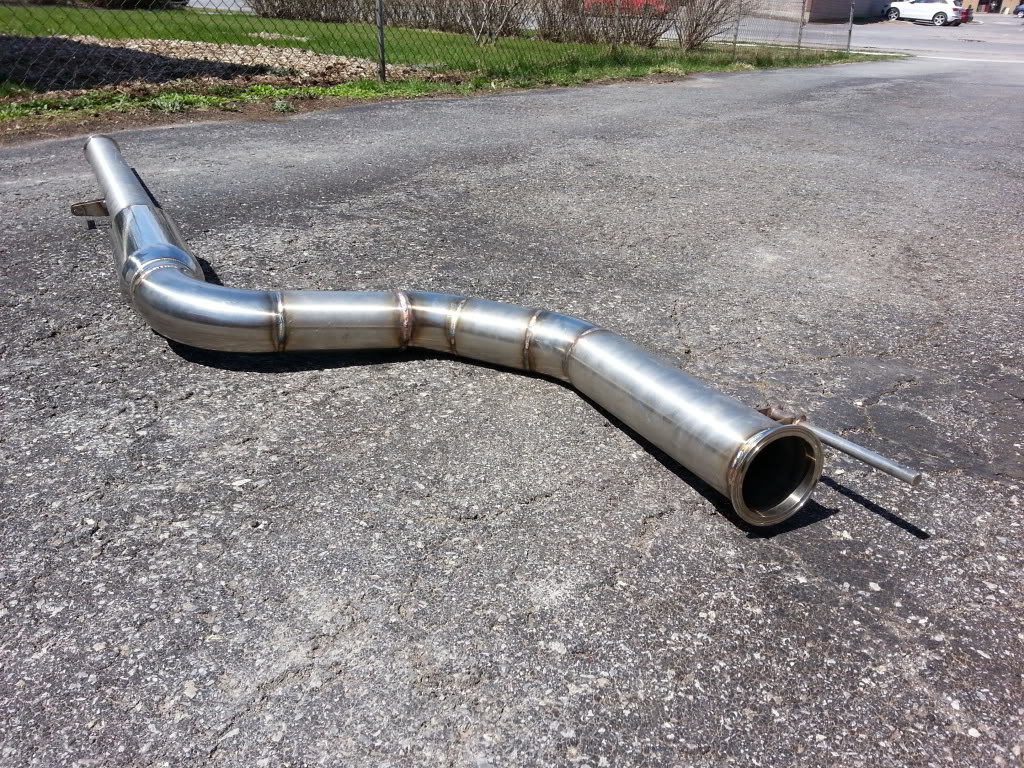
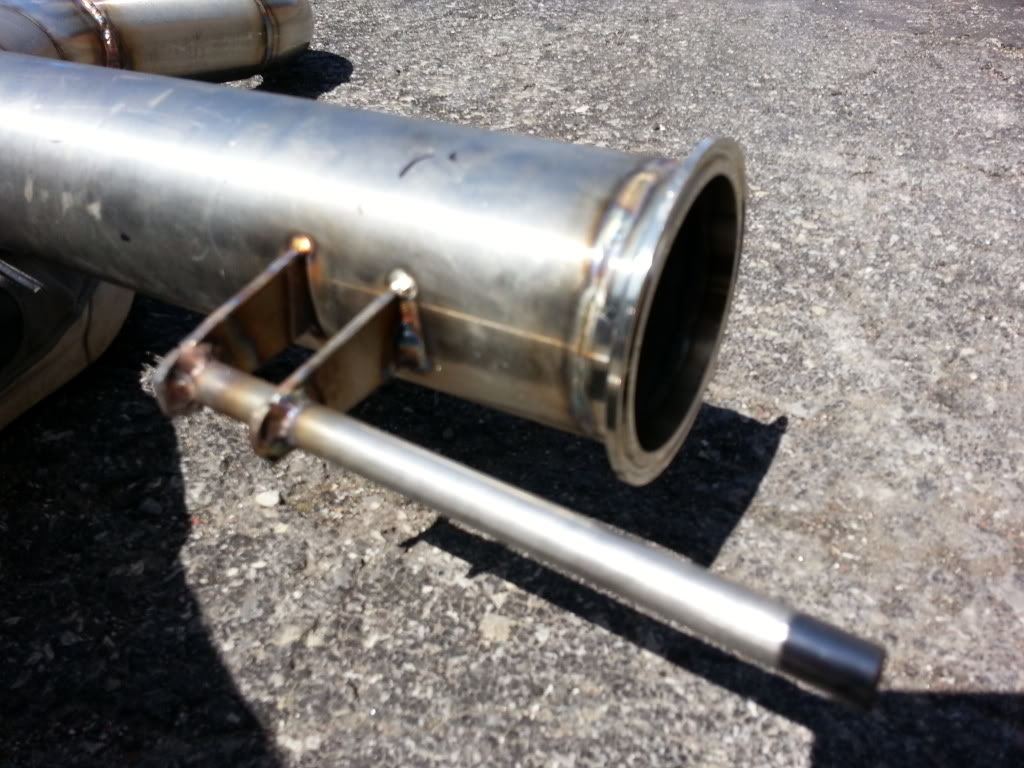
The header steps from a 2.5" "downpipe" (After the secondaries) and goes into a transition to 3". Within that transition some of the 2.5" protrudes with the idea being similar to an anti-reversion chamber. Not sure if it makes a difference as I have no back-to-back data.
I know this is mainly a picture thread but a bit of background info:
The header steps from a 2.5" "downpipe" (After the secondaries) and goes into a transition to 3". Within that transition some of the 2.5" protrudes with the idea being similar to an anti-reversion chamber. Not sure if it makes a difference as I have no back-to-back data.
Reply
0
0
04-27-2013, 06:04 PM
#368
Elite Member
iTrader: (8)

Join Date: Dec 2008
Location: Kingston, Ontario
Posts: 2,910
Total Cats: 51
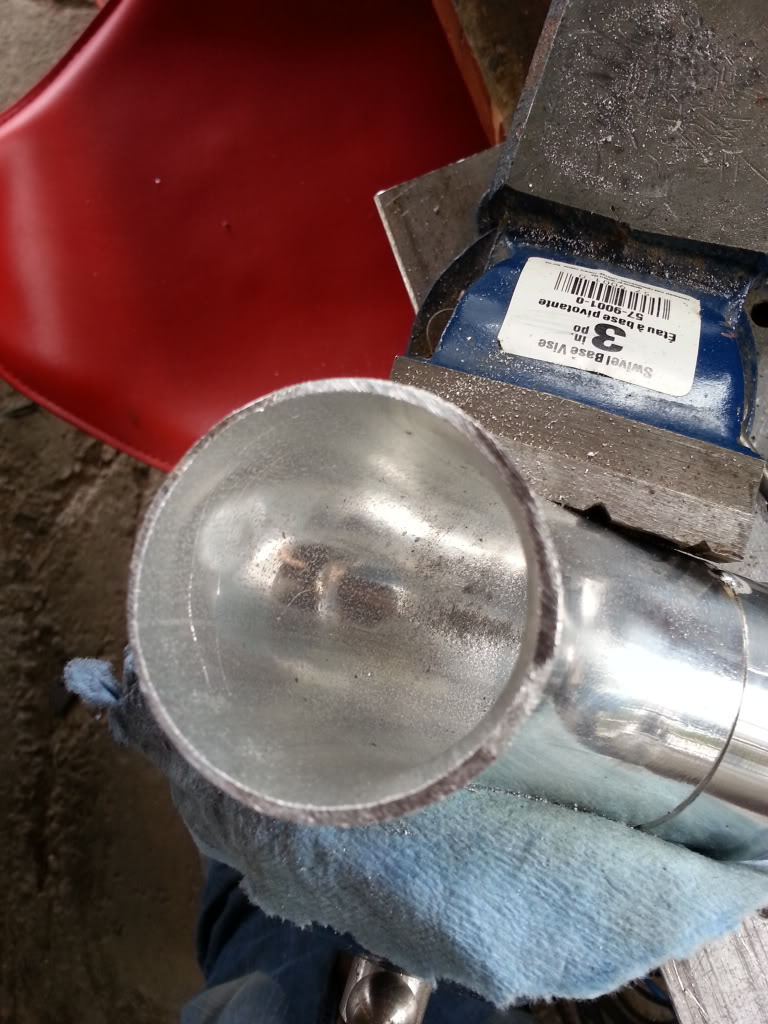
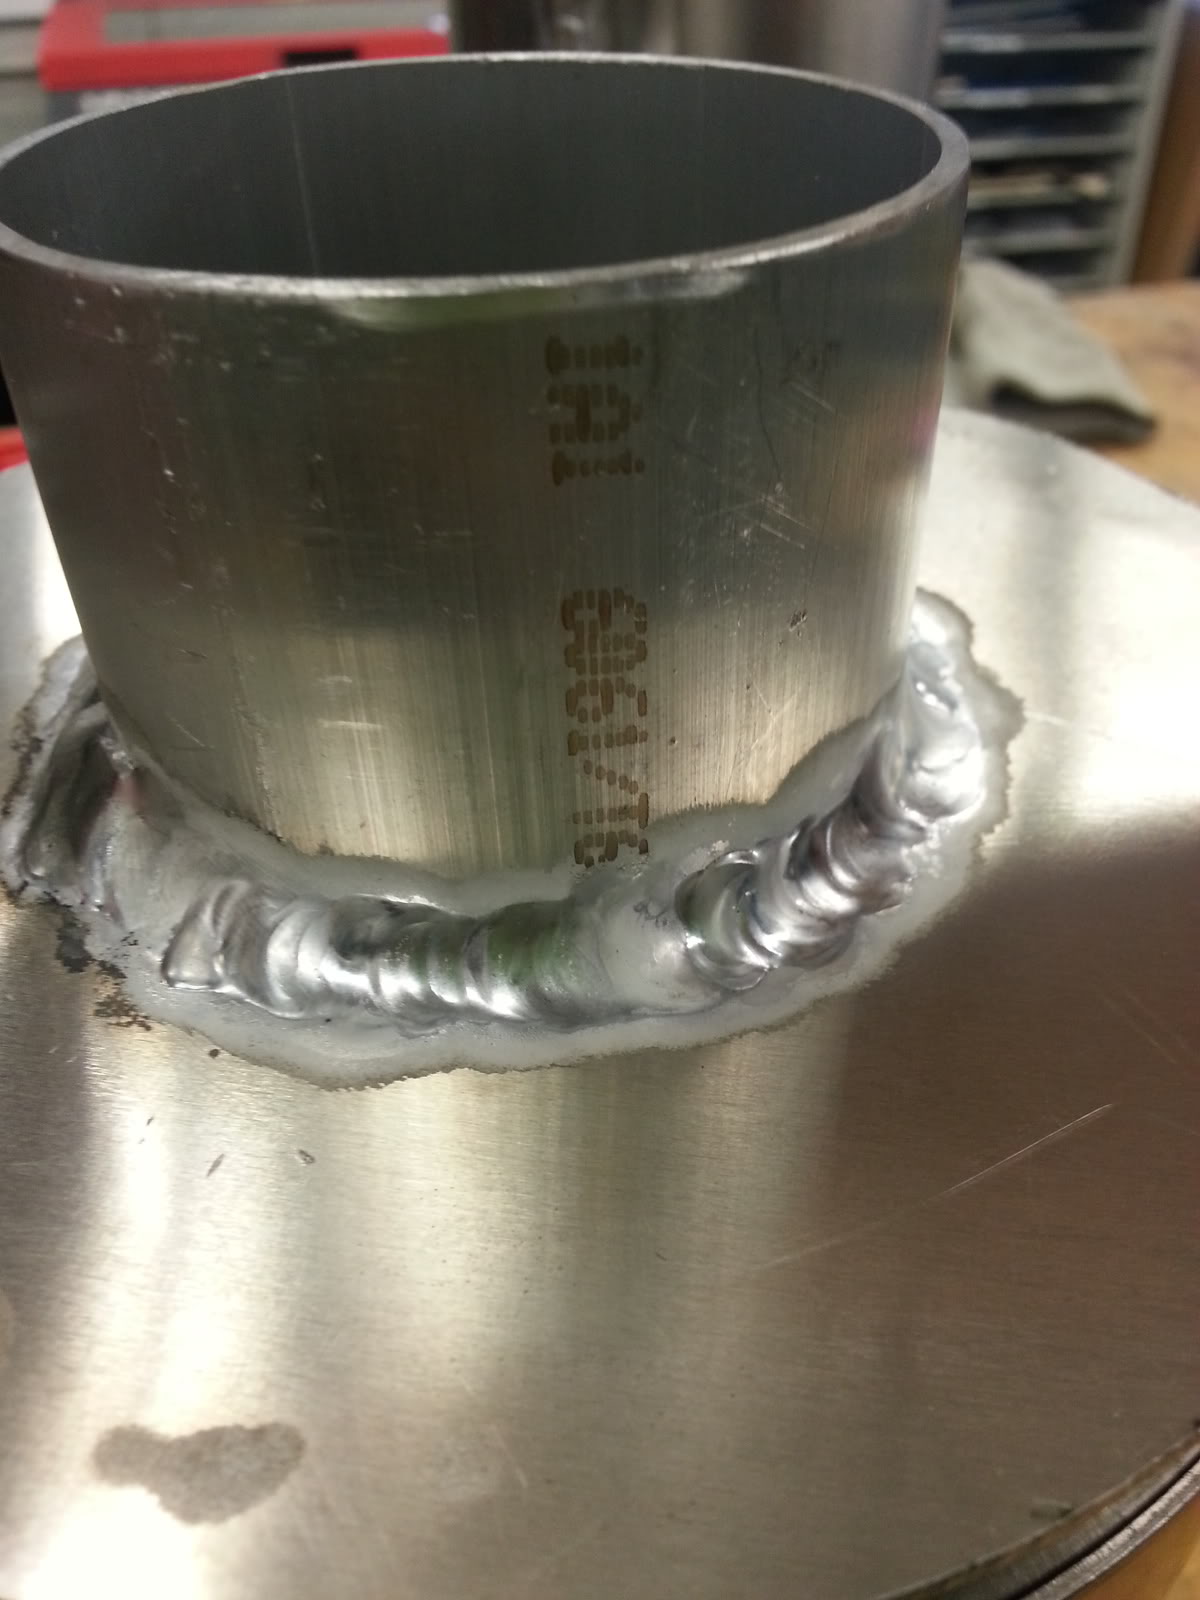
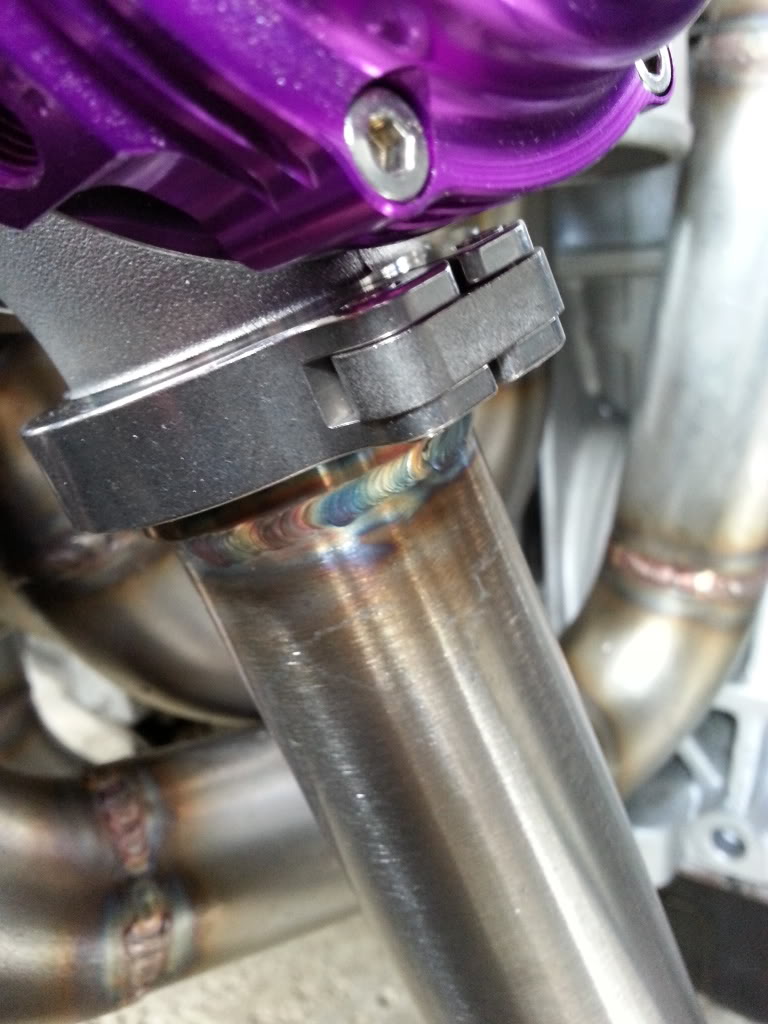
This is why I hate the vibrant elbows.
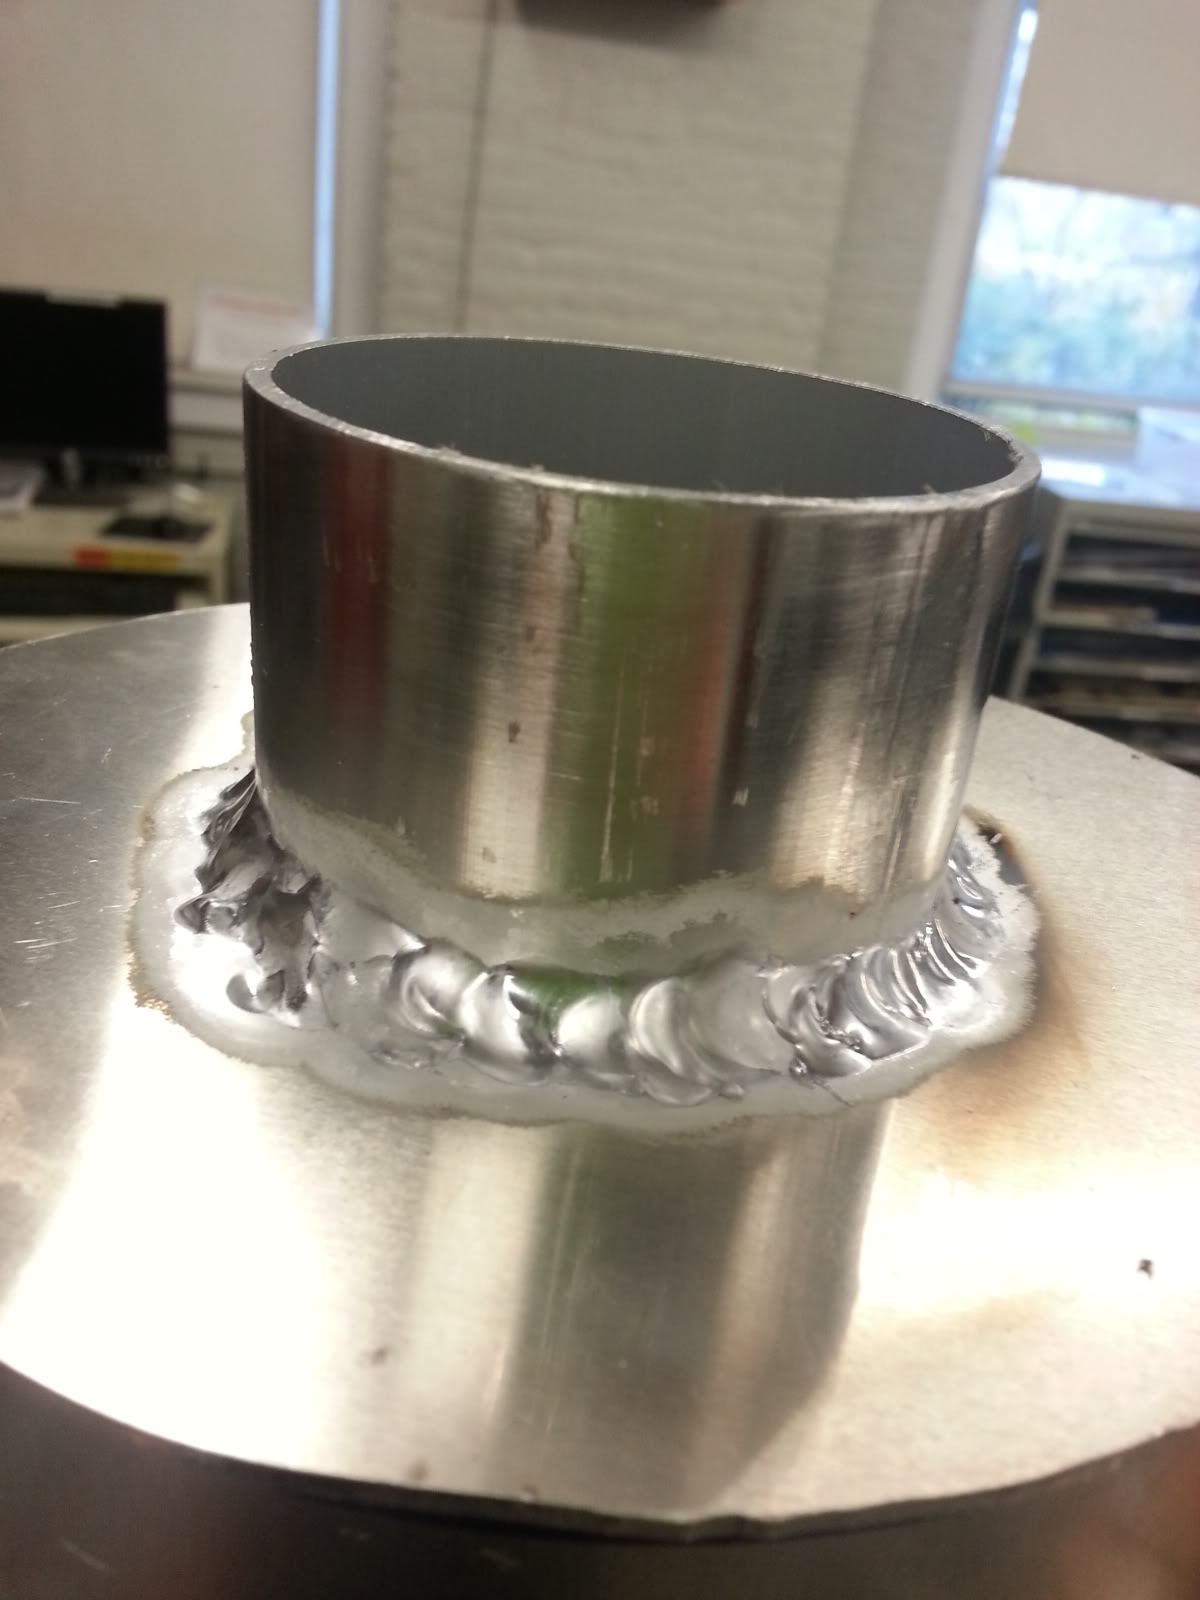
Checkout the cross sectional wall thickness... My suppliers elbows are way thicker and have the same thickness the whole circumference.
Little pipe welded up today...
Weld closeup...

Checkout the cross sectional wall thickness... My suppliers elbows are way thicker and have the same thickness the whole circumference.
Little pipe welded up today...
Weld closeup...
Reply
0
0
04-27-2013, 08:55 PM
#369

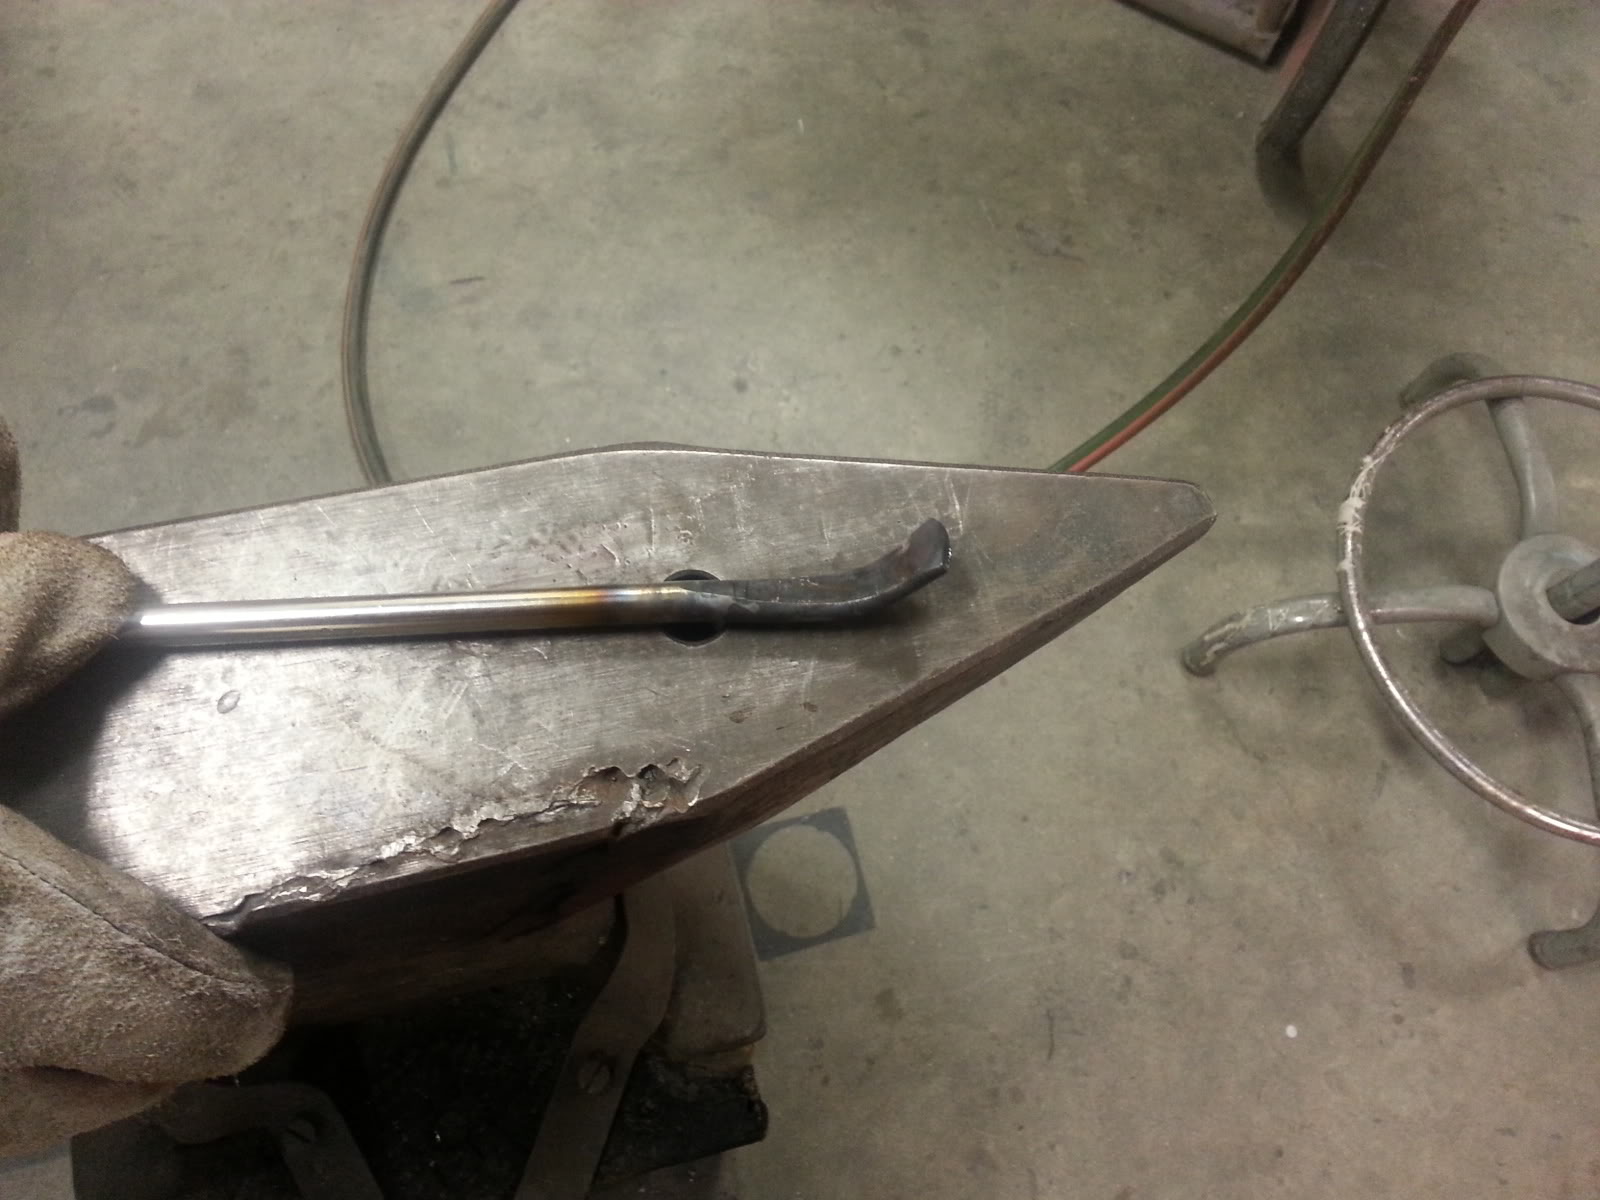
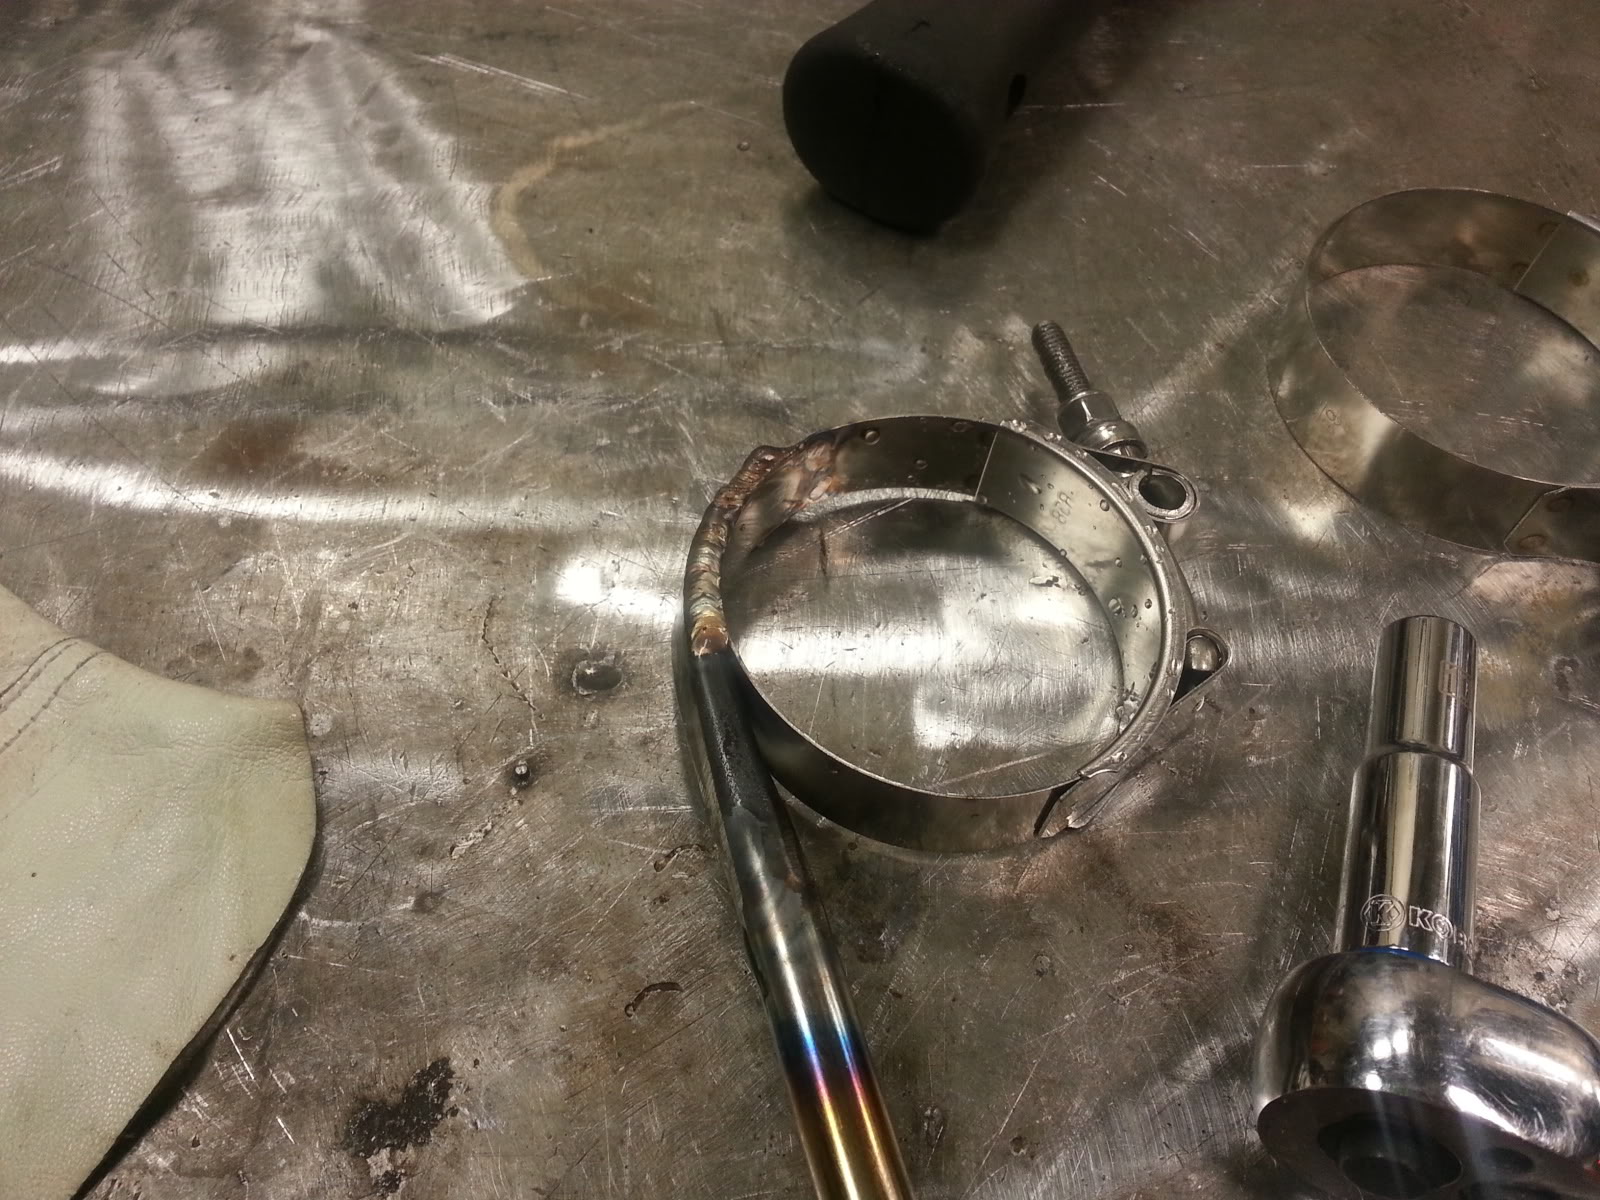
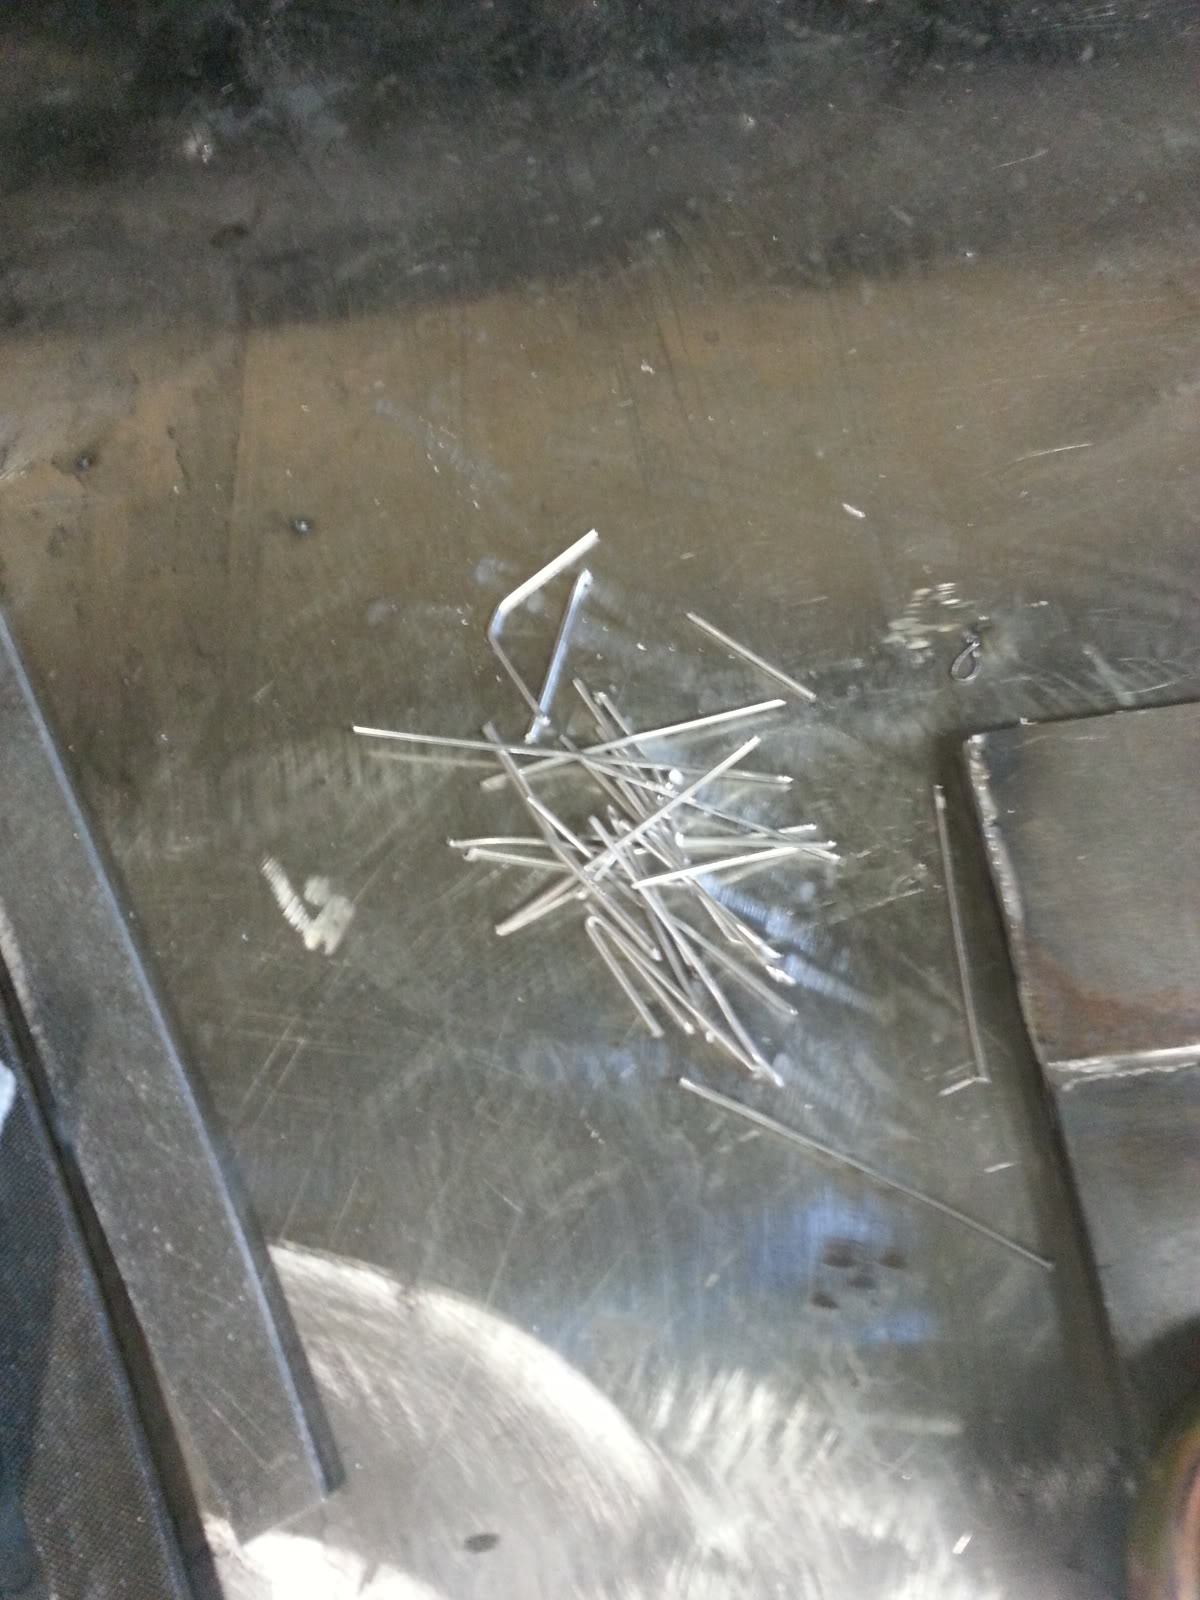
Just made a couple exhaust hangers for a buddy, he wanted them to clamp on. I heated up the 304 rod with the oxy acetylene torch and hammered it flat on the anvil. We happened to have some 2.5" Al round stock in short sections kicking around so I hammered the bend into it around that.
And then today and I used all of this.
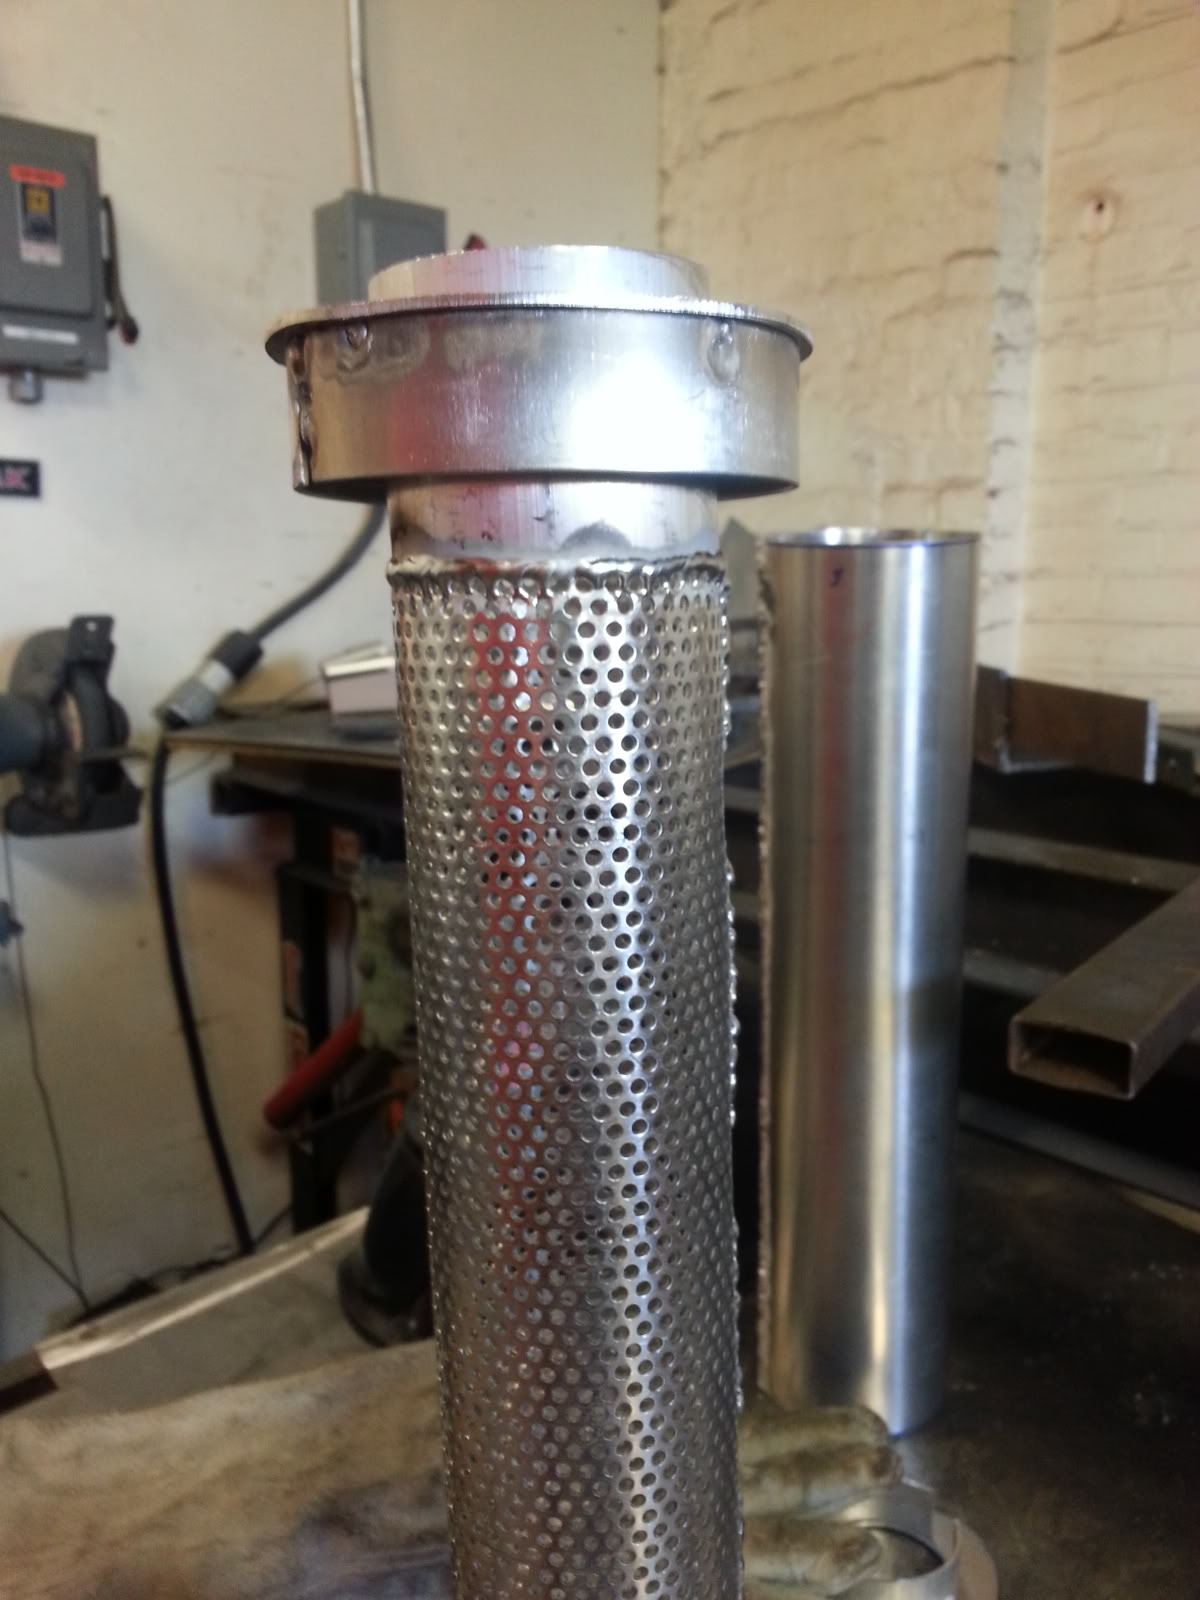
And you know, just made some custom mufflers... out of aluminum.

Yup, made those cores out of perf sheet did that a couple weeks ago.
So remember how I complain about the Dynasty we have. Yeah I'm never going to use pure tungesten in that thing again. All those welds were done with thoriated, 1/16" with a #6 cup. 120Hz, some were done at the balance of 45% that I was using to try to make the pure tungsten work, the rest were done with 60%. And zero weld prep, we didn't have a clean stainless brush in the shop so I figured using the welder to break through the AlOx was better than getting steel all up in the weld. We were also out of acetone.
And then today and I used all of this.
And you know, just made some custom mufflers... out of aluminum.
Yup, made those cores out of perf sheet did that a couple weeks ago.
So remember how I complain about the Dynasty we have. Yeah I'm never going to use pure tungesten in that thing again. All those welds were done with thoriated, 1/16" with a #6 cup. 120Hz, some were done at the balance of 45% that I was using to try to make the pure tungsten work, the rest were done with 60%. And zero weld prep, we didn't have a clean stainless brush in the shop so I figured using the welder to break through the AlOx was better than getting steel all up in the weld. We were also out of acetone.
Last edited by Leafy; 04-28-2013 at 10:10 AM.
Reply
0
0
04-28-2013, 11:48 AM
#370
Junior Member
Thread Starter

Join Date: Jun 2010
Posts: 176
Total Cats: 4
Just made a couple exhaust hangers for a buddy, he wanted them to clamp on. I heated up the 304 rod with the oxy acetylene torch and hammered it flat on the anvil. We happened to have some 2.5" Al round stock in short sections kicking around so I hammered the bend into it around that.


And then today and I used all of this.

And you know, just made some custom mufflers... out of aluminum.

Yup, made those cores out of perf sheet did that a couple weeks ago.


So remember how I complain about the Dynasty we have. Yeah I'm never going to use pure tungesten in that thing again. All those welds were done with thoriated, 1/16" with a #6 cup. 120Hz, some were done at the balance of 45% that I was using to try to make the pure tungsten work, the rest were done with 60%. And zero weld prep, we didn't have a clean stainless brush in the shop so I figured using the welder to break through the AlOx was better than getting steel all up in the weld. We were also out of acetone.
And then today and I used all of this.
And you know, just made some custom mufflers... out of aluminum.
Yup, made those cores out of perf sheet did that a couple weeks ago.
So remember how I complain about the Dynasty we have. Yeah I'm never going to use pure tungesten in that thing again. All those welds were done with thoriated, 1/16" with a #6 cup. 120Hz, some were done at the balance of 45% that I was using to try to make the pure tungsten work, the rest were done with 60%. And zero weld prep, we didn't have a clean stainless brush in the shop so I figured using the welder to break through the AlOx was better than getting steel all up in the weld. We were also out of acetone.
Reply
0
0
04-28-2013, 02:21 PM
#372
Junior Member
Thread Starter
Join Date: Jun 2010
Posts: 176
Total Cats: 4
Personally I'd say unless you're getting a bead per second you're not going fast enough. Look for the keyhole right before it blows into a hole, that's where you want to dip before it blows into a hole. If you're not getting a keyhole without waiting forever, turn your heat up. I personally don't like the way my welds look unless I blast it and move real fast. If I don't dip on time ill blow a hole in my part to give you an idea. It makes it come out very nice and fast though.
Reply
0
0
04-28-2013, 08:51 PM
#375
Cpt. Slow
iTrader: (25)
Join Date: Oct 2005
Location: Oregon City, OR
Posts: 14,175
Total Cats: 1,129
That reminds me, I really need to figure out a decent muffler for the N/A track cars around here. They keep burning up their packing with their catless flamethrowers. Custom might be the way to go. What're you using for packing?
Reply
0
0
04-28-2013, 10:54 PM
#377

Personally I'd say unless you're getting a bead per second you're not going fast enough. Look for the keyhole right before it blows into a hole, that's where you want to dip before it blows into a hole. If you're not getting a keyhole without waiting forever, turn your heat up. I personally don't like the way my welds look unless I blast it and move real fast. If I don't dip on time ill blow a hole in my part to give you an idea. It makes it come out very nice and fast though.
Reply
0
0
 04-29-2013, 11:48 AM
#379
Elite Member
iTrader: (8)
Join Date: Dec 2008
Location: Kingston, Ontario
Posts: 2,910
Total Cats: 51
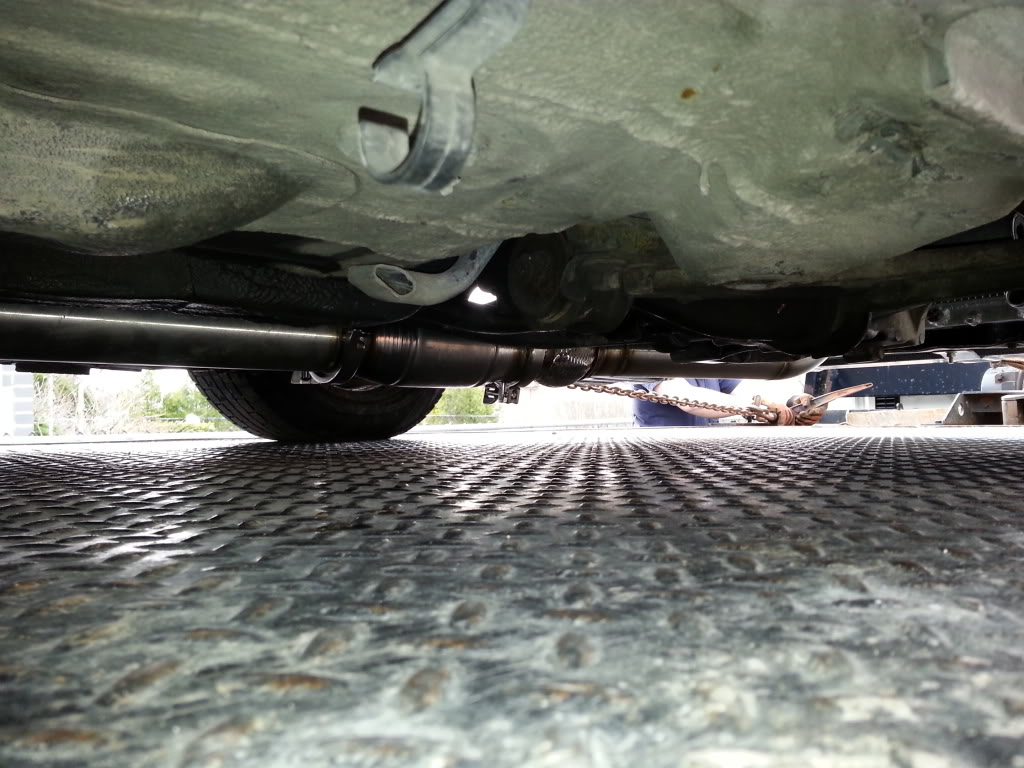
I delivered the civic project yesterday for a happy customer. Here are a few pics I managed to snap on my phone because the tow truck came early which i really wasnt expecting.
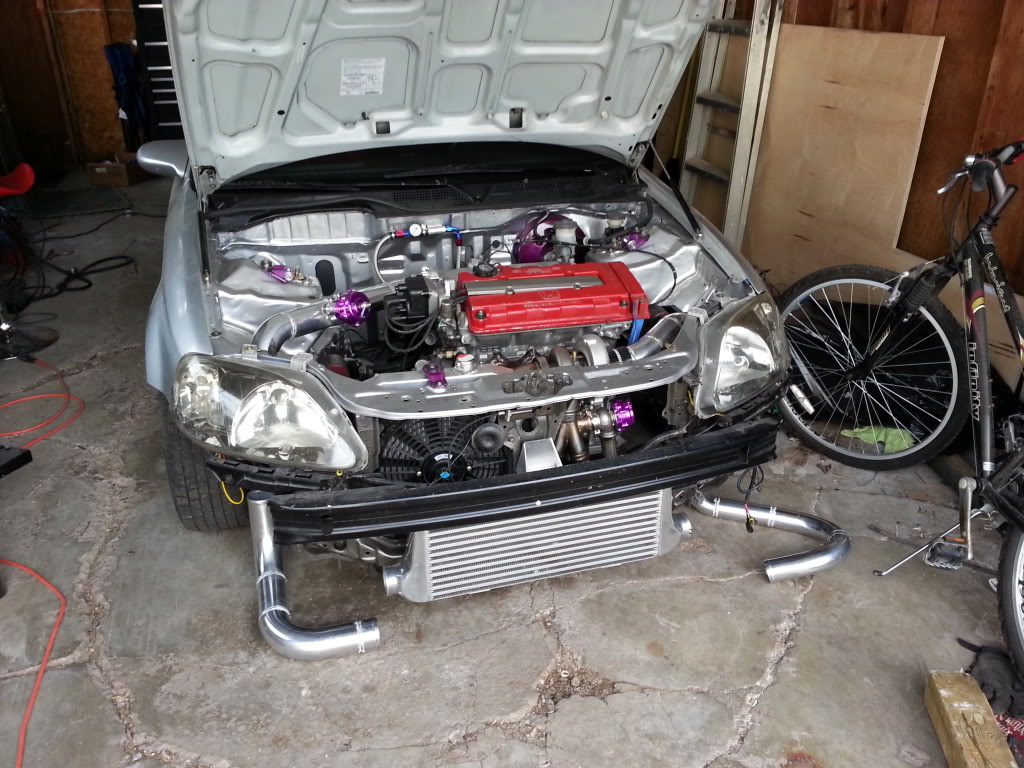
Coming up in a few weeks I will be doing some intercooler piping and an intake pipe for a turbo B16 CRX


Coming up in a few weeks I will be doing some intercooler piping and an intake pipe for a turbo B16 CRX
Reply
0
0
04-30-2013, 01:21 AM
#380
Elite Member

Join Date: Apr 2010
Location: Newcastle, Australia
Posts: 2,826
Total Cats: 67
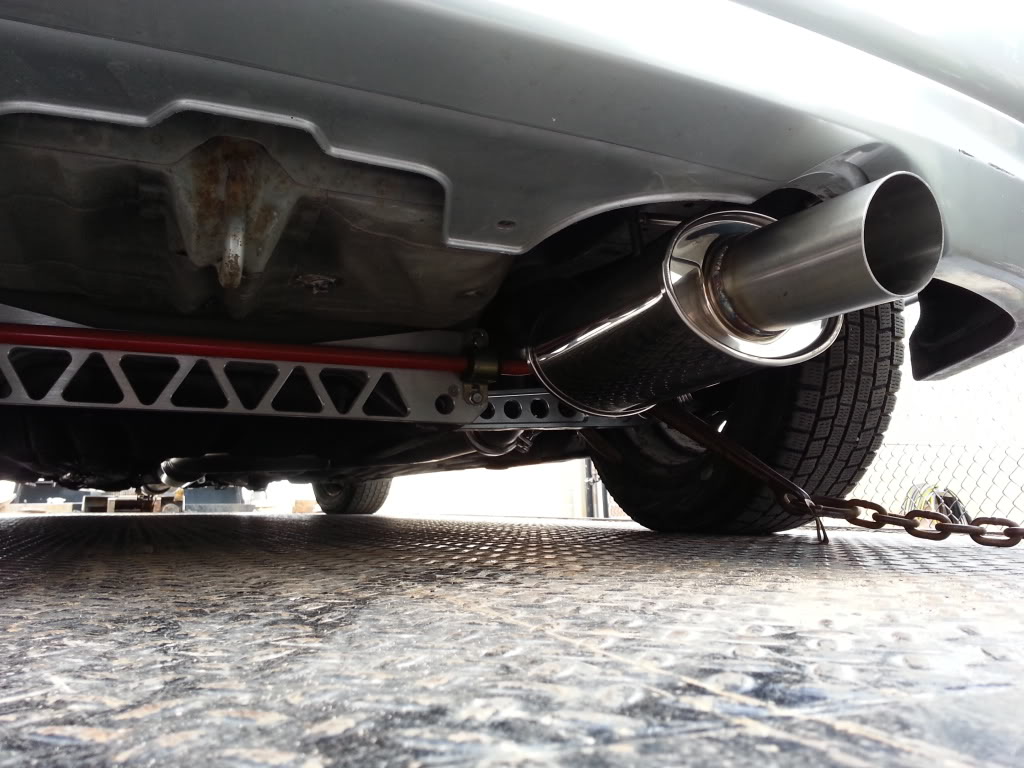
Coming together, got some time to do a little this morning before I had to go.
Muffler tucked RIGHT up and nicely centered. Note that this is still only tacked so the welds (mostly the heat colouration around them) look patchy, thats why.

Not 110% happy with the tip so Im redoing from the muffler outlet back.
I do like how you can JUST see the muffler if you kneel, it looks very OEM.

Whats this we have here? MSM owners will recognise this manifold and heatshield?


BOO :twisted:

Off to the race ceramic coating shop tomorrow.
Dann
Muffler tucked RIGHT up and nicely centered. Note that this is still only tacked so the welds (mostly the heat colouration around them) look patchy, thats why.
Not 110% happy with the tip so Im redoing from the muffler outlet back.
I do like how you can JUST see the muffler if you kneel, it looks very OEM.
Whats this we have here? MSM owners will recognise this manifold and heatshield?
BOO :twisted:
Off to the race ceramic coating shop tomorrow.
Dann
Reply
0
0


