The custom fabrication thread! (Post pics of stuff you have made)


 05-08-2013, 03:37 AM
#444
Junior Member
Thread Starter

Join Date: Jun 2010
Posts: 176
Total Cats: 4
It does increase velocity as stated, with improved scavenging. the reason why is because the exhaust is only open 1/4th of the time in each cylinder, so you dont need to have such a large tube collecting. theoretically you could get all of the pulses to line right up as they pass through the merge collector, and not loose velocity at all. Velocity is always lost a little though. However, having it taper from 3-4" like that is a performance benifit. Back pressure and exhaust velocity are different, though they can still of course affect each other. Expansion chambers help scavenging, it's the reason why stepped headers make more power. (Increasing diameter)

Reply
 0
0

0
05-08-2013, 11:25 AM
#445
Elite Member
iTrader: (8)

Join Date: Dec 2008
Location: Kingston, Ontario
Posts: 2,910
Total Cats: 51
There is a patent on the design, but there are headers out there with small anti reversion "pots" on each runner. its like a small baffled expansion chamber.
I forget the manufacturer but its a high-end Honda header manufacturer.
Edit: found it... its Hytech.
here is a cross section of the pot (or so I call it)

I forget the manufacturer but its a high-end Honda header manufacturer.
Edit: found it... its Hytech.
here is a cross section of the pot (or so I call it)
Reply
0
0
 05-08-2013, 02:10 PM
#448
Elite Member
iTrader: (8)
Join Date: Dec 2008
Location: Kingston, Ontario
Posts: 2,910
Total Cats: 51
The problem is that exhaust tuning (properly) just means trying and checking based on some other projects and their final outcome.
because the headers are so particular on all motor cars to the use, rpm, setup, etc the proper design will change every time you change something else.
These chambers will help account for small changes in supporting parts without having to redesign and test the header every time you do say a cam or intake manifold swap.
THAT is the reason they band-aid design... not that your header may or may not be completely wrong.
Reply
0
0
05-08-2013, 03:41 PM
#449

If I recall correctly this design used check ***** in the ports.
[IMG] [/IMG]
[IMG]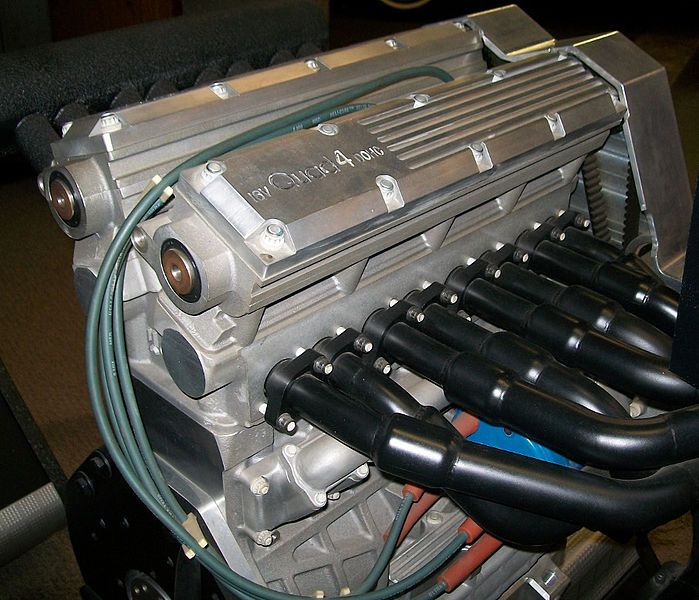 [/IMG]
A good friend of mine who knew Jim Feuling (designed the above engine), and worked as an powertrain engineer for GM in the 1960's -1980's said that anti-reversion cones in the ports are only practical on turbo engines with extremely high exhaust manifold pressures. And that modern turbo designs have higher intake manifold pressure relative to exhaust manifold backpressure during acceleration, thus eliminating the need for an anti reversion device.
In my opinion a stepped diameter junction between the exhaust port and exhaust manifold is a simple solution that offers a good compromise between flow and anti-reversion.
[IMG]
 [/IMG]
[IMG]
 [/IMG]
A good friend of mine who knew Jim Feuling (designed the above engine), and worked as an powertrain engineer for GM in the 1960's -1980's said that anti-reversion cones in the ports are only practical on turbo engines with extremely high exhaust manifold pressures. And that modern turbo designs have higher intake manifold pressure relative to exhaust manifold backpressure during acceleration, thus eliminating the need for an anti reversion device.
In my opinion a stepped diameter junction between the exhaust port and exhaust manifold is a simple solution that offers a good compromise between flow and anti-reversion.
Reply
0
0
05-08-2013, 04:58 PM
#450
Junior Member
Thread Starter
Join Date: Jun 2010
Posts: 176
Total Cats: 4
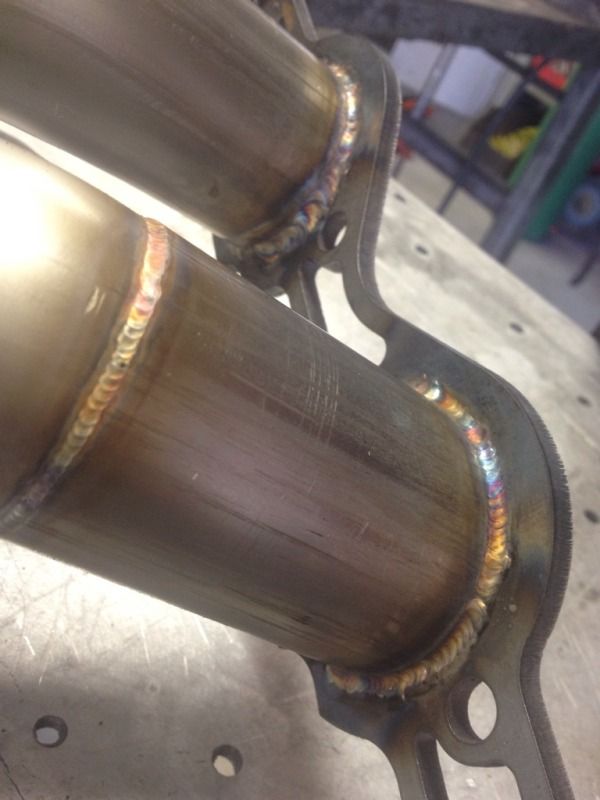
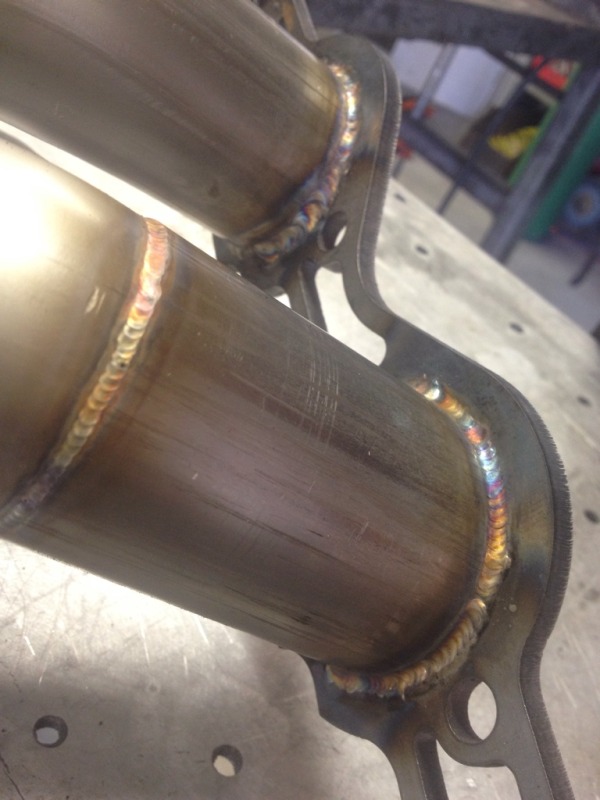
I grabbed a piece of 4" tube, and cut a long pie shaped notch with the cut off wheel. I simply calculated my desired circumference and subtracted it from the existing circumference to find my value. The cut took out roughly 3" of material at the smaller end. I put it in the vice and tacked it together, and got it back round on the anvil with a hammer, as squeezing it in the vice so much does make it an oval. Then I cut the ends so it they were flat (making the taper creates an interesting shape at the ends of the tubes. Then I pass it on the belt sander by eye, and it's good. Surprisingly not hard, took about 30 mins each probably.
Reply
0
0
05-08-2013, 05:33 PM
#451
Junior Member
Thread Starter
Join Date: Jun 2010
Posts: 176
Total Cats: 4
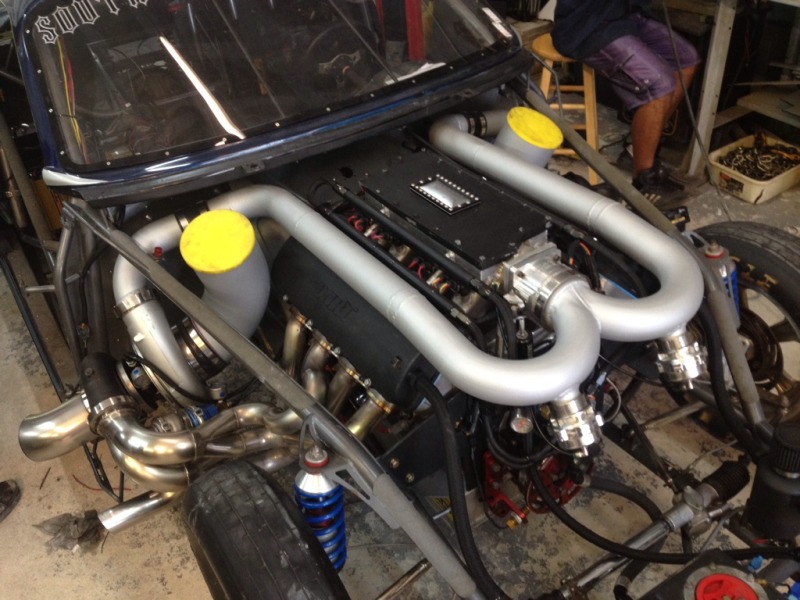
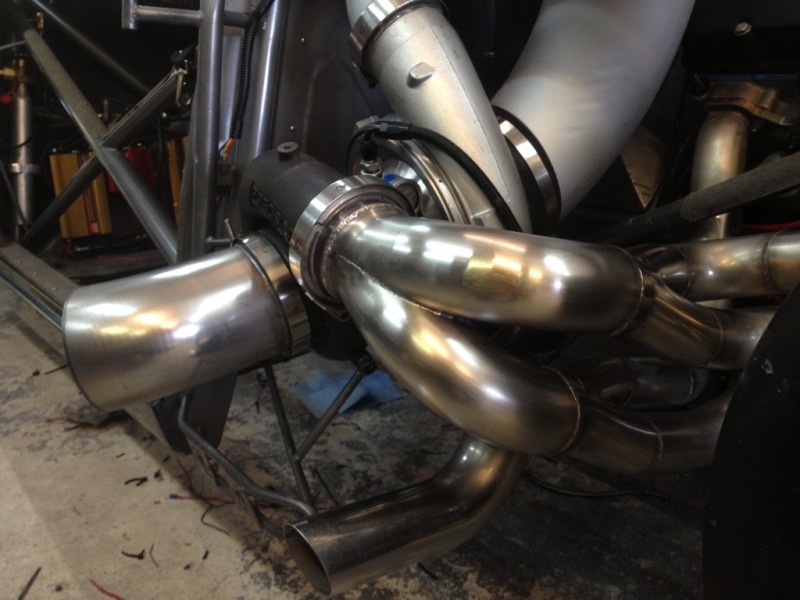
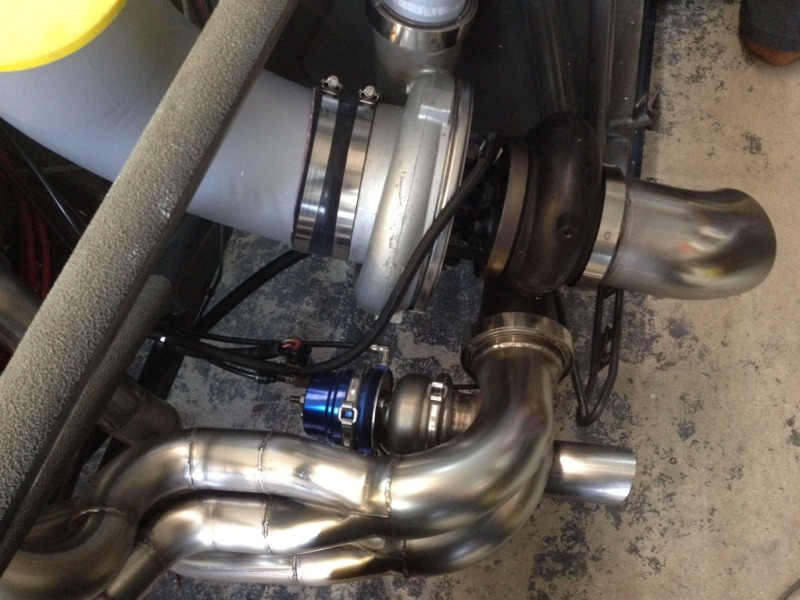
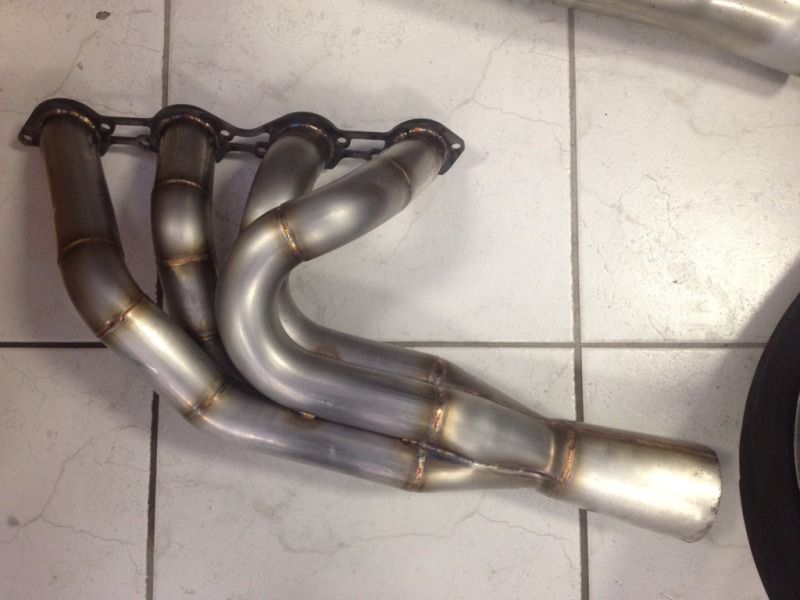
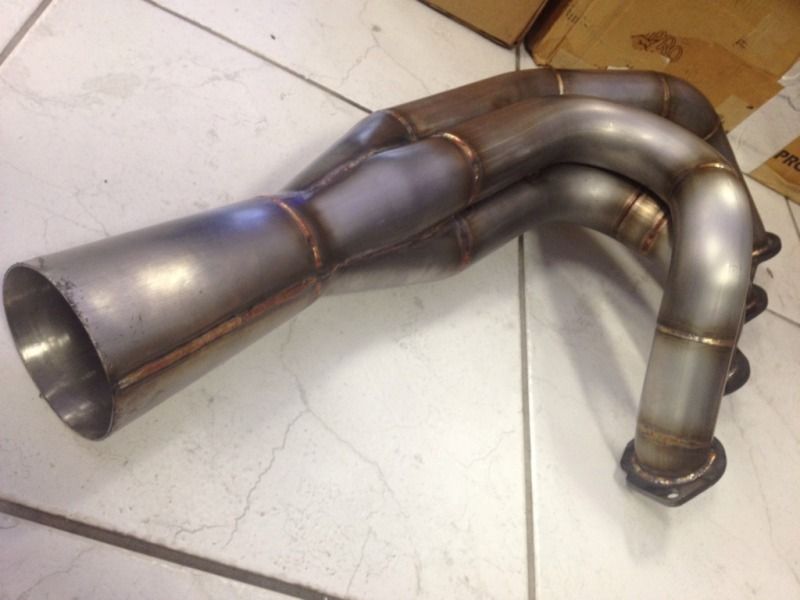
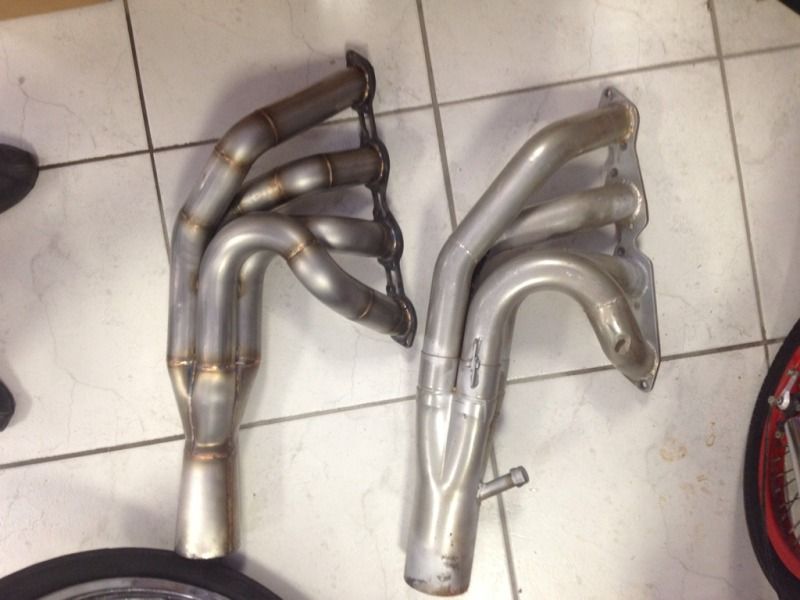
Here's a few pics of the header completed
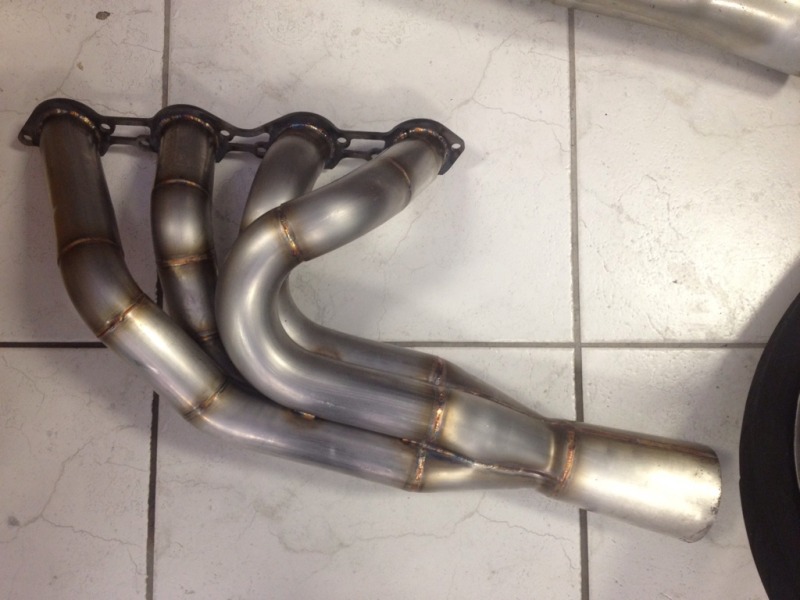

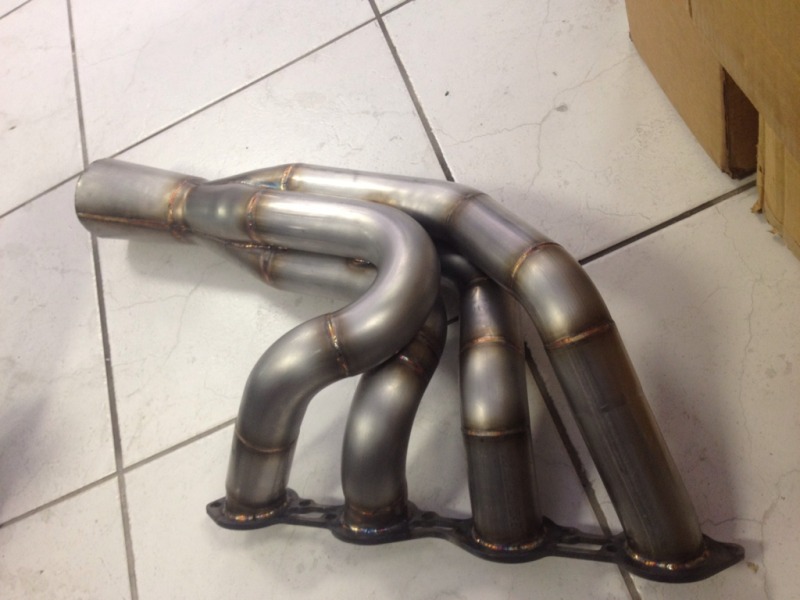
And of course the reason I have customers is because I was simply asked to replicate this old mild steel header. He wasn't expecting me to fix the skewed runner angles and build a proper collector.

And of course the reason I have customers is because I was simply asked to replicate this old mild steel header. He wasn't expecting me to fix the skewed runner angles and build a proper collector.
Reply
0
0
05-10-2013, 02:02 AM
#453
Some Miscellaneous Miata work.
My version of Frog Arms
[IMG]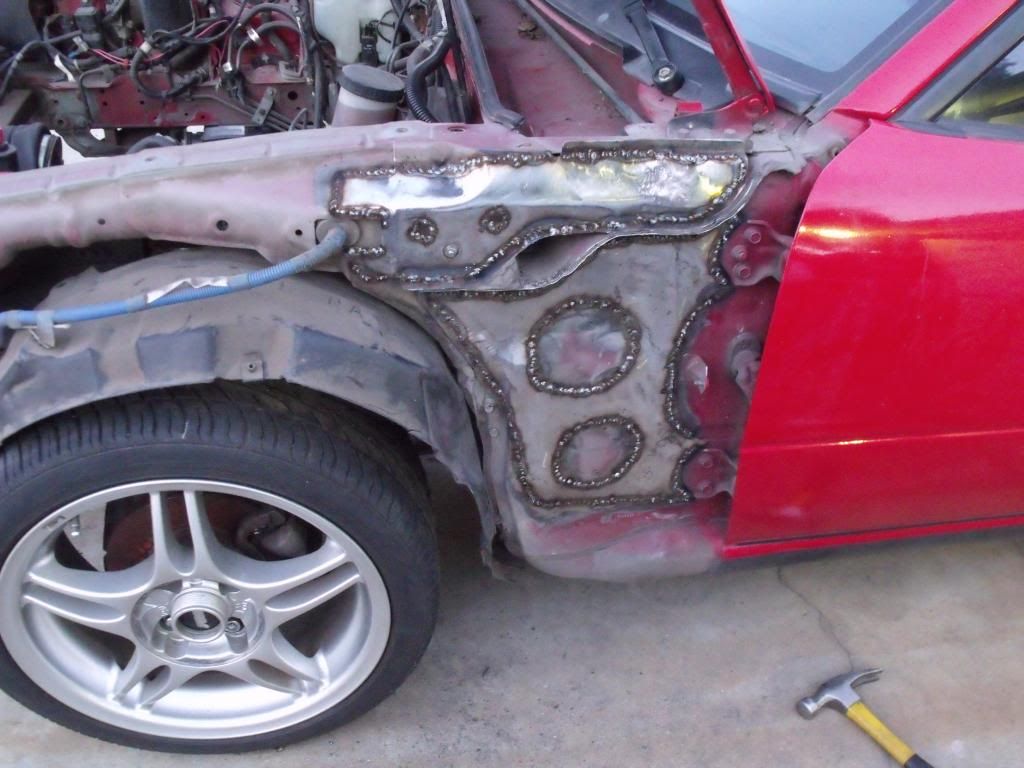 [/IMG]
Turbo Manifold for a custom B6 engine build.
[IMG]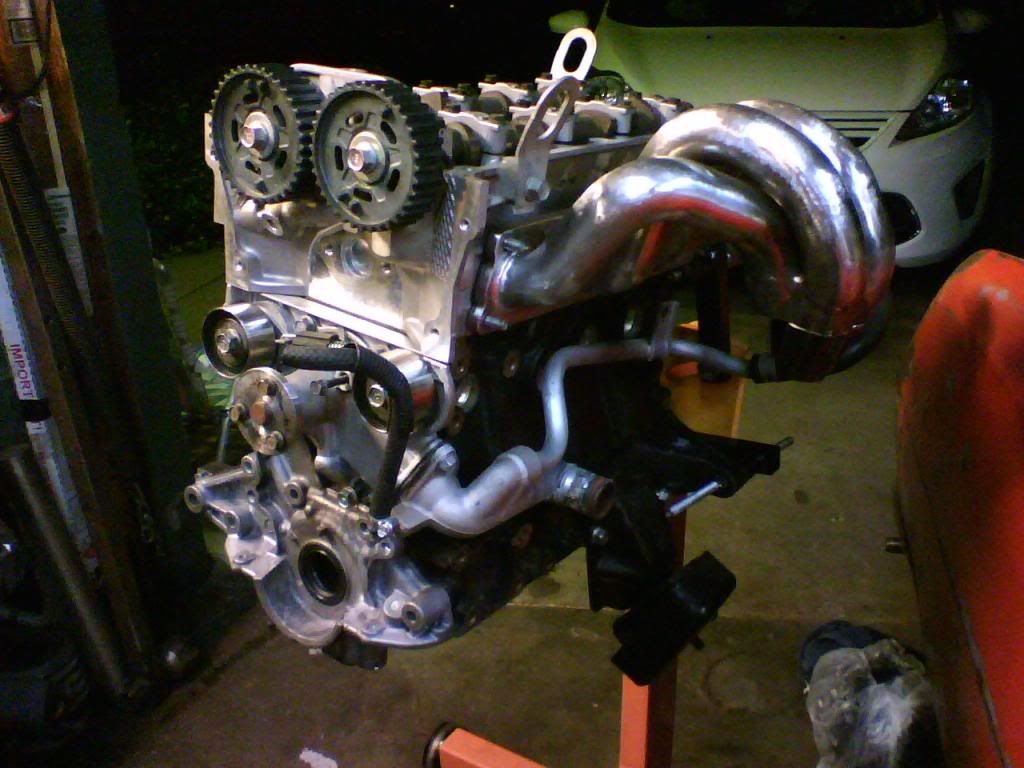 [/IMG]
[IMG]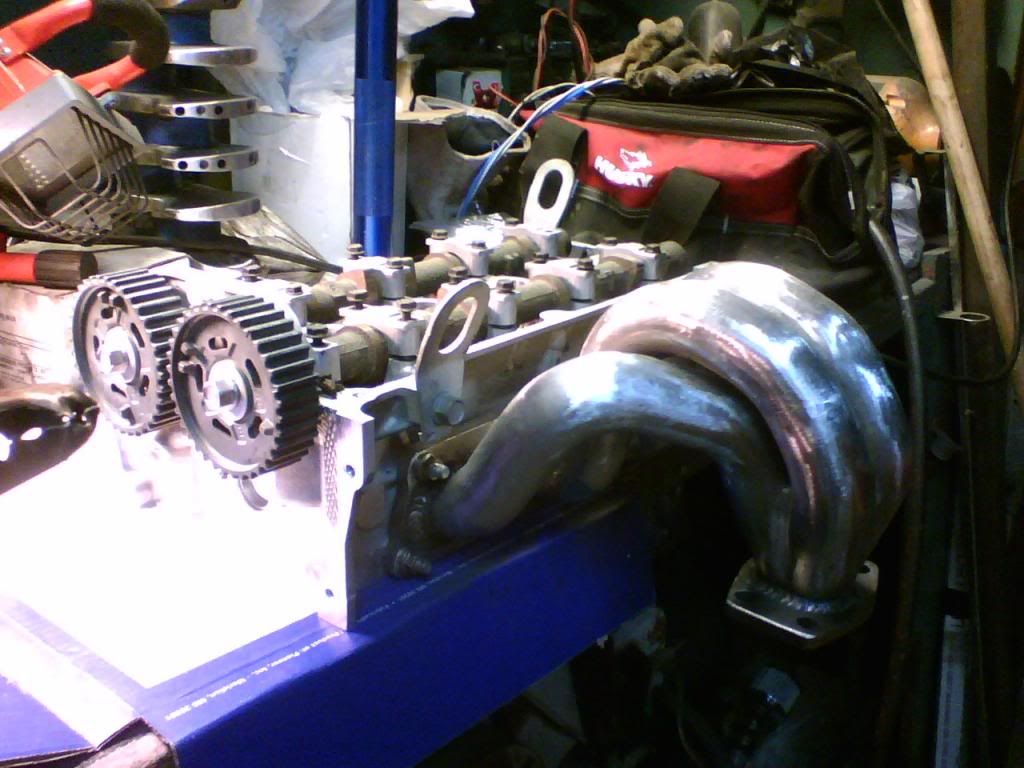 [/IMG]
Some door bars (not real happy with the design, but it works good)
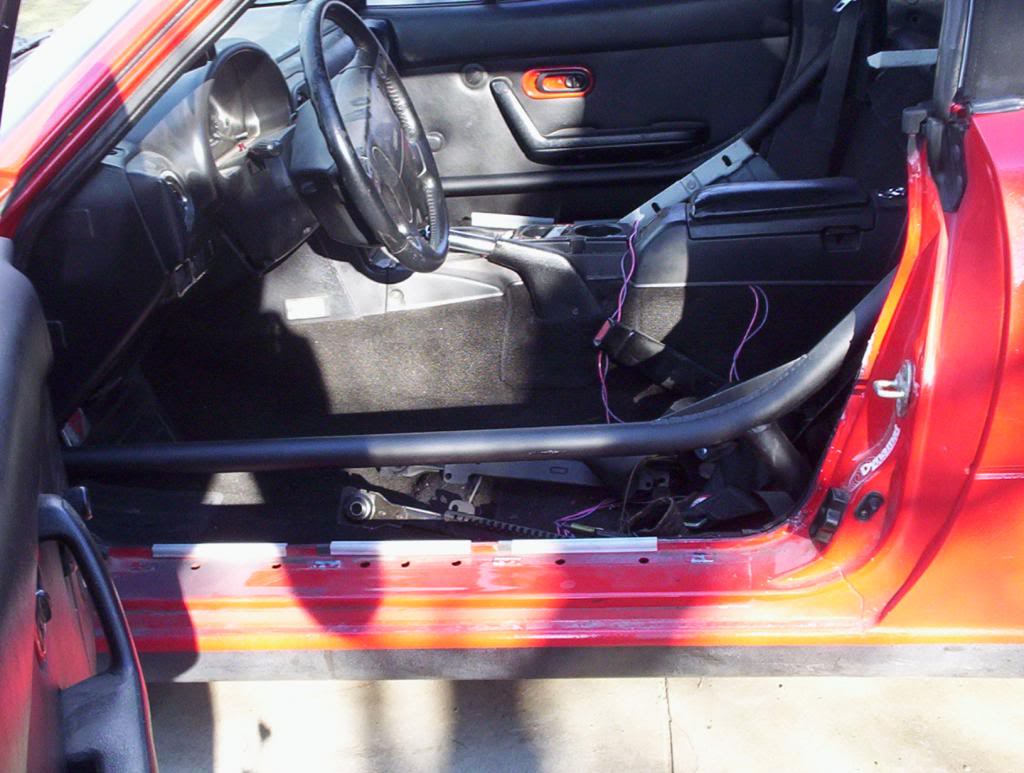
Cage install for CSU Fresno's vehicle development program.
[IMG]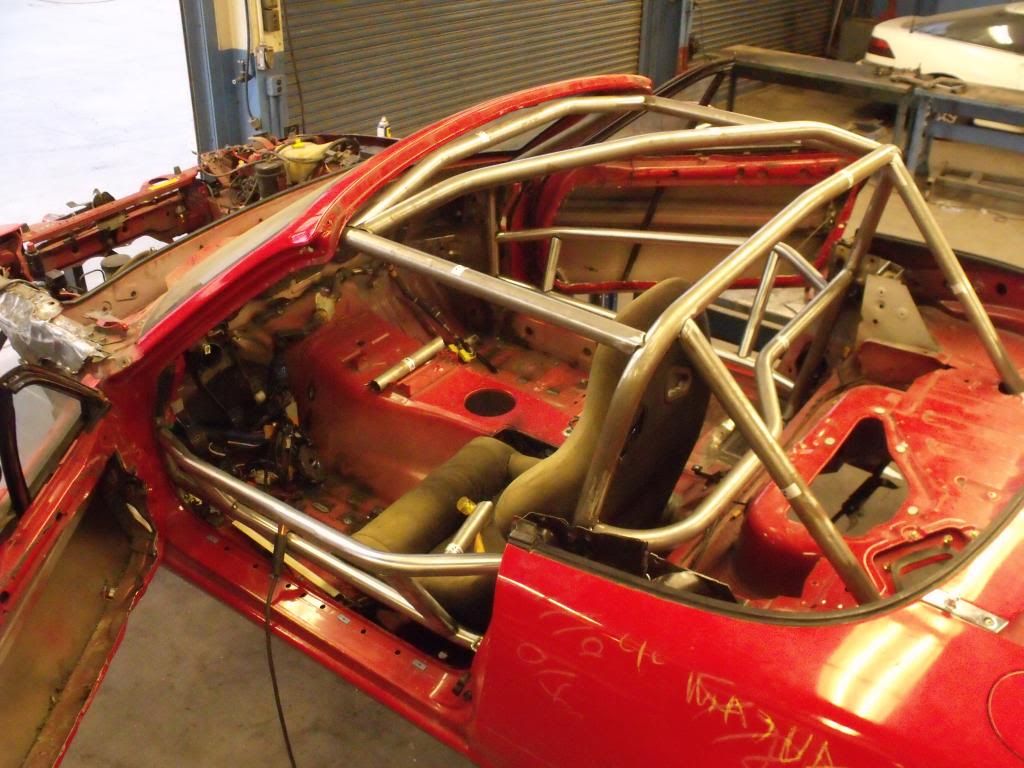 [/IMG]
Car rotisserie.
[IMG]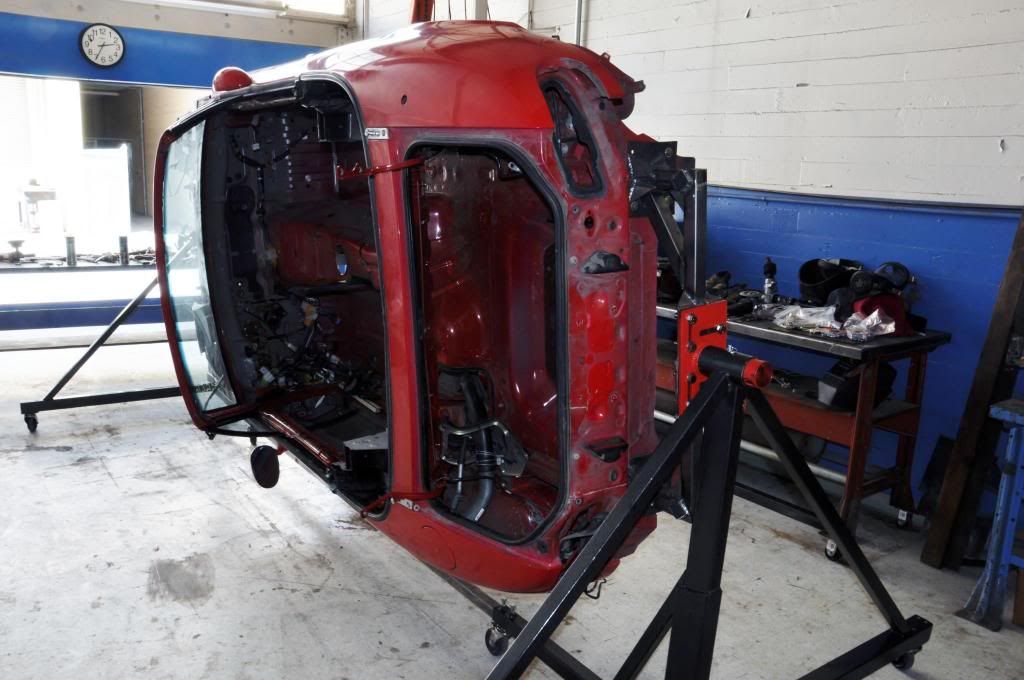 [/IMG]
[IMG]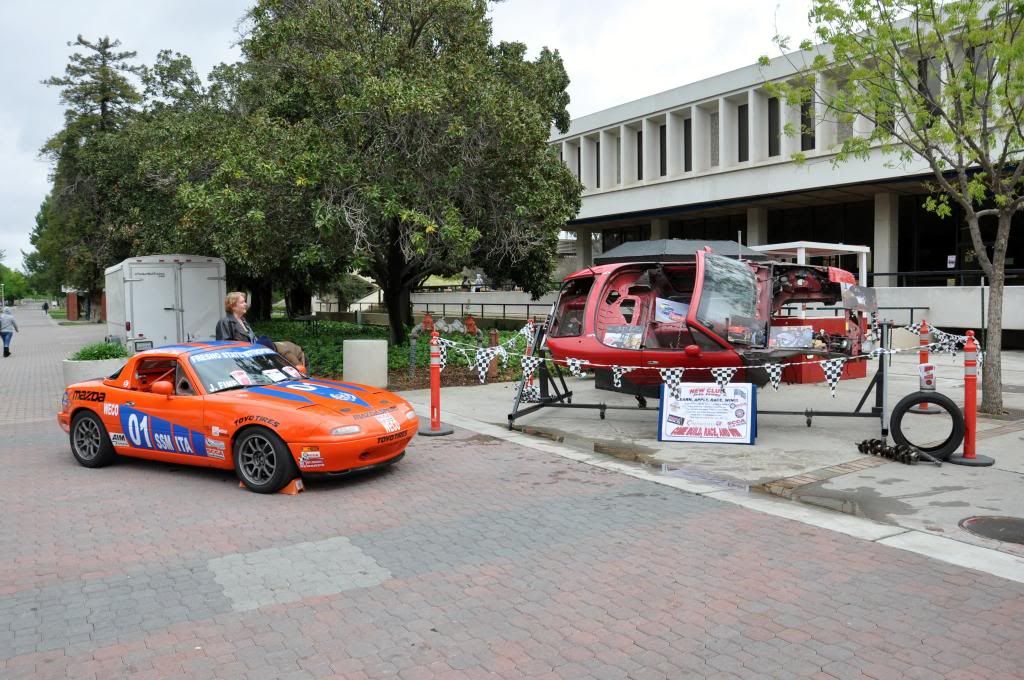 [/IMG]
Re-enforced PPF.
[IMG]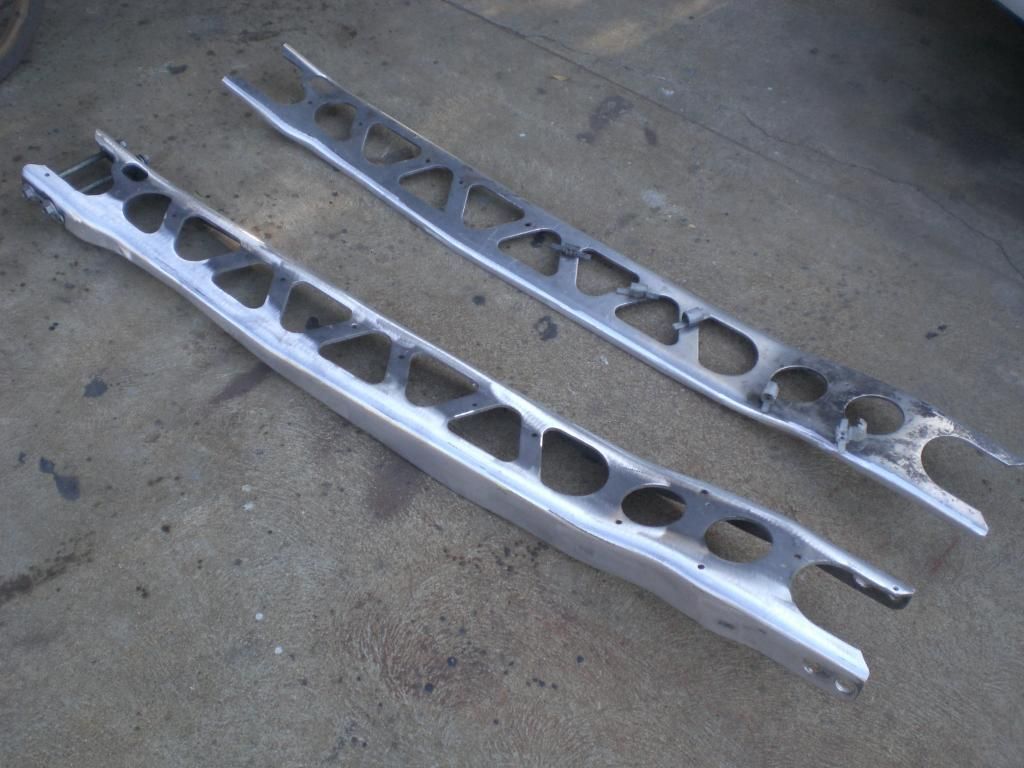 [/IMG]
[IMG]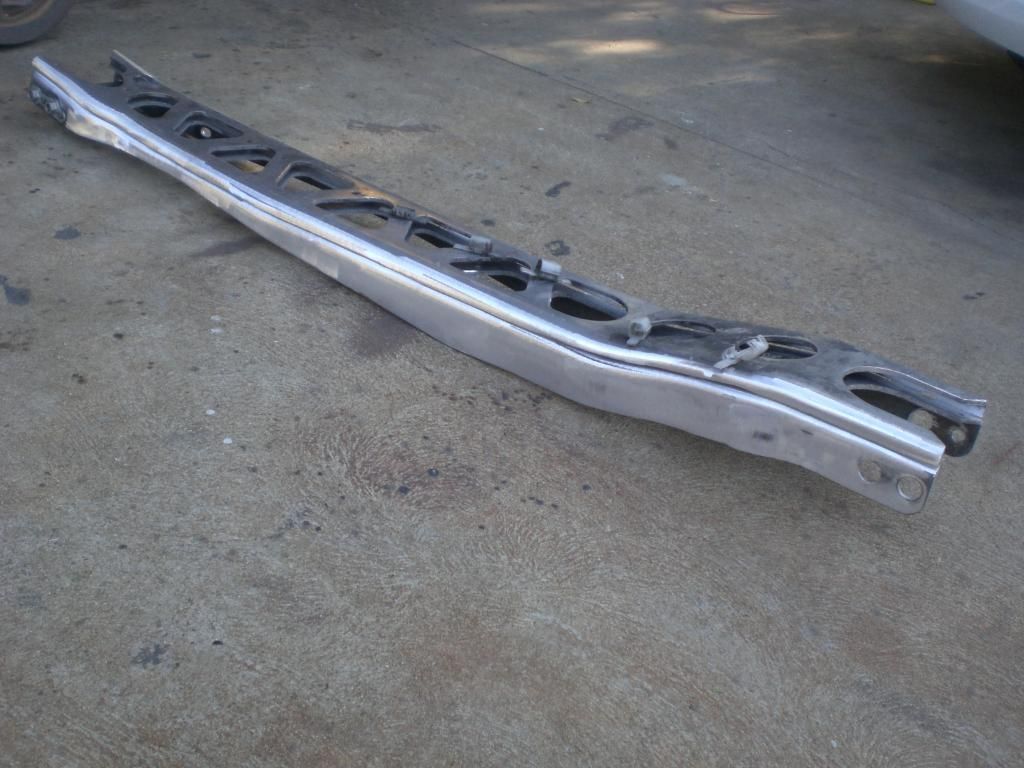 [/IMG]
[IMG]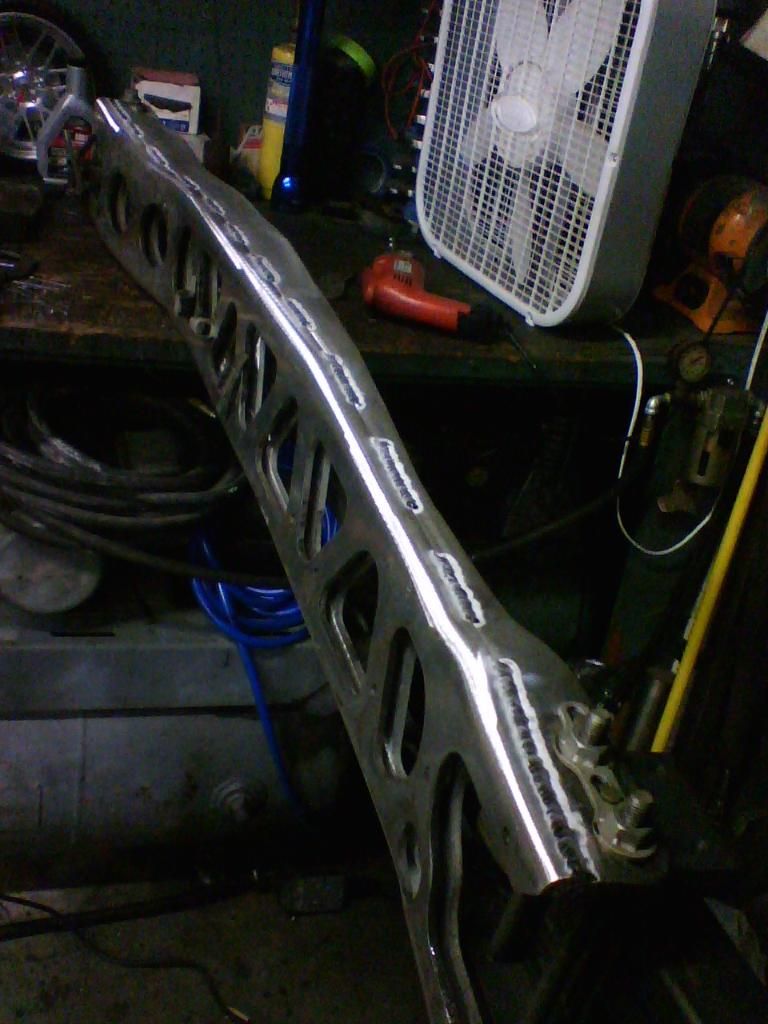 [/IMG]
I've got a few other Miata items under construction...
My version of Frog Arms
[IMG]
 [/IMG]
Turbo Manifold for a custom B6 engine build.
[IMG]
 [/IMG]
[IMG]
 [/IMG]
Some door bars (not real happy with the design, but it works good)

Cage install for CSU Fresno's vehicle development program.
[IMG]
 [/IMG]
Car rotisserie.
[IMG]
 [/IMG]
[IMG]
 [/IMG]
Re-enforced PPF.
[IMG]
 [/IMG]
[IMG]
 [/IMG]
[IMG]
 [/IMG]
I've got a few other Miata items under construction...
Reply
0
0


 05-13-2013, 09:55 AM
#457
Elite Member
iTrader: (8)
Join Date: Dec 2008
Location: Kingston, Ontario
Posts: 2,910
Total Cats: 51
Those who have liked my facebook page would have seen these a few days ago, but I made a 3" inlet pipe and a 2.5" cold pipe for a turbo B16 CRX.
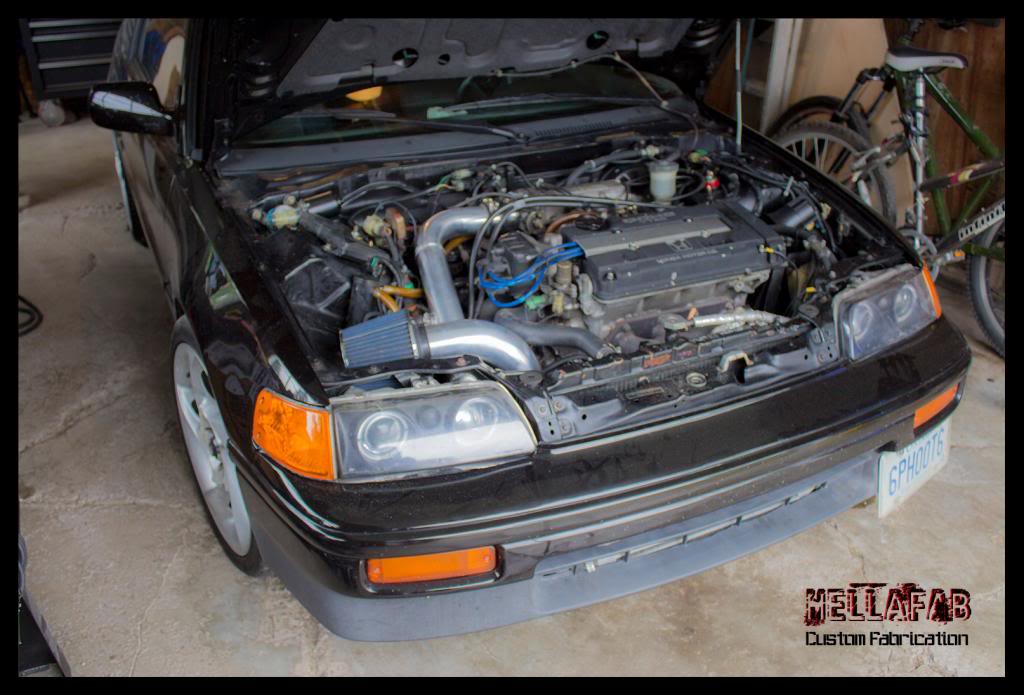

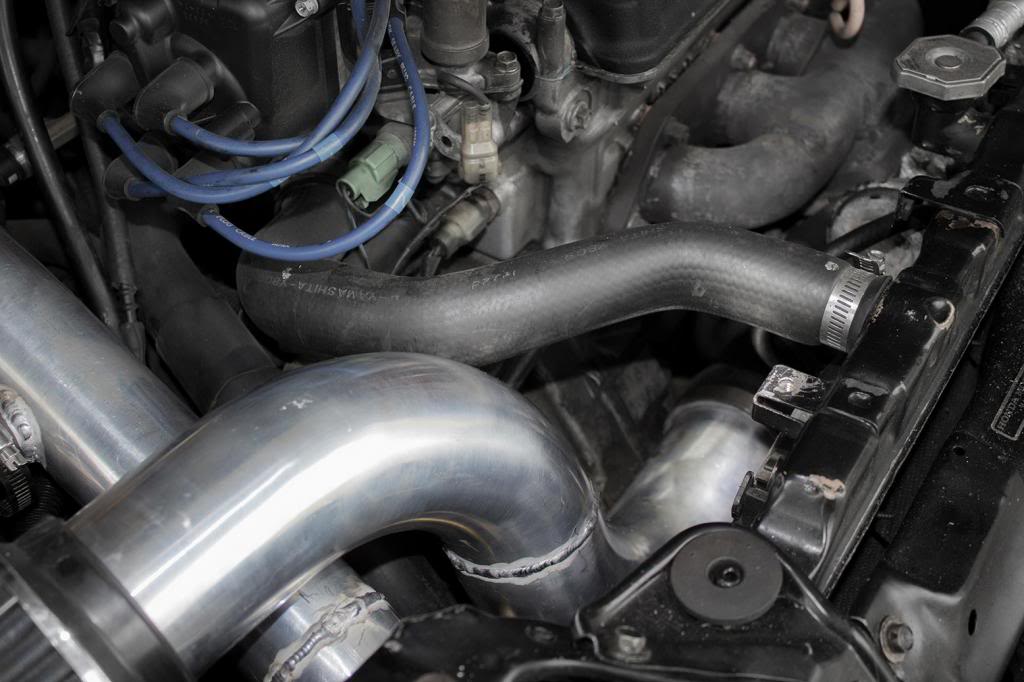
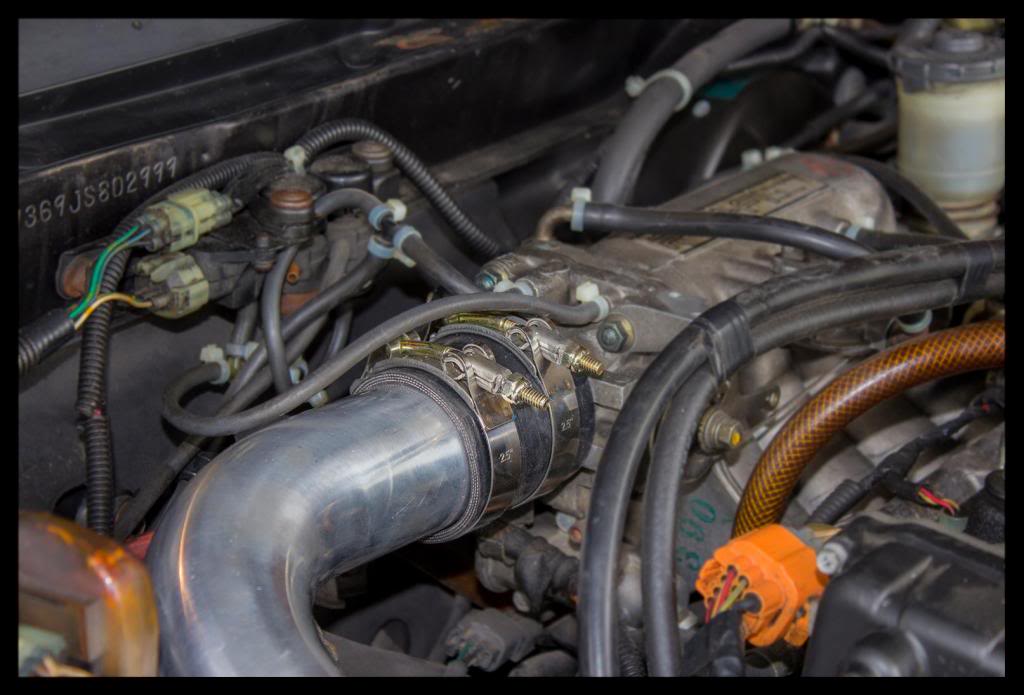
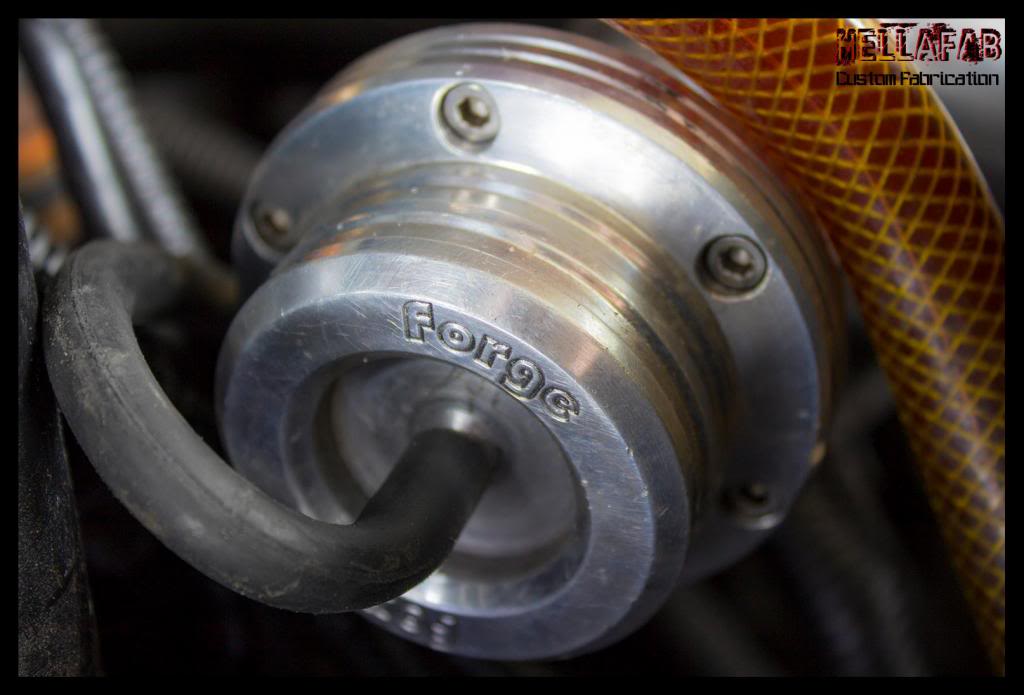
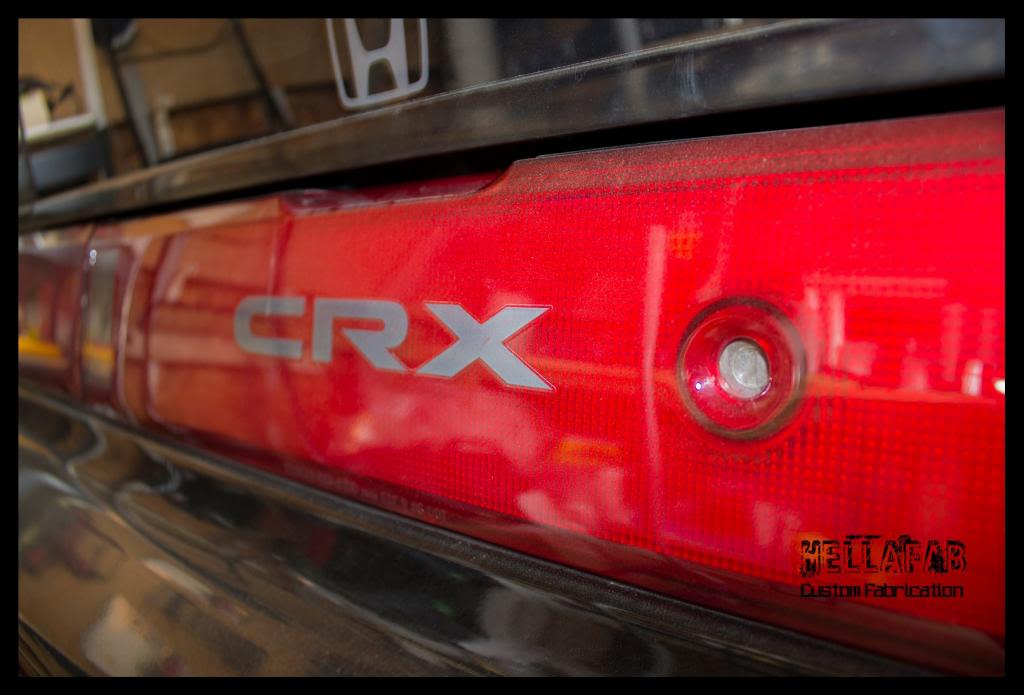
There is not a lot of room in a CRX with a full radiator with electric fan for a full 3" intake, but this setup greatly improved this setup. Prior to my sytem it used 2.5" piping with a section of the stock inlet pipe to the turbo and a 2" cold pipe with a hard transition to 2.5" at the throttle. The customer mentioned that the performance gains were noticable with the butt dyno so that makes it all worthwhile.


There is not a lot of room in a CRX with a full radiator with electric fan for a full 3" intake, but this setup greatly improved this setup. Prior to my sytem it used 2.5" piping with a section of the stock inlet pipe to the turbo and a 2" cold pipe with a hard transition to 2.5" at the throttle. The customer mentioned that the performance gains were noticable with the butt dyno so that makes it all worthwhile.
Reply
0
0