my tube front drifter
 01-20-2013, 02:38 PM
#761
Senior Member
Thread Starter
iTrader: (1)

Join Date: Mar 2008
Location: Cromwell CT
Posts: 1,146
Total Cats: 56
I have the diff out right now because im rebuilding the rear end, so that should give me some more movement. I got a nice set of pry bars for christmas so i should be set in that department. I kinda know its not gonna be an easy job, doing mounts without removing the engine. But i should be able to get a jack and some prying to lift the motor enough to slide them in and out, at least these will come apart. I might have a go at the install tonight

Reply
 0
0

0

 03-19-2013, 08:44 PM
#764
Senior Member
Thread Starter
iTrader: (1)
Join Date: Mar 2008
Location: Cromwell CT
Posts: 1,146
Total Cats: 56
Havent updated this thread in a while
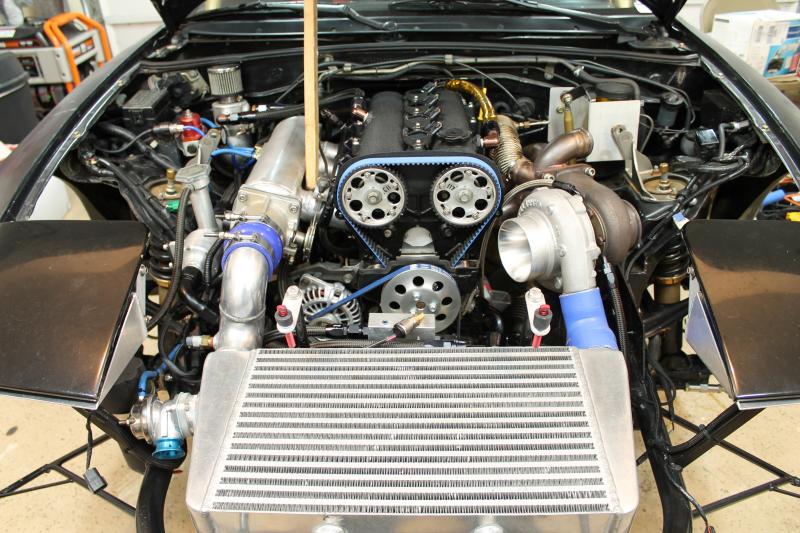
got some cleaning up of the engine bay done, painting and maintenance done. new timing belt and pulleys and aluminum alternator and waterpump pulleys.
3.636 ring and pinion is on its way as well as a 7-8" micrometer so i can get working on the rear end. i have a welded diff thats going in. Hopefully i will have it all buttoned up so i can get to some events in May.
Reply
0
0
 03-20-2013, 05:20 AM
#769
Senior Member
Thread Starter
iTrader: (1)
Join Date: Mar 2008
Location: Cromwell CT
Posts: 1,146
Total Cats: 56
the majority of formula d cars are running spools or welded diff. I looked into having a custom spool made, it was gonna be around 800-1000. I wasnt going to swing that so i said screw it and had my friend who is a certified welder do it.
Reply
0
0
03-21-2013, 10:20 AM
#770
Senior Member
iTrader: (1)

Join Date: Dec 2008
Location: Manassas, Virginia
Posts: 1,242
Total Cats: 57
I'm sure its great for drifting once you get used to it, but that would be funny to see someone who doesn't know it's welded try to drive it. (P.S. I still fap to your IC setup daily)
Reply
0
0

 04-08-2013, 09:21 PM
#772
Senior Member
Thread Starter
iTrader: (1)
Join Date: Mar 2008
Location: Cromwell CT
Posts: 1,146
Total Cats: 56
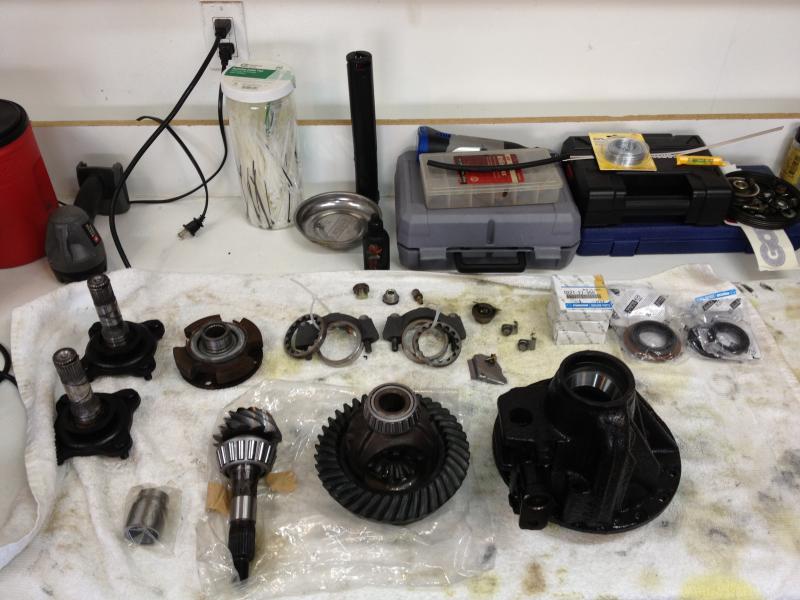
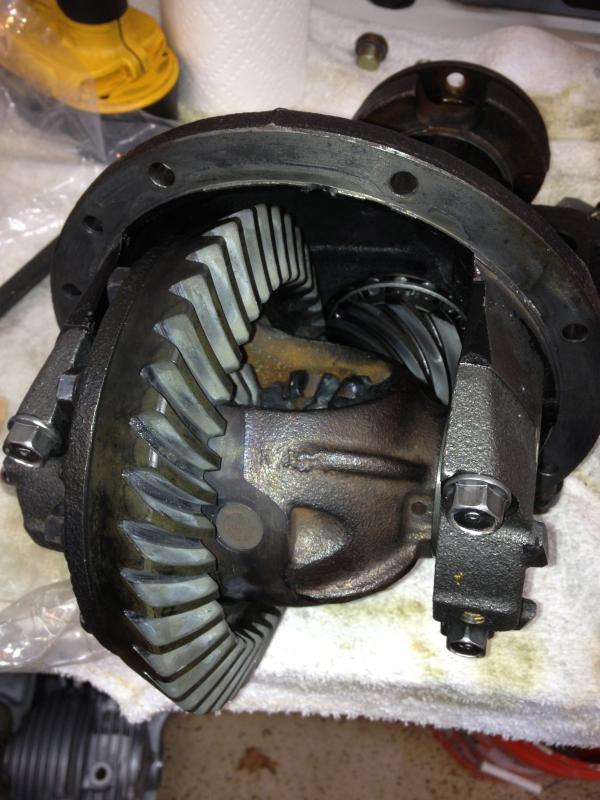
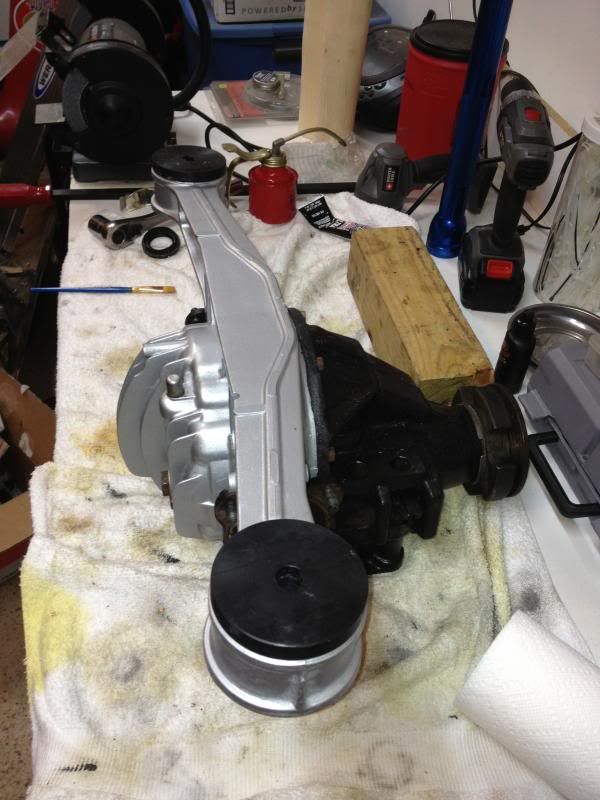
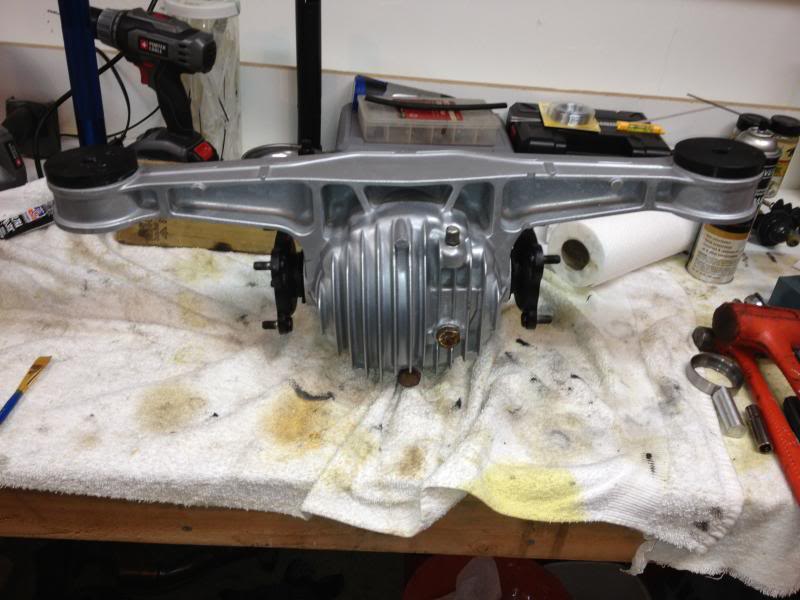
REAR END IS DONE !!
all the parts laid out
OEM bearings and seals
3.636 Ring and pinion
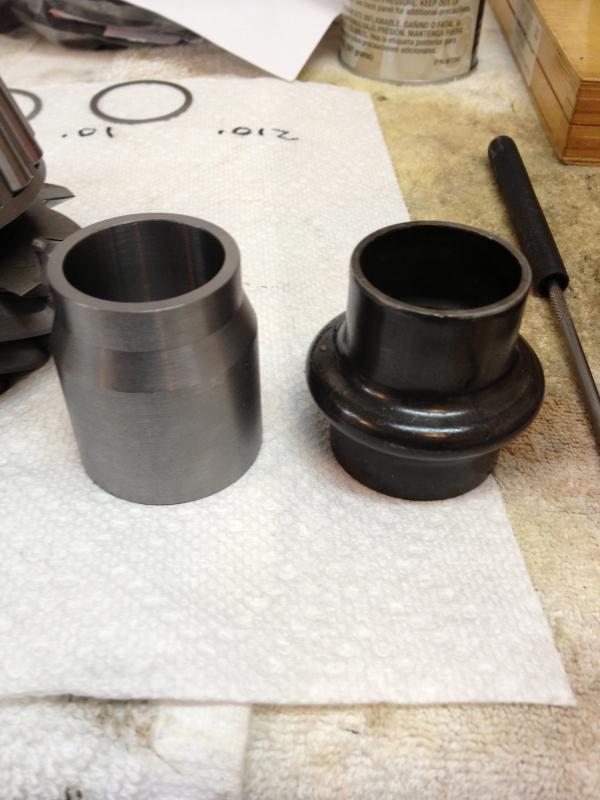
Weir Performance solid pinion bearing spacer kit
This is the Weir spacer kit
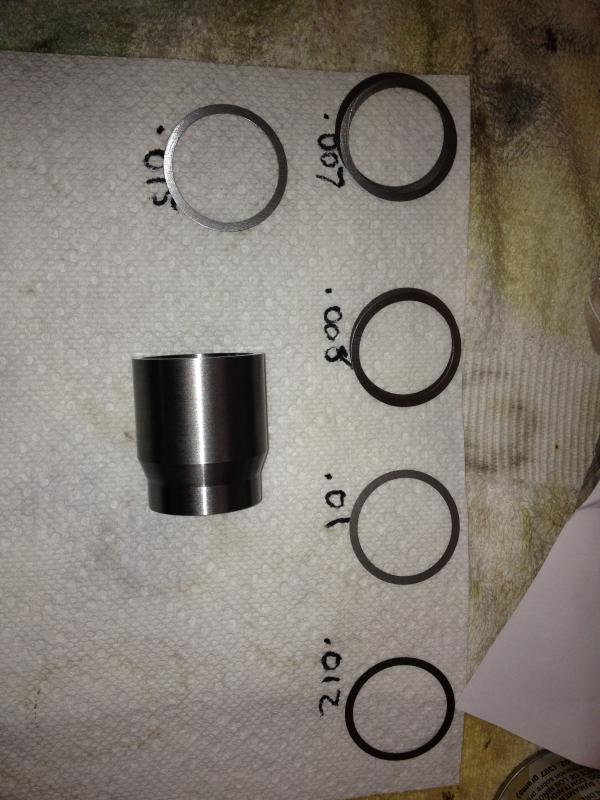
Comparison of the OEM vs Weir
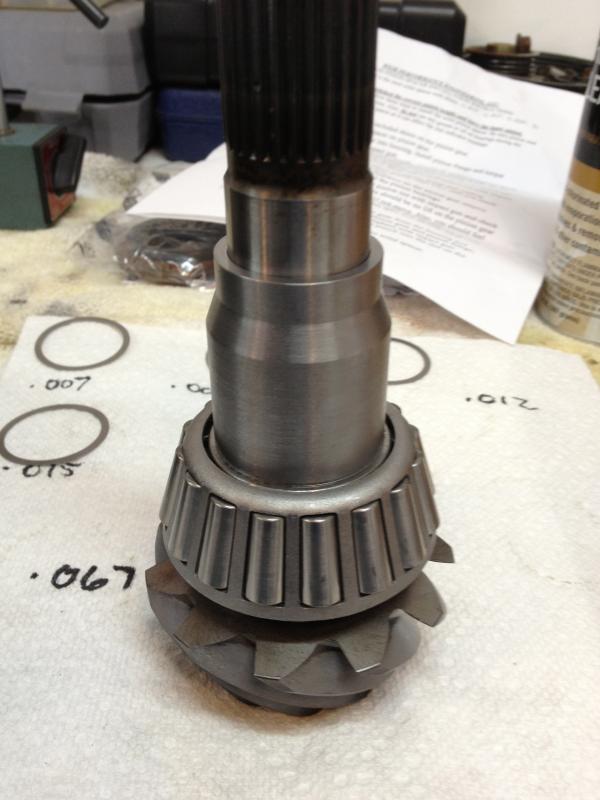
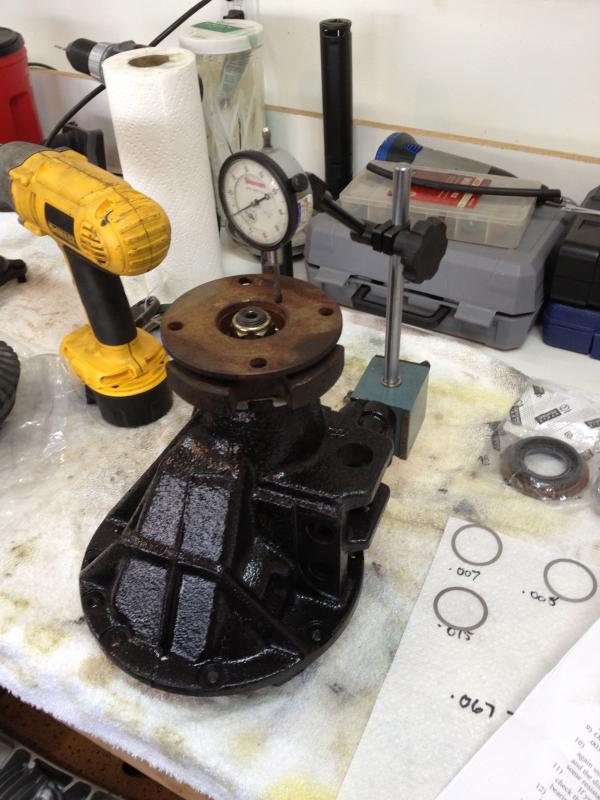
I set up my dial indicator to configure the shims, I stated with the whole stack that came with the kit, .067" total, i reduced the shims until i got zero pinion movement on the indicator. Than i removed .002 at a time untill i got the desired bearing preload via rotational torque. I ended up with a .012 shim when done.
A beam type torque wrench is used to read the torque as the pinion is turned.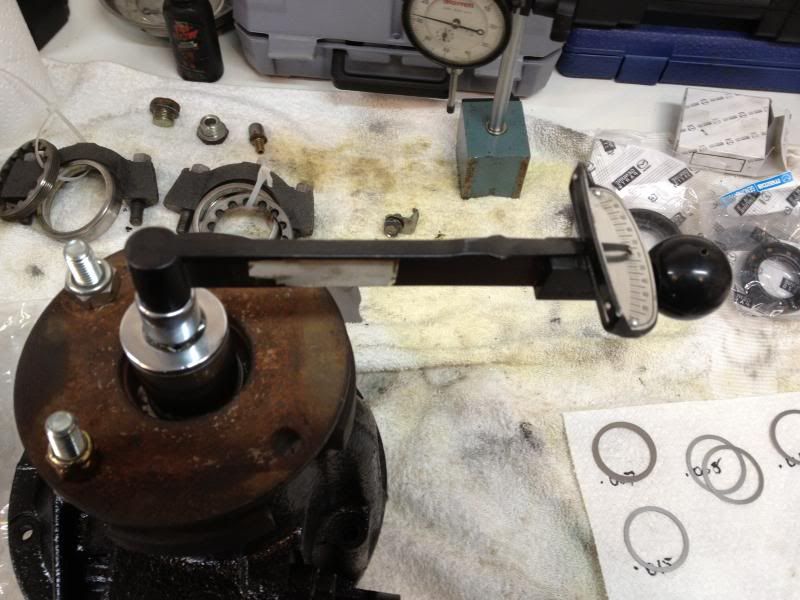
i set it at 12 in-lbs, this is on the high side of OEM spec

All together
I dont have any pics of checking the backlash and setting differential bearing preload. But the backlash is set between .002-.004, The oem spec calls for .0036-.0043. Checking my backlash in 4 places the backlash varied by about .002, I decided to keep it set on the tight side rather than loosen it up, Loose backlash breaks gears.
The preload was set using a 7-8" micrometer on the measuring pads, that was set to the tighter side of oem as well. The idea is to keep everything tight and have it loosen up to the middle of the spec as the bearings and gears break it. I want it to stay solid when i put the load to it .
Now i had to check the contact pattern to make sure the pinion depth was set correct. I just reused the shim that was on my old gear set as a starting point. I happened to be perfect so that made this alot easier
Drive side
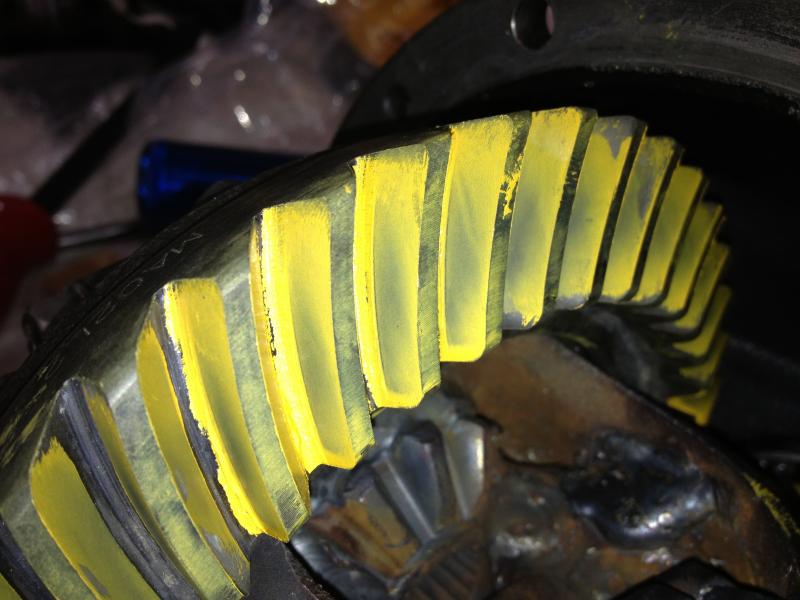
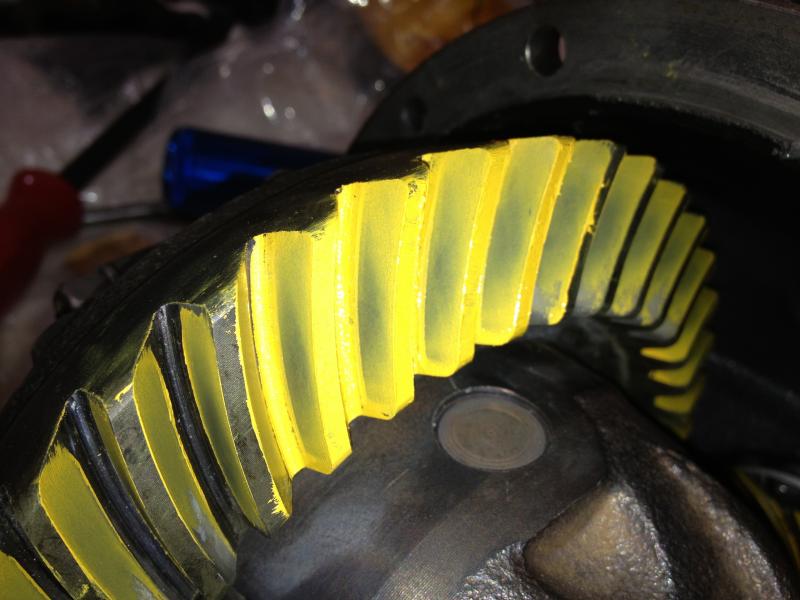
Coast side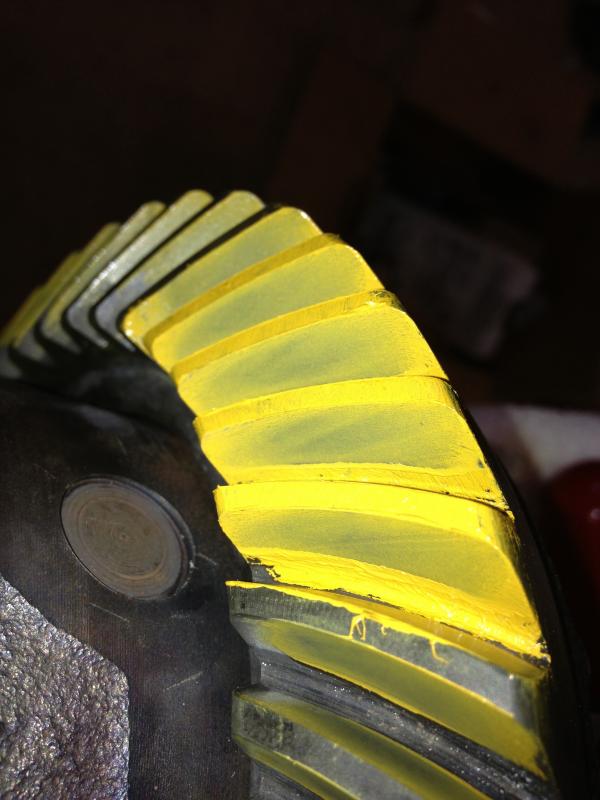
ALL DONE
all the parts laid out
OEM bearings and seals
3.636 Ring and pinion
Weir Performance solid pinion bearing spacer kit
This is the Weir spacer kit
Comparison of the OEM vs Weir
I set up my dial indicator to configure the shims, I stated with the whole stack that came with the kit, .067" total, i reduced the shims until i got zero pinion movement on the indicator. Than i removed .002 at a time untill i got the desired bearing preload via rotational torque. I ended up with a .012 shim when done.
A beam type torque wrench is used to read the torque as the pinion is turned.
i set it at 12 in-lbs, this is on the high side of OEM spec
All together
I dont have any pics of checking the backlash and setting differential bearing preload. But the backlash is set between .002-.004, The oem spec calls for .0036-.0043. Checking my backlash in 4 places the backlash varied by about .002, I decided to keep it set on the tight side rather than loosen it up, Loose backlash breaks gears.
The preload was set using a 7-8" micrometer on the measuring pads, that was set to the tighter side of oem as well. The idea is to keep everything tight and have it loosen up to the middle of the spec as the bearings and gears break it. I want it to stay solid when i put the load to it .
Now i had to check the contact pattern to make sure the pinion depth was set correct. I just reused the shim that was on my old gear set as a starting point. I happened to be perfect so that made this alot easier
Drive side
Coast side
ALL DONE
Reply
0
0
04-08-2013, 09:22 PM
#773
Senior Member
Thread Starter
iTrader: (1)
Join Date: Mar 2008
Location: Cromwell CT
Posts: 1,146
Total Cats: 56
all thats left is axles, finish gutting my doors and re-bleed brakes and top off fluids. then back to dyno for more power. i wanna break 460whp and get more tq and response
Last edited by ctdrftna; 04-08-2013 at 09:51 PM.
Reply
0
0
 04-09-2013, 02:29 AM
#775
Cpt. Slow

iTrader: (25)
Join Date: Oct 2005
Location: Oregon City, OR
Posts: 14,175
Total Cats: 1,129
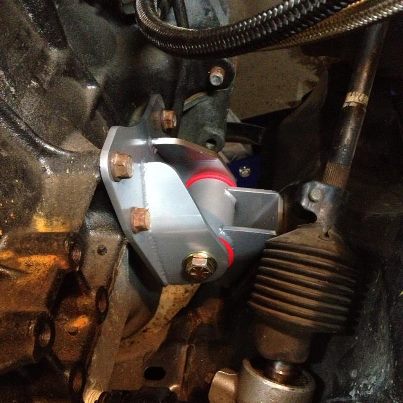
Hey what are those motor mounts like? Do they have any give in them? Seems like our options are mazda comps or derlin, which are essentially solid.
Great work on the diff, you really went all out. Do you have one piece axles?
Edit: nvm, I see you have 2 piece axles. Did you axles clip in? The metal dust boots on my stub axles interfered with the metal dust boots Mazda moved to the seals for the 1 piece axles.
Great work on the diff, you really went all out. Do you have one piece axles?
Edit: nvm, I see you have 2 piece axles. Did you axles clip in? The metal dust boots on my stub axles interfered with the metal dust boots Mazda moved to the seals for the 1 piece axles.
Last edited by curly; 04-09-2013 at 02:49 AM.
Reply
0
0
04-09-2013, 05:05 AM
#776
Senior Member
Thread Starter
iTrader: (1)
Join Date: Mar 2008
Location: Cromwell CT
Posts: 1,146
Total Cats: 56
The seals i got were replacements for the ones that were in there, so every thing went together fine.
My goal, which does seem attainable, is to get this car buttoned back up by the end of the month. I want to hit some events this year and there are quite a few coming up in the north east. I have a garage full of tires to burn
My goal, which does seem attainable, is to get this car buttoned back up by the end of the month. I want to hit some events this year and there are quite a few coming up in the north east. I have a garage full of tires to burn
Reply
0
0
04-09-2013, 07:40 AM
#777

Hey what are those motor mounts like? Do they have any give in them? Seems like our options are mazda comps or derlin, which are essentially solid.
Great work on the diff, you really went all out. Do you have one piece axles?
Edit: nvm, I see you have 2 piece axles. Did you axles clip in? The metal dust boots on my stub axles interfered with the metal dust boots Mazda moved to the seals for the 1 piece axles.
Great work on the diff, you really went all out. Do you have one piece axles?
Edit: nvm, I see you have 2 piece axles. Did you axles clip in? The metal dust boots on my stub axles interfered with the metal dust boots Mazda moved to the seals for the 1 piece axles.
Reply
0
0


