Post pictures of your DIY style valve covers
 07-15-2009, 11:22 AM
#141


Reply
 0
0

0
07-28-2009, 07:26 PM
#142
Junior Member

Join Date: Jul 2009
Posts: 73
Total Cats: 1
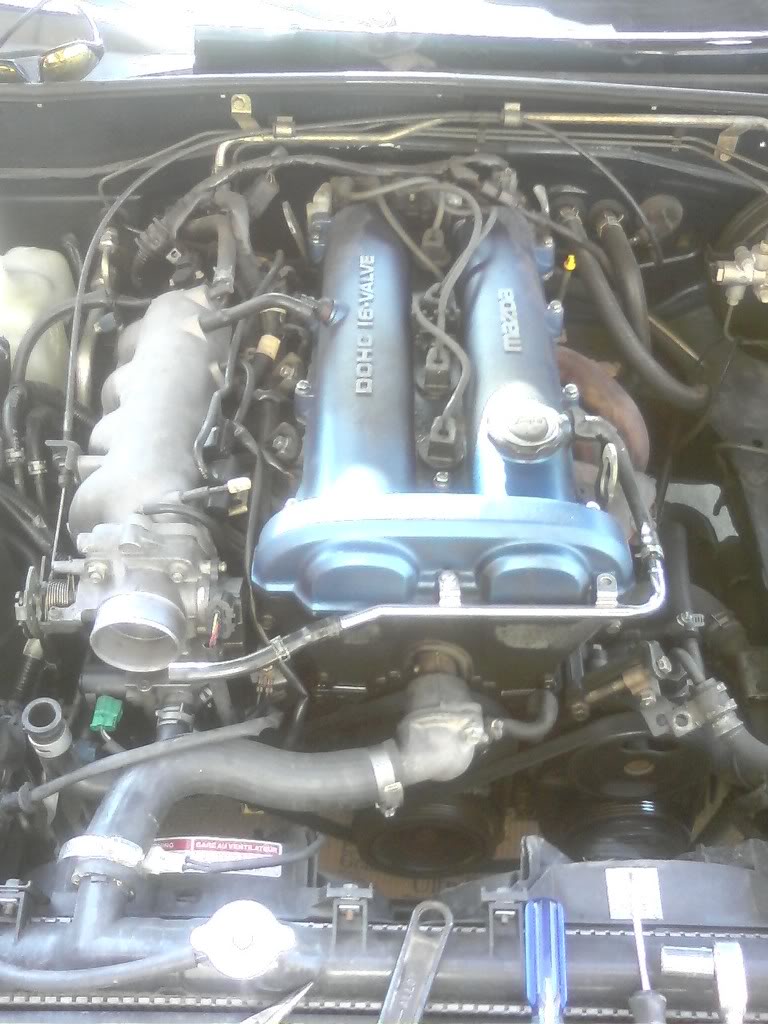
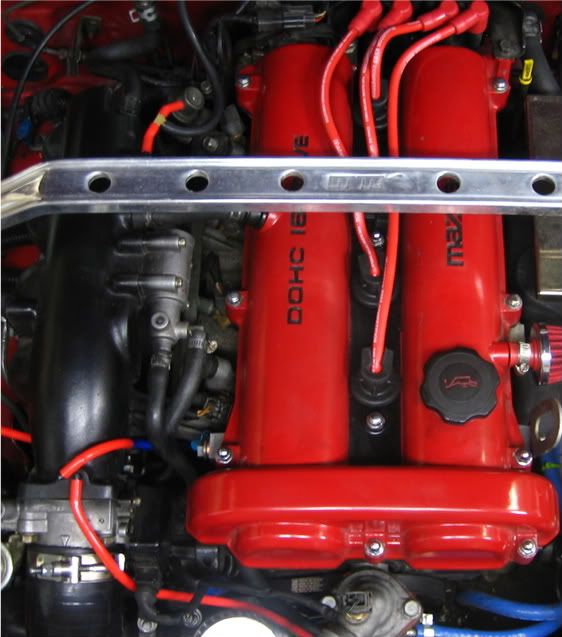
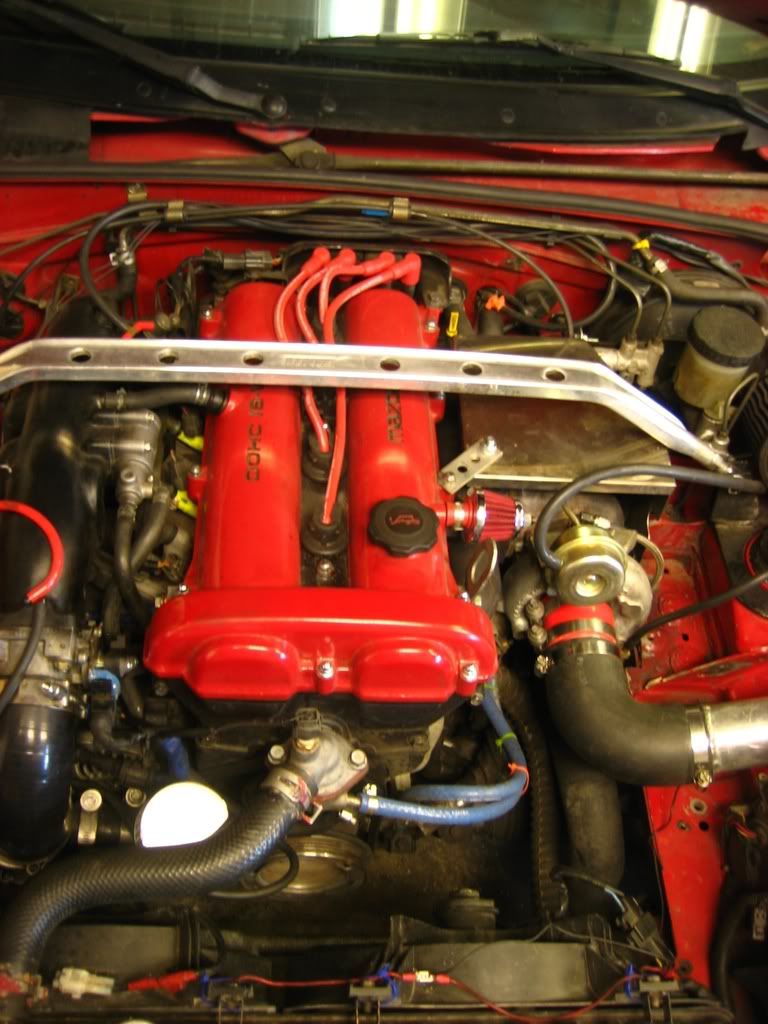
Damn guys, i wish i would have checked out this thread because half-assidly painting mine while doing a timing belt. Took me about 2 hours ... i didnt even sand it good.

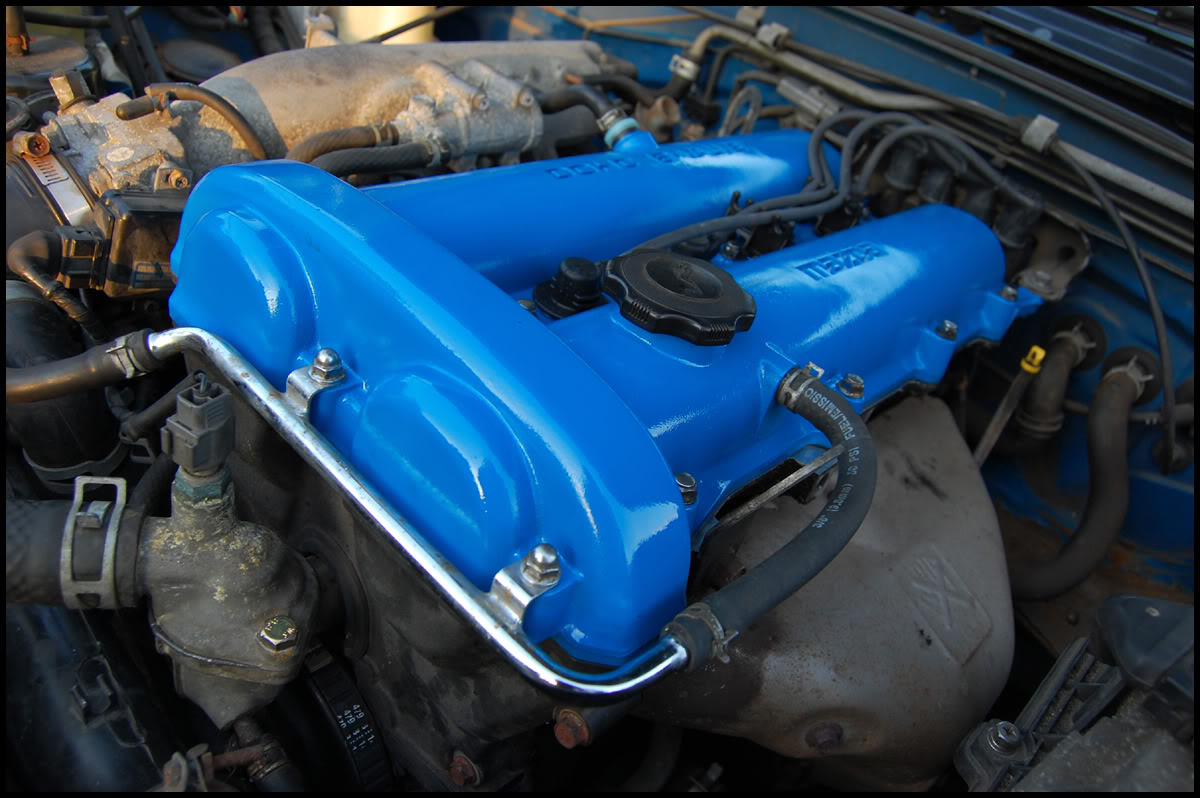
That wrinkle black is growing on me, looks like i will be doing that next time .
.
That wrinkle black is growing on me, looks like i will be doing that next time
.
Reply
0
0
 07-28-2009, 10:54 PM
#144
Elite Member
iTrader: (1)
Join Date: Feb 2008
Location: Birmingham Alabama
Posts: 7,930
Total Cats: 45
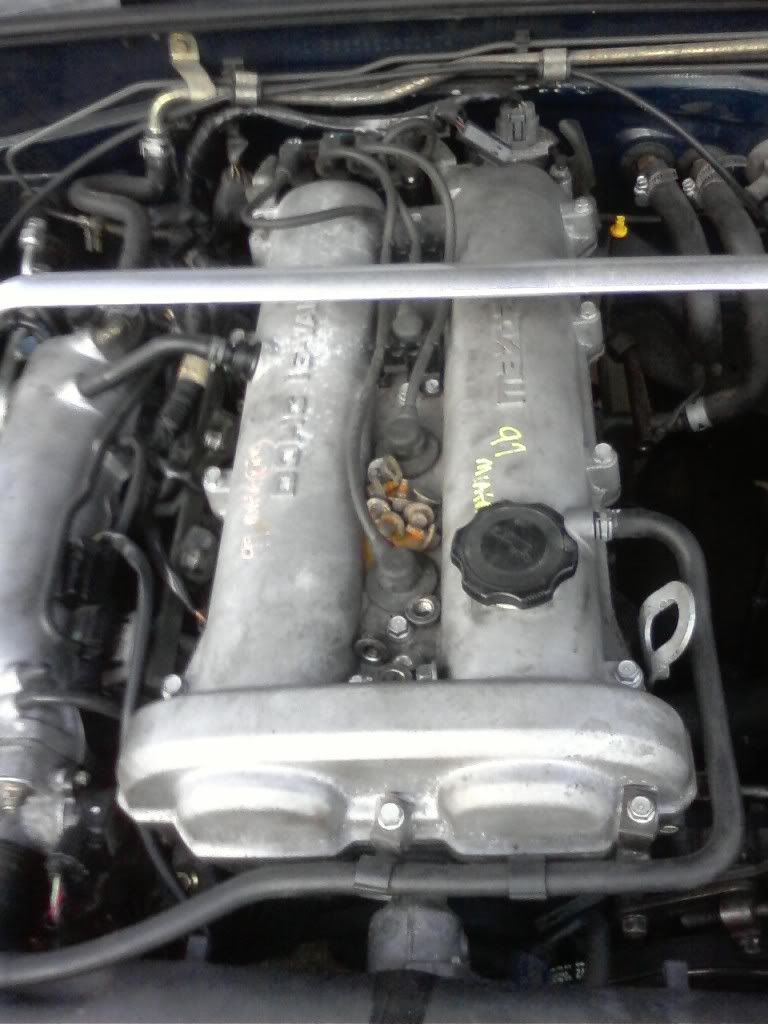
LOL, no joking. That thing needs a good wash with some degreaser, some Simple Green, then use some good rubber and plastic cleaner, or some power steering fluid on the hoses and plastic bits. Wouldn't take but a few hours and a box of shop towels or some old rags. I surely seen worse though. Mine was much worse when I bought it. Any red paint looked gray, and all of the hoses and plastics looked about the same. A day or two of gradual cleaning and it looked MUCH better.
Reply
0
0

 07-29-2009, 01:20 AM
#149
Elite Member
iTrader: (1)
Join Date: Feb 2008
Location: Birmingham Alabama
Posts: 7,930
Total Cats: 45
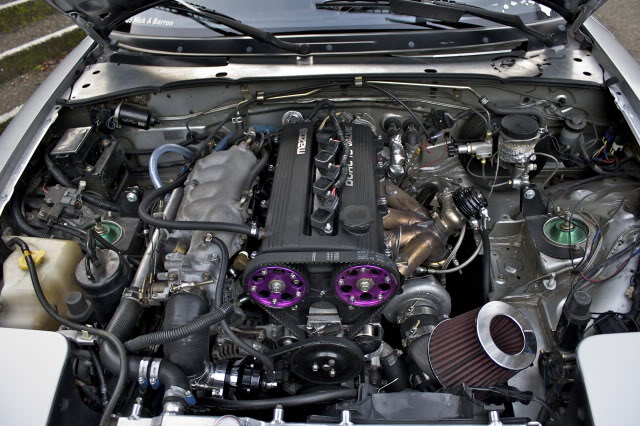
I wish I had used some aluminized paint on my block. I used black instead  If I do have any leaks though, they are super small. I love not using ANY oil or coolant between changes. Every car I had owned in the past used at least a half quart, or leaked out that much between changes.
If I do have any leaks though, they are super small. I love not using ANY oil or coolant between changes. Every car I had owned in the past used at least a half quart, or leaked out that much between changes.
Reply
0
0
07-29-2009, 08:02 AM
#150
Junior Member
Join Date: Jul 2009
Posts: 73
Total Cats: 1
LOL, no joking. That thing needs a good wash with some degreaser, some Simple Green, then use some good rubber and plastic cleaner, or some power steering fluid on the hoses and plastic bits. Wouldn't take but a few hours and a box of shop towels or some old rags. I surely seen worse though. Mine was much worse when I bought it. Any red paint looked gray, and all of the hoses and plastics looked about the same. A day or two of gradual cleaning and it looked MUCH better.
.
Reply
0
0


 12-04-2009, 08:30 AM
#156
Junior Member

Join Date: Aug 2008
Posts: 390
Total Cats: 1
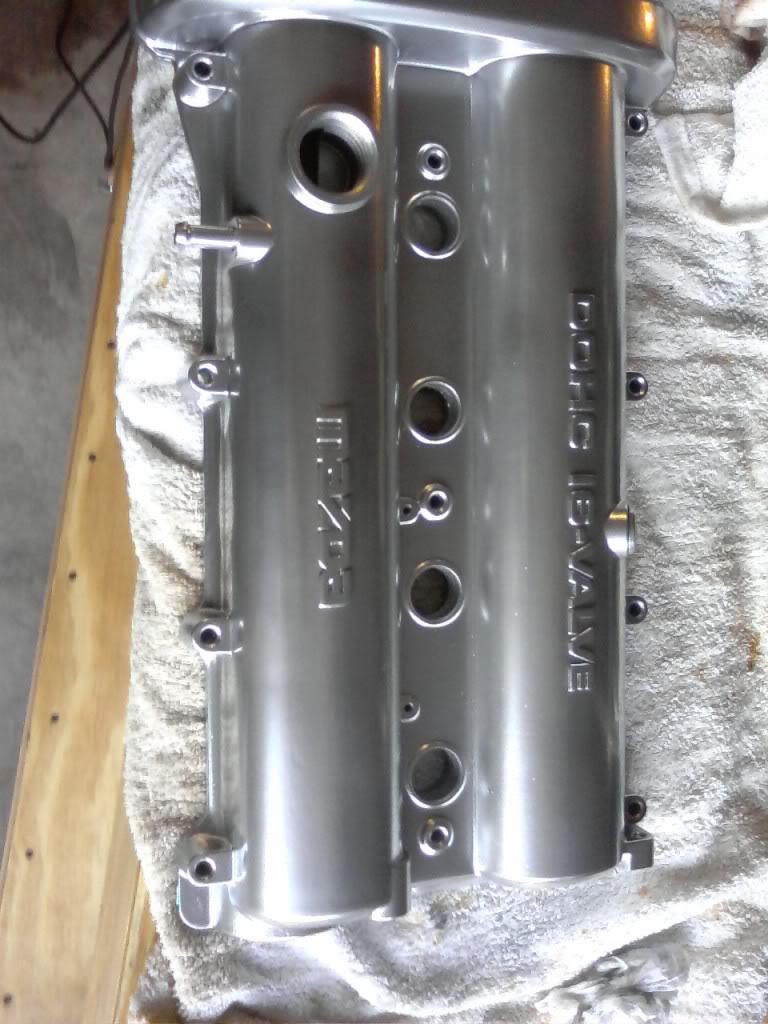
I did this but with reversed colours. All VHT stuff and dead easy.
1.6 recessed letters seem to be troubling people with painting. Do NOT used tape, that is far too hard and time consuming. Go to a model shop (if you have one local) or get on the net for a model shop then look for masking paint. Its a rubbery paint which dries and you can then peel off. Its great stuff when using models so thought I'd try it for my VC and I used a whole bottle but it worked brillaint
Spray letters
Masking paint letters
Spray valve cover
Use a toothpick or lollistick to poke out masking paint
Reply
0
0


