Badges
 03-09-2009, 08:45 PM
#1
Elite Member

Thread Starter
iTrader: (3)

Join Date: Apr 2008
Location: Outside Portland Maine
Posts: 2,023
Total Cats: 19
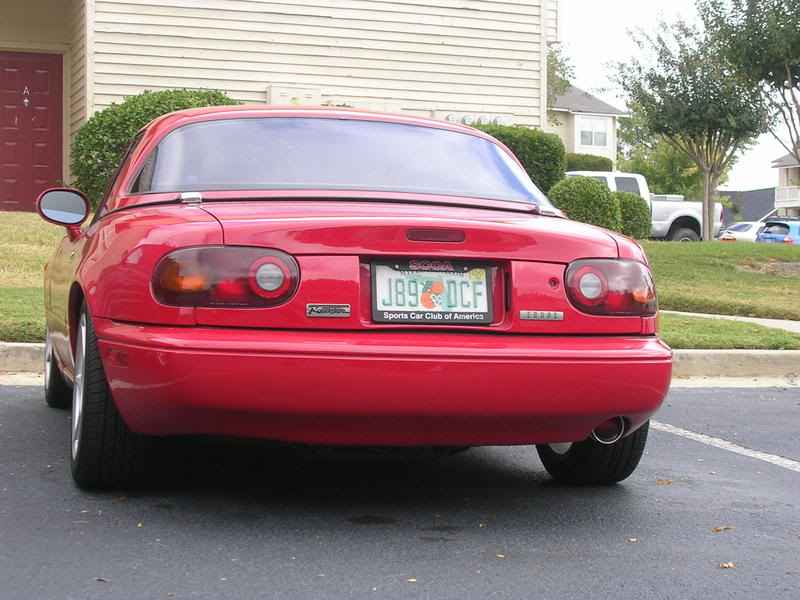
What kind of badges do people here replace the "mazda" with on the back of the car? There are two holes under the badge and I don't have money to paint the whole panel.
You can get "turbocharged" and "supercharged" and "roadster" badges from some of the catalogs, but what else is out there?
You can get "turbocharged" and "supercharged" and "roadster" badges from some of the catalogs, but what else is out there?

Reply
 0
0

0


 03-09-2009, 09:09 PM
#6
2 Props,3 Dildos,& 1 Cat

iTrader: (8)
Join Date: Jun 2005
Location: Fake Virginia
Posts: 19,338
Total Cats: 573
step one, tape off the holey area so you only have the holes plus an inch diameter around each hole.
step two, whip up some bondo and cram it into the holes. wipe off excess. make sure it sits JUST BARELY above flush. let harden.
step three, make the bondo flush using a tiny square of 600 grit paper. this will take a while but it's better than jackin up your paint.
step four, tack cloth the area (or alcohol on a paper towel)
step five, using your mazda OEM color matched touch-up paint, brush on a coat thick enough to cover the area and not drip.
step six, do another coat 30 minutes later
step seven, do another coat 30 minutes later
step eight, after an hour or two (assuming 60 degree weather or warmer), whip out your 800 grit wet/dry paper and a spray bottle of water and bring the 3 coats down to flush with the tape or your original paint. do not sand too much. keep it soggy wet.
step nine, remove the tape
step ten, grab 1000 paper and carefully feather the freshly painted area into the rest of the panel. keep it wet with the spray bottle. it will not be shiny. just make it smooth.
step eleven, follow with 1500 and 3000 or whatever you can get. keep it wet. it will still not be shiny, but may start to reflect some.
step twelve, wait a few days and then get some fine cut rubbing compound and a sponge applicator or two. use per the directions until it starts to shine nicely. dont get a heavy compound or you'll go through the paint.
step thirteen, get some polish (not containing wax or anything like it) and follow the directions using a fresh applicator pad. it should almost exactly match your paint now. the color may be slightly off but too late now sucker!
step fourteen, after a couple weeks, wash the area and give it another quick polish and then apply your favorite wax.
ta da.
you've just completed the y8s method of fixing small body imperfections.
Reply
0
0


Thread
Thread Starter
Forum
Replies
Last Post
graexodus
Miata parts for sale/trade
9
10-25-2015 03:34 PM


