
Eric Anderson's Supercharged SSM Miata
 01-07-2012, 06:37 PM
#1
Senior Member

Thread Starter
iTrader: (1)
Join Date: Jan 2011
Location: Chattanooga, Tn
Posts: 1,234
Total Cats: 283
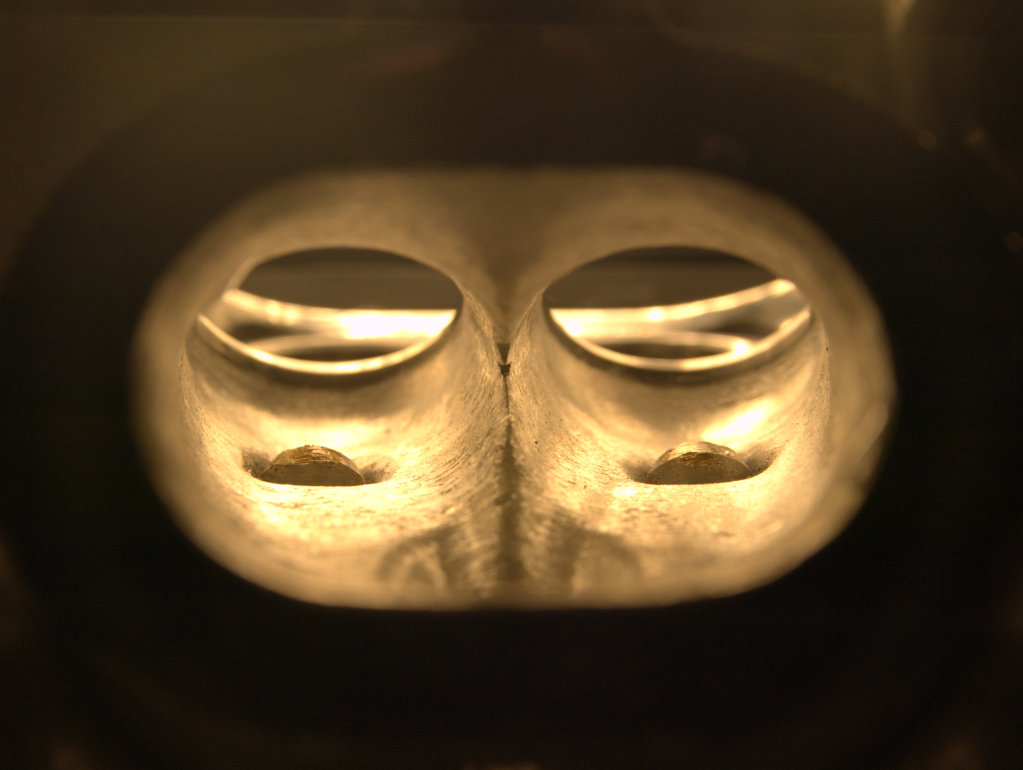
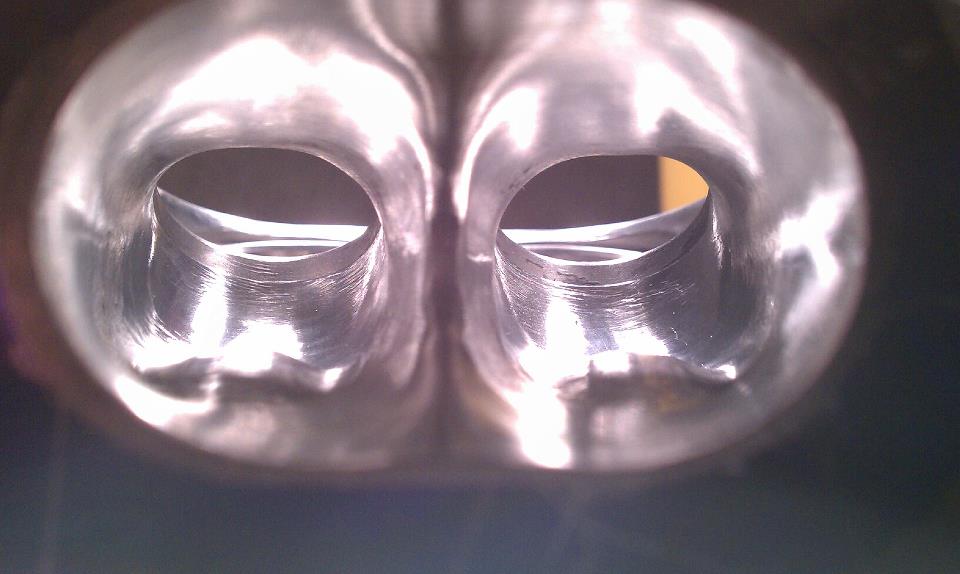
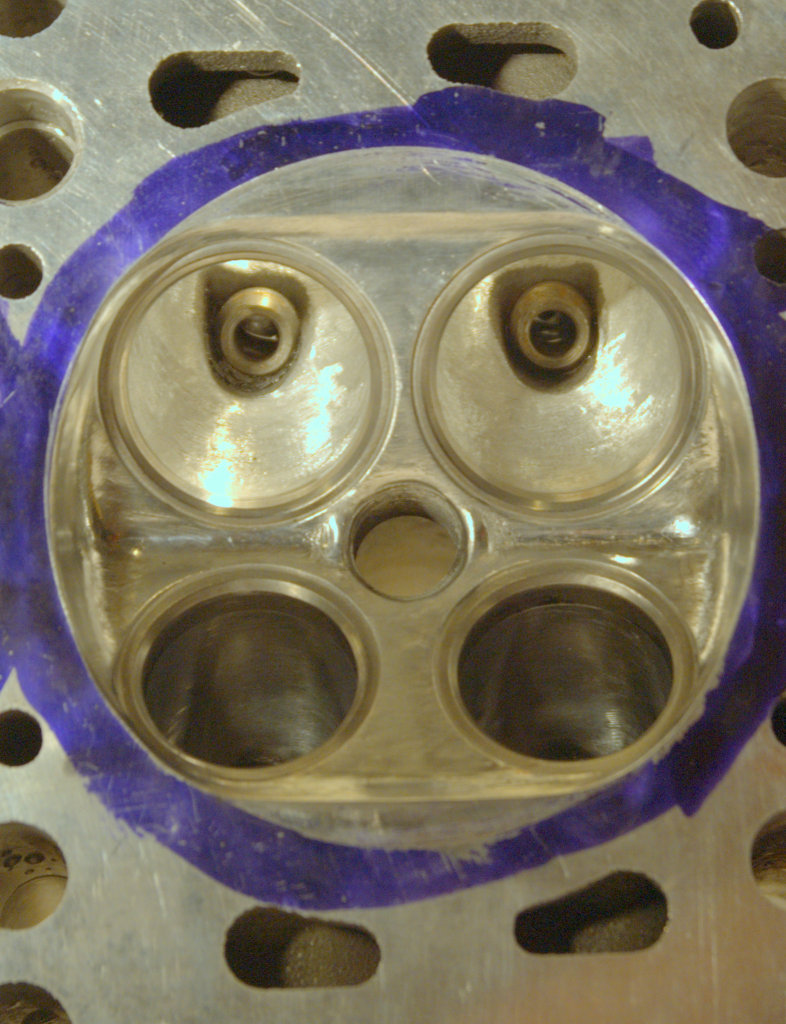
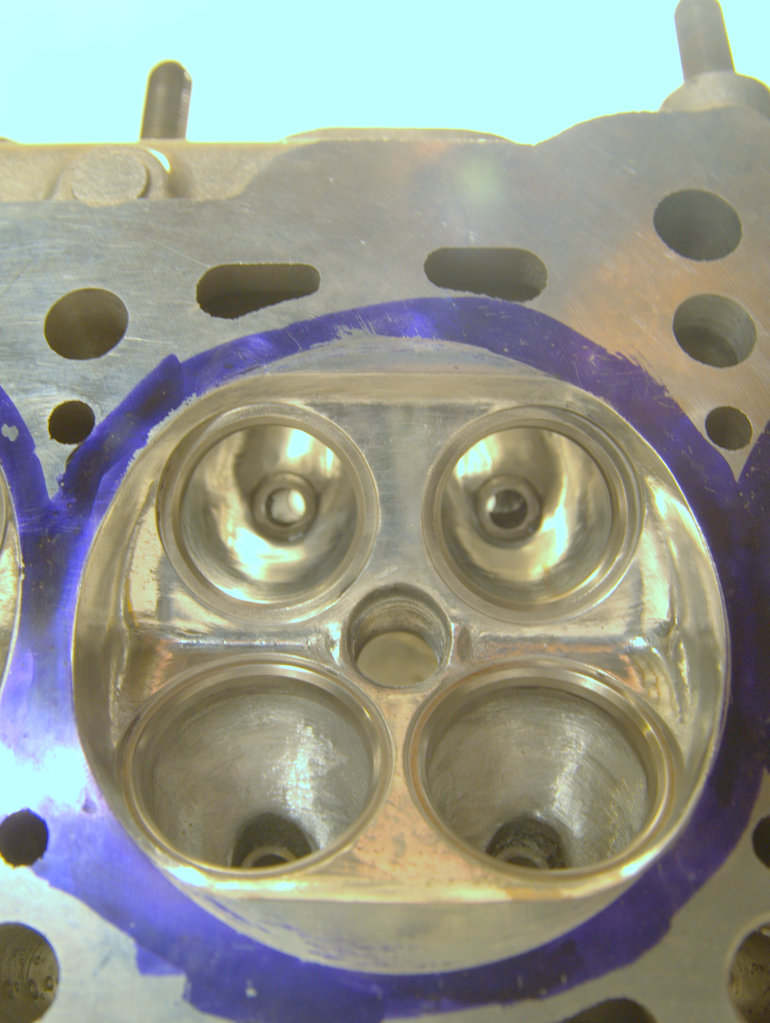
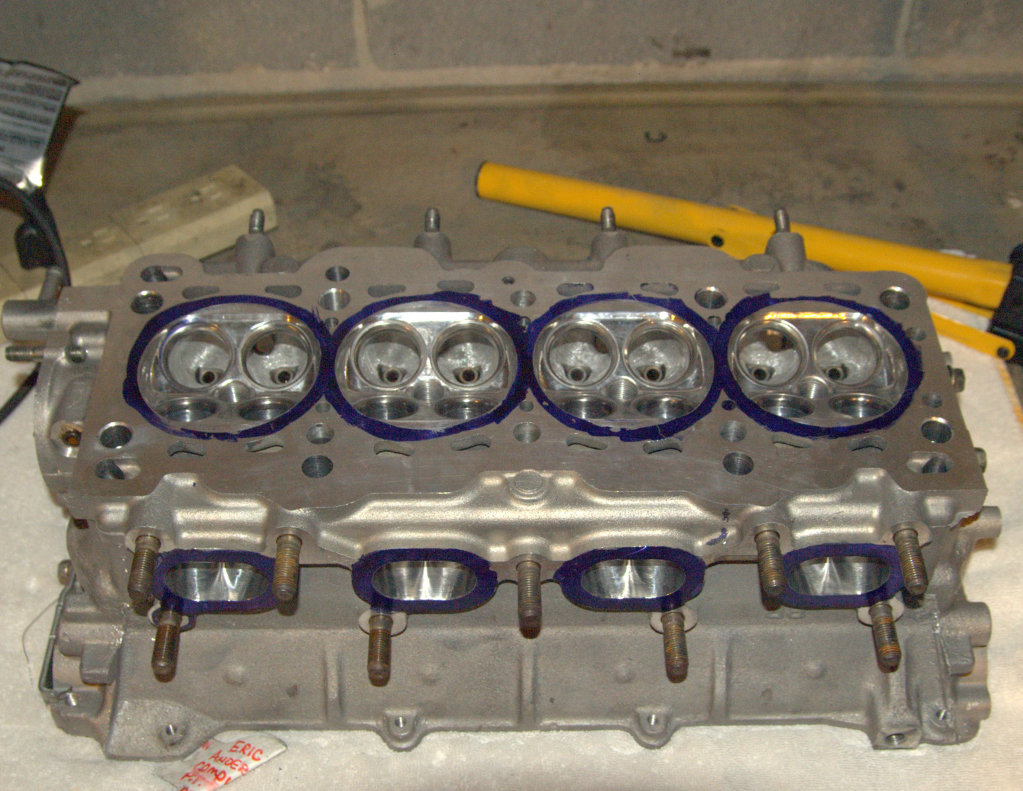
I'm just about to finish up my motor project for next season and wanted to share some pics of my head. It's a MSM Head that I have "mildly" ported and polished. I unshourded the intake and exhaust valves, "softened" all the sharp edged and mirror polished the combustion chambers, blended the bowls and tear dropped the guides on both the intake and exhaust ports, Raised the port roofs on both the intake and exhaust ports as high as the gaskets would allow and then mirror polished the exhaust ports. I'm dropping it off at the machine shop on Monday to be trued up and the valve job completed. Hope you enjoy the pics and I hope it makes at least 1/2 of 1 HP more than a stock head would.
Intake Port
Exhaust Port
Intake Bowls
Exhaust Bowls
Combustion Chambers

Full Head
All the best
Intake Port
Exhaust Port
Intake Bowls
Exhaust Bowls
Combustion Chambers
Full Head
All the best

Reply
 0
0

0
 01-07-2012, 07:29 PM
#3
Senior Member
Thread Starter
iTrader: (1)
Join Date: Jan 2011
Location: Chattanooga, Tn
Posts: 1,234
Total Cats: 283
Thank you sir. I just hope it works 1/4 as well as it looks. With head porting its all about the shape...not the shine. I didn't do anything out of the box. just simple tried and true steps.
Reply
0
0


 01-09-2012, 12:15 PM
#7

Looks real nice. I did almost the exact same stuff on my 96 head. It definitely added more power up top.
I would recommend that you CC each combustion chamber to ensure that the compression ratio is not greatly changed or is changed by the amount that you intended it to. I ended up dropping my compression a good bit with all the material I removed while deshrouding the valves. It will probably be beneficial once I go turbo, but running NA right now it makes the low end a little weak, but once it hits 4000rpm it pulls real strong.
I would recommend that you CC each combustion chamber to ensure that the compression ratio is not greatly changed or is changed by the amount that you intended it to. I ended up dropping my compression a good bit with all the material I removed while deshrouding the valves. It will probably be beneficial once I go turbo, but running NA right now it makes the low end a little weak, but once it hits 4000rpm it pulls real strong.
Reply
0
0
01-09-2012, 12:23 PM
#8
Senior Member

Join Date: Jan 2011
Location: sacramento ,ca
Posts: 563
Total Cats: 160
what bits did you use for the combustion chambers and polishing? i tried doing that to my head but i couldnt get the bits i have to get in the little nooks and crannies nor could i get the exhaust ports so smooth
Reply
0
0
01-09-2012, 01:04 PM
#9
Elite Member
iTrader: (2)

Join Date: Jan 2007
Location: Los Angeles, CA
Posts: 8,682
Total Cats: 130
Looks real nice. I did almost the exact same stuff on my 96 head. It definitely added more power up top.
I would recommend that you CC each combustion chamber to ensure that the compression ratio is not greatly changed or is changed by the amount that you intended it to. I ended up dropping my compression a good bit with all the material I removed while deshrouding the valves. It will probably be beneficial once I go turbo, but running NA right now it makes the low end a little weak, but once it hits 4000rpm it pulls real strong.
I would recommend that you CC each combustion chamber to ensure that the compression ratio is not greatly changed or is changed by the amount that you intended it to. I ended up dropping my compression a good bit with all the material I removed while deshrouding the valves. It will probably be beneficial once I go turbo, but running NA right now it makes the low end a little weak, but once it hits 4000rpm it pulls real strong.
I have 9:1 pistons and a very ported FM head. Stock height head and block. From day one I have only had 145psi on compression test.
Reply
0
0
01-10-2012, 08:51 AM
#10
My compression on the rebuilt motor (stock rebuild) was less than what it was before I pulled the engine. This was with an overbore and a slight head shave to clean things up. It also feels like it has less power down low than before, but that's the butt dyno speeking. This might be accentuated by the very strong pull above 4k though.
The big thing is to check each chamber to make sure your combustion volumes are the same. After all you are increasing the chamber volume by hand, not by a controlled process like CNC or whatever FM uses.
The big thing is to check each chamber to make sure your combustion volumes are the same. After all you are increasing the chamber volume by hand, not by a controlled process like CNC or whatever FM uses.
Reply
0
0


 01-10-2012, 06:48 PM
#16
Senior Member
Thread Starter
iTrader: (1)
Join Date: Jan 2011
Location: Chattanooga, Tn
Posts: 1,234
Total Cats: 283
My compression on the rebuilt motor (stock rebuild) was less than what it was before I pulled the engine. This was with an overbore and a slight head shave to clean things up. It also feels like it has less power down low than before, but that's the butt dyno speeking. This might be accentuated by the very strong pull above 4k though.
The big thing is to check each chamber to make sure your combustion volumes are the same. After all you are increasing the chamber volume by hand, not by a controlled process like CNC or whatever FM uses.
The big thing is to check each chamber to make sure your combustion volumes are the same. After all you are increasing the chamber volume by hand, not by a controlled process like CNC or whatever FM uses.
Thank you sir.
And before you all get your panties in a wad....C16!!! Not pump gas

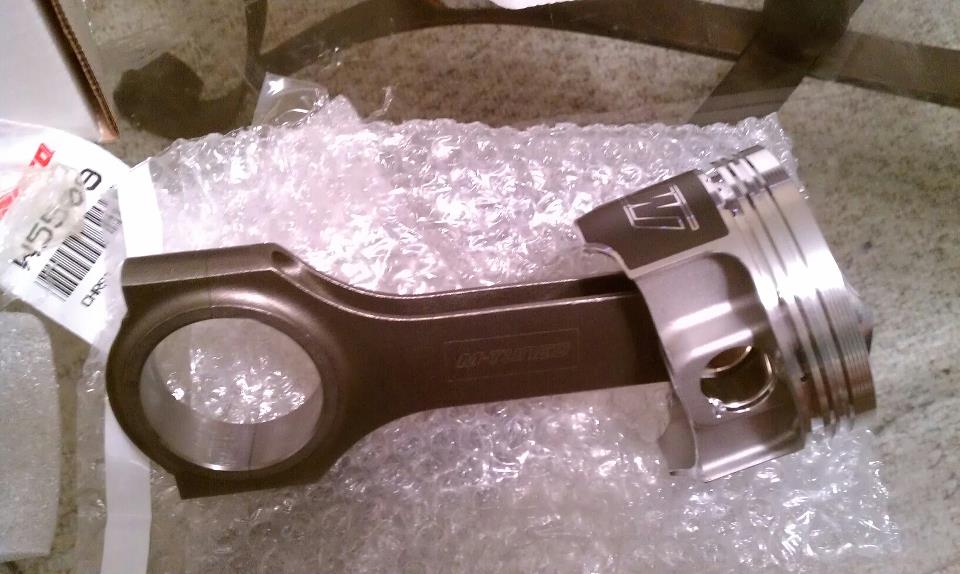
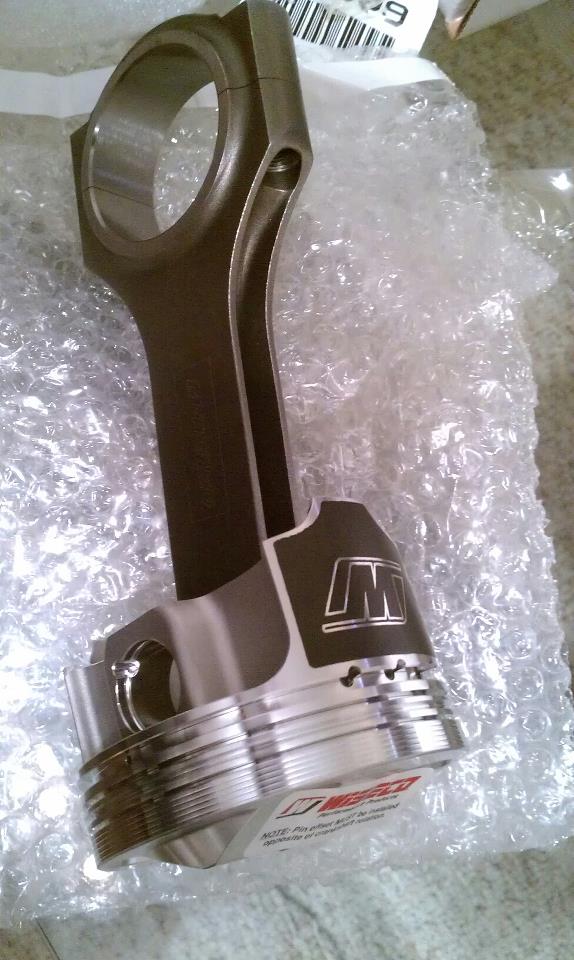
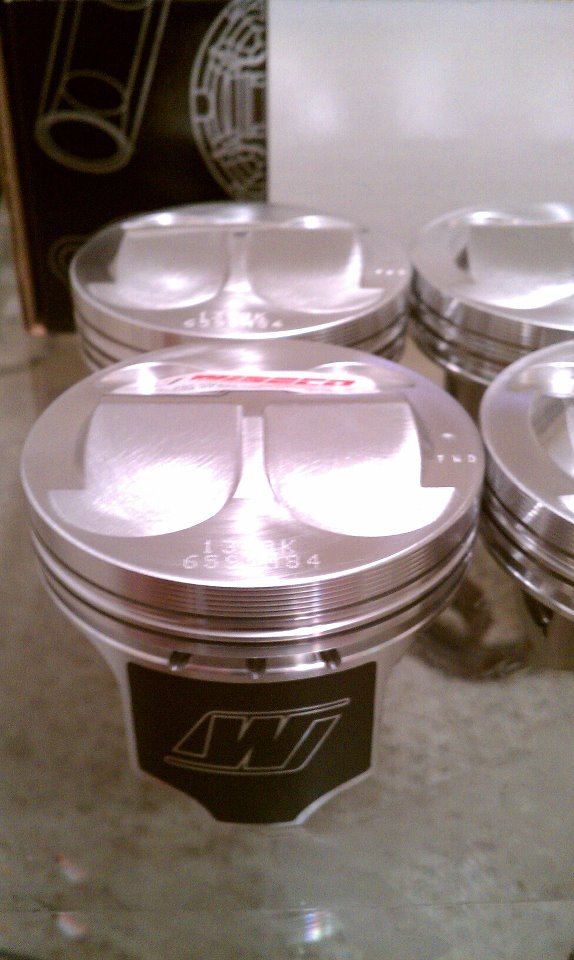
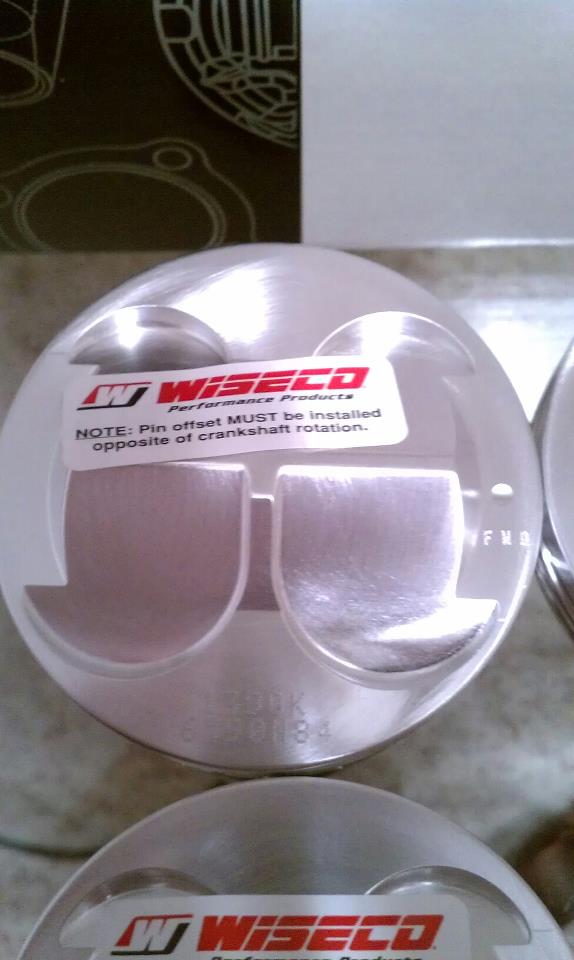
Rods and pistons have arrived. Hope to have the short block assembled this week, in the car over the weekend and delivered to DIY autotune for a tuning session in early Feb.

Reply
0
0

 01-10-2012, 07:13 PM
#19
Senior Member
Thread Starter
iTrader: (1)
Join Date: Jan 2011
Location: Chattanooga, Tn
Posts: 1,234
Total Cats: 283
^^^ The Intake is still up in the Air. I spent about an hour and a half on the phone with Corky on Friday. If he doesn't build me something one off I'm going to use a squaretop. The price is right on the squaretops right now through Mazdamotorsports Development...and they have them in stock.
Reply
0
0
01-11-2012, 10:16 AM
#20

Ok... so I don't know anything about head porting and it looks really nice, but I thought I read somewhere (while researching porting on my own which I decided not to do) is that a perfectly mirror finish is not actually what you want and it can actually hinder flow? Correct me if I'm wrong.
Reply
0
0


