
How did you gut your door
 09-13-2011, 05:26 PM
#21
Elite Member

Thread Starter
iTrader: (2)

Join Date: Aug 2009
Location: Dover, FL
Posts: 3,143
Total Cats: 174
I think I have an idea on how to make the door just a tad stiffer, and still be light. I have cut alot of the spare passanger door already, and want to do a test fit on the car. I will try to correct some of the mistakes on the driver door if it proves to be too flimsy.

Reply
 0
0

0
09-13-2011, 05:40 PM
#22
Supporting Vendor

iTrader: (3)

Join Date: Jul 2006
Location: San Diego
Posts: 3,303
Total Cats: 1,216
Mine is still quite rigid. When deciding how much of mine to cut, it looked like if you take out the entirety of the top portion that sits behind the elbow cushion, inward of the window, you'll save more weight but it'll get flimsy. That part is double, and in places, triple thick, so I took out the majority of it but left a bit to keep the rigidity. That portion and the reinforcement bar that sits inside the door against the outer skin are the two heaviest portions from my observations, so you of course want to take out as much as possible from there...

Reply
0
0
 09-13-2011, 08:37 PM
#24

Its just over 6 pounds. This is on my 90. So later years may be different.
Reply
0
0
 09-15-2011, 02:08 PM
#26
Elite Member
iTrader: (15)

Join Date: Dec 2007
Location: San Antonio, Texas
Posts: 4,847
Total Cats: 27
^^ Yep I am leaving them in for the same reason as well. I am already at minimum weight for my class, so I would have to add that mass back to the car. The only benefit would be mounting the makeup mass lower in the chassis for CG. I would rather have the side impact protection.
Reply
0
0
 09-15-2011, 03:07 PM
#28
Junior Member

Join Date: Dec 2010
Location: UK, in Cambridgeshire or wherever work takes me.
Posts: 375
Total Cats: 20
Re. the apparently spot-welded and glued side impact beams - how exactly have you lot gone about taking them out? I can't view my car at the moment, but I'm busy formulating a plan of door-attack for next time I work on it, ha.
Before anyone cries "safety", I'm having door bars welded in.
Before anyone cries "safety", I'm having door bars welded in.
Reply
0
0
09-15-2011, 04:40 PM
#29
Elite Member
Thread Starter
iTrader: (2)
Join Date: Aug 2009
Location: Dover, FL
Posts: 3,143
Total Cats: 174
I would do the same thing on the driver side. It is just a few minutes work. I went ahead and took the passanger crash bar out, since that door will only see dragstrip duties.
Reply
0
0
09-15-2011, 04:45 PM
#30
Elite Member
Thread Starter
iTrader: (2)
Join Date: Aug 2009
Location: Dover, FL
Posts: 3,143
Total Cats: 174
Re. the apparently spot-welded and glued side impact beams - how exactly have you lot gone about taking them out? I can't view my car at the moment, but I'm busy formulating a plan of door-attack for next time I work on it, ha.
Before anyone cries "safety", I'm having door bars welded in.
Before anyone cries "safety", I'm having door bars welded in.
Reply
0
0
 09-16-2011, 09:54 AM
#33

Finally got around to taking out the factory crash bar in my XP car last night. Used a rotary spot weld bit and took out the 7-8 welds at the ends of the bar. Did need to use the mini-sawsall on the part welded to the door latch. No good way to drill it, my 90 degree drill might have worked but my compressor is out of commission.
Reply
0
0
09-16-2011, 09:58 AM
#34
Elite Member
Thread Starter
iTrader: (2)
Join Date: Aug 2009
Location: Dover, FL
Posts: 3,143
Total Cats: 174
Finally got around to taking out the factory crash bar in my XP car last night. Used a rotary spot weld bit and took out the 7-8 welds at the ends of the bar. Did need to use the mini-sawsall on the part welded to the door latch. No good way to drill it, my 90 degree drill might have worked but my compressor is out of commission.
Reply
0
0
09-16-2011, 10:06 AM
#35
http://www.harborfreight.com/3-8-eig...ter-95343.html
Works like a champ. You'll need to punch a starting hole for the middle of the bit to ride in. I use a punch and usually use a fresh 1/8" bit by hand to give it a little more depth. Over half the time I just drill the whole thing out unless I'm trying to save the panel. Like when I cut the rear seat mounts out with it. Some welds seem to require though.
If you dont care about the panel or anything behind it, a stepped drill bit works great too. Wouldnt recommend it on the door skin facing ones. Not enough room between the spot weld and the skin. I used the stepped bit on the welds not facing the door skin (it's faster).
Reply
0
0
09-29-2011, 09:15 PM
#36
Elite Member
Thread Starter
iTrader: (2)
Join Date: Aug 2009
Location: Dover, FL
Posts: 3,143
Total Cats: 174
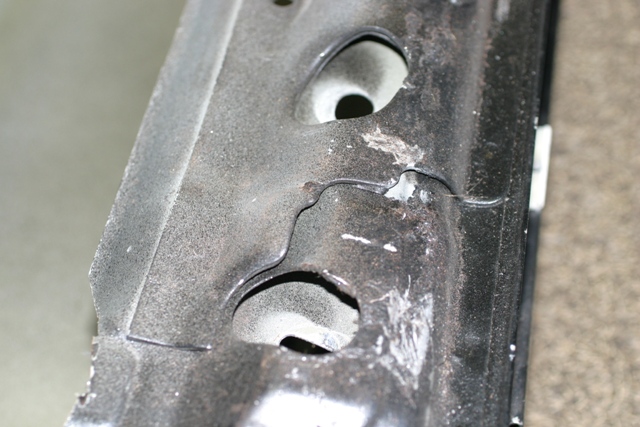
I decided to remove the top crash bar (thick sheet metal that sandwiches two other layers just under the window.
I decided to buy this cool tool kit from a Snap On Dealer friend that lives across the street from my shop.
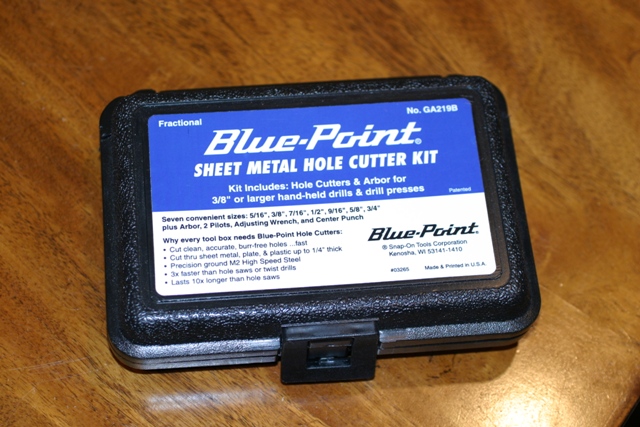
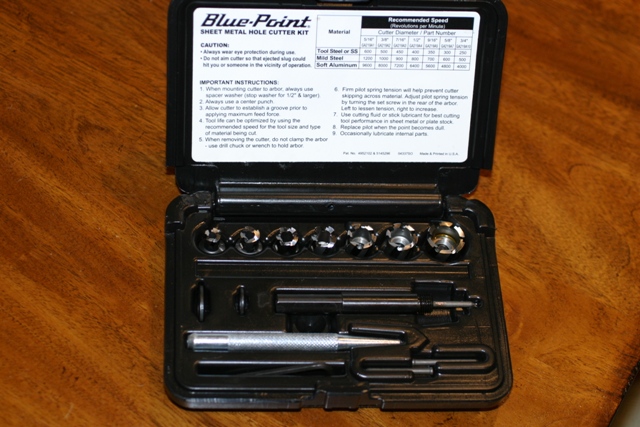

I decided to buy this cool tool kit from a Snap On Dealer friend that lives across the street from my shop.
Reply
0
0
09-29-2011, 09:21 PM
#37
Elite Member
Thread Starter
iTrader: (2)
Join Date: Aug 2009
Location: Dover, FL
Posts: 3,143
Total Cats: 174
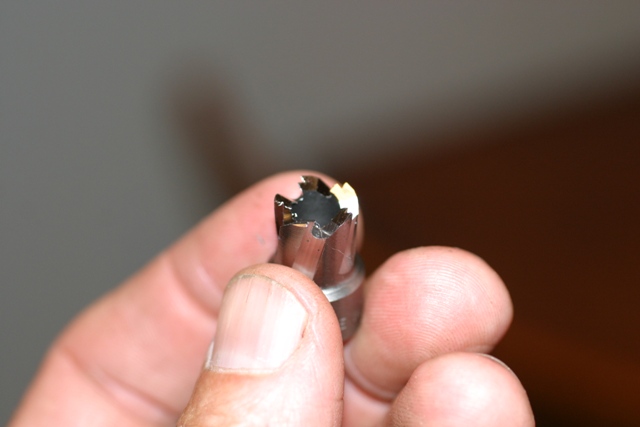
I started to use my new found tool, and in five minutes I broke the smallest bit.
It takes a little getting used to, but after playing around with it for a while I got the hang of it.
I think the mistake I did was using too small a bit. If you cut the layer deep enough, and it still does not seperate from the other layer, go to the next sized bit.
End results

I might weld the two layers in a few places to give it a tad more strength. I will mount it first to see if the door is too flimsy for my taste before I go through the trouble.
It takes a little getting used to, but after playing around with it for a while I got the hang of it.
I think the mistake I did was using too small a bit. If you cut the layer deep enough, and it still does not seperate from the other layer, go to the next sized bit.
End results
I might weld the two layers in a few places to give it a tad more strength. I will mount it first to see if the door is too flimsy for my taste before I go through the trouble.
Last edited by miata2fast; 09-29-2011 at 10:29 PM.
Reply
0
0
09-29-2011, 11:19 PM
#38
One thing to add strength/stability back is just skin the inside with a thin sheet of aluminum. They sell pre-painted sheets at most sign shops. I'm probably going to do that on mine. I cut even the braces on the hinge side out. The door is stupid floppy now. Probably need to pin it a different way than the stock latches/hinges at this point.
Reply
0
0
09-30-2011, 03:15 PM
#40
Junior Member

Join Date: Oct 2010
Location: Wake Forest, NC
Posts: 175
Total Cats: 0
How hard is it to get the factory door bar out without mangling the outside paint from the grinder heat? Im trying to decide if I should just slot mine to clear the cage or remove it entirely.
Reply
0
0


