
New Wing to Test
 03-22-2013, 09:24 PM
#281
Newb

Join Date: Nov 2011
Posts: 11
Total Cats: -1
Anyone else thinking about installing latches on the undersides of the flaps and cutting the floor trays out for a jerry rigged roof vent for those with non ac equipped cars? Could be a neat alternative to the over price subaru rally roof vents.
-Edit-
Had a second look at the price, hah, nevermind on that.
-Edit-
Had a second look at the price, hah, nevermind on that.

Reply
 0
0

0
03-22-2013, 10:30 PM
#282

The Subaru roof vents are really a vent from step vans. $22. It's the scoop that goes over top that's expensive, and they don't really fit a Miata anyhow.
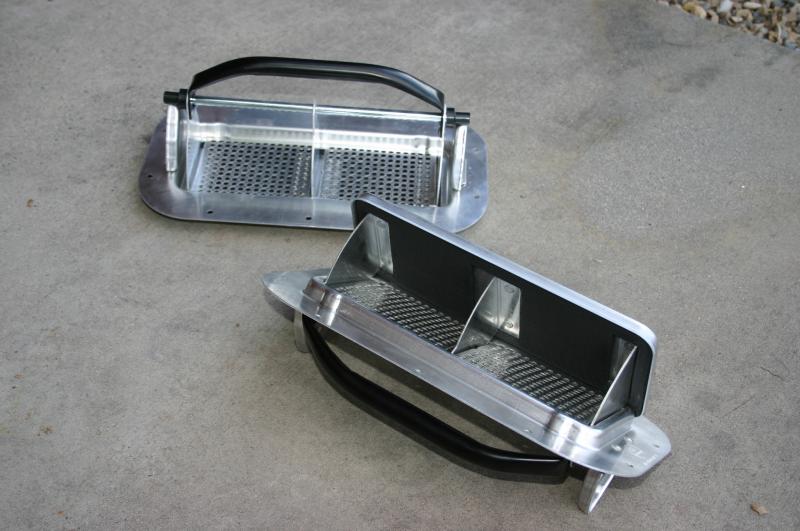
NACA ducts in the side windows are a lot simpler, effective, and you can plug them with the top from a spray bomb.
NACA ducts in the side windows are a lot simpler, effective, and you can plug them with the top from a spray bomb.
Last edited by Keith@FM; 03-23-2013 at 10:51 AM.
Reply
0
0
03-26-2013, 04:12 AM
#283
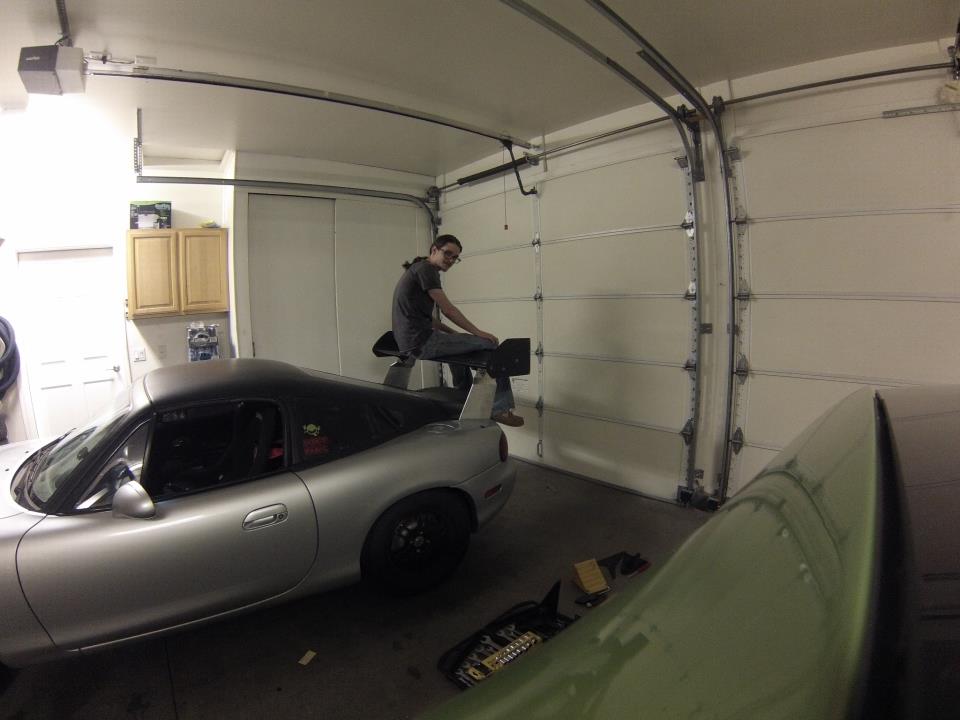
I sent naked pictures of my cat to Keith so he shipped my brackets first.  Here's the new look sported by the cool kids this season:
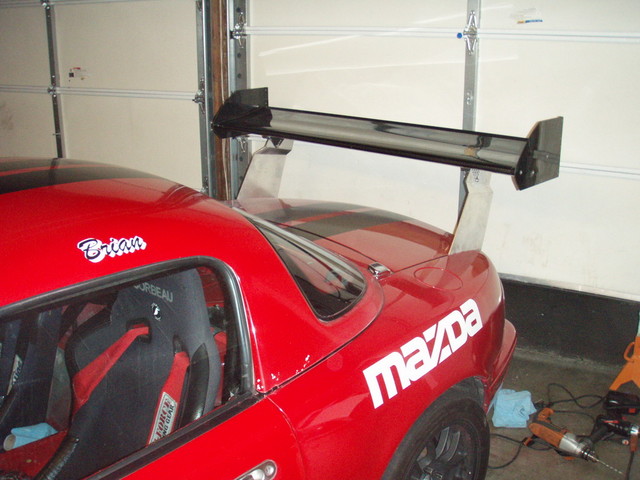
The metal in the gutters is very thick and I'm confident tapping the 5 holes per side for M6 1.0 and running the button heads in with some thread lock would be plenty to keep things attached. I overdrilled for M6 on the 4 points I did mount before I thought of that better idea so I've got nylocks back there. Not sure what I'll do with the other 6 holes for these are fine for sitting in the garage while I think on it...
A few install tips:
1. Mount the wing in place, get everything drilled and/or tapped with the trunk lid all the way open or off. Once you have that done, remove the mounts, lower the trunk and reassemble. You don't get a bunch of room to get drills and arms inside the trunk in the 'closed' side of the mounts.
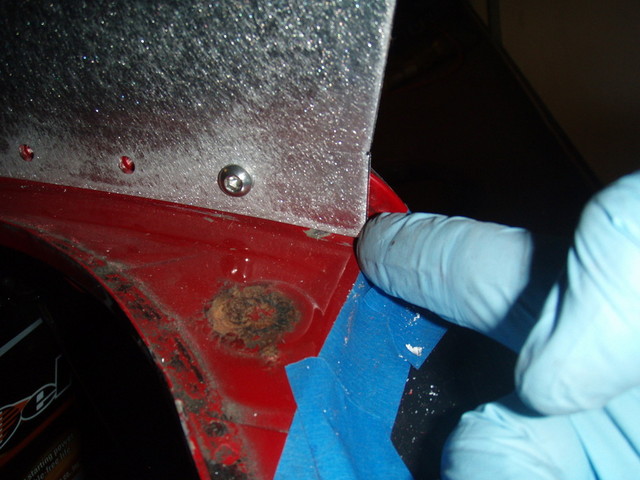
2. The mounts are sharp. If you are putting these on a street car, sand the sharp edges off the bottom of the mounts so they don't cut the paint in the gutters. You might also want to put some tape down around the area so you don't scratch anything pretty.
3. My clearances are TIGHT. I'm making pretty good contact with the trunk lid so you might need to work some angles to not scratch things on a dual purpose car.
4. Rivnuts were discussed earlier in the thread. The 1/16th of an inch per side that they would push the mounts inboard would make my moderate interference unworkable. Drilling and tapping or traditional nuts are necessary on mine.
5. I don't know how far back these were designed to be but I matched up the back of the mount with the spot the gutter falls away. The angles seem to match up well so my hunch is I got it right. I put some blue tape to keep the metal shaving from falling down behind the tail light.
Here's the new look sported by the cool kids this season:The metal in the gutters is very thick and I'm confident tapping the 5 holes per side for M6 1.0 and running the button heads in with some thread lock would be plenty to keep things attached. I overdrilled for M6 on the 4 points I did mount before I thought of that better idea so I've got nylocks back there. Not sure what I'll do with the other 6 holes for these are fine for sitting in the garage while I think on it...
A few install tips:
1. Mount the wing in place, get everything drilled and/or tapped with the trunk lid all the way open or off. Once you have that done, remove the mounts, lower the trunk and reassemble. You don't get a bunch of room to get drills and arms inside the trunk in the 'closed' side of the mounts.
2. The mounts are sharp. If you are putting these on a street car, sand the sharp edges off the bottom of the mounts so they don't cut the paint in the gutters. You might also want to put some tape down around the area so you don't scratch anything pretty.
3. My clearances are TIGHT. I'm making pretty good contact with the trunk lid so you might need to work some angles to not scratch things on a dual purpose car.
4. Rivnuts were discussed earlier in the thread. The 1/16th of an inch per side that they would push the mounts inboard would make my moderate interference unworkable. Drilling and tapping or traditional nuts are necessary on mine.
5. I don't know how far back these were designed to be but I matched up the back of the mount with the spot the gutter falls away. The angles seem to match up well so my hunch is I got it right. I put some blue tape to keep the metal shaving from falling down behind the tail light.
Reply
0
0
03-26-2013, 03:02 PM
#284
Senior Member

Join Date: Oct 2011
Location: Northridge, CA
Posts: 842
Total Cats: 412
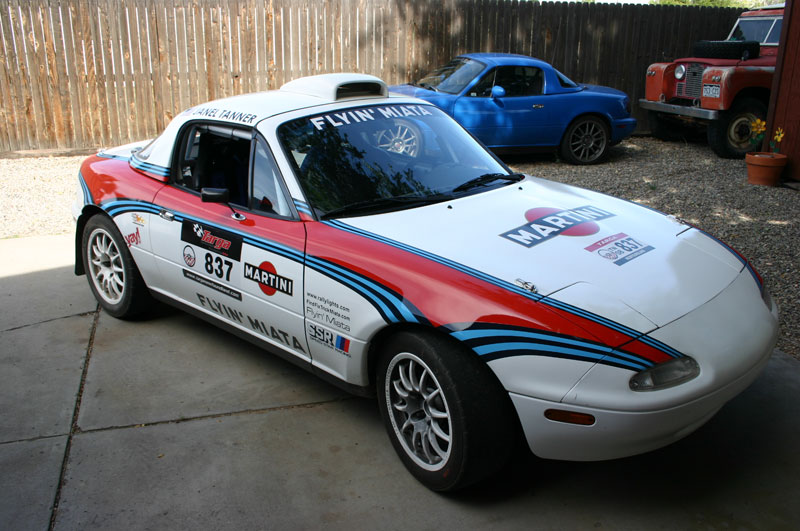
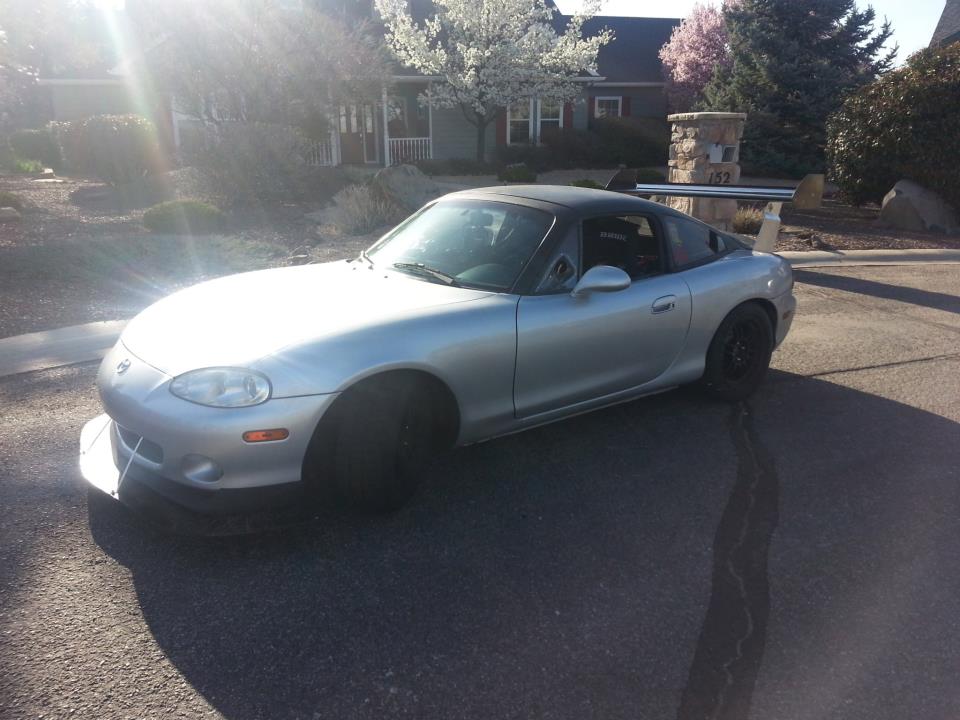
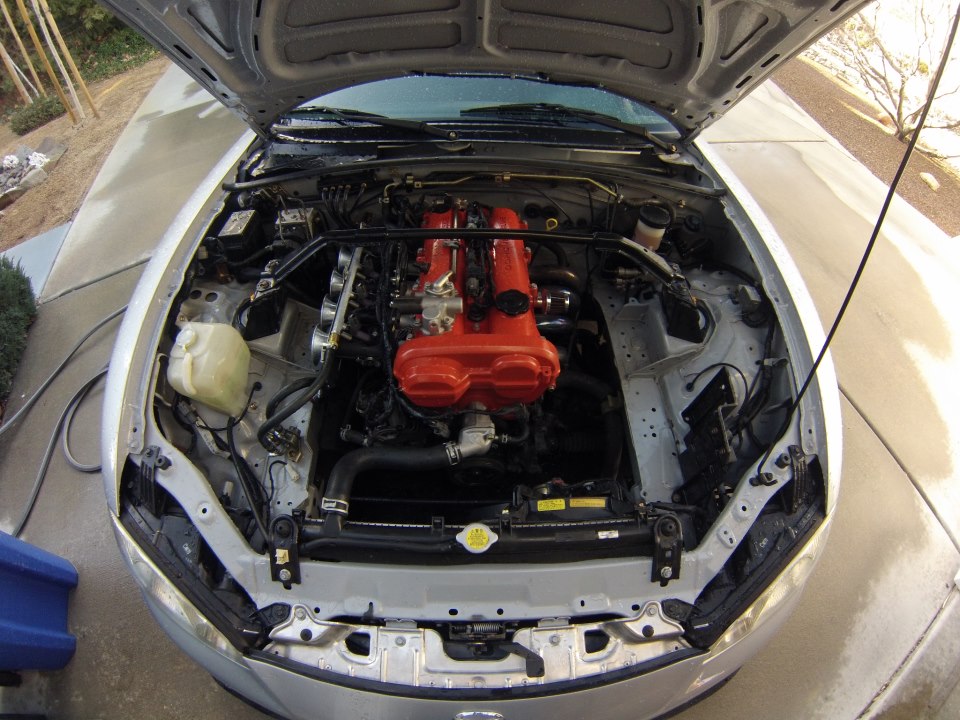
Finally got the splitter on the car to balance out the wing.
The results were quite dramatic, Creampuff was simply glued to the track.
If I only managed to drive it properly...
Moti
Reply
0
0


 04-13-2013, 07:38 PM
#295
Junior Member
iTrader: (2)

Join Date: May 2009
Location: Under the car in a pool of oil
Posts: 64
Total Cats: 2
So guess what arrived today? Took a 60 mile detour to pay the import tax and collect them with the whole family in tow... not sure who was more pleased, me for having my mahoosive wing and the mounts, my son for having found a nice stone ( 7 years old and easily pleased!!) or my youngest because I told him if the box didn't fit he could ride home on the roof... he was really looking forward to it!
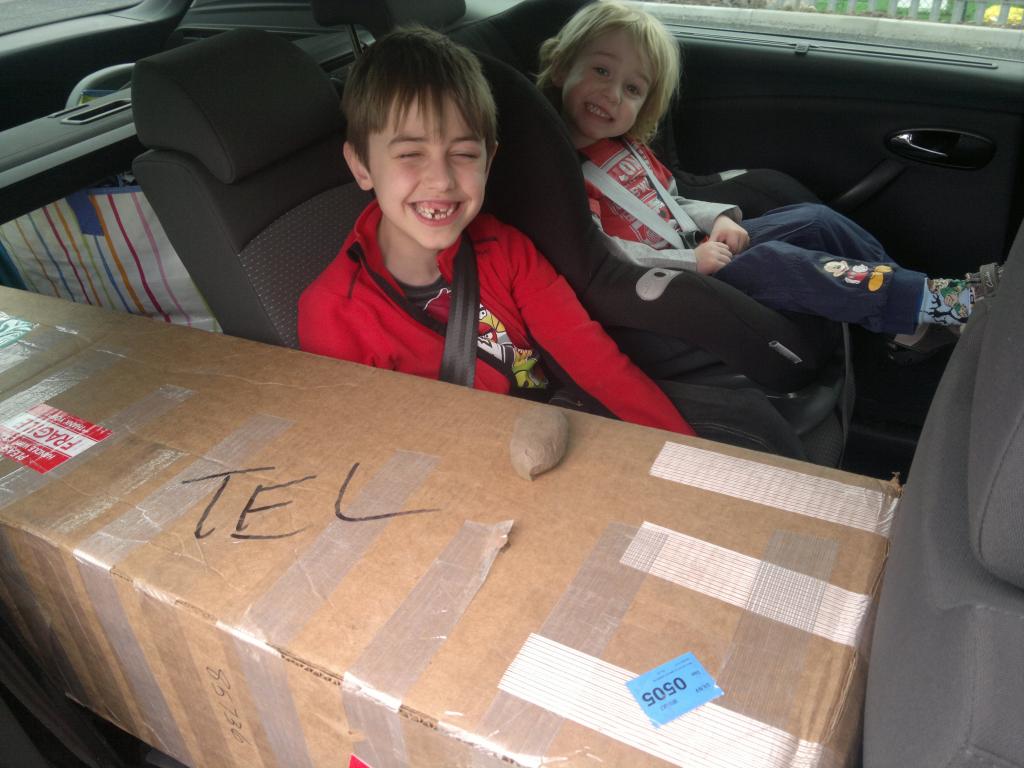
At home and the wing is big!! Beautifully made too, but a bit of a change from my little ducktail!
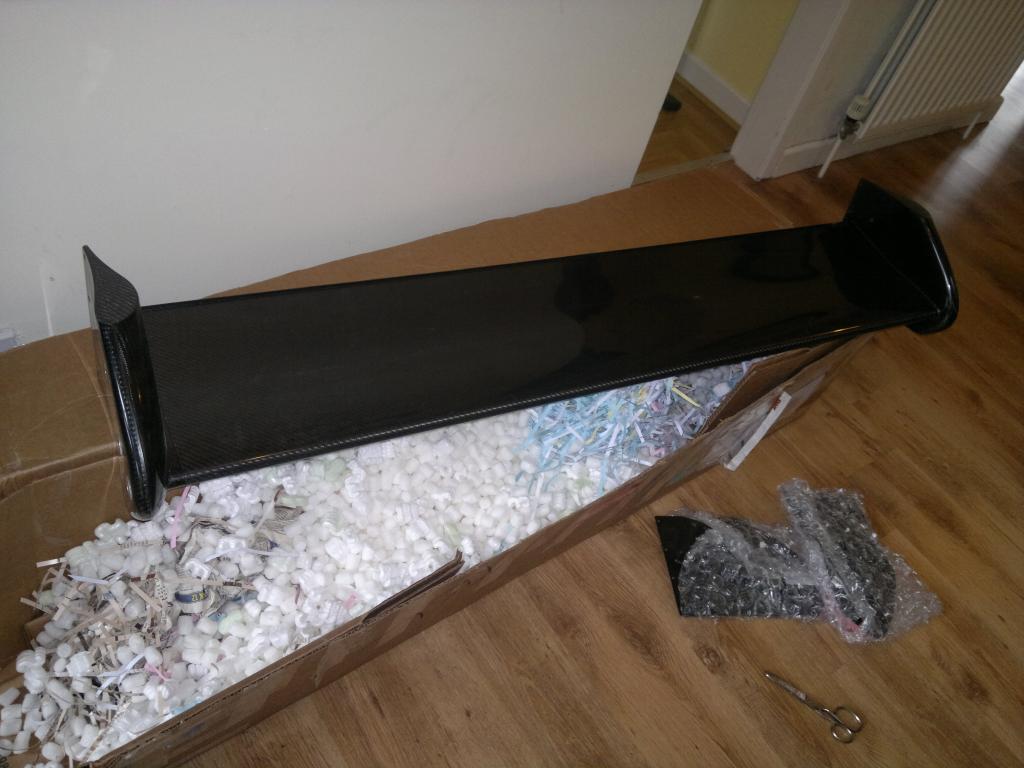
Obviously I found the time to do a test fit... should surprise a few people at the meet tomorrow as I haven't mentioned it to anyone in the UK!!
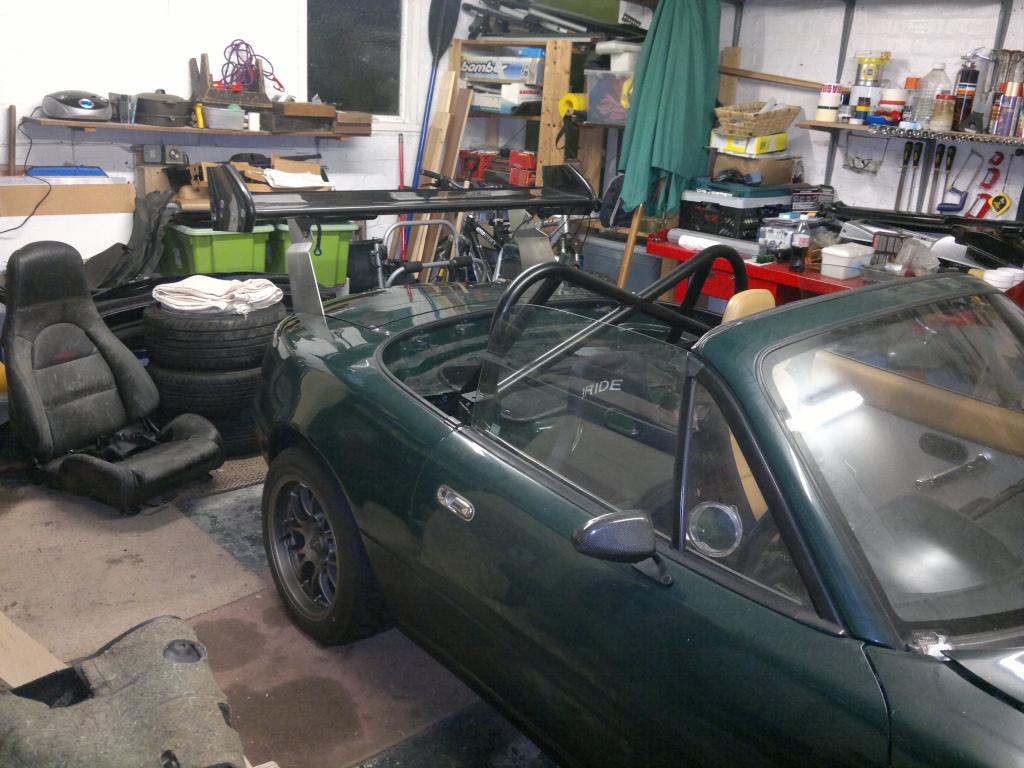
Huge thanks to Keith and the rest of Flyin Miata, I didn't think it'd get here in time for tomorrow but in the end it was 4 days to get to me in the UK which is pretty good!!
Russell.
Reply
0
0
04-14-2013, 01:23 AM
#297
Senior Member

Join Date: Oct 2011
Location: The Race Track & St Pete FL
Posts: 638
Total Cats: 57
That sounds good, can't wait for my wing and splitter. I haven't found the end of my grip after doing the flat underbody. But as of right now I am hitting one of my favorite corners at 63 mph with about the same grip as my 225 Nitto NT01 and I am currently on 185 Barum Bravuris 2
Reply
0
0
 04-16-2013, 02:58 AM
#300
Elite Member

iTrader: (2)
Join Date: May 2008
Location: Portland, Oregon
Posts: 3,468
Total Cats: 365
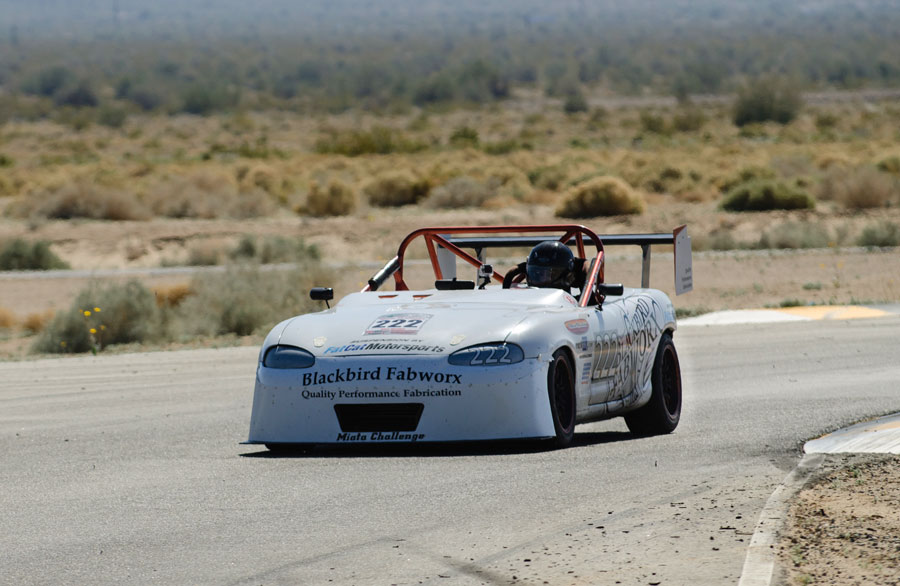
The wing and mounts saw action today. This corner felt (haven't looked at datalog yet) 20mph faster than last year. Wing was not the only difference between now and then, but it definitely helped.

Reply
0
0


