
Post your DIY aero pics


 04-14-2015, 05:12 PM
#824
Elite Member
iTrader: (15)

Join Date: Jan 2007
Location: Murfreesboro,TN
Posts: 2,041
Total Cats: 265
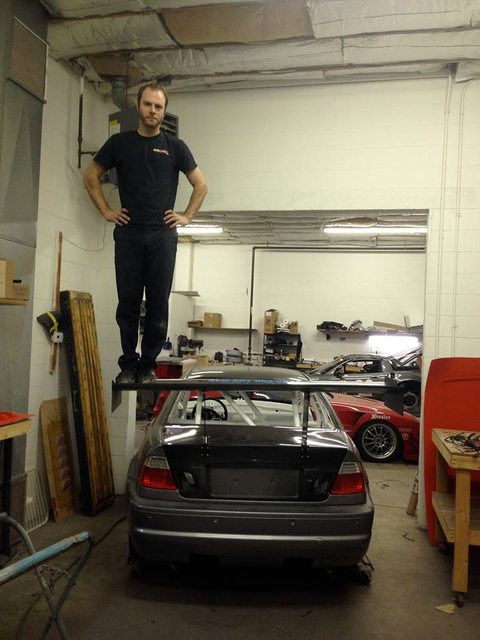
I'm just guessing here, but I would assume that wings are distributed load, not a point load. Standing/sitting on the wing while impressive, isn't going to prove it would hold up to 300lbs of total downforce.

Reply
 0
0

0
04-14-2015, 05:29 PM
#826

Correct, and even some flexing in the wing element is fine. Sure your profile is changing as it flexes, its not substantial, and your wing mounts flexing doesnt matter much either. Anyone who says differently is either an idiot or just regurgitating info without thinking about the physics. No ******* way am I going to sit on my wing. Did it break at 120 where it should be making in the 600lbs of downforce range? no.
Reply
0
0
04-14-2015, 09:14 PM
#827
ʎpunq qoq

Join Date: Jan 2014
Location: Western Australia
Posts: 604
Total Cats: 201
I'm a bit under 90kgs and with all my weight in the dead middle the wing must deflect around 15mm (5/8ths). I bounced up and down a bit and all up felt pretty safe. If I had the ceiling height I would feel fine standing on it even with my feet together in the middle of the span. I could imagine two more of me either side sitting nearer to the supports world start to stress it. I think a total load of around 300kgs spread equally would be the limit... any more and the deflection would cause a permanent bend or the plastic the crack and fail.
I think I'm more concerned about the main supports than the wing itself. Any large harmonic sideways motion when weighted up could cause the plates to twist and fail.
I'll get some pics taken of me and the kids sitting on it when someone else is around.
Reply
0
0
04-14-2015, 11:08 PM
#828

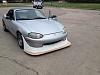
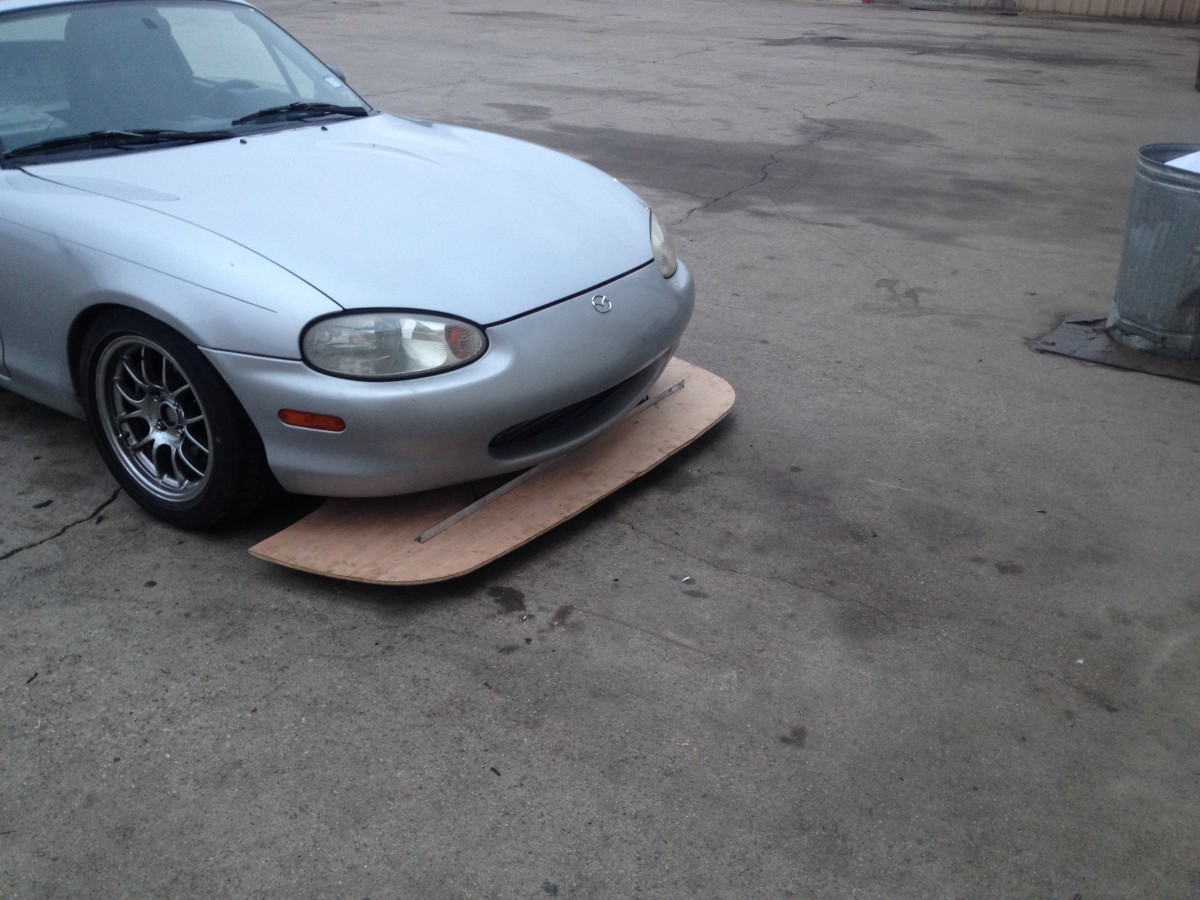
Dollars spent: $100
Hours spent:10 Hrs
How effective:No tested
Materials used:1/2" Birch Wood
Size/thickness of materials: 1/2"
Bracket location:Bracket at the very front of frame
Tracks tested on:none
Race/TT class built for: Autocross SSM(not committed yet)
Please give feedback
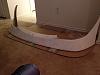
Splitter cardboard template
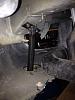
Front bracket to frame
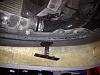
Front bracket through bumper
The air dam is not fastened
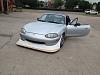

Driving home without the air dam
Hours spent:10 Hrs
How effective:No tested
Materials used:1/2" Birch Wood
Size/thickness of materials: 1/2"
Bracket location:Bracket at the very front of frame
Tracks tested on:none
Race/TT class built for: Autocross SSM(not committed yet)
Please give feedback

Splitter cardboard template
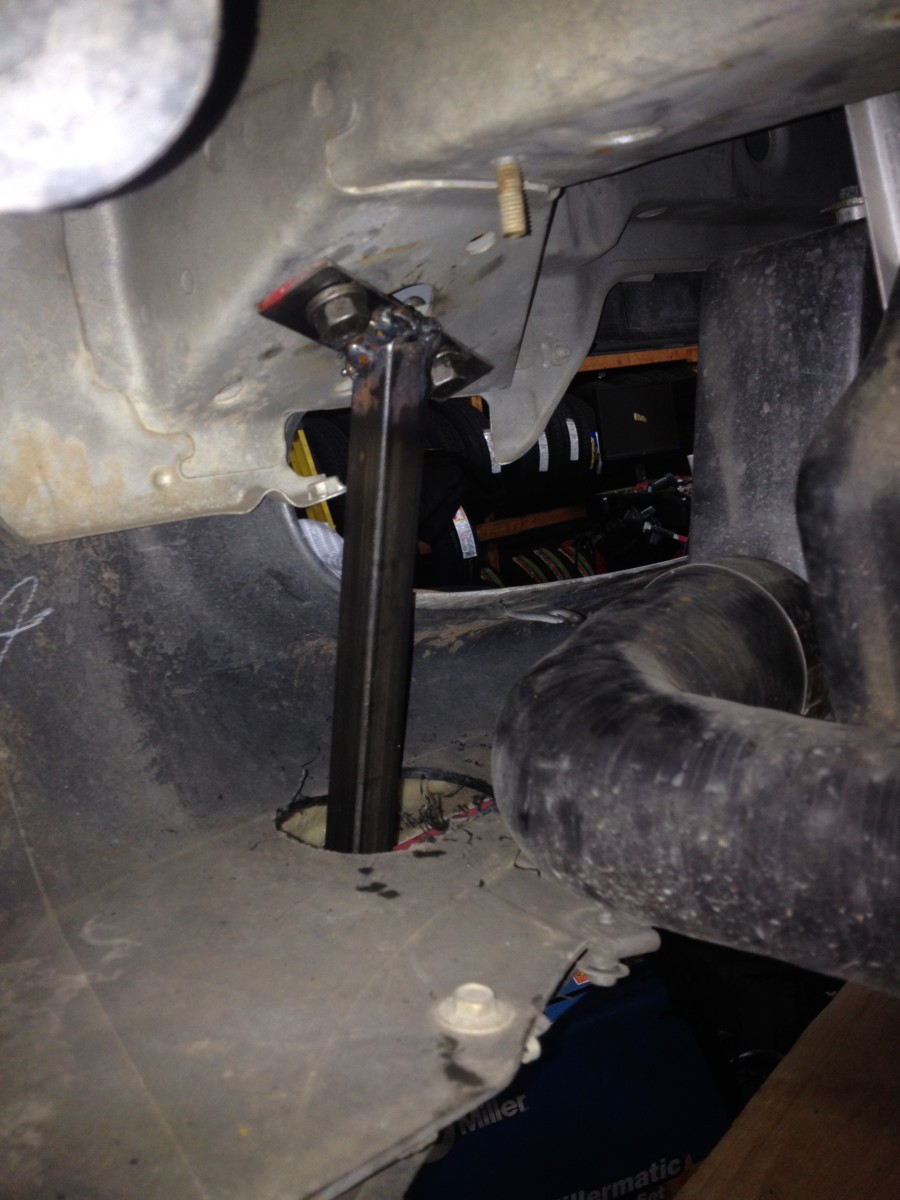
Front bracket to frame

Front bracket through bumper

The air dam is not fastened
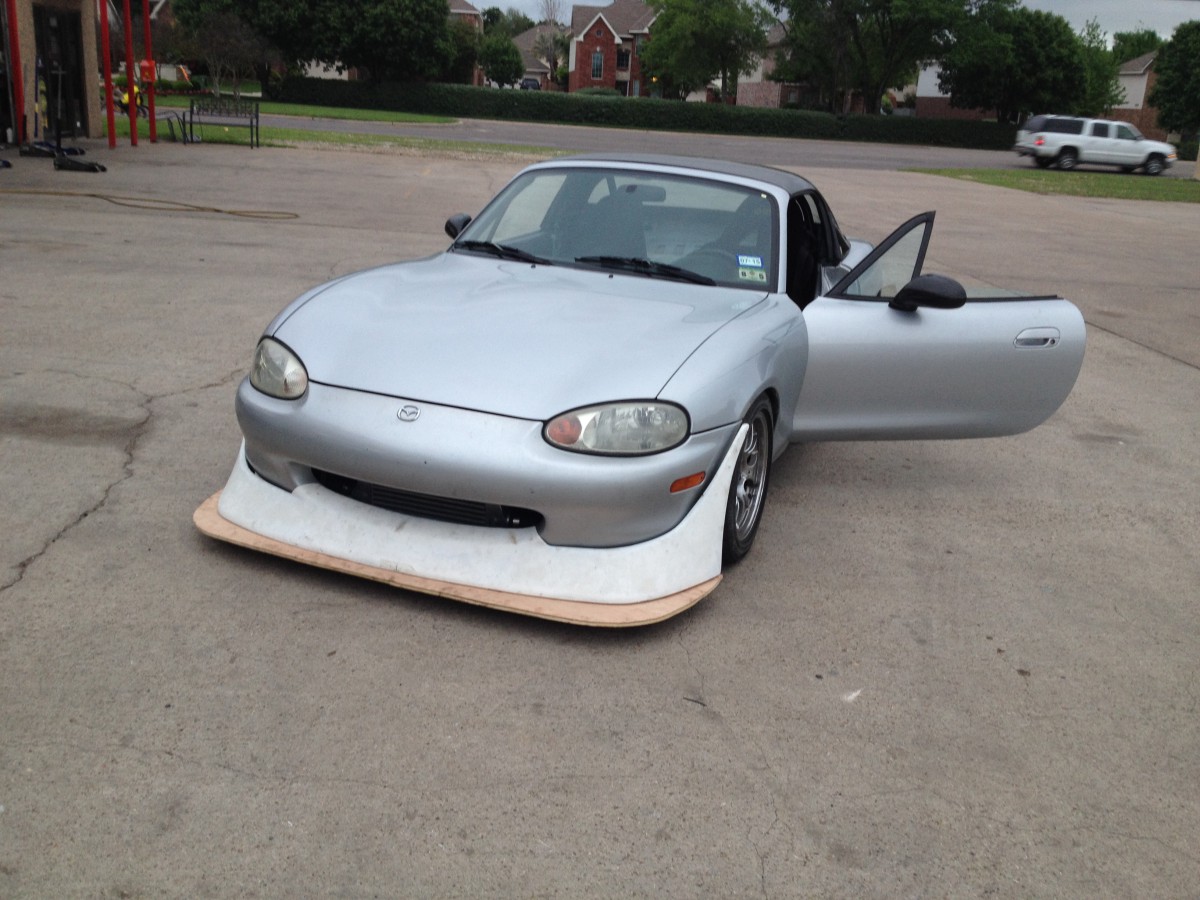
Driving home without the air dam
Last edited by Baker99miata; 04-15-2015 at 08:30 AM.
Reply
0
0
 04-15-2015, 01:13 AM
#830
Supporting Vendor

iTrader: (3)

Join Date: Jul 2006
Location: San Diego
Posts: 3,303
Total Cats: 1,216
1/2" birch is rigid enough that it may be adequate. It will deflect to some extent still, but likely not an undesireable amount considering autocross speeds. 3/8" birch needs more support.
-Ryan
-Ryan

Reply
0
0
04-16-2015, 12:18 PM
#833
Thats really not bad at all. Now for your next wing, and now that I've seen you do this probably my next wing, make the wing cross sections almost completely hollow with spokes to transfer the load from the skin to the tubes and wrap carbon or FG over it. The 3d printed parts probably came out way more accurate than my laser cut styrofoam core slices, and I'd 100% be willing to trade some strength to weight ratio to avoid the 100+ hours of fixing the profile wavyness due to the laser cutting.
Reply
0
0
04-16-2015, 09:05 PM
#834
ʎpunq qoq
Join Date: Jan 2014
Location: Western Australia
Posts: 604
Total Cats: 201
The plastic parts are only 1.8kgs as I know from the print material required. I think you could get it down to 1.5 but there needs to be some internal structure as the plastic expands and shrinks during the print and without lots of support it will warp.
Also if you use an internal rib structure it will need support around it.
On my wing, there is no outer skin to take the flex load so most the force is distributed by the two ally ribs... they are probably larger than ones in traditional wings.
Also if you use an internal rib structure it will need support around it.
On my wing, there is no outer skin to take the flex load so most the force is distributed by the two ally ribs... they are probably larger than ones in traditional wings.
Reply
0
0
04-27-2015, 11:18 PM
#836
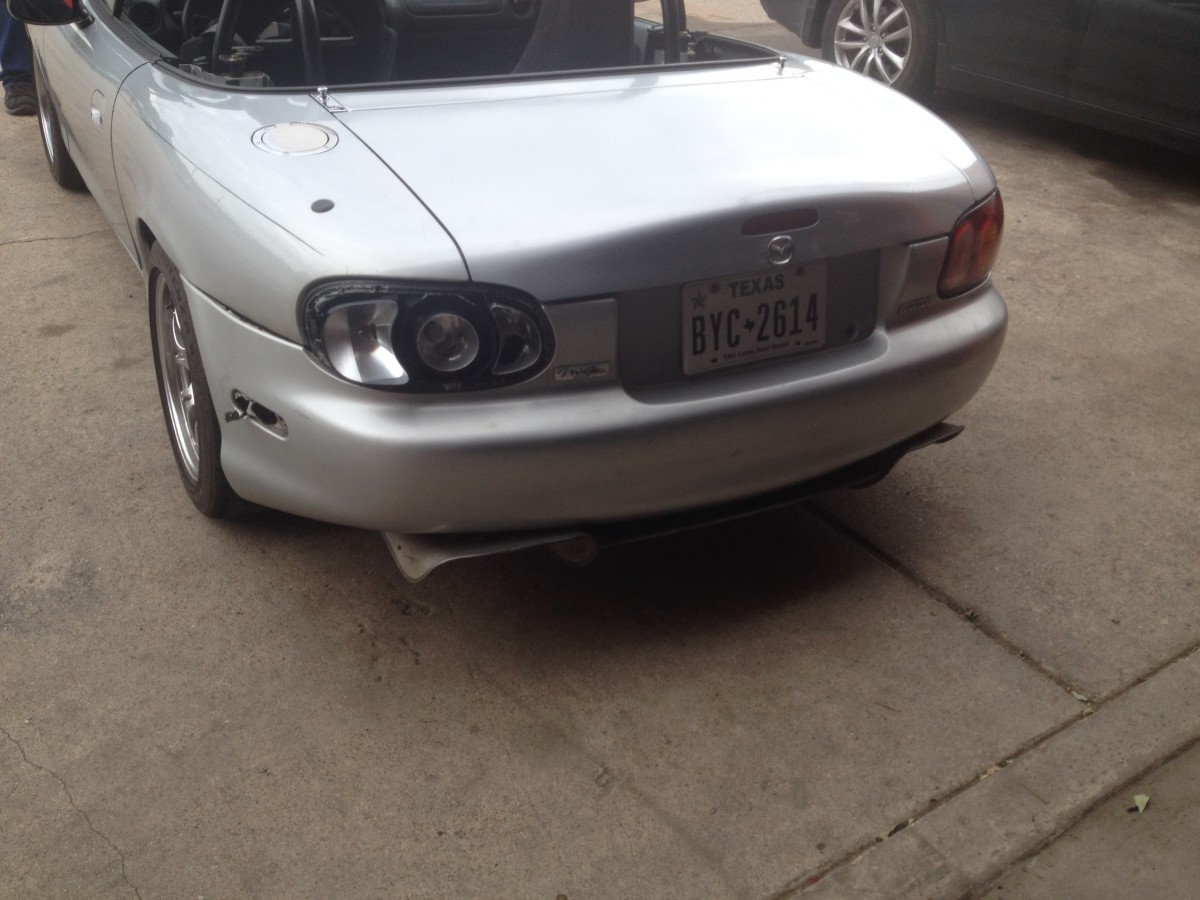
Dollars spent: $160 (150 for diffuser shipped, $10 for bolts and brackets)
Hours spent:5 Hours
How effective:No tested
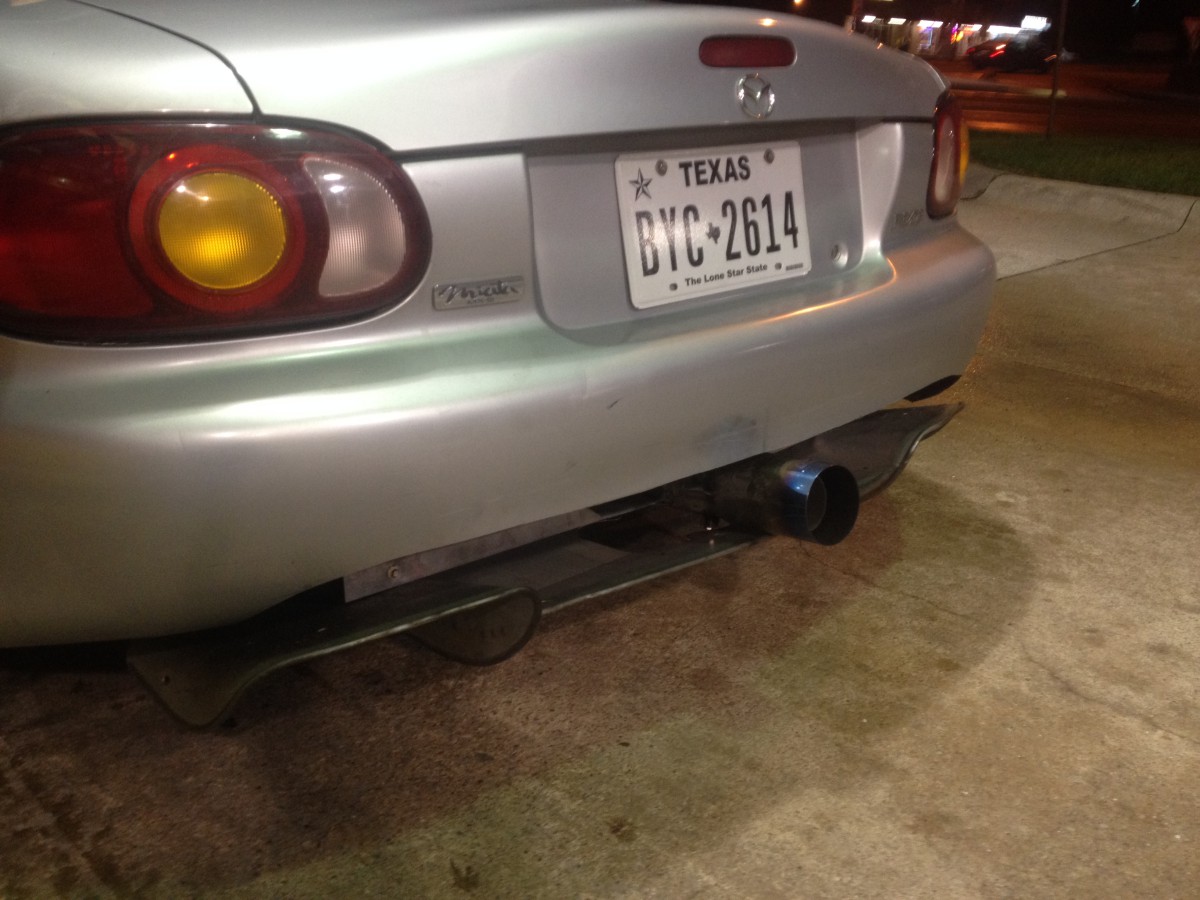
Materials used:Angle aluminum for brackets, stock elise differ
Bracket location:Bracket at the back of rear sub frame, and bracket under far back of rear frame
Race/TT class built for: Autocross SSM(not committed yet)
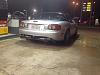
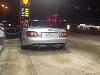
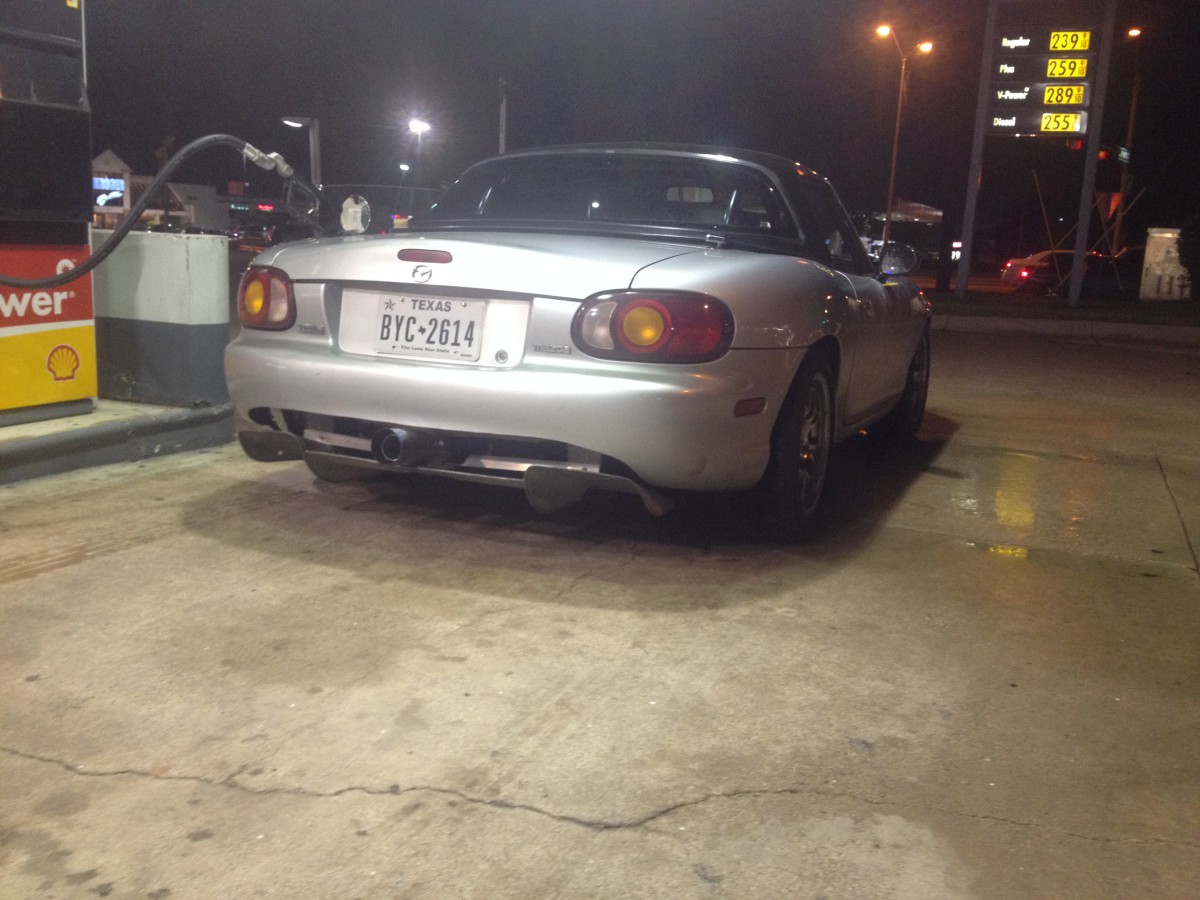
I mounted the rear diffuser late night, didn't route the exhaust or cut out the bumper. The heat in that area melted the tail light on the freeway and deformed the bumper. (listen learned)

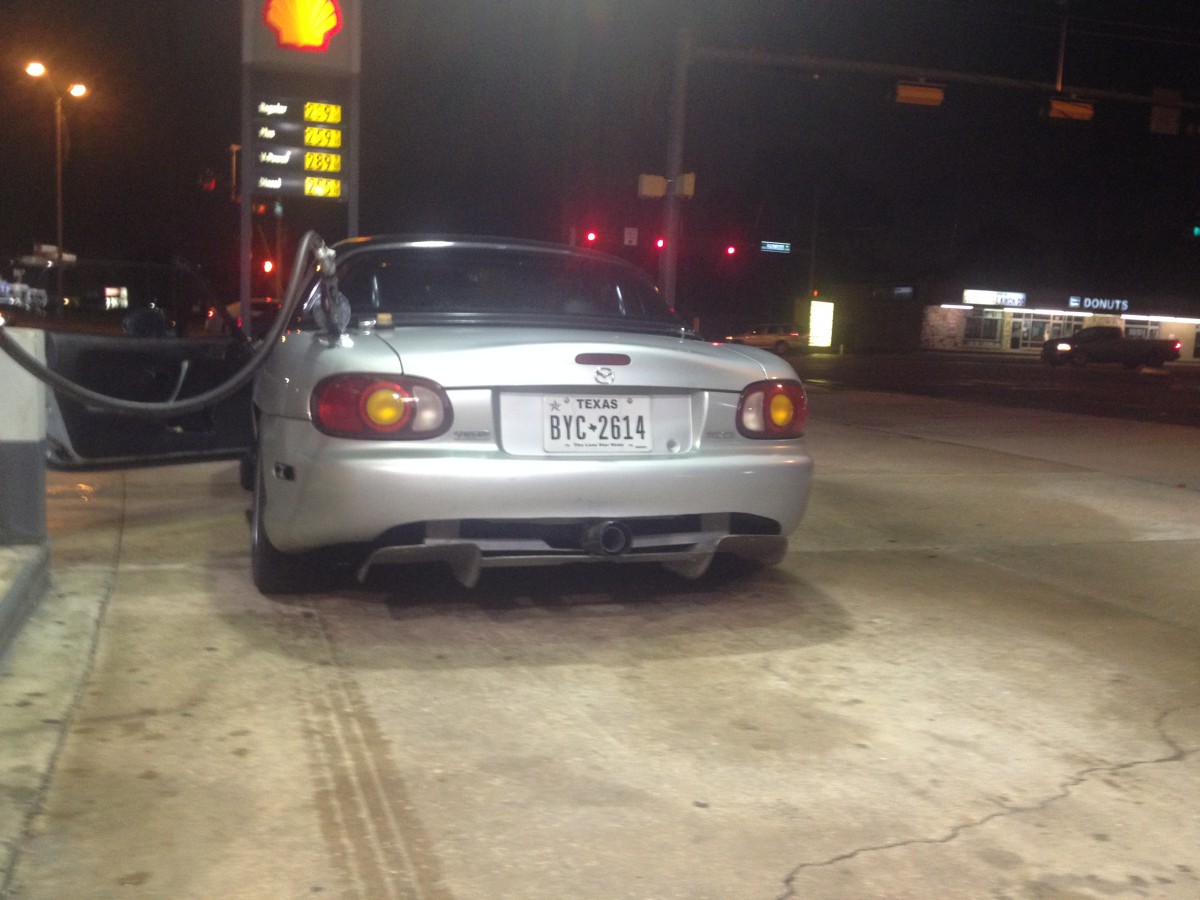
The next day I reroute the Exhaust to the center and cut out the bumper
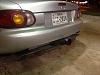
Please give feedback. This is a part of complete flat belly. part 1 was posted on top (4-14-15). Part 3 should be coming in 3 weeks. Need to do a little more research. Thanks in advance
Hours spent:5 Hours
How effective:No tested
Materials used:Angle aluminum for brackets, stock elise differ
Bracket location:Bracket at the back of rear sub frame, and bracket under far back of rear frame
Race/TT class built for: Autocross SSM(not committed yet)
I mounted the rear diffuser late night, didn't route the exhaust or cut out the bumper. The heat in that area melted the tail light on the freeway and deformed the bumper. (listen learned)
The next day I reroute the Exhaust to the center and cut out the bumper
Please give feedback. This is a part of complete flat belly. part 1 was posted on top (4-14-15). Part 3 should be coming in 3 weeks. Need to do a little more research. Thanks in advance
Reply
0
0


