
Post your DIY aero pics
 07-16-2014, 08:45 AM
#741

in what direction did it change the balance?
__________________
OG Racing
Your Source For Motorsports Safety Equipment
WWW.OGRACING.COM
800.934.9112
703.430.3303
info@ogracing.com
OG Racing
Your Source For Motorsports Safety Equipment
WWW.OGRACING.COM
800.934.9112
703.430.3303
info@ogracing.com

Reply
 0
0

0


 07-16-2014, 02:10 PM
#744
__________________
OG Racing
Your Source For Motorsports Safety Equipment
WWW.OGRACING.COM
800.934.9112
703.430.3303
info@ogracing.com
OG Racing
Your Source For Motorsports Safety Equipment
WWW.OGRACING.COM
800.934.9112
703.430.3303
info@ogracing.com
Reply
0
0
07-25-2014, 02:41 PM
#746

Saw this link posted over on the s2000 forums. Great tests and data from older magazine articles:
Technical Data :: Reverie
Technical Data :: Reverie
Reply
0
0
08-16-2014, 09:07 AM
#747

Dollars spent: $200
Hours spent: 15
How effective: TBA
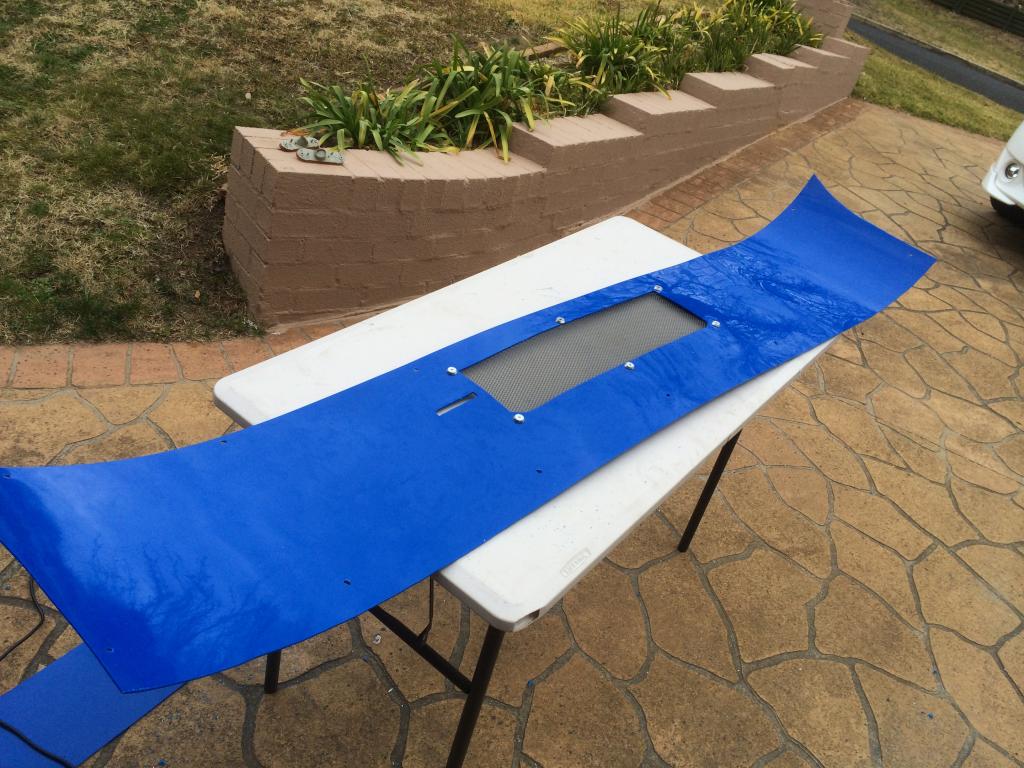
Materials used: Structural Plywood, Speedway Motors Polyethelyne, Aluminium Angle, Gutter Mesh
Size/thickness of materials: 12mm Ply, 3mm Poly
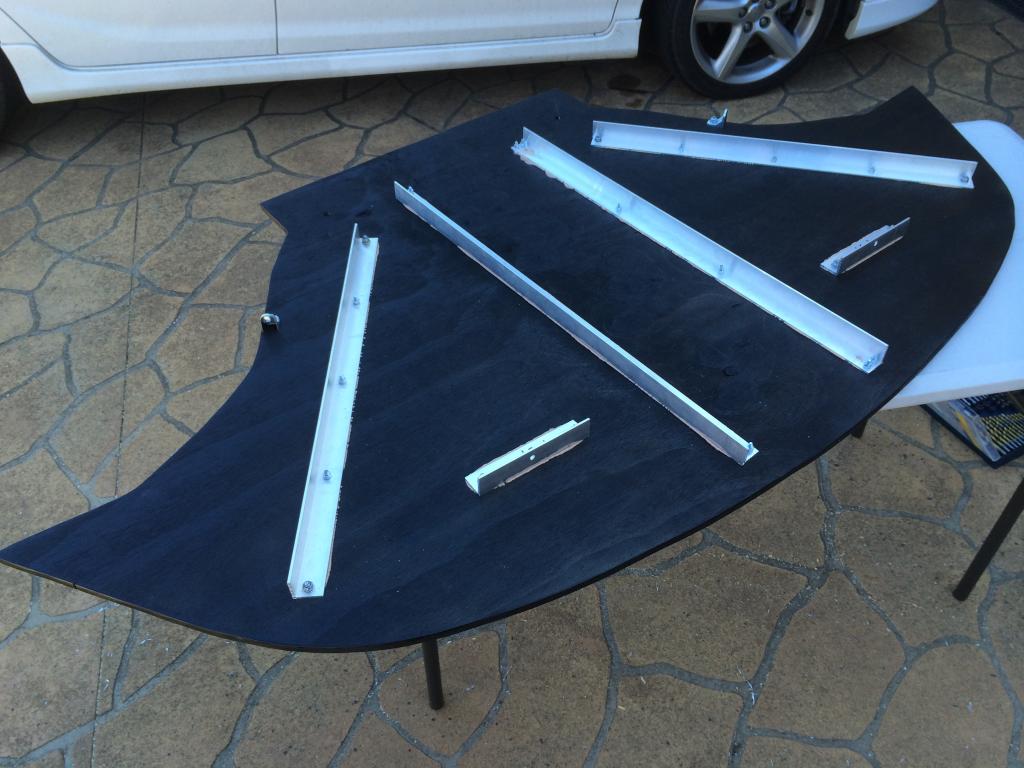
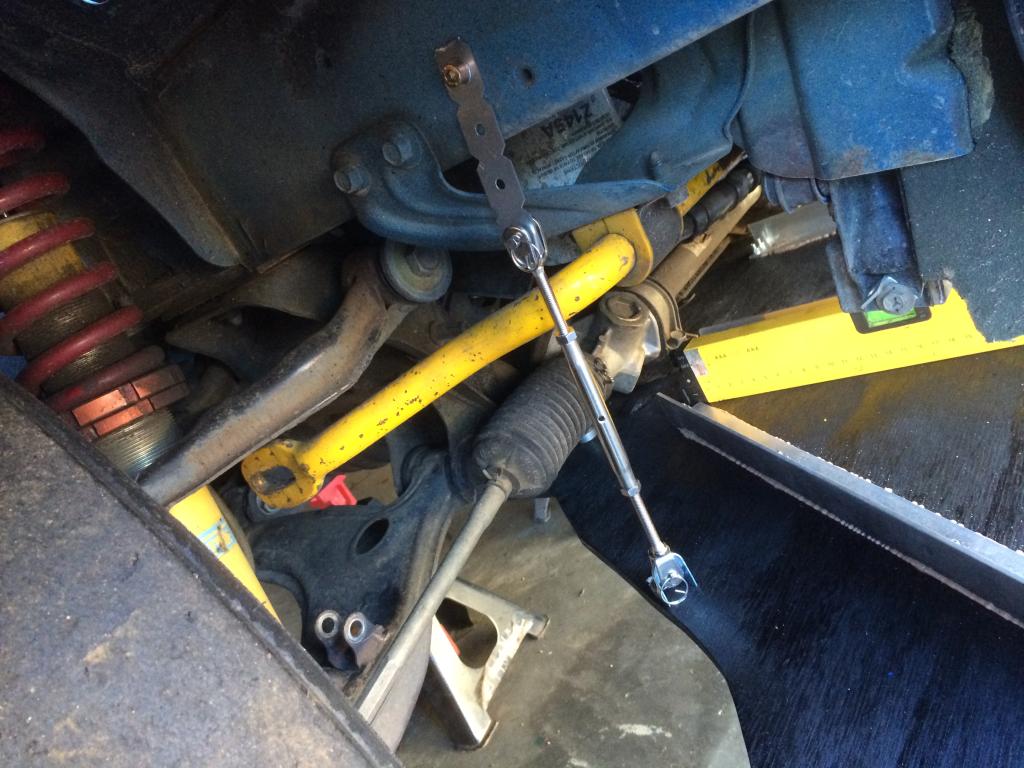
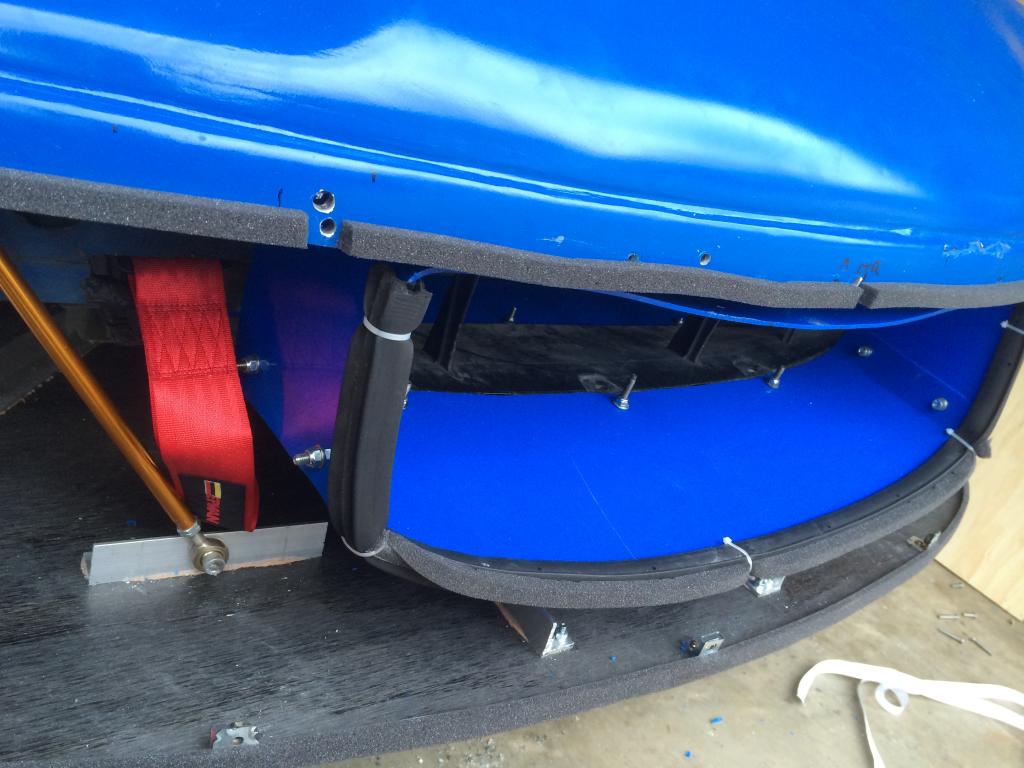
Bracket location: Front crash beam and subframe mounts (behind steering rack)
Tracks tested on: TBA
Race/TT class built for: CAMS 2B Production Sports
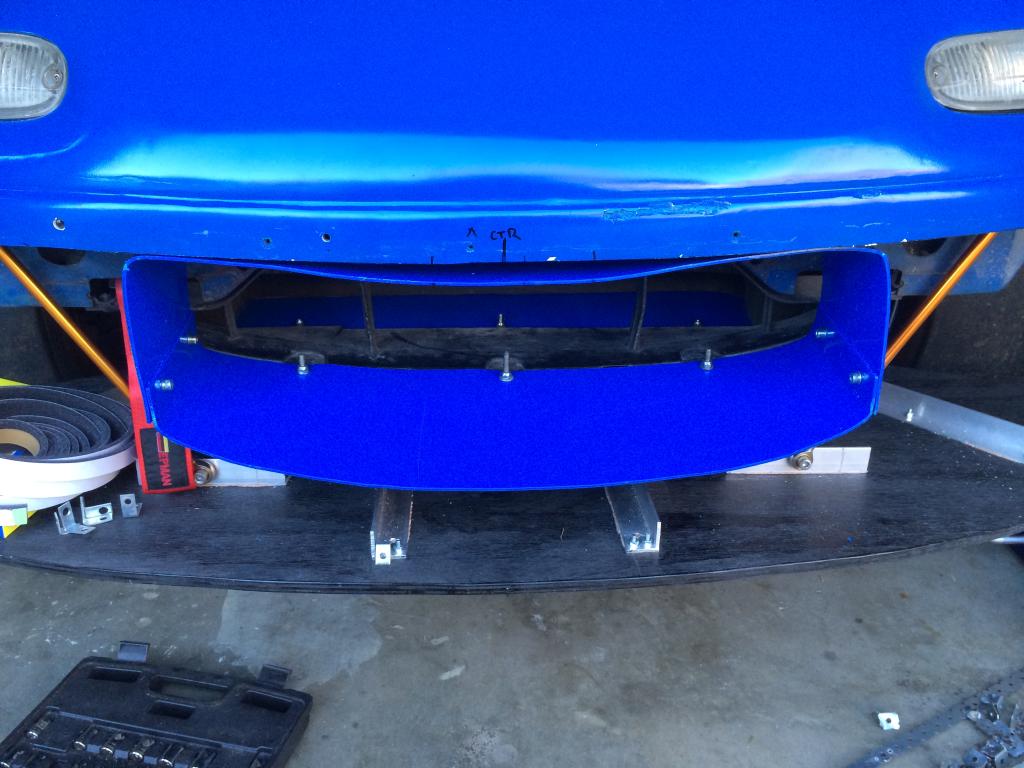
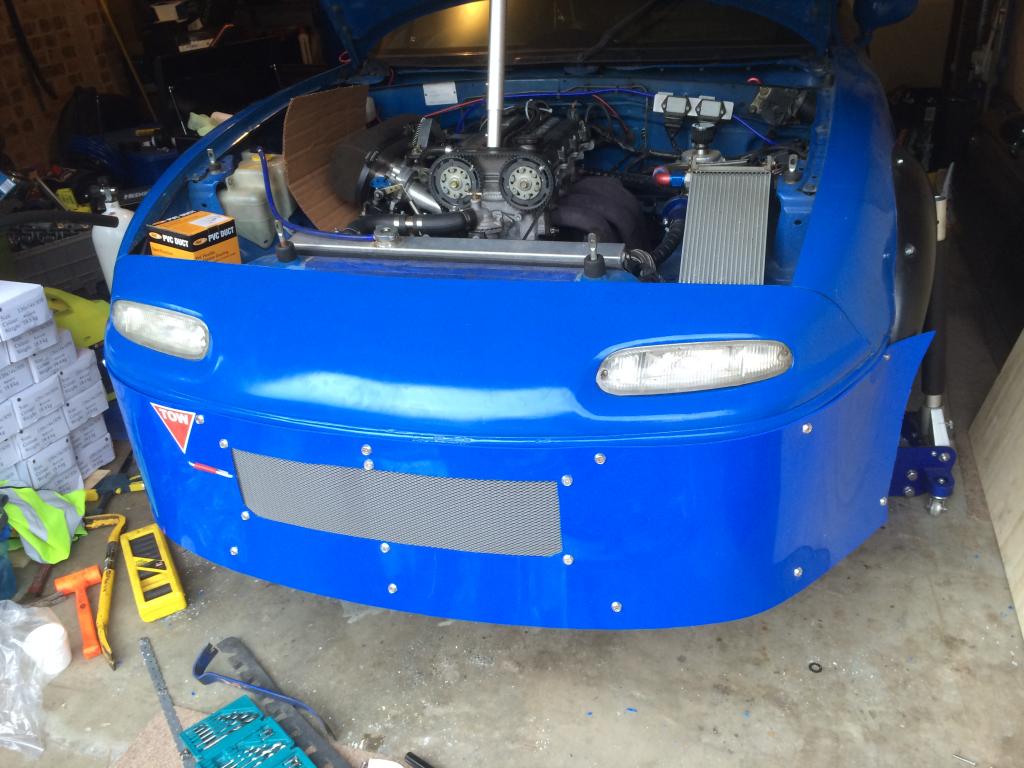
My Crusher front - will text next weekend:
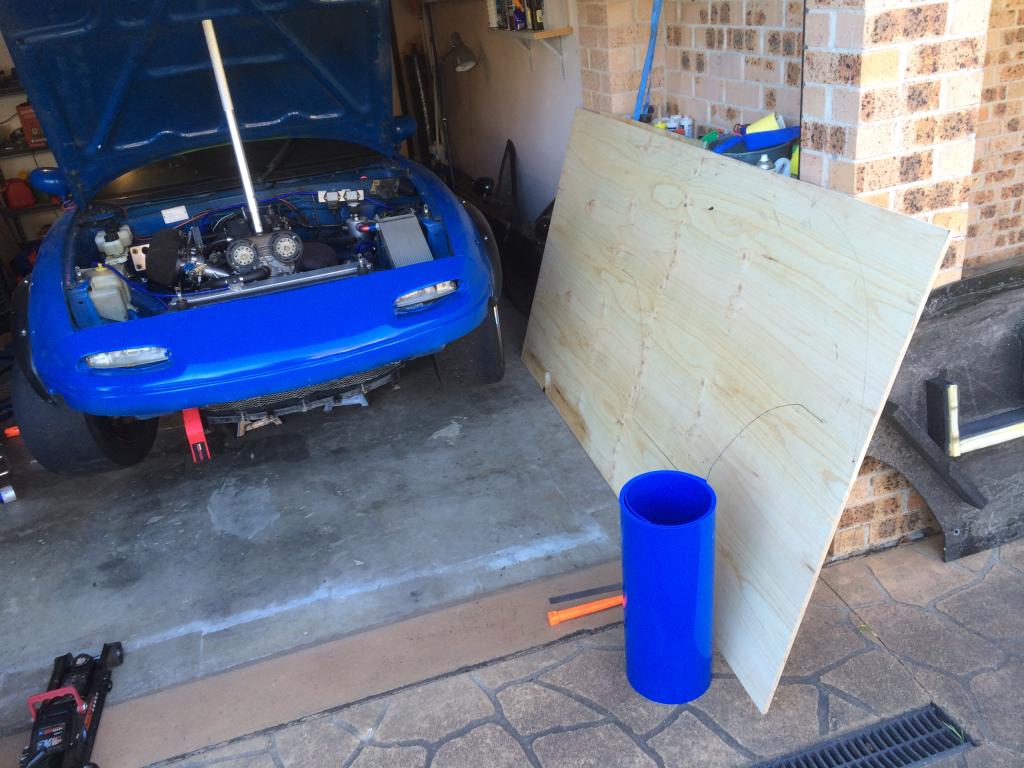
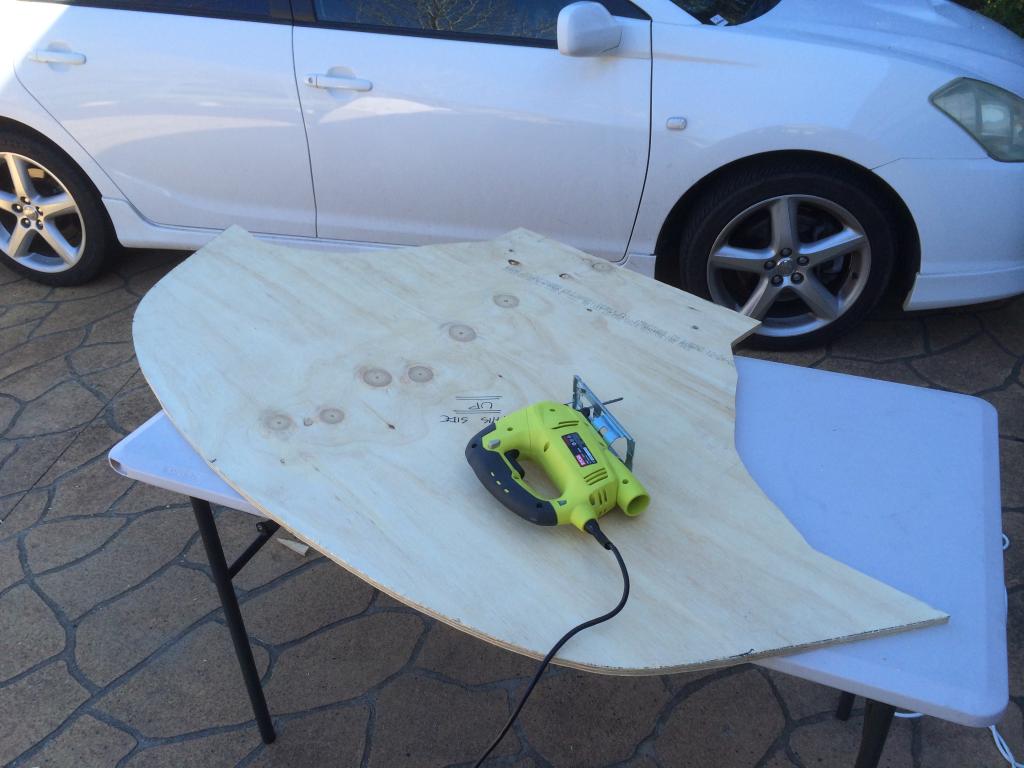

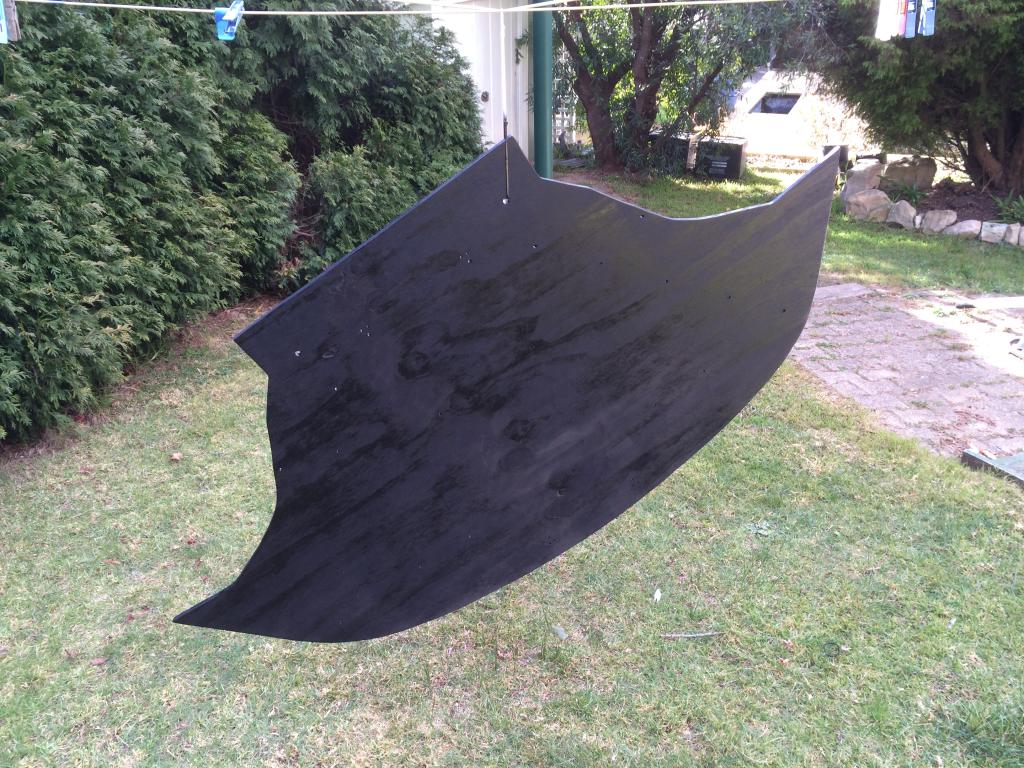
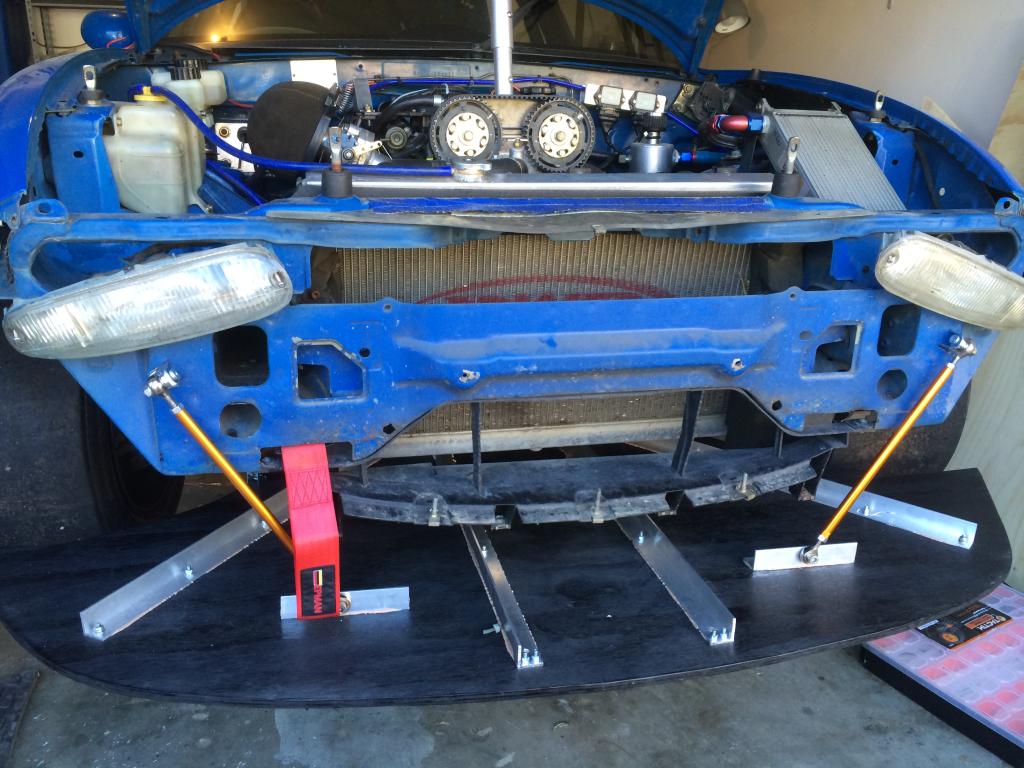
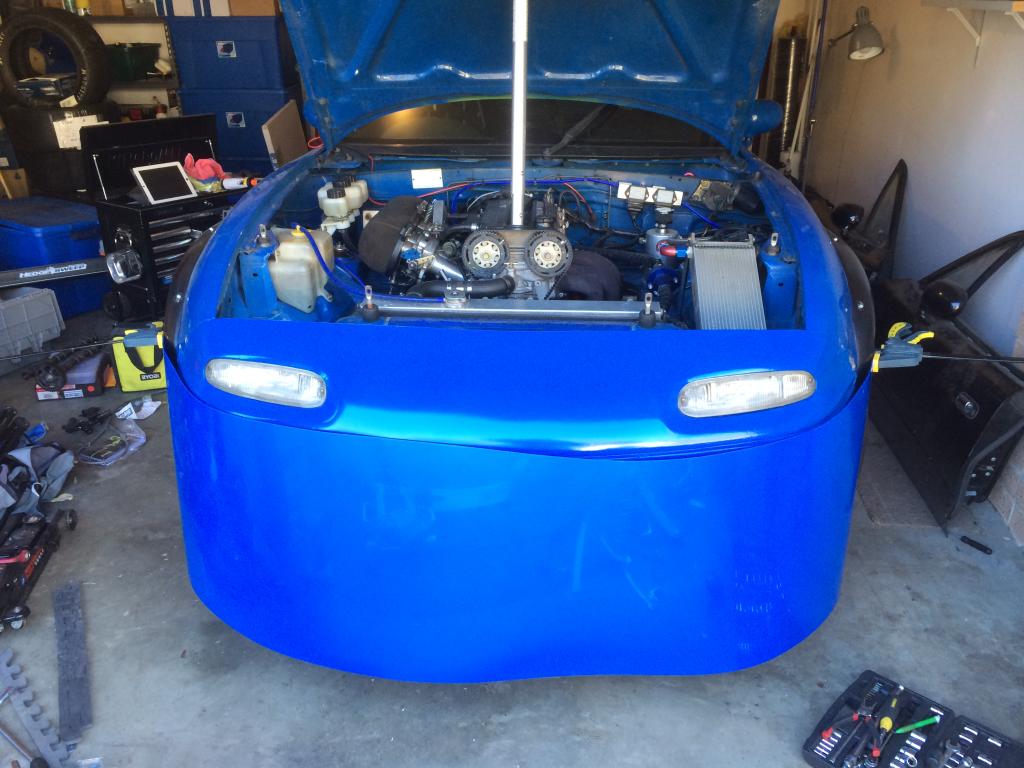
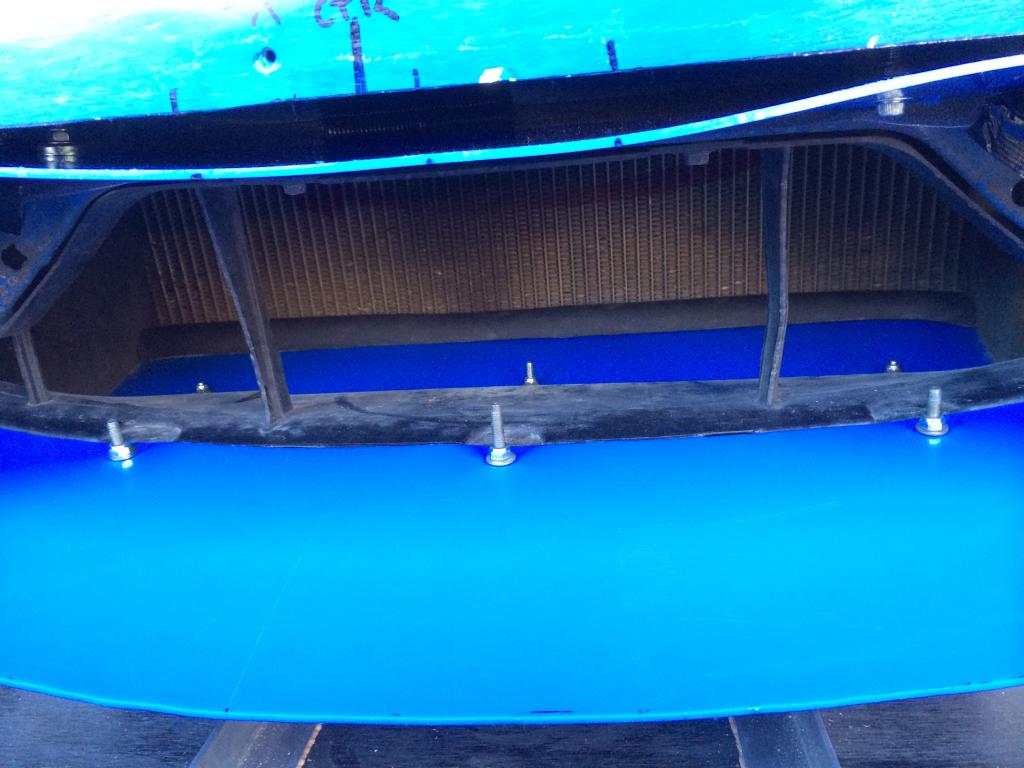
Still have to tidy up the edges a bit.
Used OEM radiator guide and shaped up additional plastic ducting for the radiator out of the leftover Speedway plastic. Used some rubber door trim I had lying around to seal it.vim a bit concerned the gutter mesh might be a bit dense and not let enough air through for cooling, but we'll see next weekend when I test.
The fit isn't perfect but it is good enough for a good test. I learned heaps making this and could make another in a lot less time.
Dropped around 8 lbs over the old plywood and 3"x2" splitter and OEM nose / GV lip combo.
I have also cut and holed an old rear bumper I had lying around and will test that with the nose next weekend.
Hours spent: 15
How effective: TBA
Materials used: Structural Plywood, Speedway Motors Polyethelyne, Aluminium Angle, Gutter Mesh
Size/thickness of materials: 12mm Ply, 3mm Poly
Bracket location: Front crash beam and subframe mounts (behind steering rack)
Tracks tested on: TBA
Race/TT class built for: CAMS 2B Production Sports
My Crusher front - will text next weekend:
Still have to tidy up the edges a bit.
Used OEM radiator guide and shaped up additional plastic ducting for the radiator out of the leftover Speedway plastic. Used some rubber door trim I had lying around to seal it.vim a bit concerned the gutter mesh might be a bit dense and not let enough air through for cooling, but we'll see next weekend when I test.
The fit isn't perfect but it is good enough for a good test. I learned heaps making this and could make another in a lot less time.
Dropped around 8 lbs over the old plywood and 3"x2" splitter and OEM nose / GV lip combo.
I have also cut and holed an old rear bumper I had lying around and will test that with the nose next weekend.
Reply
1
1


 08-18-2014, 09:22 AM
#754
As for the 12mm ply, it may be a bit heavier but the survivability is also that much better. In the future, I might go with a laminated fibreglass tray but again, one decent off track plow run and I'm out of business. But you ain't gonna smash 12mm ply to easily.
Reply
0
0
08-18-2014, 09:26 AM
#755
came out looking fantastic. but rivets man, rivets! probably would have saved you $50 in hardware using rivets.
PS lighter too.
__________________
OG Racing
Your Source For Motorsports Safety Equipment
WWW.OGRACING.COM
800.934.9112
703.430.3303
info@ogracing.com
OG Racing
Your Source For Motorsports Safety Equipment
WWW.OGRACING.COM
800.934.9112
703.430.3303
info@ogracing.com
Reply
0
0
 09-01-2014, 03:59 PM
#758
Senior Member

Join Date: Dec 2012
Location: Charlotte, NC
Posts: 537
Total Cats: 63
Here was my attempt at a radiator exit duct. This is the split configuration, as I will be running a cowl induction air inlet setup. It is tall enough to clear my mongo SPAL fan, and will exit through two diamond-ish shaped holes in the hood.
If it doesn't flow sufficient amounts of air, I'll be bummed, and will end up yanking it off and just leaving the holes in the hood. It should be in the negative pressure zone of the hood, I'm just concerned whether the volume will be enough. I can't make it any bigger than that, as it's as tight to the engine accessories as I can make it without fear of shredding a belt (engine is leaning back in that pic as transmission isn't in).
It is made from a very thin-walled 3/8" box tubing skeleton, and a 1/16" ABS skin that is riveted on. Seams are sealed with black silicone where necessary. Rivnuts hold it to welded tabs on the radiator end tanks.
Reply
0
0
09-12-2014, 05:06 AM
#759
Newb

Join Date: Jun 2012
Location: Huntington Beach California
Posts: 14
Total Cats: -4
I believe you are right about the negative pressure towards the front of the hood. Ive seen plenty of people with that design. Most of them have a lip around 3 of the 4 sides with the back flushed. I believe this aids in a more uniform flow above the duct to extract maximum heat. I really messed up when I did mine. I placed a naca duct in the front with the vents in the back.
https://www.miataturbo.net/media-53/...upplies-52825/
https://www.miataturbo.net/media-53/...upplies-52825/
Last edited by kumar oc; 09-12-2014 at 01:57 PM.
Reply
-1
-1


