
Post your DIY aero pics
 04-19-2012, 03:34 AM
#61

Looks good. Couple questions though. Are you going to cut away the lower part of the bumper, or at least remove that lip? Also, could you have made it any lower? Getting that air dam close to the ground will reduce drag and lift significantly. I'd even consider adding a "soft" plastic skirt that gets REALLY close to the ground if I couldn't run a splitter.
I do plan on putting a rubber skirt on the bottom of the air dam. Just haven't done it yet. One of my design considerations was that I needed to be able to remove the air dam quickly so I cnl load the car; still on an open trailer at this time. I can remove the air dam in approx 2 minutes.
Good feedback!!

Reply
 0
0

0
04-24-2012, 07:47 AM
#62
Senior Member

Join Date: Aug 2009
Location: melbourne aus
Posts: 515
Total Cats: 92
Dollars spent: $40
Hours spent: 2
How effective: 2
0=slower, 1, no improvement, 2 =slightly better,3= big improvement
Materials used: alloy square tube and alucobond
URL, brand name, material type
Size/thickness of materials: 3mm
.060", 3/16" etc
Bracket location: engine subframe, and front chassis rails
Tracks tested on: sandown
Race/TT class built for: sprints
Had a friend come around to make a new splitter airdam for his car, and i decided to spend an hour re-making one for my car. It had a carbon fibre g.v lip on there already, and i just bolted 2 alloy square tubes from the subframe and made a bracket to hold the front of the tube. Sits 20mm below the subframe, and 20mm below the g.v lip. To this i riveted the alucobond 3mm sheet on. And covered the whole thing with a roll of race tape. Took it to the local track, and it has slight oversteer on the fast corners, and lots of oversteer on the slow corners. (oversteer could be due to 2 year old tyres, just bought a new set and will be trying them out this weekend at the same track) Also made some cannards to block the air hitting the front tyres.

This is a work in progress-

Last edited by lightyear; 04-26-2012 at 11:15 PM.
Reply
0
0
04-24-2012, 06:03 PM
#63
Senior Member
Join Date: Aug 2009
Location: melbourne aus
Posts: 515
Total Cats: 92
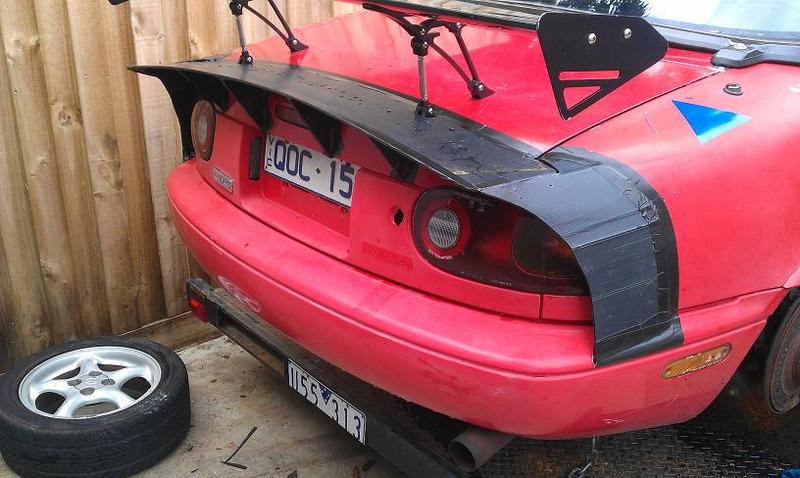
And this is the splitter/undertay. I had it supported by the 2 nuts in the subframe (usually put a rivnut in the centre hole between the 2 other nuts that are there oem) and about 8 rivnuts in the c.f g.v lip. There was enough suction pressure to bend it up like a banana as it failed at about 170km/h. So it is important to fabricate soething that will hold it in place. If it had of come off competely just before turn one and gone under the tyres.... Well you know.

I jumped on it and bent it back to a flat shape and re-used it.
You can see how much tape is on there in this pic. It was a quick rush job..


I jumped on it and bent it back to a flat shape and re-used it.
You can see how much tape is on there in this pic. It was a quick rush job..

Reply
1
1
04-25-2012, 02:58 AM
#65
Senior Member
Join Date: Aug 2009
Location: melbourne aus
Posts: 515
Total Cats: 92
They are made from the same alloy/plastic cored sheet. Just made a template from cardboard, cut them out, and riveted them to the bumper via small alloy "L" brackets. You can bend the alloy/plastic fairly easy. And it will bend to 90 degrees, as long as you give it a radius.
Reply
1
1
04-26-2012, 11:14 PM
#66
Senior Member
Join Date: Aug 2009
Location: melbourne aus
Posts: 515
Total Cats: 92
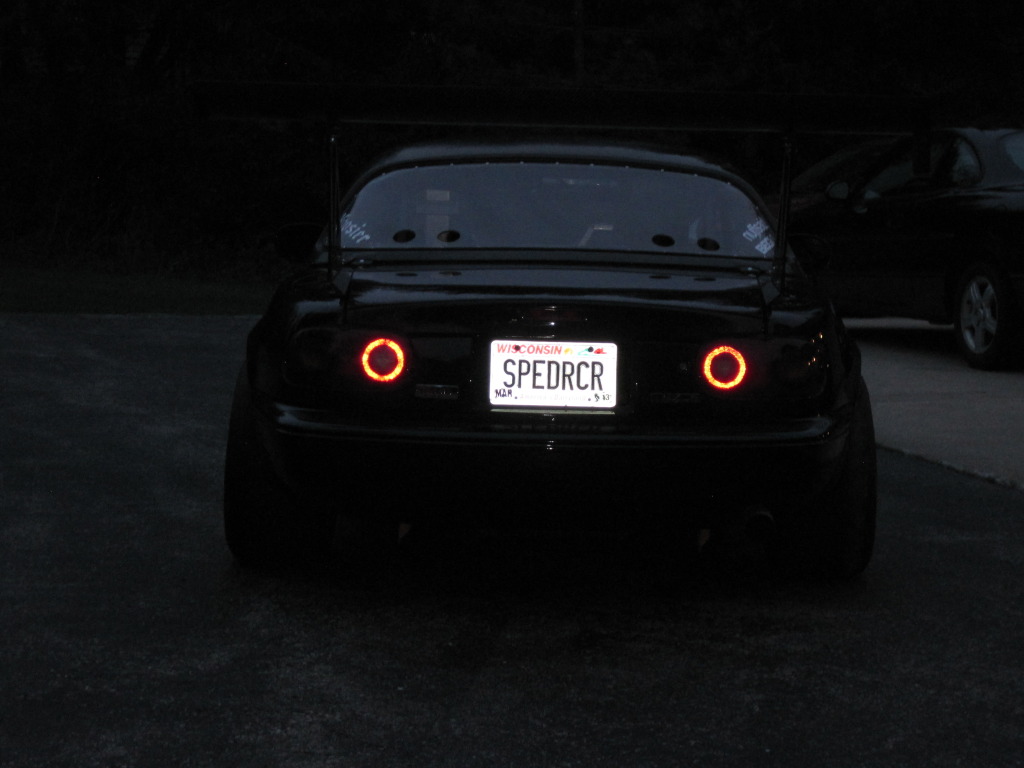
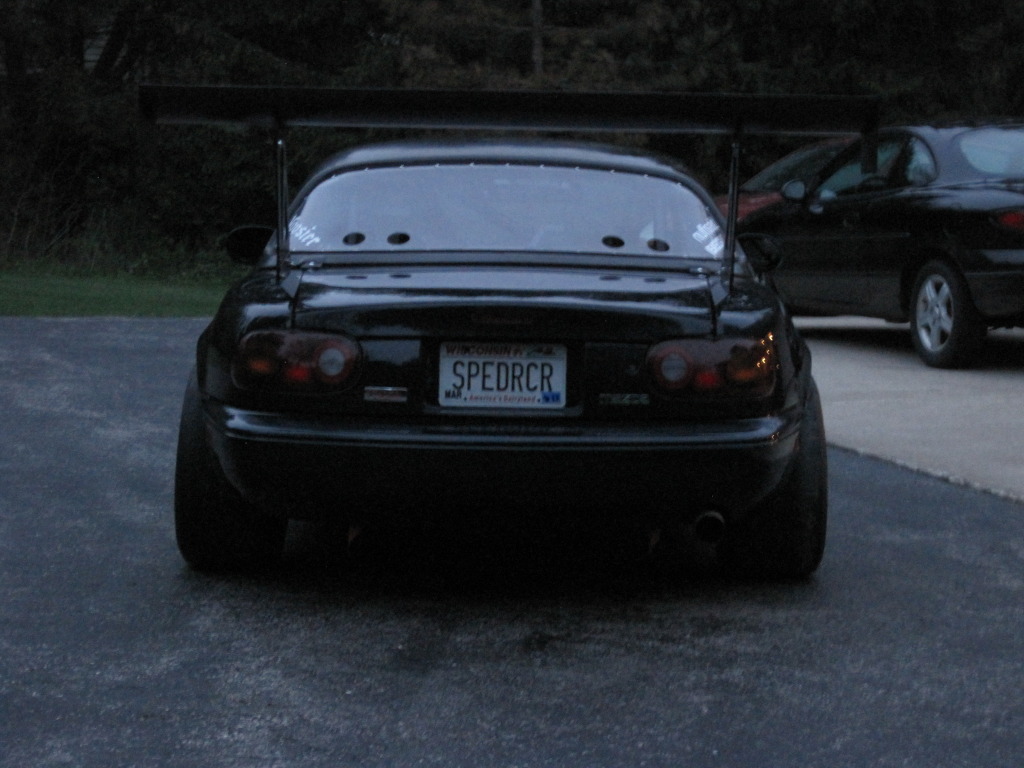
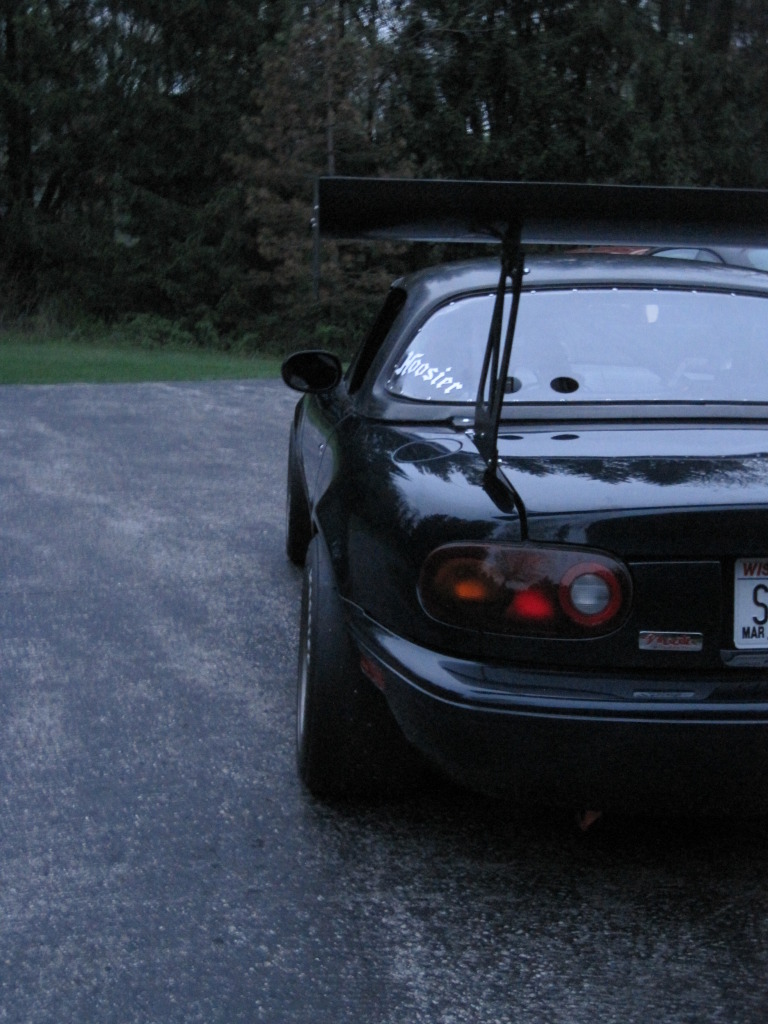
I made a rear spoiler to help the air seperate from the car. It is made of some old coreflute, and race tape. Cost $2.
Took me less than an hour to do, no tape measure was used, just looked at it and cut some coreflute, stuck it on and trimmed it to suit. I have data from 2 weeks ago at sandown, so i want to see if this helps my top speed. Top speed last time was just under 180km/h. 112mp/h.
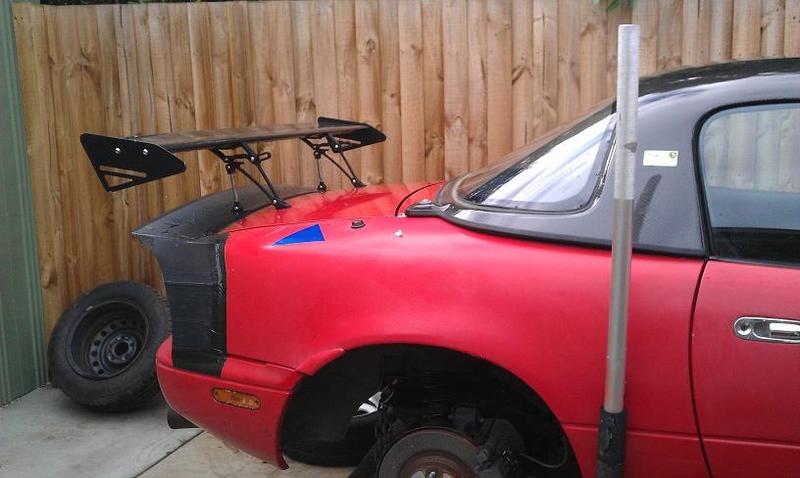
Also cut some triangle pices for under the back to support it. Stuck on with race tape.

Reply
0
0
04-27-2012, 01:10 AM
#67
Senior Member

Join Date: Dec 2010
Location: Auckland, NZ
Posts: 992
Total Cats: 57
Cool, I mentioned in another thread recently how most race cars seem to have an additional spoiler / wickerbil / duck tail when running wings on the boot area and was intrigued why no one here has tried it. Although they seem to have a bit more vertical area to them (from memory) than this one.
Can't wait to see if it makes any or what difference.....Your a bloody clever chap with your constructions, thats for sure!
Can't wait to see if it makes any or what difference.....Your a bloody clever chap with your constructions, thats for sure!
Reply
-1
-1
04-27-2012, 01:17 AM
#68
Senior Member
Join Date: Aug 2009
Location: melbourne aus
Posts: 515
Total Cats: 92
I have lots of ideas, but unforunately no time. Also don't want to spend too much time and money on this car - Be better to spend time and money on the carbon fibre car. Not worried about how dodgy this car looks, puts the competition off, lol.
Reply
0
0
05-02-2012, 12:27 AM
#69
Senior Member
Join Date: Aug 2009
Location: melbourne aus
Posts: 515
Total Cats: 92
Not sure on how the aero at the back of the car worked, as i replaced the old kumhos with new nittos. I did go almost 3 seconds quicker at the same track from 2 weeks earlier. How much is due to tires? It is like 2 drag strips at that track, with some corners at the ends. I should have taken the aero off on the day to get some real data. The data from 2 weeks ago is on soemone elses computer, so once i get that, i can see where the 3 seconds came from. I think with some v.g's the aero at the back will work better. I am going back there again in a few weeks and will try some different aero thru the day.
Vid of before and after aero mods (with new tires too..)
Vid of before and after aero mods (with new tires too..)
Reply
-1
-1
05-04-2012, 11:28 AM
#71

Cool, I mentioned in another thread recently how most race cars seem to have an additional spoiler / wickerbil / duck tail when running wings on the boot area and was intrigued why no one here has tried it. Although they seem to have a bit more vertical area to them (from memory) than this one.
Can't wait to see if it makes any or what difference.....Your a bloody clever chap with your constructions, thats for sure!
Can't wait to see if it makes any or what difference.....Your a bloody clever chap with your constructions, thats for sure!
Reply
0
0
05-06-2012, 01:28 AM
#72

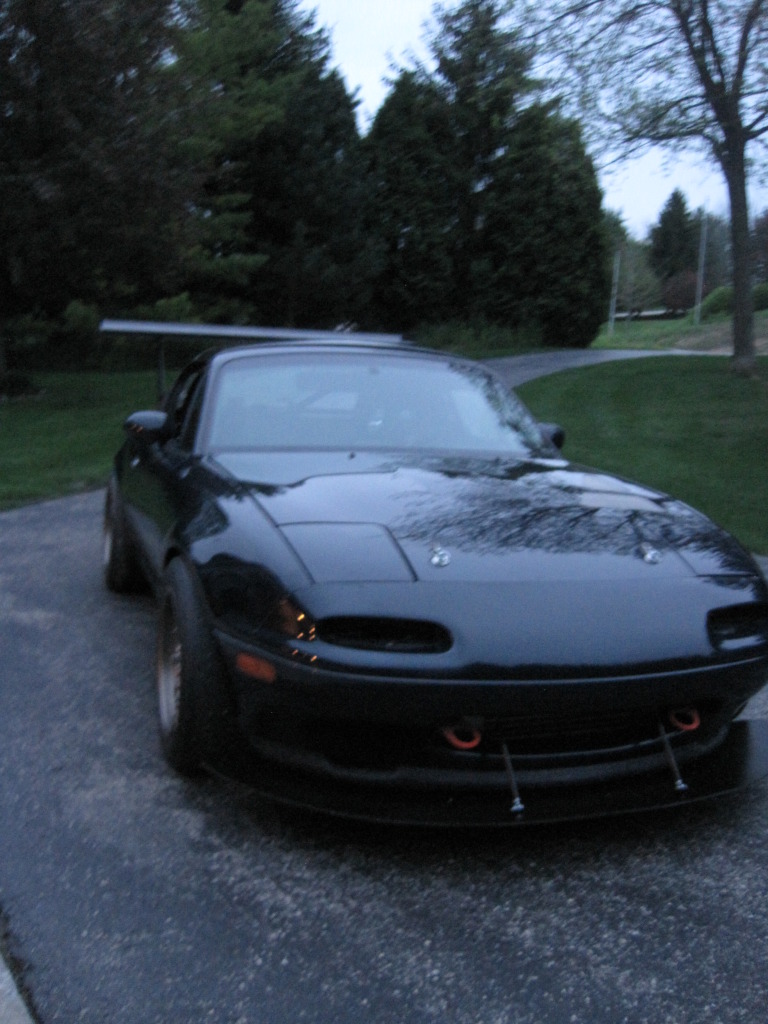
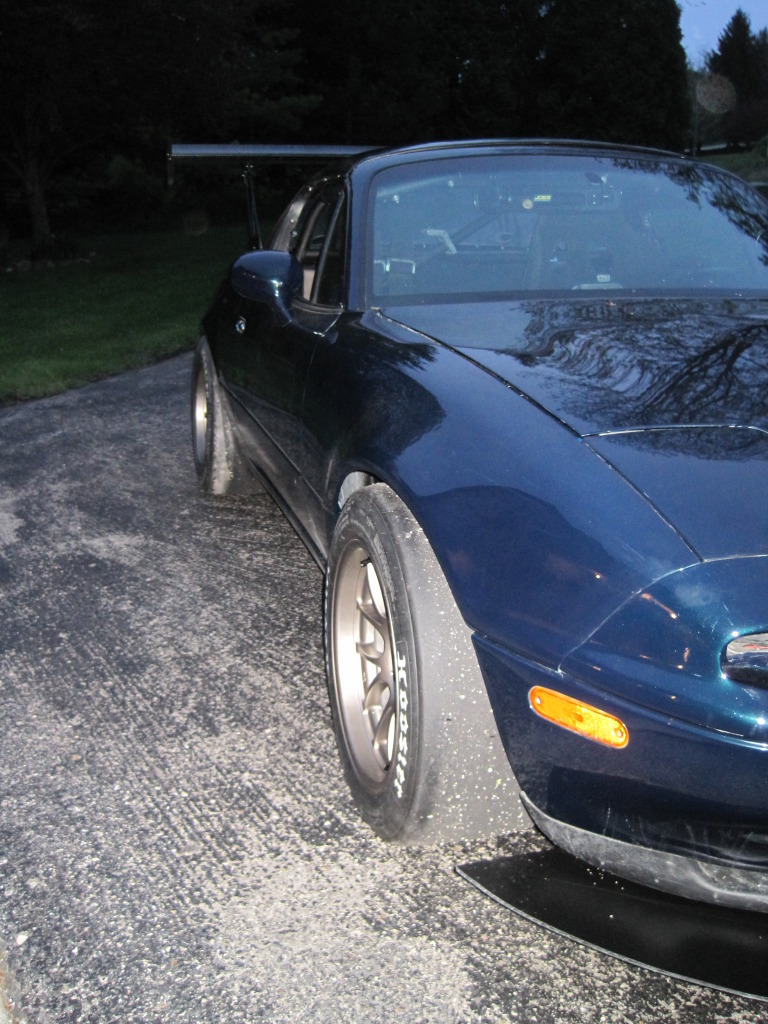
Dollars spent: Splitter $160ish ($100 for a 4x8 sheet, enough for 2 splitters), Wing LOTS of $
Hours spent: 2hrs splitter, 10hrs wing
How effective:
0=slower, 1, no improvement, 2 =slightly better,3= big improvement: (will find out)
Materials used: Aluma-lite, Carbonfiber
URL, brand name, material type: Kognition rear wing
Size/thickness of materials: 3/8 i believe for the splitter
.060", 3/16" etc
Bracket location: 2 stock k member locations, 2 custom brackets from frame, 2 support rods front, 2 support rods inside
Tracks tested on: None yet, Autobahn in 2 weeks
Race/TT class built for: SPO
Yes,yes, tires will catch lots of air i know. I ran out of time being at school! Rebuilding the car was enough!
Reply
1
1
 05-22-2012, 02:26 AM
#75
Senior Member
Join Date: Aug 2009
Location: melbourne aus
Posts: 515
Total Cats: 92
I made a quick fastback from the plastic alloy composite material. Took about 1.5hrs to come up with the design, cut it out and bend it. I was goin to pull some cloth over the back of the car and saturate it in resin to ake it stiff, but this was easier and quicker. It is just a test piece to see how the aero is working. I will do some runs with wool tufts.

I have a spare hood and will put some vents in to see how that changes things too. So once i have done a couple of sessions i will take off the fastback and put some more wool tufts on to see the difference. Then take off more aero to get some comparisons.


I have a spare hood and will put some vents in to see how that changes things too. So once i have done a couple of sessions i will take off the fastback and put some more wool tufts on to see the difference. Then take off more aero to get some comparisons.
Reply
3
3

 05-22-2012, 10:11 AM
#79
Elite Member
iTrader: (15)

Join Date: Dec 2007
Location: San Antonio, Texas
Posts: 4,847
Total Cats: 27
I made a quick fastback from the plastic alloy composite material. Took about 1.5hrs to come up with the design, cut it out and bend it. I was goin to pull some cloth over the back of the car and saturate it in resin to ake it stiff, but this was easier and quicker. It is just a test piece to see how the aero is working. I will do some runs with wool tufts.
Also LOL at the stretched cloth idea. I had been thinking about trying that as well.
Reply
0
0


