$2018 GRM challenge turbo miata build. with added insanity.


 12-25-2017, 05:47 PM
#26
Junior Member
Thread Starter

Join Date: Nov 2017
Posts: 112
Total Cats: 7
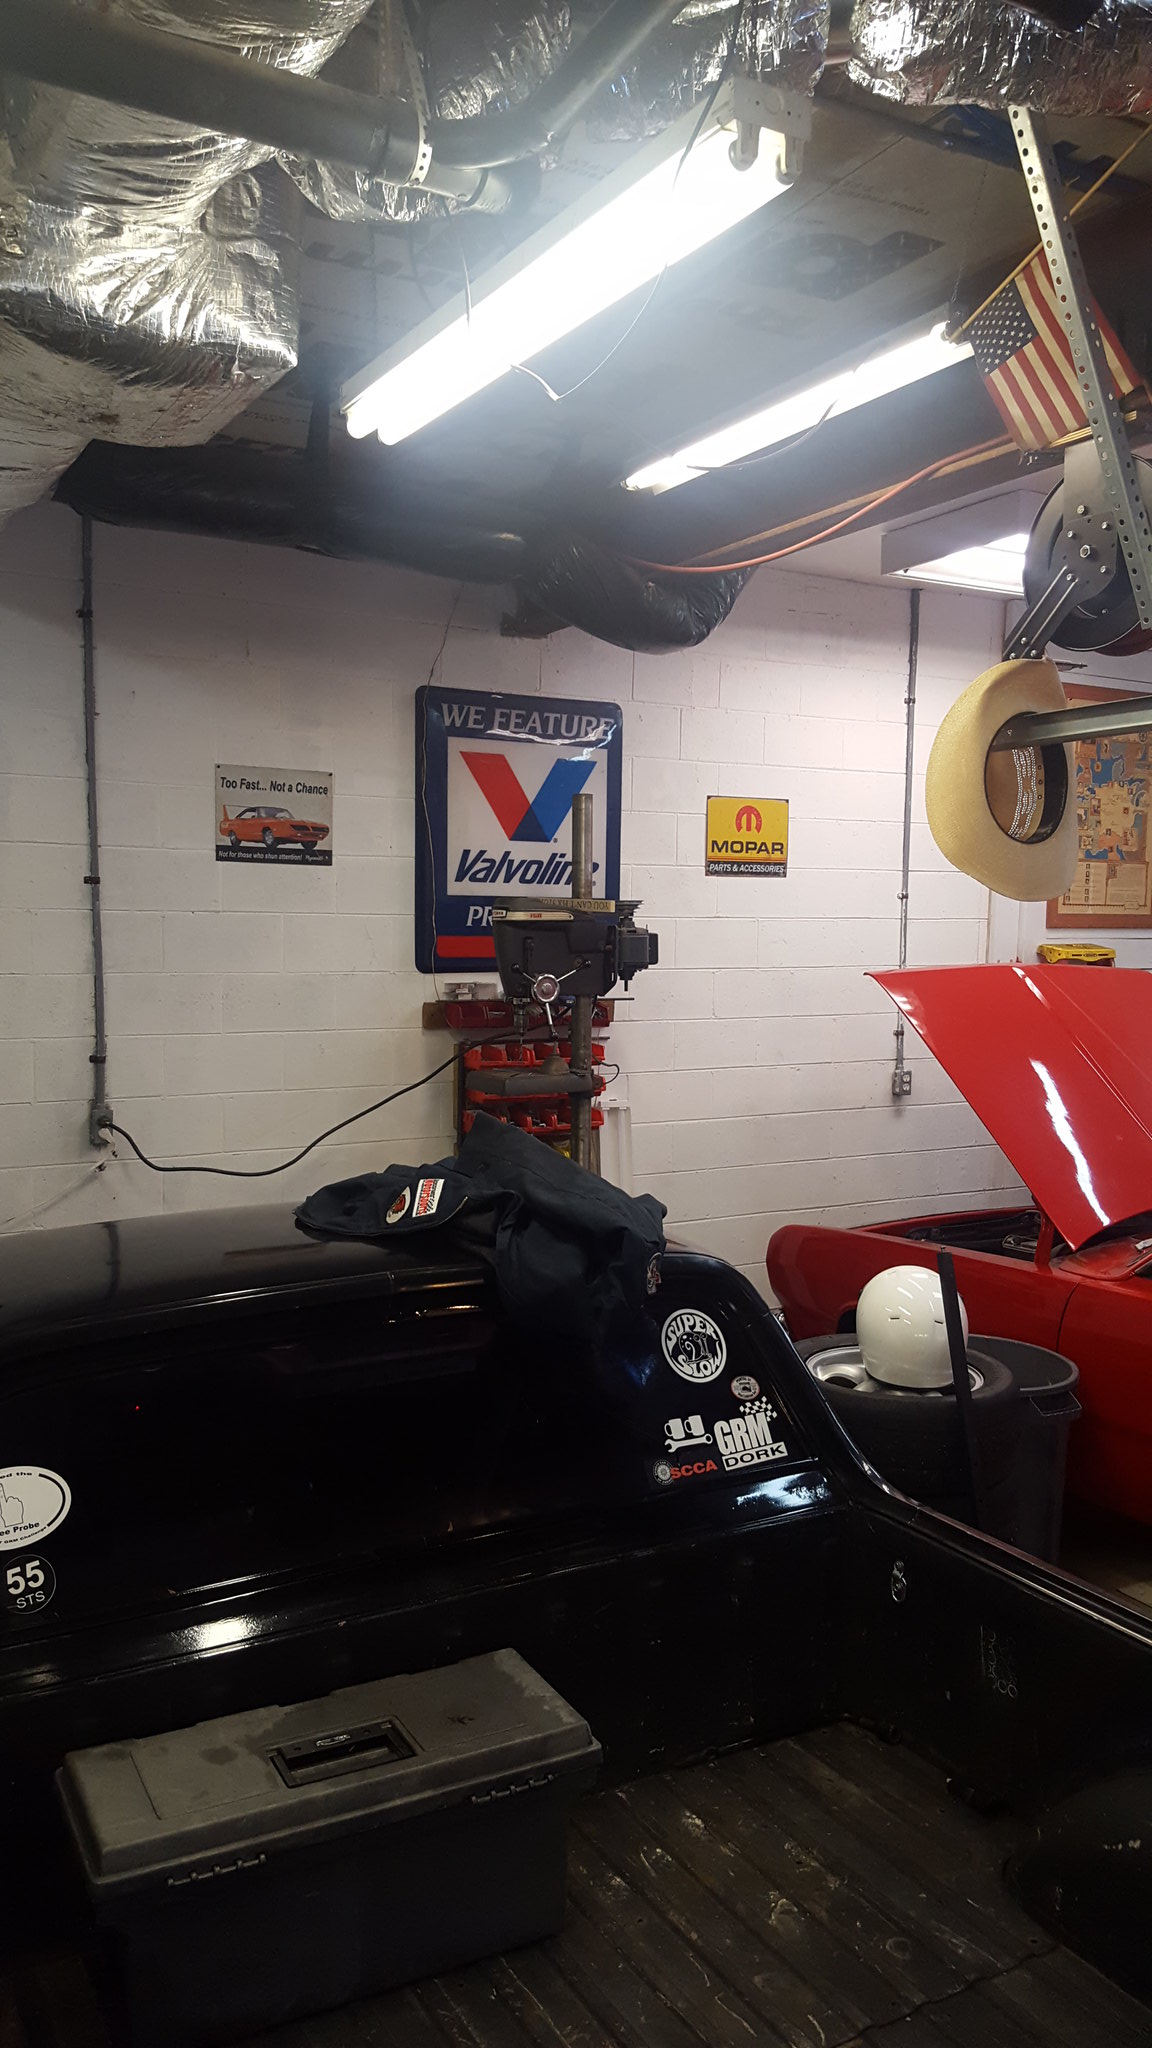
hoping to find a machine shop open tomorrow that can do a quick hot tank of the oil pan for me. We decided to modify it to make things fit better, and i cant get it clean enough to even think about welding. 4 hours so far, and nowhere close. Its soaking in hot water and superclean/dawn overnight in one last attempt.
expect tig welding **** by the end of the week.

Reply
 0
0

0
12-30-2017, 07:12 PM
#27
Junior Member
Thread Starter
Join Date: Nov 2017
Posts: 112
Total Cats: 7
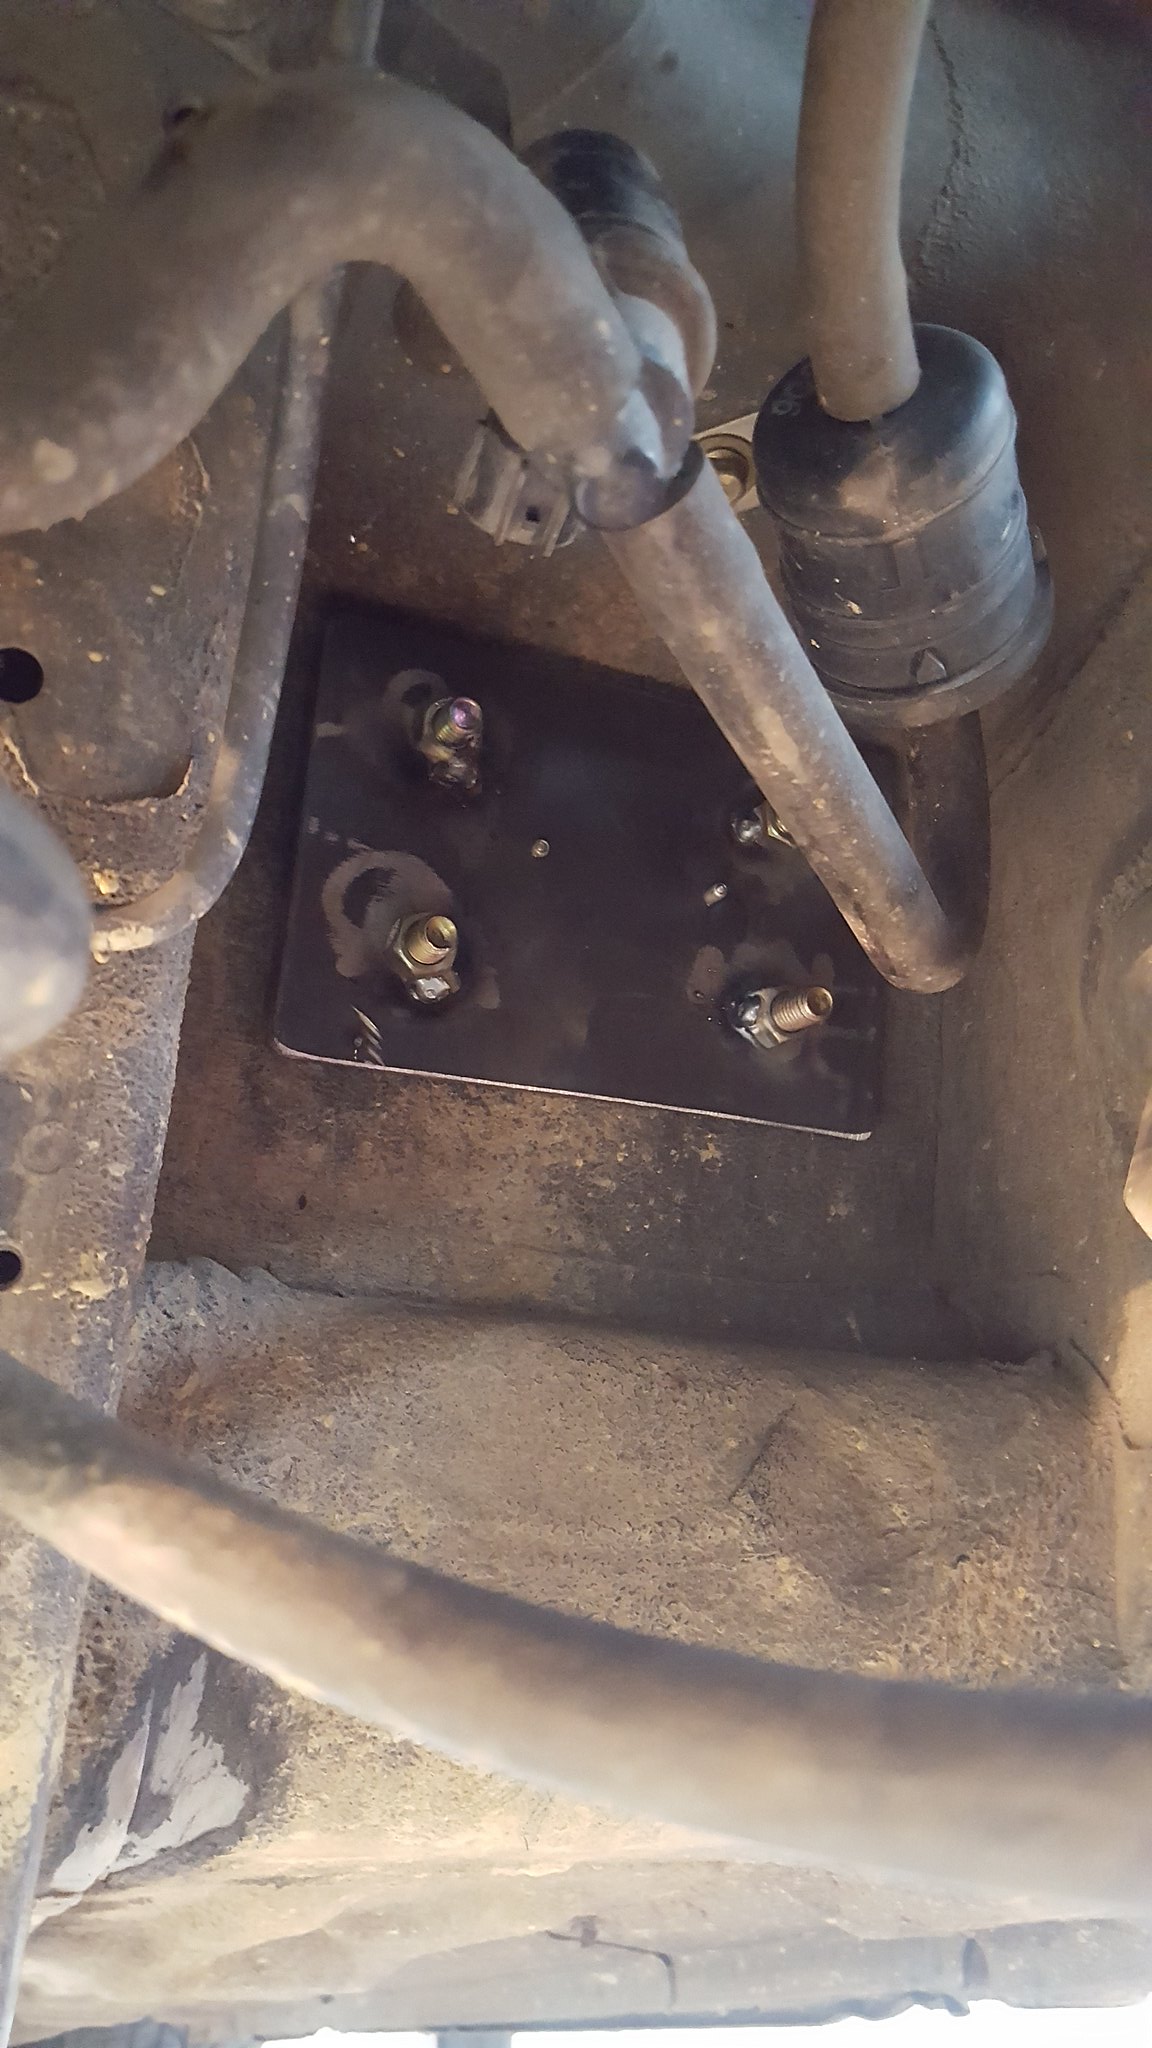
Challenge budget so far revious challenge budget: 780.62 recoup total: 800new money: 20 feet 1x1x1/8 angle iron: 11.22 20 feet 1x1x1/8 square tube: 30.15 10 feet 2x2x1/8 square tube: 25.29 10lbs 1/8 plate steel: 10.00 modify oil pan: 8 according to stevejb weld: 2.50 (6.99 pack, used about 1/2) new total: 868.78to start with, I figure well talk about parts acquisition.I finally got stuff picked up and pictures taken of parts that I talked about, but didnt document proof of.Nitrous kit from the trailer park yard sale:https://flic.kr/p/22hoECwhttps://flic.kr/p/22hoECw by https://www.flickr.com/photos/150940429@N02/, on Flickrspec miata cage (still have to grab the roughly 20 feet of tubing he has but couldnt find when I was there)https://flic.kr/p/ES3BAuhttps://flic.kr/p/ES3BAu by https://www.flickr.com/photos/150940429@N02/, on Flickr steel order and steering rackhttps://flic.kr/p/22Y2f8Fhttps://flic.kr/p/22Y2f8F by https://www.flickr.com/photos/150940429@N02/, on Flickrhttps://flic.kr/p/J2nM54https://flic.kr/p/J2nM54 by https://www.flickr.com/photos/150940429@N02/, on Flickrslicks (drove 150 miles like this. Stampie drive far greater. Hes cooler than me) hoosier is my co-pilothttps://flic.kr/p/22ZBTFThttps://flic.kr/p/22ZBTFT by https://www.flickr.com/photos/150940429@N02/, on Flickrhttps://flic.kr/p/22ZBUmRhttps://flic.kr/p/22ZBUmR by https://www.flickr.com/photos/150940429@N02/, on Flickr wheels:https://flic.kr/p/Dm7fQRhttps://flic.kr/p/Dm7fQR by https://www.flickr.com/photos/150940429@N02/, on Flickr ok. now that thats out of the way....I had decided when we left off that either the crossmember needed to be radically restructured, or the oil pan. We were about 2 inches shy of where we needed to be. The decision came down to notching the pan AND the crossmember. Pan first.Stafford1500 (steve from last years challenge car insanity) offered to cut and weld it if I got it clean enough and brought it to him. So we pulled the pan off, and after about 6 freaking hours of cleaning with screwdrivers, wire brushes, superclean, overn cleaner, and a pressure washer, it was clean enough for me to work with. Steve said that it was far cleaner than it needed to be for what we did.https://flic.kr/p/22Vobxbhttps://flic.kr/p/22Vobxb by https://www.flickr.com/photos/150940429@N02/, on Flickrhttps://flic.kr/p/21CtbV8https://flic.kr/p/21CtbV8 by https://www.flickr.com/photos/150940429@N02/, on FlickrAnyway, we marked out a 3 inch notch with a sharpie, and mounted it to steves surface plate. He proceeded to cut the majority of it with a handheld circular saw. With a wood blade. At face level. *****.https://flic.kr/p/21Tuw6Ehttps://flic.kr/p/21Tuw6E by https://www.flickr.com/photos/150940429@N02/, on Flickrwe dressed the edges with a flap wheel, emeroy paper, etc. while I was doing that, steve cut a chunk of aluminum plate from a sheet that he had standing in the corner of the shop, after making a good cardboard template. Steve has so many awesome tools at his disposal. And such neat projects of his own. Makes this project look like a carburetor rebuild.https://flic.kr/p/EQtgGyhttps://flic.kr/p/EQtgGy by https://www.flickr.com/photos/150940429@N02/, on Flickrafter getting the plate cut and fitted, we ratchet strapped it down and steve welded it up. (I say that like its easy. TIG is freaking black magic. Two hands, a foot, and talent all at the same time. I can barely chew and breath at the same 10 minute span.https://flic.kr/p/22Vqpp9https://flic.kr/p/22Vqpp9 by https://www.flickr.com/photos/150940429@N02/, on Flickrhttps://flic.kr/p/EQufDQhttps://flic.kr/p/EQufDQ by https://www.flickr.com/photos/150940429@N02/, on Flickrwhen we got all finished and unbolted from the table, we found that there was very minimal warping. Like .002 corner to corner on the rails. Close enough!https://flic.kr/p/Dm4P94https://flic.kr/p/Dm4P94 by https://www.flickr.com/photos/150940429@N02/, on FlickrTook it home, and decided that since im a belt AND suspenders guy, it “caulk” the inside of the pan with jb weld reduce the chance of leakege. Stopped by oriellys and grabbed 2 packs of the good stuff.https://flic.kr/p/21Cw3Dxhttps://flic.kr/p/21Cw3Dx by https://www.flickr.com/photos/150940429@N02/, on Flickrtook it over to dads place, where he promptly took over. He custom cut a few popsicle sticks, and caulked every seam in the pan with � of one pack of jb weld.https://flic.kr/p/21F1Z58https://flic.kr/p/21F1Z58 by https://www.flickr.com/photos/150940429@N02/, on Flickrthat brings us up to today. After the weld fully cured, we bolted the pan back to the engine. It cleared the stock oil pump pickup, and all the holes still lined up. Definitely successful....I also noticed that this engine has a factory windage tray. Which also cleared! Score on both counts!I did finally take a picture of how much I notched the crossmember. Theres a little clearance on the flange on the drivers side to do, but thats purely for piece of mind. Ive got about � at the tightest spot. We have also nipped the edges of the wings like the v8 guys do. Only the drivers side turned out to be necessary. Passengers I just made extra work.https://flic.kr/p/J4Sz6Khttps://flic.kr/p/J4Sz6K by https://www.flickr.com/photos/150940429@N02/, on Flickrhttps://flic.kr/p/231ArKRhttps://flic.kr/p/231ArKR by https://www.flickr.com/photos/150940429@N02/, on Flickrdad and I slipped everything into place. And stared. And readjusted. And stared. And playind with angles. Snad stared. Eventually we decided we were happy with the compromises we were making, and held the drivetrain in place with a jack and ****** of wood. Then got to making mounts.https://flic.kr/p/J5fPiDhttps://flic.kr/p/J5fPiD by https://www.flickr.com/photos/150940429@N02/, on Flickrhttps://flic.kr/p/22YfMxjhttps://flic.kr/p/22YfMxj by https://www.flickr.com/photos/150940429@N02/, on Flickrend of the dar pictures. Feels like a huge milestone. The intake MAY clear the hood, but no promises. Fairly good exhaust clearance, lower intake in factory orientation with the thermostat hosing above the bellhousing. Mocked up with a block of wood � thicker than the housing to ensure clearance. Passengers side head exhaust port is in front of axle centerline, drivers side is at. It just wasnt worth the extra effort and complication to go slightly firther back. Chifter is at the extreme forward edge of the factory shifter hole, so we will have to monkey with some doglegs and such.https://flic.kr/p/21WwnGohttps://flic.kr/p/21WwnGo by https://www.flickr.com/photos/150940429@N02/, on Flickrhttps://flic.kr/p/J5mgurhttps://flic.kr/p/J5mgur by https://www.flickr.com/photos/150940429@N02/, on Flickrhttps://flic.kr/p/ETieQjhttps://flic.kr/p/ETieQj by https://www.flickr.com/photos/150940429@N02/, on Flickrhttps://flic.kr/p/EToHoAhttps://flic.kr/p/EToHoA by https://www.flickr.com/photos/150940429@N02/, on Flickrhttps://flic.kr/p/J5mfeahttps://flic.kr/p/J5mfea by https://www.flickr.com/photos/150940429@N02/, on Flickrhttps://flic.kr/p/21Wehobhttps://flic.kr/p/21Wehob by https://www.flickr.com/photos/150940429@N02/, on Flickrup nest is the 2x2 framerails, and butterfly brace/trans mount. Then exhaust.
revious challenge budget: 780.62 recoup total: 800new money: 20 feet 1x1x1/8 angle iron: 11.22 20 feet 1x1x1/8 square tube: 30.15 10 feet 2x2x1/8 square tube: 25.29 10lbs 1/8 plate steel: 10.00 modify oil pan: 8 according to stevejb weld: 2.50 (6.99 pack, used about 1/2) new total: 868.78to start with, I figure well talk about parts acquisition.I finally got stuff picked up and pictures taken of parts that I talked about, but didnt document proof of.Nitrous kit from the trailer park yard sale:https://flic.kr/p/22hoECwhttps://flic.kr/p/22hoECw by https://www.flickr.com/photos/150940429@N02/, on Flickrspec miata cage (still have to grab the roughly 20 feet of tubing he has but couldnt find when I was there)https://flic.kr/p/ES3BAuhttps://flic.kr/p/ES3BAu by https://www.flickr.com/photos/150940429@N02/, on Flickr steel order and steering rackhttps://flic.kr/p/22Y2f8Fhttps://flic.kr/p/22Y2f8F by https://www.flickr.com/photos/150940429@N02/, on Flickrhttps://flic.kr/p/J2nM54https://flic.kr/p/J2nM54 by https://www.flickr.com/photos/150940429@N02/, on Flickrslicks (drove 150 miles like this. Stampie drive far greater. Hes cooler than me) hoosier is my co-pilothttps://flic.kr/p/22ZBTFThttps://flic.kr/p/22ZBTFT by https://www.flickr.com/photos/150940429@N02/, on Flickrhttps://flic.kr/p/22ZBUmRhttps://flic.kr/p/22ZBUmR by https://www.flickr.com/photos/150940429@N02/, on Flickr wheels:https://flic.kr/p/Dm7fQRhttps://flic.kr/p/Dm7fQR by https://www.flickr.com/photos/150940429@N02/, on Flickr ok. now that thats out of the way....I had decided when we left off that either the crossmember needed to be radically restructured, or the oil pan. We were about 2 inches shy of where we needed to be. The decision came down to notching the pan AND the crossmember. Pan first.Stafford1500 (steve from last years challenge car insanity) offered to cut and weld it if I got it clean enough and brought it to him. So we pulled the pan off, and after about 6 freaking hours of cleaning with screwdrivers, wire brushes, superclean, overn cleaner, and a pressure washer, it was clean enough for me to work with. Steve said that it was far cleaner than it needed to be for what we did.https://flic.kr/p/22Vobxbhttps://flic.kr/p/22Vobxb by https://www.flickr.com/photos/150940429@N02/, on Flickrhttps://flic.kr/p/21CtbV8https://flic.kr/p/21CtbV8 by https://www.flickr.com/photos/150940429@N02/, on FlickrAnyway, we marked out a 3 inch notch with a sharpie, and mounted it to steves surface plate. He proceeded to cut the majority of it with a handheld circular saw. With a wood blade. At face level. *****.https://flic.kr/p/21Tuw6Ehttps://flic.kr/p/21Tuw6E by https://www.flickr.com/photos/150940429@N02/, on Flickrwe dressed the edges with a flap wheel, emeroy paper, etc. while I was doing that, steve cut a chunk of aluminum plate from a sheet that he had standing in the corner of the shop, after making a good cardboard template. Steve has so many awesome tools at his disposal. And such neat projects of his own. Makes this project look like a carburetor rebuild.https://flic.kr/p/EQtgGyhttps://flic.kr/p/EQtgGy by https://www.flickr.com/photos/150940429@N02/, on Flickrafter getting the plate cut and fitted, we ratchet strapped it down and steve welded it up. (I say that like its easy. TIG is freaking black magic. Two hands, a foot, and talent all at the same time. I can barely chew and breath at the same 10 minute span.https://flic.kr/p/22Vqpp9https://flic.kr/p/22Vqpp9 by https://www.flickr.com/photos/150940429@N02/, on Flickrhttps://flic.kr/p/EQufDQhttps://flic.kr/p/EQufDQ by https://www.flickr.com/photos/150940429@N02/, on Flickrwhen we got all finished and unbolted from the table, we found that there was very minimal warping. Like .002 corner to corner on the rails. Close enough!https://flic.kr/p/Dm4P94https://flic.kr/p/Dm4P94 by https://www.flickr.com/photos/150940429@N02/, on FlickrTook it home, and decided that since im a belt AND suspenders guy, it “caulk” the inside of the pan with jb weld reduce the chance of leakege. Stopped by oriellys and grabbed 2 packs of the good stuff.https://flic.kr/p/21Cw3Dxhttps://flic.kr/p/21Cw3Dx by https://www.flickr.com/photos/150940429@N02/, on Flickrtook it over to dads place, where he promptly took over. He custom cut a few popsicle sticks, and caulked every seam in the pan with � of one pack of jb weld.https://flic.kr/p/21F1Z58https://flic.kr/p/21F1Z58 by https://www.flickr.com/photos/150940429@N02/, on Flickrthat brings us up to today. After the weld fully cured, we bolted the pan back to the engine. It cleared the stock oil pump pickup, and all the holes still lined up. Definitely successful....I also noticed that this engine has a factory windage tray. Which also cleared! Score on both counts!I did finally take a picture of how much I notched the crossmember. Theres a little clearance on the flange on the drivers side to do, but thats purely for piece of mind. Ive got about � at the tightest spot. We have also nipped the edges of the wings like the v8 guys do. Only the drivers side turned out to be necessary. Passengers I just made extra work.https://flic.kr/p/J4Sz6Khttps://flic.kr/p/J4Sz6K by https://www.flickr.com/photos/150940429@N02/, on Flickrhttps://flic.kr/p/231ArKRhttps://flic.kr/p/231ArKR by https://www.flickr.com/photos/150940429@N02/, on Flickrdad and I slipped everything into place. And stared. And readjusted. And stared. And playind with angles. Snad stared. Eventually we decided we were happy with the compromises we were making, and held the drivetrain in place with a jack and ****** of wood. Then got to making mounts.https://flic.kr/p/J5fPiDhttps://flic.kr/p/J5fPiD by https://www.flickr.com/photos/150940429@N02/, on Flickrhttps://flic.kr/p/22YfMxjhttps://flic.kr/p/22YfMxj by https://www.flickr.com/photos/150940429@N02/, on Flickrend of the dar pictures. Feels like a huge milestone. The intake MAY clear the hood, but no promises. Fairly good exhaust clearance, lower intake in factory orientation with the thermostat hosing above the bellhousing. Mocked up with a block of wood � thicker than the housing to ensure clearance. Passengers side head exhaust port is in front of axle centerline, drivers side is at. It just wasnt worth the extra effort and complication to go slightly firther back. Chifter is at the extreme forward edge of the factory shifter hole, so we will have to monkey with some doglegs and such.https://flic.kr/p/21WwnGohttps://flic.kr/p/21WwnGo by https://www.flickr.com/photos/150940429@N02/, on Flickrhttps://flic.kr/p/J5mgurhttps://flic.kr/p/J5mgur by https://www.flickr.com/photos/150940429@N02/, on Flickrhttps://flic.kr/p/ETieQjhttps://flic.kr/p/ETieQj by https://www.flickr.com/photos/150940429@N02/, on Flickrhttps://flic.kr/p/EToHoAhttps://flic.kr/p/EToHoA by https://www.flickr.com/photos/150940429@N02/, on Flickrhttps://flic.kr/p/J5mfeahttps://flic.kr/p/J5mfea by https://www.flickr.com/photos/150940429@N02/, on Flickrhttps://flic.kr/p/21Wehobhttps://flic.kr/p/21Wehob by https://www.flickr.com/photos/150940429@N02/, on Flickrup nest is the 2x2 framerails, and butterfly brace/trans mount. Then exhaust.
Reply
0
0
 12-31-2017, 08:02 PM
#29
Junior Member
Thread Starter
Join Date: Nov 2017
Posts: 112
Total Cats: 7
spent part of the day today doing chassis stuff.
started my butterfly brace/trans mount. the long side pieces will be welded to the 2x2 rails that have yet to be put on. the bolts will all be welded into place, thereby creating studs. theres also another 1x1 tube that i need no fab in before all the welding and such happens. will weigh about 10-15 lbs when done, which is far heavier than id like. but it'll be bombproof. i think. suggestions/feedback on this thing? remember, im making it all up as i go along, and im sure no engineer.
https://flic.kr/p/21XPNzEhttps://flic.kr/p/21XPNzE by https://www.flickr.com/photos/150940429@N02/, on Flickr
https://flic.kr/p/J6Rf1Fhttps://flic.kr/p/J6Rf1F by https://www.flickr.com/photos/150940429@N02/, on Flickr
https://flic.kr/p/J6X1fnhttps://flic.kr/p/J6X1fn by https://www.flickr.com/photos/150940429@N02/, on Flickr
also, while i was working, i managed to knock over my entire pile of crap onto mu right foot. 3/8 plate, 1x1 tube. 1x1 angle, and a roll cage. 6 hours later my damn foot still hurts. so, to solve the problem, i cleaned the shop. part of this was finding a home for the roll bar segment. ZIP TIES!!!
https://flic.kr/p/233Gjnkhttps://flic.kr/p/233Gjnk by https://www.flickr.com/photos/150940429@N02/, on Flickr
https://flic.kr/p/EV33QShttps://flic.kr/p/EV33QS by https://www.flickr.com/photos/150940429@N02/, on Flickr
will need to trim some flanges on the seat belt towers for it to sit where i want it. then, build my floor plates, rear downtubes, etc. but i LIKE this design. Its a whole lot better than the hard dog ace in my daily. however, i purchased the ace as it was the furthest from my head i could get and still have it pass the broomstick test with my unhelmeted noggin. the ace is in a daily. this is a race car that'll be driven to events. not to work....
lastly, started looking at hood clearance/upper intake mounting. to put the throttle body forward will require me cutting the timing cover for clearance, which wont leave me a place to mount an idler for the belt, or space it up 3/4 of an inch. this would make the intake poke through the hood considerably, and i think the throttle body as well. having the plenum through the hood could be visually awesome. throttle body, not so much. leaving it in the factory orientation may work, but that will require some more mockup and staring. the intake tube would be routed through the cowl where the wiper linkage lives, then out to the front of the car. or something. dunno yet. but im sure it will stick up above the hood now....
https://flic.kr/p/2314TDhhttps://flic.kr/p/2314TDh by https://www.flickr.com/photos/150940429@N02/, on Flickr
https://flic.kr/p/2314Uhmhttps://flic.kr/p/2314Uhm by https://www.flickr.com/photos/150940429@N02/, on Flickr
Reply
0
0
01-01-2018, 07:54 PM
#30
Junior Member
Thread Starter
Join Date: Nov 2017
Posts: 112
Total Cats: 7
The last update for a minute (or at least until next weekend or so)finished up welding the butterfly brace today. The x looks crooked in pictures for some reason, but its not in reality. Also, my welds are ugly but have good penetration. That's why grinders and flap wheels exist.https://flic.kr/p/EWXFGqhttps://flic.kr/p/EWXFGq by https://www.flickr.com/photos/150940429@N02/, on Flickrhttps://flic.kr/p/232Ycbmhttps://flic.kr/p/232Ycbm by https://www.flickr.com/photos/150940429@N02/, on Flickrhttps://flic.kr/p/DqYvZehttps://flic.kr/p/DqYvZe by https://www.flickr.com/photos/150940429@N02/, on Flickrdad and I also spent some time grinding down the frame rails, and then cutting them out. Hes going to start fitting the 2x2 box while im at work this week. I was able to get a picture of us together while we were drilling holes for plug welds, which makes me happy. Please excuse my hair. Im just happy to still have it. (stocking cap while I was outside with a flap wheel in 10 degree weather)https://flic.kr/p/EWZXs9https://flic.kr/p/EWZXs9 by https://www.flickr.com/photos/150940429@N02/, on Flickrhttps://flic.kr/p/2213Yq3https://flic.kr/p/2213Yq3 by https://www.flickr.com/photos/150940429@N02/, on Flickrhttps://flic.kr/p/EX1rjbhttps://flic.kr/p/EX1rjb by https://www.flickr.com/photos/150940429@N02/, on Flickrand the end result of framerail murder.https://flic.kr/p/21KbPcDhttps://flic.kr/p/21KbPcD by https://www.flickr.com/photos/150940429@N02/, on Flickr
Reply
0
0
01-15-2018, 08:05 PM
#31
Junior Member
Thread Starter
Join Date: Nov 2017
Posts: 112
Total Cats: 7
Challenge budget so farrevious challenge budget: 868.78 recoup total: 800new money:added core charges back in per the new challenge rulesgiven 4 unknown rate red coilover springspurchased coilover sleeve kit for honda civic: 43.99 sold 2 red and 2 civic springs: 22 purchased 4 used bilstein: 40purchased entire drivers rear suspension 40 purchased passengers fender: 40 purchased inner fenders: 20 purchased 3/16 plate: 10.95 255lph fuel pump from ebay 13.99 2x2 angle 6 feet 5 new total: 1135.71
recoup: 822to start with, I figure well talk about parts acquisition.Was told by the spec miata shop that they were unable to locate the stick of cage tubing that I got with my rollbar. He told me to buy a stick and he would reimburse me, which he did. So I went to stock car steel over in moresville and picked that up, as well as some 3/16 plate, as that is the SCCA requirement for a bolt in roll bar. Also got a sheet of plastic for another project while I was there. No picture, because it looks like a piece of steel plate.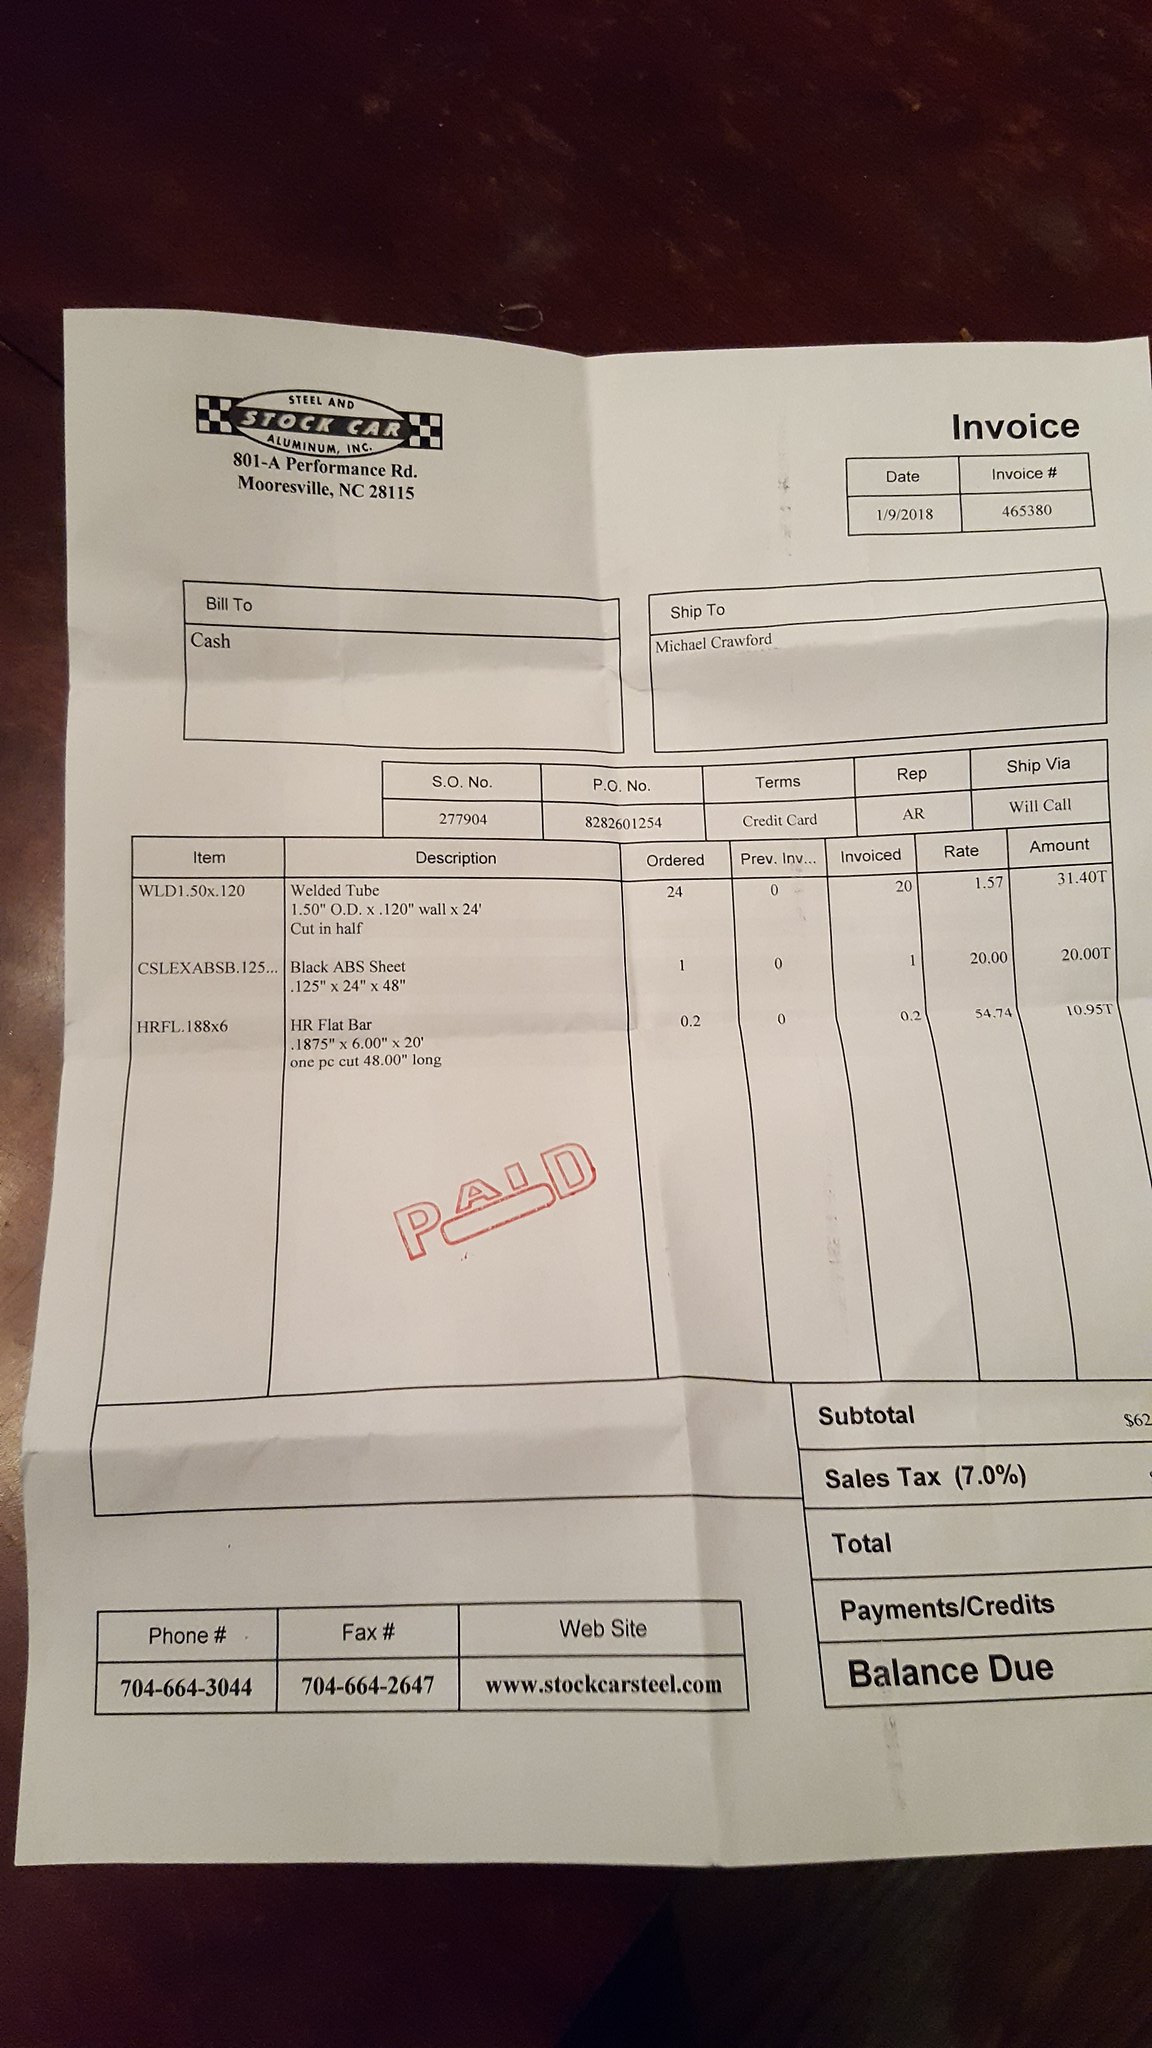
20180109_182527 by Michael Crawford, on Flickrgot the spec miata slicks mounted up and balanced on the NB 15s so they'd take up less room. 15X6 wheels, and yes, the slicks are somewhat pinched. Unless someone wants to trade 15x8/9/10 for stock wheels, this will have to do. Toby at freemans tire charged me 40 bucks. 10 bucks each is a pretty good deal.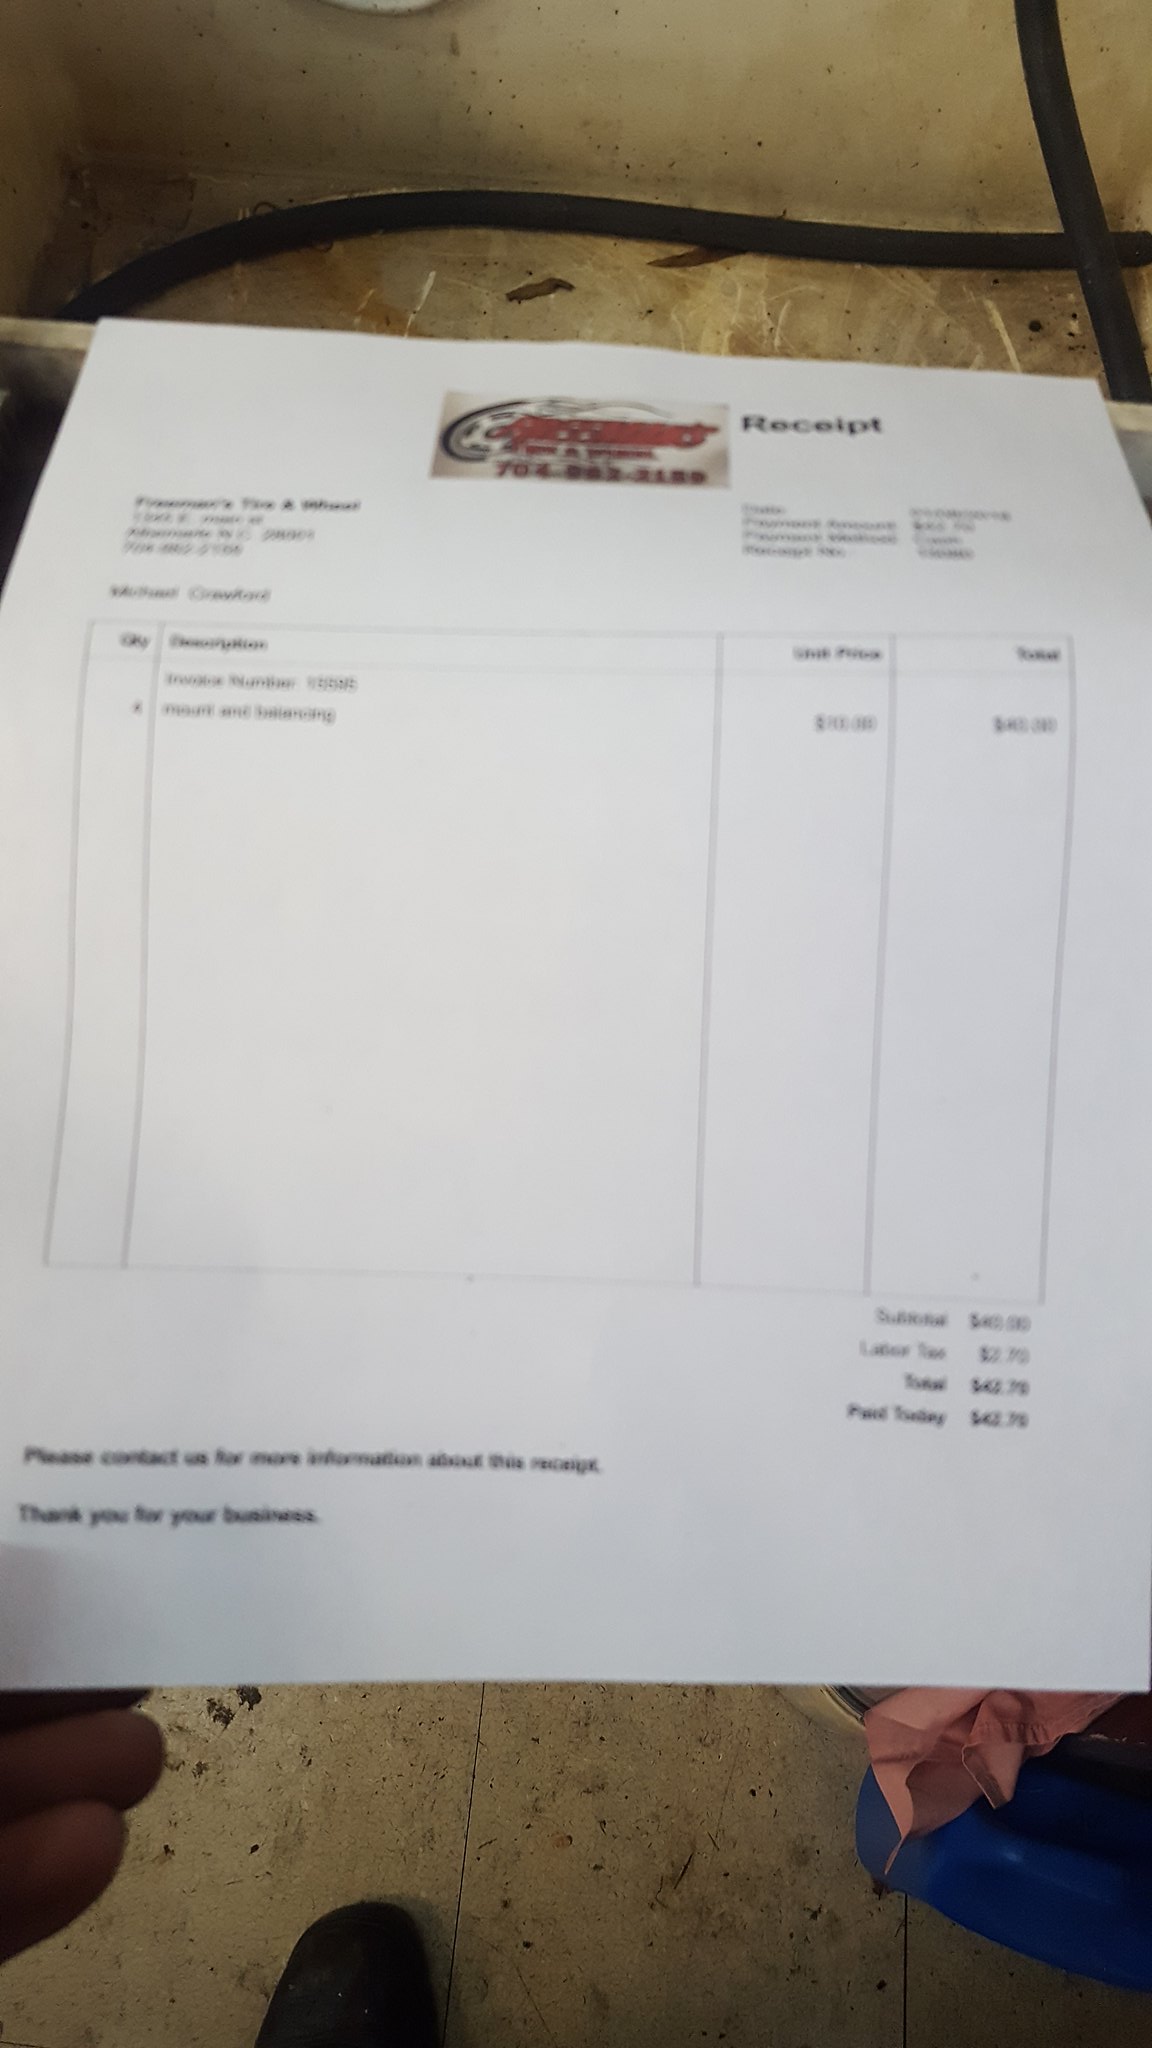
20180114_114852 by Michael Crawford, on Flickr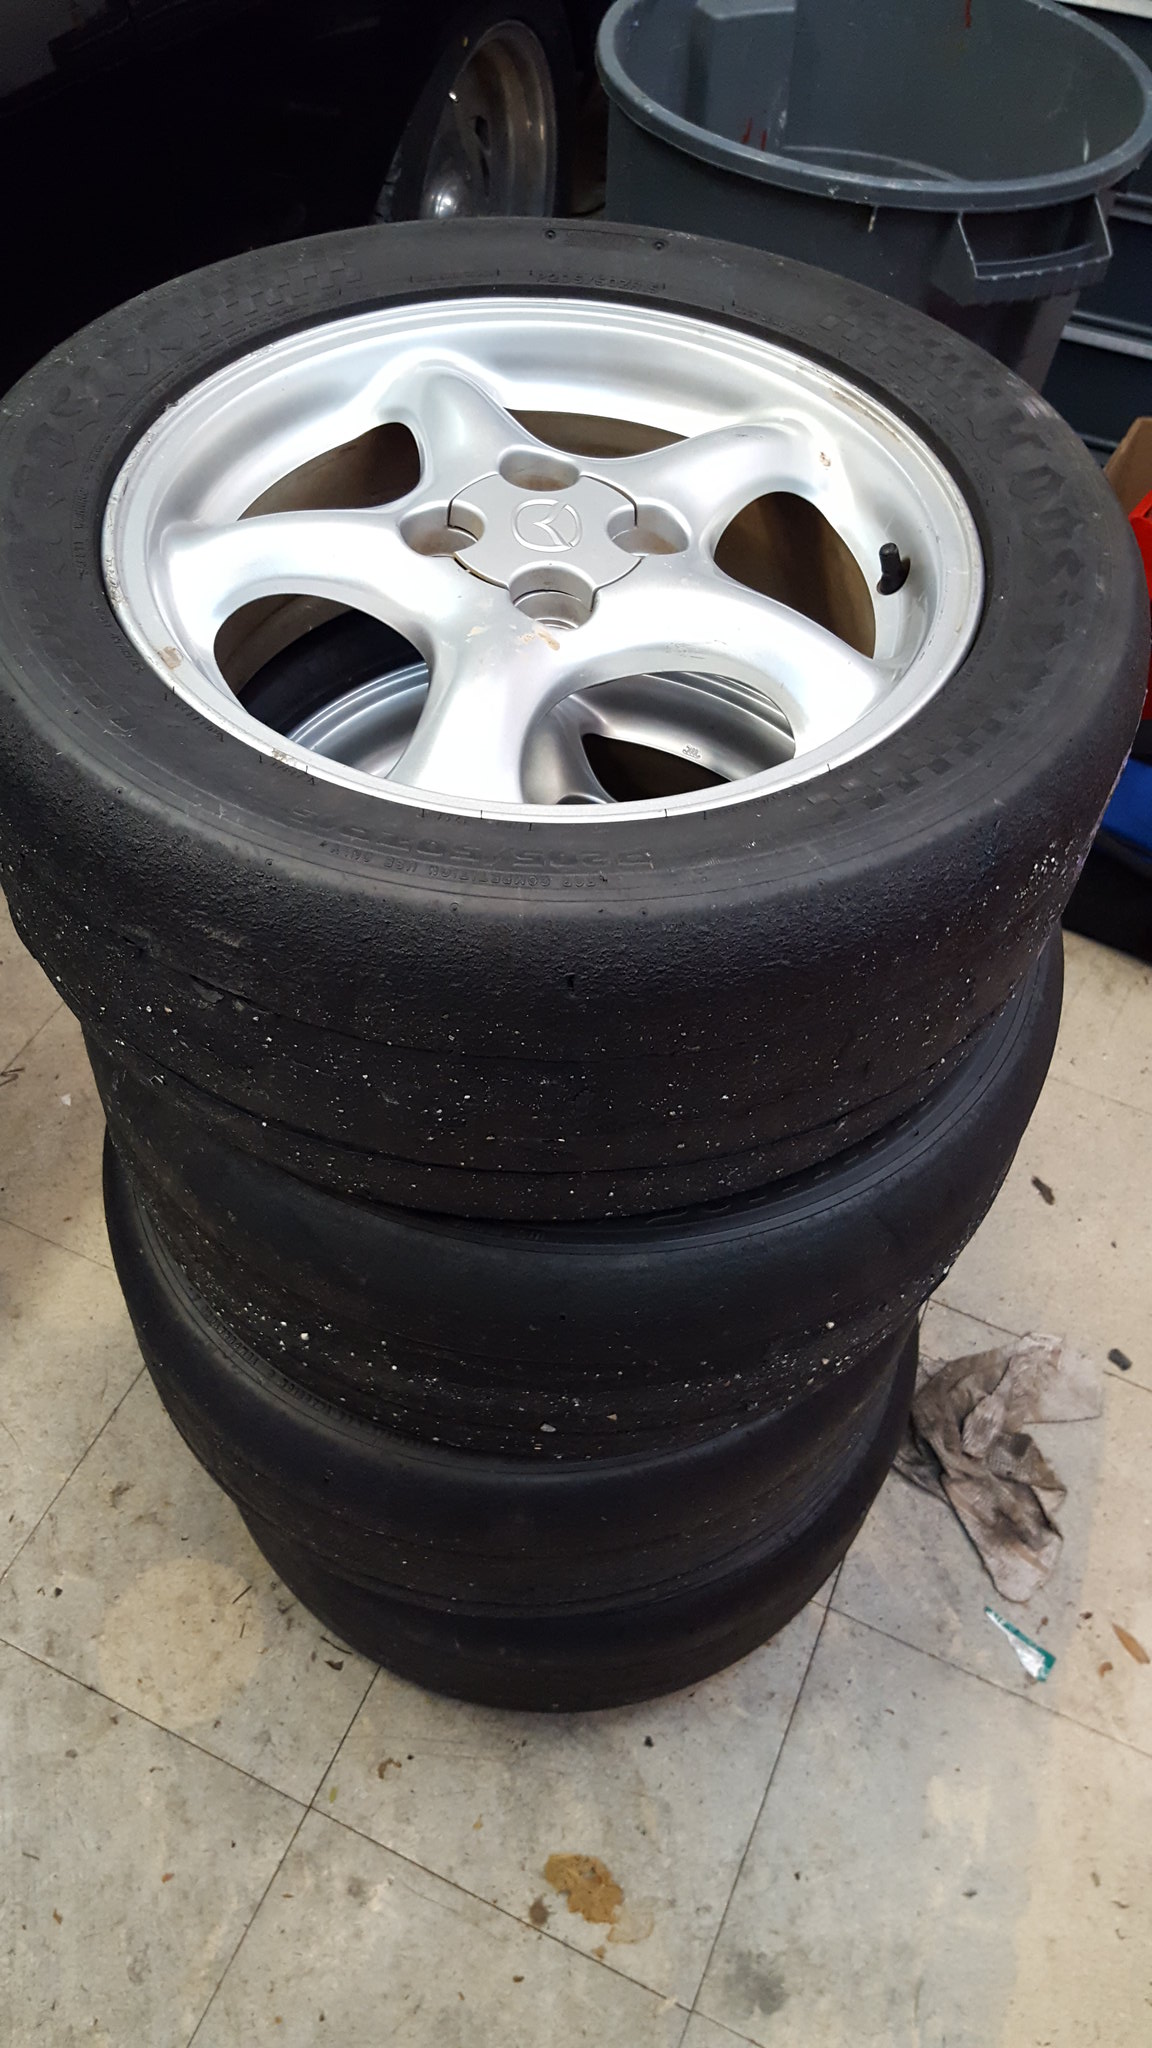
20180109_082520 by Michael Crawford, on Flickr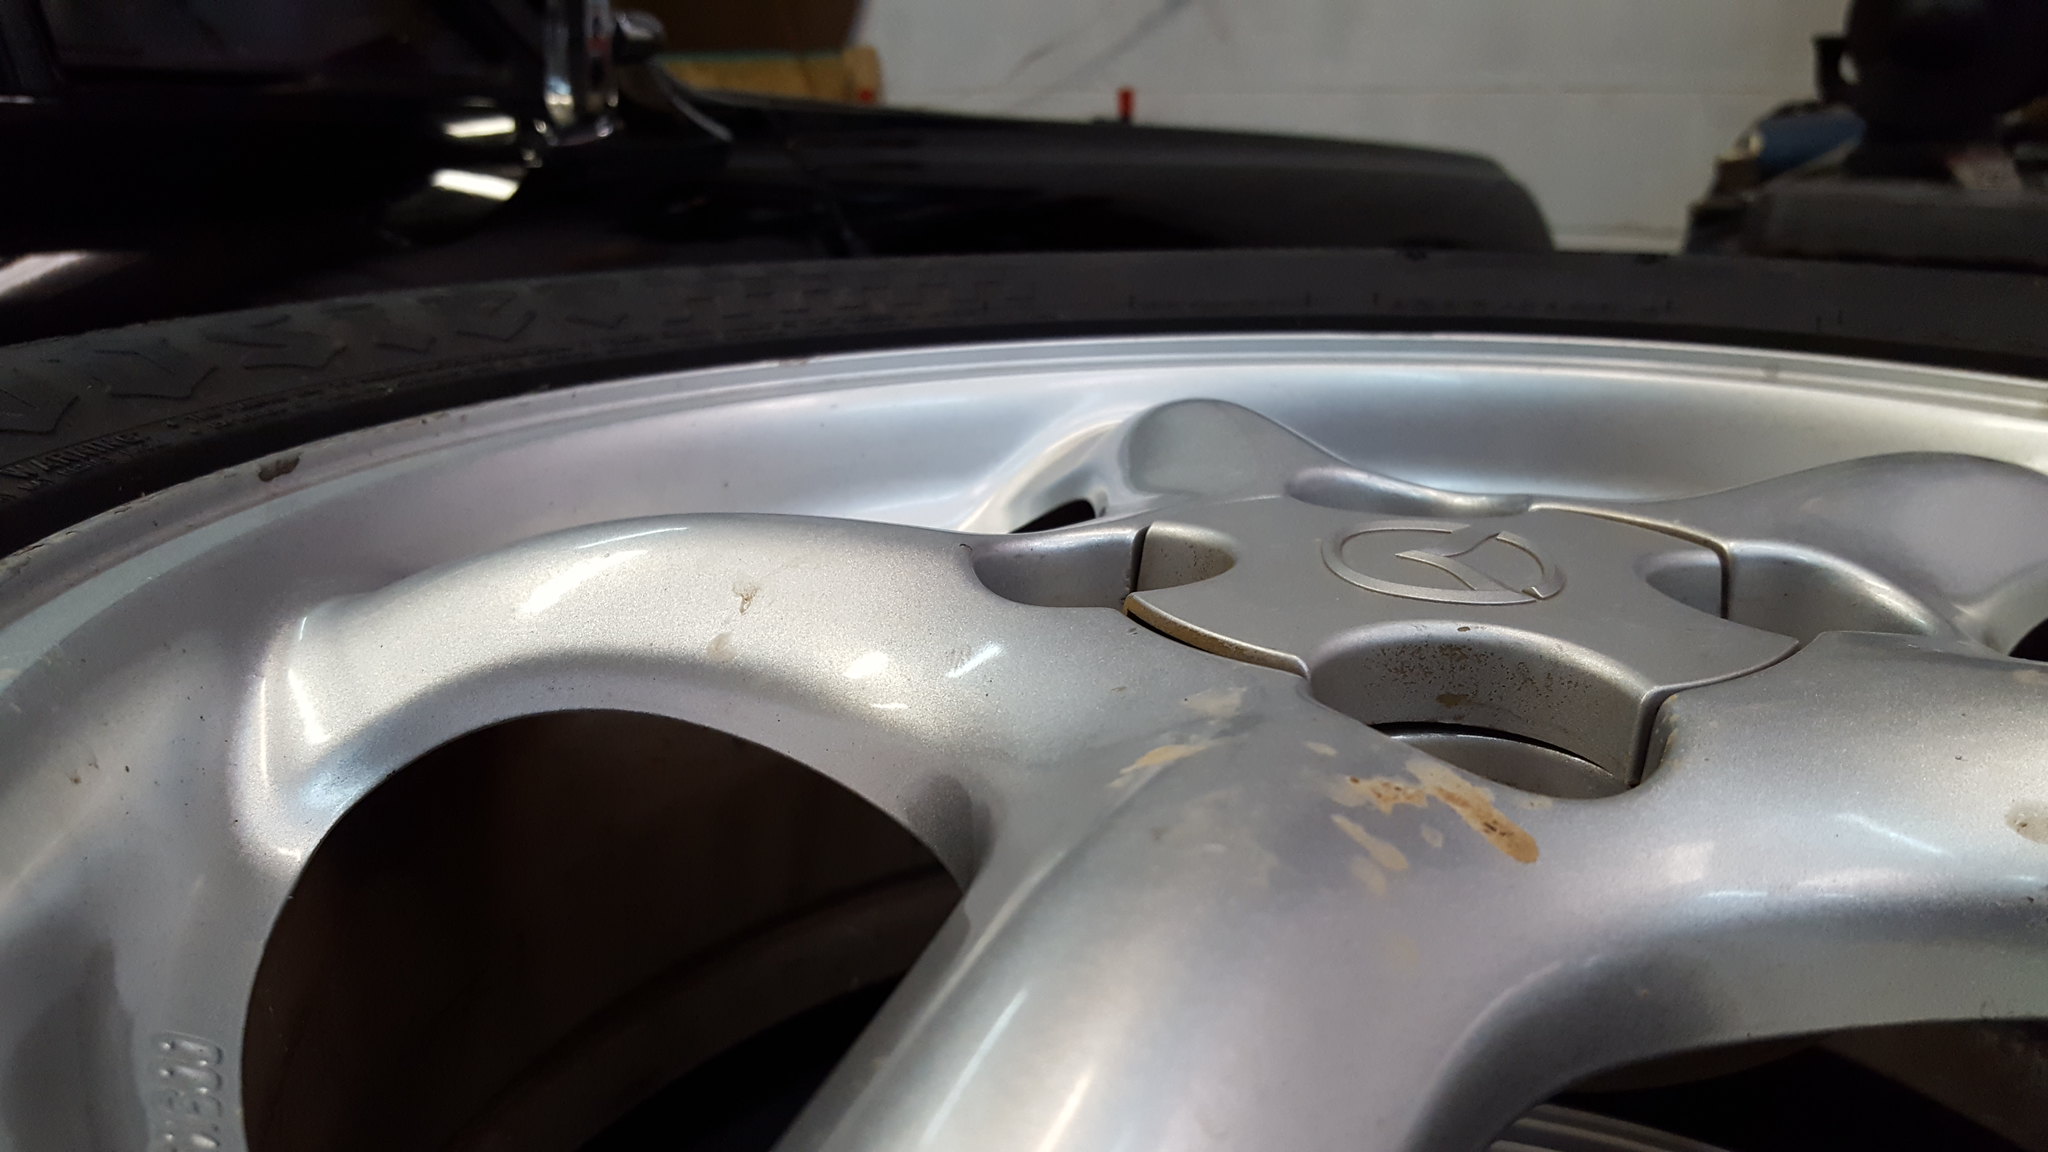
20180109_082530 by Michael Crawford, on Flickrresponded to a facebook marketplace ad for miata parts, asking about struts. I had seen what looked like konis in a picture of the parts stash. After coordinating schedules, dad and I drove to outside of greenville, SC and met a guy named Alex, who parts out miatas for a good portion of his living. Name of the business is SNS Mazda parts. We spent some money.....20 struts at 10 ea, full drivers side rear suspension to replace our bent stuff, front fender, and inner fenders. Still need to source and NB subframe to replace that bent part. In the struts were a full set of SGX with a spare front and rear, 2 full sets of tokiko Hps, b&g lowering springs for an NA, a full set of speck miata bilstiens, and a bunch of NA tophats. Need to go through them all, then ill start selling off spare crap. A set of the tokikos and stock NA springs may go on my daily NB with NB tophats, as that should lower it 1.5 all the way around.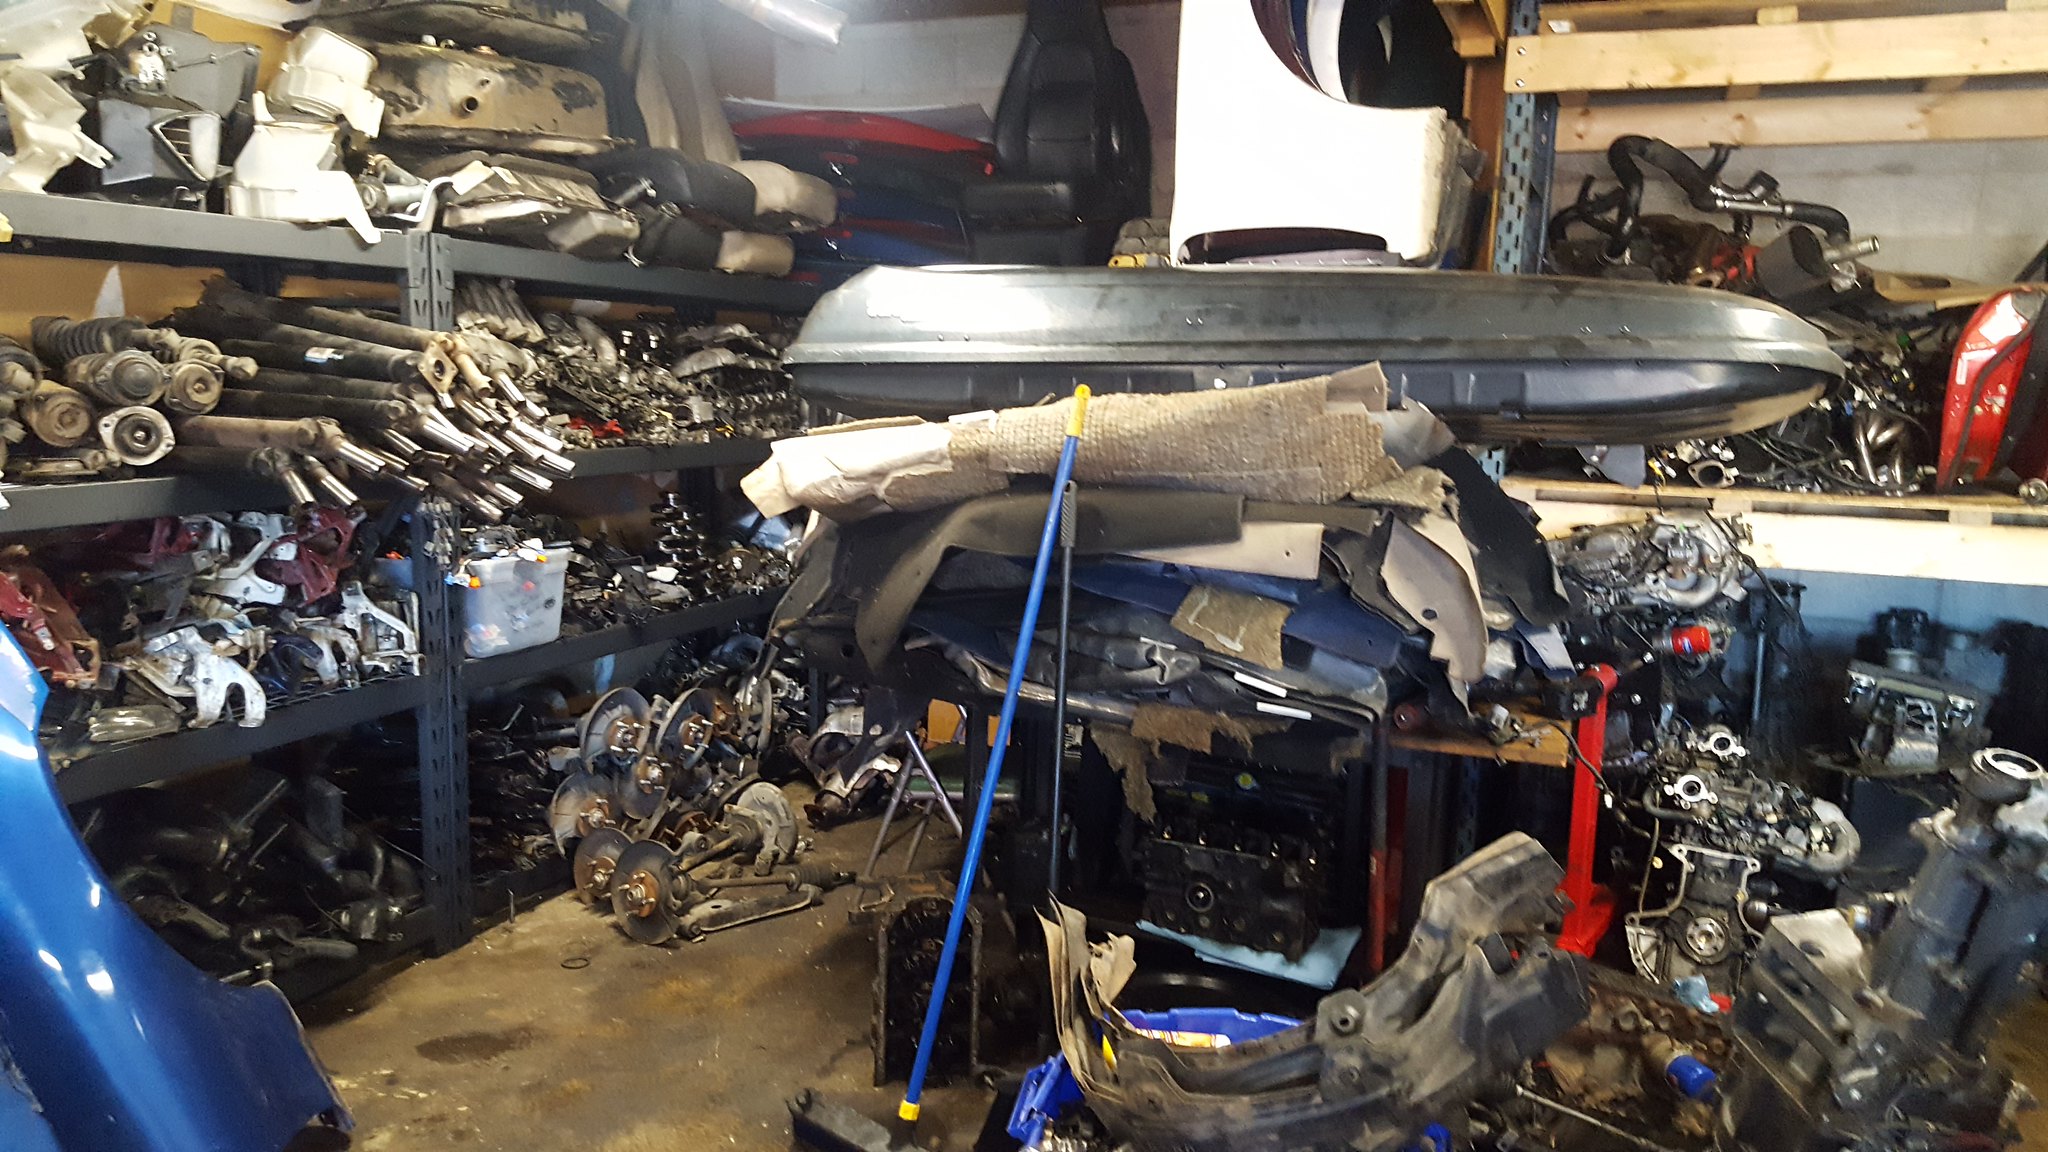
20180113_101439 by Michael Crawford, on Flickr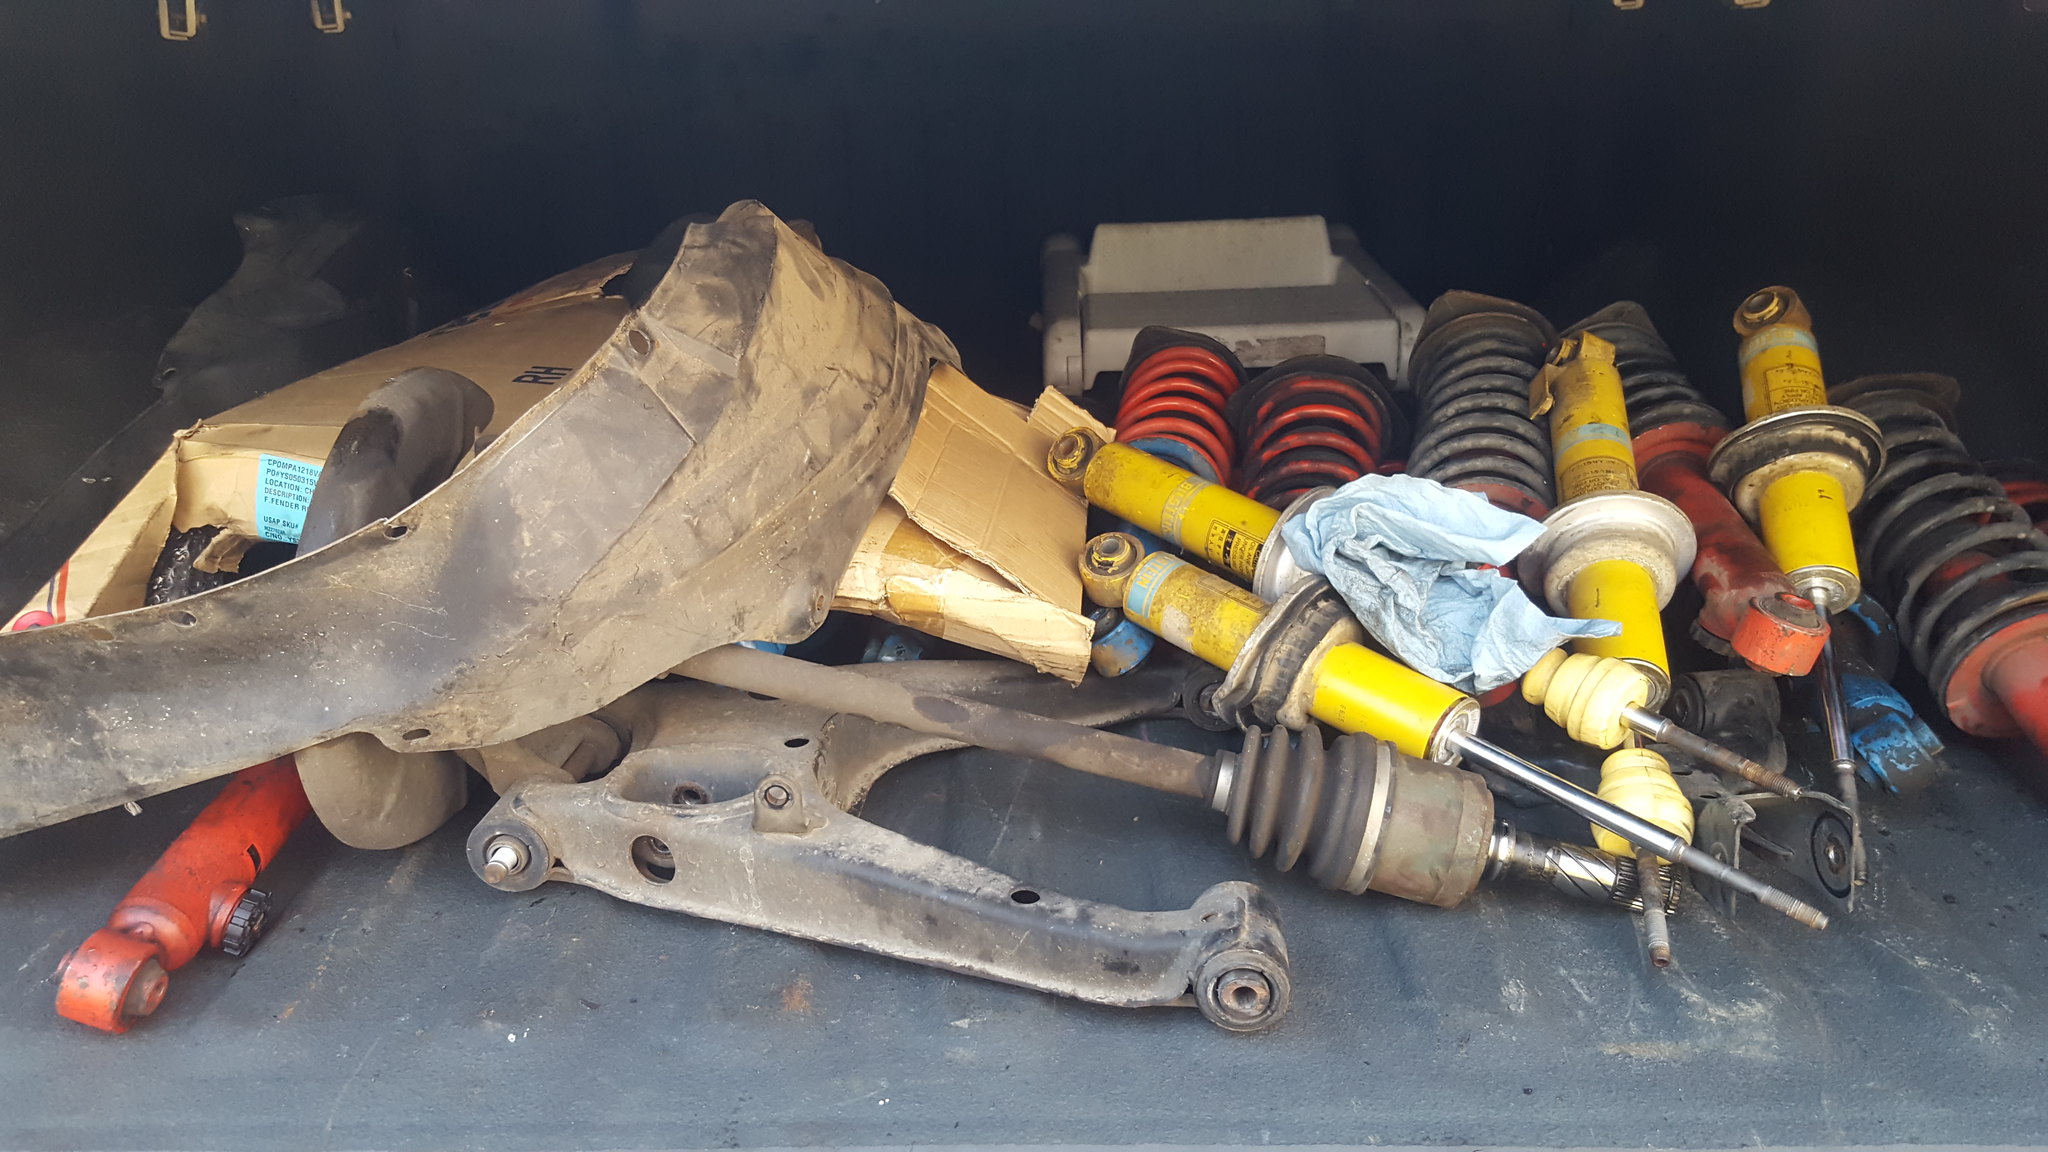
20180113_123917 by Michael Crawford, on Flickr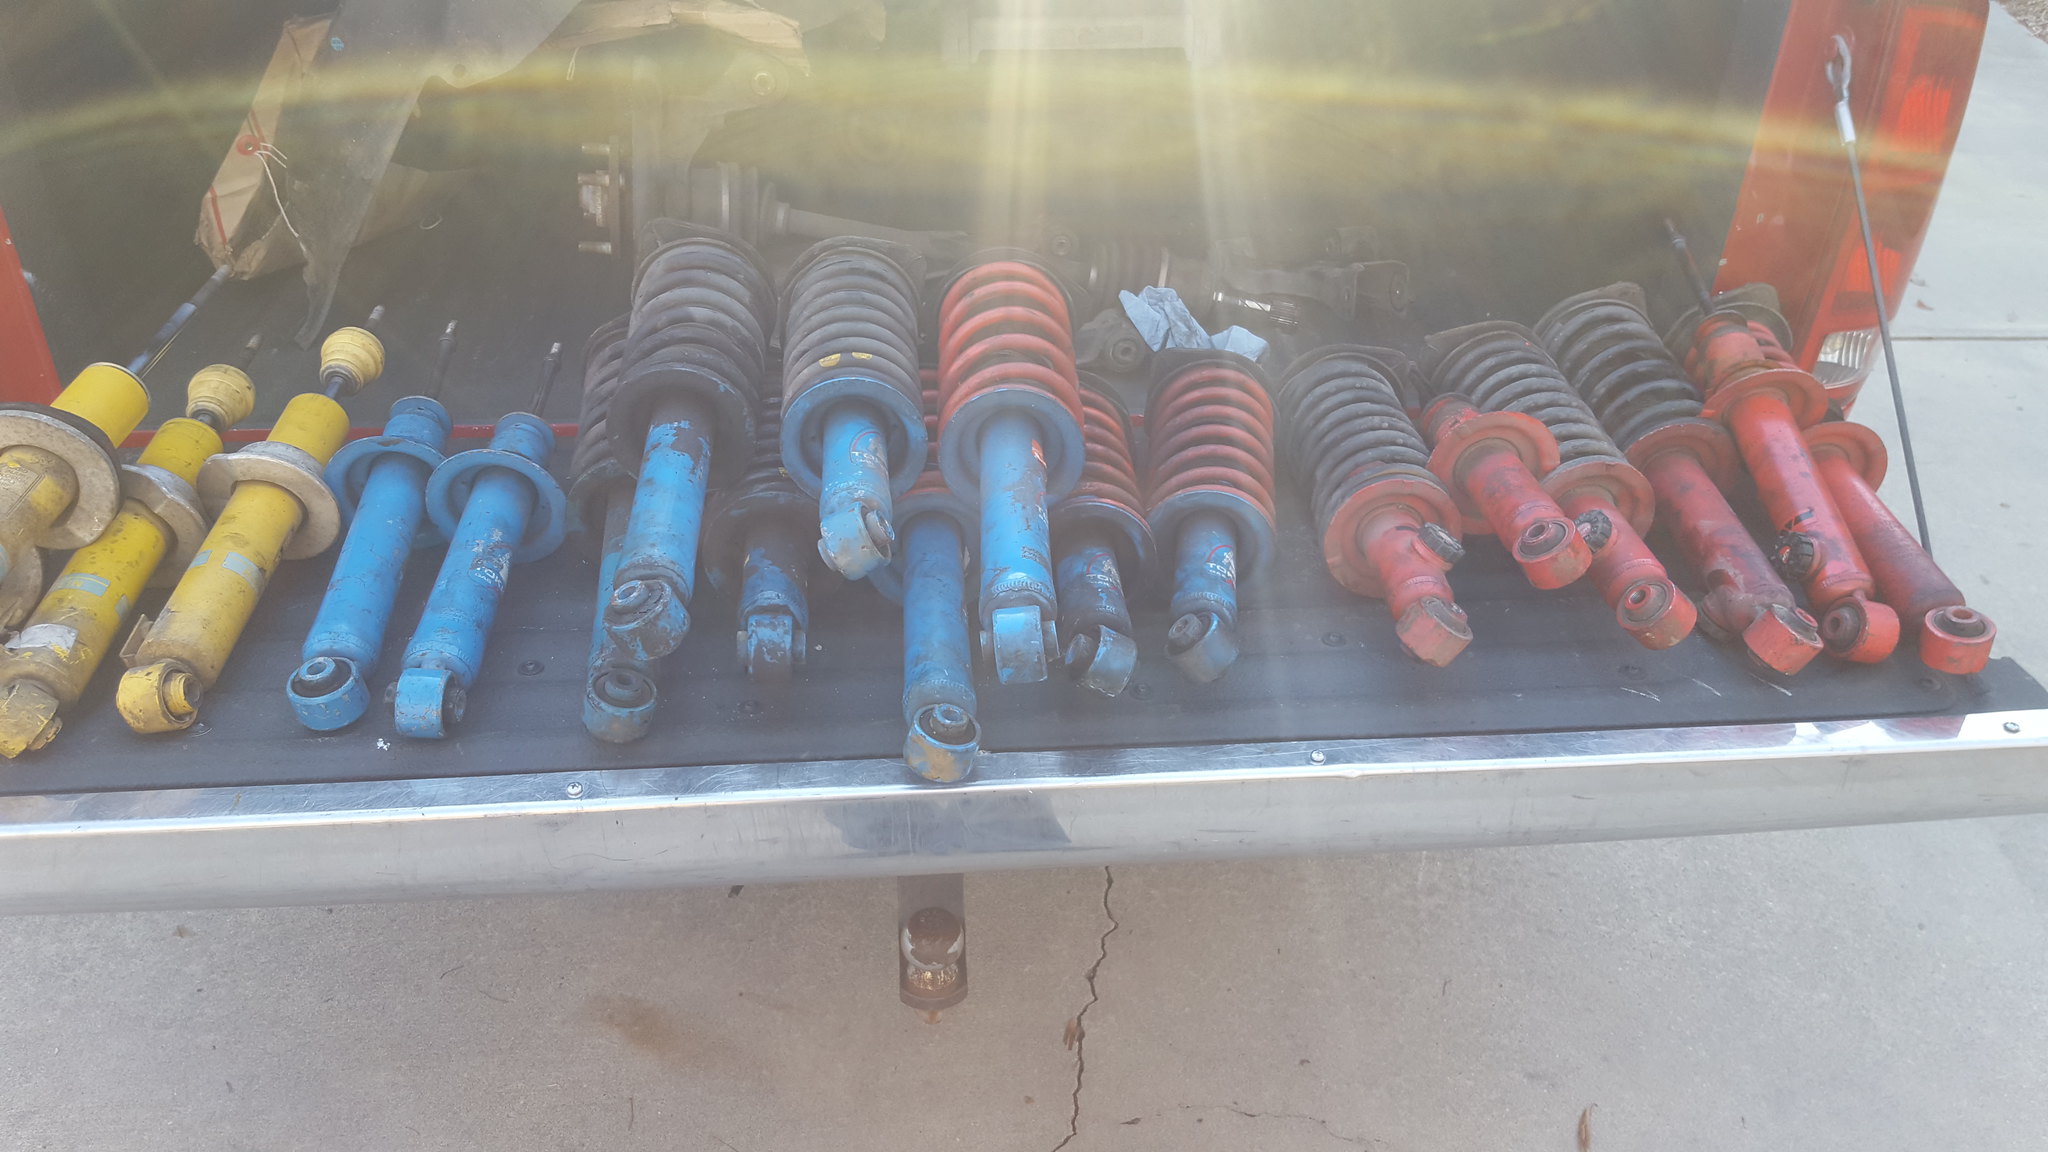
20180113_154457 by Michael Crawford, on Flickrno pictures of coilover stuff or fuel pump as its still in shipping. Next time...lastly, an example of how the challenge makes a man resourceful. Were always looking for materials and supplies. I went to an early dinner with brother Dustin and Dallas last night. On the way to dinner, we had to drop off a redbox movie at Walgreen. Coming through their parking lot, we noticed an overflowing dumpster out back where the store is being renovated. A quick peak inside resulted in a �hold my beer and watch this!� moment.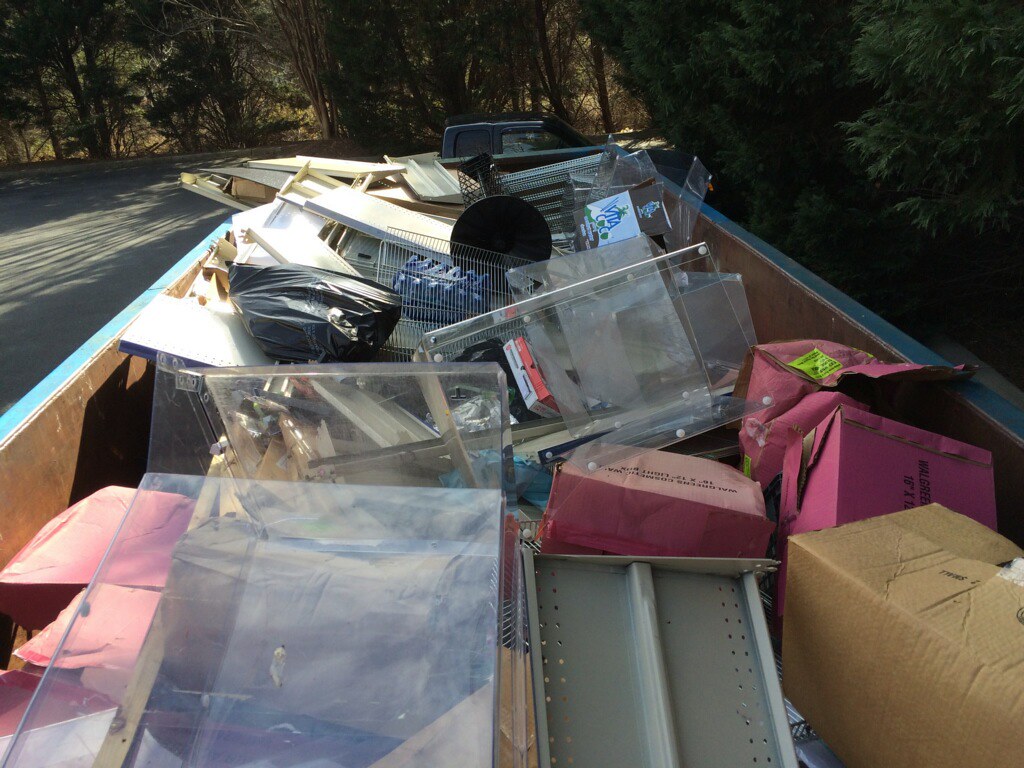
Walgreens dumpster by Michael Crawford, on FlickrI dug out some quite heavy gauge blue tube and flat stock, 3 seriously heavy duty rolling platforms, and some store fixtures with 1/8 wall 1x1 tubing on � plate bases. All most of the way to the bottom of the dumpster. The manager was cool with it, and we did ask. I ain't going back to jail for free steel.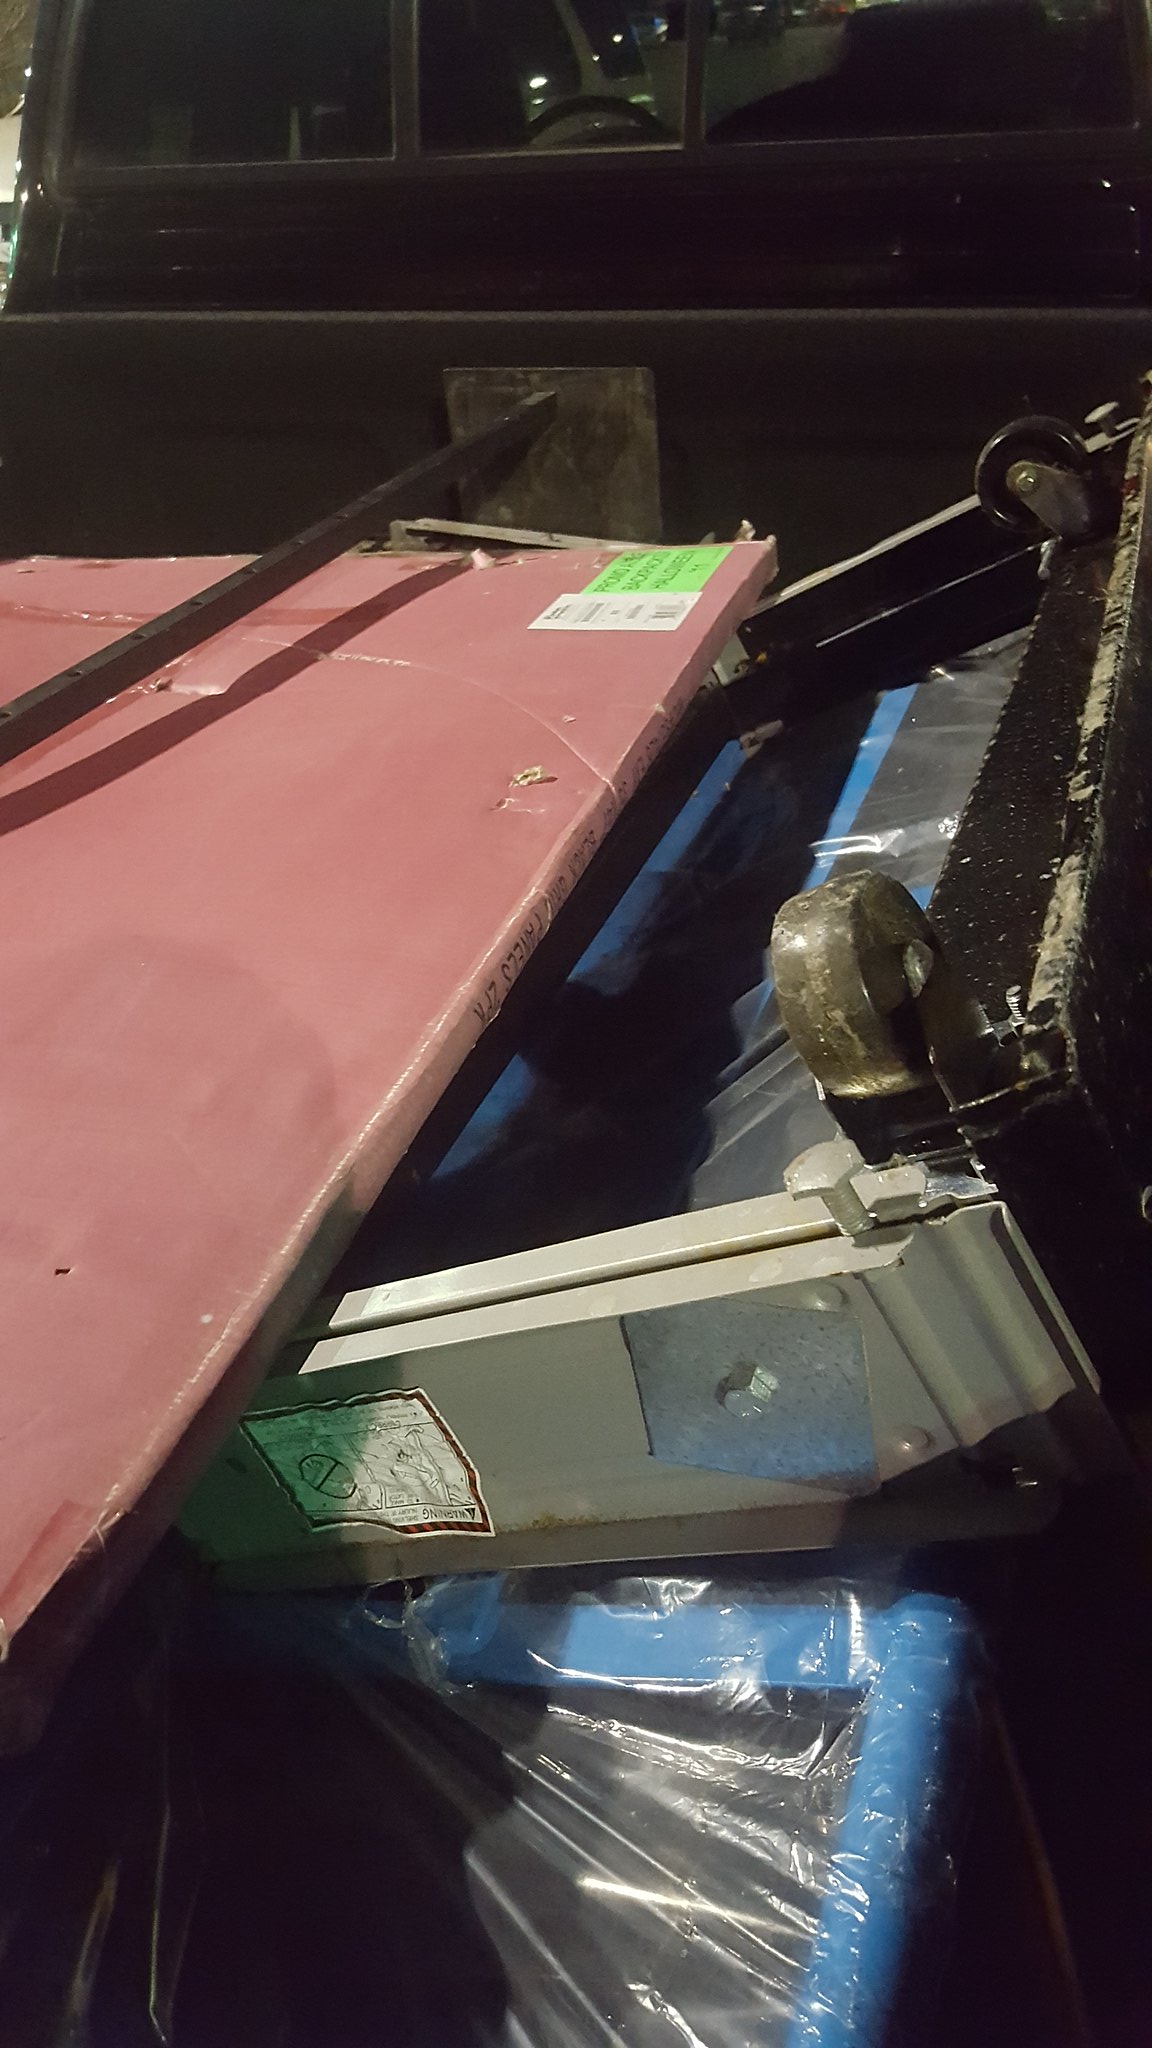
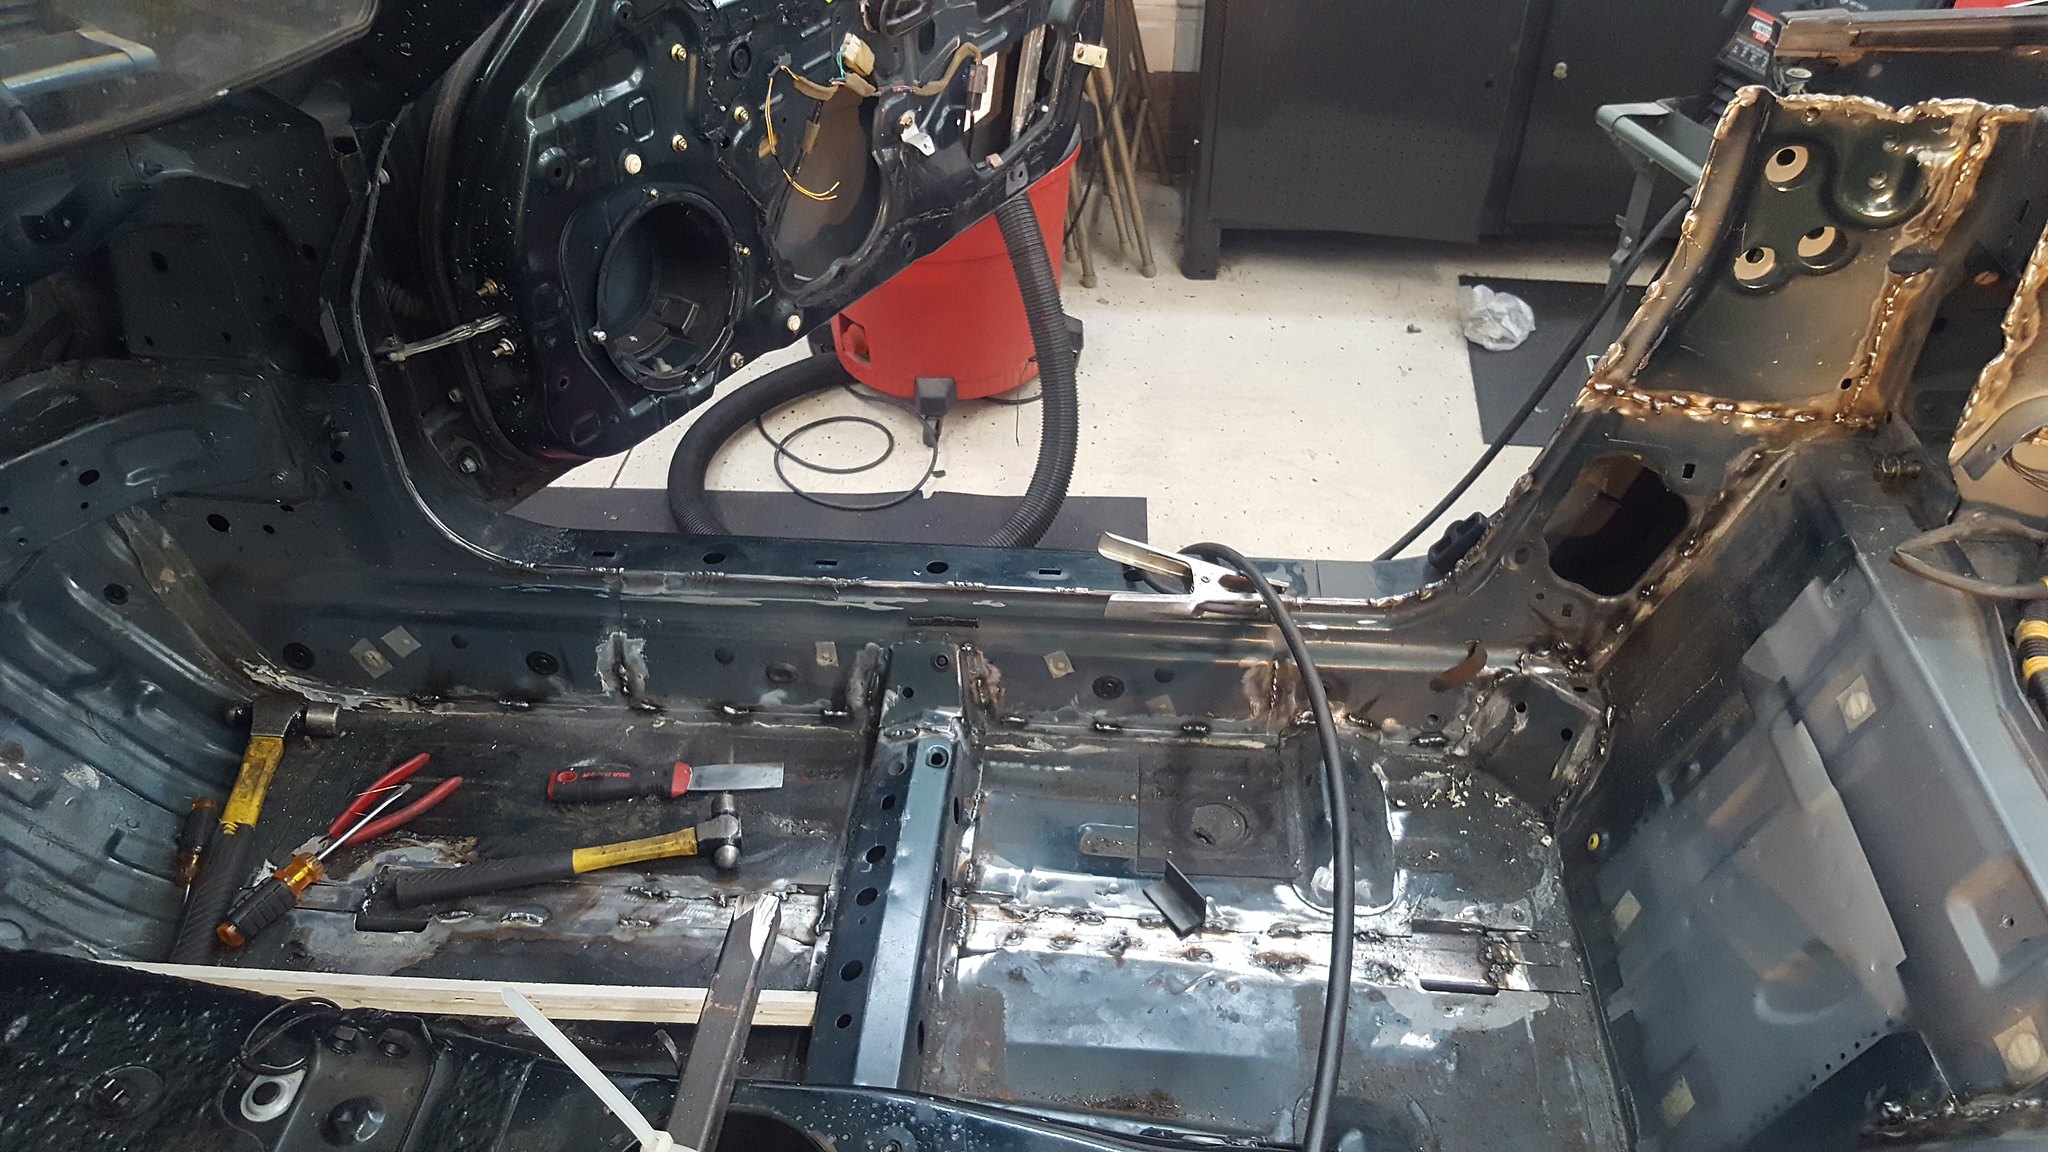
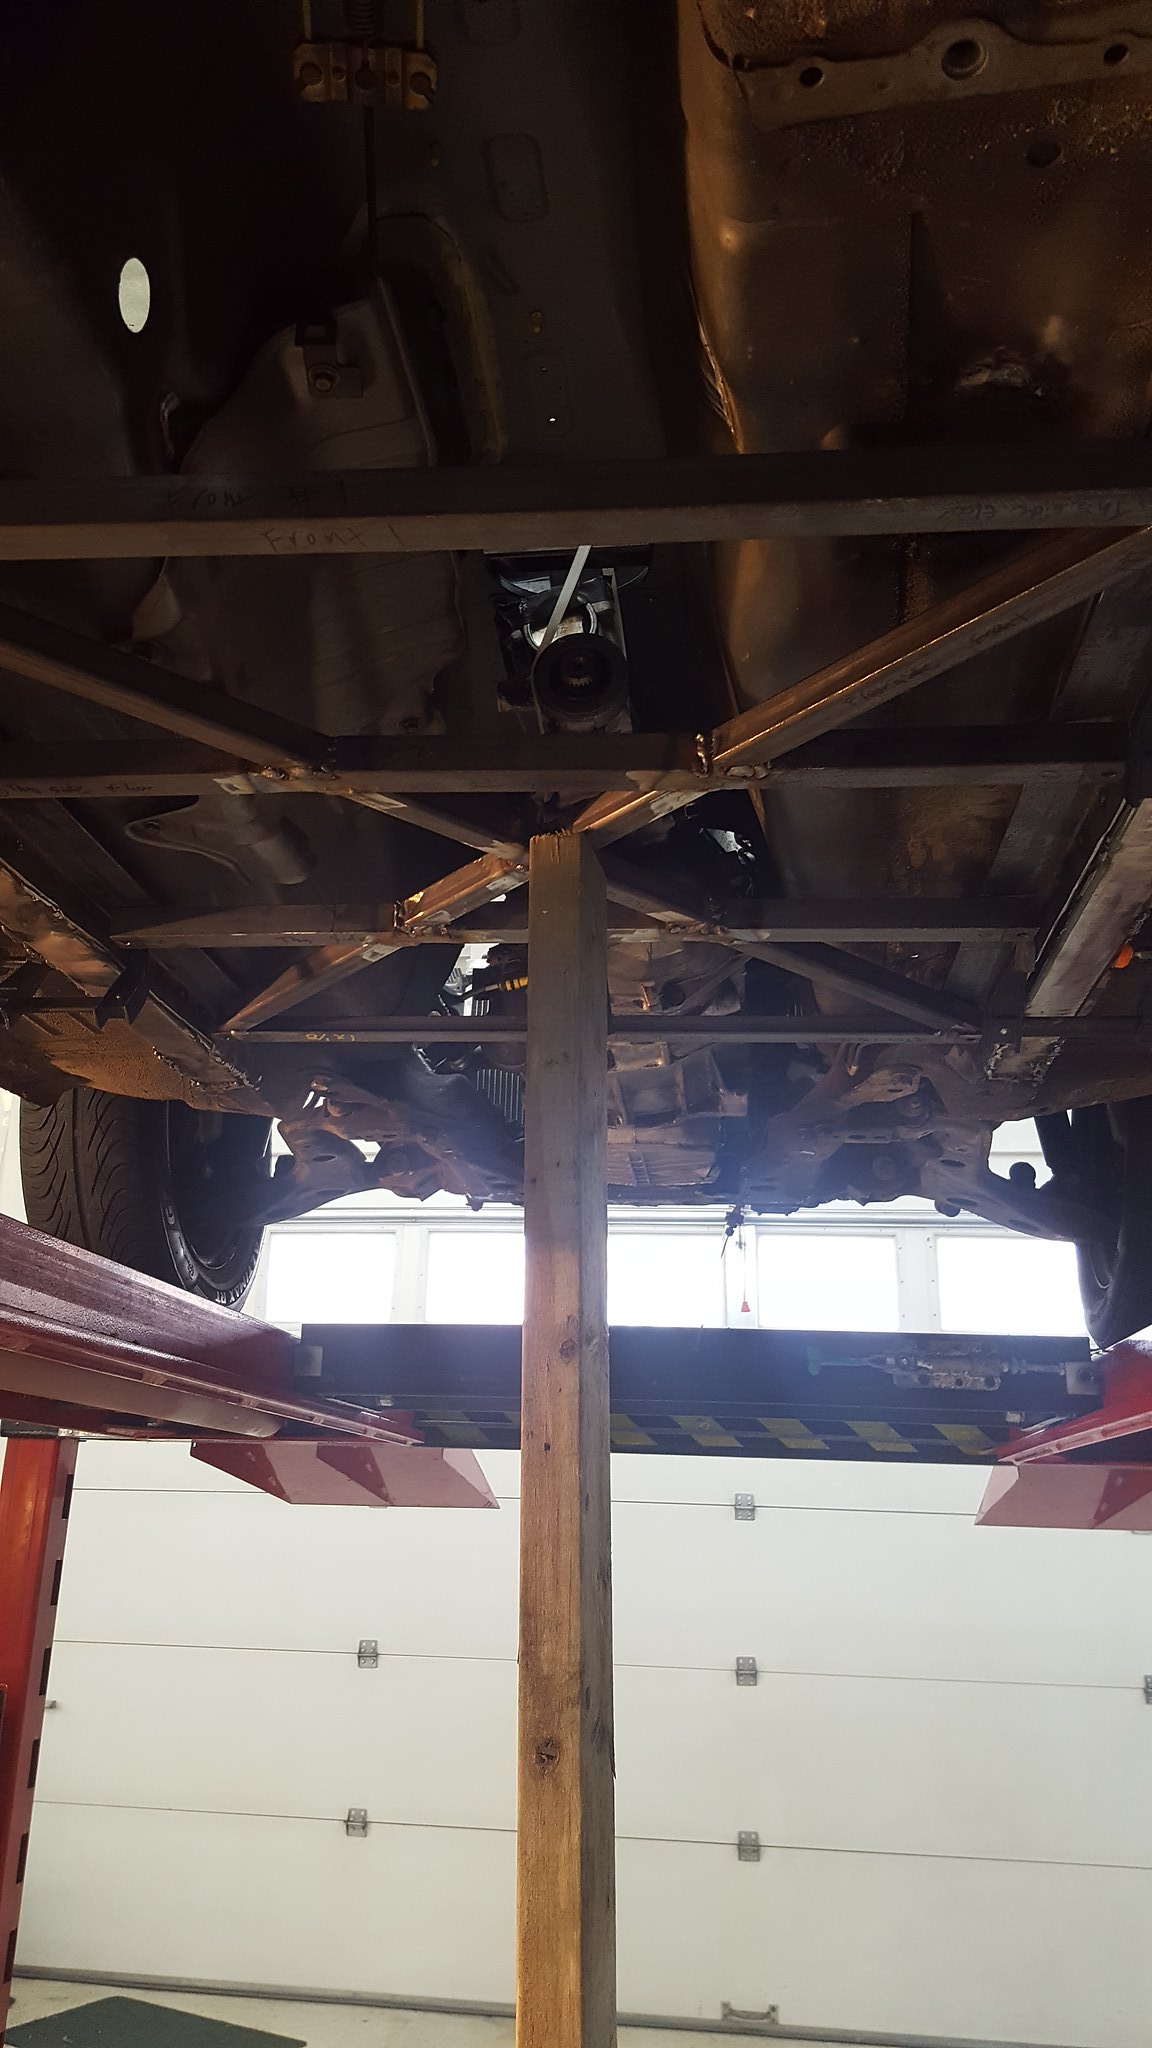
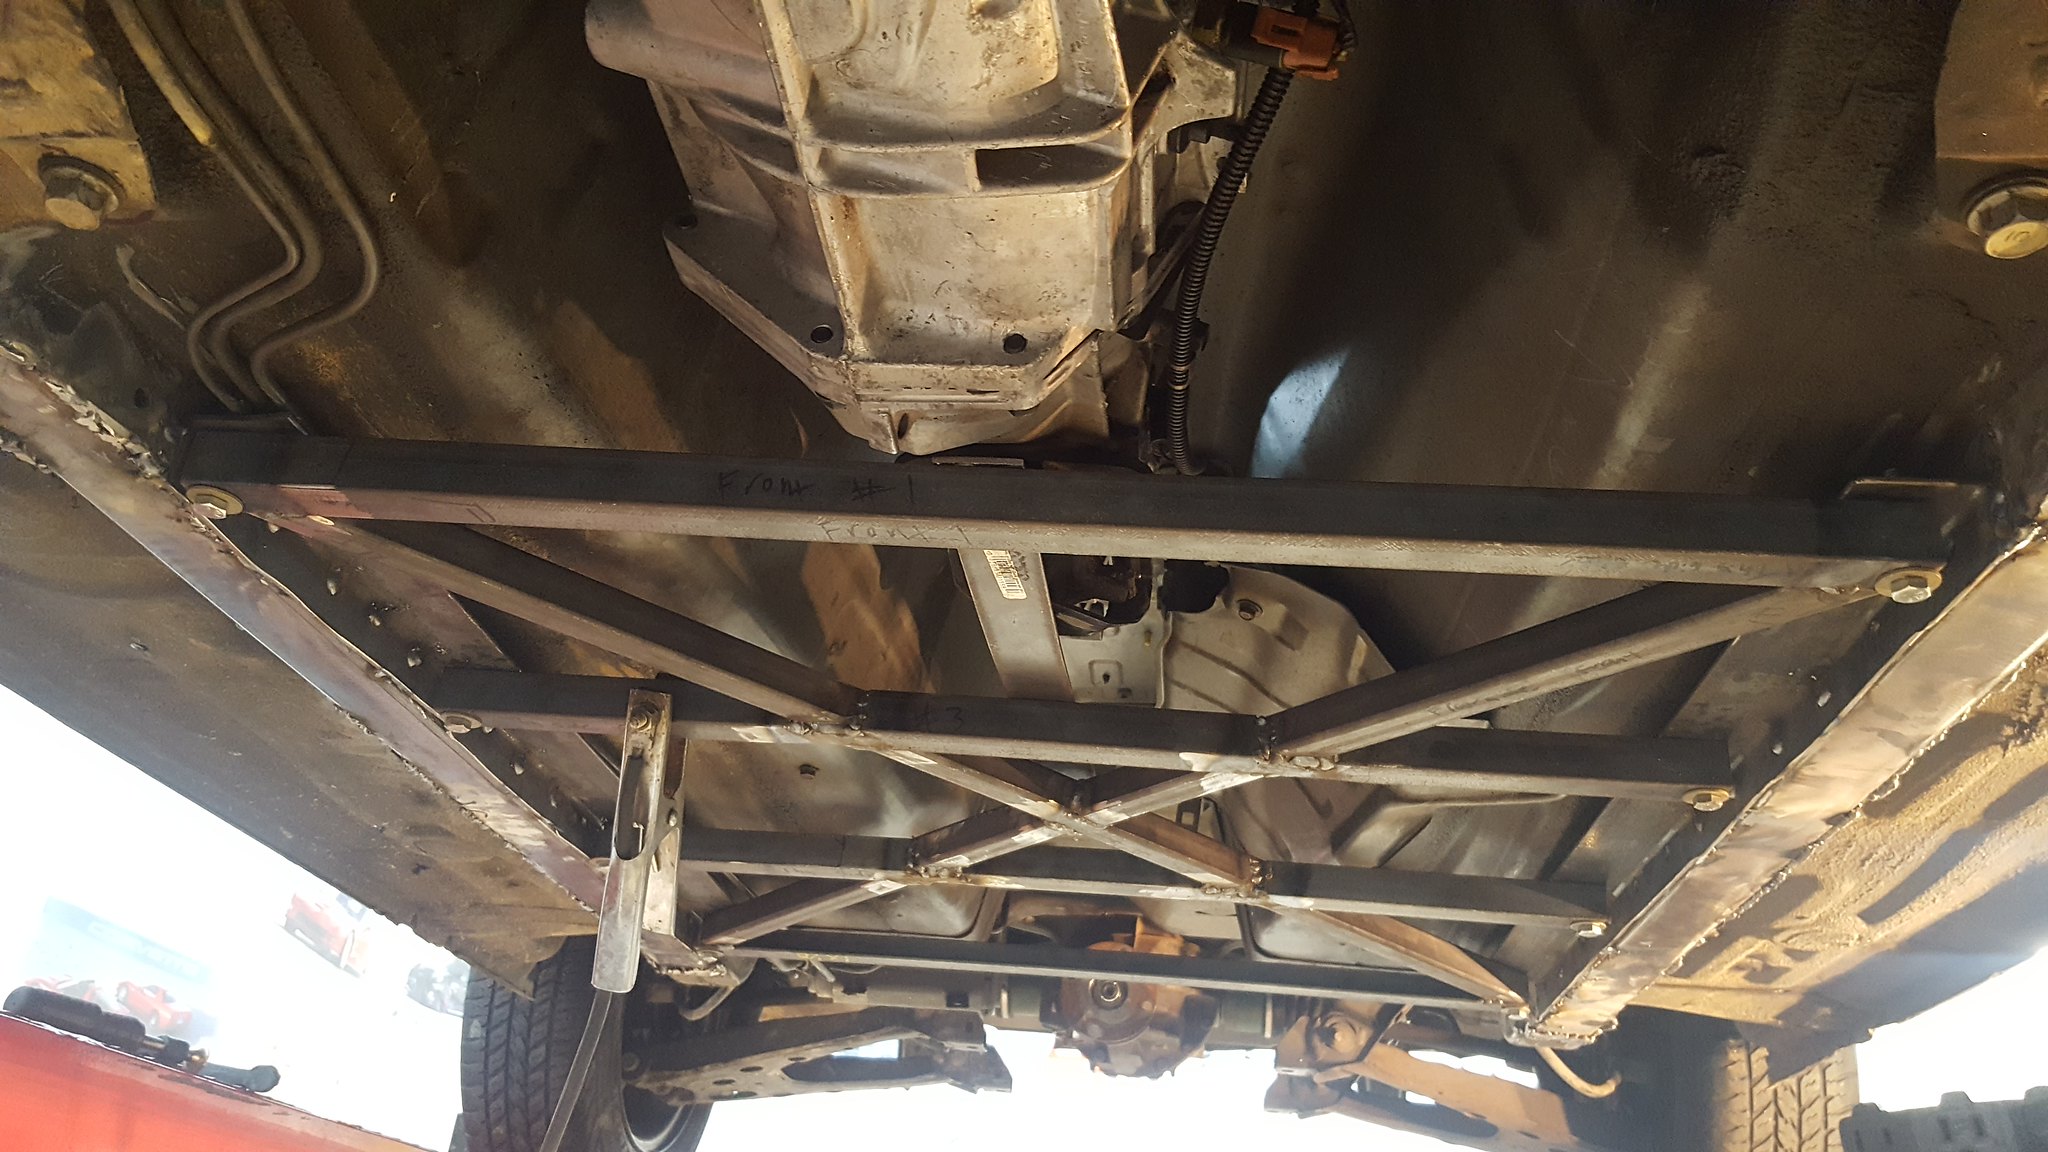
20180113_182313 by Michael Crawford, on Flickranyway, on to the car.Dad worked on getting the 2x2 subframe connectors welded in, and then ground down in preparation of mounting the butterfly brace.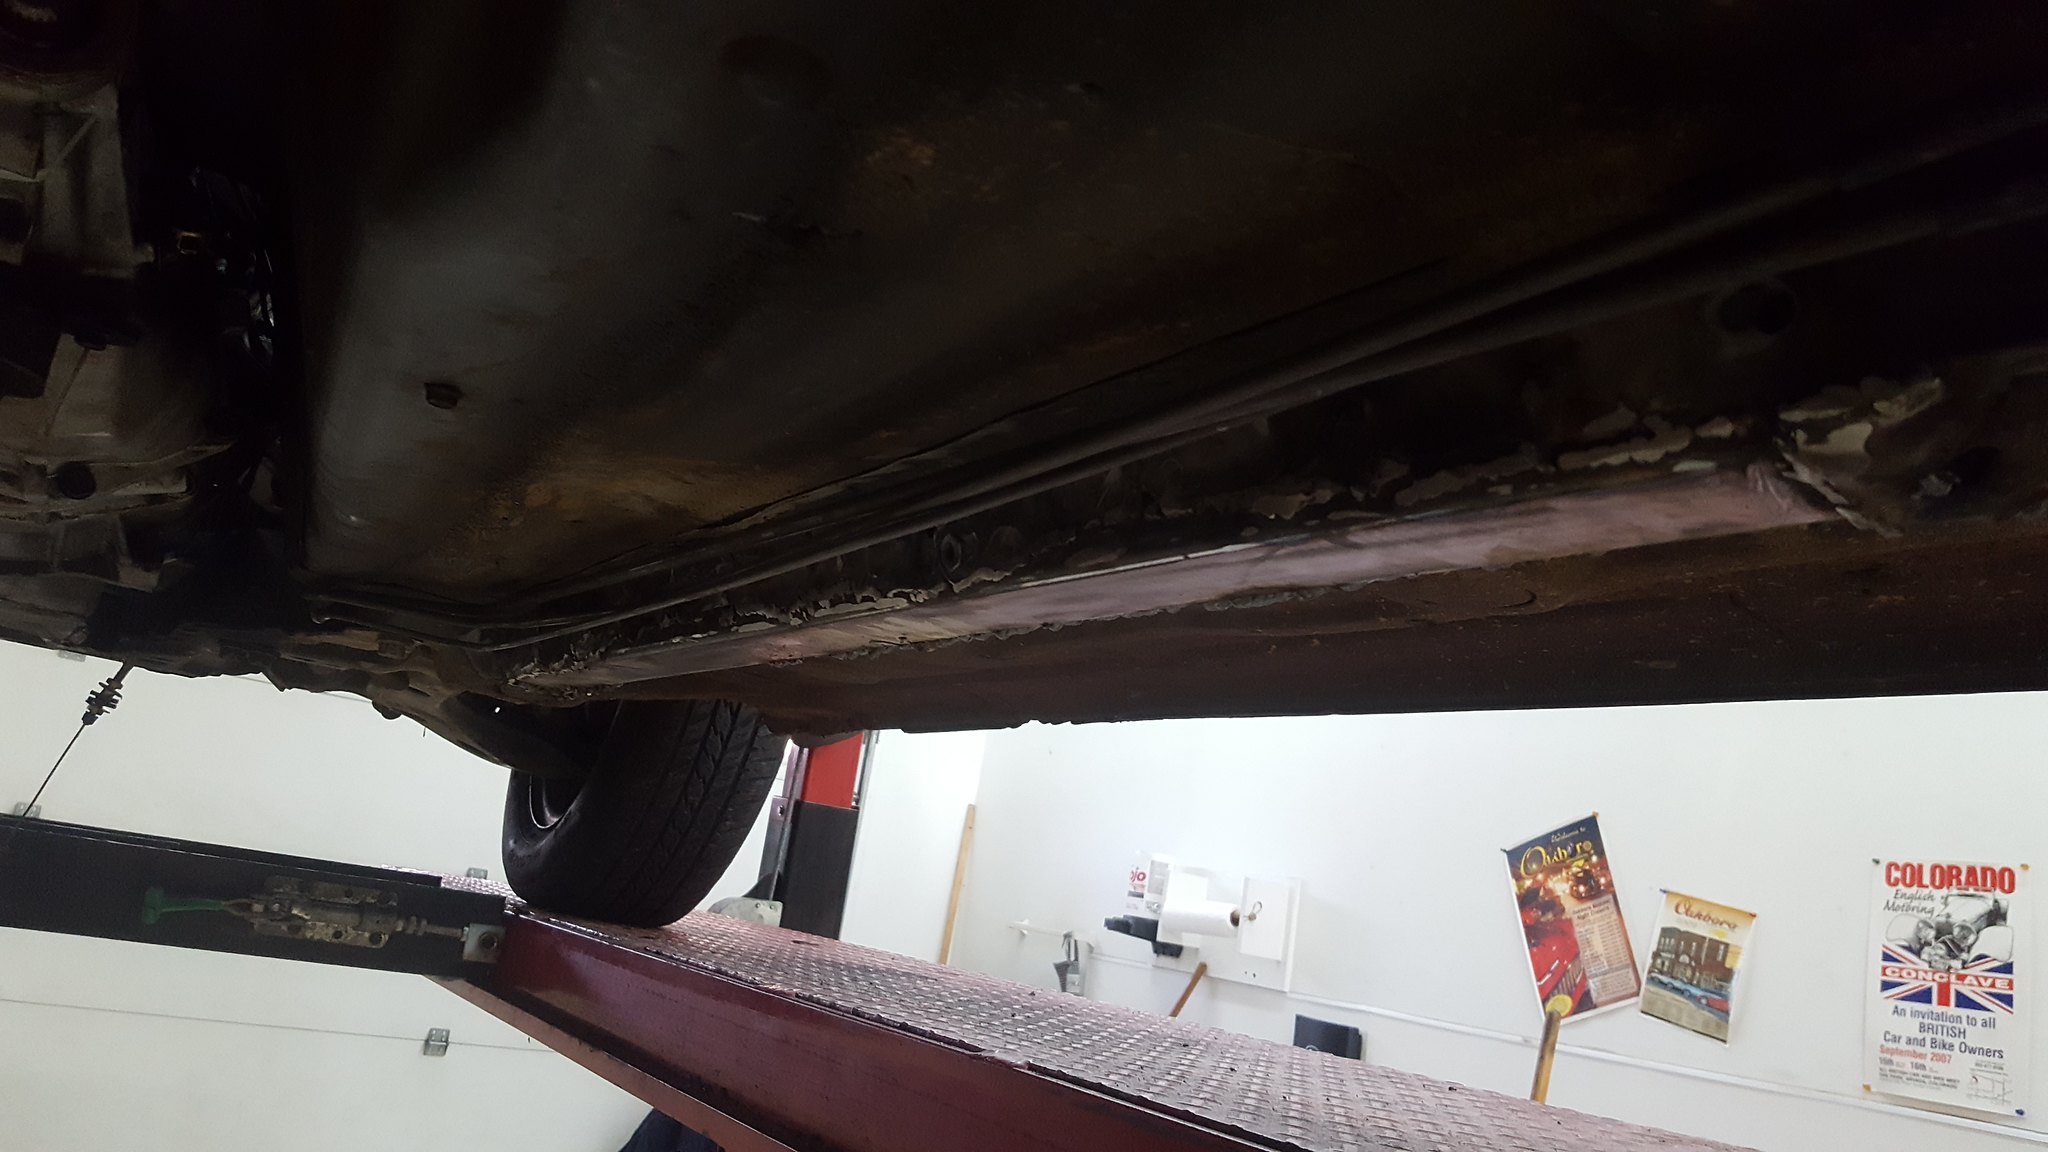
20180113_161248 by Michael Crawford, on Flickr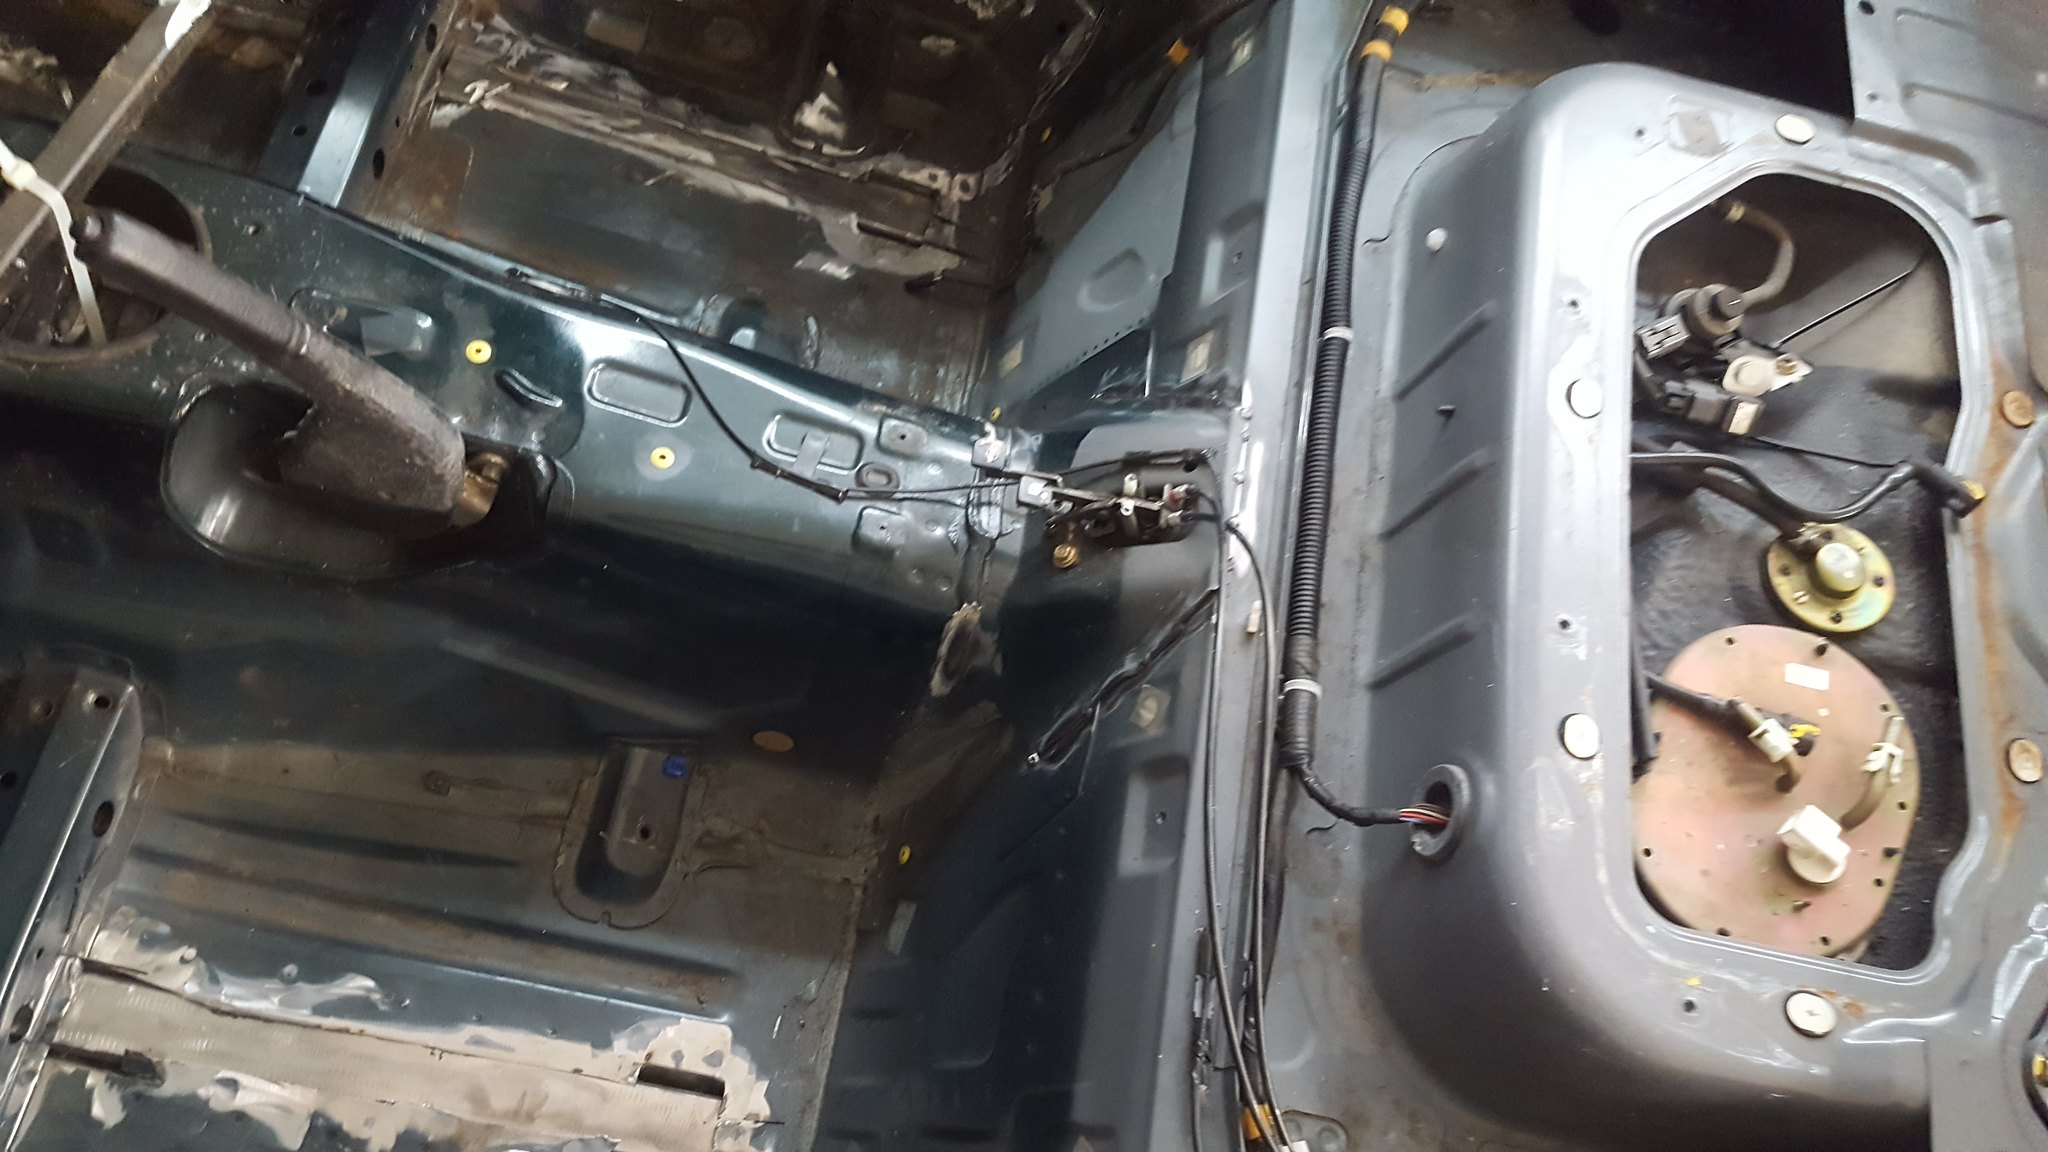
20180113_161109 by Michael Crawford, on Flickr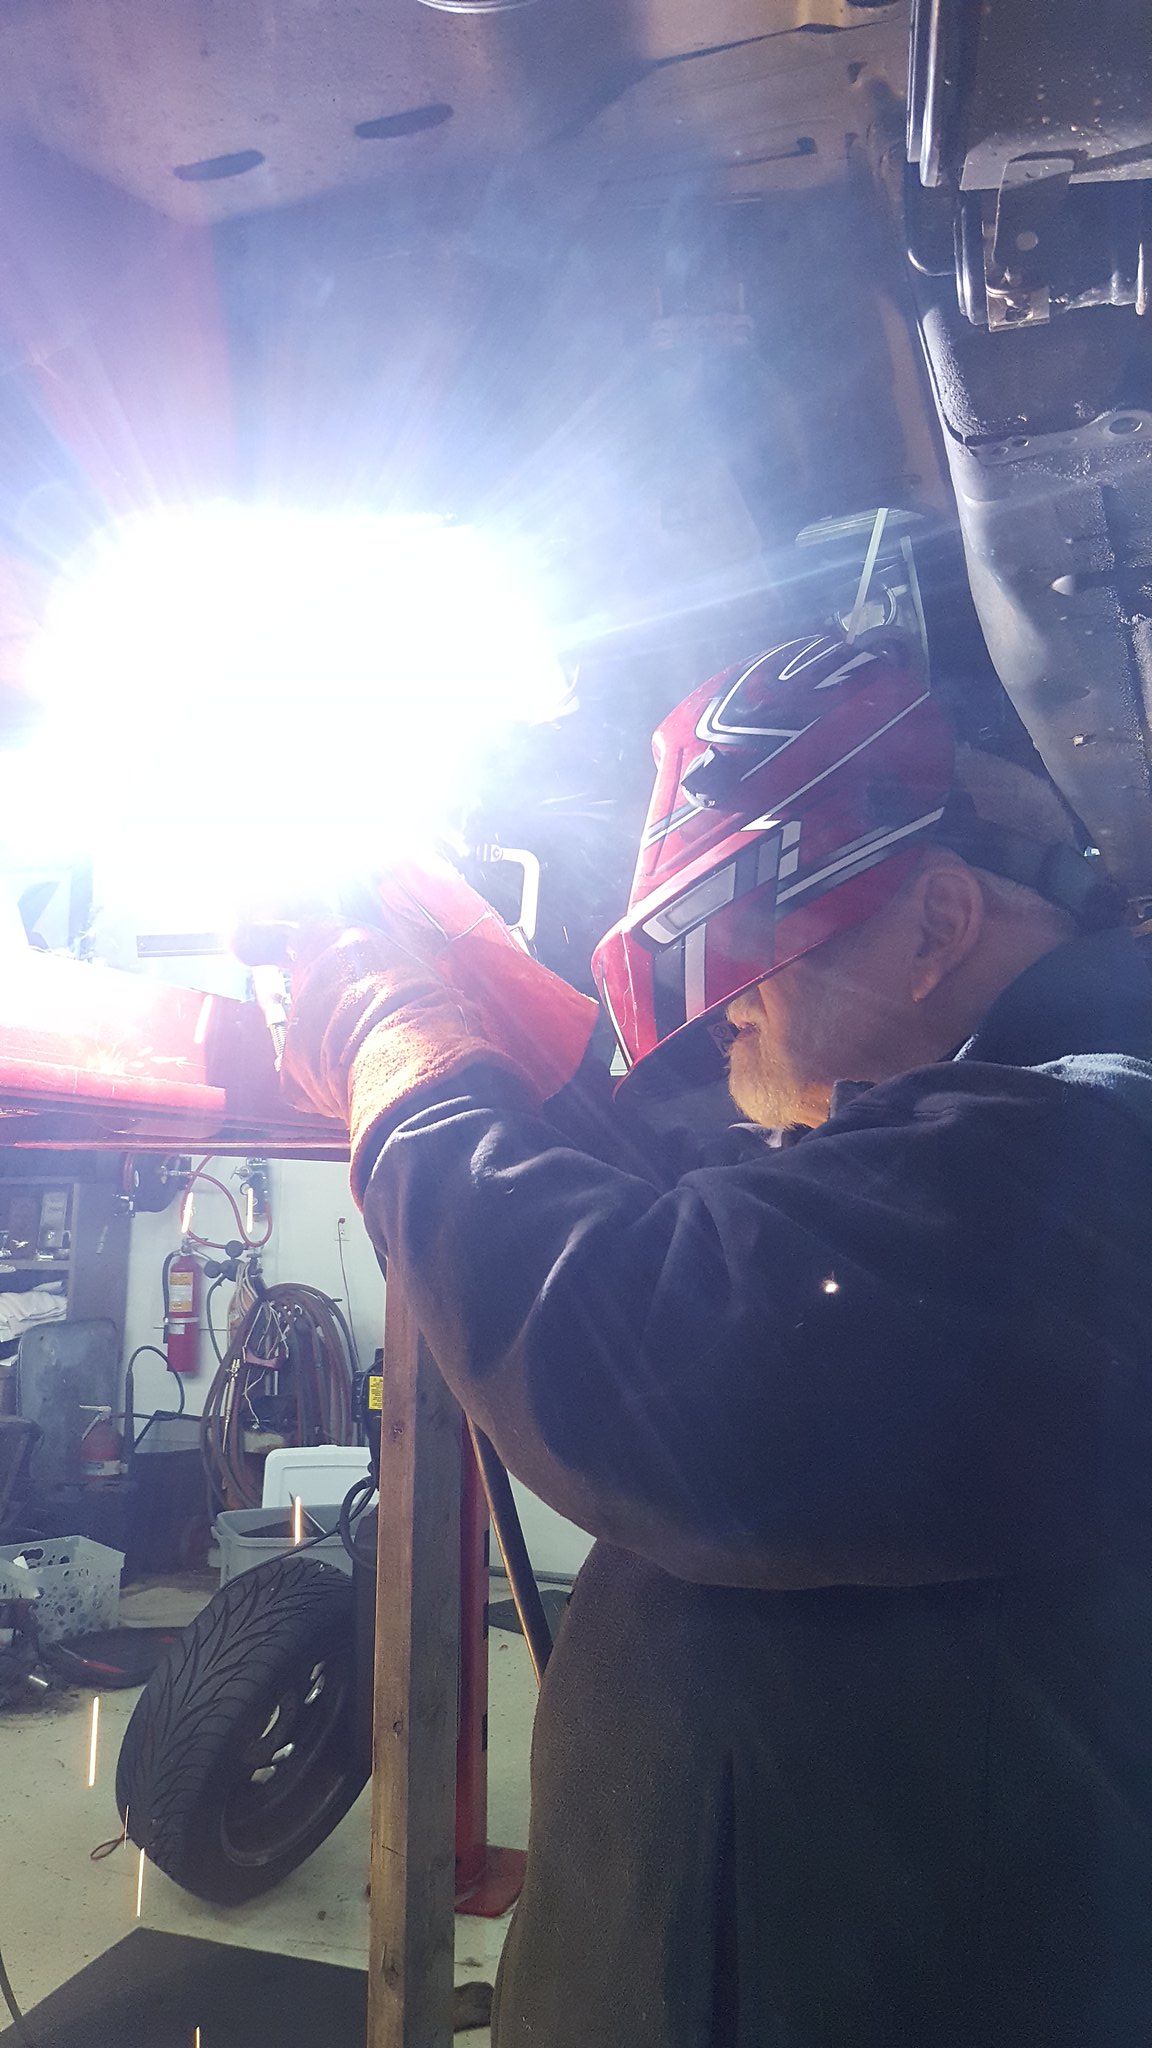
20180103_183357 by Michael Crawford, on Flickr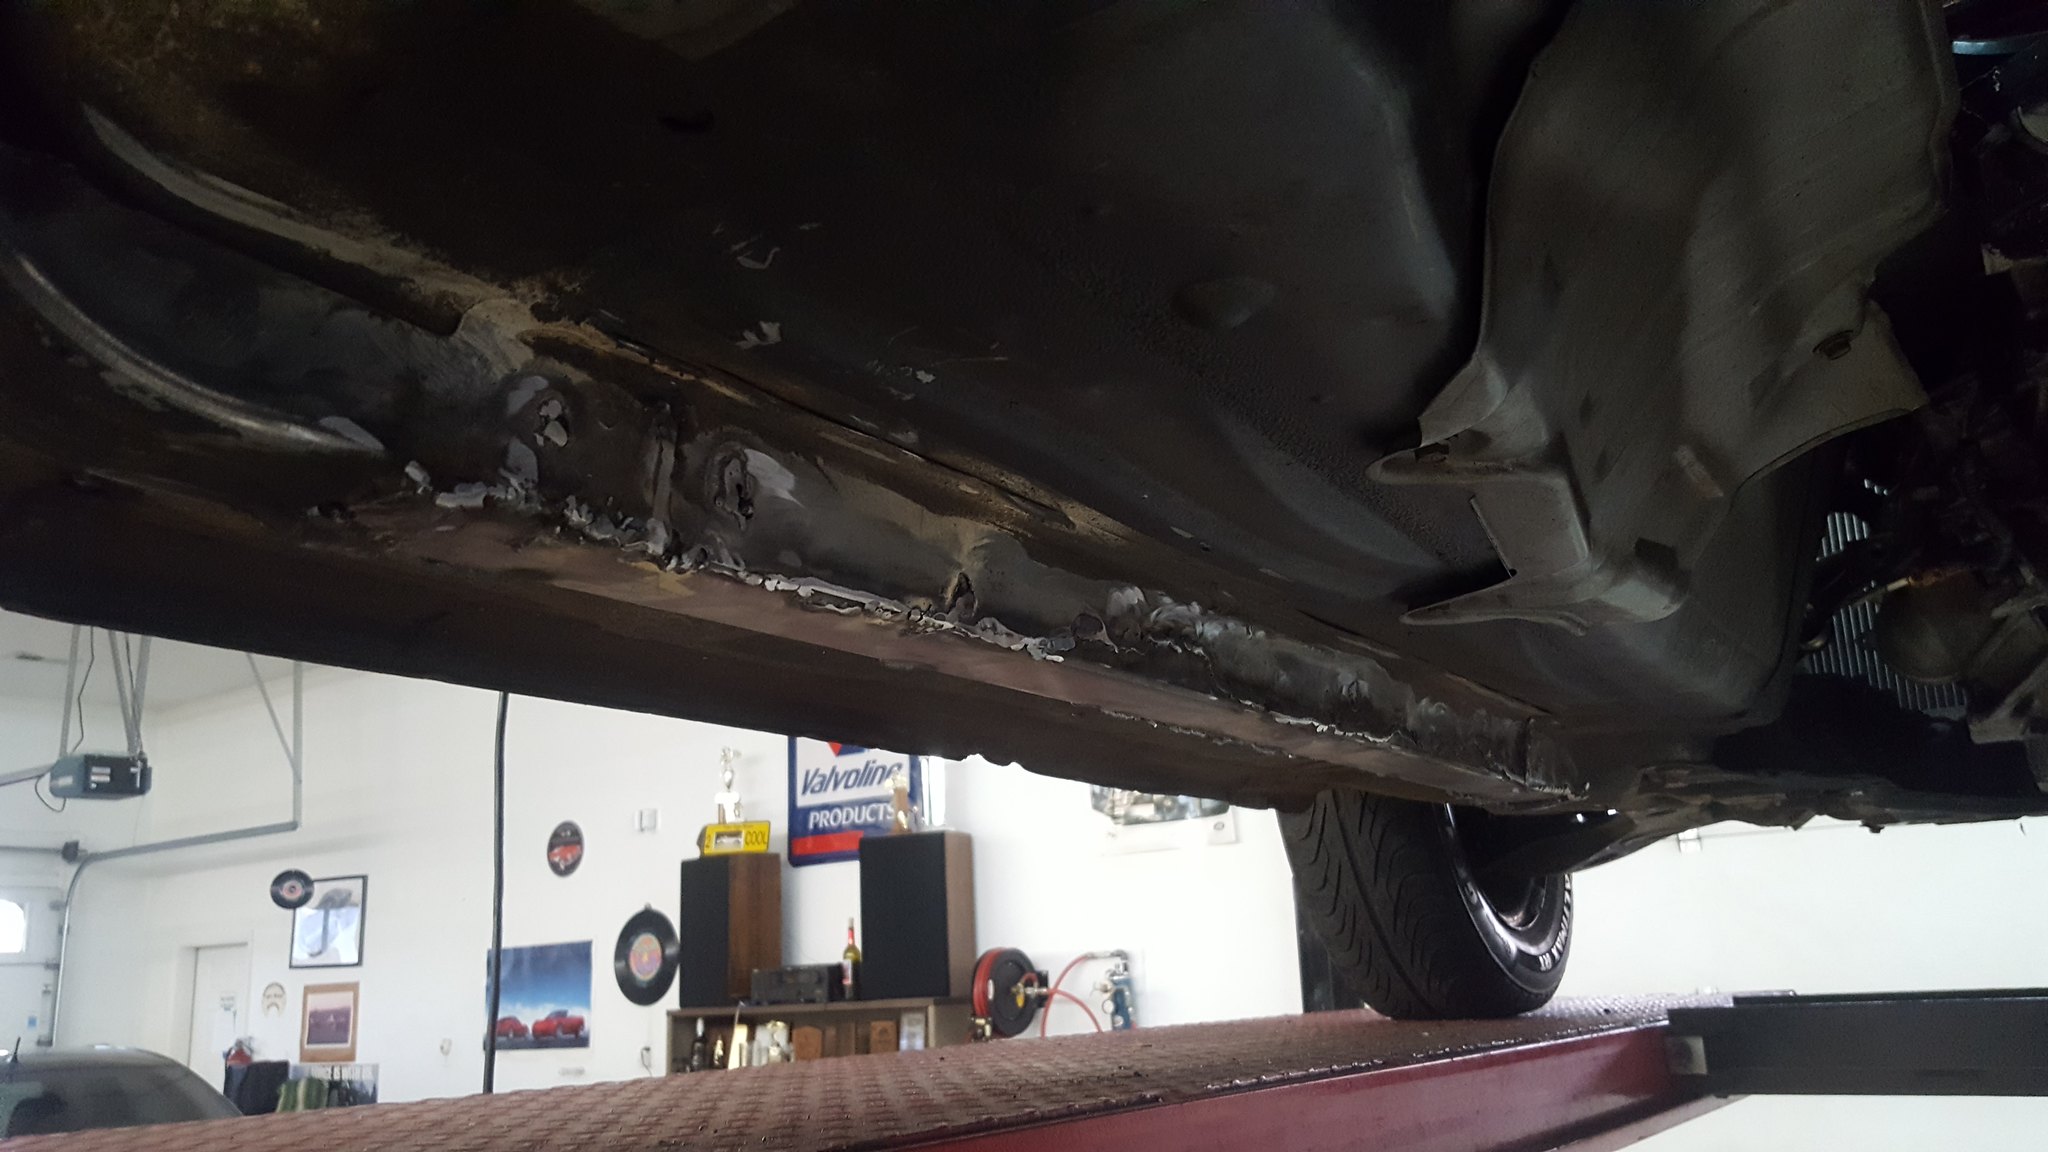
20180113_161244 by Michael Crawford, on Flickrsomething I did NOT anticipate was the fact that 2x2 is actually narrower than what mazda used, as mazdas rails were not actually square. Which meant that my butterfly brace no longer fit. By about an inch. And not enough room on the 1x1 angle to re-drill the holes. Instead of scrapping the whole thing and starting over, I picked up some 2x2 x3/16 angle, lopped an inch off the vertical side and cut it to length. I still need to get them fitted, drilled, and studded, but were close. With plenty pf extra meat left over.I also used some of the 1x1 tube and leftover angle to make frog arms. These are ugly in pictures and person, but thankfully will be hidden by fenders. Strong though, and I feel a benefit in addition to the seam welding and subframe connectors. Ive never had a car that I felt was too stiff, and the AMC is my benchmark for stiff enough.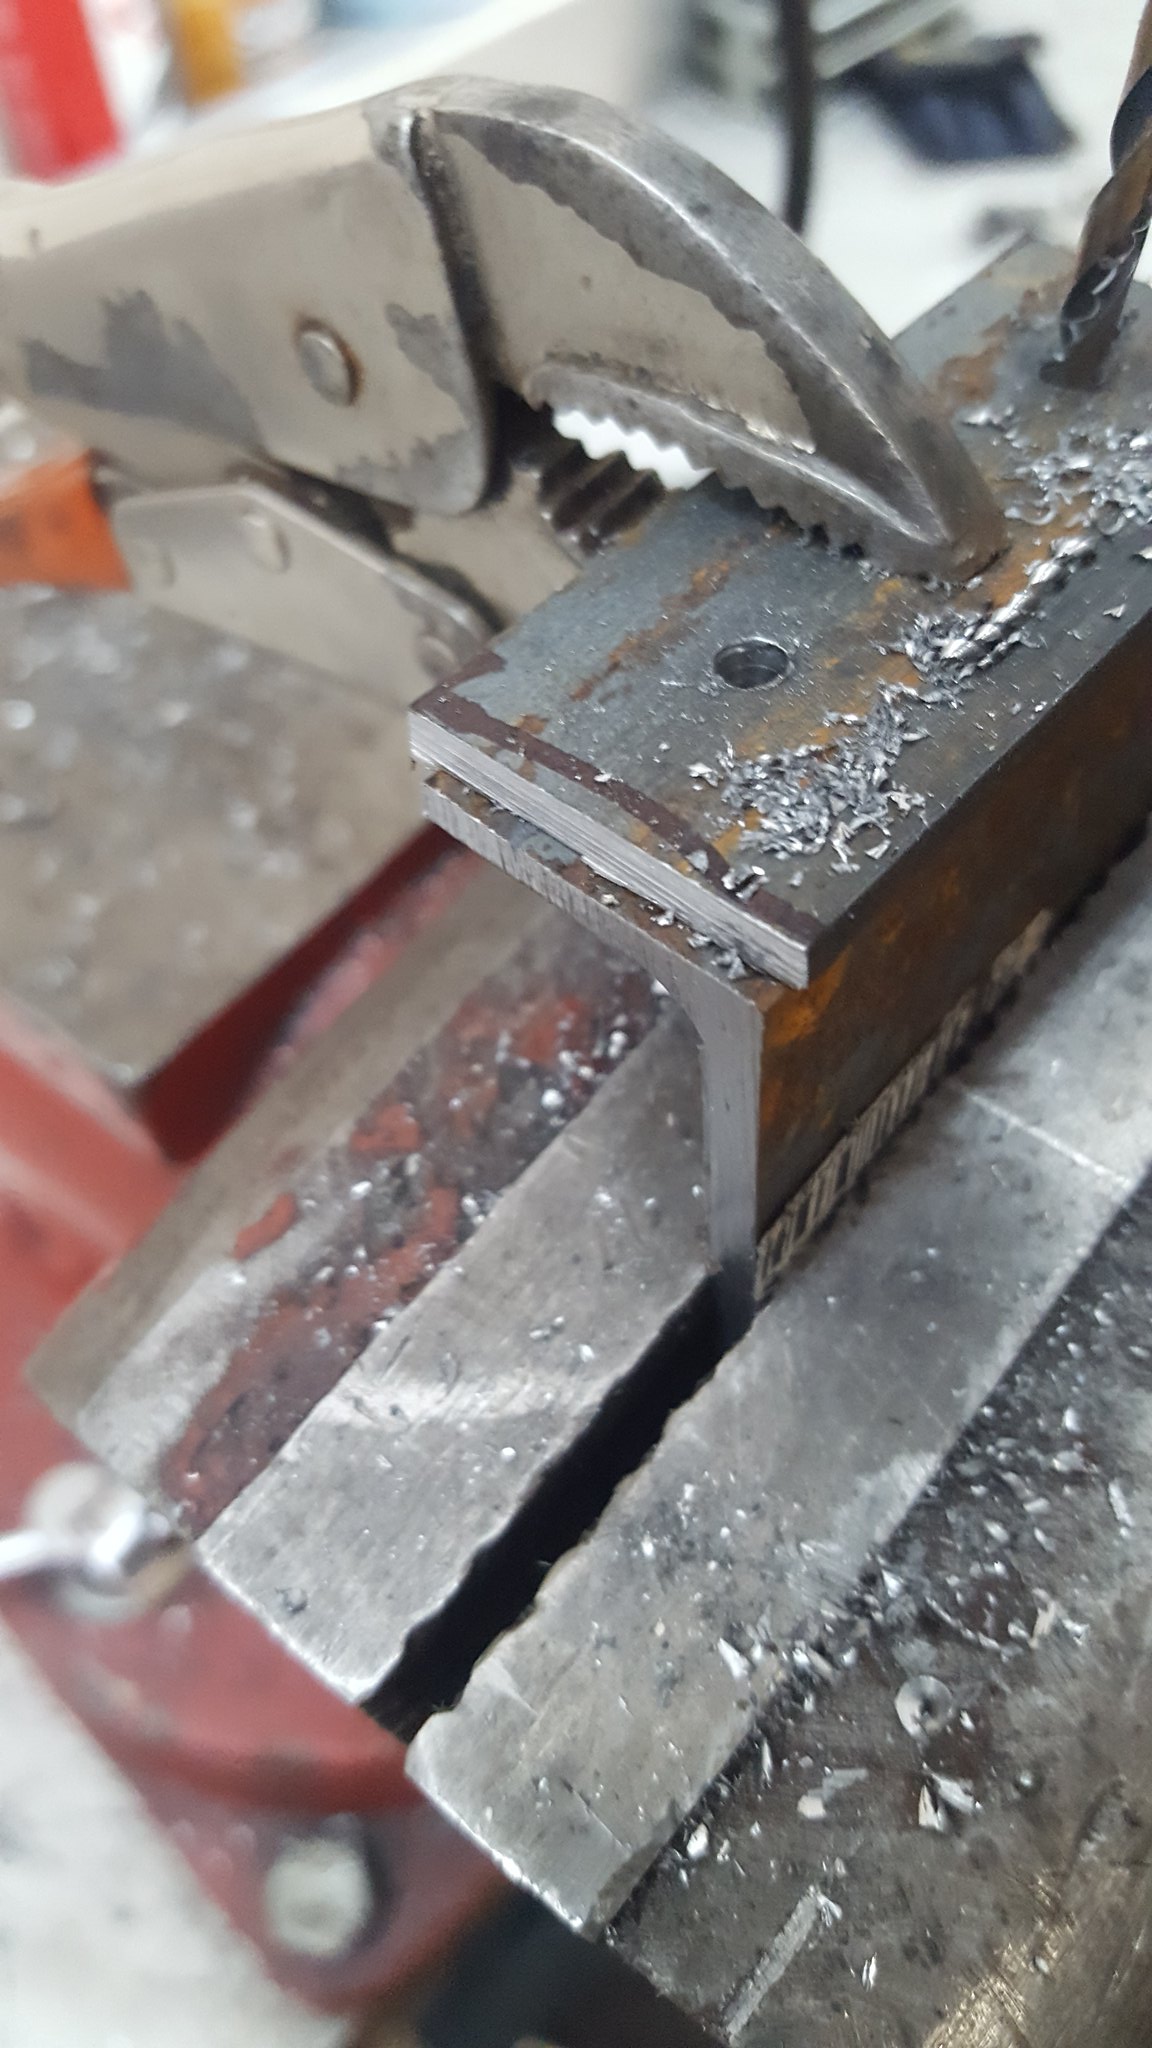
20180106_121253 by Michael Crawford, on Flickr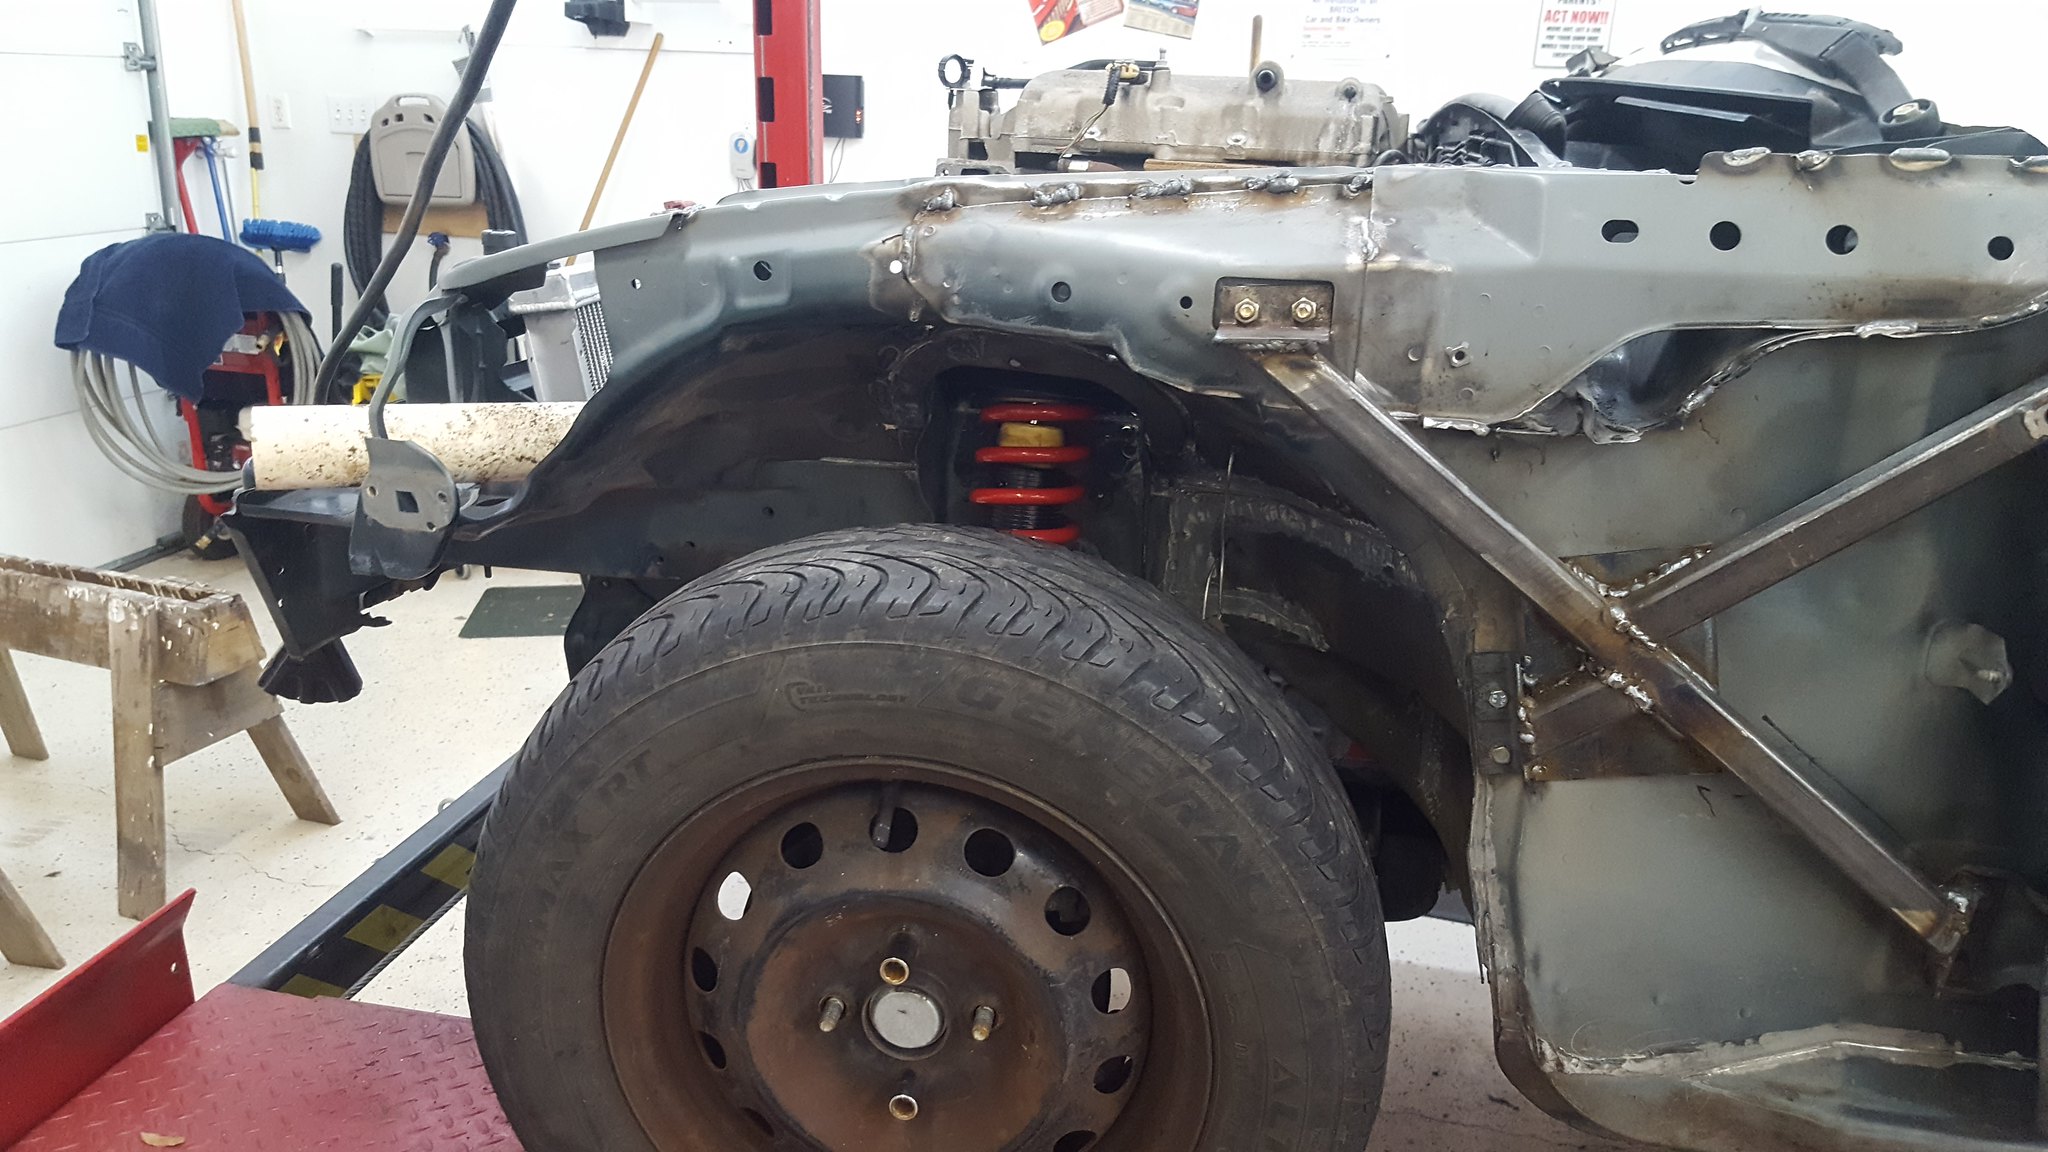
20180107_163942 by Michael Crawford, on Flickrmade an extra pair for the daily while I was at it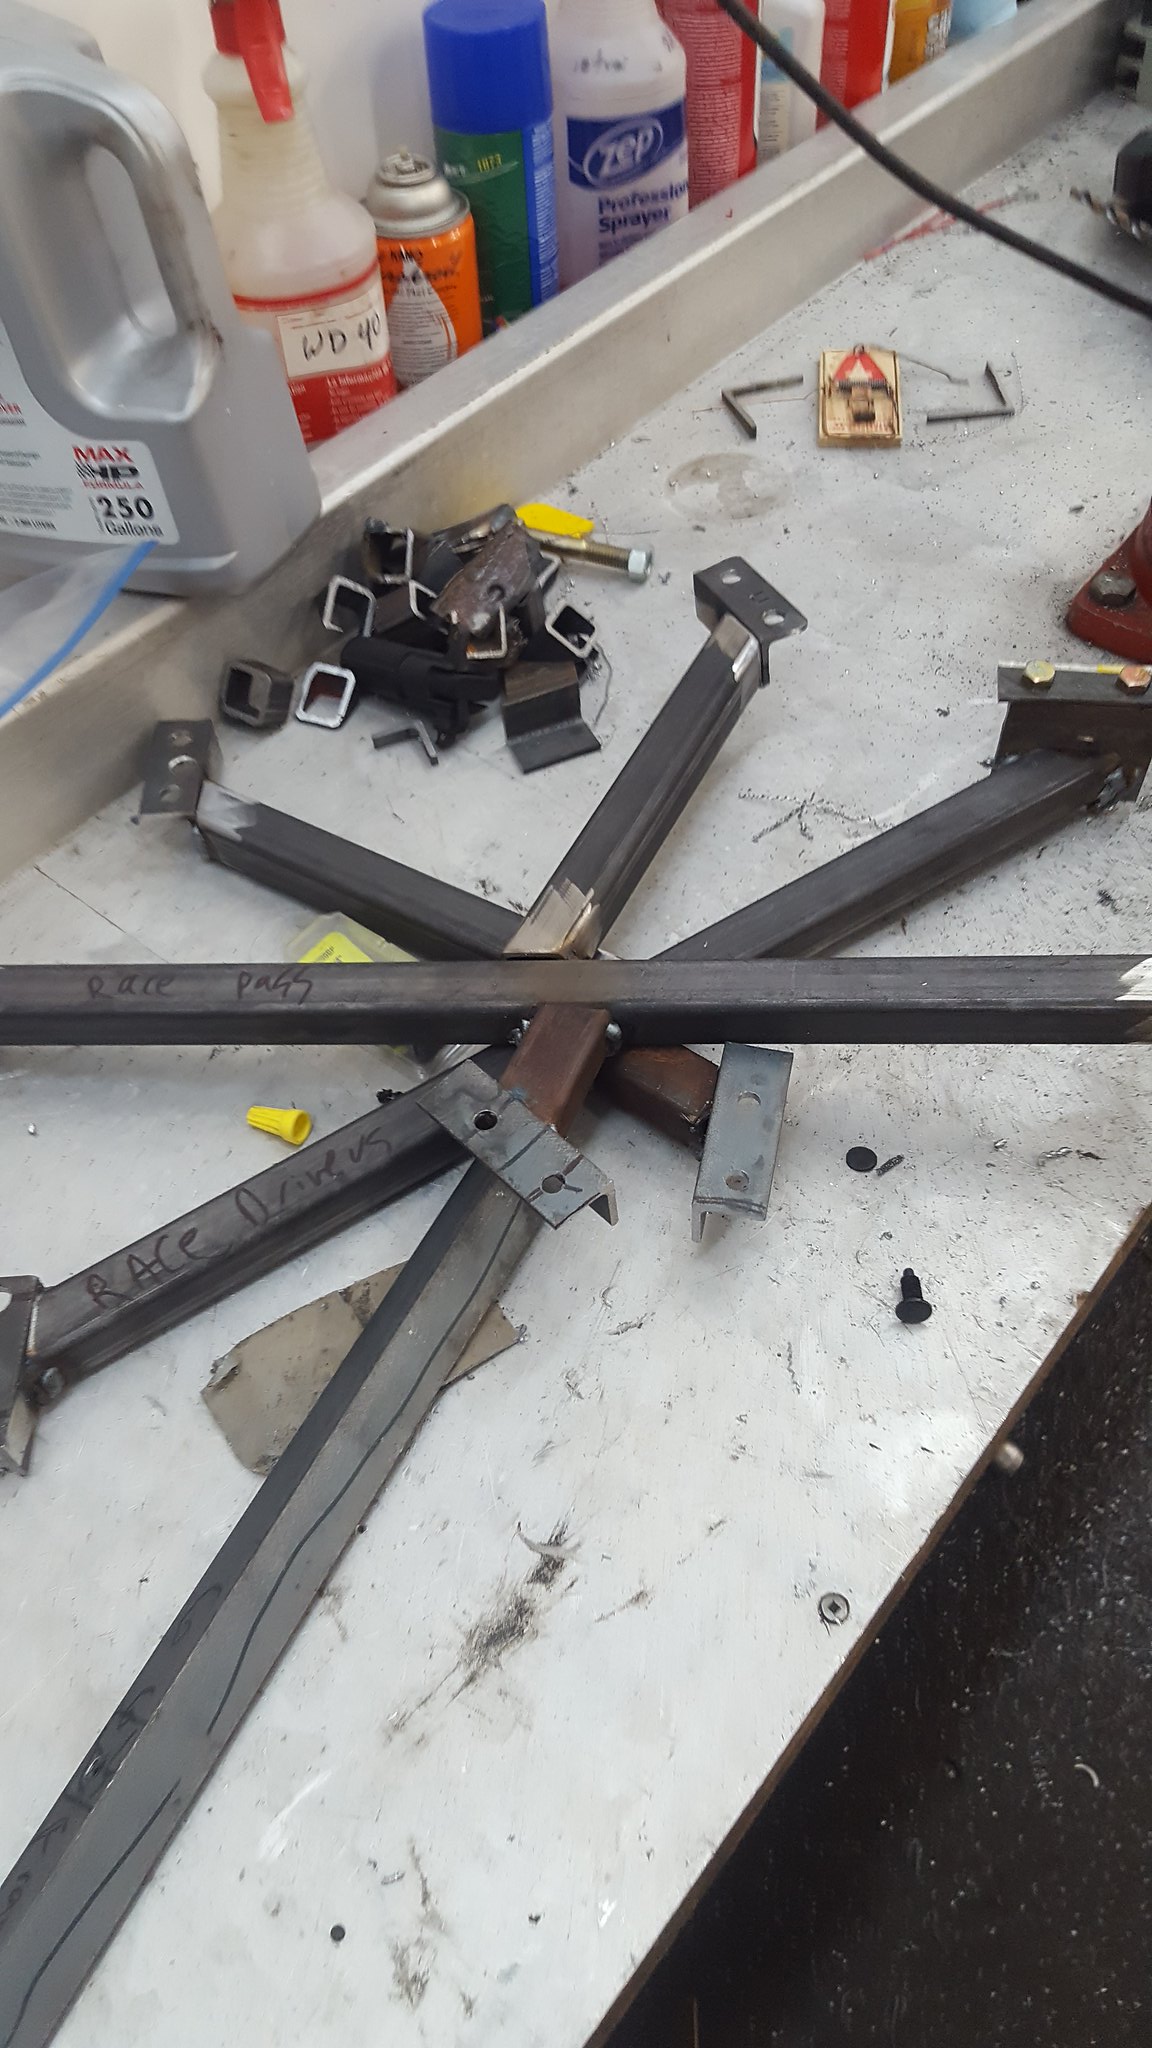
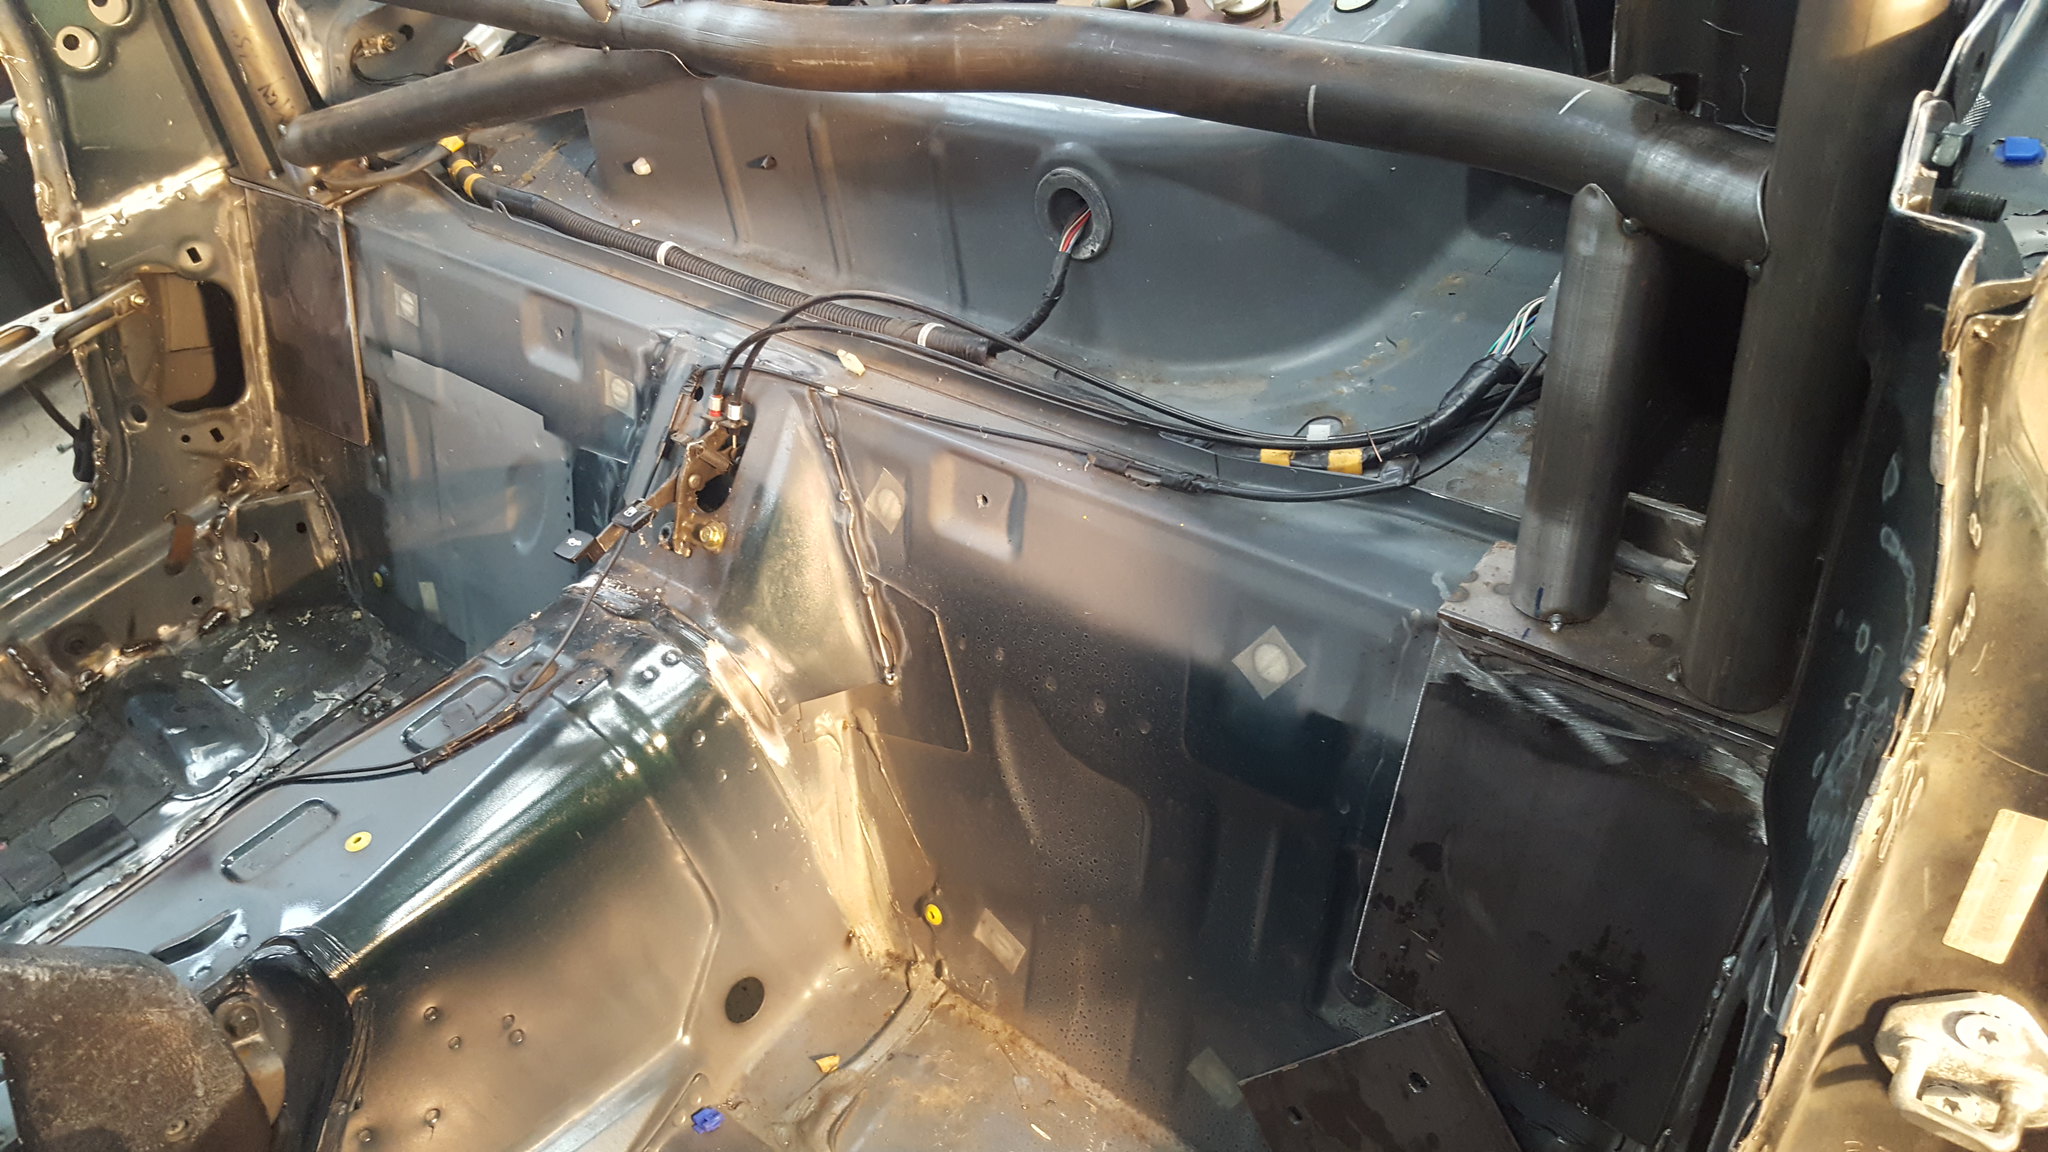
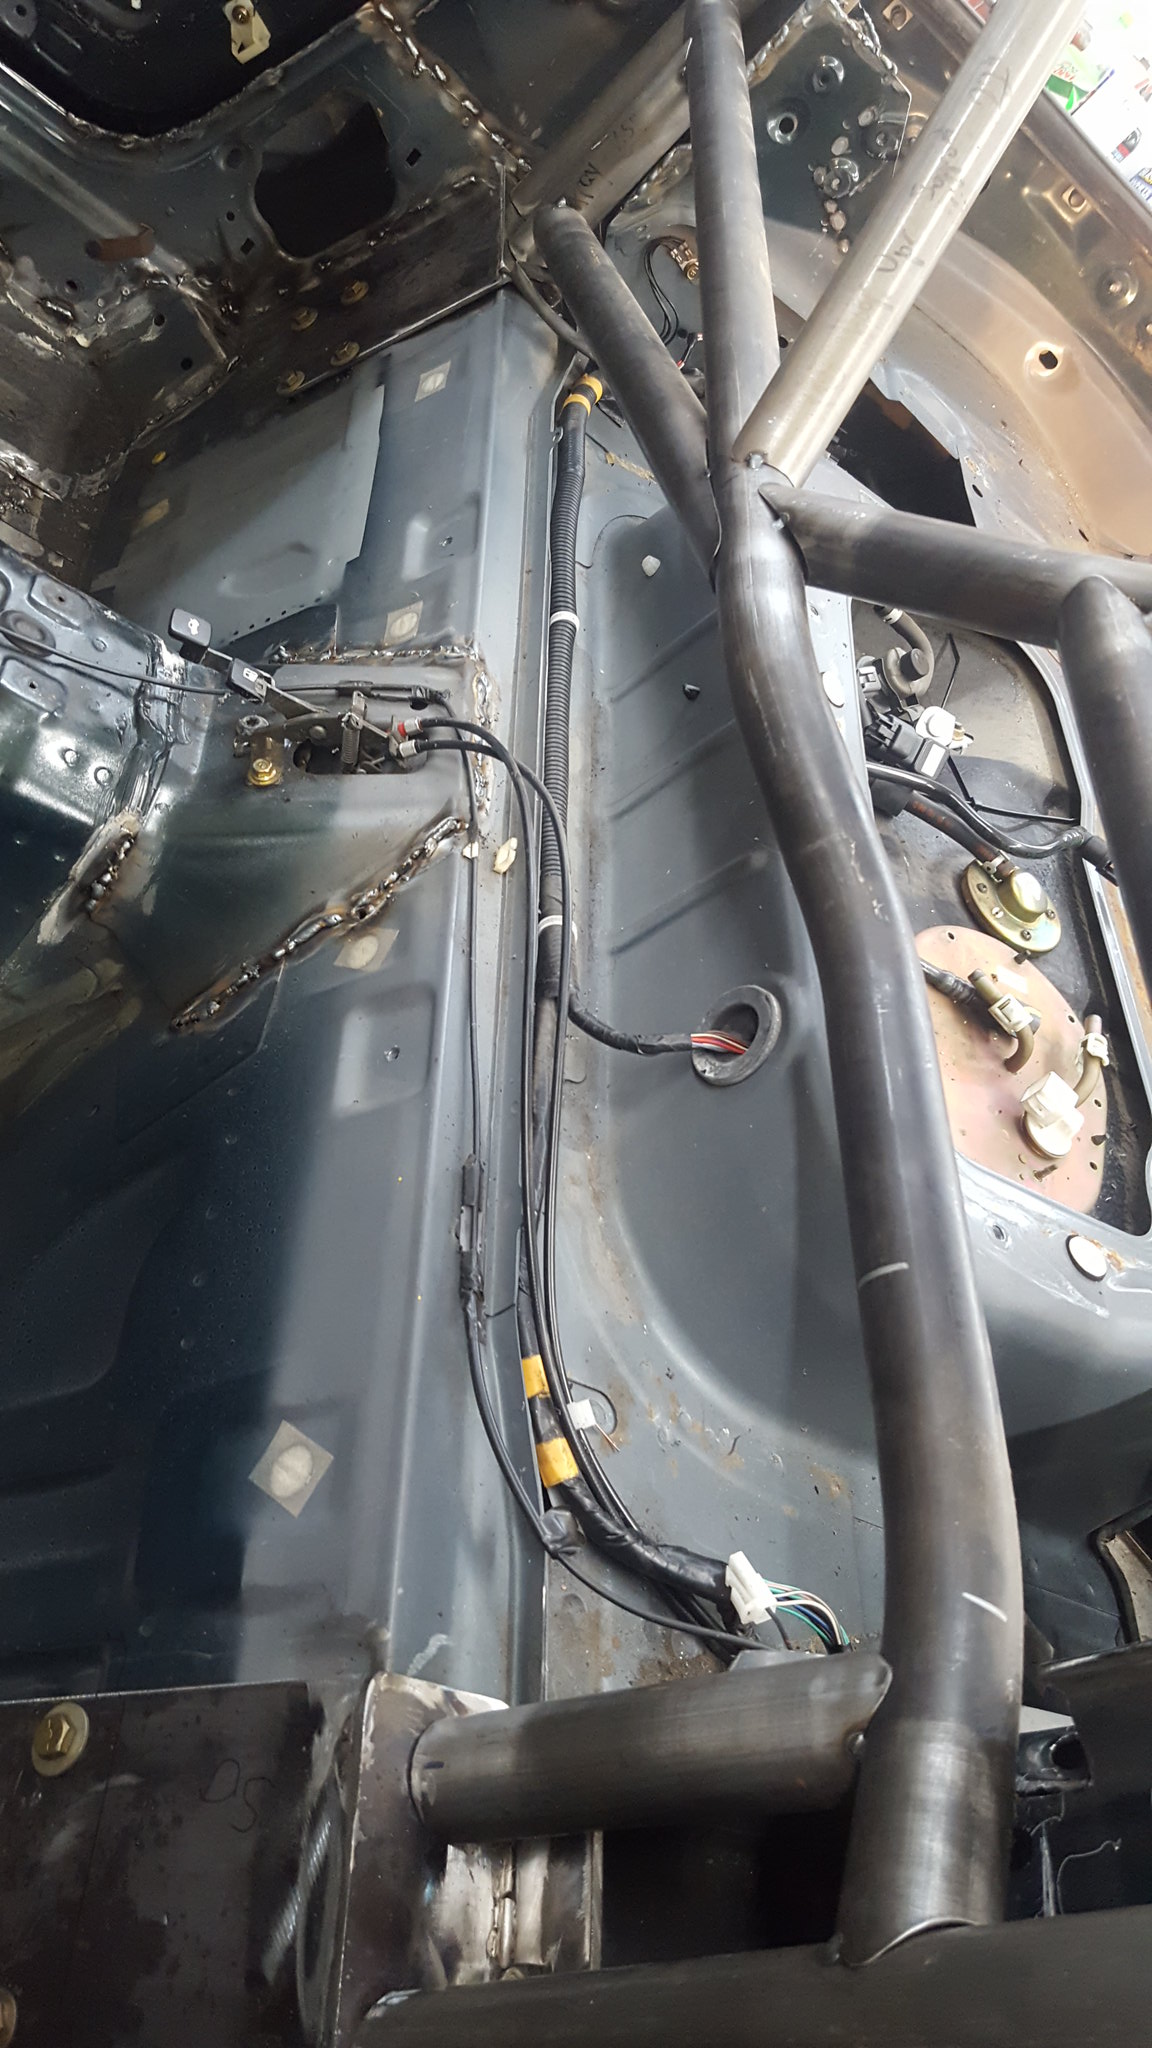
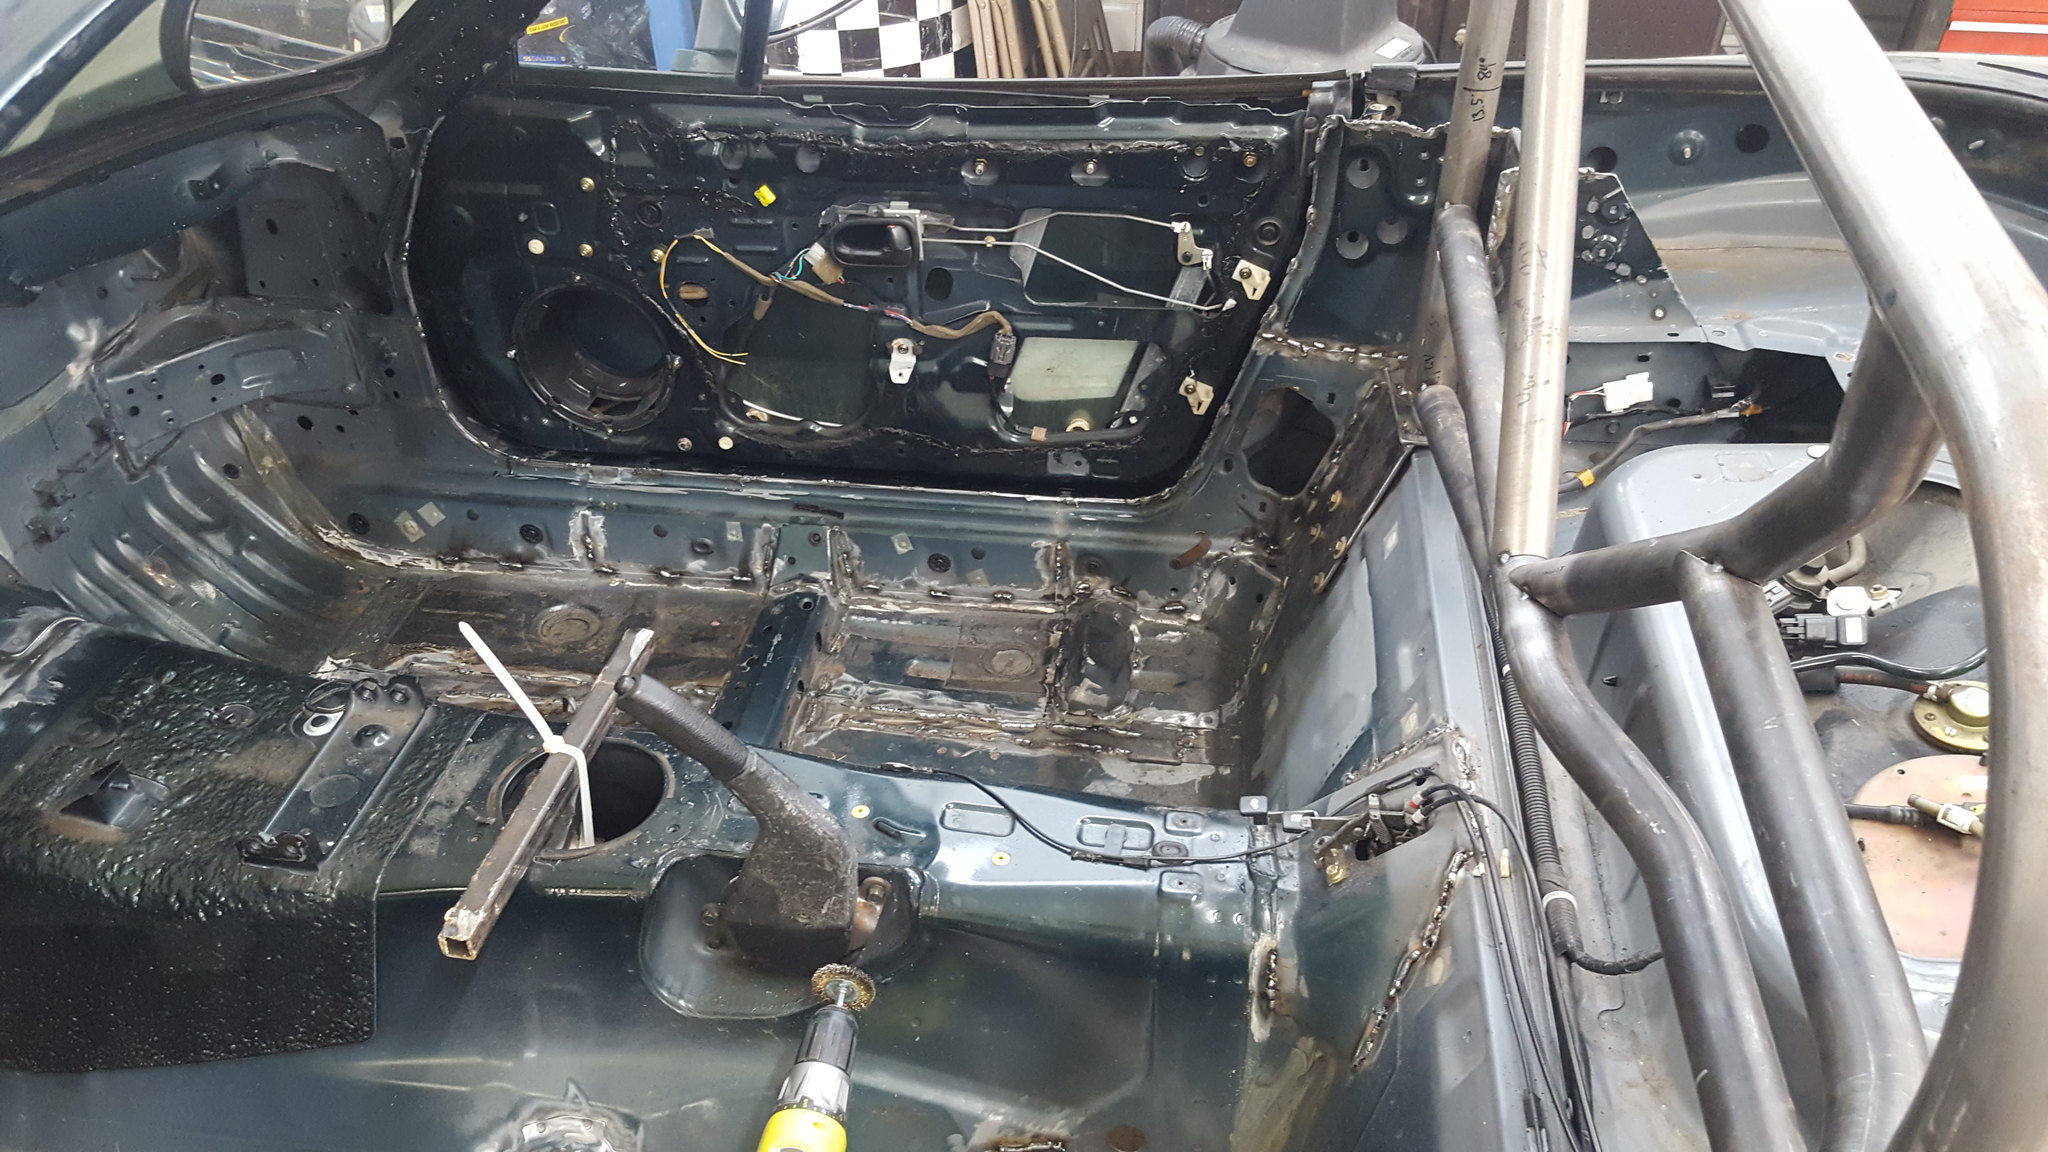
20180106_181351 by Michael Crawford, on FlickrI then moved on to fitting the roll bar and making the rest of it. Because, really, its cool. It doesn't get us any closer to a running, testable car, but it makes me feel good. So ive got that going for me.First up was making the bar fit exactly where I wanted it. That required some surgery to the drivers side seatbelt tower. The cutting is done, and ill re-weld it shortly, and then box in the rest to strengthen it back up, but the bar is now perfectly situated. I then obsessed mightily over how to do feet and make it a bolt in. the thing I don't like about my hard dog is how you need 2 people and 7 hands to get the reinforcing plates, nuts, bolts, and bar all assembled. Its a pain in the ***. So my idea is to weld nuts to the backer plates, and pop rivet the plates to the floor pans for location purposes. Genius!Still have to make the plates and feet though. So I went to google, where every idea someone has ever had has a picture taken of it. I found my inspiration in an article of a blackbird fabworx gt3 install. Pretty much did what I thought I wanted to do, but it was good to see confirmation that I was on the right path.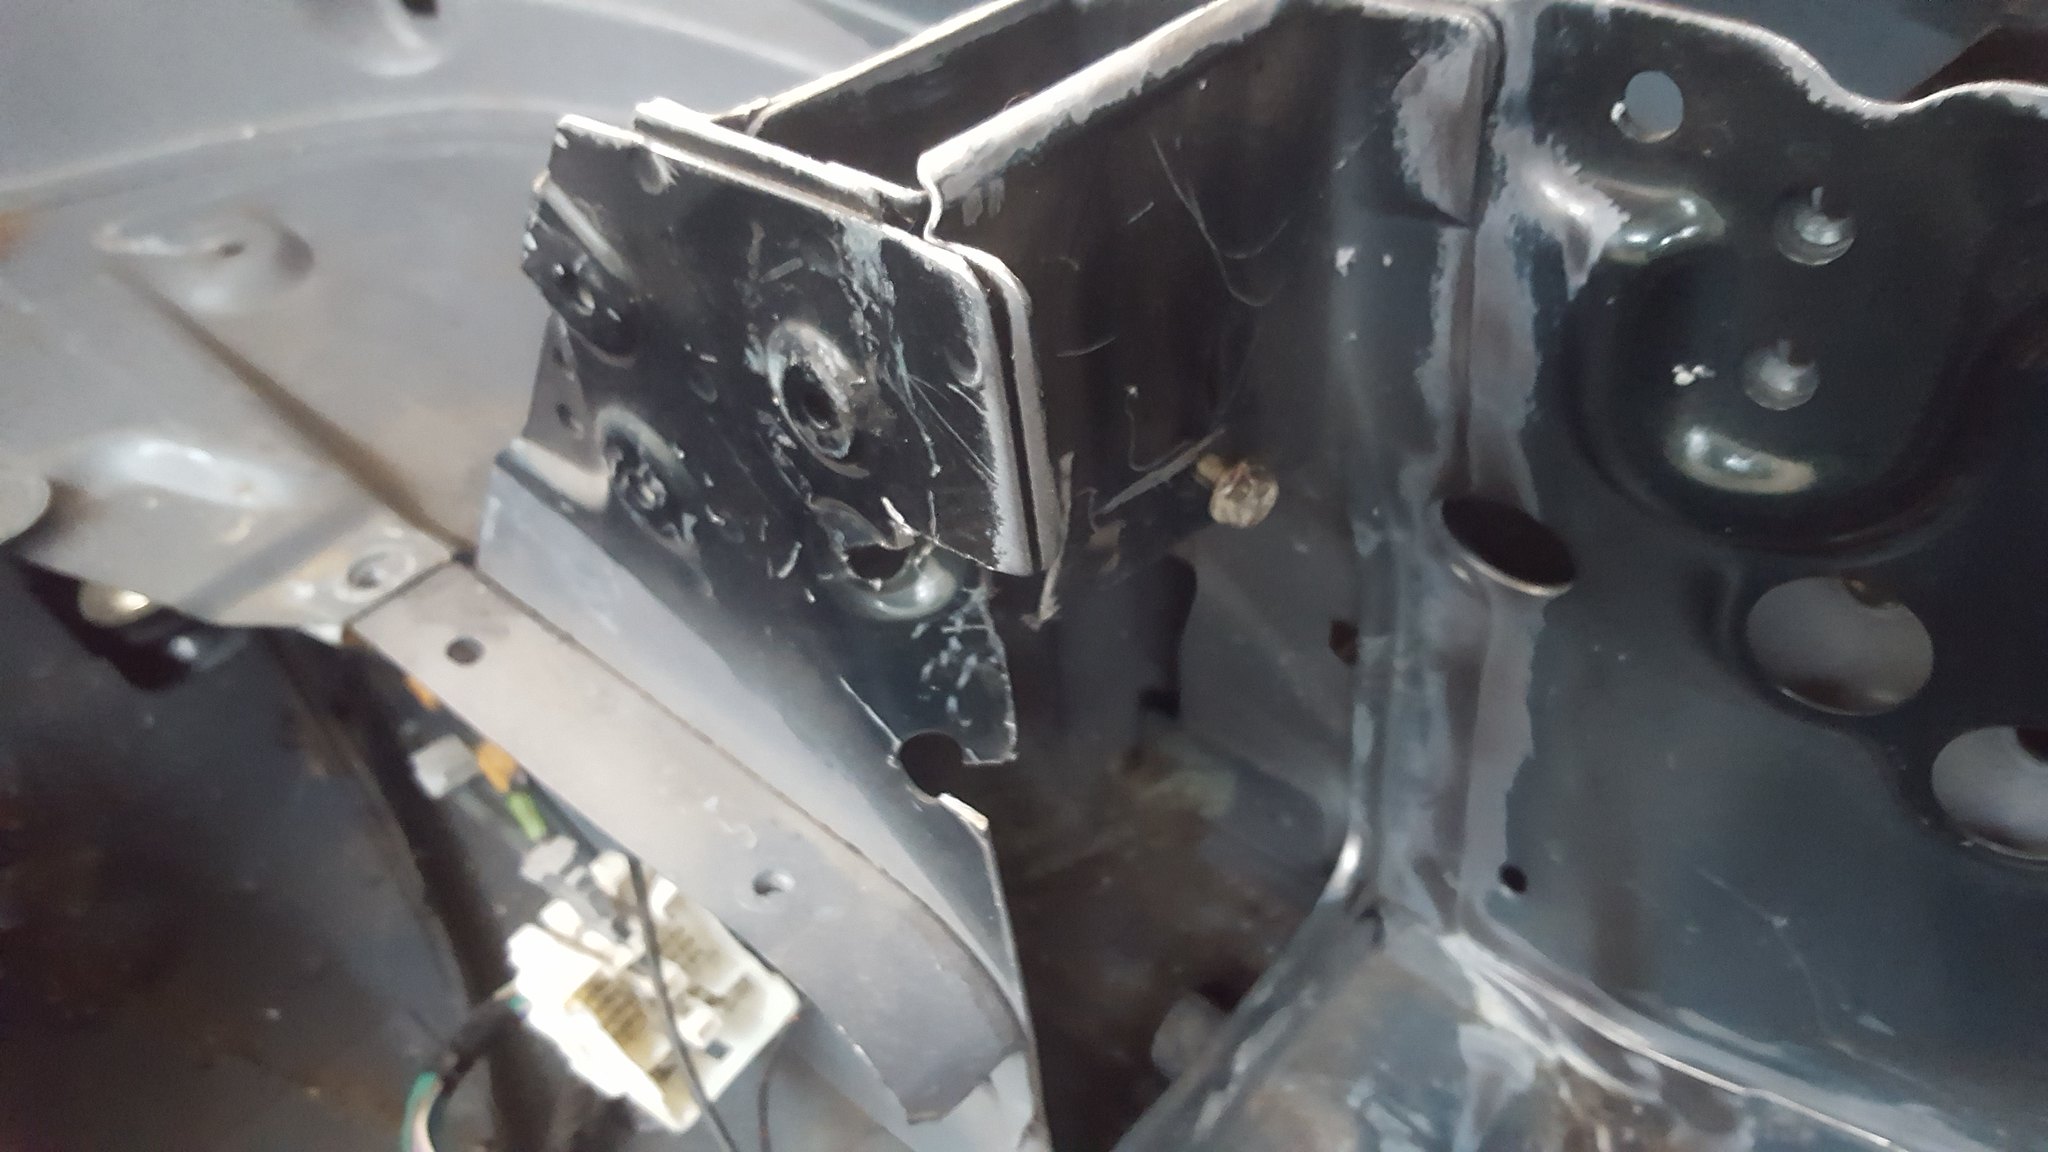
20180113_161114 by Michael Crawford, on Flickr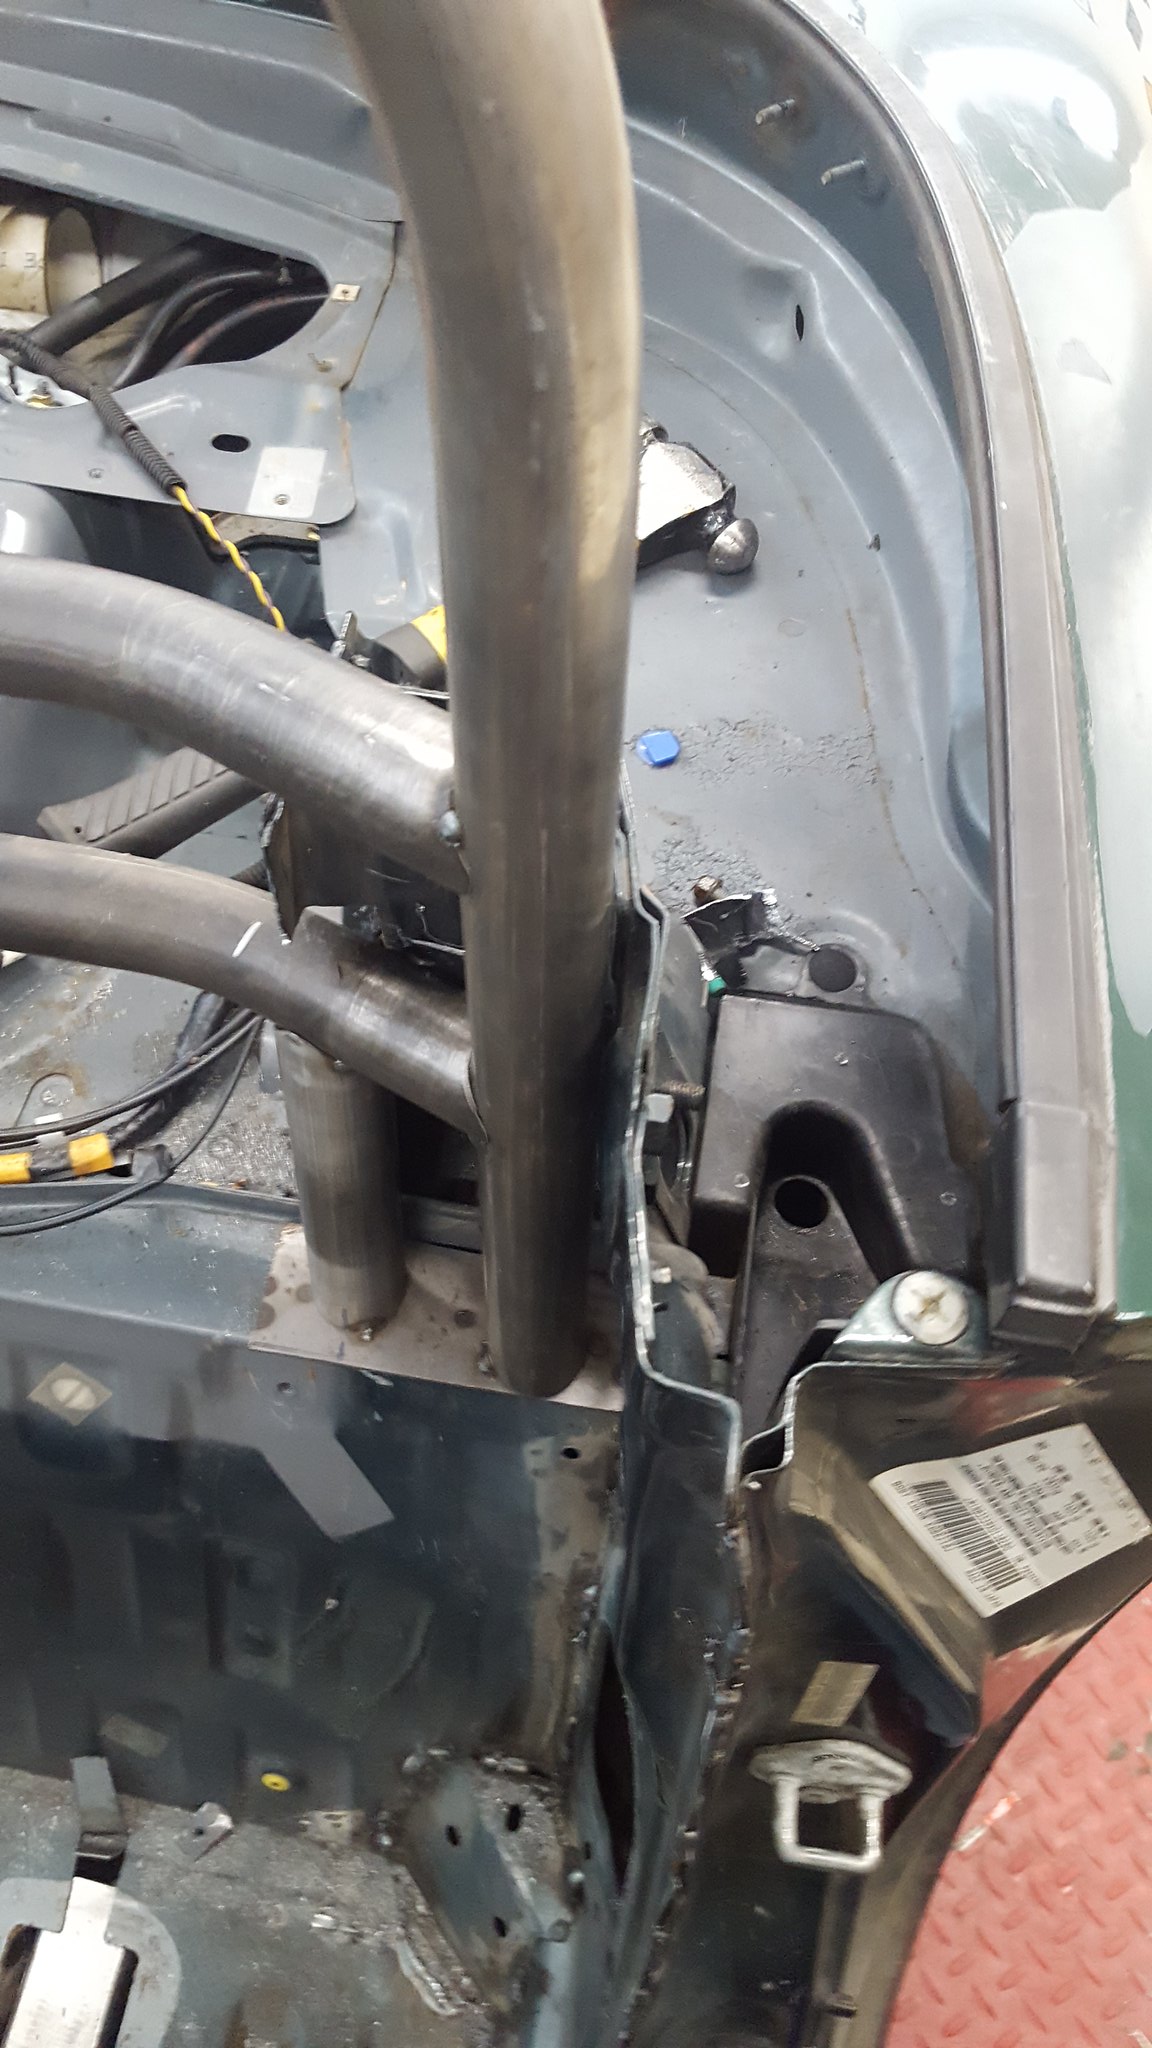
20180112_182238 by Michael Crawford, on Flickr
revious challenge budget: 868.78 recoup total: 800new money:added core charges back in per the new challenge rulesgiven 4 unknown rate red coilover springspurchased coilover sleeve kit for honda civic: 43.99 sold 2 red and 2 civic springs: 22 purchased 4 used bilstein: 40purchased entire drivers rear suspension 40 purchased passengers fender: 40 purchased inner fenders: 20 purchased 3/16 plate: 10.95 255lph fuel pump from ebay 13.99 2x2 angle 6 feet 5 new total: 1135.71recoup: 822to start with, I figure well talk about parts acquisition.Was told by the spec miata shop that they were unable to locate the stick of cage tubing that I got with my rollbar. He told me to buy a stick and he would reimburse me, which he did. So I went to stock car steel over in moresville and picked that up, as well as some 3/16 plate, as that is the SCCA requirement for a bolt in roll bar. Also got a sheet of plastic for another project while I was there. No picture, because it looks like a piece of steel plate.
20180109_182527 by Michael Crawford, on Flickrgot the spec miata slicks mounted up and balanced on the NB 15s so they'd take up less room. 15X6 wheels, and yes, the slicks are somewhat pinched. Unless someone wants to trade 15x8/9/10 for stock wheels, this will have to do. Toby at freemans tire charged me 40 bucks. 10 bucks each is a pretty good deal.
20180114_114852 by Michael Crawford, on Flickr
20180109_082520 by Michael Crawford, on Flickr
20180109_082530 by Michael Crawford, on Flickrresponded to a facebook marketplace ad for miata parts, asking about struts. I had seen what looked like konis in a picture of the parts stash. After coordinating schedules, dad and I drove to outside of greenville, SC and met a guy named Alex, who parts out miatas for a good portion of his living. Name of the business is SNS Mazda parts. We spent some money.....20 struts at 10 ea, full drivers side rear suspension to replace our bent stuff, front fender, and inner fenders. Still need to source and NB subframe to replace that bent part. In the struts were a full set of SGX with a spare front and rear, 2 full sets of tokiko Hps, b&g lowering springs for an NA, a full set of speck miata bilstiens, and a bunch of NA tophats. Need to go through them all, then ill start selling off spare crap. A set of the tokikos and stock NA springs may go on my daily NB with NB tophats, as that should lower it 1.5 all the way around.
20180113_101439 by Michael Crawford, on Flickr
20180113_123917 by Michael Crawford, on Flickr
20180113_154457 by Michael Crawford, on Flickrno pictures of coilover stuff or fuel pump as its still in shipping. Next time...lastly, an example of how the challenge makes a man resourceful. Were always looking for materials and supplies. I went to an early dinner with brother Dustin and Dallas last night. On the way to dinner, we had to drop off a redbox movie at Walgreen. Coming through their parking lot, we noticed an overflowing dumpster out back where the store is being renovated. A quick peak inside resulted in a �hold my beer and watch this!� moment.
Walgreens dumpster by Michael Crawford, on FlickrI dug out some quite heavy gauge blue tube and flat stock, 3 seriously heavy duty rolling platforms, and some store fixtures with 1/8 wall 1x1 tubing on � plate bases. All most of the way to the bottom of the dumpster. The manager was cool with it, and we did ask. I ain't going back to jail for free steel.
20180113_182313 by Michael Crawford, on Flickranyway, on to the car.Dad worked on getting the 2x2 subframe connectors welded in, and then ground down in preparation of mounting the butterfly brace.
20180113_161248 by Michael Crawford, on Flickr
20180113_161109 by Michael Crawford, on Flickr
20180103_183357 by Michael Crawford, on Flickr
20180113_161244 by Michael Crawford, on Flickrsomething I did NOT anticipate was the fact that 2x2 is actually narrower than what mazda used, as mazdas rails were not actually square. Which meant that my butterfly brace no longer fit. By about an inch. And not enough room on the 1x1 angle to re-drill the holes. Instead of scrapping the whole thing and starting over, I picked up some 2x2 x3/16 angle, lopped an inch off the vertical side and cut it to length. I still need to get them fitted, drilled, and studded, but were close. With plenty pf extra meat left over.I also used some of the 1x1 tube and leftover angle to make frog arms. These are ugly in pictures and person, but thankfully will be hidden by fenders. Strong though, and I feel a benefit in addition to the seam welding and subframe connectors. Ive never had a car that I felt was too stiff, and the AMC is my benchmark for stiff enough.
20180106_121253 by Michael Crawford, on Flickr
20180107_163942 by Michael Crawford, on Flickrmade an extra pair for the daily while I was at it
20180106_181351 by Michael Crawford, on FlickrI then moved on to fitting the roll bar and making the rest of it. Because, really, its cool. It doesn't get us any closer to a running, testable car, but it makes me feel good. So ive got that going for me.First up was making the bar fit exactly where I wanted it. That required some surgery to the drivers side seatbelt tower. The cutting is done, and ill re-weld it shortly, and then box in the rest to strengthen it back up, but the bar is now perfectly situated. I then obsessed mightily over how to do feet and make it a bolt in. the thing I don't like about my hard dog is how you need 2 people and 7 hands to get the reinforcing plates, nuts, bolts, and bar all assembled. Its a pain in the ***. So my idea is to weld nuts to the backer plates, and pop rivet the plates to the floor pans for location purposes. Genius!Still have to make the plates and feet though. So I went to google, where every idea someone has ever had has a picture taken of it. I found my inspiration in an article of a blackbird fabworx gt3 install. Pretty much did what I thought I wanted to do, but it was good to see confirmation that I was on the right path.
20180113_161114 by Michael Crawford, on Flickr
20180112_182238 by Michael Crawford, on Flickr
Reply
0
0
01-15-2018, 08:05 PM
#32
Junior Member
Thread Starter
Join Date: Nov 2017
Posts: 112
Total Cats: 7
Took my portaband to the 3/16 plate, and after a significant amount of cutting, grinding, and shaping, had the different pieces I wanted. I measured for my holes, and too them home with me for drilling.
20180114_135127 by Michael Crawford, on Flickr
Pictures of my shop and drilling setup:
20180114_114022 by Michael Crawford, on Flickr

20180114_114053 by Michael Crawford, on Flickr
then took it all over to dads this morning and did some welding and final fitting.
20180114_155518 by Michael Crawford, on Flickr
should tack the hoop to the new plates tomorrow, and finish the backing plates.
While ive been doing that, dads been working on finishing seam welding. We have gone much, much further than flyin miata recommends, and much much further than we planned on. Seam welding is addictive, as I learned on the AMC. Dads learning it on a mazda. Its hard to know when to stop, to be honest.
20180114_162144 by Michael Crawford, on Flickr
our goal for tomorrow is finish the main hoop feet/attach the hoop to new feet, finish the butterfly brace, make a trans mount, and maybe finish the welding of the 2x2 subframe connectors.
So you guys are getting two updates in one. For whatever reason, my computer and the forum software got in a fight yesterday and it wouldn't let me post.
Today, dad and I made HUGE progress.
First things first, we finished up the main hoop feet. I offset the backing plates so as to minimize any shearing action. I also rounded all edges and corners just like I did up top. Just makes things much nicer whenever you don't touch sharp edges when working on something. The pop rivets and captured nuts idea worked perfectly. I even tested it multiple times throughout the day, just because I could. However, the bolt on the bottom of the factory seatbelt reel that I incorporated into the design cannot be removed with the cage welded to the feet due to the spacing of the main hoop legs. A capscrew MAY fit, but we didn't have one in the right thread pitch. So, a couple are on order from mcmaster carr.
We knocked the feet that were tacked to the cage off, set the cage in place on the new feet, and tacked them in heavily. I also got started on the tabs that will connect the cage to the upper bolts on the seat belt towers where the factory guides went. But don't have any pictures, and they just look like rectangular pieces of metal at this point. With a pilot hole.
20180115_111121 by Michael Crawford, on Flickr
20180115_115450 by Michael Crawford, on Flickr
I then threw a factory NA top frame on it that oi got for free at the challenge this year. I wanted to see if it would clear a factory top. The answer is yes it will, but not enough clearance to operate the top. So I guess ill have to make a hardtop at some point. Yay.
20180115_115450 by Michael Crawford, on Flickr

20180115_104927 by Michael Crawford, on Flickr
we also got the butterfly brace welded in. finally!
Welded some nuts to the backside, drilled a bunch of holes, put it into place, and plug welded the crap out of it.
20180115_150337 by Michael Crawford, on Flickr
20180115_142457 by Michael Crawford, on Flickr
20180115_161313 by Michael Crawford, on Flickr
and dads about 60% of the way done with seam welding. Passengers side from the firewall back is finished. Couple braces to stitch on the firewall yet, and a little on the drivers side to go. Well finish the engine bay when we yank the engine back out.
20180115_165154 by Michael Crawford, on Flickr
20180114_135127 by Michael Crawford, on Flickr
Pictures of my shop and drilling setup:
20180114_114022 by Michael Crawford, on Flickr
20180114_114053 by Michael Crawford, on Flickr
then took it all over to dads this morning and did some welding and final fitting.
20180114_155518 by Michael Crawford, on Flickr
should tack the hoop to the new plates tomorrow, and finish the backing plates.
While ive been doing that, dads been working on finishing seam welding. We have gone much, much further than flyin miata recommends, and much much further than we planned on. Seam welding is addictive, as I learned on the AMC. Dads learning it on a mazda. Its hard to know when to stop, to be honest.
20180114_162144 by Michael Crawford, on Flickr
our goal for tomorrow is finish the main hoop feet/attach the hoop to new feet, finish the butterfly brace, make a trans mount, and maybe finish the welding of the 2x2 subframe connectors.
So you guys are getting two updates in one. For whatever reason, my computer and the forum software got in a fight yesterday and it wouldn't let me post.
Today, dad and I made HUGE progress.
First things first, we finished up the main hoop feet. I offset the backing plates so as to minimize any shearing action. I also rounded all edges and corners just like I did up top. Just makes things much nicer whenever you don't touch sharp edges when working on something. The pop rivets and captured nuts idea worked perfectly. I even tested it multiple times throughout the day, just because I could. However, the bolt on the bottom of the factory seatbelt reel that I incorporated into the design cannot be removed with the cage welded to the feet due to the spacing of the main hoop legs. A capscrew MAY fit, but we didn't have one in the right thread pitch. So, a couple are on order from mcmaster carr.
We knocked the feet that were tacked to the cage off, set the cage in place on the new feet, and tacked them in heavily. I also got started on the tabs that will connect the cage to the upper bolts on the seat belt towers where the factory guides went. But don't have any pictures, and they just look like rectangular pieces of metal at this point. With a pilot hole.
20180115_111121 by Michael Crawford, on Flickr
20180115_115450 by Michael Crawford, on Flickr
I then threw a factory NA top frame on it that oi got for free at the challenge this year. I wanted to see if it would clear a factory top. The answer is yes it will, but not enough clearance to operate the top. So I guess ill have to make a hardtop at some point. Yay.
20180115_115450 by Michael Crawford, on Flickr
20180115_104927 by Michael Crawford, on Flickr
we also got the butterfly brace welded in. finally!
Welded some nuts to the backside, drilled a bunch of holes, put it into place, and plug welded the crap out of it.
20180115_150337 by Michael Crawford, on Flickr
20180115_142457 by Michael Crawford, on Flickr
20180115_161313 by Michael Crawford, on Flickr
and dads about 60% of the way done with seam welding. Passengers side from the firewall back is finished. Couple braces to stitch on the firewall yet, and a little on the drivers side to go. Well finish the engine bay when we yank the engine back out.
20180115_165154 by Michael Crawford, on Flickr
Reply
0
0
01-17-2018, 08:15 AM
#33

You are welding in rear down bars aren't you? That HAS to happen or you've made a really elaborate style bar that will kill you. Also you need to check with the event organizers to see if your double foot mounts are ok, most racing bodies only allow one tube connection at the floor. I think it was mentioned earlier but your main diagonal is supposed to be a single continuous piece, and the extra reinforcing tubes aren't doing anything but adding weight. You might be able to sneak that through.
Just hate for you to put all this work into it and then get turned away at tech.
Just hate for you to put all this work into it and then get turned away at tech.
Reply
0
0
01-17-2018, 10:32 AM
#34
Junior Member
Thread Starter
Join Date: Nov 2017
Posts: 112
Total Cats: 7
You are welding in rear down bars aren't you? That HAS to happen or you've made a really elaborate style bar that will kill you. Also you need to check with the event organizers to see if your double foot mounts are ok, most racing bodies only allow one tube connection at the floor. I think it was mentioned earlier but your main diagonal is supposed to be a single continuous piece, and the extra reinforcing tubes aren't doing anything but adding weight. You might be able to sneak that through.
Just hate for you to put all this work into it and then get turned away at tech.
Just hate for you to put all this work into it and then get turned away at tech.
nhra regs are vastly different than scca, however the challenge supreme court has approved this design for 13.50 or slower with the addition of door bars. If i get faster than that, I'll need to completely start over, and at that point will be building a proper welded in cage that meets nhra 10.99 and wheel to wheel specs like we did with the amc.
Reply
0
0
01-17-2018, 11:16 AM
#35
Good deal, diagonal in the rear down tube plane will work.
I don't want to poo poo your chassis stiffening efforts as it will result in a solid feeling car, but don't count on this adding any appreciable performance and the added weight is a concern. You need to focus on keeping the tires at the proper angle to the road and getting the suspension stiffened up and properly damped to maximize turning ability. Think of all the effort you went through to stop 1/4" of chassis flex when soft springs will flop around several inches.
I don't want to poo poo your chassis stiffening efforts as it will result in a solid feeling car, but don't count on this adding any appreciable performance and the added weight is a concern. You need to focus on keeping the tires at the proper angle to the road and getting the suspension stiffened up and properly damped to maximize turning ability. Think of all the effort you went through to stop 1/4" of chassis flex when soft springs will flop around several inches.
Reply
0
0
01-17-2018, 11:24 AM
#36
Junior Member
Thread Starter
Join Date: Nov 2017
Posts: 112
Total Cats: 7
Wont disagree with you. The weight vs stiffening ratio is not biased in my favor here, especially now that i need to make door bars. The door bars negate the framerail and butterfly brace, making them added mass.
spring and shock package is planned for 700/400 on hard s bilsteiens. 12.5 all the way around. Not optimal, but ill have under $100 in tbe setup. Id really like fatter sway bars, but were running out of budget pretty quick.
and this car is being done in stages. Stage 1 is pretty basic. Stock v6 with ported and polished parts, cai, and headers. I want to make sure its all doing what i want it to before adding even more variables. I also want to get some significant testing time in before the challenge. Thats what killed us last year. More testing would have revealed the issues that kept us out of the top 5.
Reply
0
0
01-17-2018, 11:28 AM
#37
You're on the right track with that spring and shock combo, I suggest going with 800/450 rates with a stock front bar, it was very neutral on both my NA and NB cars and you have the option of hooking up the rear bar to loosen it for auto x work. I personally felt the hard S shocks handled the rates OK, certainly wasn't a hot mess.
Reply
0
0


 01-17-2018, 07:22 PM
#40
Junior Member
Thread Starter
Join Date: Nov 2017
Posts: 112
Total Cats: 7
making hand built headers from plate steel and cut up used headers is a giant pain in the ***.
also, since work is cancelled due to snow (ill take it! hate the snow. spent 17 years in northeast pa, but like free paid time off whenever I can get it) I'm staying home with the girls and working on the pro-touring cars until the snow clears. just done want tpo get the Subaru out and deal with stupid southerners that think because they have 4wd they can stop and steer in the snow.....
is there any interest here in stuff other than miata?
additionally, I'm starting to look into lightening. since I'm adding weight with the v6, cage, and chassis bracing, id like to zero it out from other places if possible. open to suggestions of things, particularly to see what you guys come up with. yall have some wild builds here that do things completely differently than the muscle car stuff I normally play with. so, fire away! remember, after the challenge, this will get plated and driven to and from events. so impact and safety are paramount.
Reply
0
0


