Build Threads Building a motor? Post the progress here.

93' Miata stolen and flipped build thread

Thread Tools
 
Search this Thread
 
Old 02-28-2014, 12:59 PM
  #1401  
Senior Member
iTrader: (1)
 
revlimiter's Avatar
 
Join Date: Jan 2009
Location: ABQ, NM
Posts: 518
Total Cats: 95
Default

Well done on the wheel restoration!!! I told ya you could do it.
revlimiter is offline  
Old 02-28-2014, 01:16 PM
  #1402  
Elite Member
 
Jeffbucc's Avatar
 
Join Date: Oct 2013
Location: Cedar City, UT
Posts: 2,764
Total Cats: 951
Default

Originally Posted by revlimiter
Well done on the wheel restoration!!! I told ya you could do it.
Yup! Easy and super cheap. I think it was $20 shipped for the dye and the top coat.

OK, curiosity got the better of me and I couldn't wait.

Damn, sometimes, things just work out perfectly. So pleased with how this will look. The fitment is so tight you have to squeeze it in, I think I got lucky on this one!


Attached Thumbnails 93' Miata stolen and flipped build thread-img_1998.jpg   93' Miata stolen and flipped build thread-img_1999.jpg  
Jeffbucc is offline  
Old 02-28-2014, 01:27 PM
  #1403  
Supporting Vendor
iTrader: (1)
 
turbofan's Avatar
 
Join Date: Sep 2010
Location: Lake Forest, CA
Posts: 7,950
Total Cats: 1,003
Default

Every time I think I've got a handle on this project, you go and do something that looks like that.

Props.
__________________
Ed@949Racing/Supermiata
www.949racing.com
www.supermiata.com
turbofan is offline  
Old 02-28-2014, 02:02 PM
  #1404  
Senior Member
iTrader: (5)
 
bikersam717's Avatar
 
Join Date: Jul 2011
Location: Sonora, Ca
Posts: 618
Total Cats: 74
Default

Originally Posted by Jeffbucc
the fitment is so tight you have to squeeze it in


Came out great! This whole thread hasn't let me down, the awesomeness torque curve is very flat with no dips. Props!

Last edited by bikersam717; 02-28-2014 at 11:32 PM.
bikersam717 is offline  
Old 02-28-2014, 02:04 PM
  #1405  
Elite Member
iTrader: (4)
 
hornetball's Avatar
 
Join Date: Mar 2008
Location: Granbury, TX
Posts: 6,301
Total Cats: 696
Default

Where's the condom dispenser?
hornetball is offline  
Old 02-28-2014, 02:34 PM
  #1406  
Elite Member
 
Jeffbucc's Avatar
 
Join Date: Oct 2013
Location: Cedar City, UT
Posts: 2,764
Total Cats: 951
Default

Originally Posted by hornetball
Where's the condom dispenser?
You know the red vine dispenser Garth had in his gremlin in Wayne's World? It'll be right there.
Jeffbucc is offline  
Old 02-28-2014, 03:18 PM
  #1407  
Junior Member
iTrader: (3)
 
black roadster's Avatar
 
Join Date: Apr 2009
Location: Allen, TX
Posts: 89
Total Cats: 12
Default

Originally Posted by Jeffbucc
You know the red vine dispenser Garth had in his gremlin in Wayne's World? It'll be right there.
Attached Thumbnails 93' Miata stolen and flipped build thread-how-convenient-church-lady.jpg  
black roadster is offline  
Old 02-28-2014, 08:16 PM
  #1408  
Newb
 
eduTechnic's Avatar
 
Join Date: Oct 2013
Location: Utah
Posts: 27
Total Cats: 4
Default

Originally Posted by Jeffbucc
Yup! Easy and super cheap. I think she was $20.

OK, curiosity got the better of me and I couldn't wait.
The fitment is so tight you have to squeeze it in, I think I got lucky on this one!
lol wut? You talking about Miatas or girls now? I, um, too easy.../8th grader giggle
eduTechnic is offline  
Reply
Leave a poscat -3 Leave a negcat
Old 03-01-2014, 05:06 AM
  #1409  
Elite Member
 
Jeffbucc's Avatar
 
Join Date: Oct 2013
Location: Cedar City, UT
Posts: 2,764
Total Cats: 951
Default

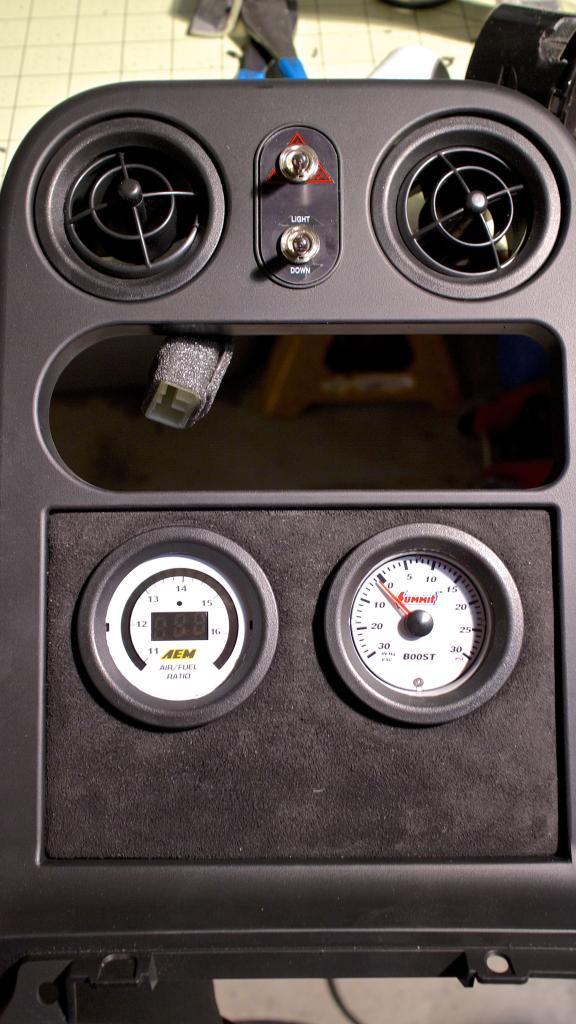
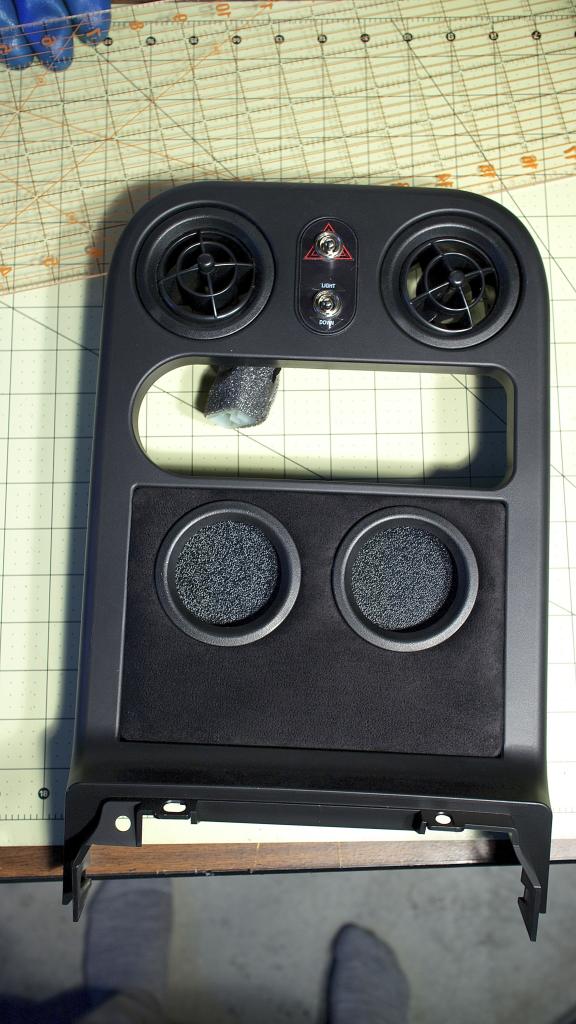
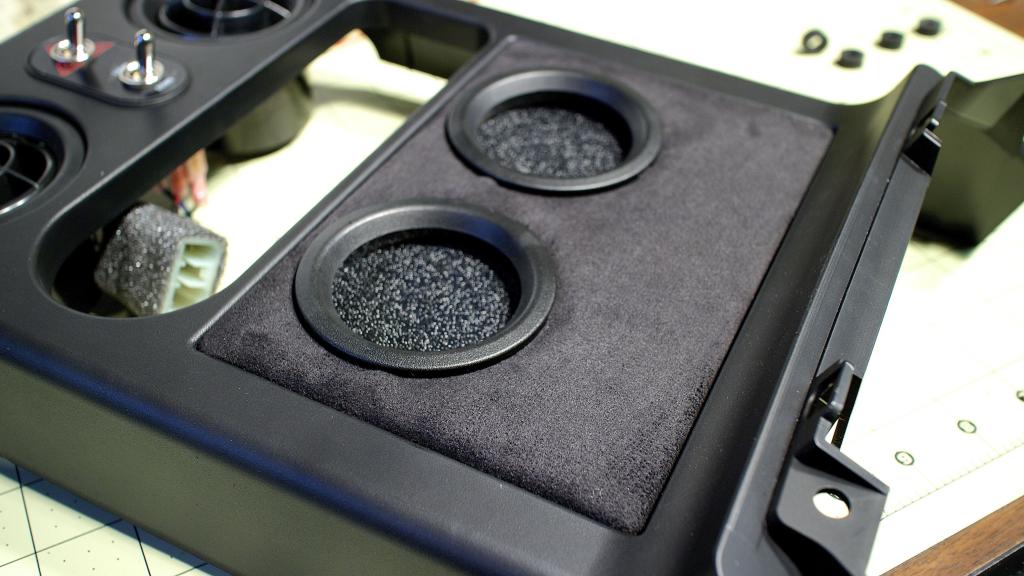
Wow this is harder than I thought it would be.

Need to find a way to tension the gauges tight so they don't move around. Also need to buy some plexiglass to replace the glass with. But I think it should turn out pretty good once I can get those done.


Attached Thumbnails 93' Miata stolen and flipped build thread-img_2000.jpg   93' Miata stolen and flipped build thread-img_2001.jpg  
Jeffbucc is offline  
Old 03-01-2014, 05:14 AM
  #1410  
Elite Member
 
Jeffbucc's Avatar
 
Join Date: Oct 2013
Location: Cedar City, UT
Posts: 2,764
Total Cats: 951
Default

Or just do it right and get matching VDO gauges...I'll admit I'm not extremely happy with how it looks.
Jeffbucc is offline  
Old 03-01-2014, 02:31 PM
  #1411  
Junior Member
iTrader: (1)
 
BoostedSmurf's Avatar
 
Join Date: Feb 2013
Location: Windsor, Ontario
Posts: 403
Total Cats: 65
Default

Finally finished reading this thread from beginning to end. Can honestly say I didn't expect it to turn into an all out restoration at the beginning of the thread. Must say I am truly impressed to the attention to detail and how quickly things got done here.

Keep it up! INB4 startup video
BoostedSmurf is offline  
Old 03-02-2014, 08:56 AM
  #1412  
Elite Member
 
Jeffbucc's Avatar
 
Join Date: Oct 2013
Location: Cedar City, UT
Posts: 2,764
Total Cats: 951
Default

Originally Posted by BoostedSmurf
Finally finished reading this thread from beginning to end. Can honestly say I didn't expect it to turn into an all out restoration at the beginning of the thread.
Thanks!

Hah, it didn't start as a full blown restoration but it slowly evolved to that due to Turbofan/Hornetball/Vlad and several others dictating the level of OCD I would go to.

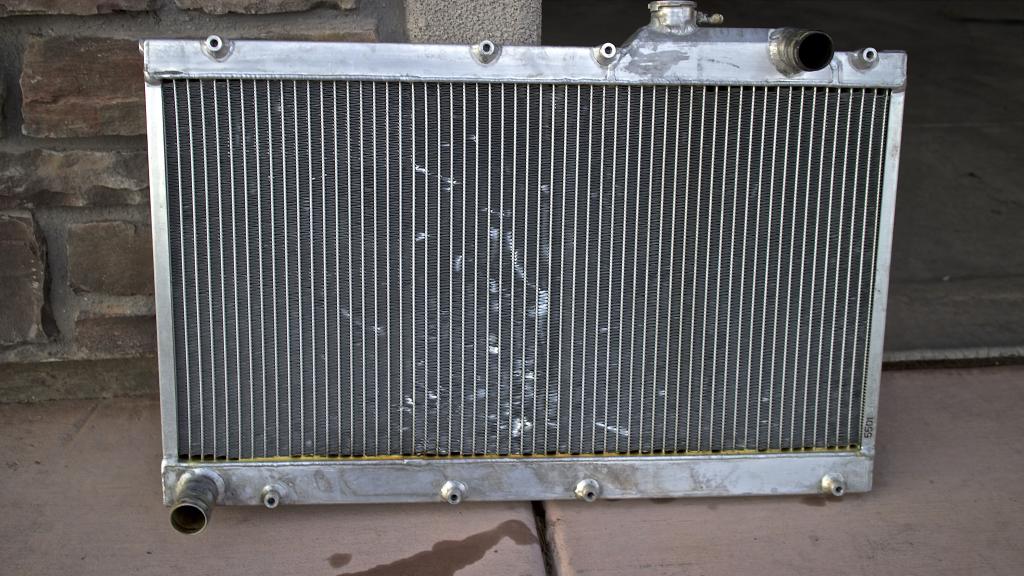
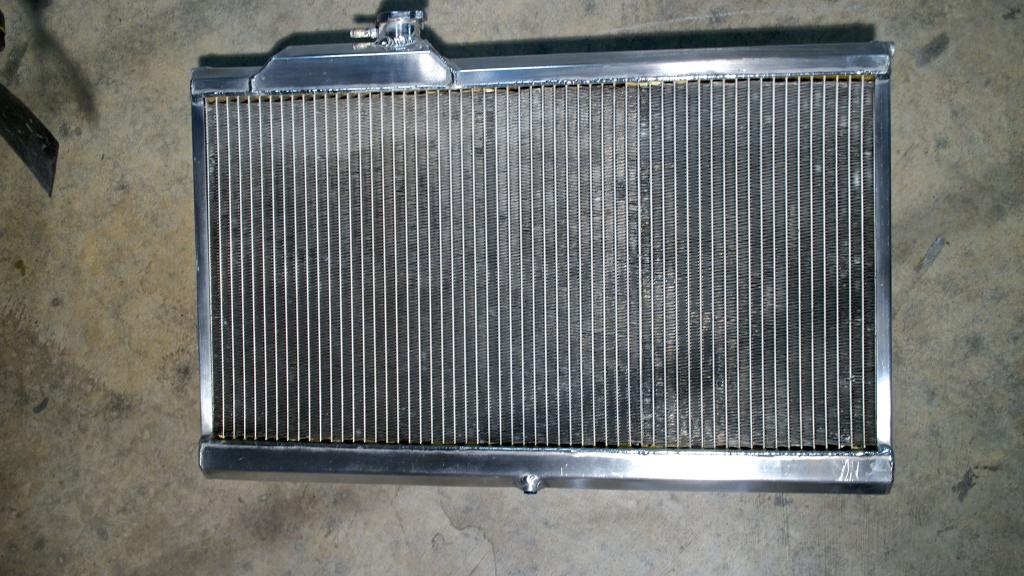
Got the radiator cleaned up and slotted into the car. It took a lot of work to get it all cleaned up.

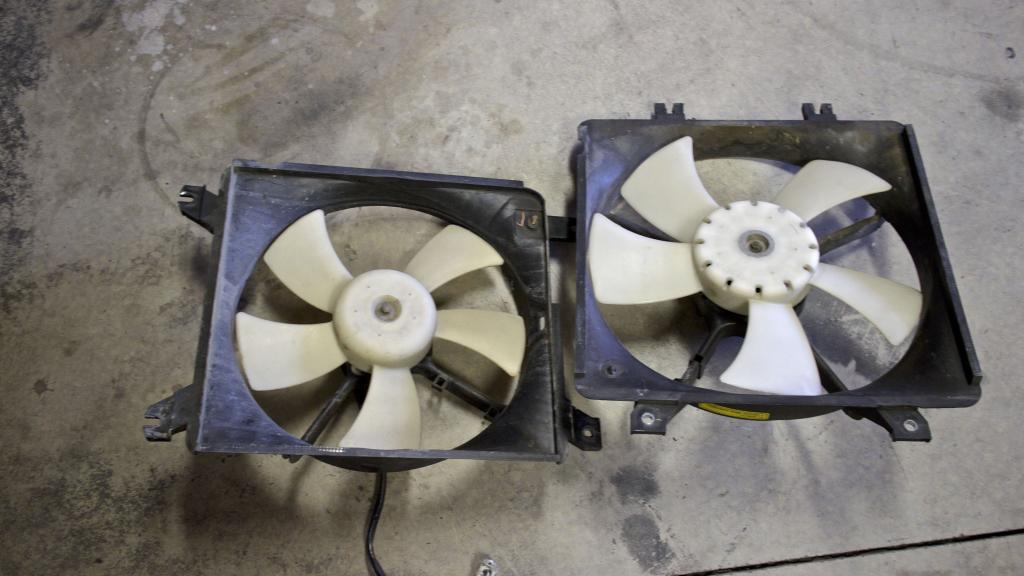
First started with some degreaser and a steam cleaner to clean all the dirt/bugs/grease out of the radiator fins. Glad I did, there were so many bugs in the radiator the water wouldn't penetrate the other side in some places. Overheating is no bueno!


Dirt fans


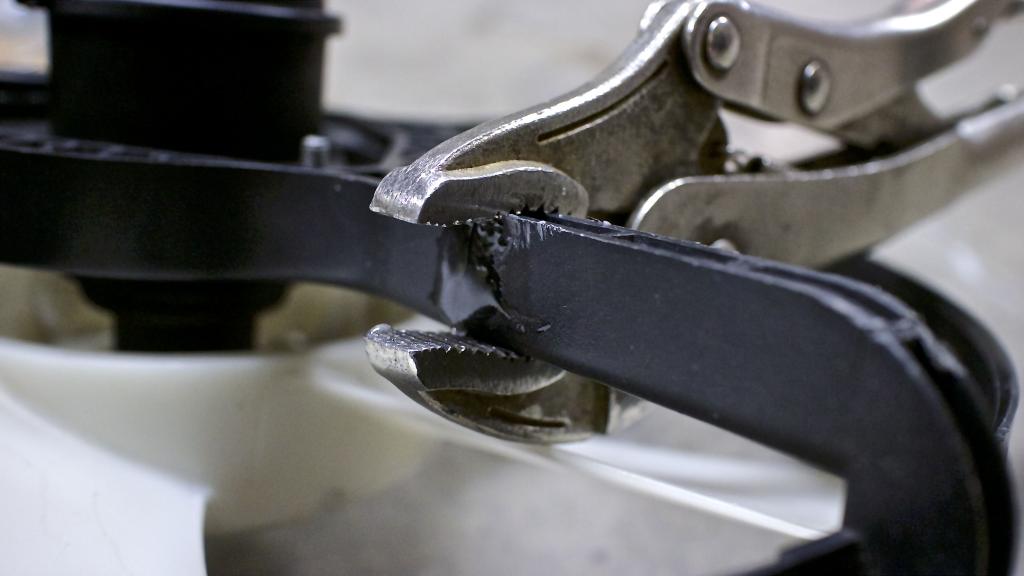
Needed to put some epoxy on a broken fan leg


Cleaned the fans


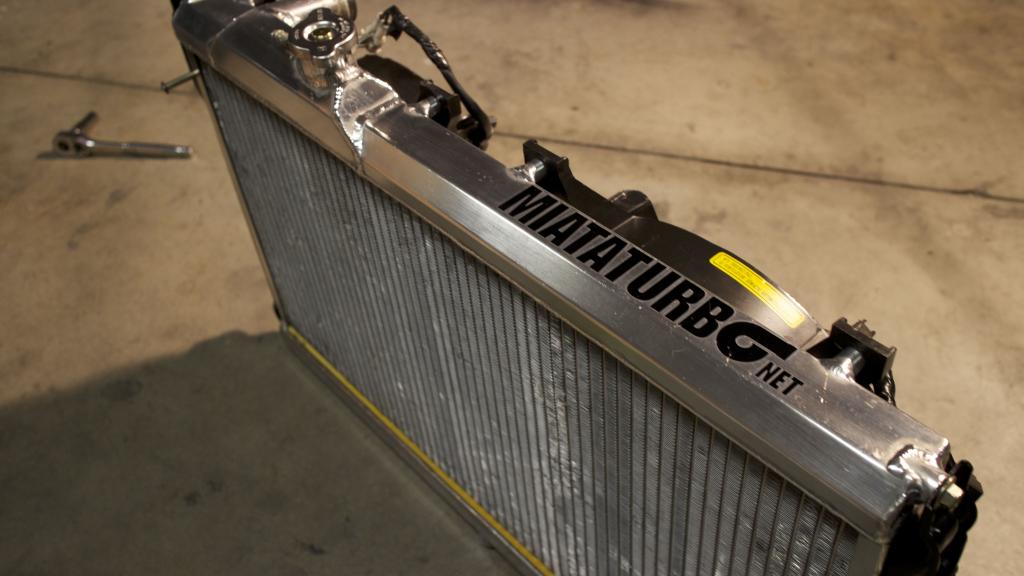
There were a lot of hard water stains and other scuffs on the radiator. I know 90% is covered by the radiator shroud but I decided to give it a quick polish "while it was out of the car"
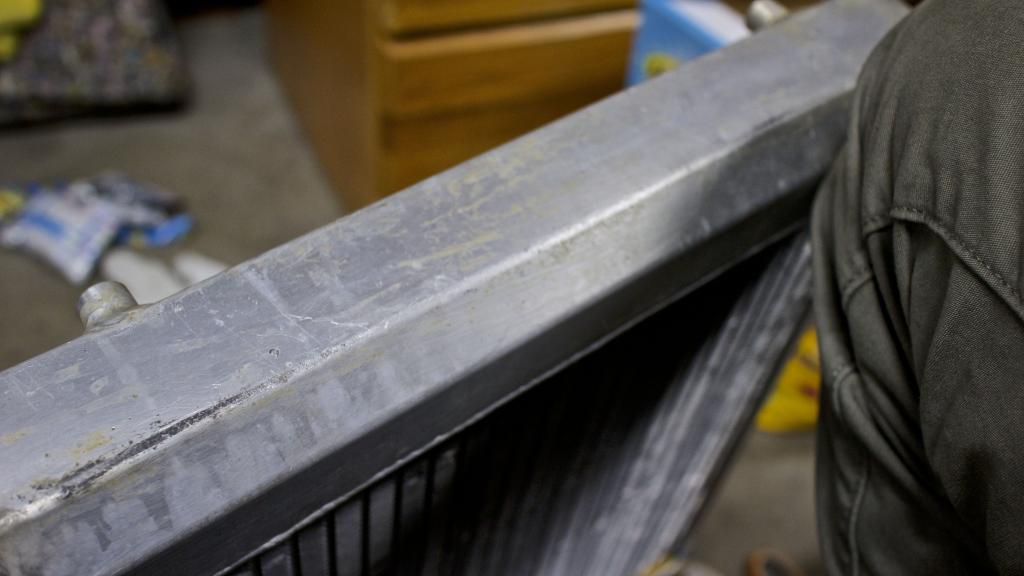


All polished up Also spent an hour and a half straightening all the radiator fins. I was amazed how many were bent. It isn't pretty since I don't have a radiator fin tool but I used a dentist pick to get them all straight.


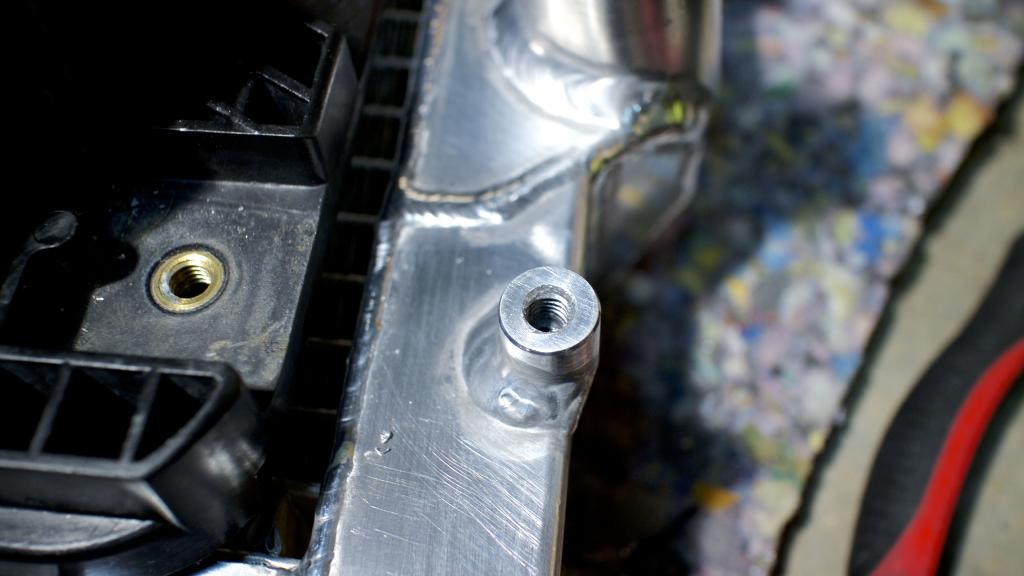
One of the fan brackets had a broken bolt stud in it so I needed to redrill & tap it


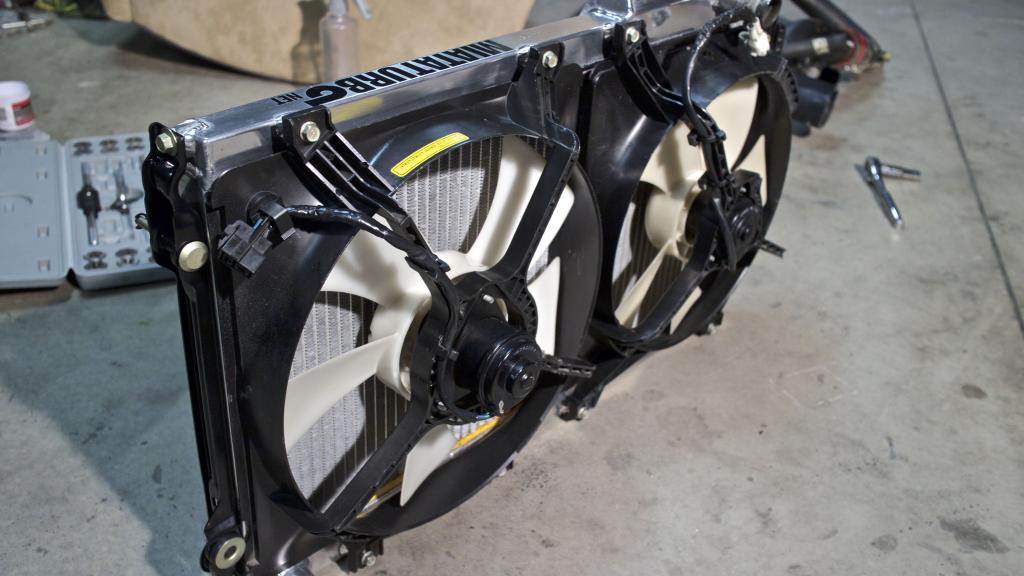
all assembled (yes I know the brackets are on upside down, I fixed that!)


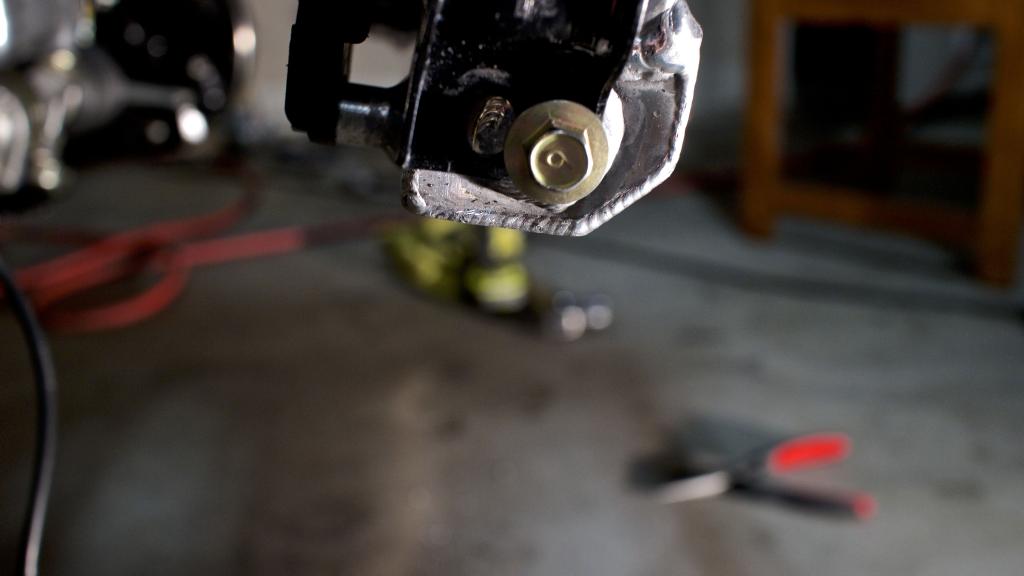
I had some clearance issues with the fan shrouds with the sway bar. So instead of messing with it for another hour I just drilled a new hole which gave me juuusssttt enough clearance of the sway bar.
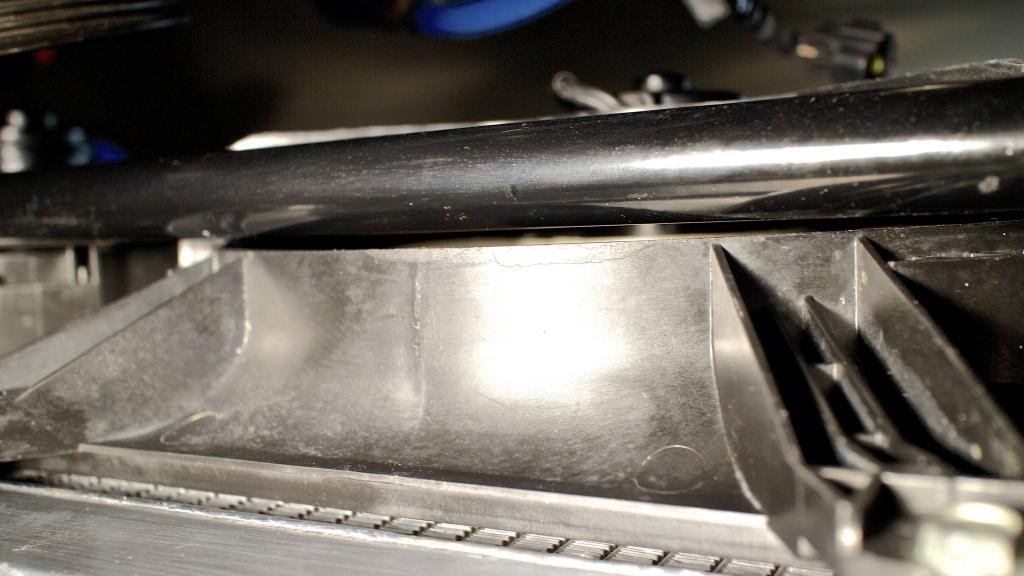


And all slotted in the car! Looks really good. Decided to leave the Miataturbo.net sticker on...you know...gotta represent the only reason the car has gotten this far this quickly!
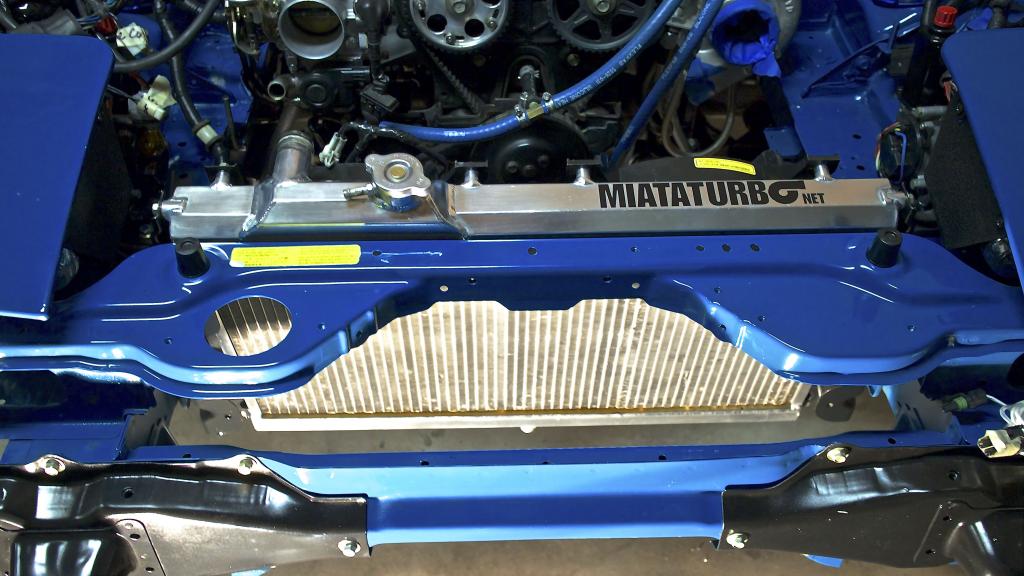


Next is the intercooler.
Attached Thumbnails 93' Miata stolen and flipped build thread-img_2004.jpg   93' Miata stolen and flipped build thread-img_2002.jpg   93' Miata stolen and flipped build thread-img_2005.jpg   93' Miata stolen and flipped build thread-img_2013.jpg   93' Miata stolen and flipped build thread-img_2007.jpg  

93' Miata stolen and flipped build thread-img_2008.jpg   93' Miata stolen and flipped build thread-img_2015.jpg   93' Miata stolen and flipped build thread-img_2012.jpg   93' Miata stolen and flipped build thread-img_2017.jpg   93' Miata stolen and flipped build thread-img_2019.jpg  

93' Miata stolen and flipped build thread-img_2016.jpg  
Jeffbucc is offline  
Old 03-02-2014, 09:09 AM
  #1413  
Cpt. Slow
iTrader: (25)
 
curly's Avatar
 
Join Date: Oct 2005
Location: Oregon City, OR
Posts: 14,179
Total Cats: 1,129
Default

Originally Posted by Jeffbucc
Looks really good. Decided to leave the Miataturbo.net sticker on...you know...gotta represent the only reason the car has gotten this far this quickly!
No no, the only reason the car has gotten this far this quickly is you're a freak of nature. Don't forget that Jeffy.
curly is offline  
Old 03-02-2014, 09:10 AM
  #1414  
Elite Member
 
Jeffbucc's Avatar
 
Join Date: Oct 2013
Location: Cedar City, UT
Posts: 2,764
Total Cats: 951
Default

Originally Posted by curly
No no, the only reason the car has gotten this far this quickly is you're a freak of nature. Don't forget that Jeffy.
Well that and the help you guys have given me along the way! I would have been stuck at several points without you guys.
Jeffbucc is offline  
Old 03-02-2014, 09:36 AM
  #1415  
Elite Member
 
Zaphod's Avatar
 
Join Date: Mar 2006
Location: Schwarzenberg, Germany
Posts: 1,553
Total Cats: 101
Default

Hi Jeff, when you put the dashboard back in did you put on new wheaterstriping on the dashboard (I am just about to re-assemble mine and want to make sure there are no creaks and nasty noises afterwards)
Thanks!
Zaphod is offline  
Old 03-02-2014, 10:08 AM
  #1416  
Elite Member
 
Jeffbucc's Avatar
 
Join Date: Oct 2013
Location: Cedar City, UT
Posts: 2,764
Total Cats: 951
Default

Originally Posted by Zaphod
Hi Jeff, when you put the dashboard back in did you put on new wheaterstriping on the dashboard (I am just about to re-assemble mine and want to make sure there are no creaks and nasty noises afterwards)
Thanks!
I haven't put the dashboard back in yet, gonna get the engine bay all tidied up before I do.

From what I have read most recommend replacing the weather stripping under the defrost vents near the edge of the dash. Also I would just place it wherever you notice a potential rubbing point. I like to tap various plastic pieces and see if there are any rattling/odd noises that come from the area I shake/tap.

OK so here is the problem I'm having with the intercooler. It looks like the old intercooler was attached to the hood latching bracket. But seeing as I will be running hood pins, the top bracket on the intercooler is now kinda useless, unless I can come up with a bracket that will attach it to the 2 M6x1.0 bolt holes that were meant for the hood bracket.
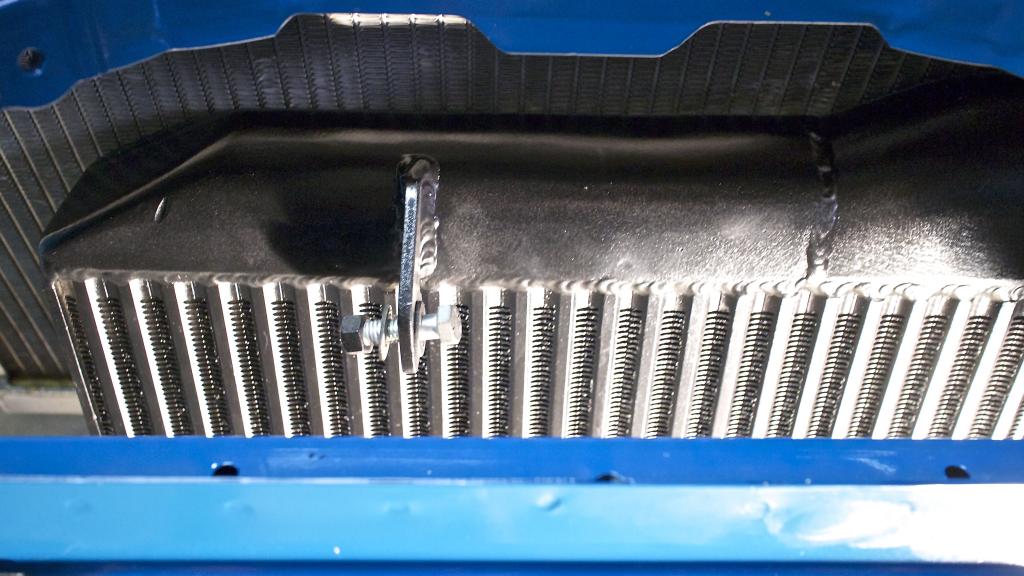


Also this side bracket is odd...it looks like the intercooler was mounted off center to the very right of the radiator.
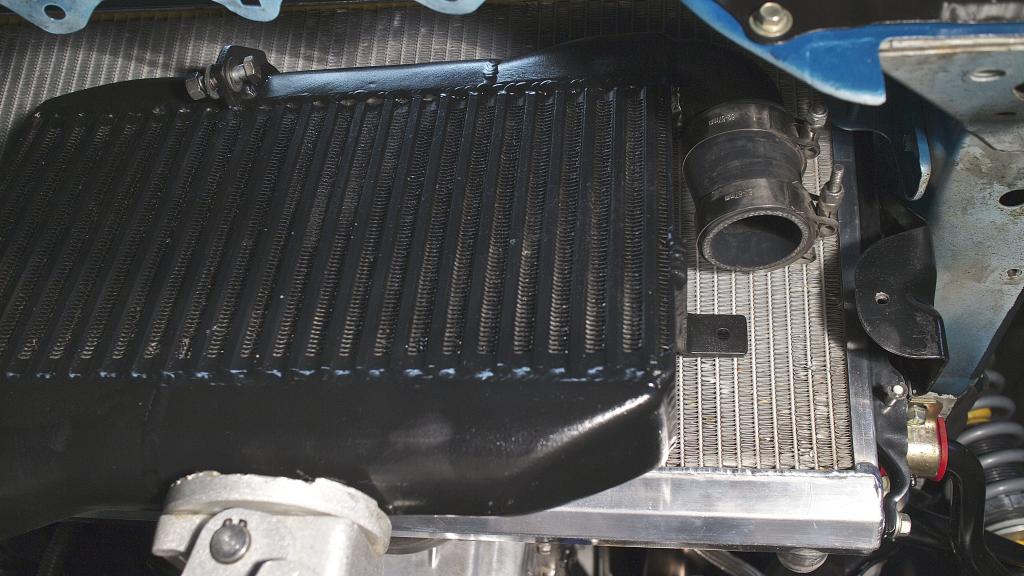


The left side is blank. There are only 2 mounting points for the intercooler, which seem about 2 too few for how damn heavy the thing is.
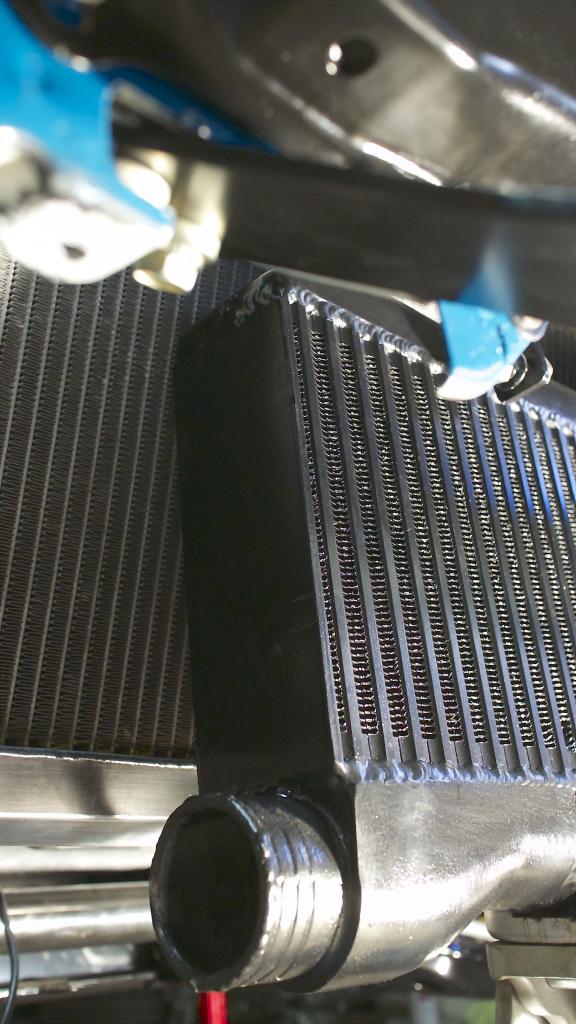


Anyone have any good ideas? I won't have access to a welder until next week, so hopefully a bolt & cut solution.
Attached Thumbnails 93' Miata stolen and flipped build thread-img_2023.jpg   93' Miata stolen and flipped build thread-img_2020.jpg   93' Miata stolen and flipped build thread-img_2022.jpg  
Jeffbucc is offline  
Old 03-02-2014, 12:30 PM
  #1417  
Cpt. Slow
iTrader: (25)
 
curly's Avatar
 
Join Date: Oct 2005
Location: Oregon City, OR
Posts: 14,179
Total Cats: 1,129
Default

Stop while you're ahead and buy a fab9 intercooler. Pretty and perfectly new, bolt on to those diagonal threads on either side, and probably a better intercooler than that one.
curly is offline  
Old 03-02-2014, 12:53 PM
  #1418  
Elite Member
iTrader: (5)
 
BTMiata's Avatar
 
Join Date: Aug 2011
Location: South Jersey
Posts: 1,512
Total Cats: 30
Default

Originally Posted by curly
Stop while you're ahead and buy a fab9 intercooler. Pretty and perfectly new, bolt on to those diagonal threads on either side, and probably a better intercooler than that one.
This is exactly what I was thinking. With the lengths you've gone through to make this car what it is... a perfect fitting intercooler would definitely be beneficial
BTMiata is offline  
Old 03-02-2014, 01:20 PM
  #1419  
Elite Member
 
Jeffbucc's Avatar
 
Join Date: Oct 2013
Location: Cedar City, UT
Posts: 2,764
Total Cats: 951
Default

Originally Posted by curly
Stop while you're ahead and buy a fab9 intercooler. Pretty and perfectly new, bolt on to those diagonal threads on either side, and probably a better intercooler than that one.
Thanks Curly. I'll check it out. This one is so damn heavy. Swear its made of iron.
Jeffbucc is offline  
Old 03-02-2014, 01:22 PM
  #1420  
VladiTuned
iTrader: (76)
 
18psi's Avatar
 
Join Date: Apr 2008
Posts: 35,821
Total Cats: 3,481
Default

that steering wheel restore friggen impressed me. I never knew you could "restore" leather wheels like that. props
18psi is offline  


Quick Reply: 93' Miata stolen and flipped build thread


All times are GMT -4. The time now is 12:10 PM.