The quest for boost! 10 years in the making
 09-11-2018, 12:51 AM
#1
Junior Member
Thread Starter

Join Date: Jul 2018
Location: Colorado
Posts: 118
Total Cats: 5
I figured it was time to start a build thread of my Miata adventures here. I wasn't sure what to name the title of the thread, but it holds true to some degree. A little backstory was that I purchased a brand spanking new GT2560R back in 2008 when I was going to turbocharge my Nissan Sentra. I was a poor college kid at the time and maybe it wasn't the best financial decision. Plans fell through and I never pulled through with it, sold most of the turbo parts I gathered but was unable to sell the turbo. So I've just held on to it for the past 10 years or so hoping some day to eventually find a use for it.
TL;DR - A year ago I bought a 99' Miata as a project car/weekend car/Summer car with plans to boost it -- Also sorry in advance for the massive pic dump and the massive resolution! I will have to look into resizing my pics in the future!
About a year ago I was in the market for a project car/weekend car/Summer car, I had looked into 300ZX's, 3000GT's, WRX's, Eclipse GS-T/GSX's, 350z's, S2000's, etc etc. Initially I wanted something that was "cheap," easily maintained, easy to work on, had some decent aftermarket support and under $5k that wasn't already molested. With that criteria, it already rules out a lot of the cars I listed and I didn't want a Civic as every other Asian guy, his Grandma, his Uncle and his 2nd cousin all have one. I've also only ever owned and driven FWD vehicles so I wanted to dabble in RWD.
I had considered a Miata before in the past, but I didn't know much about them except their "reputation" for being a chicks car/hairdressers car/old man's car/slow/etc. But as I researched more, learned more about them, watched YouTube videos on them (Thanks CarPassionChannel - Although I know he has his doubters on here) I started to consider them more and more. After researching that a GT2560R was a perfect turbo that is well suited for a Miata and that there were a couple of OTS kits for them and being drawn to the lightness and handling of the Miata I decided that was what I was gonna buy.
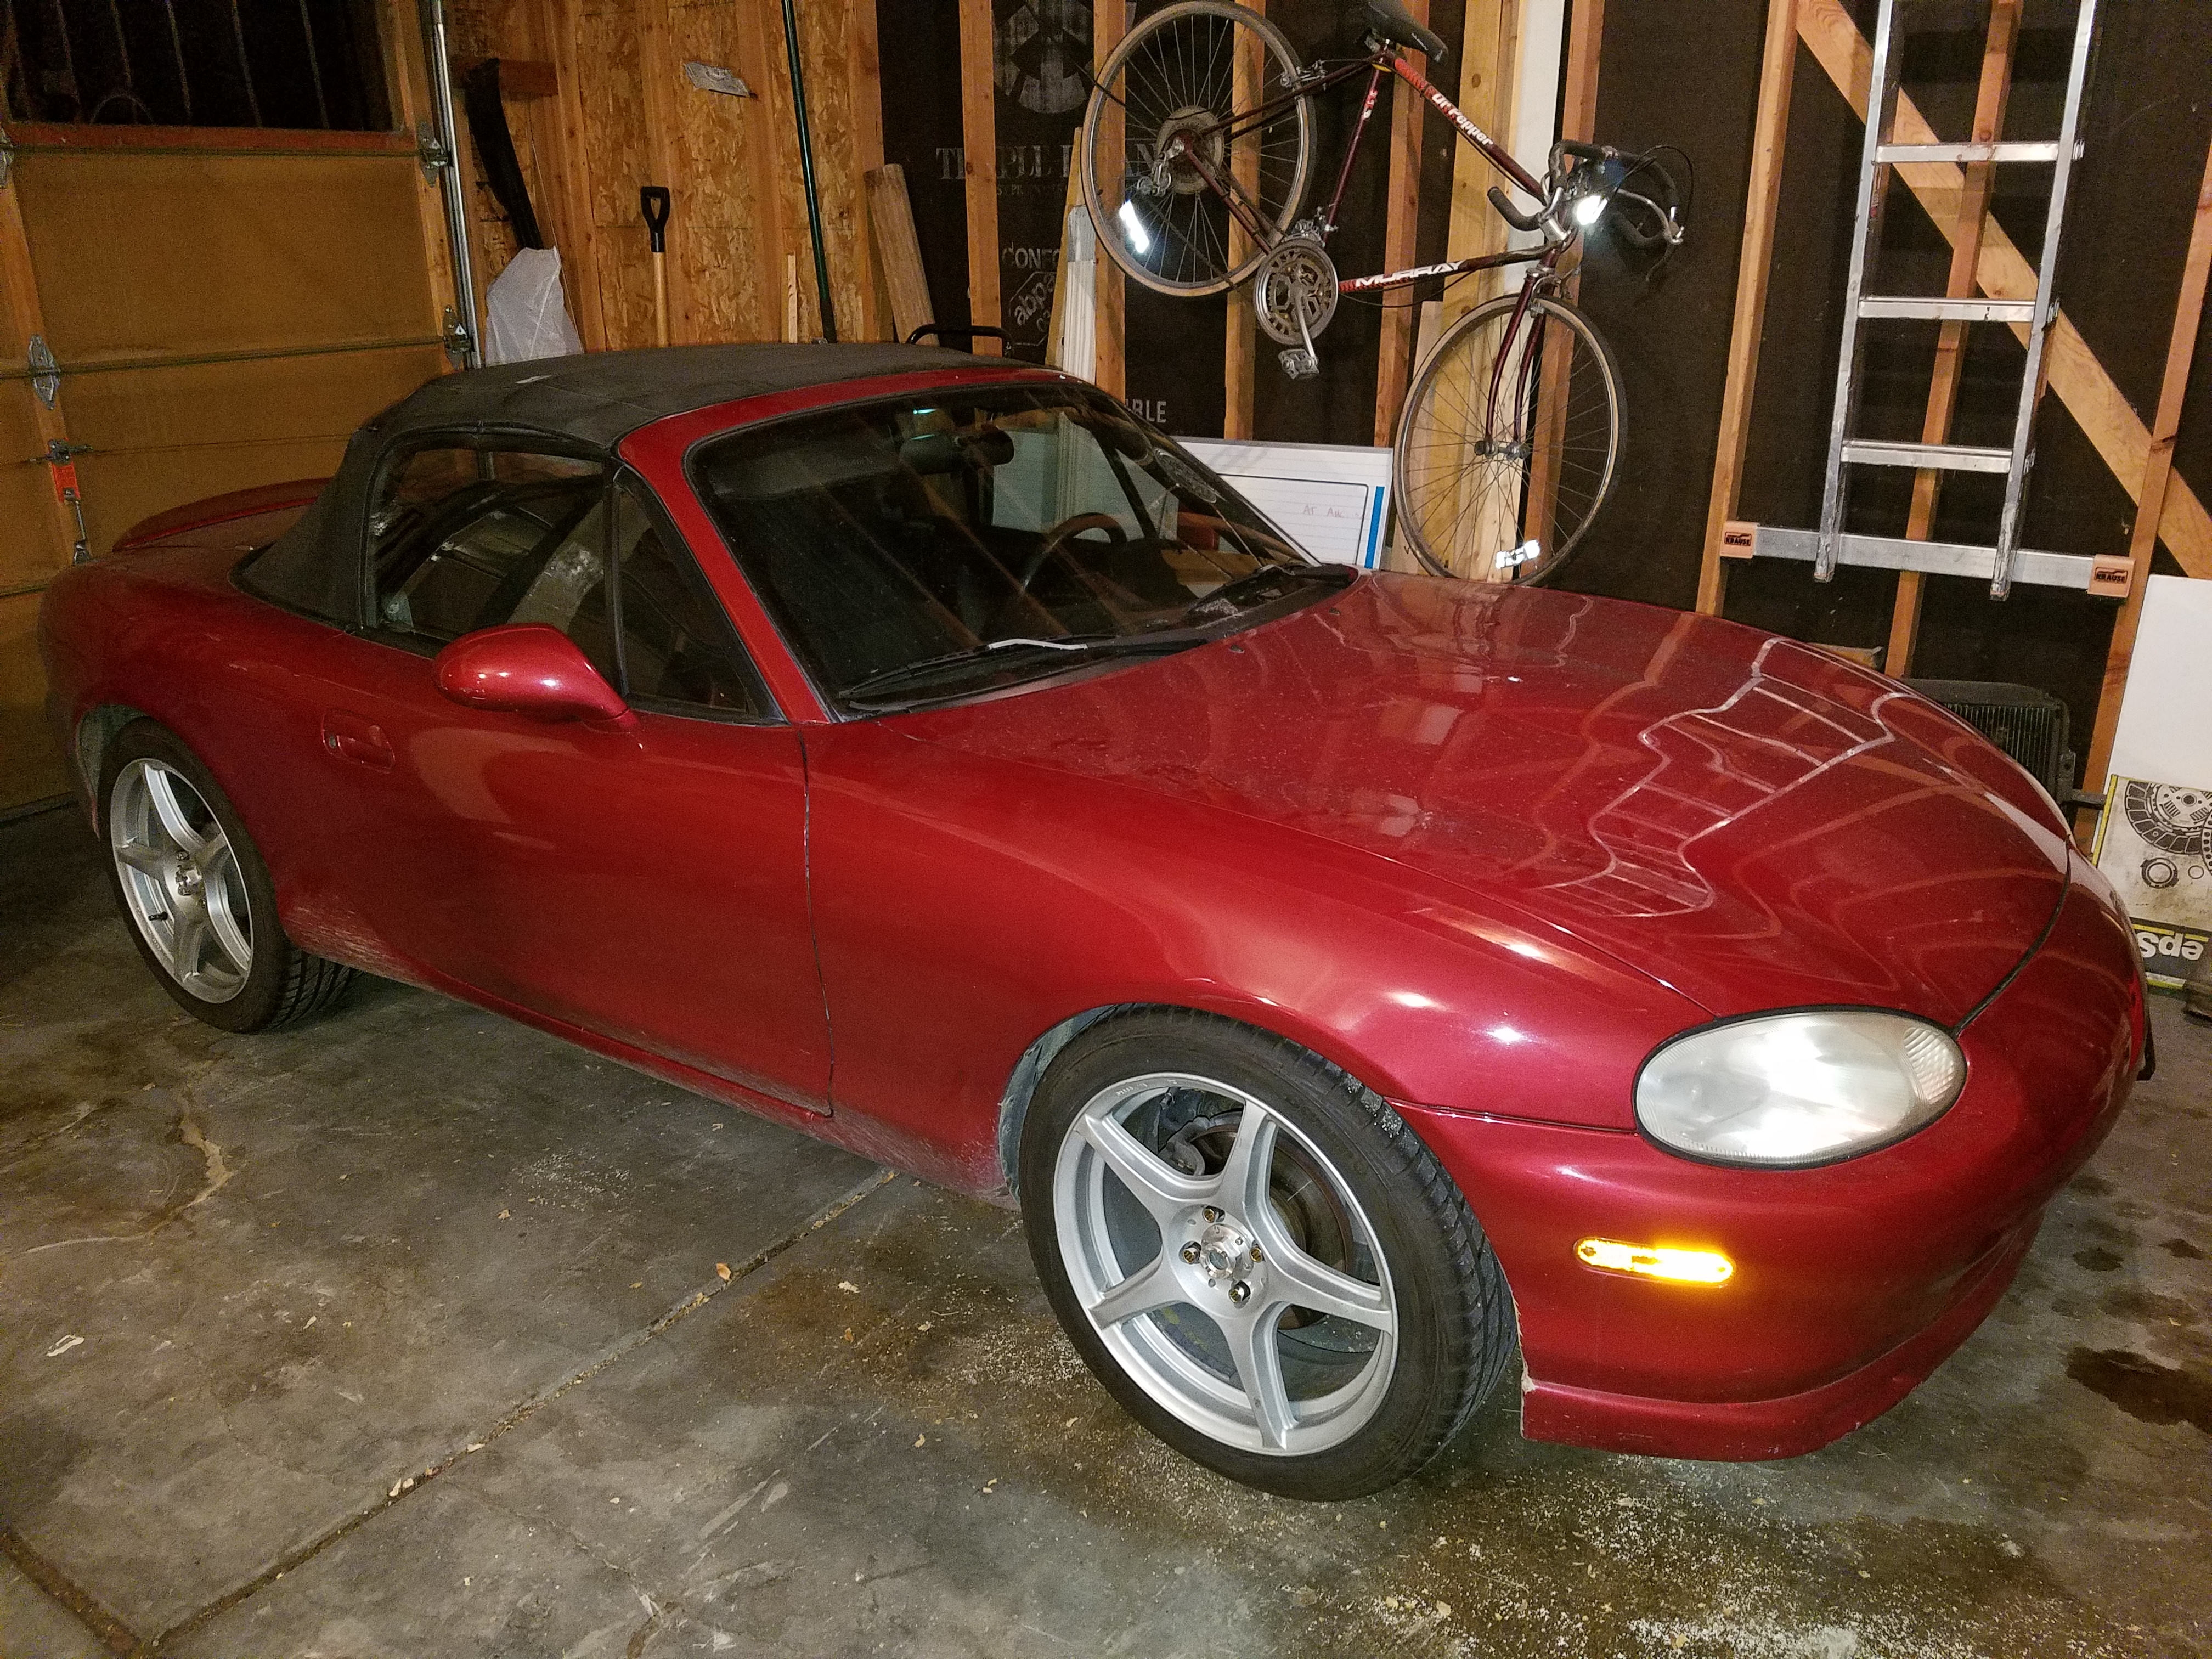
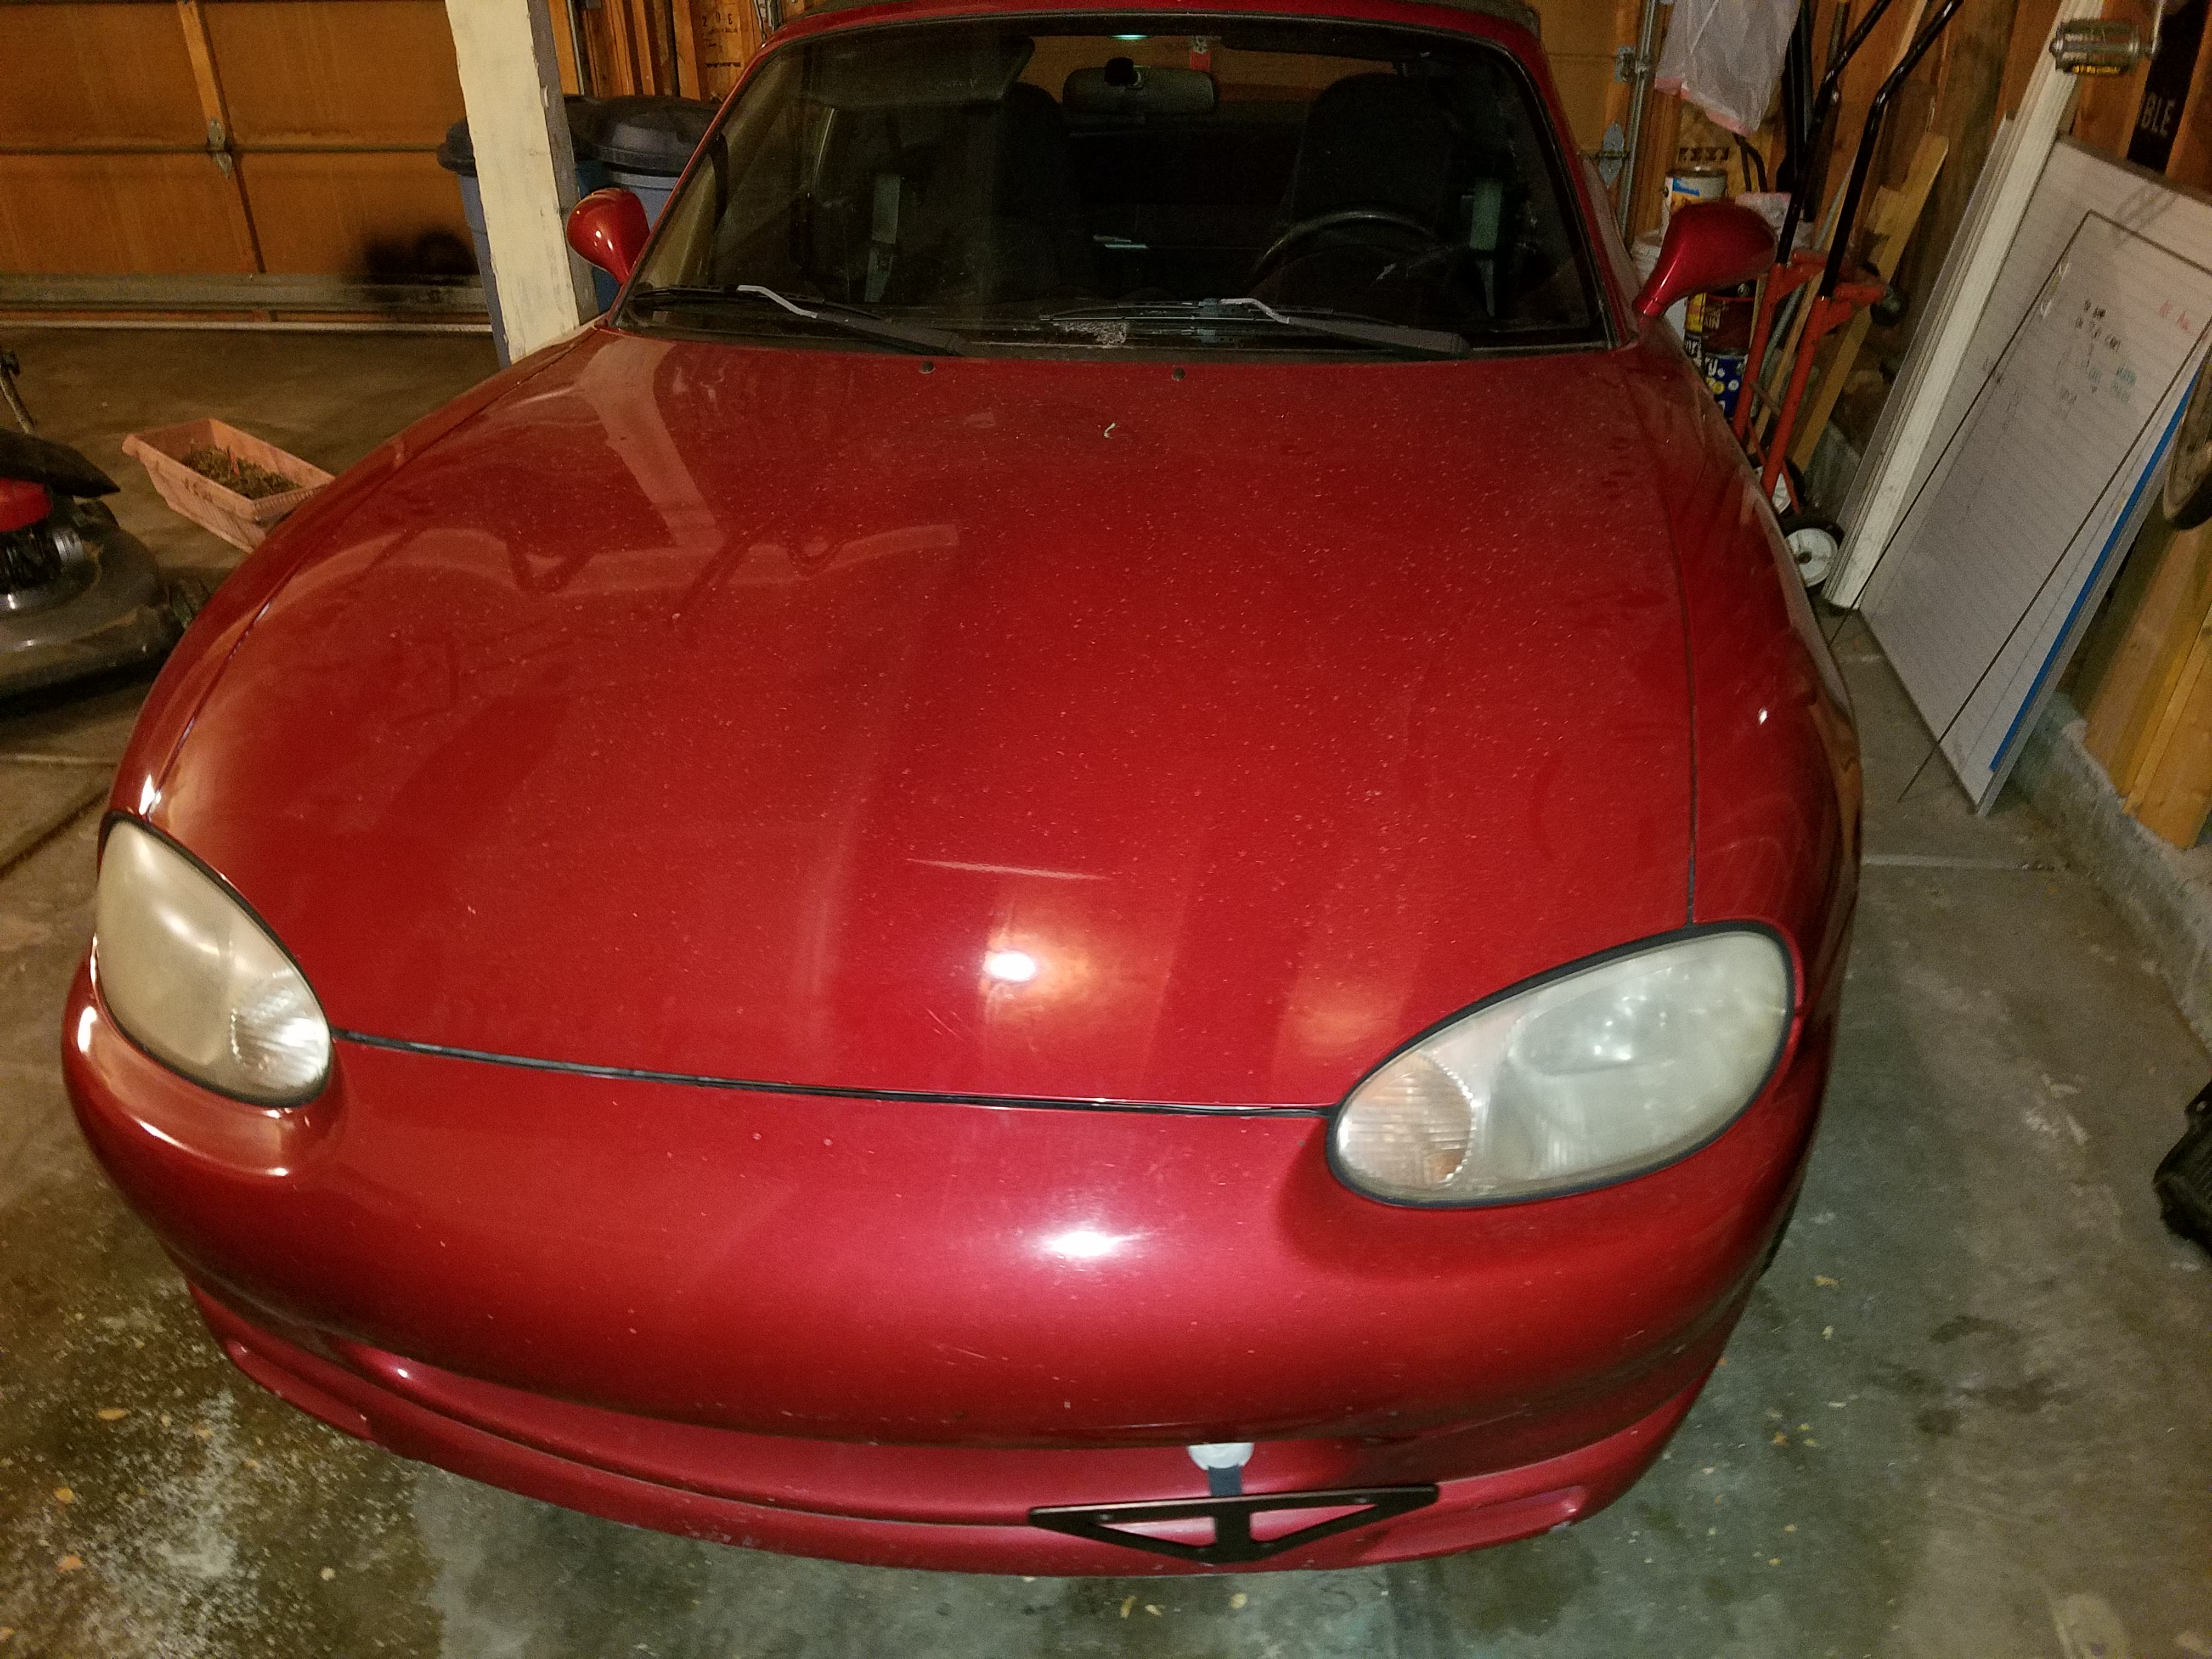
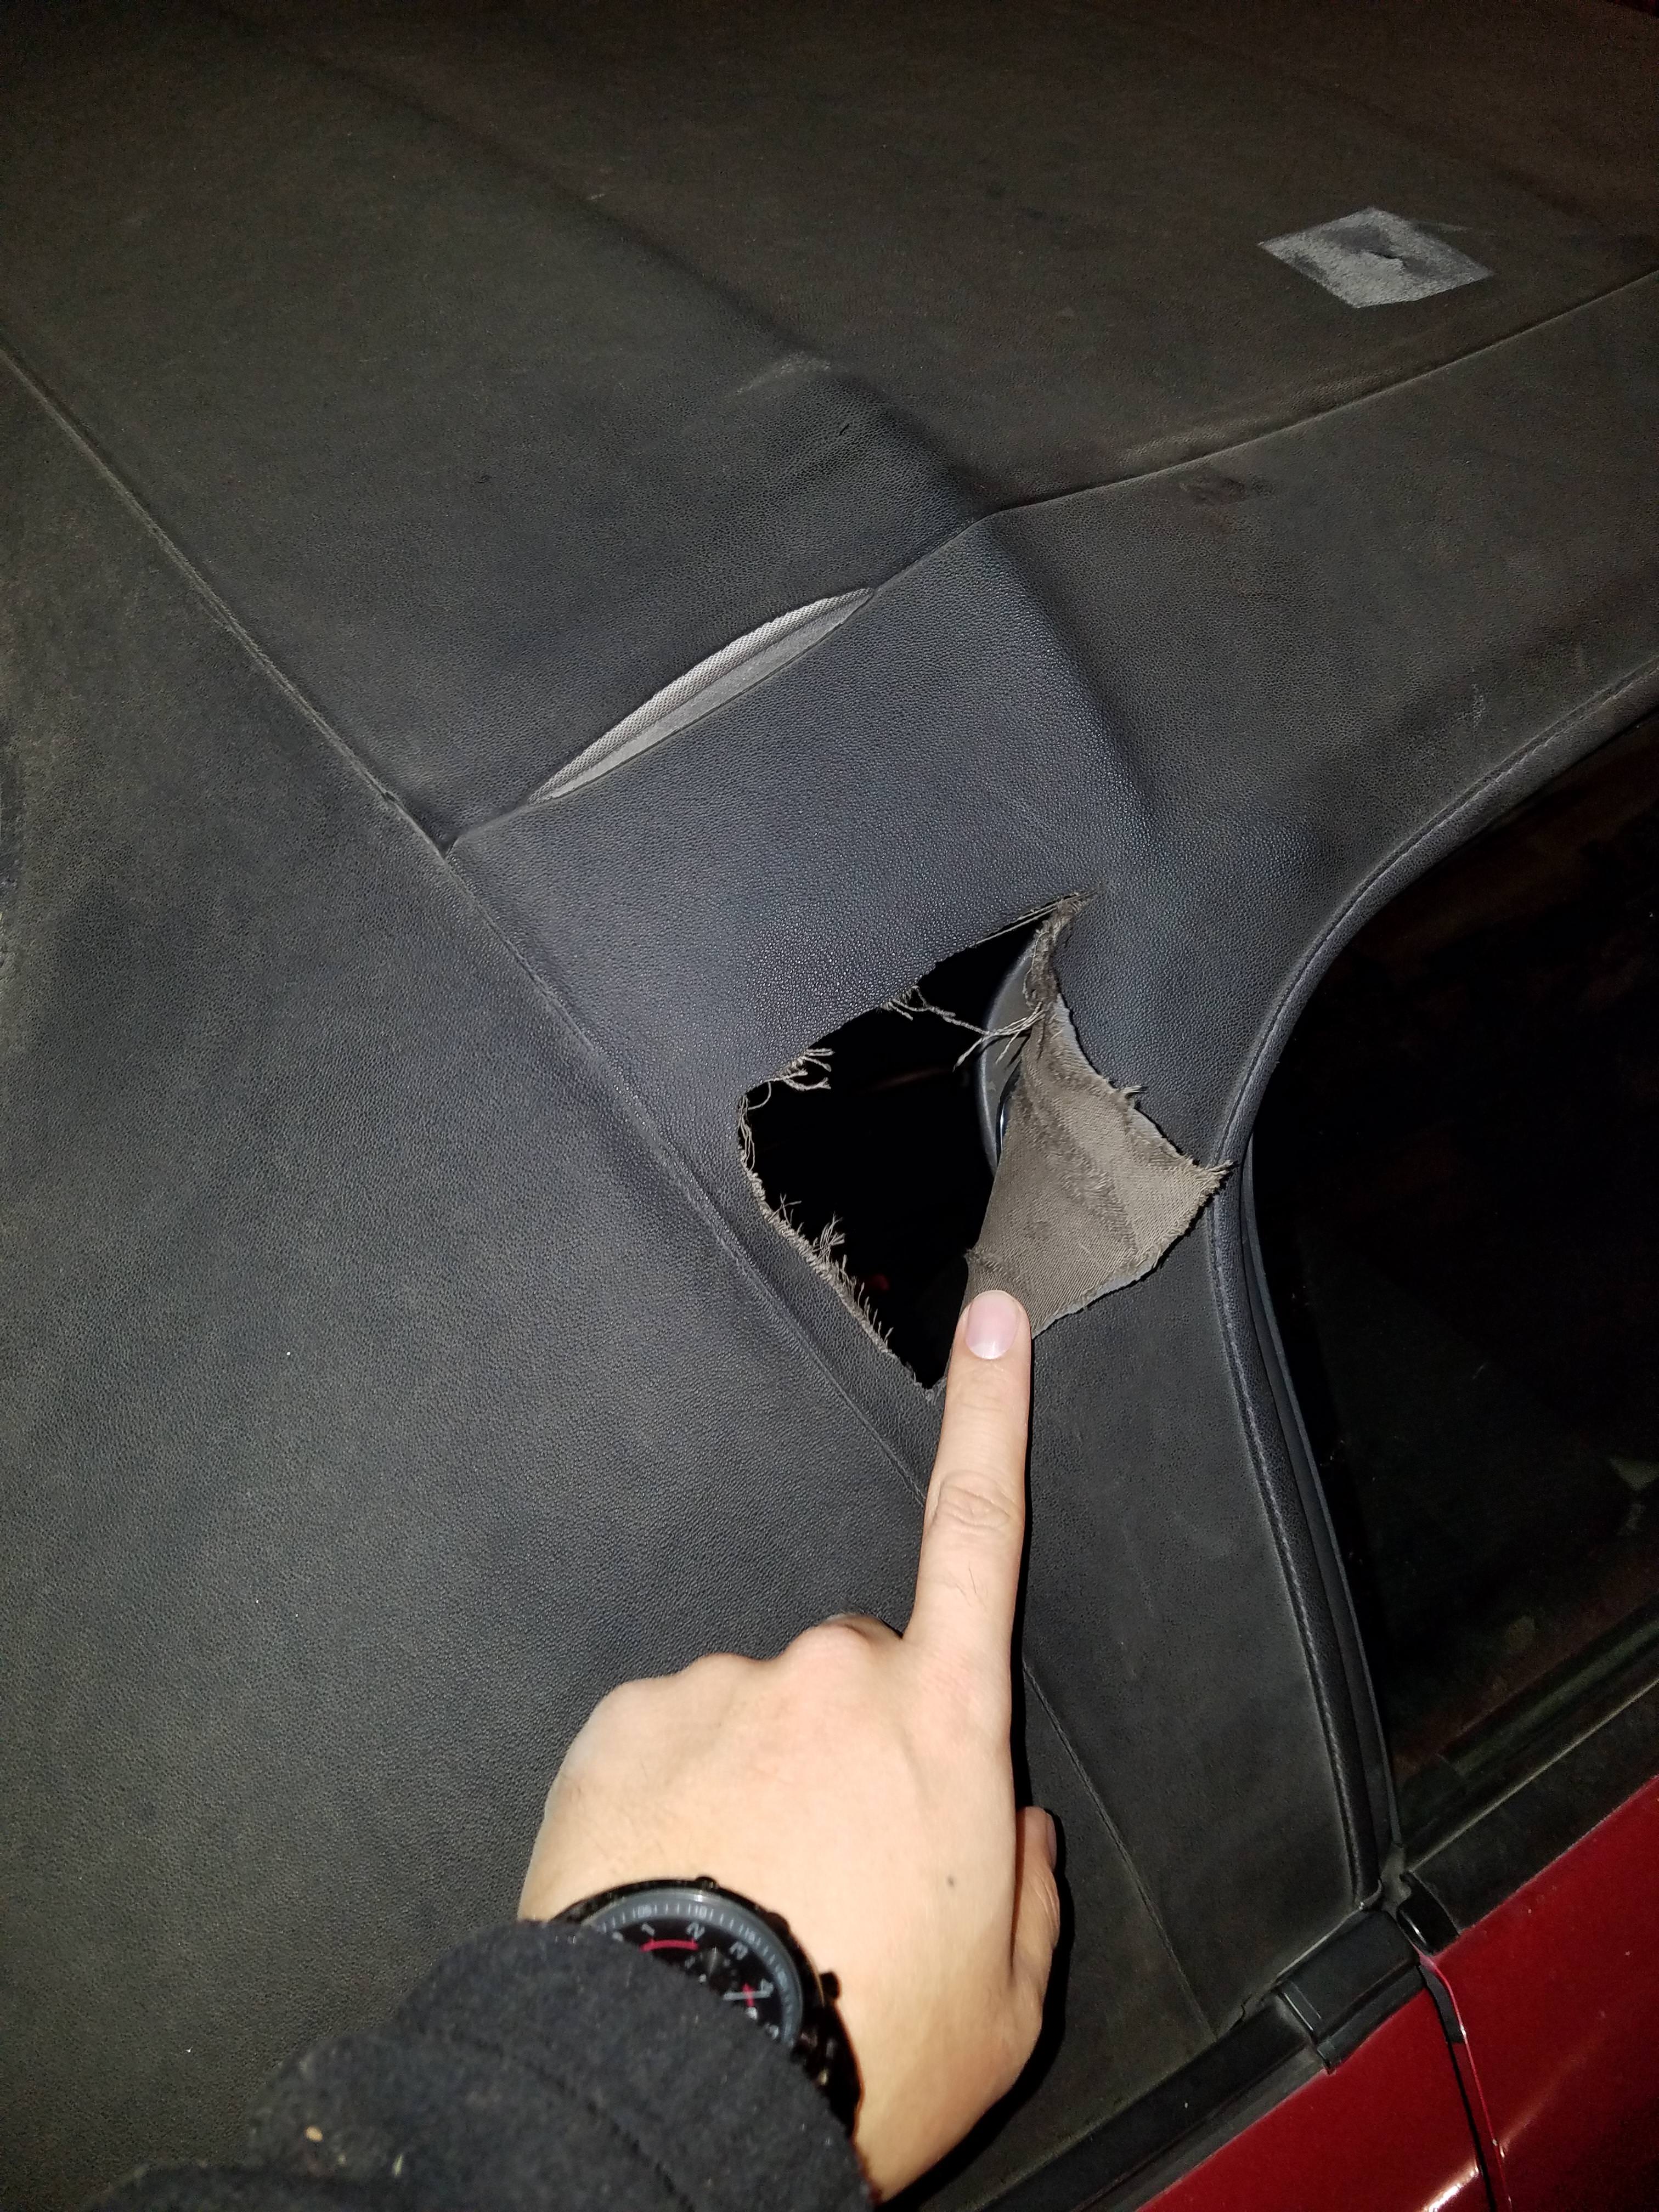
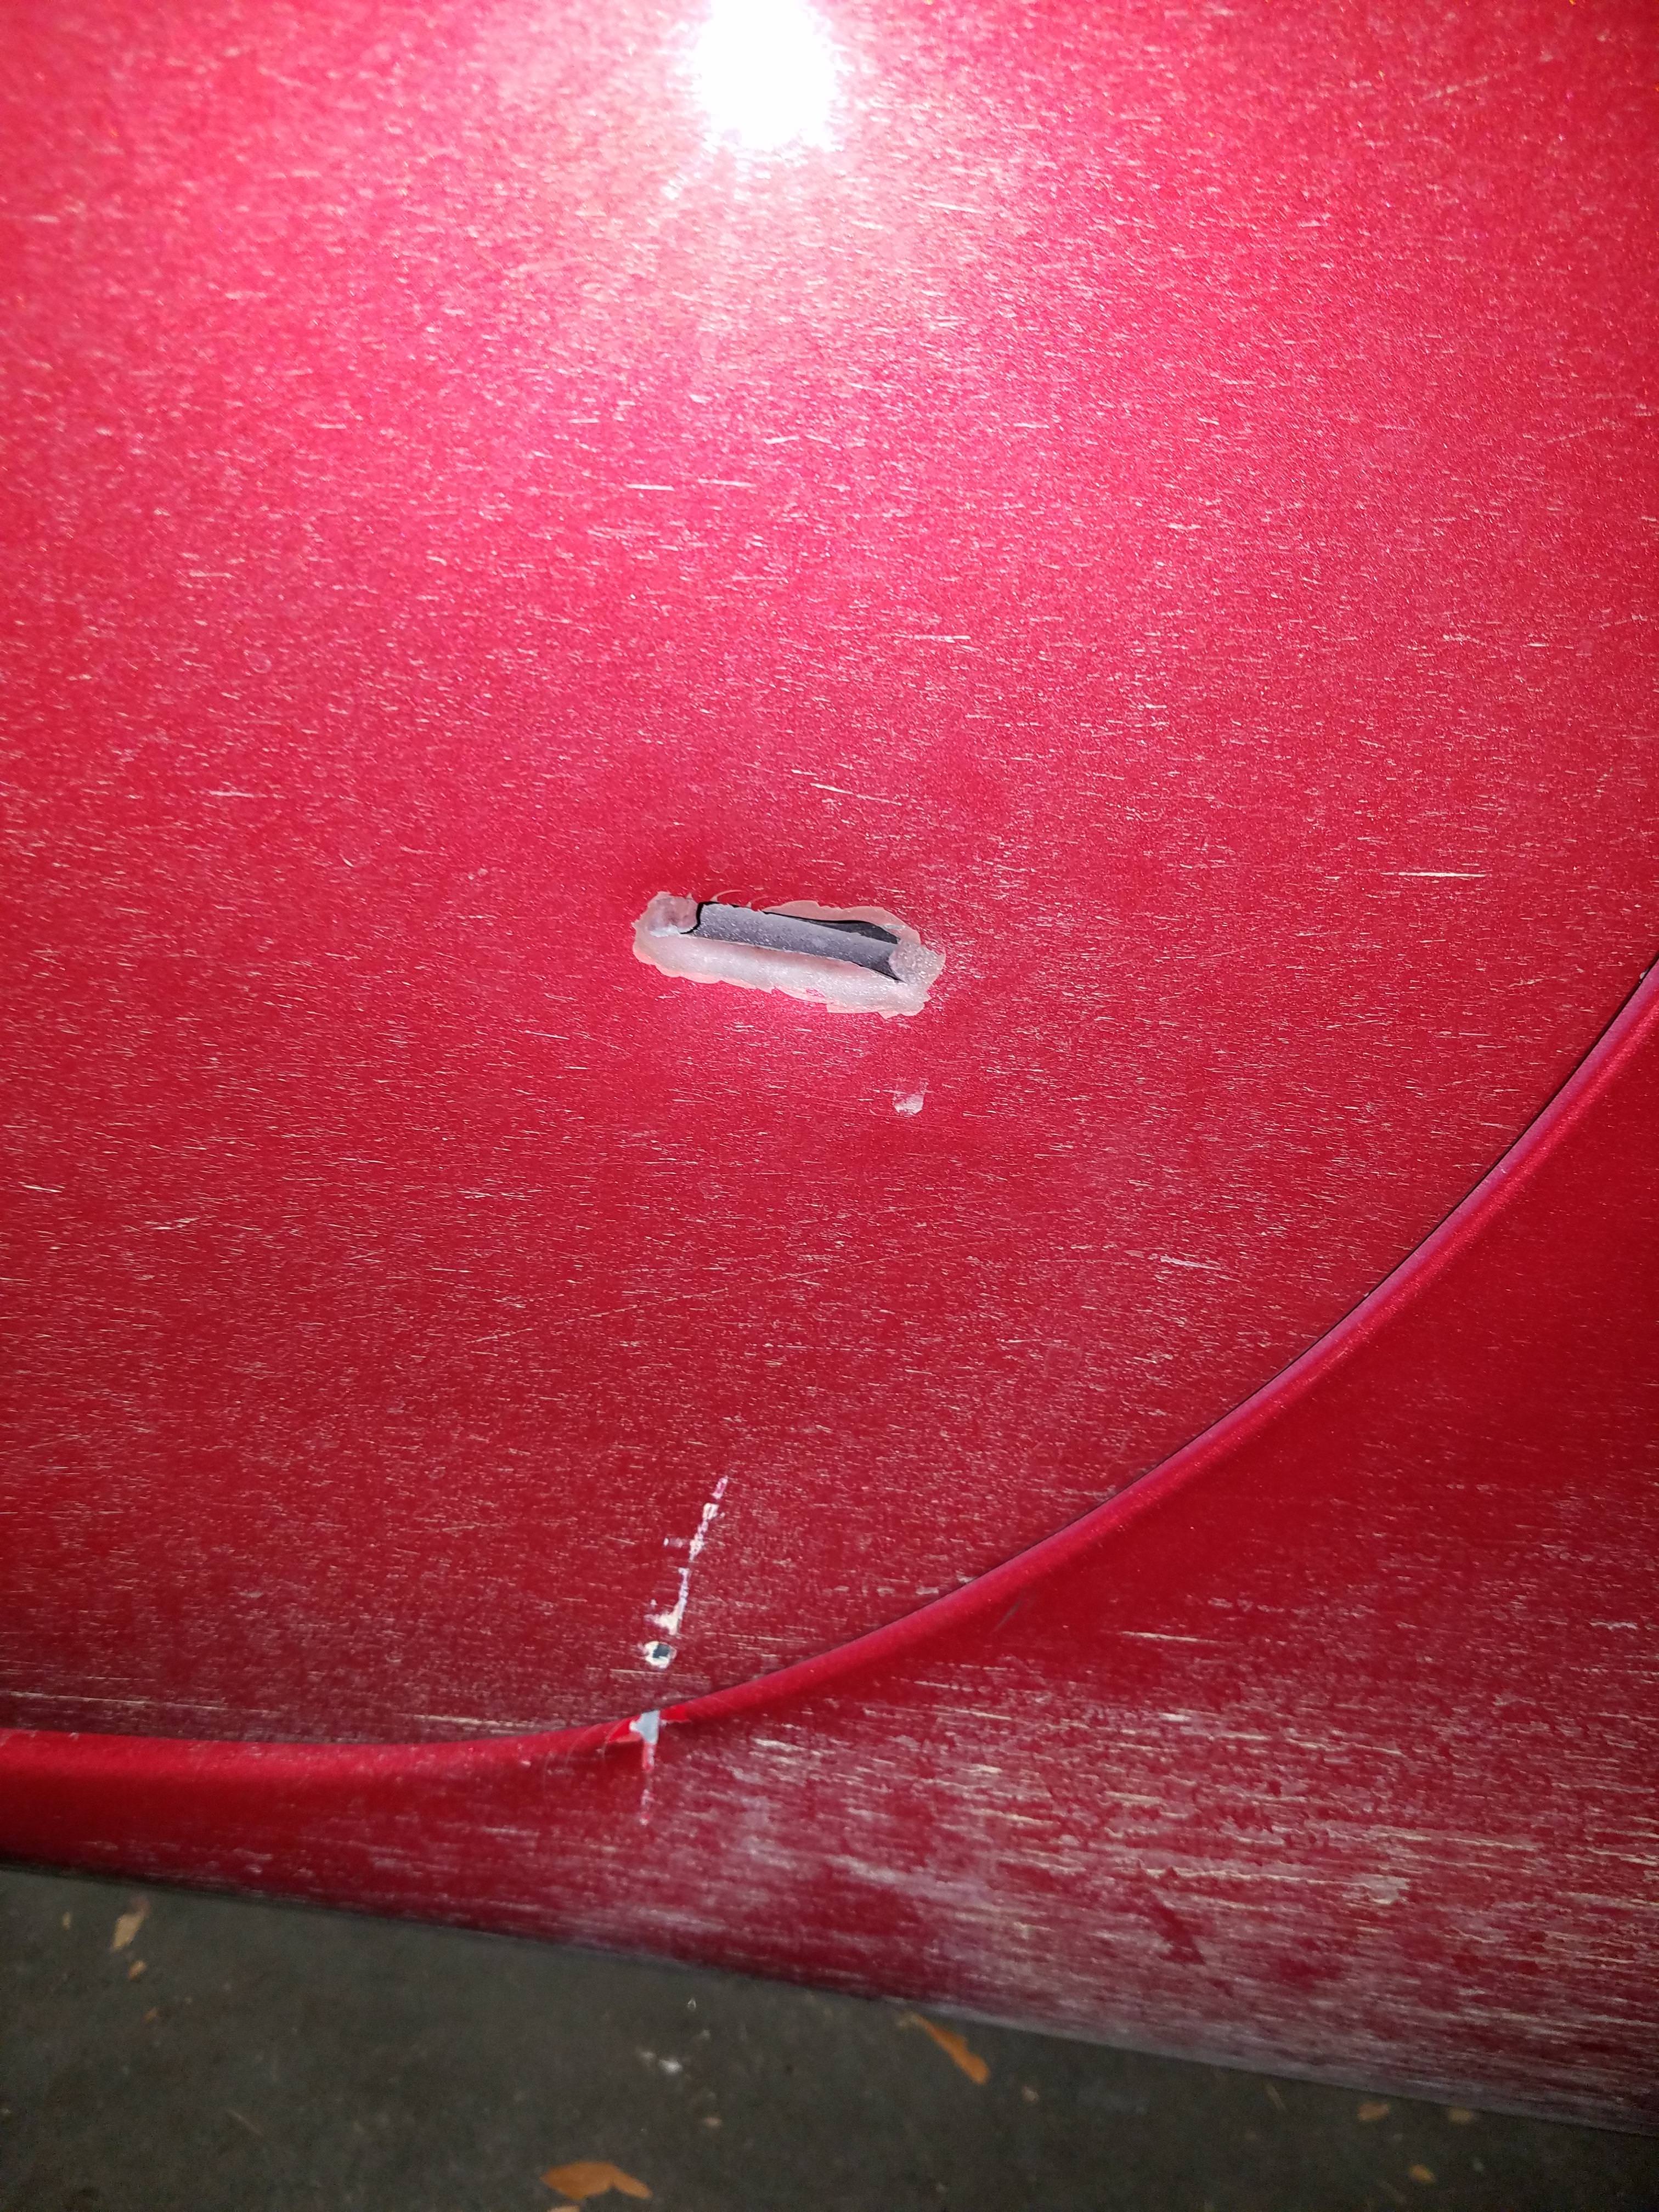
Early on I decided that I wanted a 1.8L over a 1.6L and initially wanted an NA (cause pop ups), but every time a decent one popped up in my price range it always was gone within a week or so (or at least the listing was). I ended up coming across an 99' NB that was posted for I think almost a month and thought maybe it would be worth to check it out. I knew it at least had a 1.8L and slightly more HP than the NA 1.8's and at the time I thought it had VVT (now I know it's only NB2). Carfax showed it as a Base model and it had a insurance claim on it. It also had a tear in the top, a hole in the door and some slight hail damage on the hood of which I used to negotiate it down below his asking price before even seeing it, to which he agreed and told me even with the insurance claim it had a clean title.
So I went ahead and checked it out and upon inspecting it, it didn't appear to have been in an accident, most of the panels/frame looked straight, but it does appear to have been resprayed and after discussing it with the PO he thinks the person he bought (Carfax date of claim was before he owned it) it from filed a claim for the hail damage which isn't really noticeable unless you're looking for it and it's mainly on the Aluminum hood. It was pretty much stock, supposedly had the timing belt done and a new clutch put in and after further inspection it didn't show any signs of rust (originally a Texas car) and also turns out it had Yellow Bilsteins, Nardi steering wheel, OEM strut tower brace and the rear diff was "finned." I remember reading that this was an options package that usually meant the Miata came with a Torsen LSD, score for me as I wouldn't have to swap one in later.
Test drive went okay, it pulled strong for the most part except a minor hesitation/hiccup at around 5500+ RPM. Me being a noob thought it was the VVT switching over and it was "kicking on" (VTAK Bro!). It wasn't doing it all of the time and it seemed intermittent (more on that later), but I still ended up purchasing it that day.
Now on to the pics:
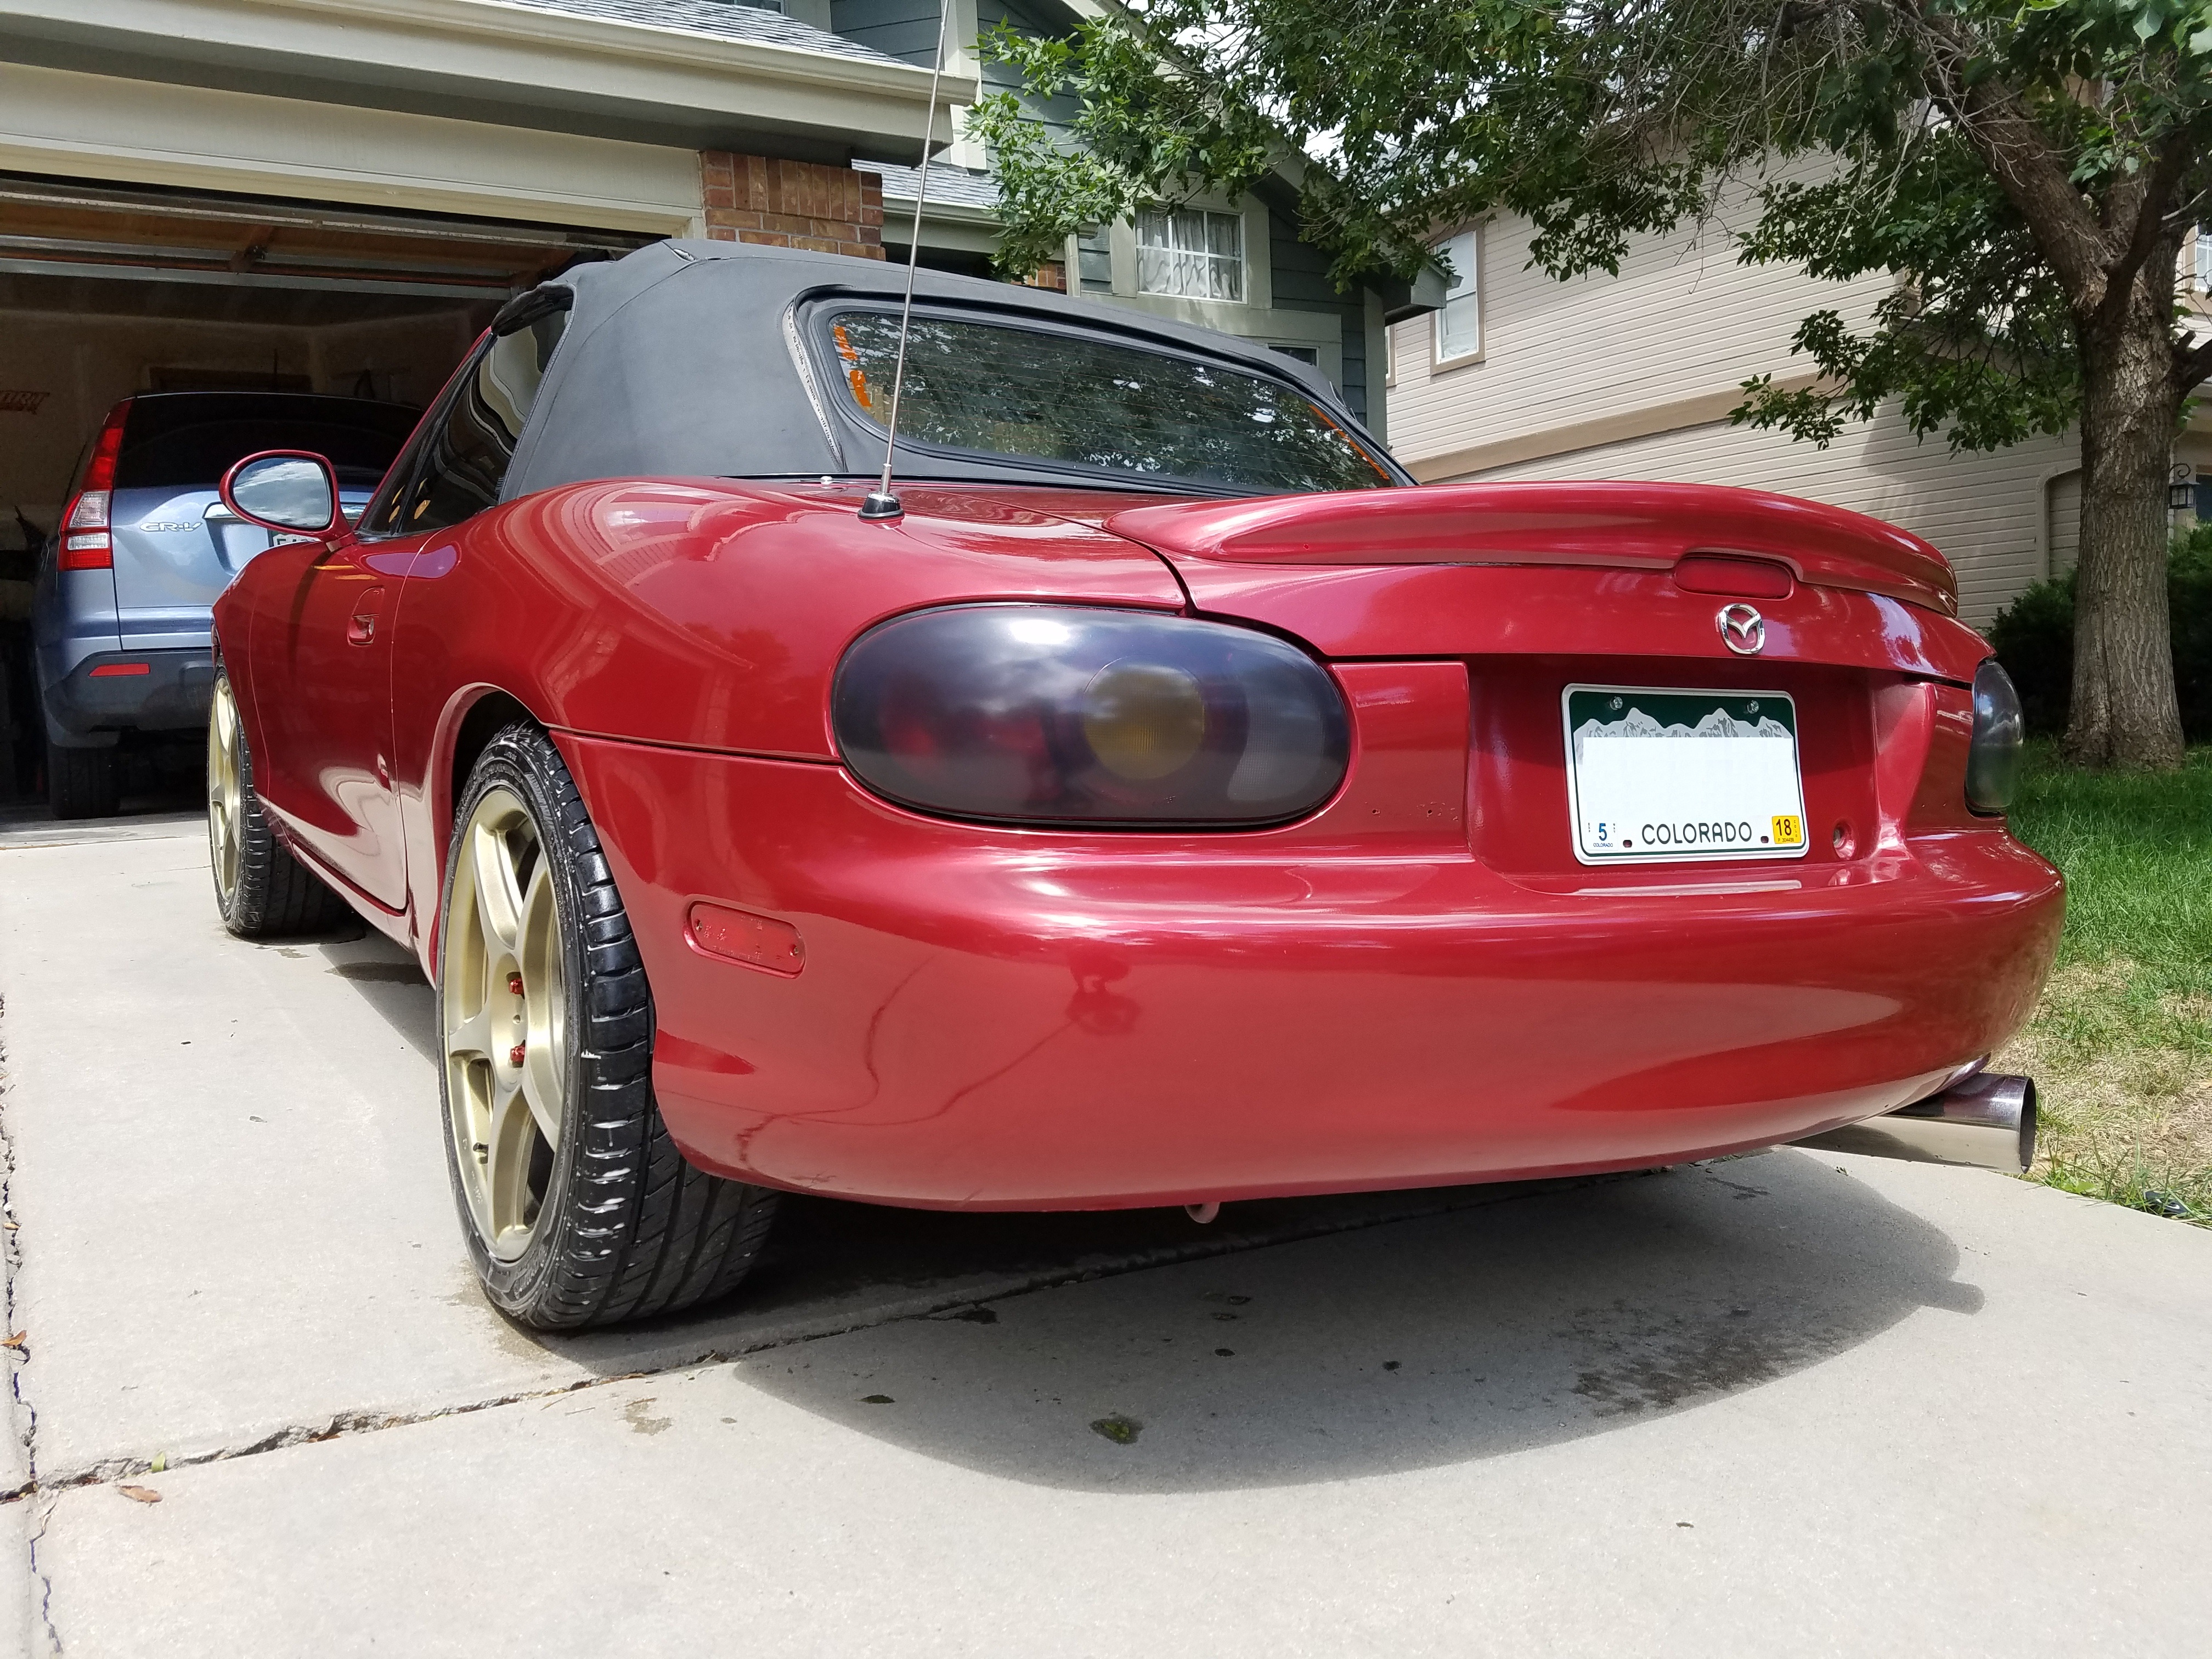
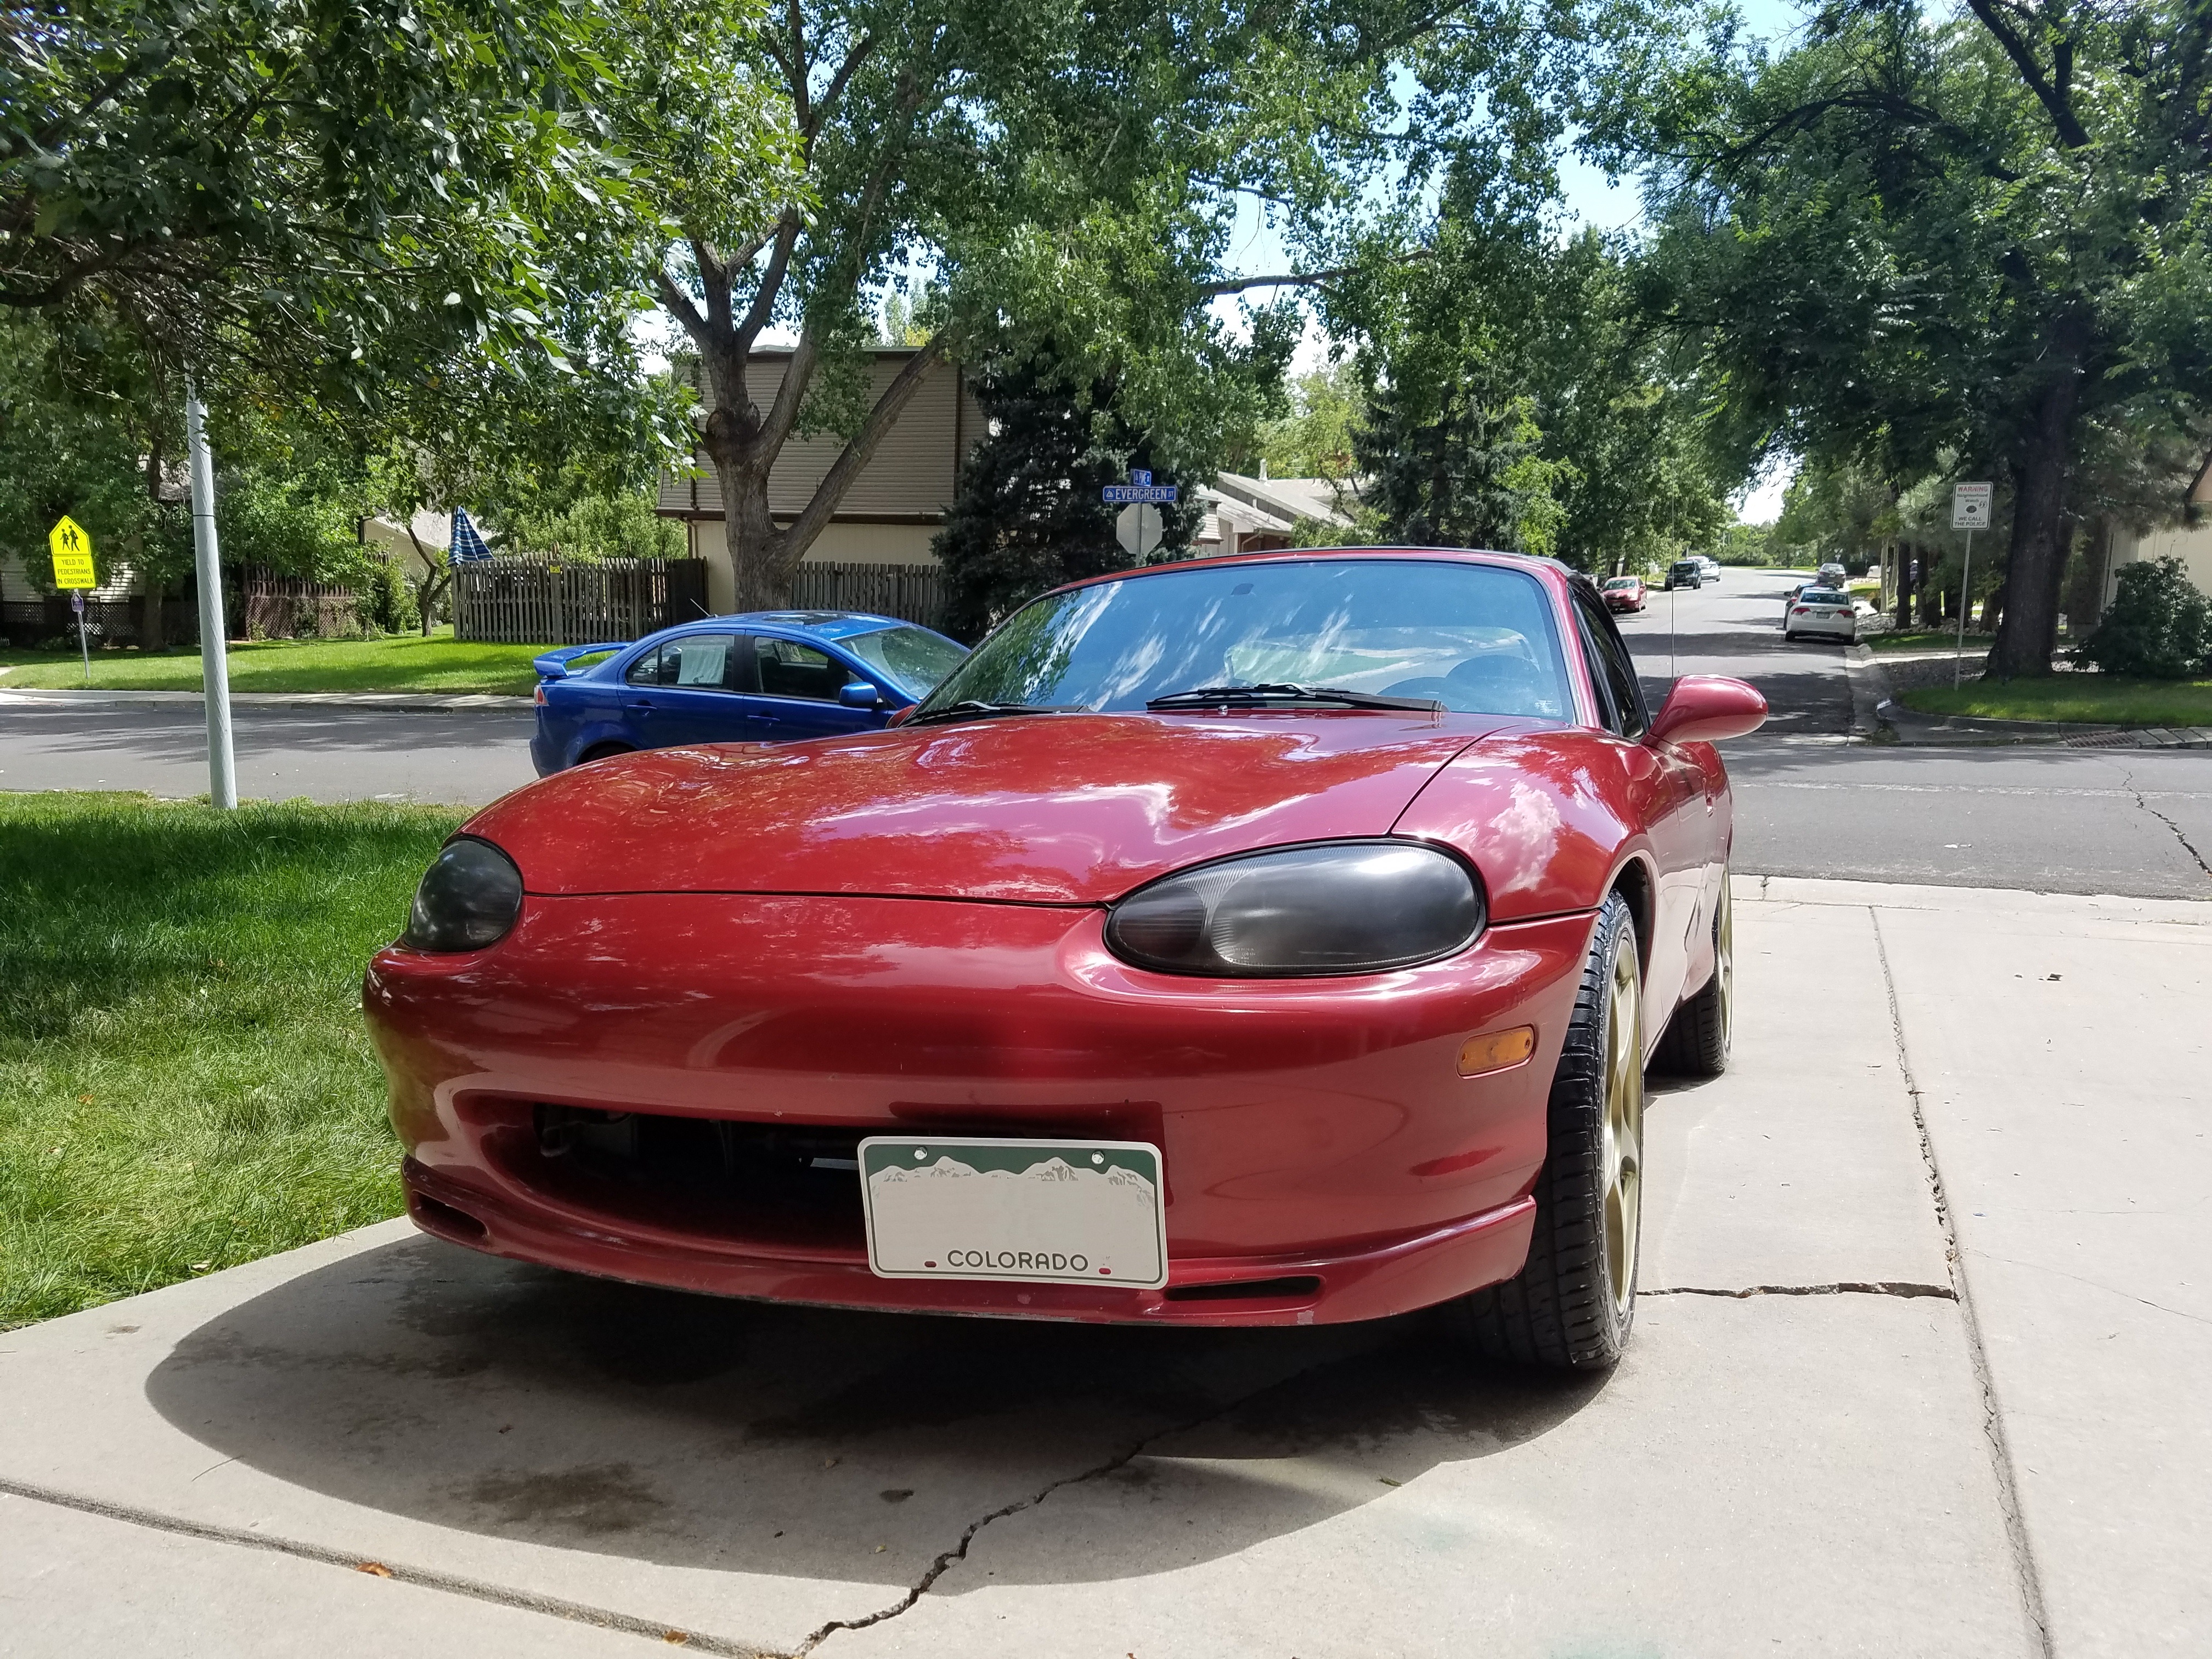
First night home:
Trashed Top and hole in drivers door:
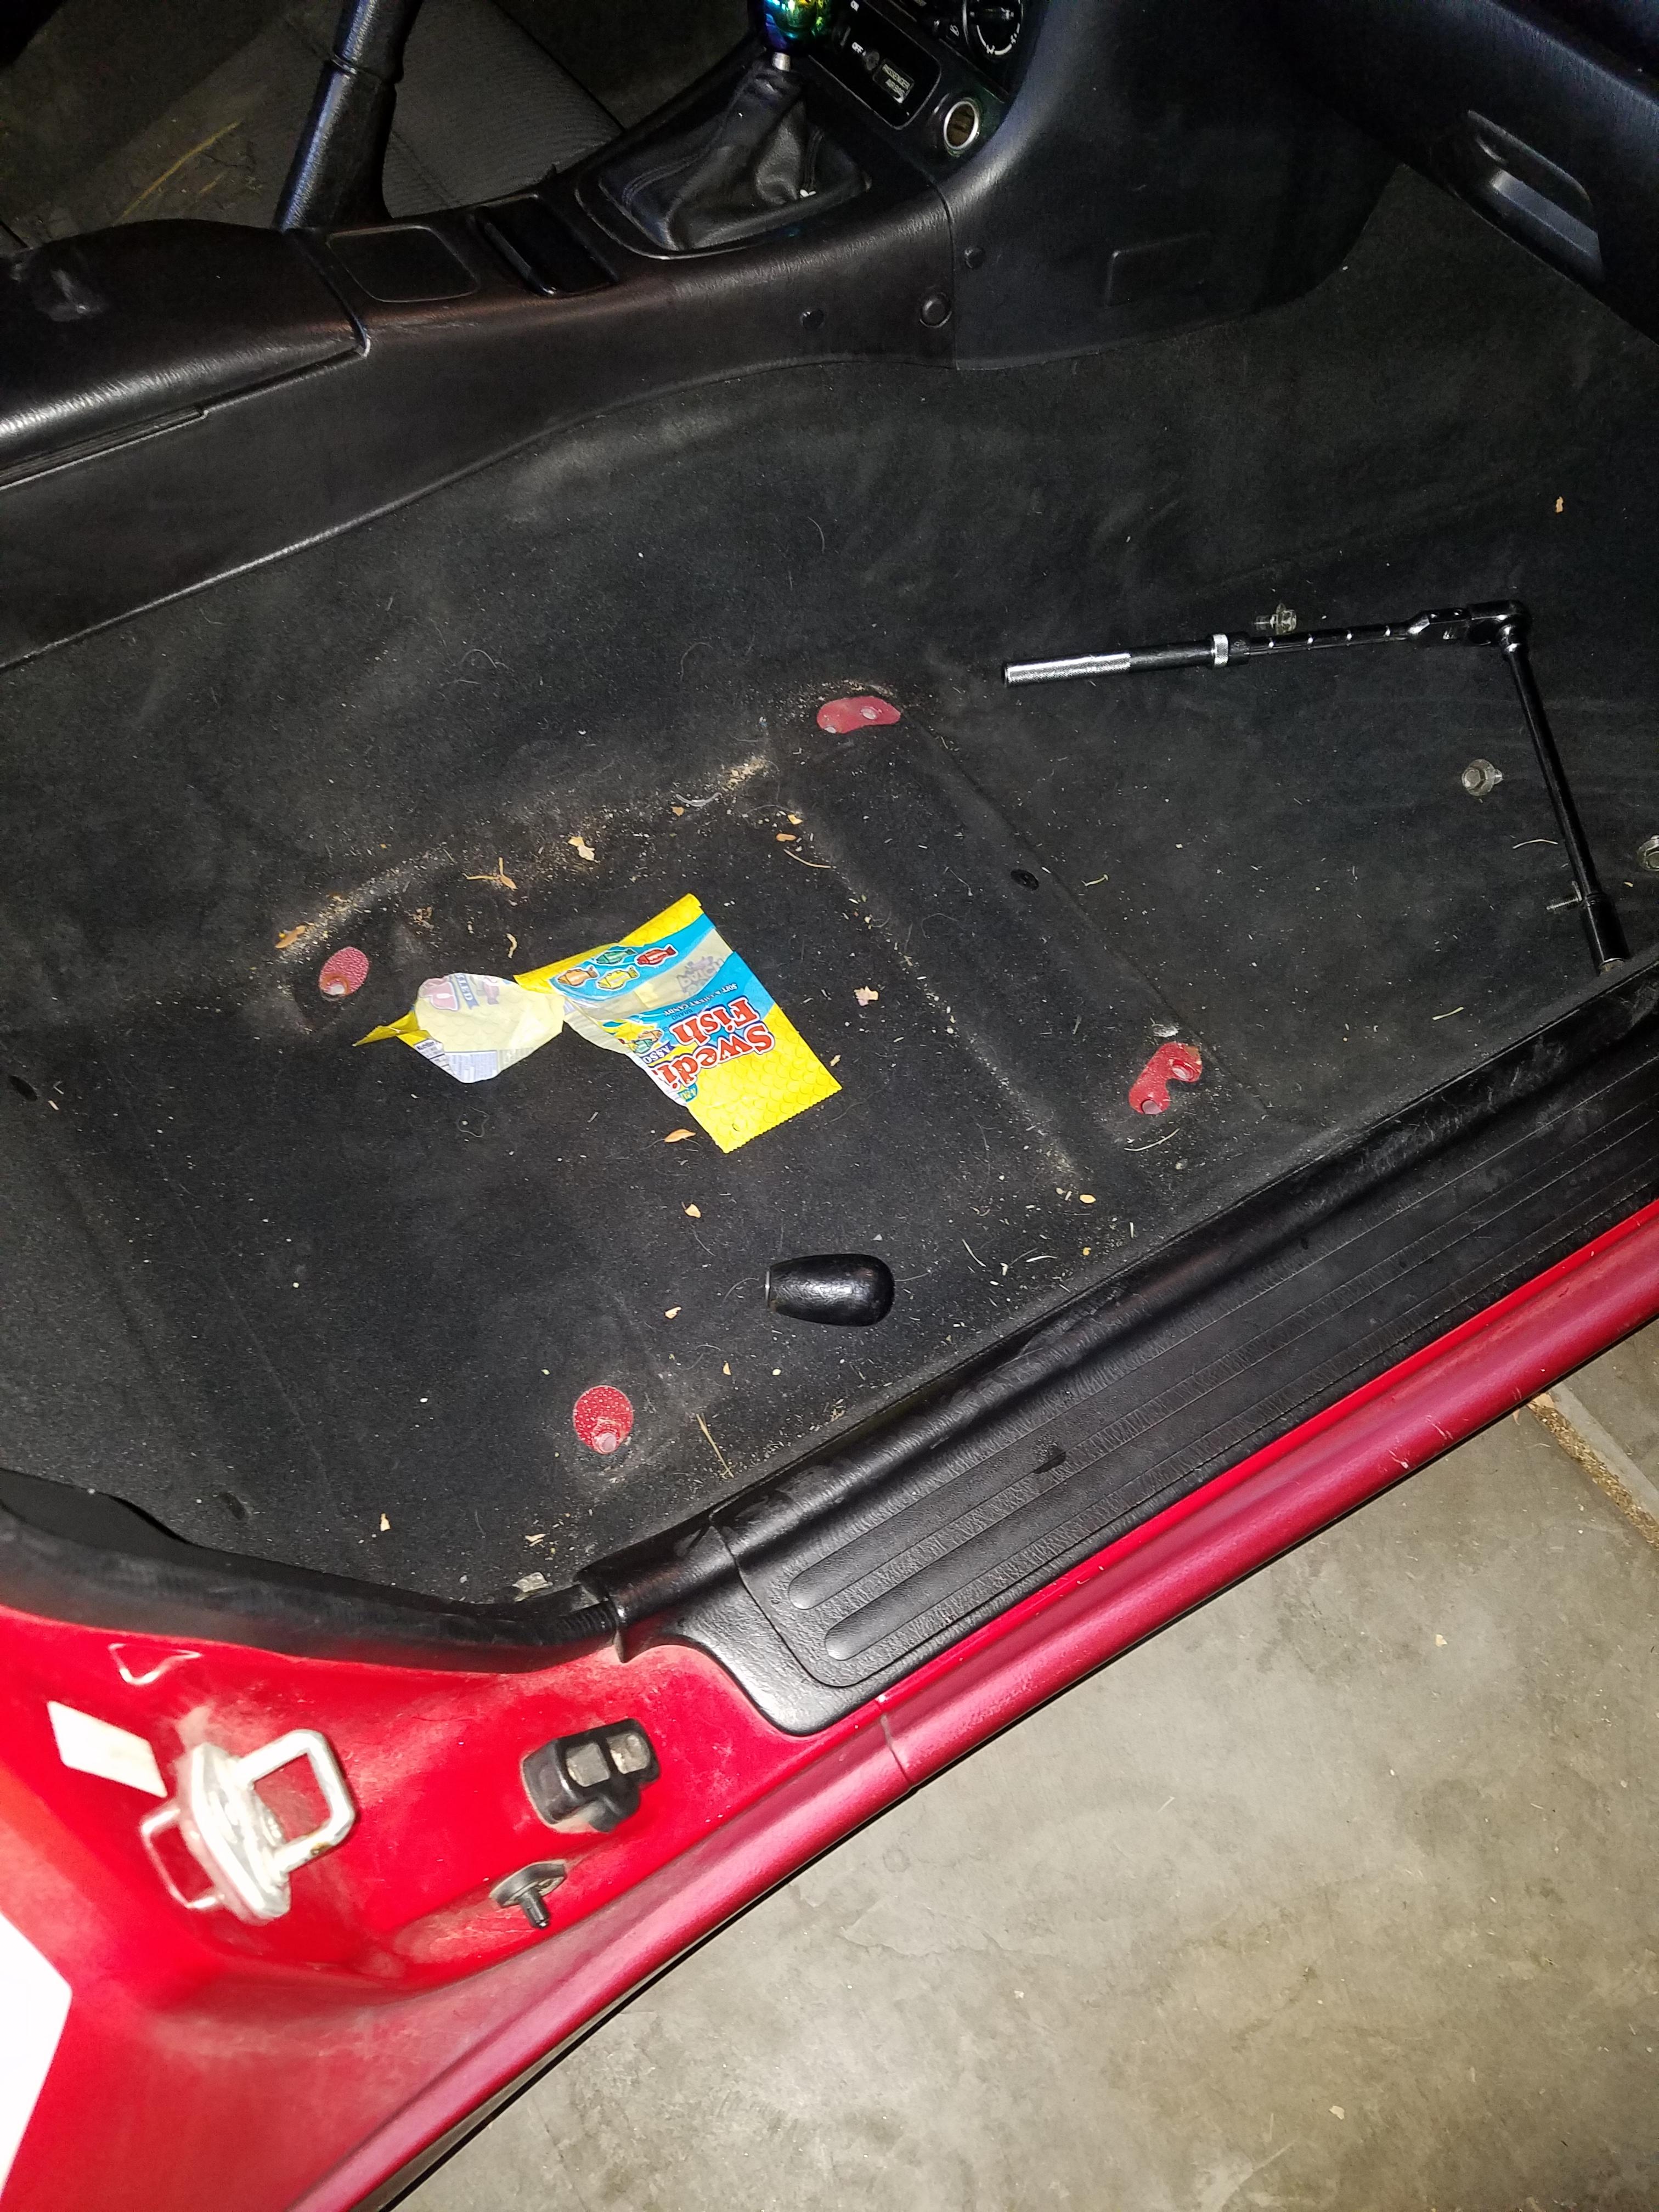
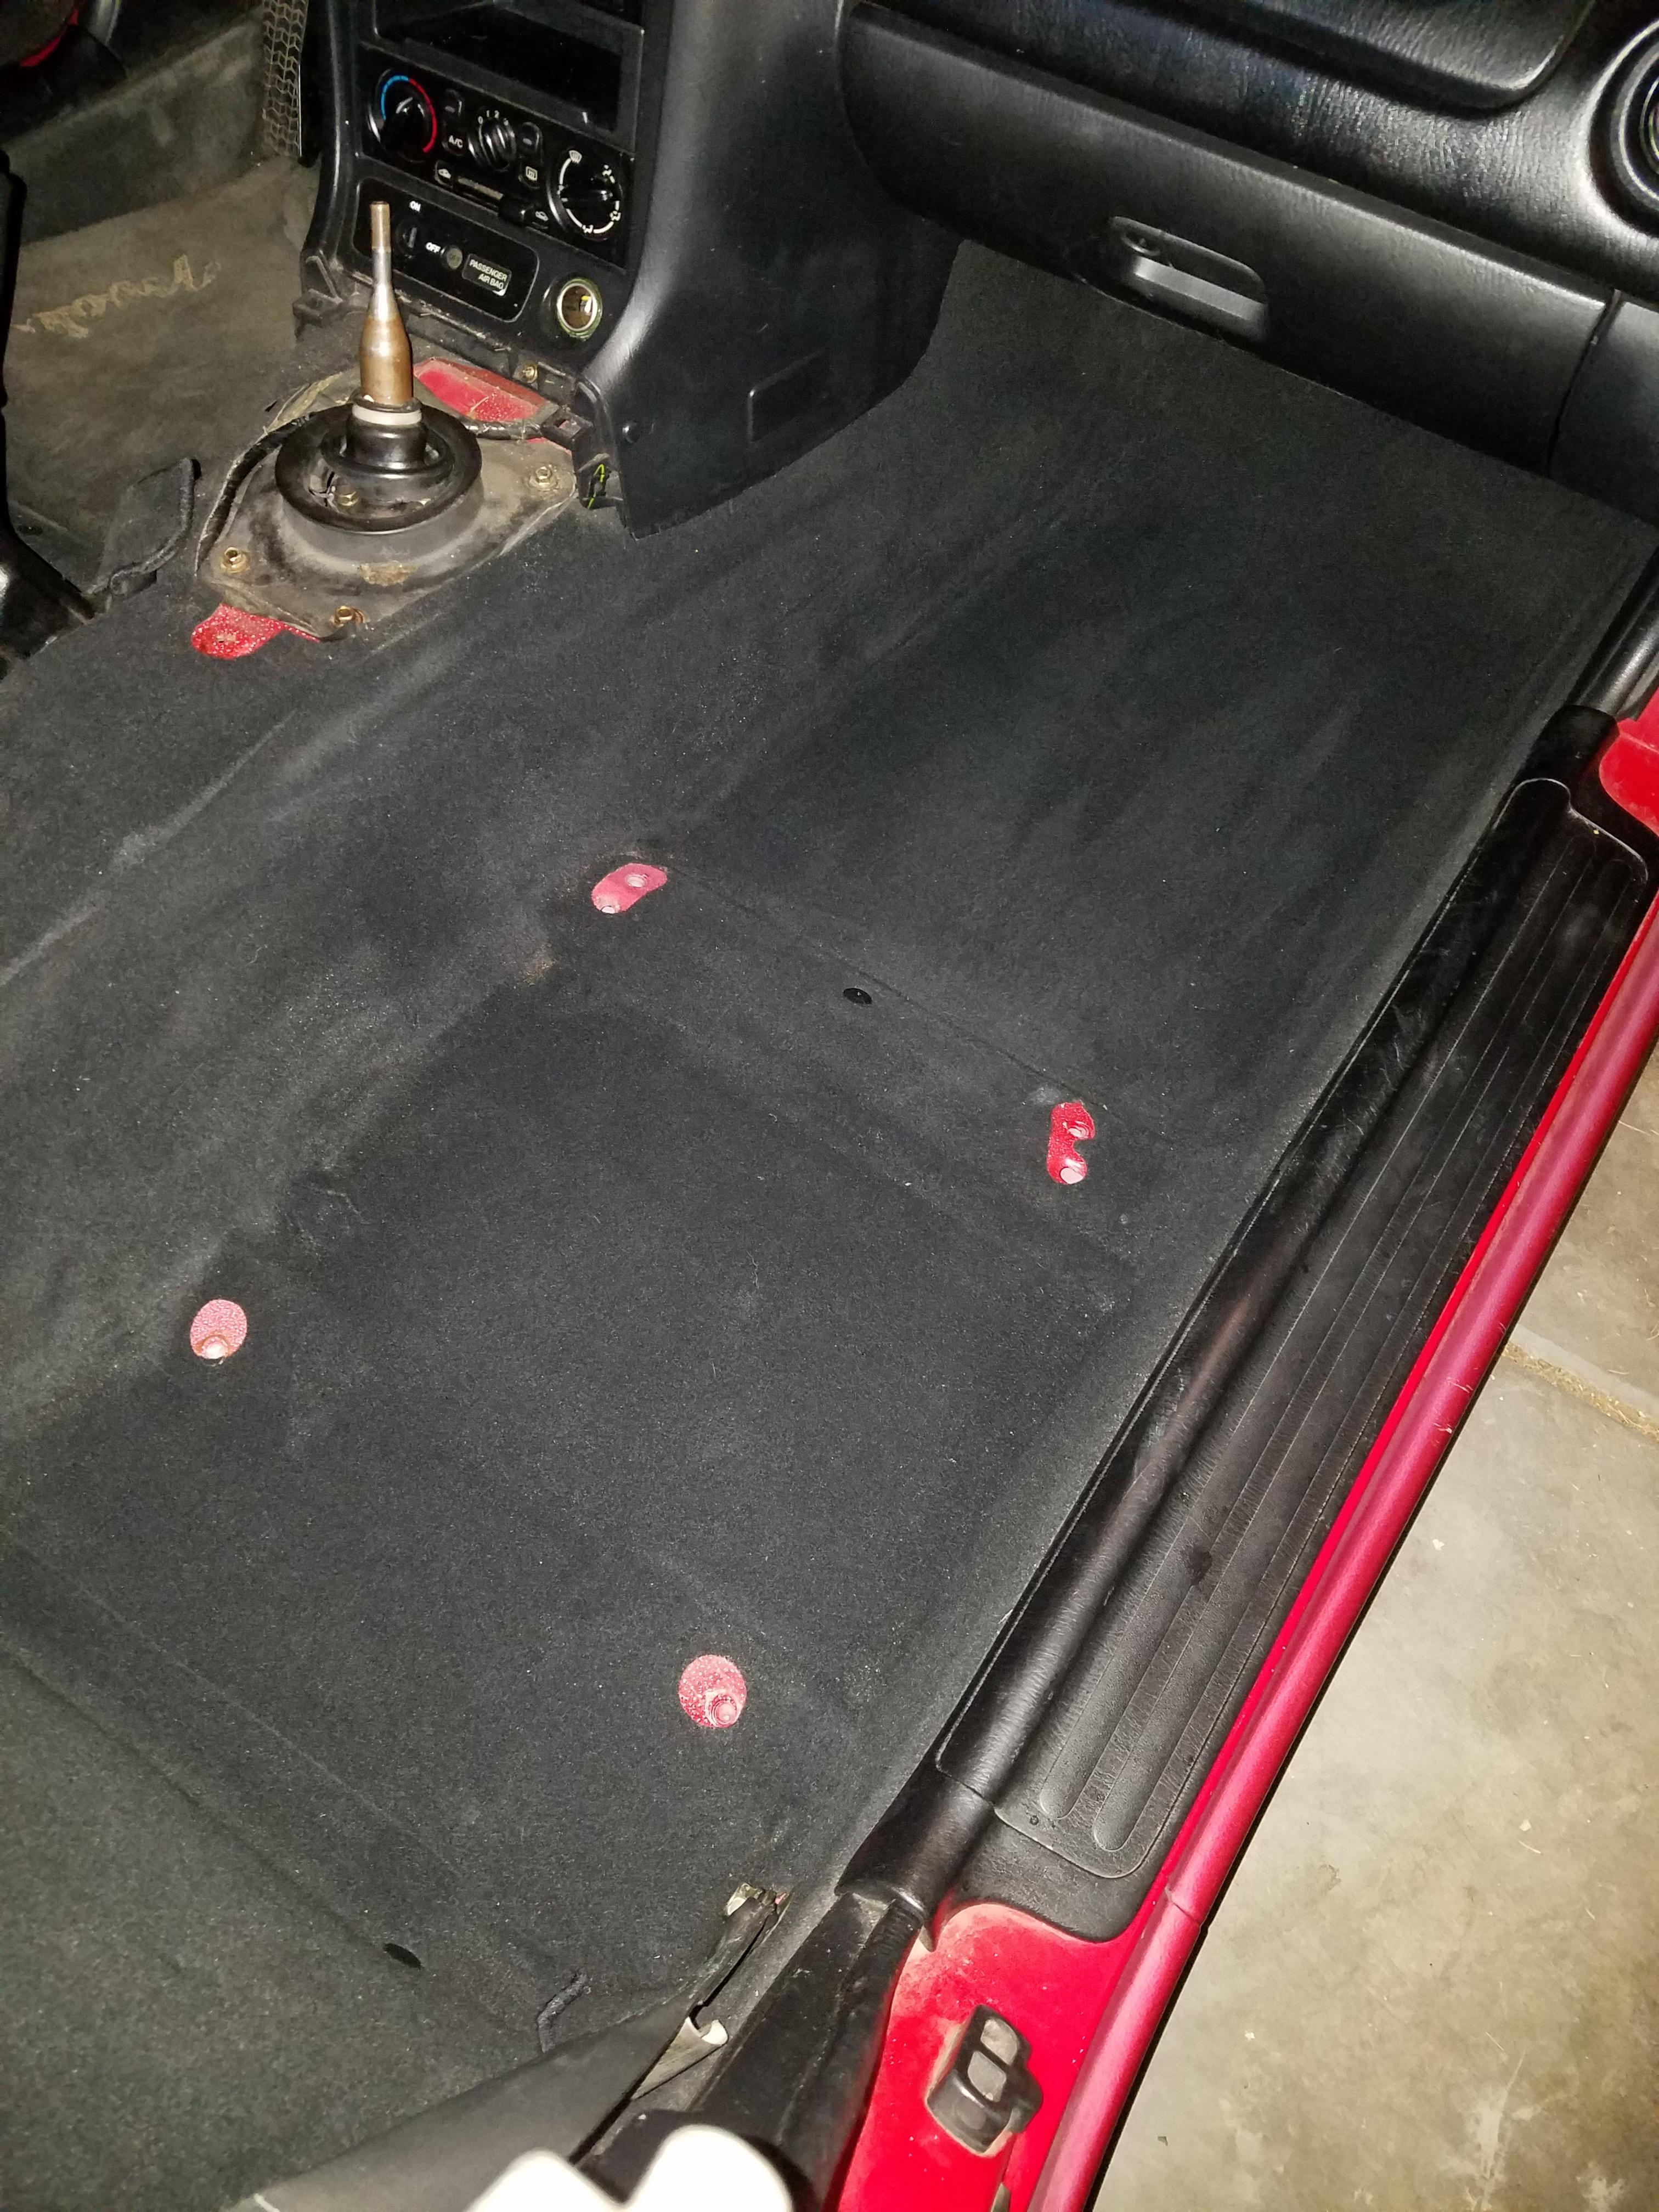
It was also pretty filthy:
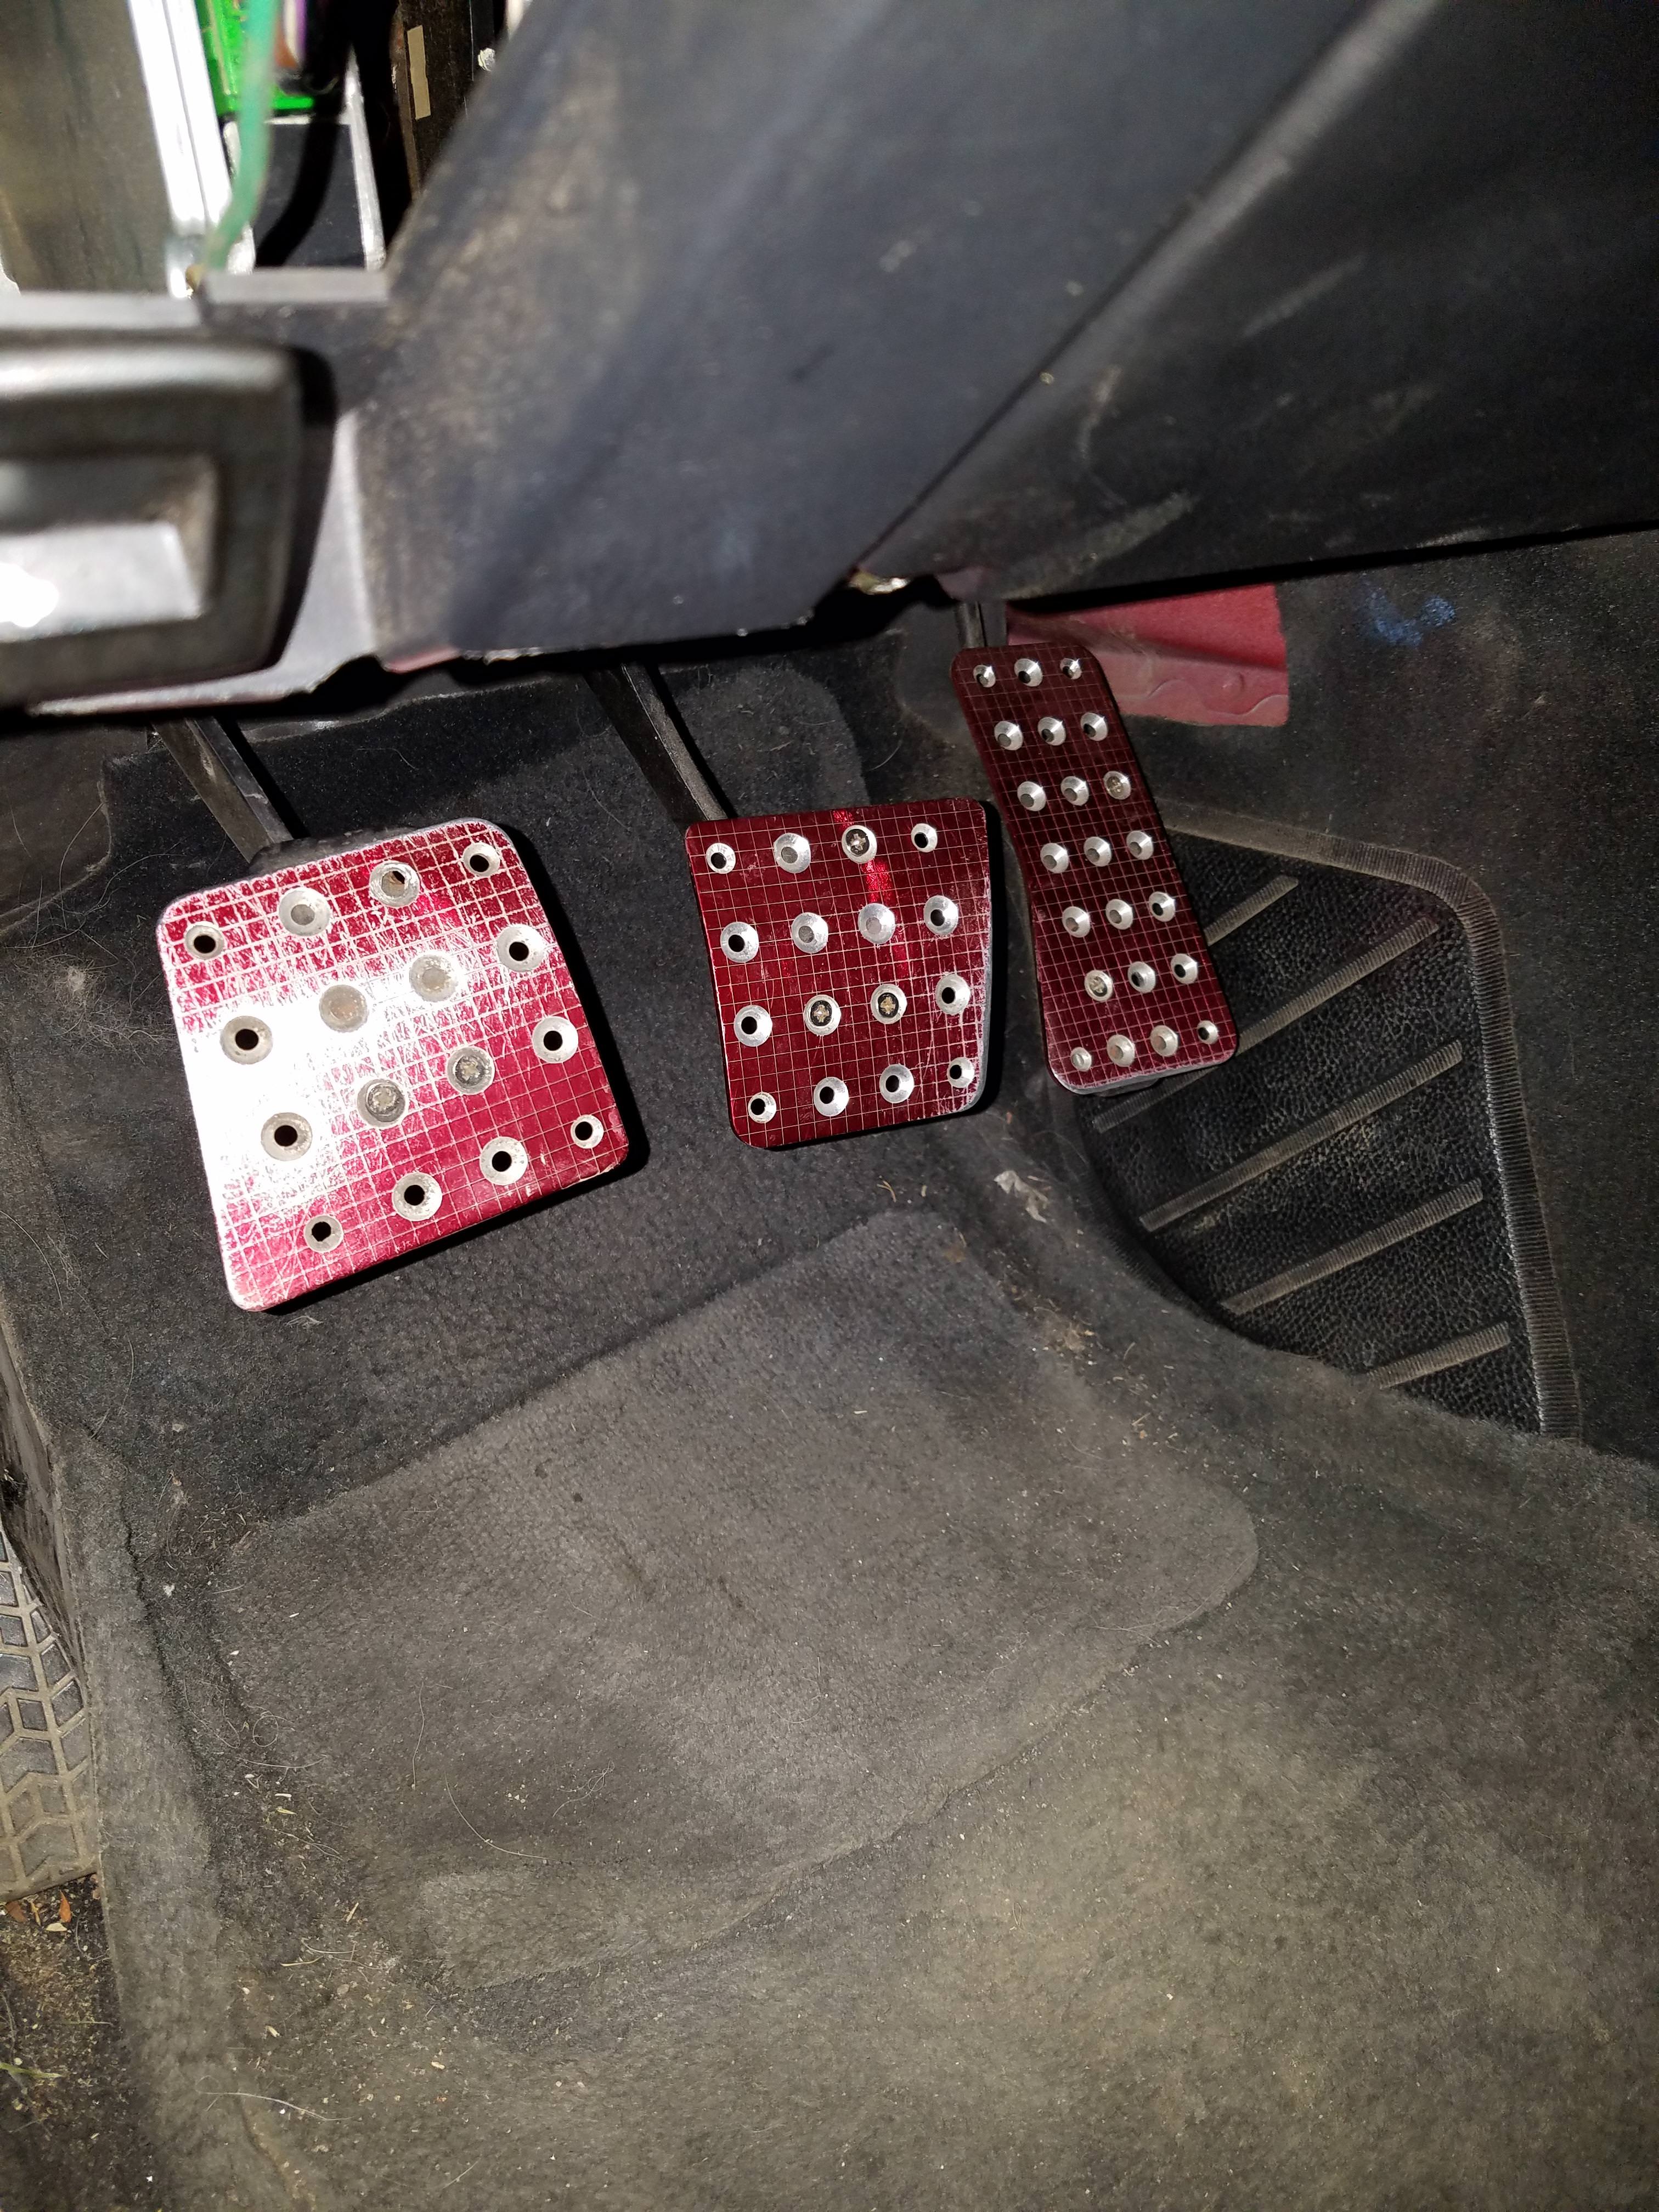
Trashy eBay "racing" pedals too:
TL;DR - A year ago I bought a 99' Miata as a project car/weekend car/Summer car with plans to boost it -- Also sorry in advance for the massive pic dump and the massive resolution! I will have to look into resizing my pics in the future!
About a year ago I was in the market for a project car/weekend car/Summer car, I had looked into 300ZX's, 3000GT's, WRX's, Eclipse GS-T/GSX's, 350z's, S2000's, etc etc. Initially I wanted something that was "cheap," easily maintained, easy to work on, had some decent aftermarket support and under $5k that wasn't already molested. With that criteria, it already rules out a lot of the cars I listed and I didn't want a Civic as every other Asian guy, his Grandma, his Uncle and his 2nd cousin all have one. I've also only ever owned and driven FWD vehicles so I wanted to dabble in RWD.
I had considered a Miata before in the past, but I didn't know much about them except their "reputation" for being a chicks car/hairdressers car/old man's car/slow/etc. But as I researched more, learned more about them, watched YouTube videos on them (Thanks CarPassionChannel - Although I know he has his doubters on here) I started to consider them more and more. After researching that a GT2560R was a perfect turbo that is well suited for a Miata and that there were a couple of OTS kits for them and being drawn to the lightness and handling of the Miata I decided that was what I was gonna buy.
Early on I decided that I wanted a 1.8L over a 1.6L and initially wanted an NA (cause pop ups), but every time a decent one popped up in my price range it always was gone within a week or so (or at least the listing was). I ended up coming across an 99' NB that was posted for I think almost a month and thought maybe it would be worth to check it out. I knew it at least had a 1.8L and slightly more HP than the NA 1.8's and at the time I thought it had VVT (now I know it's only NB2). Carfax showed it as a Base model and it had a insurance claim on it. It also had a tear in the top, a hole in the door and some slight hail damage on the hood of which I used to negotiate it down below his asking price before even seeing it, to which he agreed and told me even with the insurance claim it had a clean title.
So I went ahead and checked it out and upon inspecting it, it didn't appear to have been in an accident, most of the panels/frame looked straight, but it does appear to have been resprayed and after discussing it with the PO he thinks the person he bought (Carfax date of claim was before he owned it) it from filed a claim for the hail damage which isn't really noticeable unless you're looking for it and it's mainly on the Aluminum hood. It was pretty much stock, supposedly had the timing belt done and a new clutch put in and after further inspection it didn't show any signs of rust (originally a Texas car) and also turns out it had Yellow Bilsteins, Nardi steering wheel, OEM strut tower brace and the rear diff was "finned." I remember reading that this was an options package that usually meant the Miata came with a Torsen LSD, score for me as I wouldn't have to swap one in later.
Test drive went okay, it pulled strong for the most part except a minor hesitation/hiccup at around 5500+ RPM. Me being a noob thought it was the VVT switching over and it was "kicking on" (VTAK Bro!). It wasn't doing it all of the time and it seemed intermittent (more on that later), but I still ended up purchasing it that day.
Now on to the pics:
First night home:
Trashed Top and hole in drivers door:
It was also pretty filthy:
Trashy eBay "racing" pedals too:

Reply
 0
0

0
09-11-2018, 12:57 AM
#2
Junior Member
Thread Starter
Join Date: Jul 2018
Location: Colorado
Posts: 118
Total Cats: 5
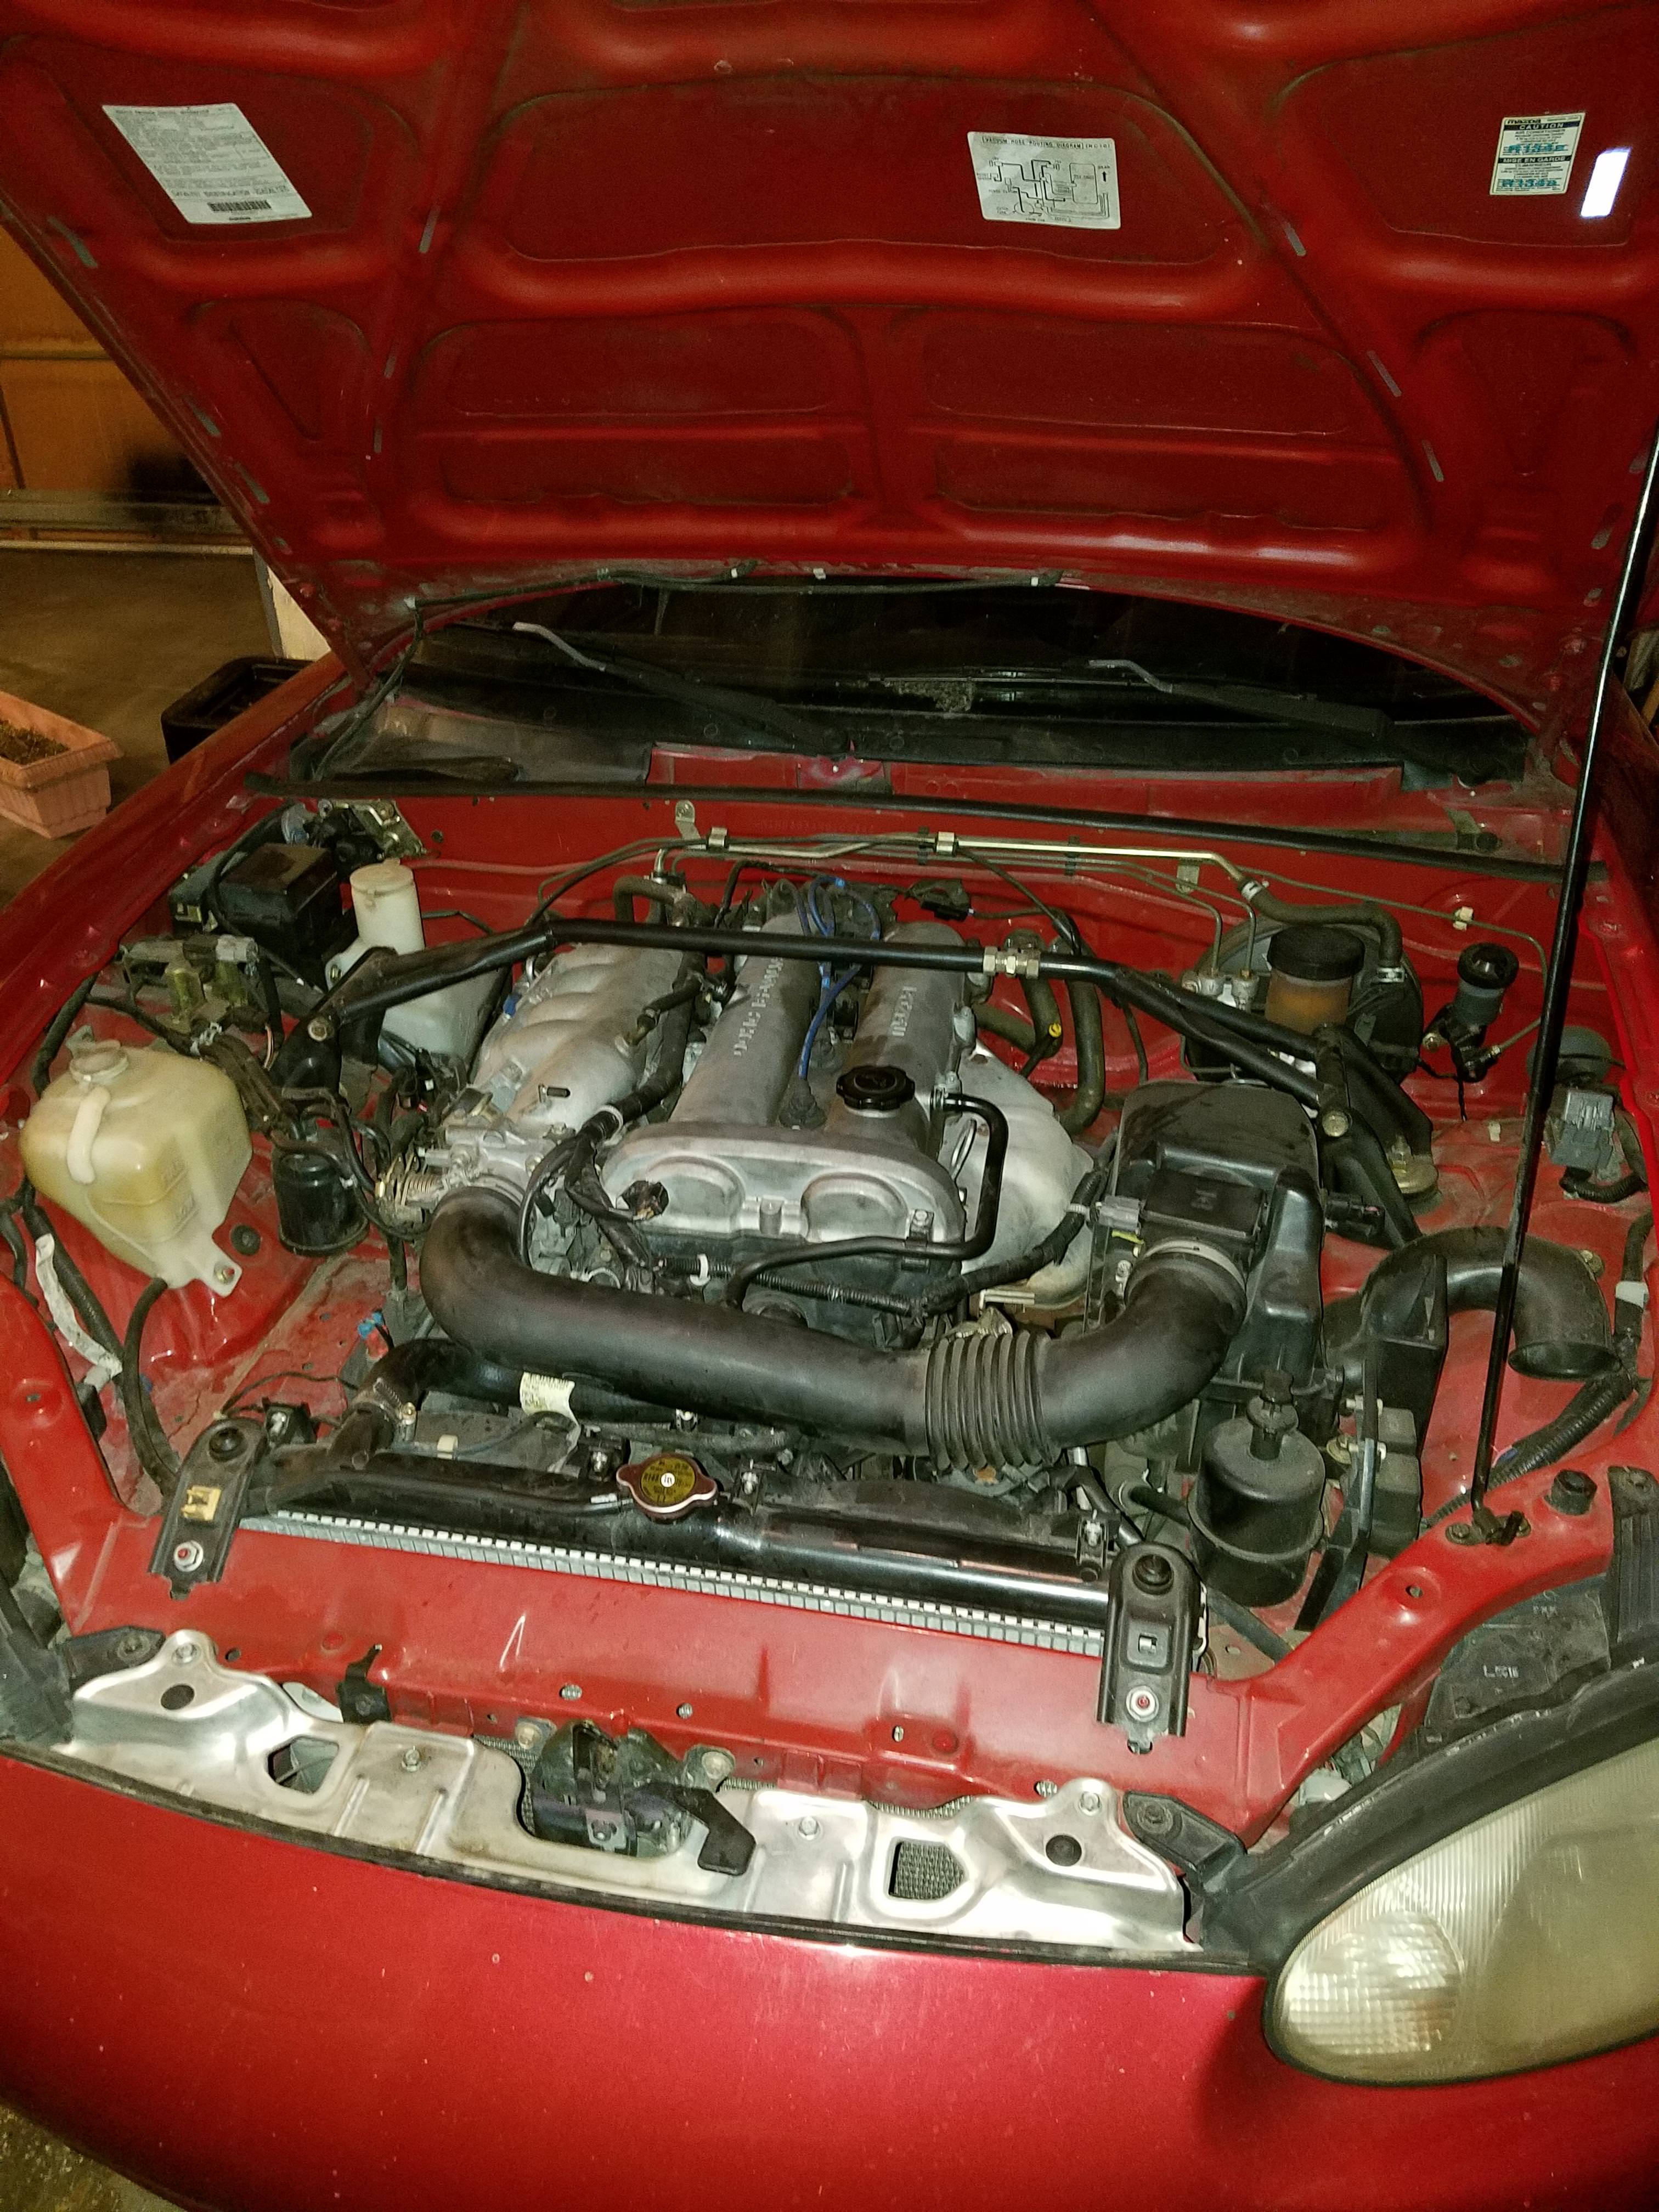
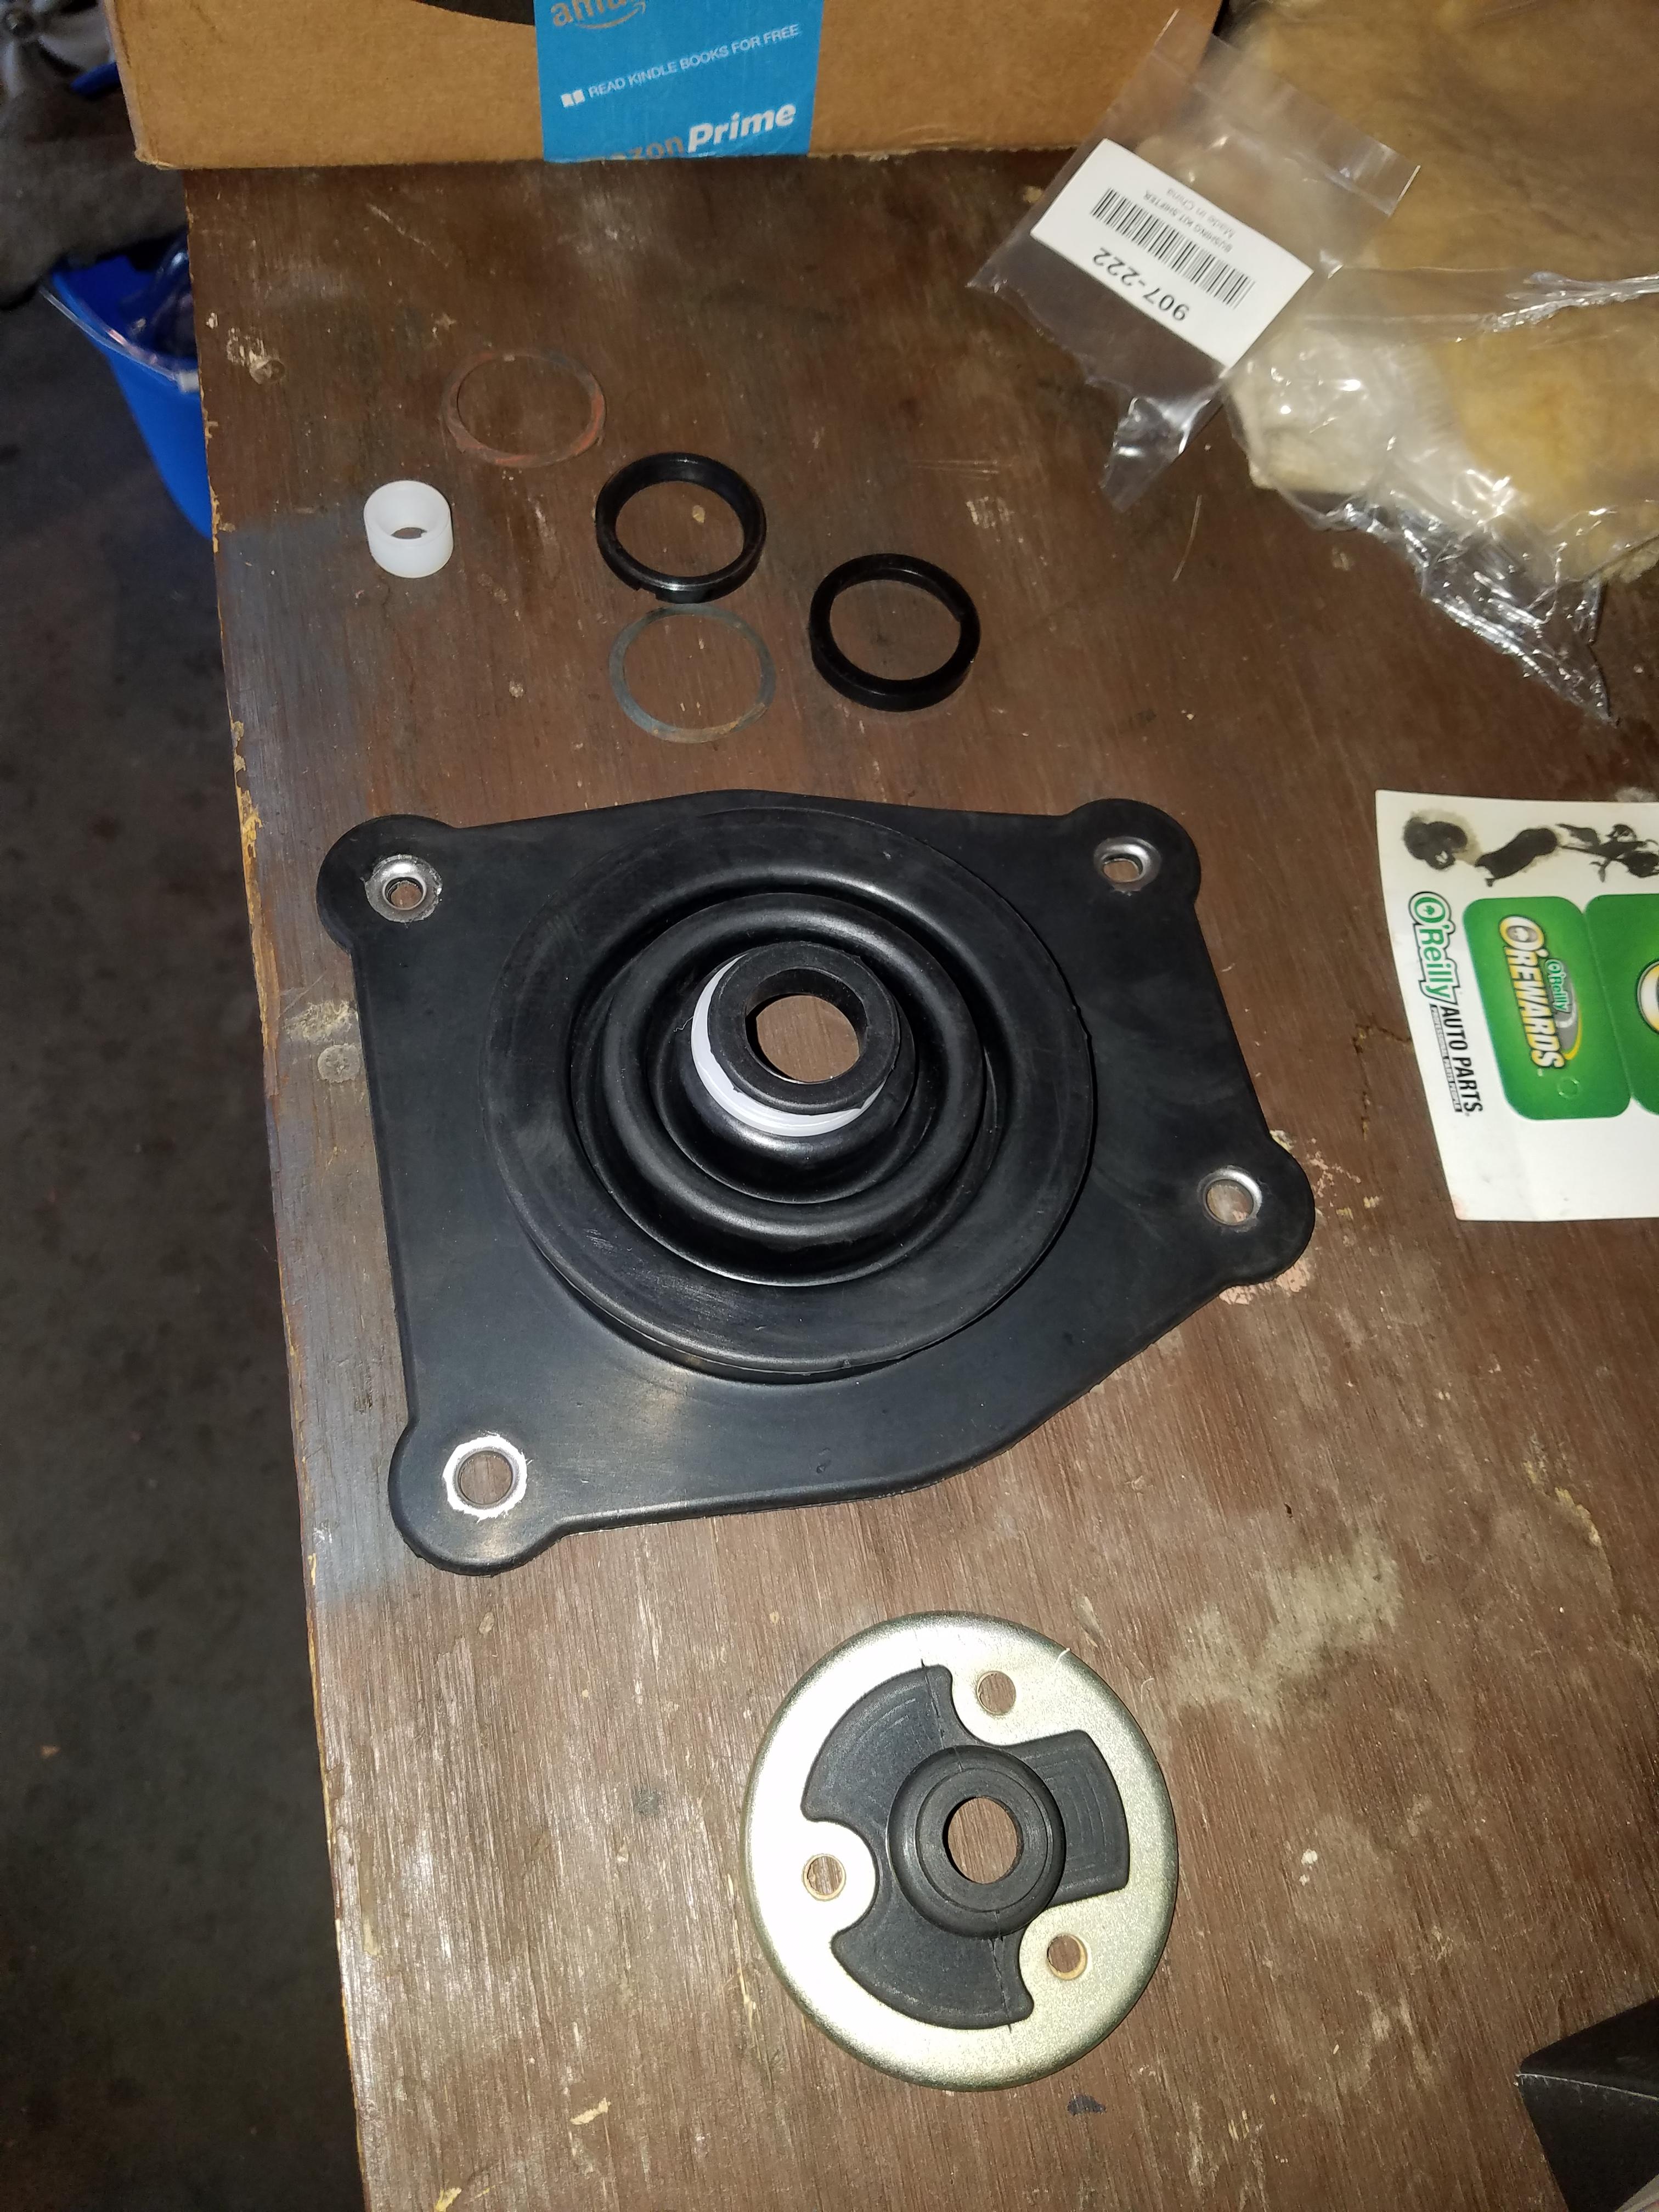
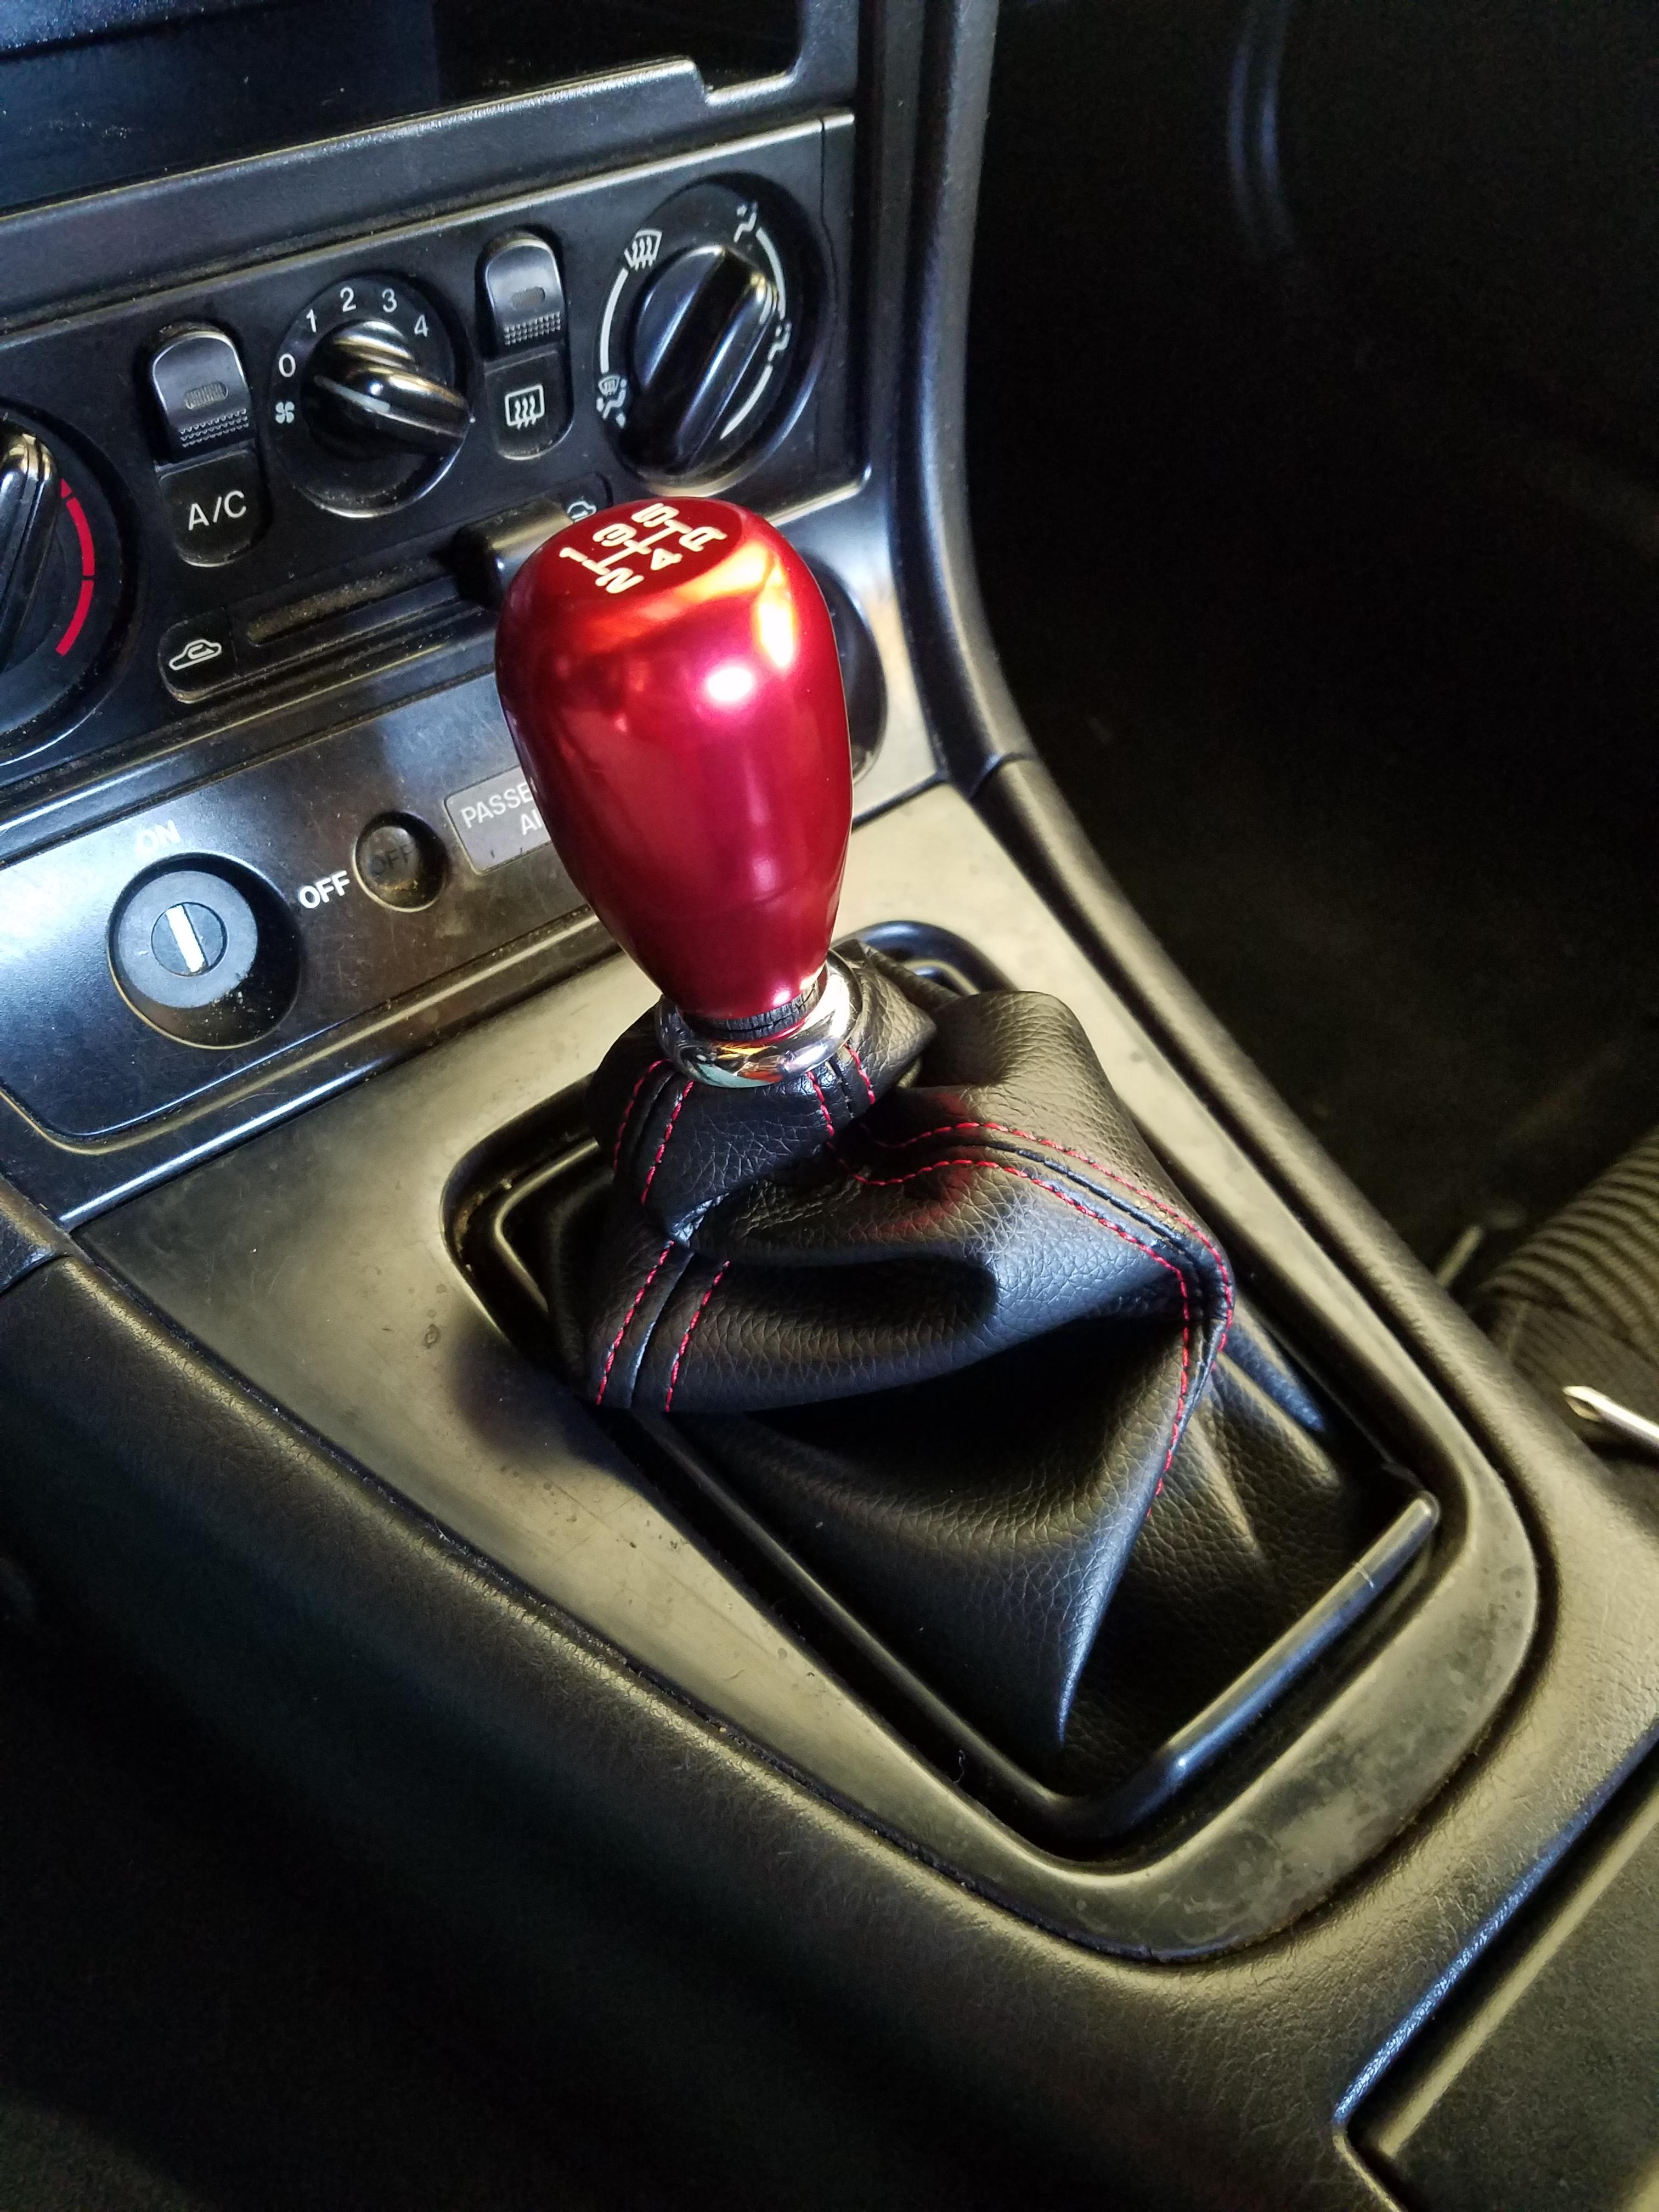
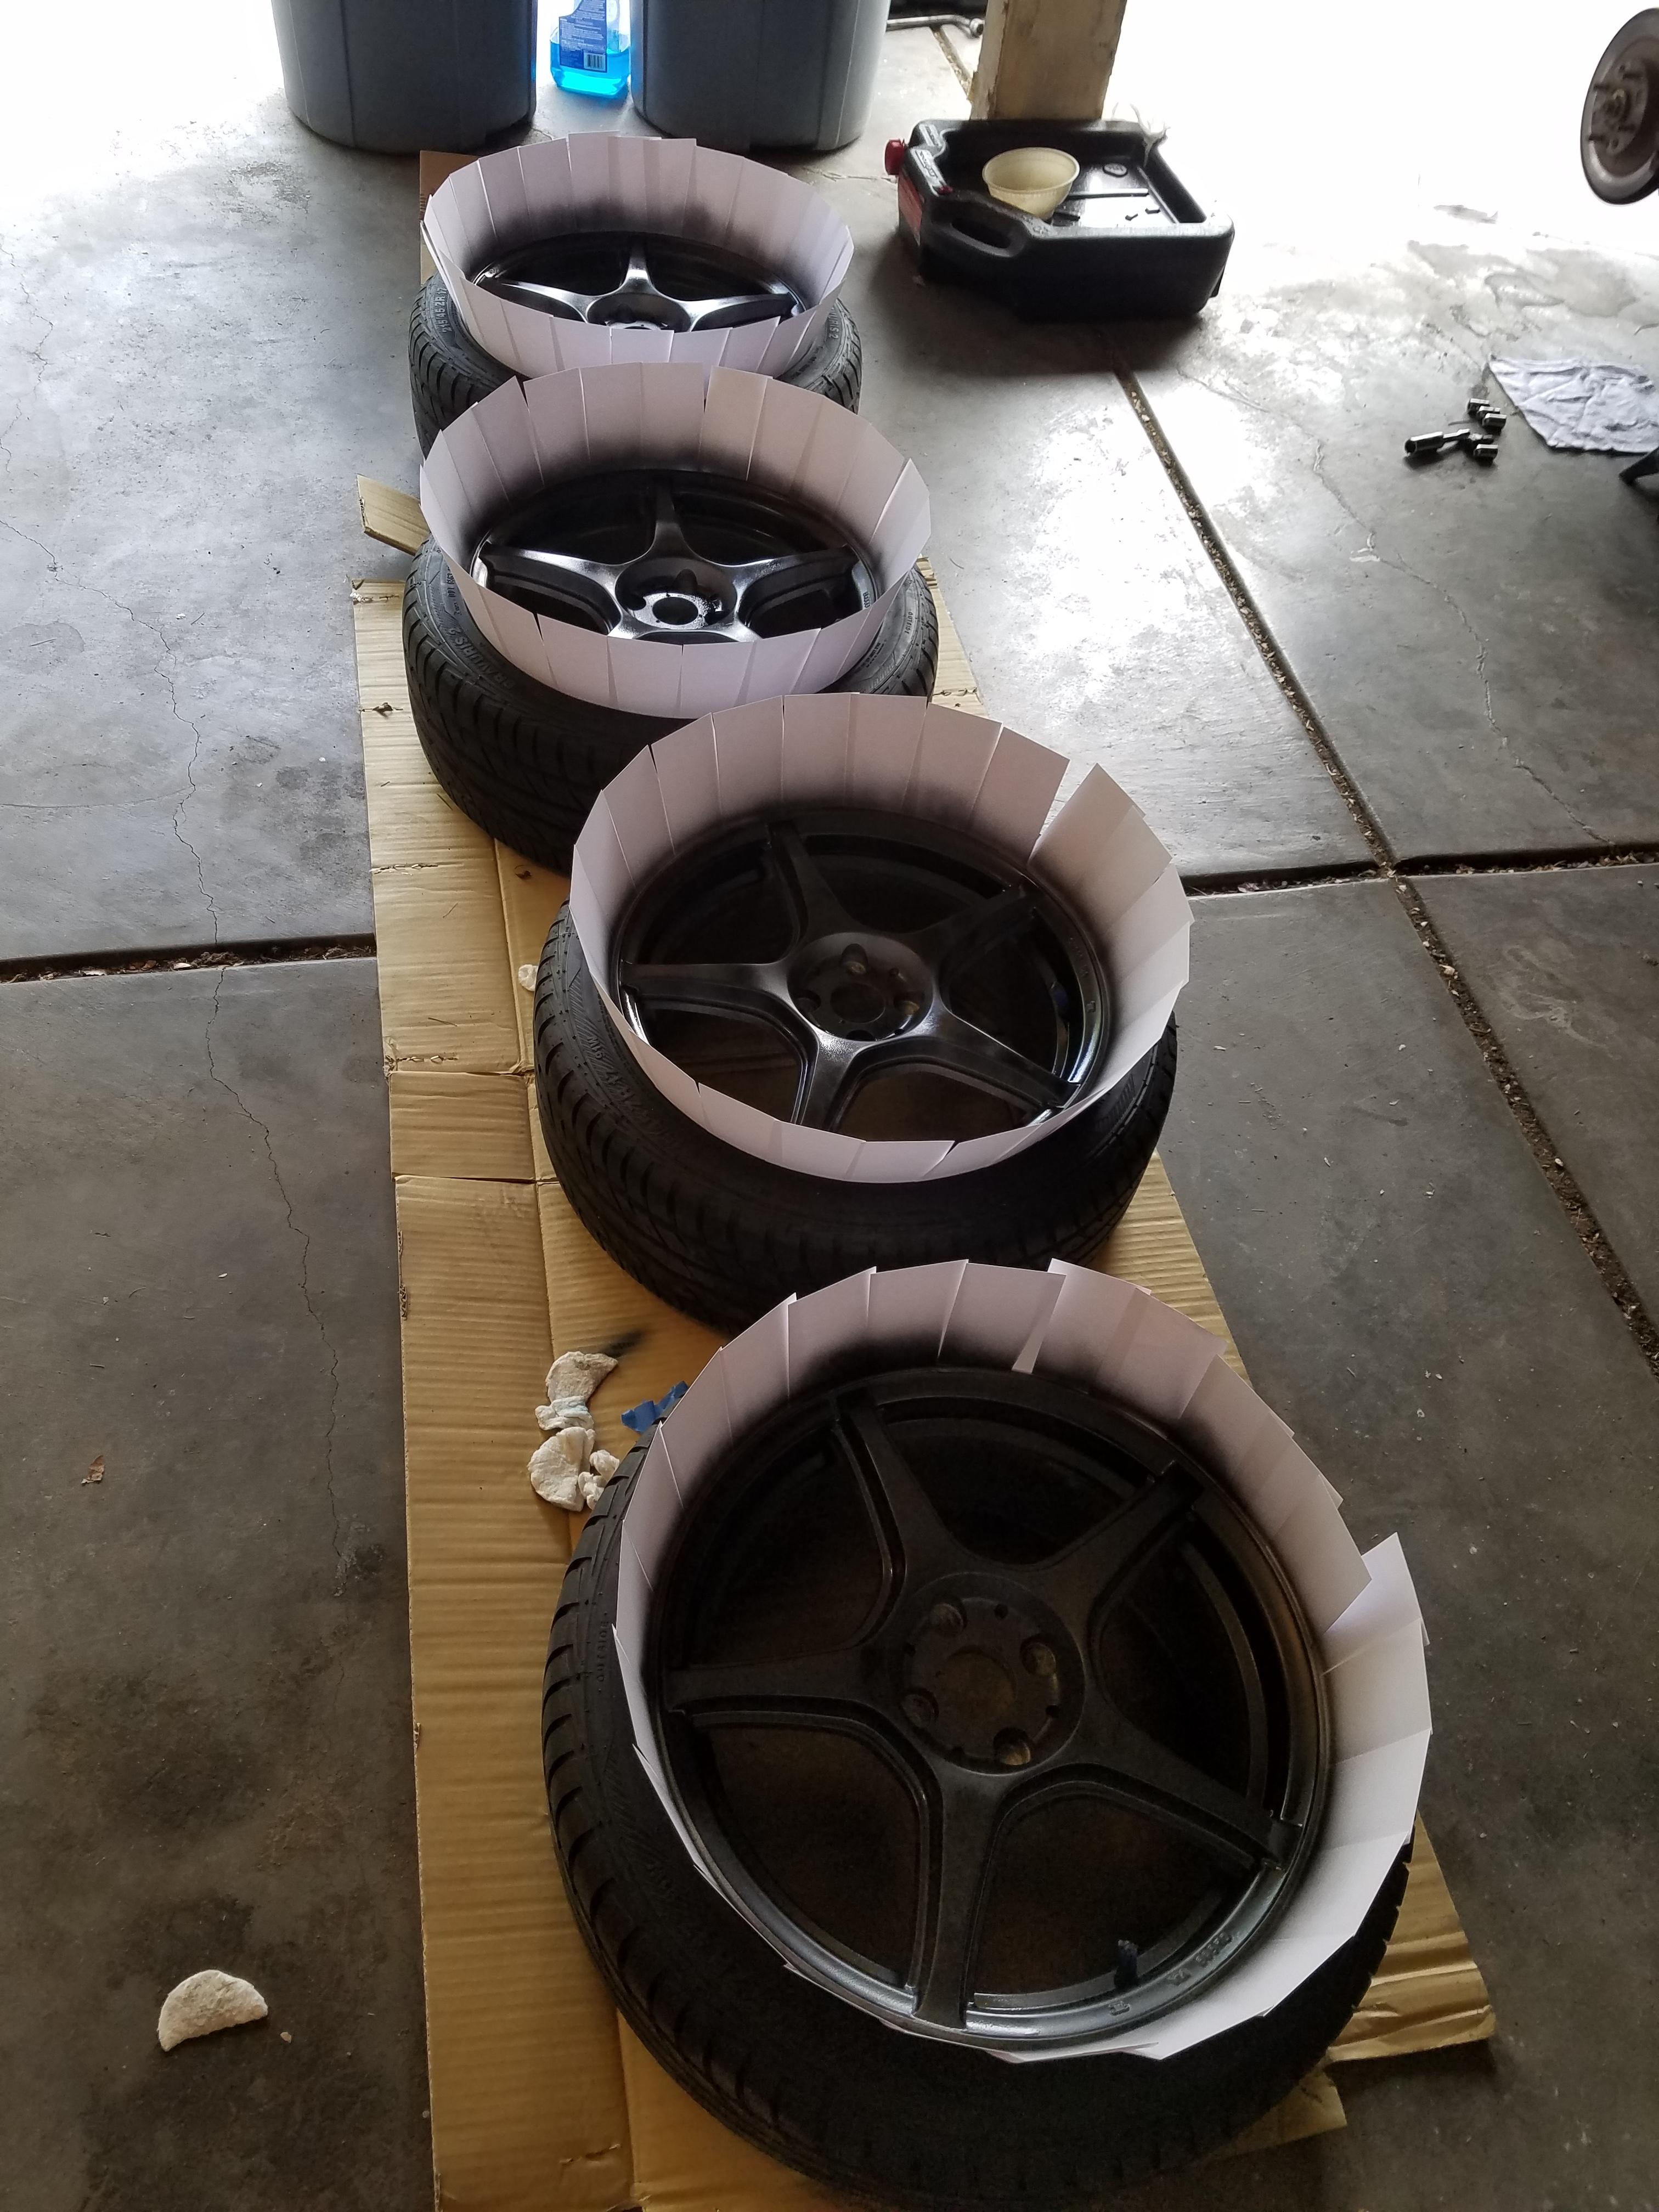
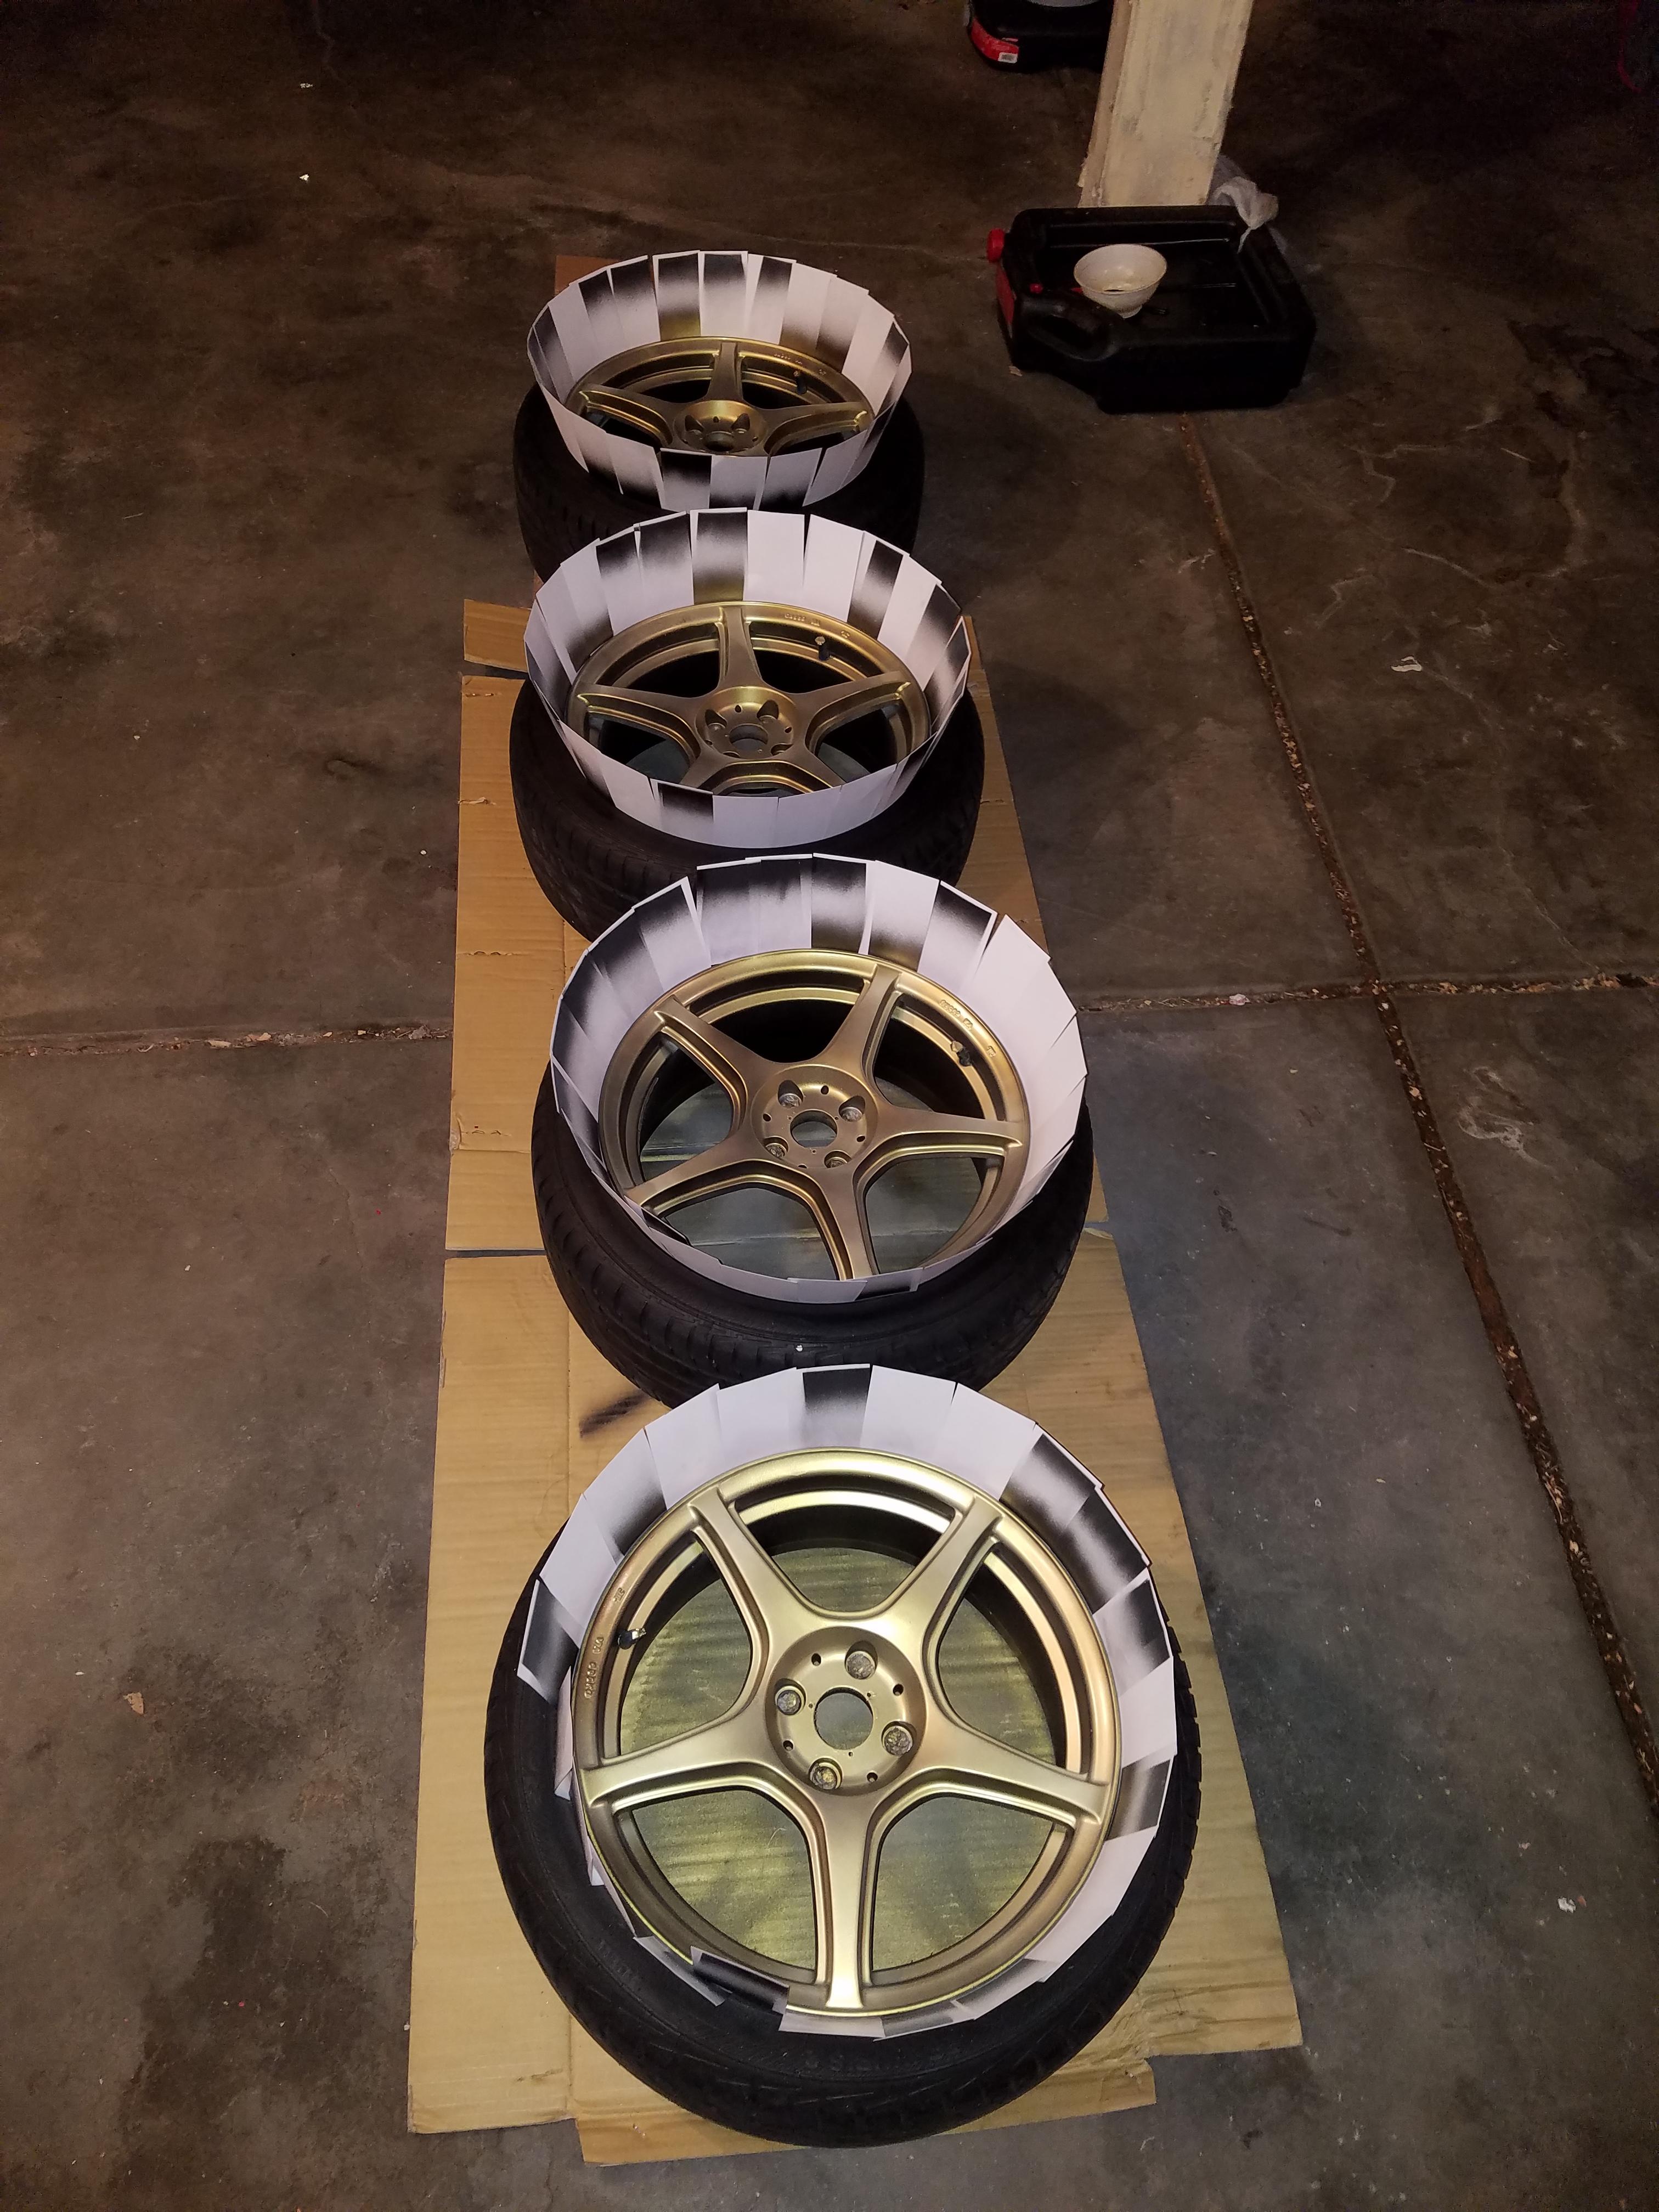
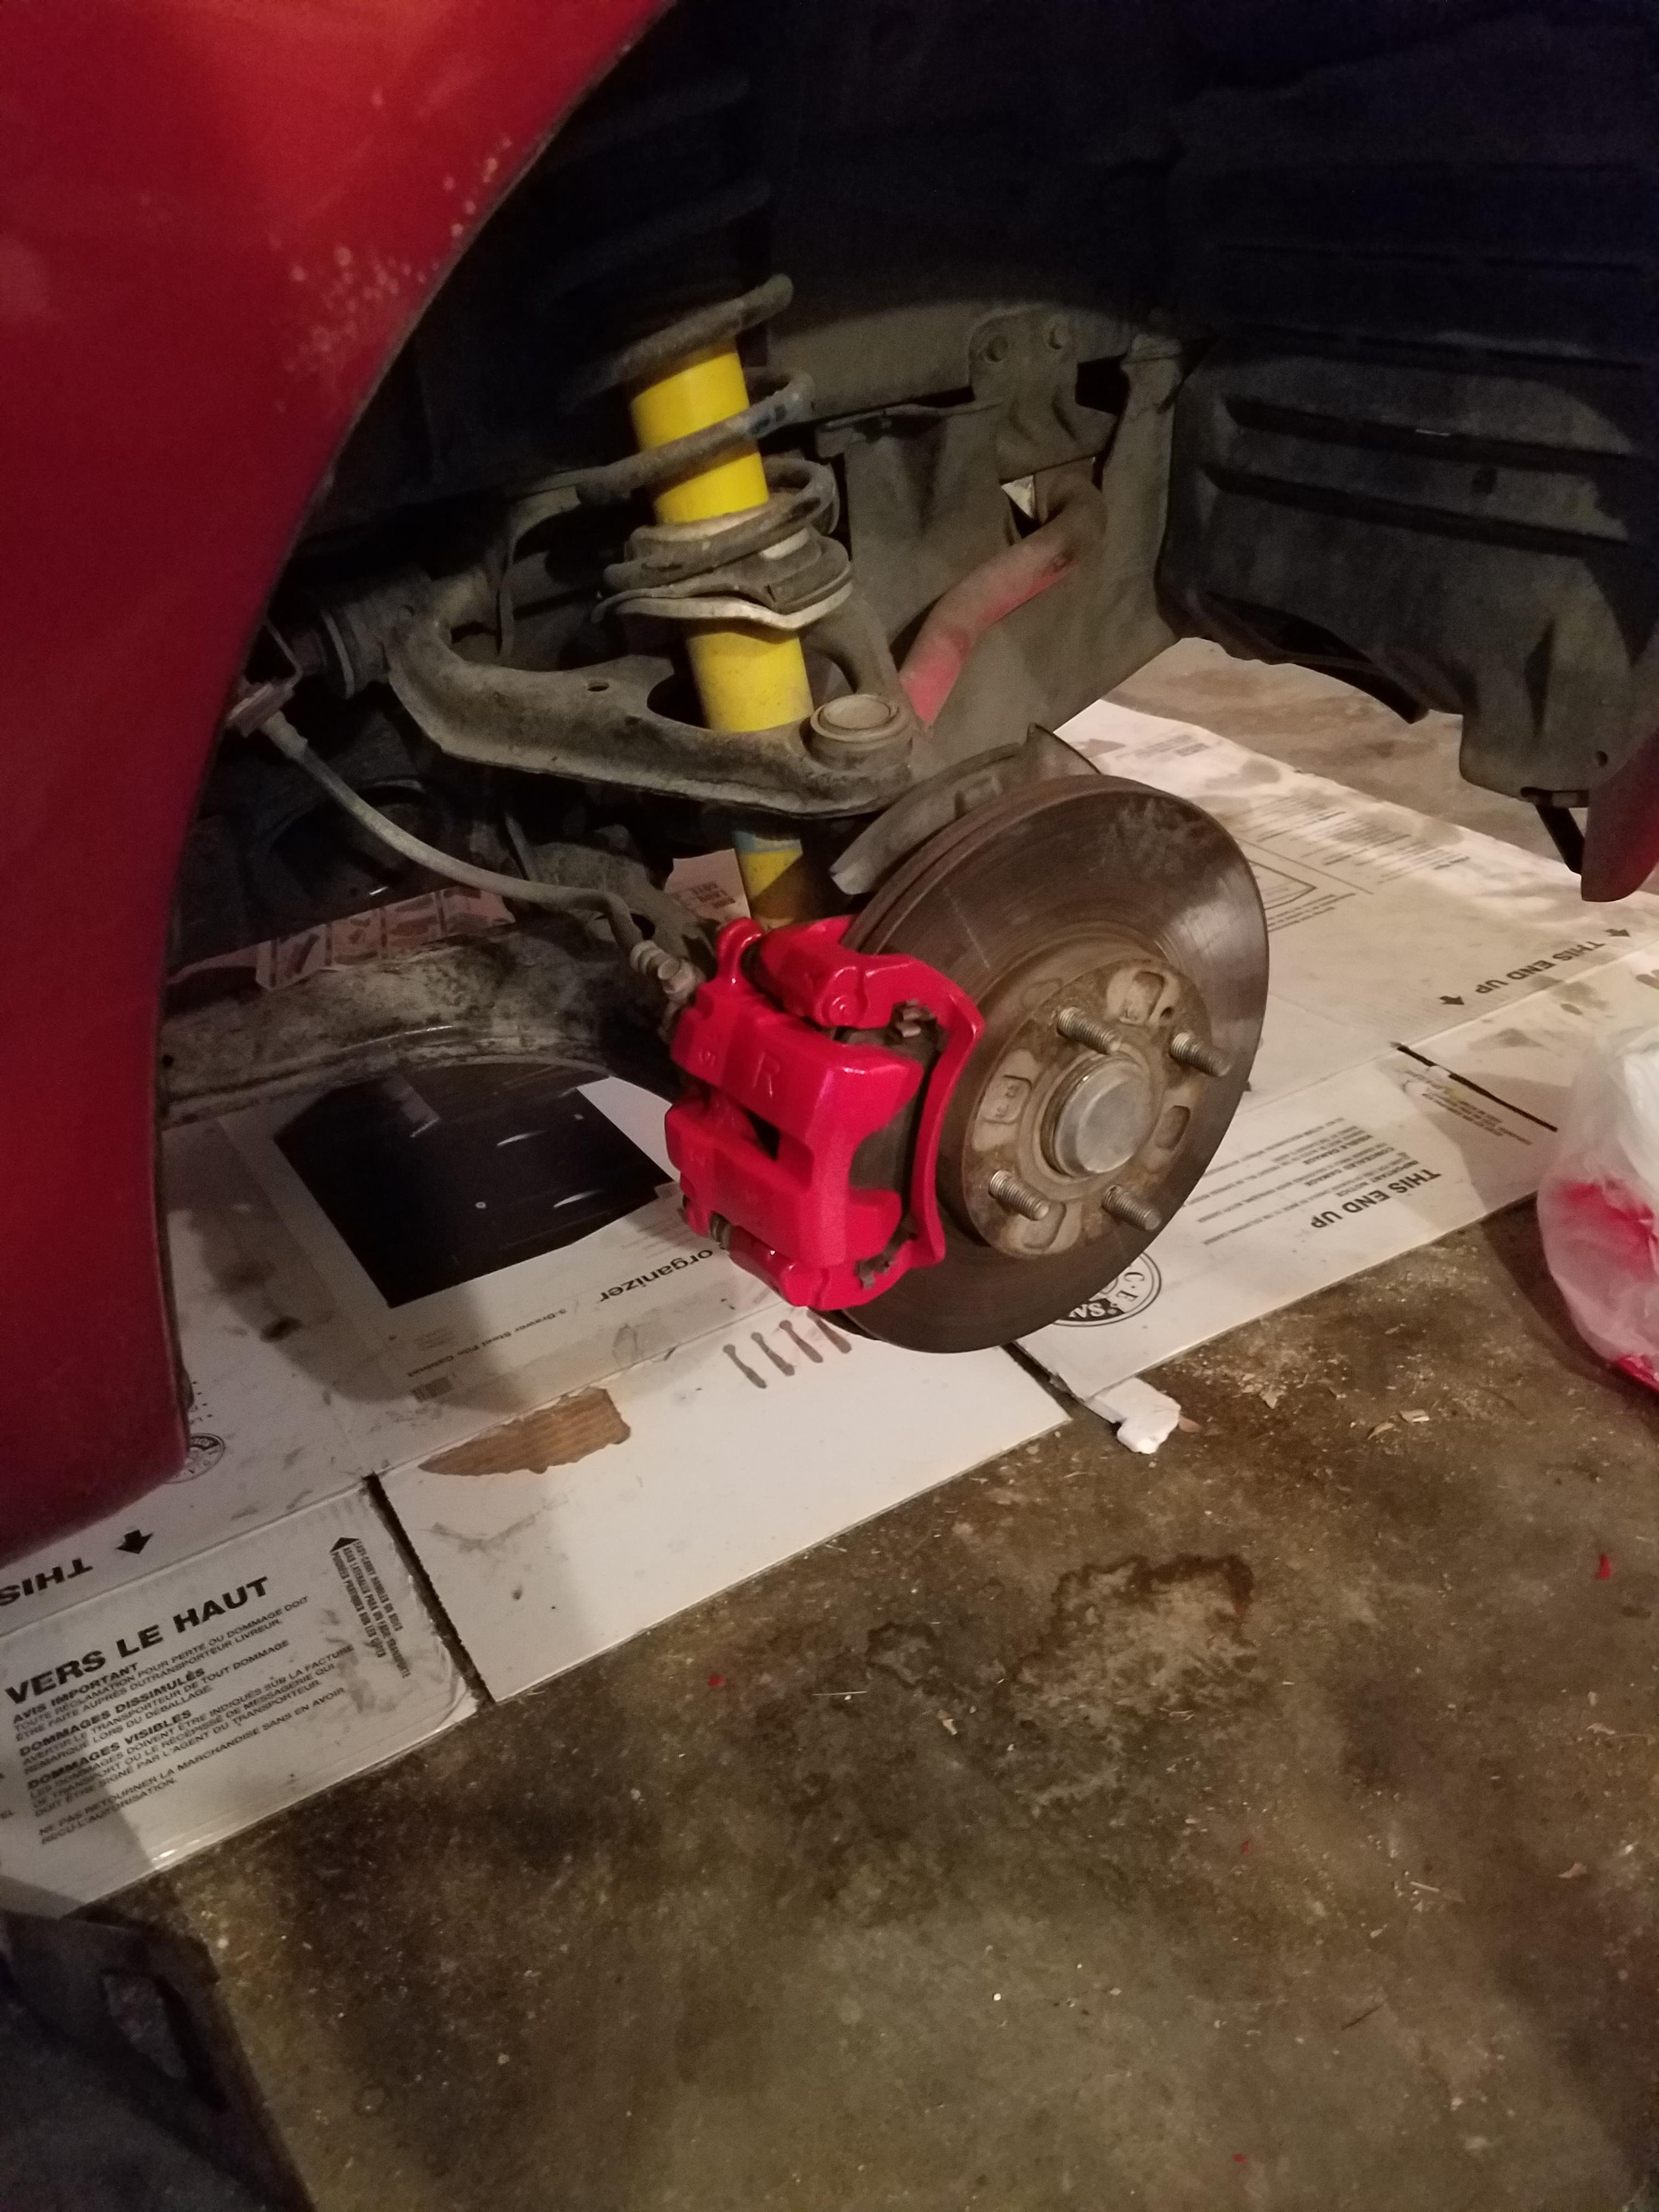
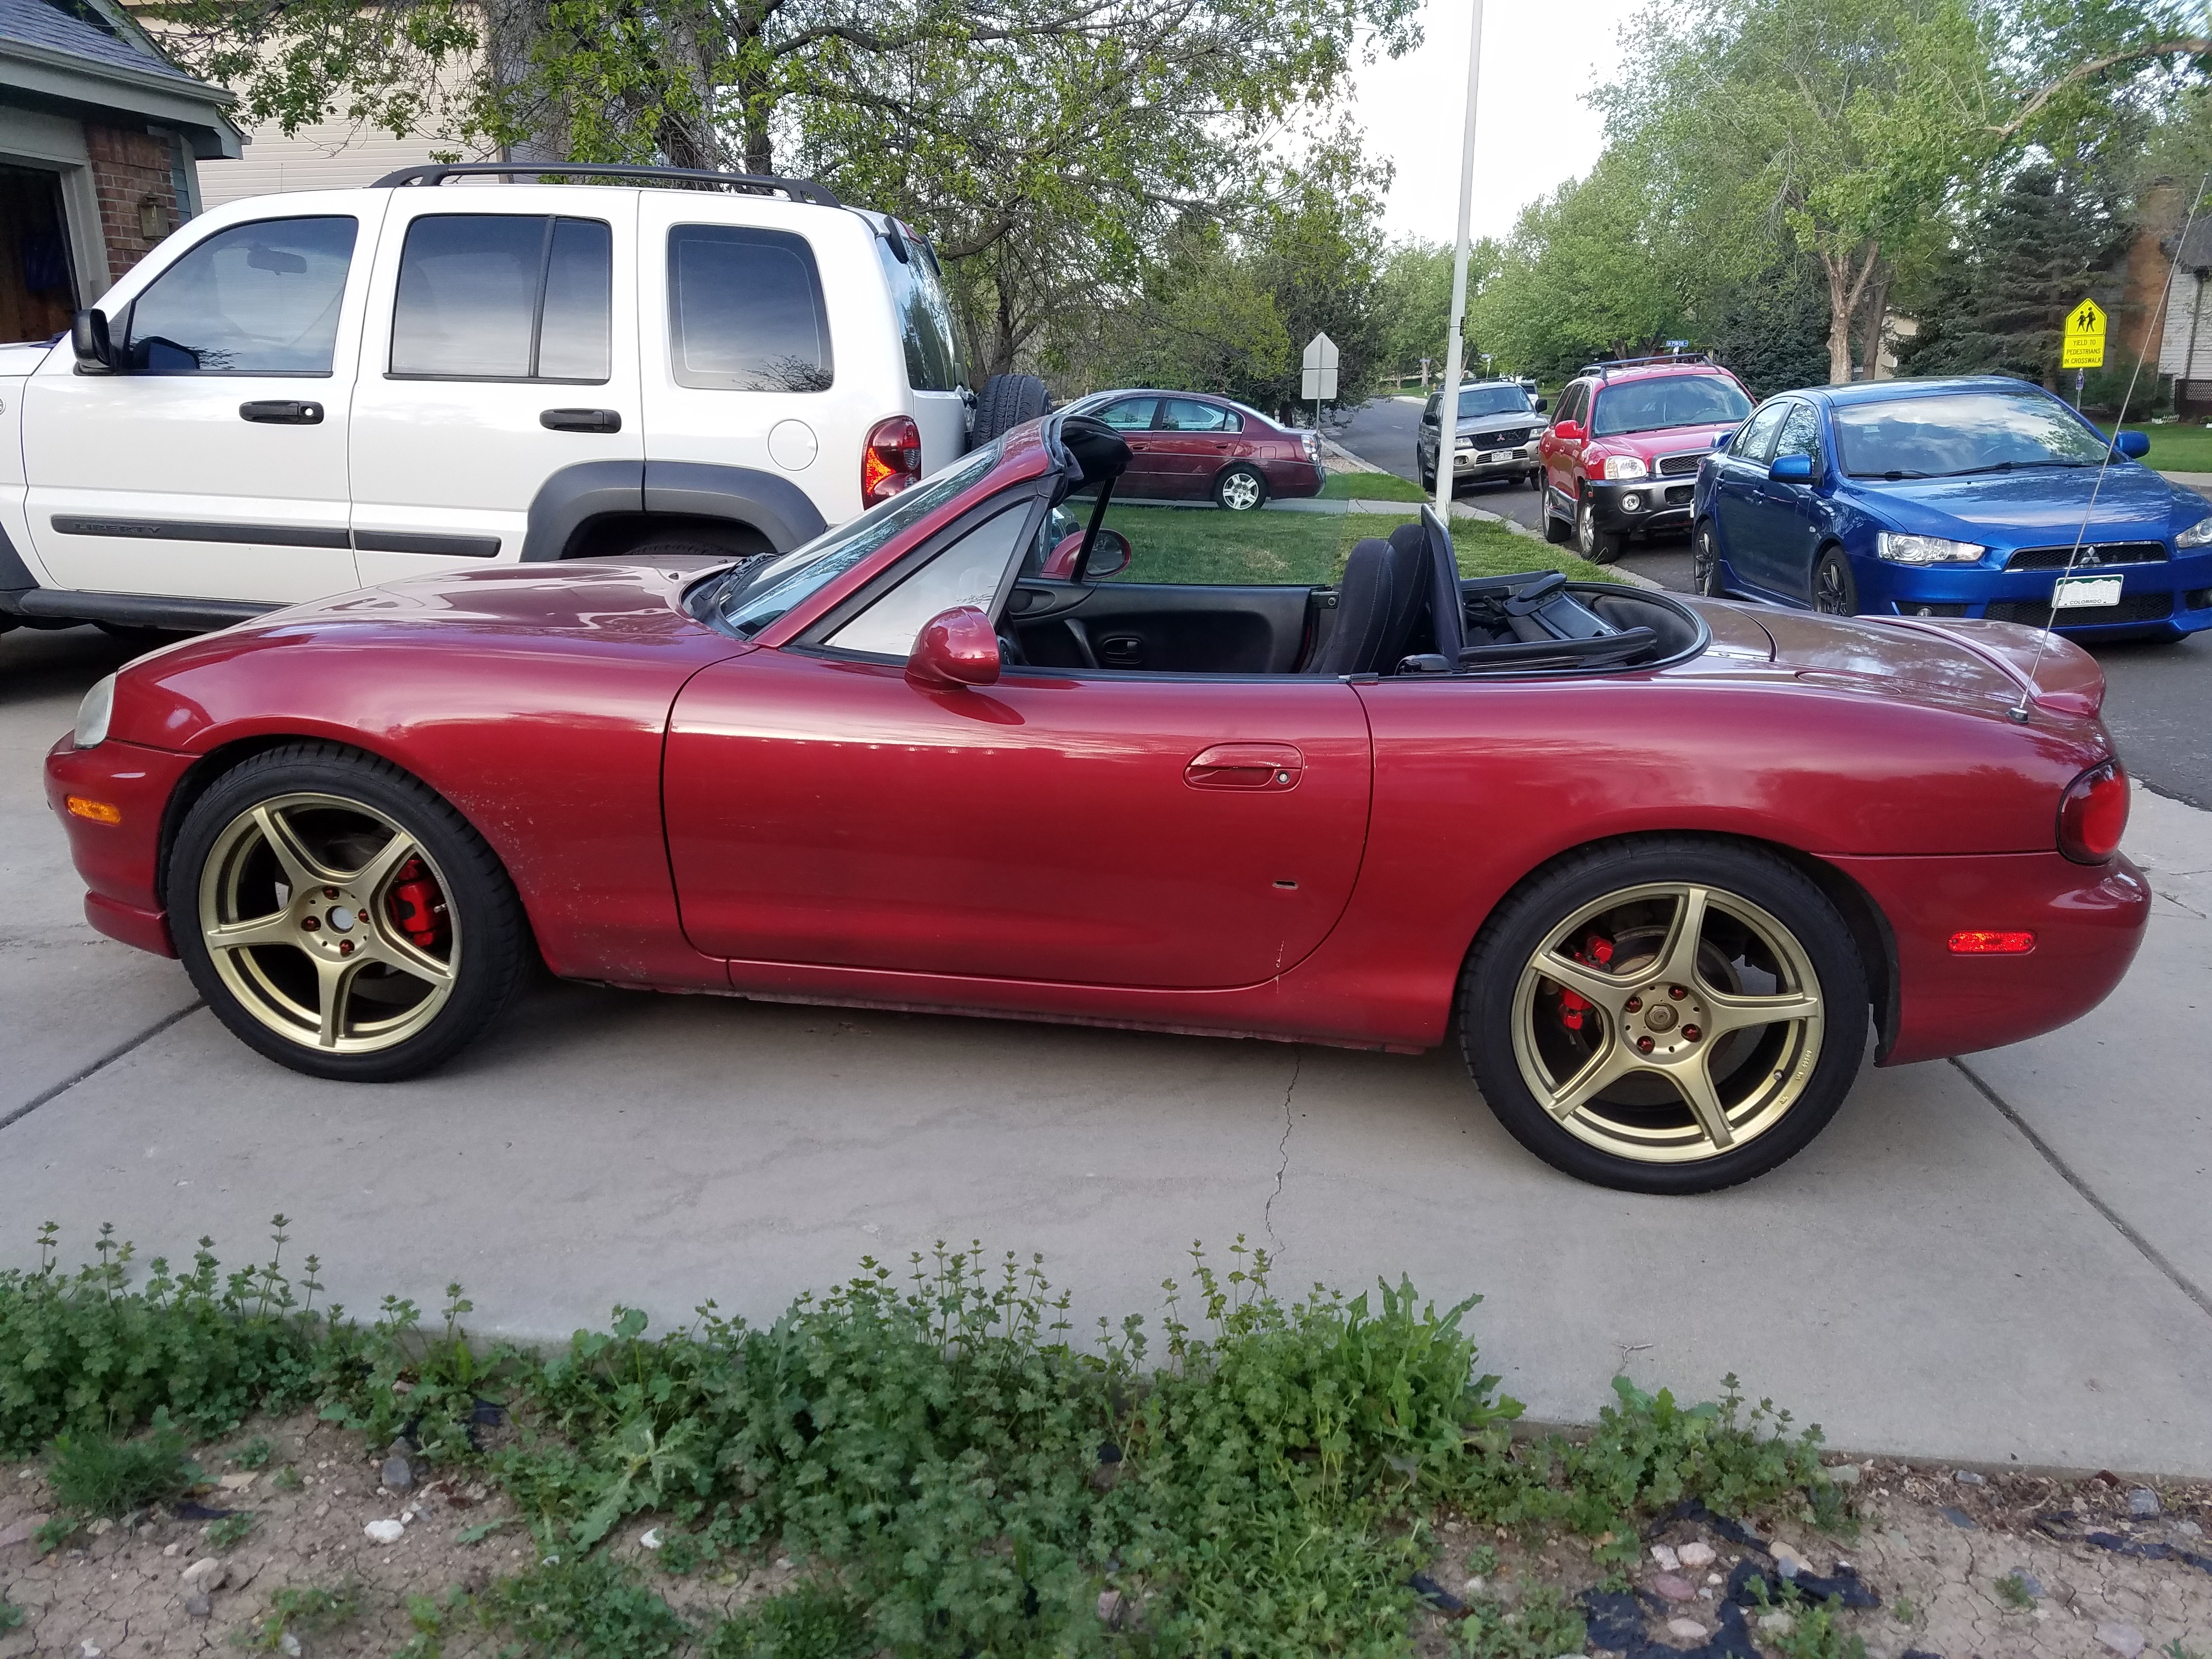
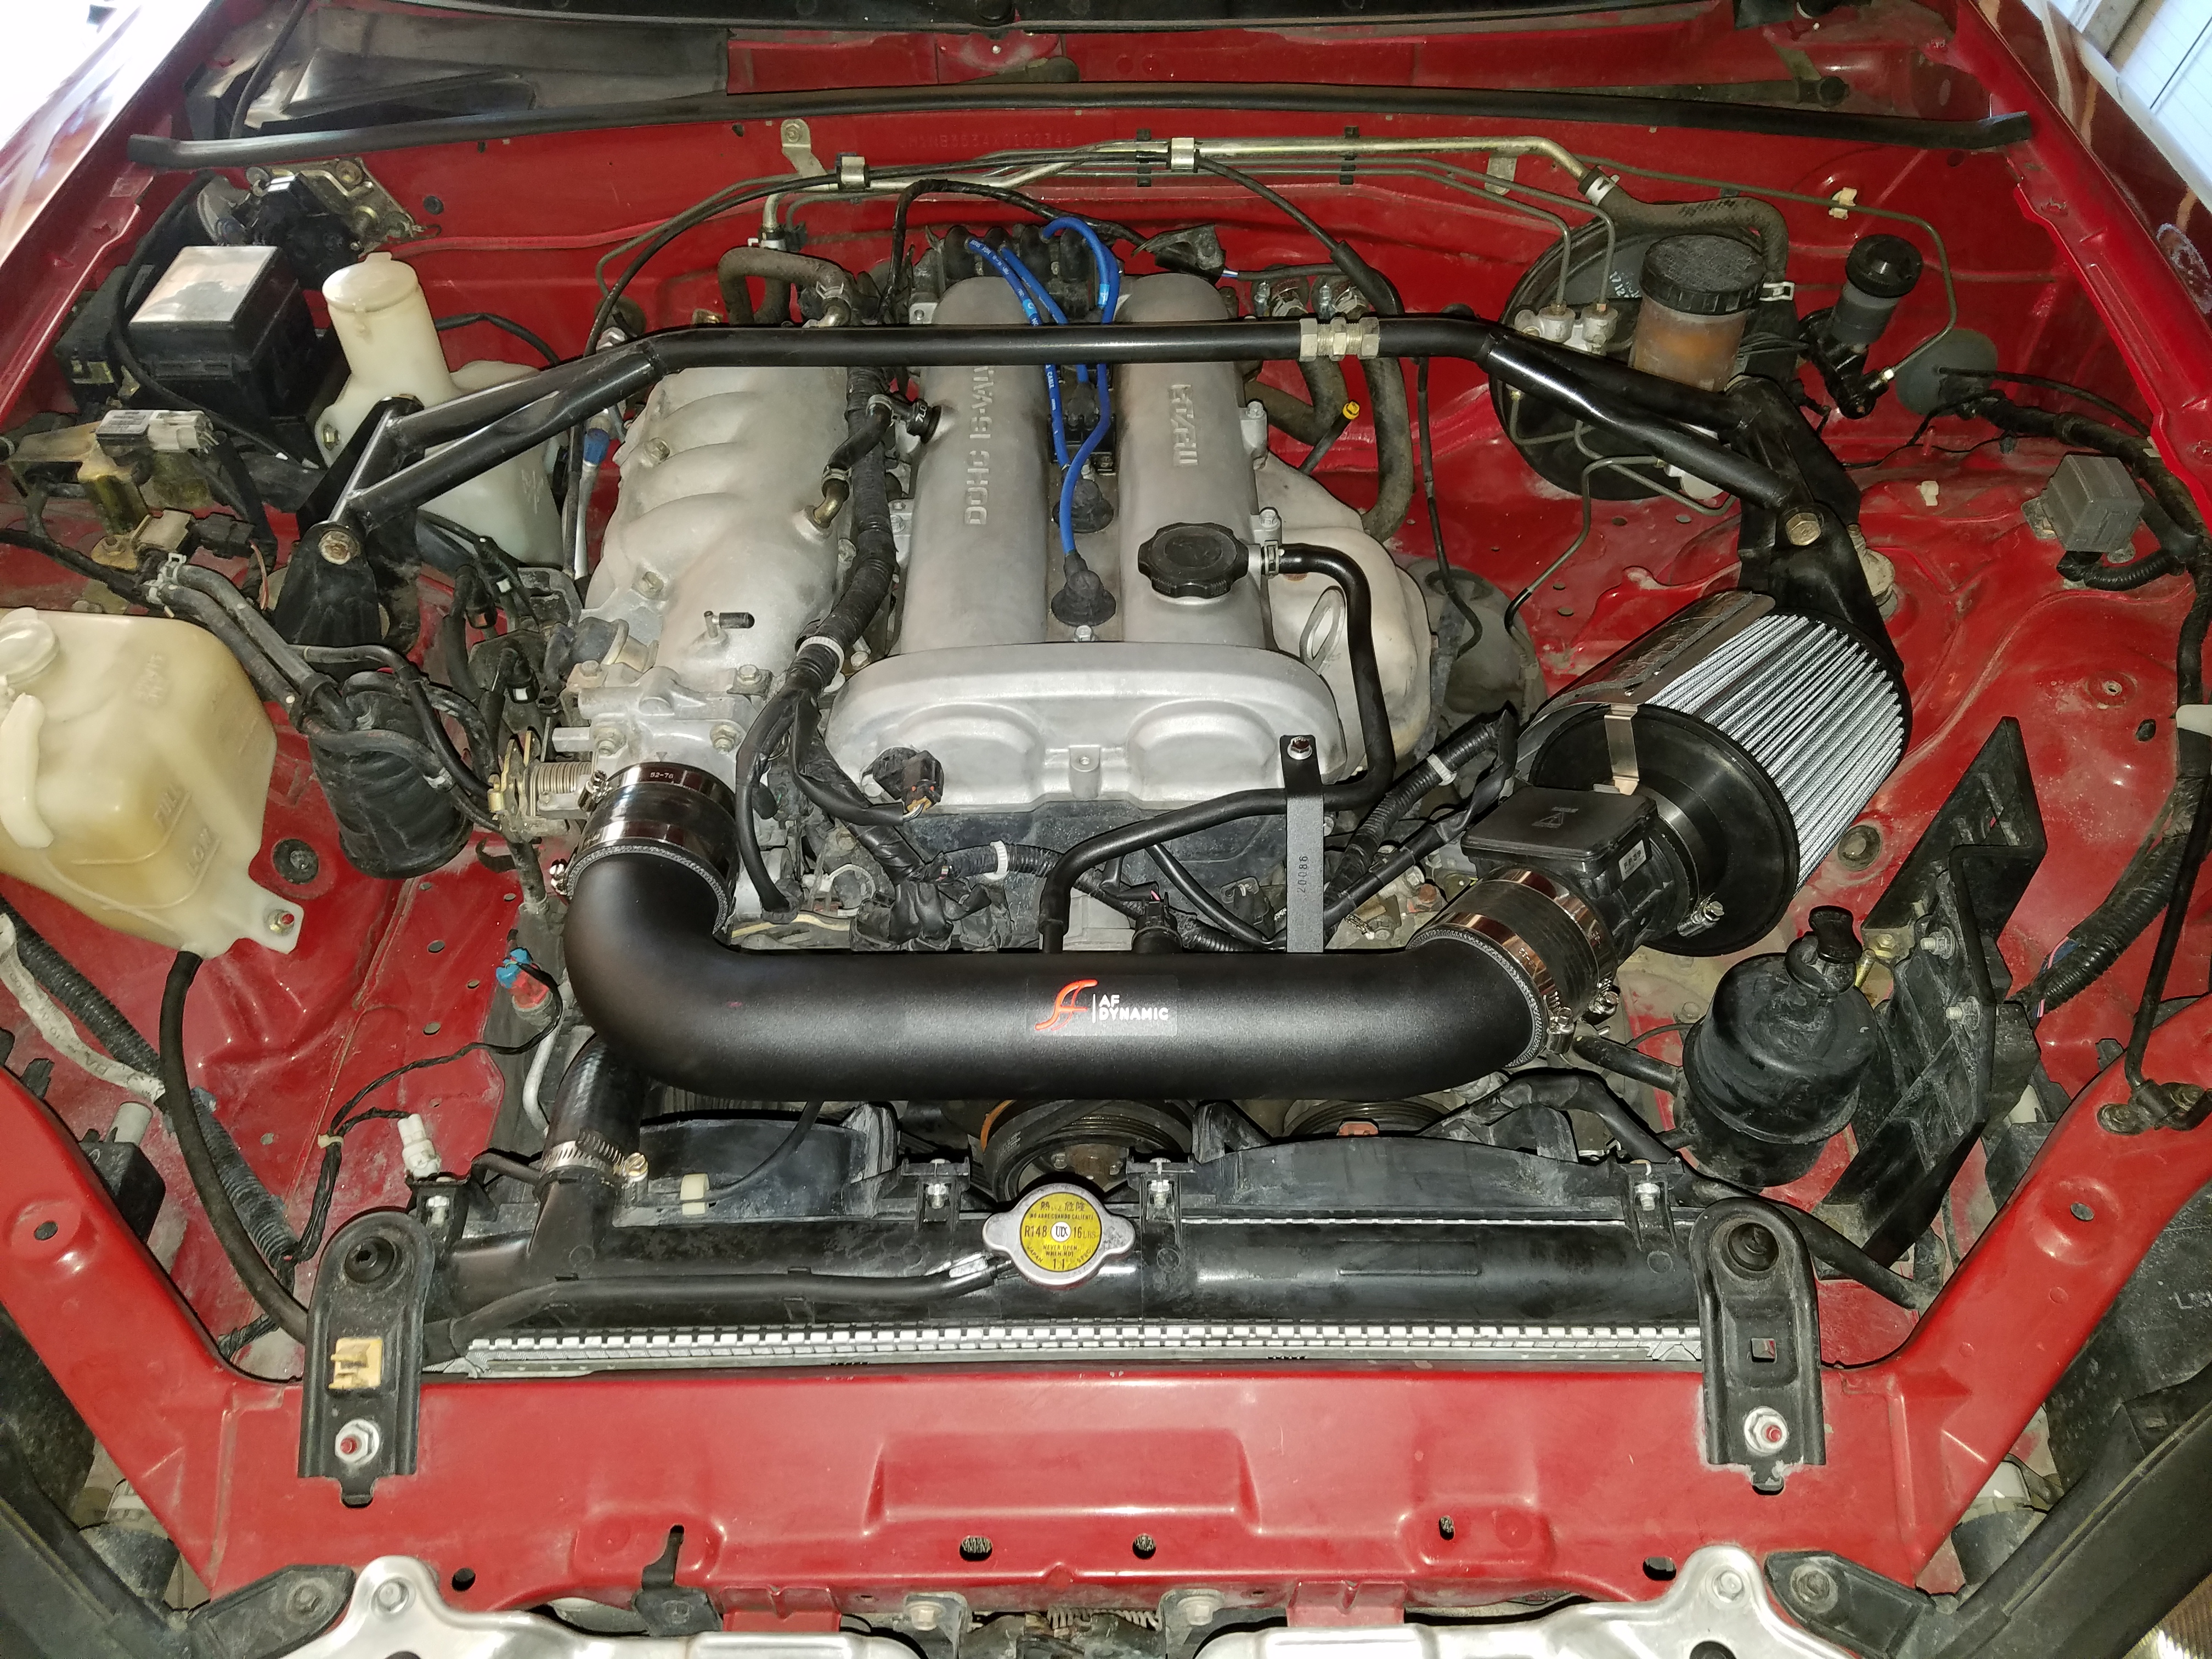
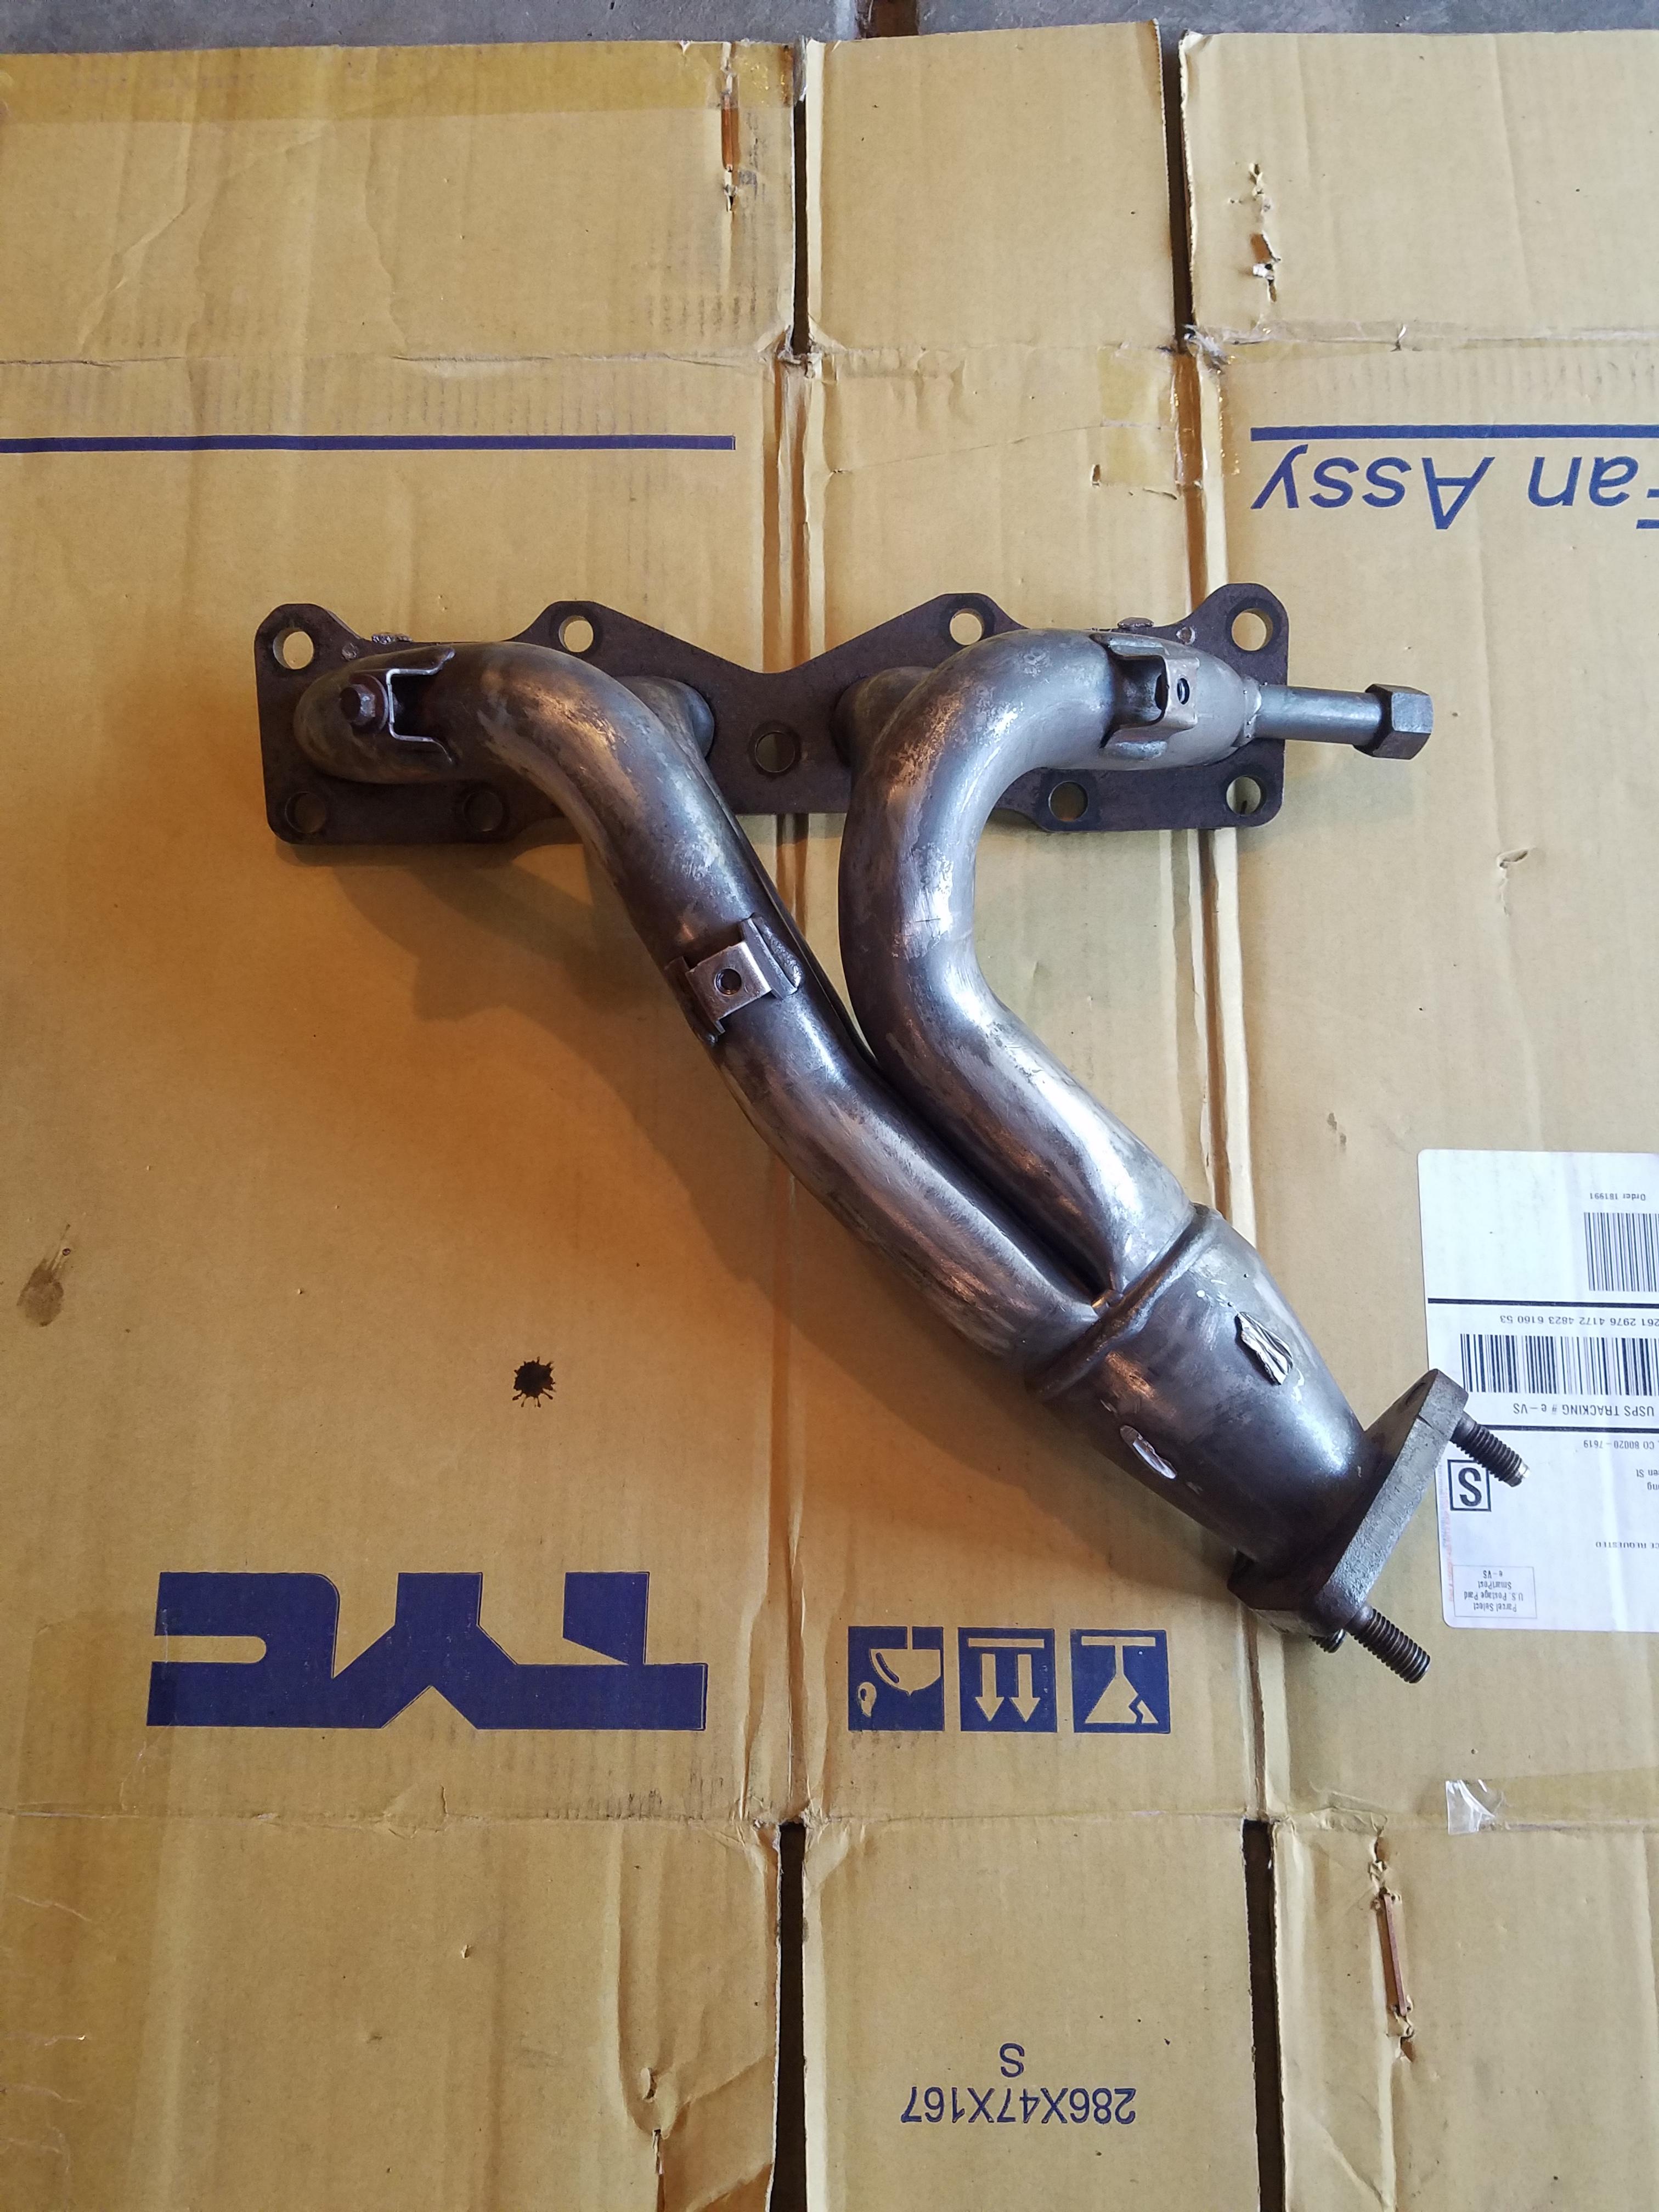
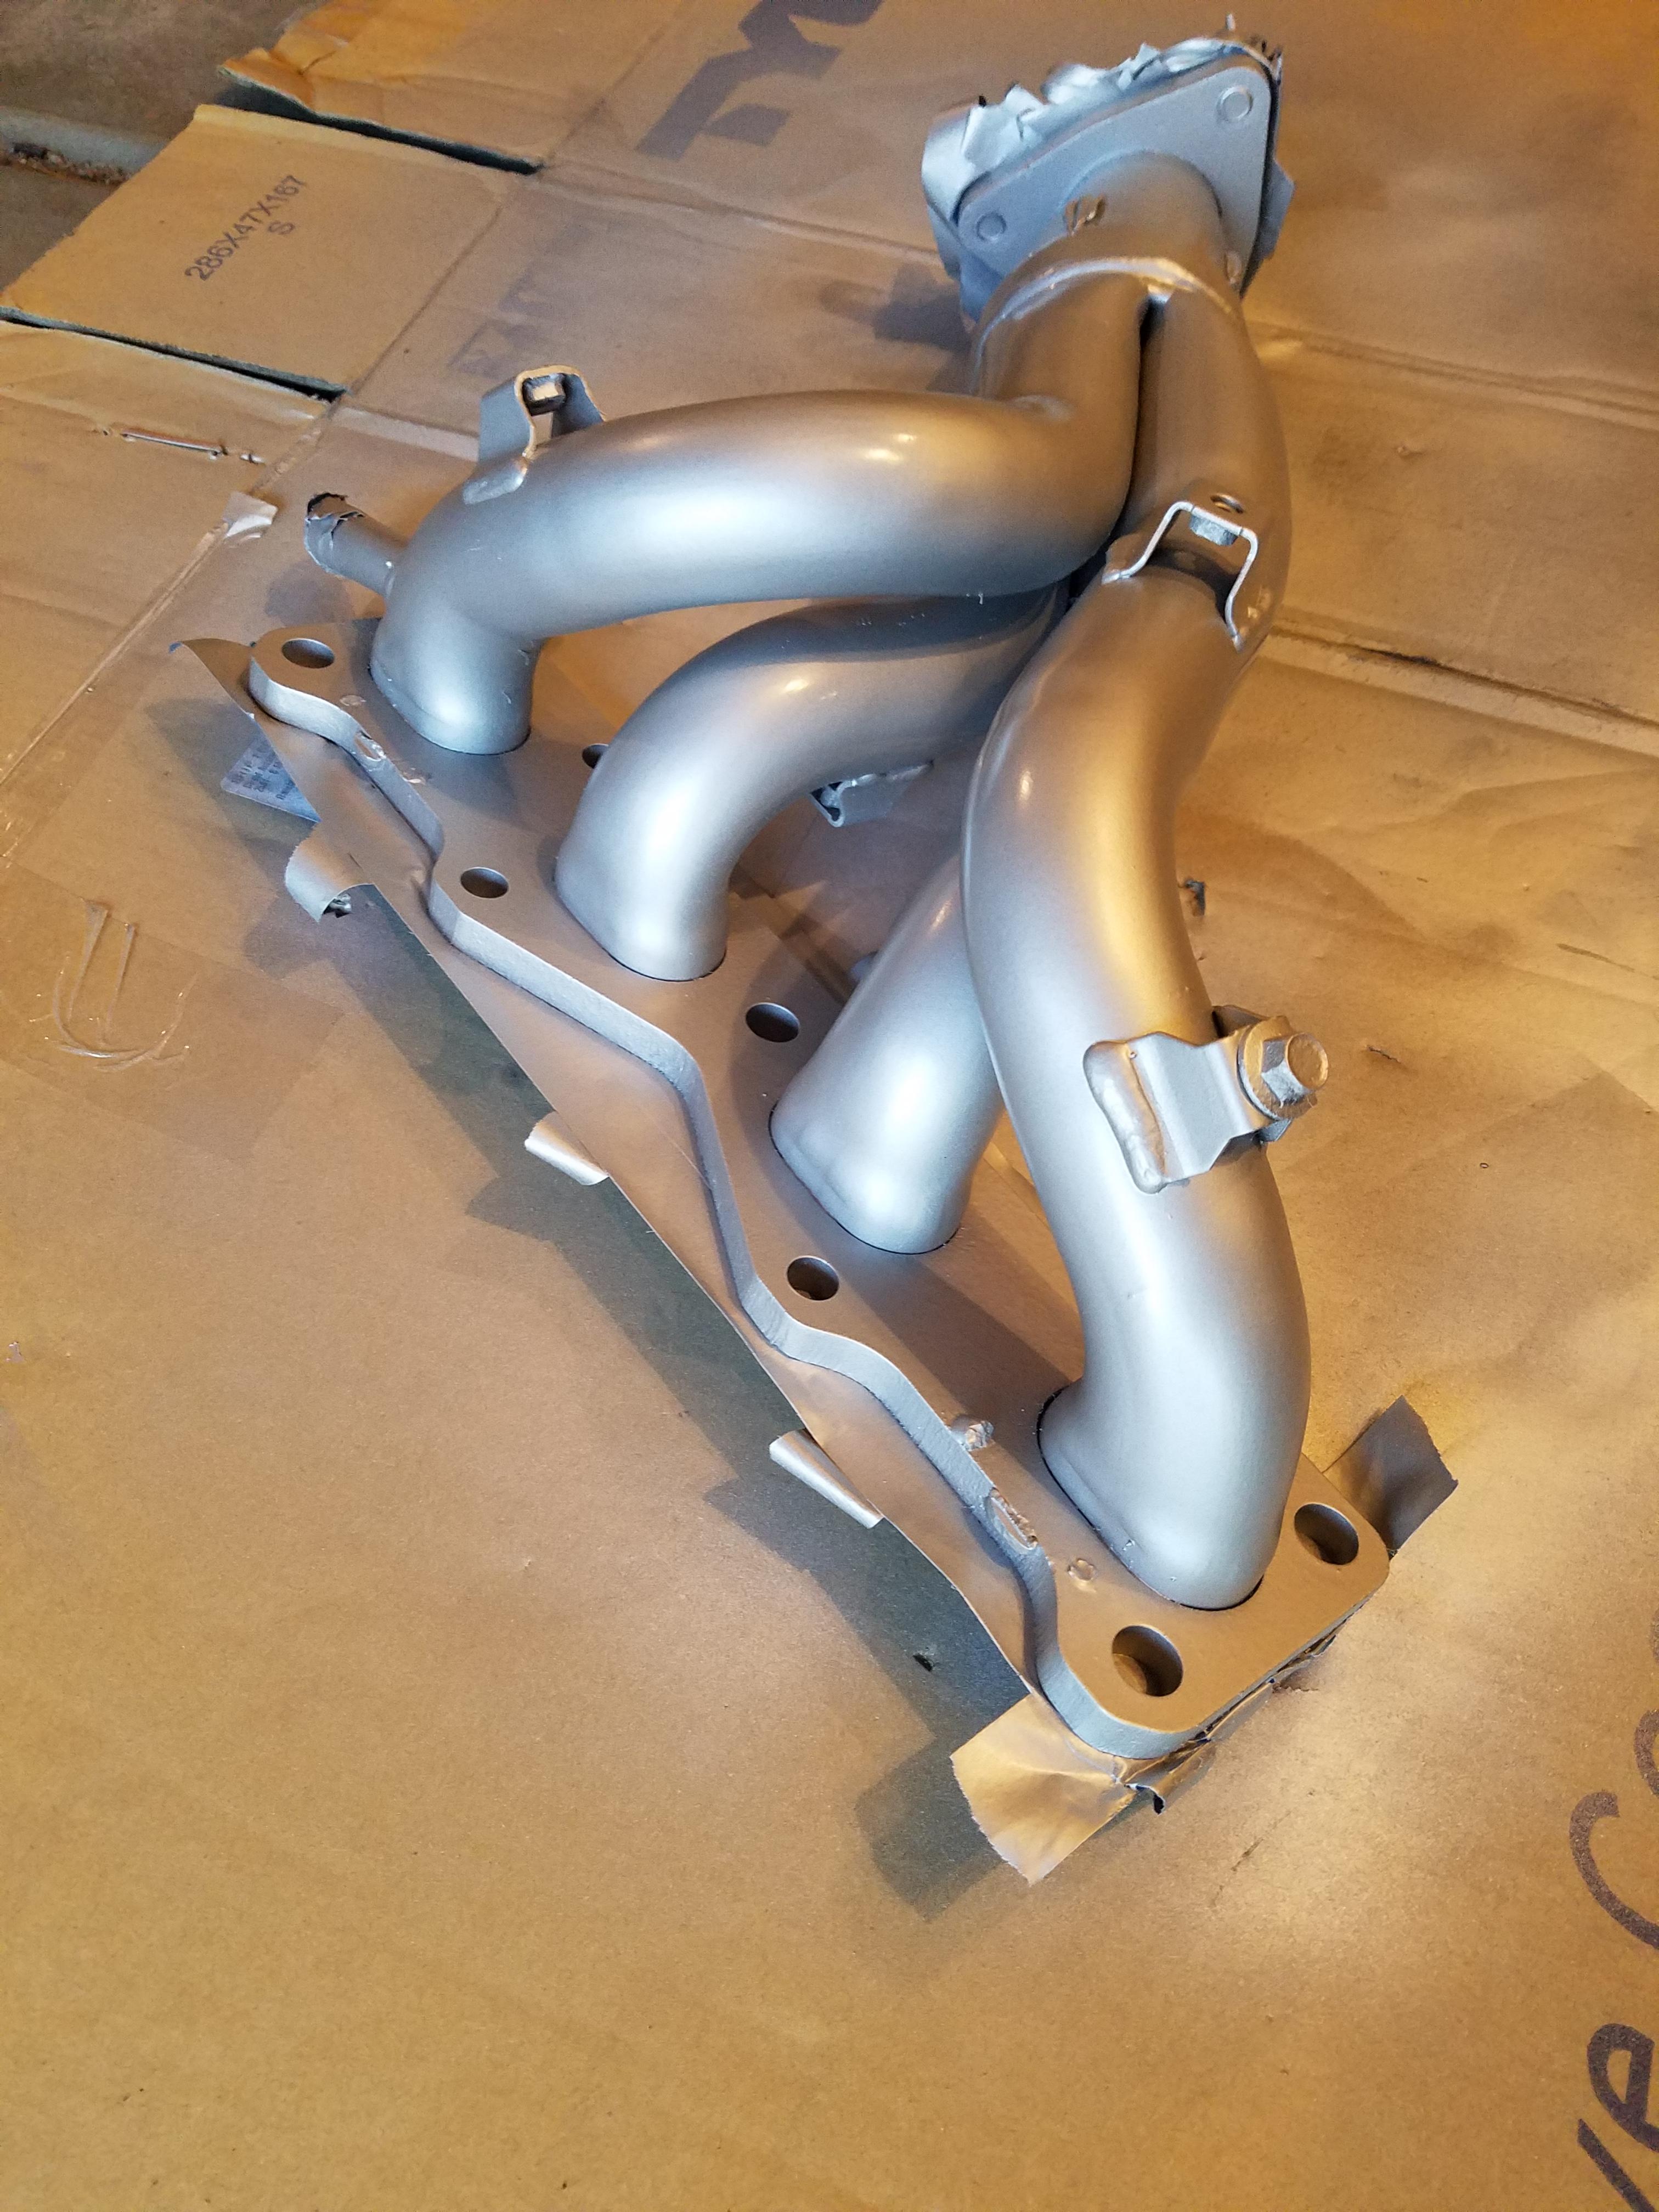
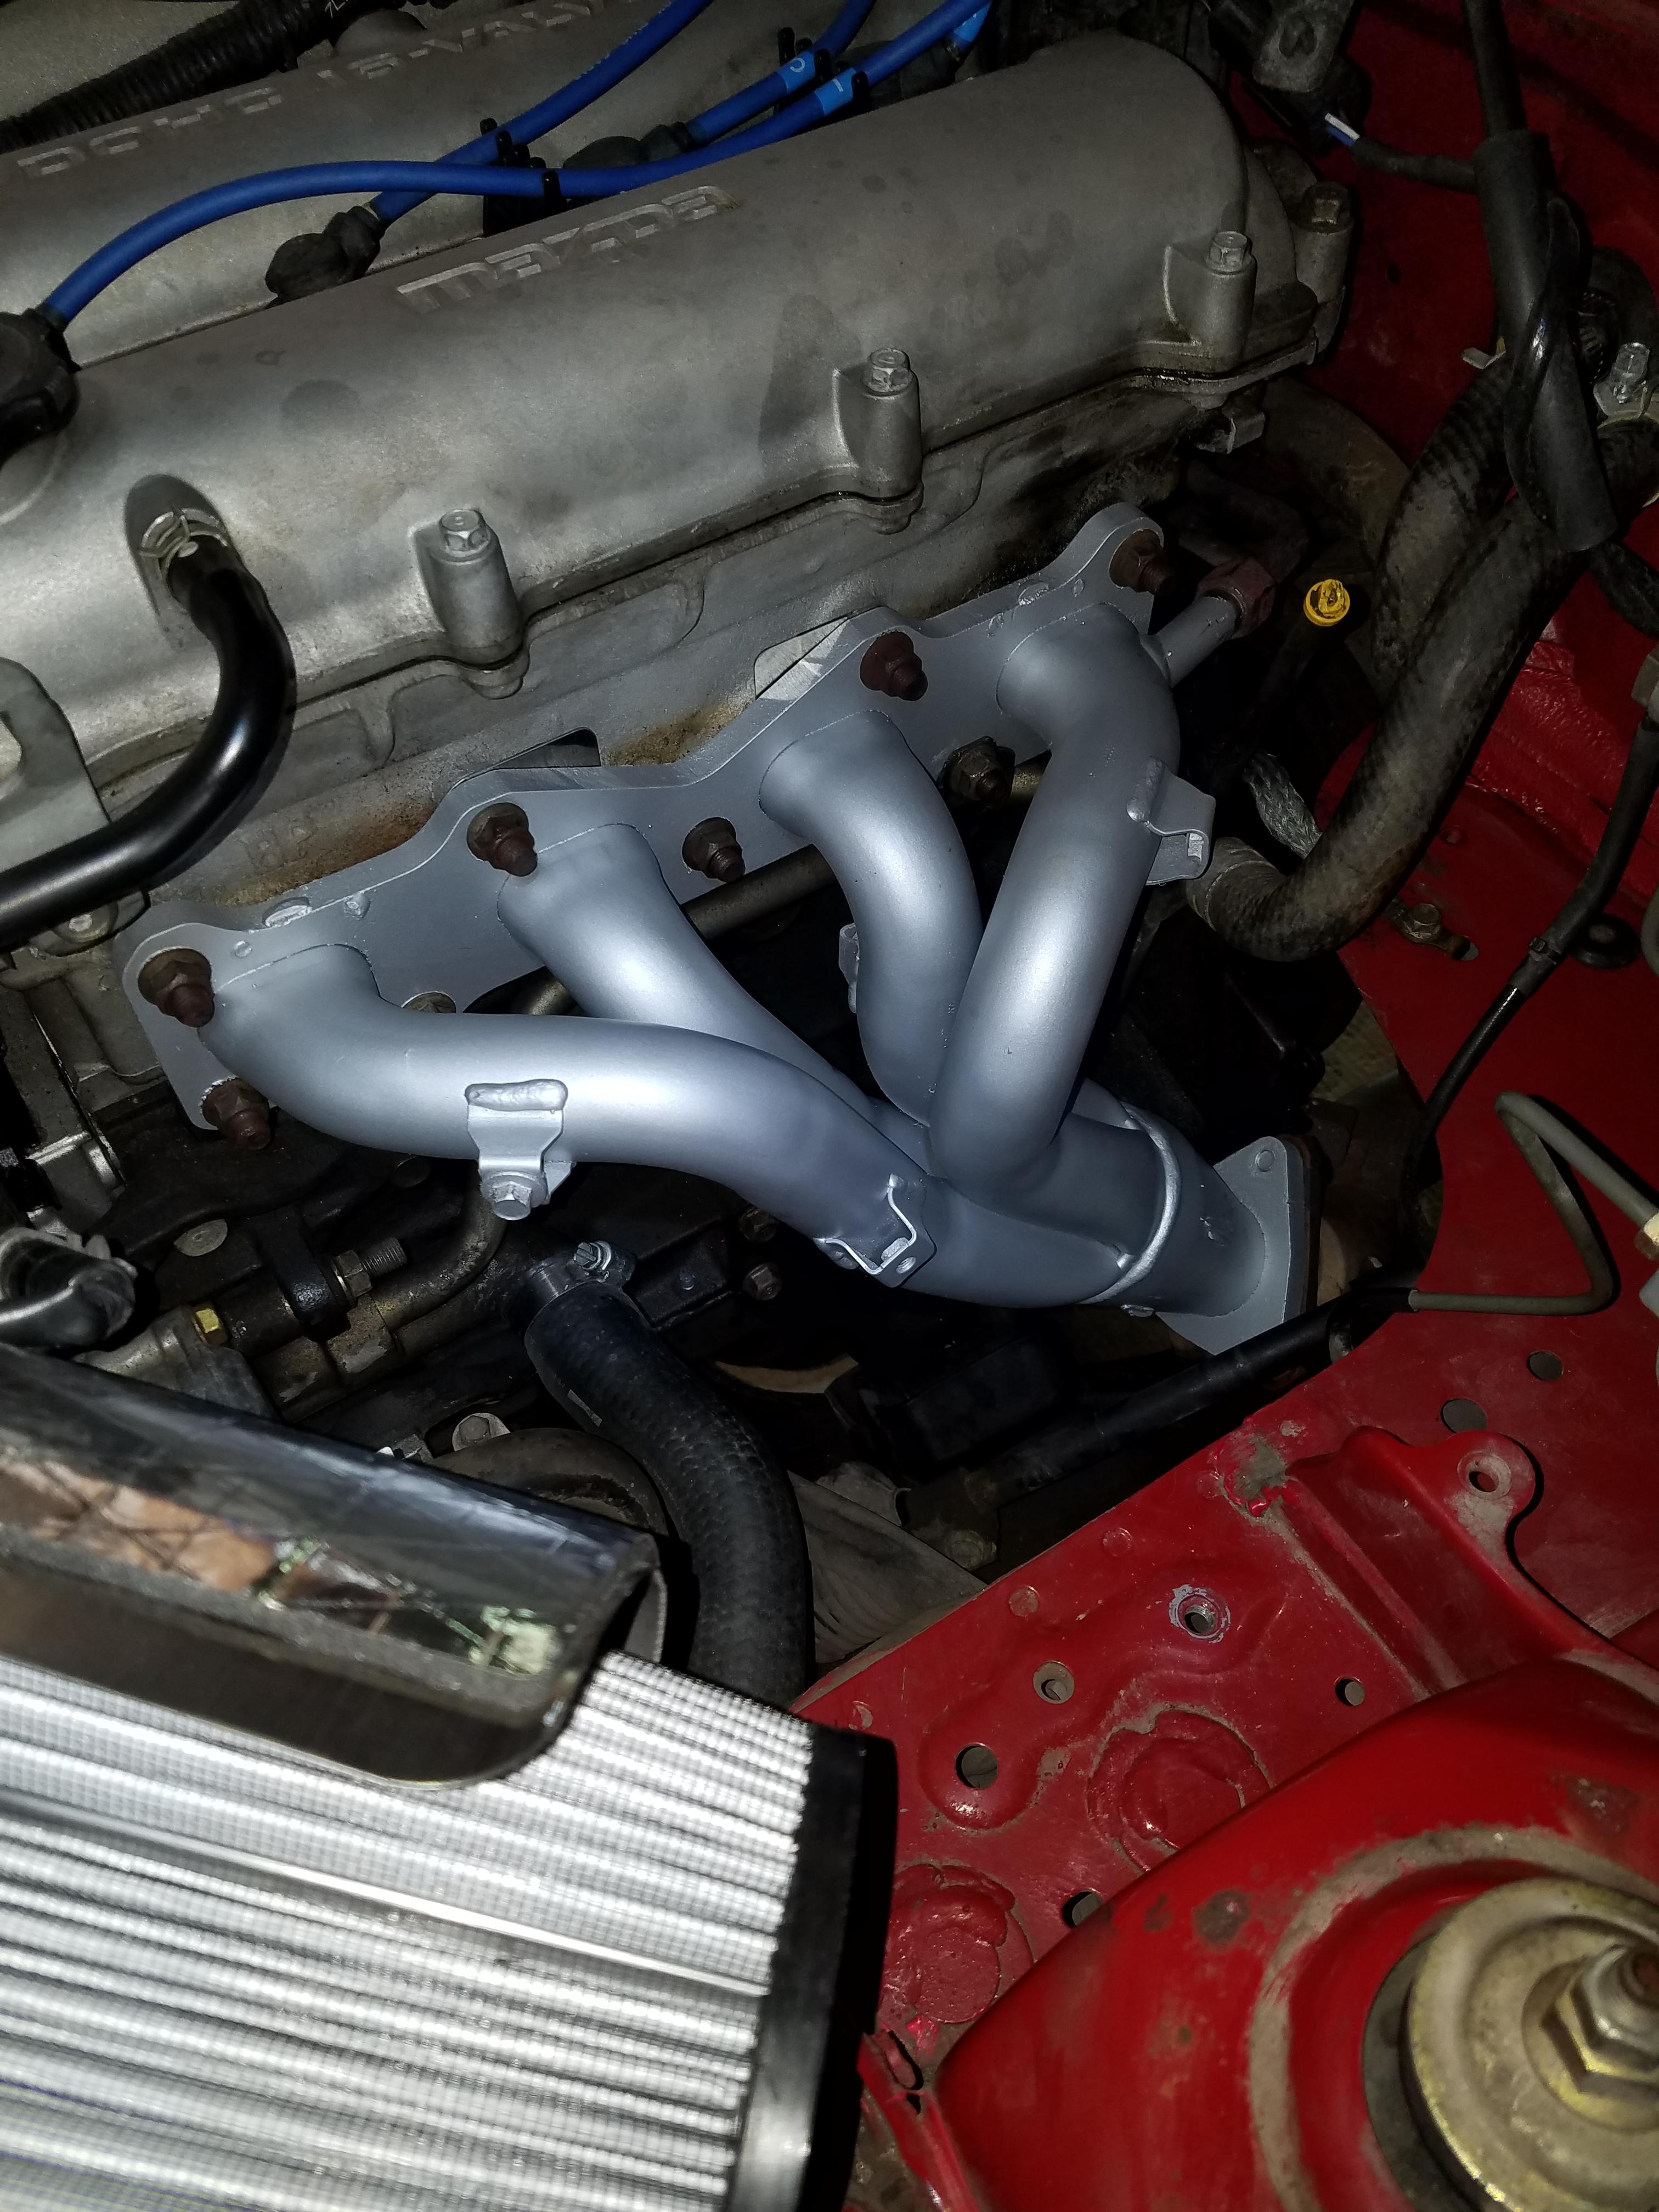
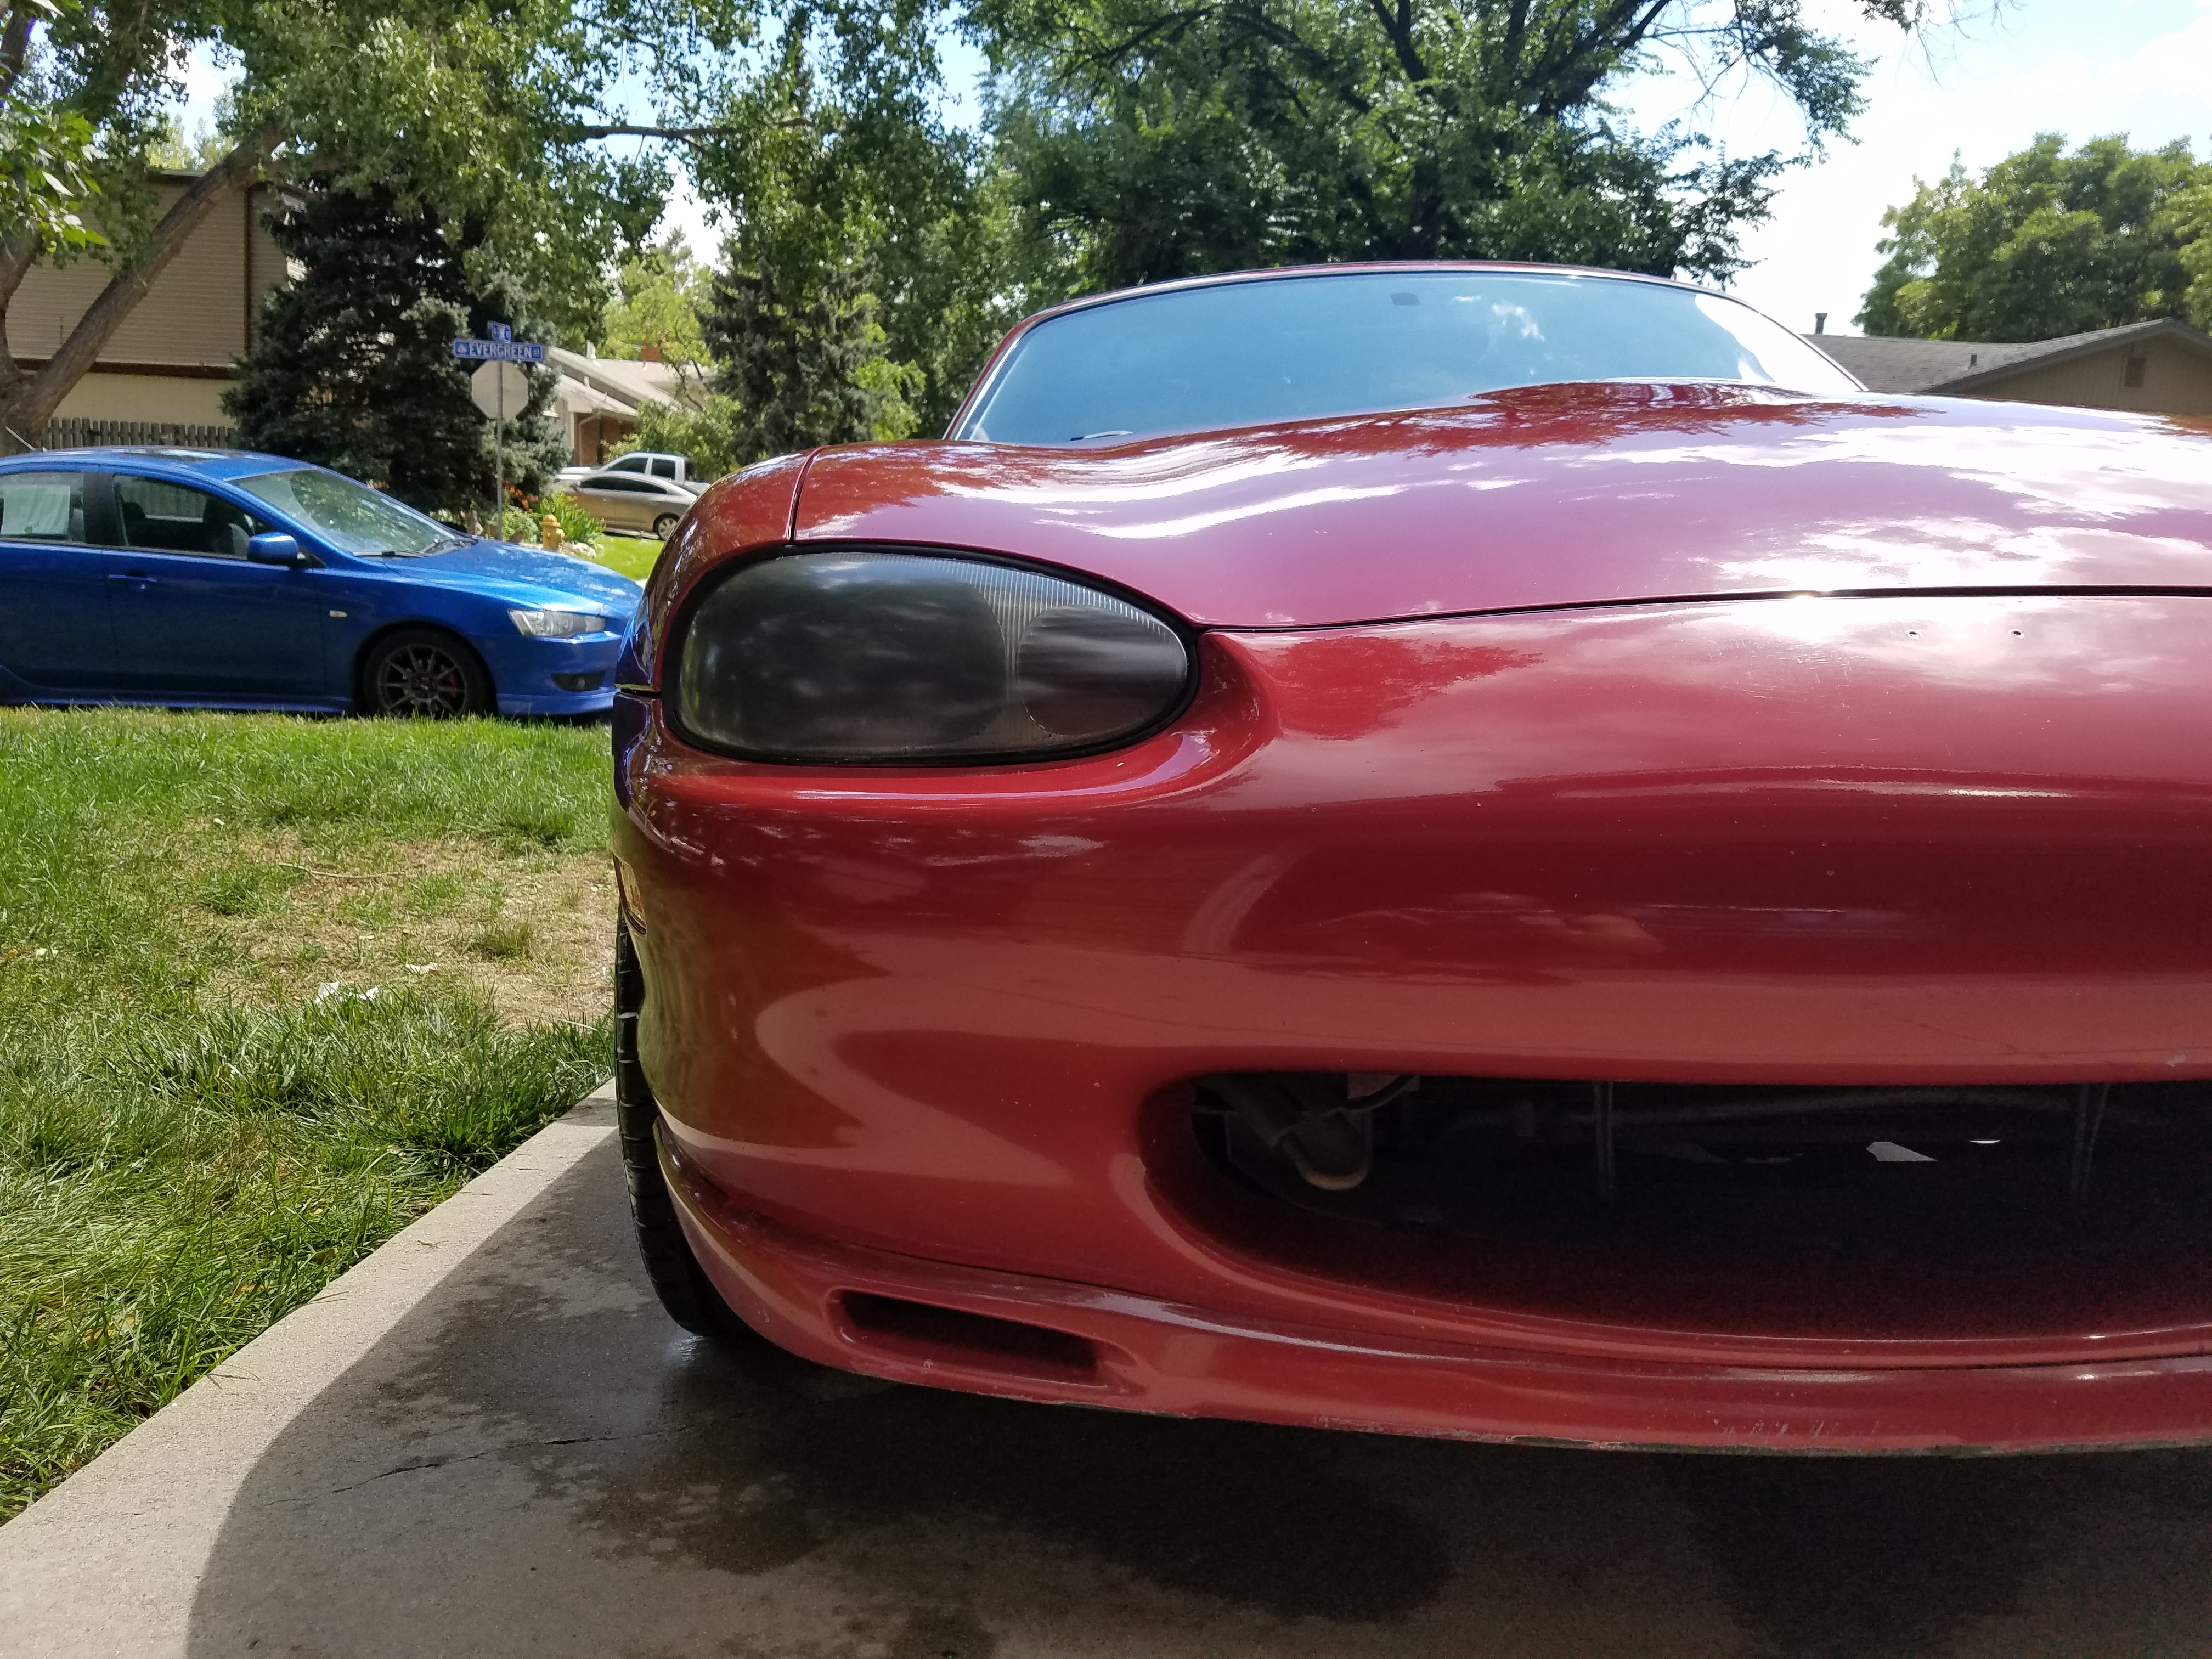
First things up were to clean and baseline the car (new oil, new spark plugs, plug wires, etc). I also polished and cleaned the faded headlights, rebuilt the shifter, plastidipped my wheels, painted my brake calipers and installed an intake, NB2 header and an ISR exhaust along the way last Summer.
Also remember that stutter/hesitation I described earlier during the test drive, turns out it isn't VVT as I later learned the 99' NB has VICS and I thought something was wrong with the VICS system as it only occurred during RPM's greater than 5500. Throughout the Summer and Fall I did a bunch of testing (compression, fuel pressure, checked timing, etc) and replaced a bunch of parts (CAS, O2 Sensors, fuel pump, fuel filter, etc) and it never fixed the issue. Now I probably know why the PO wanted to dump the car! He probably couldn't figure out how to solve this issue either! So for the most part I just drove it to enjoy it, it operated fine 100% of the time if I stayed below 5500 RPM, but it was definitely annoying and frustrating to know in the back of your head that your car isn't performing as good as it can be.
But I eventually figured it out earlier this Spring. Turns out the gap between the Crank Position Sensor and the trigger wheel was off, I ended up resetting the gap with feeler gauges to the factory spec in the Mellens manual and that's what fixed it! Ran like a top, no more misfire/stutter/hesitation!
Before cleaning:
After cleaning:

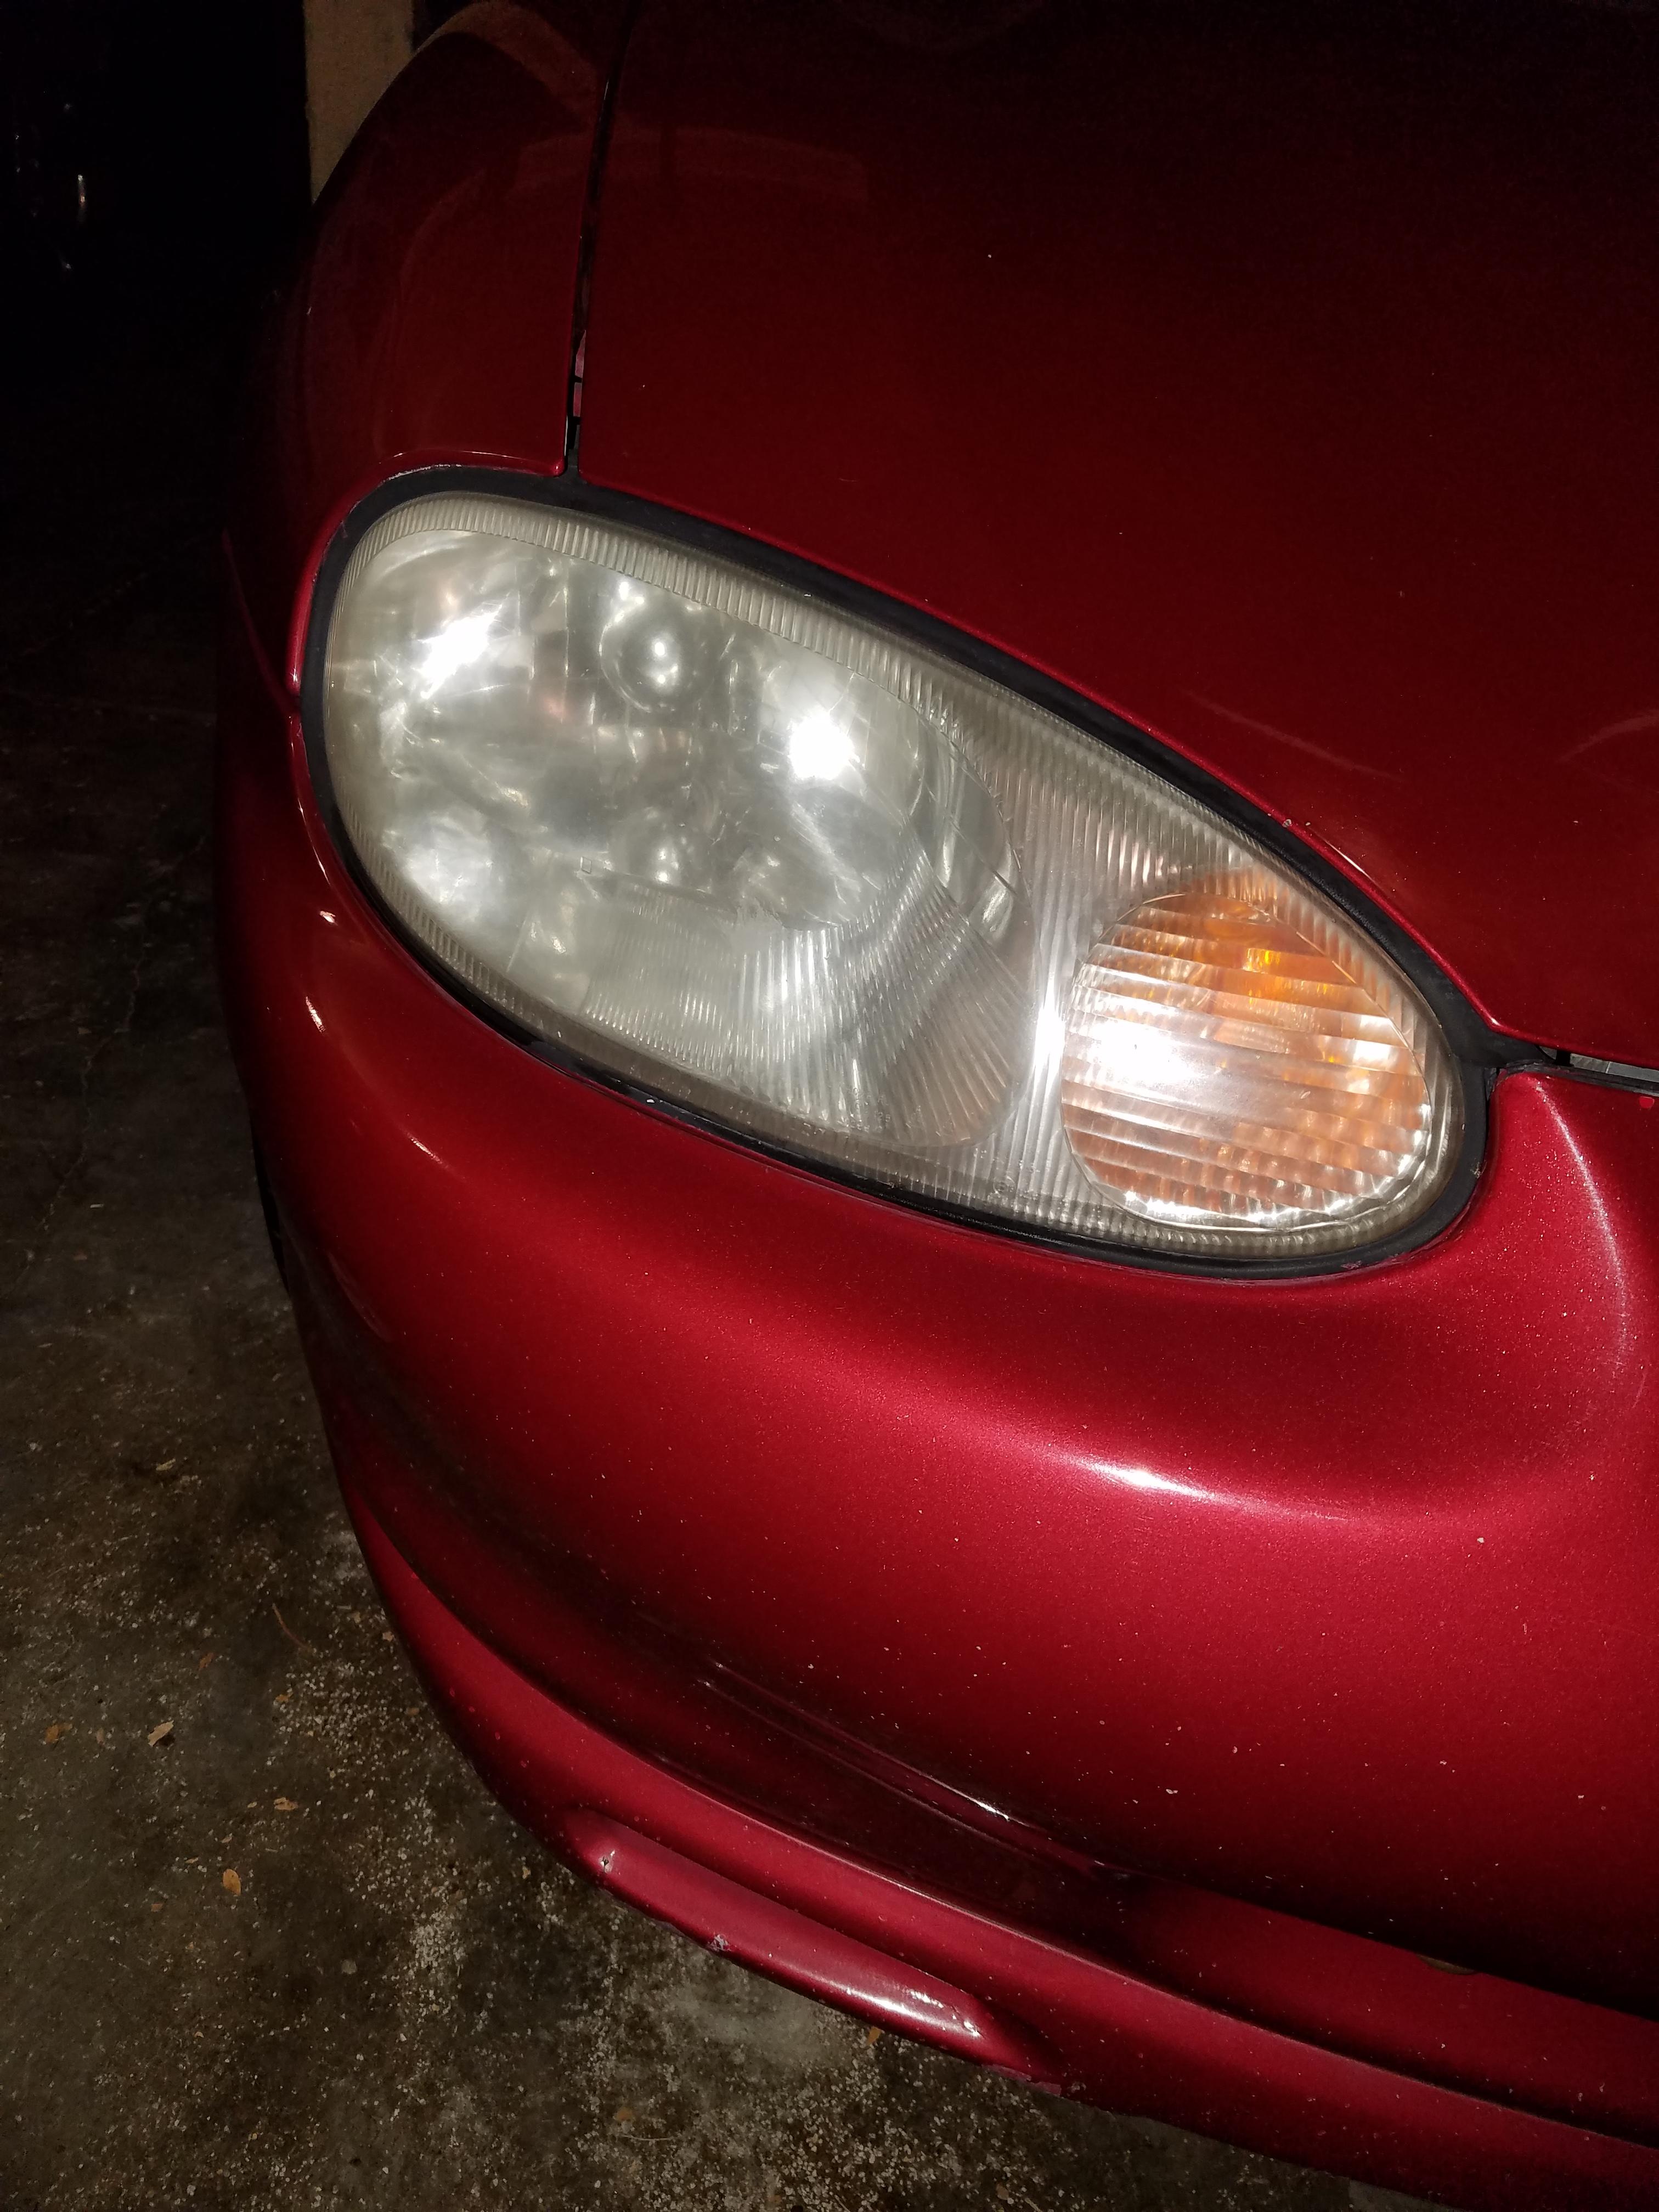
Faded Headlight:
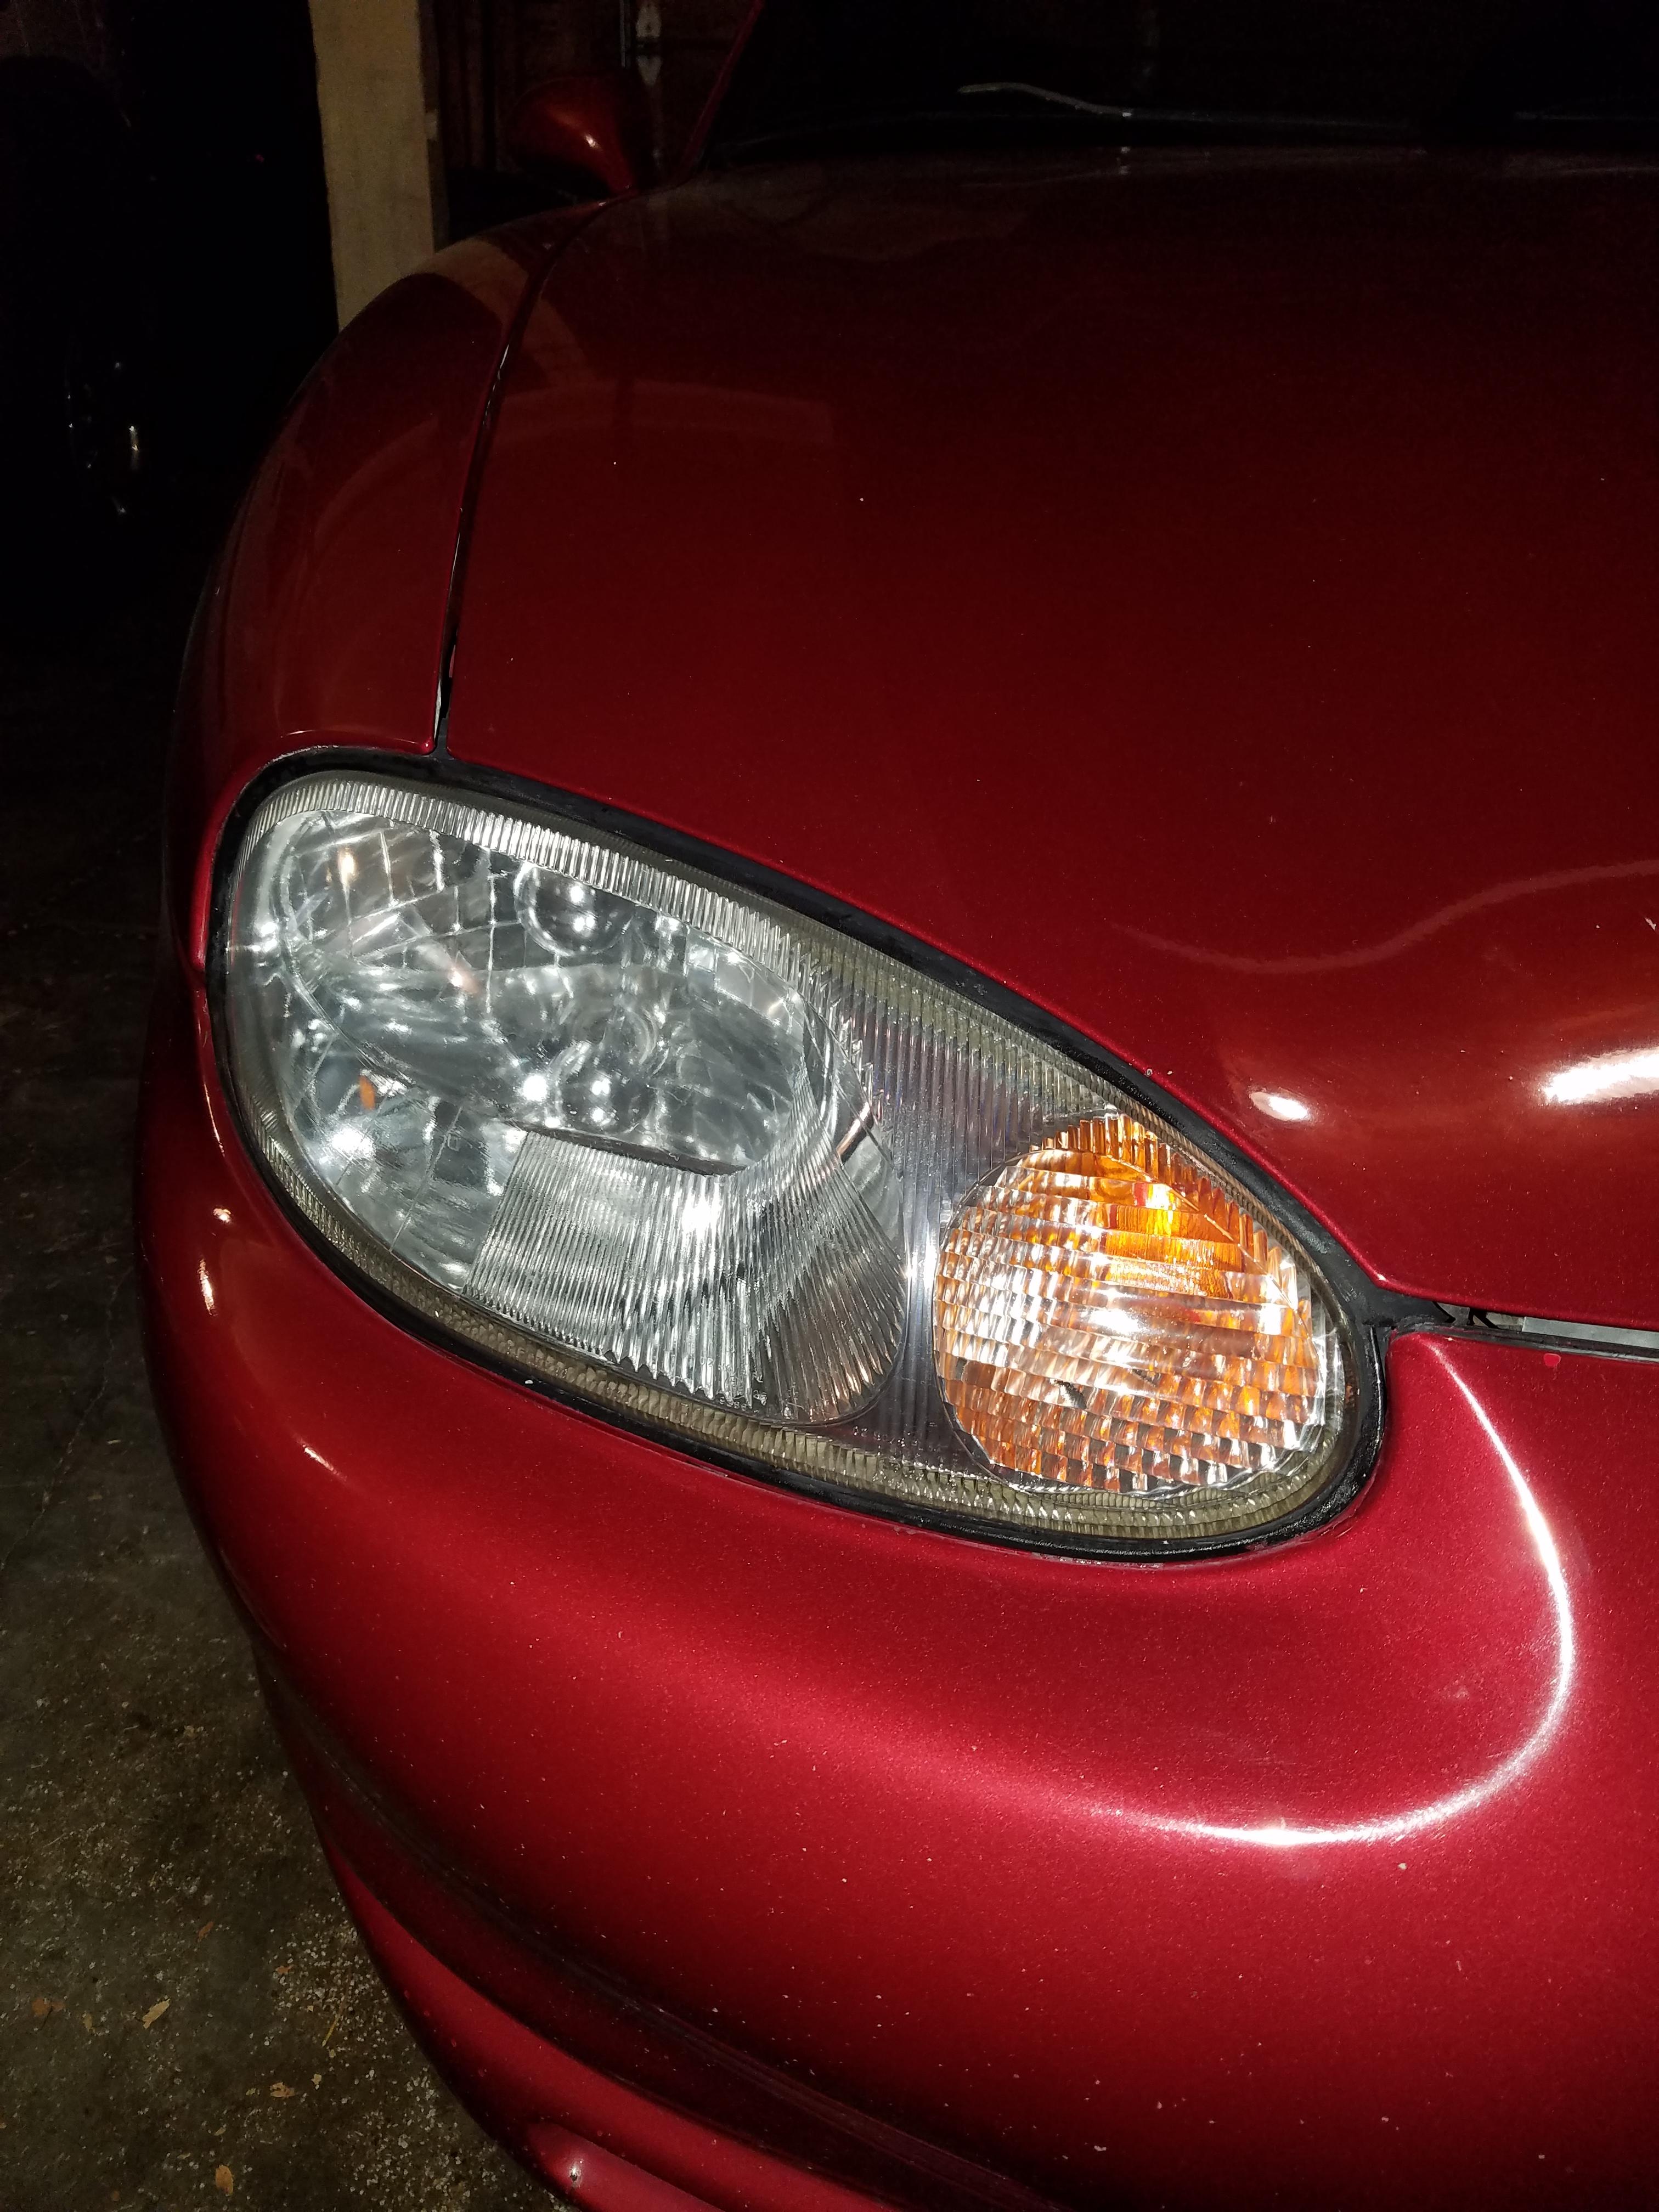
Clean Headlight:
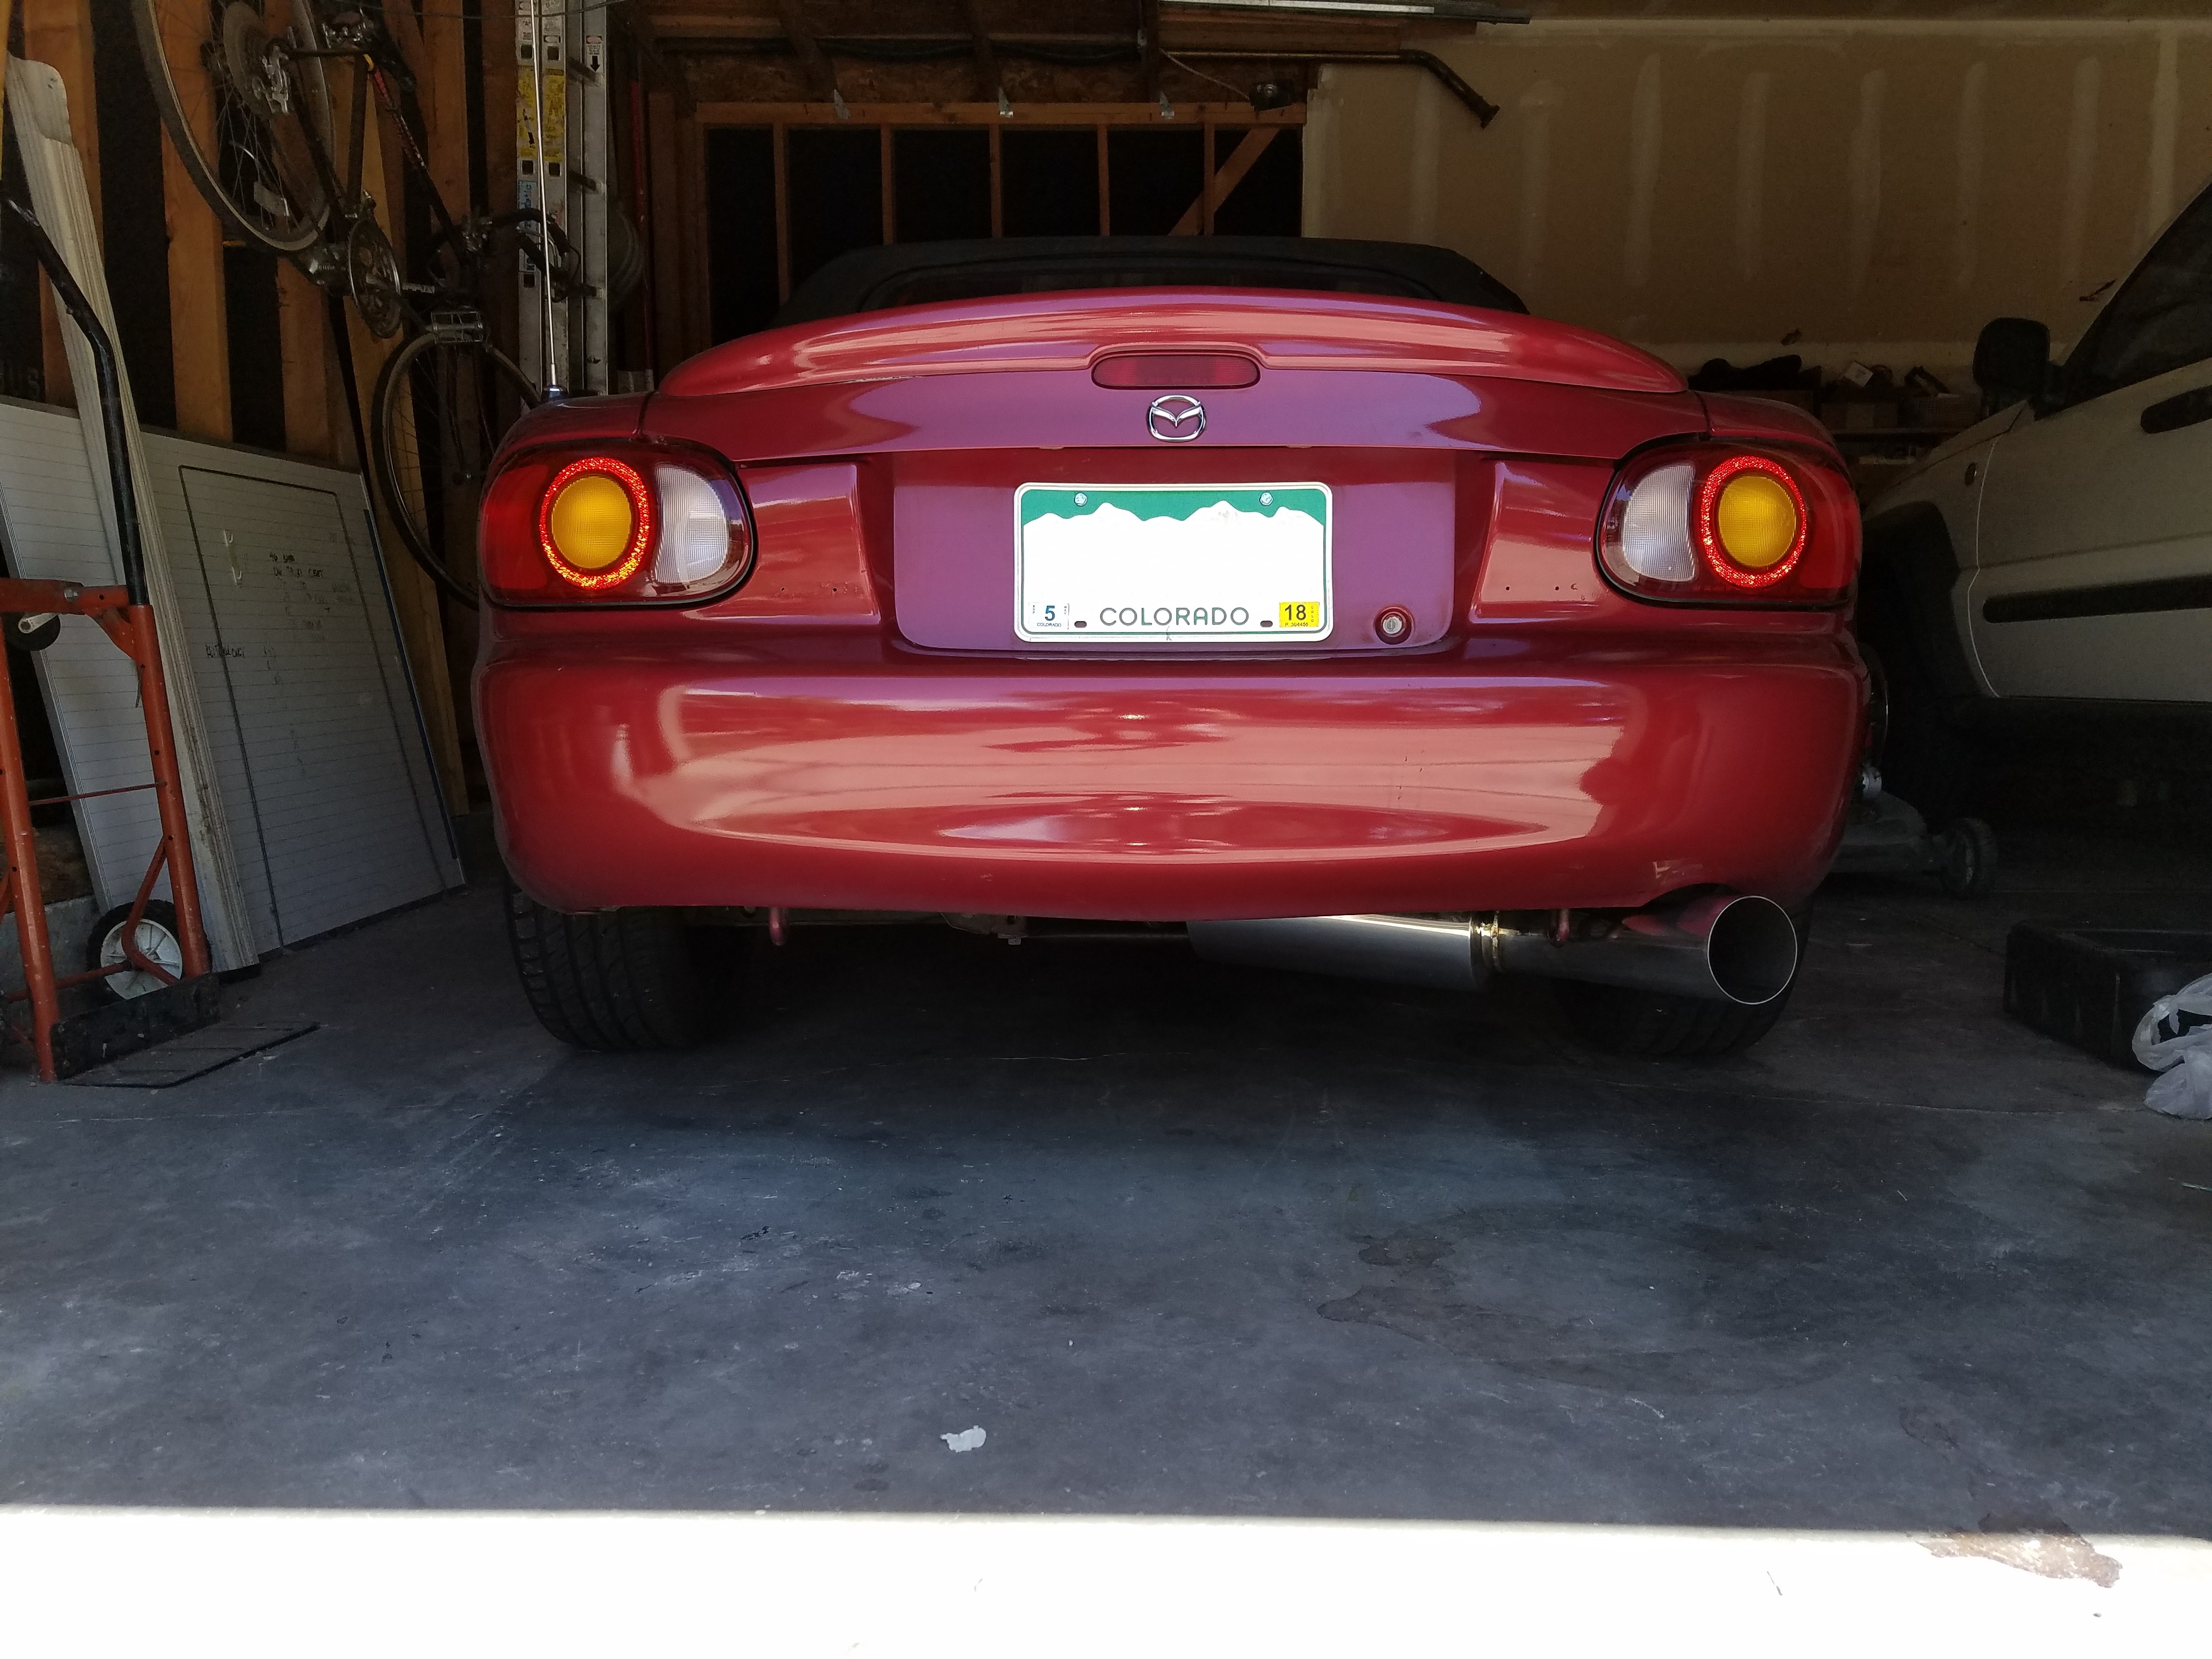
Also riced out my lights:
FYI, high RPM hesitation/stutter:
Also remember that stutter/hesitation I described earlier during the test drive, turns out it isn't VVT as I later learned the 99' NB has VICS and I thought something was wrong with the VICS system as it only occurred during RPM's greater than 5500. Throughout the Summer and Fall I did a bunch of testing (compression, fuel pressure, checked timing, etc) and replaced a bunch of parts (CAS, O2 Sensors, fuel pump, fuel filter, etc) and it never fixed the issue. Now I probably know why the PO wanted to dump the car! He probably couldn't figure out how to solve this issue either!
So for the most part I just drove it to enjoy it, it operated fine 100% of the time if I stayed below 5500 RPM, but it was definitely annoying and frustrating to know in the back of your head that your car isn't performing as good as it can be.But I eventually figured it out earlier this Spring. Turns out the gap between the Crank Position Sensor and the trigger wheel was off, I ended up resetting the gap with feeler gauges to the factory spec in the Mellens manual and that's what fixed it! Ran like a top, no more misfire/stutter/hesitation!
Before cleaning:
After cleaning:
Faded Headlight:
Clean Headlight:
Also riced out my lights:
FYI, high RPM hesitation/stutter:
Last edited by HmoobDude; 09-11-2018 at 09:01 AM.
Reply
0
0
09-11-2018, 01:12 AM
#3
Elite Member
iTrader: (2)

Join Date: Aug 2016
Location: New Fucking Jersey
Posts: 3,890
Total Cats: 143
Kinda strange that you're blocking out your license plate, but your address is visible on the label of one of the packages. 
Project looks like it's coming along well so far. Looking forward to future updates!
Project looks like it's coming along well so far. Looking forward to future updates!
Last edited by ridethecliche; 09-11-2018 at 01:32 AM.
Reply
1
1
09-11-2018, 01:13 AM
#4
Junior Member
Thread Starter
Join Date: Jul 2018
Location: Colorado
Posts: 118
Total Cats: 5
Ended up storing the car away for the winter and towards the end of winter I replaced the valve cover as it was showing signs of seeping and decided to paint it. Also decided to first give a try at polishing, so I bought a cheap $20 Wal-Mart polisher, some compound and went to work. I also went to fix a "gap" I had in the spoiler, courtesy of the PO. Turns out it doesn't have one of the fasteners on the passenger side because it's stripped and was held on by double sided tape... As mentioned, once I got it running well after adjusting the CPS gap, I decided to upgrade some of the creature comforts. In went a passenger cup holder from Moss and some upgraded stereo speakers as well as a cheap $30 head unit (which I know is kinda gaudy looking) with Bluetooth capability.
I thought I'd take it easy for awhile since I just got the car sorted out and thought I'd just drive it a bit and enjoy it as it is. But the boost bug bit me and I really wanted boost. Initially I was thinking that I would maybe boost it 2-3 years down the line or so, but I decided nope. I need boost in my life, essentially I'm a boost virgin as I've only ever owned cars that were N/A and had less that 150hp.
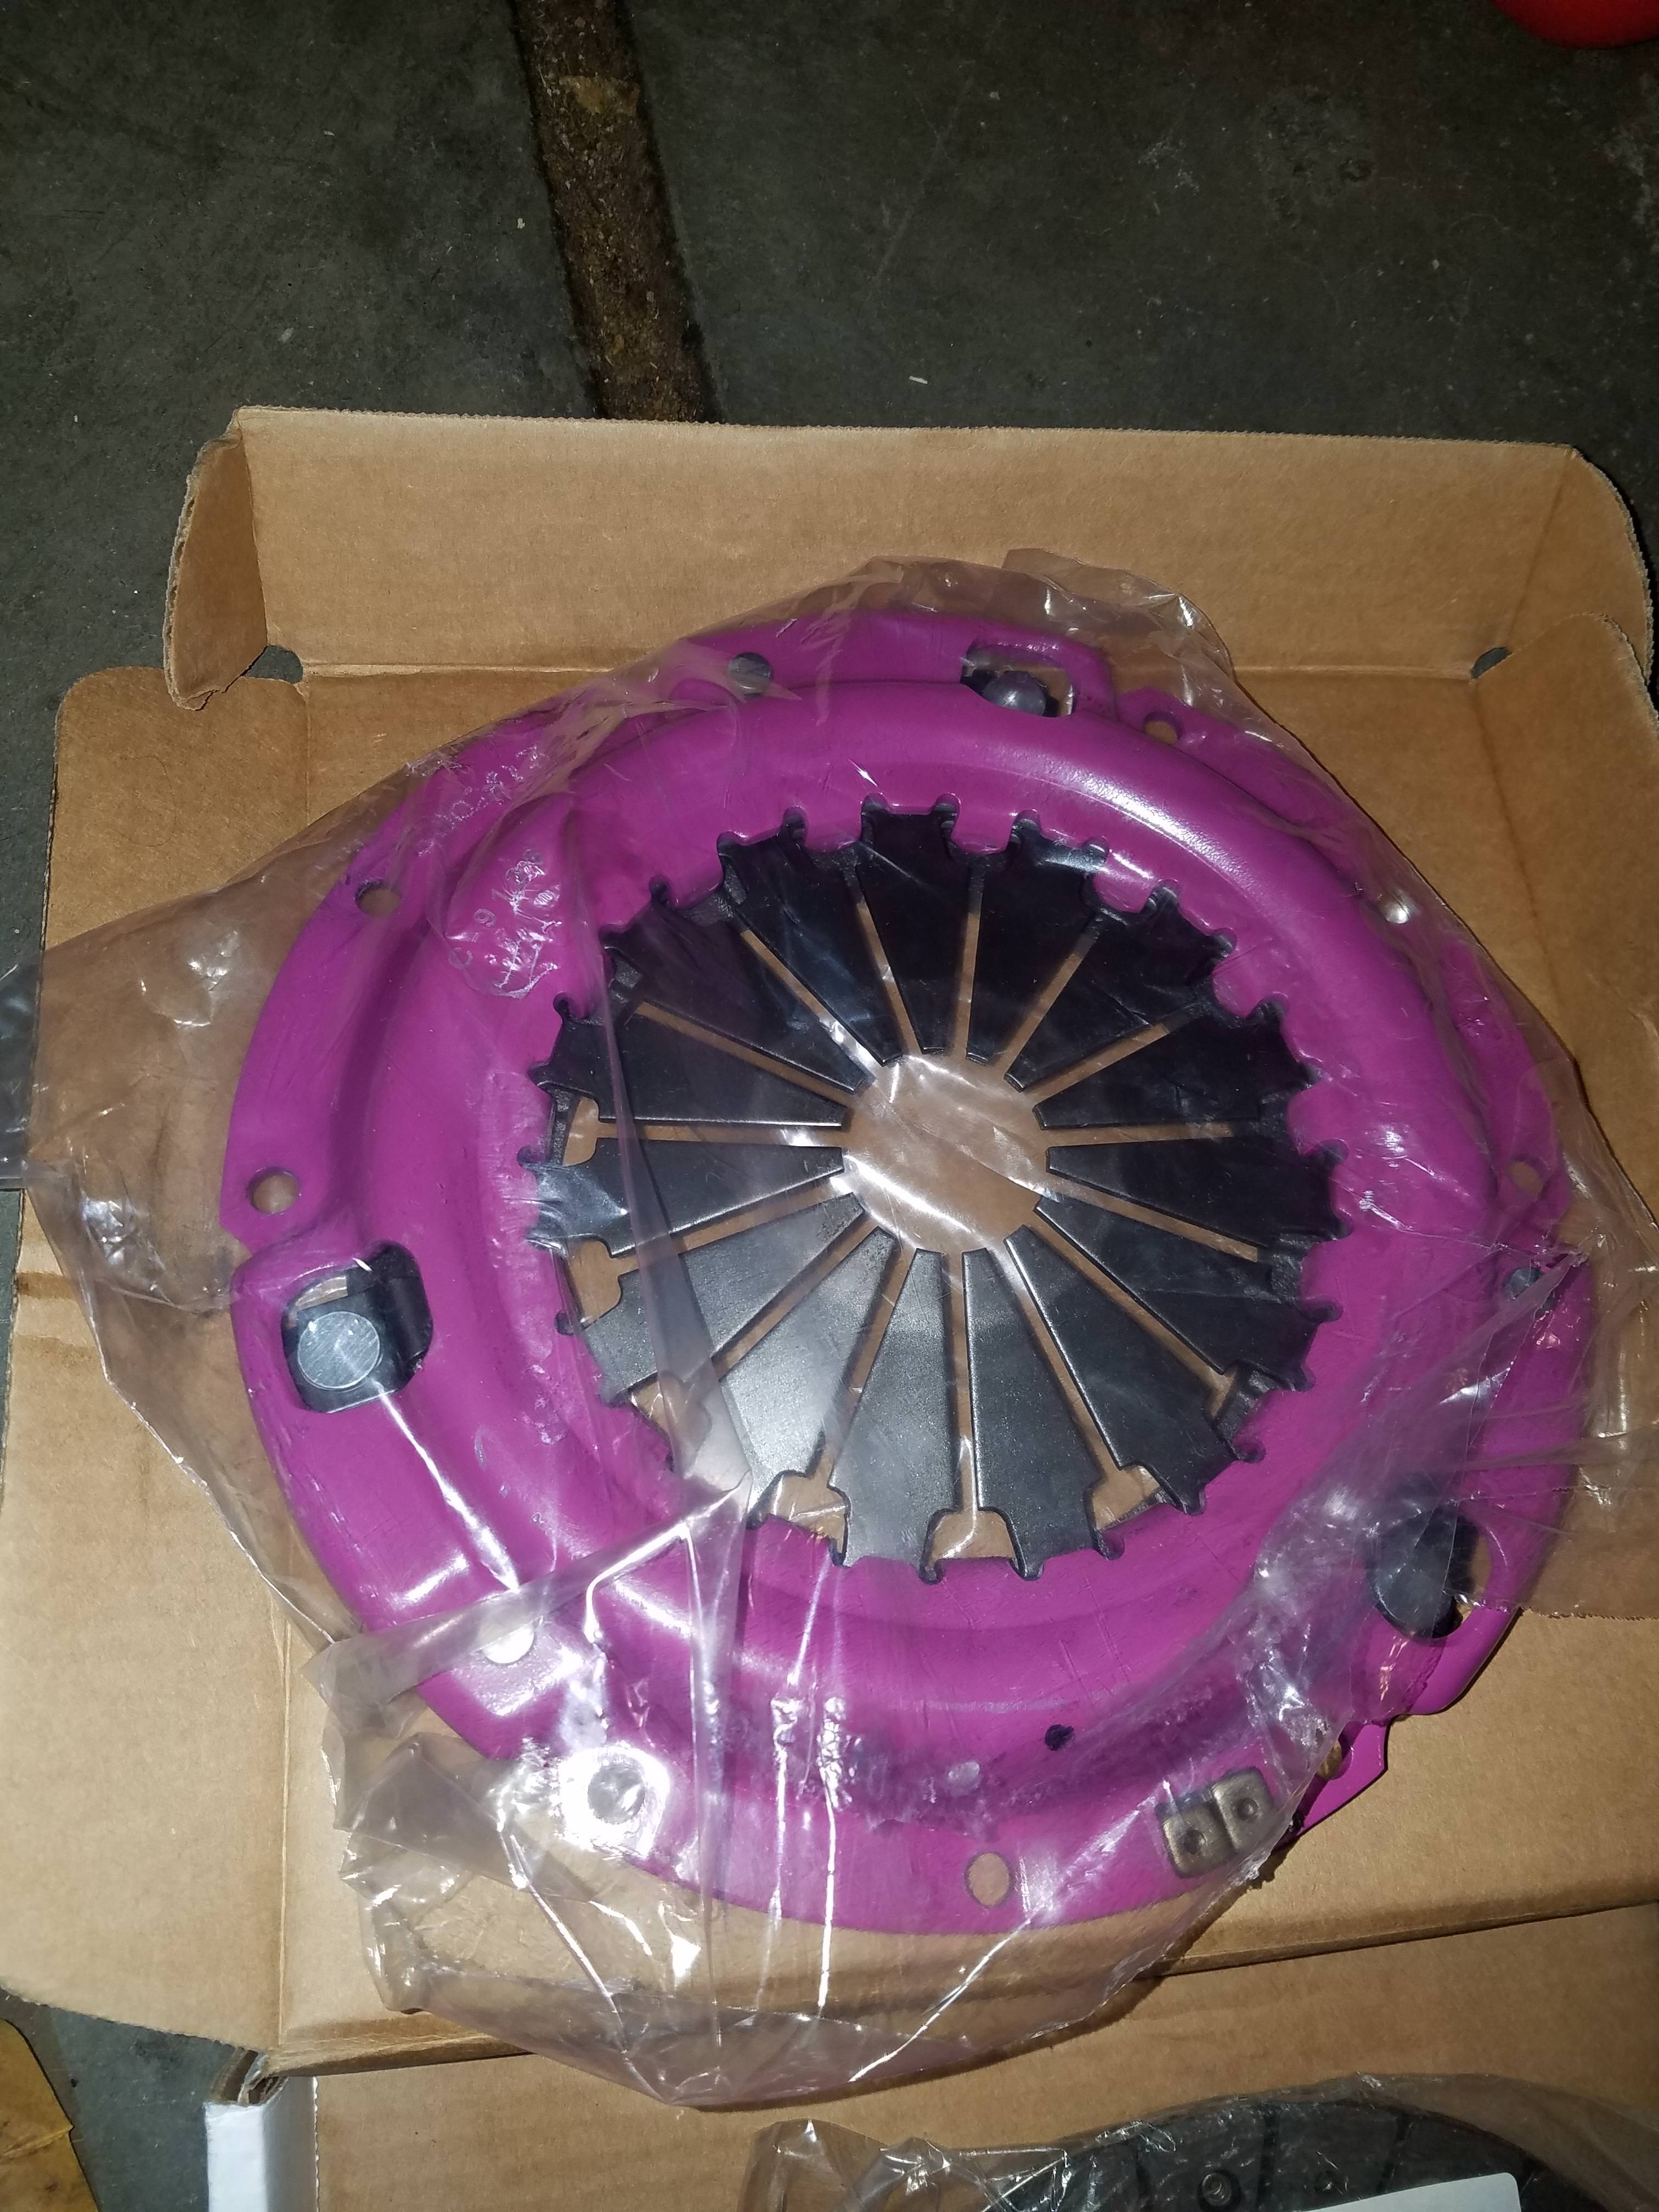
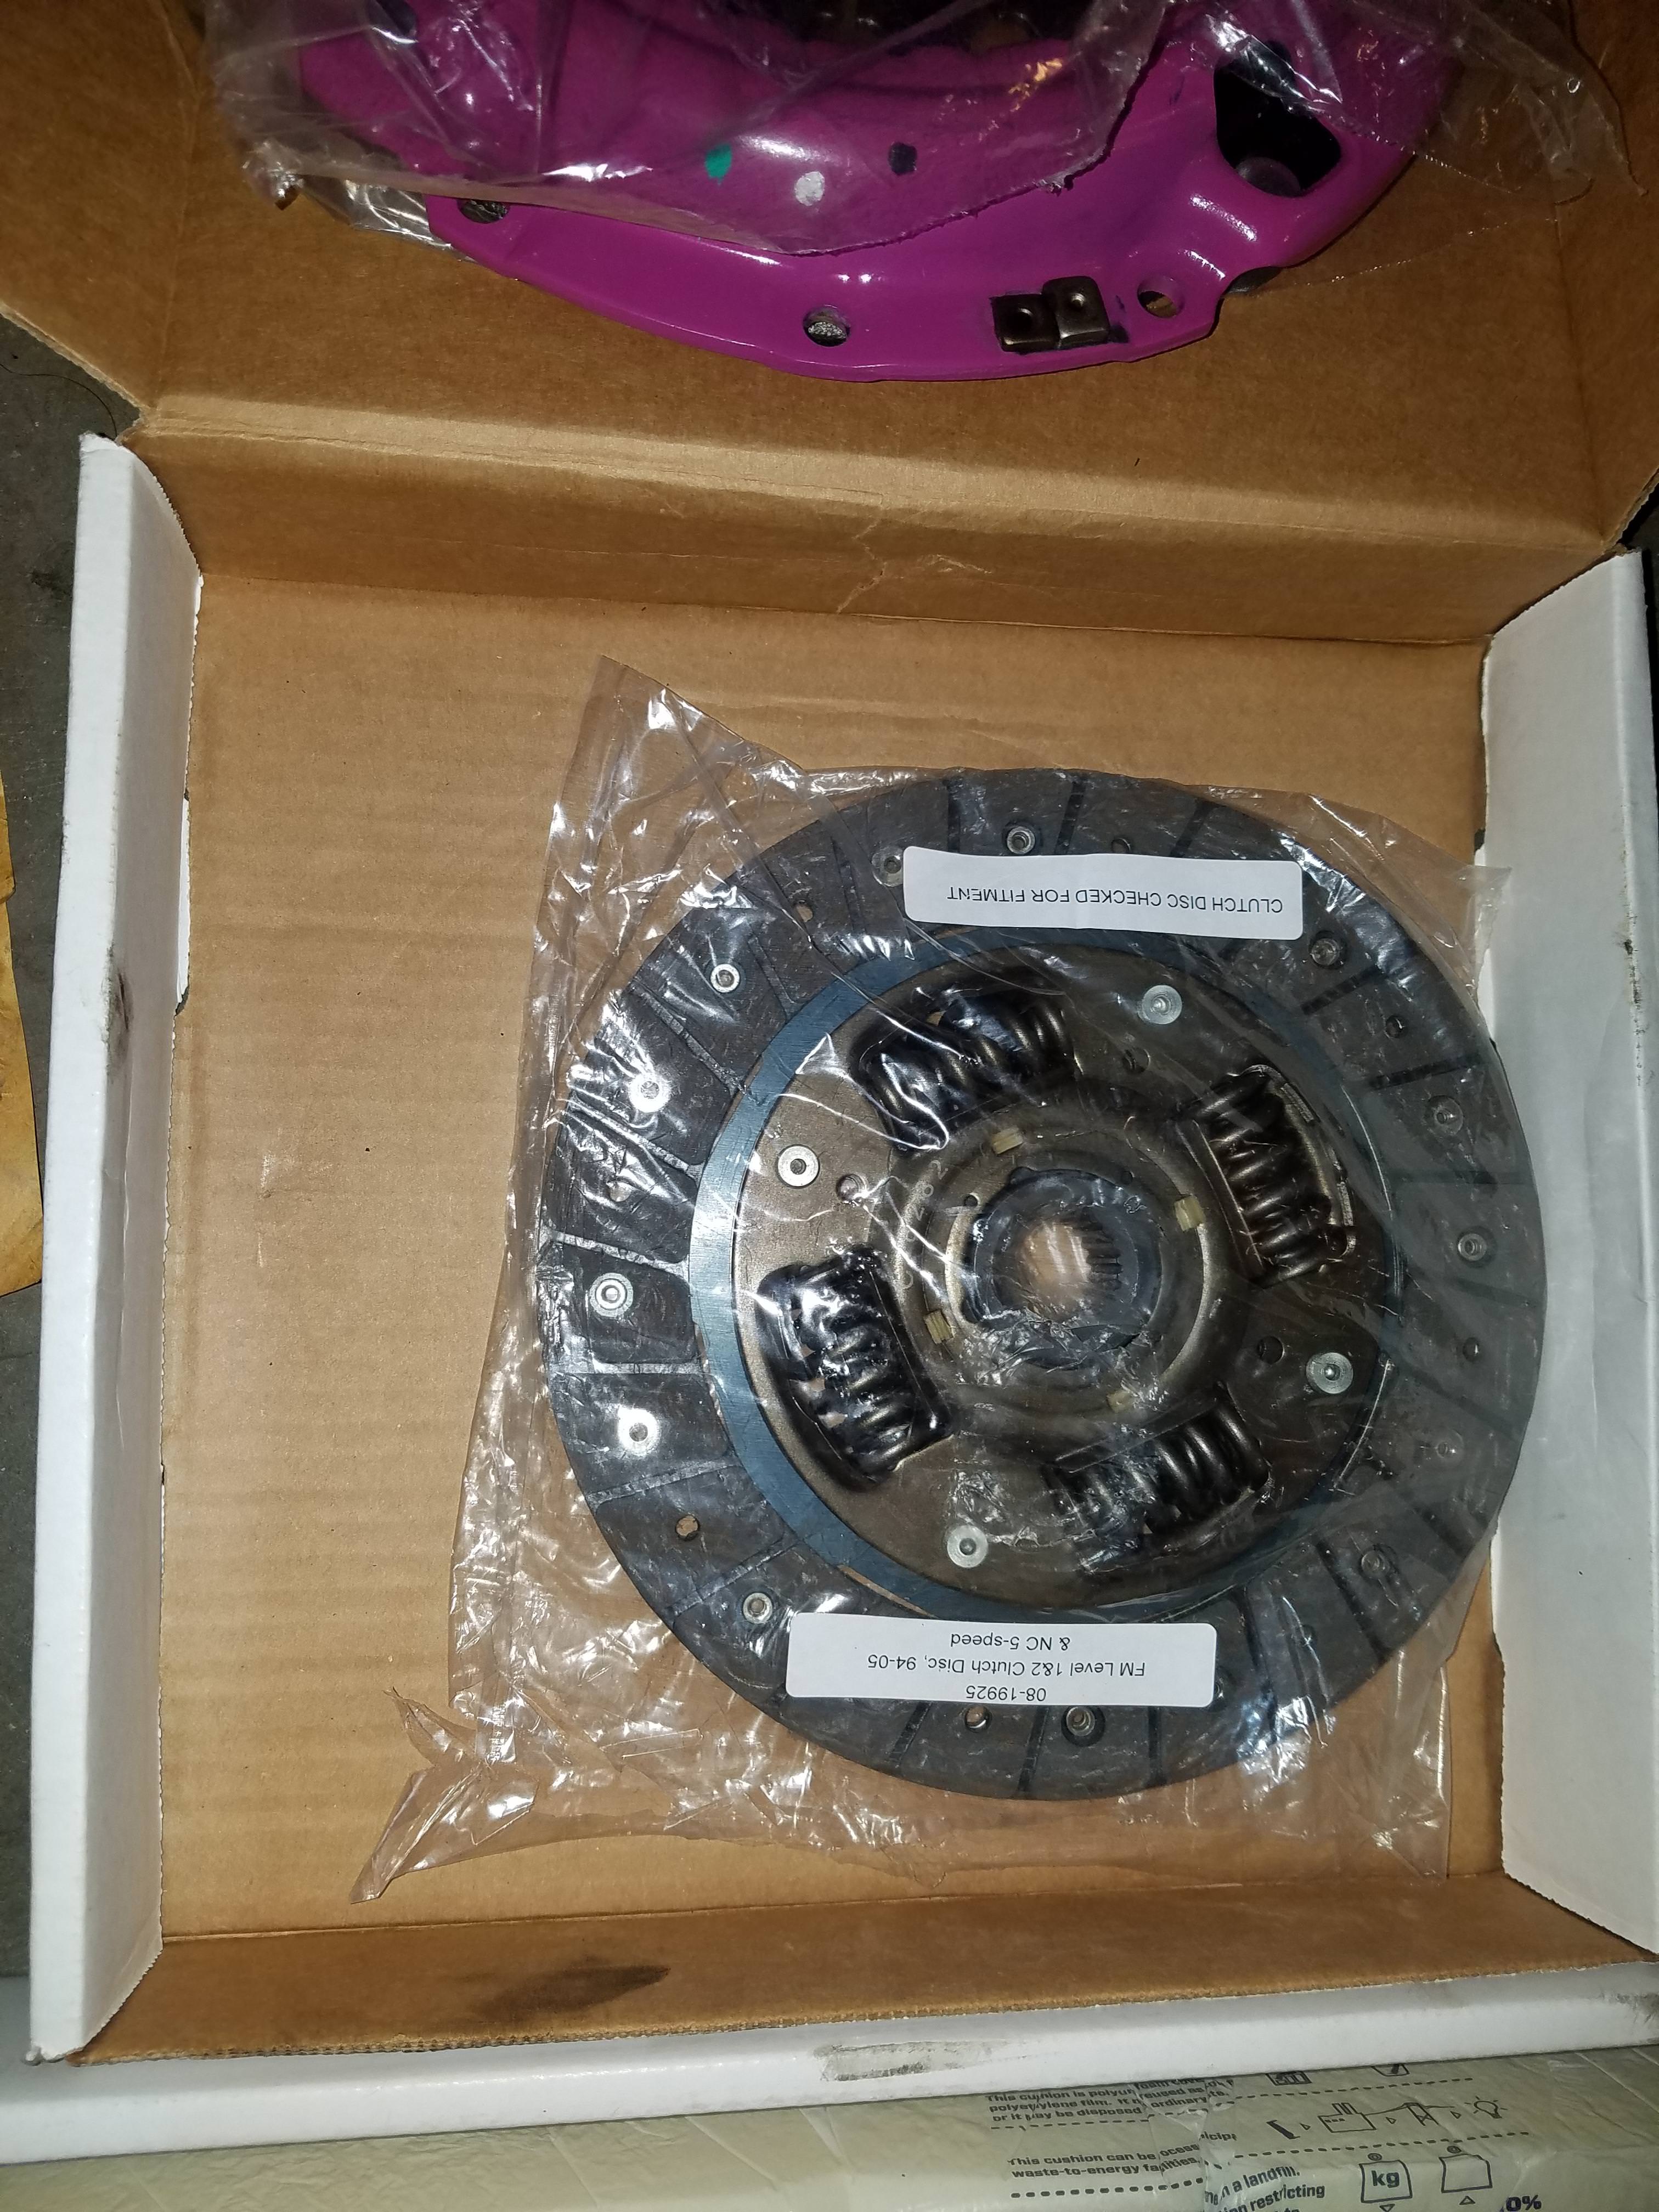
So I got serious, started researching everything I could (mainly through here), reading up on Megasquirt, etc, etc. In Spring of this year I ended up installing a FM level 1 clutch and their 10.3 lb flywheel, this was probably the biggest project I've taken on with a car ever. I've never replaced a clutch before and I've only ever done minor stuff (intakes, exhaust, header, brakes, suspension, etc.). It was quite an undertaking, but I gotta remind myself I bought this car for this particular reason. To learn more about cars, building cars, tinkering with cars and ultimately build at least one project car in my lifetime. Because if I don't do it now, I may never get around to it.
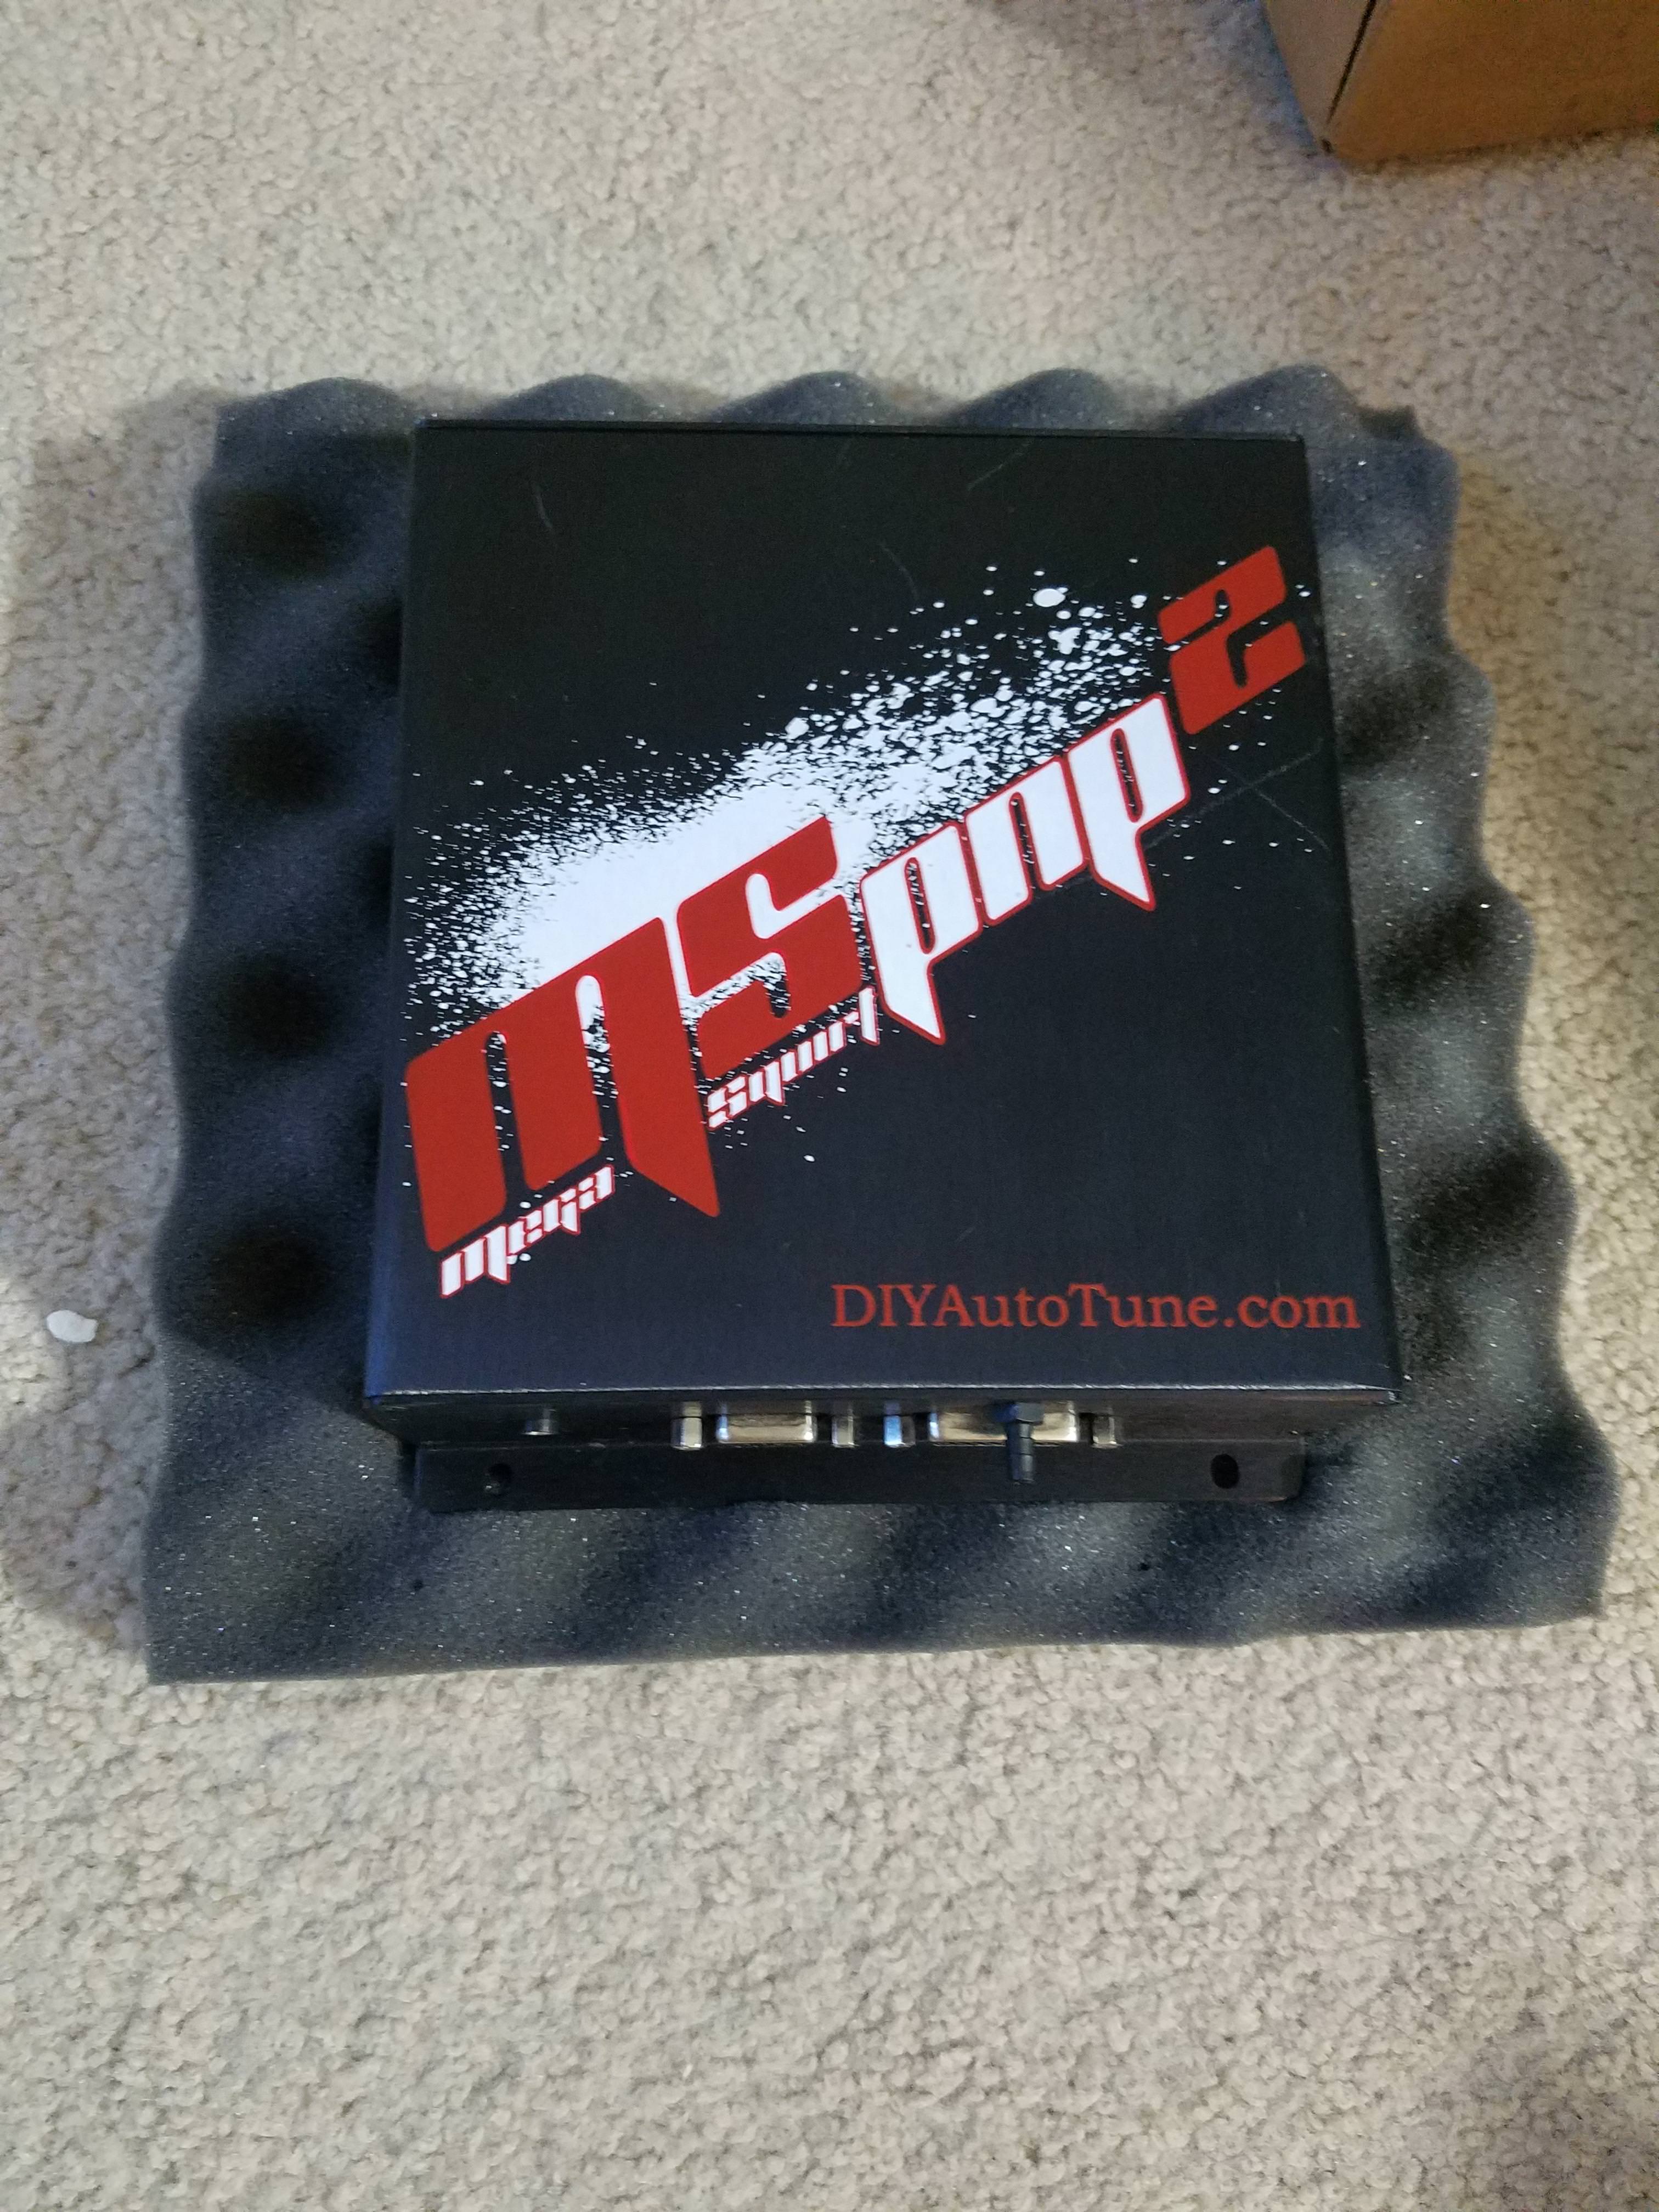
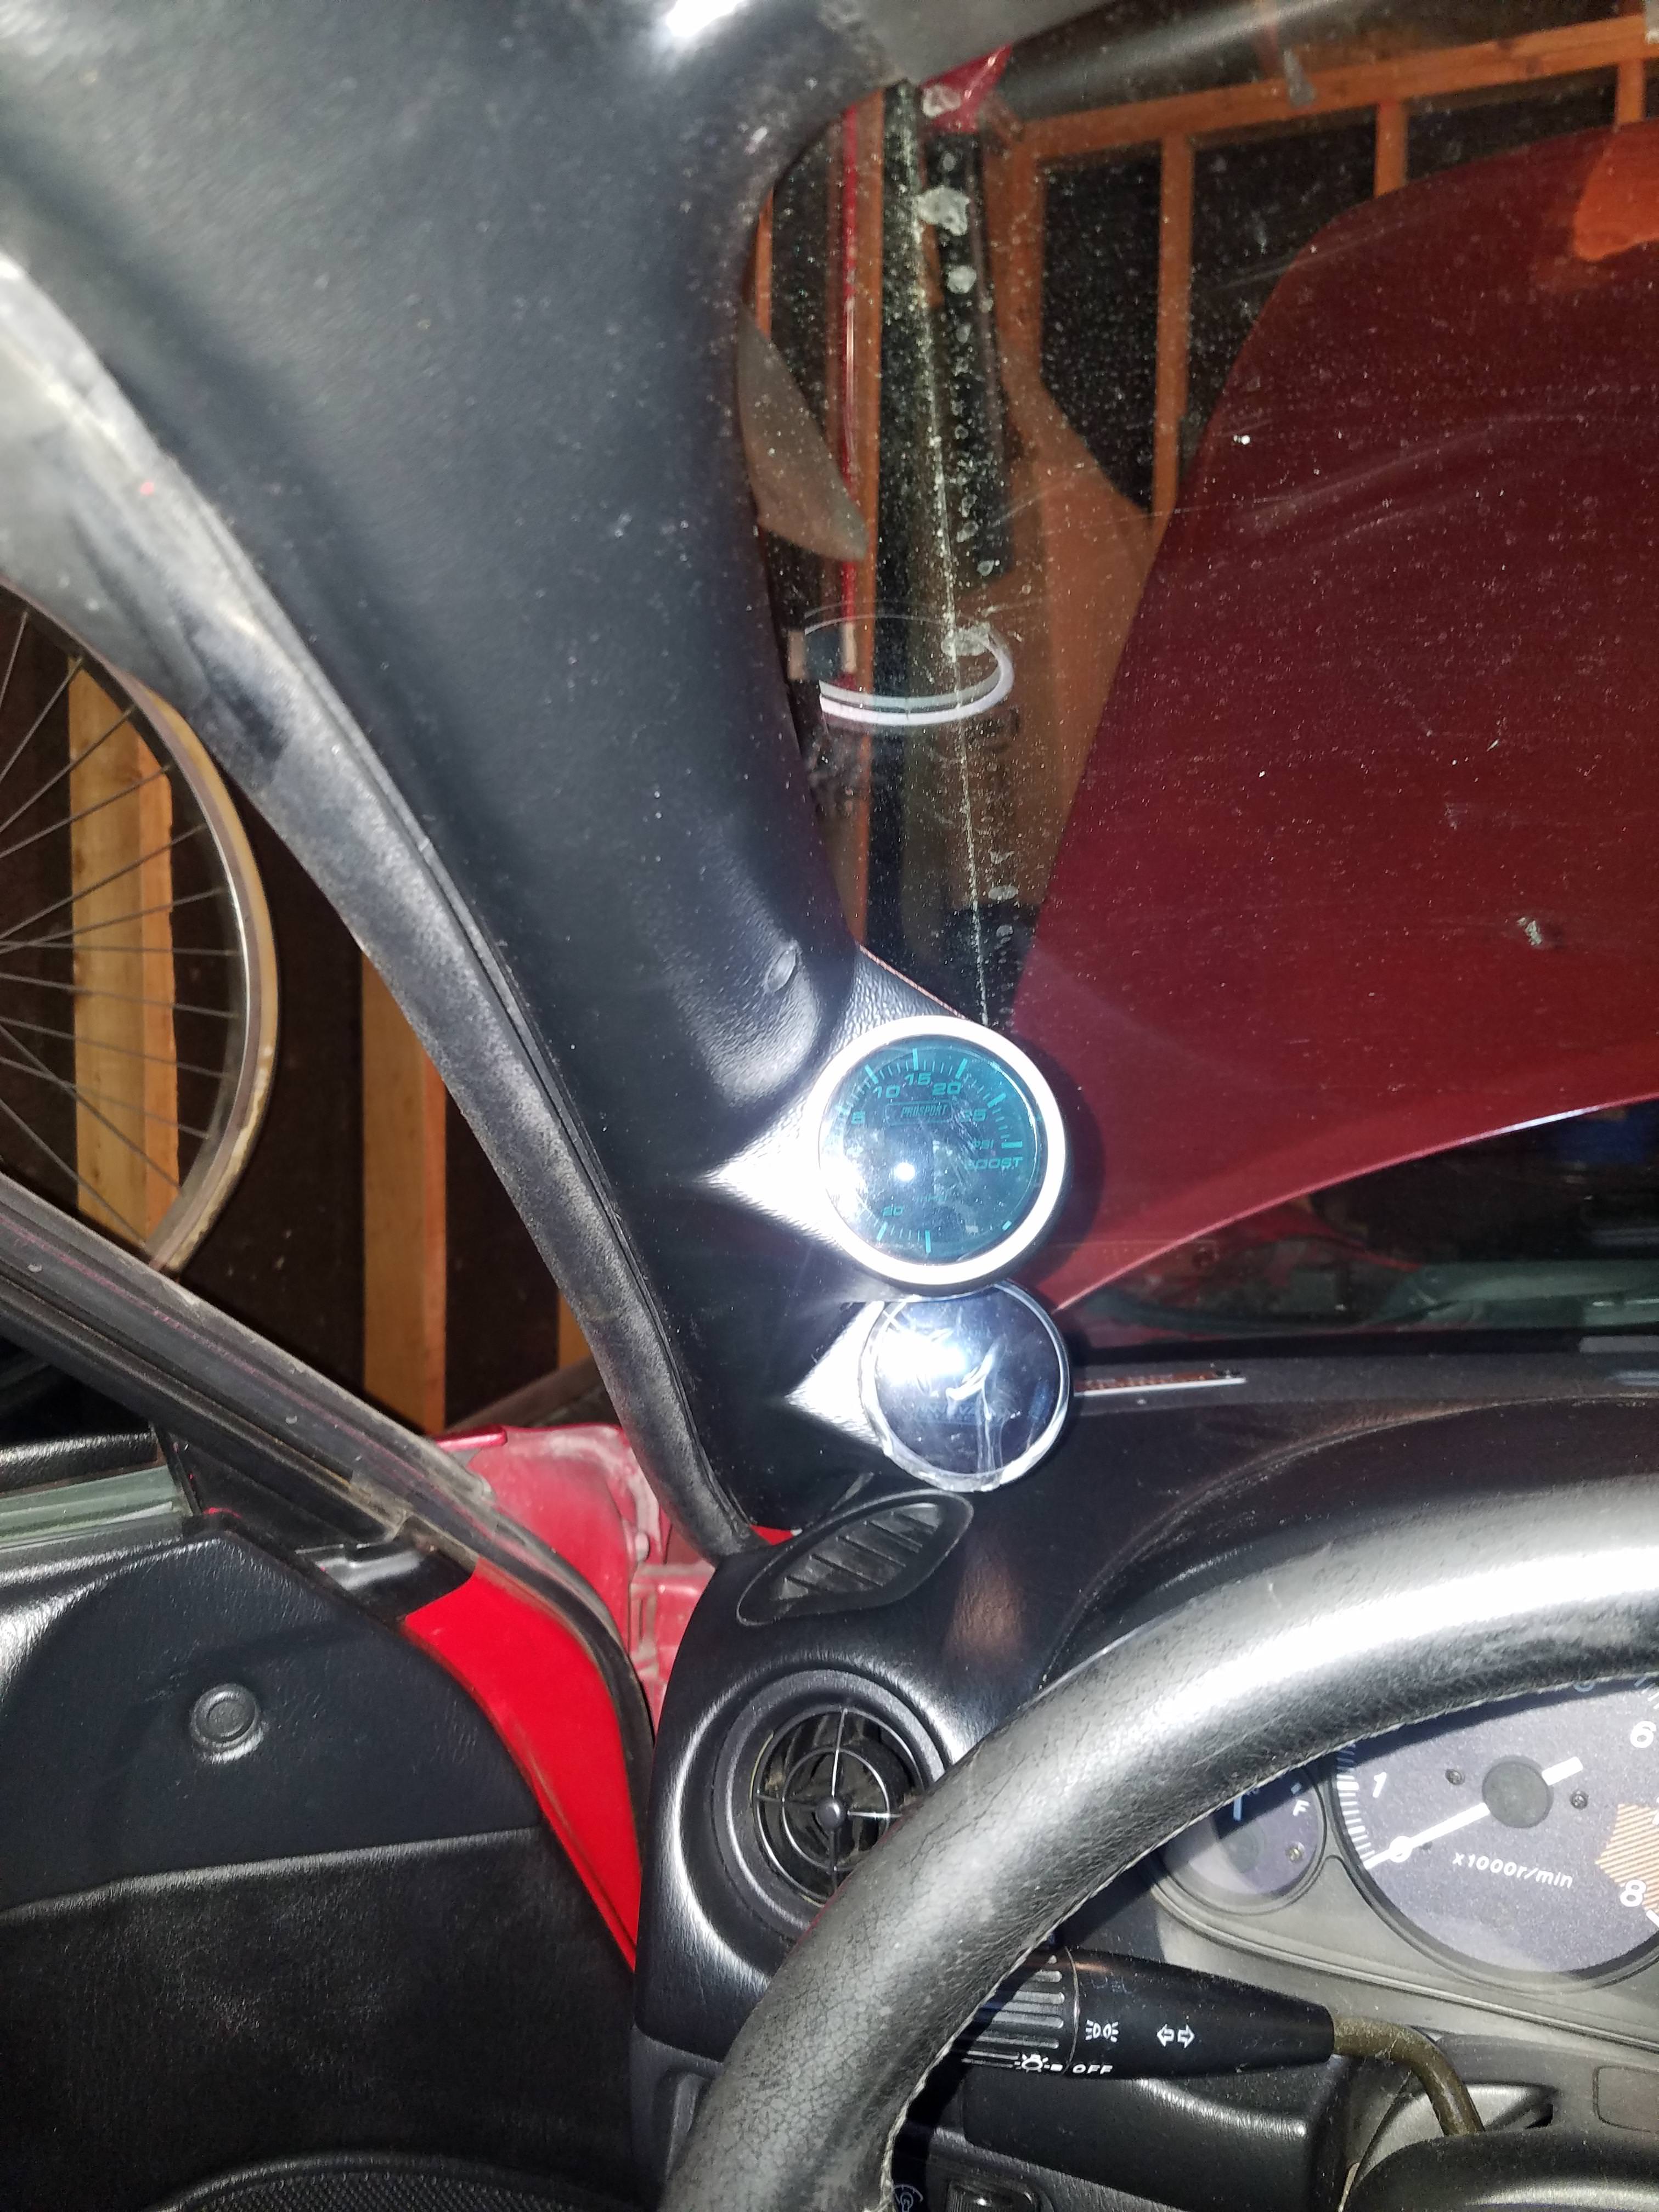
About a month or so later after the clutch install, I opted for a MSpnp2 and got that installed with an Innovate LC-2 wideband and a boost gauge. I probably spent about a good month or two just reading, learning as I went and tuning it N/A. It ran ok for the most part that I was satisfied with, I knew in the end I didn't want to become a pro tuner and didn't want to make it my day job so I didn't want to devote hours and hours to it, but I did learn quite a bit.
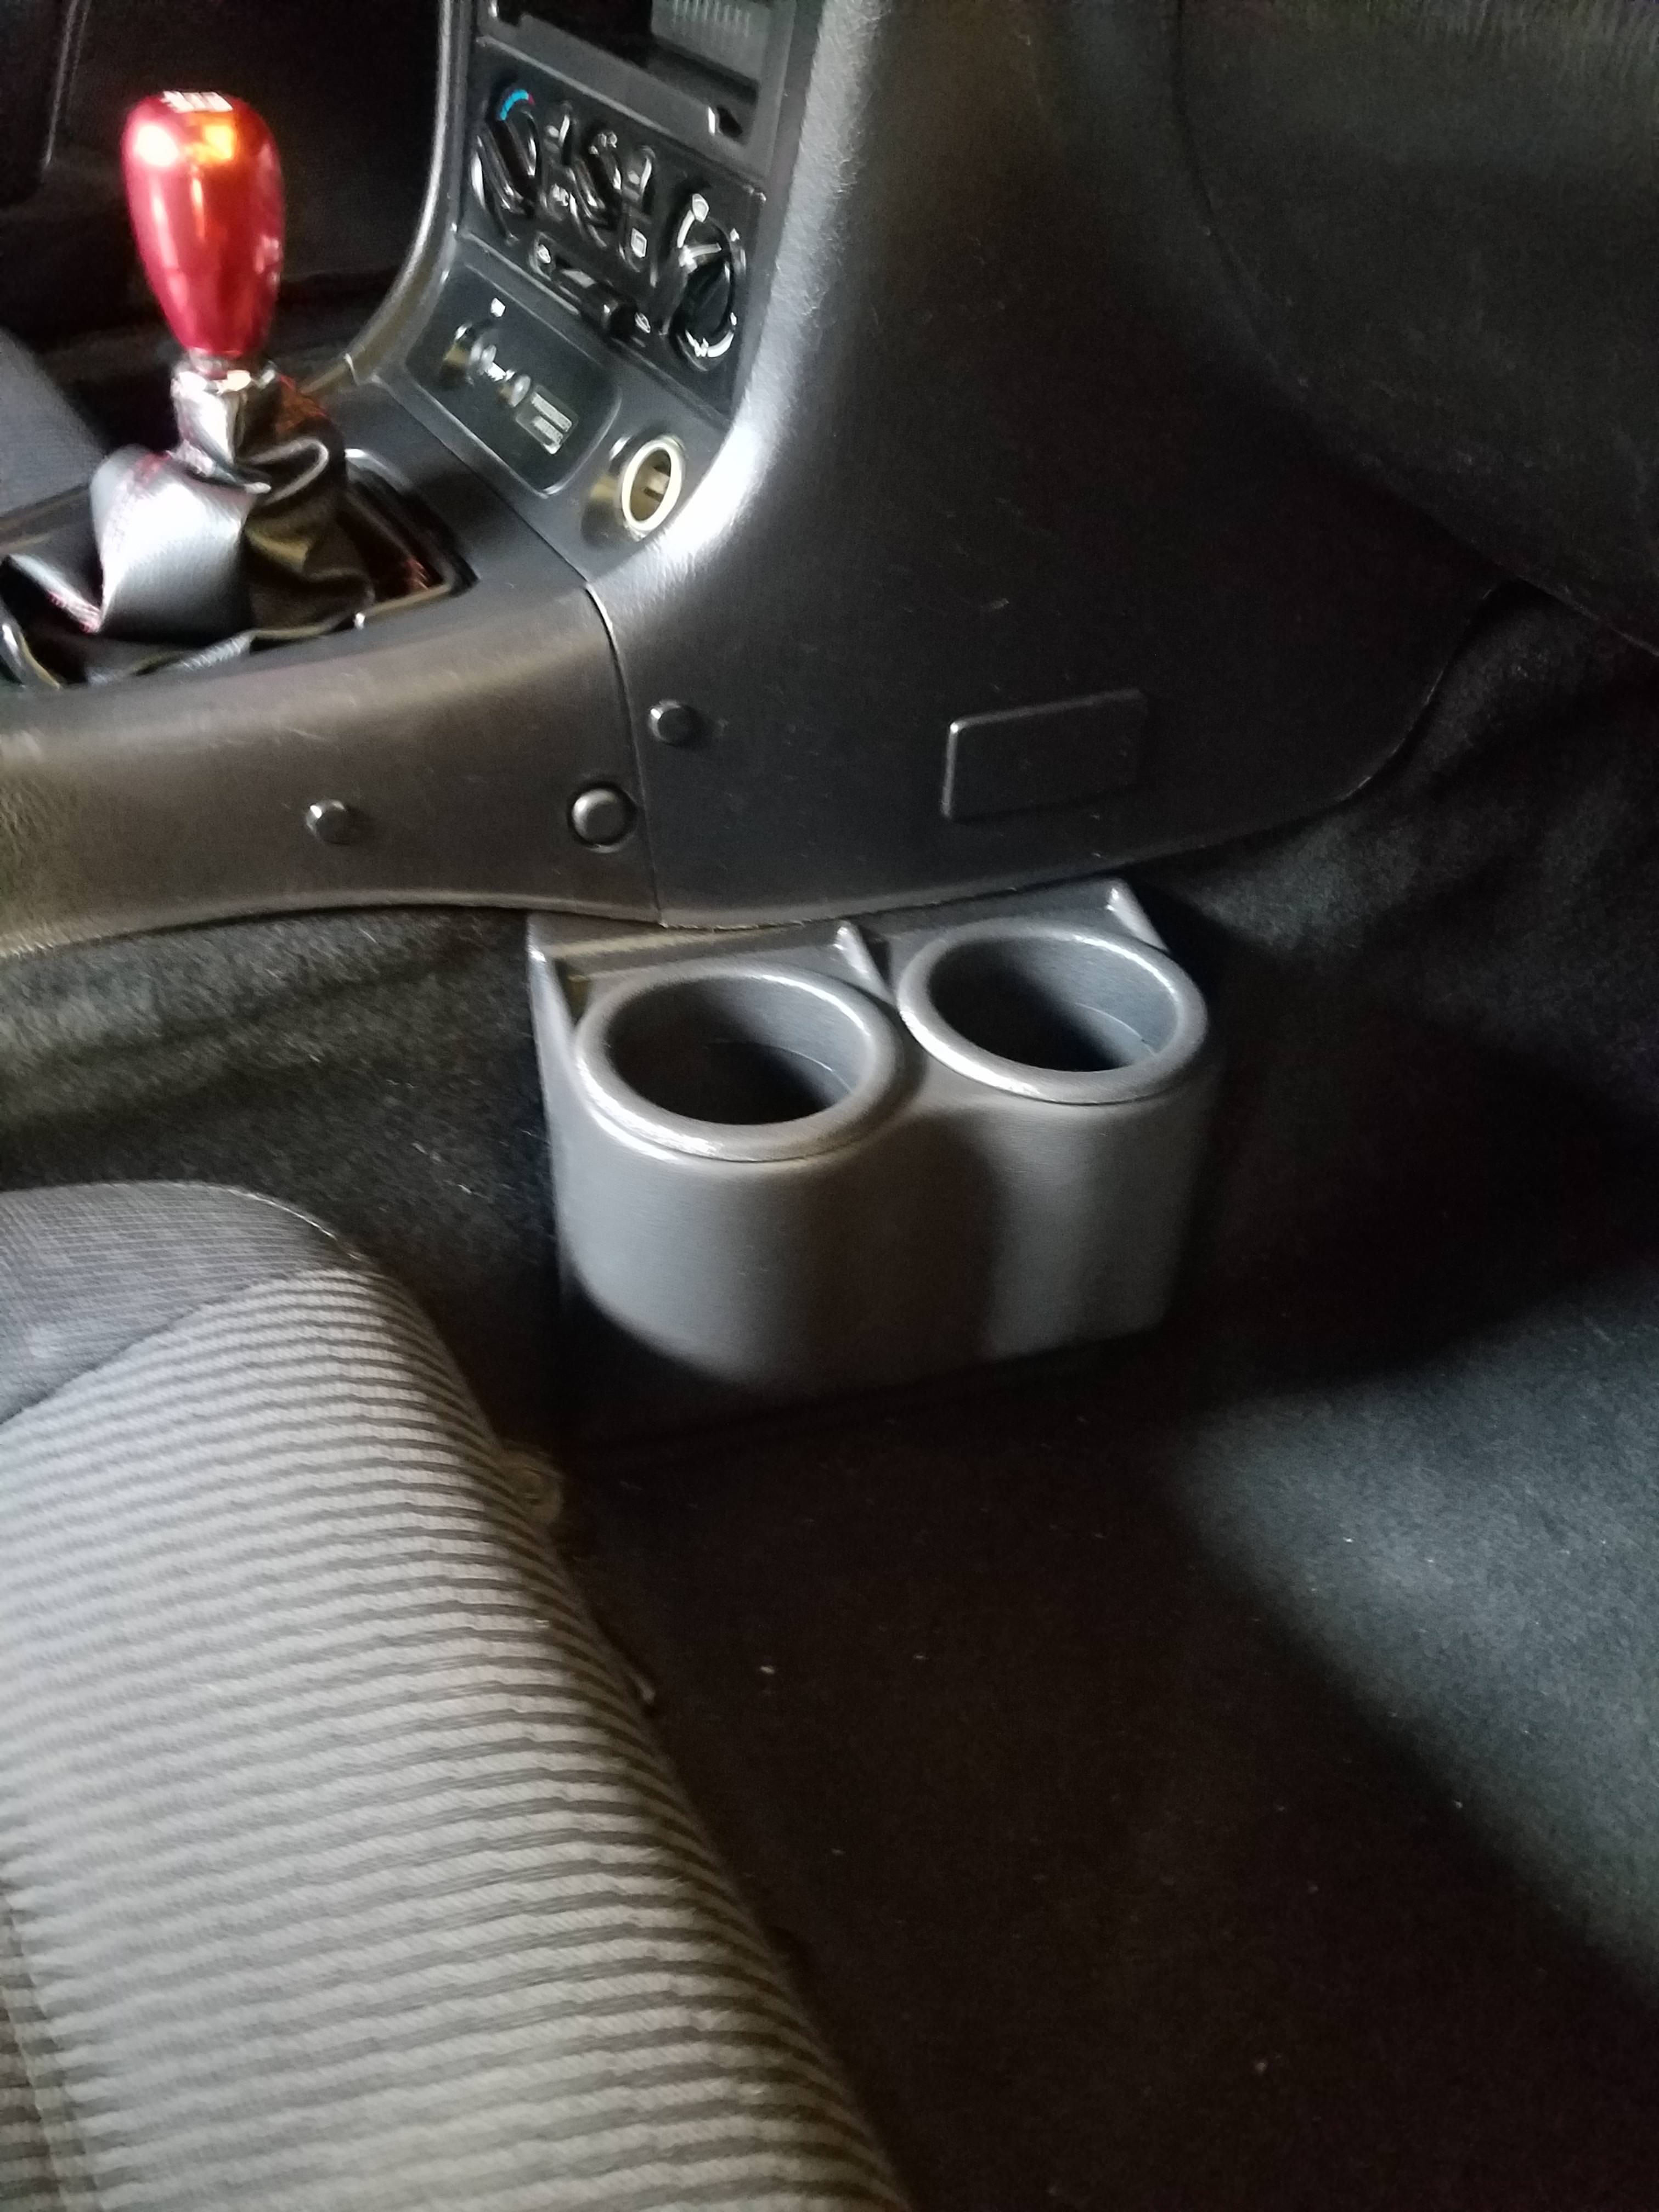
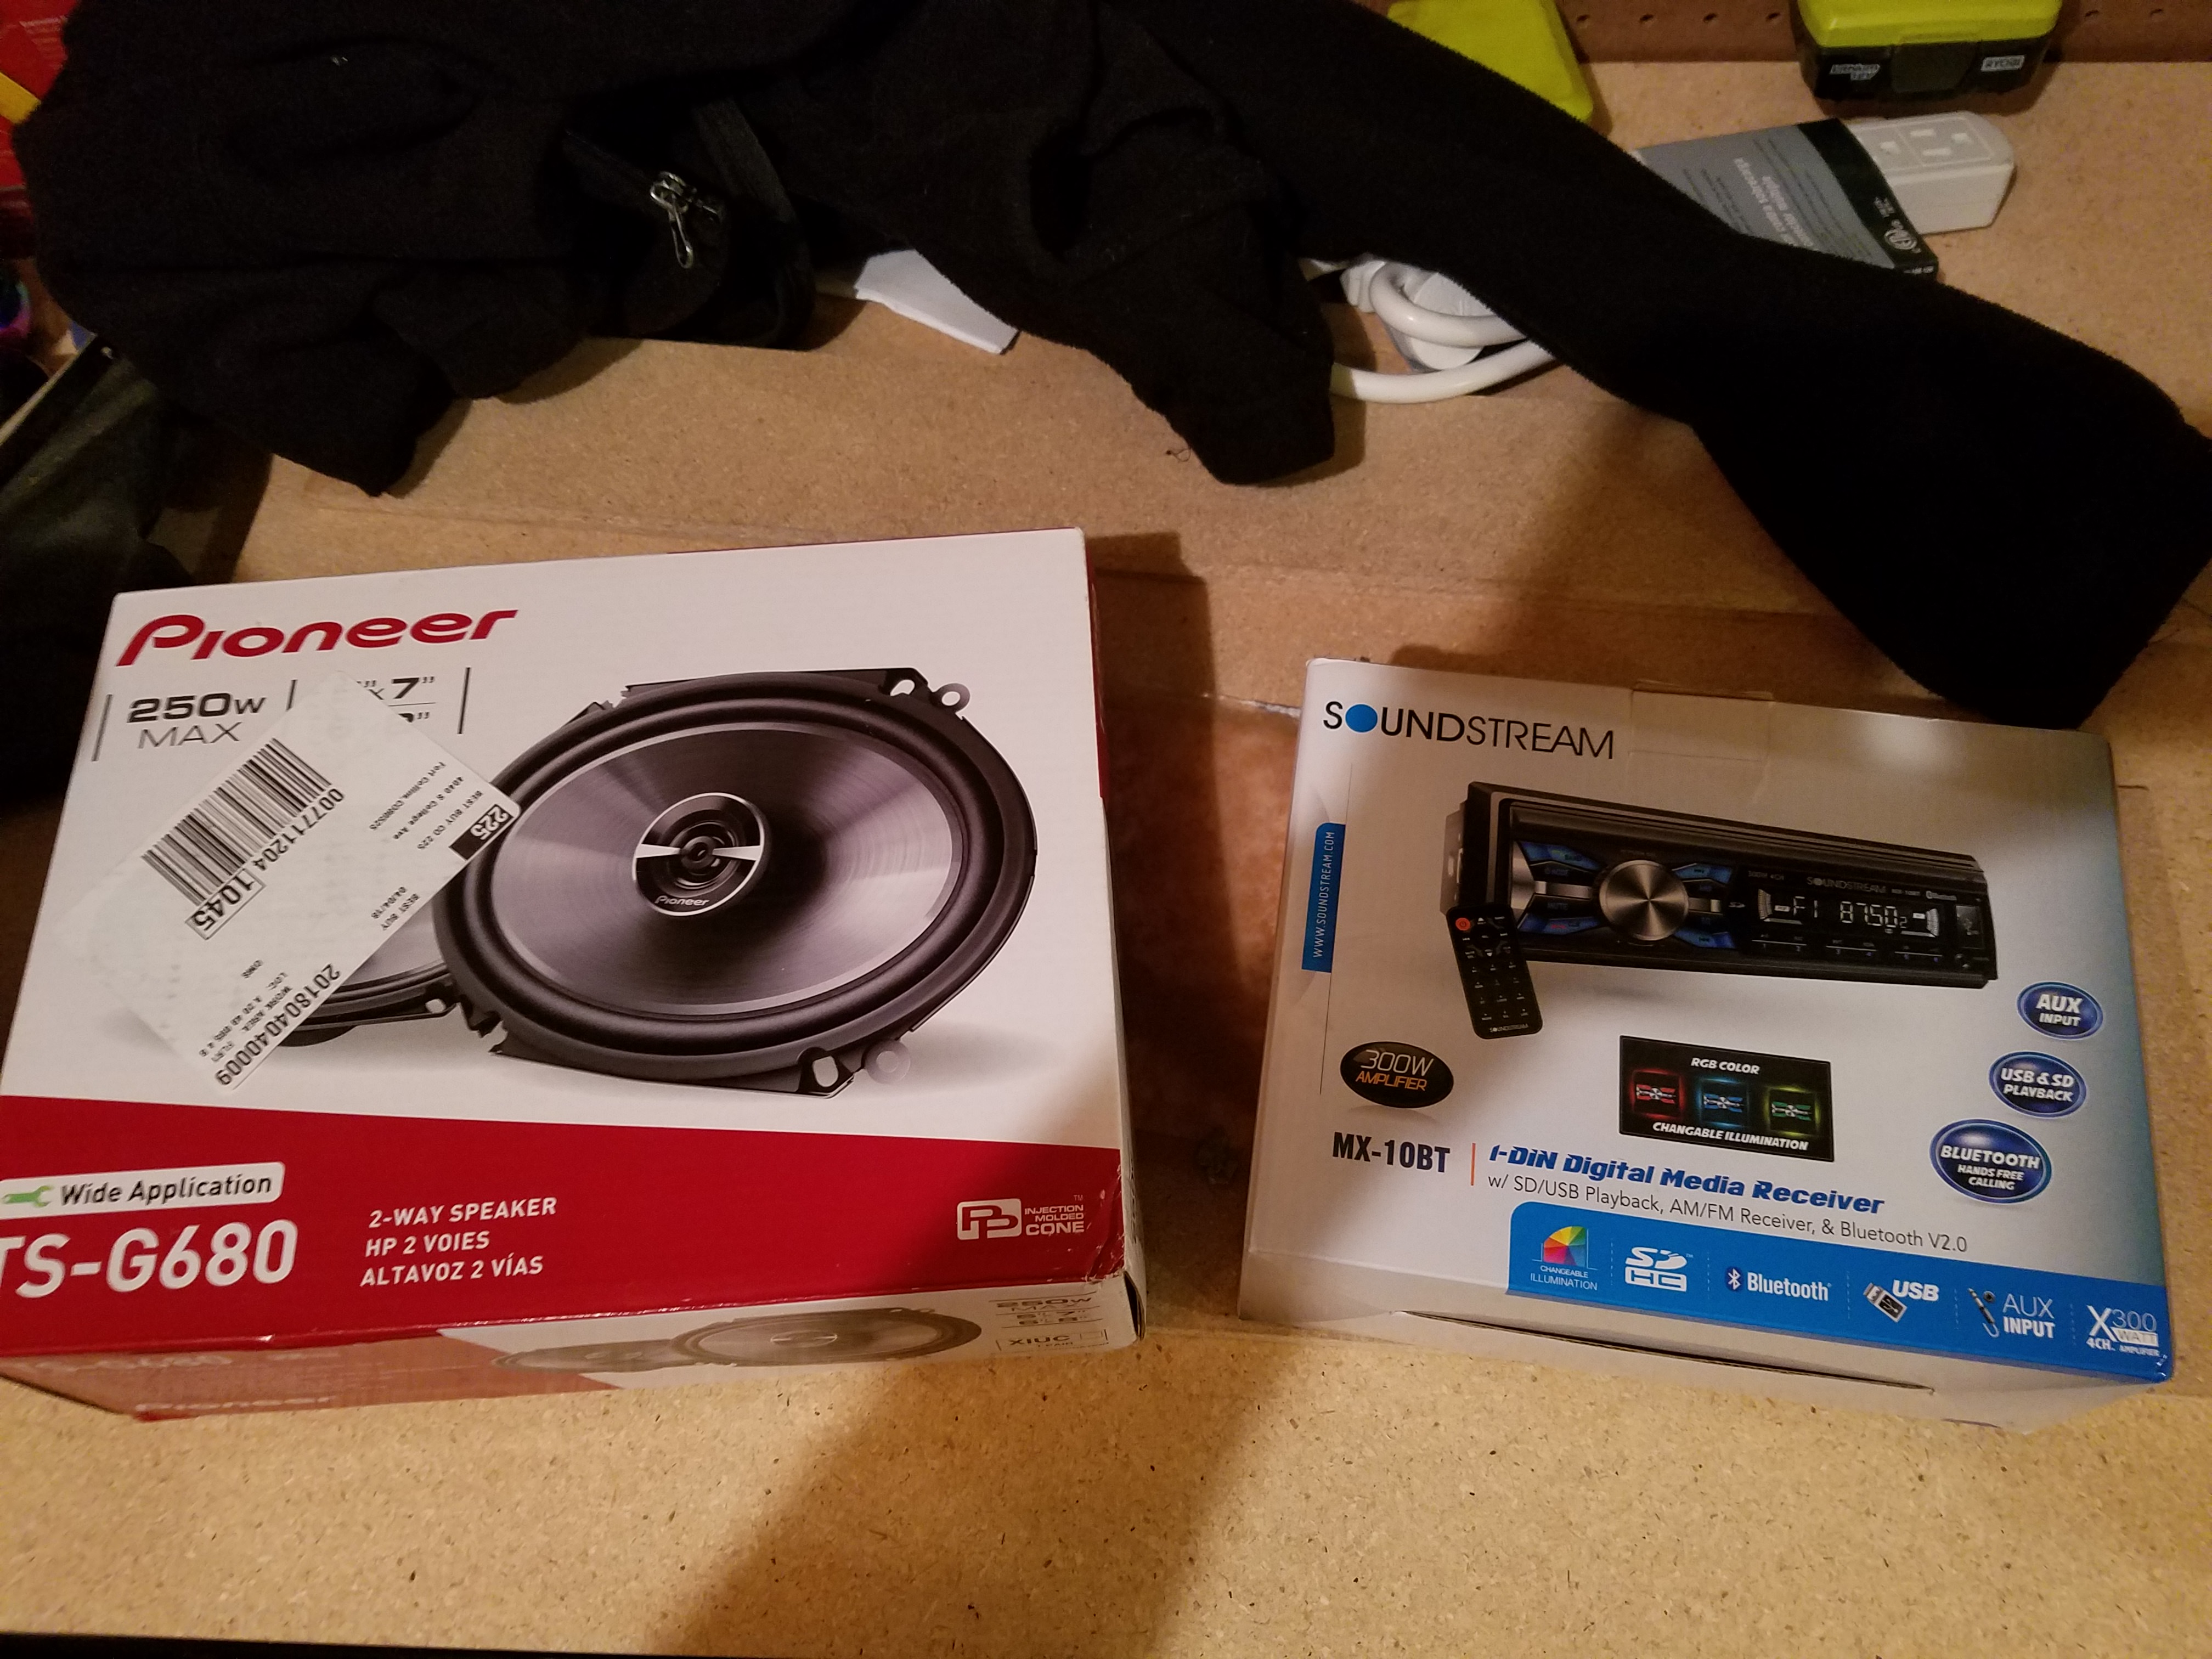
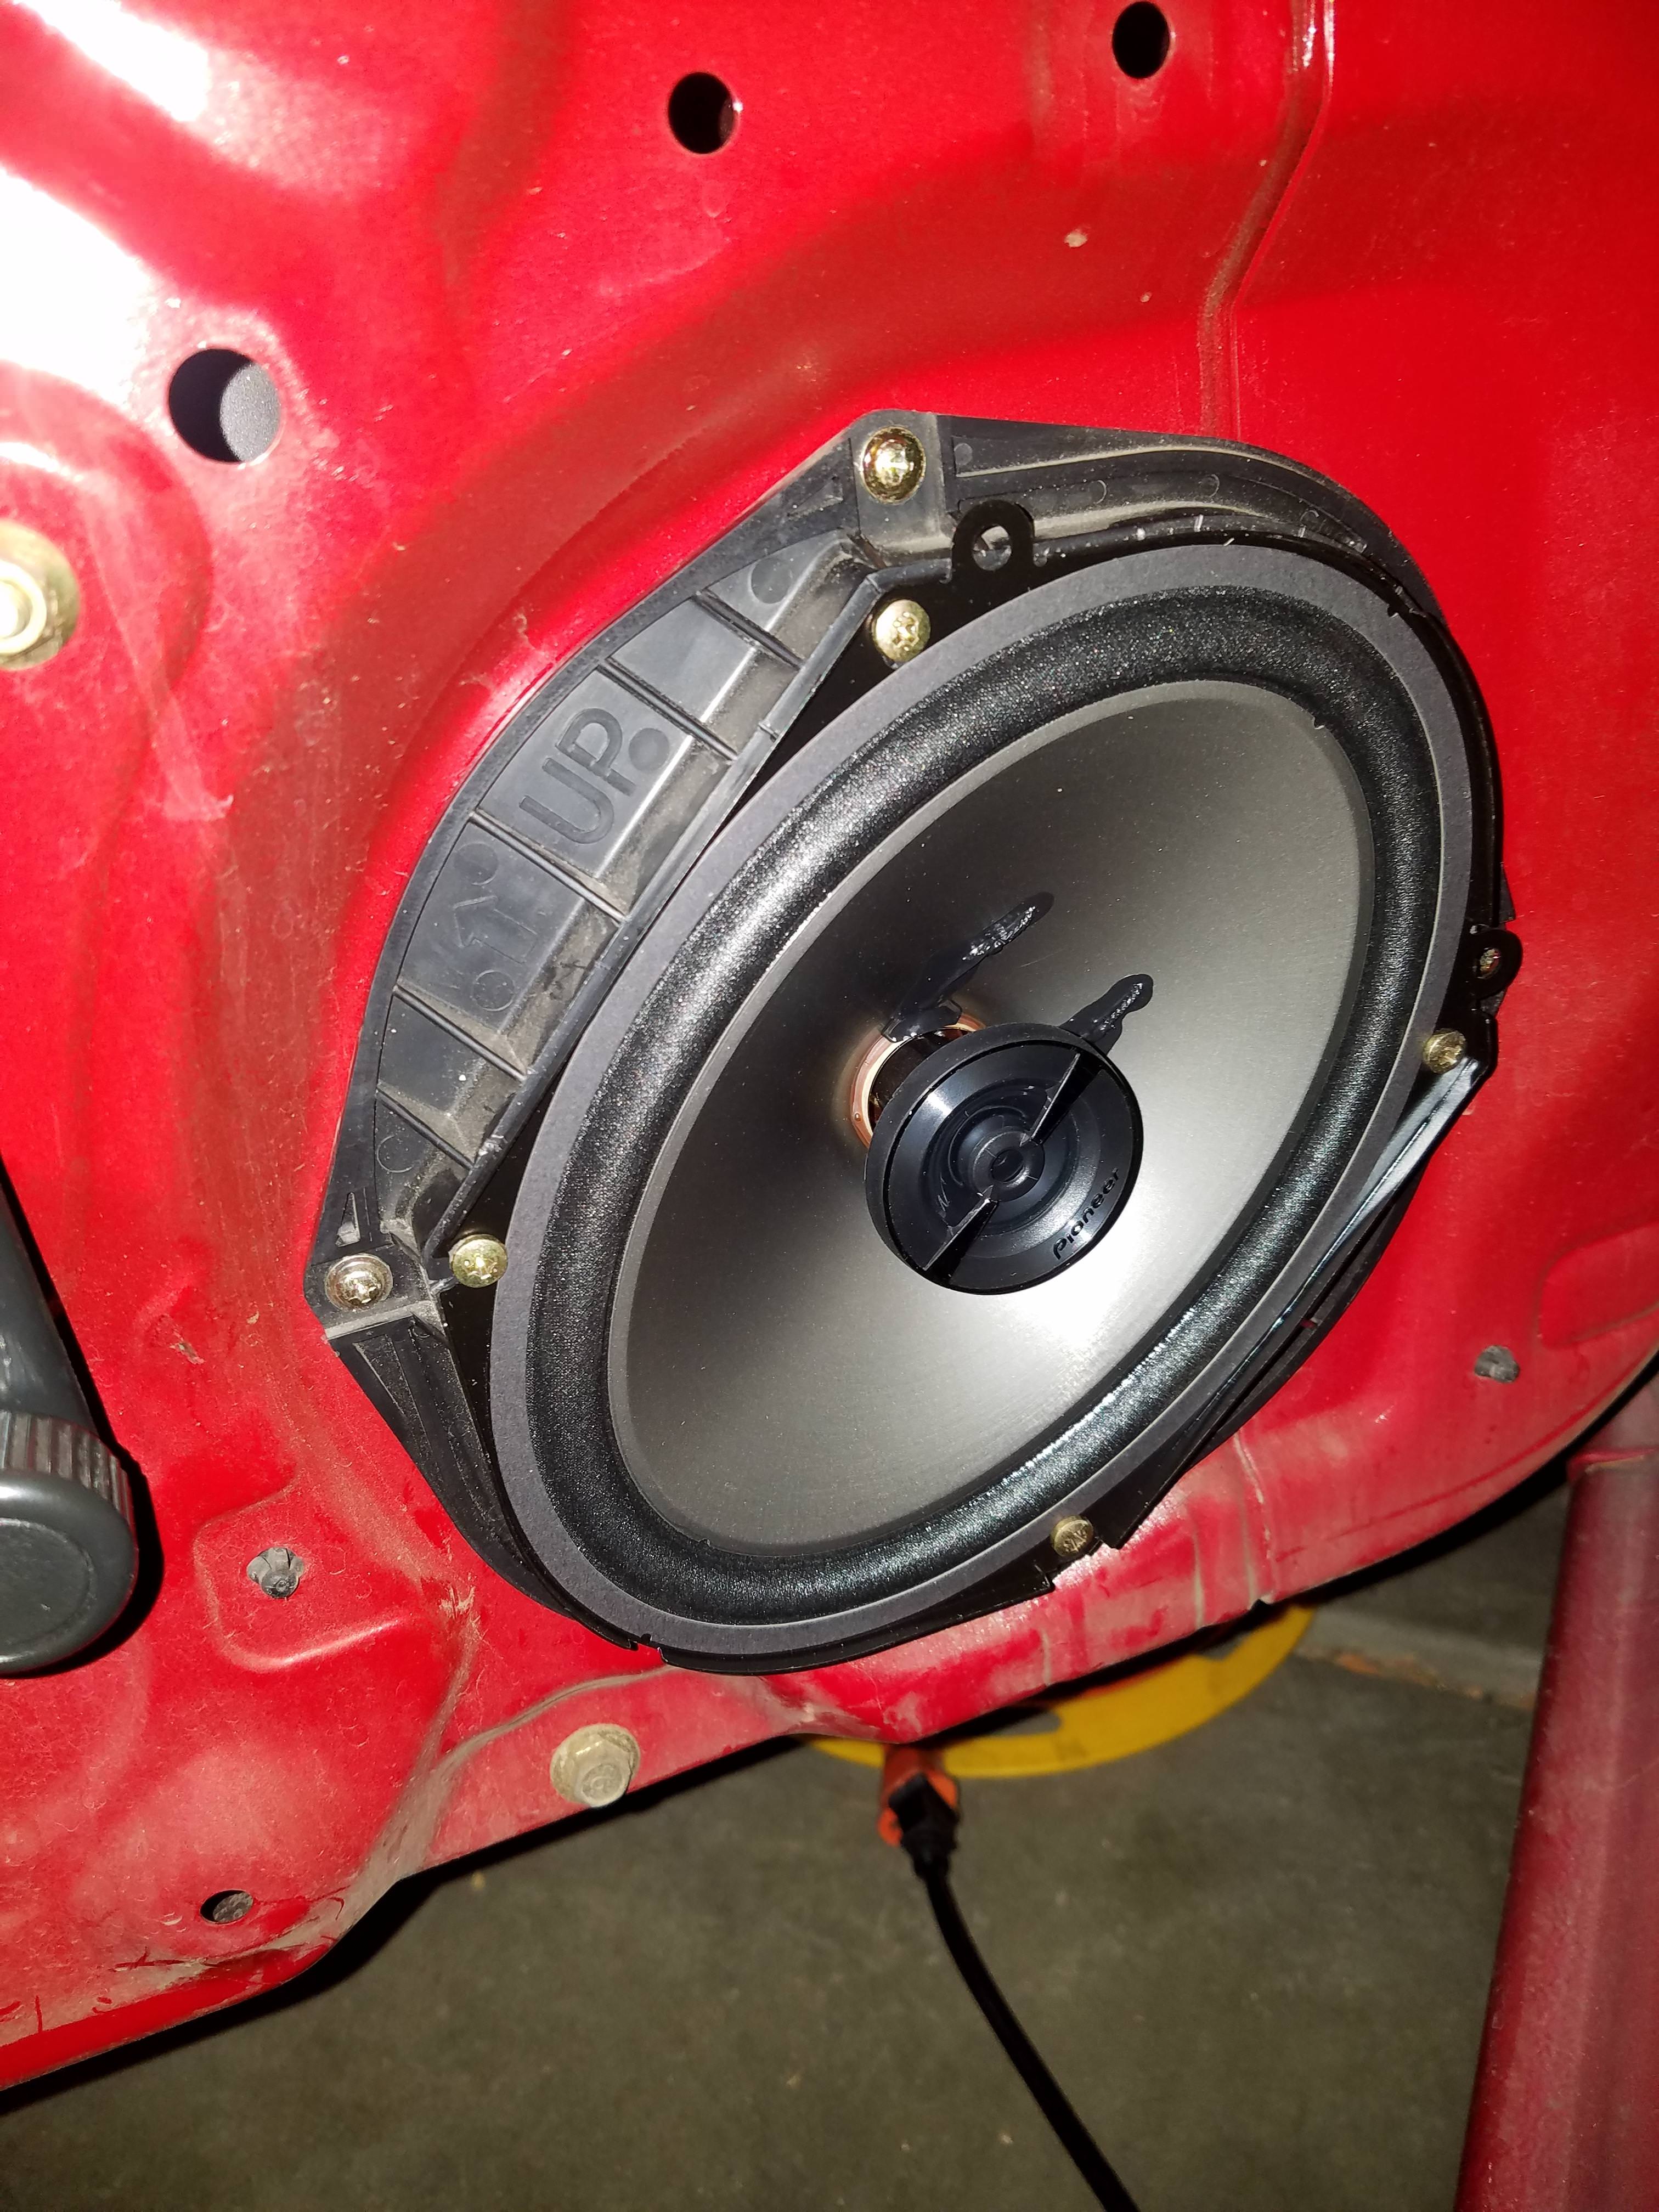
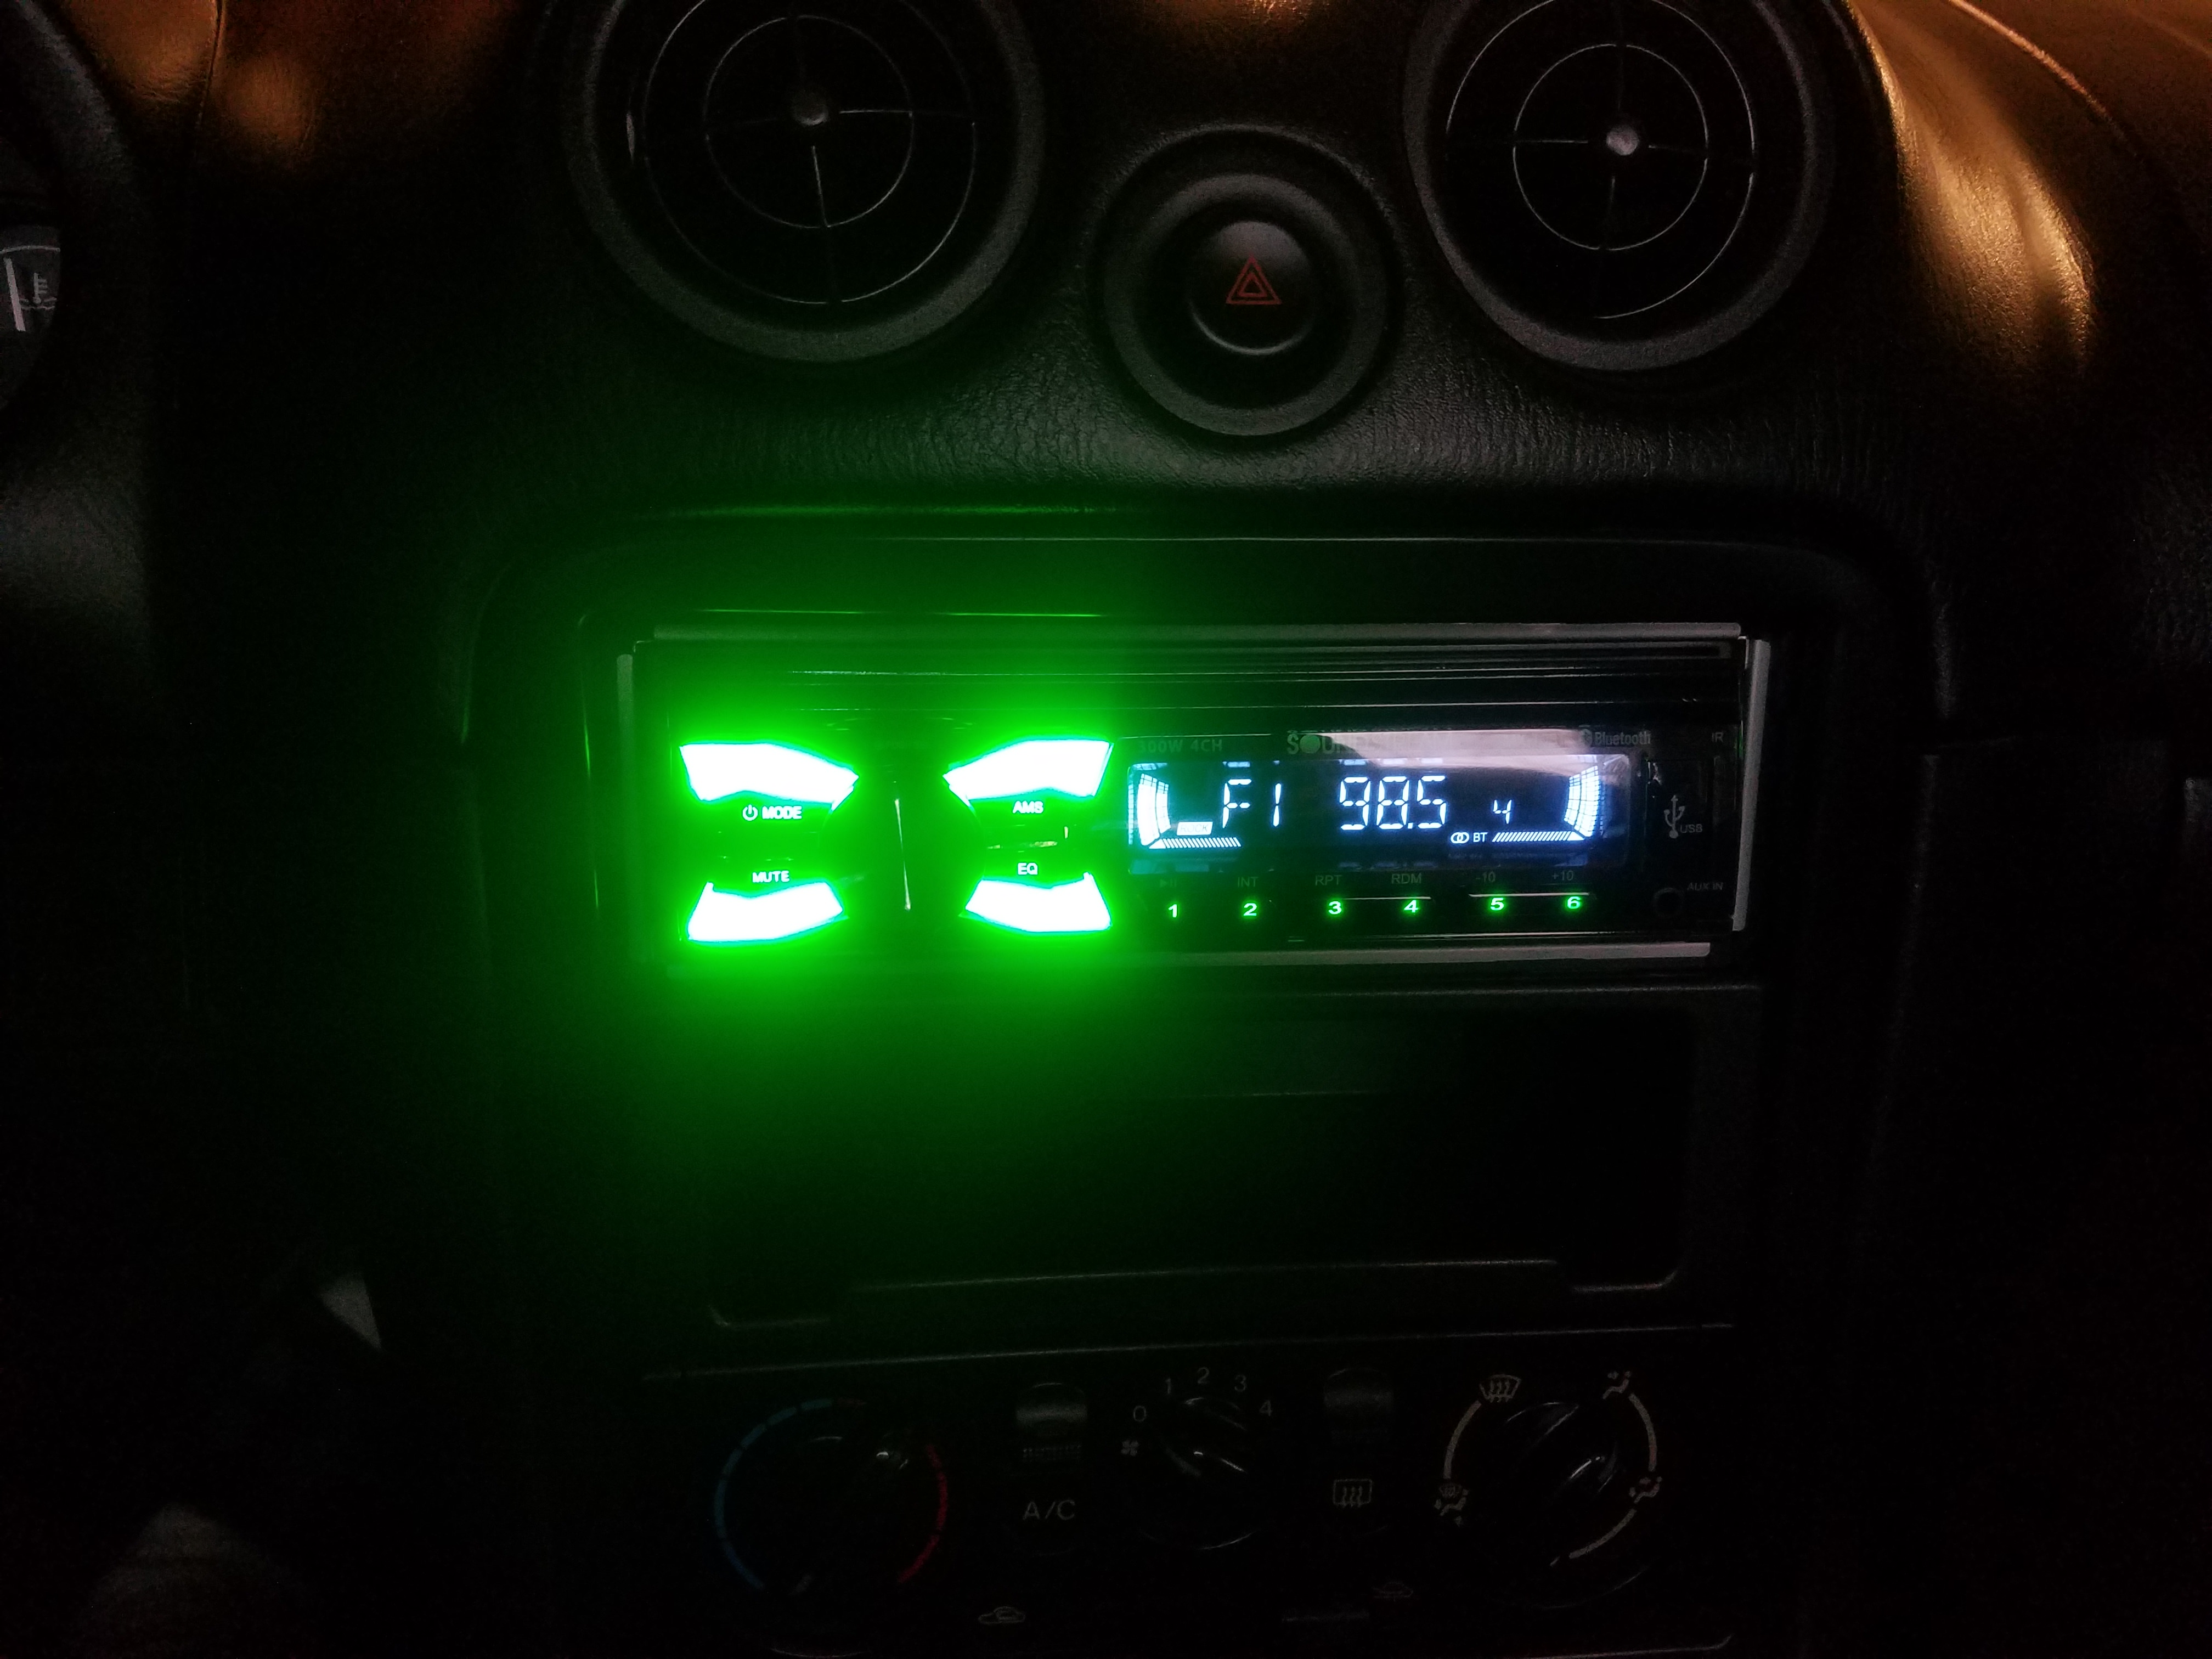
As mentioned, once I got it running well after adjusting the CPS gap, I decided to upgrade some of the creature comforts. In went a passenger cup holder from Moss and some upgraded stereo speakers as well as a cheap $30 head unit (which I know is kinda gaudy looking) with Bluetooth capability. I thought I'd take it easy for awhile since I just got the car sorted out and thought I'd just drive it a bit and enjoy it as it is. But the boost bug bit me and I really wanted boost. Initially I was thinking that I would maybe boost it 2-3 years down the line or so, but I decided nope. I need boost in my life, essentially I'm a boost virgin as I've only ever owned cars that were N/A and had less that 150hp.
So I got serious, started researching everything I could (mainly through here), reading up on Megasquirt, etc, etc. In Spring of this year I ended up installing a FM level 1 clutch and their 10.3 lb flywheel, this was probably the biggest project I've taken on with a car ever. I've never replaced a clutch before and I've only ever done minor stuff (intakes, exhaust, header, brakes, suspension, etc.). It was quite an undertaking, but I gotta remind myself I bought this car for this particular reason. To learn more about cars, building cars, tinkering with cars and ultimately build at least one project car in my lifetime. Because if I don't do it now, I may never get around to it.
About a month or so later after the clutch install, I opted for a MSpnp2 and got that installed with an Innovate LC-2 wideband and a boost gauge. I probably spent about a good month or two just reading, learning as I went and tuning it N/A. It ran ok for the most part that I was satisfied with, I knew in the end I didn't want to become a pro tuner and didn't want to make it my day job so I didn't want to devote hours and hours to it, but I did learn quite a bit.
Reply
0
0
09-11-2018, 01:43 AM
#5
Junior Member
Thread Starter
Join Date: Jul 2018
Location: Colorado
Posts: 118
Total Cats: 5
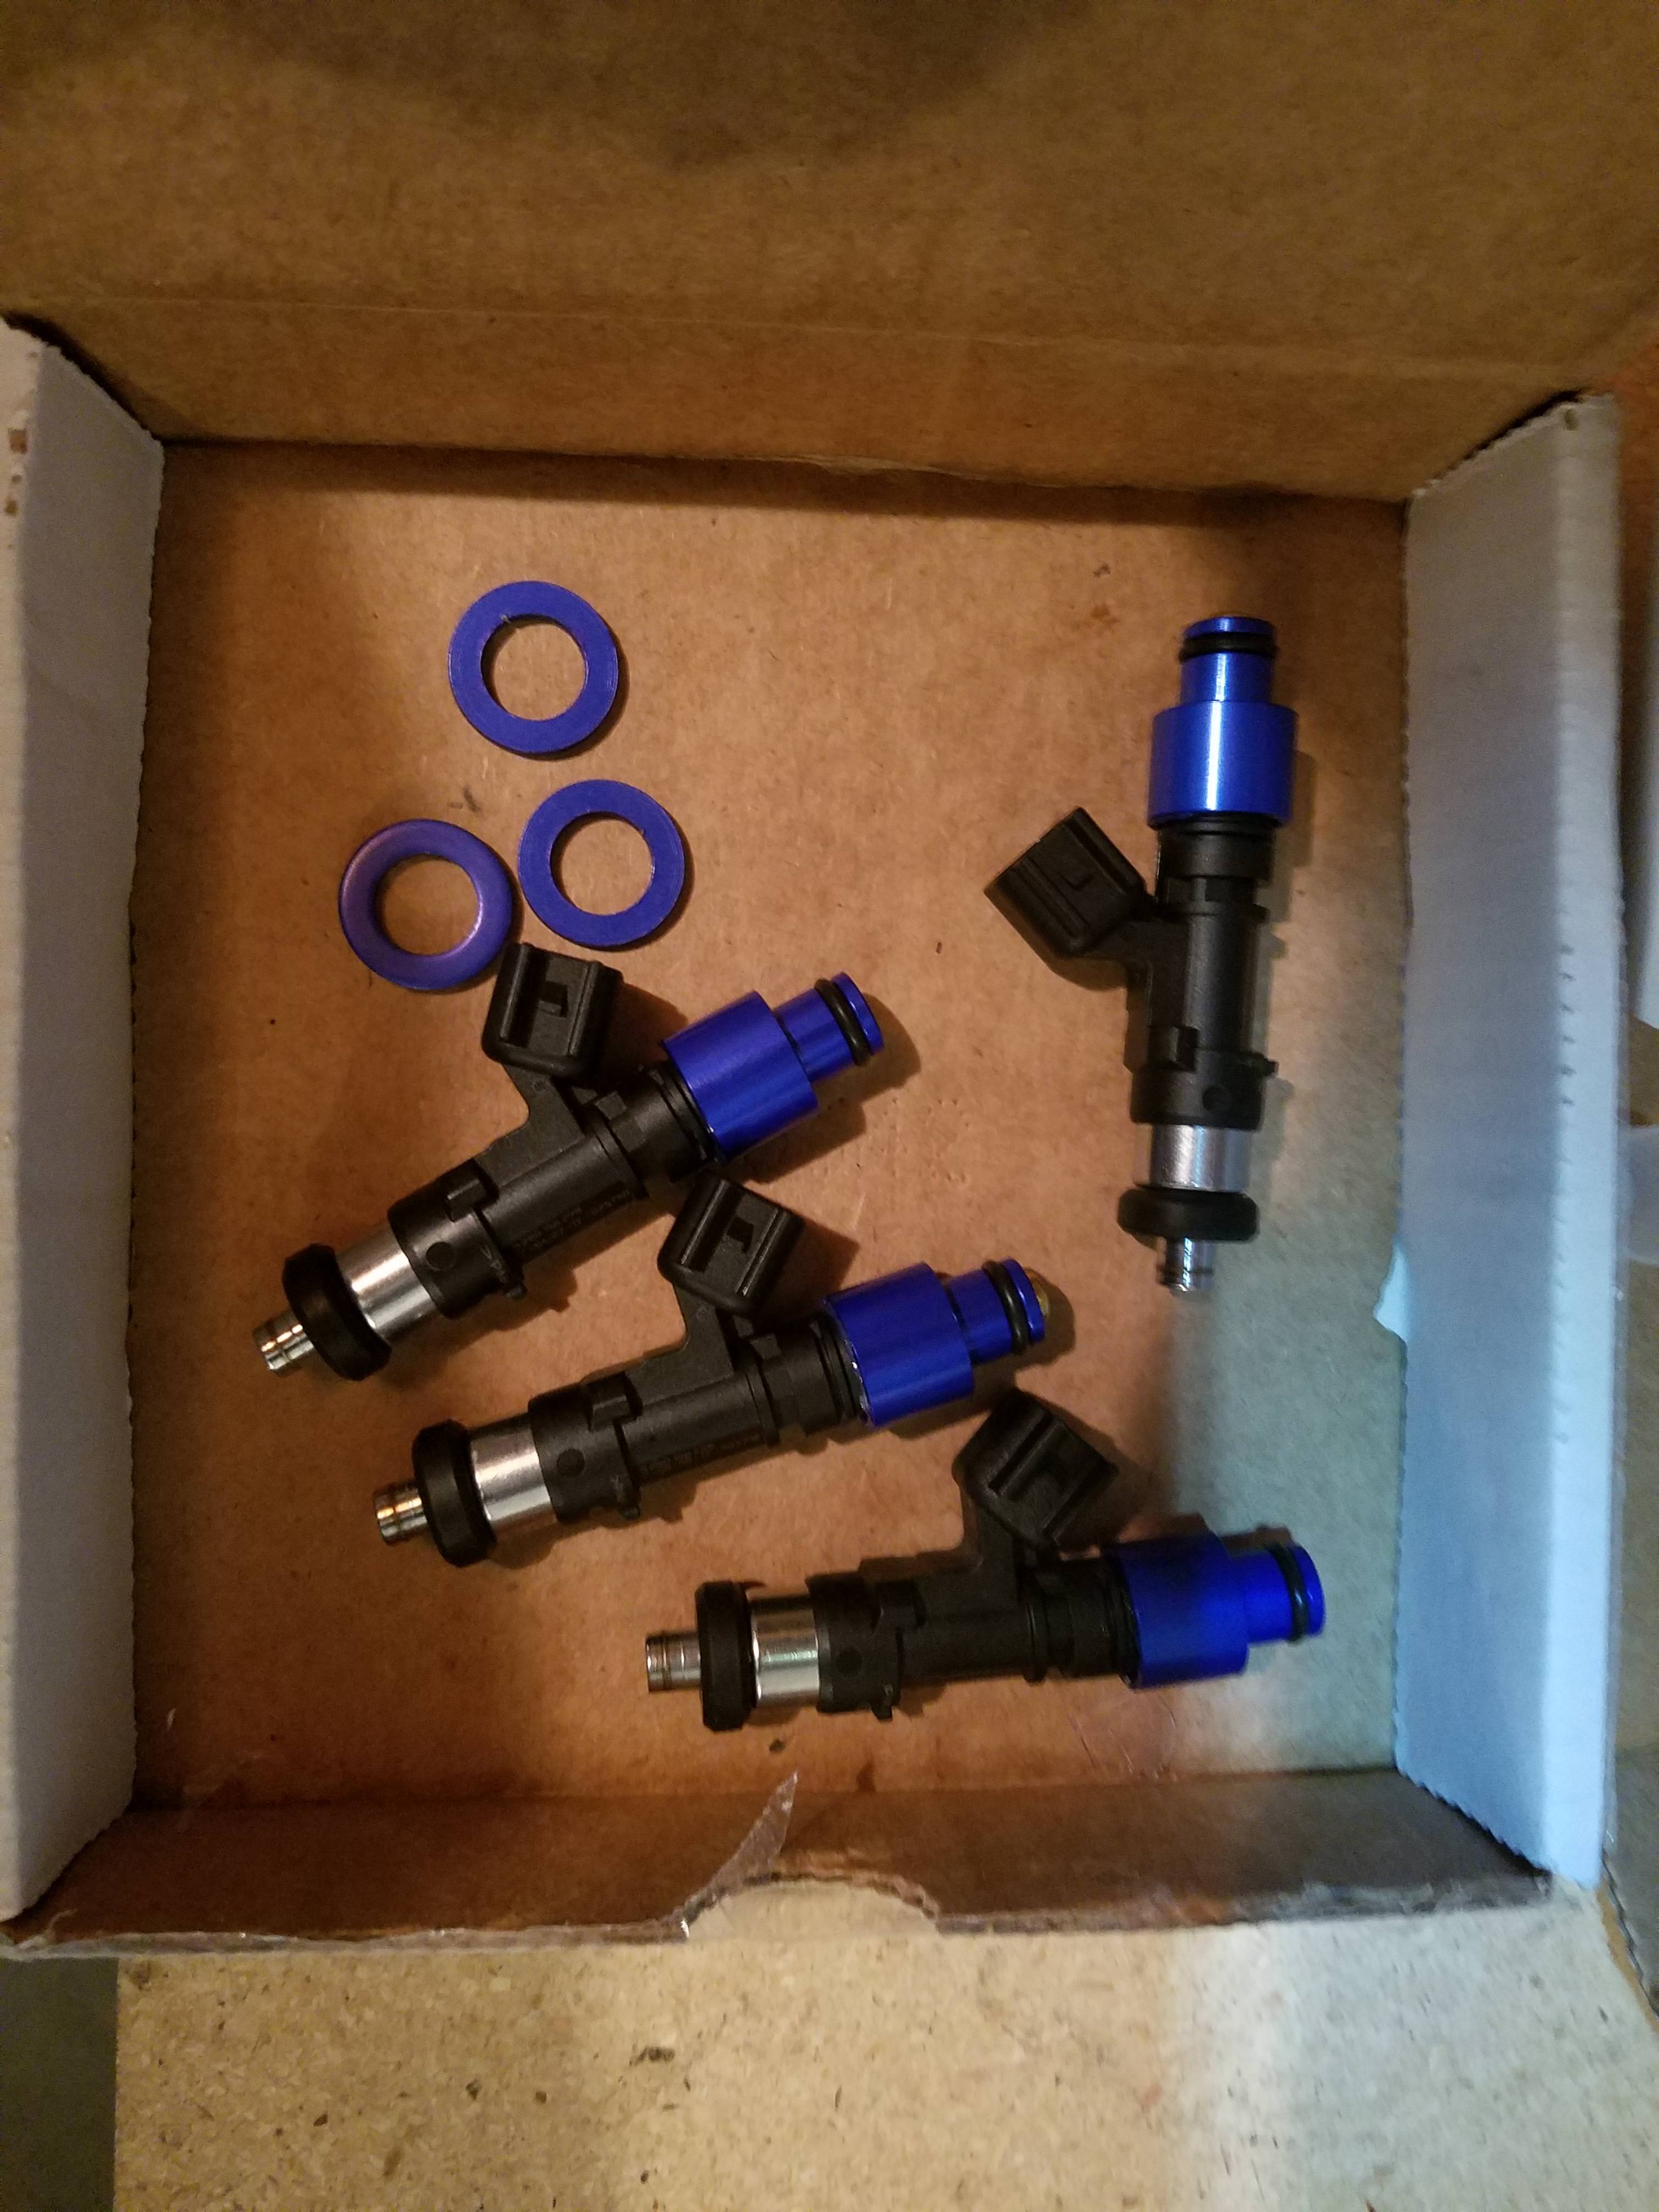
About a month ago or so I installed a set of FF 640cc injectors and did some more tuning due to me having BARO correction wrong (wrong sensor selected) and had to readjust the VE table. It was running ok, but I was having some issues with going lean on throttle lift, it only happens during decel and I don't have any vacuum or exhaust leaks and I'm using the data that Nigel provides on his website for deadtimes. I'm not sure what the issue is, but it doesn't really affect the driveabilty of the car too much.
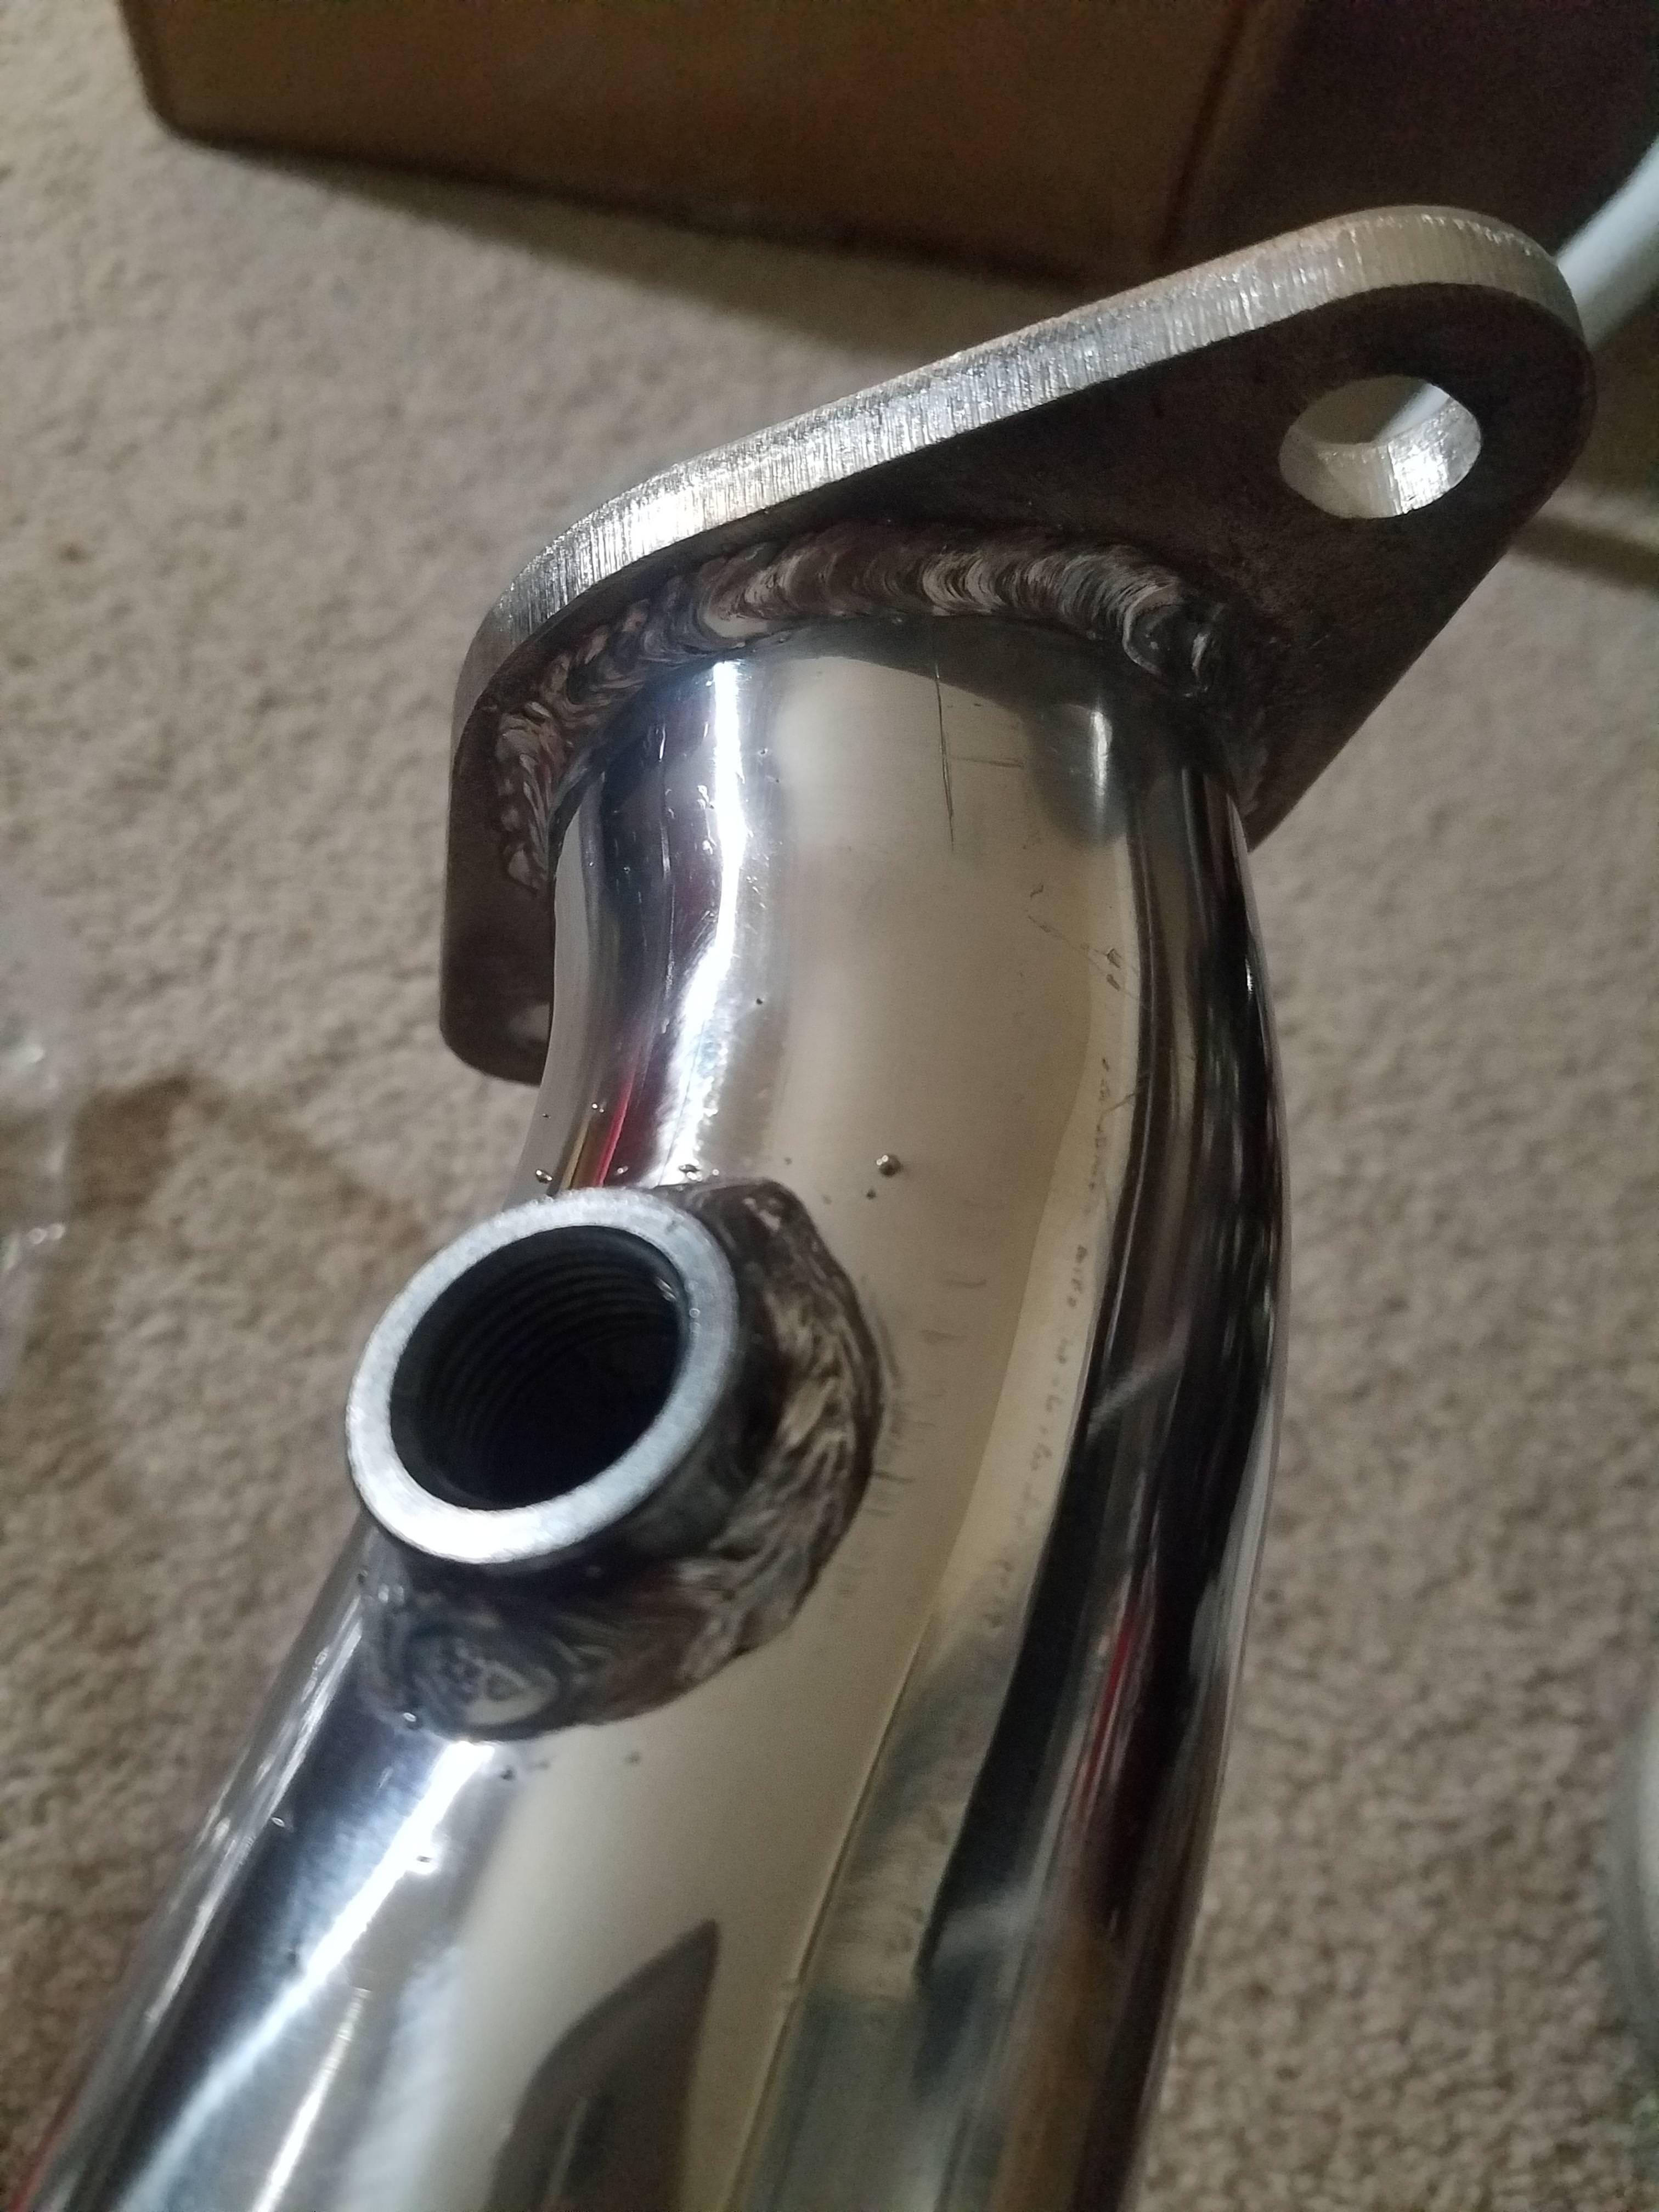
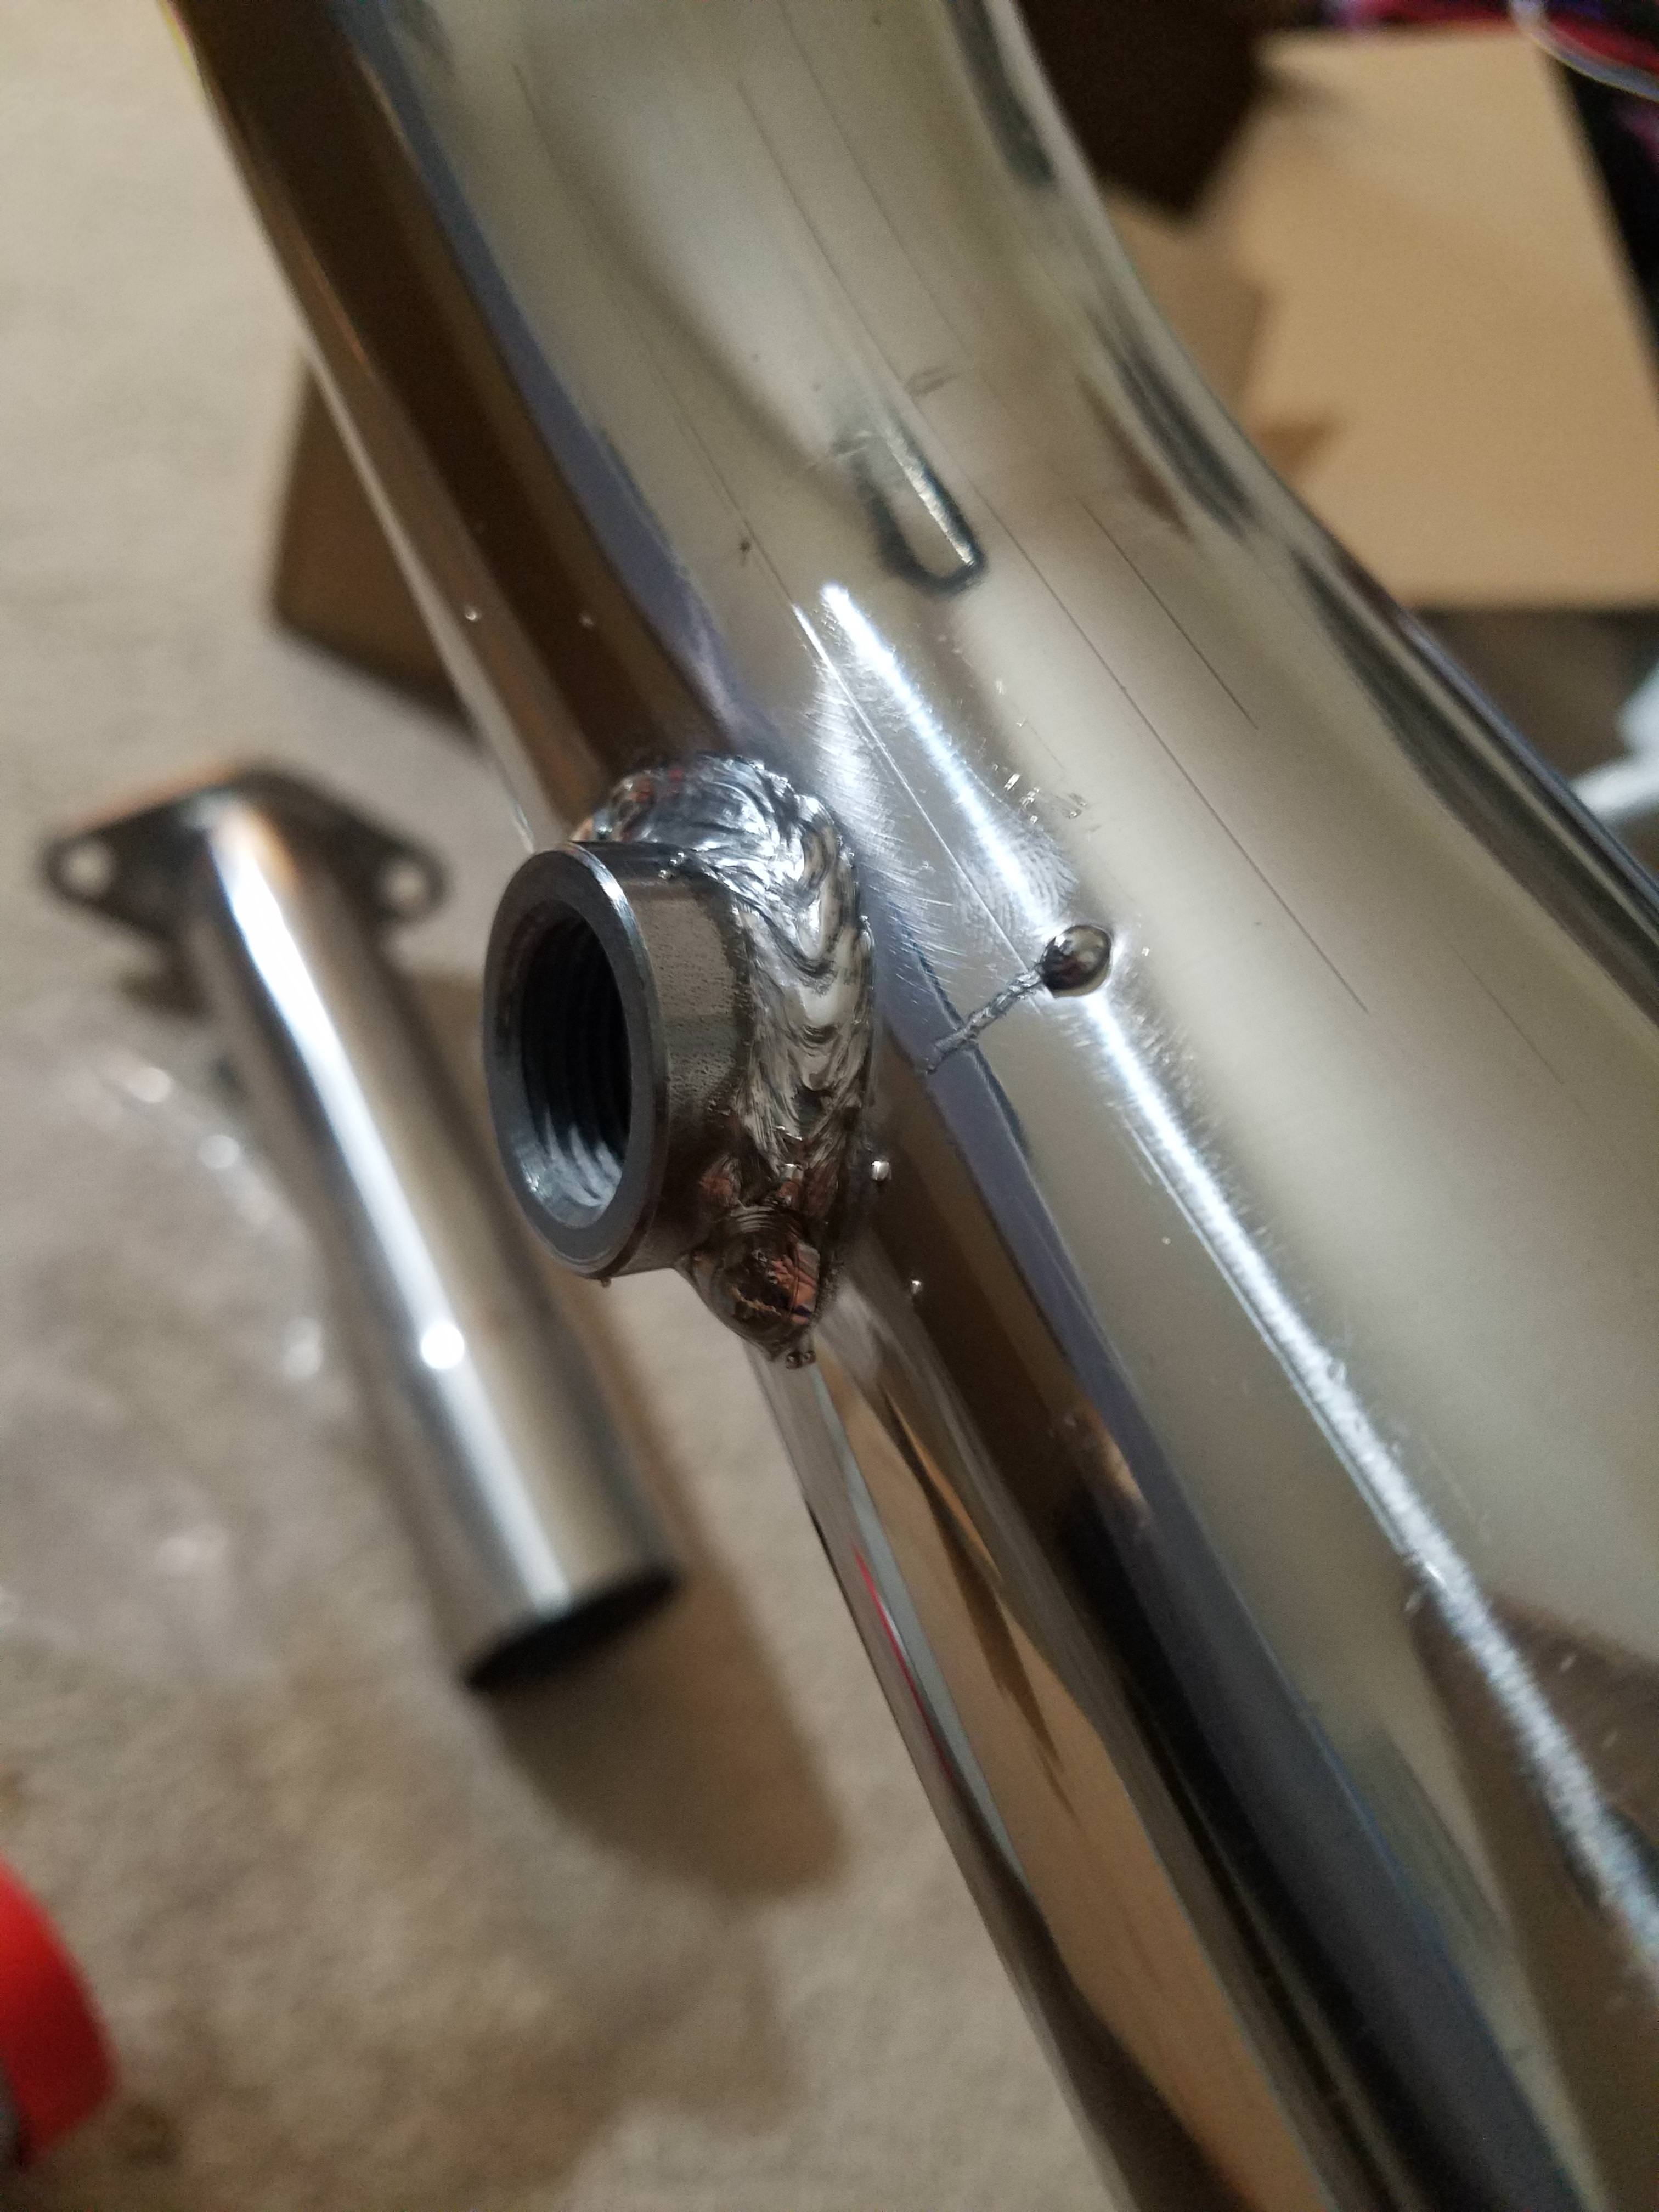
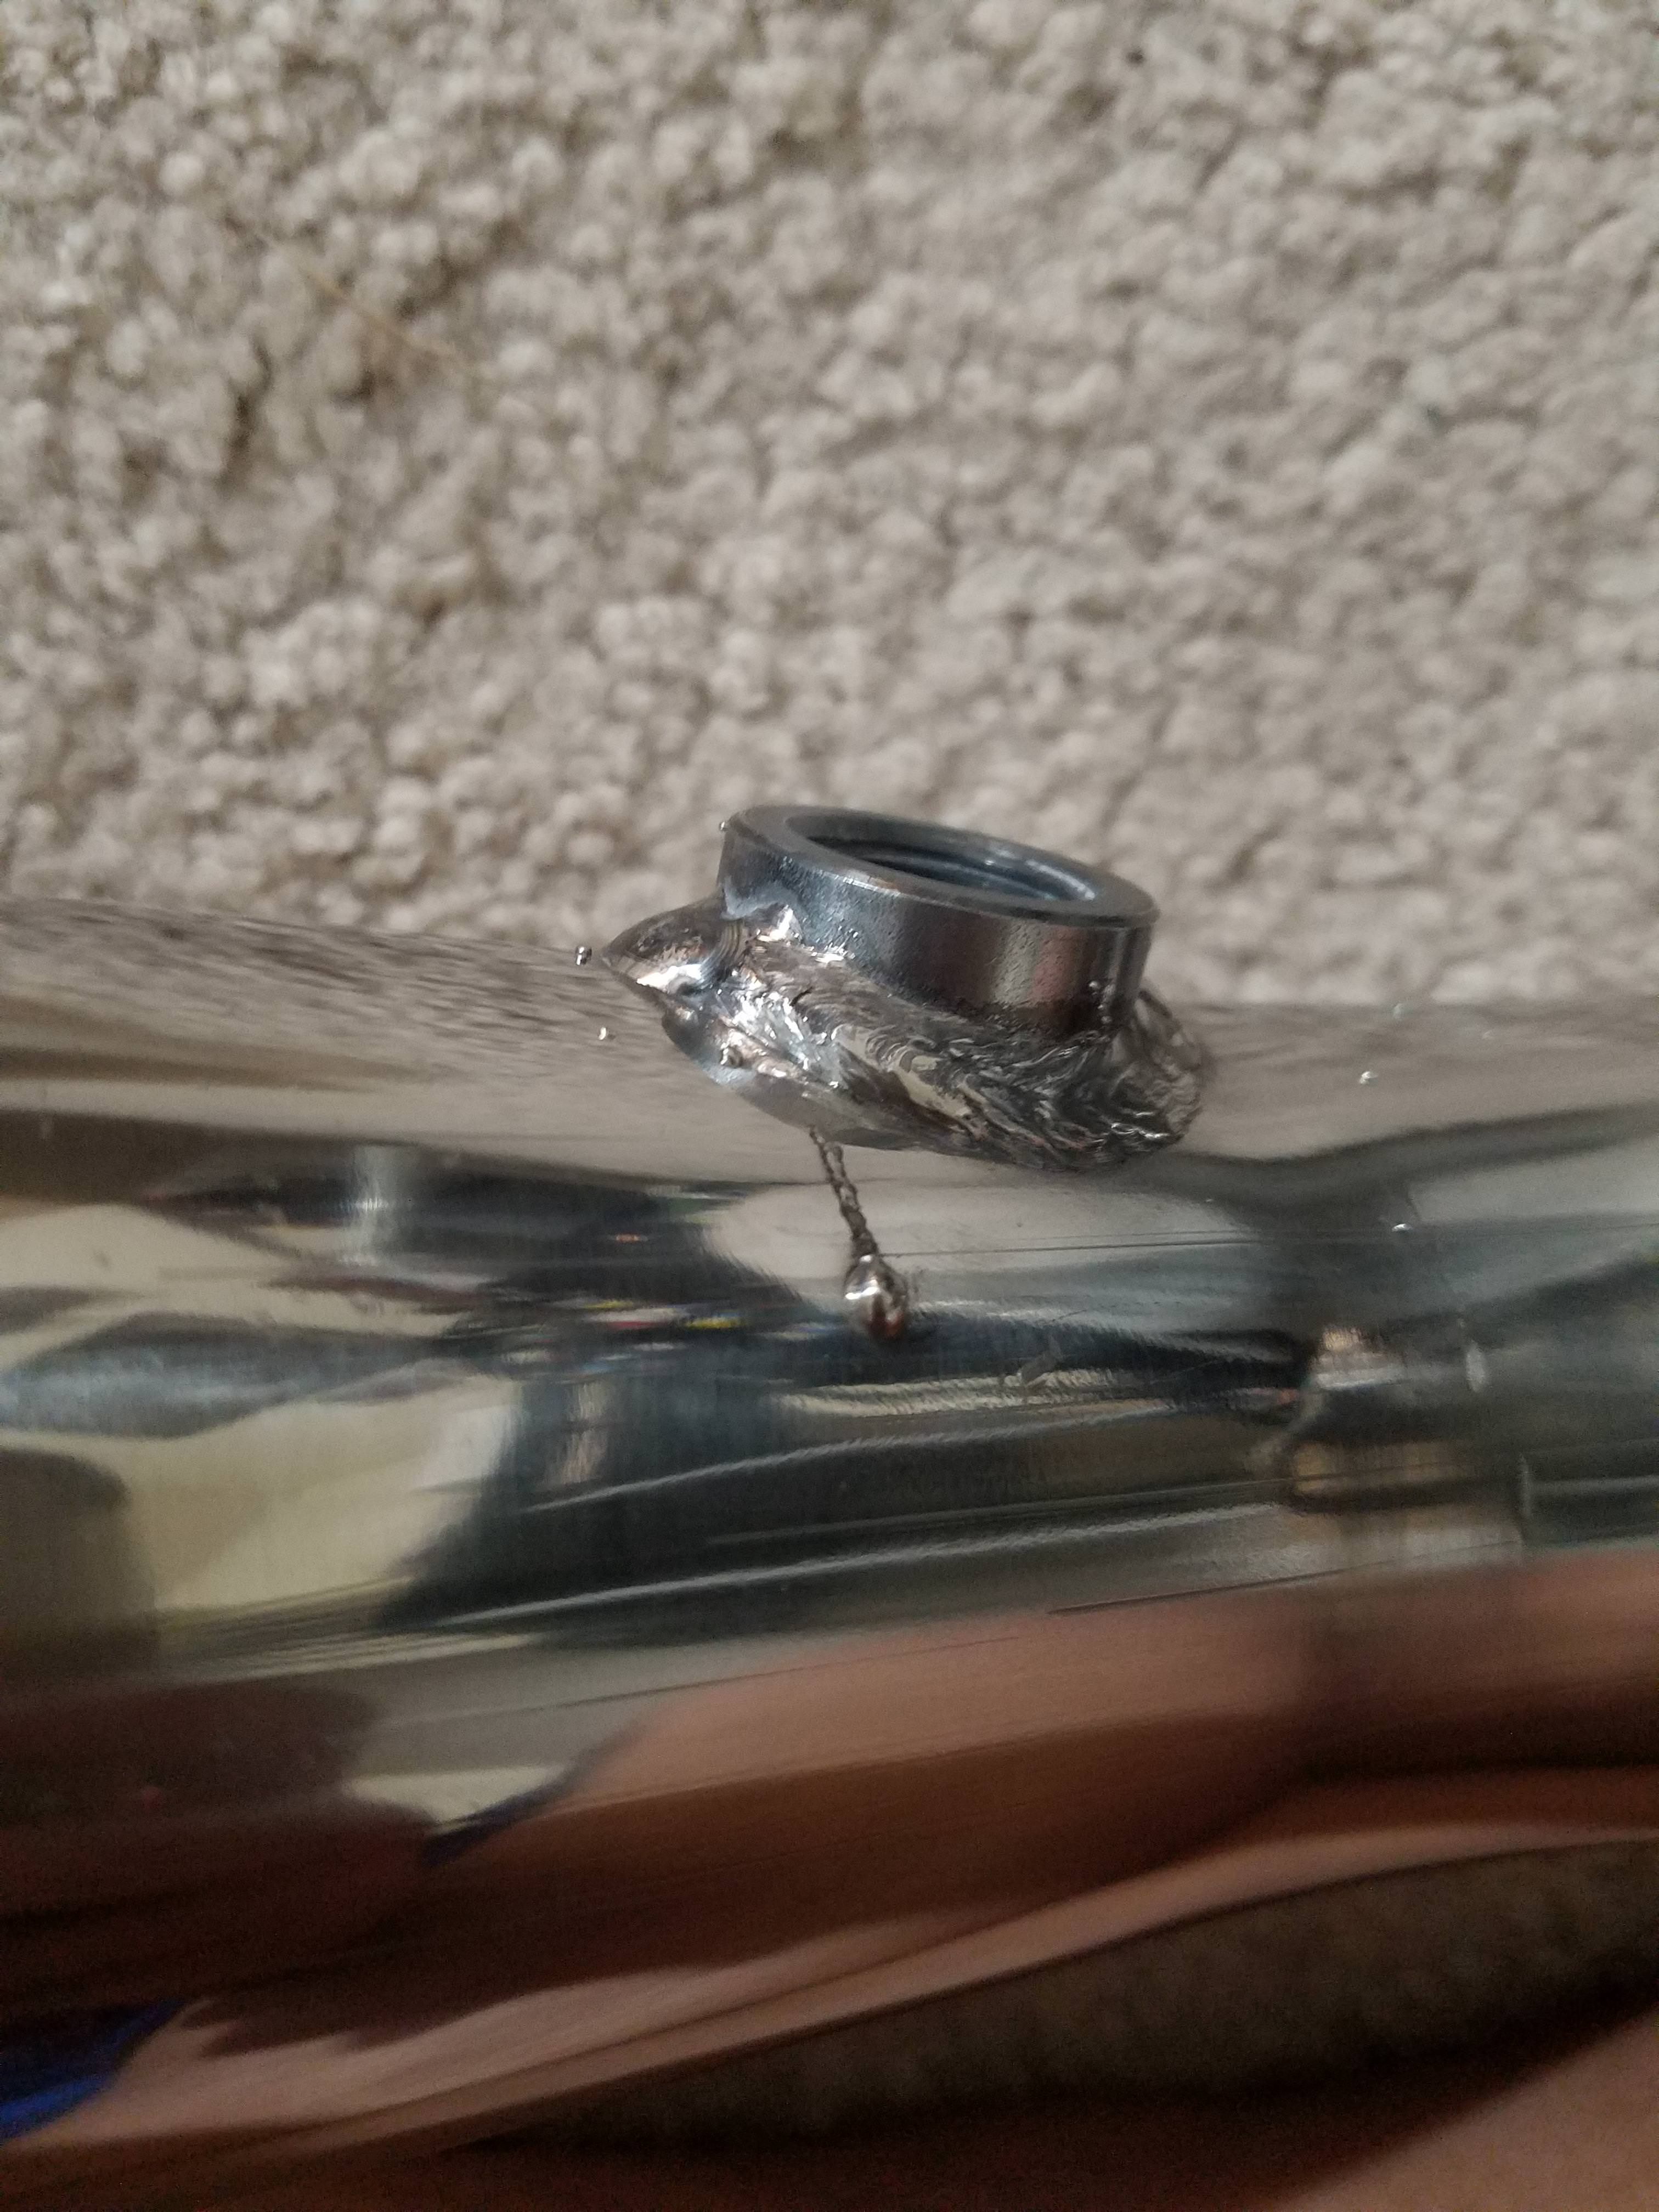
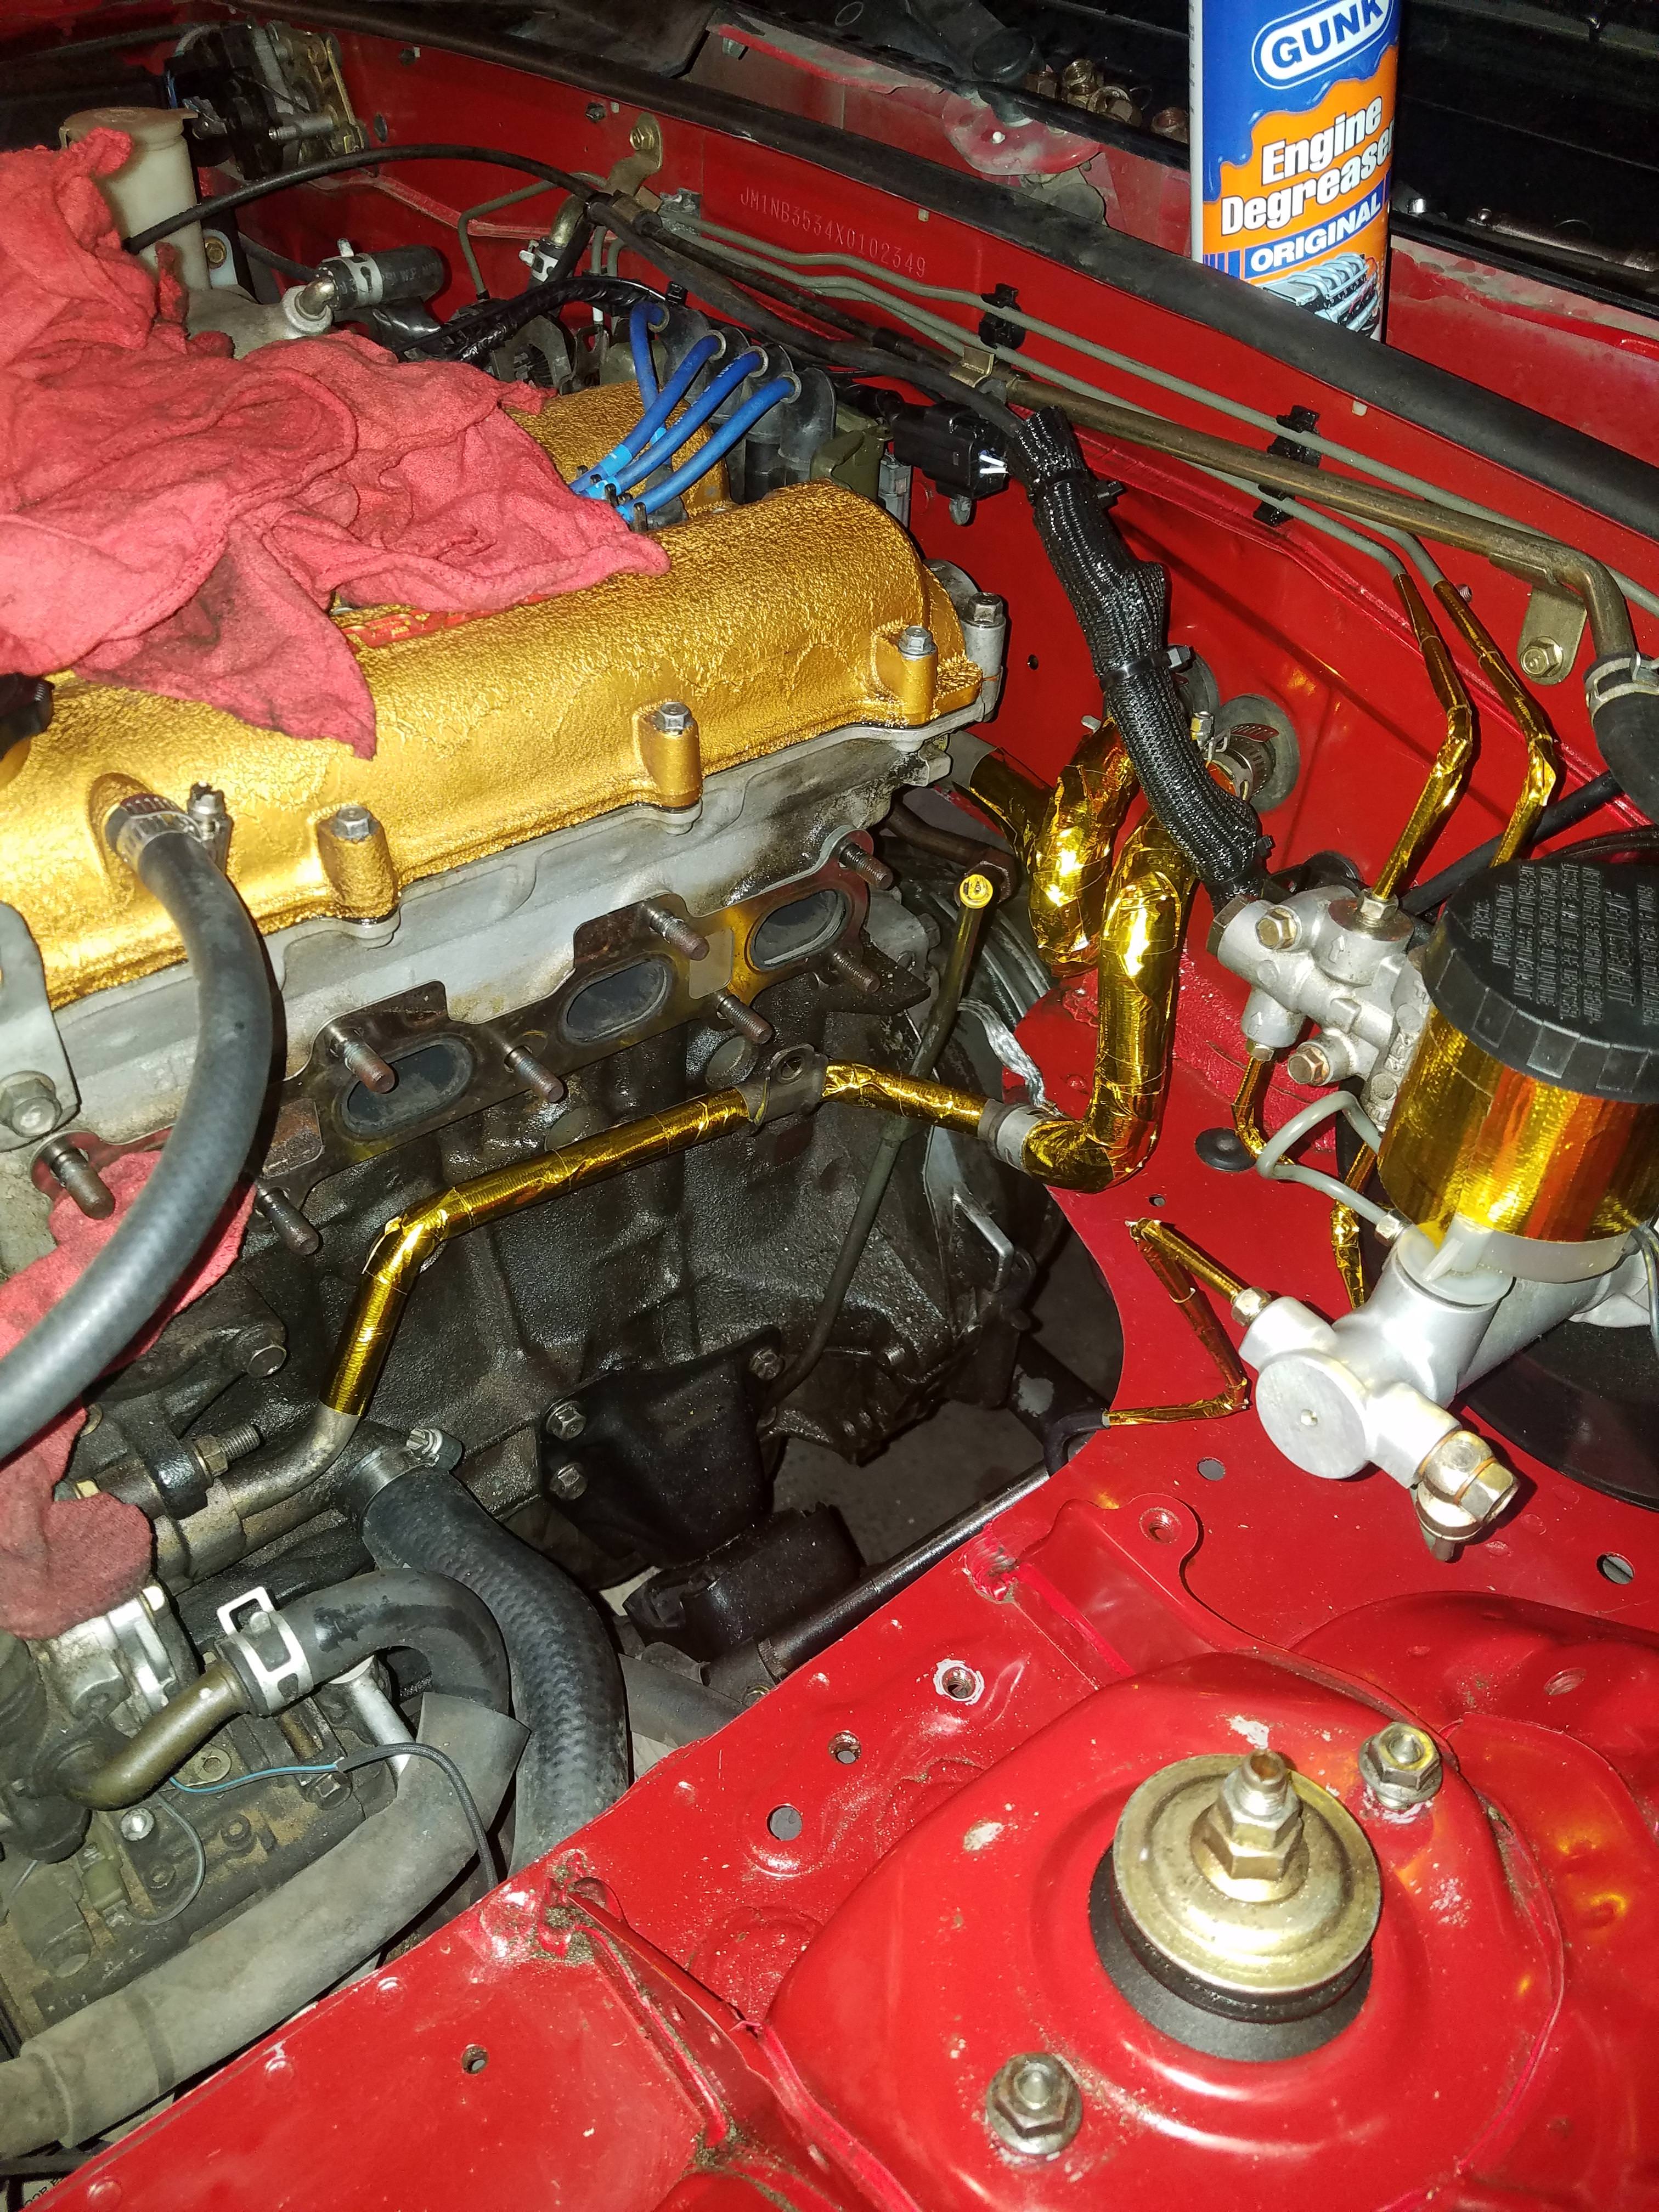
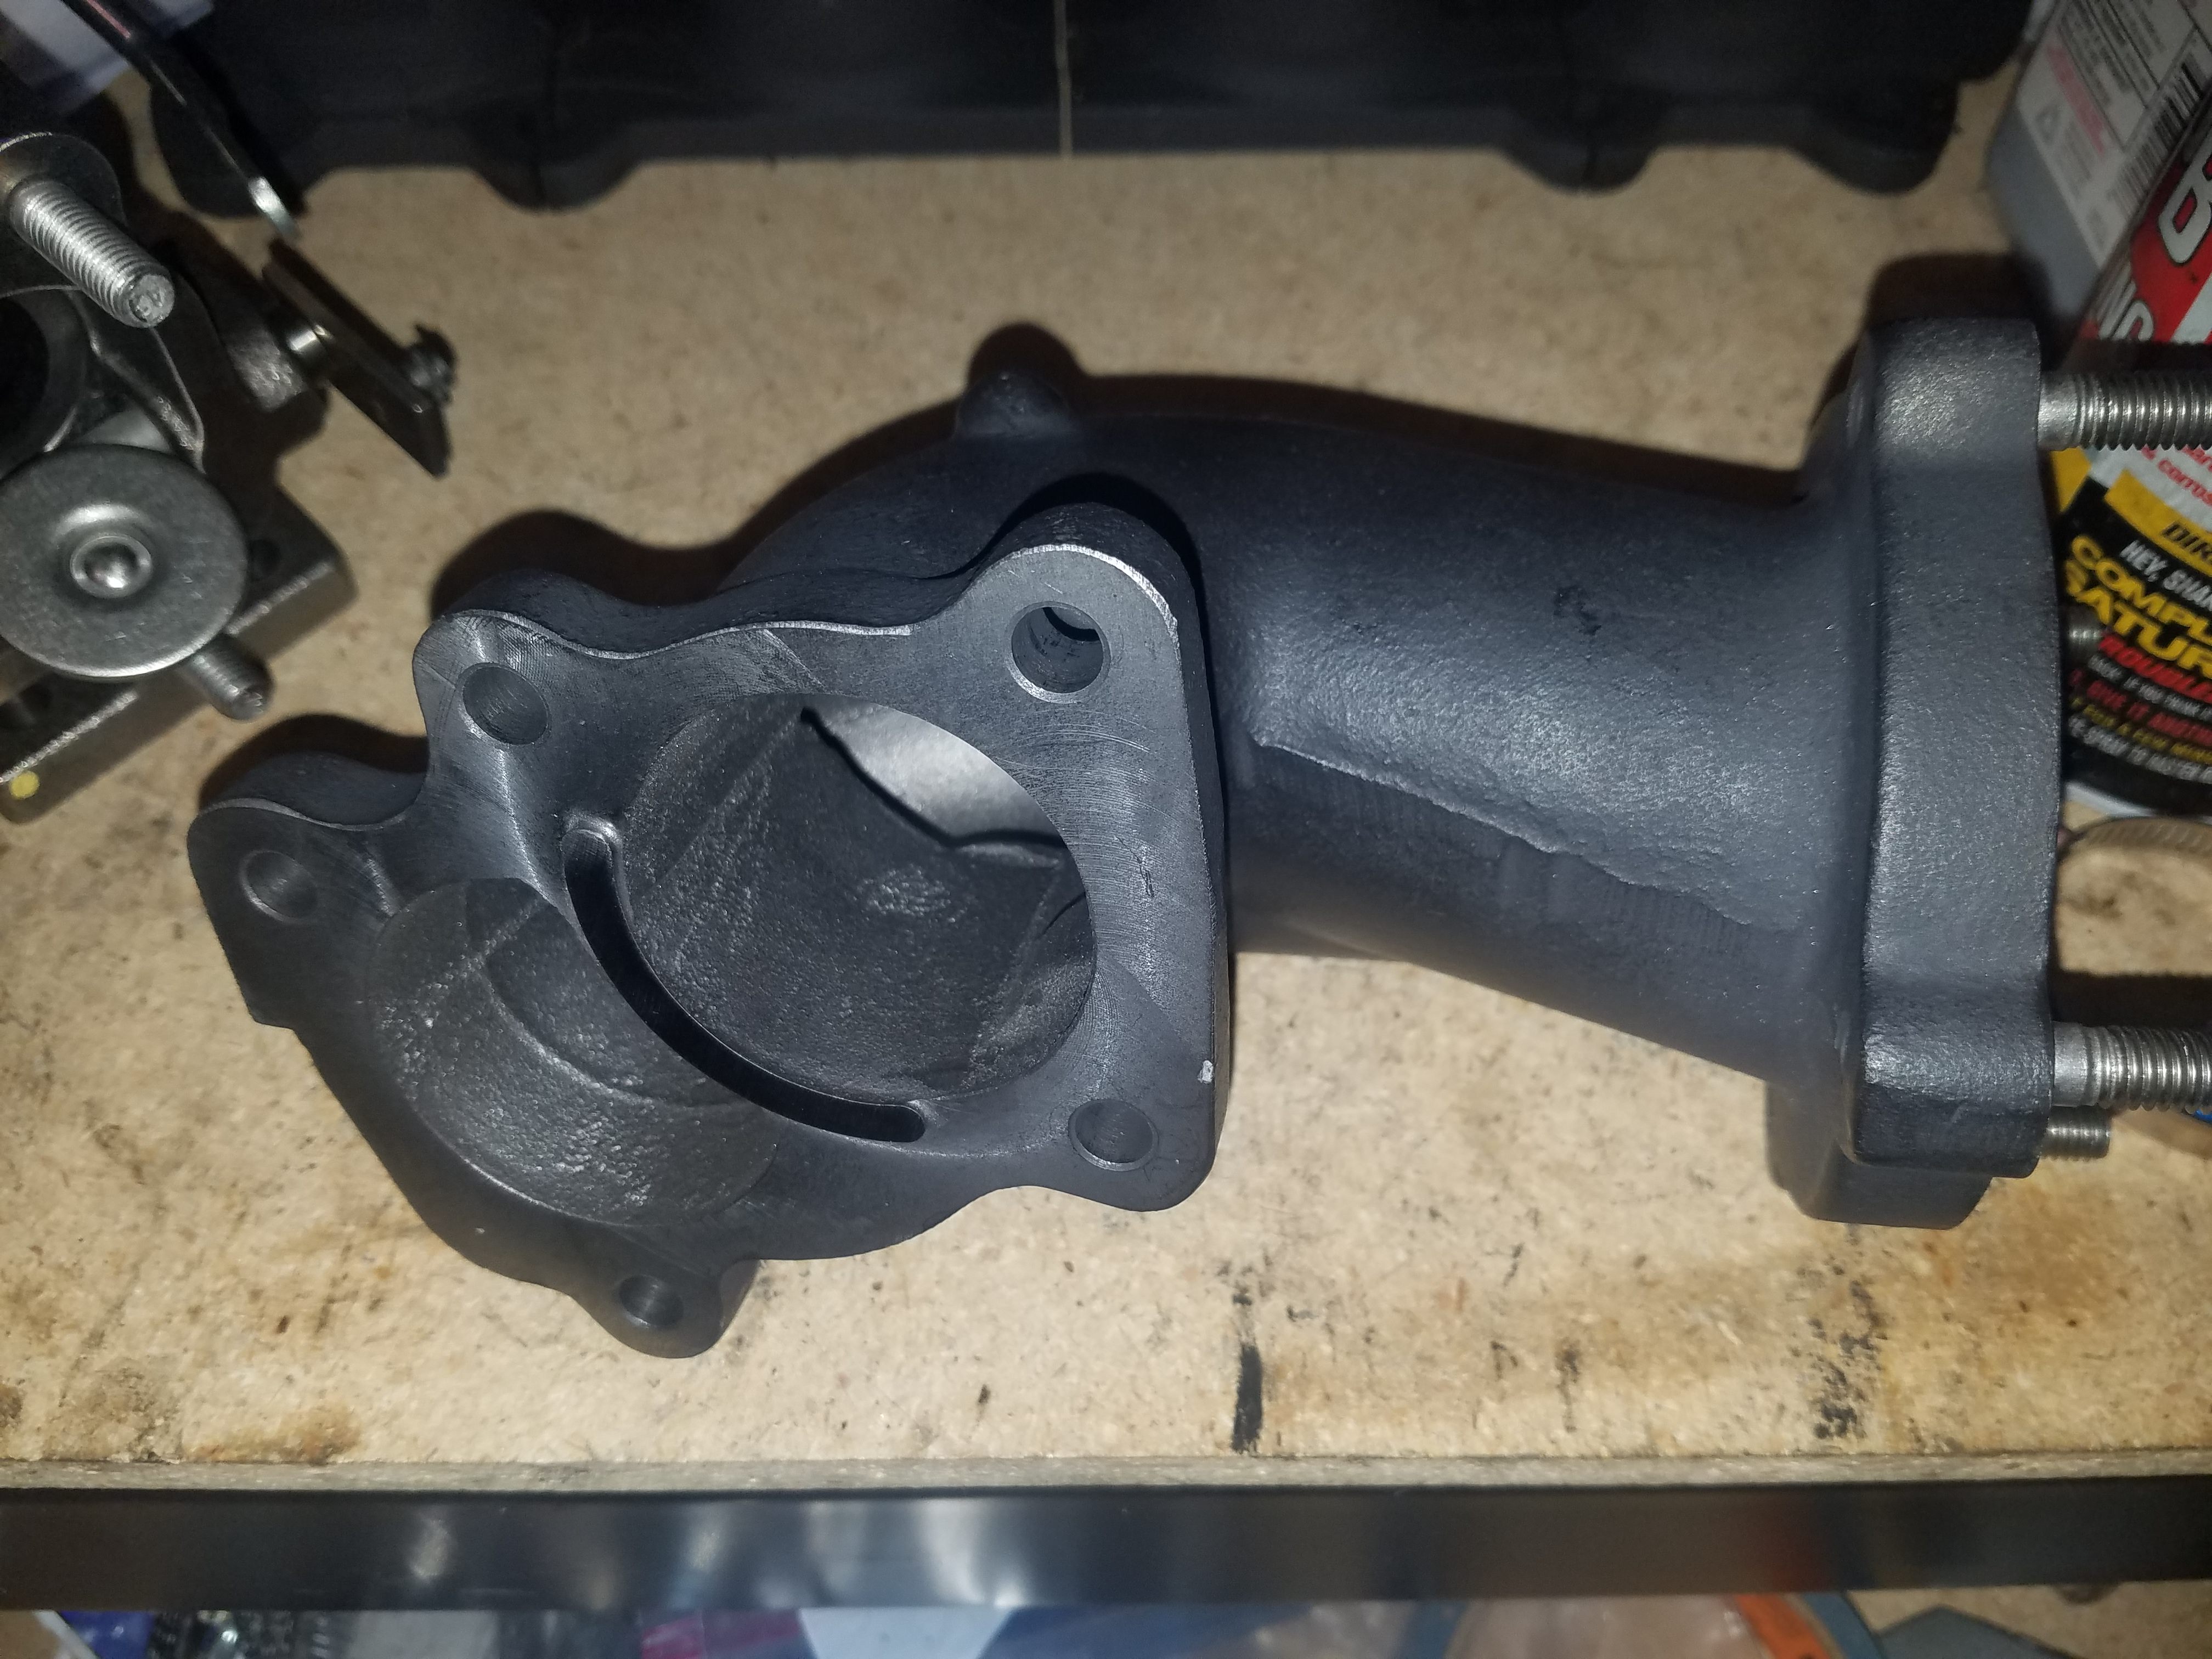
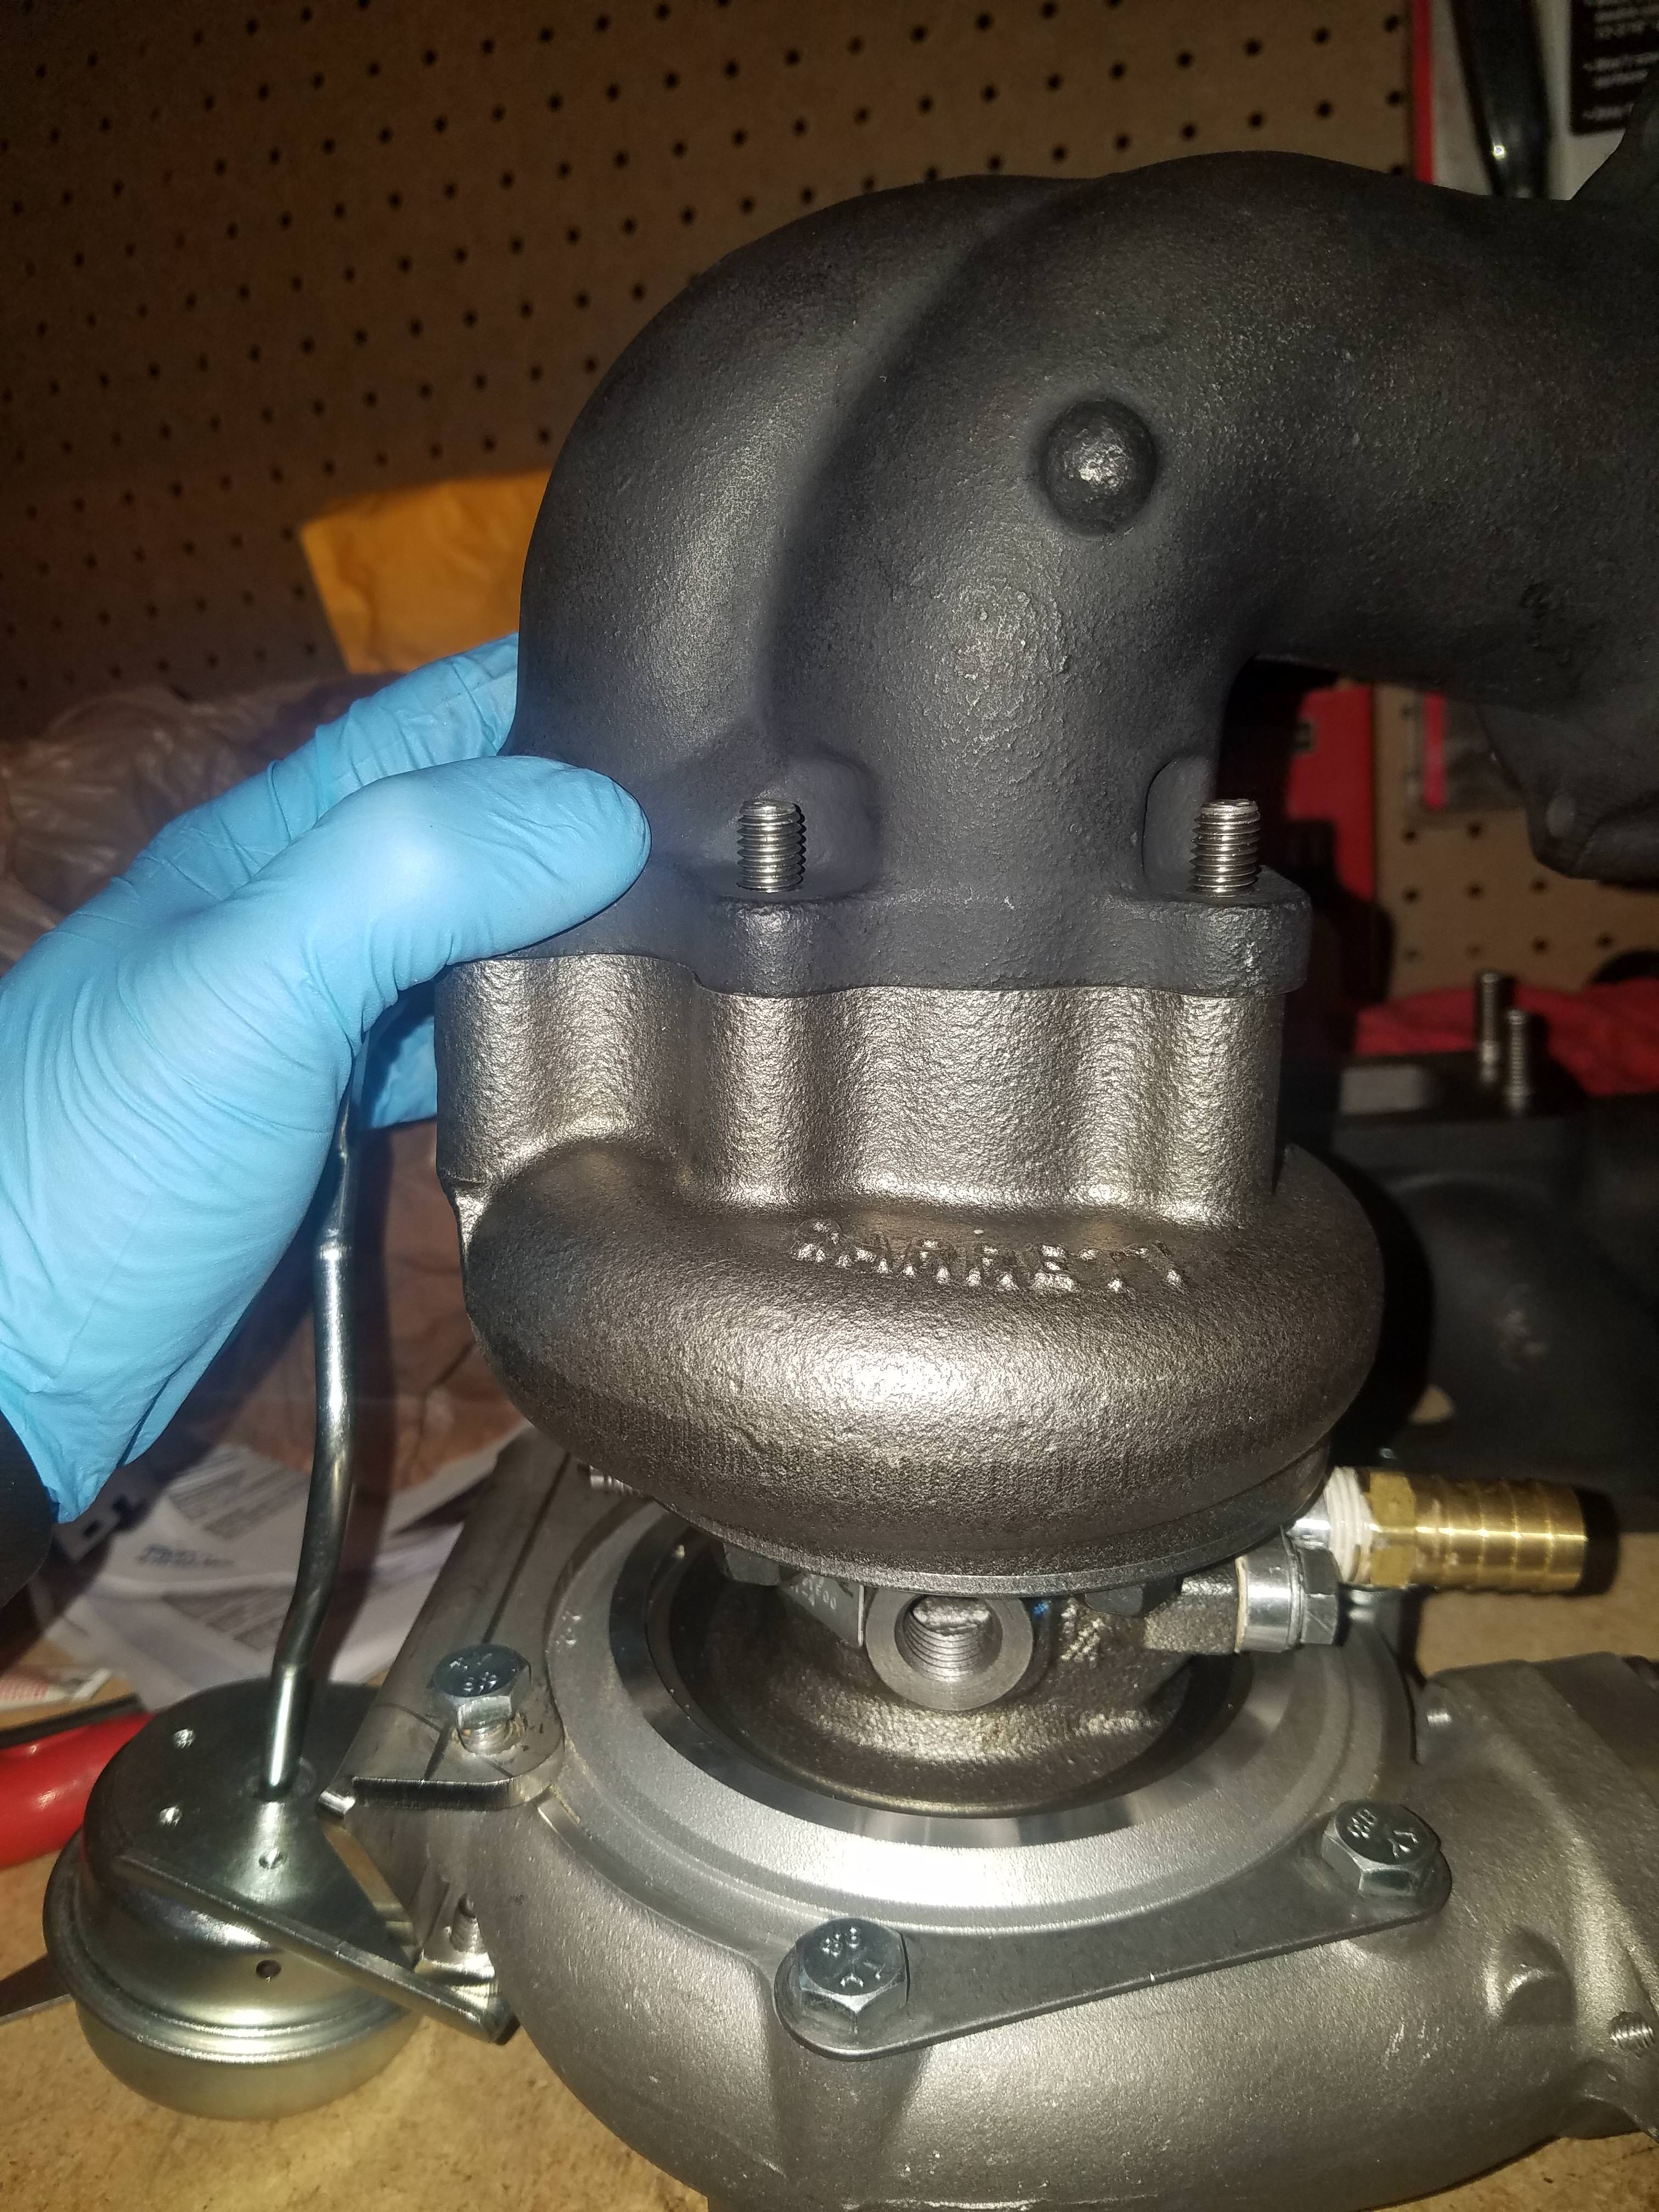
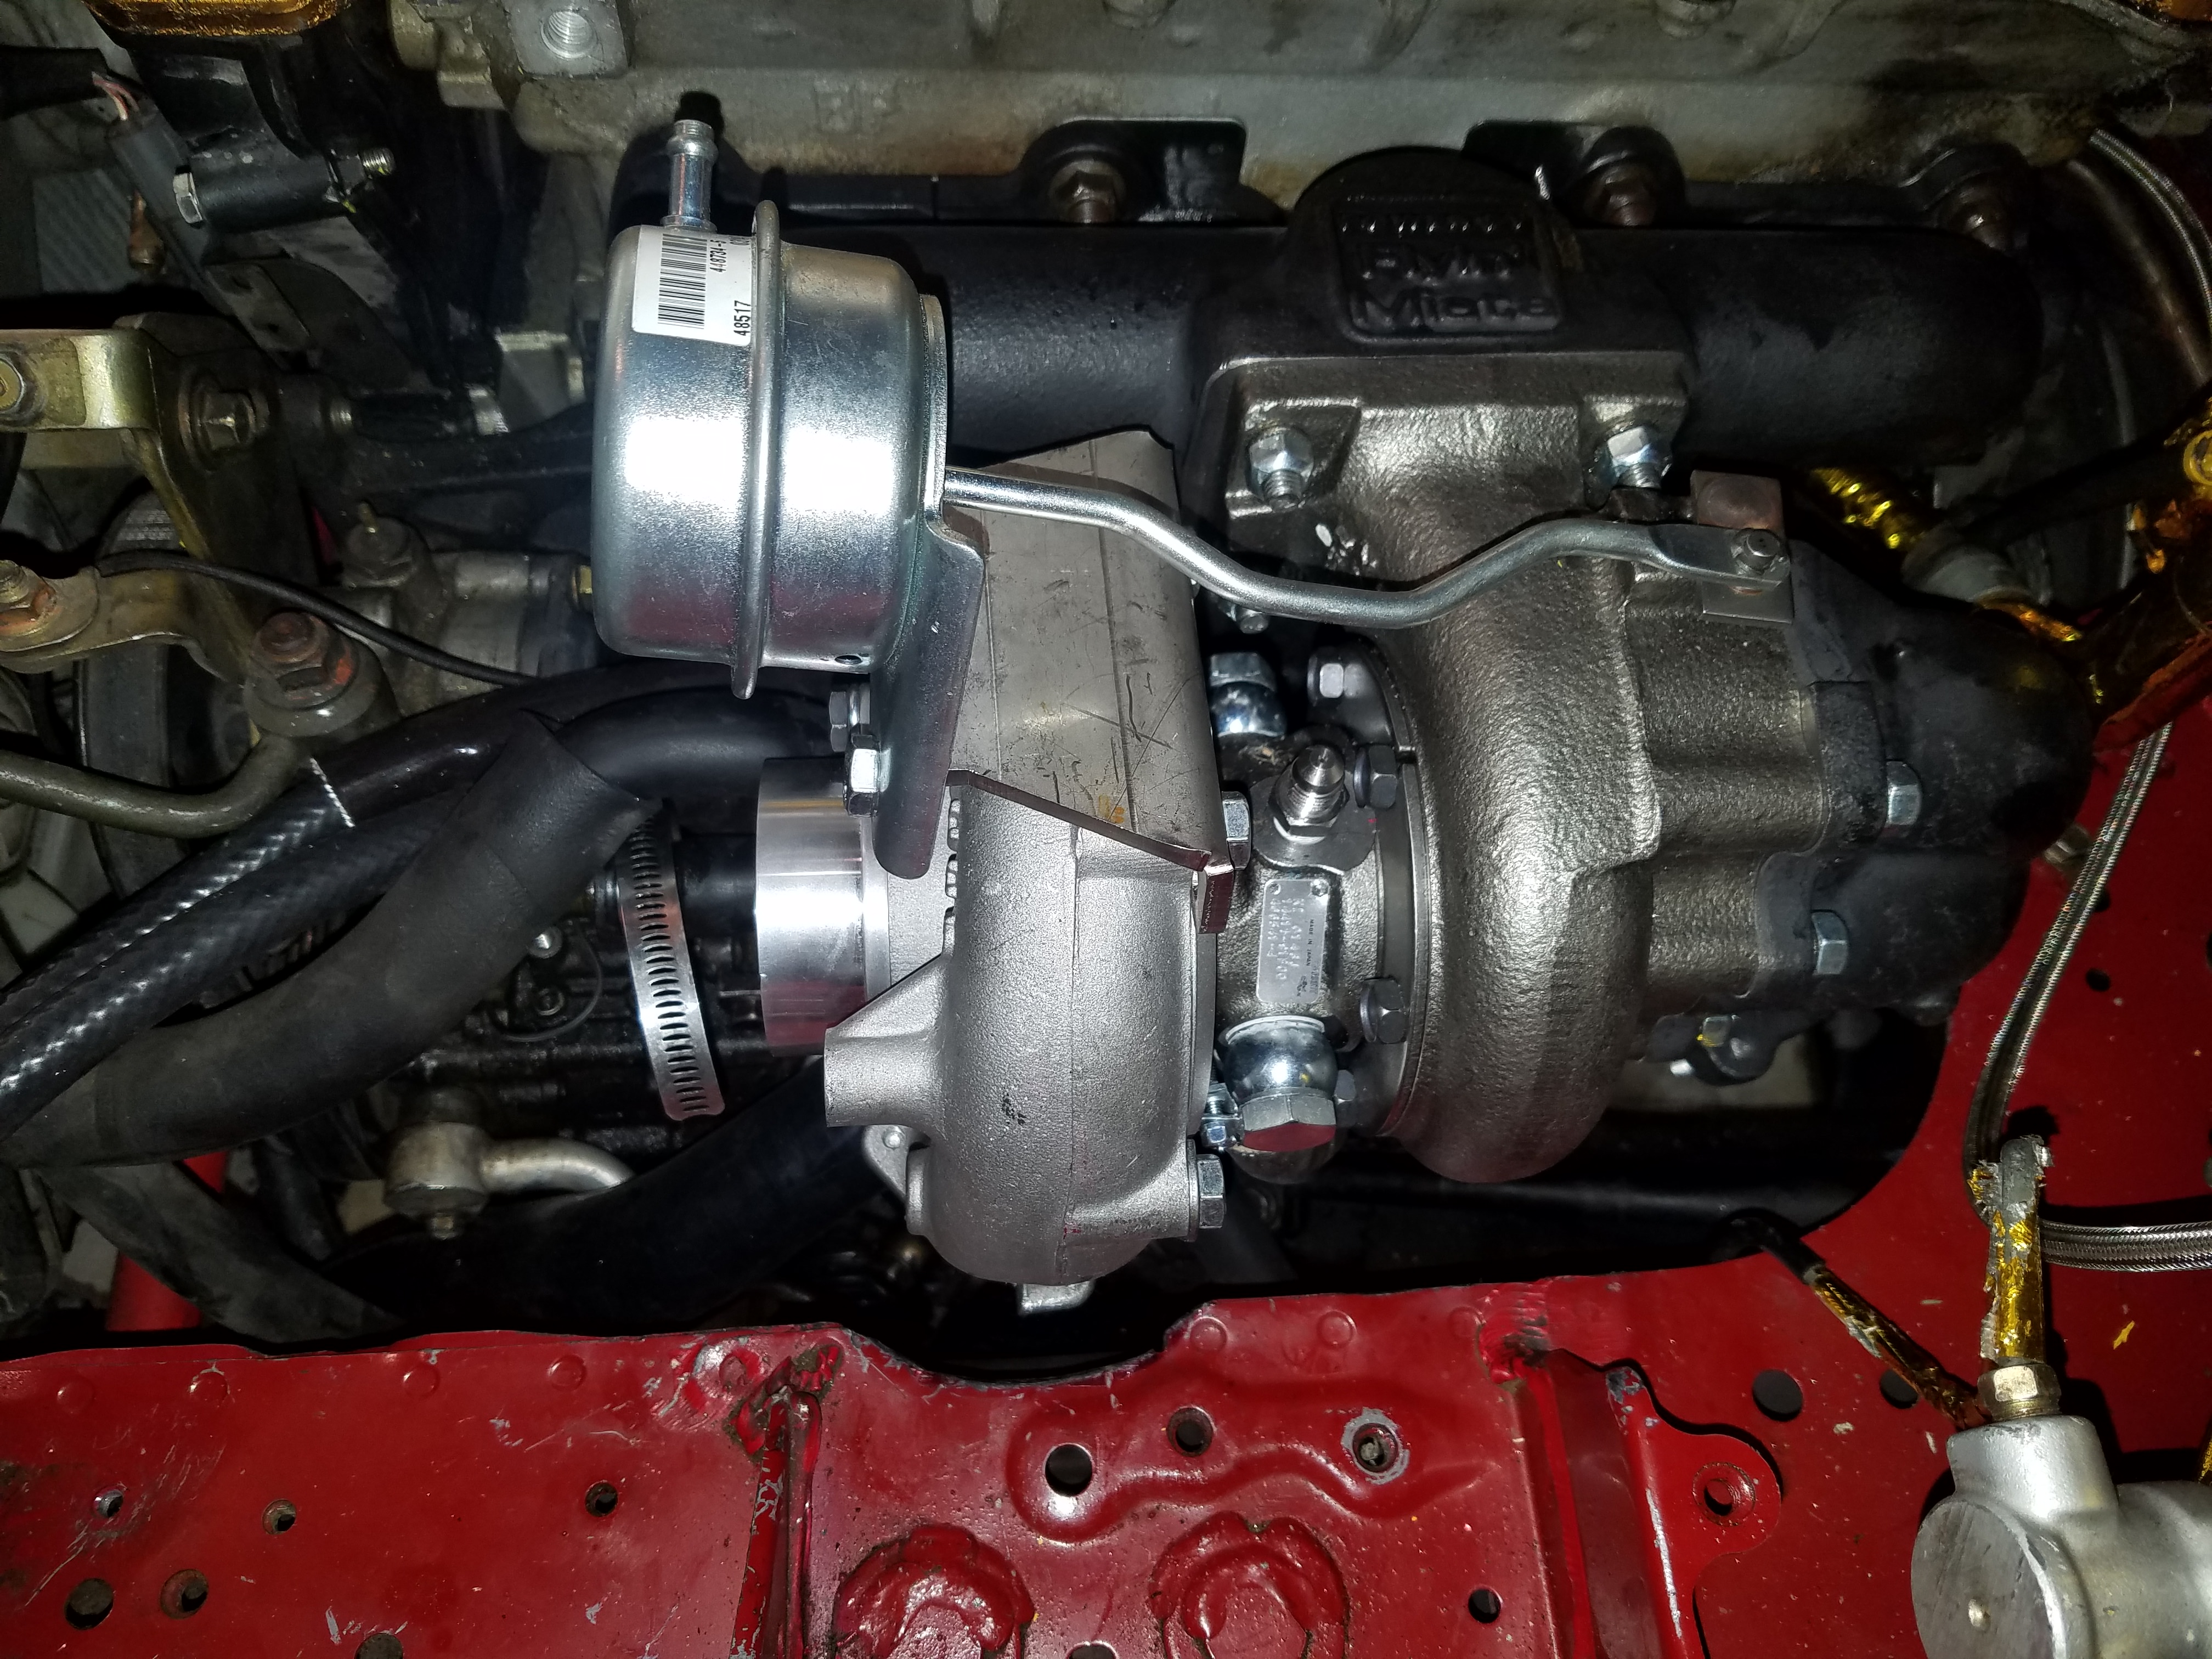
As of to where I am at today, since I had a GT2560R laying around, I opted to go with a (essentially) a pieced together FM turbo kit. I ordered parts of the DIY kit for mainly everything that I didn't have (minus the turbo obviously). I spent the last week and a half or so installing it taking my time, doing a little bit each day. It definitely was a much bigger task then the clutch job, but I asked for it since I wanted boost so bad. There were some slight issues here and there, the FM elbow has a divider on it and my turbo has one in the housing. Obviously a clearance issue, so I ended up paying a machine shop $30 to machine and grind it down and it fits perfectly now. I am also a little disappointed in the quality of the welds on the FM downpipe, I don't know anything about welding, but it looks like it's just caked on there or the welding was done too slow and just allowed it to pool and blotch. There's also some splatter/drips/runs in some areas. I know no one will technically ever see it, but it's a bit disappointing considering it is a $250 piece, maybe I just expected some better quality is all.
Anyway, the scariest part of the job I think for me was drilling and tapping the oil pan. I was afraid to nick the oil pick up tube cause I didn't want to pull the motor. The hardest part of the install I think for me was connecting the hotside of the intercooler. I have PS and A/C in my car and there's a **** ton of crap in the way. While it is possible to finagle the silicone pipe in there, it's damn difficult. Also with the turbo not having machined compressor housing like FM does, I had to use the adapter plates, which makes fit a bit more difficult. Lots of trimming of of the silicone tubing and such. I will also say the FM install instructions, while helpful do leave a lot to be desired.
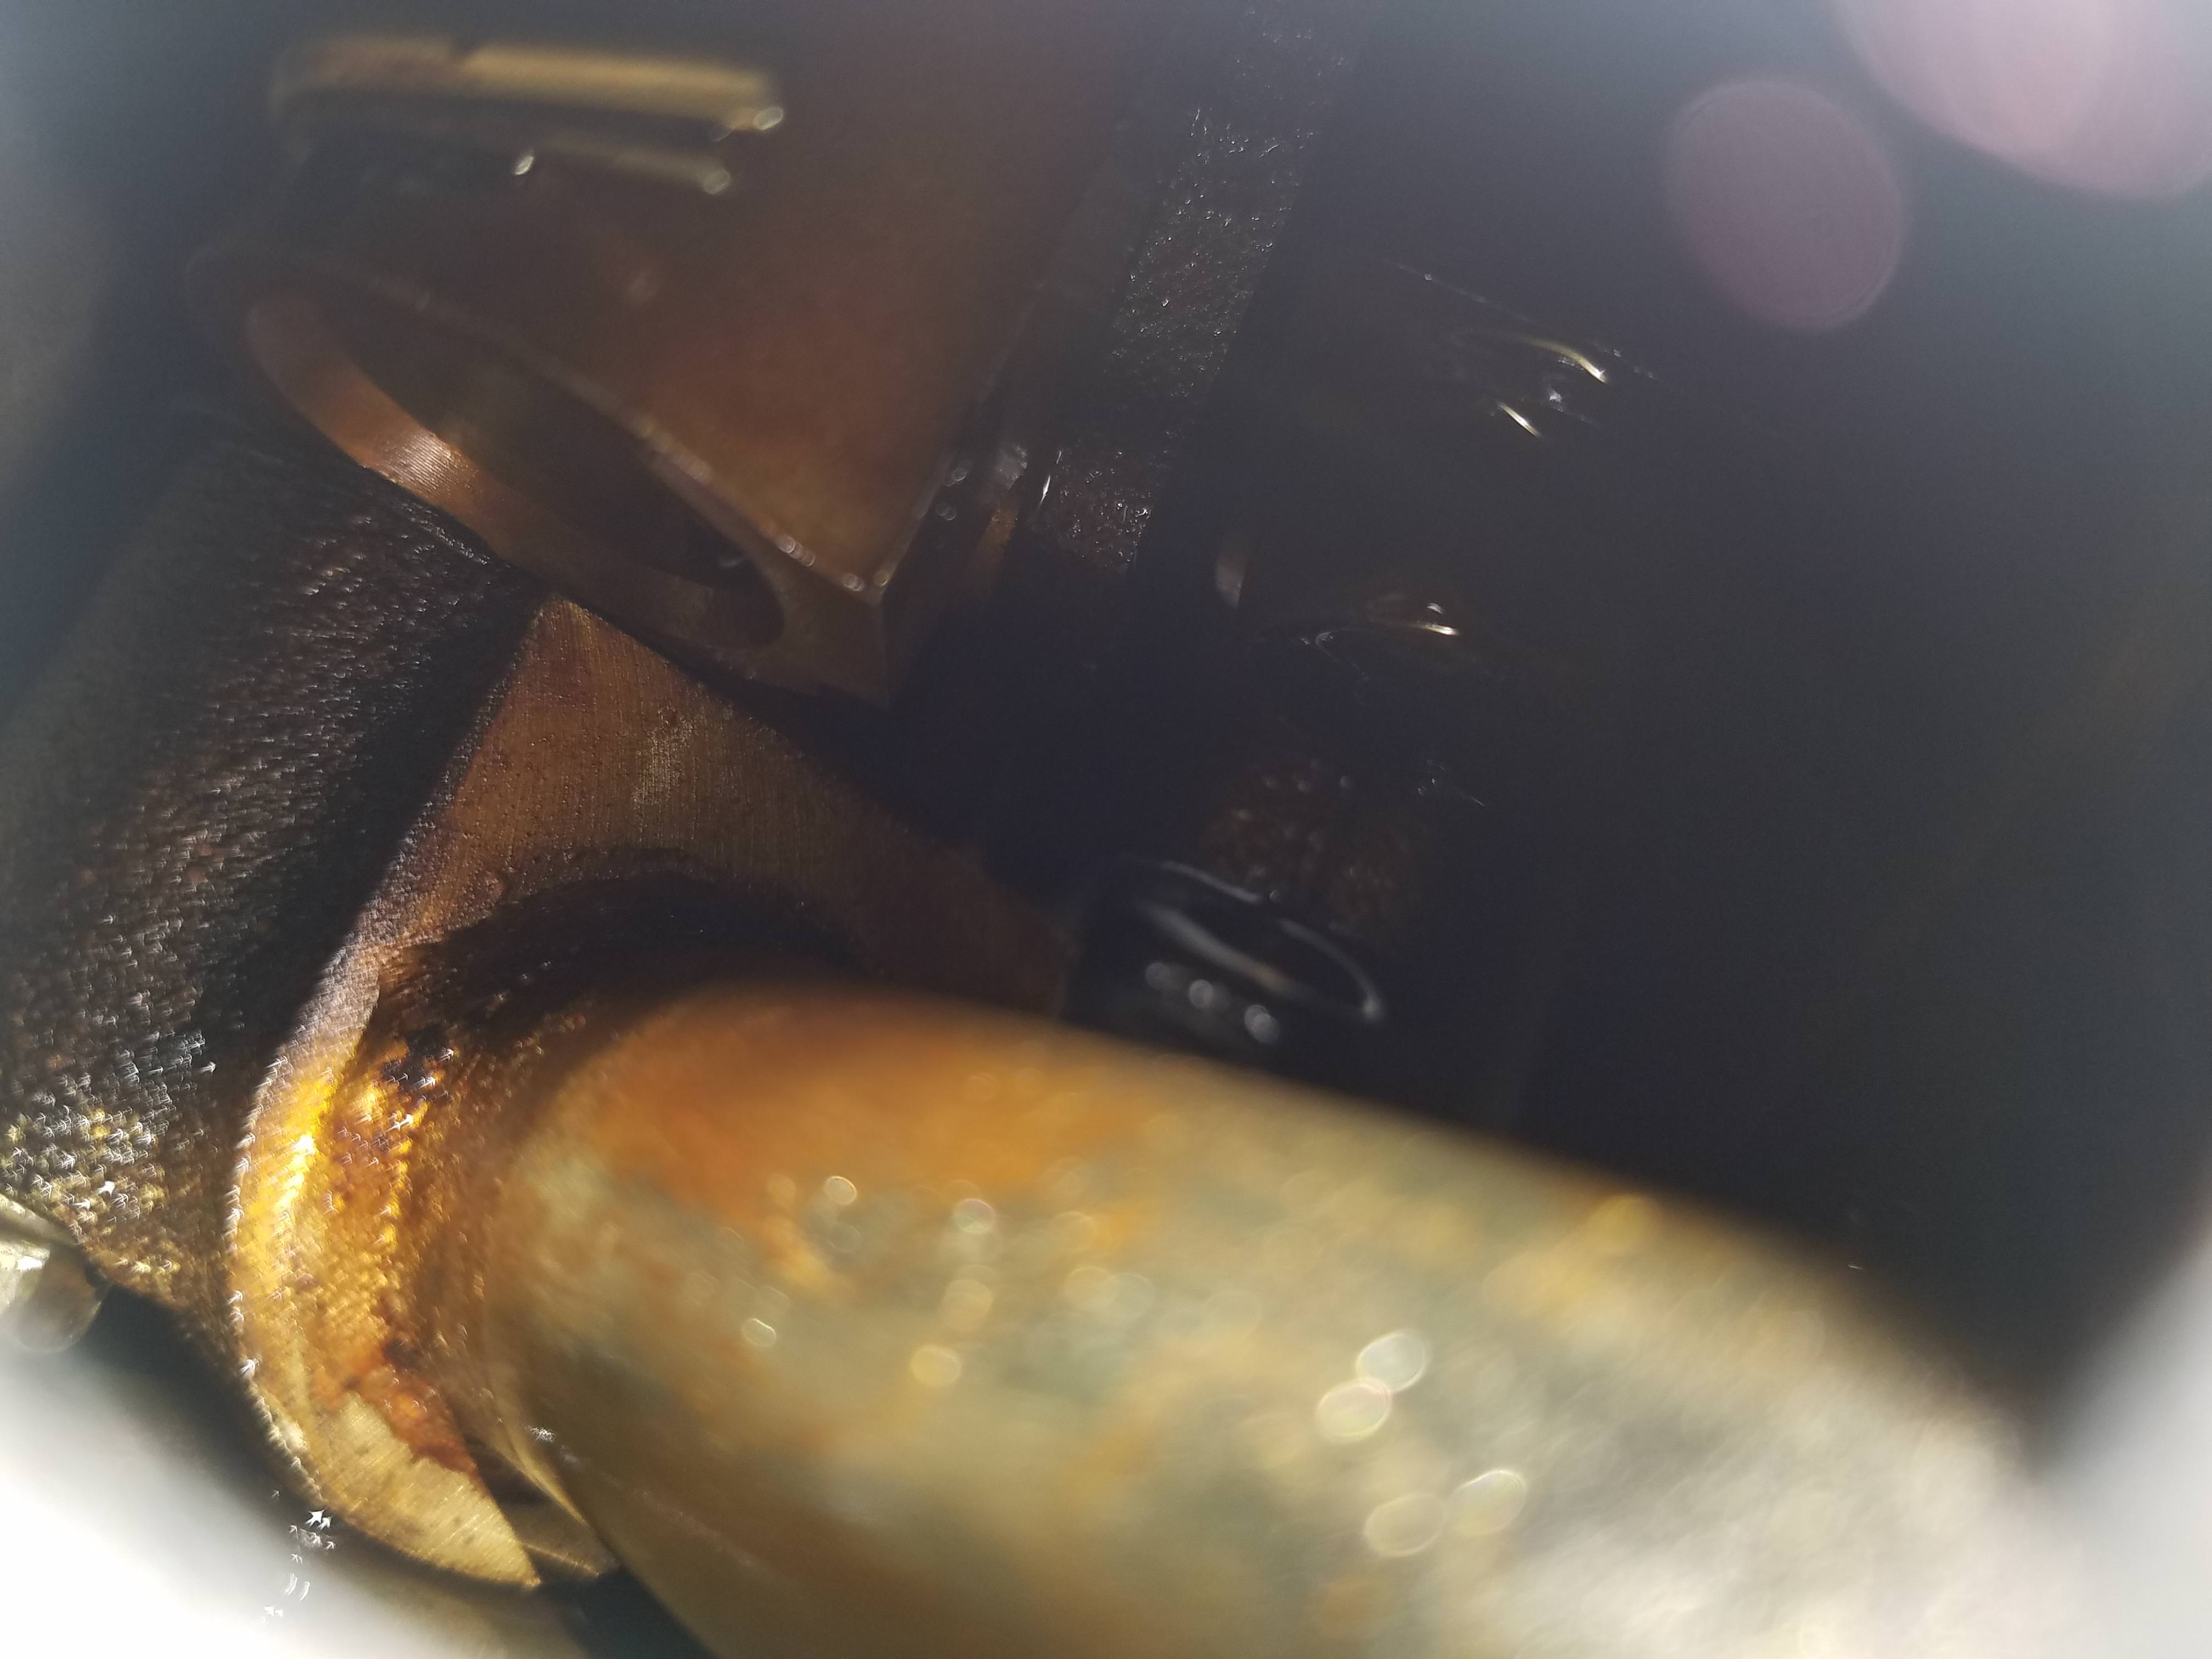
I did have a moment of panic and depression. I went to prime the turbo for the first start and there was no oil pressure. I cranked and cranked it and nothing was happening. Negative thoughts of me nicking the oil pick up tube started flooding my mind and I almost wanted to cry. All that hard work spent just to mess things up. so I pulled off the oil return fitting, got in there with a flashlight and my camera and took some pics. Turns out I didn't nick the pick up line! But I still wasn't getting oil pressure. Doing some quick reading around here, some people have mentioned getting some of the metal shavings in the oil pick up and sticking the relief valve open. The fix entails pulling the engine to remove the pan anyway so once again... much sad...
So I tried a couple of troubleshooting things, I first loosened the oil filter, tried to prime it and nothing happened. Re-tightened the oil filter and tried again, nada. Then I thought to fill the oil filter with some oil to help it get started, but this time when I loosened the oil filter, more fresh oil than before started to drip out and the oil filter was actually full of oil. This gave me hope, so I re-tightened it down and figured, maybe I just need to crank it more. Tried a couple more times and then BAM! Oil pressure baby! I had the oil feed line feeding into an empty Gatorade bottle as well and it filled up with some oil so I jumped around and it was ON!
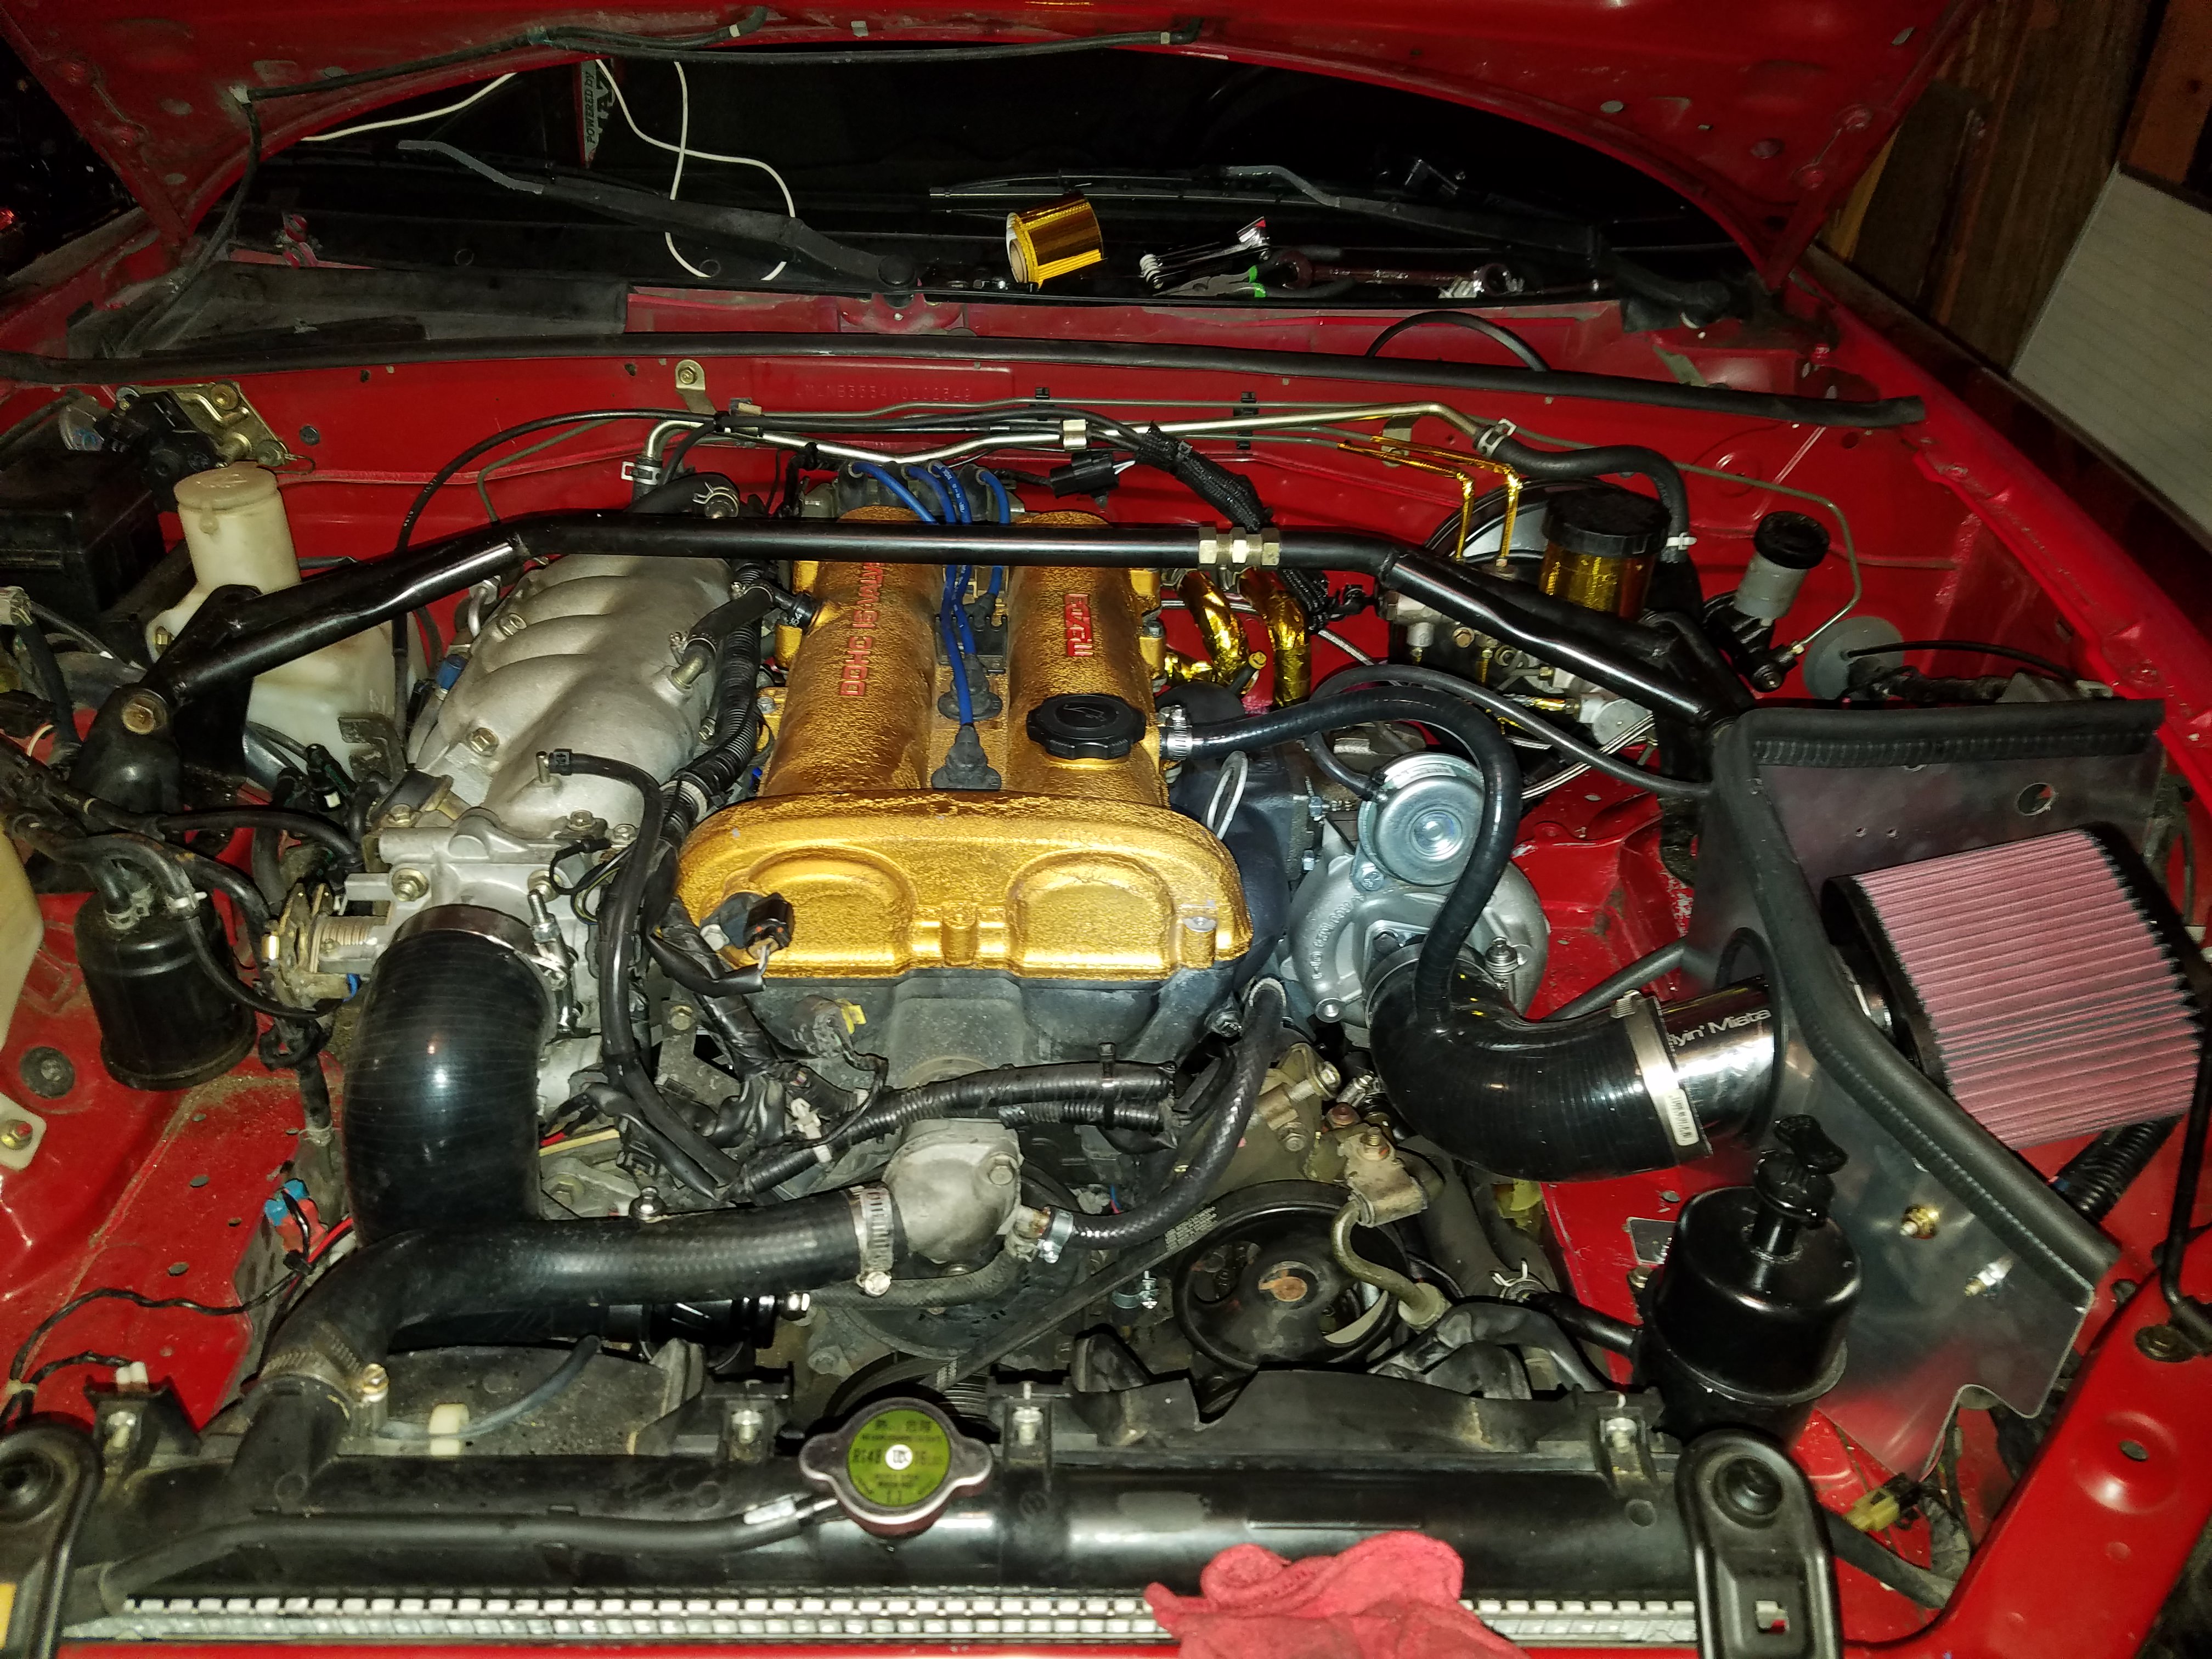
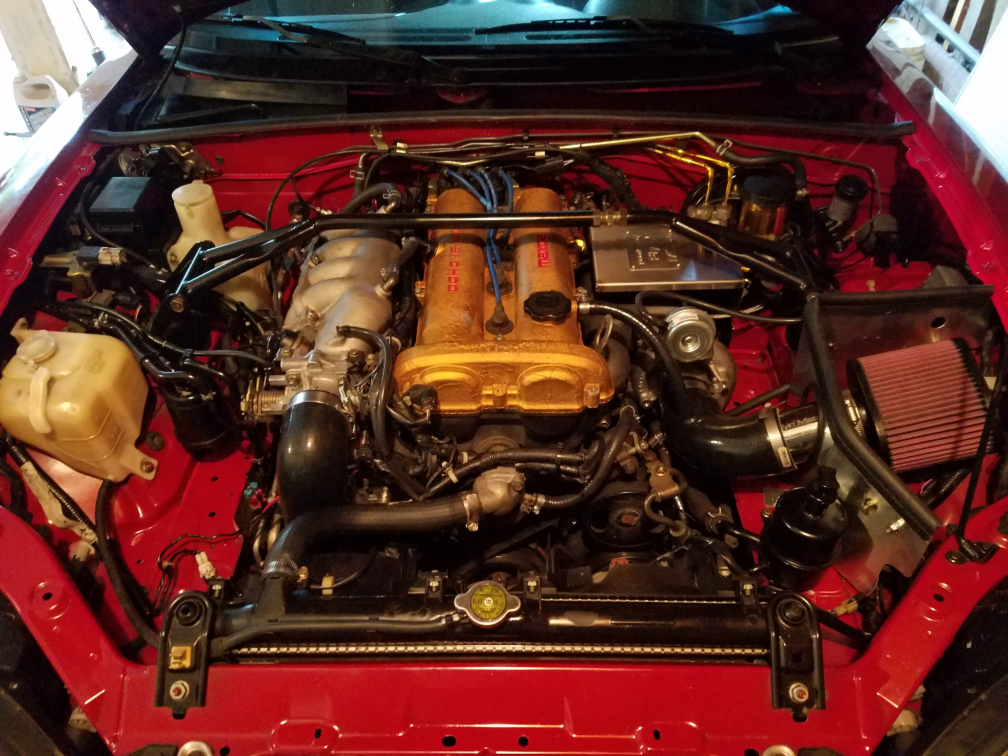
Reconnected the oil feed, started it up and checked for leaks. I didn't see any at the time. So I proceeded to button it up, double check every bolt, nut, cut the plastic undertray, etc. So far I've taken it out for a quick drive around the block to make sure it's running well and HOLY ****! Even out of boost it feels so much quicker, I did let it into boost a couple of times (~6psi -- overboost protection set at 7psi -- no redlining, but doing 4th gear pulls to see what boost levels I was hitting) and wow. It just put a smile on my face. All those negative thoughts, feelings of why am I doing this, is this worth it all just melted away and turned into... It was worth it.

No Oil Pressure (much sad):
Oil Pressure + First Start Up:
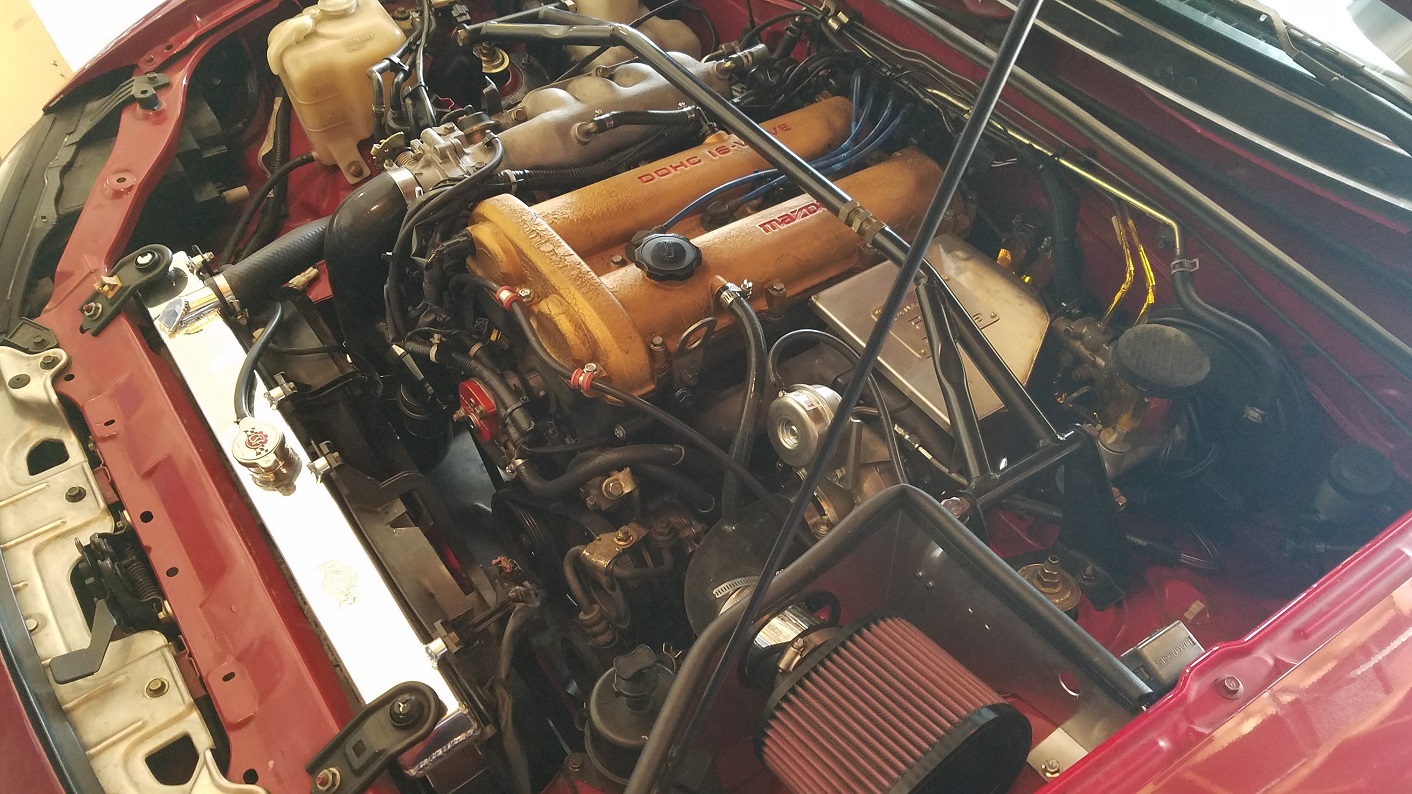
It LIVES:
As of to where I am at today, since I had a GT2560R laying around, I opted to go with a (essentially) a pieced together FM turbo kit. I ordered parts of the DIY kit for mainly everything that I didn't have (minus the turbo obviously). I spent the last week and a half or so installing it taking my time, doing a little bit each day. It definitely was a much bigger task then the clutch job, but I asked for it since I wanted boost so bad. There were some slight issues here and there, the FM elbow has a divider on it and my turbo has one in the housing. Obviously a clearance issue, so I ended up paying a machine shop $30 to machine and grind it down and it fits perfectly now. I am also a little disappointed in the quality of the welds on the FM downpipe, I don't know anything about welding, but it looks like it's just caked on there or the welding was done too slow and just allowed it to pool and blotch. There's also some splatter/drips/runs in some areas. I know no one will technically ever see it, but it's a bit disappointing considering it is a $250 piece, maybe I just expected some better quality is all.
Anyway, the scariest part of the job I think for me was drilling and tapping the oil pan. I was afraid to nick the oil pick up tube cause I didn't want to pull the motor. The hardest part of the install I think for me was connecting the hotside of the intercooler. I have PS and A/C in my car and there's a **** ton of crap in the way. While it is possible to finagle the silicone pipe in there, it's damn difficult. Also with the turbo not having machined compressor housing like FM does, I had to use the adapter plates, which makes fit a bit more difficult. Lots of trimming of of the silicone tubing and such. I will also say the FM install instructions, while helpful do leave a lot to be desired.
I did have a moment of panic and depression. I went to prime the turbo for the first start and there was no oil pressure. I cranked and cranked it and nothing was happening. Negative thoughts of me nicking the oil pick up tube started flooding my mind and I almost wanted to cry. All that hard work spent just to mess things up.
so I pulled off the oil return fitting, got in there with a flashlight and my camera and took some pics. Turns out I didn't nick the pick up line! But I still wasn't getting oil pressure. Doing some quick reading around here, some people have mentioned getting some of the metal shavings in the oil pick up and sticking the relief valve open. The fix entails pulling the engine to remove the pan anyway so once again... much sad... So I tried a couple of troubleshooting things, I first loosened the oil filter, tried to prime it and nothing happened. Re-tightened the oil filter and tried again, nada. Then I thought to fill the oil filter with some oil to help it get started, but this time when I loosened the oil filter, more fresh oil than before started to drip out and the oil filter was actually full of oil. This gave me hope, so I re-tightened it down and figured, maybe I just need to crank it more. Tried a couple more times and then BAM! Oil pressure baby! I had the oil feed line feeding into an empty Gatorade bottle as well and it filled up with some oil so I jumped around and it was ON!
Reconnected the oil feed, started it up and checked for leaks. I didn't see any at the time. So I proceeded to button it up, double check every bolt, nut, cut the plastic undertray, etc. So far I've taken it out for a quick drive around the block to make sure it's running well and HOLY ****! Even out of boost it feels so much quicker, I did let it into boost a couple of times (~6psi -- overboost protection set at 7psi -- no redlining, but doing 4th gear pulls to see what boost levels I was hitting) and wow. It just put a smile on my face. All those negative thoughts, feelings of why am I doing this, is this worth it all just melted away and turned into... It was worth it.
No Oil Pressure (much sad):
Oil Pressure + First Start Up:
It LIVES:
Reply
0
0
09-11-2018, 01:47 AM
#6
Junior Member
Thread Starter
Join Date: Jul 2018
Location: Colorado
Posts: 118
Total Cats: 5
 Who says that's my address?
 Next update is to get it tuned properly. I've tuned the VE table and a little bit with CL idle, but I need someone with much more experience than fully go over the tune and tune the ignition table (still using the basemap ignition table). I've spoken to Vlad and he's mentioned to contact him after the 20th of this Month. So I'm excited to get it tuned and finally be able to open it up some!
Reply
0
0
 09-17-2018, 10:53 AM
#10
Junior Member
Thread Starter
Join Date: Jul 2018
Location: Colorado
Posts: 118
Total Cats: 5
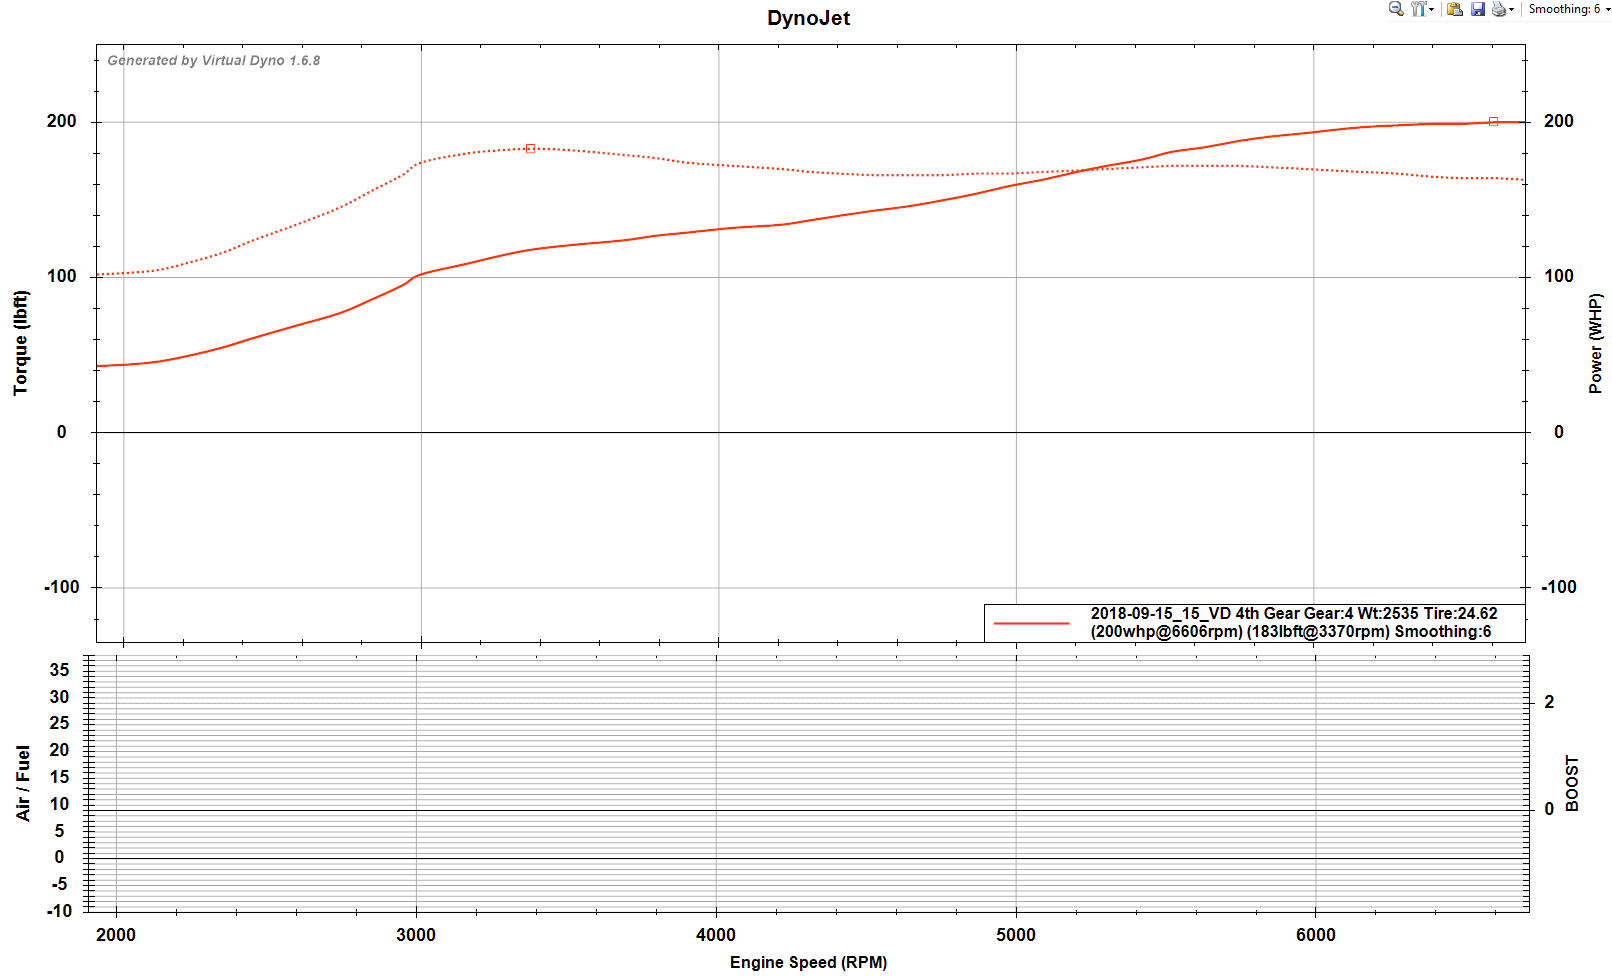
Thanks! Yea, it's pretty quick; it's my first turbocharged car and the fastest car I've ever owned so I'm pretty happy with it and it does put a smile on my face. But there is definite room for improvement. I am ultimately aiming for at least around ~230whp/210lb-ft once it is tuned. At the moment it's on MBC and I've got it set all the way down so it's essentially just running off of the waste gate spring which is a 6-7psi spring. It is also getting much warmer than I'd like so when it's down for the Fall/Winter it looks like I'll be addressing those issues with an Aluminum radiator and reroute, just in time for Spring of next year.
Reply
0
0
02-21-2019, 09:55 PM
#11
Junior Member
Thread Starter
Join Date: Jul 2018
Location: Colorado
Posts: 118
Total Cats: 5
Apparently it not only takes me forever to boost. It takes me forever to post updates too. I don't post much, but I sure do lurk a lot though!
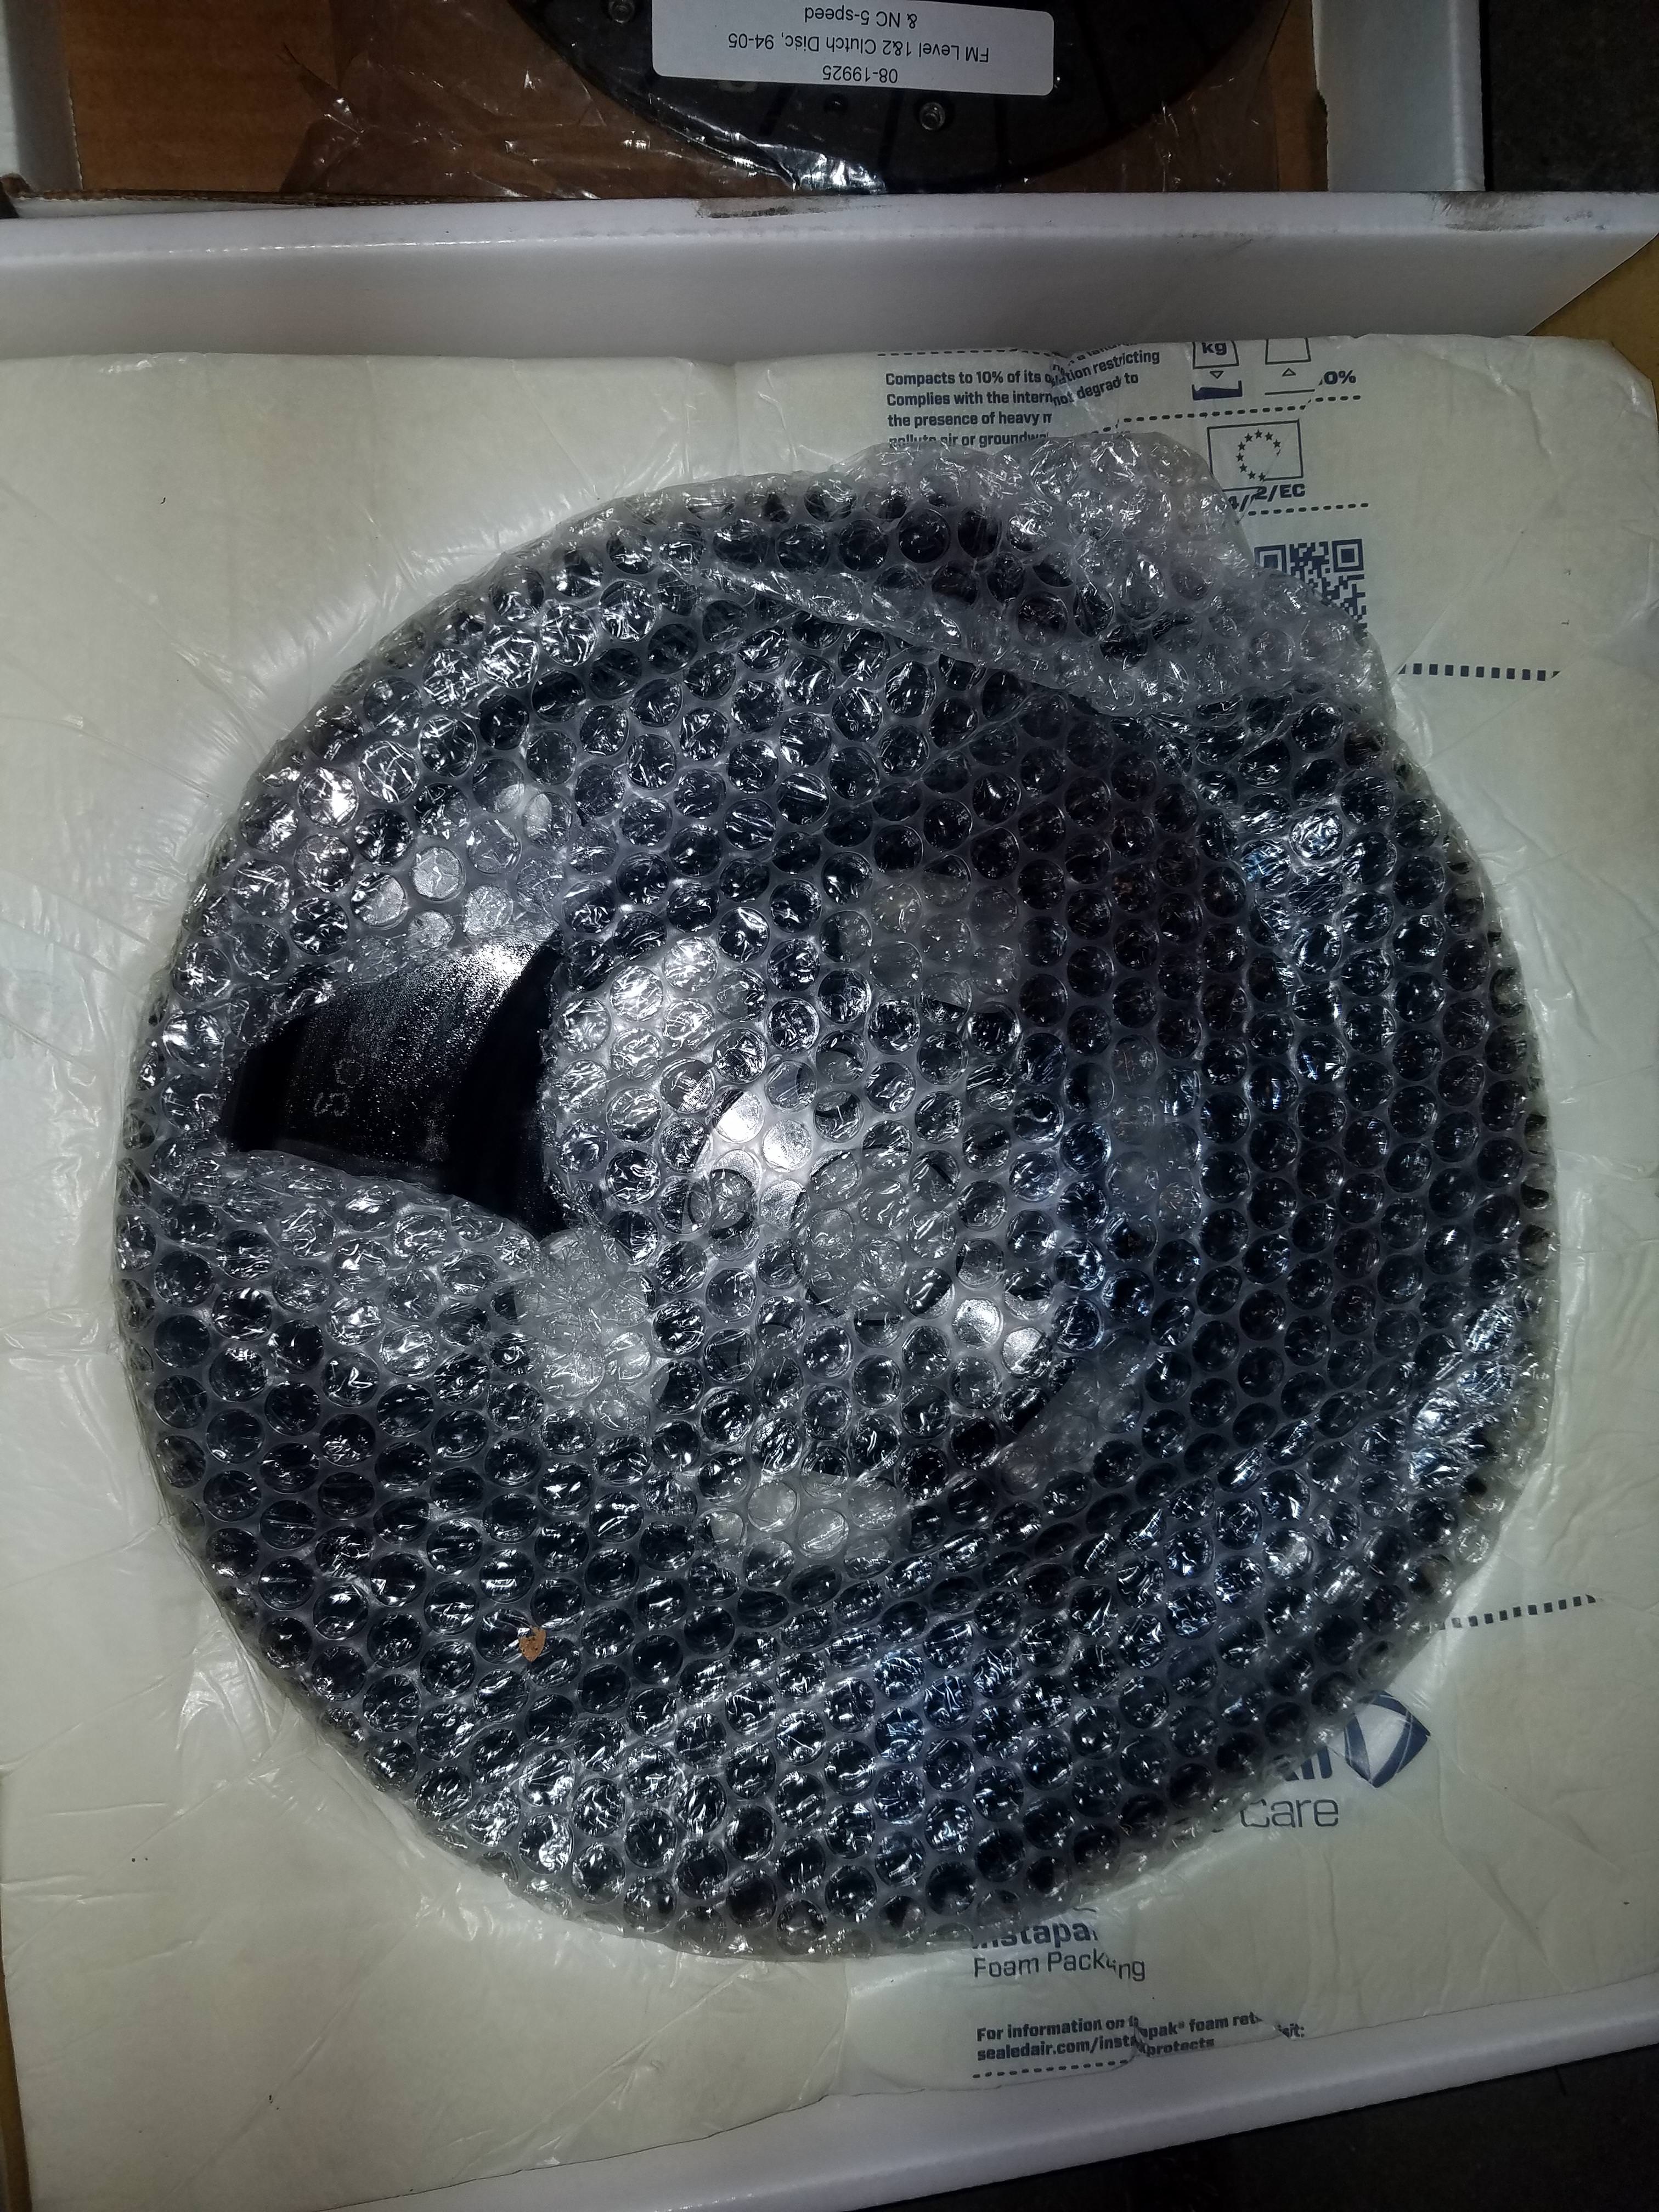
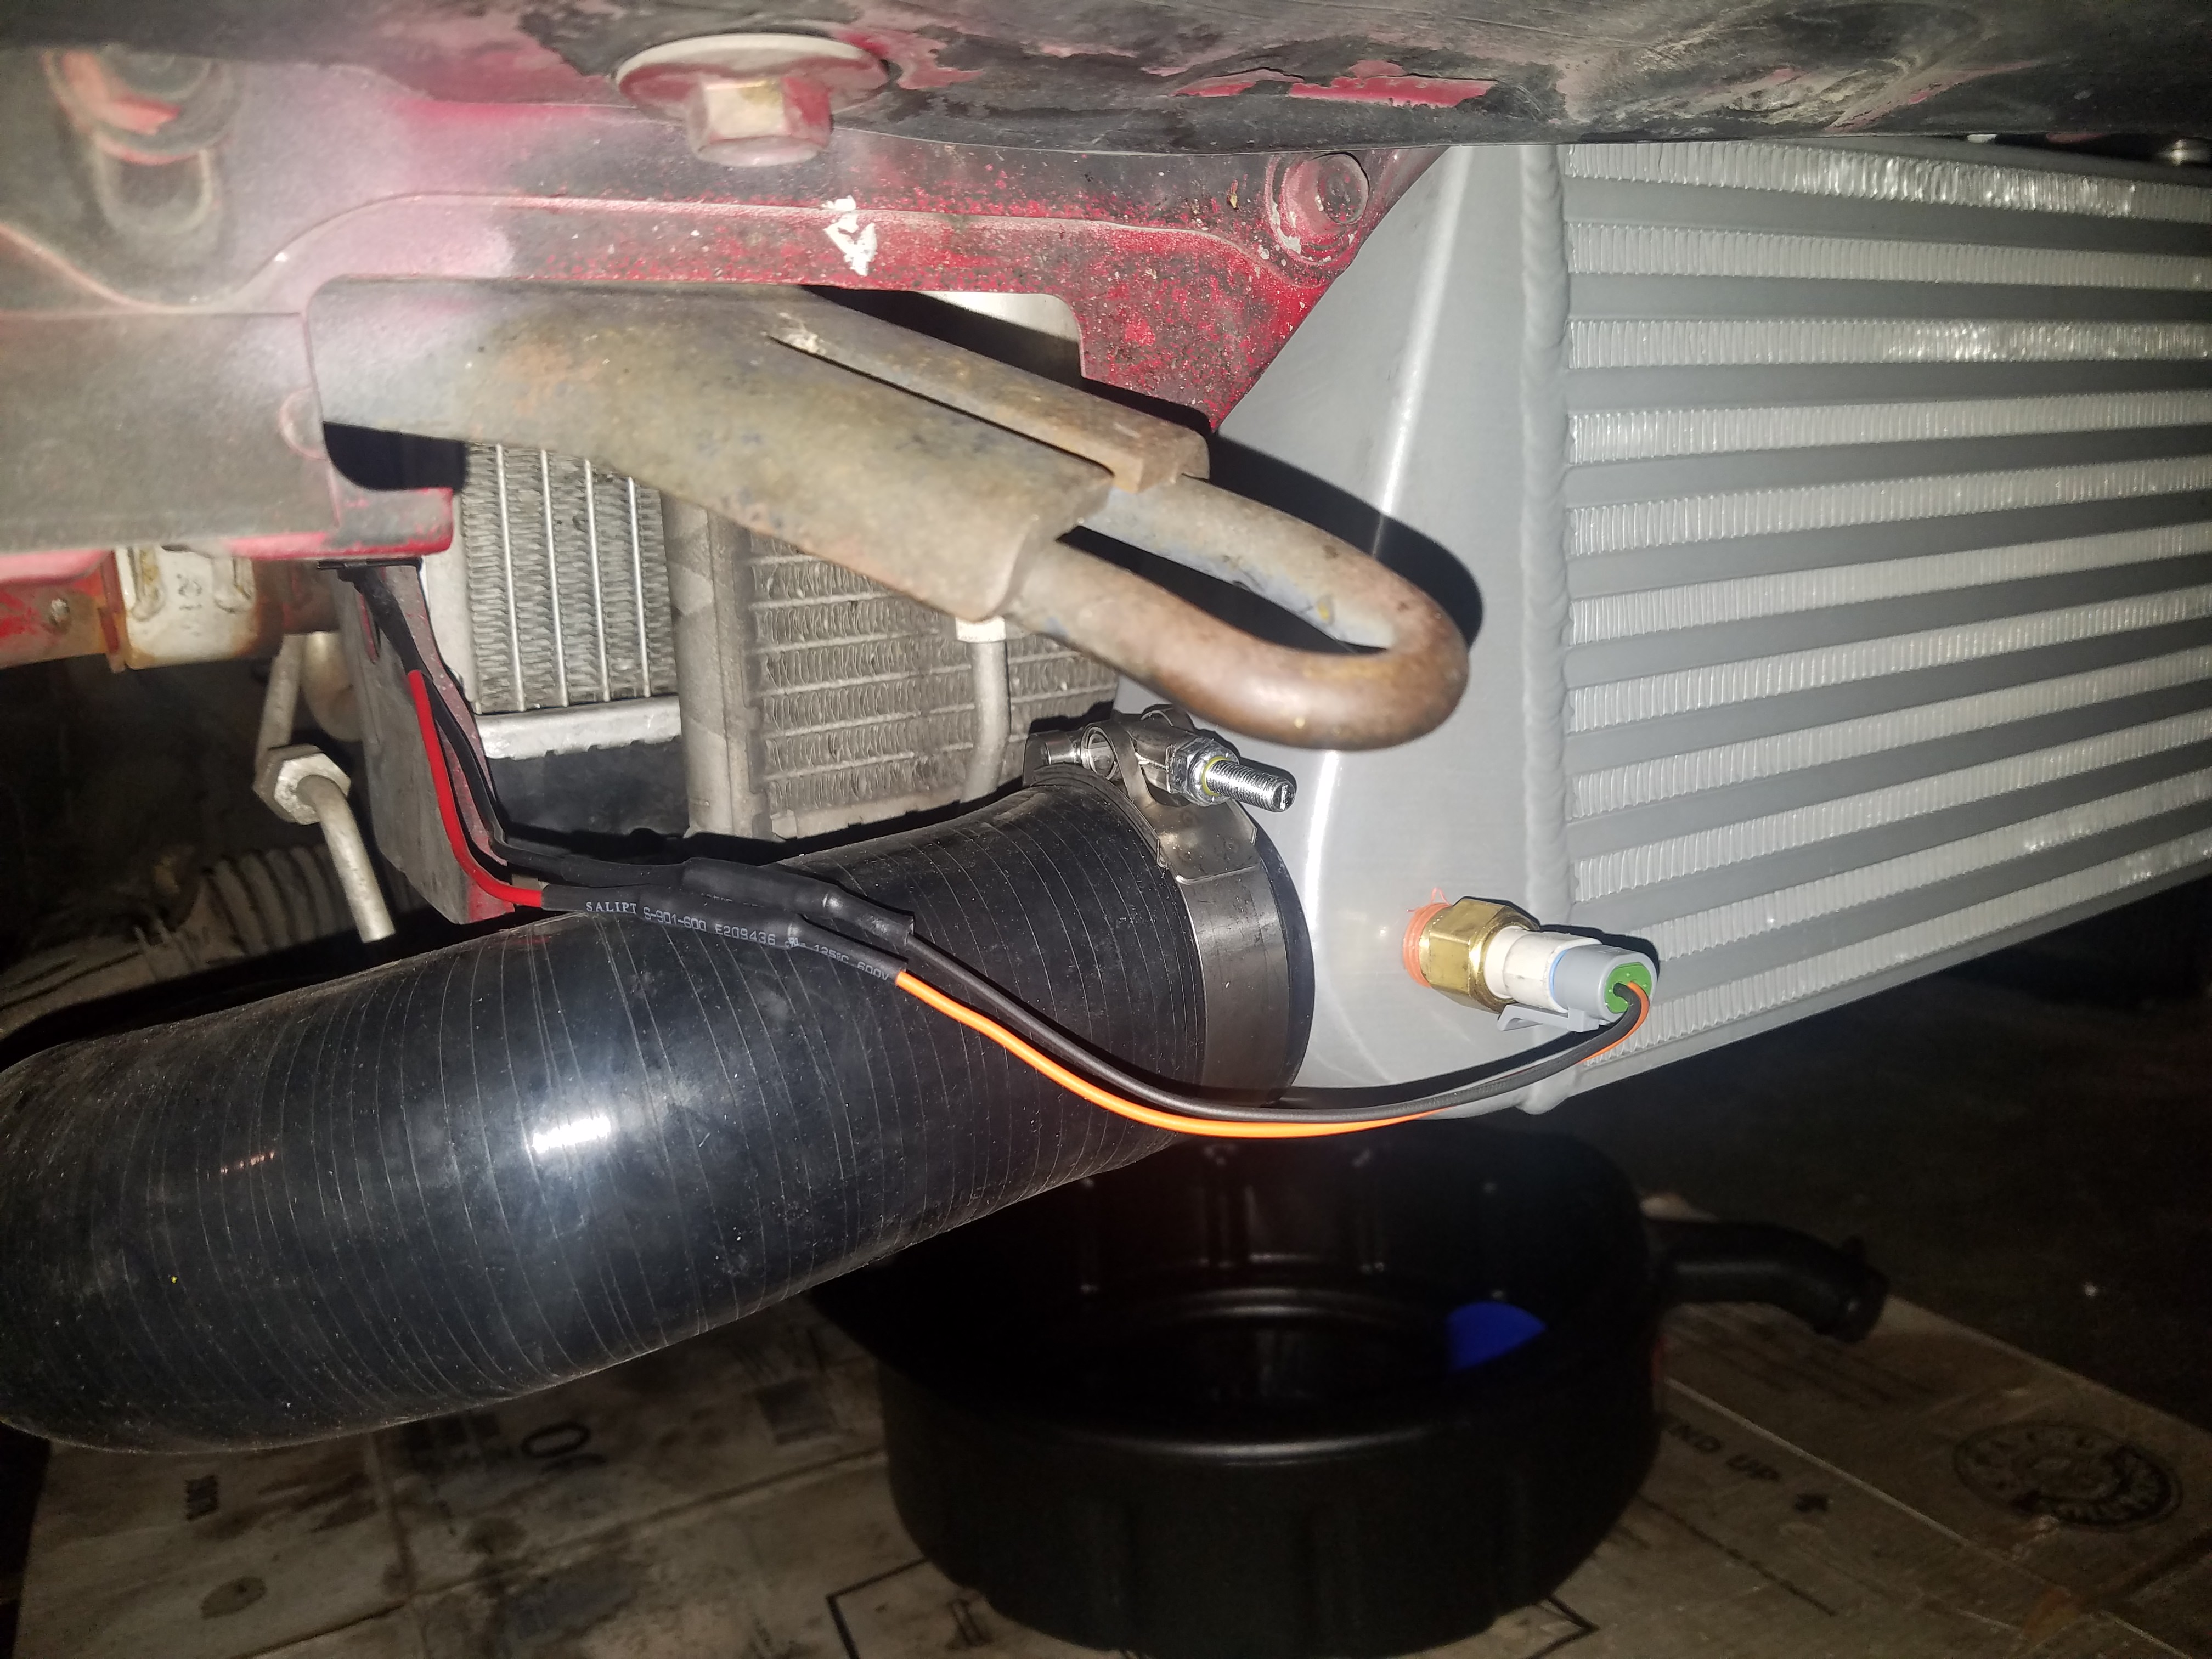
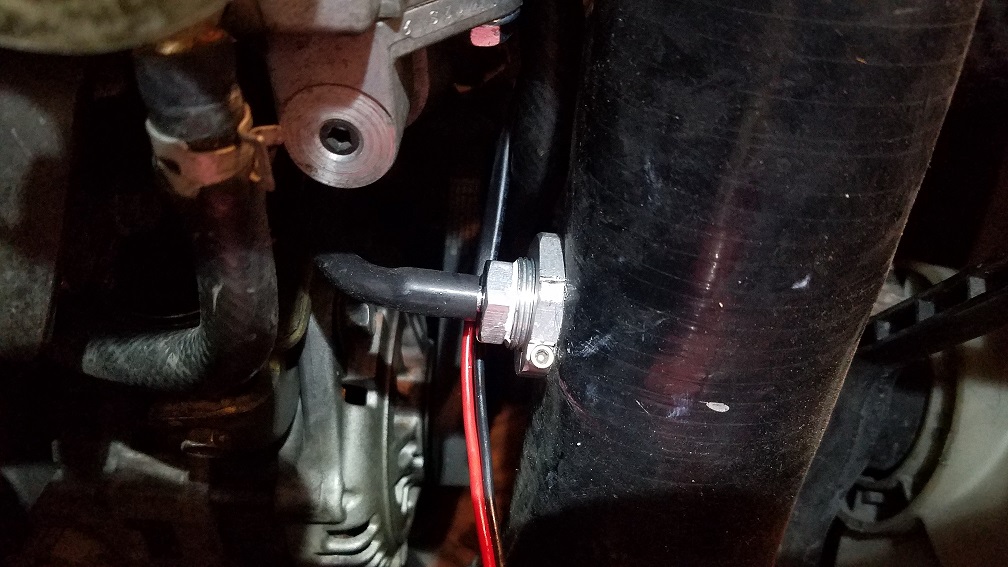
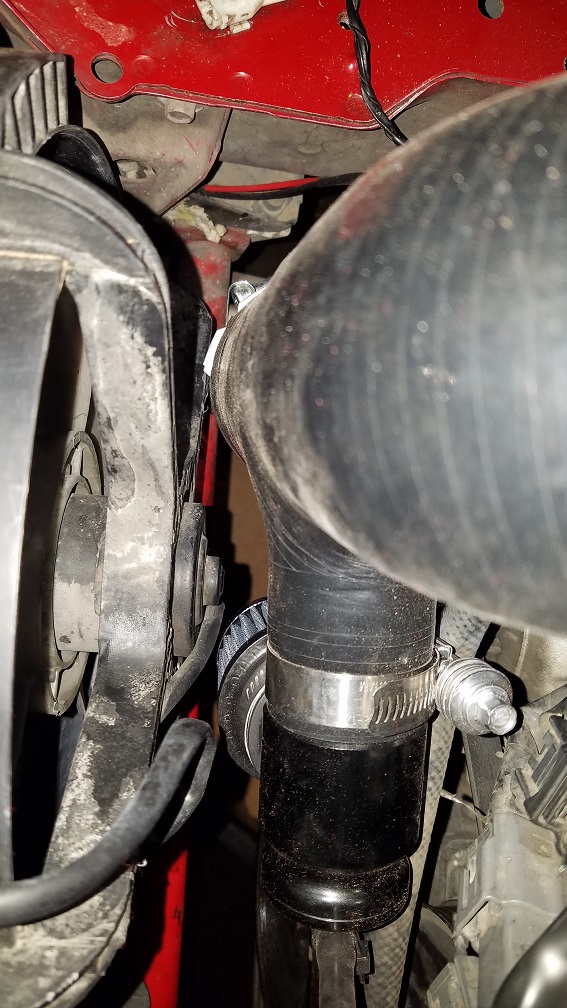
Miata is currently garaged for the winter. I didn't really do too much this Winter except chase down a radiator leak, re-route my boost controller source, picked up some garage goodies during Black Friday and now currently have a few other goodies to throw on in the upcoming weeks. Also due to some unfortunate circumstances I wasn't able to get the Miata tuned over this Winter. But after the new goodies are in, I'm hoping to get it dyno tuned locally within the next month!
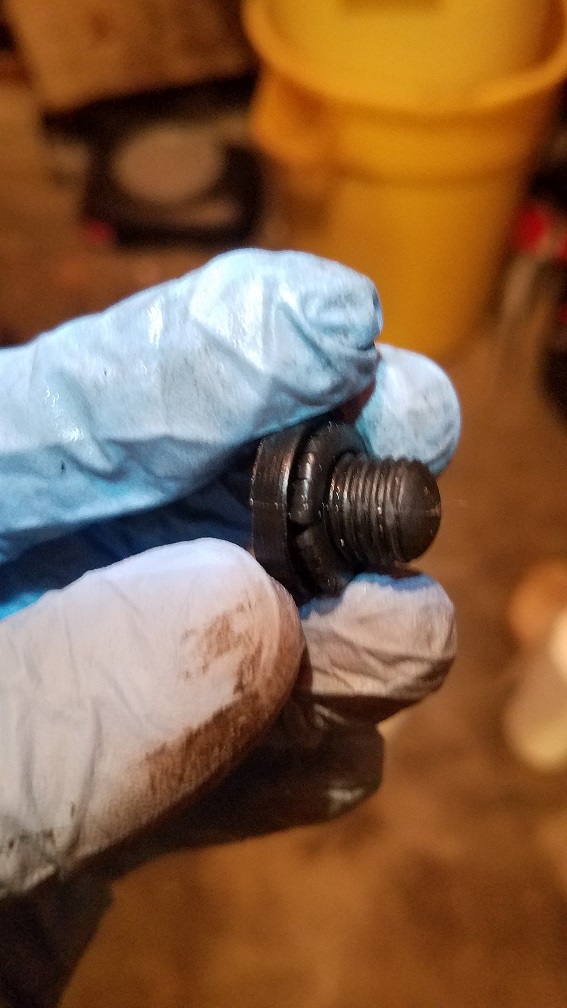
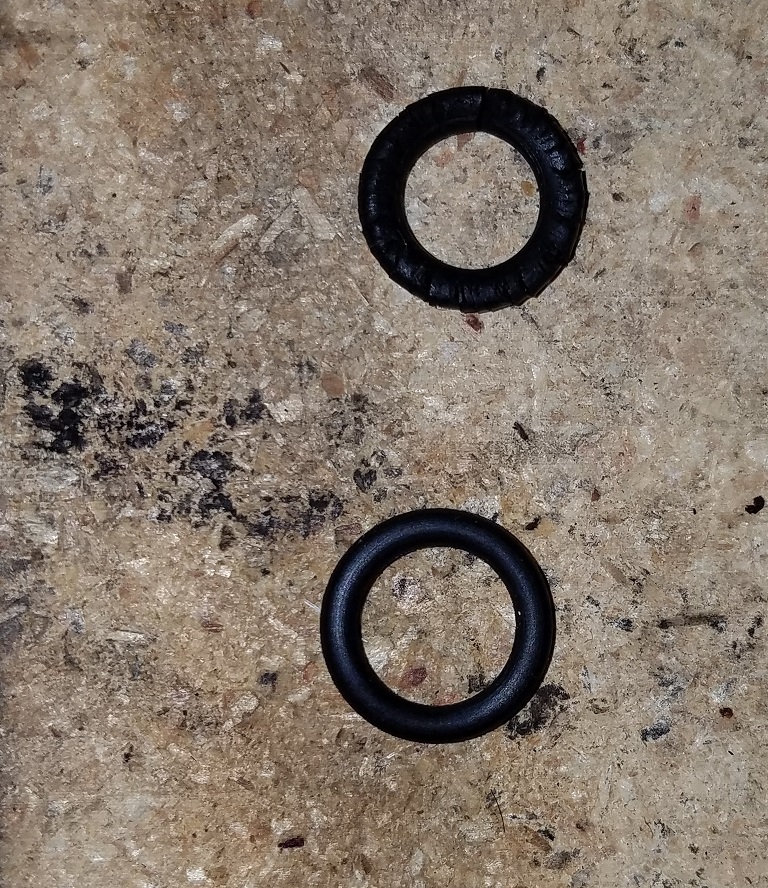
Radiator leak was caused by worn out drain plug o-ring:
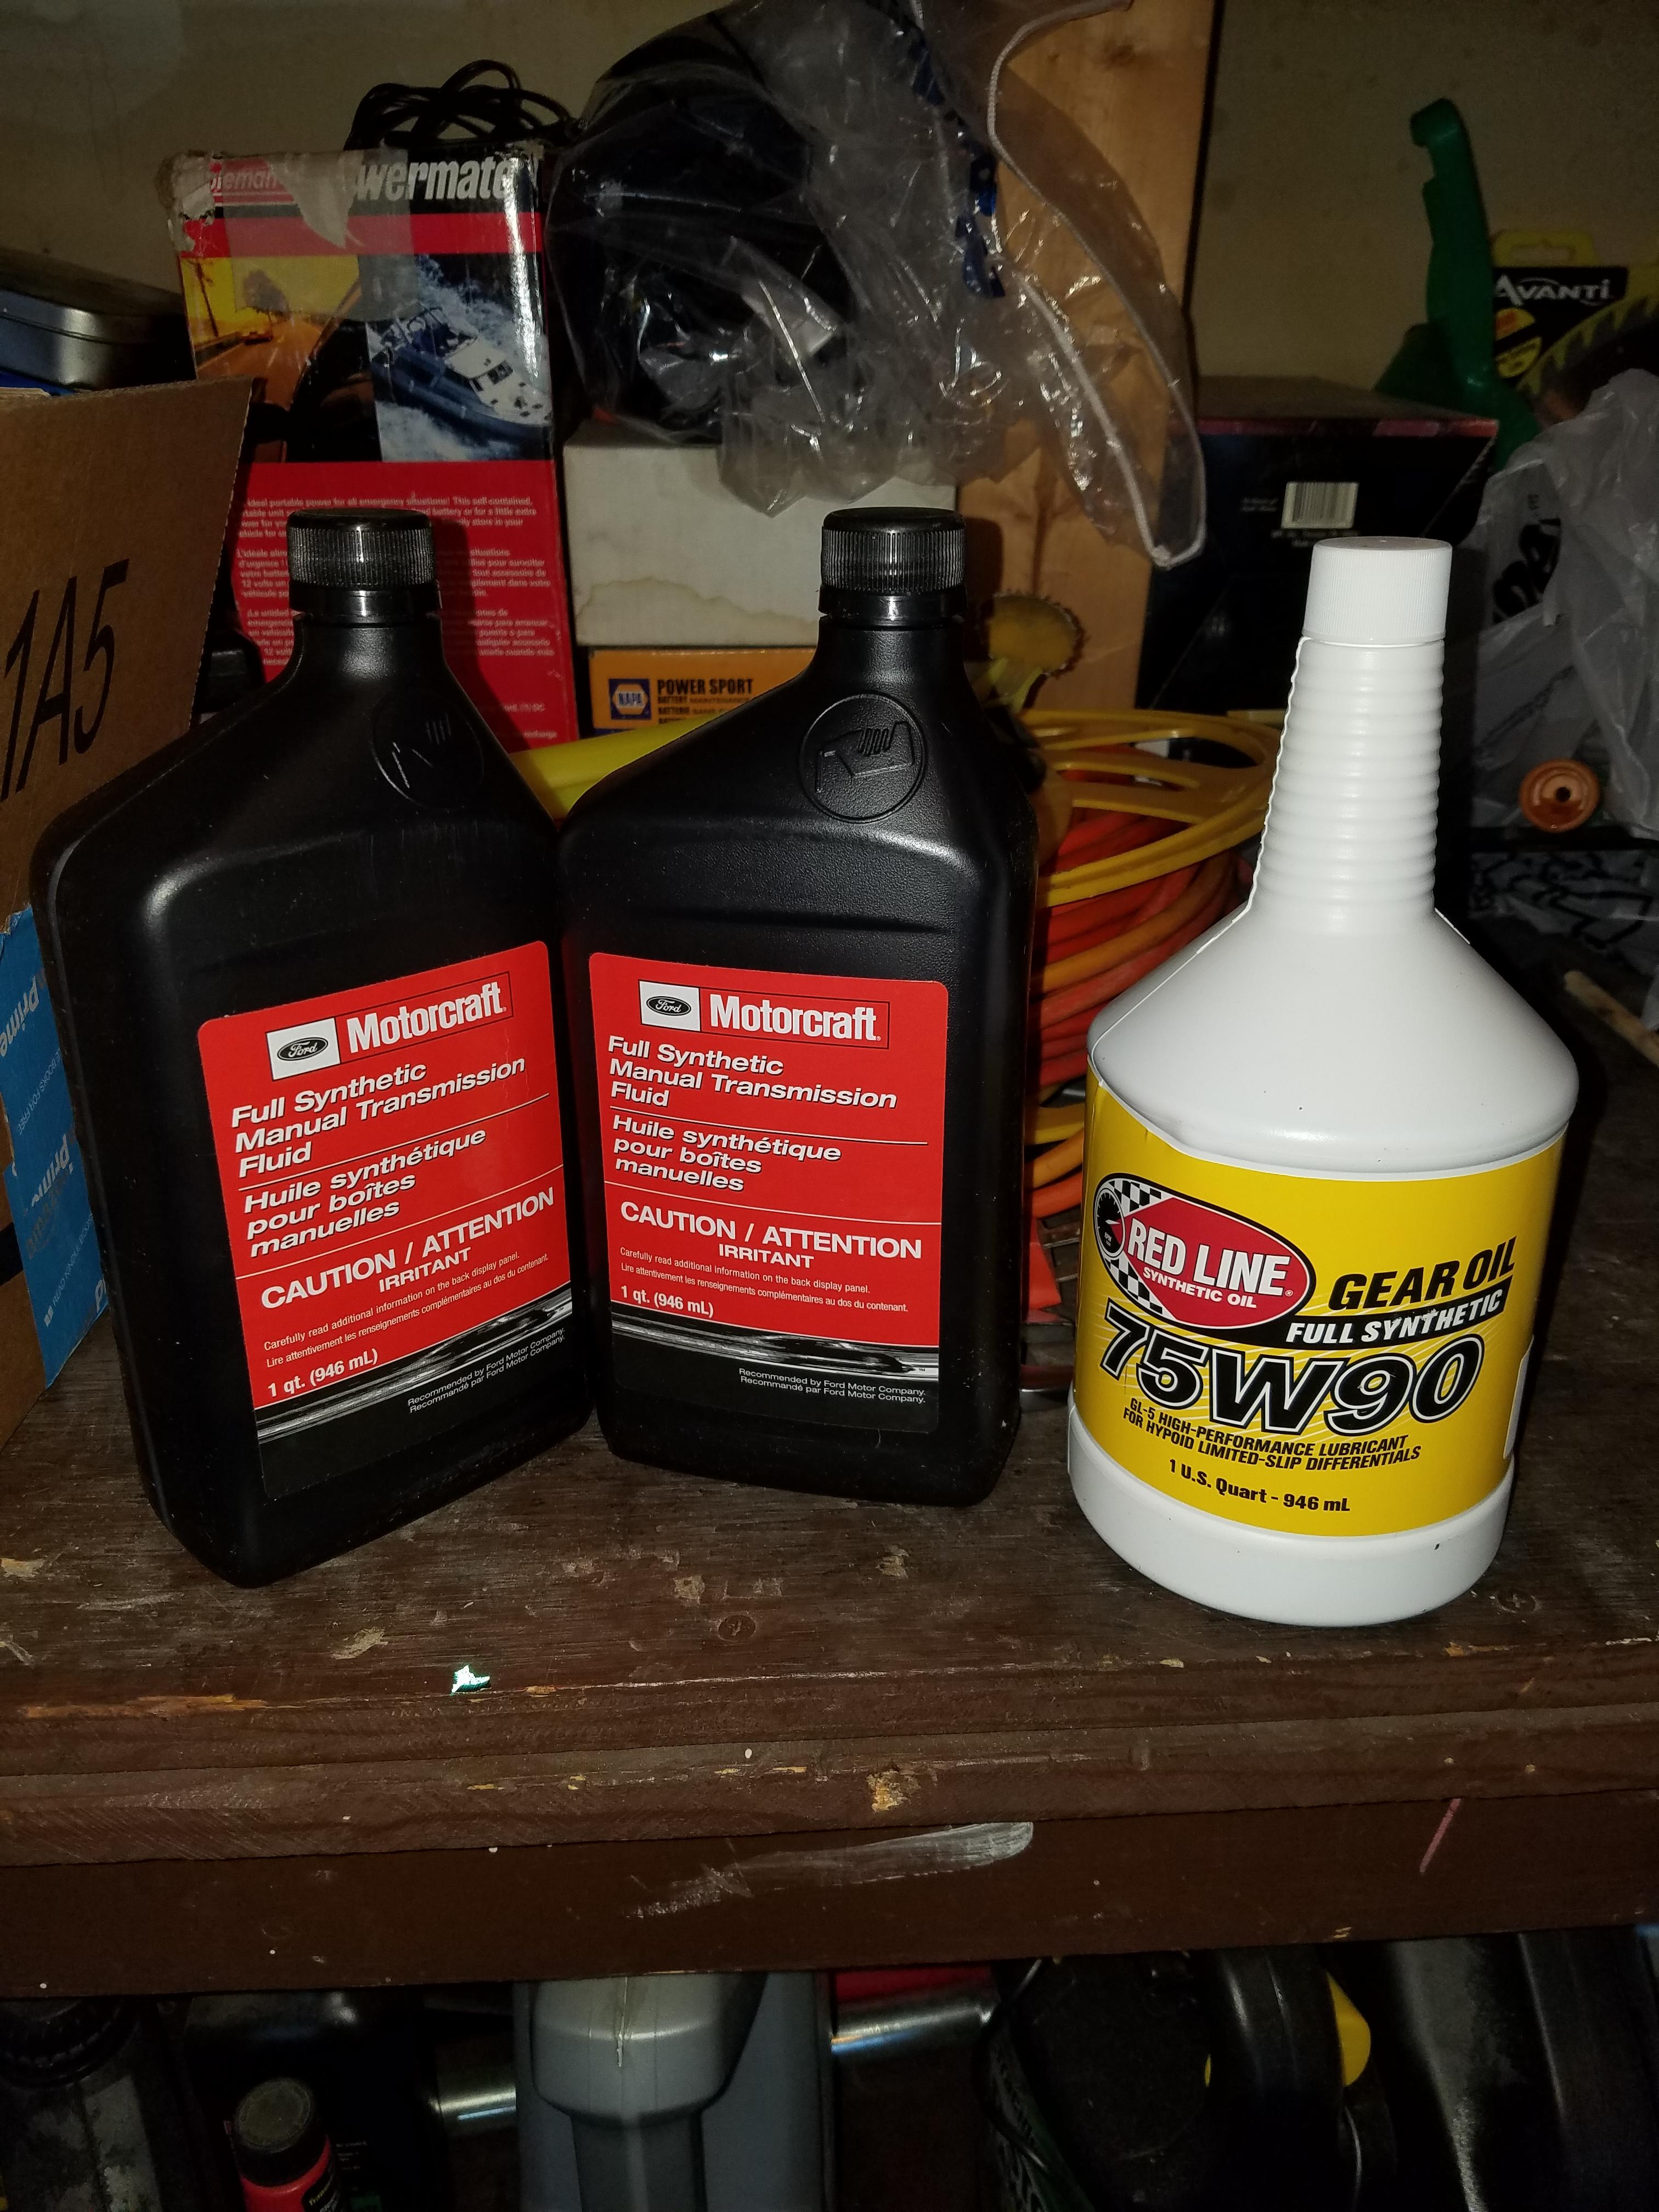
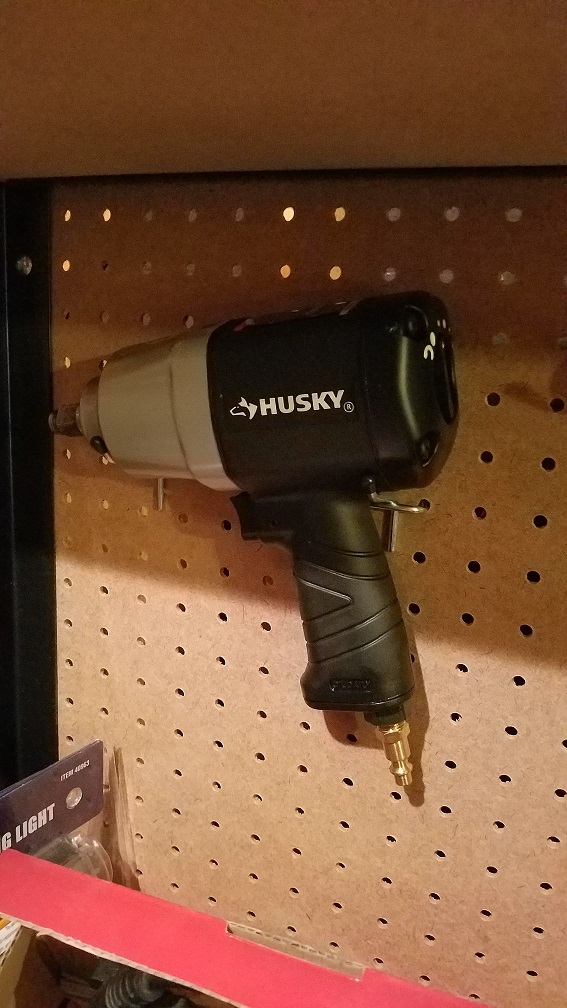
New garage goodies:

Re-routed source for boost controller:
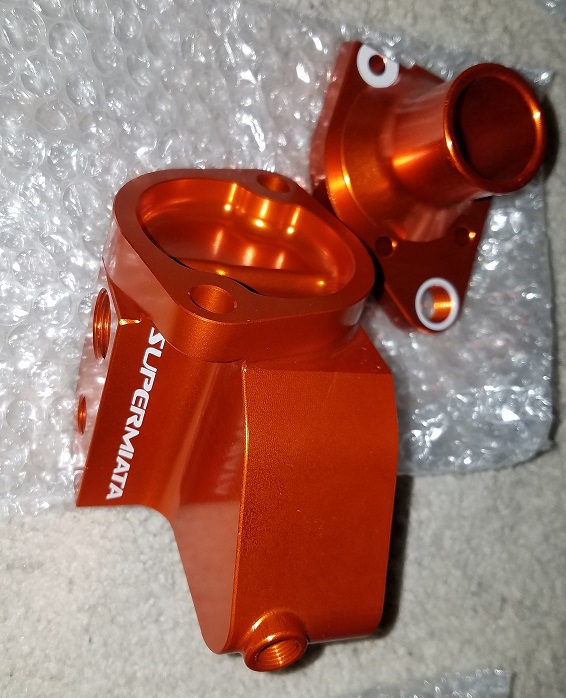
New goodies that just arrived today:
Miata is currently garaged for the winter. I didn't really do too much this Winter except chase down a radiator leak, re-route my boost controller source, picked up some garage goodies during Black Friday and now currently have a few other goodies to throw on in the upcoming weeks. Also due to some unfortunate circumstances I wasn't able to get the Miata tuned over this Winter. But after the new goodies are in, I'm hoping to get it dyno tuned locally within the next month!
Radiator leak was caused by worn out drain plug o-ring:
New garage goodies:
Re-routed source for boost controller:
New goodies that just arrived today:
Reply
0
0
 03-04-2019, 11:14 PM
#13
Junior Member
Thread Starter
Join Date: Jul 2018
Location: Colorado
Posts: 118
Total Cats: 5
Yes sir. That's part of the reason this one appealed to me despite some of it's cosmetics flaws. It came with the Bilsteins and the Torsen so those were big factors since my plan was to boost it from day 1.
Reply
0
0
03-04-2019, 11:53 PM
#14
Junior Member
Thread Starter
Join Date: Jul 2018
Location: Colorado
Posts: 118
Total Cats: 5
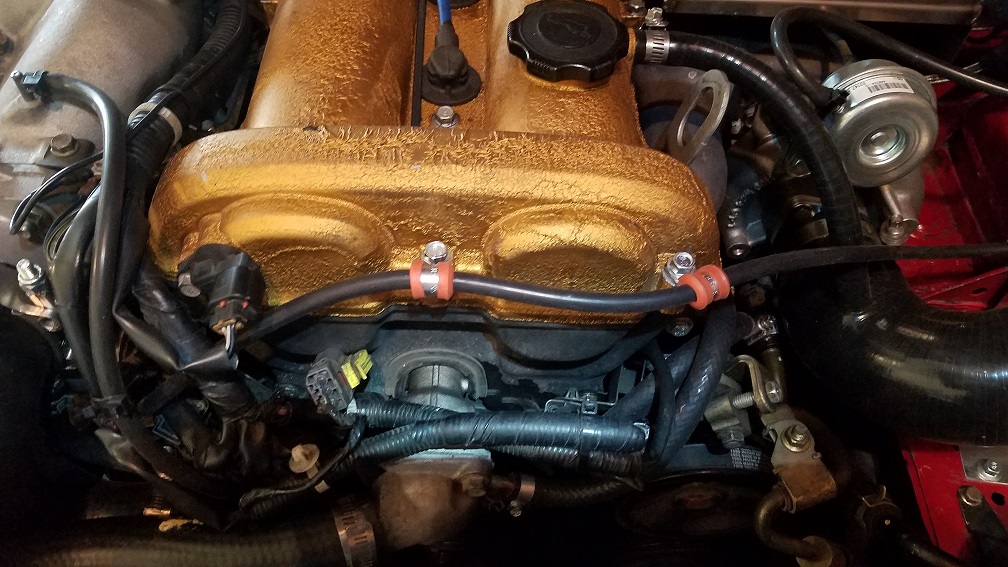
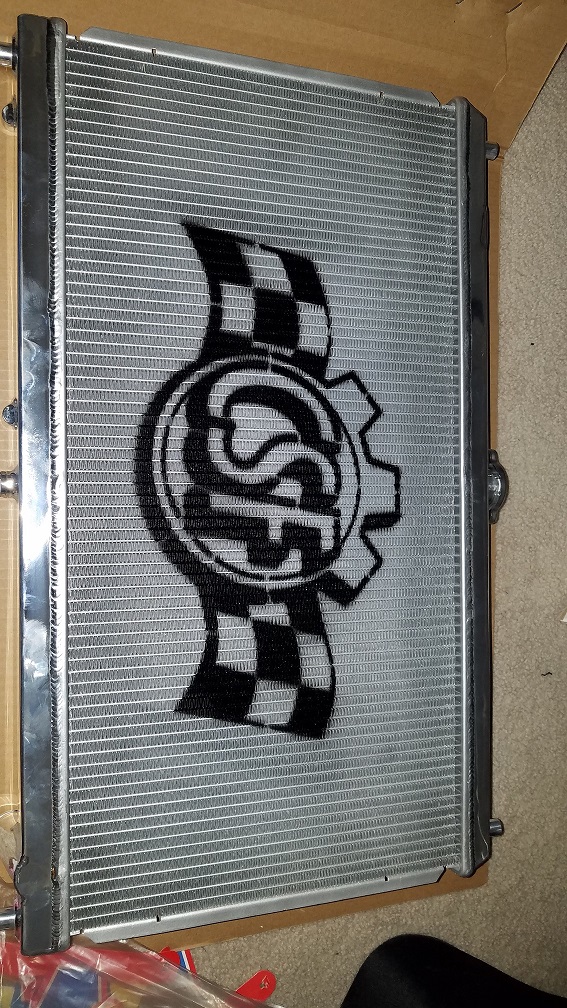
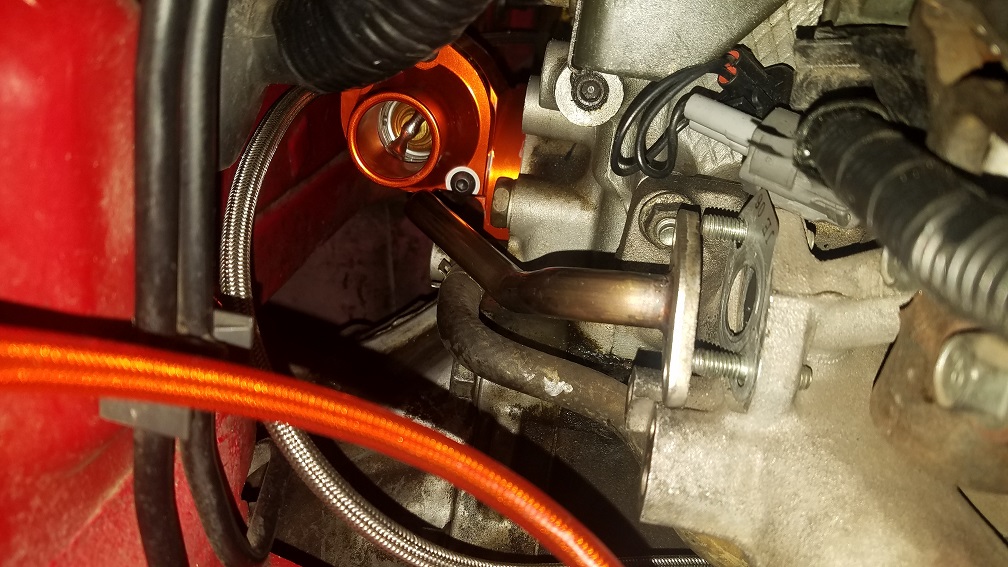
I had some time last week to install the radiator and reroute. The radiator was pretty straight forward (2 bolts!) and I love that it fit perfectly and that I didn't have to do any trimming of the OEM radiator fans. The installation of the reroute went mostly okay, I did have some issues with fitting it with the EGR. I was able to somewhat coerce the EGR into place, but I'm pretty sure it's touching a corner of the reroute housing. While it's the same EGR that came off the car with the OEM header, I can't say for sure if the pipe is "straight." I will say the re-use of the lower stud is outstanding I'm still not sure why the re-use of the OEM flanged hex bolt. It is definitely tight trying to get a wrench/socket onto it to tighten it so I did what other recommended and went with a socketed cap screw as it was much easier to use an allen wrench.
Filled it up and had a couple of minor leaks from the front thermostat plate and from the rear heater hose, but I'm glad it wasn't leaking from the rear housing as I wasn't exactly in the mood at the moment to want to take it out again and redo it.
First impressions are very positive, while I'm sure the reroute is working as it should I do believe the biggest contributing factor at the moment is the radiator. Before I discovered the coolant leak (may have been down on some coolant) on a 90+ degree day during the Summer (momentarily) I saw coolant temps as high as 220 degrees. About a month ago on a 40 degree night (after fixing the coolant leak) I still was seeing temps hover around 200-205 degrees. While it was roughly 30 degrees out when I finished and took it for a spin, I never saw temps higher than 185 while cruising and 190 while idling at a red light. I will definitely like to see how this will perform during the Summer heat.
Next on the list is a Dyno tune session. I have one scheduled at the end of this month so hopefully all goes well!
"OEM" radiator out:
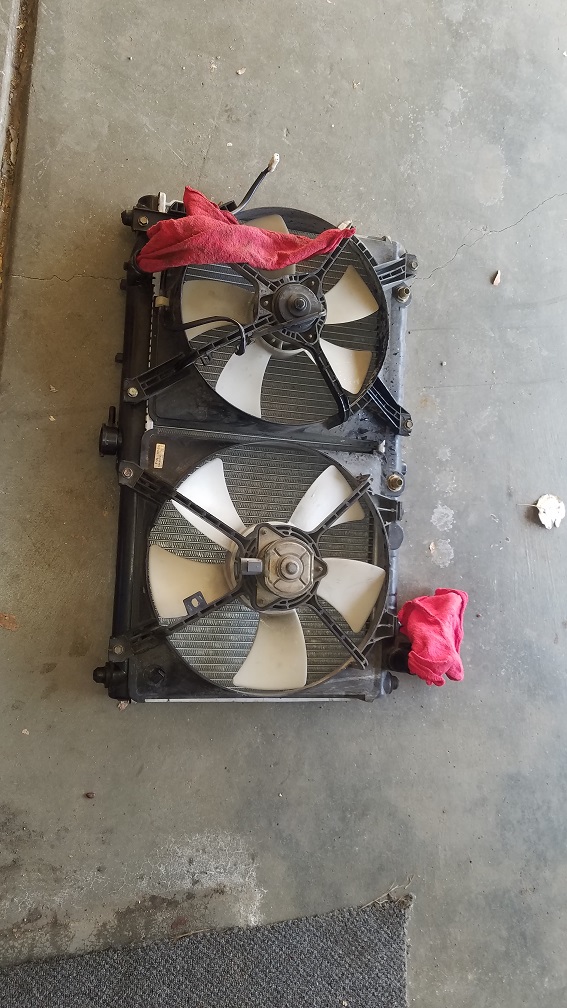
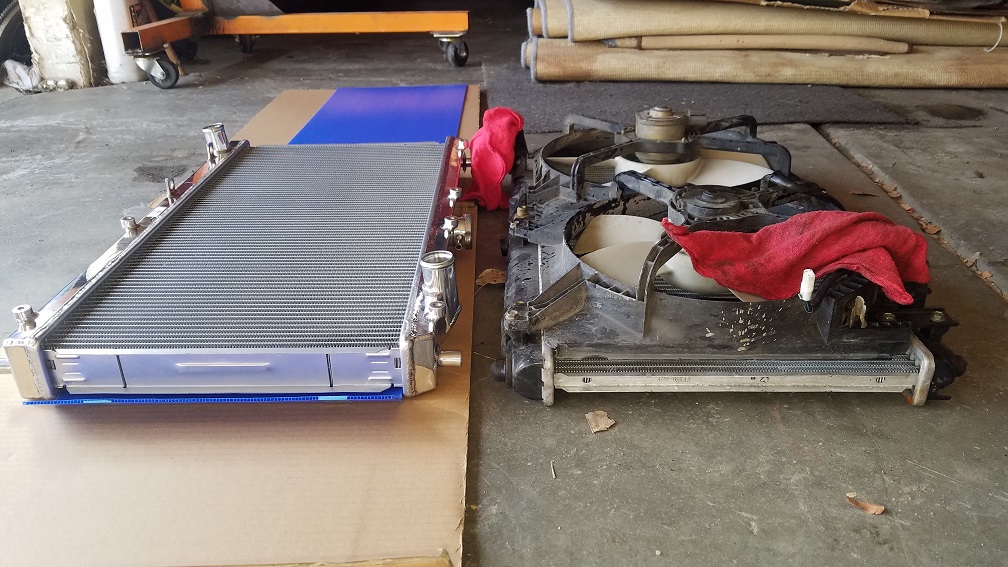
CSF vs OEM (the OEM one is tiny!):
OEM Fans swapped over to CSF:
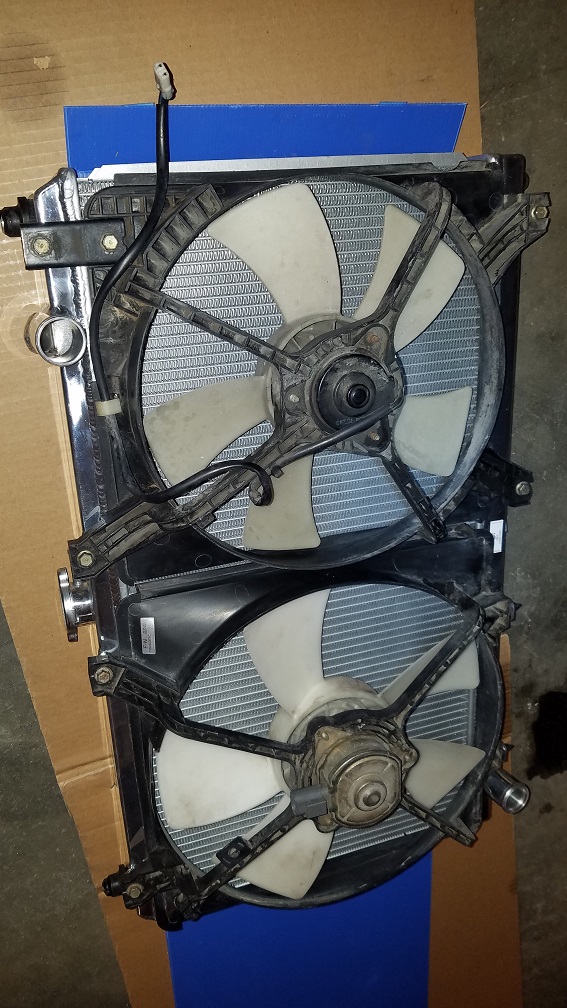
Test fitting CSF radiator:
EGR fitment issues:
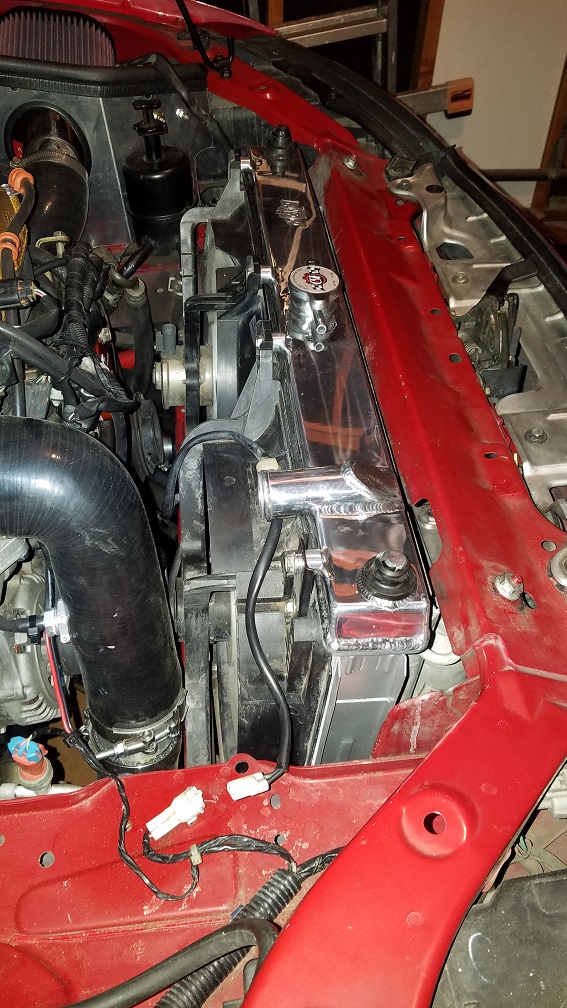
Reroute radiator hose installed:
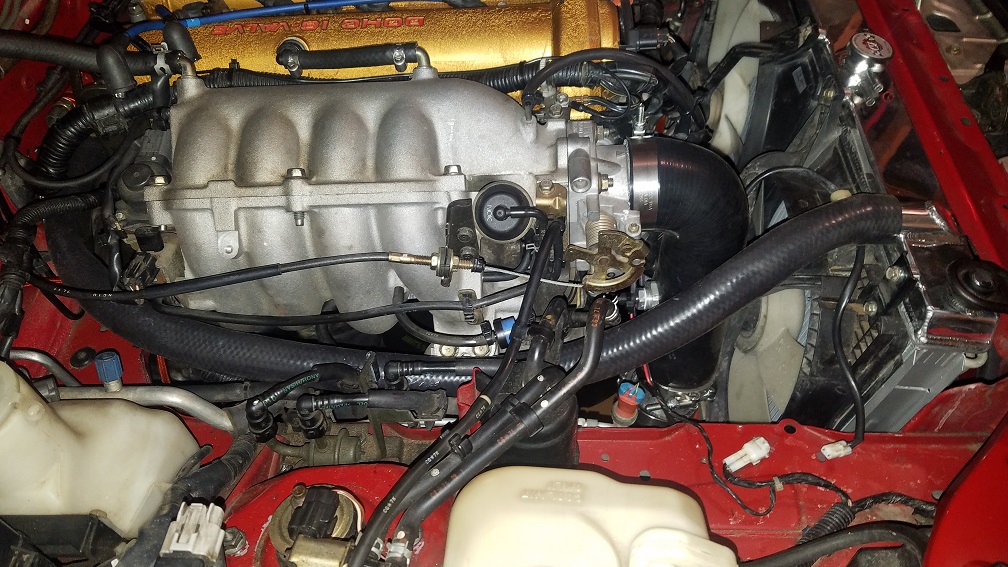
All buttoned up:
Filled it up and had a couple of minor leaks from the front thermostat plate and from the rear heater hose, but I'm glad it wasn't leaking from the rear housing as I wasn't exactly in the mood at the moment to want to take it out again and redo it.
First impressions are very positive, while I'm sure the reroute is working as it should I do believe the biggest contributing factor at the moment is the radiator. Before I discovered the coolant leak (may have been down on some coolant) on a 90+ degree day during the Summer (momentarily) I saw coolant temps as high as 220 degrees. About a month ago on a 40 degree night (after fixing the coolant leak) I still was seeing temps hover around 200-205 degrees. While it was roughly 30 degrees out when I finished and took it for a spin, I never saw temps higher than 185 while cruising and 190 while idling at a red light. I will definitely like to see how this will perform during the Summer heat.
Next on the list is a Dyno tune session. I have one scheduled at the end of this month so hopefully all goes well!
"OEM" radiator out:
CSF vs OEM (the OEM one is tiny!):
OEM Fans swapped over to CSF:
Test fitting CSF radiator:
EGR fitment issues:
Reroute radiator hose installed:
All buttoned up:
Reply
0
0
02-21-2021, 11:56 PM
#15
Junior Member
Thread Starter
Join Date: Jul 2018
Location: Colorado
Posts: 118
Total Cats: 5
Looking to start posting in the build thread again. Been MIA for a bit.
Long long story short:
My Dad got really sick and I started to have to take care of end of life things. Passed away ~8 months later, lots of family drama surrounding his estate. Unfortunately ~8 months after that, Mom passes away too.
2019 and 2020 was just a crapfest of life happening. Now that I'm hoping all of that is in the rear view, I'm hoping to be able to start messing with the Miata more often.
Reply
0
0
02-22-2021, 12:19 AM
#16
Junior Member
Thread Starter
Join Date: Jul 2018
Location: Colorado
Posts: 118
Total Cats: 5
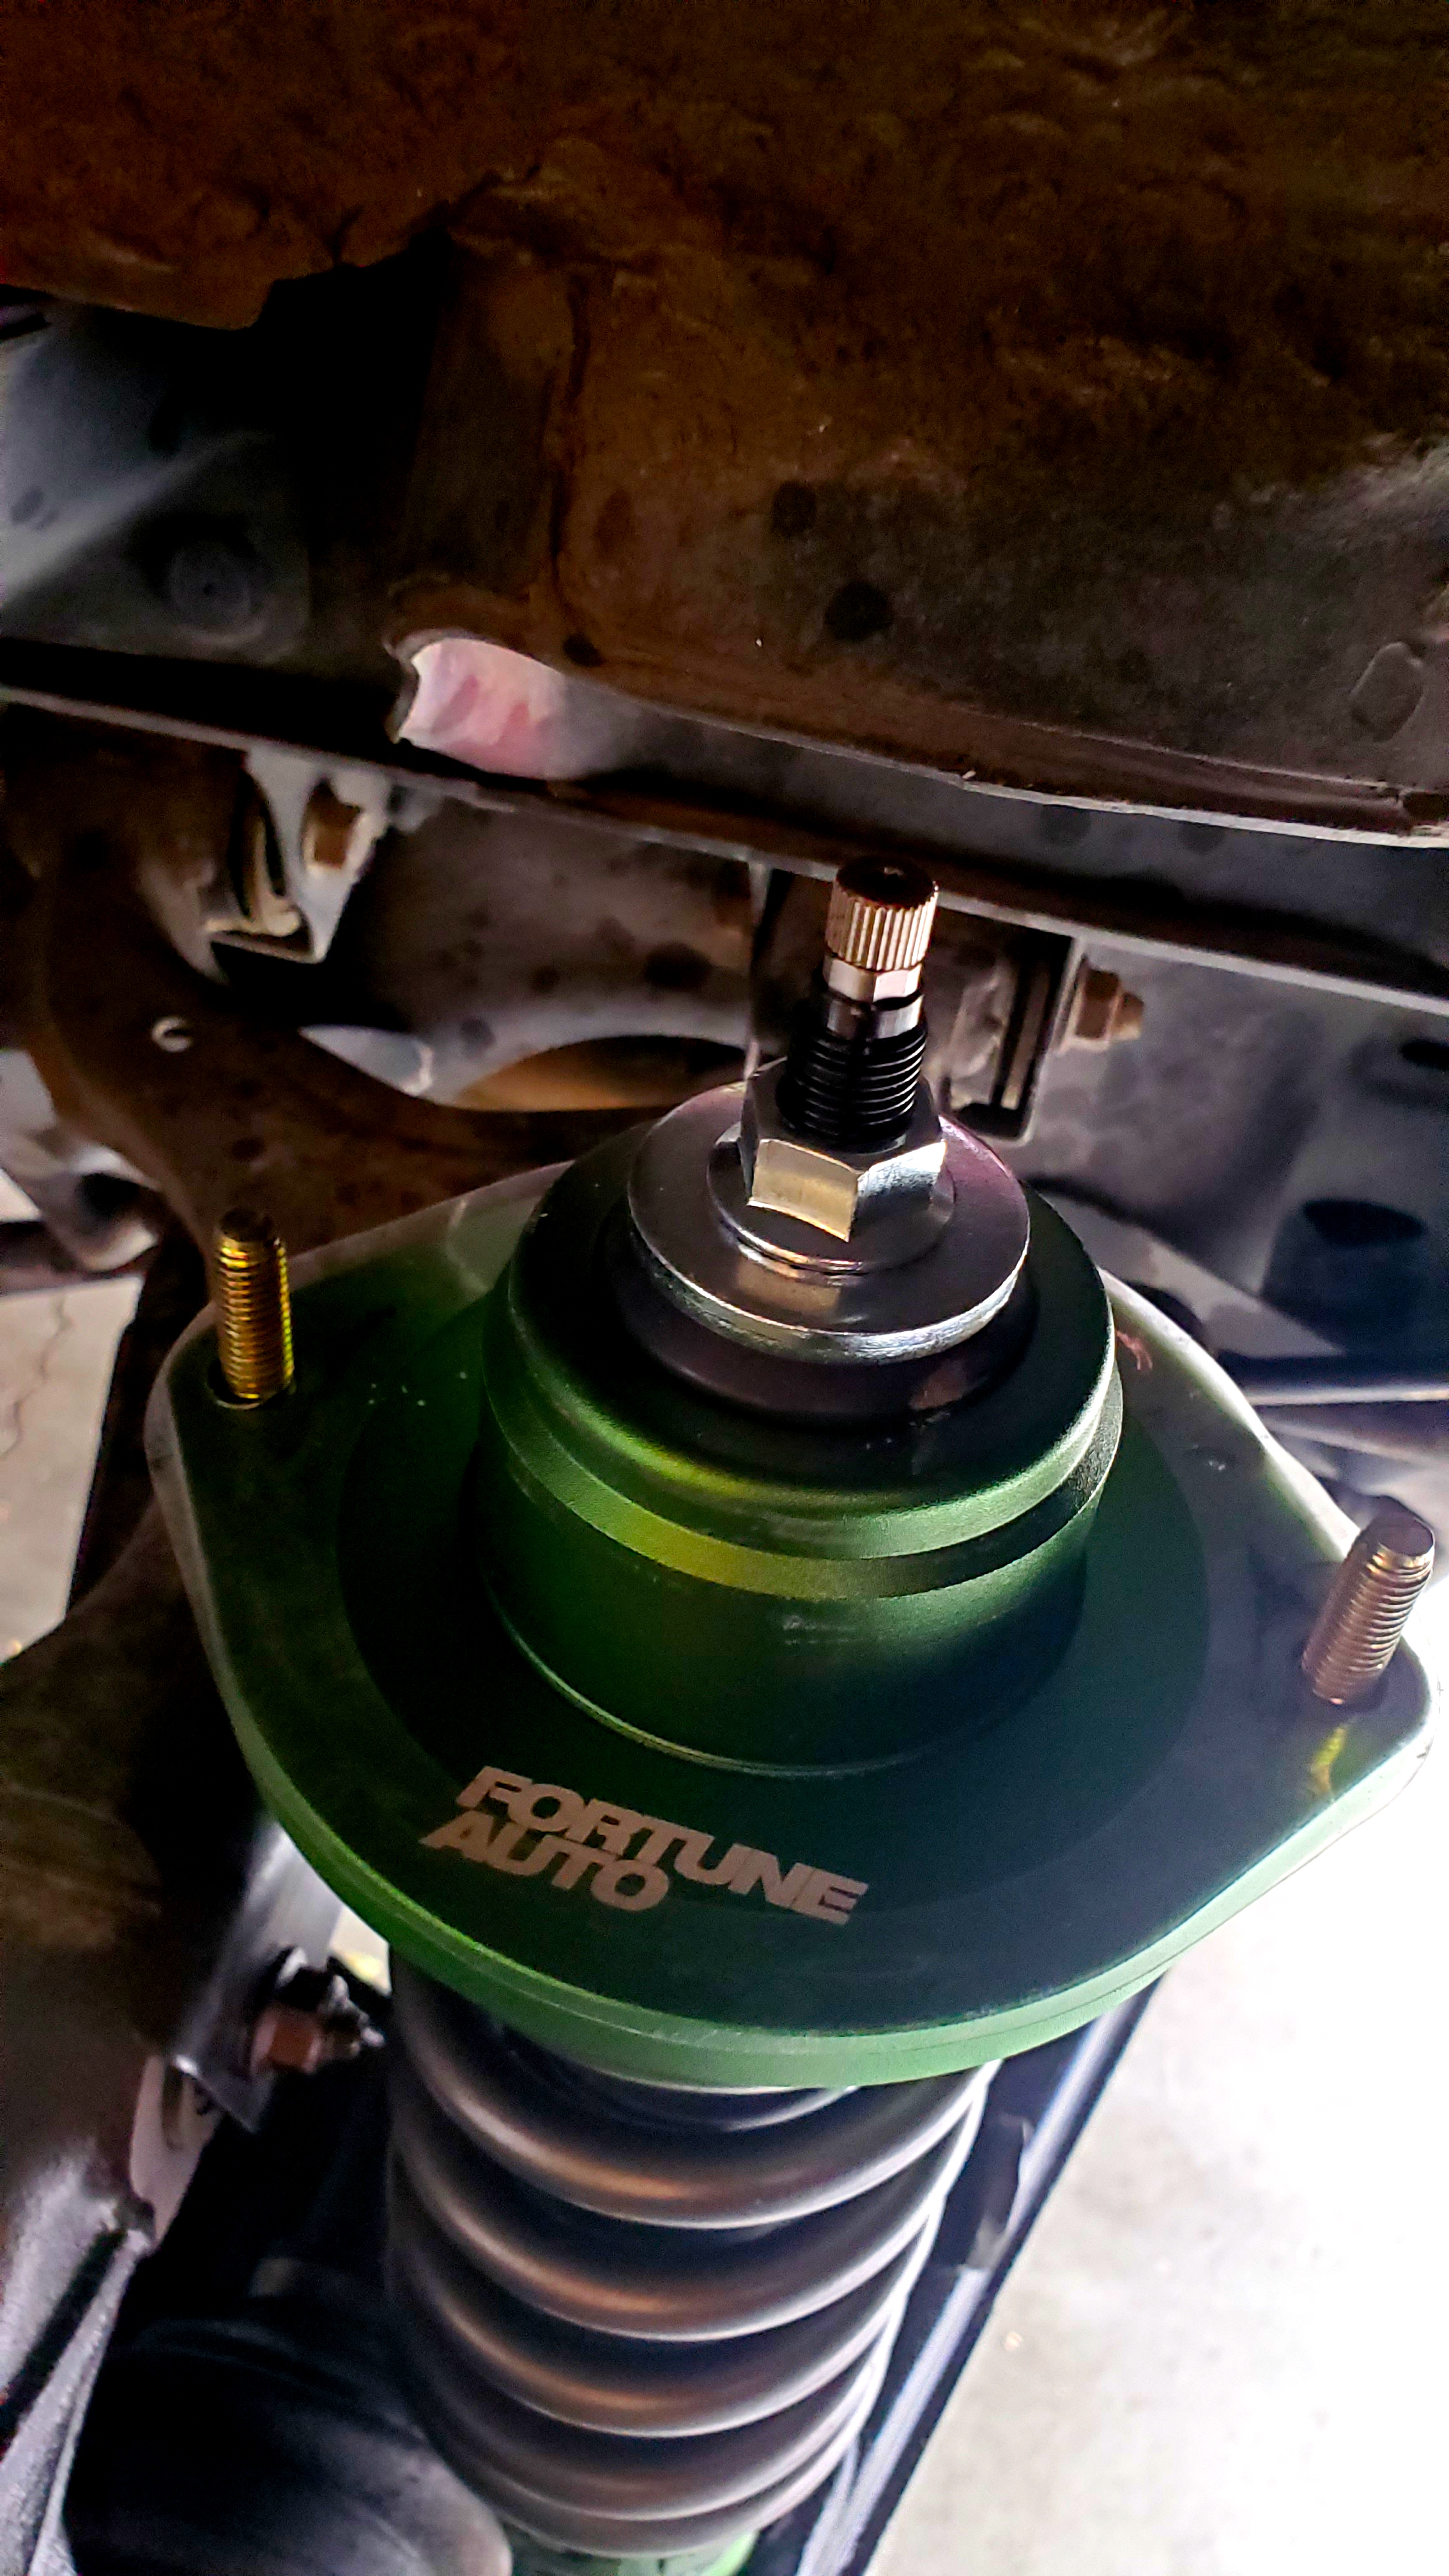
Probably the first time I've worked on the Miata in a good 2 years or so.
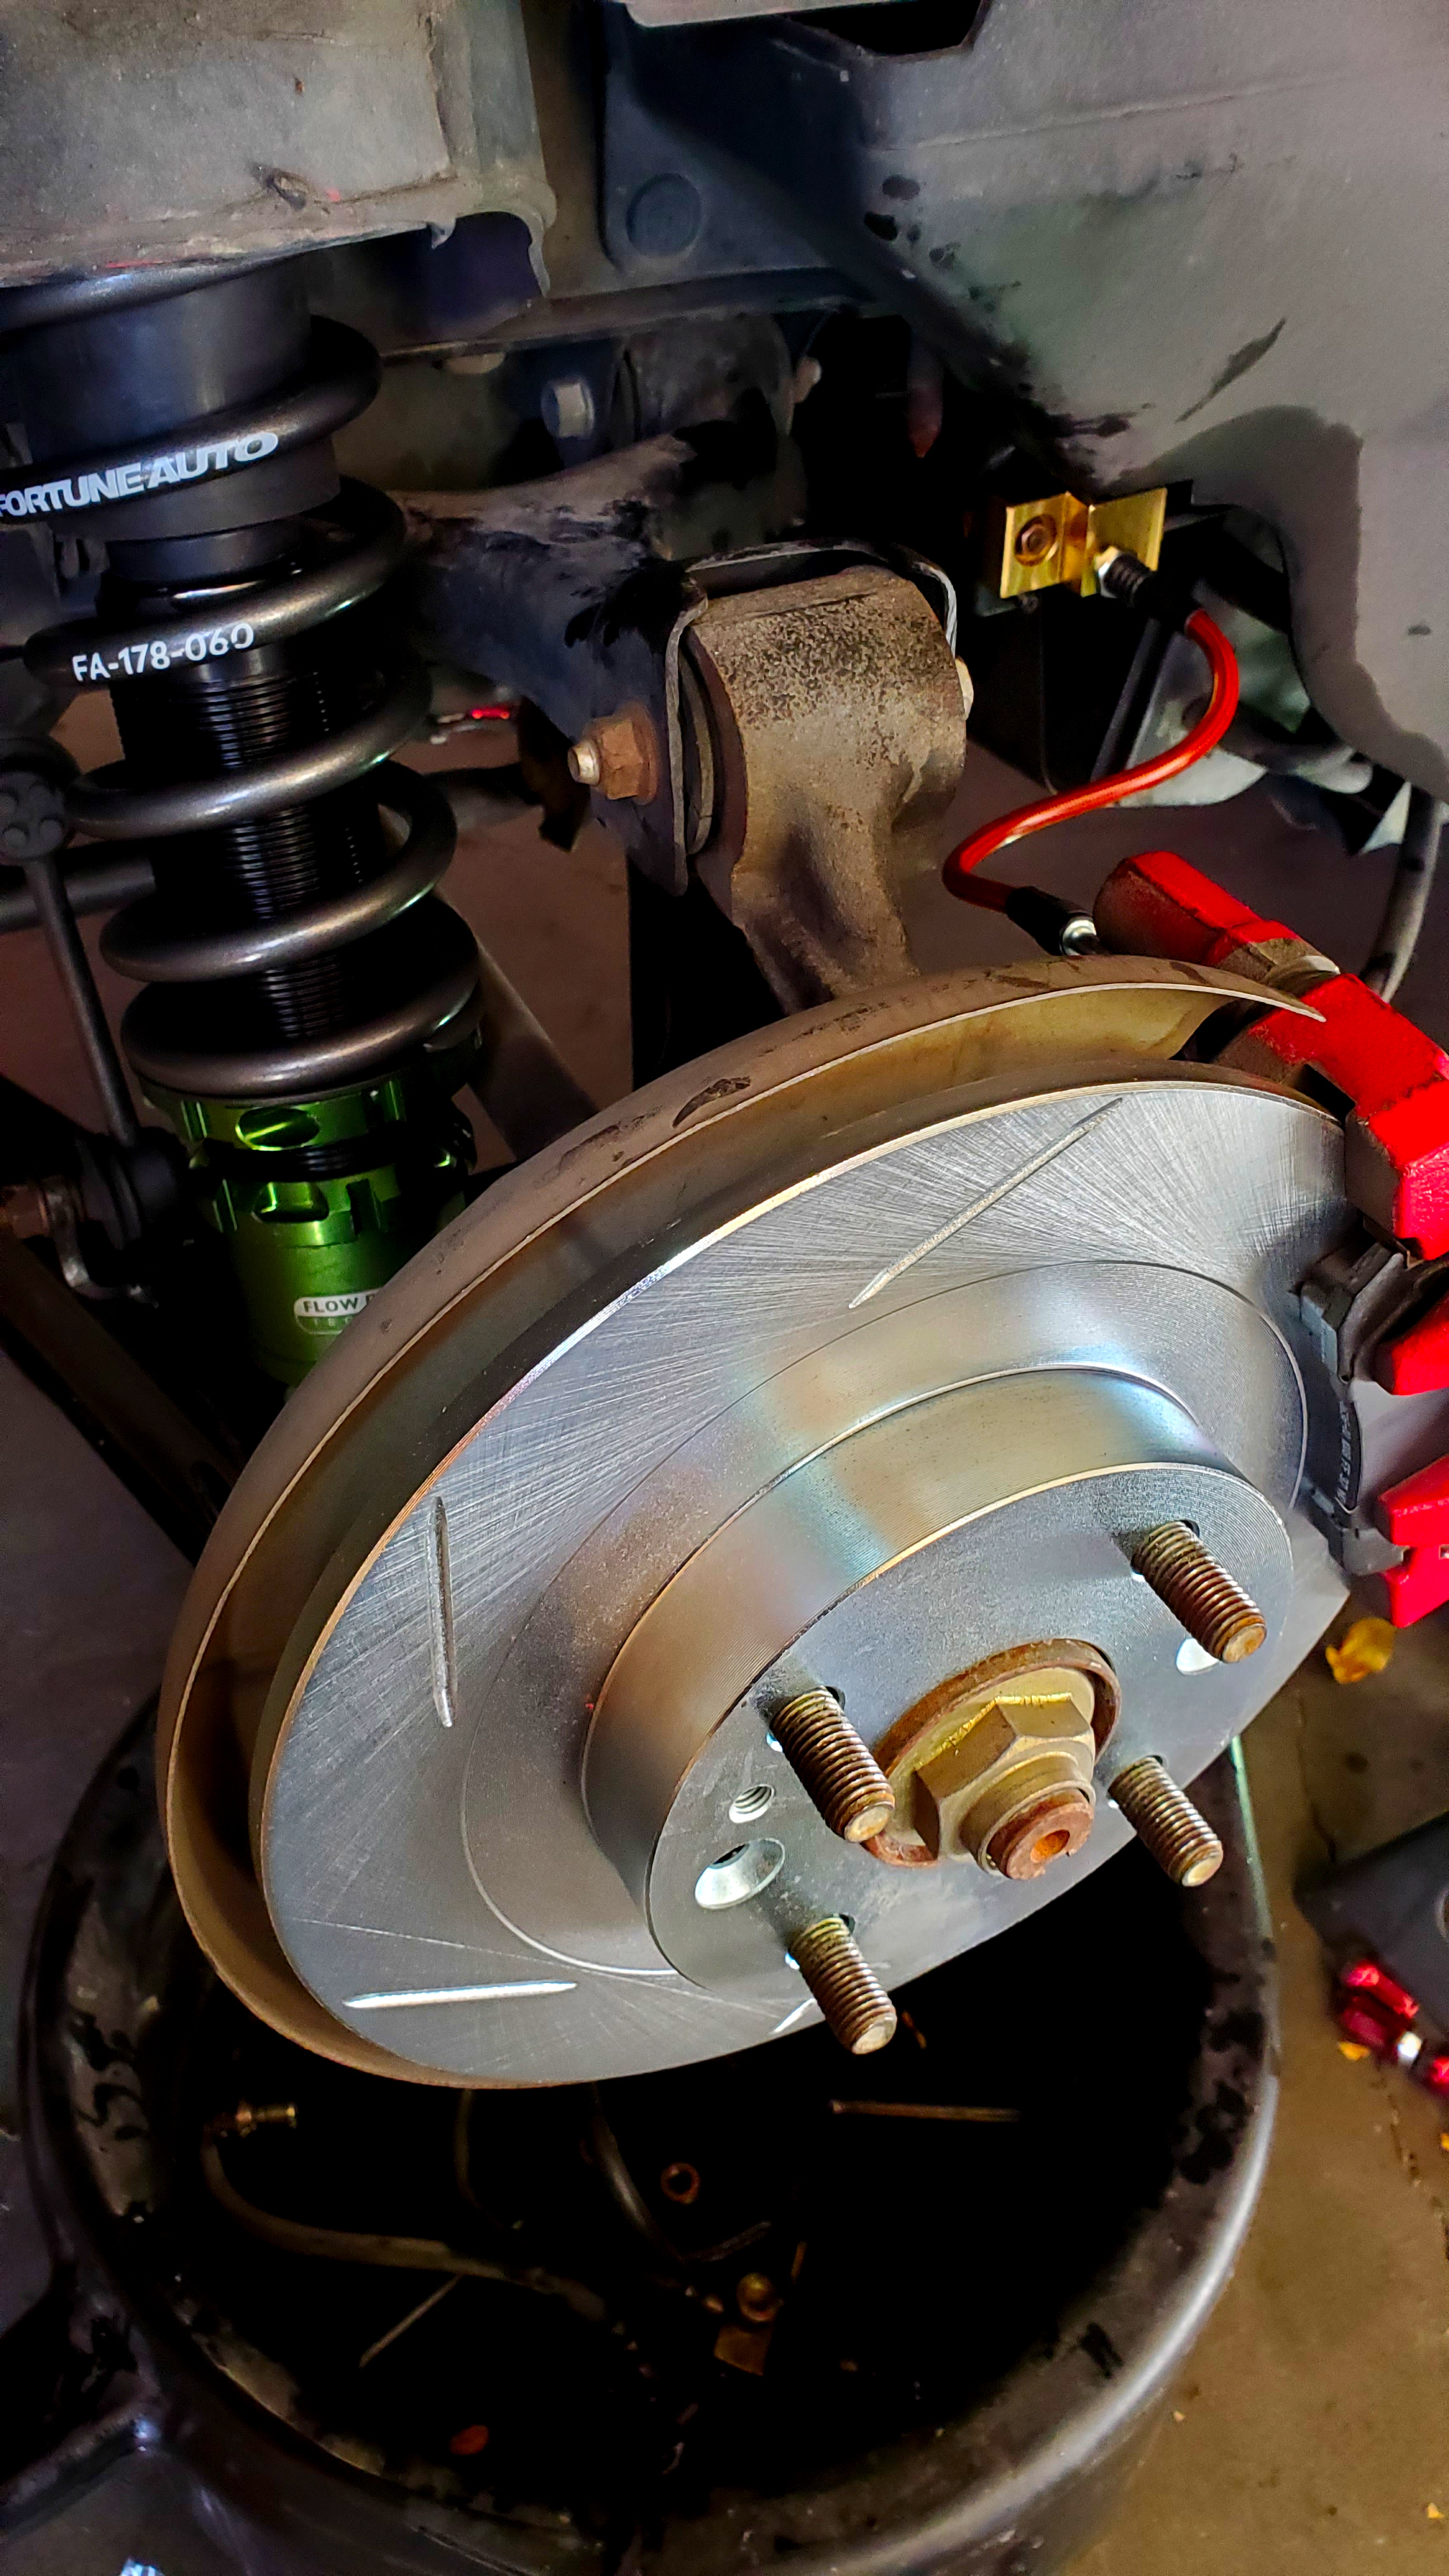
Got it up in the air and putting on a set of Fortune Auto 500 Series coilovers:
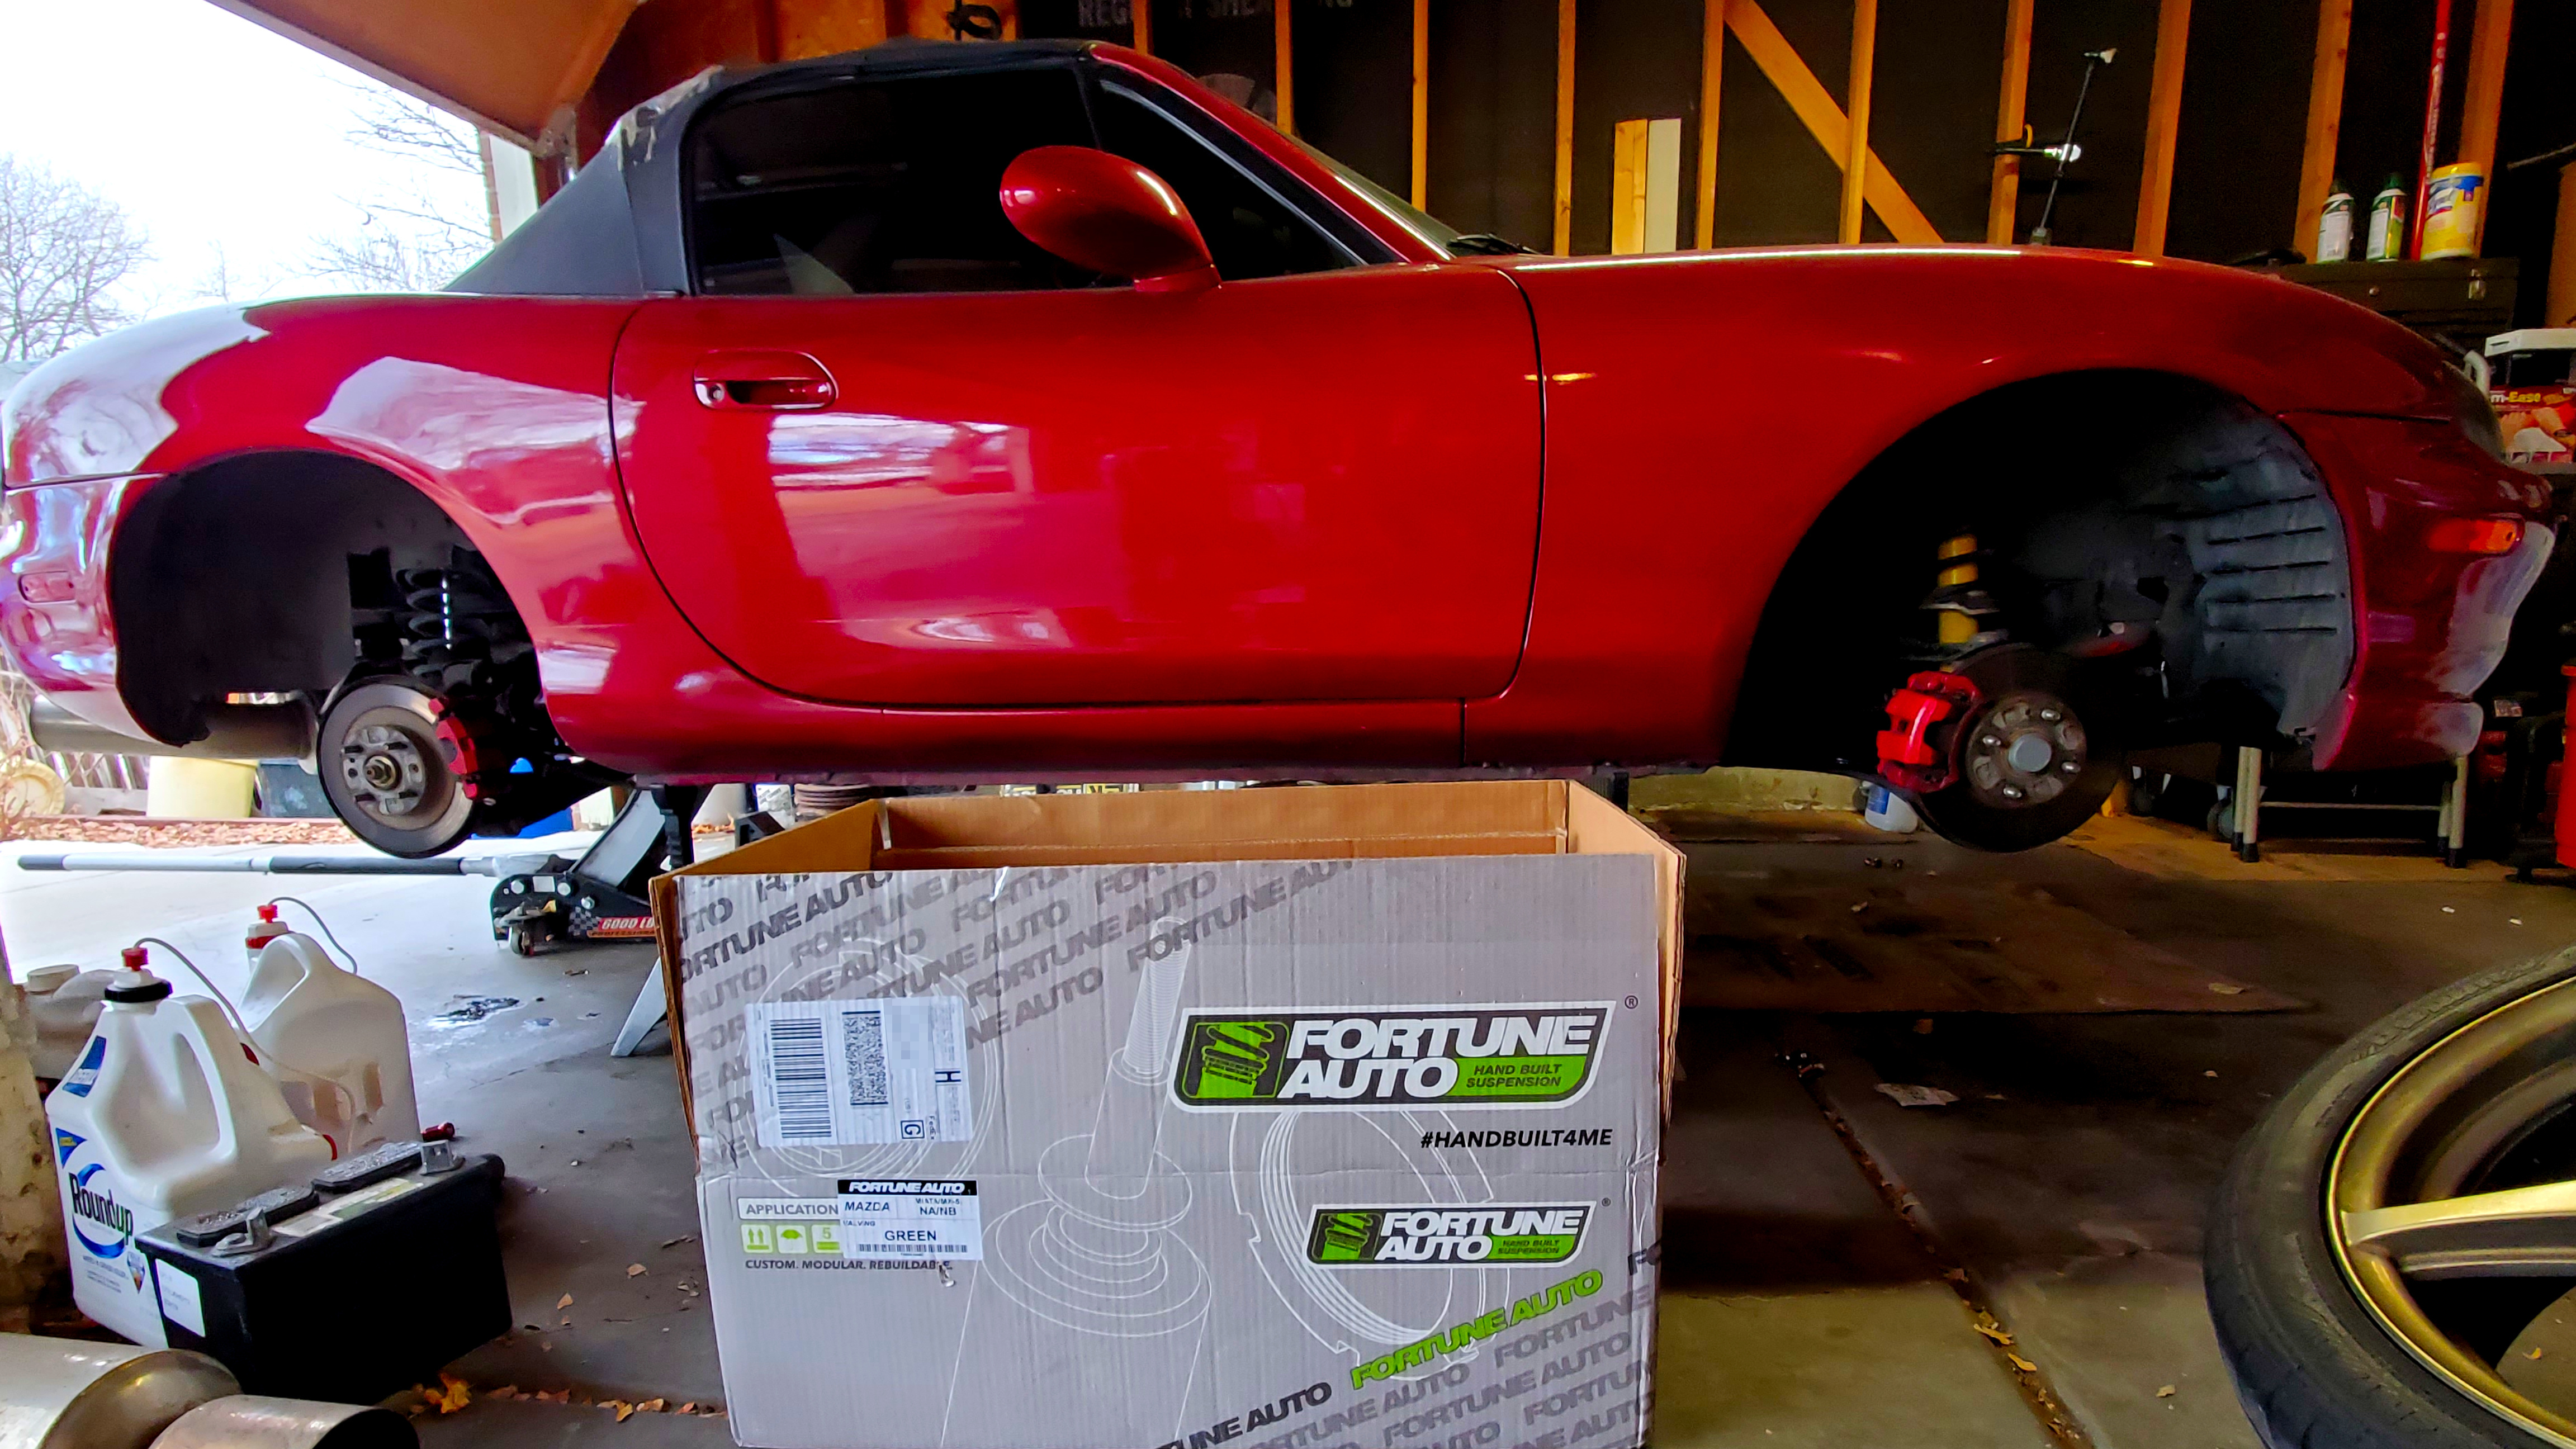

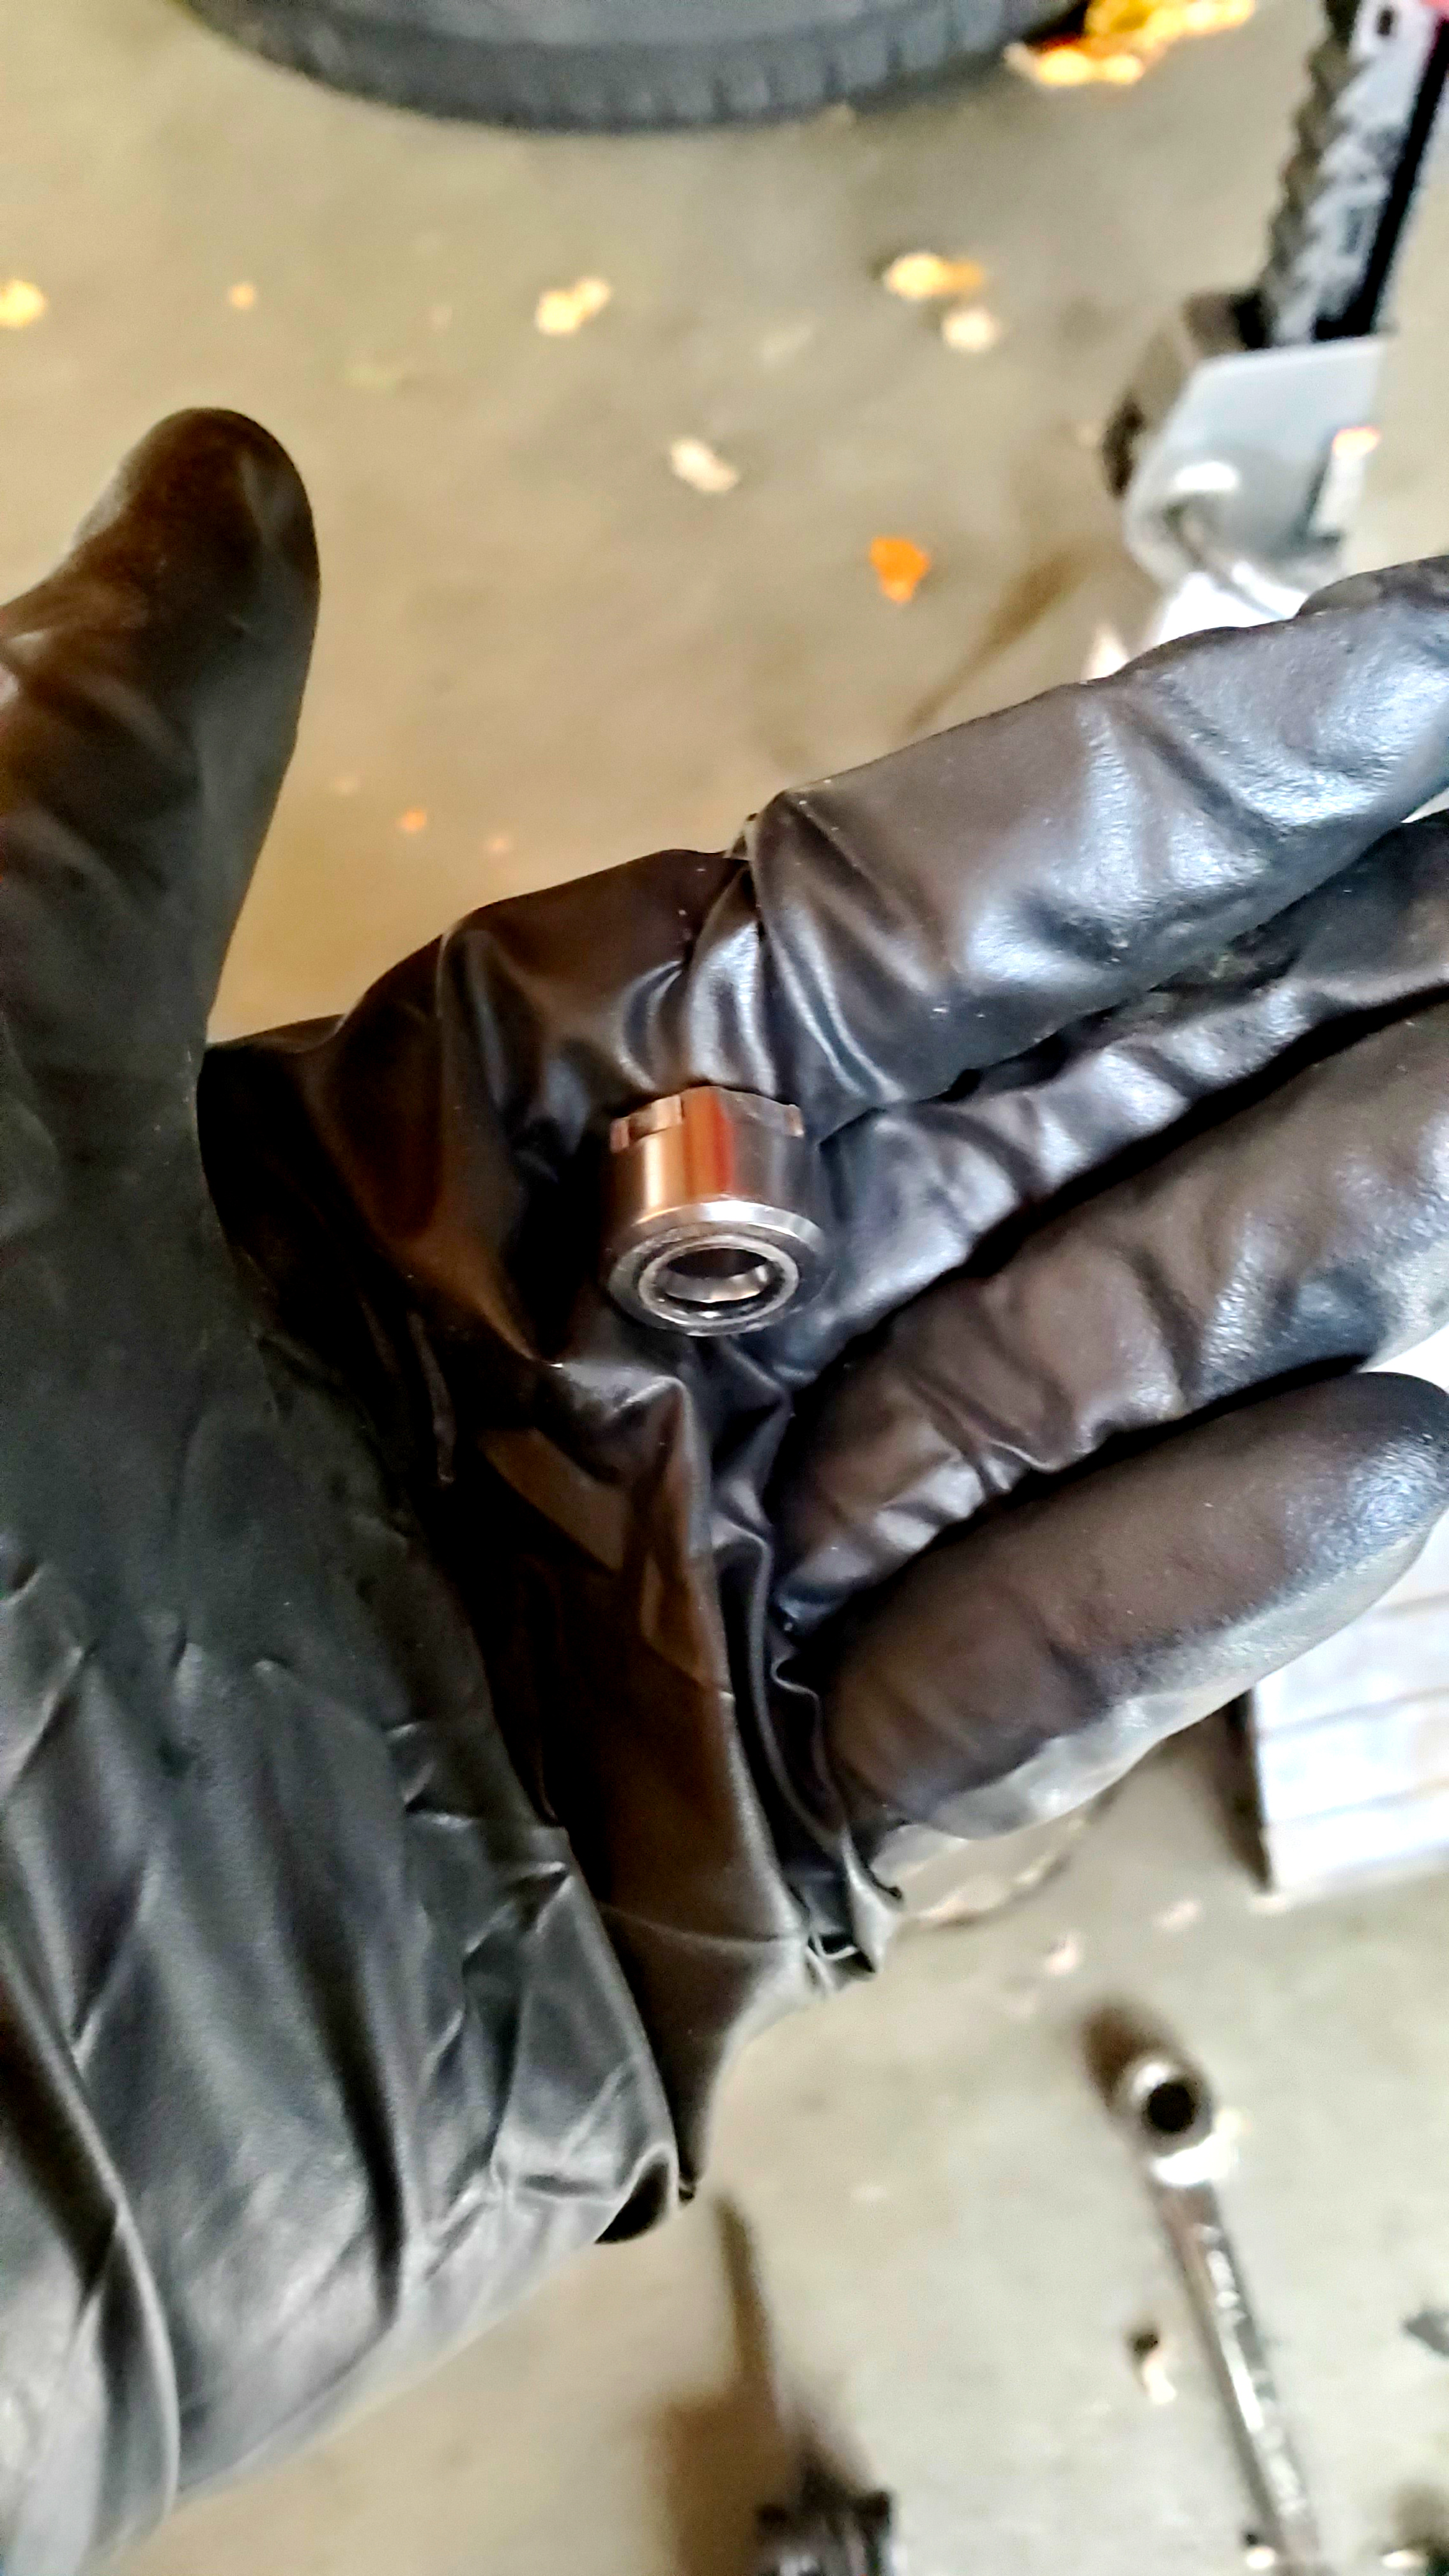
Only mishap was on the top **** adjustor fell of on one of the rear coilover as I was installing it. Not sure if this was supposed to be tight from the assembly, but it did suck spending 20+ minutes trying to dig it out of the tiny crevice by the fuel filler hose.
When I got wrapped up with that I moved on to installing a set of slotted rotors from R1 concepts:
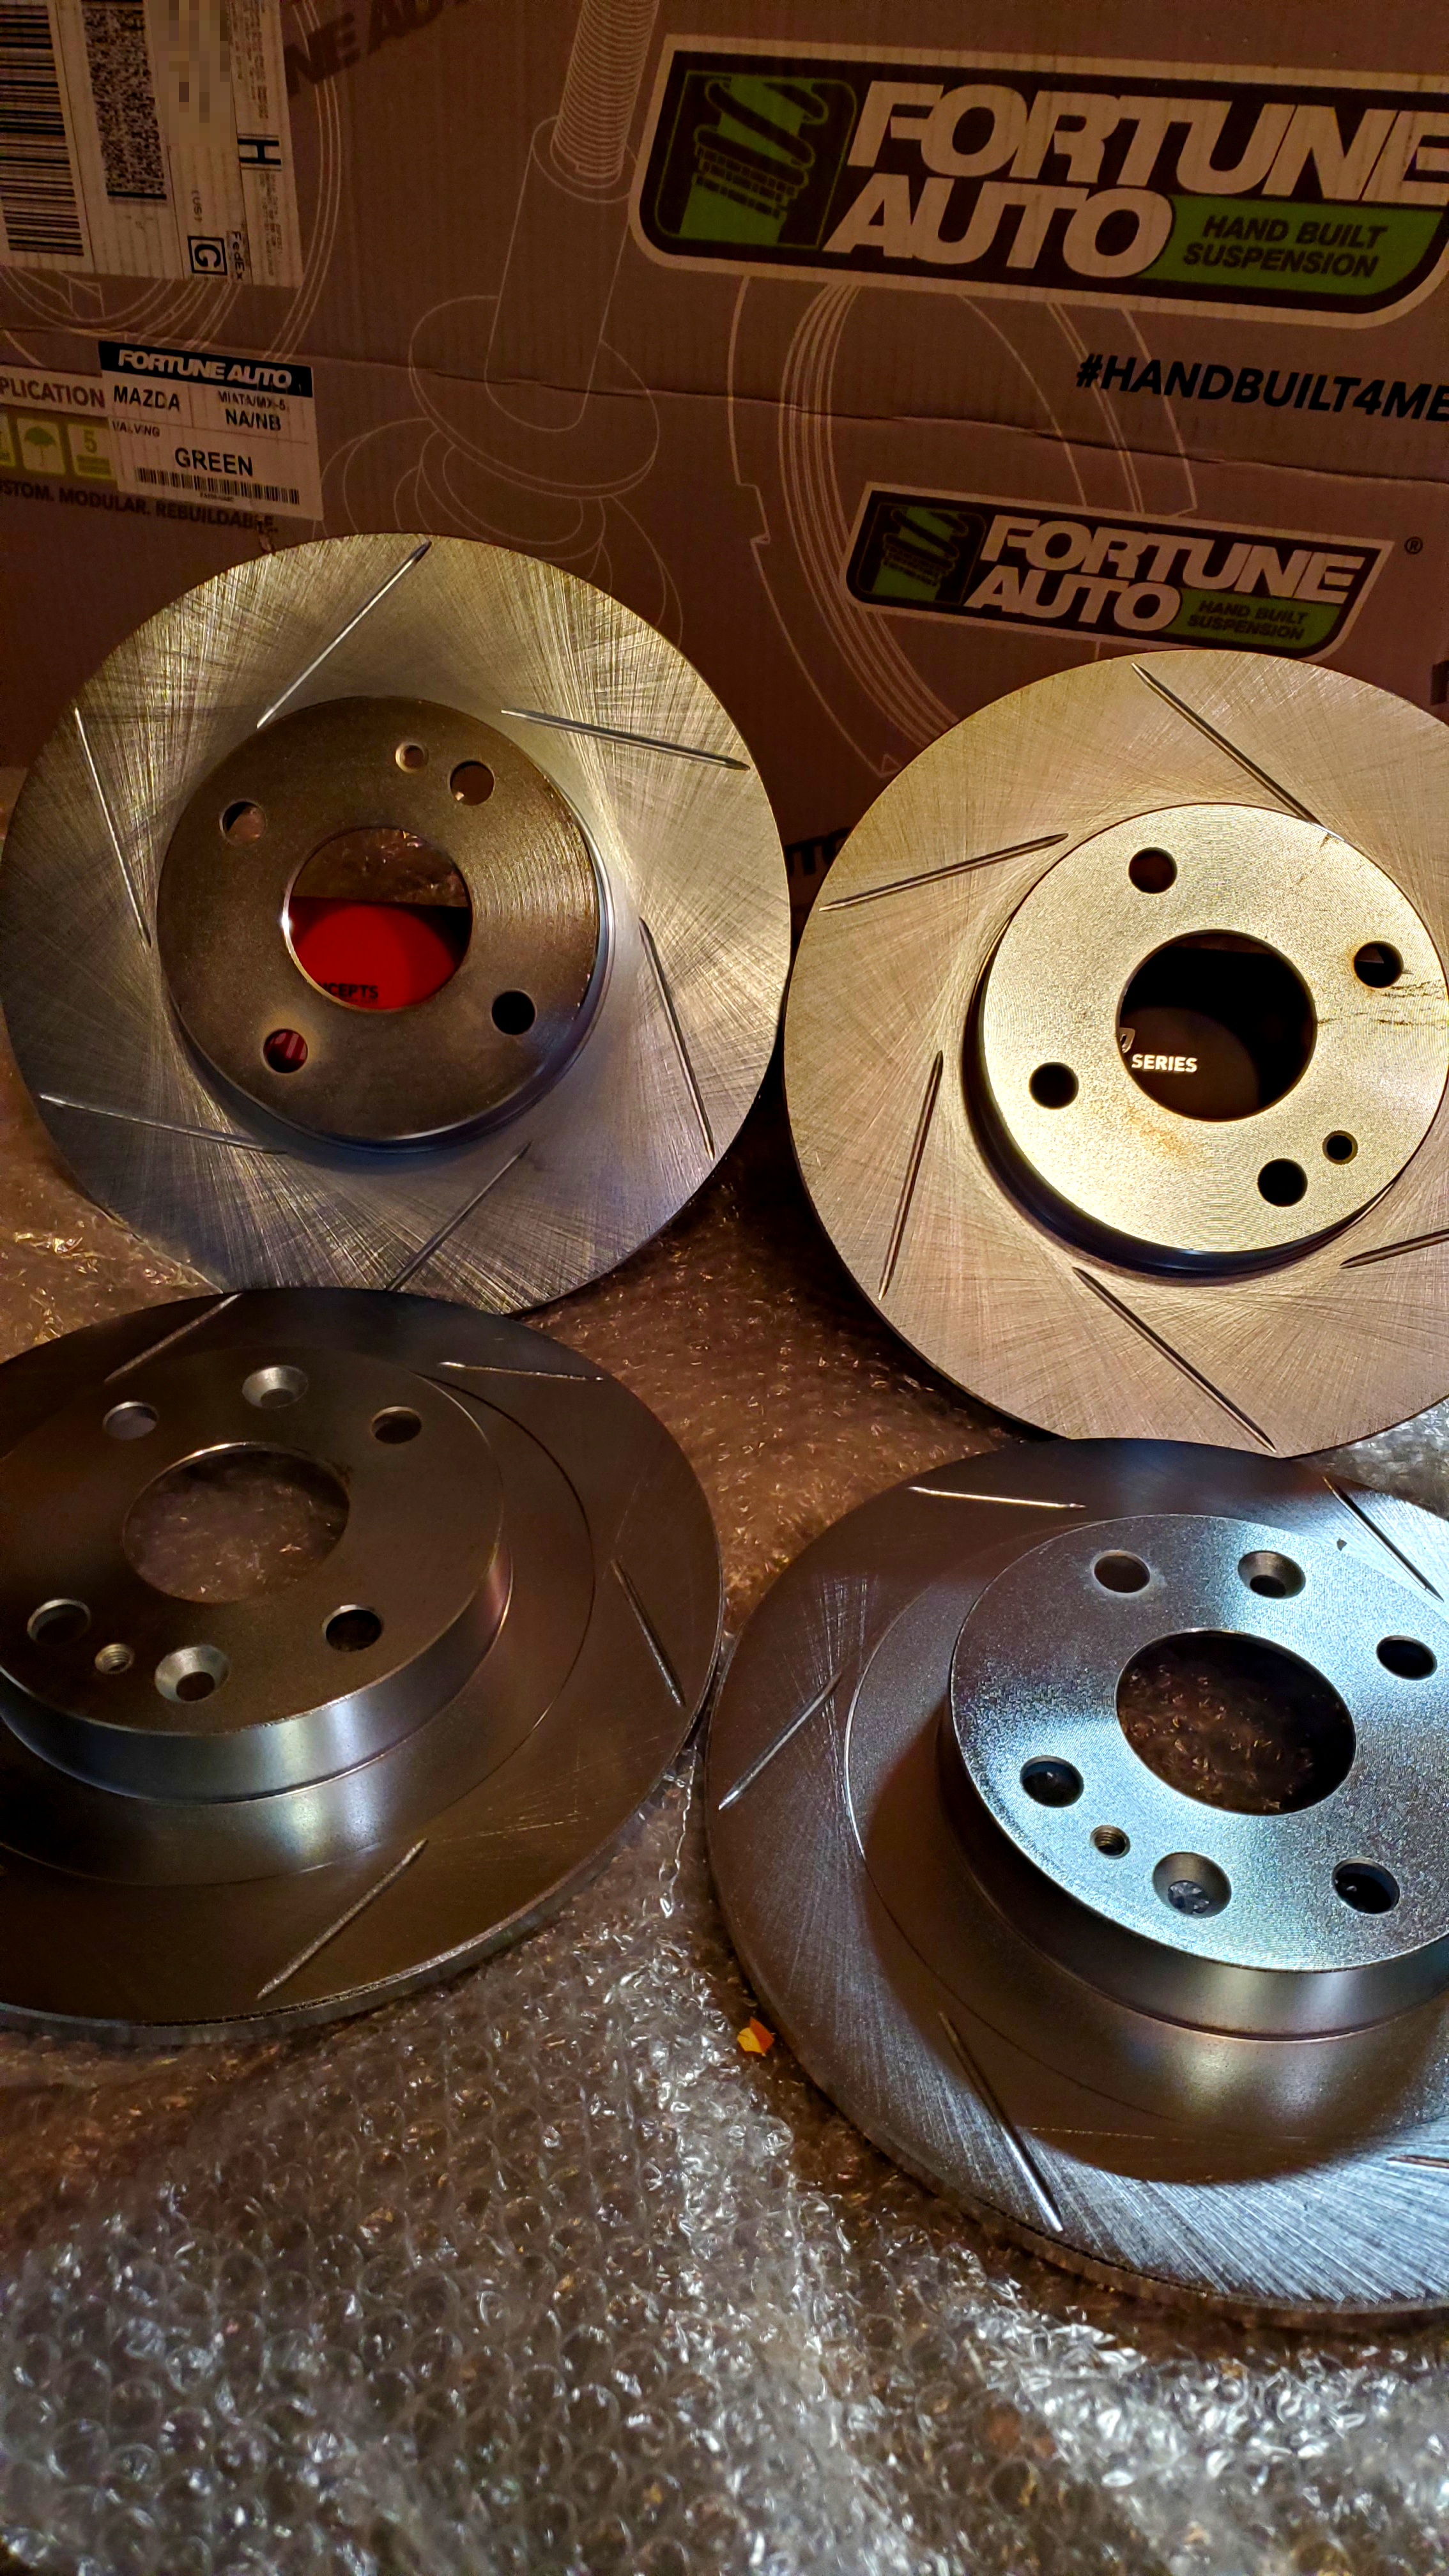
Got it all installed in with also a set of SS braided brake lines from Supermiata:
I've got some other boxes of parts piling up that I need to get to, so hopefully soon.
Got it up in the air and putting on a set of Fortune Auto 500 Series coilovers:
Only mishap was on the top **** adjustor fell of on one of the rear coilover as I was installing it. Not sure if this was supposed to be tight from the assembly, but it did suck spending 20+ minutes trying to dig it out of the tiny crevice by the fuel filler hose.
When I got wrapped up with that I moved on to installing a set of slotted rotors from R1 concepts:
Got it all installed in with also a set of SS braided brake lines from Supermiata:
I've got some other boxes of parts piling up that I need to get to, so hopefully soon.
Reply
0
0

Thread
Thread Starter
Forum
Replies
Last Post
96morbst
Build Threads
38
12-19-2017 10:00 PM


