When you click on links to various merchants on this site and make a purchase, this can result in this site earning a commission. Affiliate programs and affiliations include, but are not limited to, the eBay Partner Network.
I started with a Spec Miata, K-swapped it, got it under 1900 lbs dry, raced a few years, and then recently sold the K-swap package to convert to Ecotec.
Before you ask...WHY?!?! NASA requires any car with a non-oem subframe to compete in ST3 or faster. While I had some fun in ST3, I find the racing action and affordability to be much more attractive in slower classes. A Chevy Ecotec can be installed using an OEM subframe, so that seemed like a logical choice. While a lot of work needs to get done to be legal in ST5, much of the work done on the original swap directly translates to the new build.
So I'm taking a car that originally had 109 whp and a race weight of 2300 lbs, was taken to 230 whp at race weight of 2100 lbs, and "downgrading" to ~160 whp at 2450 lb race weight. Yes. I'm spending a bunch of money to build a slower, heavier car.
The K-swap in all its glory:
Everything pulled out for sale of the drivetrain:
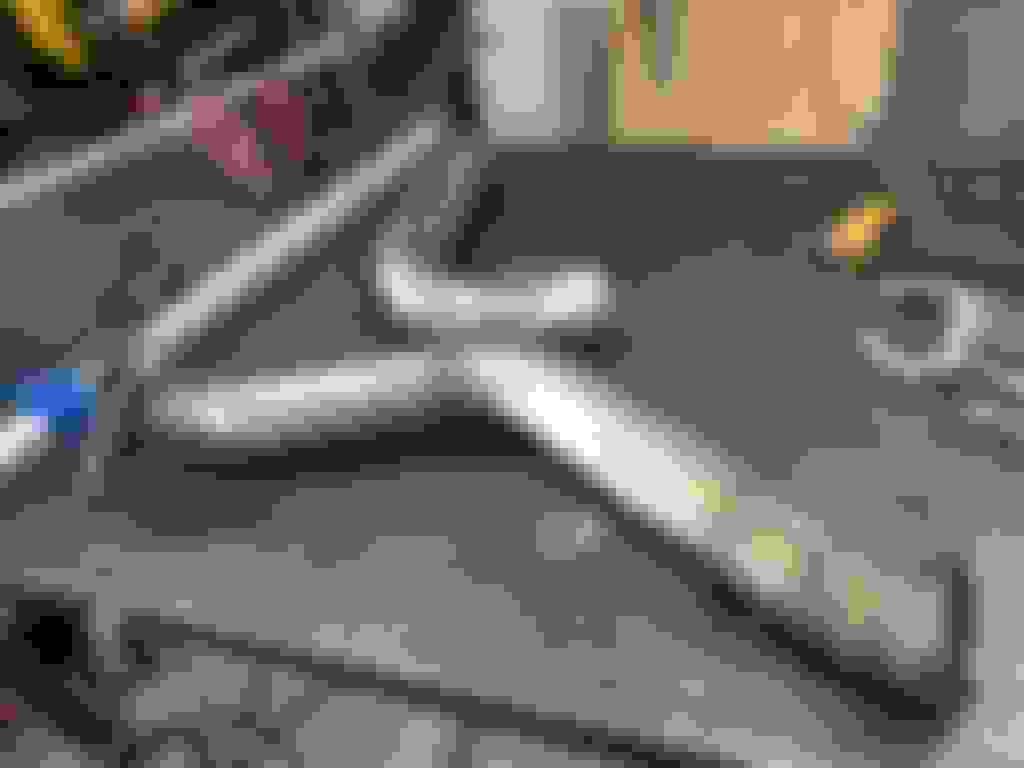
Chevy Ecotec (LE5 2.4L from 2006 Cobalt SS) on the left versus K24A2 (From 2008 Acura TSX) on the right. I left the Kmiata adapter plate and subframe on the engine for transport to the new owner:
Side by side, they are very similar in dimensions.
K24 on its way to a new owner. Side note: flatbed truck with a crane grafted to it makes moving motors super easy
A fellow in town had purchased a swap kit from EcotecMiata, and sourced a motor, but had issues with the car and never installed it. It's the full swap kit so it came with a bunch of extra stuff that I probably won't use.
The ugly ecotec motor:
Many less lobes and rockers in the LE5! The cams were pitted from having been left exposed (valve cover was off the engine) so I ordered replacements. I also ordered the harness and ECU from Alphafab, which promised delivery within 14 days! (This turned out be a SuperMiata/949 kind of "delivery estimate" and not a real delivery date...)
On to engine prep! Like the KMiata setup, the Ecotec needs a custom oil pan to fit in a Miata. The big difference, and reason the Ecotec can work with a stock subframe, is the oil pump location. In a K motor, the oil pump hangs down into the pan creating a clearance issue with the stock subframe. With the LE5 the pump is integral to the timing cover and is driven directly off the crank shaft.
I had some cleanup work to do on both the block and the EcotecMiata oil pan to make sure the mating surfaces were nice and flat. I also welded the sides of the baffle hinges in the oil pan, on recommendation from other owners who had the weld fatigue and break.
It's almost like a dry sump pan except for the front, where a big oil sump sits out in front of the motor.
The water inlet manifold... thingie.
Test fit on the stock subframe.
Clearance between steering rack and pan is an issue. With transmission mounted it tilts back but it's still very tight.
A drive belt change means either removing the crank pulley or dropping the oil pan. Seems a fancier oil pan could have prevented this...
My poor transmission, now with bell housing notches for the K24 (top) and LE5 (bottom) starter.
I went ahead and welded a 16AN fitting on the water outlet, and tapped the factory "steam hose" outlet for 1/8NPT
Things starting to take shape on the engine stand!
Since the radiator will sit lower, I want to emulate the OEM pressure tank set up. (I was sternly warned that this pressure tank is a dangerous STEAM BOMB, hence the labeling.) I also wanted to figure out the rest of the cooling system:
Before installing the engine more permanently, I decided to do a leak down test. #4 had bad number on the intake side, so I decided to have the head freshened up at a local machine shop.
I took a reference picture for timing at TDC before I pulled stuff apart, but here's the Ecotec's VVT setup. It uses oil driven cam phasors like the K motor does, but the LE5 has them on both intake and exhaust cams.
While the head was at the shop, I tackled some other work. My novice TIG welding skills at work installing Mazda reinforcement plates for the front lower control arms:
Offset upper control arm bushings from ISC:
Some steel work to provide better front crash protection and oil pan protection:
More AN welding fun:
With ARP head studs installed and the head back from the shop, I installed the adapter plate and new OEM flywheel. The Ecotec adapter strategy is to use the OEM flex plate, then a steel adapter block, then a Miata flywheel. Hence the extra outer ring gear. This arrangement allows the starter to engage with the flex plate, then any Flywheel to be used.
The engine dropped right in!
The main motivation behind getting the engine dropped in was to start exhaust fab work. I knew it would be a tight fit with the Miata slave cylinder and subframe in the way.
I got under the car with a piece of 2.5" tubing and found a way to get through at a weird but achievable angle.
From there I got to work. I used a stainless exhaust fab kit (a few pre-bent 90's and 180's with straight sections, vbands, etc.) I devised a method to use hose clamps and cardboard to test fit pieces and allow a bit of adjustment.
Fit, tack, test fit, weld, repeat...
Welding to the flange. The header is for a Polaris Slingshot.
For the love of god, do NOT use their flywheel adapter on this thing.
And figure out something with the motor mounts. That appears to be an early kit. They're going to require constant adjustment. Huge trash.
It's the later kit, with the steel flywheel adapter, ARP hardware for installing it, and motor mounts with three holes that index with the motor mount holes on the subframe so they won't slide down.
I know earlier versions had problems with sheared hardware and motor mounts sliding down in the subframe slots.
We've ben using the racer kit for some time now and it has been working quite well for us in our endure LE5 swapped car, let me know if you have any questions on anything.
I’m going the opposite direction. Gave up on Ecotec swap (before getting it running) and switching to an overcomplicated custom K-swap for ST4. I don’t have anything majorly bad to say about the Ecotec kit, but here are my biggest notes and concerns from all of my reading and planning:
-Listen to concealer and switch to the “Racer” flywheel adapter that requires you to drill the miata flywheel. The street adapter has tons of reported failures and the Racer adapter has no failures that I know of. I wouldn’t run the street adapter on track, new design or not.
-Add subframe reinforcements for the motor mounts. Lots of people have reported sagging motor mounts that cause the oil pan to touch the subframe. I think it’s mostly because of the cantilevered mount design, but the bushings also appear to wear out unusually fast. See my build thread for how I reinforced the mounts.
-If you haven’t already sealed the oil pan, you should spend a lot of time prepping the mating surfaces and removing high spots. My pan had a lot of high spots, and I also found two high spots on the GM timing cover that would have made for a bad pan seal. Lots of people end up with leaks at the pan flange when they first do the swap.
-Add the flex plate to your list for yearly winter replacement. Endurance racers have been seeing a lot of flex plate failures lately. 50-60 hours is the number that I’ve seen posted before it cracks and fails, but that's based on a very small number of data points, probably all with unknown mileage junkyard flex plates.
-Do some reading on proper oil fill level and PCV port blocking. I won’t bother repeating the conflicting info I’ve read from racers on facebook. Hopefully curly or greddygalant will share their experience.
Thanks y'all, some genuinely great info in all of this, please keep it coming.
JPreston Did you use a dry sump to keep the unmodified stock subframe for ST4??
I did flatten a few spots on the mating surfaces. With my KMiata oil pan sealing troubles I didn't want to run into the same things. I similarly had to take a file to the block and timing cover, as well as a grinder to the welds on the oil pan.
Motor mounts are iffy for sure. The suspension bushings as motor mount bushings don't sit well with me, so I'm likely going to build my own motor mounts pretty quick using Hasport bushings like on the K-swap.
Flex plate is brand new OEM, but I'll keep that on the short list when things start to get wobbly in there.
I blocked the PCV port on the intake manifold, but haven't heard much about oil fill issues. I'm guessing even slight overfill could be a problem? Will check in to it.
Continued work on the exhaust. I went alongside the PPF so it does dip in the back. I may rebuild the section flatter or re-route later, but for now it's what I got.
Homemade exhaust is good TIG practice.
I used a small screw and RTV to block the PCV port. I figure this is more easily undone than epoxy.
Intake manifold, DBW throttle body, and fuel rail installed.
Coil packs, header, exhaust... getting closer.
It clears the sway bar!
DBW pedal to replace the original...
Welded up and painted.
Bending hangers to install on the exhaust pipe:
Finished exhaust system. I'm going to do something about the pipe through bumper. Using a horizontally mounted turnbuckle I can put some tension on the exhaust and keep it from wobbling side to side.
Fuel filter mounted down low. The placement above the pump was leading to air bubbles which would cause stalls under hard cornering.
Fuel goes from pump discharge to filter, then to regulator, then to the fuel rail.
Maybe I'll just make this an "offroadster" instead.
Radiator mounted:
Tossing together an aluminum intake tube from K-swap leftovers:
It needs a support but that works.
Fresh bushings and SadFab hubs.
Reassembled with the FM parking brake kit reinstalled
It needs a few more hoses, an ECU and harness, but it's otherwise ready for a test drive.
JPreston Did you use a dry sump to keep the unmodified stock subframe for ST4??
That�s the plan. I haven�t found any off the shelf dry sump pans that I think will work with the stock subframe so I�m starting design on my own pan right now. Header clearance is also really tight with stock subframe.
Originally Posted by shuko
I blocked the PCV port on the intake manifold, but haven't heard much about oil fill issues. I'm guessing even slight overfill could be a problem? Will check in to it.
Again, I don�t have any useful input on oil level. Some people say that overfilling the pan is critical to avoid starvation, some say that overfilling will cause leaks and possibly crank seal failure. I don�t have any actual experience to tell you what�s the truth.
We had no indication of failure before our used flex plate broke. A new GM unit was something like $20, and is on there now. I guess we'll just wait for it to fail and report back on it's lifespan.
The oiling issues are a little exaggerated, with many of the swaps happening under temporary carports in Canada. Not exactly high quality. We had some issues at the beginning, a failed pan that we attempted to fix that failed anyways that then blew the motor from oil starvation. But since the ecotec swap we've been in the top 3 in 40-70 car fields. We've done 5 race weekends, with races usually 6-8 hours. We've finished 2nd, 3rd, 4th, 3 wins, and I think 4 DNFs. 2 oil pan failures (same pan), 1 engine failure (same engine both pan failures happened), and a flex plate failure.
Each of those race weekends had 2 6-8 hour races in them for perspective .Like josh said, a lot of our initial issues were caused by a bad oil pan that was part of a bad batch. The rod that went through the block was #3 which was directly in line with where the oil pan cracked both times on that motor so I'm sure that rod bearing was not thrilled. We also changed the motor mount design to avoid the L shape. Oil starvation hasn't been a problem for us based on our AIM data just yet, though we are running on re71r and rs4s but do have a significant amount of aero for an Enduro car. One more thing to note, I had a run of custom Remflex gaskets made for the Polaris headers since the ones that come with them are junk, if you want several PM me, they are really nice we use them for everything at our shop.
 11-29-2018, 11:41 AM


 0
0