When you click on links to various merchants on this site and make a purchase, this can result in this site earning a commission. Affiliate programs and affiliations include, but are not limited to, the eBay Partner Network.
Interior
OMP HTE-R 400
PCI Ver.2 Adjustable Mount
Schroth Profi II 6-HANs
Sonic Motors VS3
Garagestar rail
Momo Monte Carlo 320mm
NRG Quick Release
LRB Speed Hybrid Door Panels
I feel somewhat out of place being here on MT.net without a turbo but here goes nothing.
I am looking to build the cookie cutter, dual purpose car, on a somewhat small budget. Something that is dead set reliable on track, and yet can still take me to school the following Monday. Hopefully this will be the place where I can document my build as I move further along.
Starting out with a '92 in 2014, I quickly learned that it was a mistake, with the 1.6 and fragile differential. Although, I did learn quite a bit about these cars and of various Miata forums, that is until I discovered MT.net
What good is a build thread without pictures?
I bought various goodies, and eventually turned into something less horrendous.
At Miatas at MRLS 2014
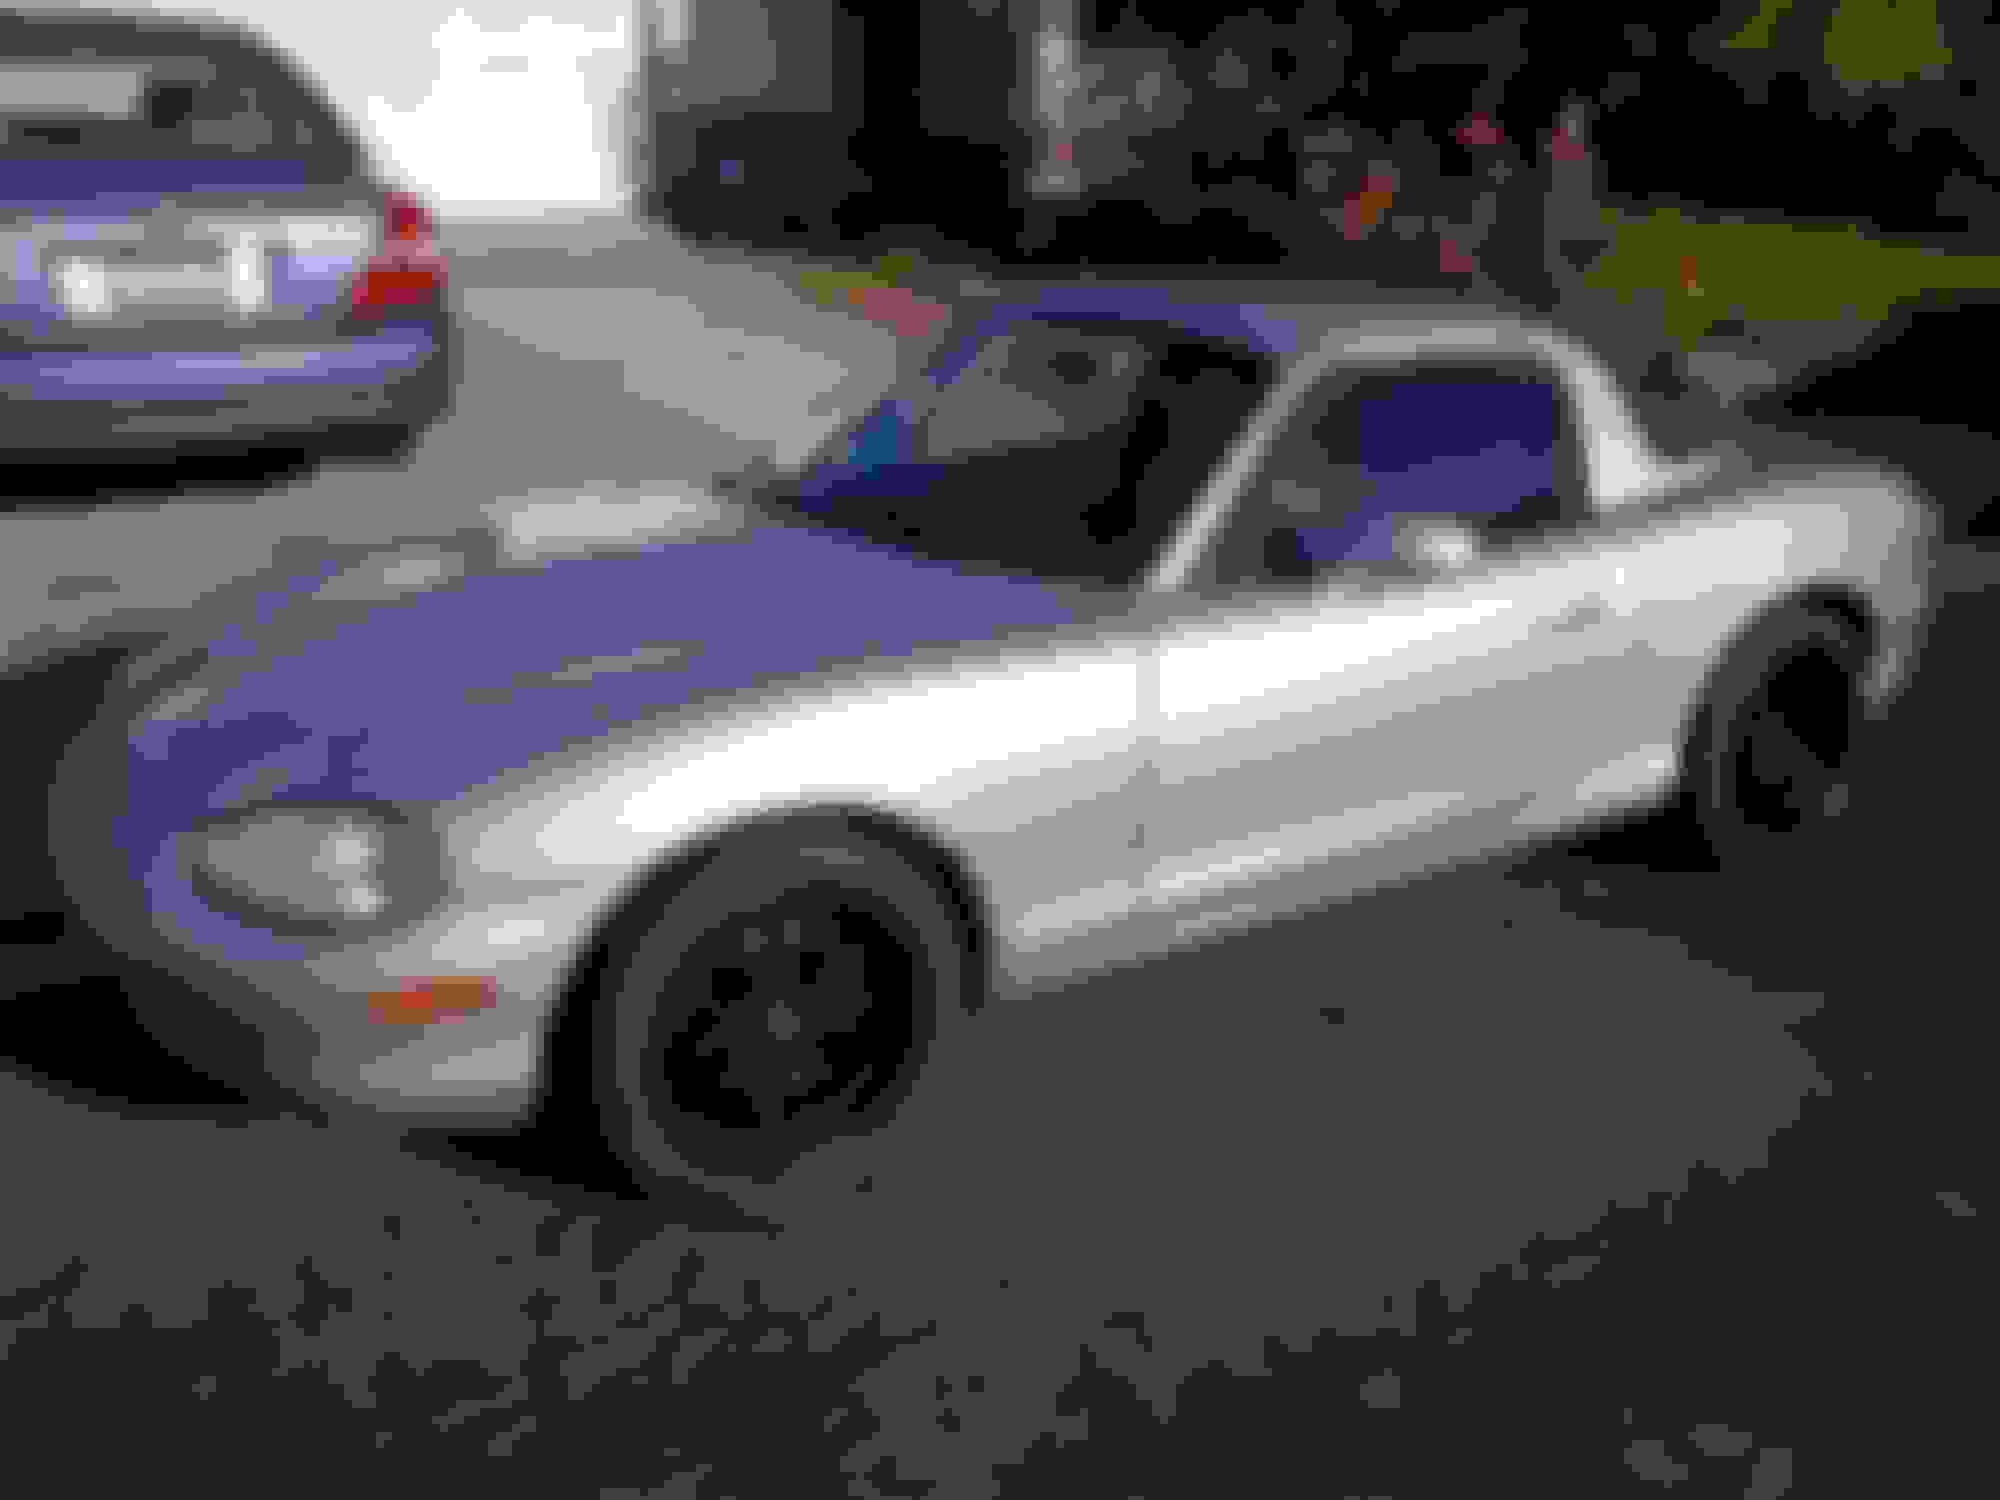
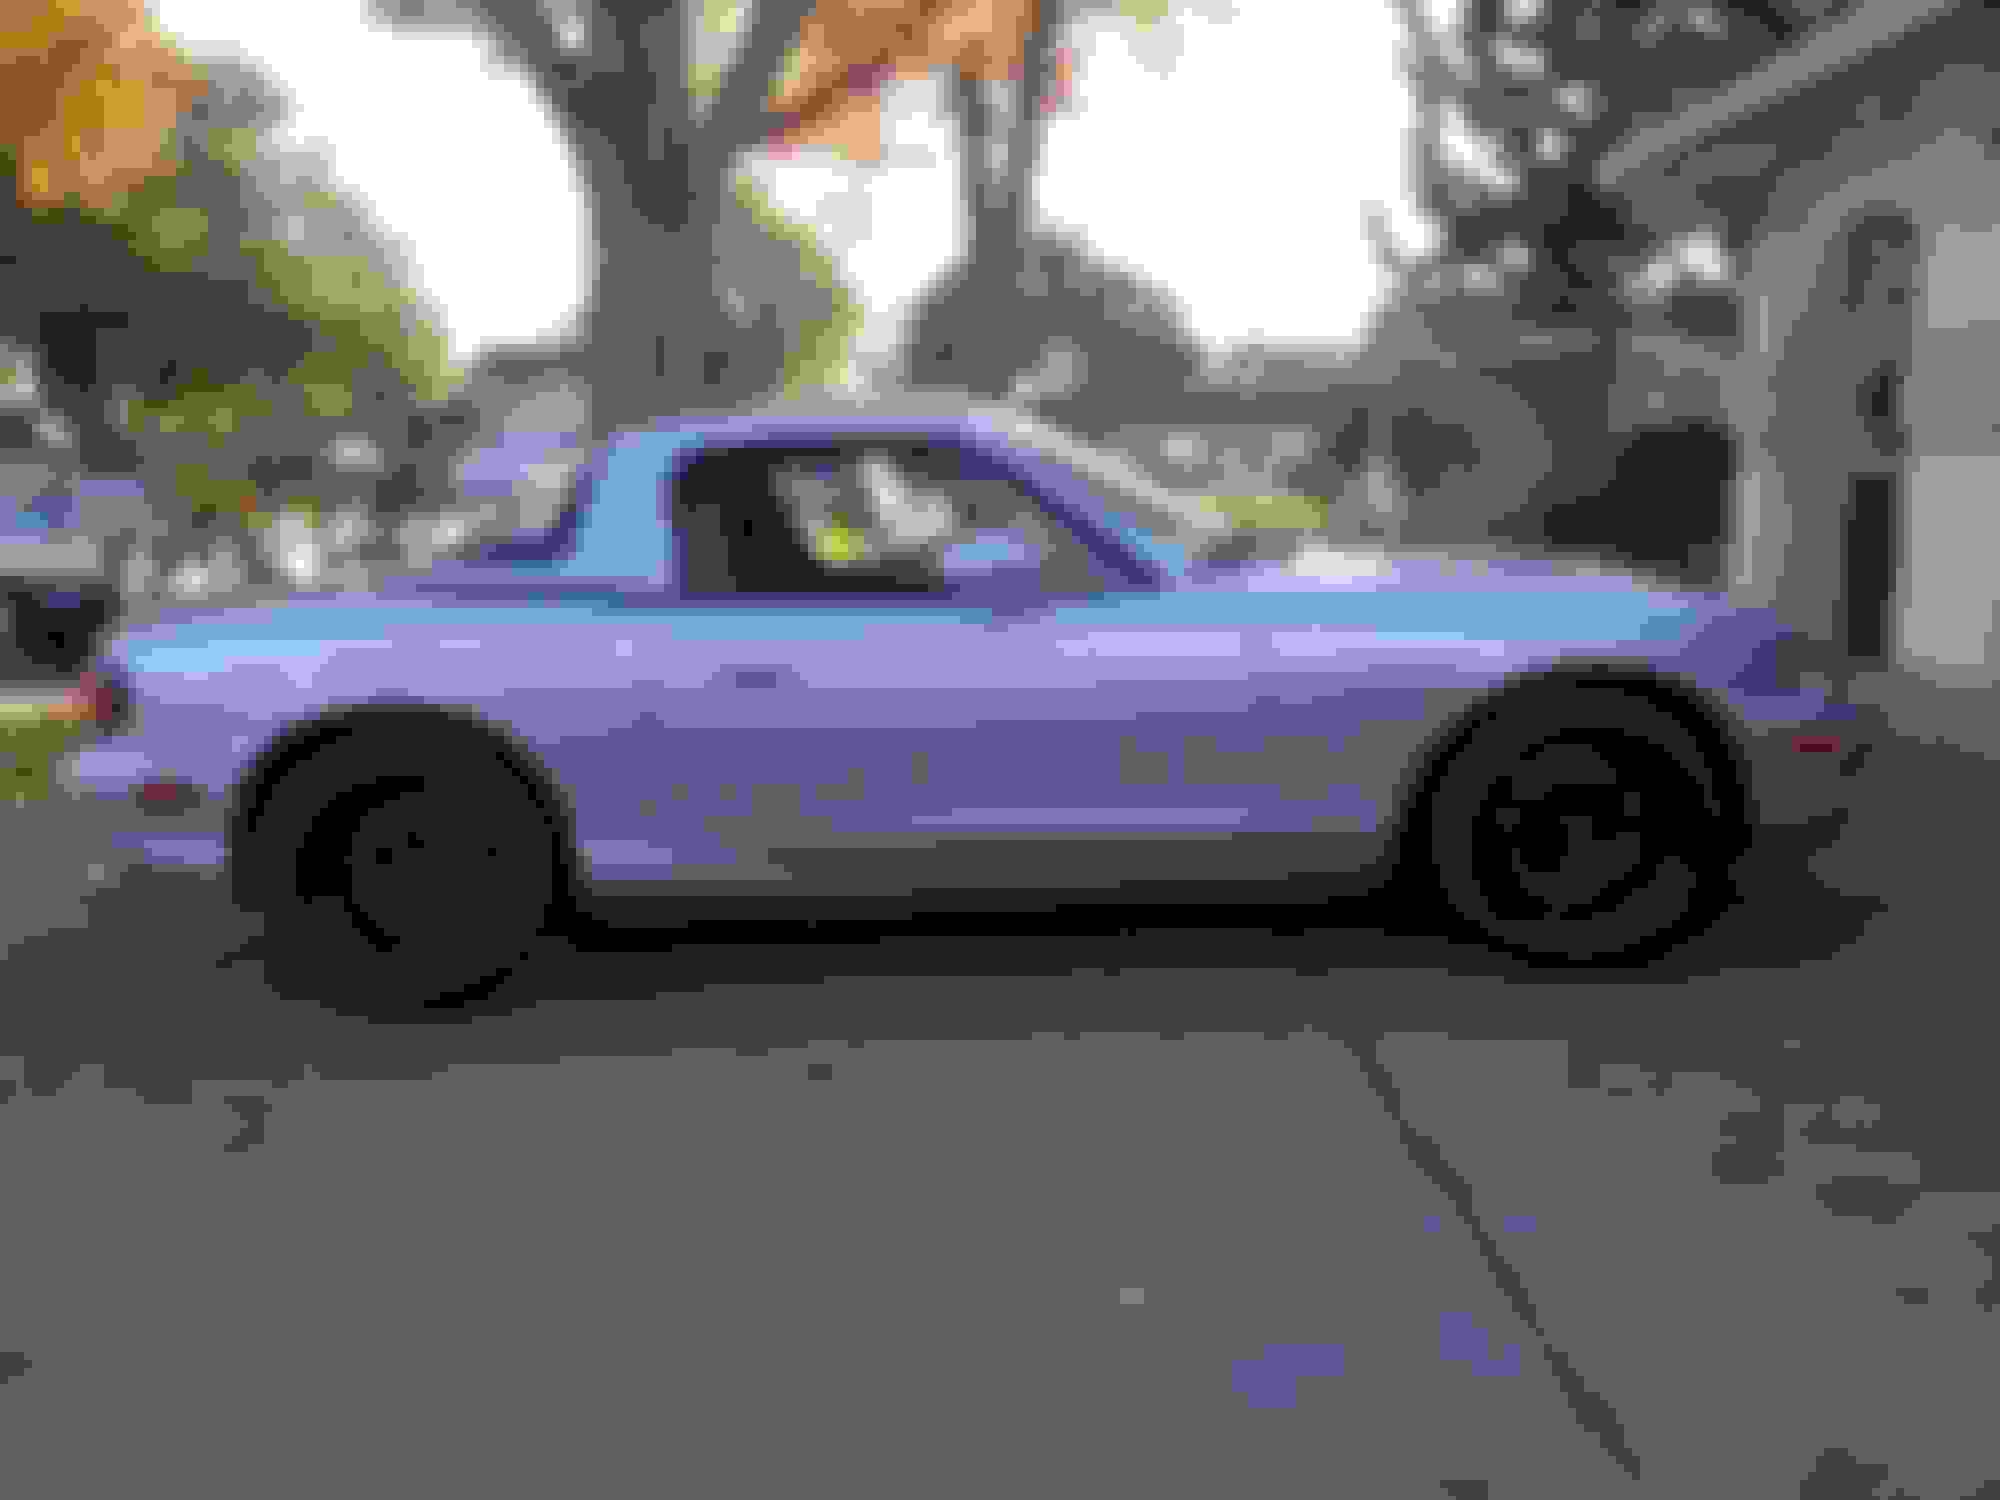
But it had a tired 1.6, and failing differential so I began scouring Craigslist for deals. I wanted a 1.8, and a Torsen. It was by luck that a NB1 popped up for a price I could not pass up. I quickly gave the owner a call, and the following week I was driving it home.
It had a 4.3 Torsen, matching hard top, and only 88k. I was in love. I swapped over as many parts as I could from the NA before it was sent away for scrap.
My plans were to make this a fun HPDE car where I could learn the basics, and not break the bank.
Last edited by Bryan Z.; 05-01-2018 at 06:12 PM.
Reason: Update build list
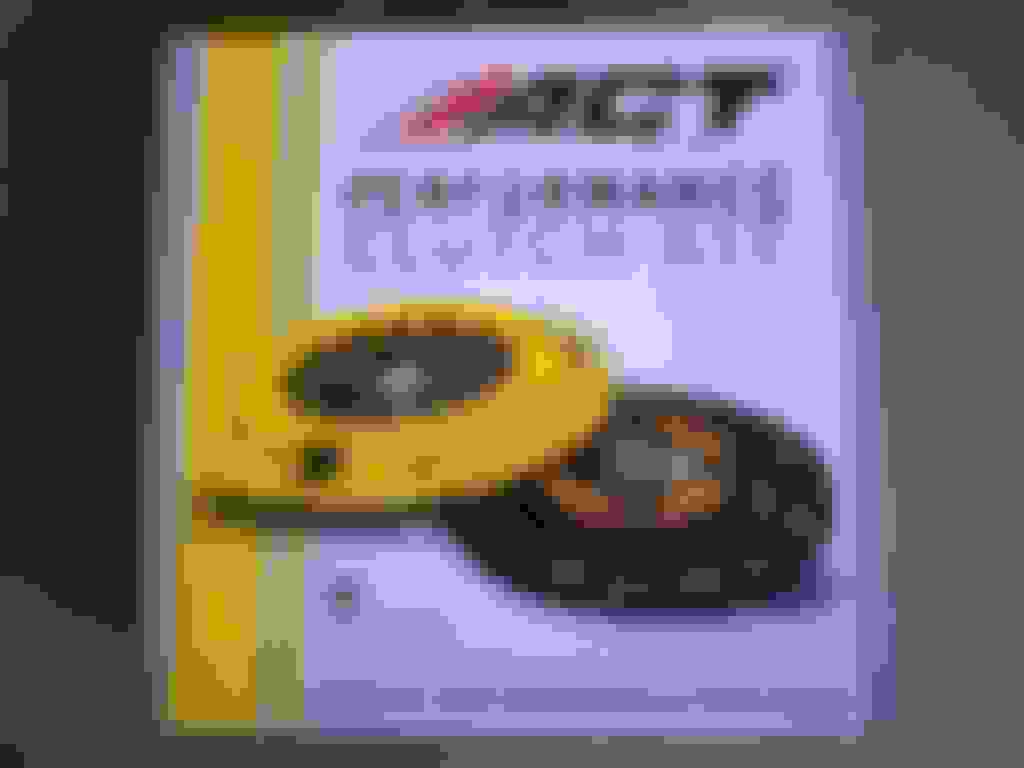
I swapped over my roll bar and began the maintenance the previous owner neglected. Timing belt, brakes and fluids were all first priorities. After having completed those, I could start to attack the car with parts. I ordered a new clutch, along with lightweight flywheel in hope that someday the car might see boost.
ACT HD
Fidanza 7lb
I had signed up with NASA, and was scheduled for my first track day at Sonoma. You could say I was a bit more than excited.
Last edited by Bryan Z.; 11-13-2017 at 08:31 PM.
Reason: resize photos
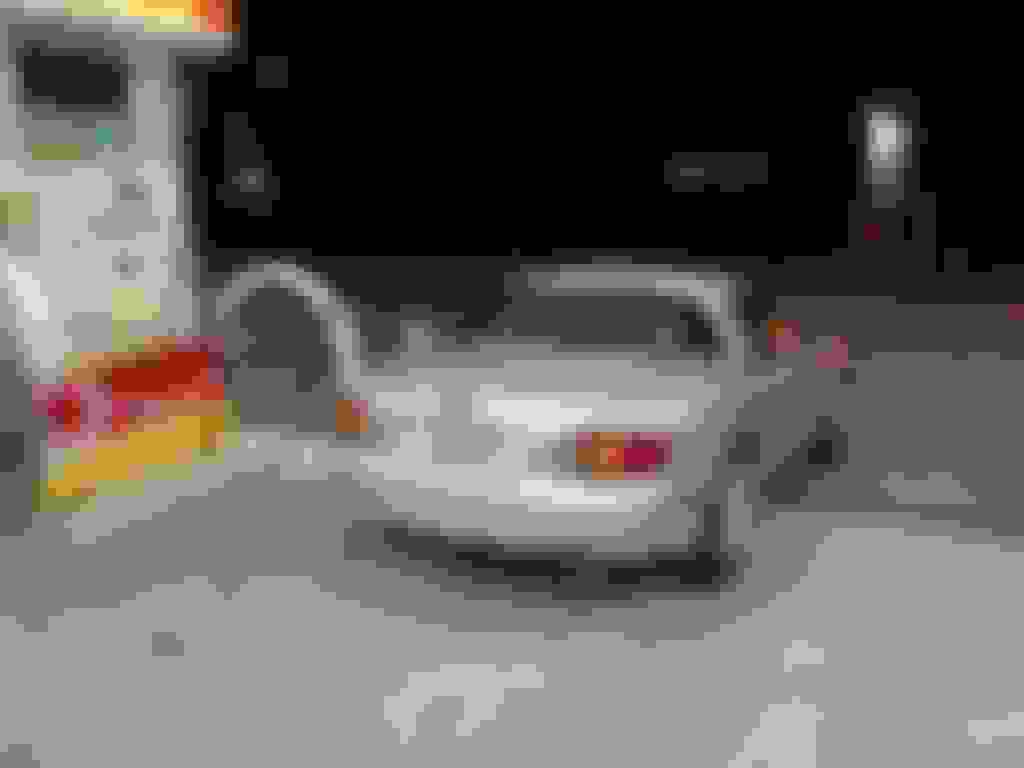
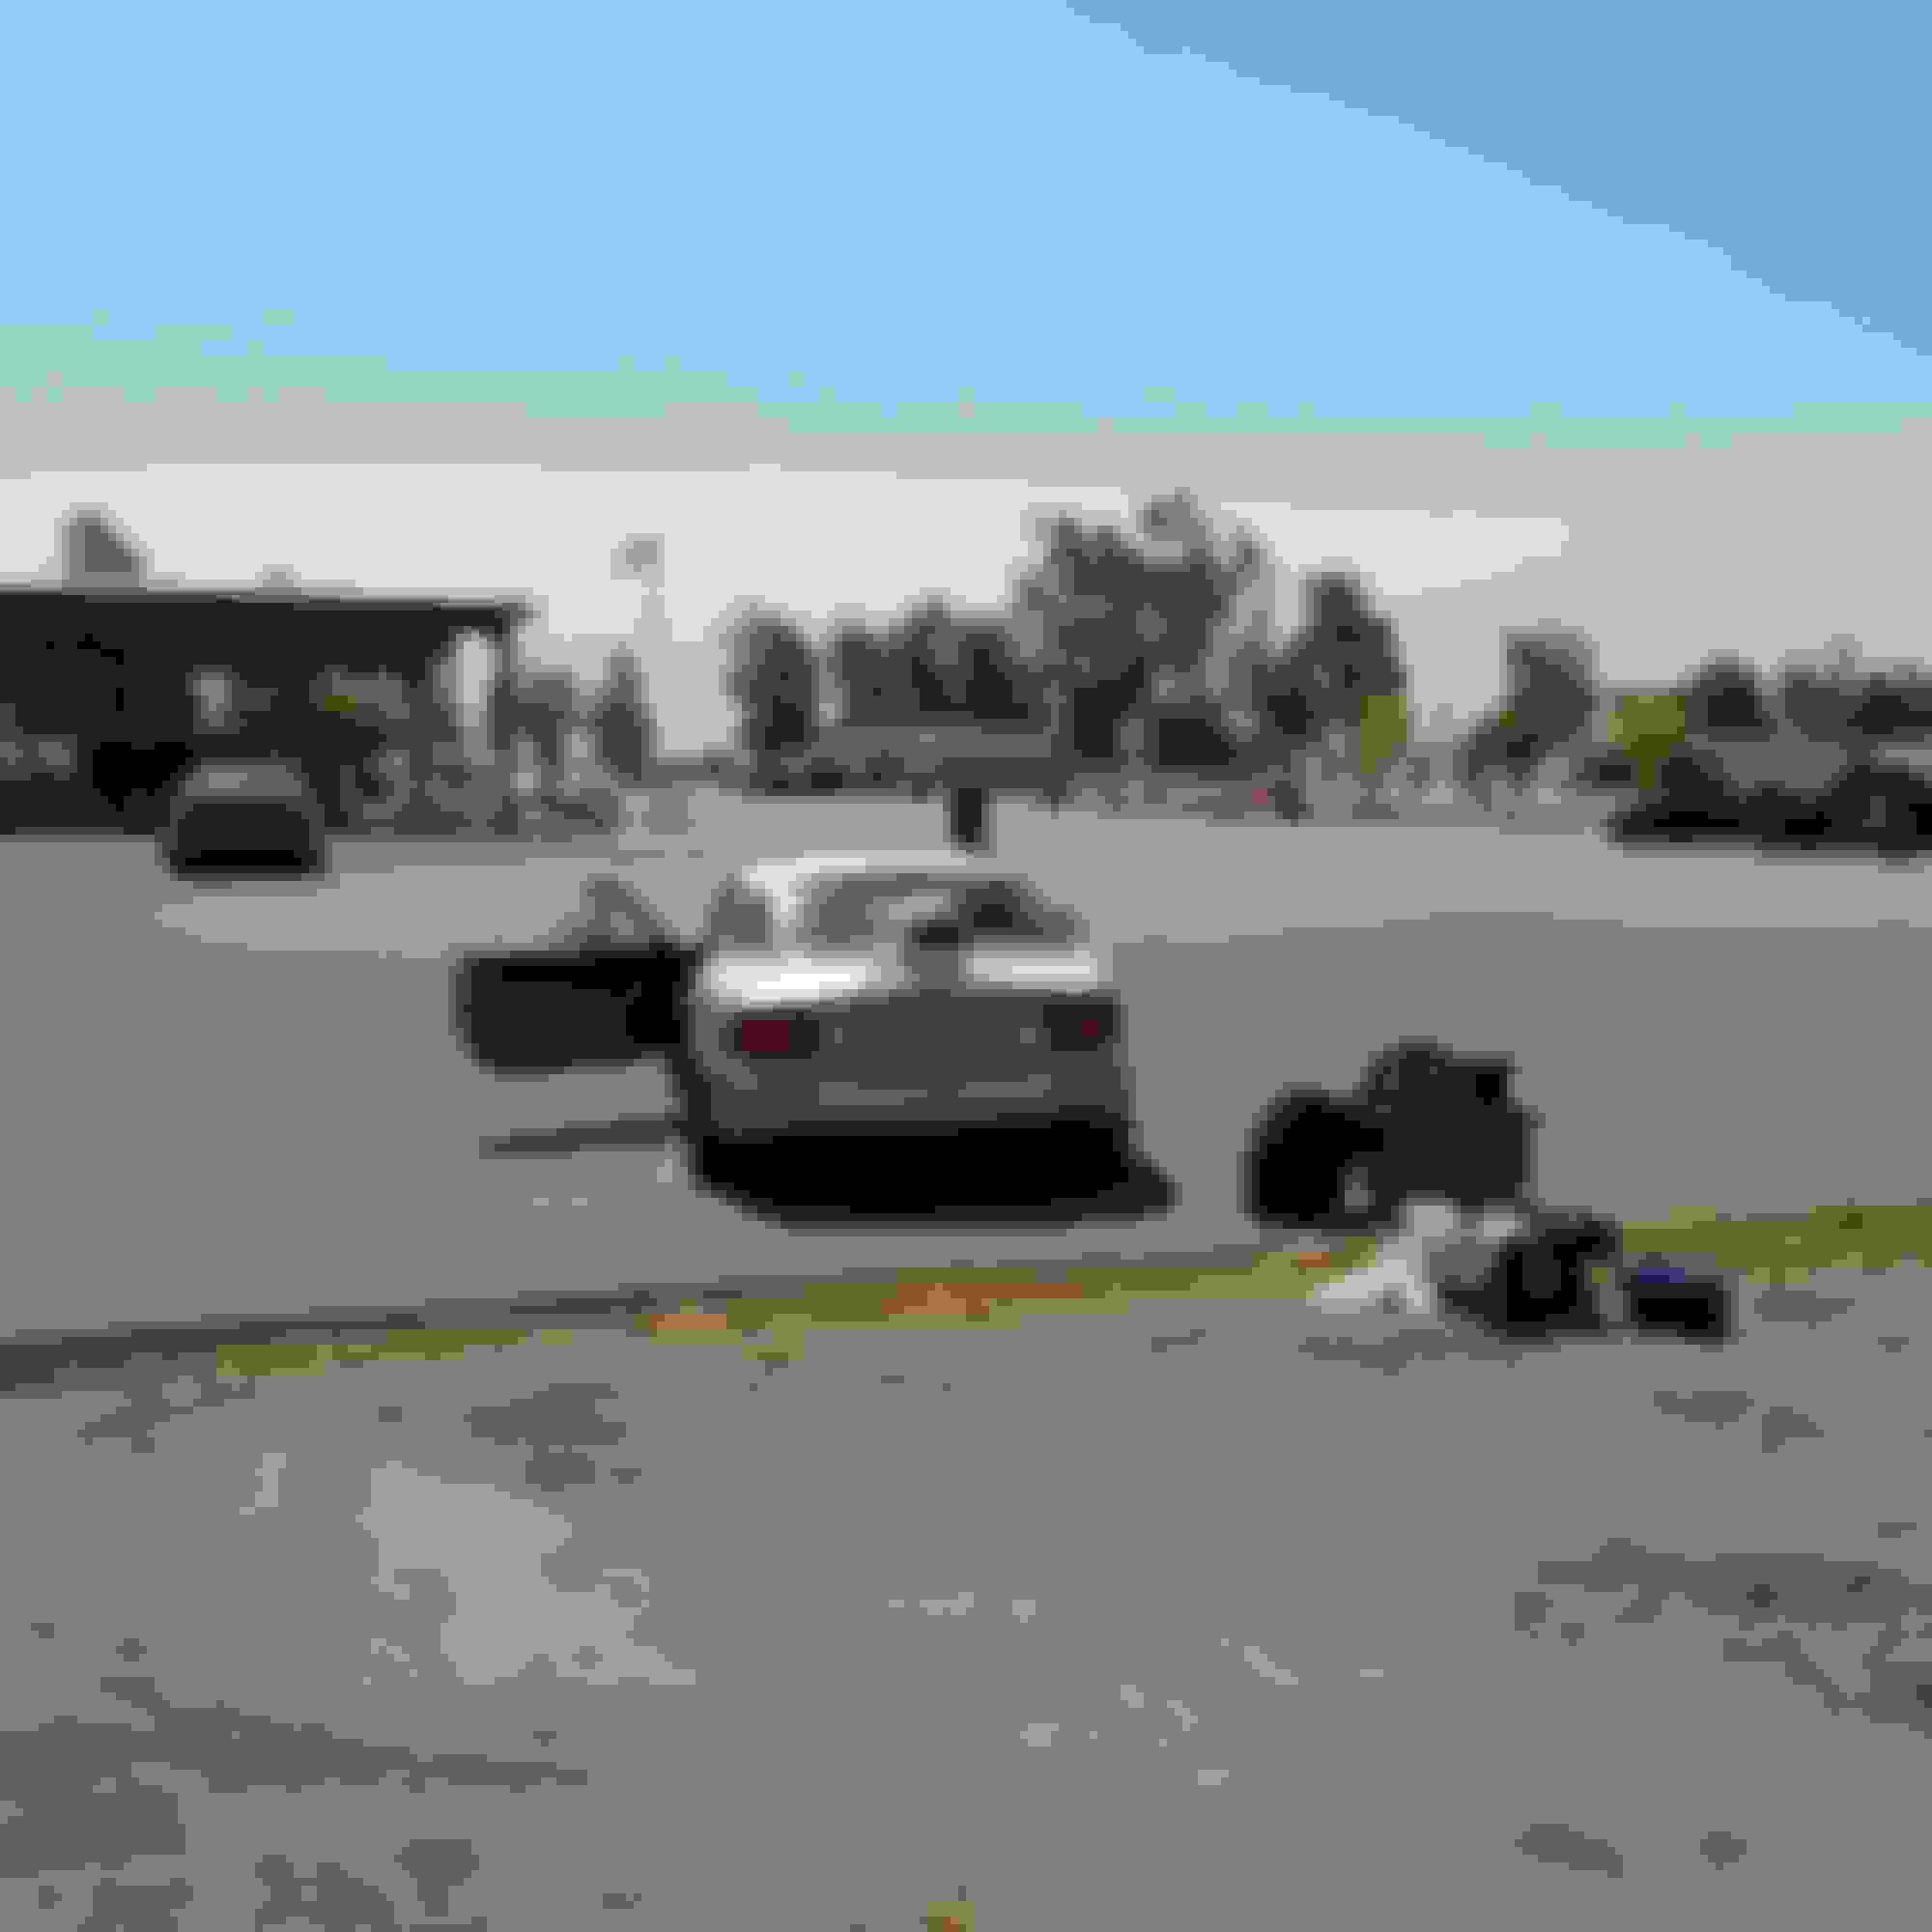
First track day at Sonoma, formerly known as Sears point. I could hardly sleep the night before due to excitement and woke up early ready to leave for the track. Packed the car making sure not to forget anything, and left before sunrise.
Filling up before getting to the track.
The drive up to Napa was a little over an hour but arrived two hours early, just to be on the safe side.
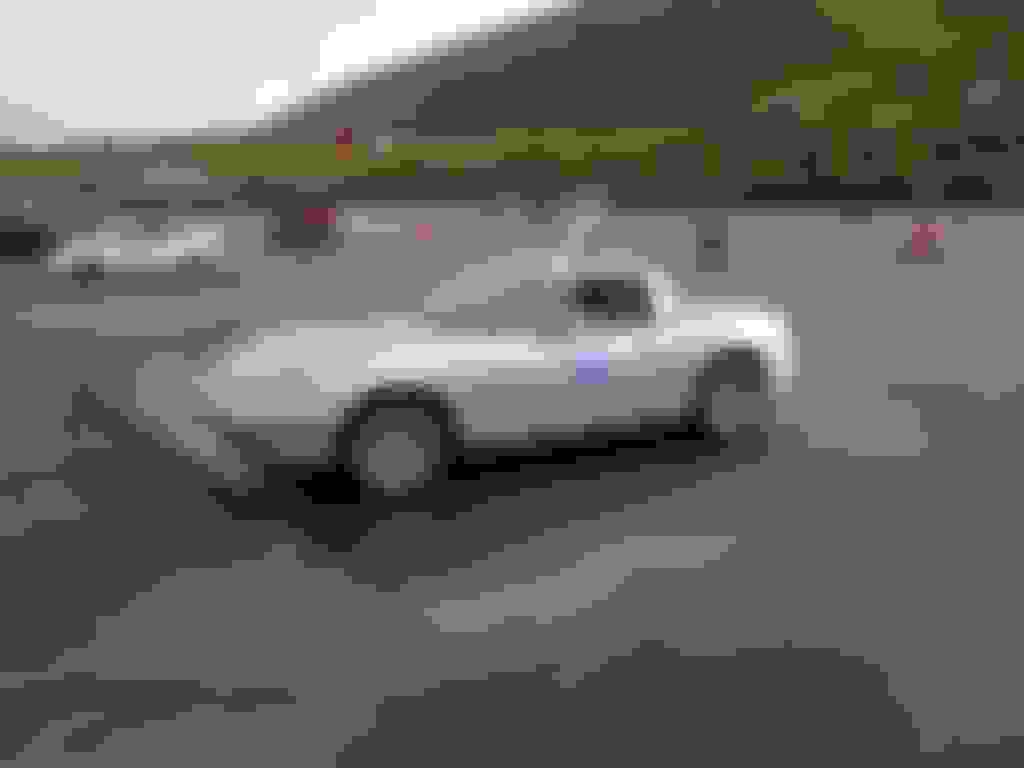
I was driving with NASA and met up with my instructor to discuss the plans for the day. I was excited to say the least but there was also rain predicted in the forecast. I would not let a little rain put a damper on my day.
The first couple sessions I tried to get acclimated to the track and focus on awareness and not stuffing it into a wall. My instructor was phenomenal and extremely helpful with any questions I had throughout the day.
By the third session it had started to rain and I could work on my car control. I was becoming complacent. In the final couple of minutes of the third session I locked up the front brakes into turn 7 and almost became acquaintances with the k-wall. Whew! The next session I told myself to calm down and focus on awareness and control rather than trying to drive above my skill level.
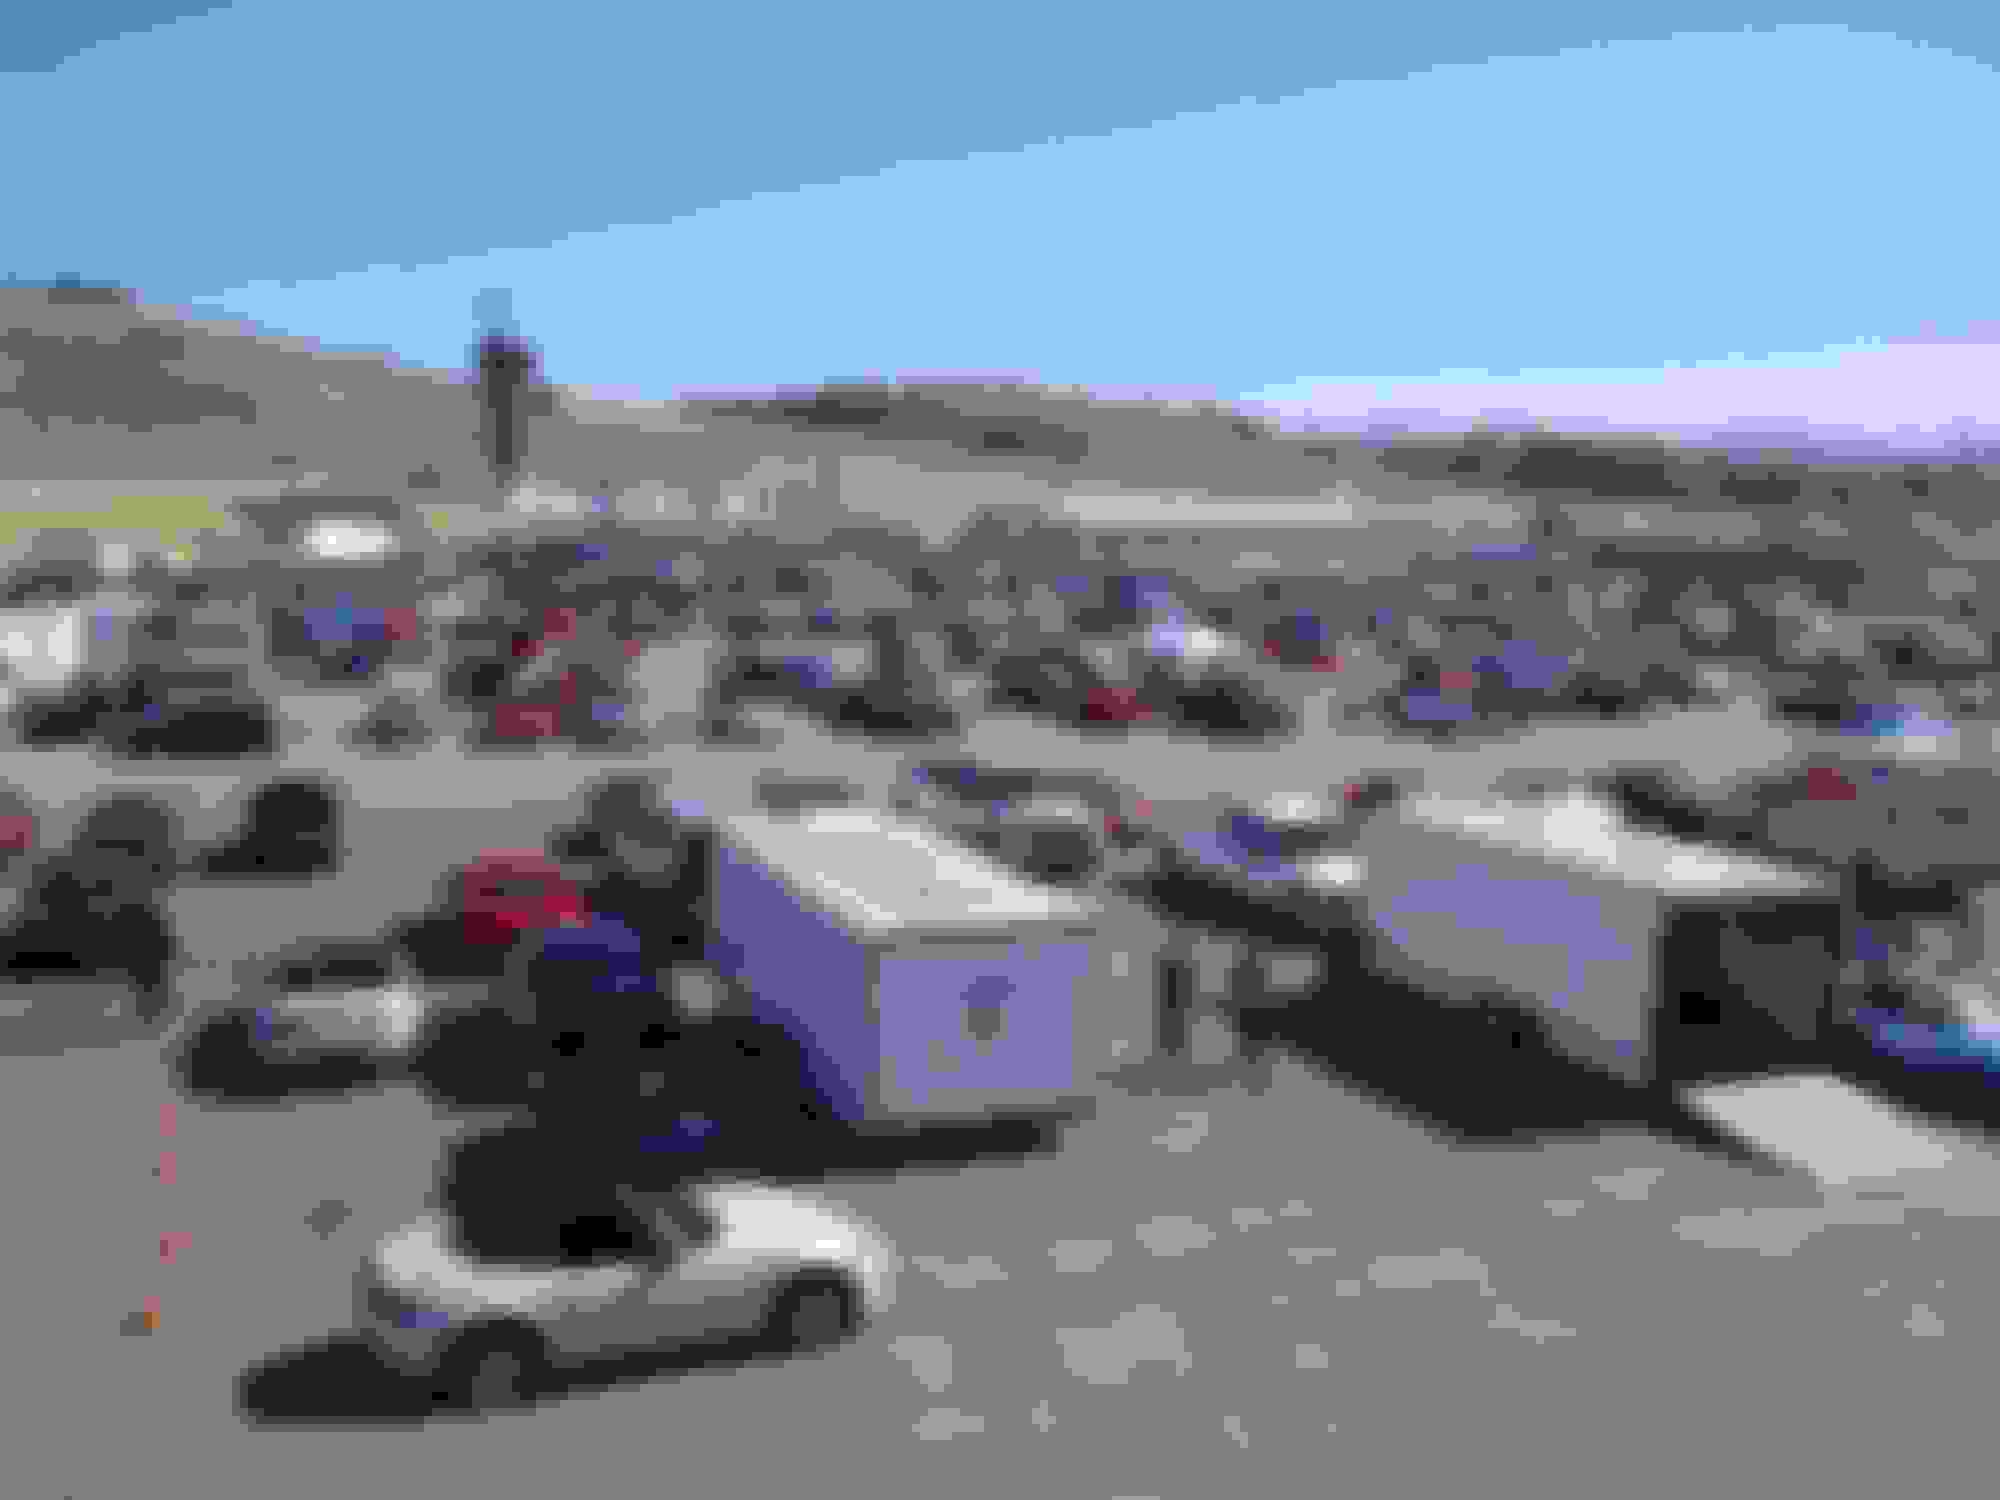
Parked behind the truck.
At the end of each session, I found myself with this idiotic smile I could not seem to wipe from my face. I had made it through the day with the car and more importantly myself, in one piece. I was already planning the next track day before leaving. I thanked my instructor for all his help, and said goodbye to some of the other drivers I had befriended that day.
End of the day, packing up for the drive home.
I was hooked.
Last edited by Bryan Z.; 11-13-2017 at 08:25 PM.
Reason: resize photos
Shortly afterwards was MRLS. I had a blast and had the opportunity to ride in some of the vendors' cars.
My friend was lucky enough to score an entire session in the KMiata towards the end of the day Sunday.
After the ride alongs I quickly became blown away by the amount of grip they could generate in the corners. I decided I too wanted to join in on the action. After a few track days on my all seasons and Kosei's I wanted more tire.
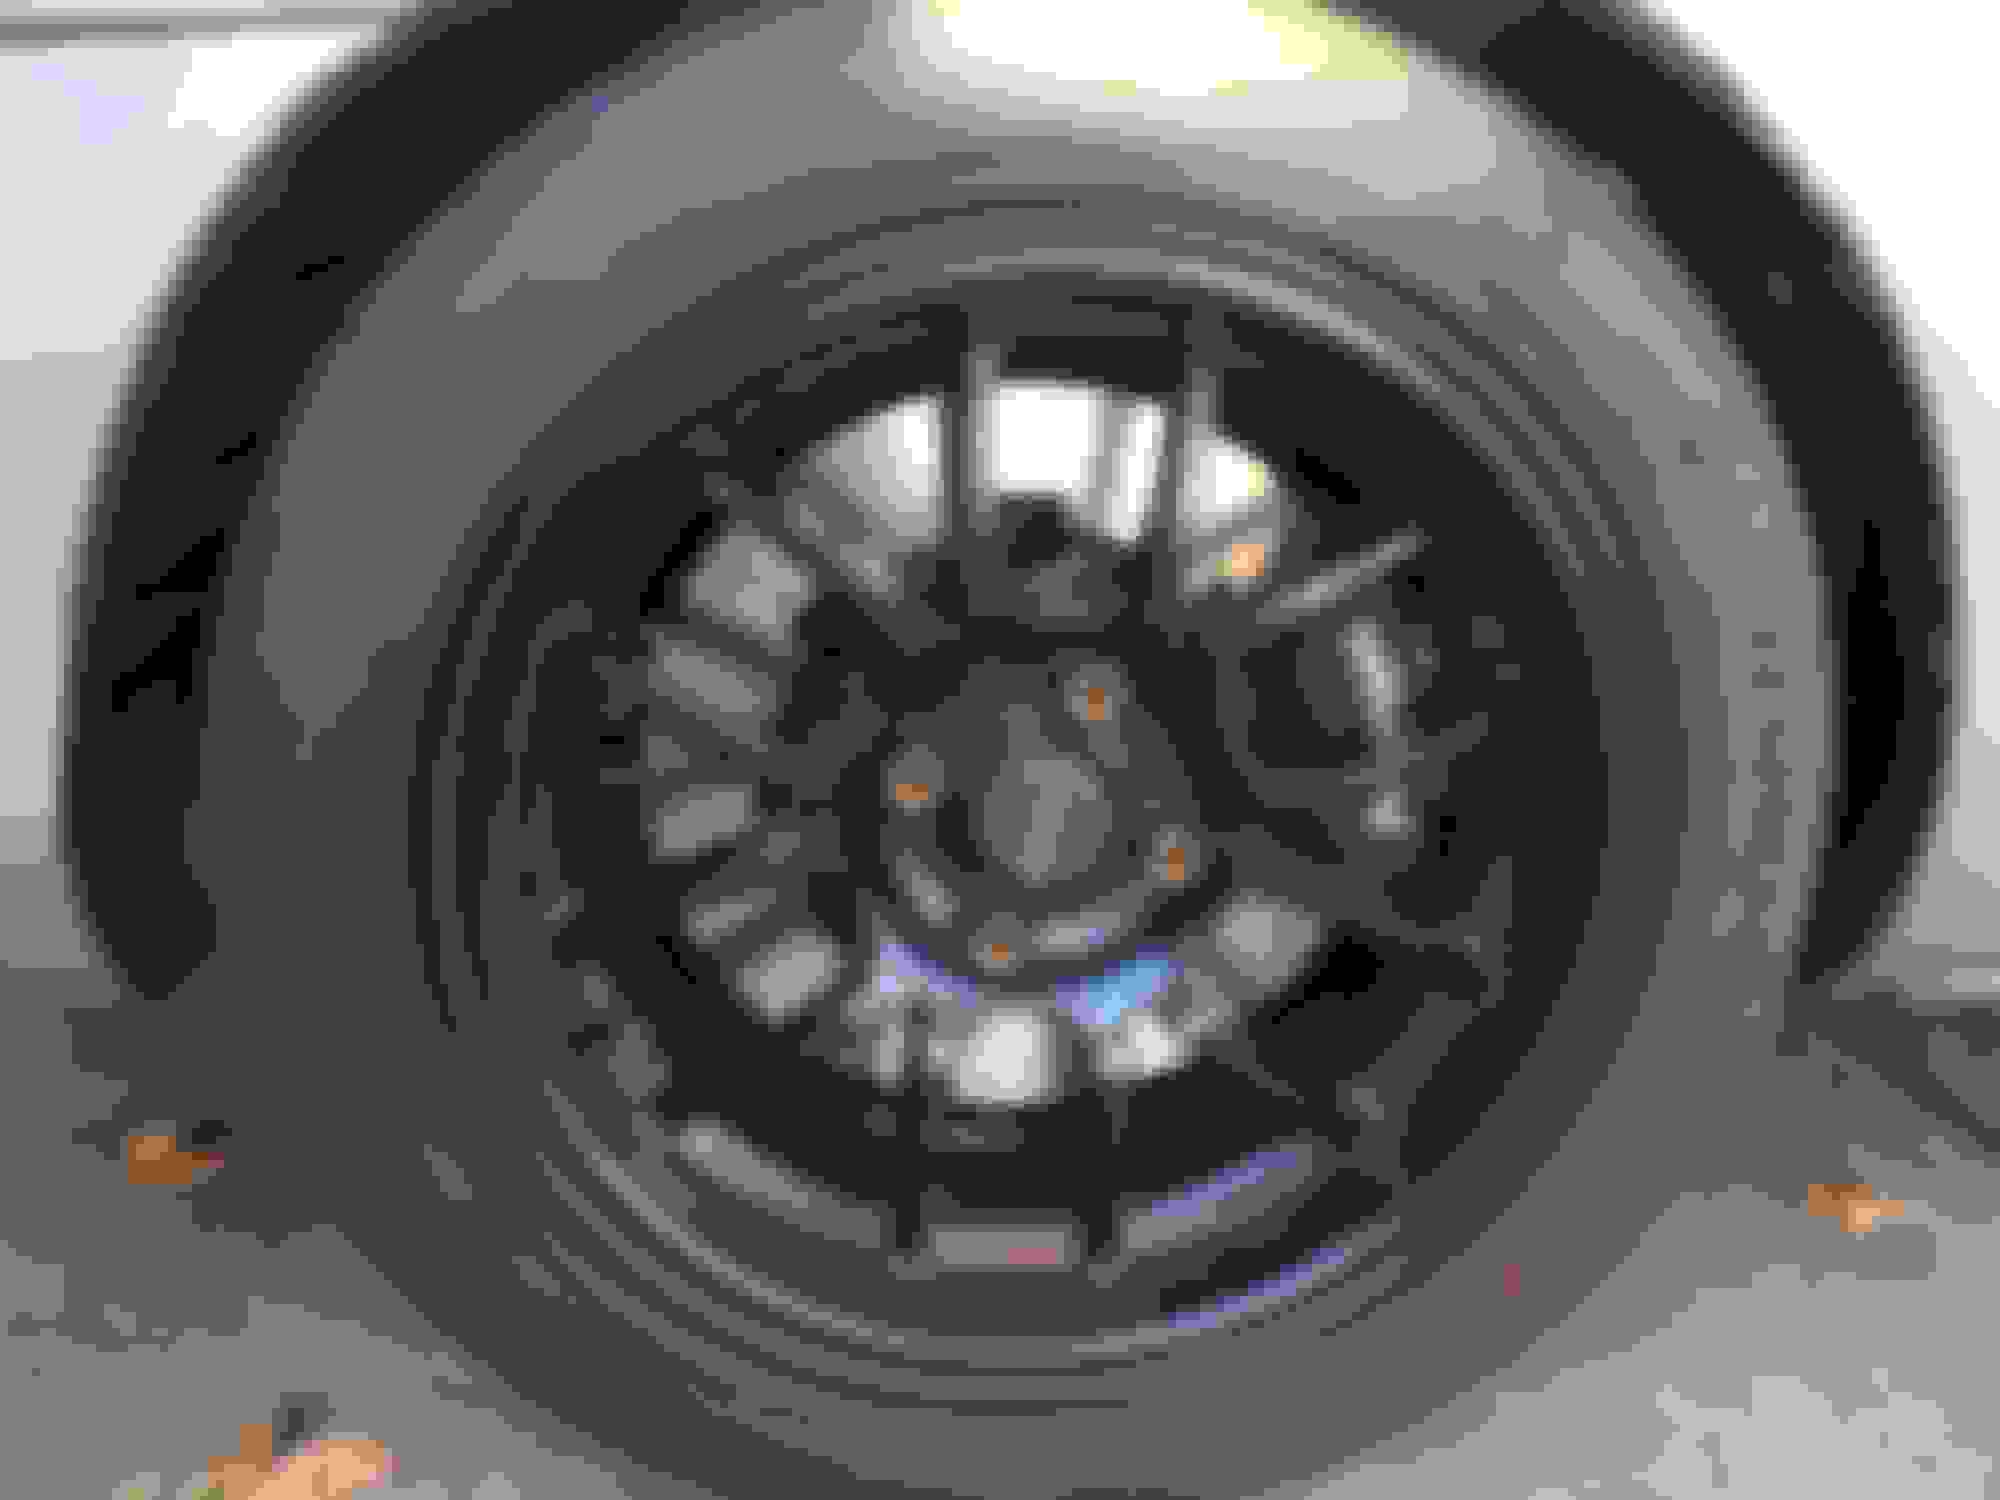
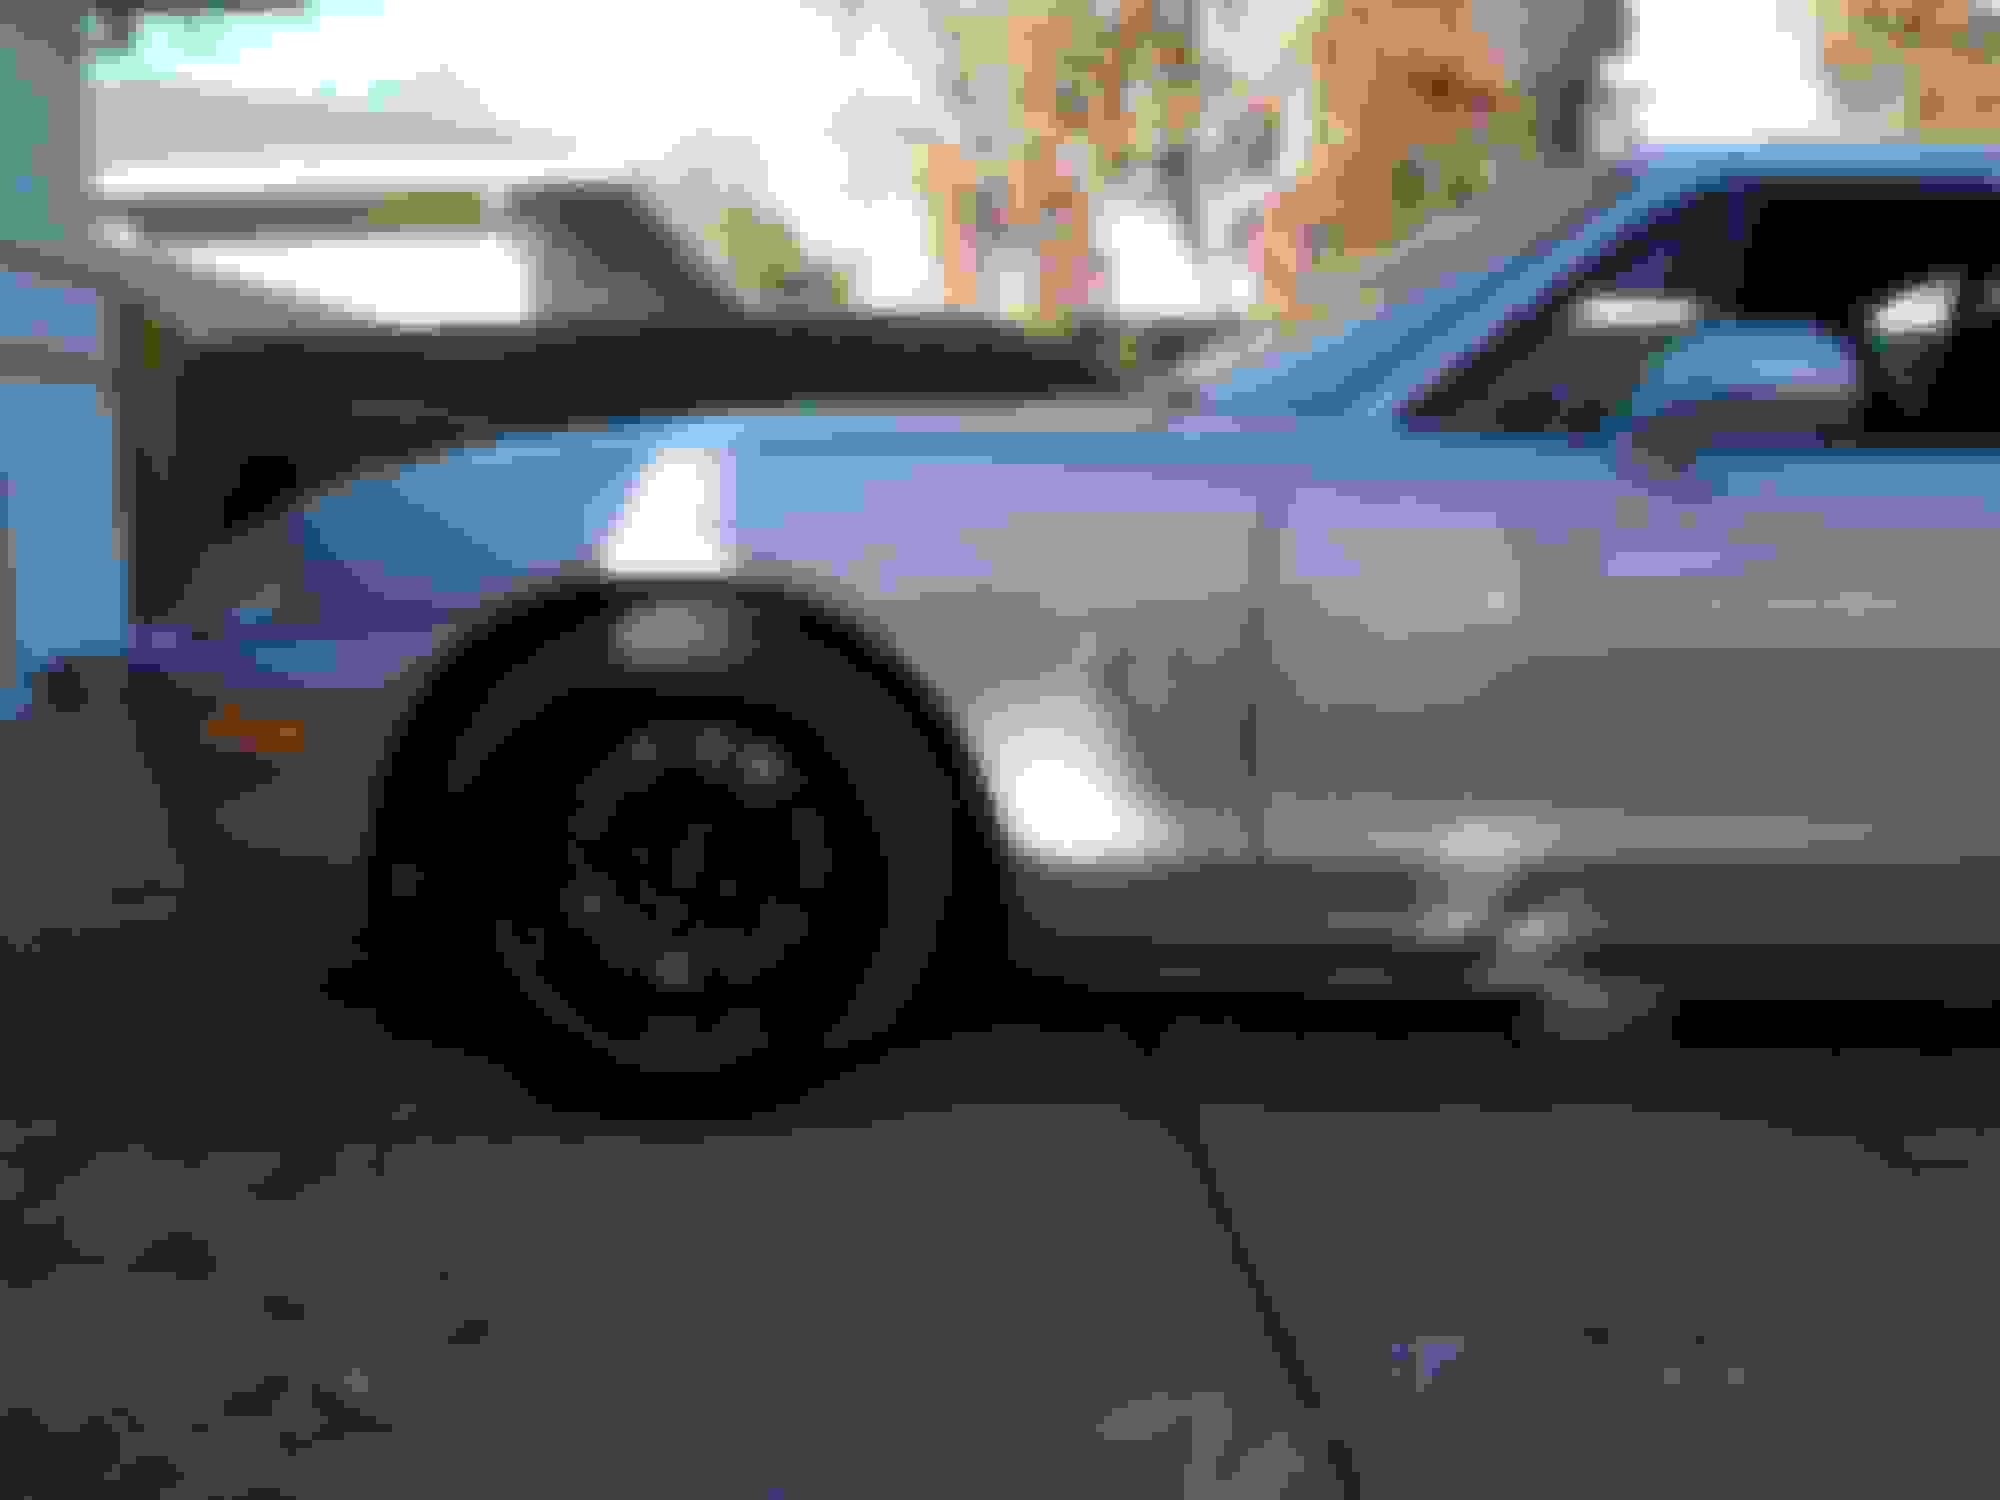
Naturally I went with the tried and true 15x9 6UL's wrapped in RS3s.
Sitting pretty in the living room.
Mounted and balanced
And installed
Last edited by Bryan Z.; 04-09-2018 at 02:38 PM.
Reason: Added picture
My next track day was again with NASA, but this time at Thunderhill Raceway park. I had only ever passed through the town of Willows, and did not have the slightest clue that there was a race track tucked behind the farmland, a few miles off the I-5. It was also the end of August, and a few people had warned me it was going to be hot. However I was not prepared for just how hot.
The forecast predicted it was to be 105 ambient.
Never again.
At the time, I still had the stock cooling configuration. Although the previous owner had replaced the radiator, I was still wary of overheating, so I kept a close eye on temps the duration of the weekend. Most eager to try out my new wheel and tire setup I somehow shrugged off the sweltering heat. With all of the new found grip of the summer tires, I began pushing the car harder and harder. I was also pushing myself and my little to no skill. I could also brake harder and later then ever before, and discovered I was able to cook my stock pads and fluid by mid-session. Come the end of the session I found I too was exhausted after only a brief 20 minute session due to the heat.
I found my next round of upgrades, address cooling and braking needs.
And despite the heat, it was another great weekend spent at the track.
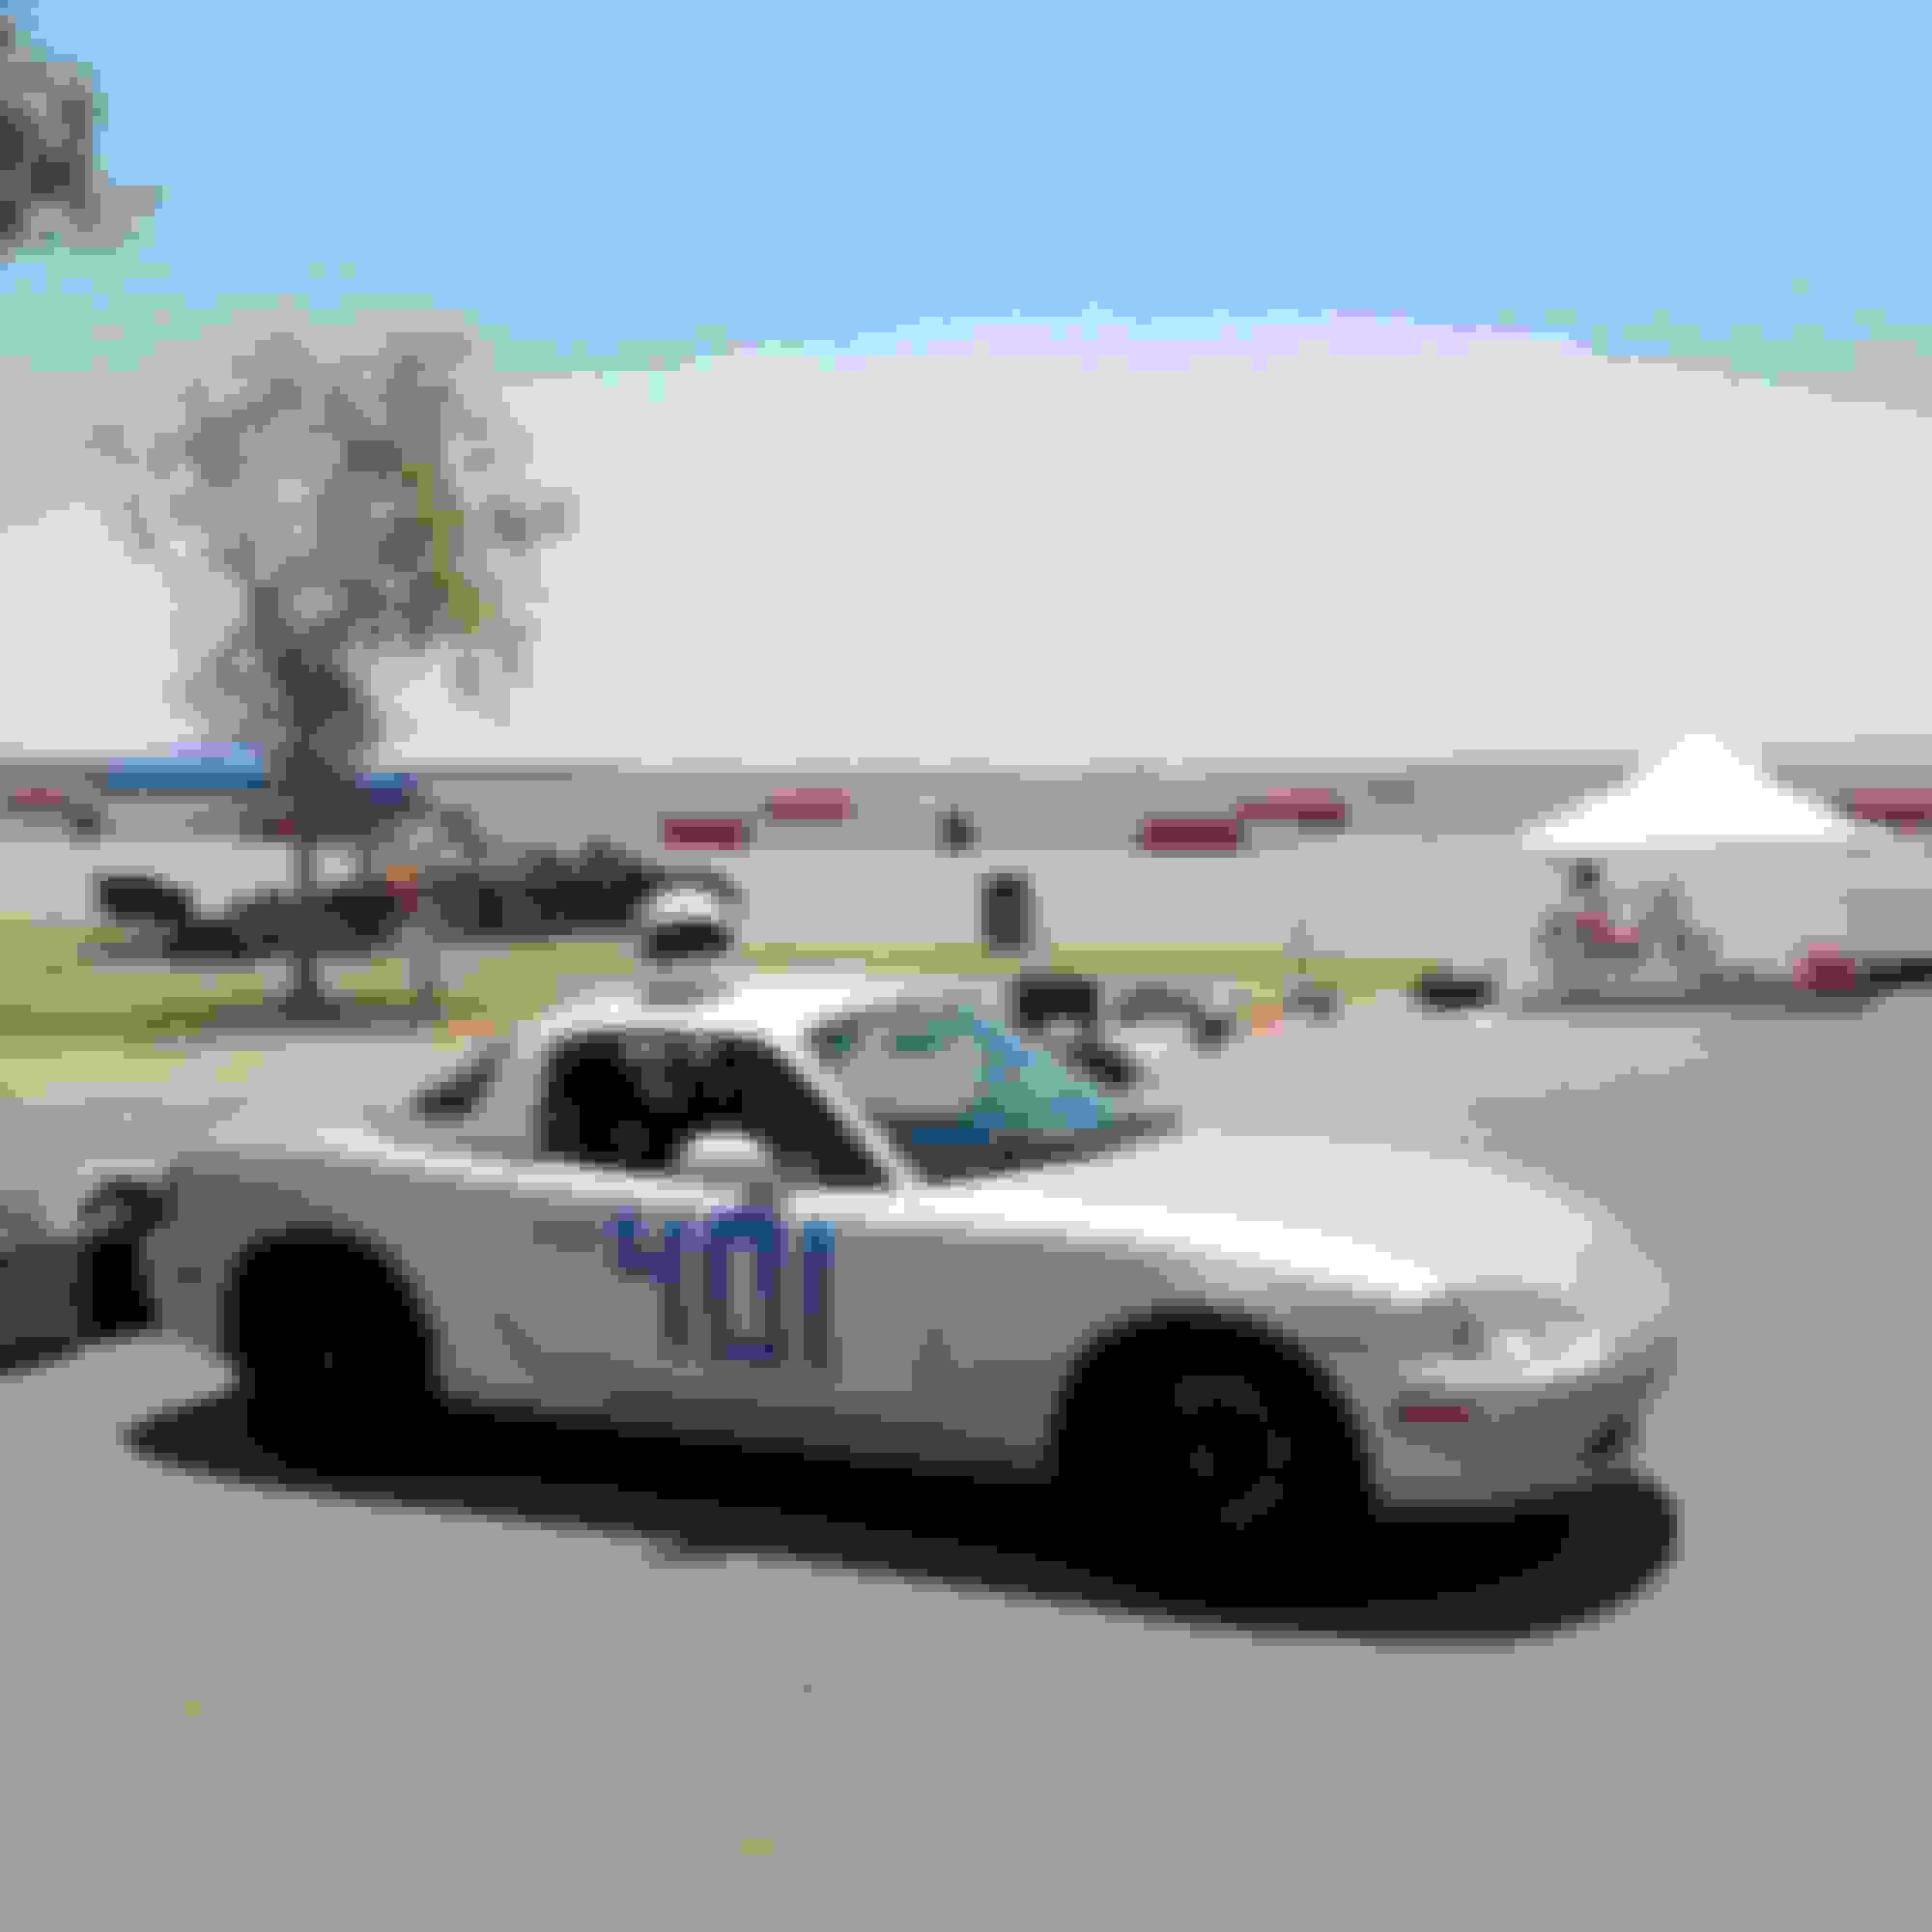
41.
And to end the weekend, the guys at NASA cooked up a delicious, and free barbeque for all participants.
Mmm.
Last edited by Bryan Z.; 11-13-2017 at 08:10 PM.
Reason: spelling
My next purchase was a radiator and a way to monitor coolant temps.
949 Crossflow. Almost too pretty to put in the car.
I also picked up an AEM gauge with a Garage Star sandwich plate.
K&N Intake. Much noises.
I placed the gauge in the drivers side eyeball vent so I could keep a closer eye on temps whilst out on track.
I had also planned to do a reroute at the same time but never got around to actually ordering the M-tuned kit. I'm glad to have held out, as the new Qmax reroute looks to be superior in every way.
Last edited by Bryan Z.; 11-13-2017 at 08:36 PM.
Reason: resize photos
With plans to start regularly tracking the car I wanted to do something about the brakes. I gave Andrew at Trackspeed a call looking for advice. Starting with a fully loaded NB, having passengers in the car, and knowing sometime later I will be wanting to add power I wanted to make sure I would be able to stop first and foremost. I ended up springing for the 11.75 TSE kit with M-Tuned bracket and sport rotors in the rear along with a prop valve.
G-Loc R8 pads all around.
I also opted to go with the unassembled kit thinking that it would be a good idea to learn to safety wire the rotors myself. Originally thought I could twist the wire without the need for safety wire pliers, and oh how wrong was I. I hopped on Amazon and ordered a pair of pliers.
First attempts.
Eventually I got the hang of it and finished wiring both front rotors. I installed the fronts along with fresh hubs and extended ARP lugs. It was quite the weekend project.
Speed-shedding goodness.
Installing the rear brakes required using the M-tuned bracket to reuse my 1.8 calipers on a new sport rotor. I fought a bit with the rear parking brake cable but everything bolted up.
After finishing with the meat of the install I then began to install the Wilwood proportioning valve. This turned out to be a nightmare. After bending the hard lines and removing the OEM piece, I snugged down the few remaining fittings and snapped one of the brass adapters going from the line to the valve itself. Looks like I was to be installing it at a later date. I quickly reinstalled the original and bled the brakes with ATE 200.
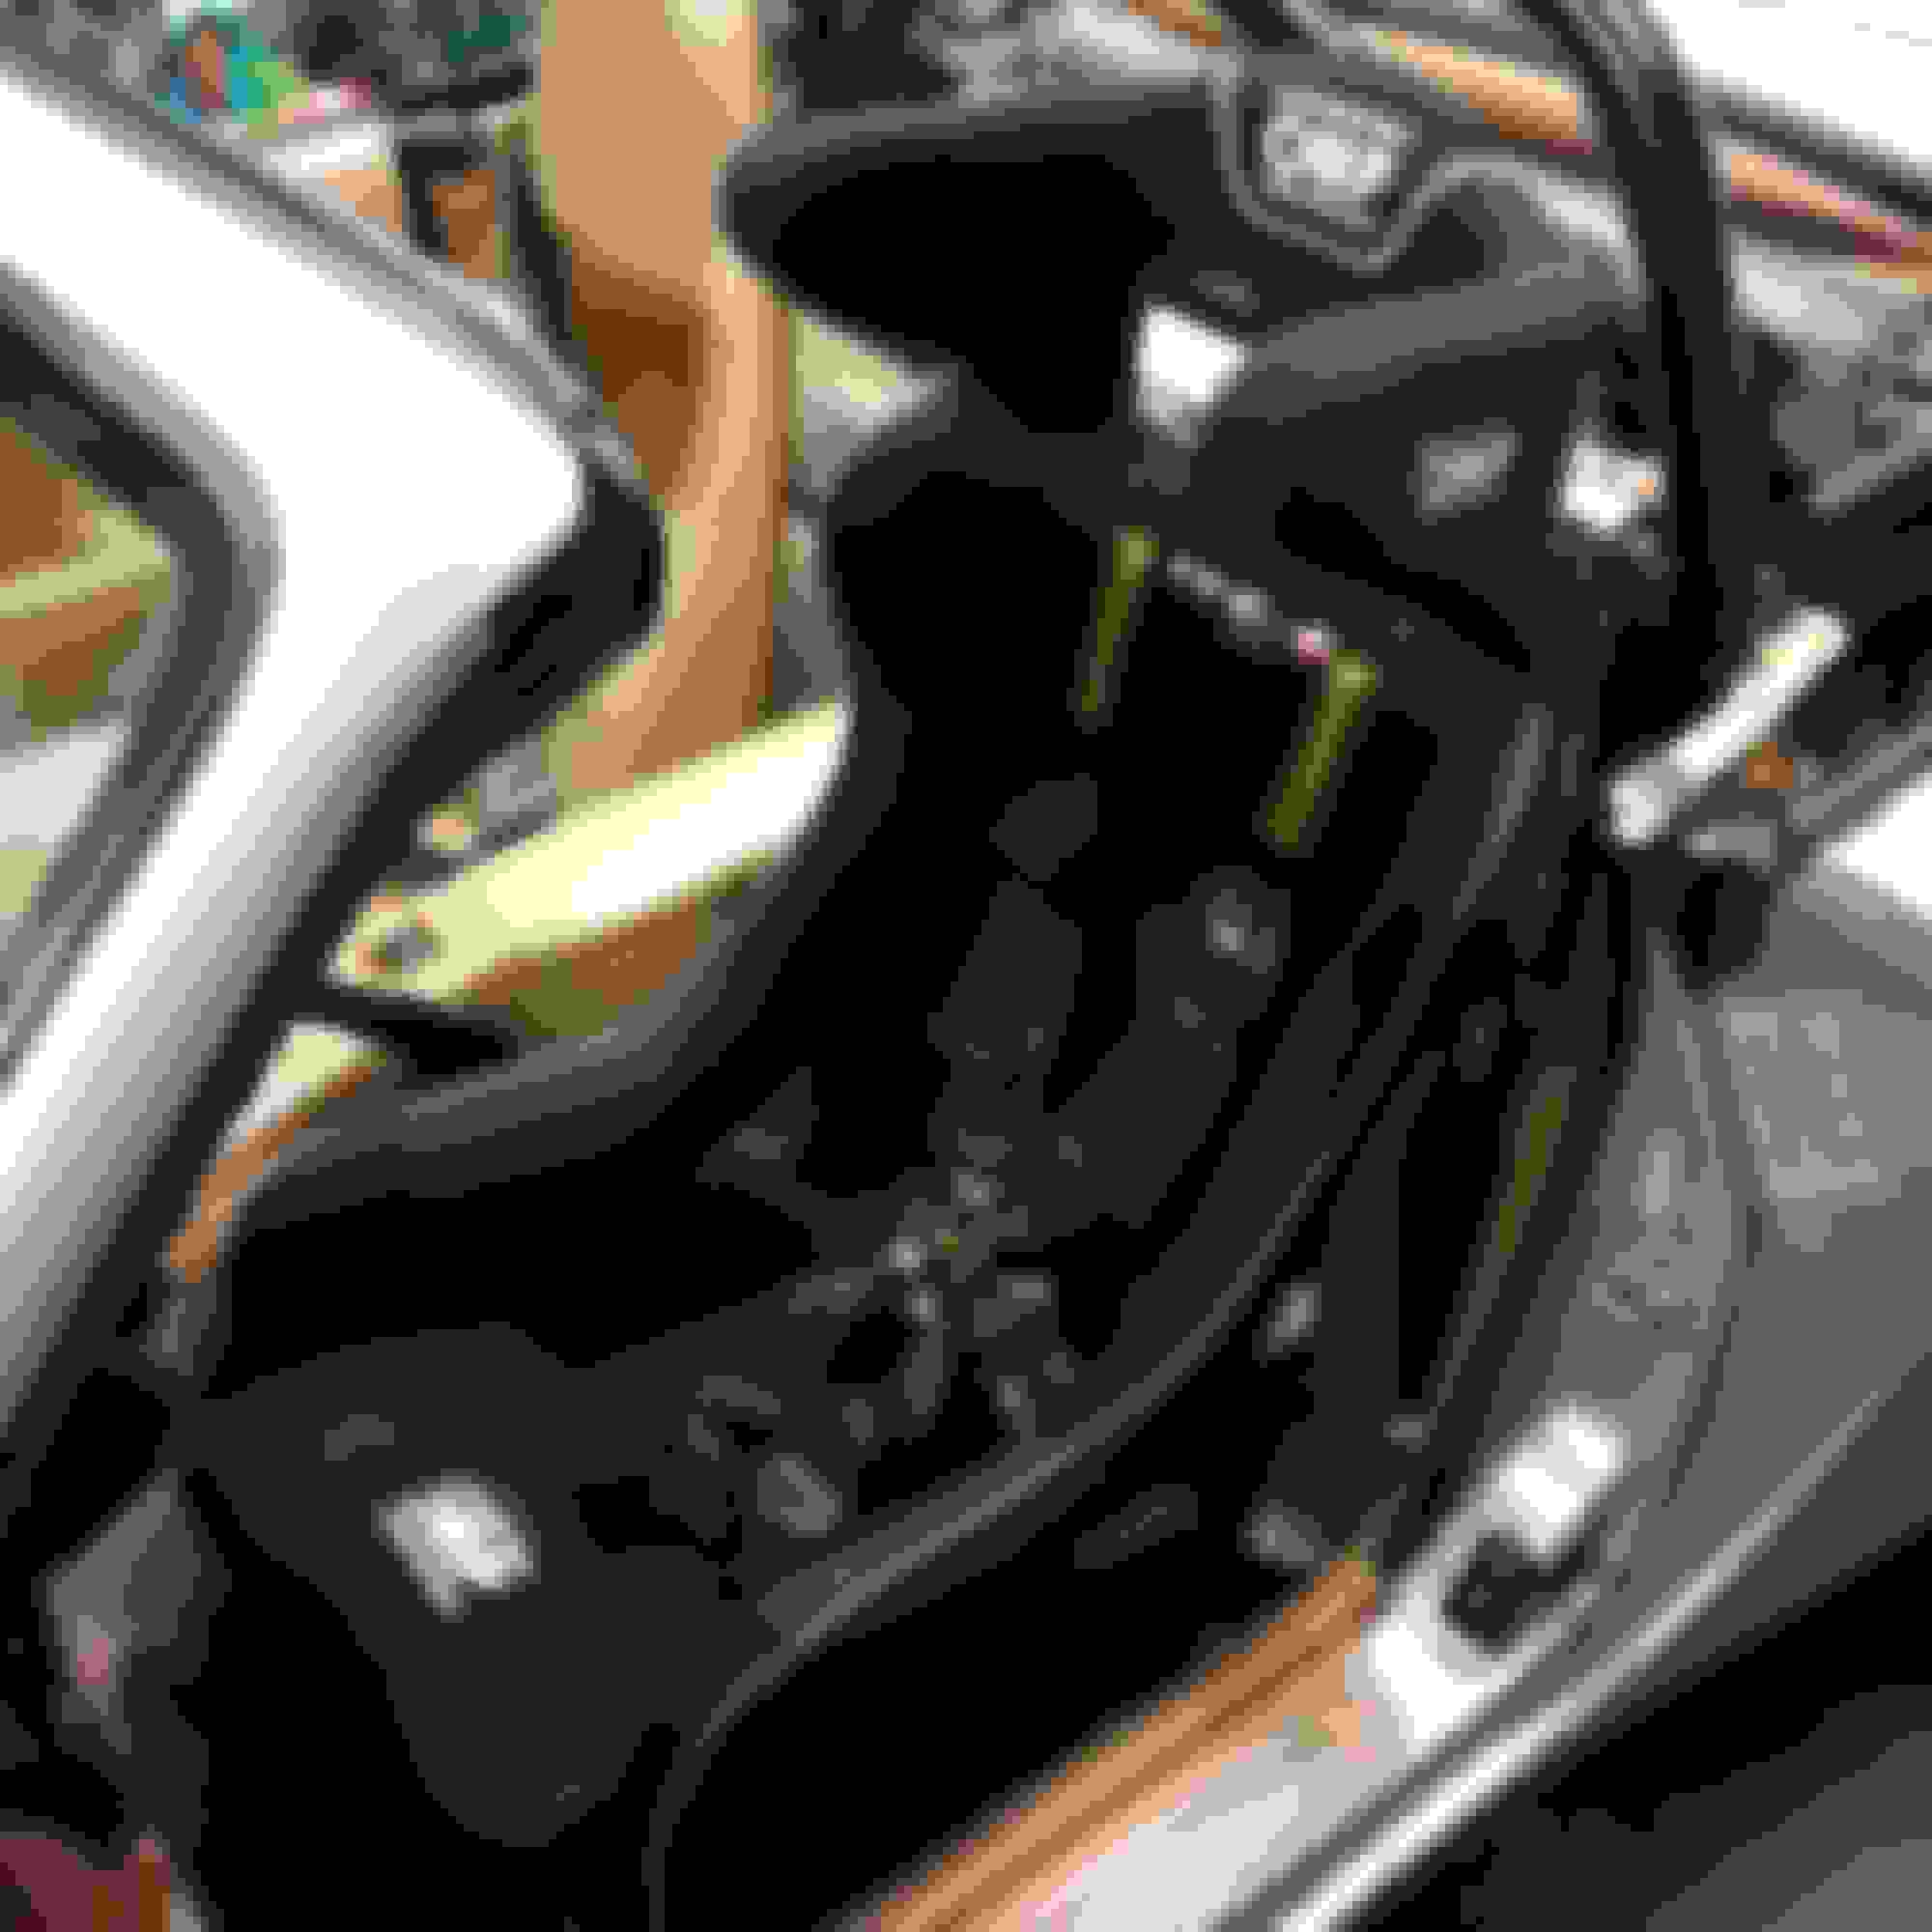
On to the interior. After reading the safety flow chart, I began looking more into safety. I wanted to find a seat that I could use on the street, and another I could swap in before a track day. Having struggled in the past to find a bolt in solution, I started shopping around. I heard nothing but good things about the PCI mounts and found that they only needed a slight massage of the transmission tunnel. PCI Ver. 2 ordered. I got to work on fitting the bracket my hammering the trans tunnel. I used a large hammer and it took me about half an hour of persistent hammering. I now know that a 12 lb sledge makes quick work of this.
Mount mounted.
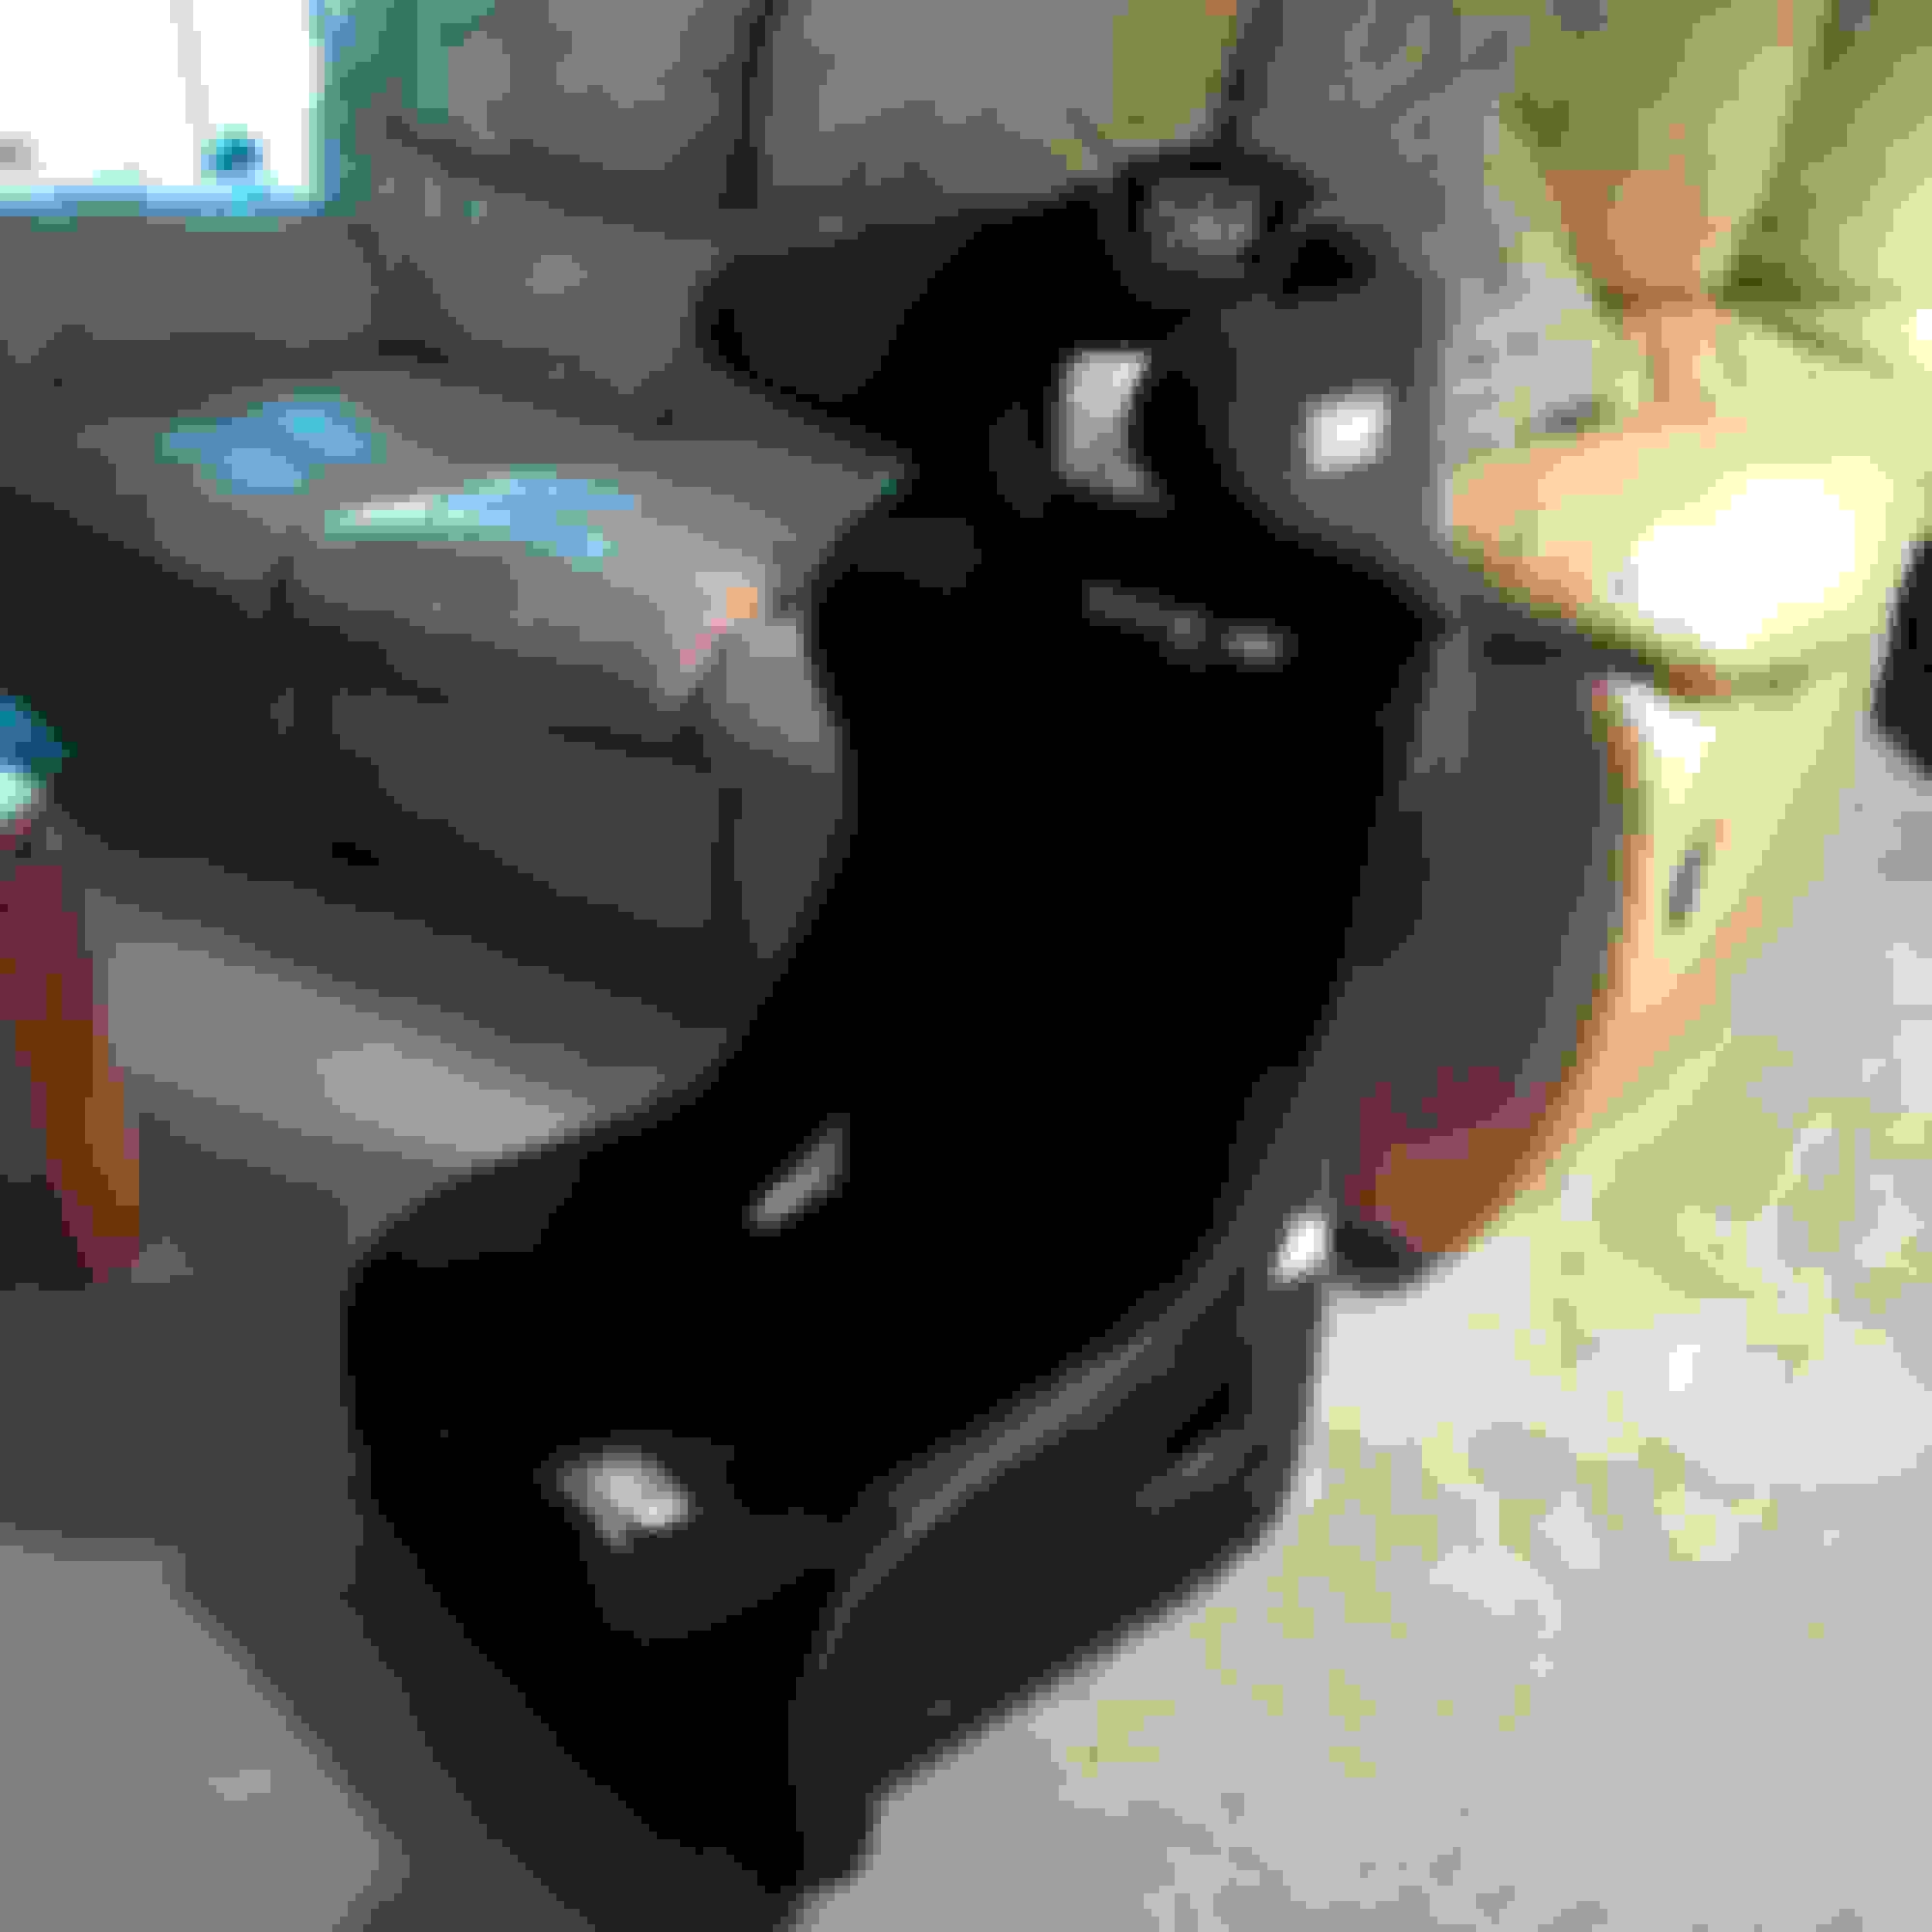
Now for the seat. Being a relatively small guy at 5'8" and 135 lbs I had a few options. My plan was to have a seat that provided maximum safety but could still be swapped out for something I could use on the street. After test fitting many different types of seats at Wine Country Motorsports I decided to go with the HTE-R 400. This seat was narrow enough to fit in the car and also was a perfect fit me me.
Watching F1 from my latest purchase.
I also picked up a harness. After trying various different brands at the store I went with the Schroth Profi II. The quality was superb, and was amazingly comfortable. The belts themselves felt much like the OEM belts. While more expensive, it was worth every penny.
I knew it would be a tedious task mounting the seat due to the tight constraints of the miata. I don't remember exactly how many times I removed the seat in and out of the car for more adjusting. It was a lot.
Test fitting, test fitting, and more test fitting.
After much frustration, sweat and bruised forearms the seat was in.
Looking the business!
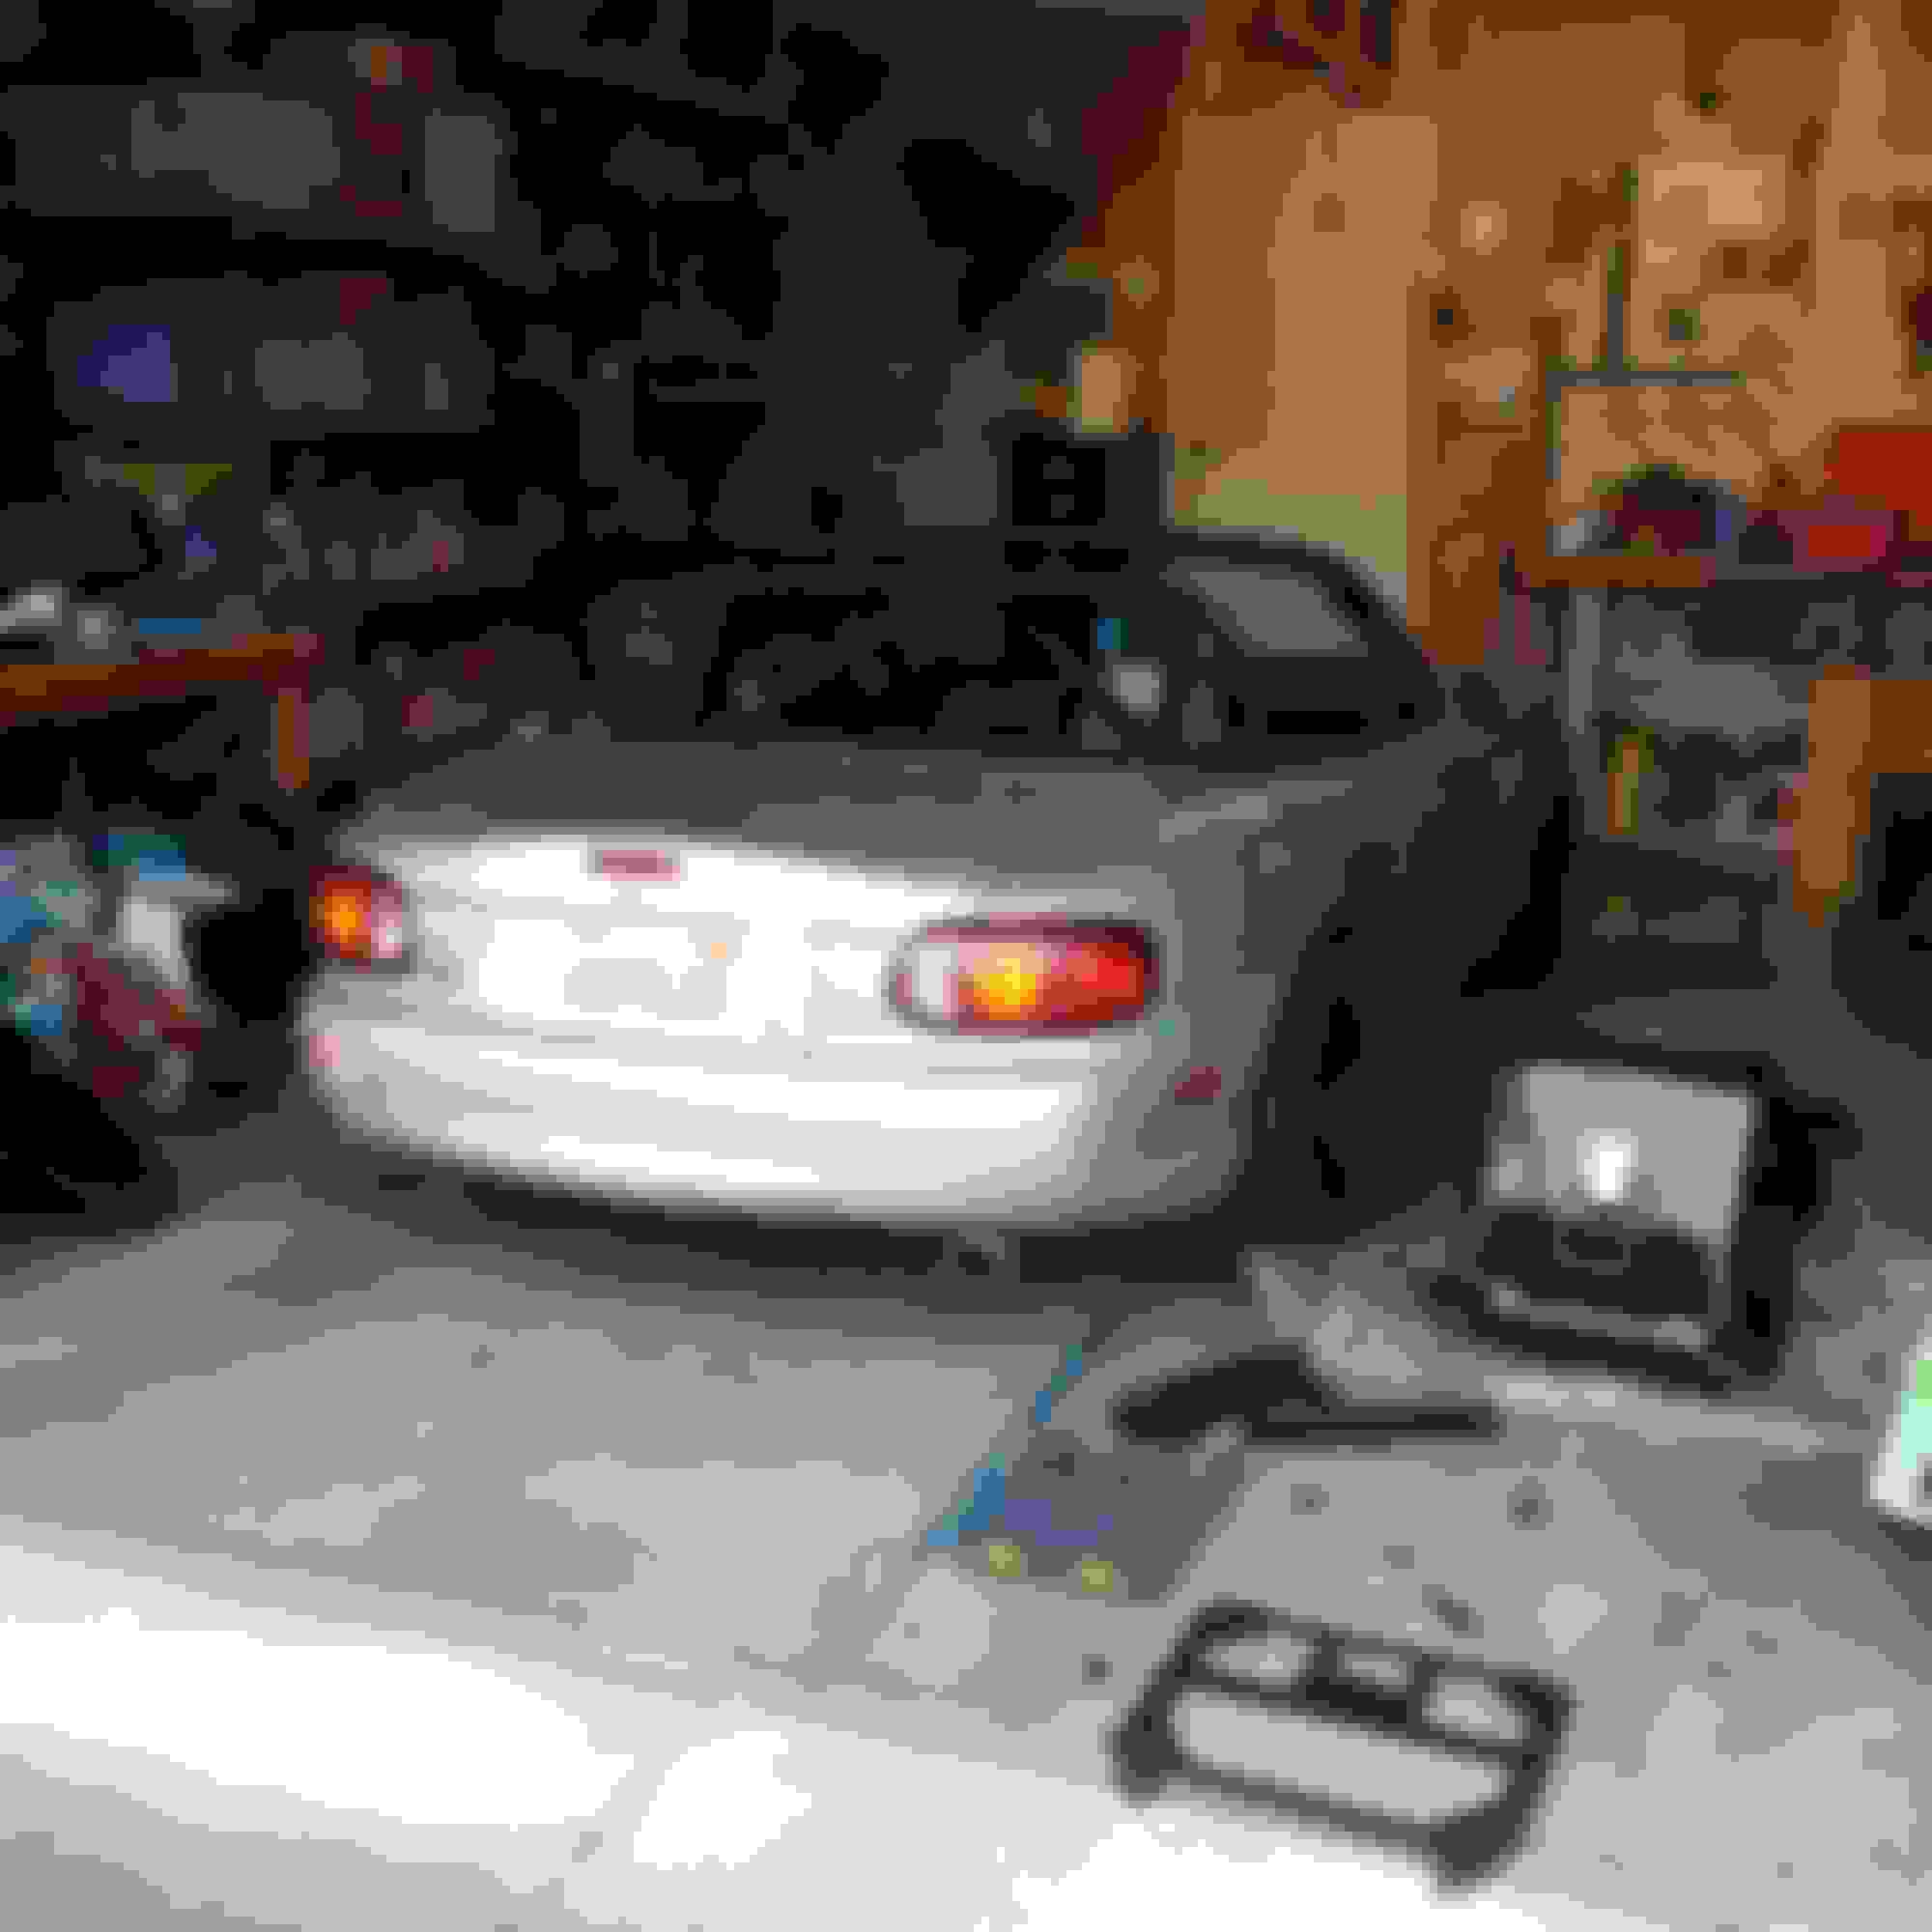
But as with all projects, this was not the end. Taking the original seat's wing measurements I knew it would be close and it may rub with the door card. However upon closing the door the first time, it would not even latch. Ugh. I had to remove the drivers door card to close the door. I knew this would only be a temporary solution, and needed to find a way to create more room. I remembered seeing a thread about retro fitting NA6 upper bumpers to the doors to alleviate some space inside. Luckily, I saved the door panels from my NA as I thought they could be of some use in the future.
To address the issue of the door not closing new door cards were in order. Anyone with an NB knows that the doors intrude on interior space and I wanted something along the lines of the NA door card. Seemingly to lack any fabrication skill myself, I stumbled across the answer.
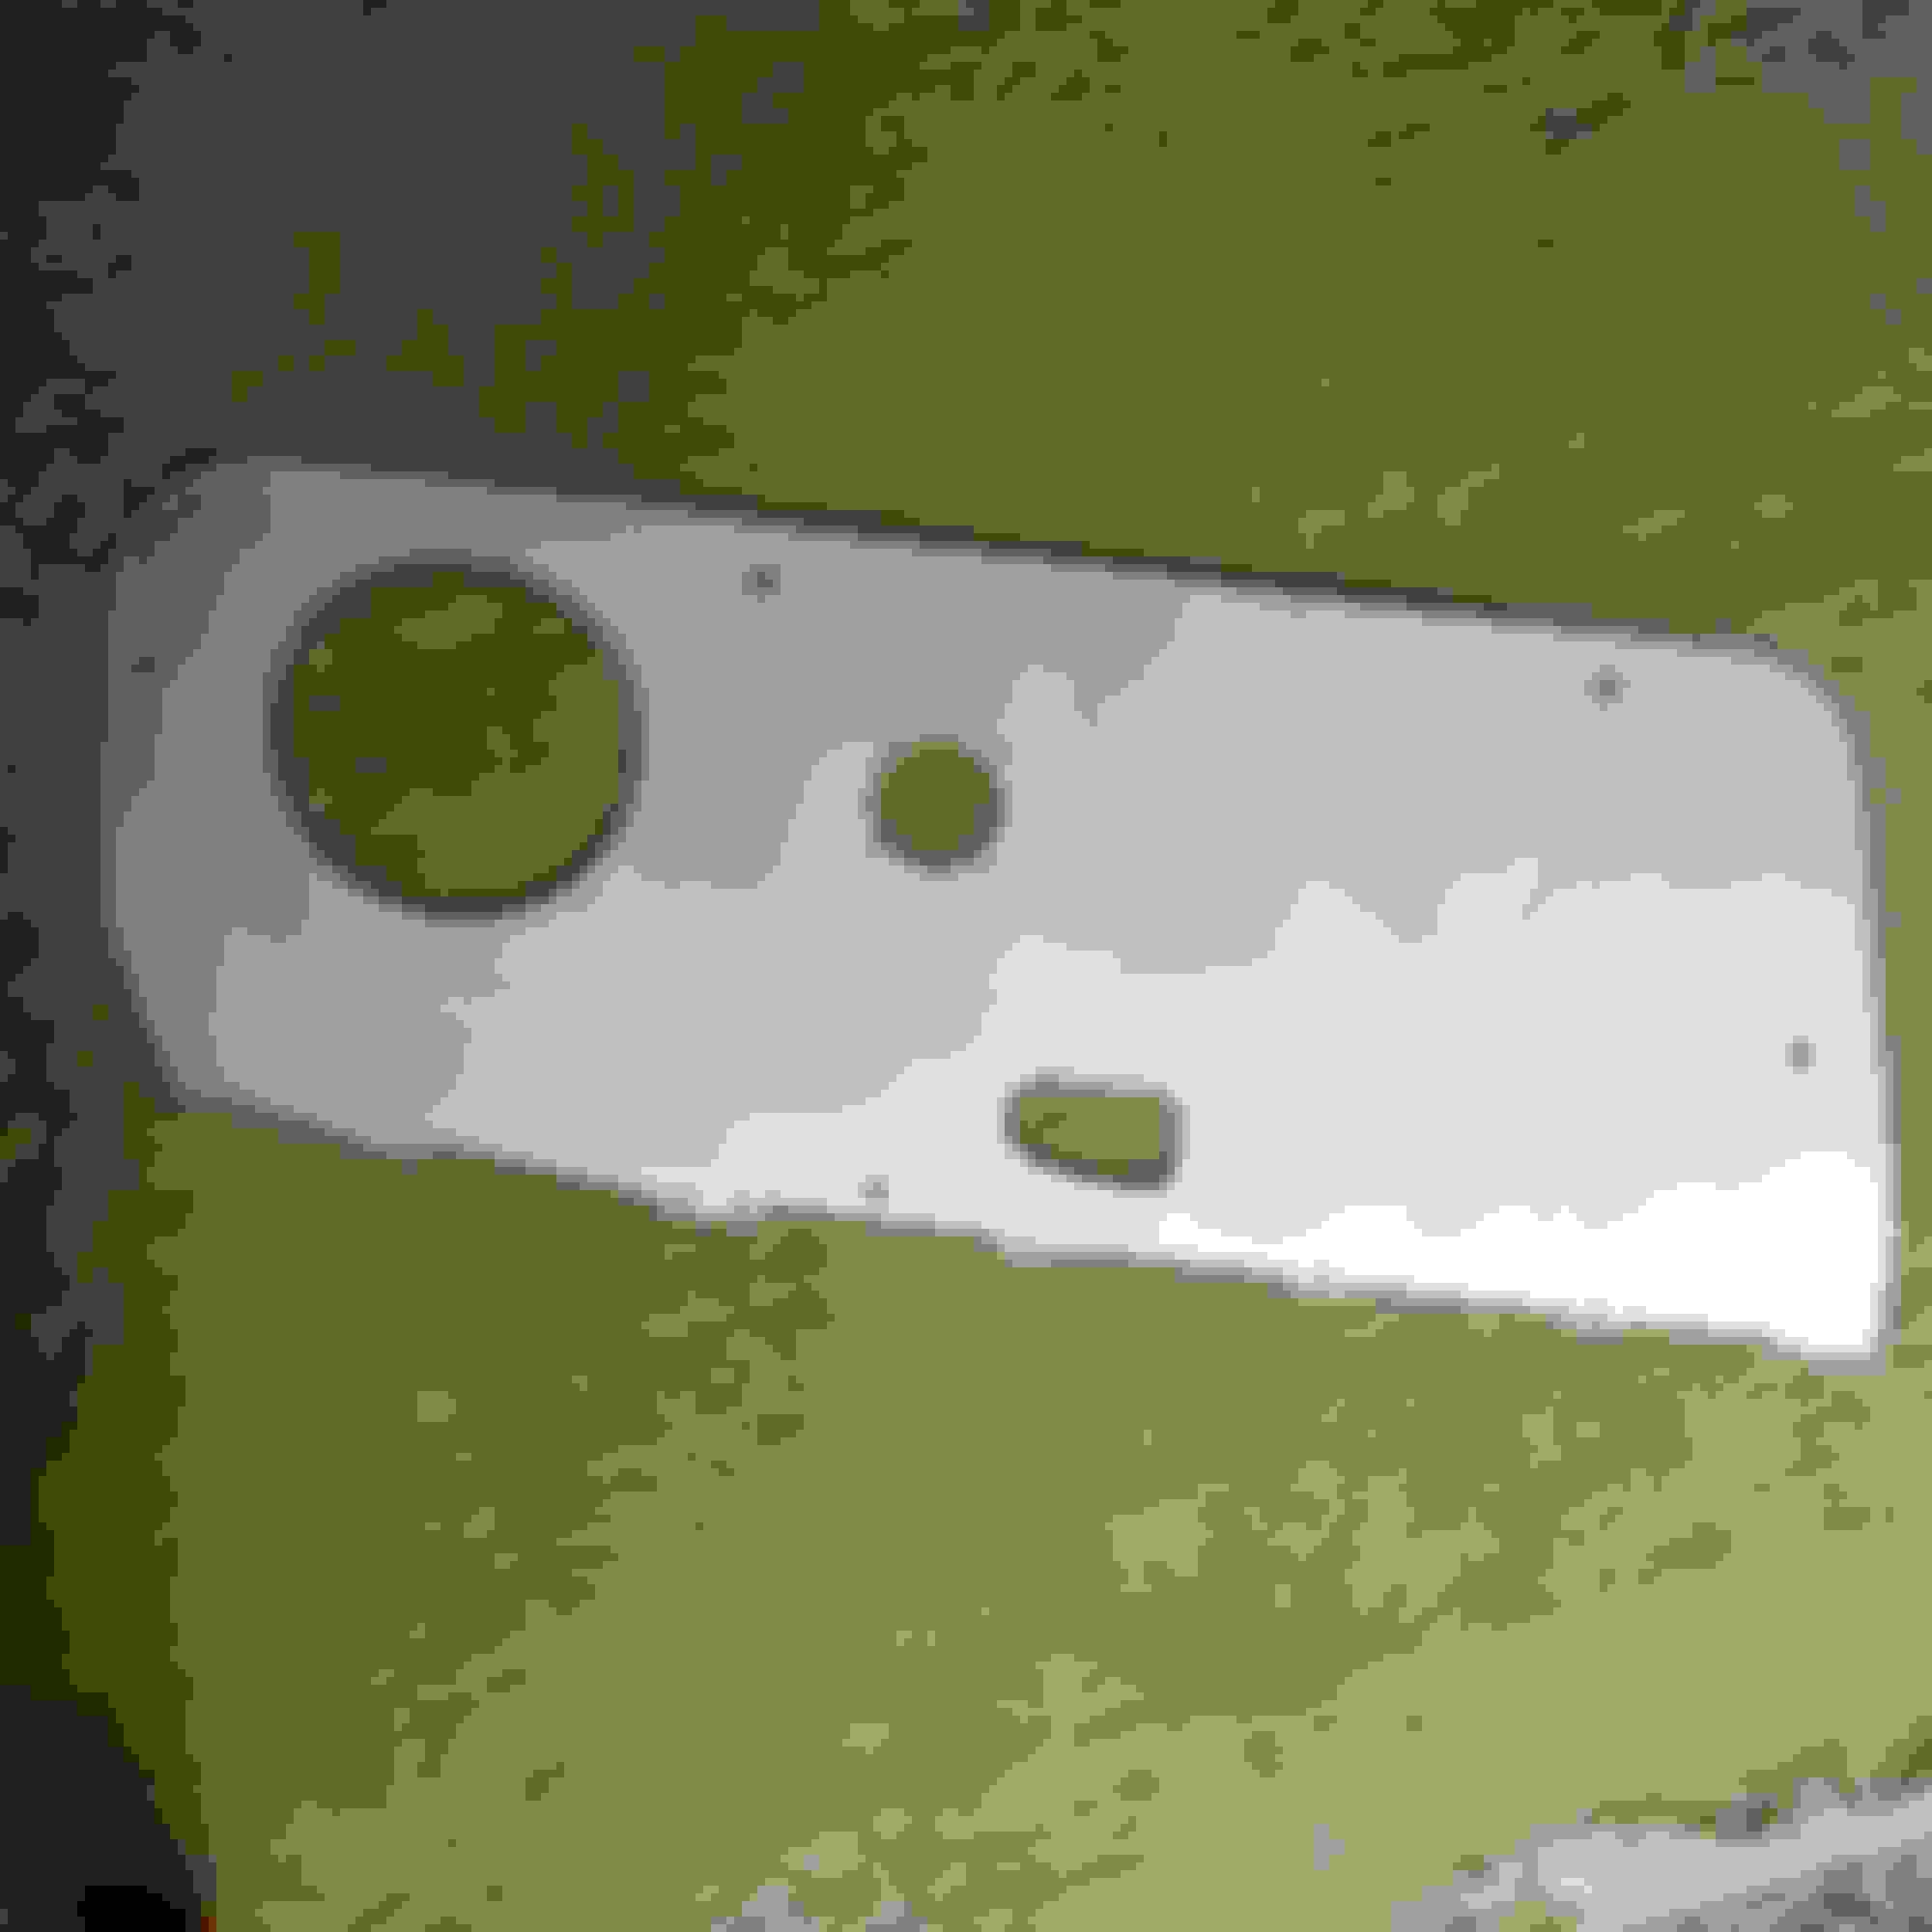
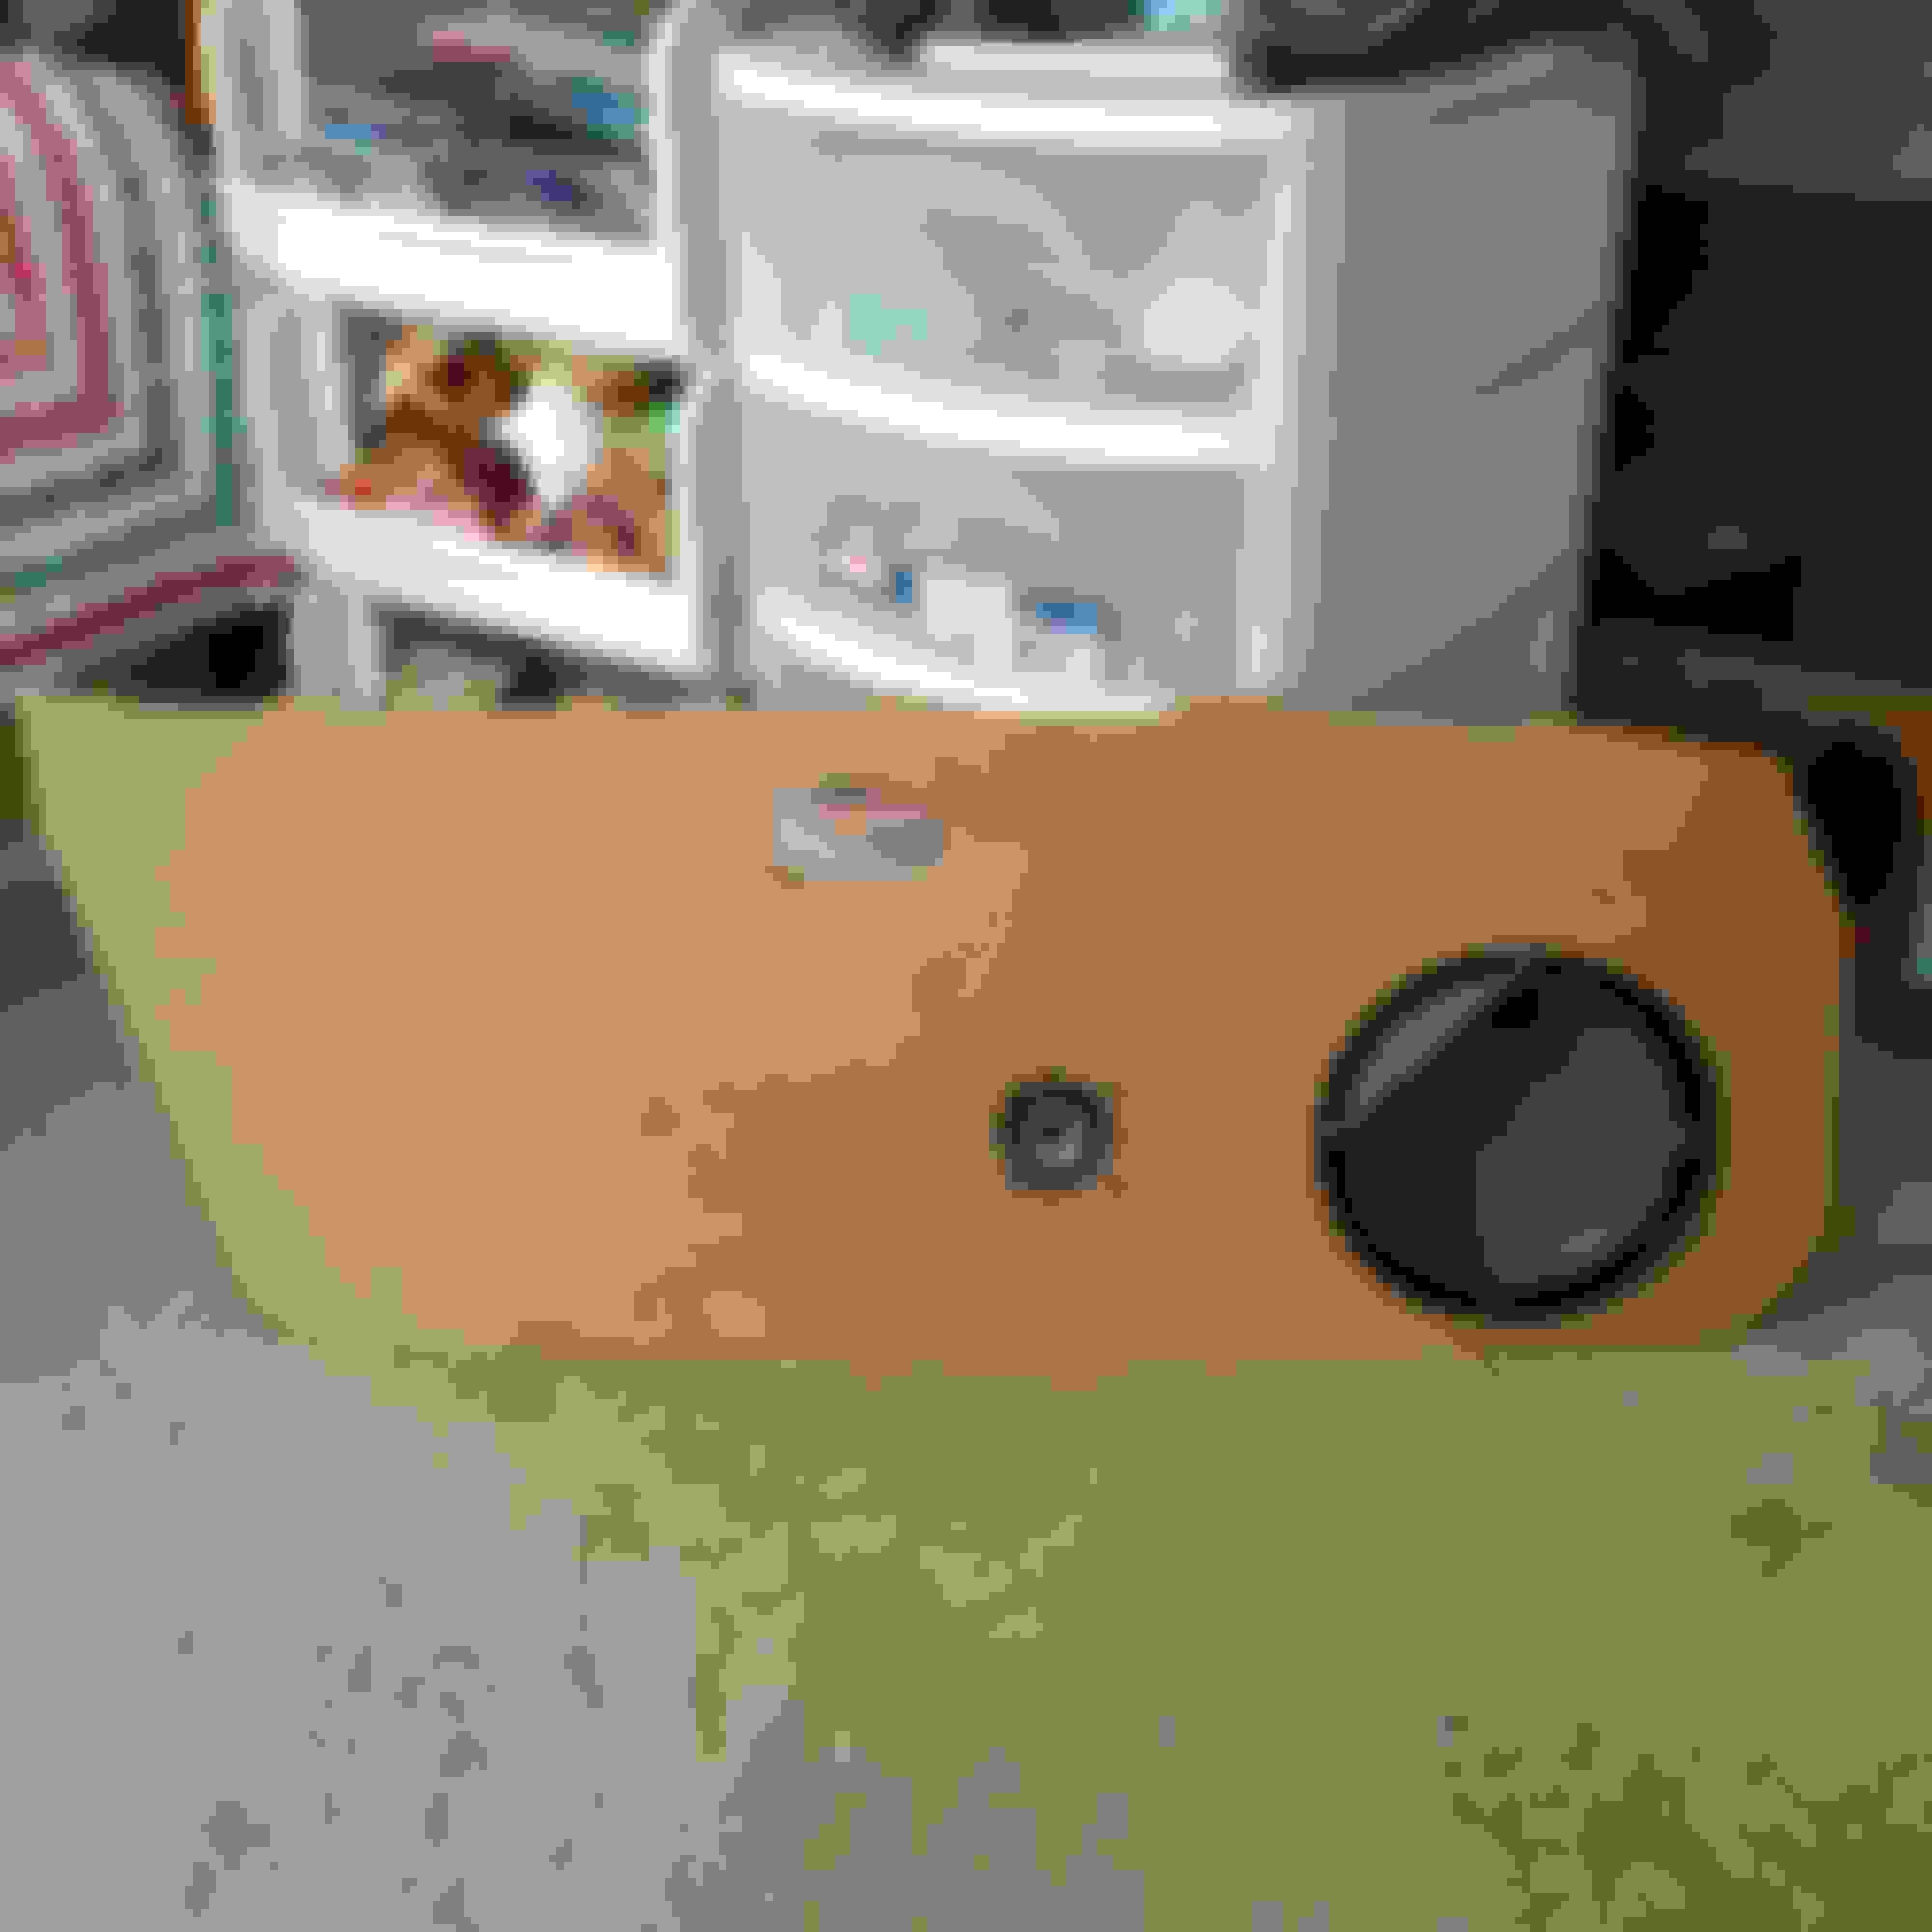
LRB Speed hybrid door cards for the NB1. They are CNC plasma cut from aluminum and come with all hardware needed to mount up to the stock door. All that I needed was to source an NA upper bumper. I was even able to retain my Bose speakers and tweeters. Win!
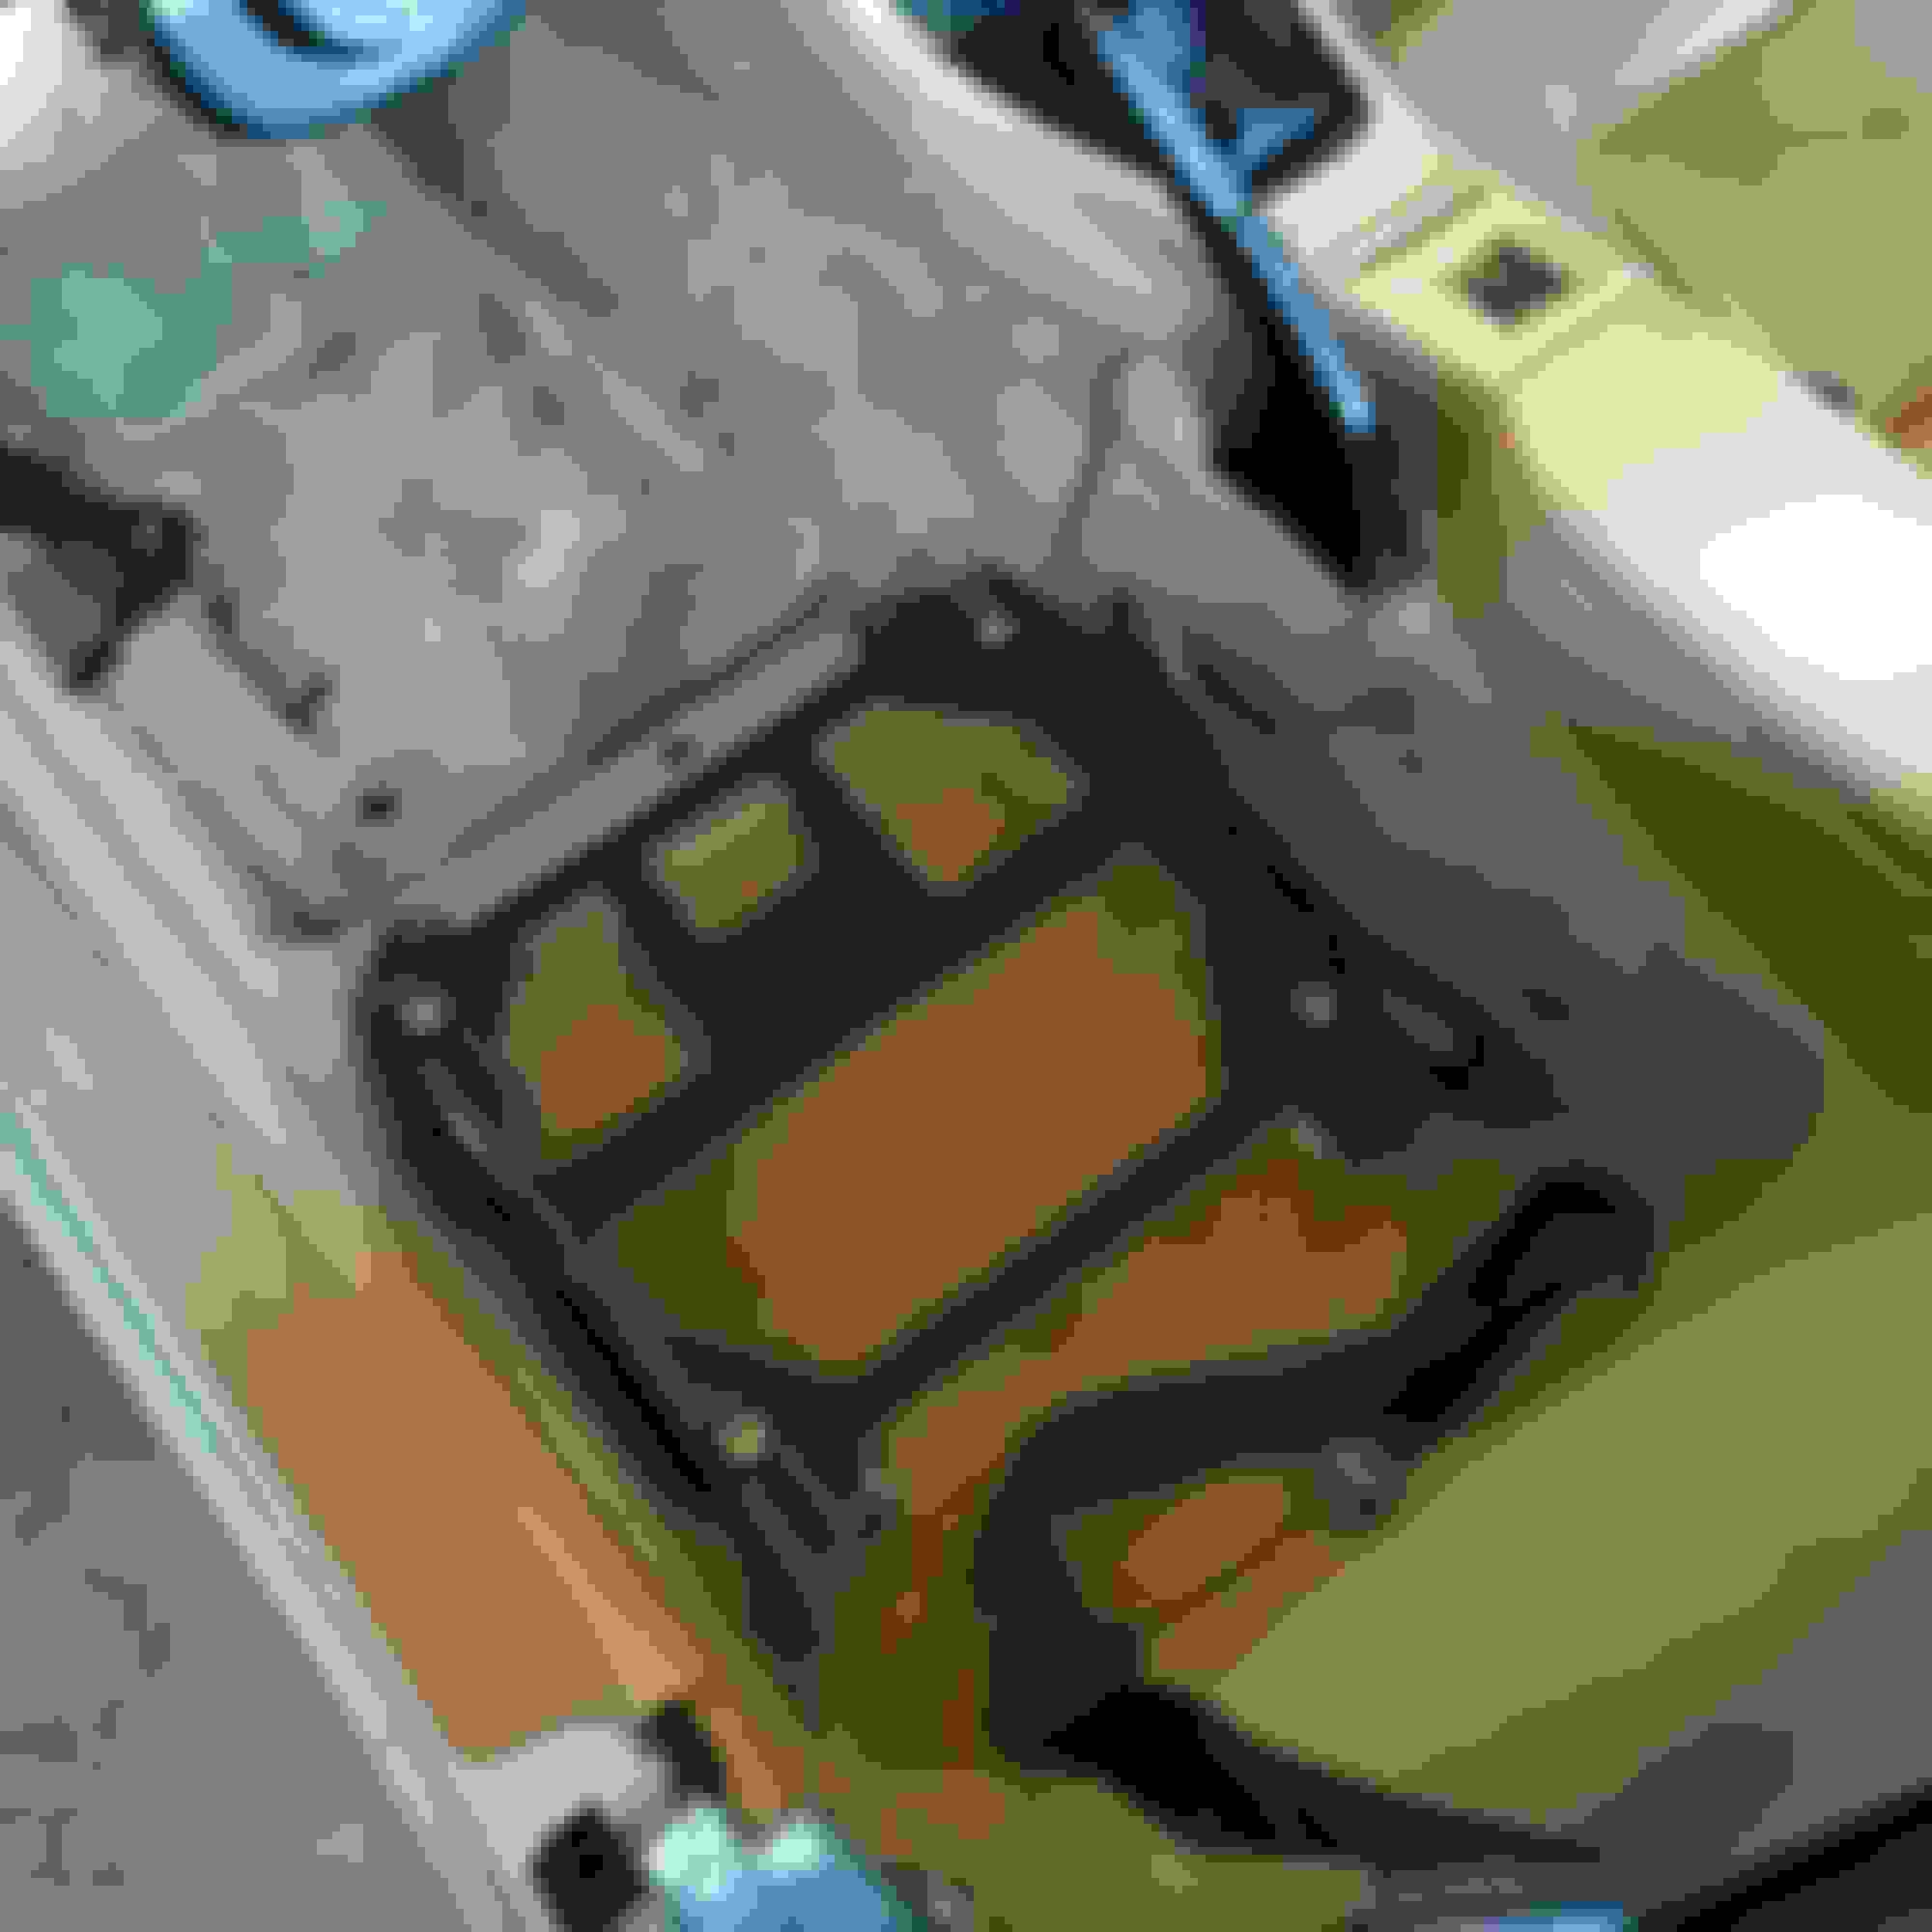
Bare panel.
Before beginning the project I knew that I wanted to cover the bare aluminum to cut down on interior heat and also to give it a "finished look". I stopped into my local Joann's fabric store and started browsing through the store for a suitable material to match the rest of the interior. I found a close enough match and also picked a can of 3M spray adhesive.
I also wanted to protect my speakers from my swinging legs when exciting and entering the car so I found an inexpensive mesh 8'' speaker grill on Amazon. To my surprise they cleared the Bose speakers, barely.
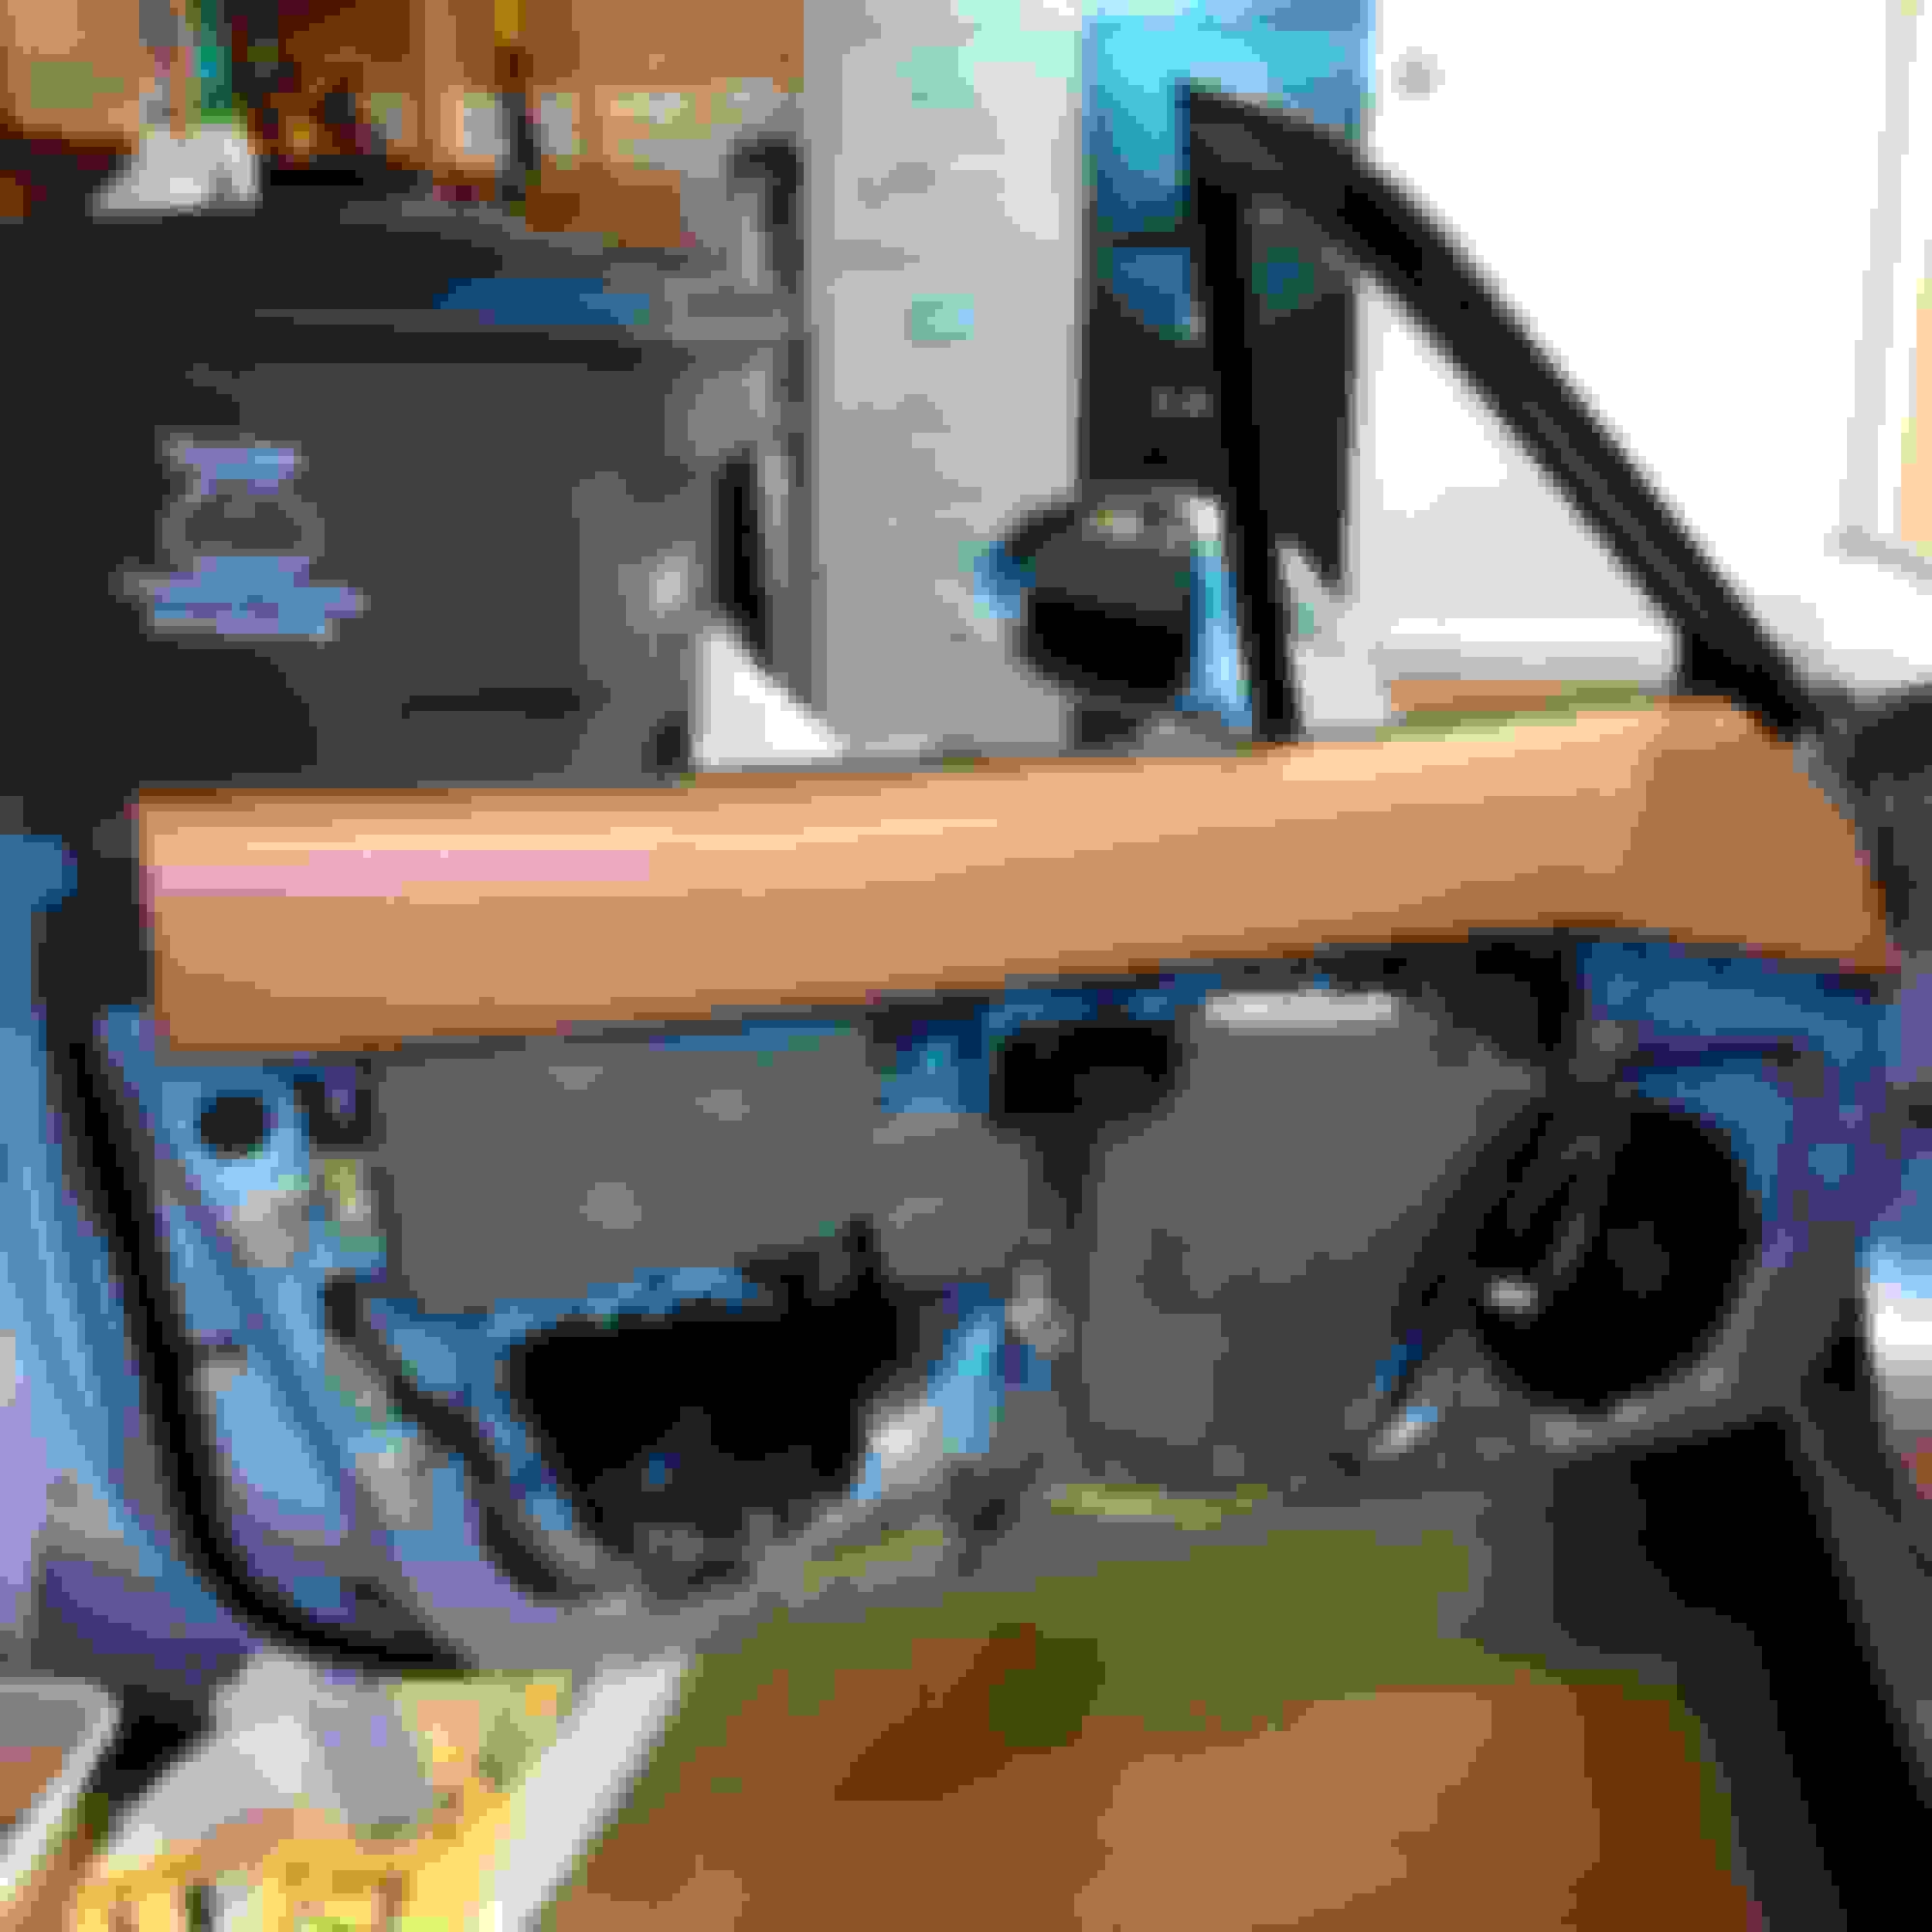
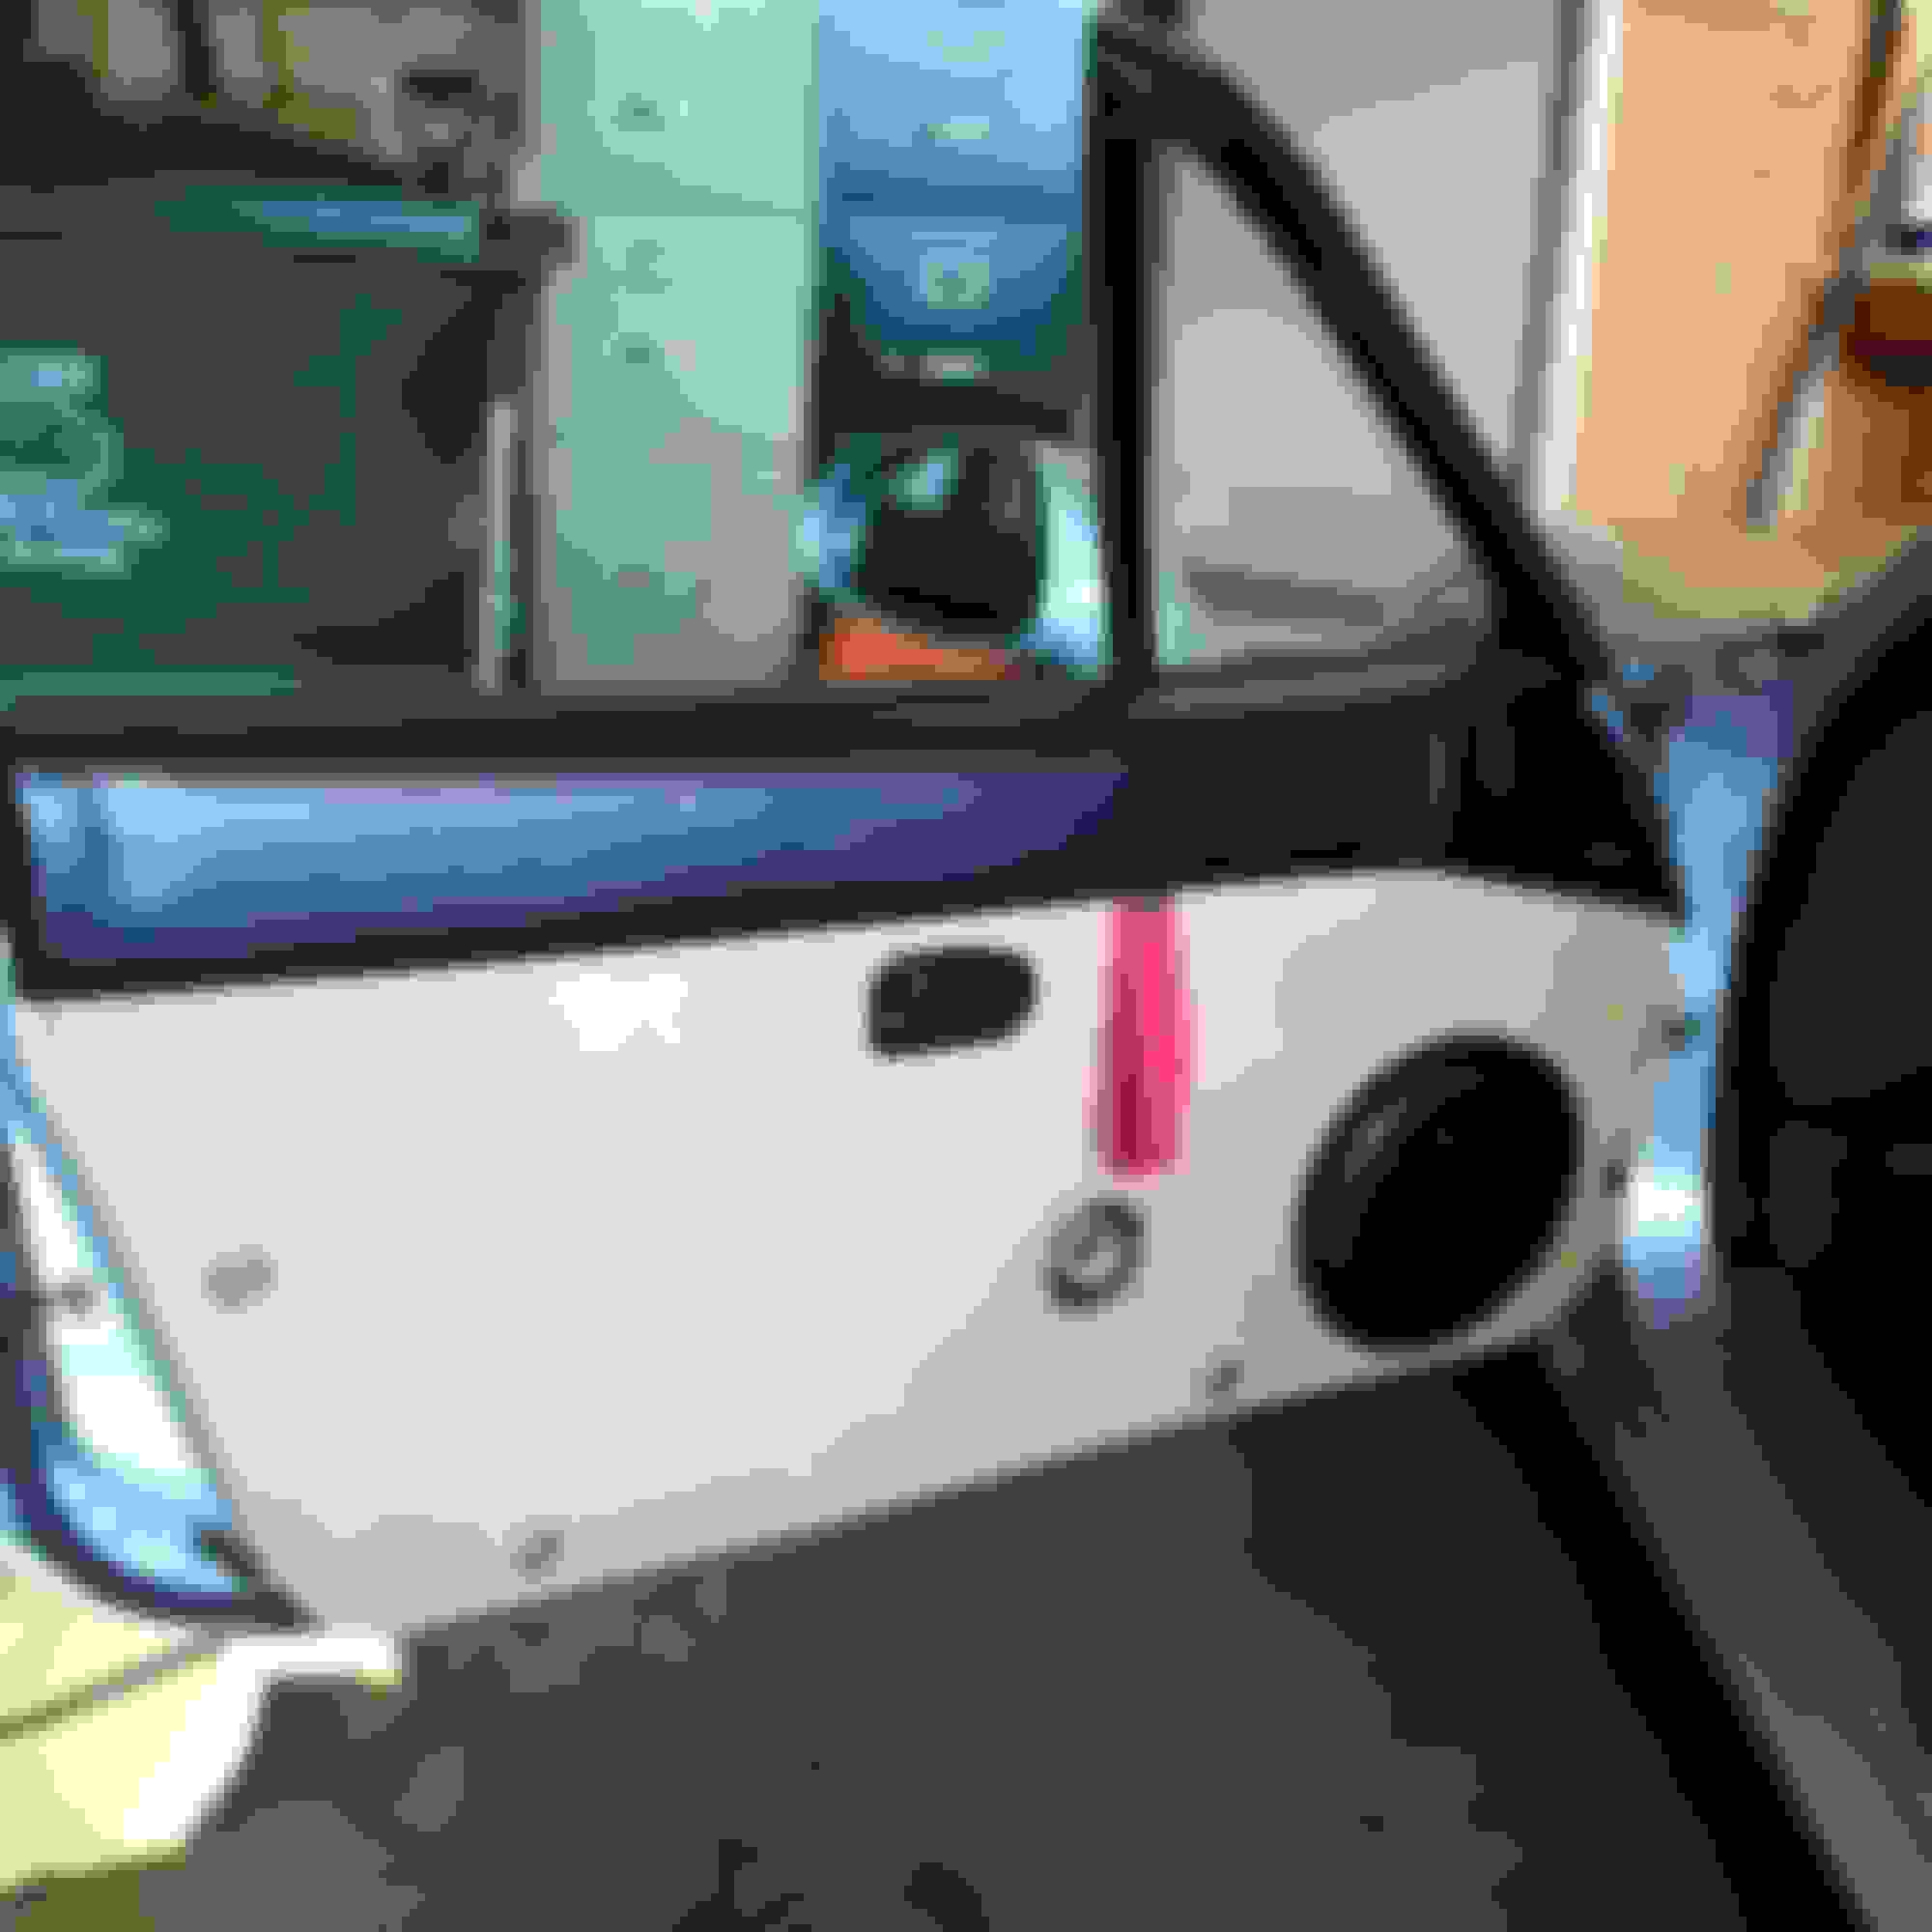
Door wrapped in leather material. Test fitting mounting location for the speakers.
The most difficult part of the install was removing the black tar from the doors. It took an eternity and much elbow grease. There was a small rattle coming from the passengers side from the panel contacting the backside of one of the plastic fasteners. A small piece of foam later and it was gone. The new LRB panel ended up being quieter than the stock doors.
However, the end result was worth it. This was my first attempt at anything interior related and it ended up much better then I could have ever hoped.
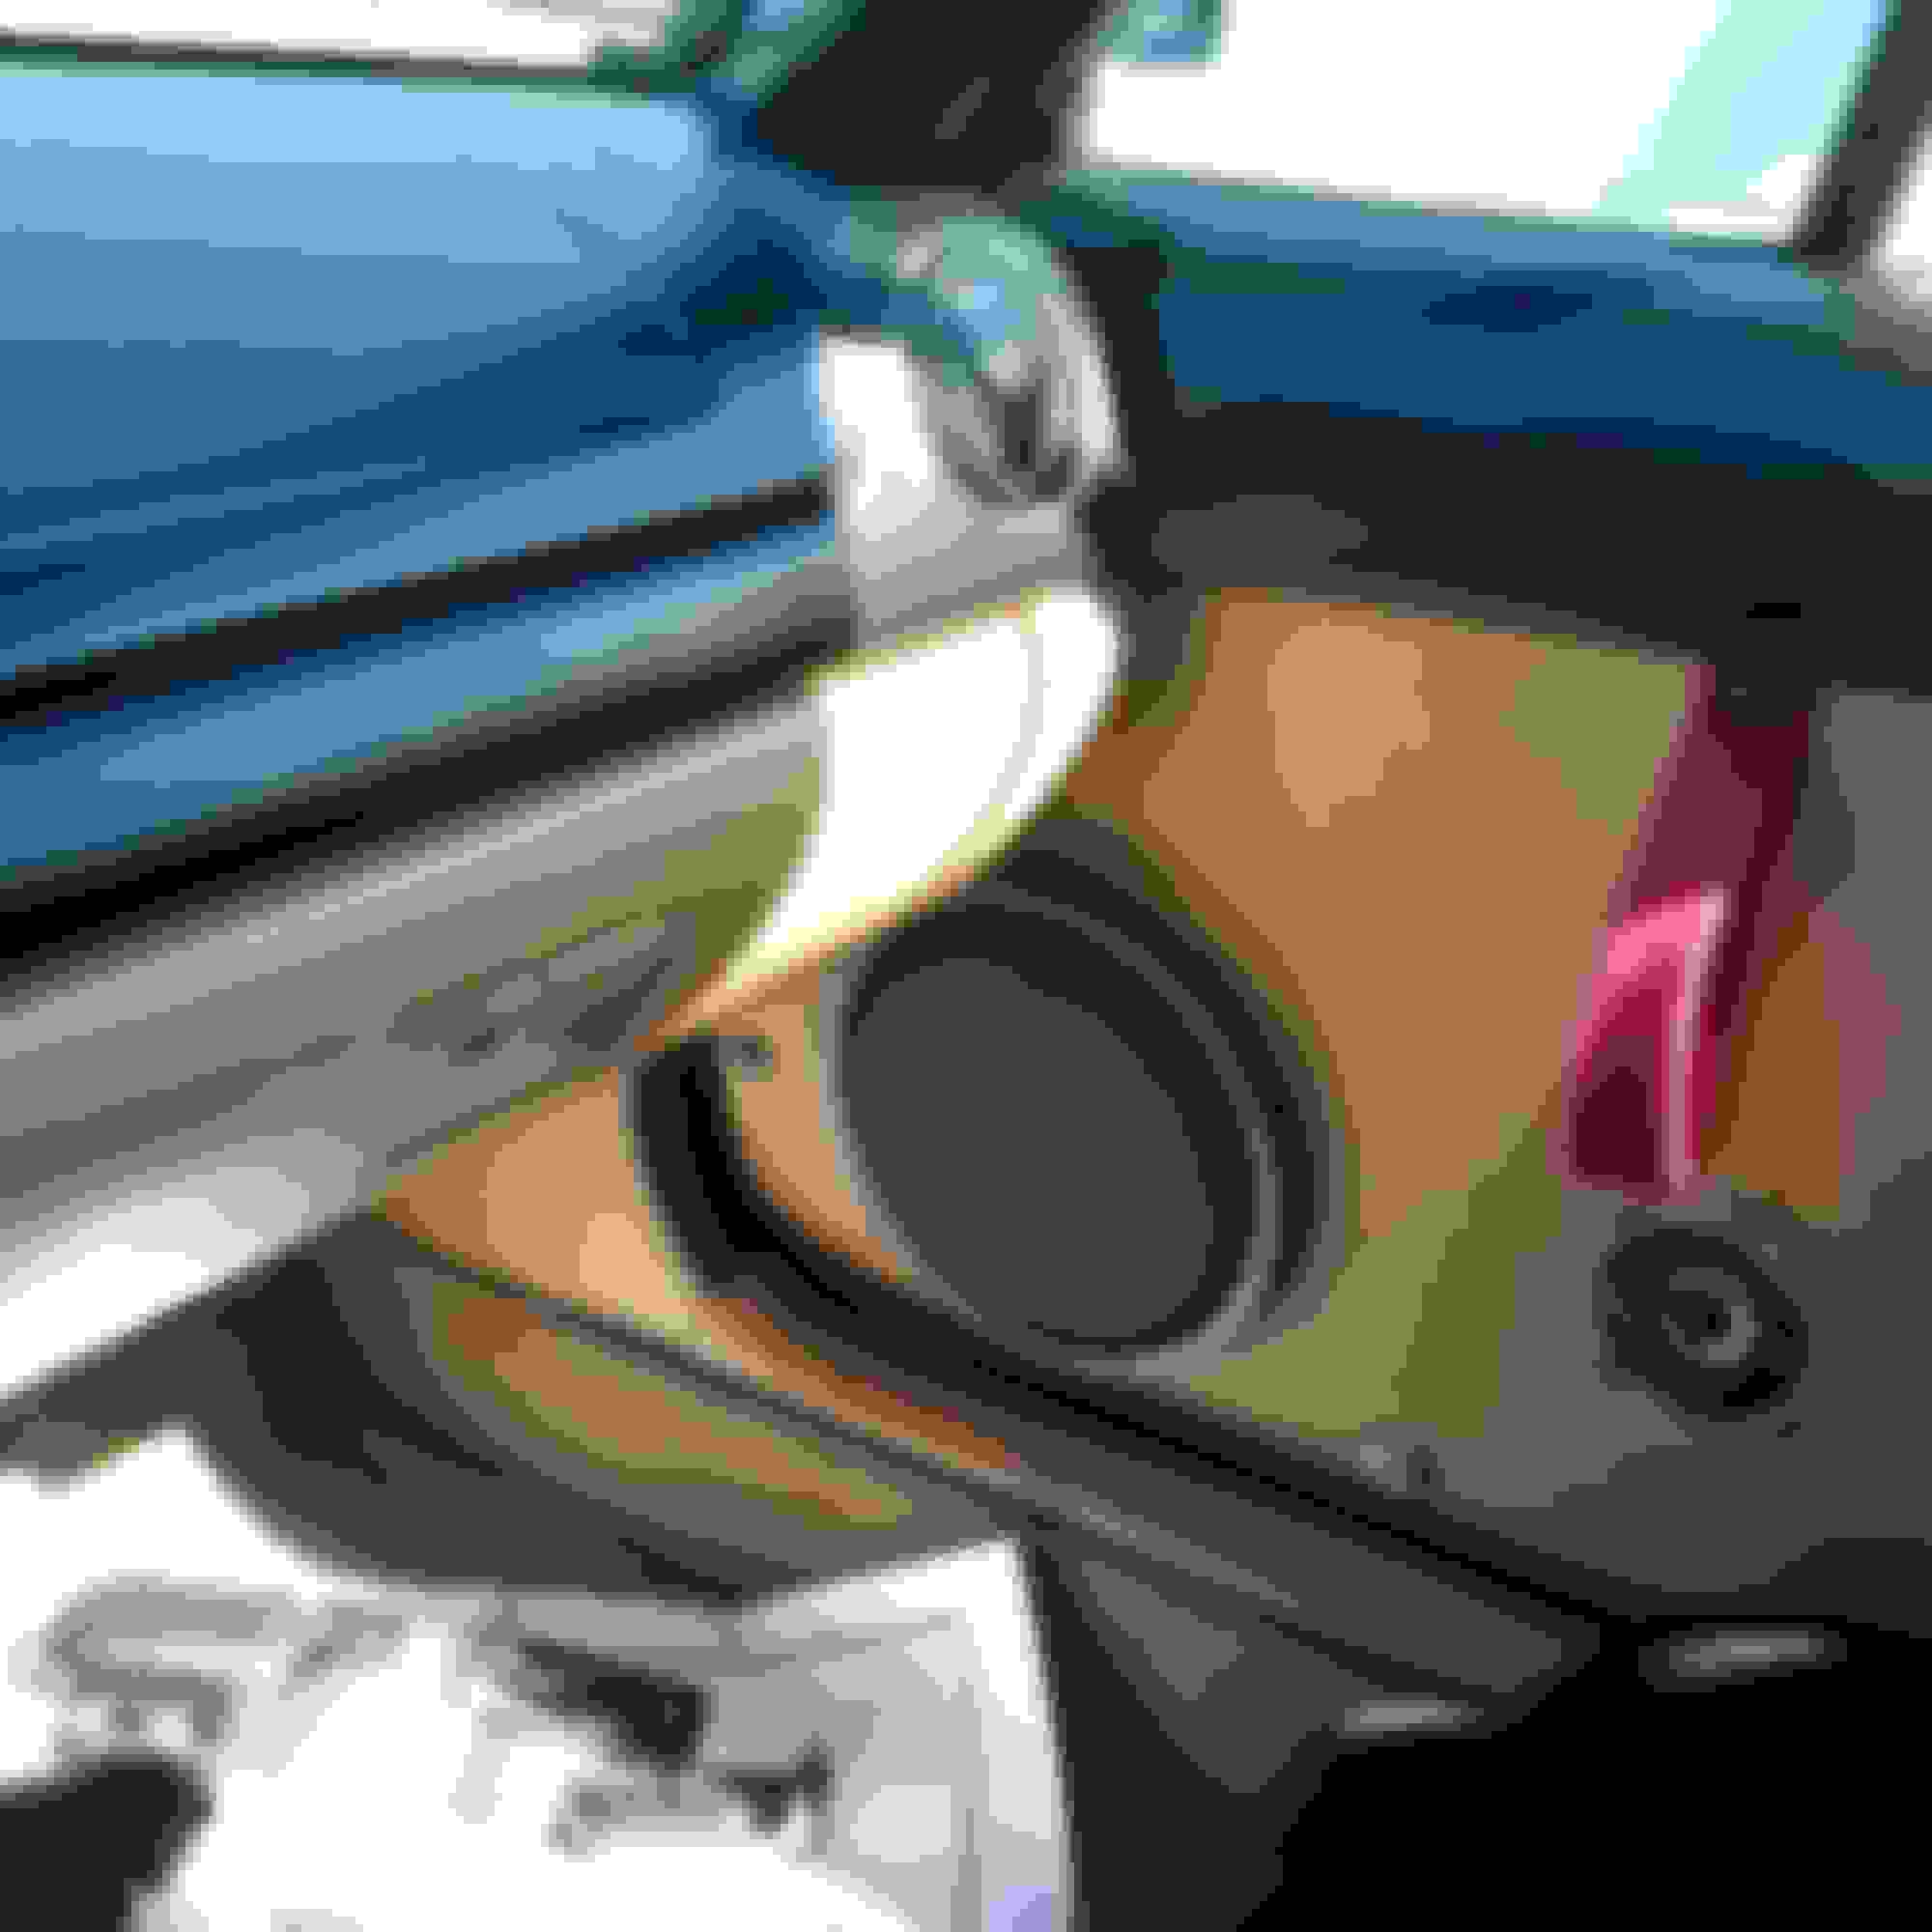
Driver
Passenger
The door was now able to fully close, I gained interior space, and because of the door pulls I could now close the door with my harness on.
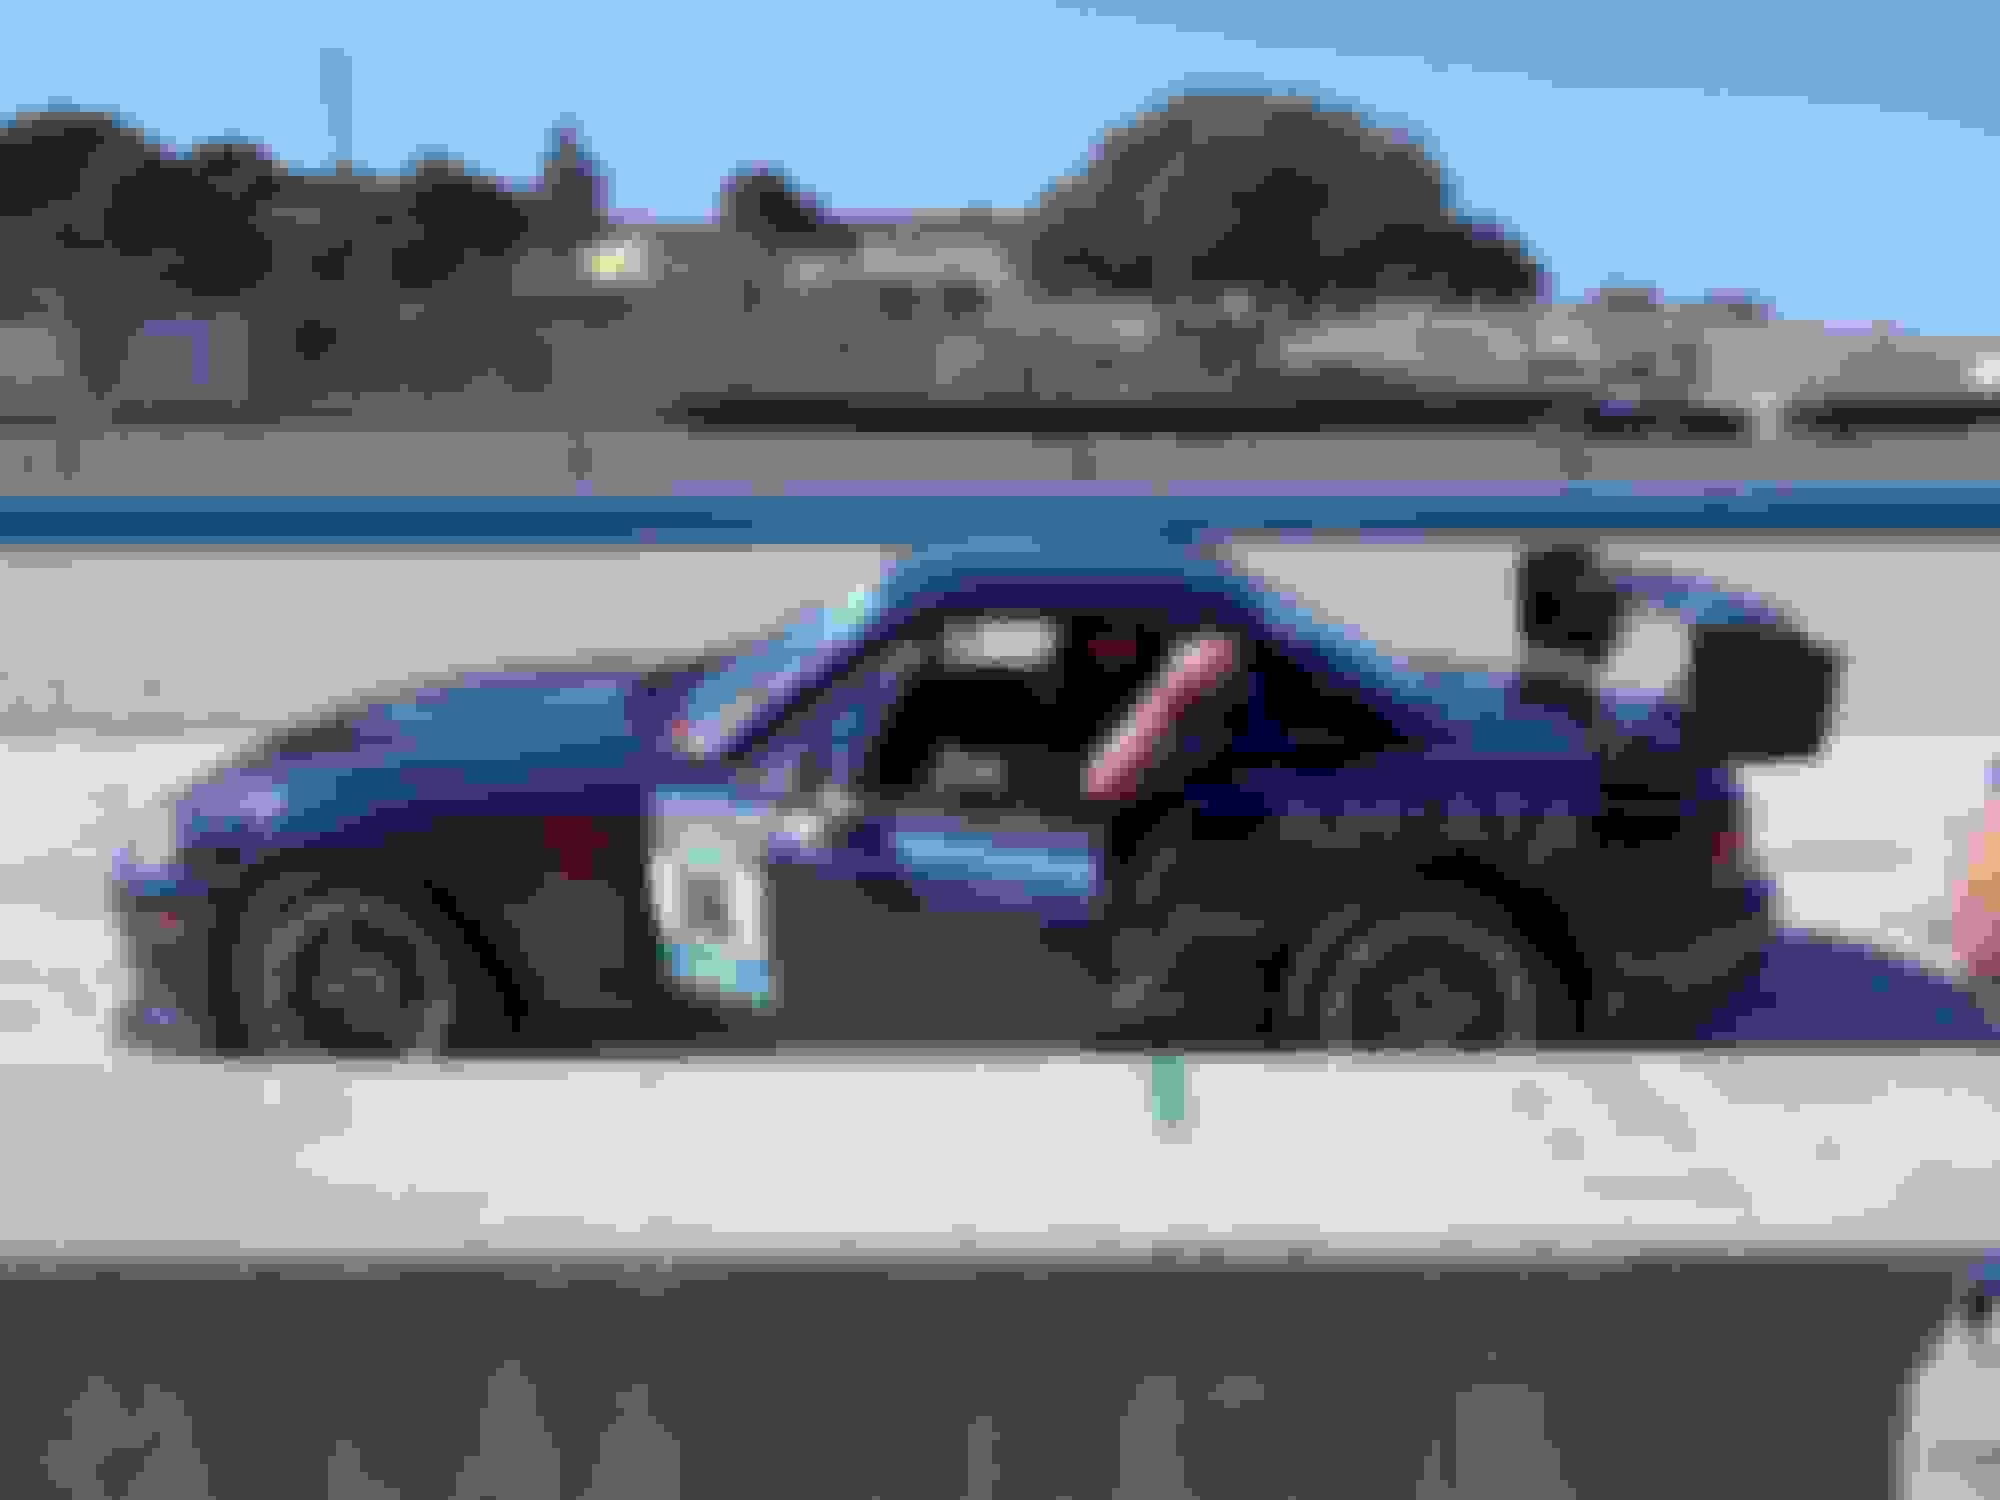
My next track day was at Buttonwillow with SpeedSF. This was my first track day with them, and I was impressed and all of the sessions were on time and well organized. We had a total of five sessions throughout the day as opposed to NASAs four. I had also signed up for intermediate group which allowed point-by passing not limited to only the main straight.
Stopping in for breakfast on the way.
Made it!
It being my first time at Buttonwillow, I was trying to get accustomed to the track and learn as to where the heck I was going during the first session. It was the 13CW configuration.
About midway through the second session I was starting to become comfortable with the layout and picked up some speed. The forecast predicted by noon it was to be 105 and wanting to get as much track time in as possible the organizers moved up the schedule by an hour.
My little spot.
The new brakes were amazing and there was absolutely no sign of brake fade. Although with the stock 7/8'' master I did find that pedal travel was longer than I would have liked and heel-toeing was proving to be more difficult.
With the seat and harnesses, it allowed me to concentrate more on driving rather being tasked to brace myself mid corner. It has been my favorite modification to date.
Around 12PM there was a break for lunch. I went to grab food from my container, but to my surprise there were already guests who had helped their selves to my lunch. I found hundreds of ants crawling in and out of my bag I had set down in the grass beside my car. Lesson learned. I then went inside and talked with a few other drivers, and one who flew F-18s in the Navy. He was driving a Viper and found out later that I would be chasing him out on track.
Ants feasting in the background.
Definitely signing up with SpeedSF again.
I did have one four wheel off through Phil Hill which was quite exciting. I also found the limit through Sunset a few times throughout the day. I managed a 2:15 in my third session.
Packing up.
My last session was cut short due to a BMW blowing its engine and consequently catching fire dumping oil the entire length of the straight. None the less it did not put a damper on my weekend. It was already uncomfortably hot and I got a hours head start on my trip back home. I found Buttonwillow quite interesting and challenging to drive. I should have done my homework and watched more videos online as for the proper line but it was a great weekend.
I managed to break the passenger's side hardtop latch on track which proceeded to rattle all the way home. I was scared that my hardtop would release itself and be deposited somewhere along I-5. I kept it in check by smacking it with a Gatorade bottle from the drivers seat with my harnesses on.
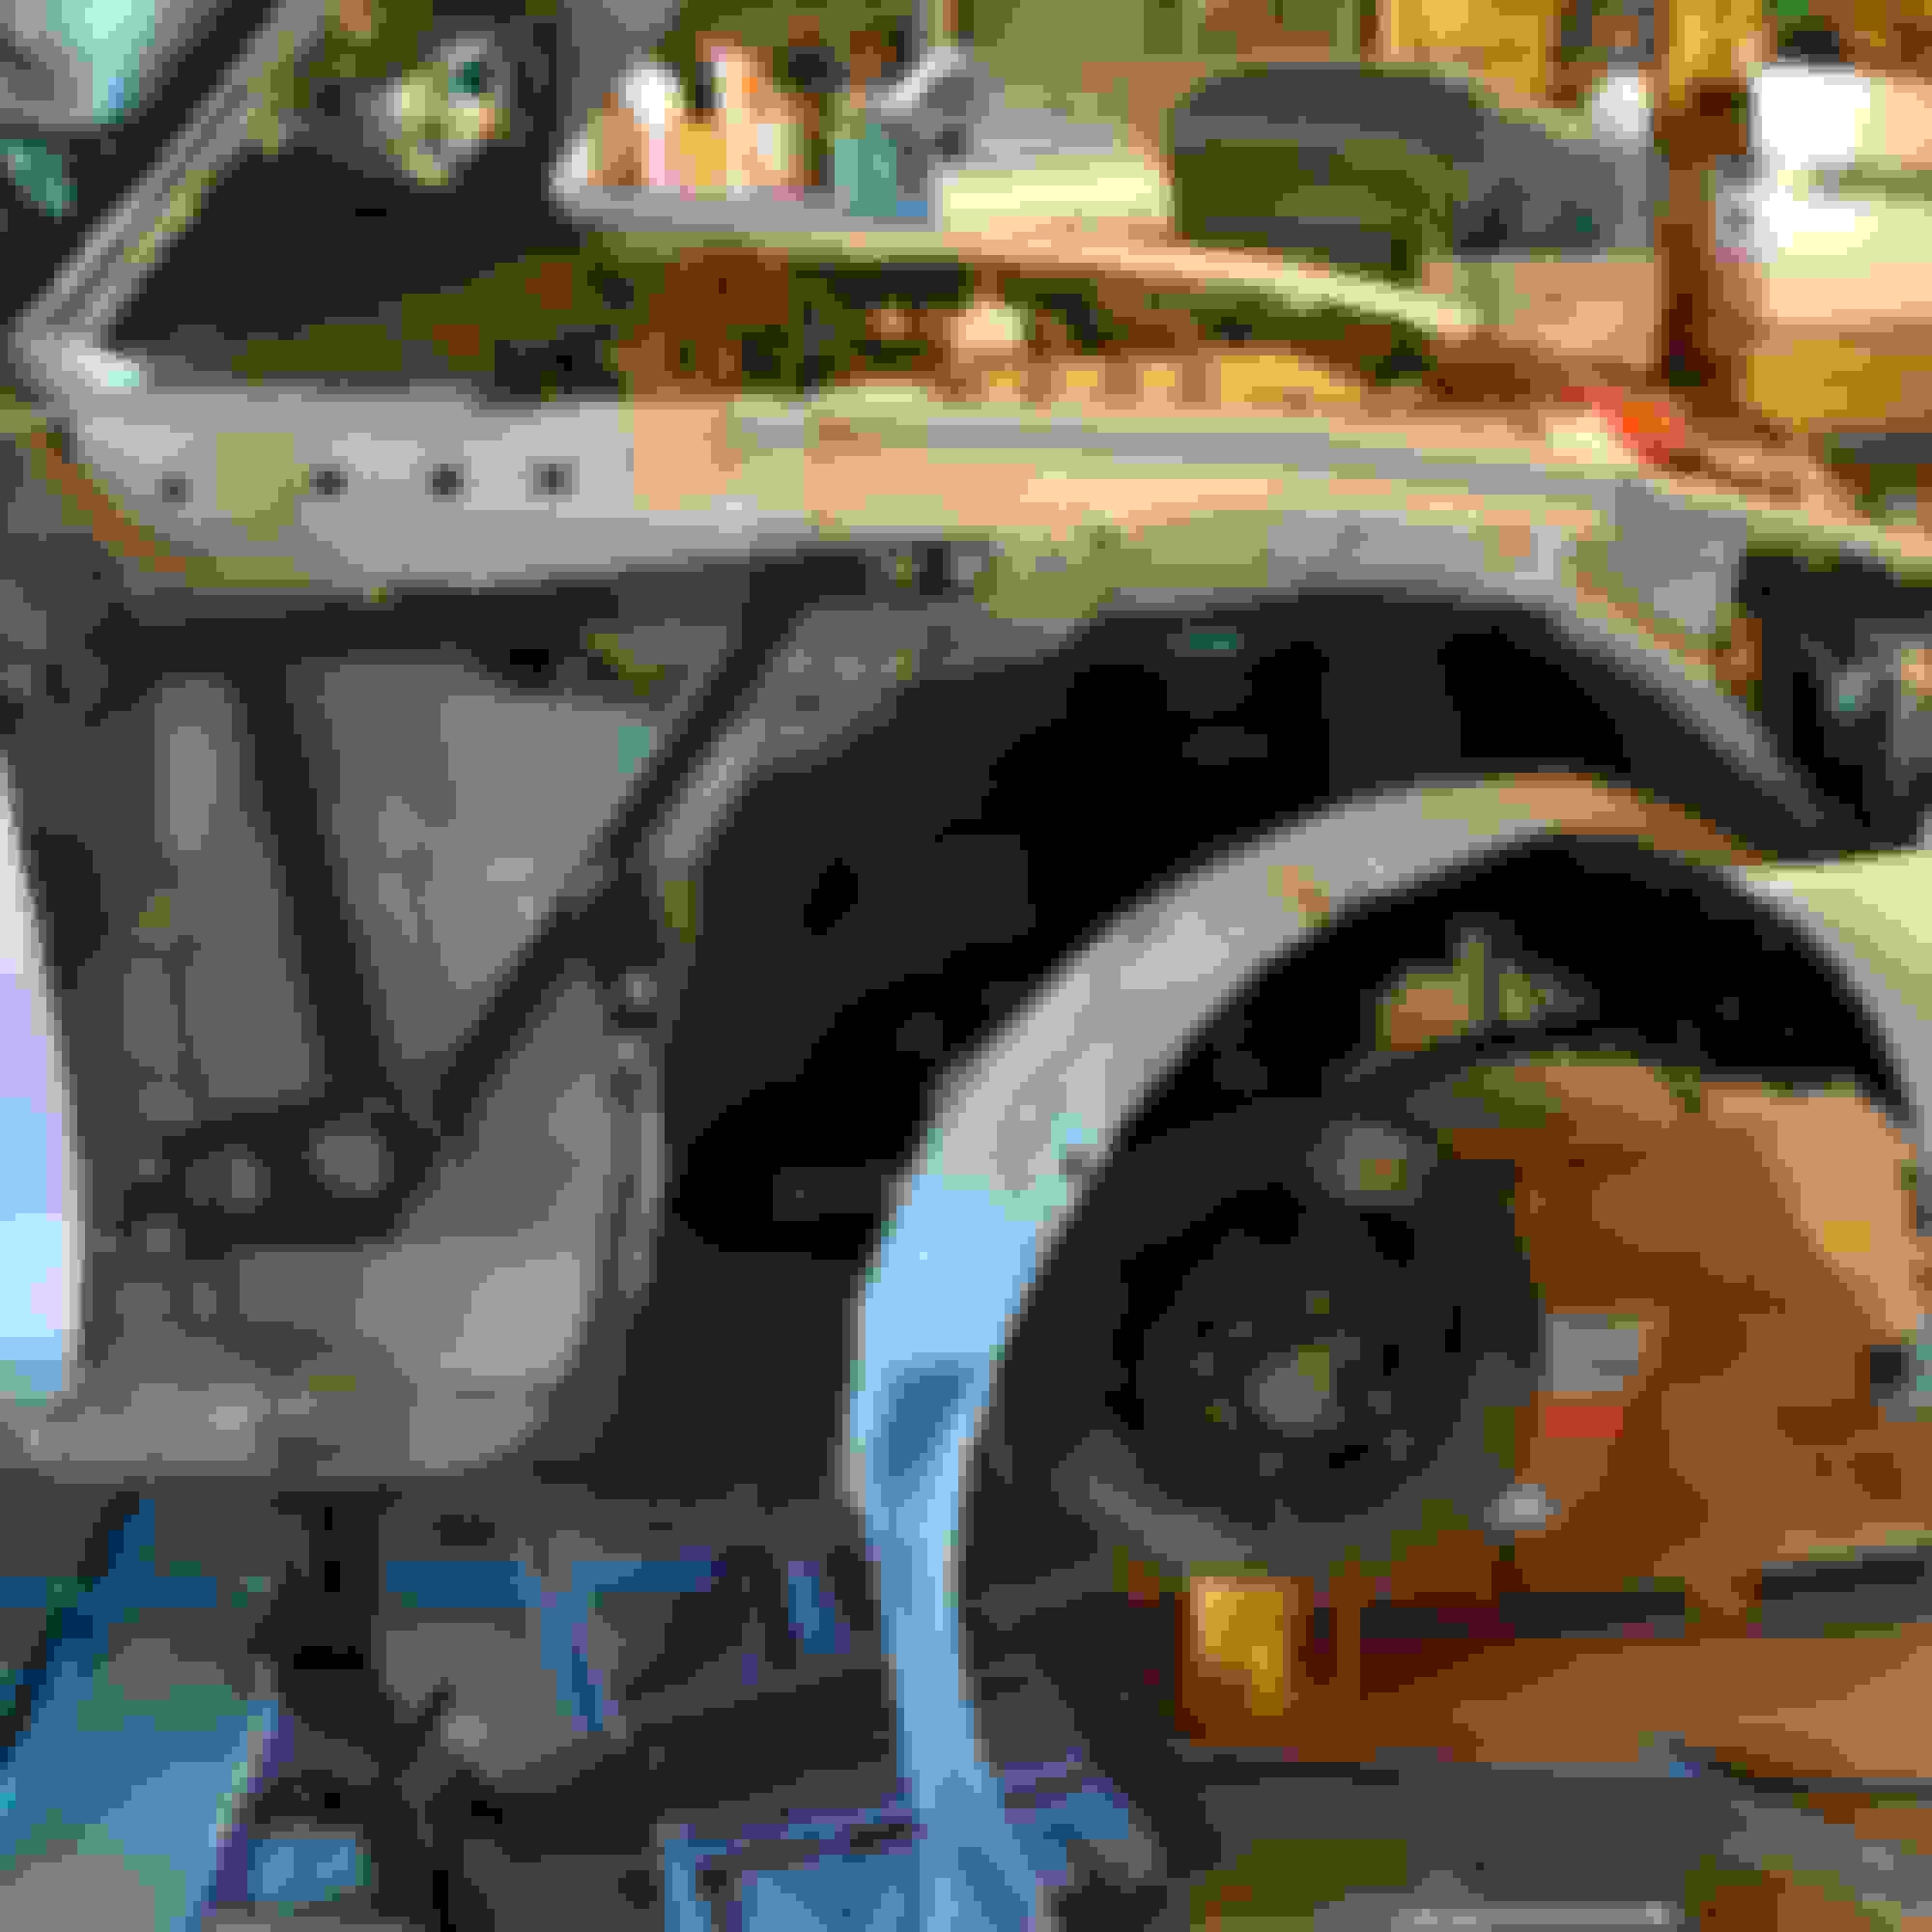
The following day checking over the car I found that my front fenders were modifying my tires. There was also another persistent rattle at idle that was not there before. The innards of my catalytic converter fell out and became a giant maraca.
Oh well, yet more things to fix.
Last edited by Bryan Z.; 08-28-2019 at 11:49 AM.
Reason: Duplicate pictures
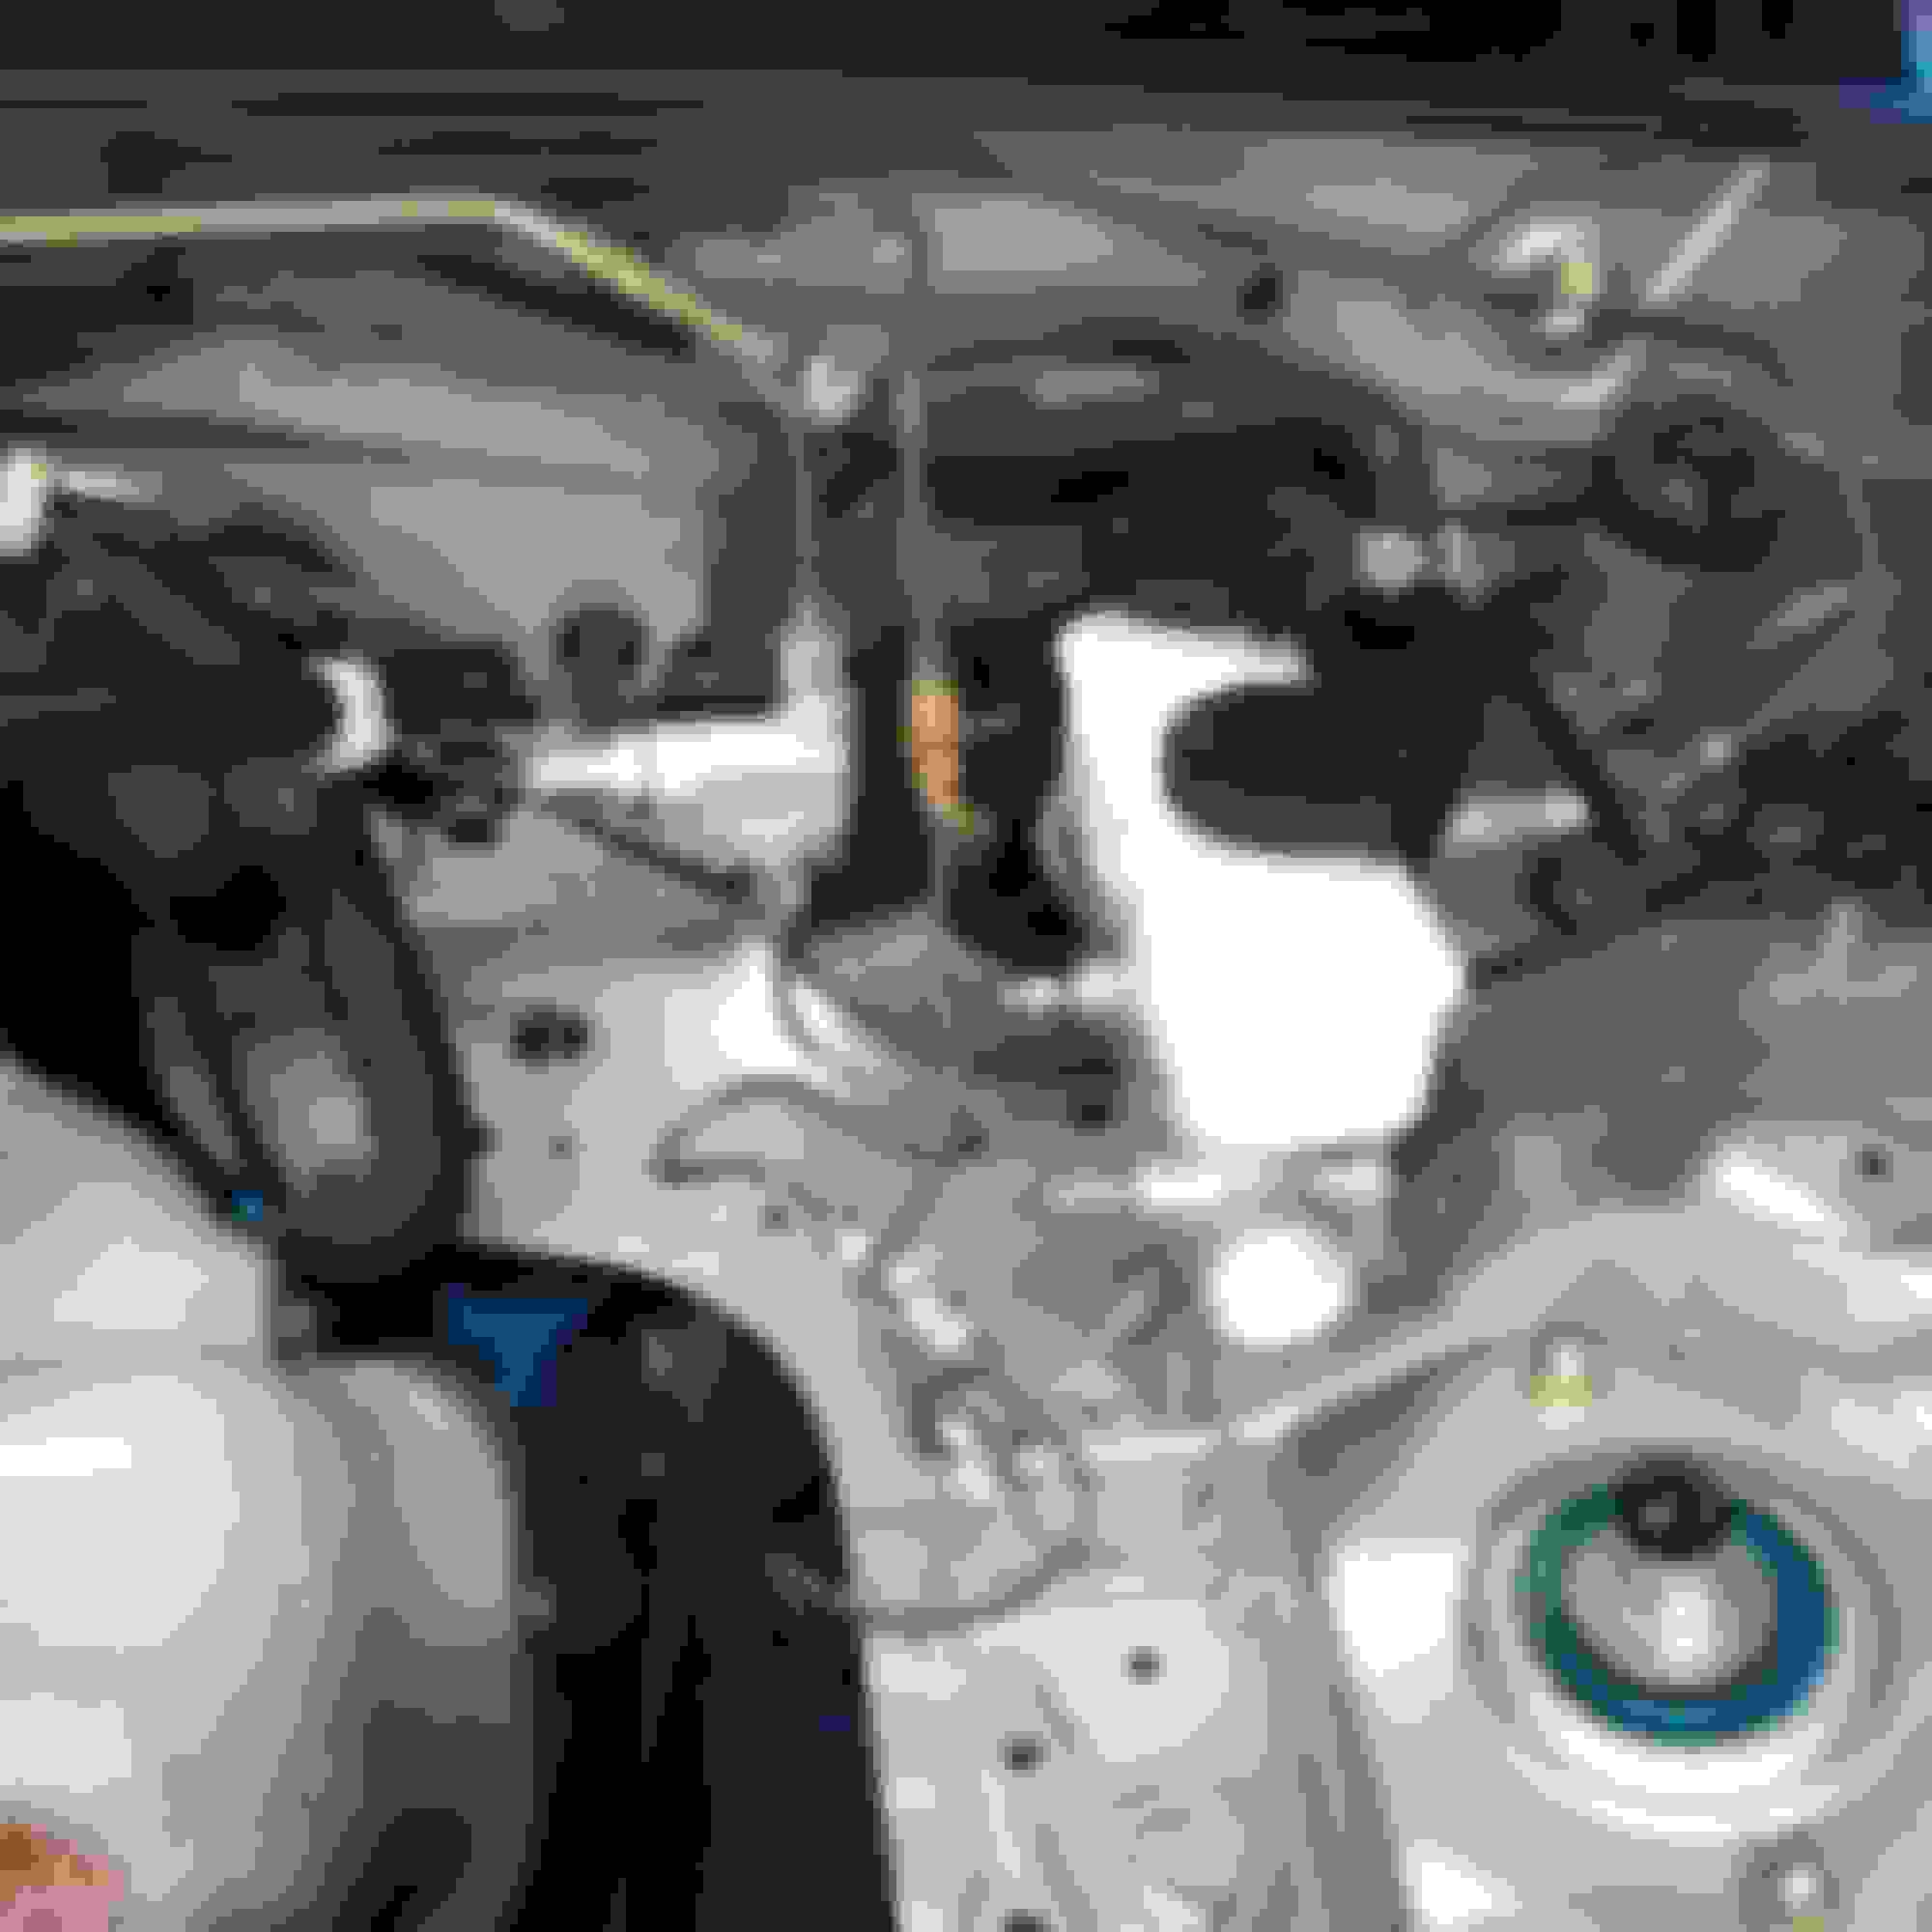
After switching to TSE 11.75'' setup I noticed the brake pedal no longer felt the same. To rectify this I had read a few threads about swapping in a 15/16'' Sport master cylinder from an NB2. After a few weeks of searching I did not come across a decent used example locally. I ended up going for the Wilwood 1'' kit from Goodwin. It came with prebuilt lines and all the necessary adapters.
Fancy.
I was most worried about the bench bleeding part of the install. This being my first master cylinder swap, I knew the system would be void of any fluid and I first needed to "prime" it before bolting it into the car. I used a large screwdriver for this, with the master itself, being held in a vice. The supplied hose was then looped back up into the reservoirs via a plastic connector. They leaked.
Bench bled and ready for install I quickly bent the lines using my hands attempting to get the hard lines as close as I could to spill as little fluid as possible.
Installed.
I then proceeded to bleed the brakes. The pedal went all the way to the floor. No fluid was being moved through the system. I continued to bleed for another 30 minutes but nothing was changing. I feared the worst, thinking I had gouged the inner wall of the master cylinder and there was an internal leak with fluid leaking past the seals.
I had another look at all of the fittings and found that the straight union was not creating a proper seal with the tapered hard line. Every time the pedal was depressed, it forced more fluid down the side of the engine bay, growing the pool of brake fluid underneath the car. Doh!
Hard line union/adapters: 2
Me: 0
A quick order to 949 and I had two new 10mmx1.0 female unions and everything went together smoothly.
It being a few days later, all of the remaining fluid in the reservoirs had leaked out and I had to start from scratch. Luckily with the Wilwood Kit there are two bleed screws one for each reservoir. I attached a hose straight from the master and began bleeding without the need to bench bleed it again. It was marvelous. All master cylinders should come with these.
I have yet to take it on track but with just a short drive up and down the street and I could already feel the difference.
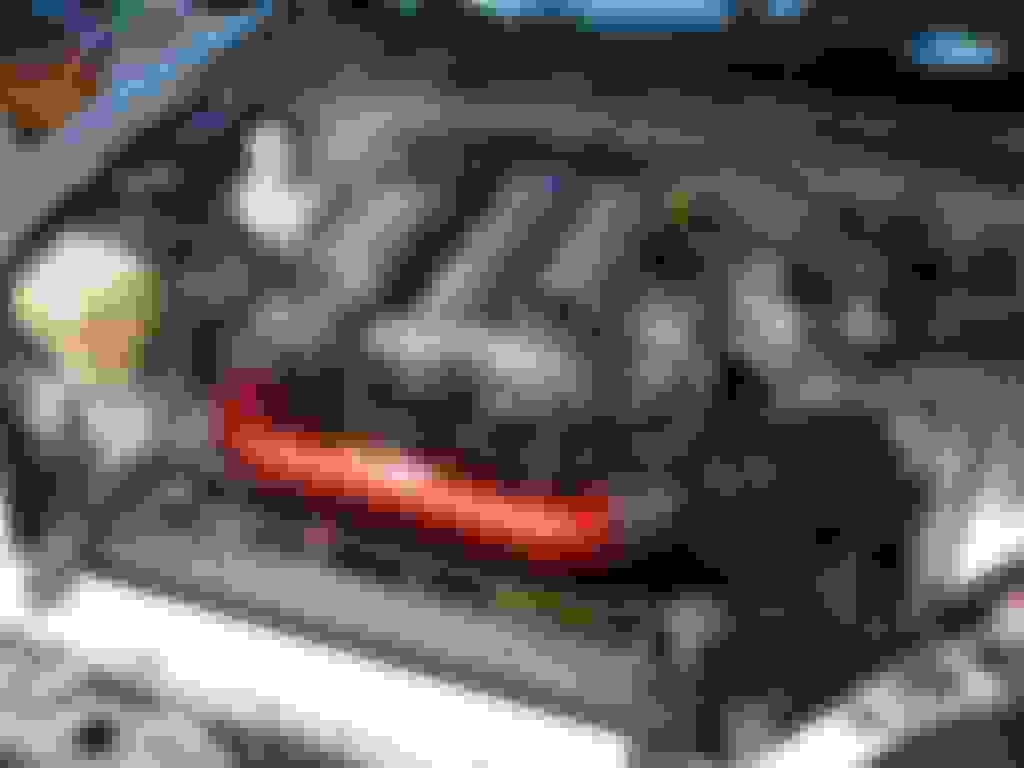
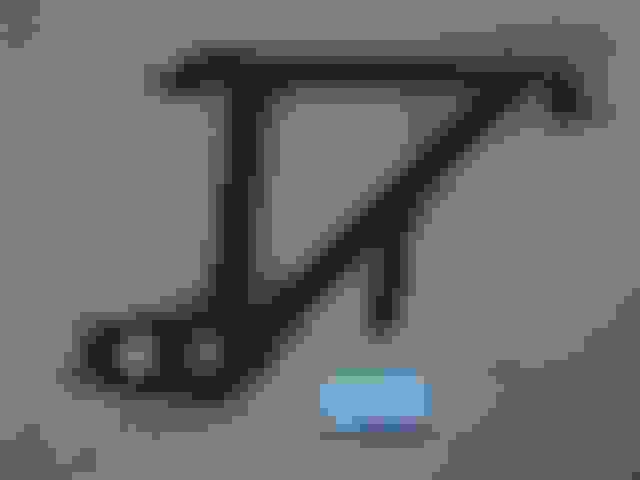
Miatas feel floppy. One solution is to add braces to stiffen where the convertible is naturally lacking.
Enter braces.
Garage Star Fender braces.
One side done.
Install was very straight forward, and only required drilling two holes (one per side). The braces helped with steering feel and the car now demonstrated much better behavior mid corner as well as reduced cowl shake from the front end.
FM frame rails.
I have heard many mixed reviews about the frame rails. Many rave about the added stiffness, even resulting to it feeling like an entirely new car. While others altogether saying to skip them completely and that they are just added weight. I was not sure who to believe at first, but after my last off track excursion at Buttonwillow I was also looking for some added frame rail protection and if they happen to stiffen the car in the process it would be a win-win.
Twenty four holes drilled and hit with rubberized undercoating as per instructions.
Time consuming yet easy install.
And boy did they make a difference. Upon exiting the driveway, the creaks and groans from the hardtop against the strikers had all but disappeared. Going over railroad tracks no longer caused the chassis to wiggle about over the uneven surfaces, and bumps were now better absorbed by the suspension. Add to that the added protection to the frame rails,I was now a believer.
I have a few things sitting in my room wanting to add to the car such as this oil cooler kit from Trackspeed. I am just unsure as to where I want to mount the cooler itself. I still have AC and would like to retain it for when I am driving back from Southern California, as this is somewhat of a dual duty car.
Trackspeed Oil Cooler Kit.
19 row core. Might be overkill for N/A track car, but air flow will be limited.
Cool project car. You are putting some real quality parts on there, it should be super quick in the corners. Definitely ready for more power if you feel the need.
What suspension is the car running before you install the Xidas?
 03-05-2017, 03:26 AM


 1
1