build thread (TII drivetrain swap, built motor, cage, widebody, blah blah)
 10-11-2009, 11:30 PM
#181
Senior Member
Thread Starter
iTrader: (9)

Join Date: Jun 2007
Location: NH
Posts: 1,013
Total Cats: 21
this weekend made some backward progress:
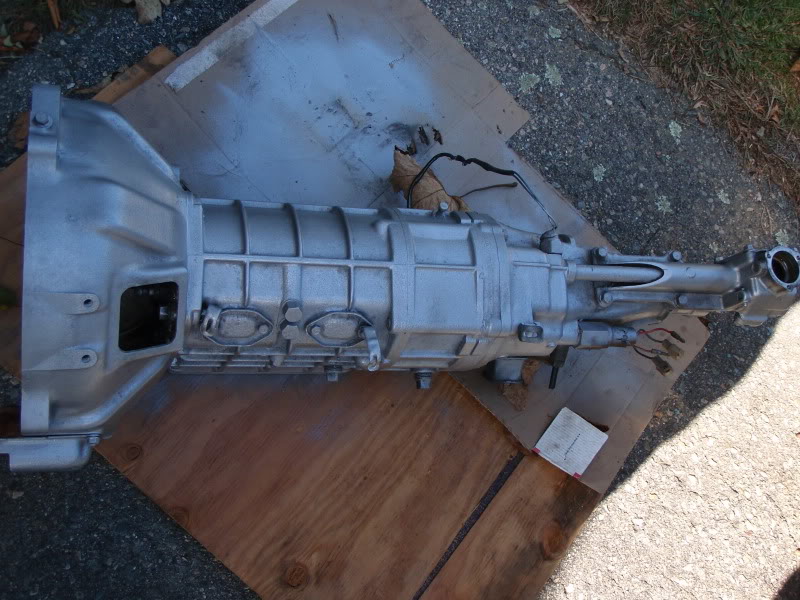
yanked the tranny back out, cleaned it up and painted it.
yanked the motor back out
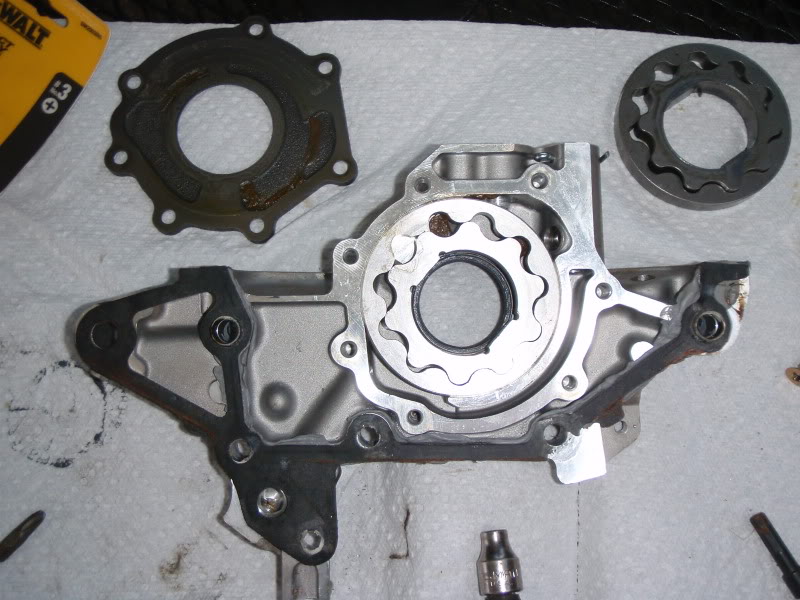
took off all the crap in the way of the oil pump and installed a set of billet oil pump gears. 8500 rpm better be worth it! Planning to have the motor back in the car by next weekend.
yanked the tranny back out, cleaned it up and painted it.
yanked the motor back out
took off all the crap in the way of the oil pump and installed a set of billet oil pump gears. 8500 rpm better be worth it! Planning to have the motor back in the car by next weekend.

Reply
 0
0

0
10-12-2009, 06:42 PM
#182
Senior Member
Thread Starter
iTrader: (9)
Join Date: Jun 2007
Location: NH
Posts: 1,013
Total Cats: 21
I was in the zone, so I forgot to take pics. Here are a couple:
I scored a low mileage TII tranny, so since I was pulling it anyways, I decided to go ahead and swap it in and use my current one for a spare. I swapped bellhousings between transmissions because I had to modify it so much to fit with the adapter plate

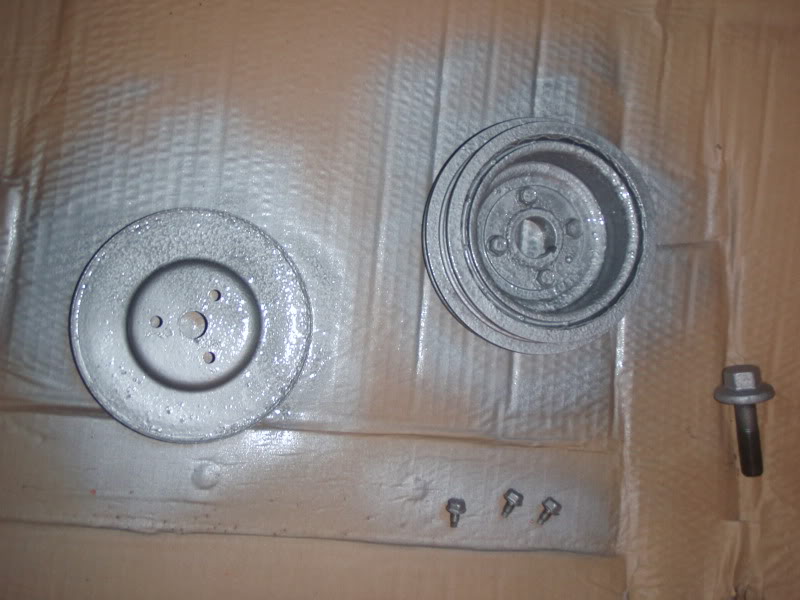
cleaned, and painted:
and the reason why I ripped everything out of the car- new billet oil pump gears to go in (stock ones are on the white pad):
I scored a low mileage TII tranny, so since I was pulling it anyways, I decided to go ahead and swap it in and use my current one for a spare. I swapped bellhousings between transmissions because I had to modify it so much to fit with the adapter plate
cleaned, and painted:
and the reason why I ripped everything out of the car- new billet oil pump gears to go in (stock ones are on the white pad):
Reply
0
0
10-21-2009, 09:52 PM
#184
Senior Member
Thread Starter
iTrader: (9)
Join Date: Jun 2007
Location: NH
Posts: 1,013
Total Cats: 21
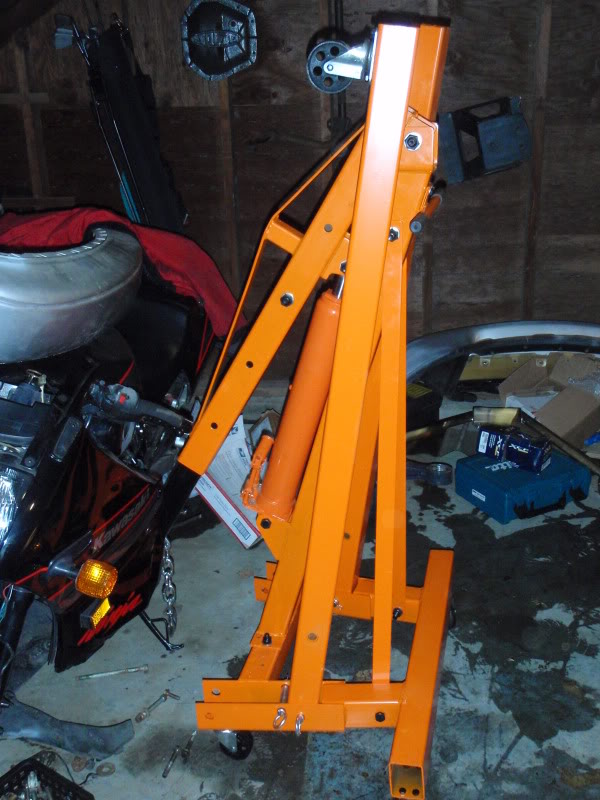
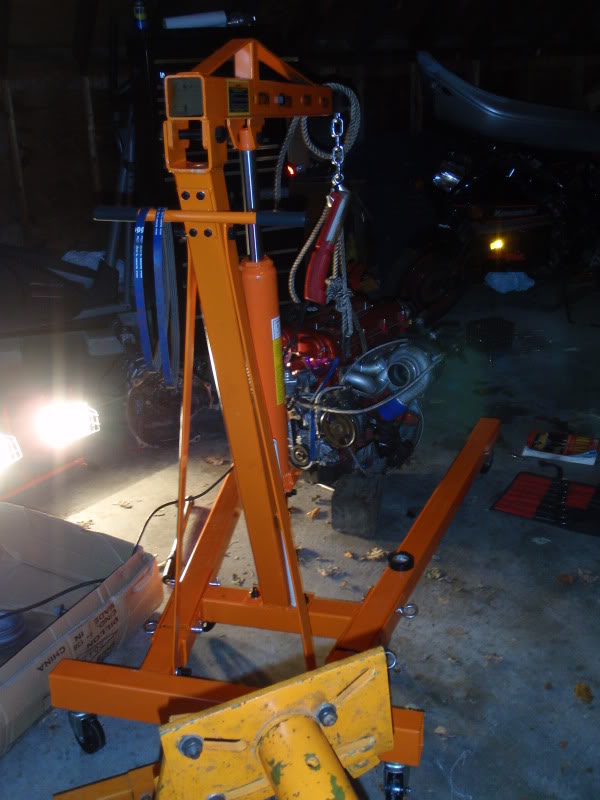
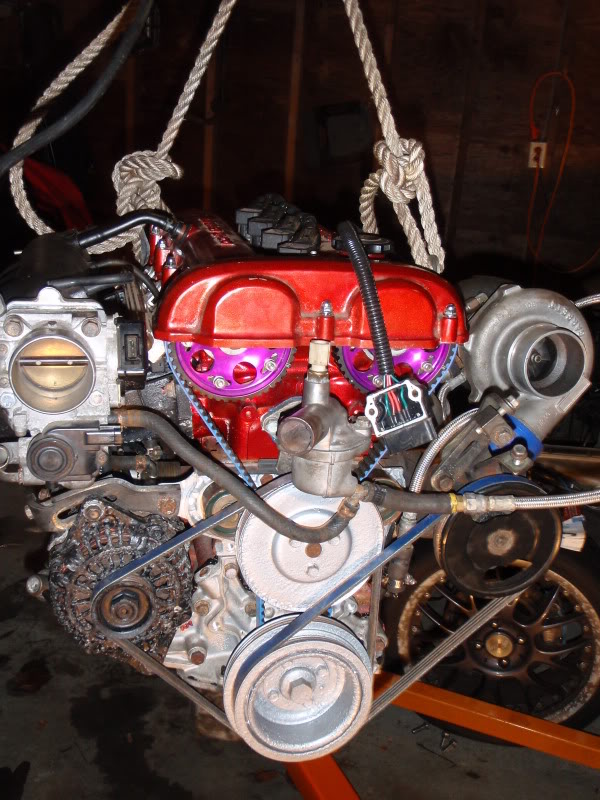
Got tired of gathering friends and dead-lifting the motor in and out, so I picked up a new 2 ton engine hoist. Great decision.
Loaded the motor up on it and started putting it all back together:
I finally broke down and stripped and painted the water and crank pulleys too. I used that hand hammered paint
tidied up the injector wiring and fuel lines
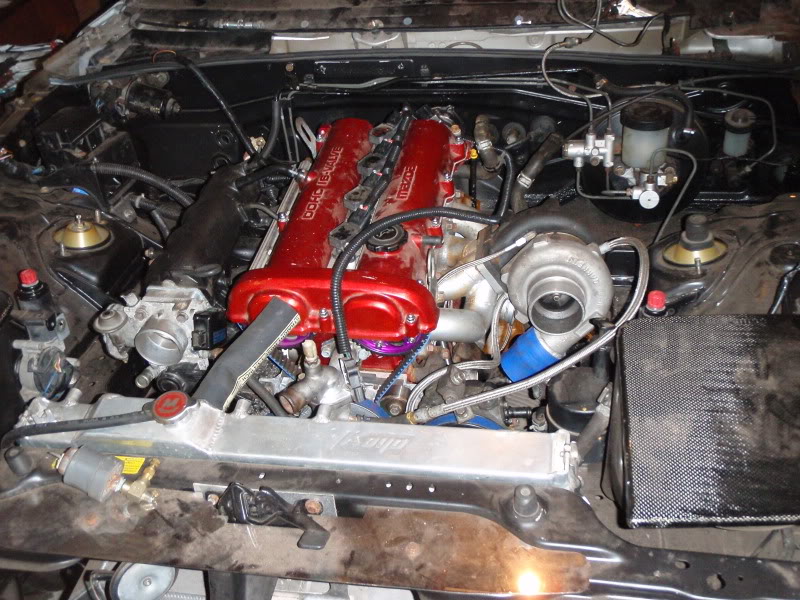
motor back together and ready to go in!
and back in the car:
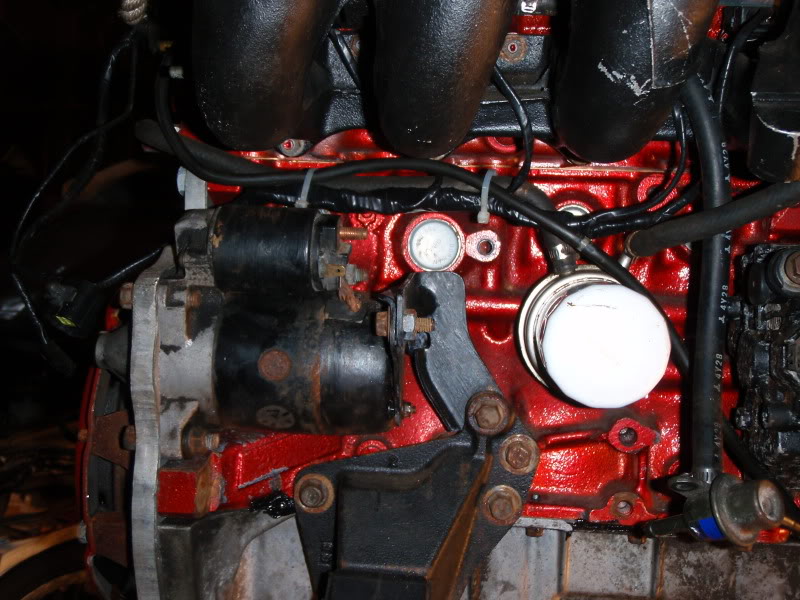
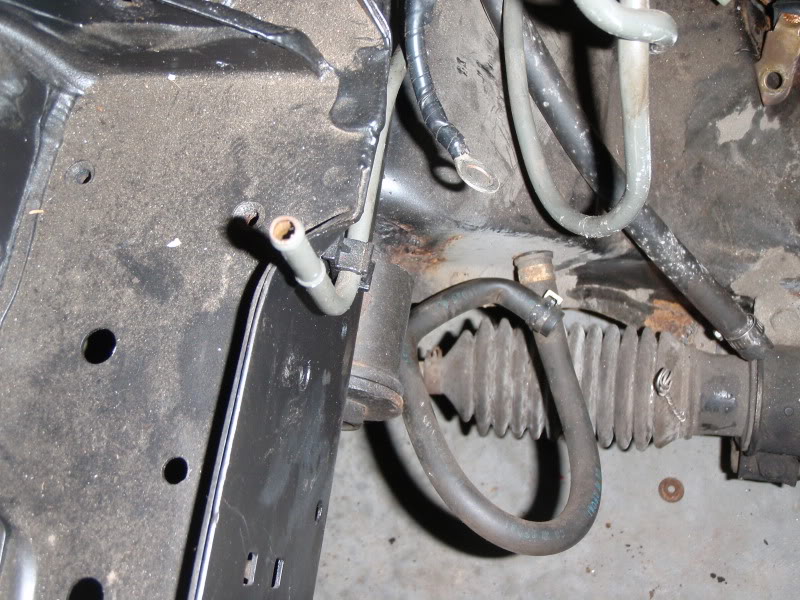
I had some questions too...
what does this hardline go to (I think this was for the charcoal canister), and what does the hose connected to the subframe go to? Can they be looped together??
Loaded the motor up on it and started putting it all back together:
I finally broke down and stripped and painted the water and crank pulleys too. I used that hand hammered paint
tidied up the injector wiring and fuel lines
motor back together and ready to go in!
and back in the car:
I had some questions too...
what does this hardline go to (I think this was for the charcoal canister), and what does the hose connected to the subframe go to? Can they be looped together??
Reply
0
0
 10-25-2009, 06:47 PM
#188
Senior Member
Thread Starter
iTrader: (9)
Join Date: Jun 2007
Location: NH
Posts: 1,013
Total Cats: 21
This weekends work...
transmission is back in the car, hopefully for the last time now! I also topped off the fluid in the shifter turret and installed my shortshifter:

cleaned up the wires, put in the rubber boot and bolted down the center console:

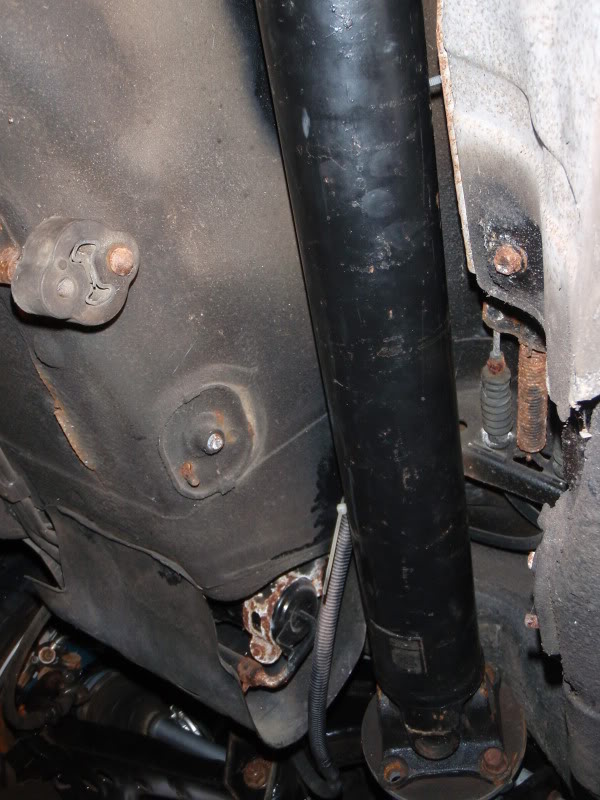
bolted in the new driveshaft:
Then I plugged the wiring harness back into all the engine crap, finished up a few loose ends with the harness, and installed the front fenders, front bumper, and also the rear bumper.
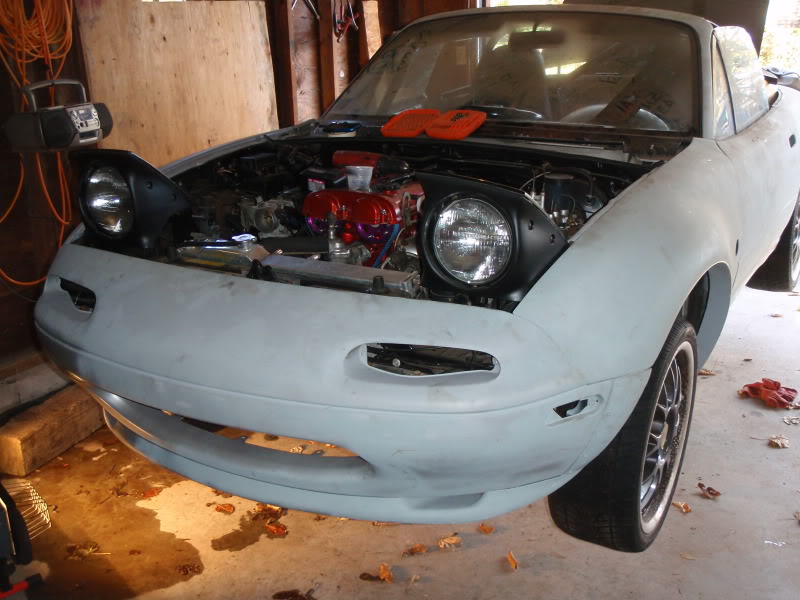
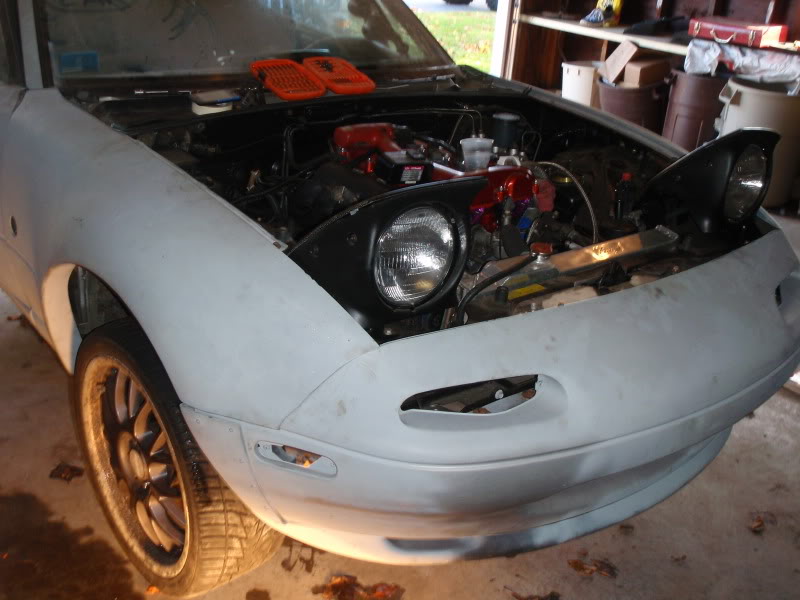
It's finally starting to look like a car! I know I'm getting close because my hardware stash is getting less and less.
Reply
0
0
10-25-2009, 06:50 PM
#189
Senior Member
Thread Starter
iTrader: (9)
Join Date: Jun 2007
Location: NH
Posts: 1,013
Total Cats: 21
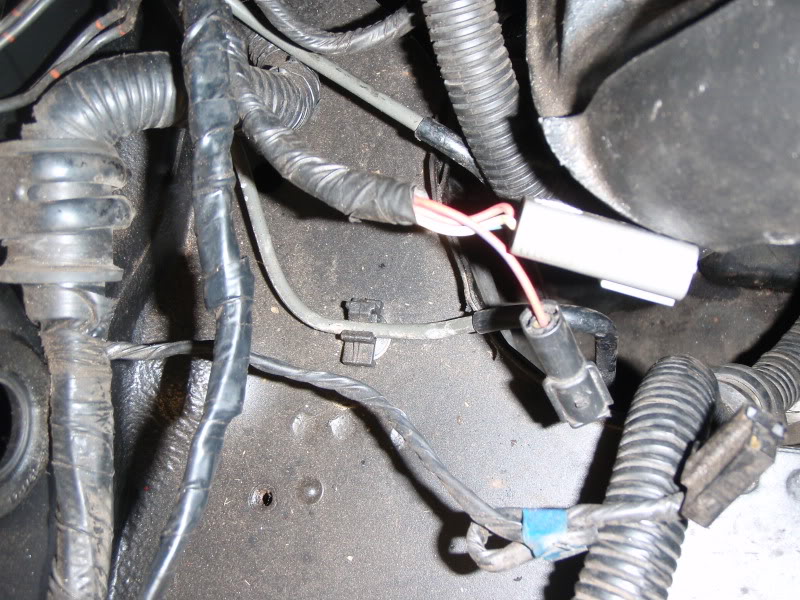
couple more wiring questions:
what do these 3 connectors go to? I'm hoping they are AC or emissions crap that way I don't have to worry about them. They come out of the harness that the CAS is in.
what do these 3 connectors go to? I'm hoping they are AC or emissions crap that way I don't have to worry about them. They come out of the harness that the CAS is in.
Reply
0
0
10-25-2009, 07:02 PM
#190
Cpt. Slow

iTrader: (25)
Join Date: Oct 2005
Location: Oregon City, OR
Posts: 14,184
Total Cats: 1,134
Kudos to all the work you're getting done, I would never be able to work around that filth. What's the plan for the interior and exterior. Paint? Color? Carpet? Seats?

Reply
0
0


 10-26-2009, 02:48 PM
#195
Cpt. Slow
iTrader: (25)
Join Date: Oct 2005
Location: Oregon City, OR
Posts: 14,184
Total Cats: 1,134
I think the third one connects to the master cylinder resivoir, to a sensor that tells you when you're low on fluid. Actually it just turns on the ebrake light, but you get the point.
Reply
0
0


