Building the boosted smurf

 03-22-2015, 11:05 PM
#282
Junior Member
Thread Starter
iTrader: (1)

Join Date: Feb 2013
Location: Windsor, Ontario
Posts: 403
Total Cats: 65
I totally forgot to grab the intake and exhaust manifold gaskets off you too. I might just get the intake manifold gasket this side of the border tomorrow and get an oil pickup tube as well so I can drop this motor in and work on the wire harness can finally start.
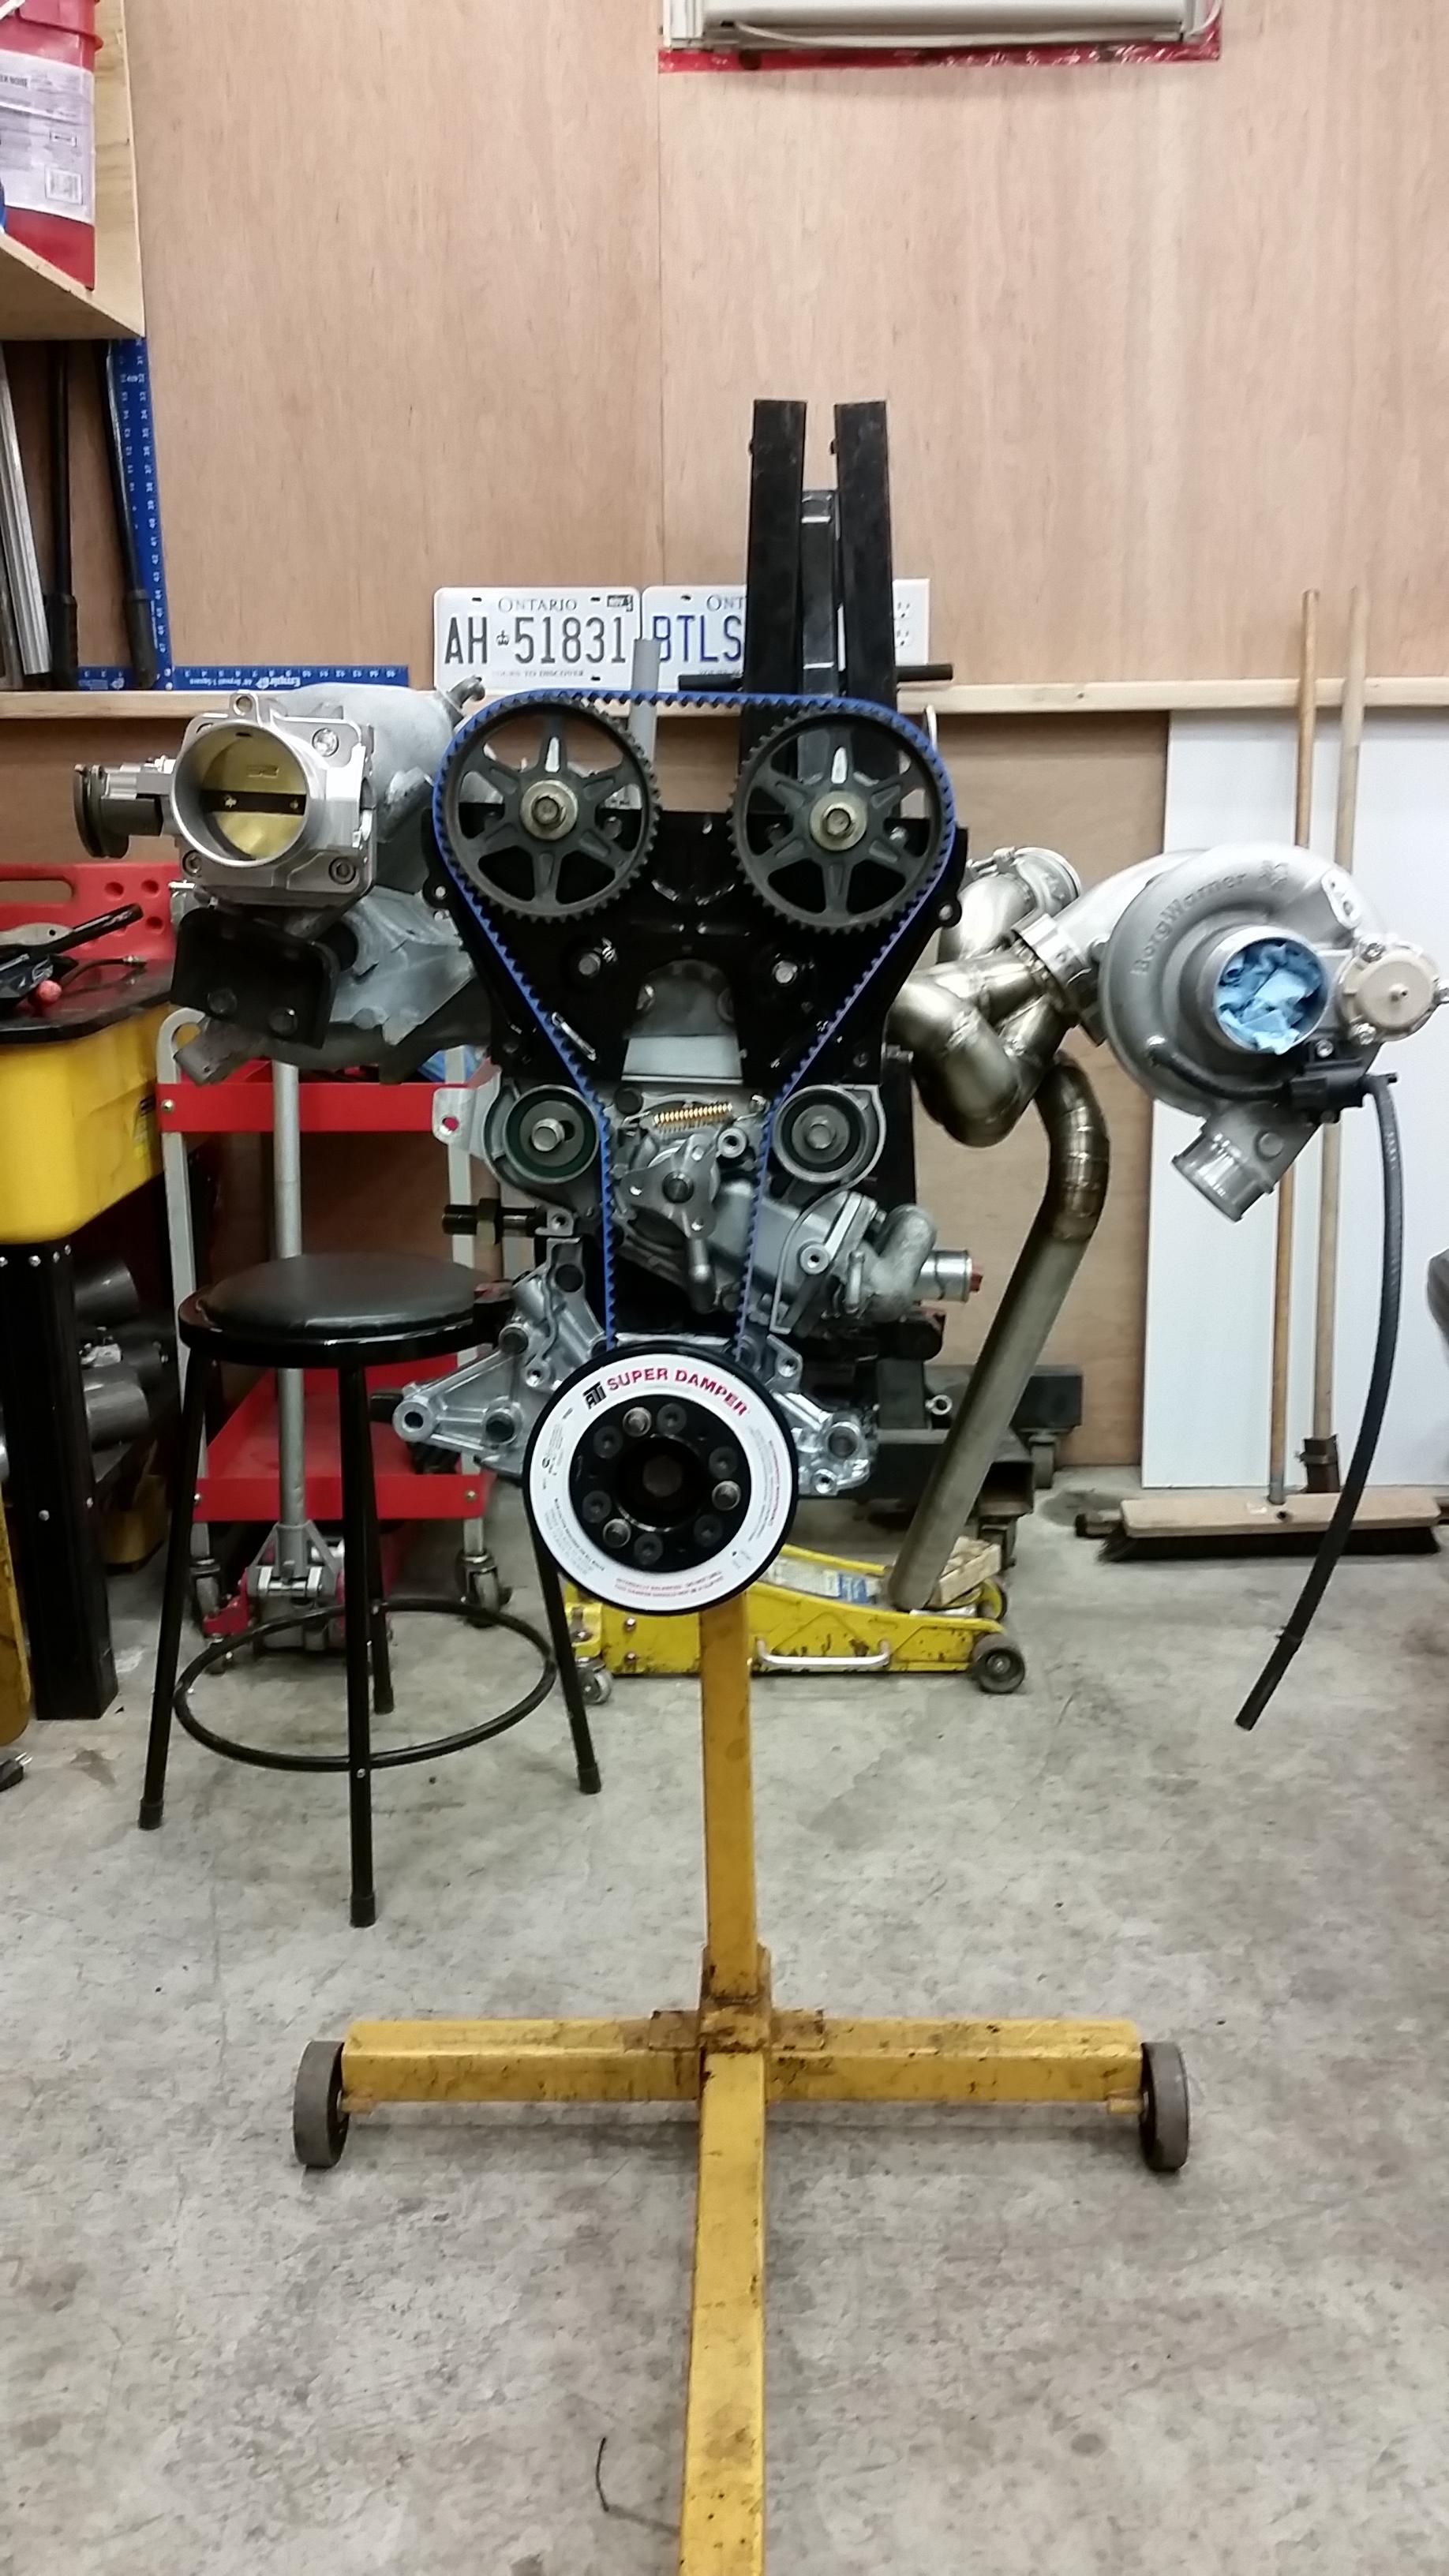
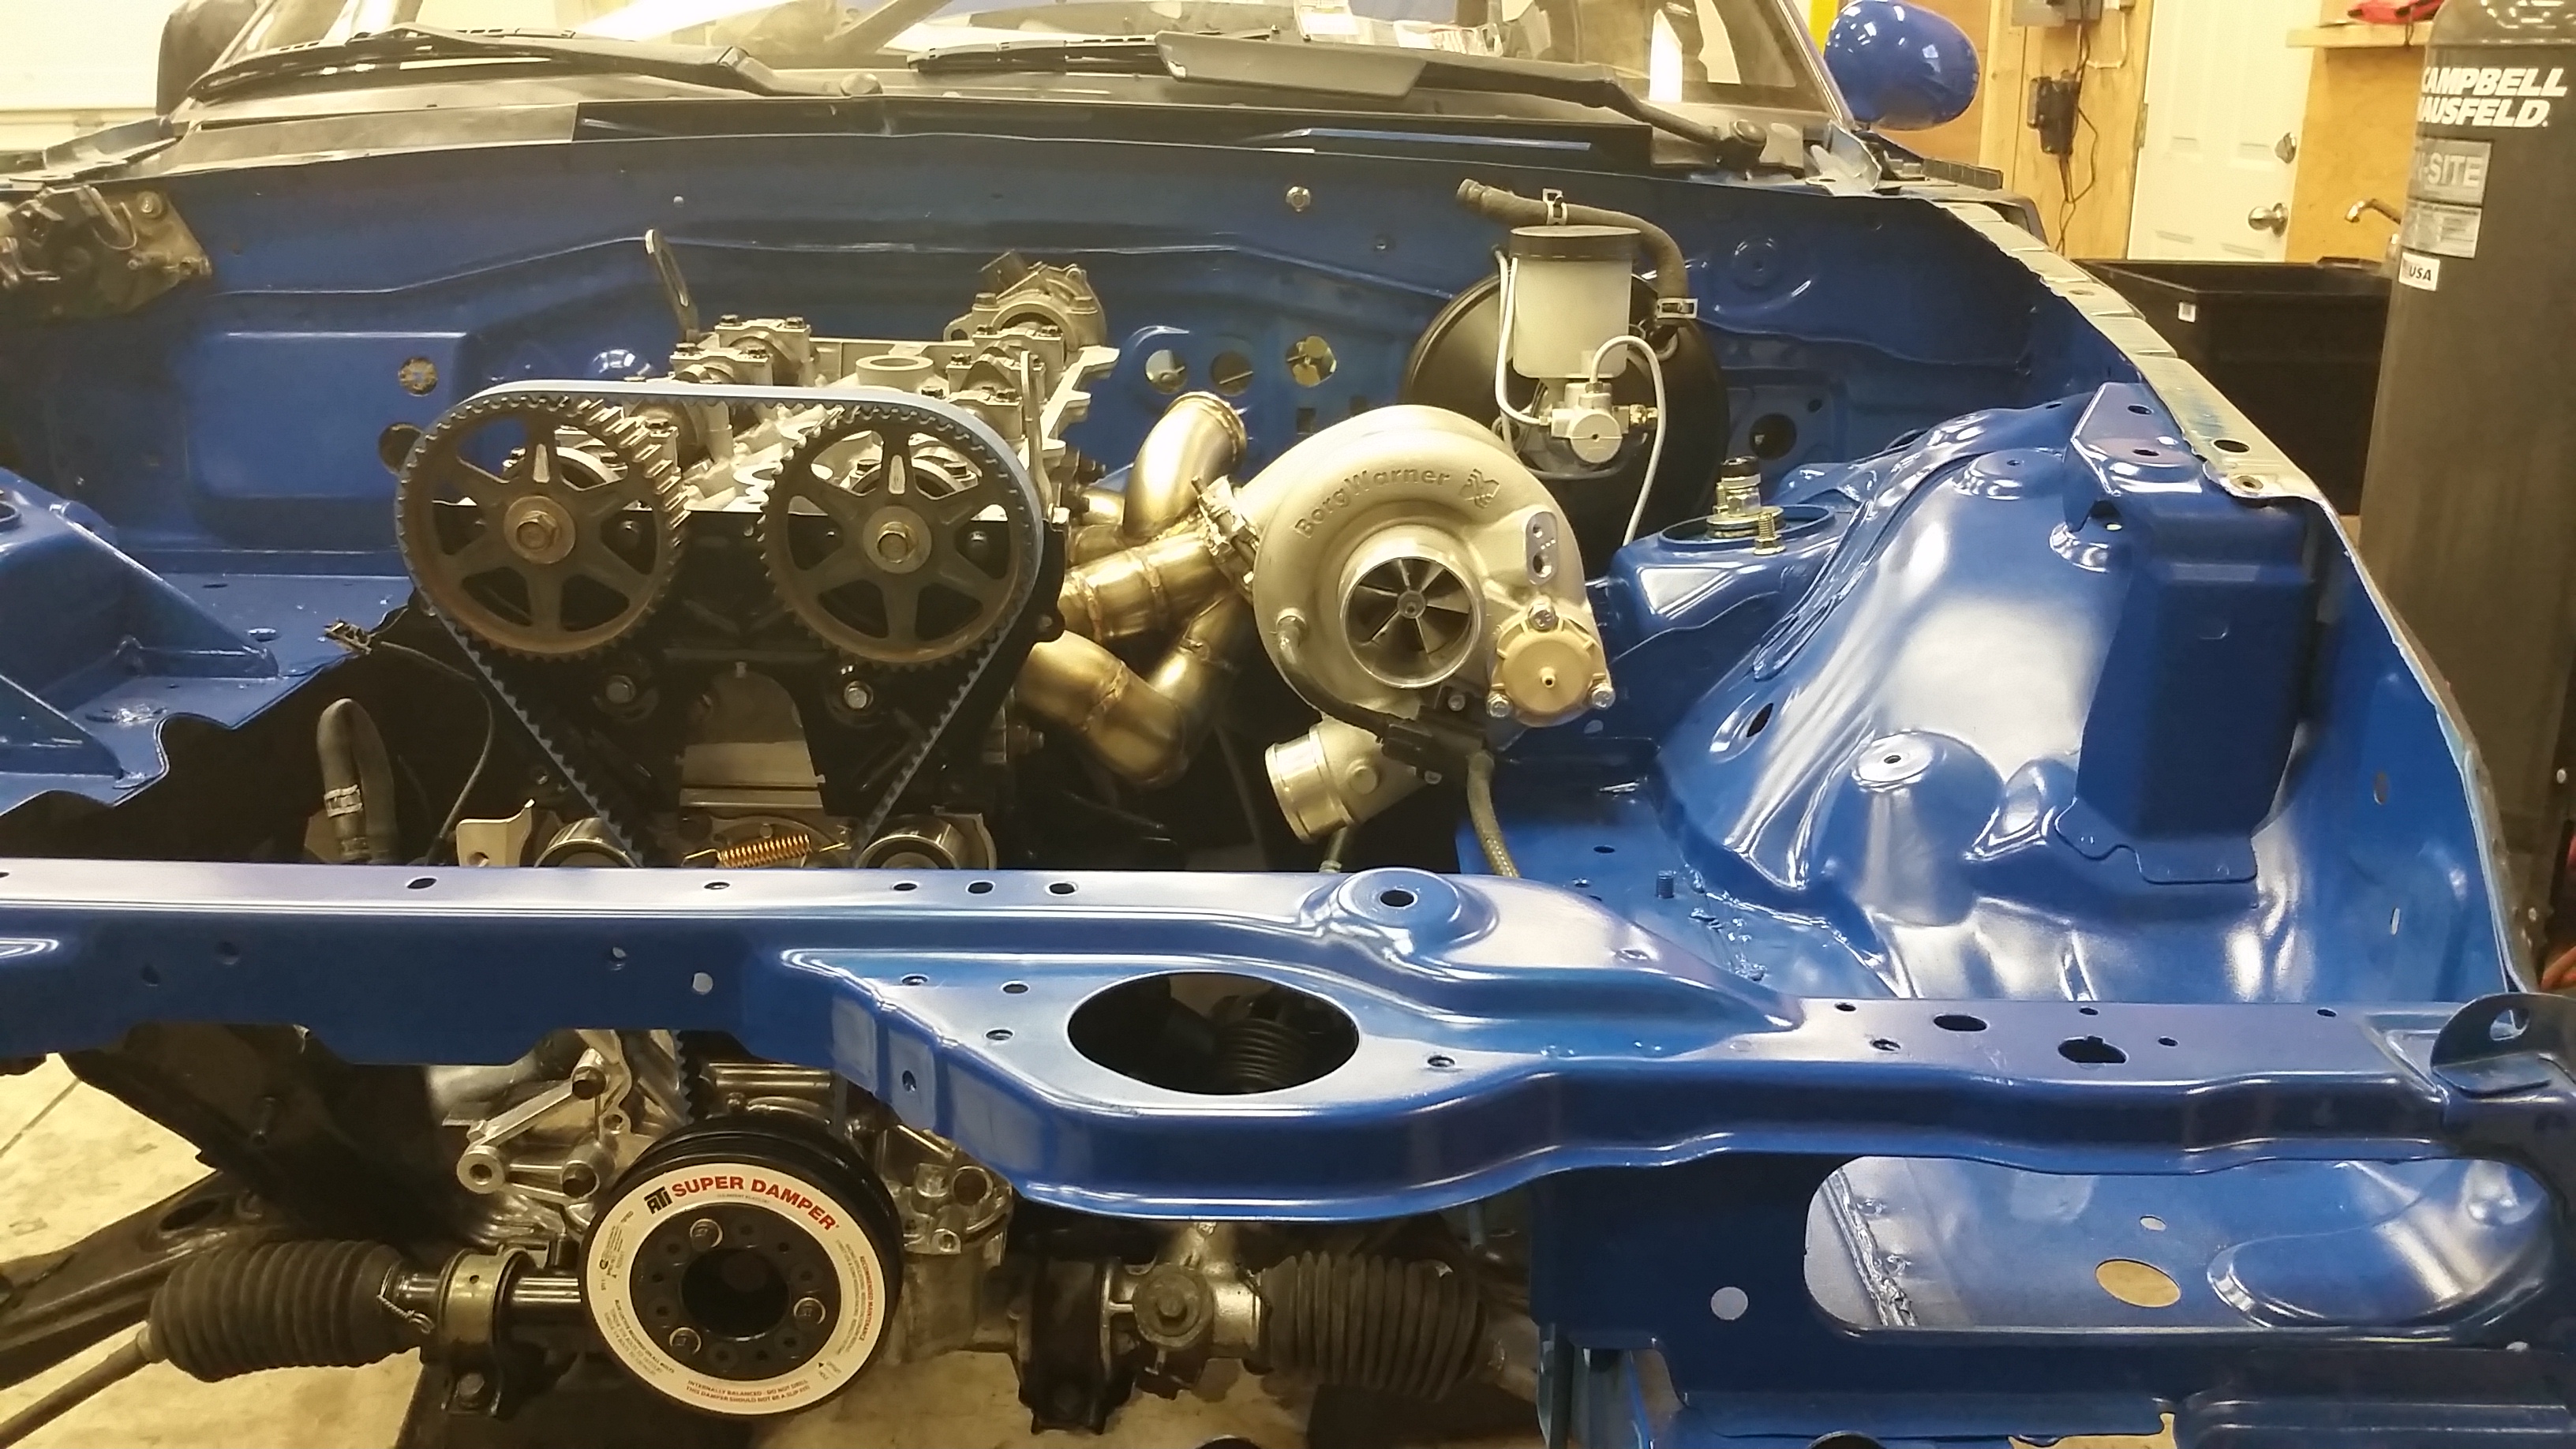
Did a little more today, I think this thing will be ready to drop in by the end of the week. Installing the ATi damper was kind of a pain but I'm glad that's done. And I believe the timing is set correctly now but will double check.
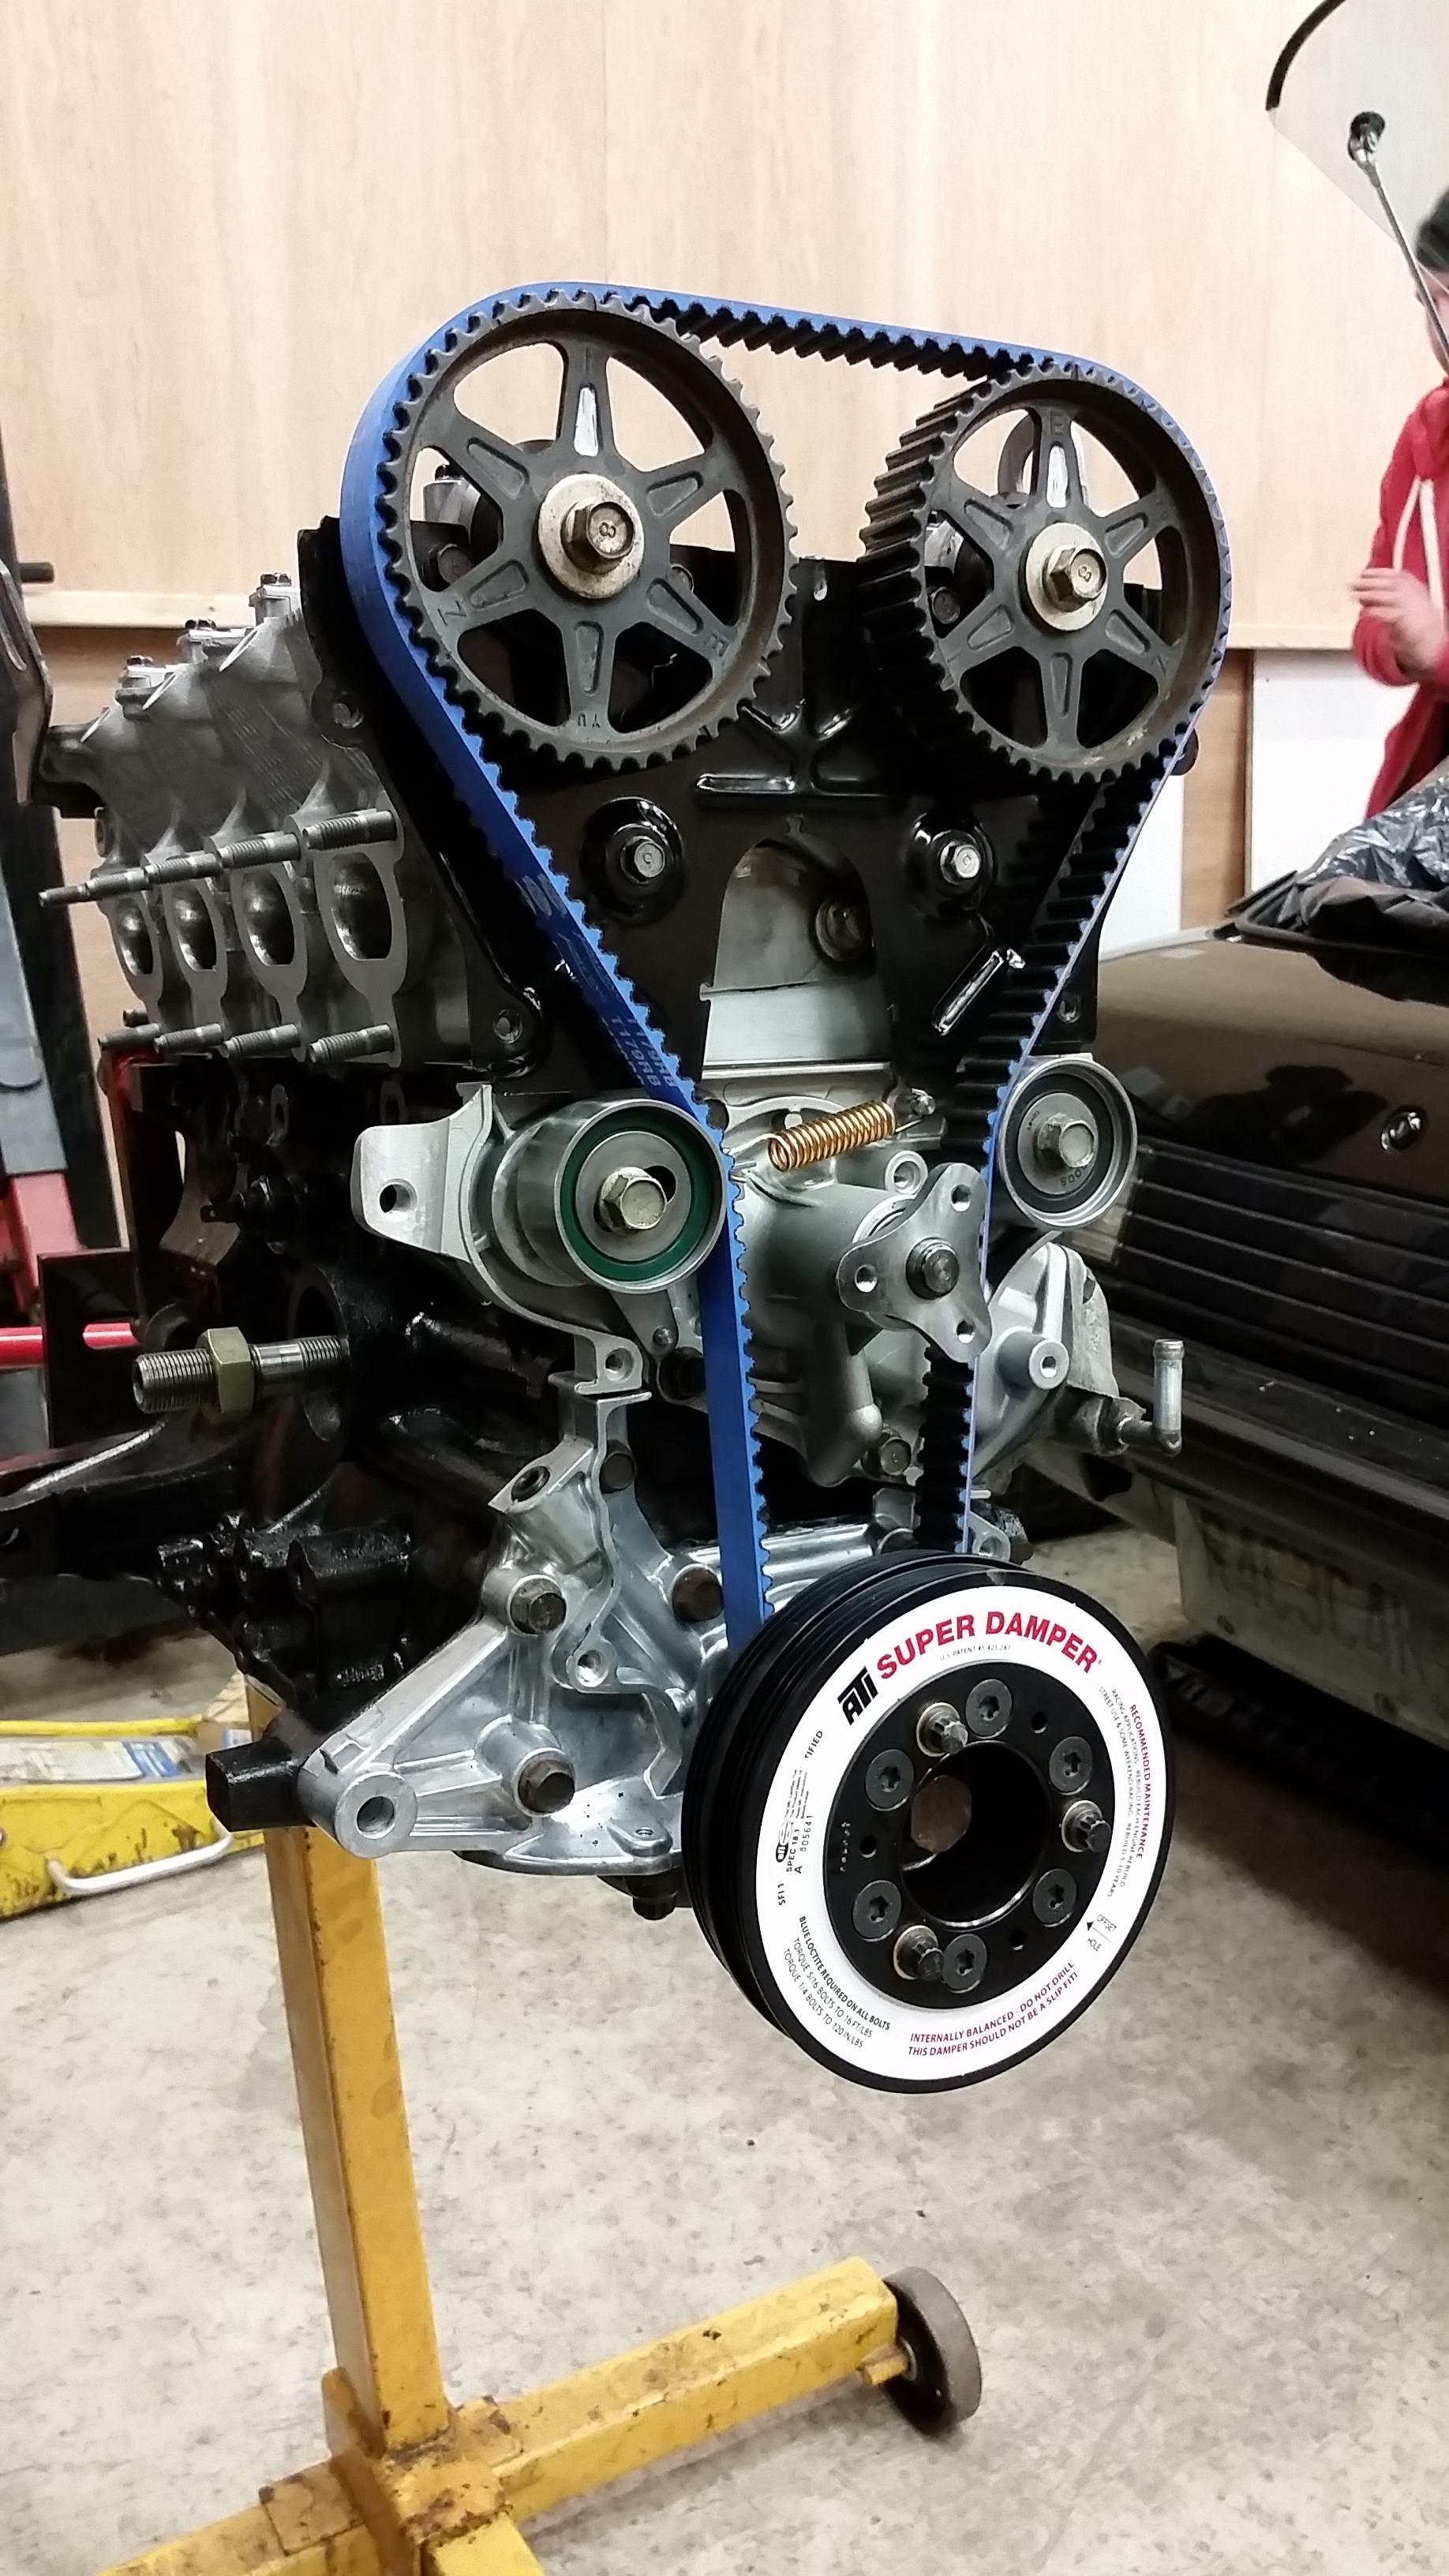
And then had a bit of spare time at the end of the night so tossed these on again just because. Hopefully when I get manifold gaskets they'll be on there to stay.
Hopefully I can get an oil pickup tube early this week and get the pan installed. Once that is on we'll be dropping the engine in.
Also, all these photos are looking more and more like they've been taken with a potato and doesn't seem to be re-sizing properly for me so sorry about that. Need to find my DSLR

Reply
 2
2

2
04-08-2015, 10:45 PM
#283
Junior Member
Thread Starter
iTrader: (1)
Join Date: Feb 2013
Location: Windsor, Ontario
Posts: 403
Total Cats: 65
Been slacking on posting updates. Kind of feel like things are just moving so slow and not much is happening but I'm just picking away at it slowly for a couple hours after work. And then when I actually do something I get home way too late to post up an update lol. Also you guys still only get potato pics from my Galaxy S5
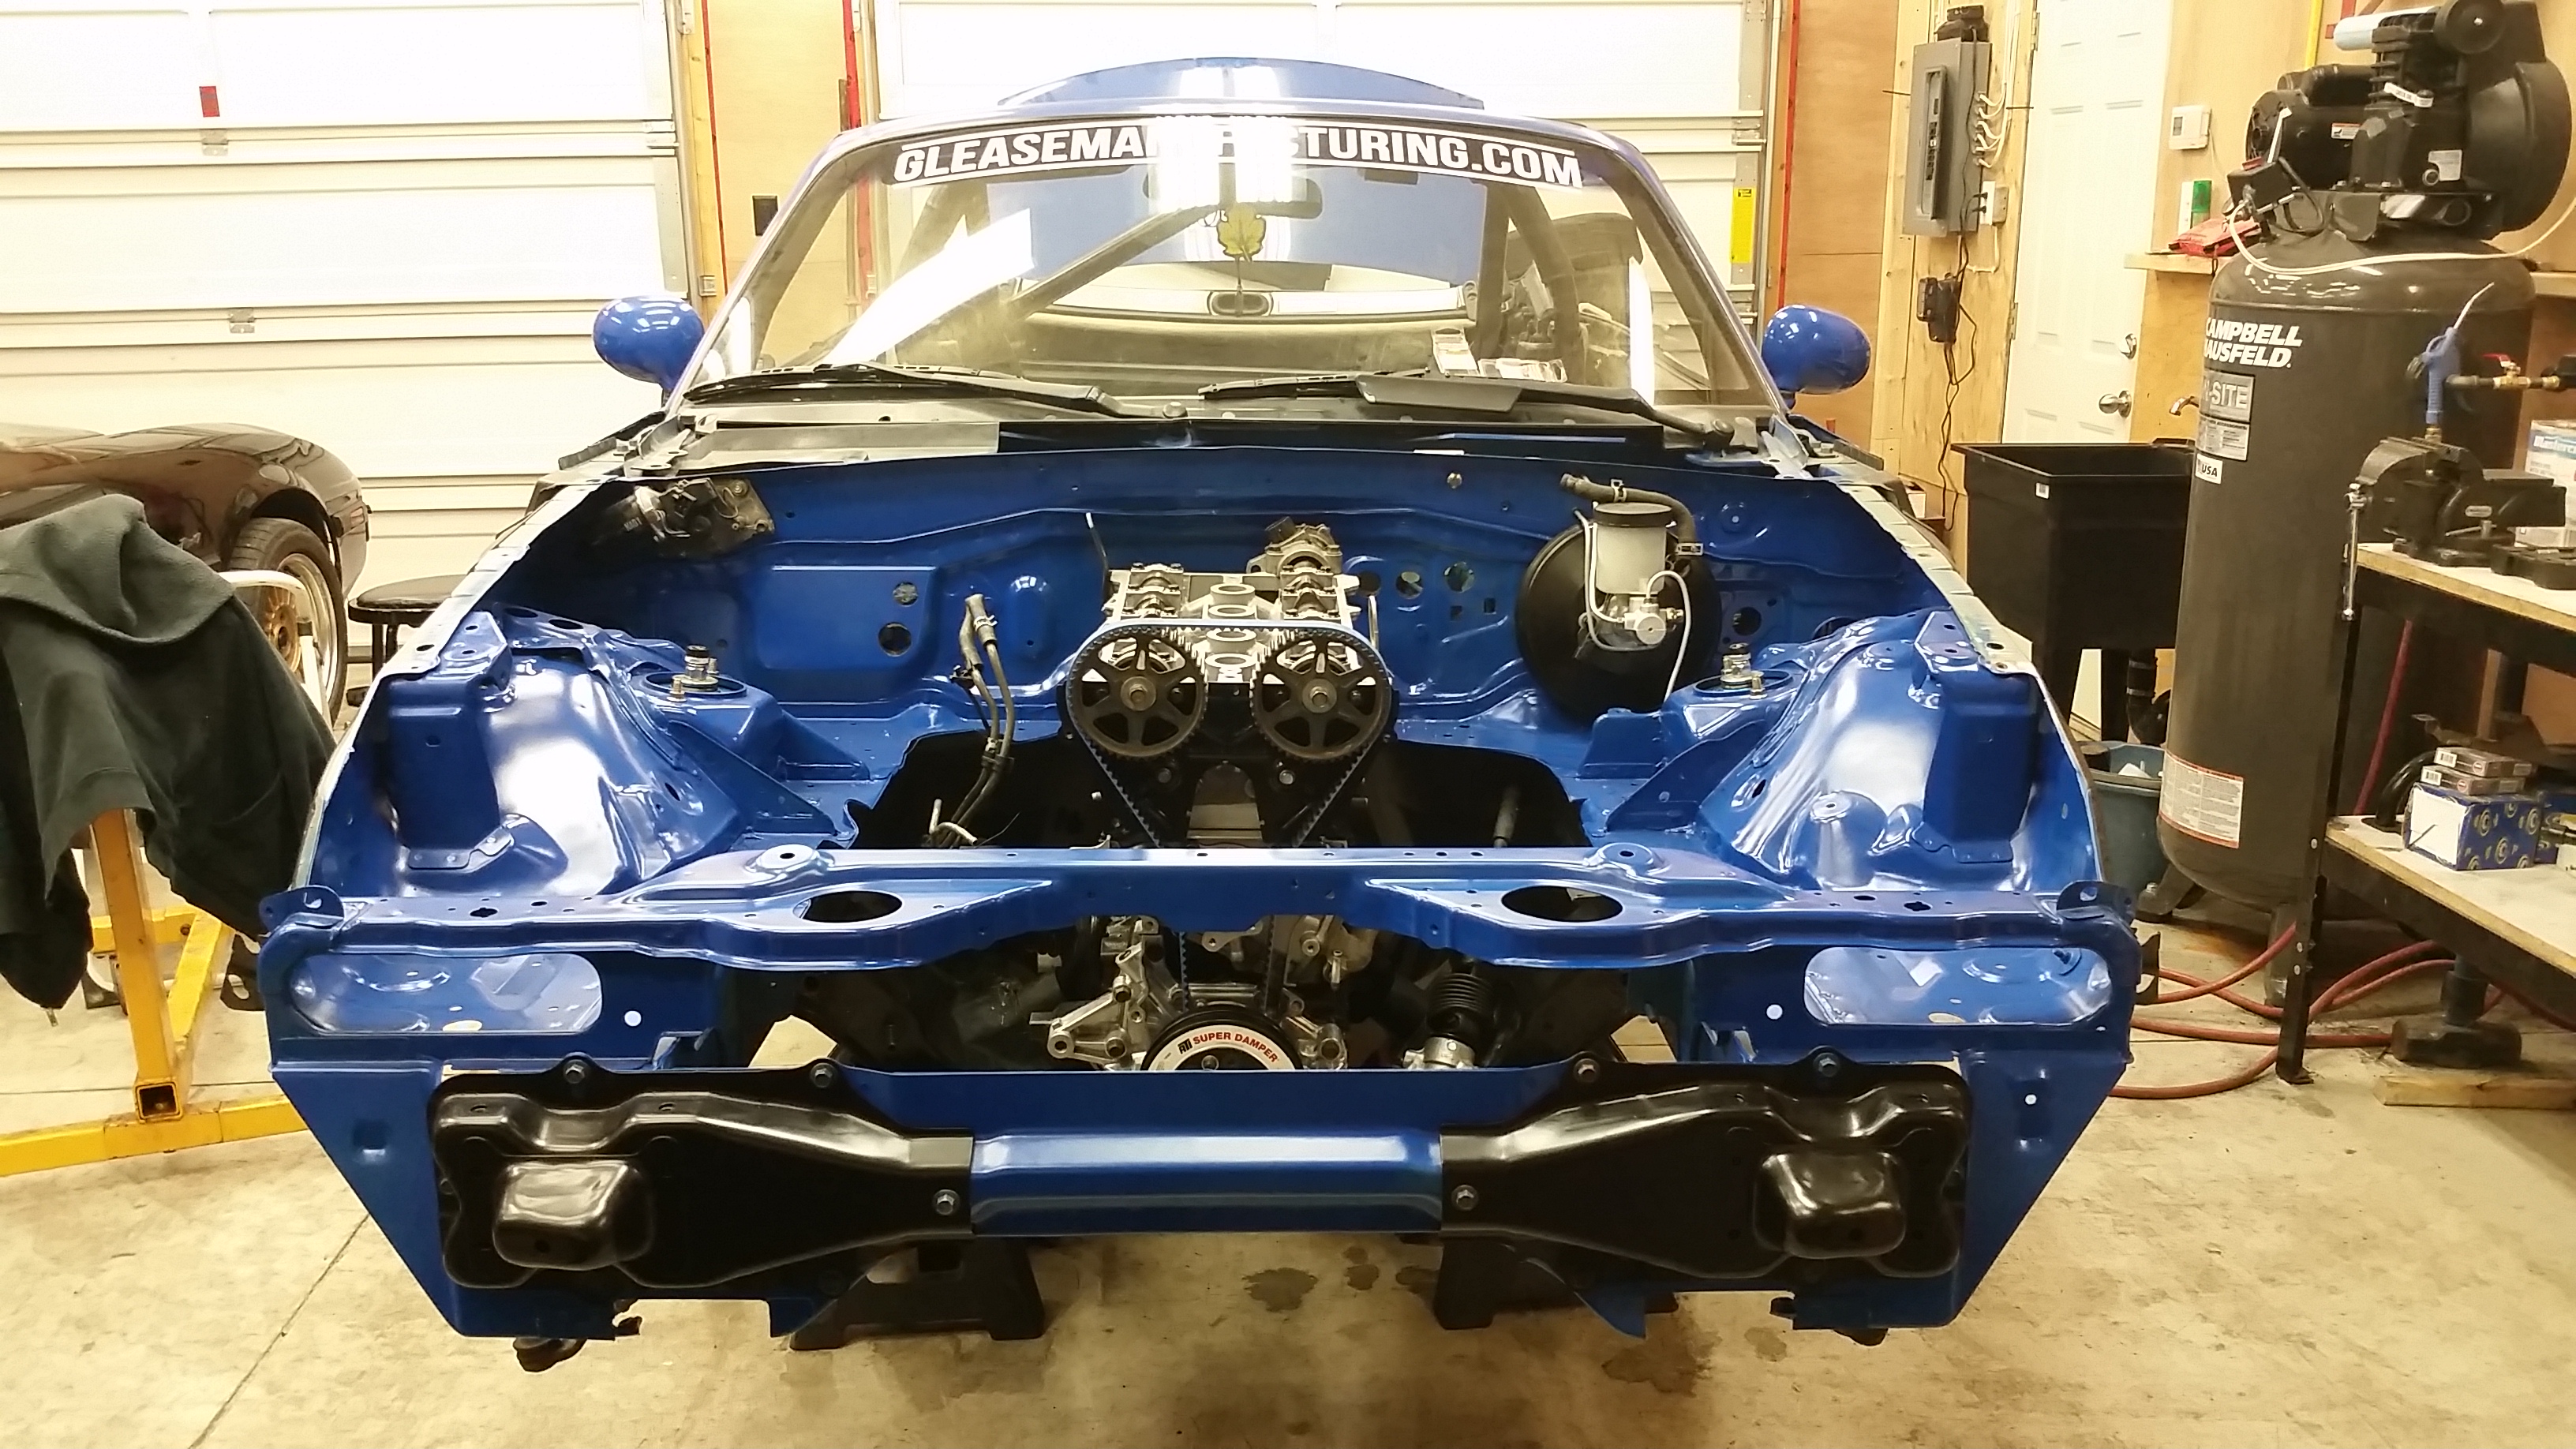
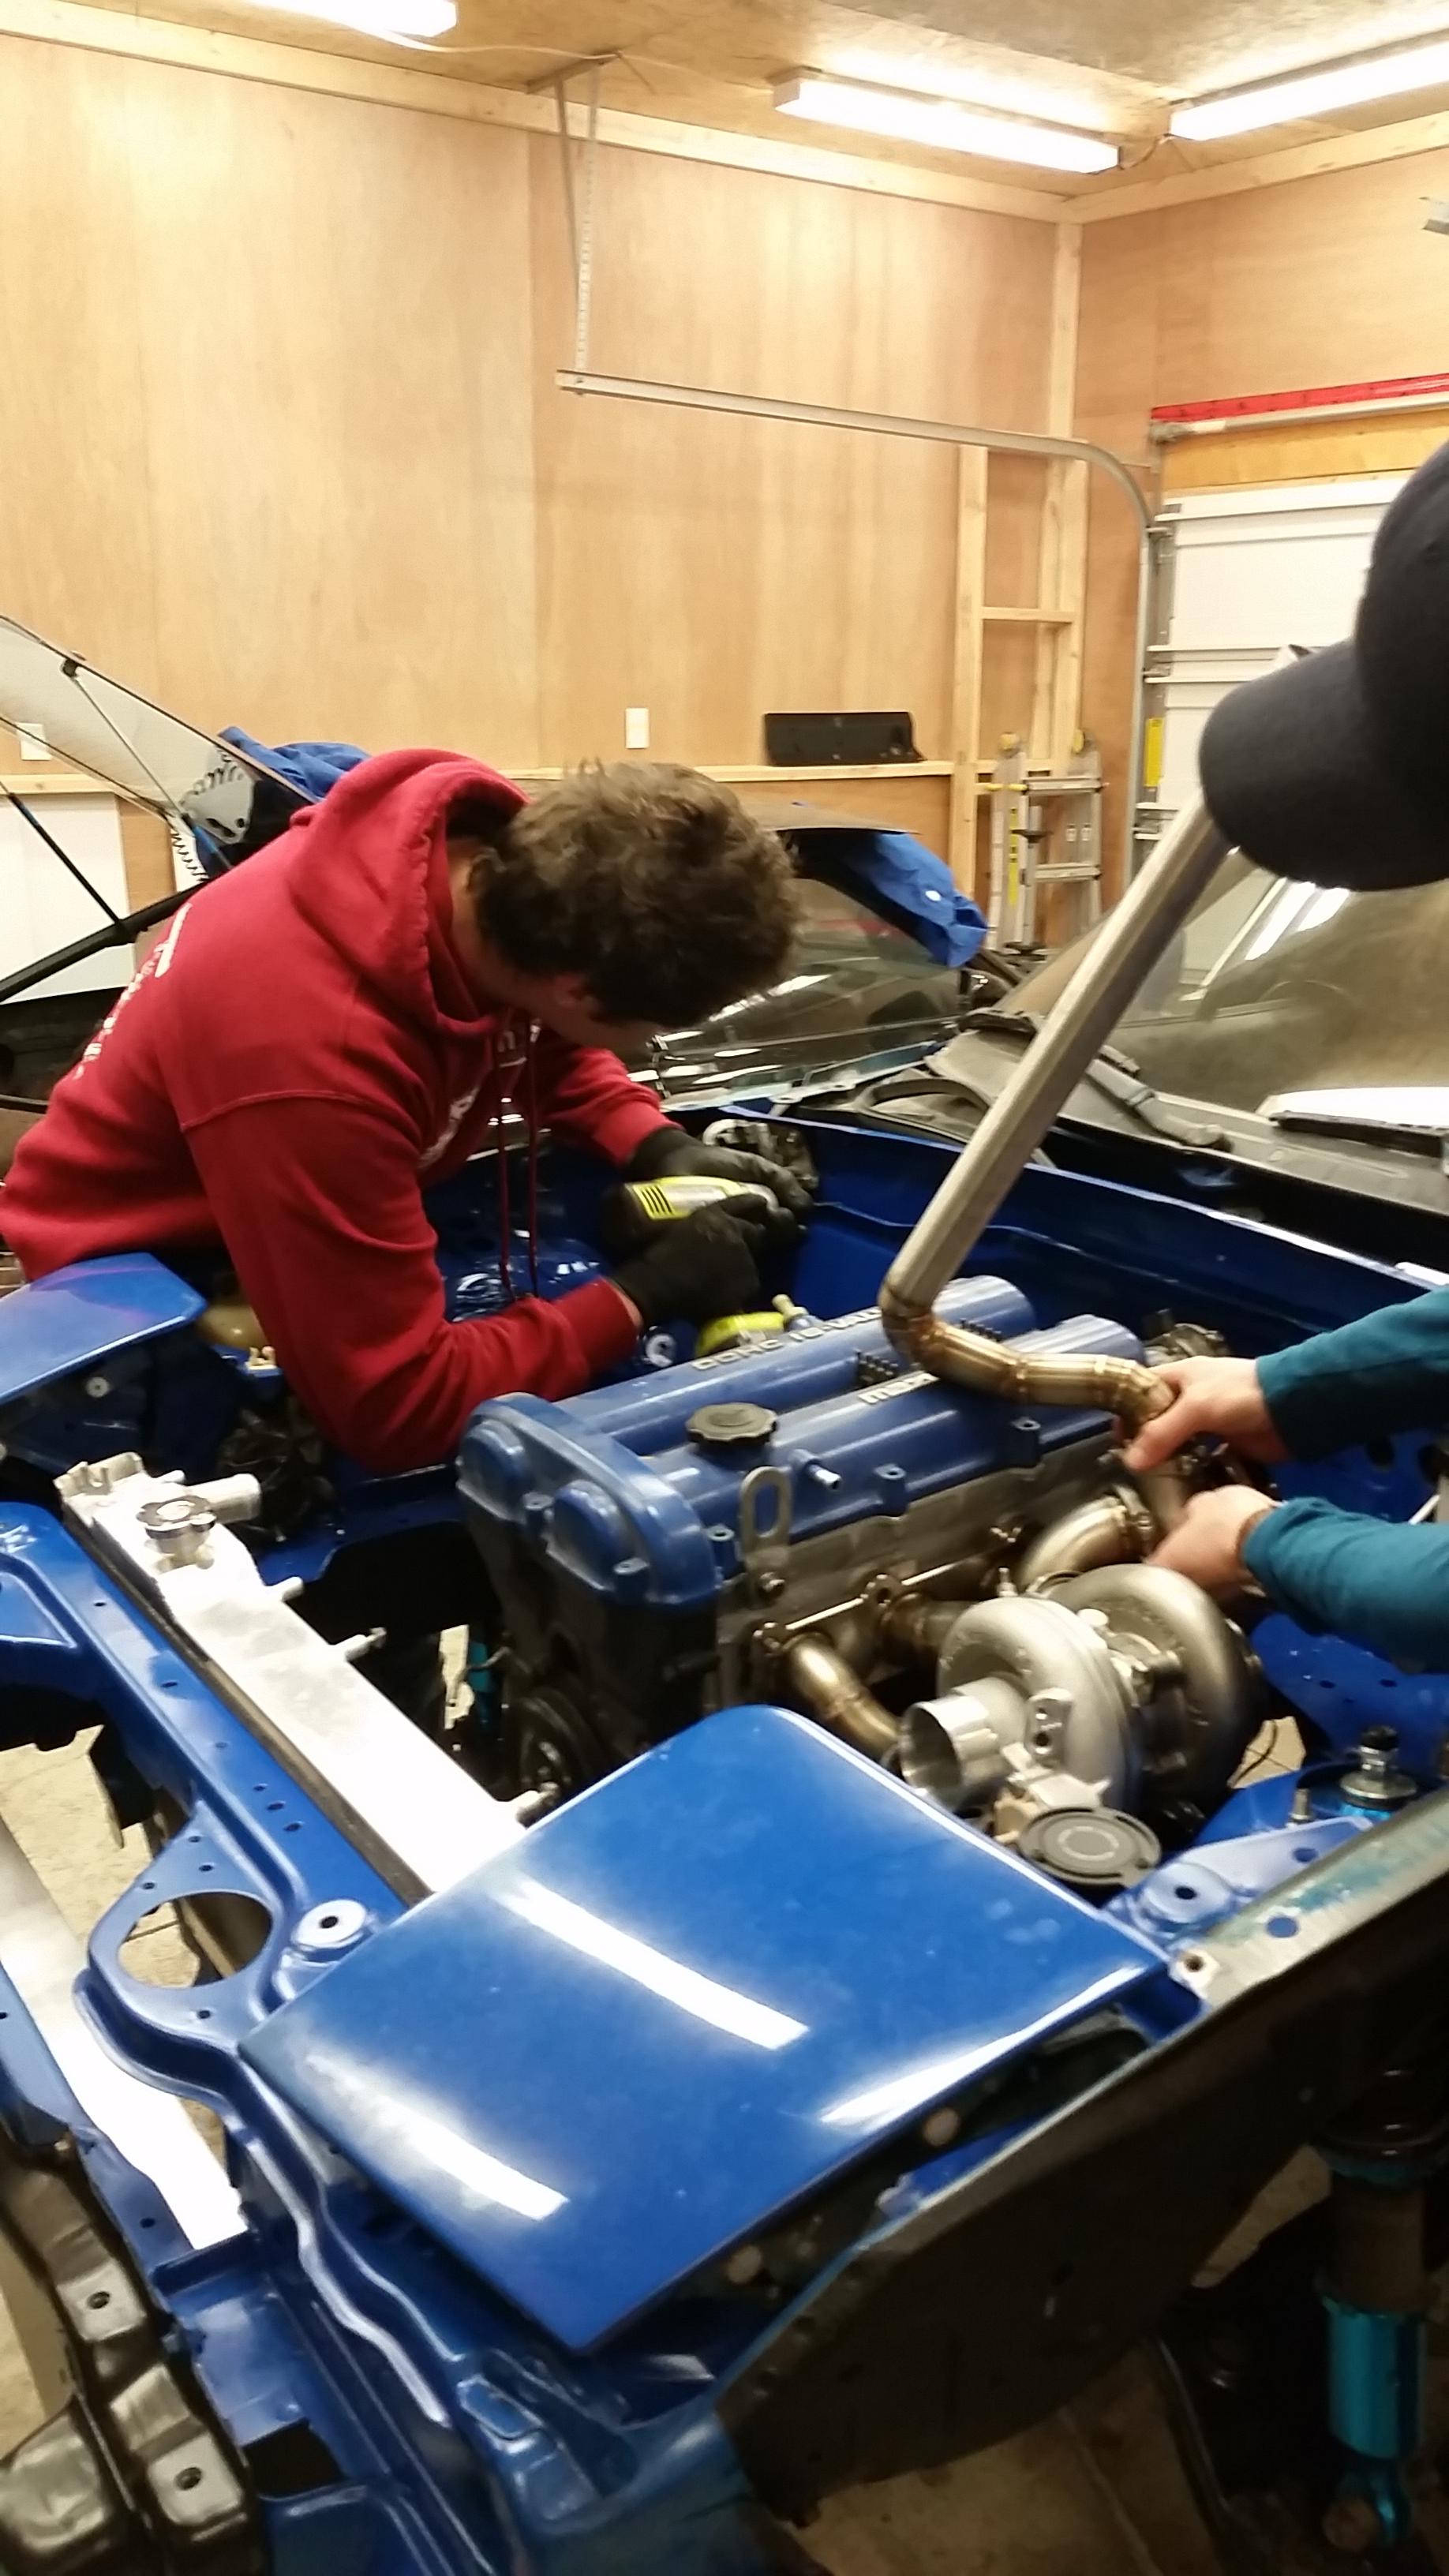
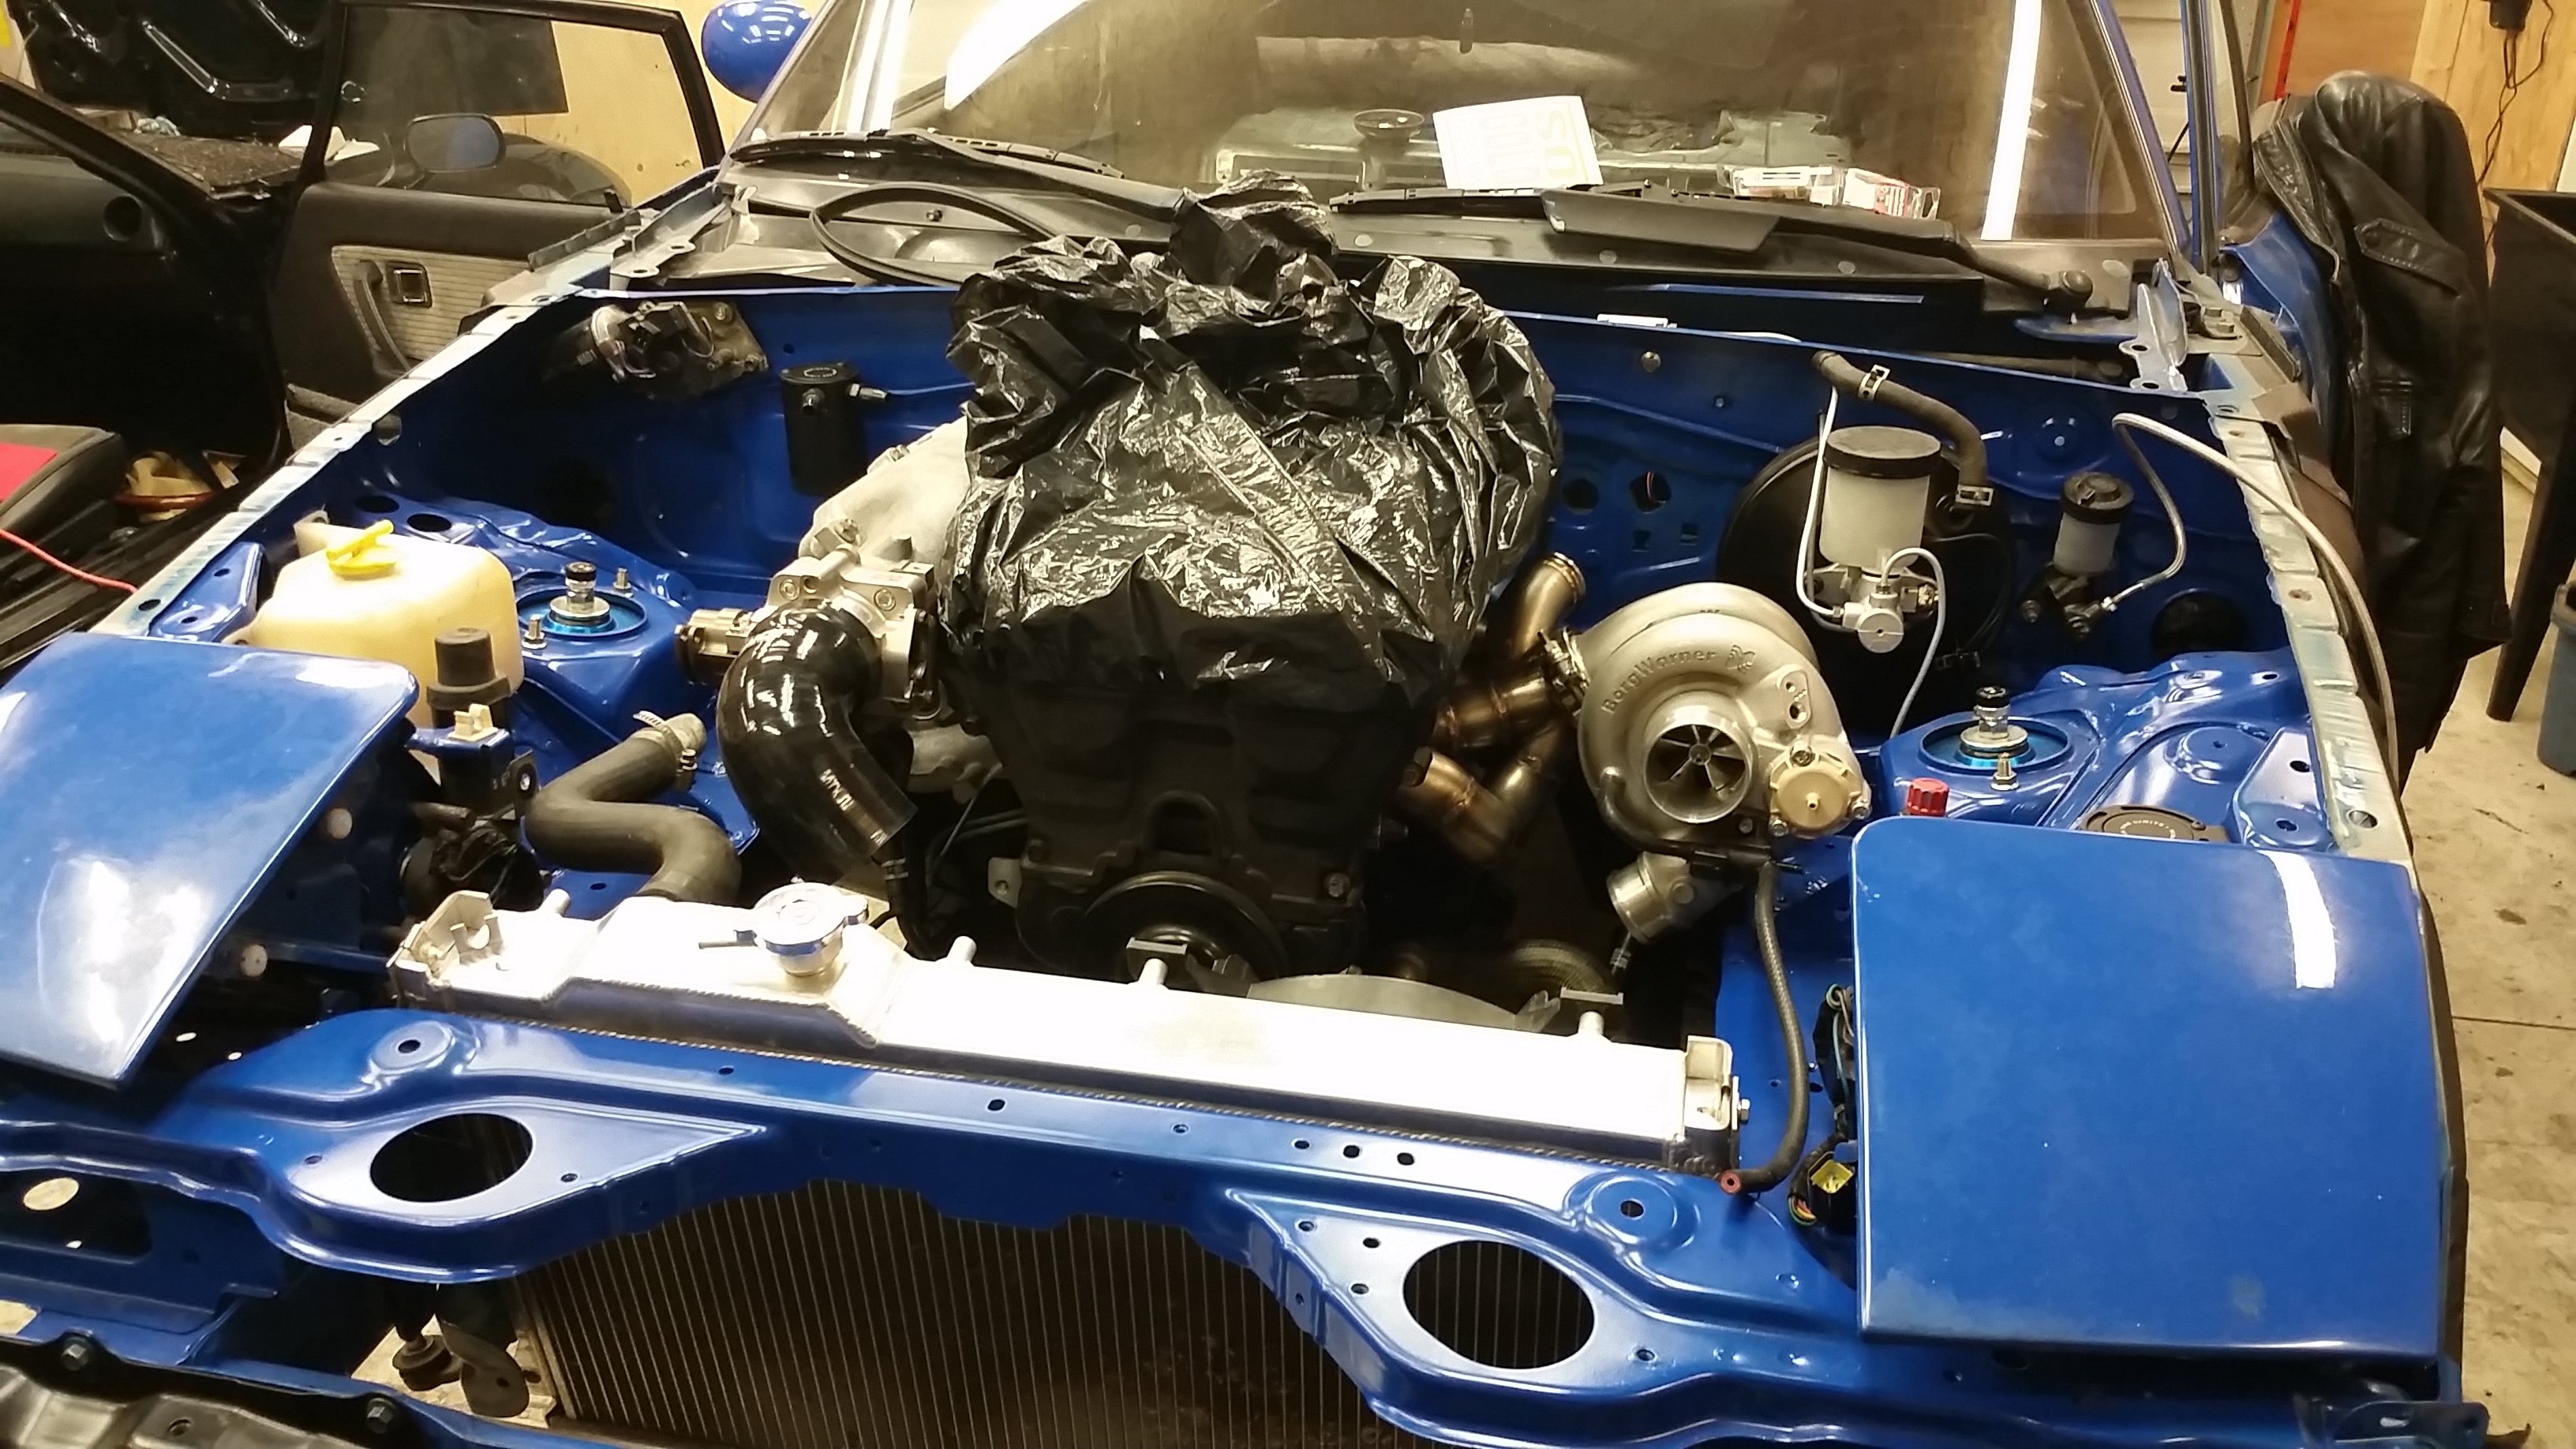
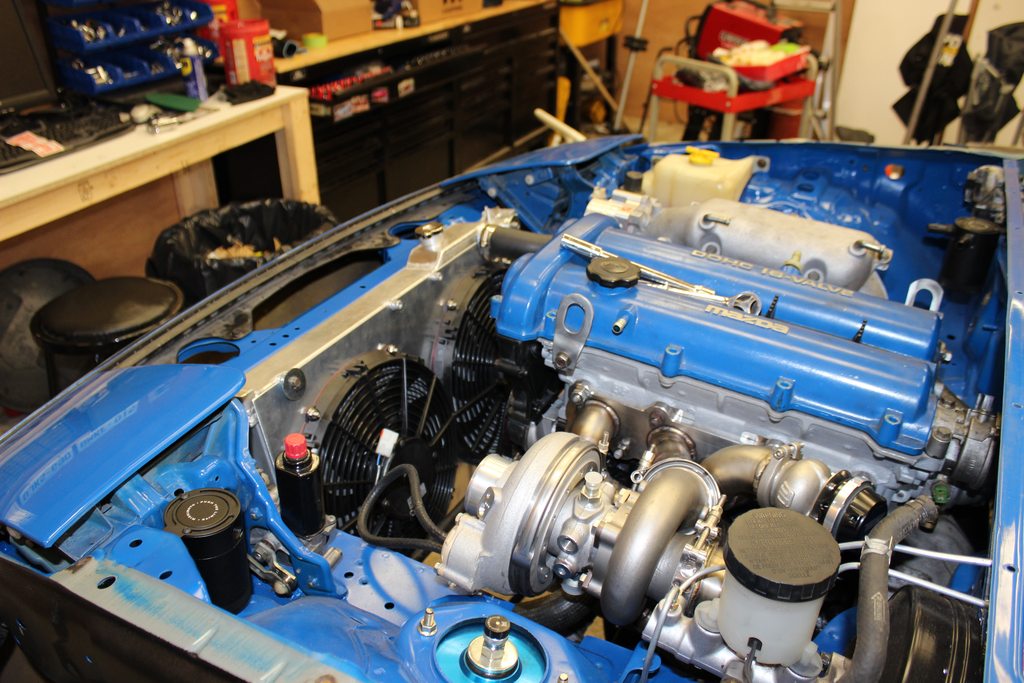
Finally got the engine in
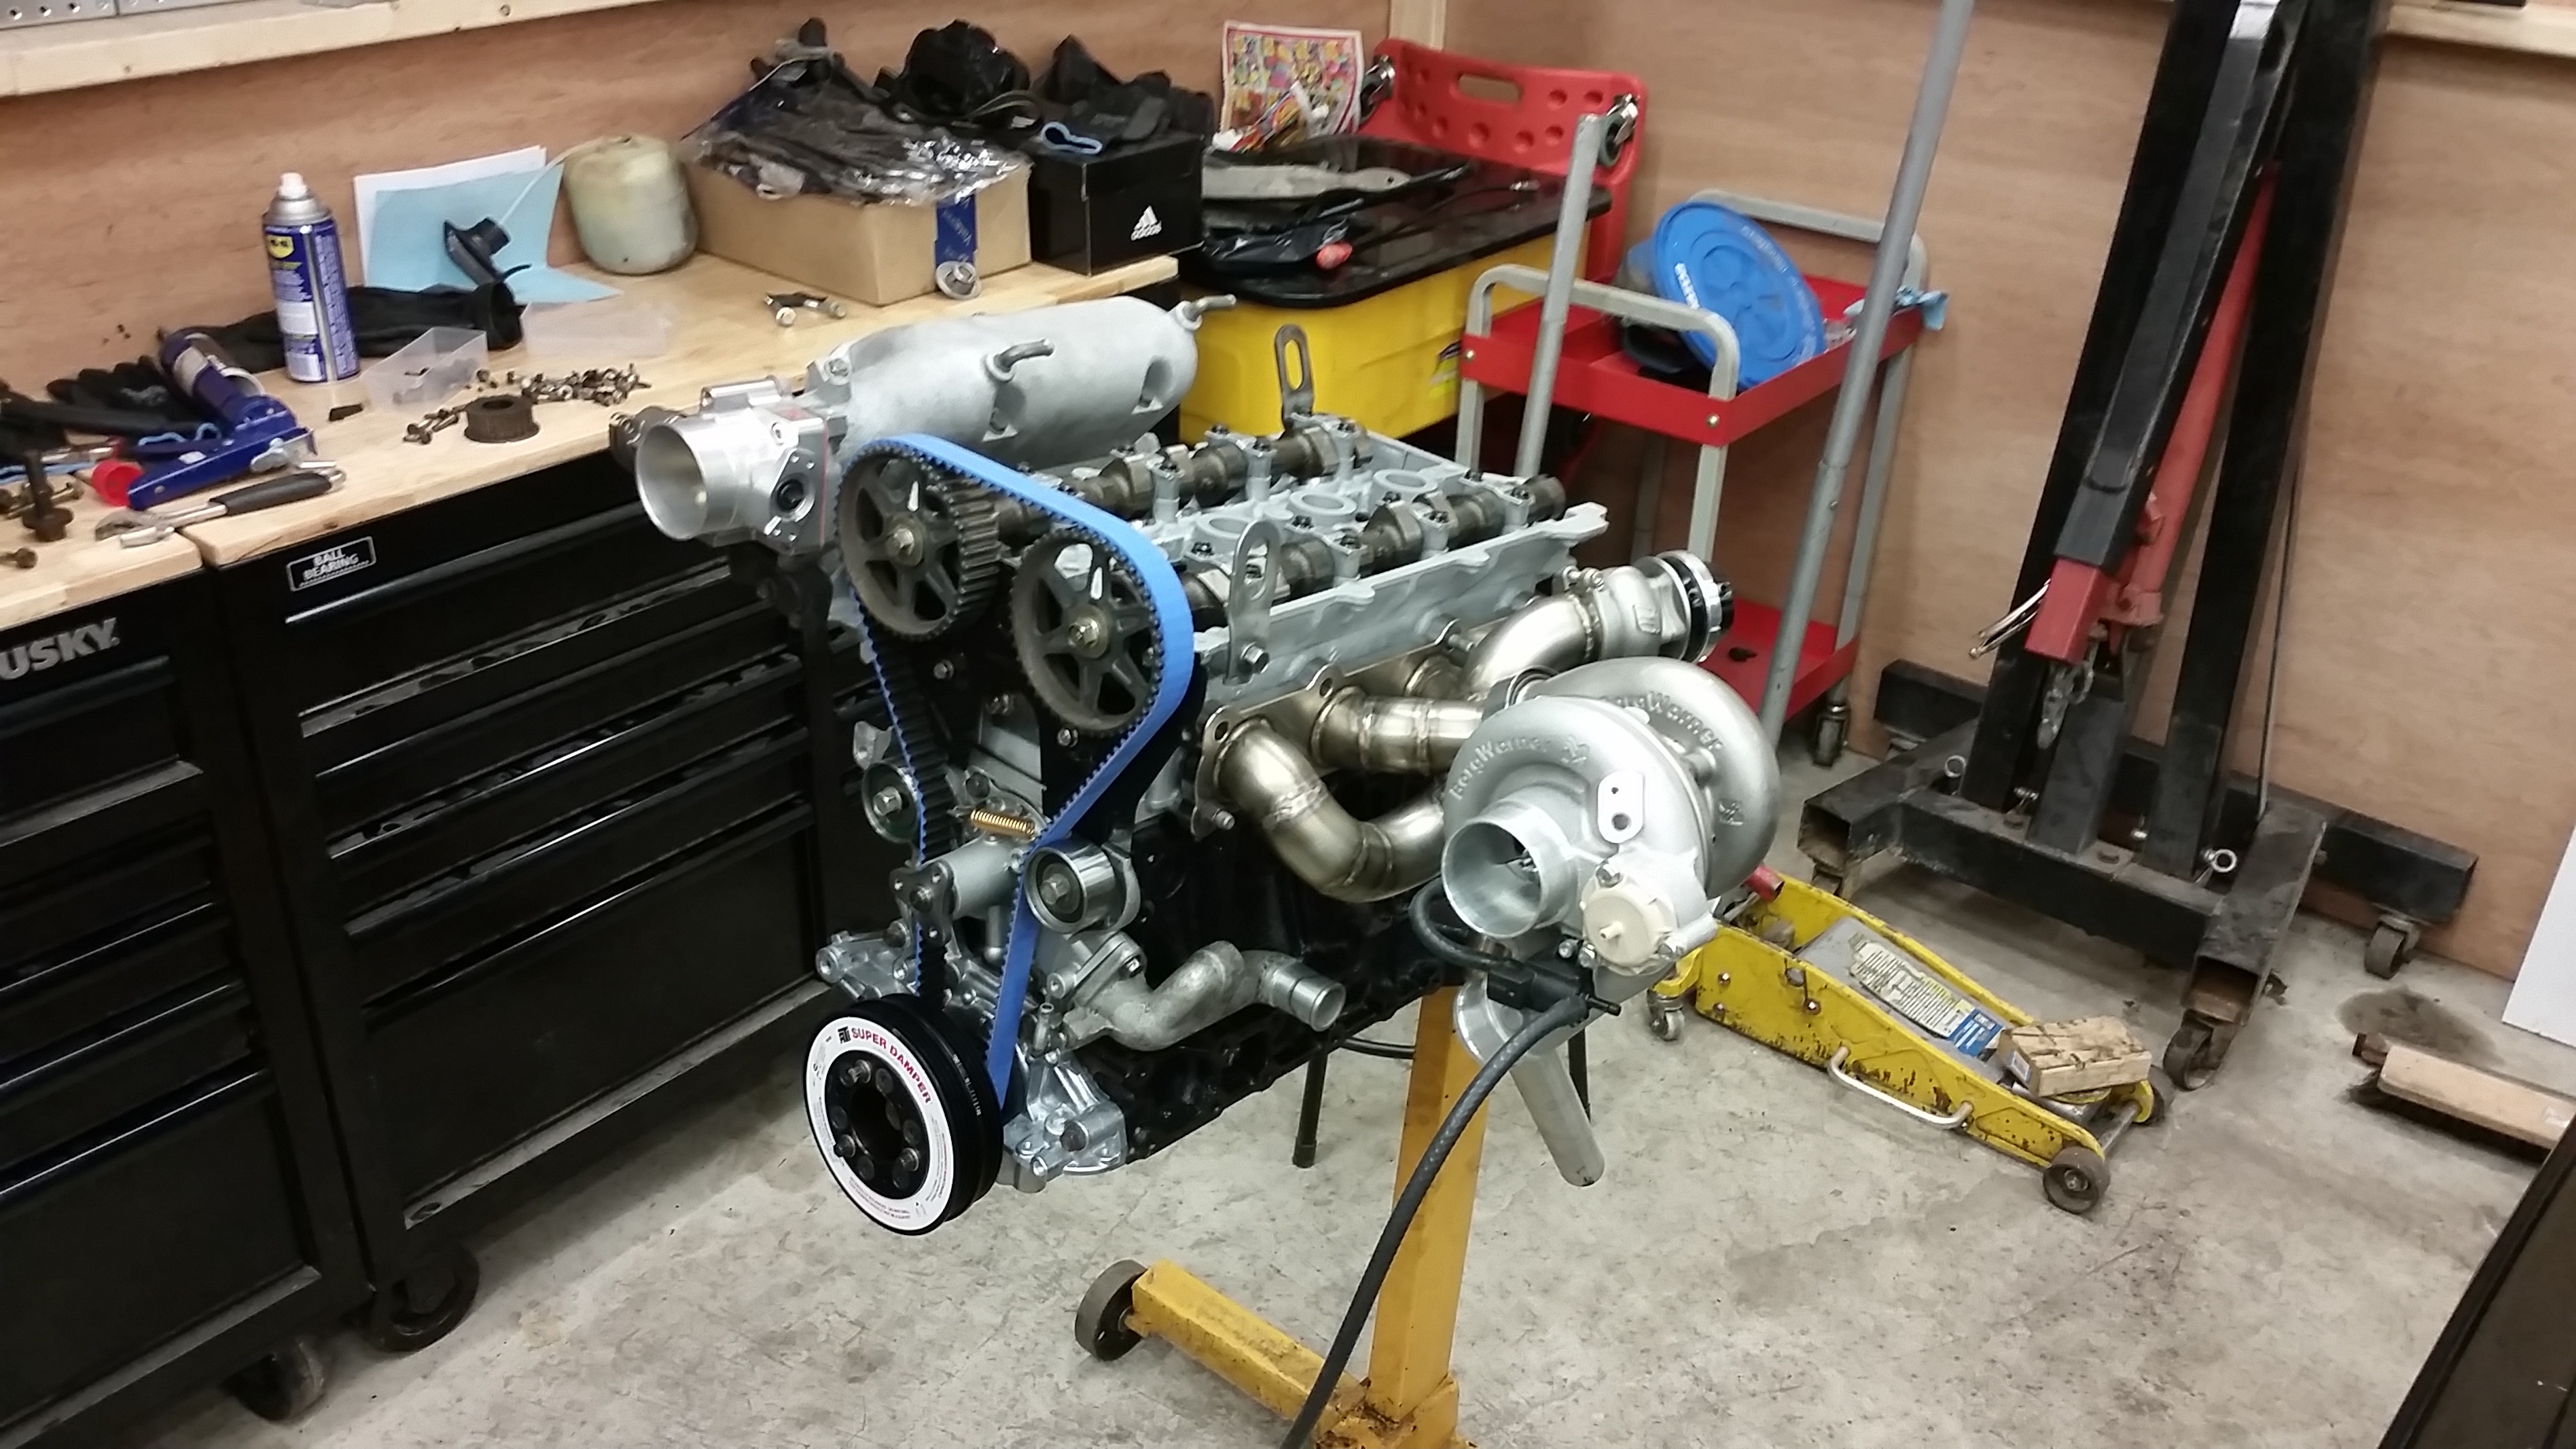
Mounted up the manifold and turbo. Having some issues with a couple of the new studs from the dealership so I'm going to retap a couple of the holes for the manifold studs. Minor detail
Started mounting my catch cans while a couple friends were super productive and mounted my wastegate and dump tube
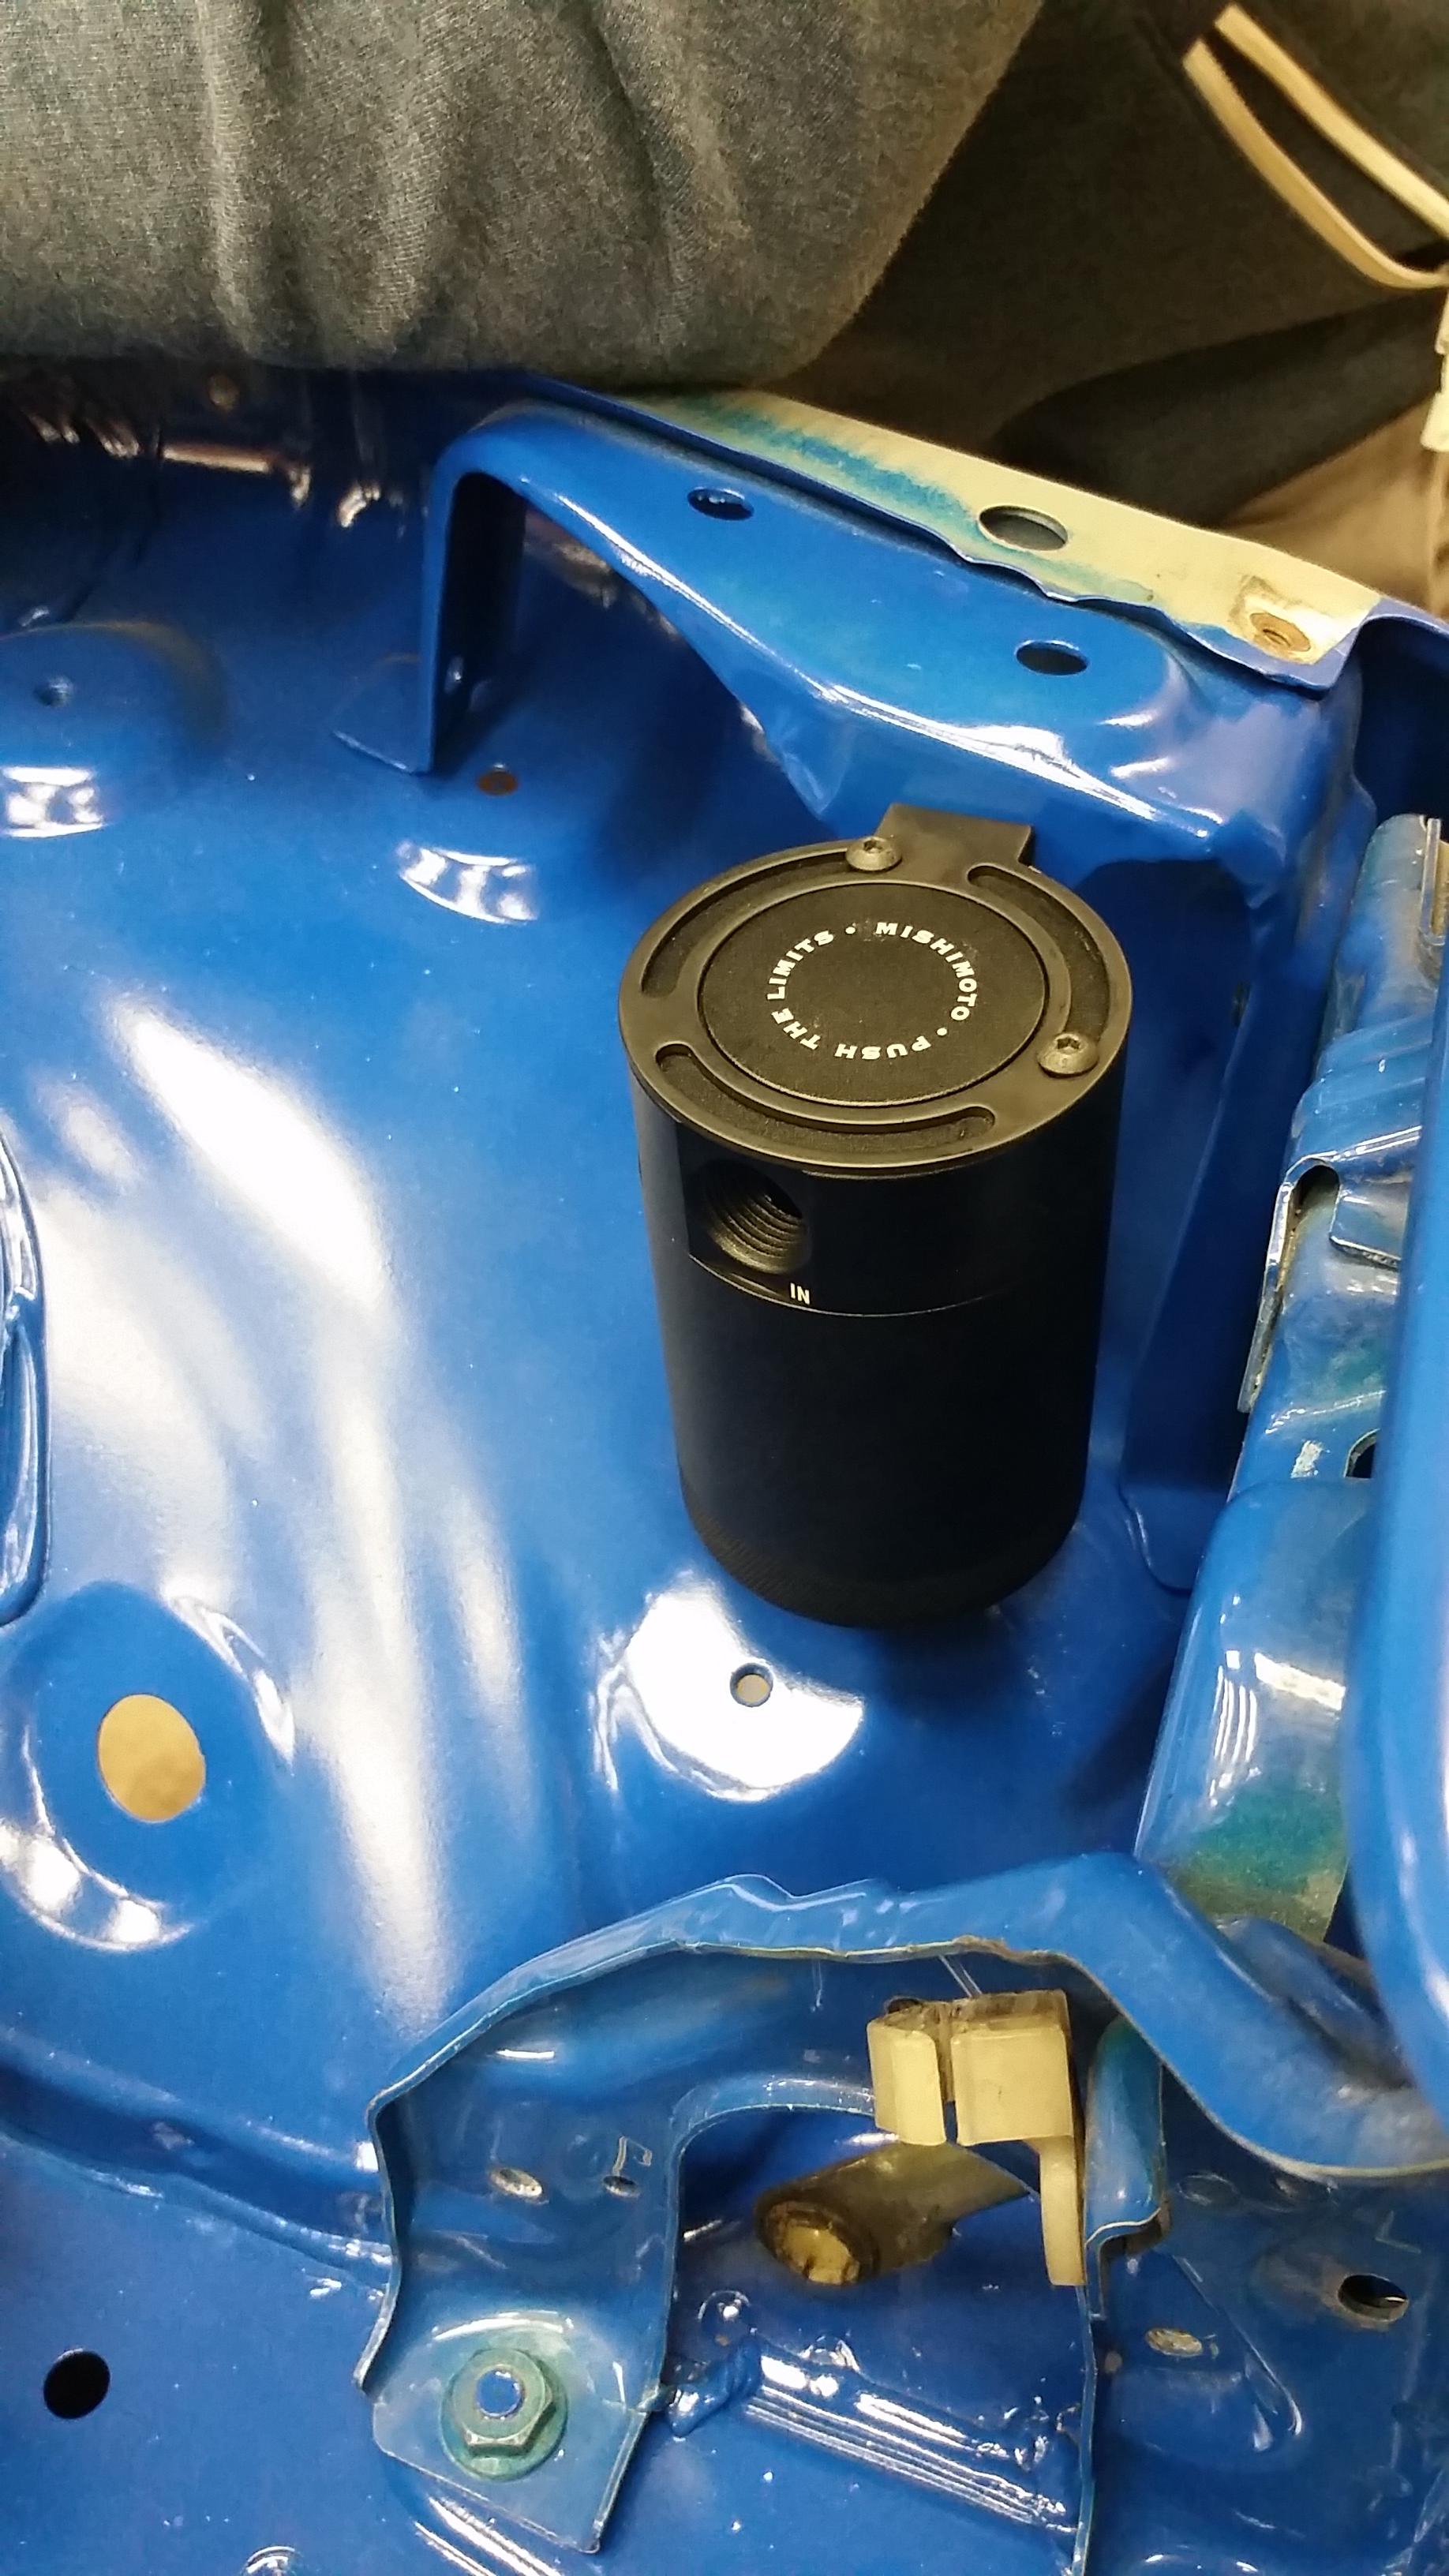
First catch can is right behind the driver's side headlight. I was originally going to mount them both beside each other on the firewall but didn't want all the lines running all the way across the engine bay. I could still change my mind about this but I'll see once I get into running the lines. Don't have a decent pic of the one on the firewall.
Next up was mounting the trans. Got the adapter plate bolted on, followed by the oem flywheel and Clutchnet 6 puck disk and 550ft/lb pressure plate. Of course clutchnet didn't include a clutch alignment tool so we had to use a universal tool which is kind of ****. Oh well, trans made it in the car so it works out.
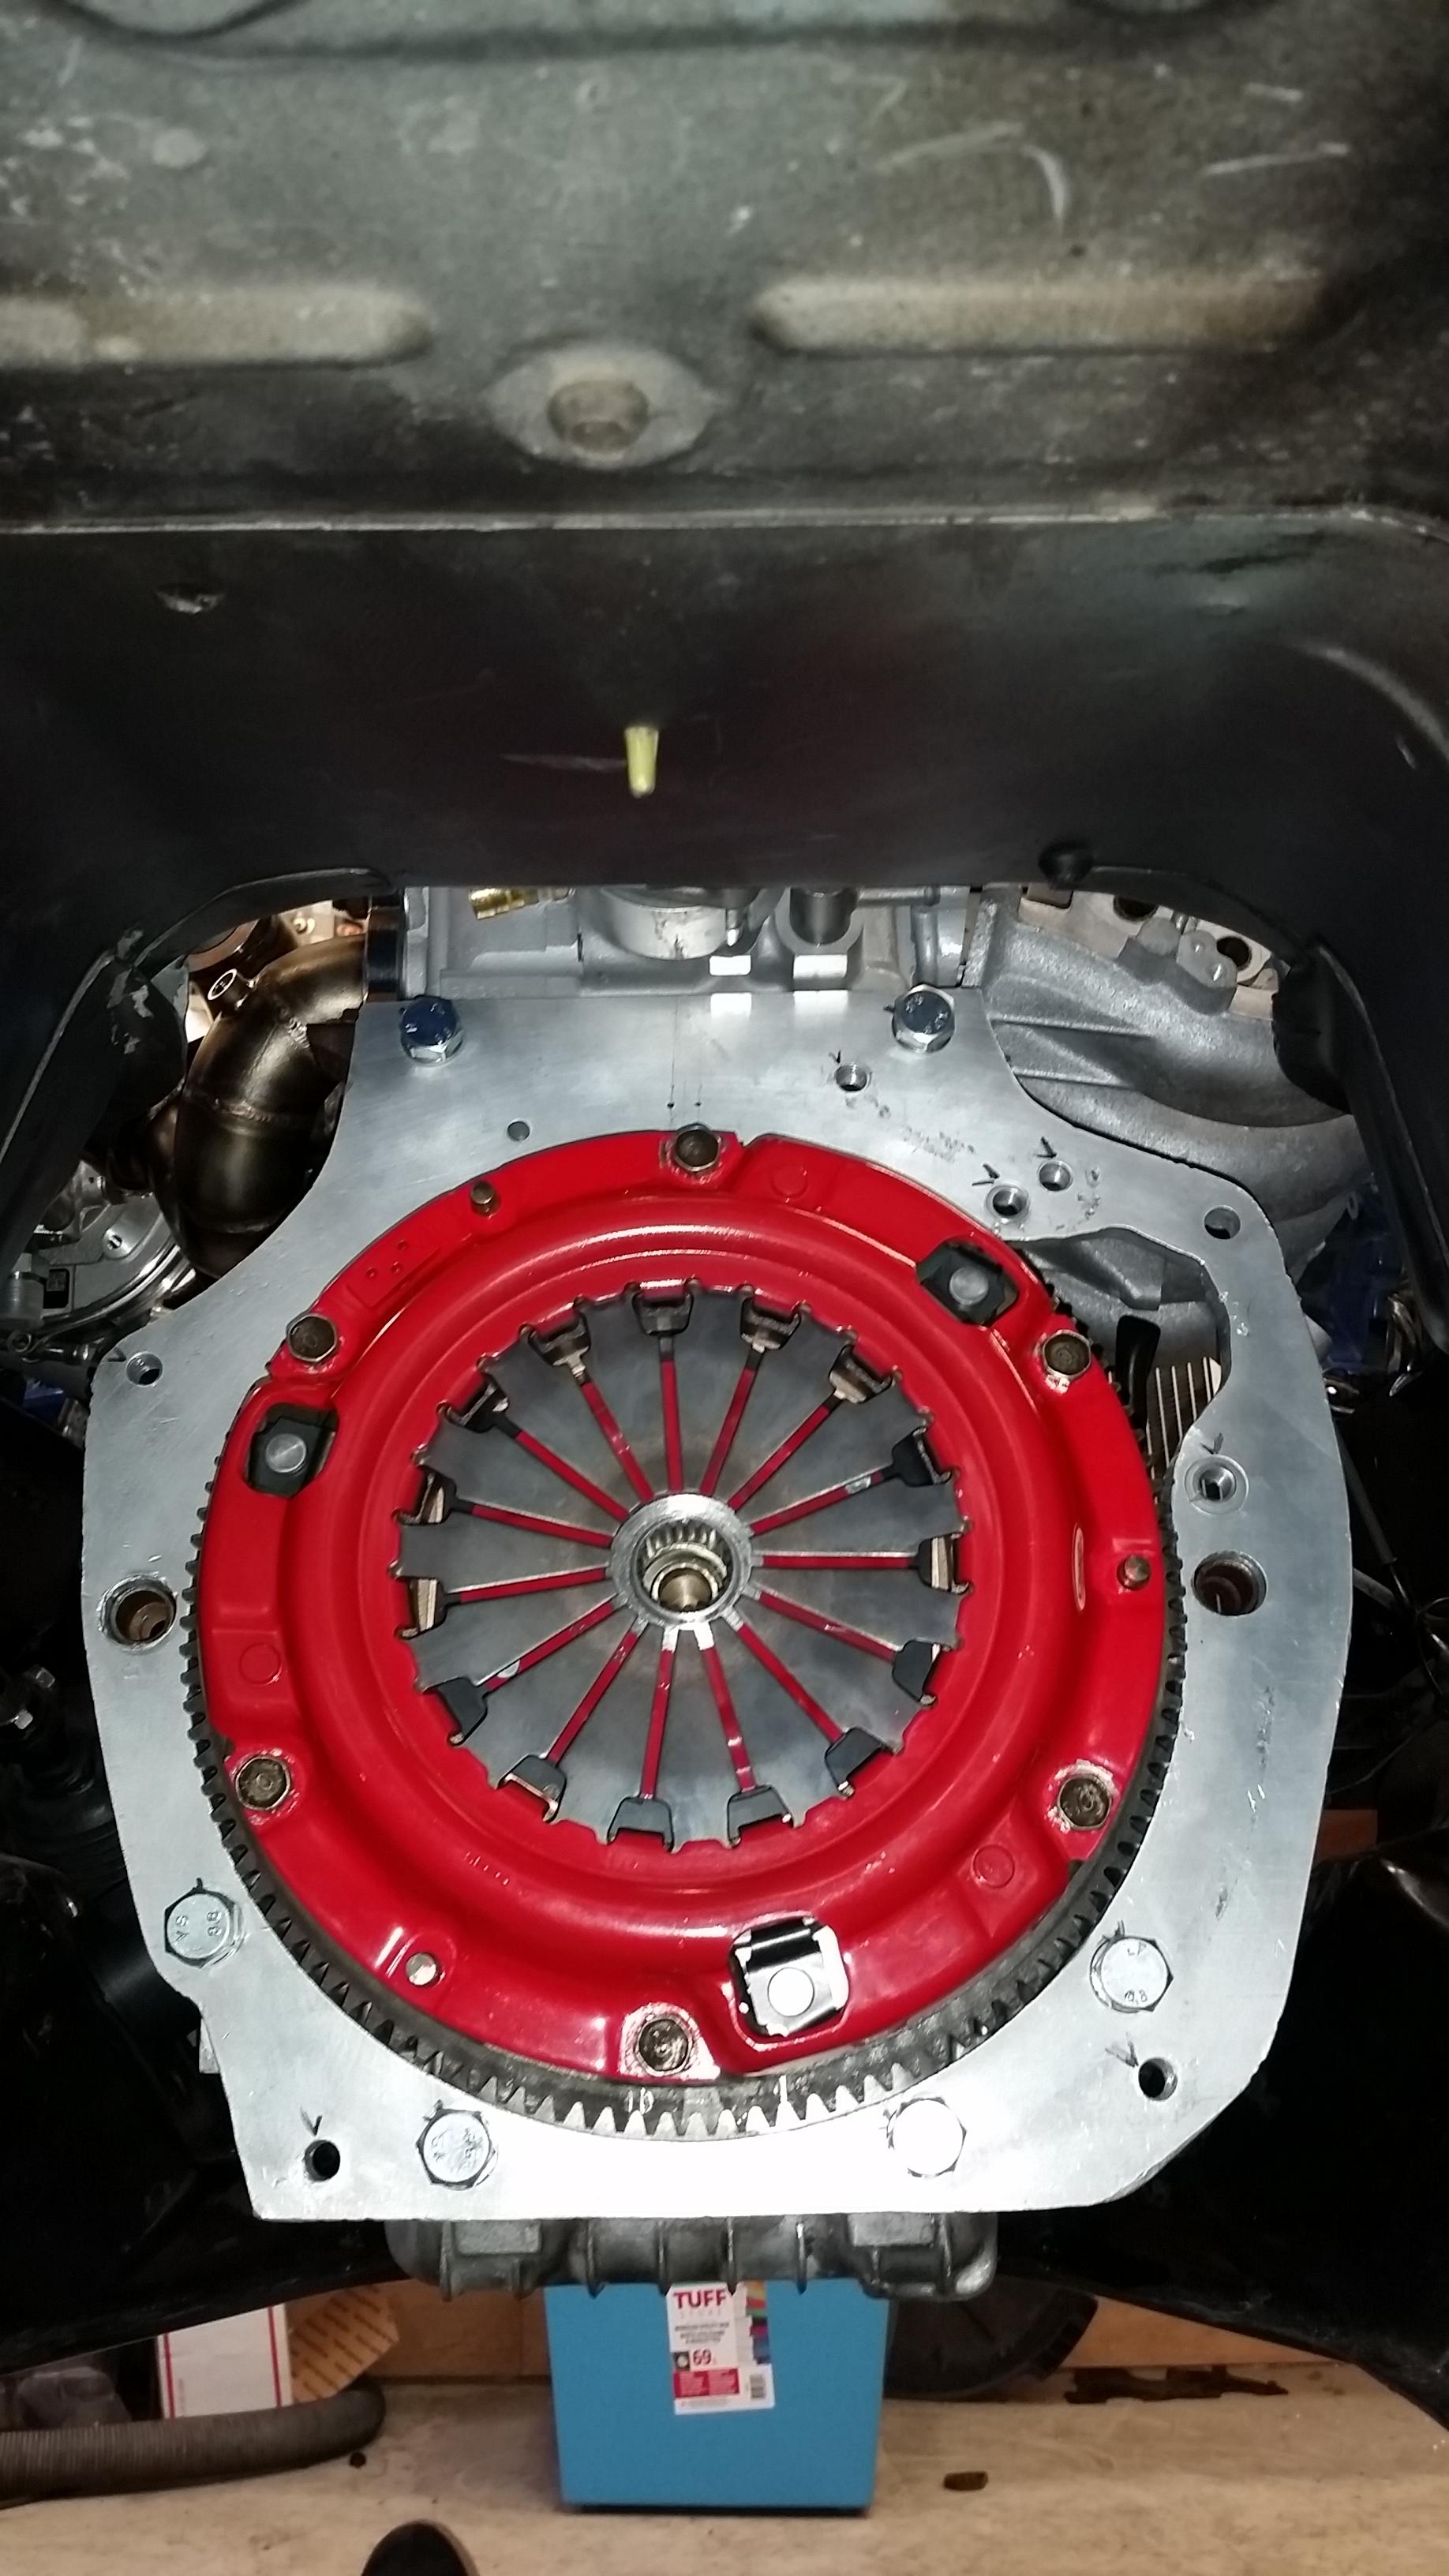
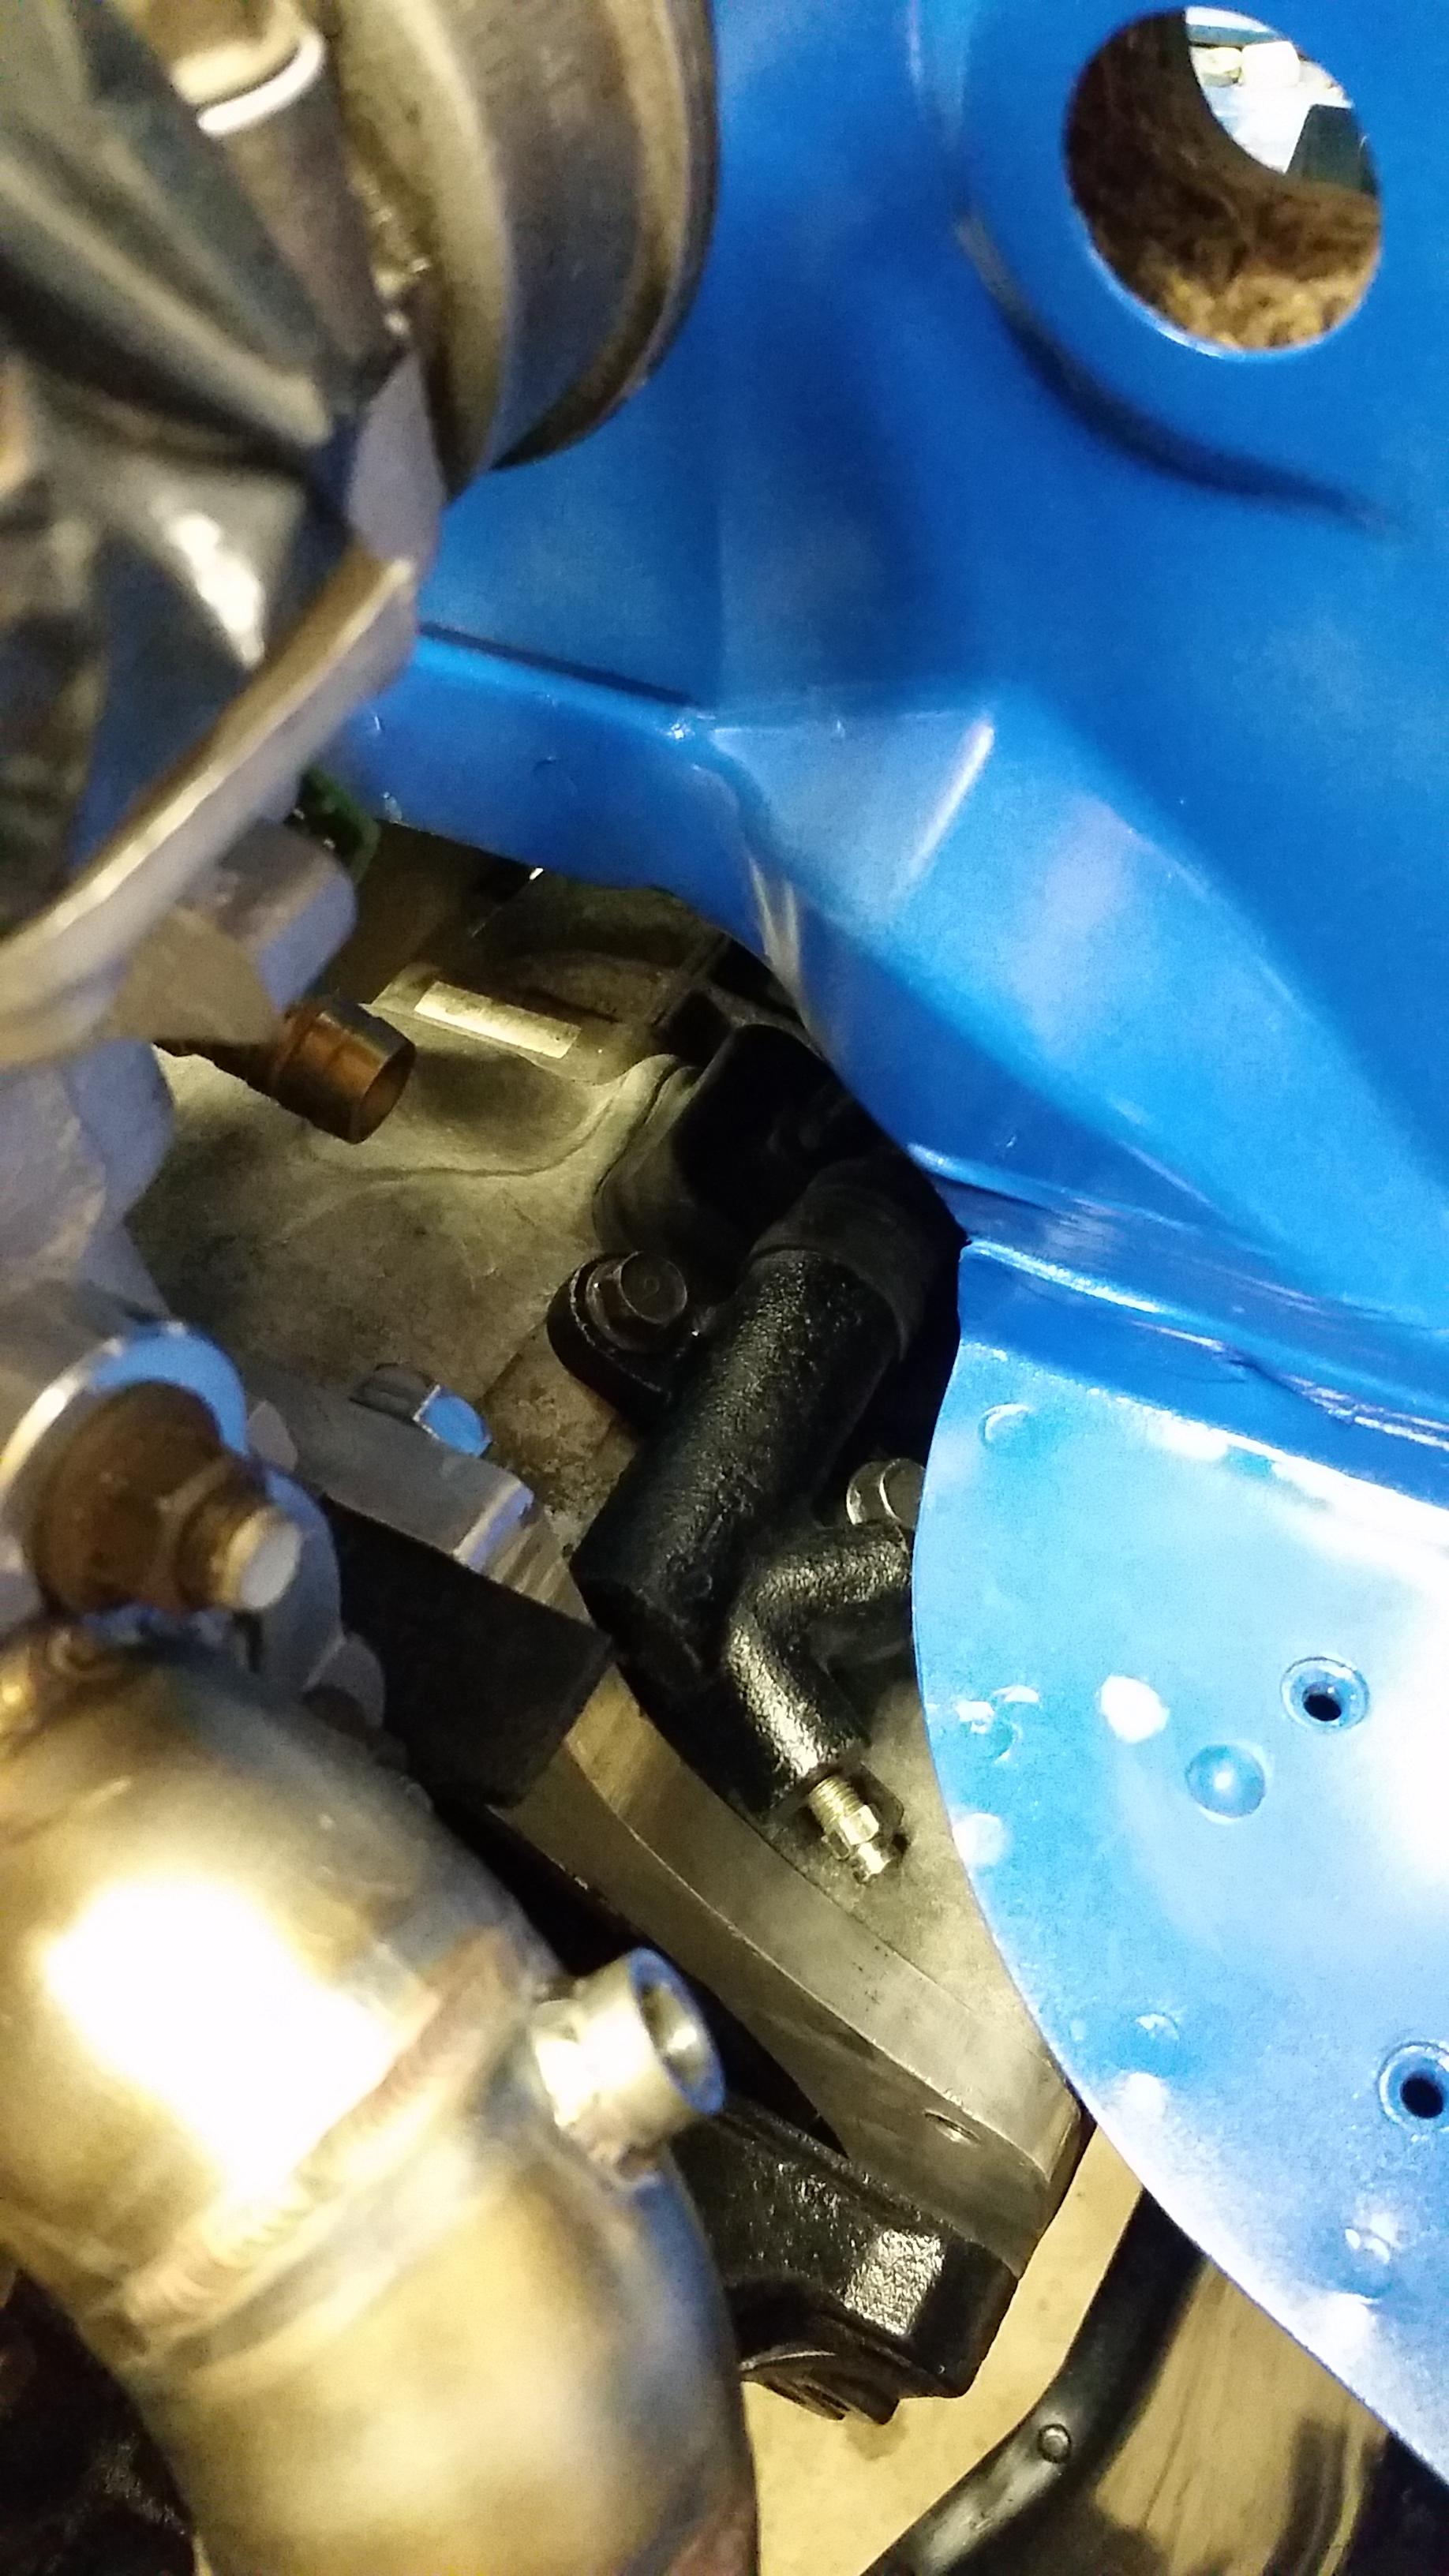
Mounted the clutch slave and ran into another problem. The clearance for the clutch line off the slave to the chassis is super tight so my original SS line won't work. Going to need to get something made with a tight 90* or 180* fitting to clear probably.
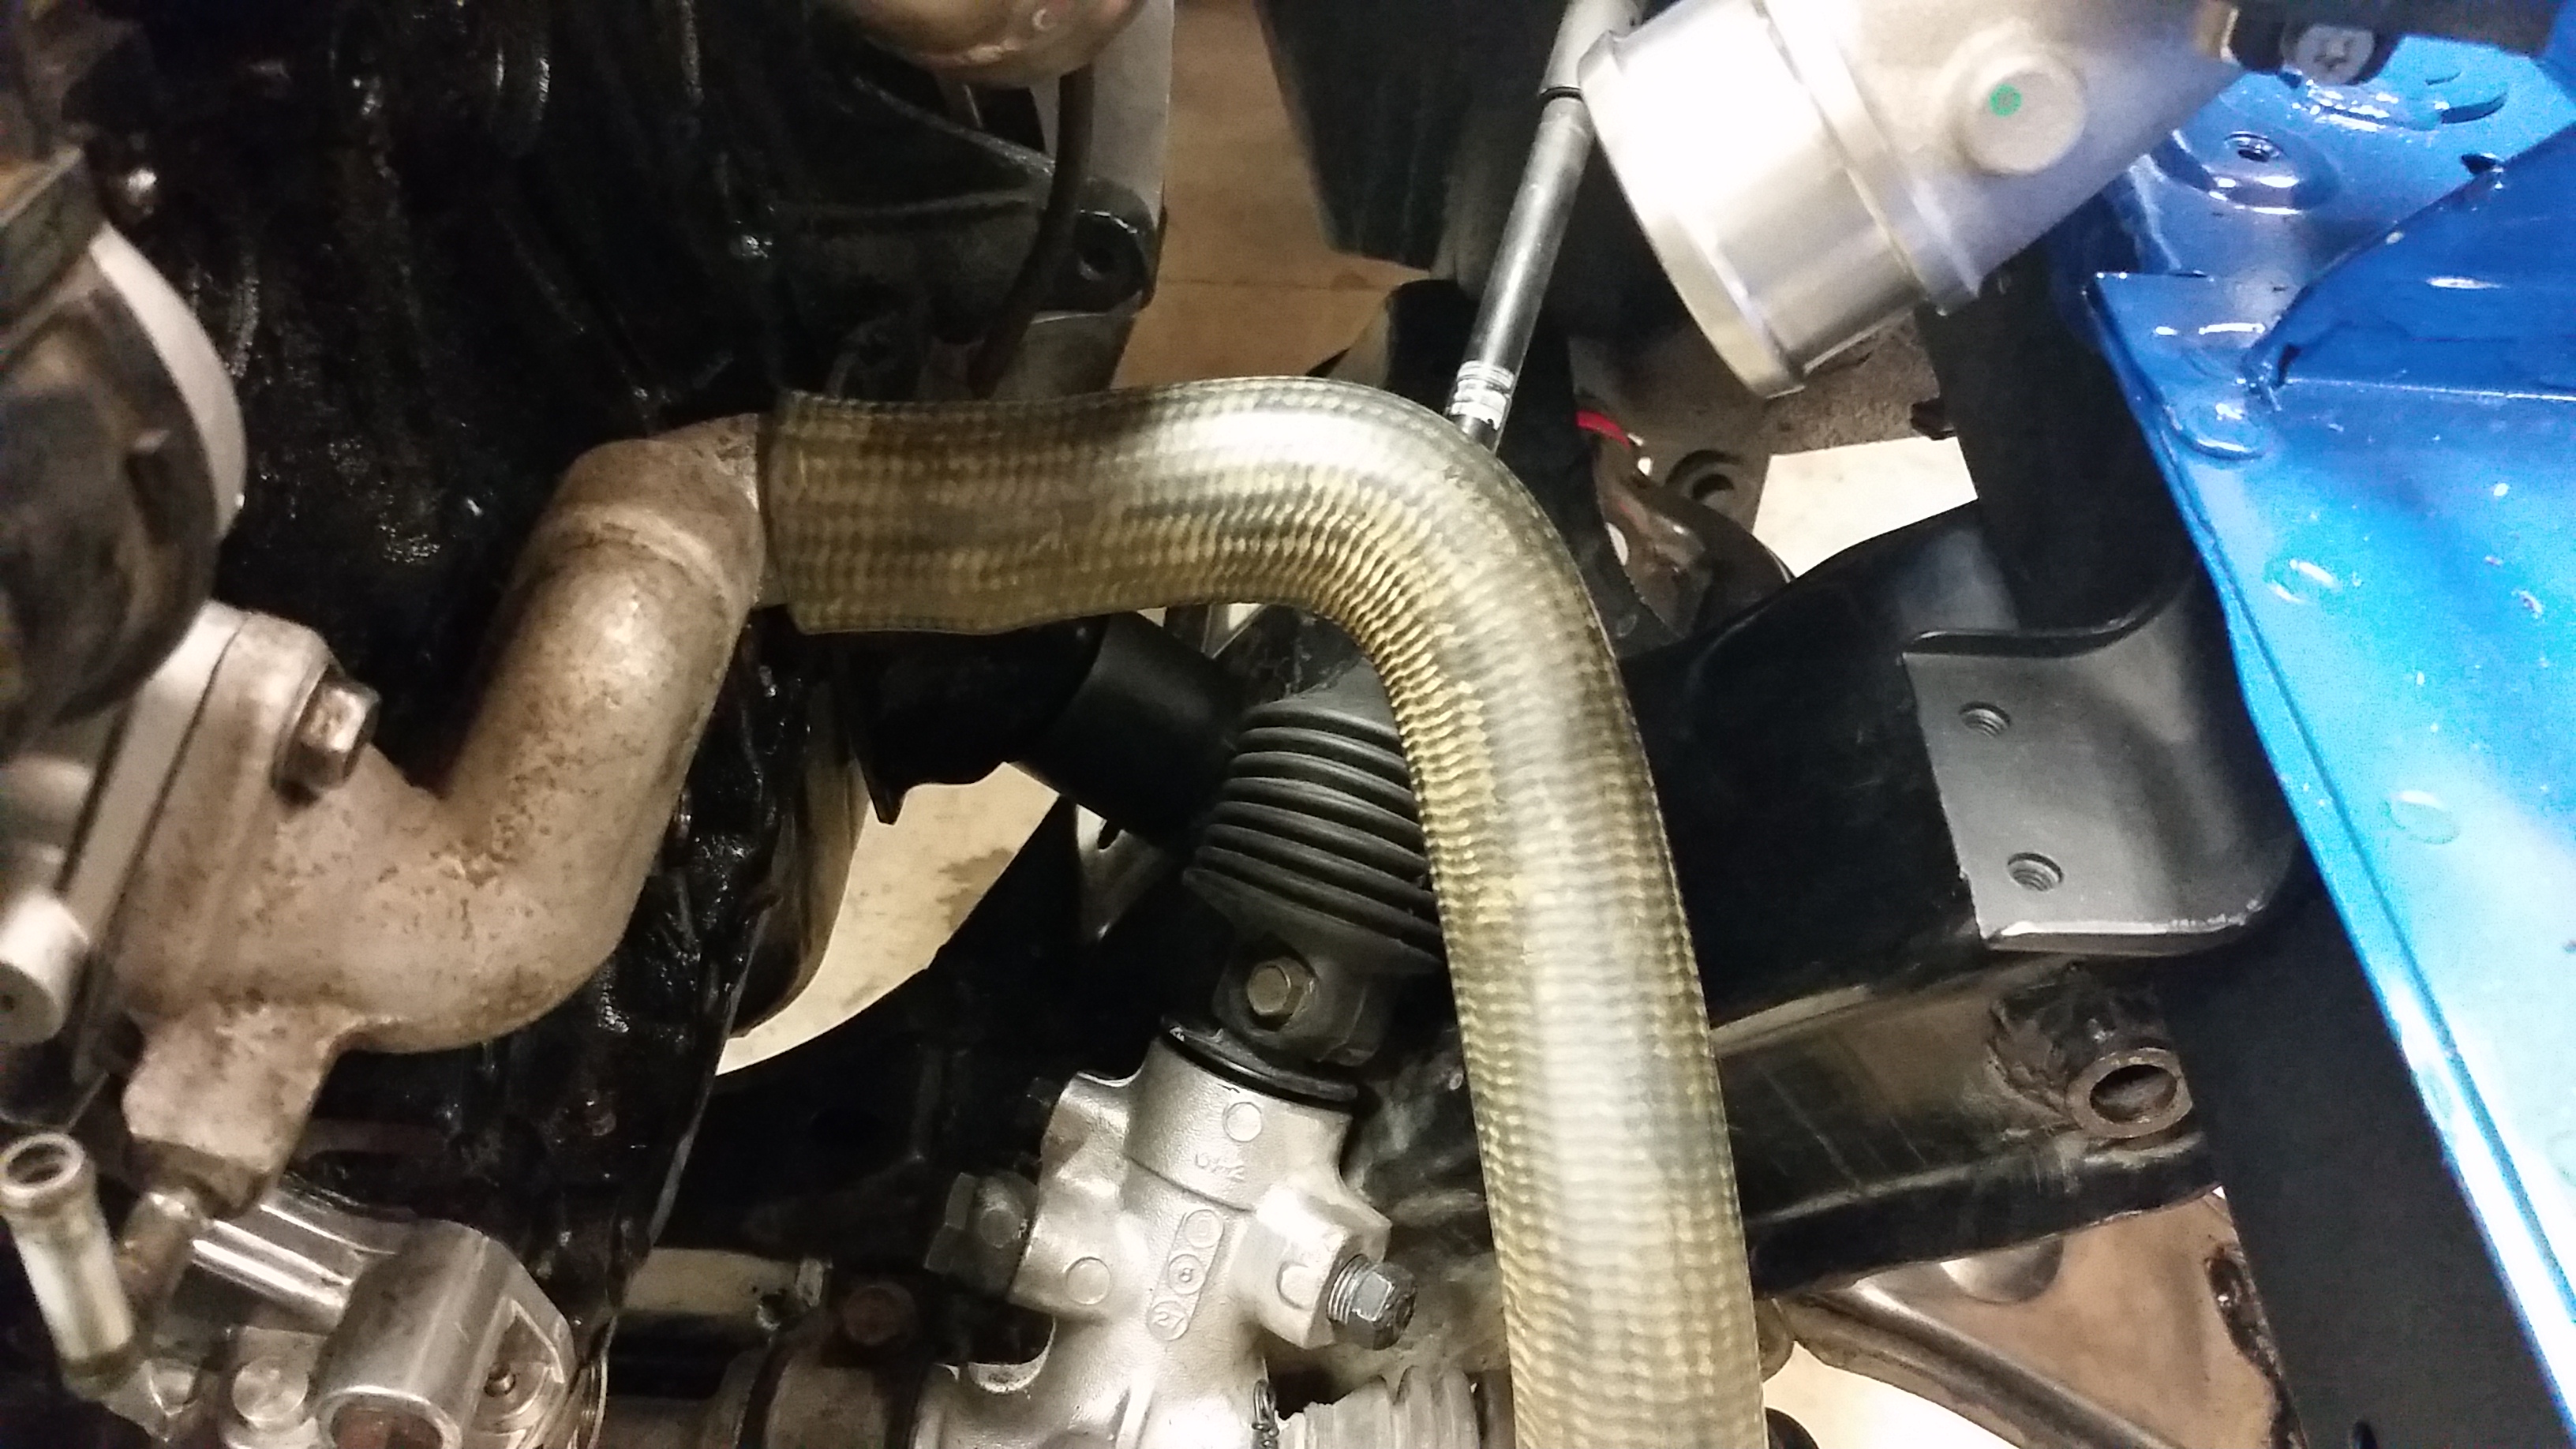
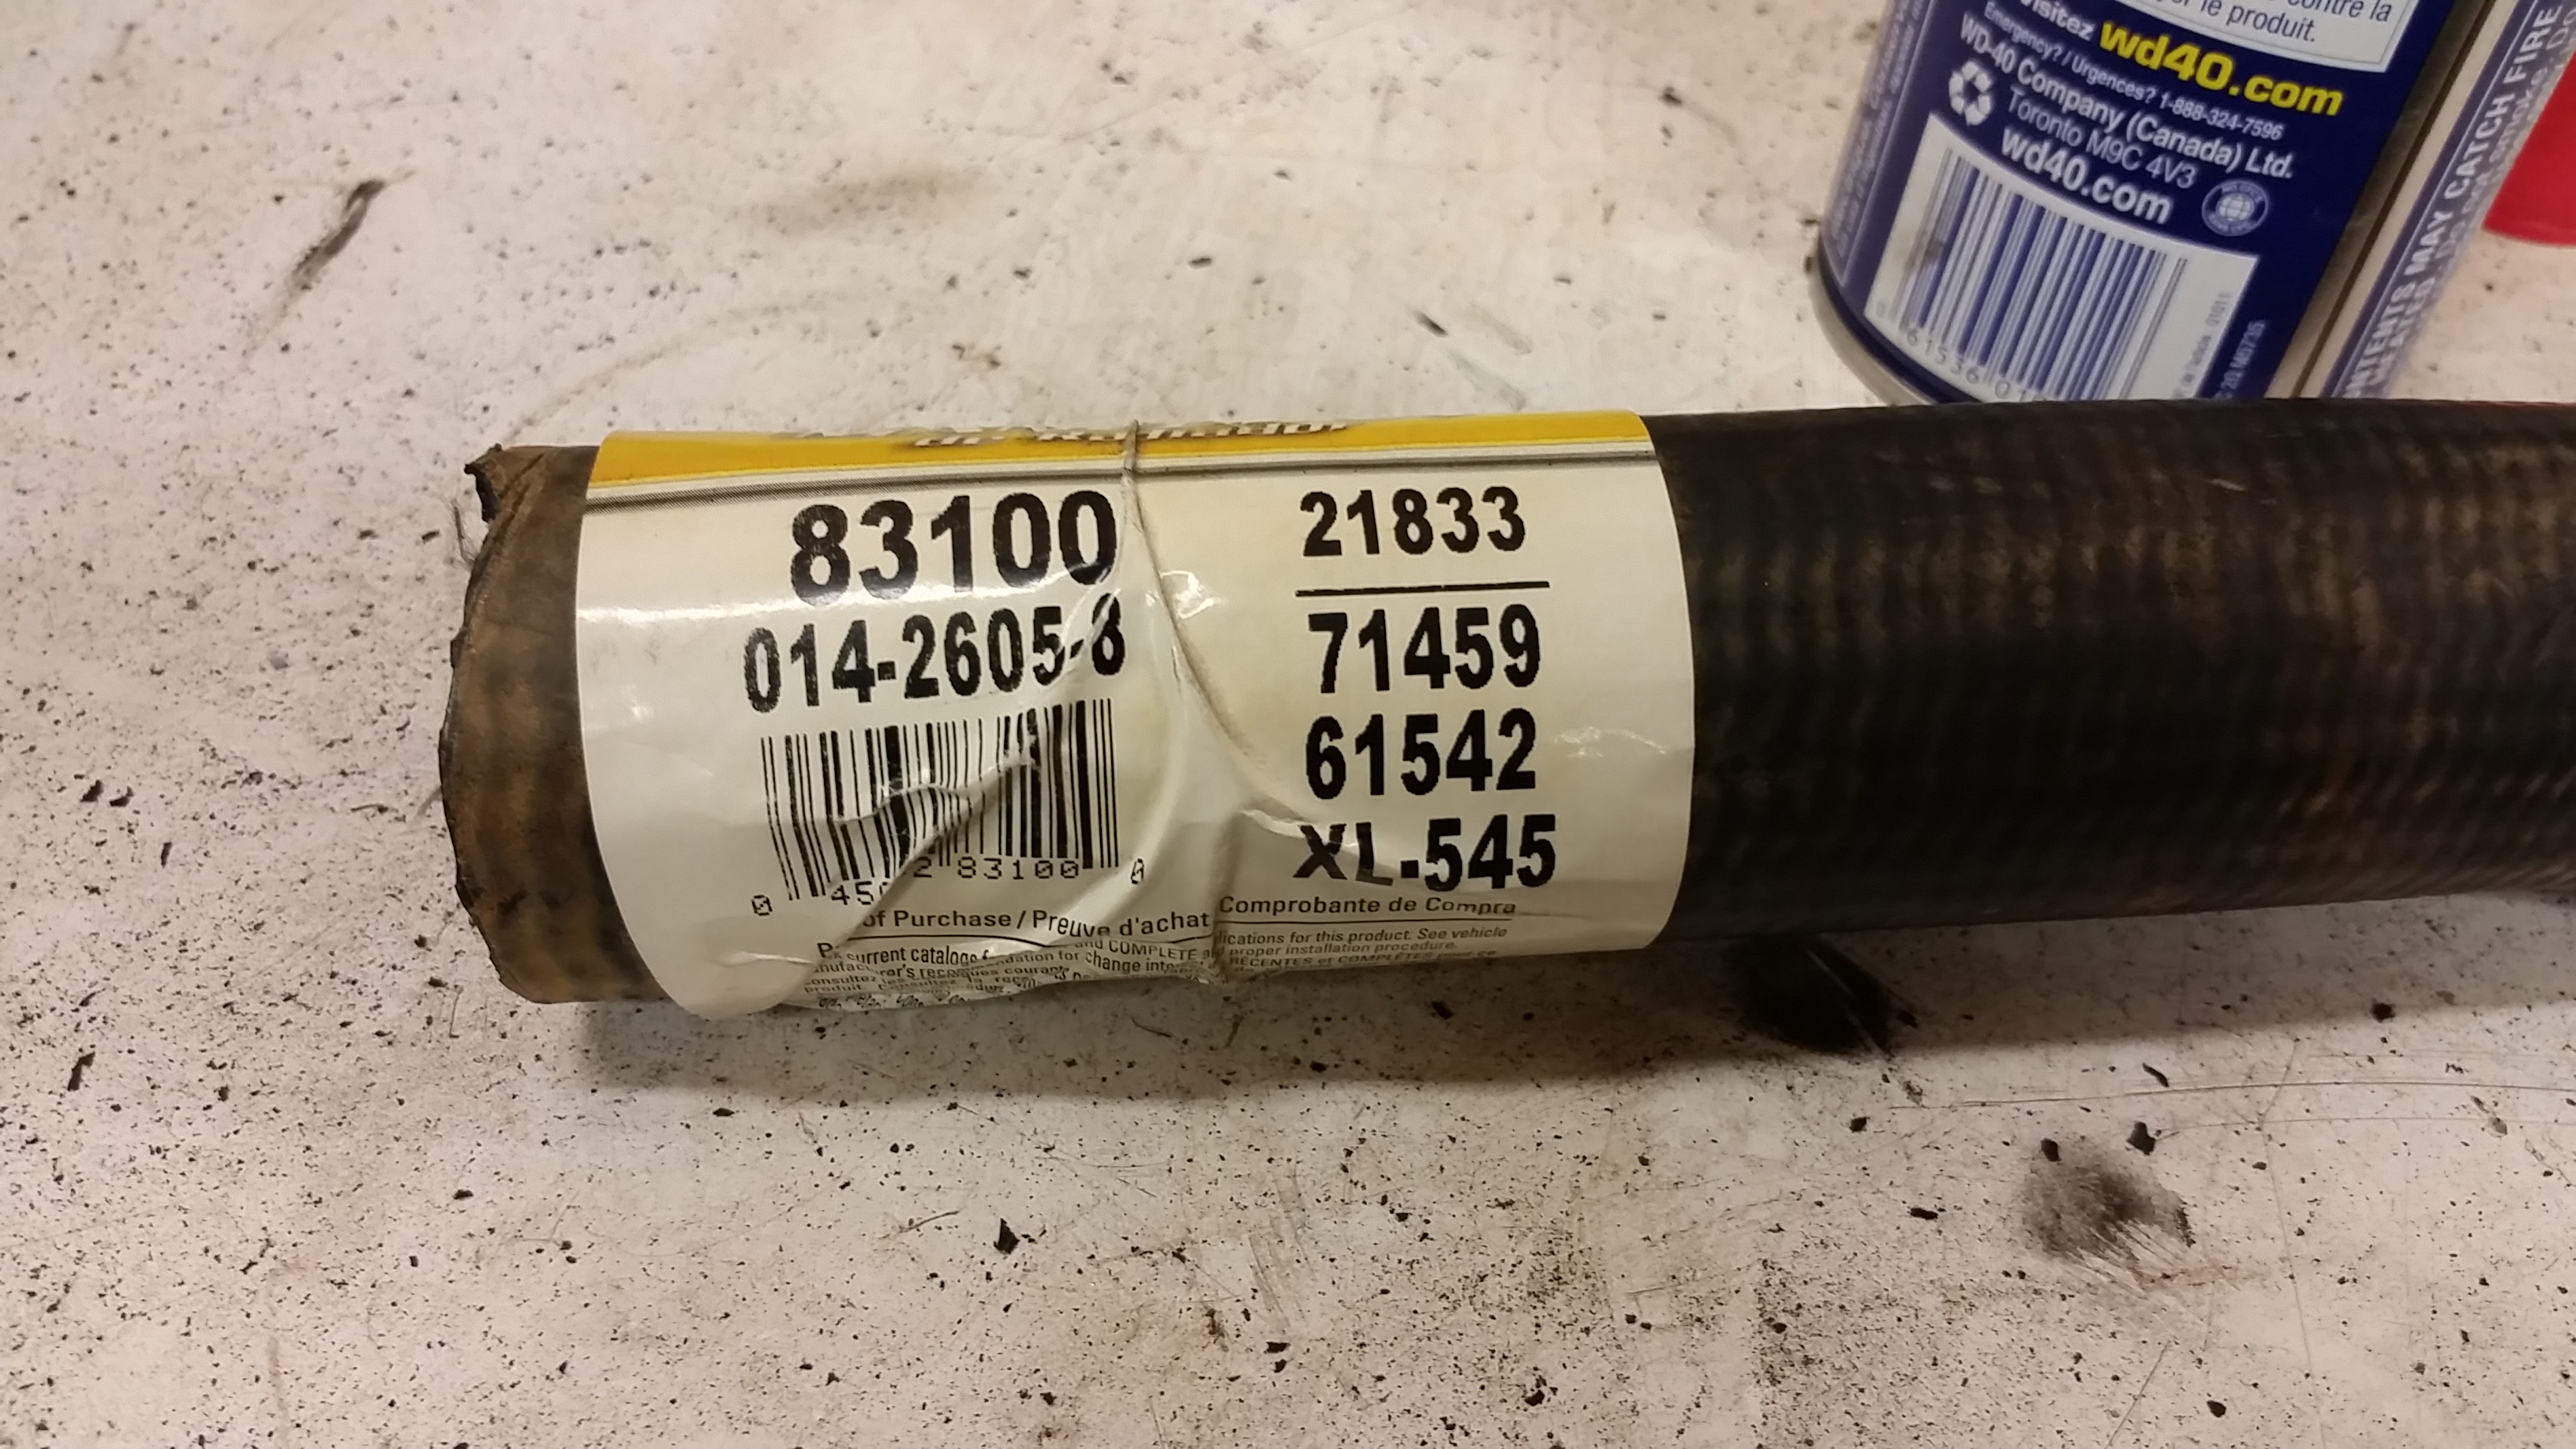
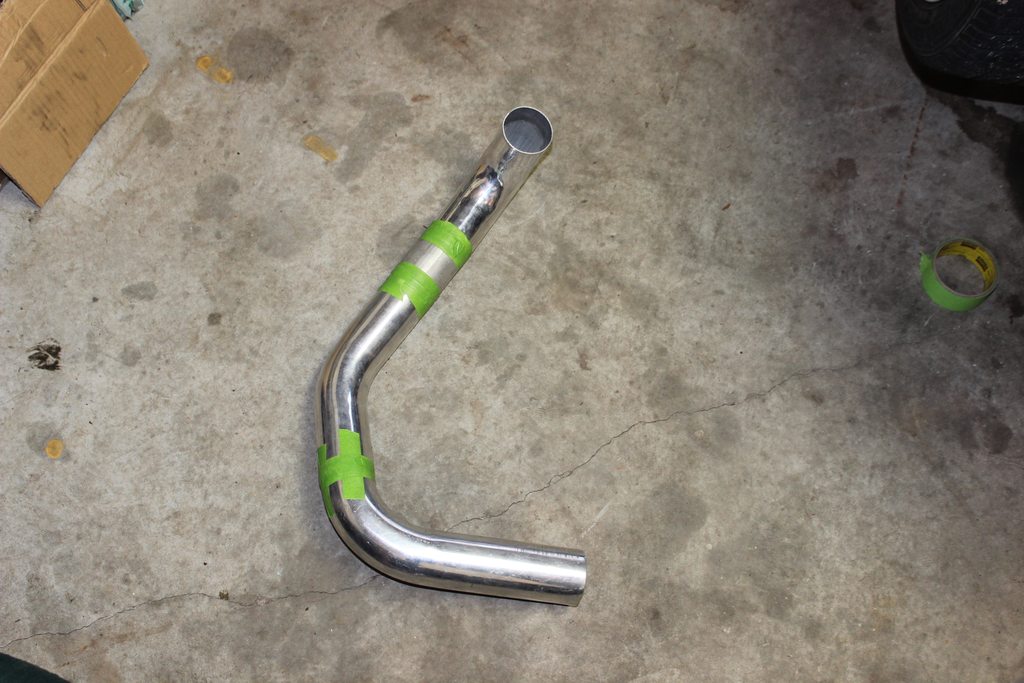
Next up was figuring out my sweet lower rad hose lol. Didn't feel like ordering the FM piece and thought I'd do something similar to last time where I just took some general measurements and went to the parts store to see if I could find something that fit. This time they let me go in the back and look at the inventory to see if I could find something that'd work. Was about to give up when I found this hose that is pretty much perfect. Cut off the section I wasn't going to use and was left with this
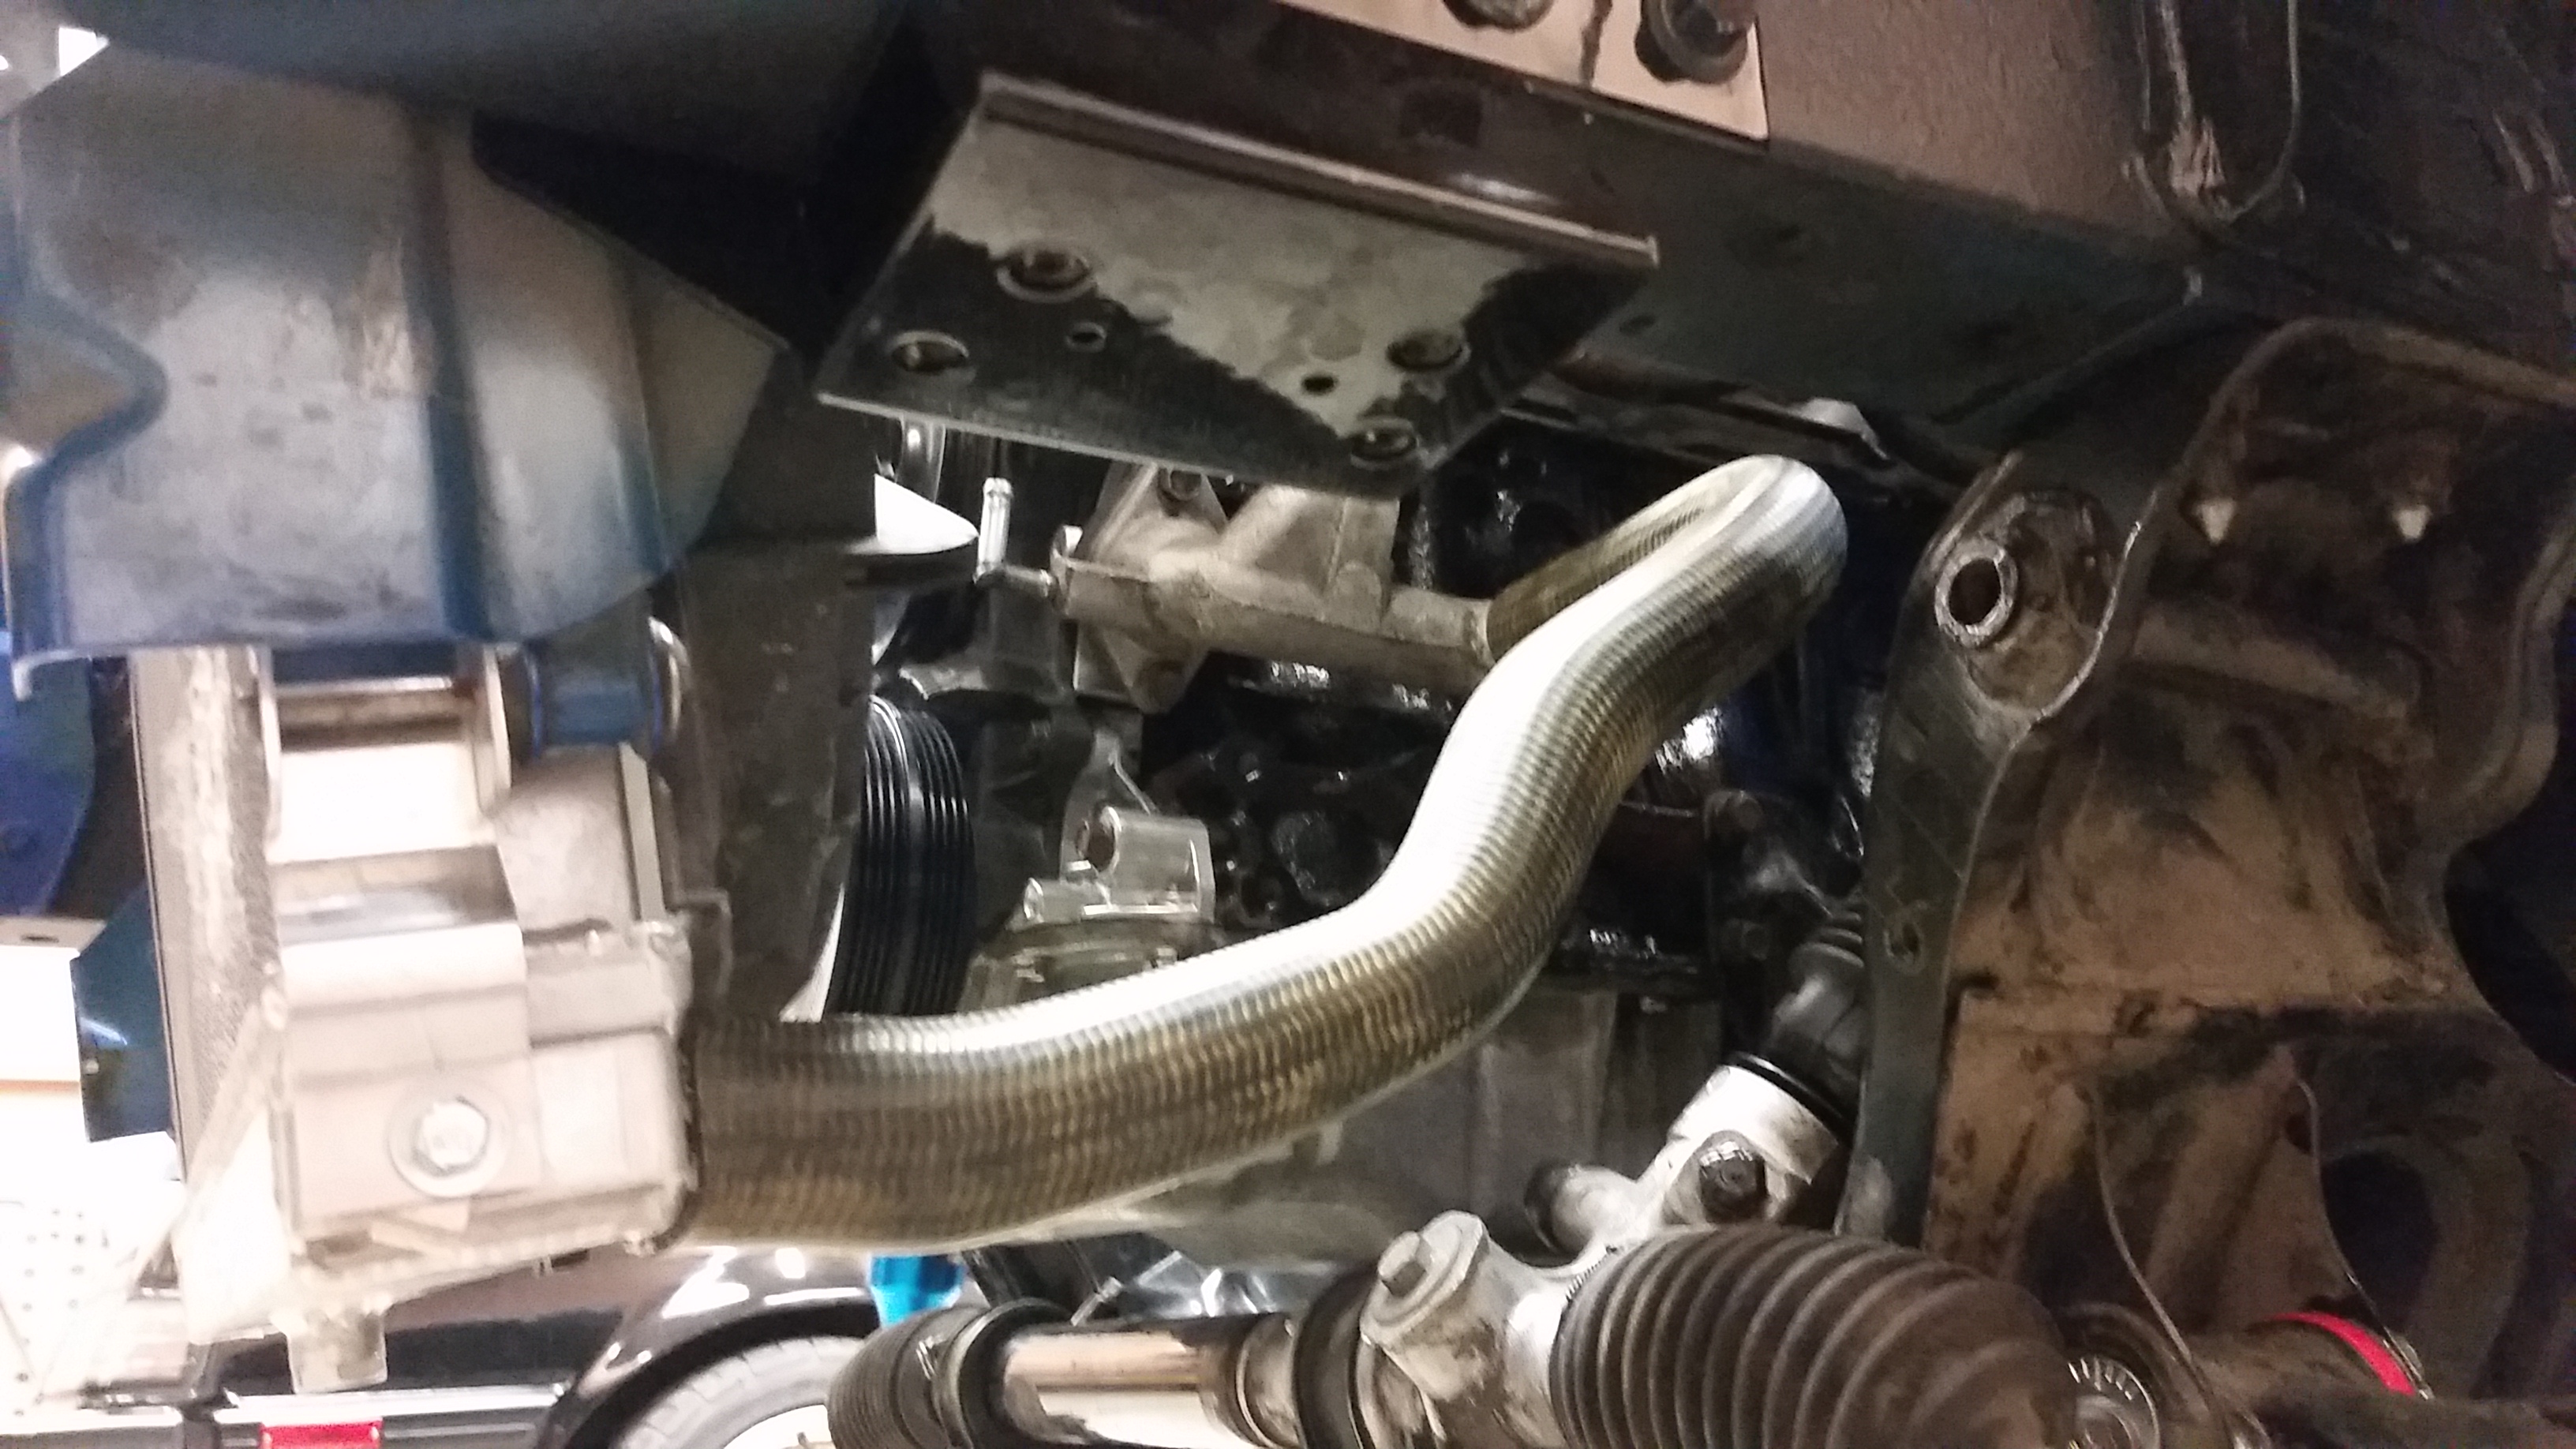
Here's the part number that was on that hose for anyone that might want to try this out. It was around $25-30 for the hose
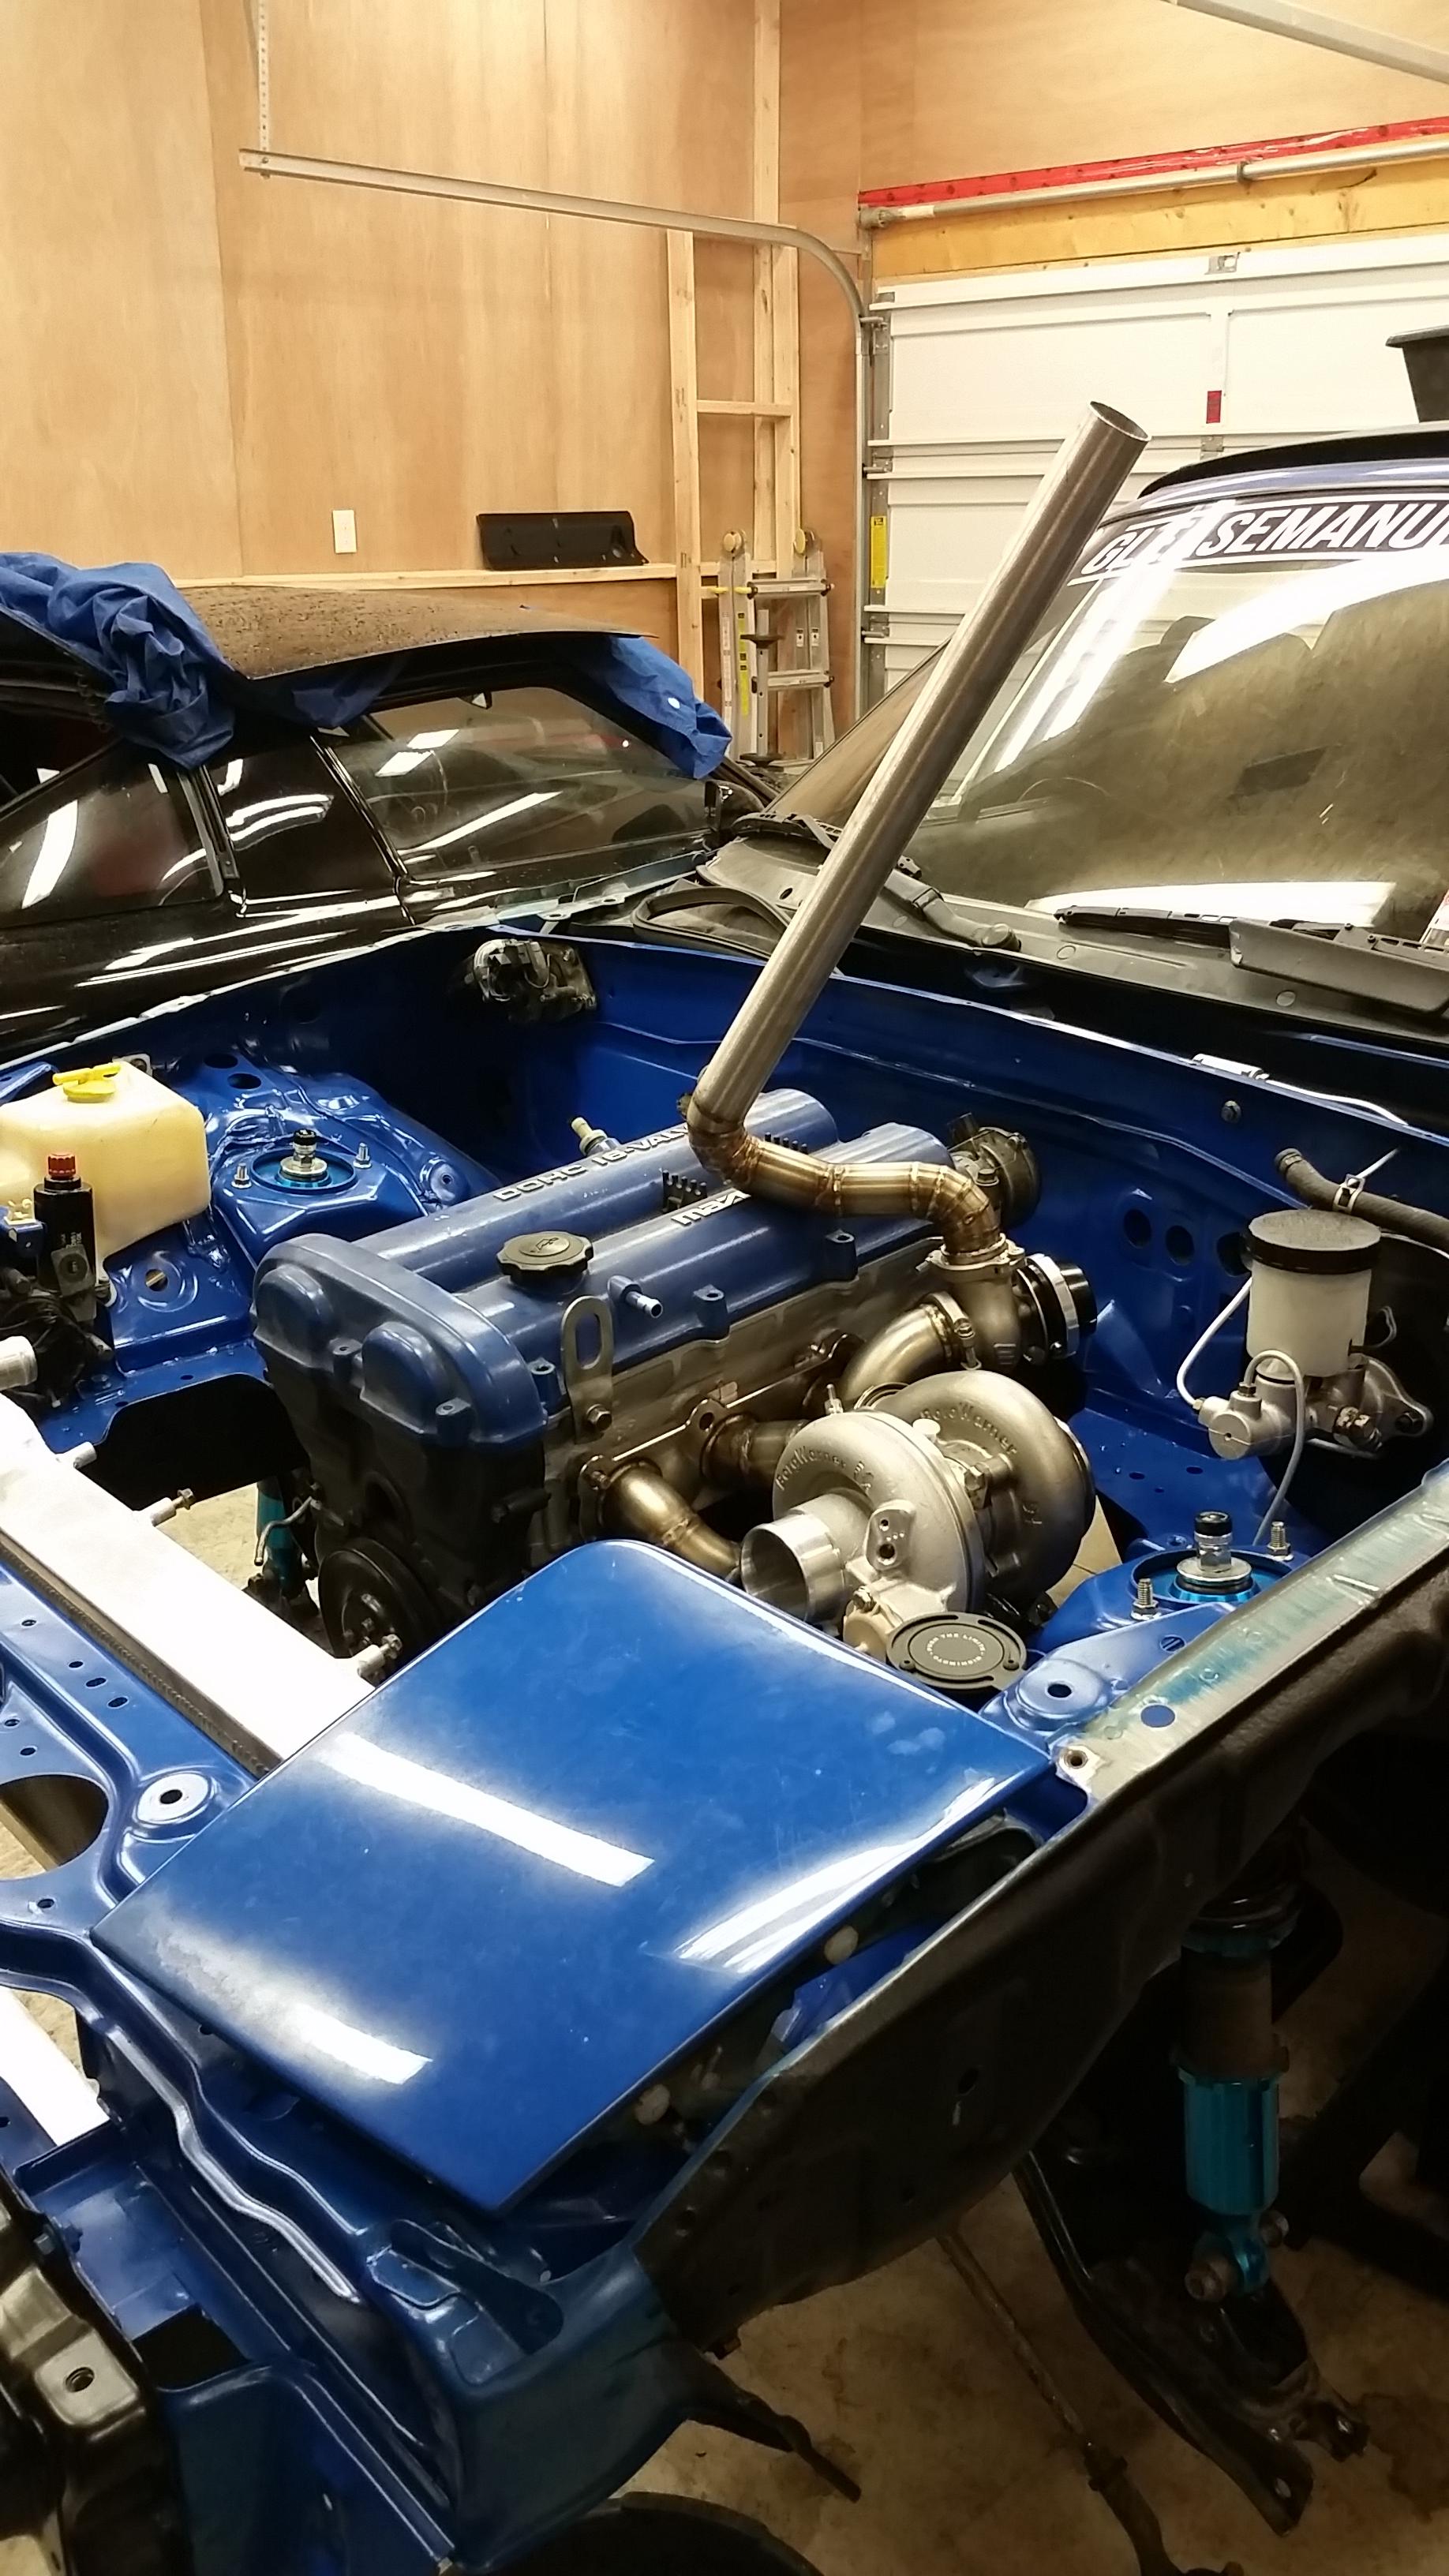
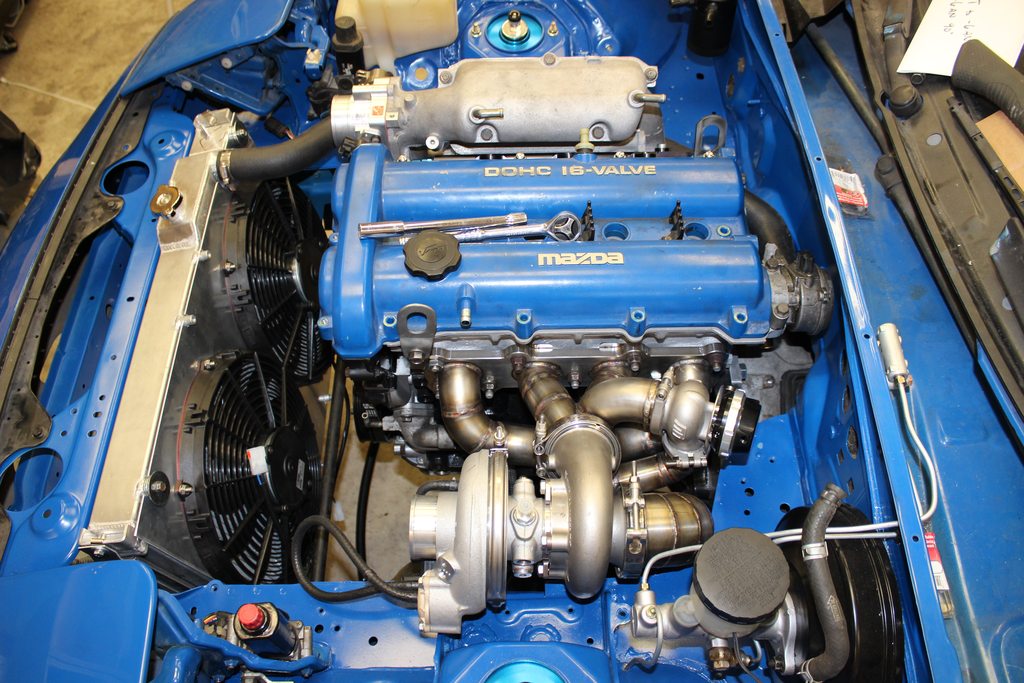
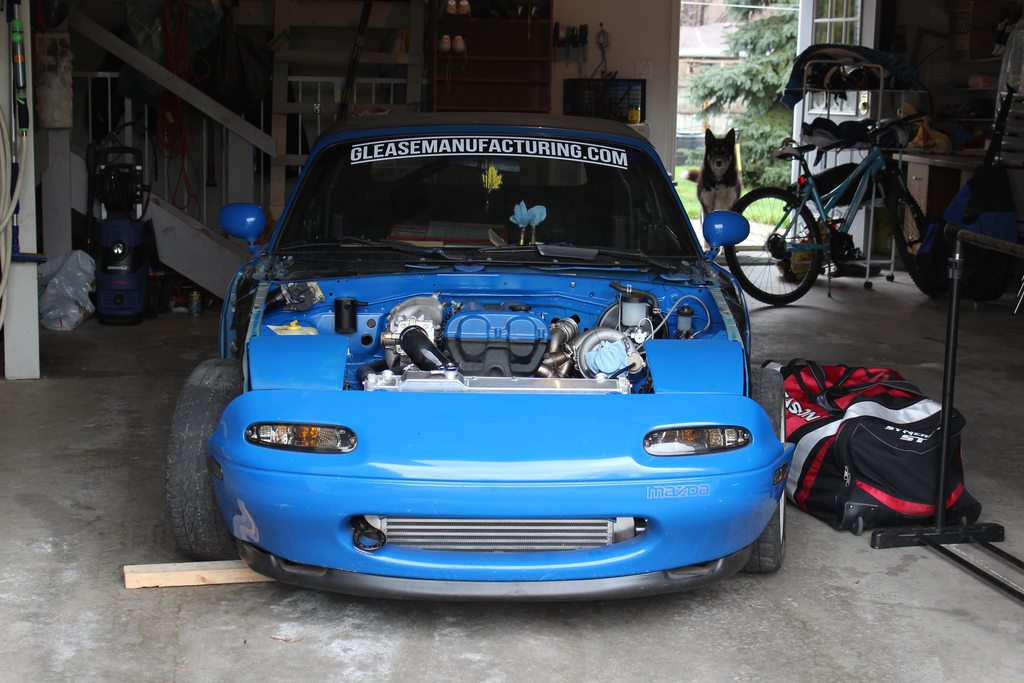
Here's pretty much how it sits now, you can kind of see the firewall catch can in this pic too. Mounted my alternator and swaybar tonight, once I pick up my oil cooler from Fab9 we can start fabbing up intercooler piping
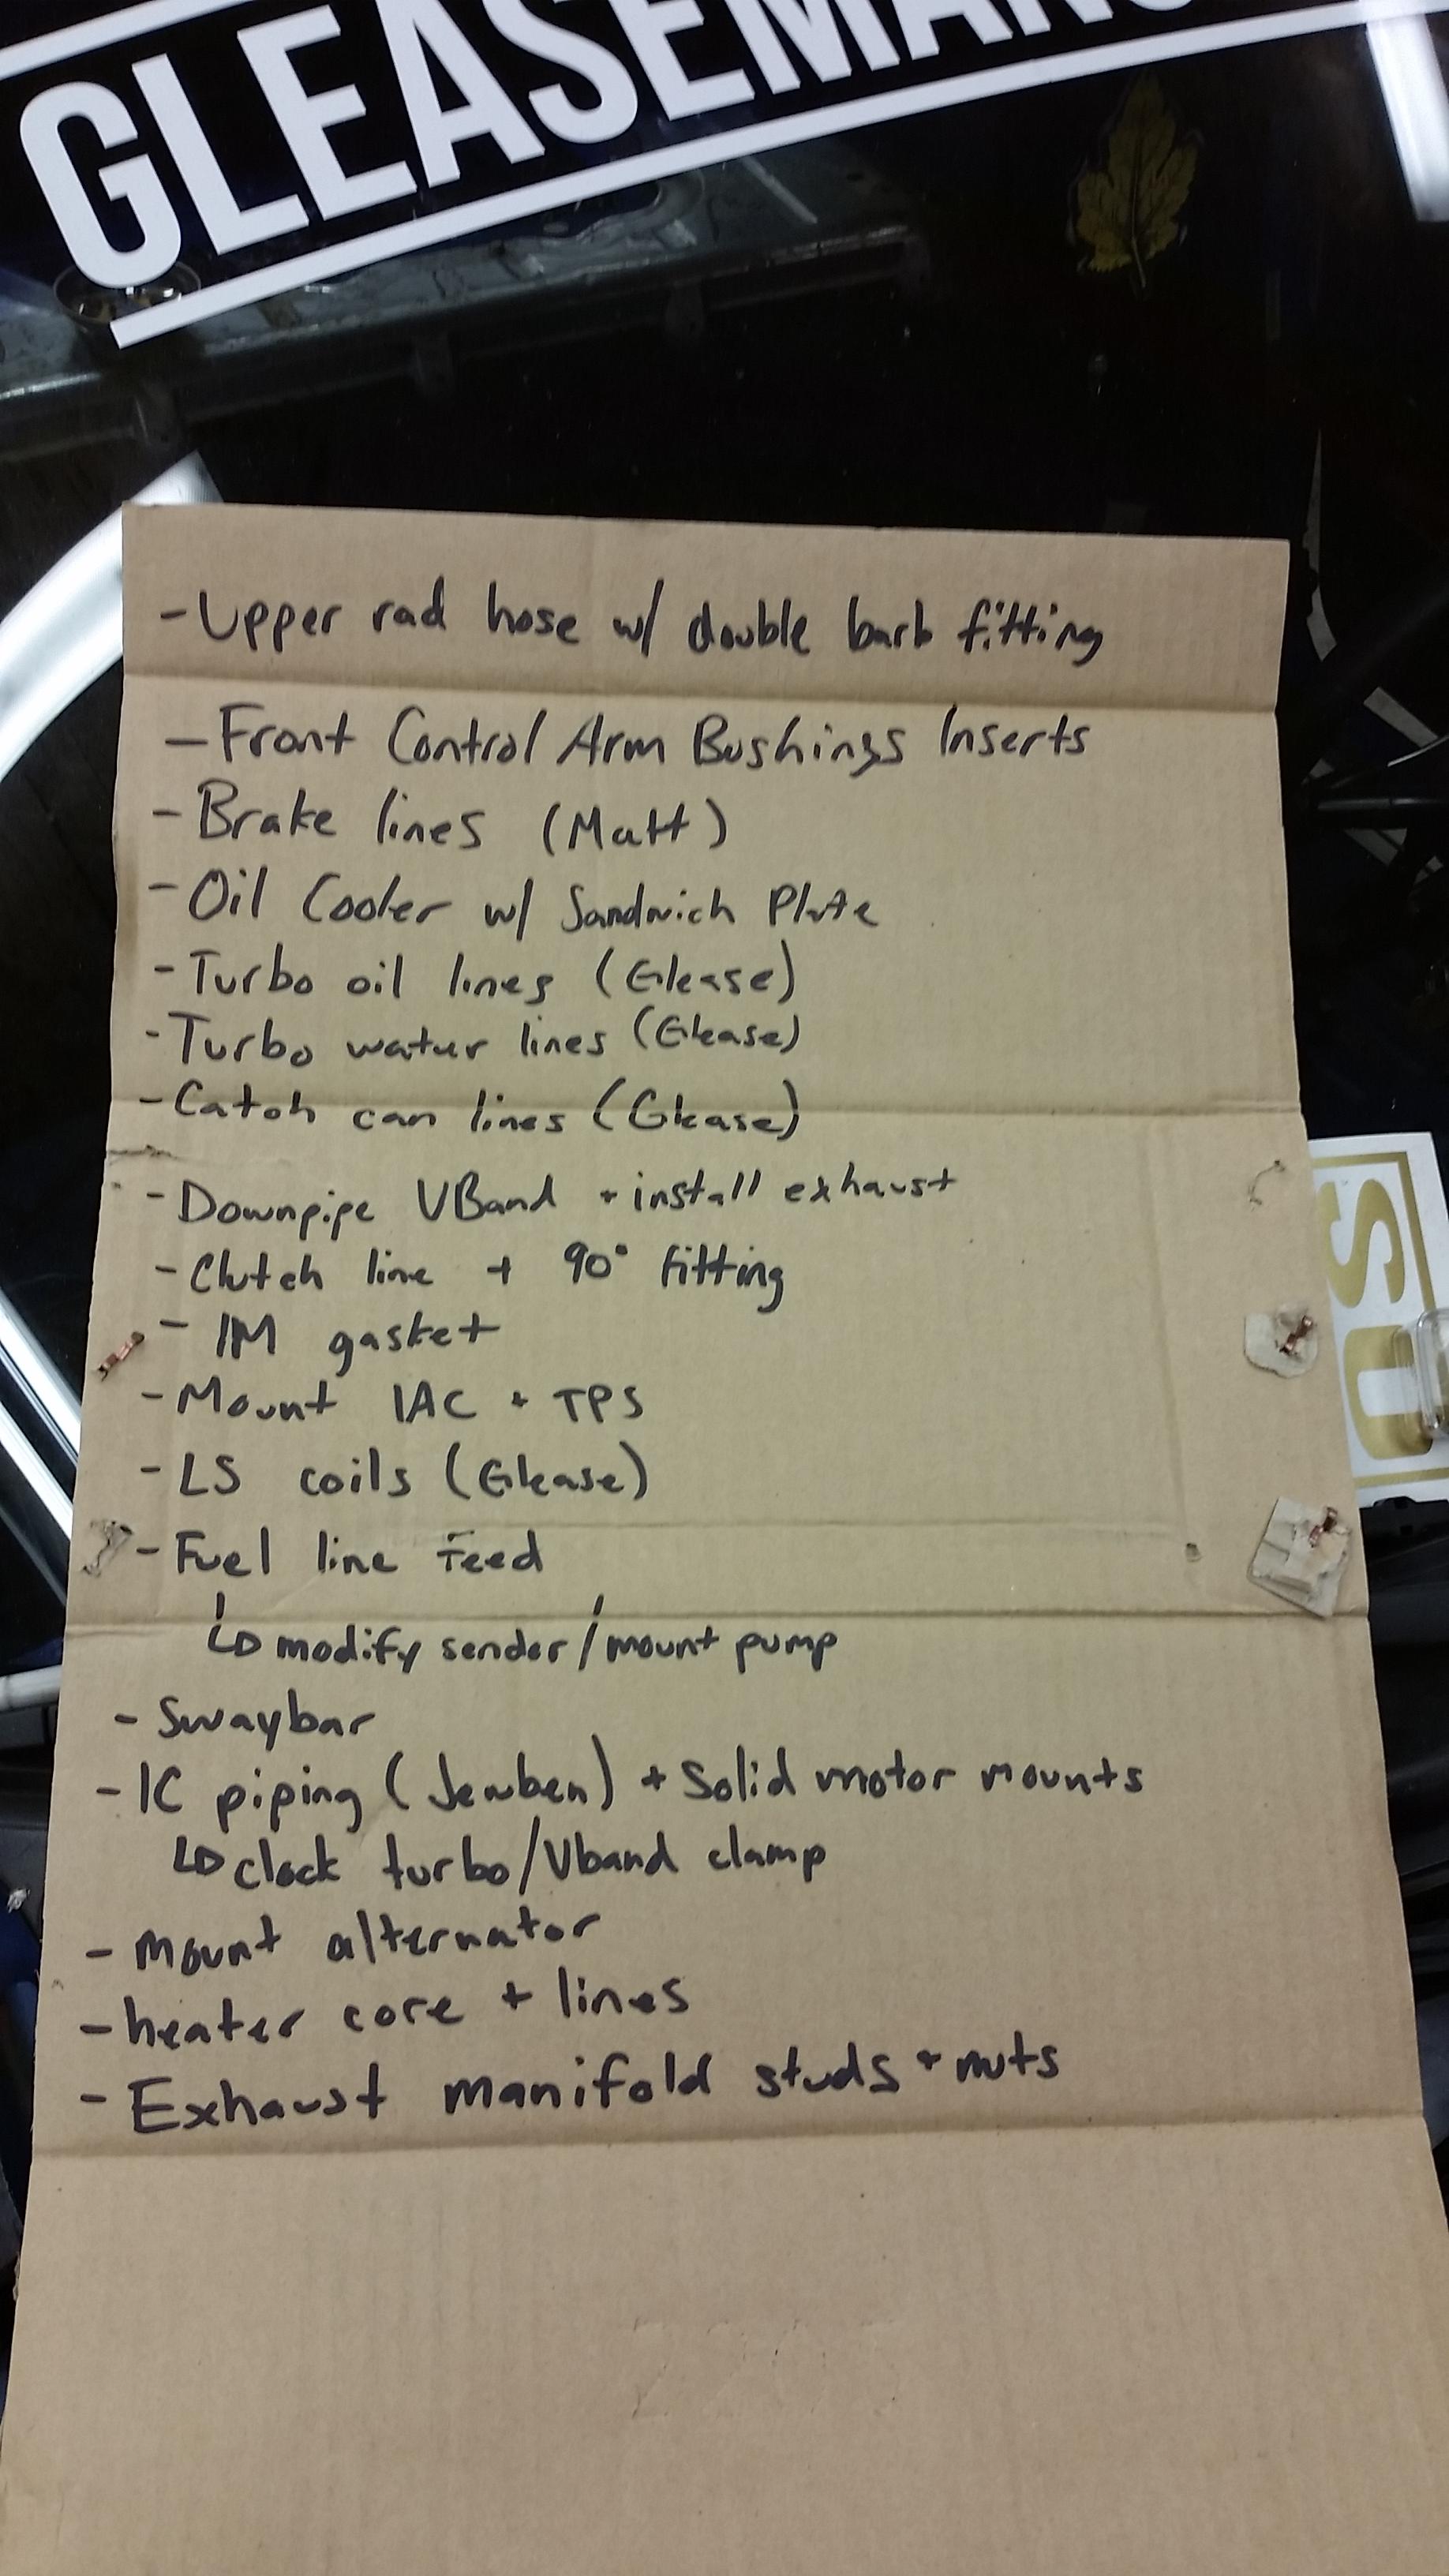
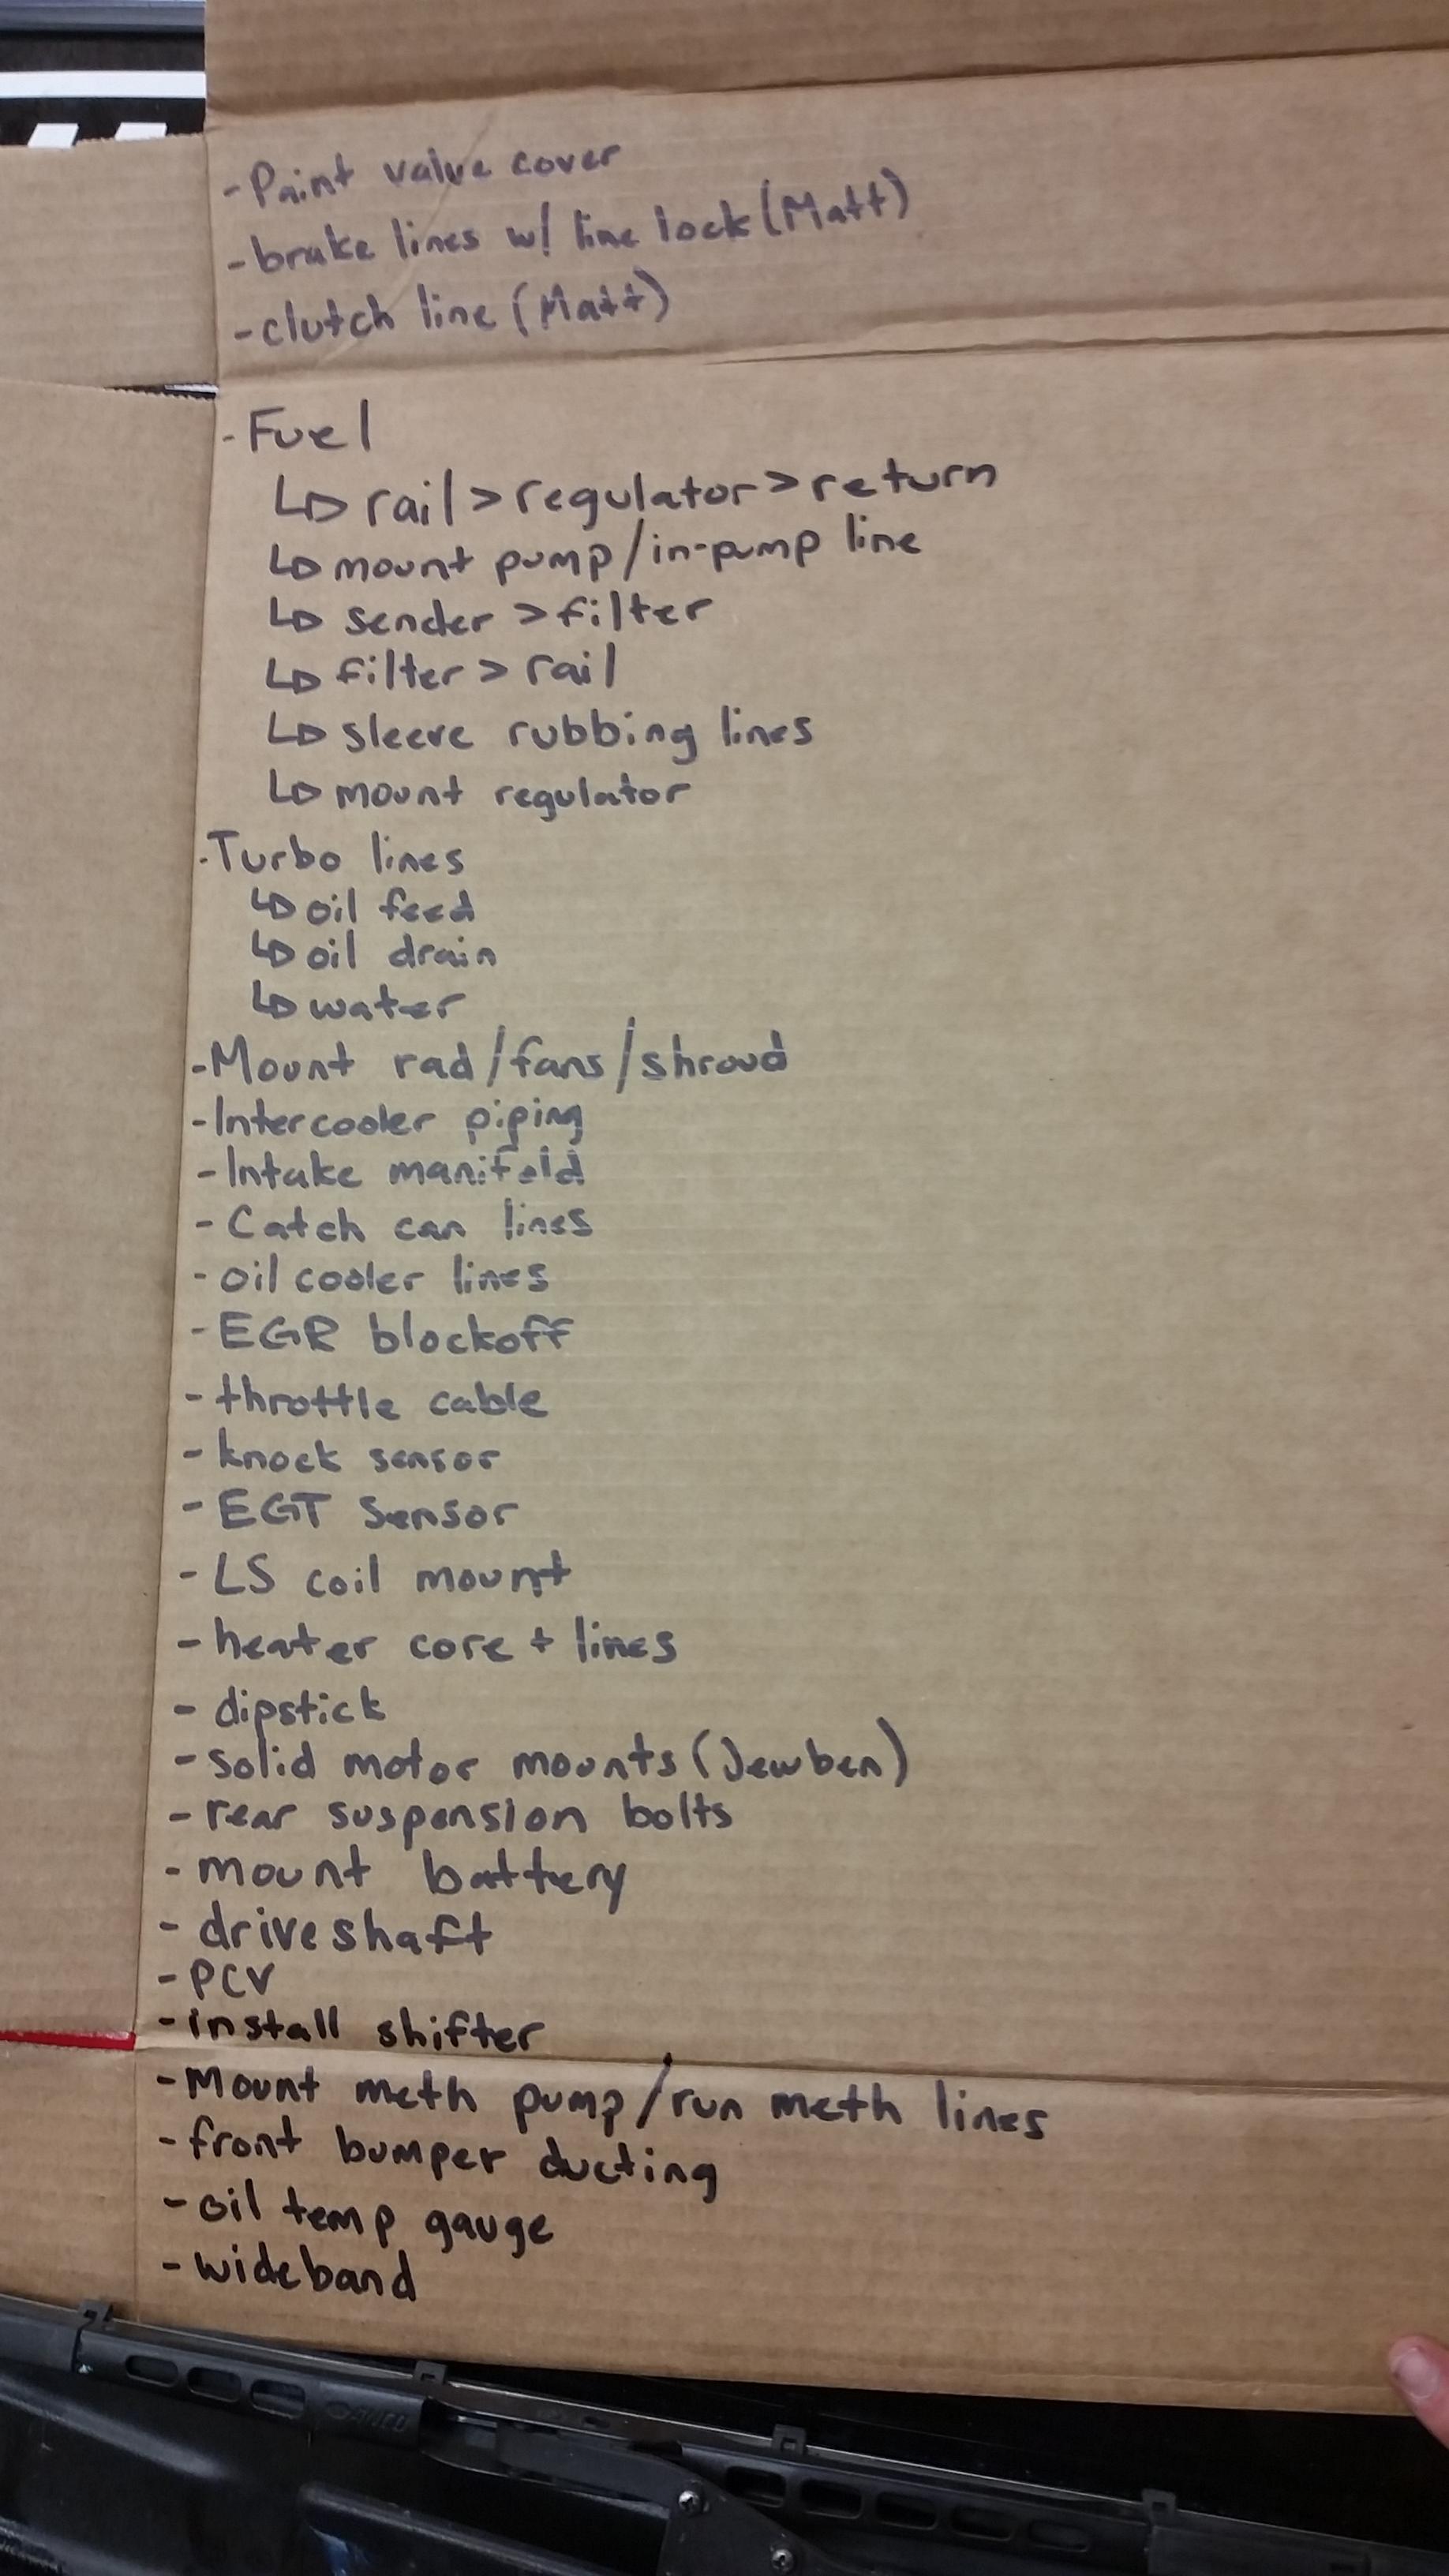
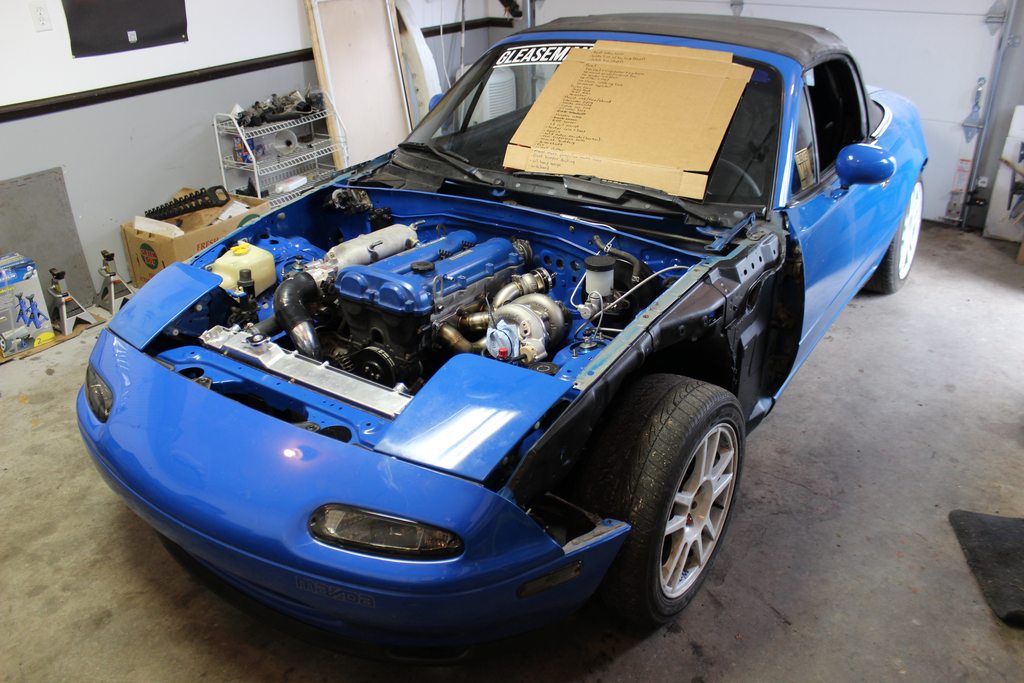
To keep myself motivated and actually making progress did the usual to-do list on a piece of cardboard. Hopefully some things will start getting crossed off
Finally got the engine in
Mounted up the manifold and turbo. Having some issues with a couple of the new studs from the dealership so I'm going to retap a couple of the holes for the manifold studs. Minor detail
Started mounting my catch cans while a couple friends were super productive and mounted my wastegate and dump tube
First catch can is right behind the driver's side headlight. I was originally going to mount them both beside each other on the firewall but didn't want all the lines running all the way across the engine bay. I could still change my mind about this but I'll see once I get into running the lines. Don't have a decent pic of the one on the firewall.
Next up was mounting the trans. Got the adapter plate bolted on, followed by the oem flywheel and Clutchnet 6 puck disk and 550ft/lb pressure plate. Of course clutchnet didn't include a clutch alignment tool so we had to use a universal tool which is kind of ****. Oh well, trans made it in the car so it works out.
Mounted the clutch slave and ran into another problem. The clearance for the clutch line off the slave to the chassis is super tight so my original SS line won't work. Going to need to get something made with a tight 90* or 180* fitting to clear probably.
Next up was figuring out my sweet lower rad hose lol. Didn't feel like ordering the FM piece and thought I'd do something similar to last time where I just took some general measurements and went to the parts store to see if I could find something that fit. This time they let me go in the back and look at the inventory to see if I could find something that'd work. Was about to give up when I found this hose that is pretty much perfect. Cut off the section I wasn't going to use and was left with this
Here's the part number that was on that hose for anyone that might want to try this out. It was around $25-30 for the hose
Here's pretty much how it sits now, you can kind of see the firewall catch can in this pic too. Mounted my alternator and swaybar tonight, once I pick up my oil cooler from Fab9 we can start fabbing up intercooler piping
To keep myself motivated and actually making progress did the usual to-do list on a piece of cardboard. Hopefully some things will start getting crossed off
Reply
1
1
 04-08-2015, 11:41 PM
#285
Junior Member
Thread Starter
iTrader: (1)
Join Date: Feb 2013
Location: Windsor, Ontario
Posts: 403
Total Cats: 65
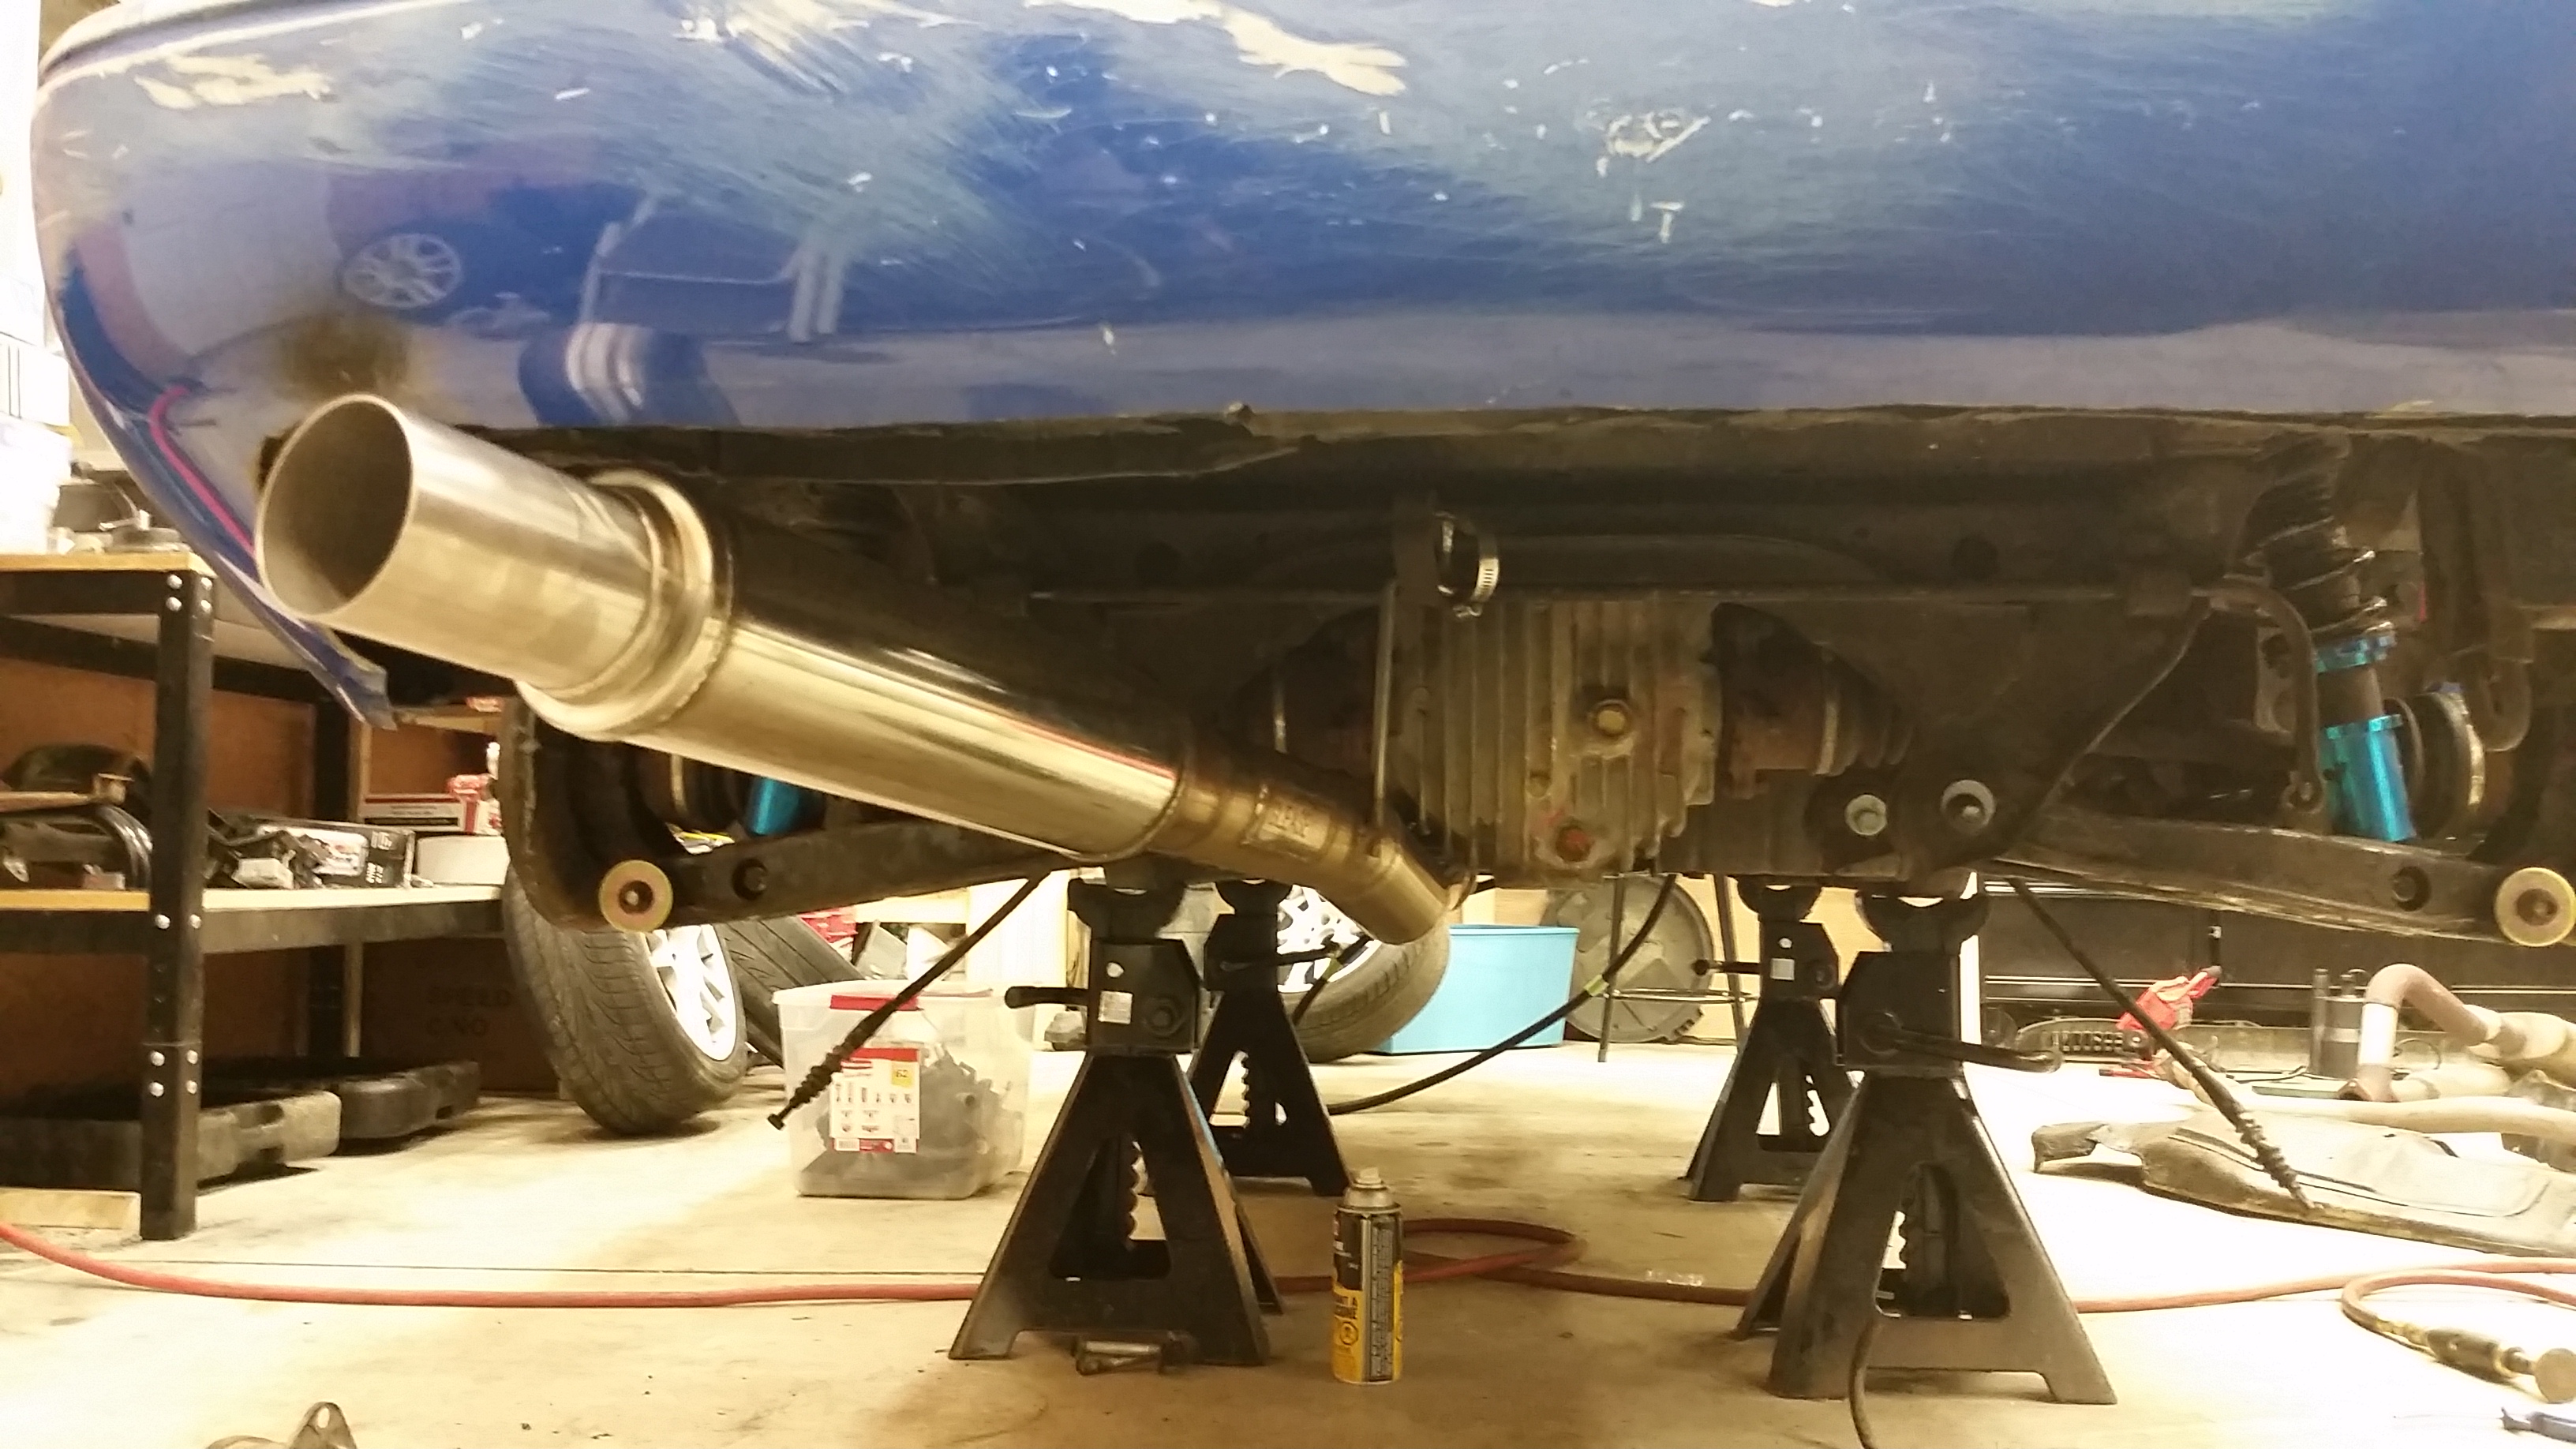
It isn't actually dumping up like that, it runs along the downpipe, that was just my friends being idiots if that wasn't clear lol. But I do agree, that is a lot of unsupported pipe either way
Reply
0
0
 04-09-2015, 11:43 PM
#288
Junior Member
Thread Starter
iTrader: (1)
Join Date: Feb 2013
Location: Windsor, Ontario
Posts: 403
Total Cats: 65
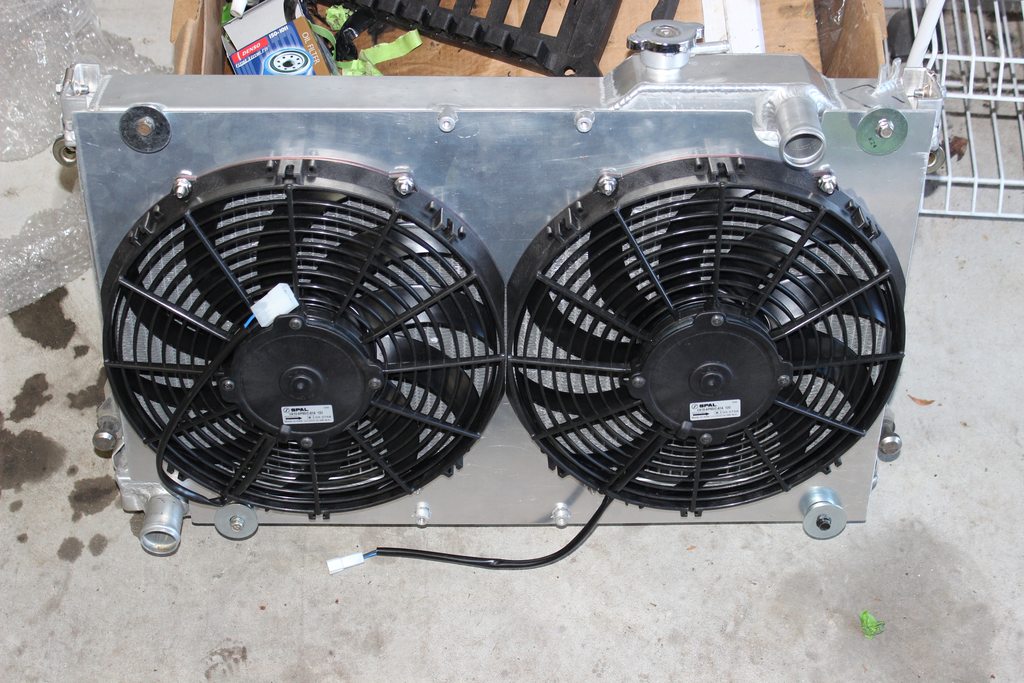
Picked up this beauty from Fab9 today. This thing is just so nice, really happy with the purchase. Really nice quality with more than enough line for the install and all the necessary fittings. Should make things a lot easier when I go to install it.
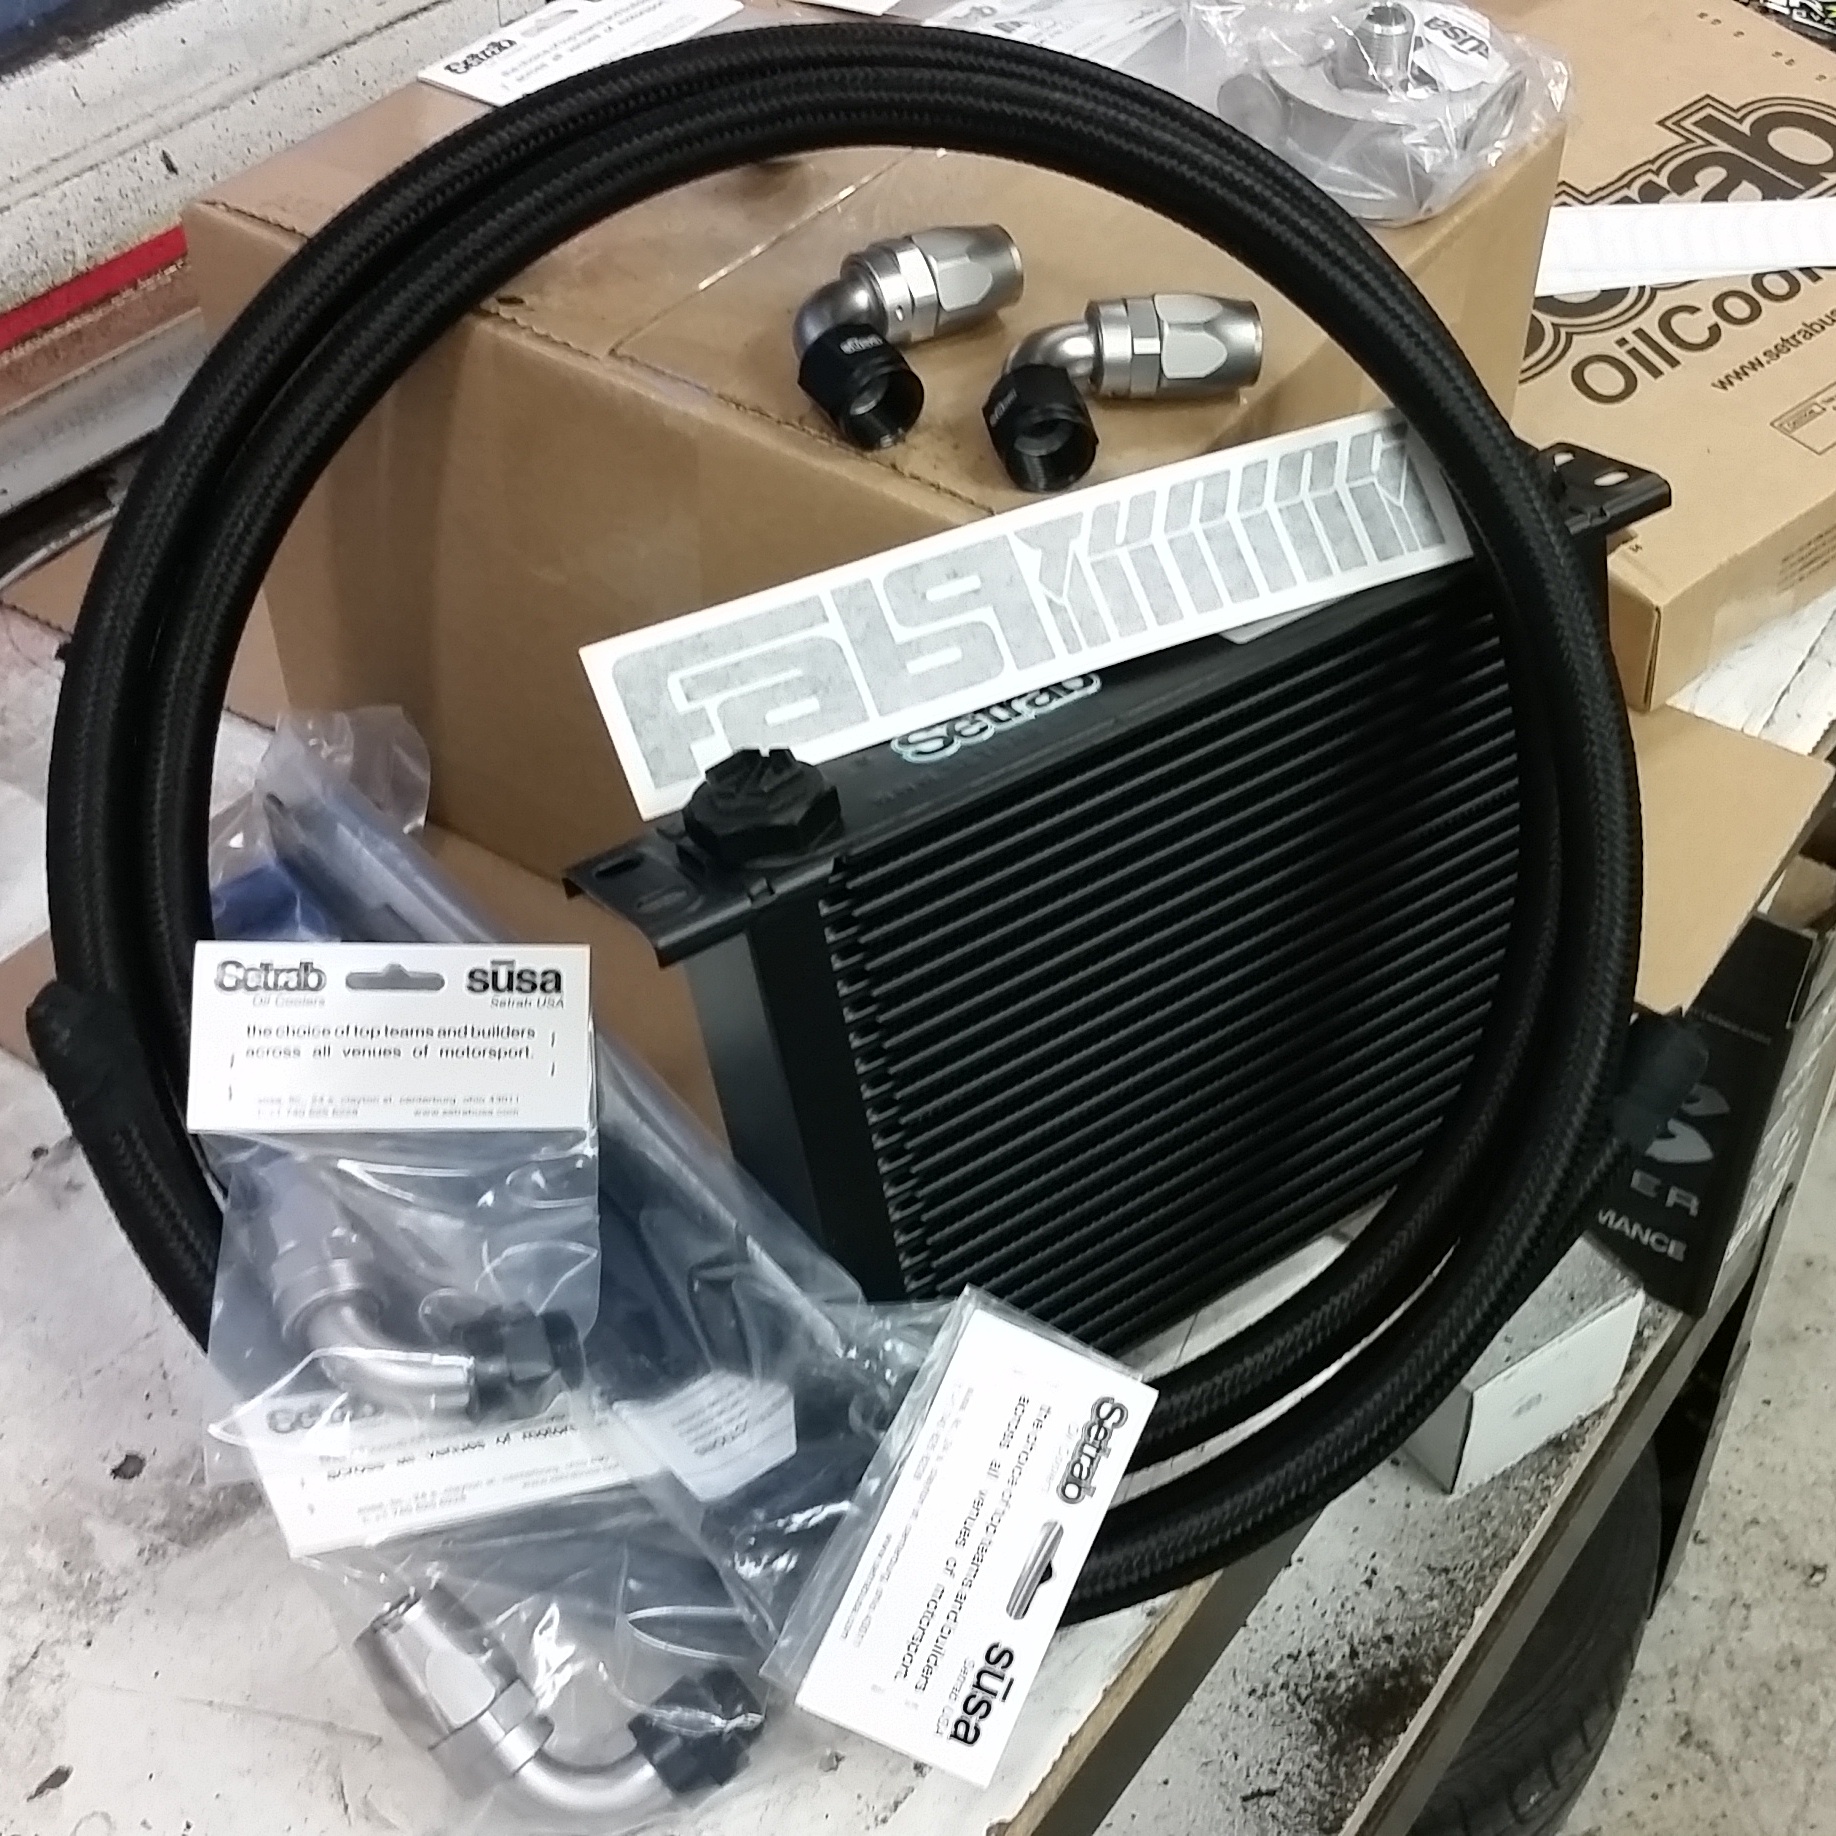
I was originally going to mount it to the back of the radiator but am rethinking that because of how tight everything would be. Likely going to mount it between the intercooler and radiator with a couple brackets. This'll let me run dual fans as well. I was going to run the stock ones but, again, because of how tight everything will be with the intercooler piping I'm looking at getting a couple of 12"slim fans.
I was originally going to mount it to the back of the radiator but am rethinking that because of how tight everything would be. Likely going to mount it between the intercooler and radiator with a couple brackets. This'll let me run dual fans as well. I was going to run the stock ones but, again, because of how tight everything will be with the intercooler piping I'm looking at getting a couple of 12"slim fans.
Reply
1
1
04-13-2015, 05:32 PM
#289
Junior Member
Thread Starter
iTrader: (1)
Join Date: Feb 2013
Location: Windsor, Ontario
Posts: 403
Total Cats: 65
Got a bit more work done on the weekend.
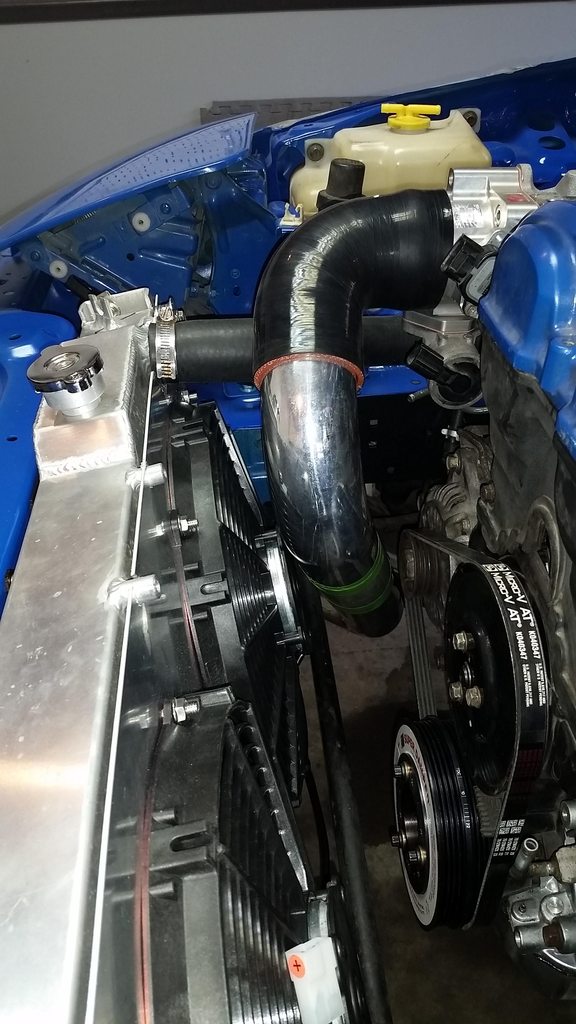
Mounted up the oil cooler. Really pleased with how this turned out.
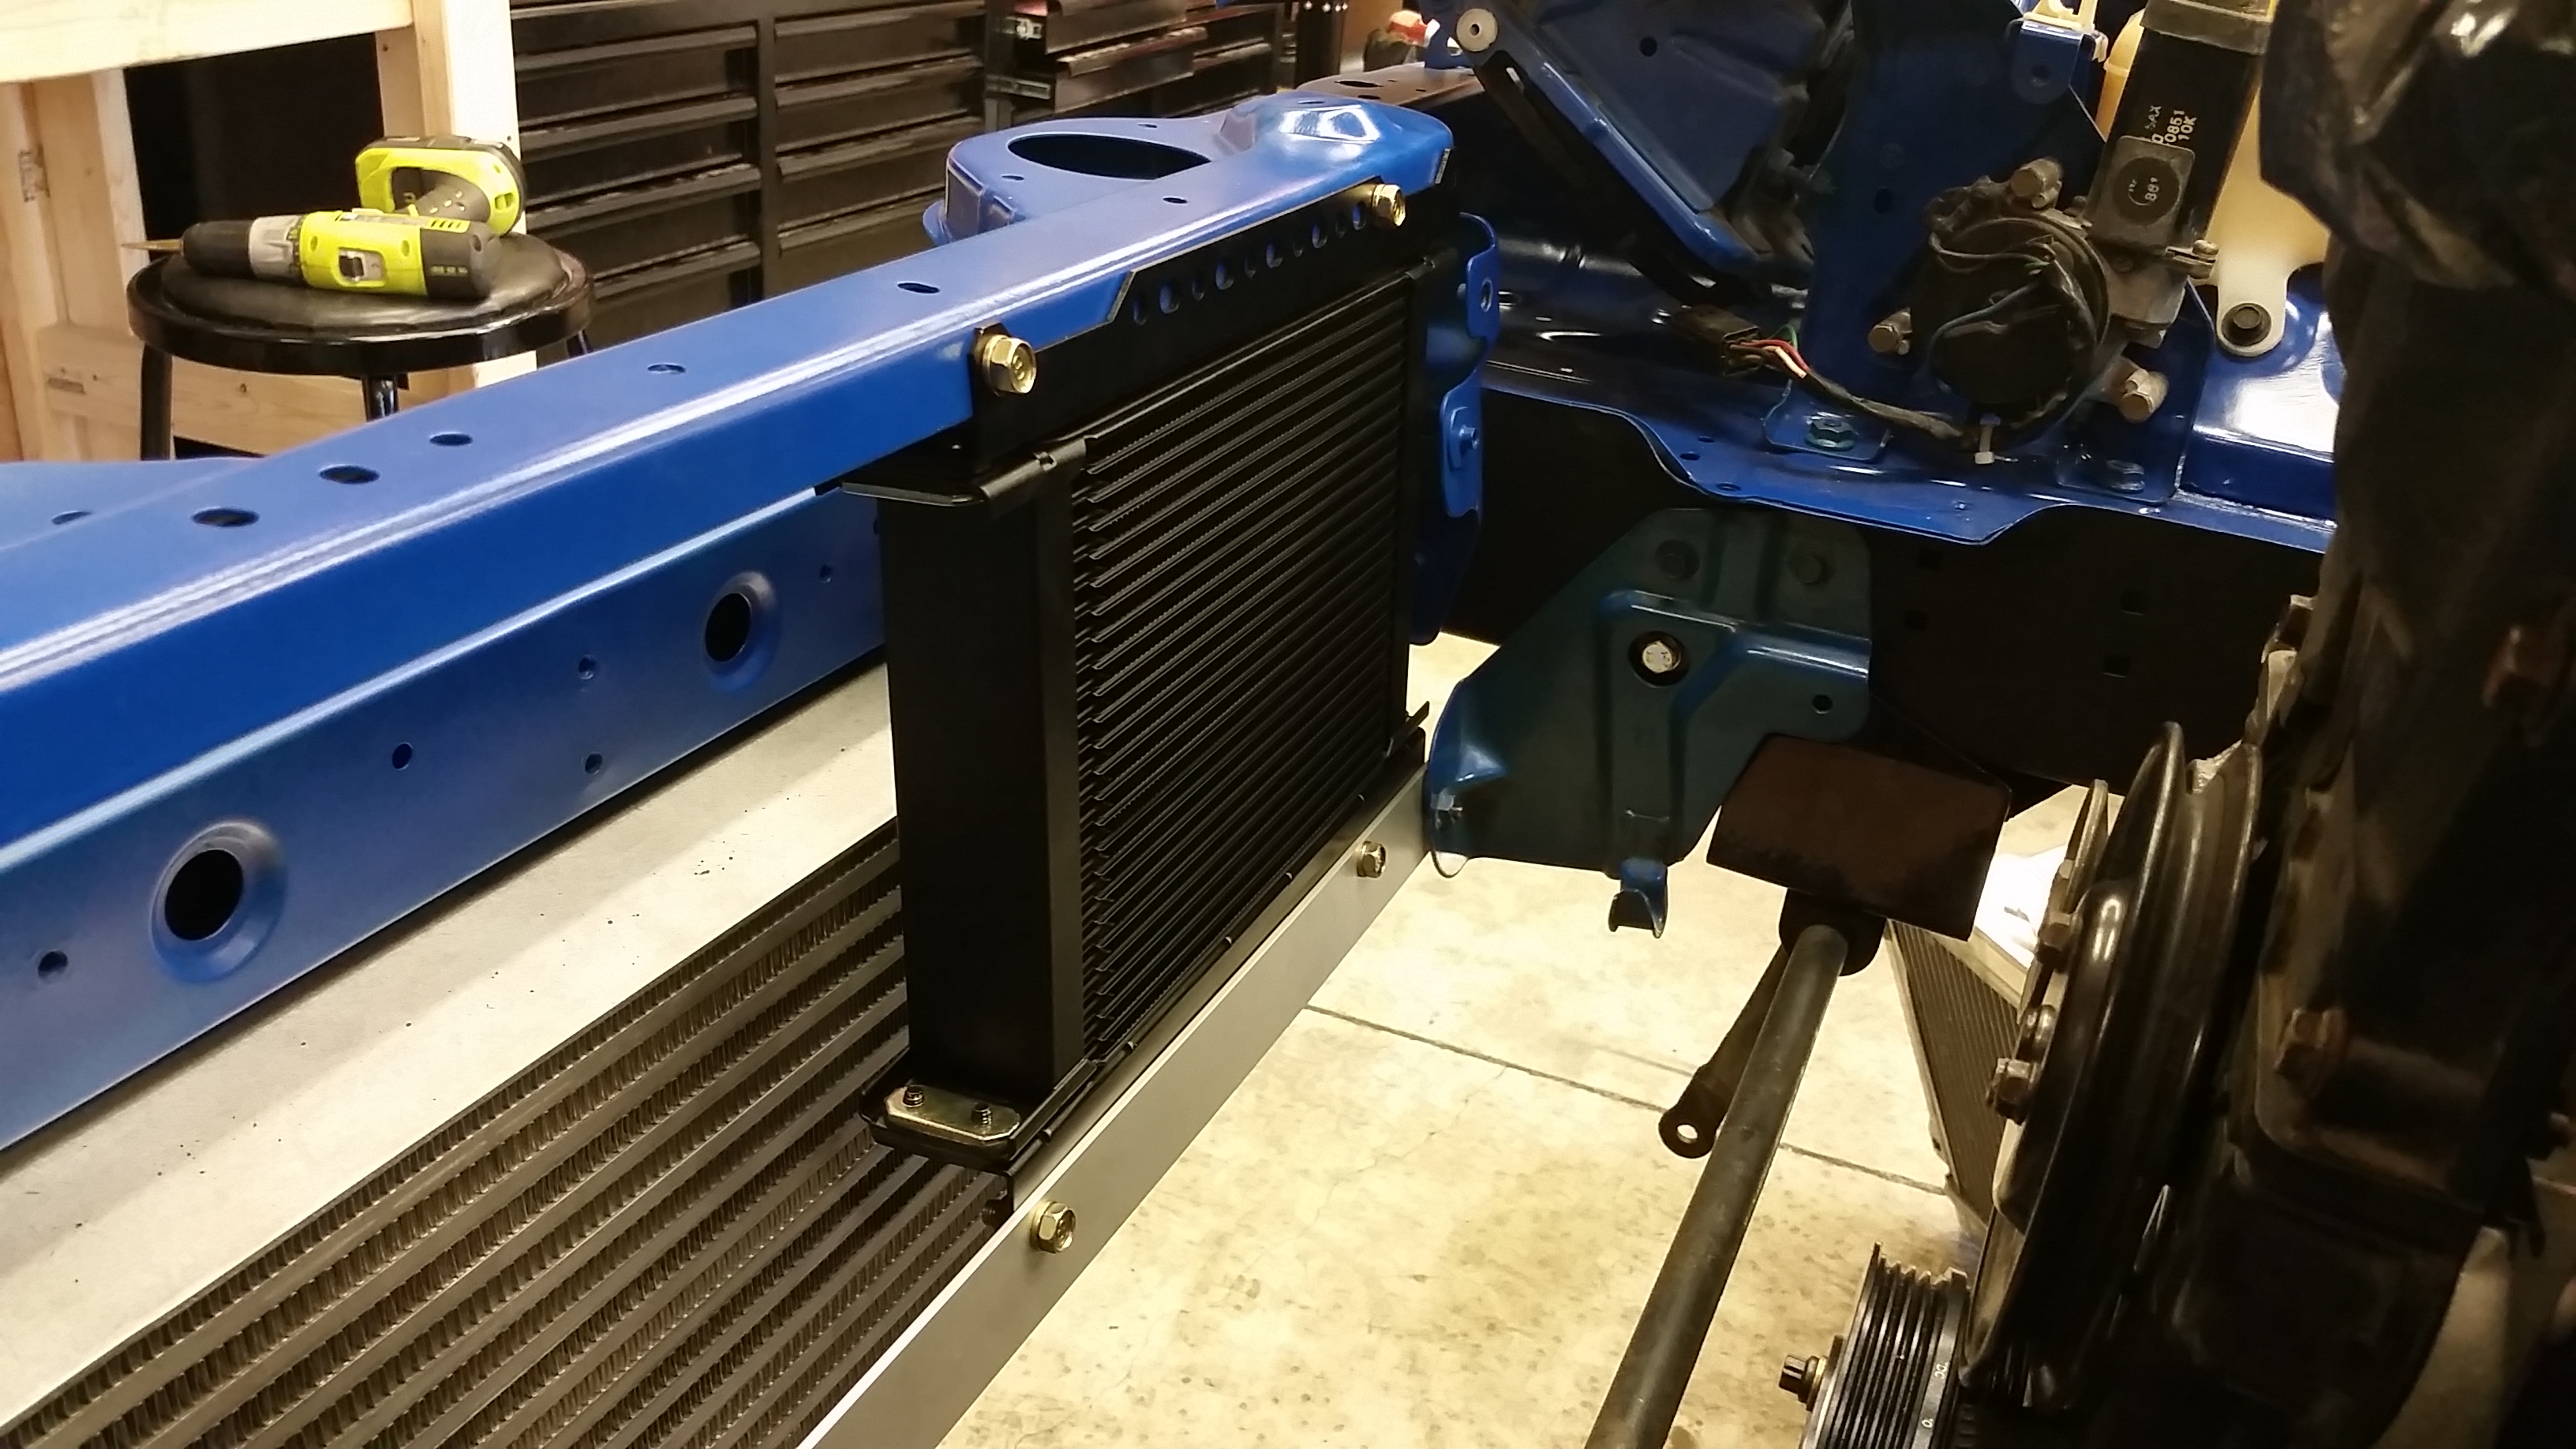
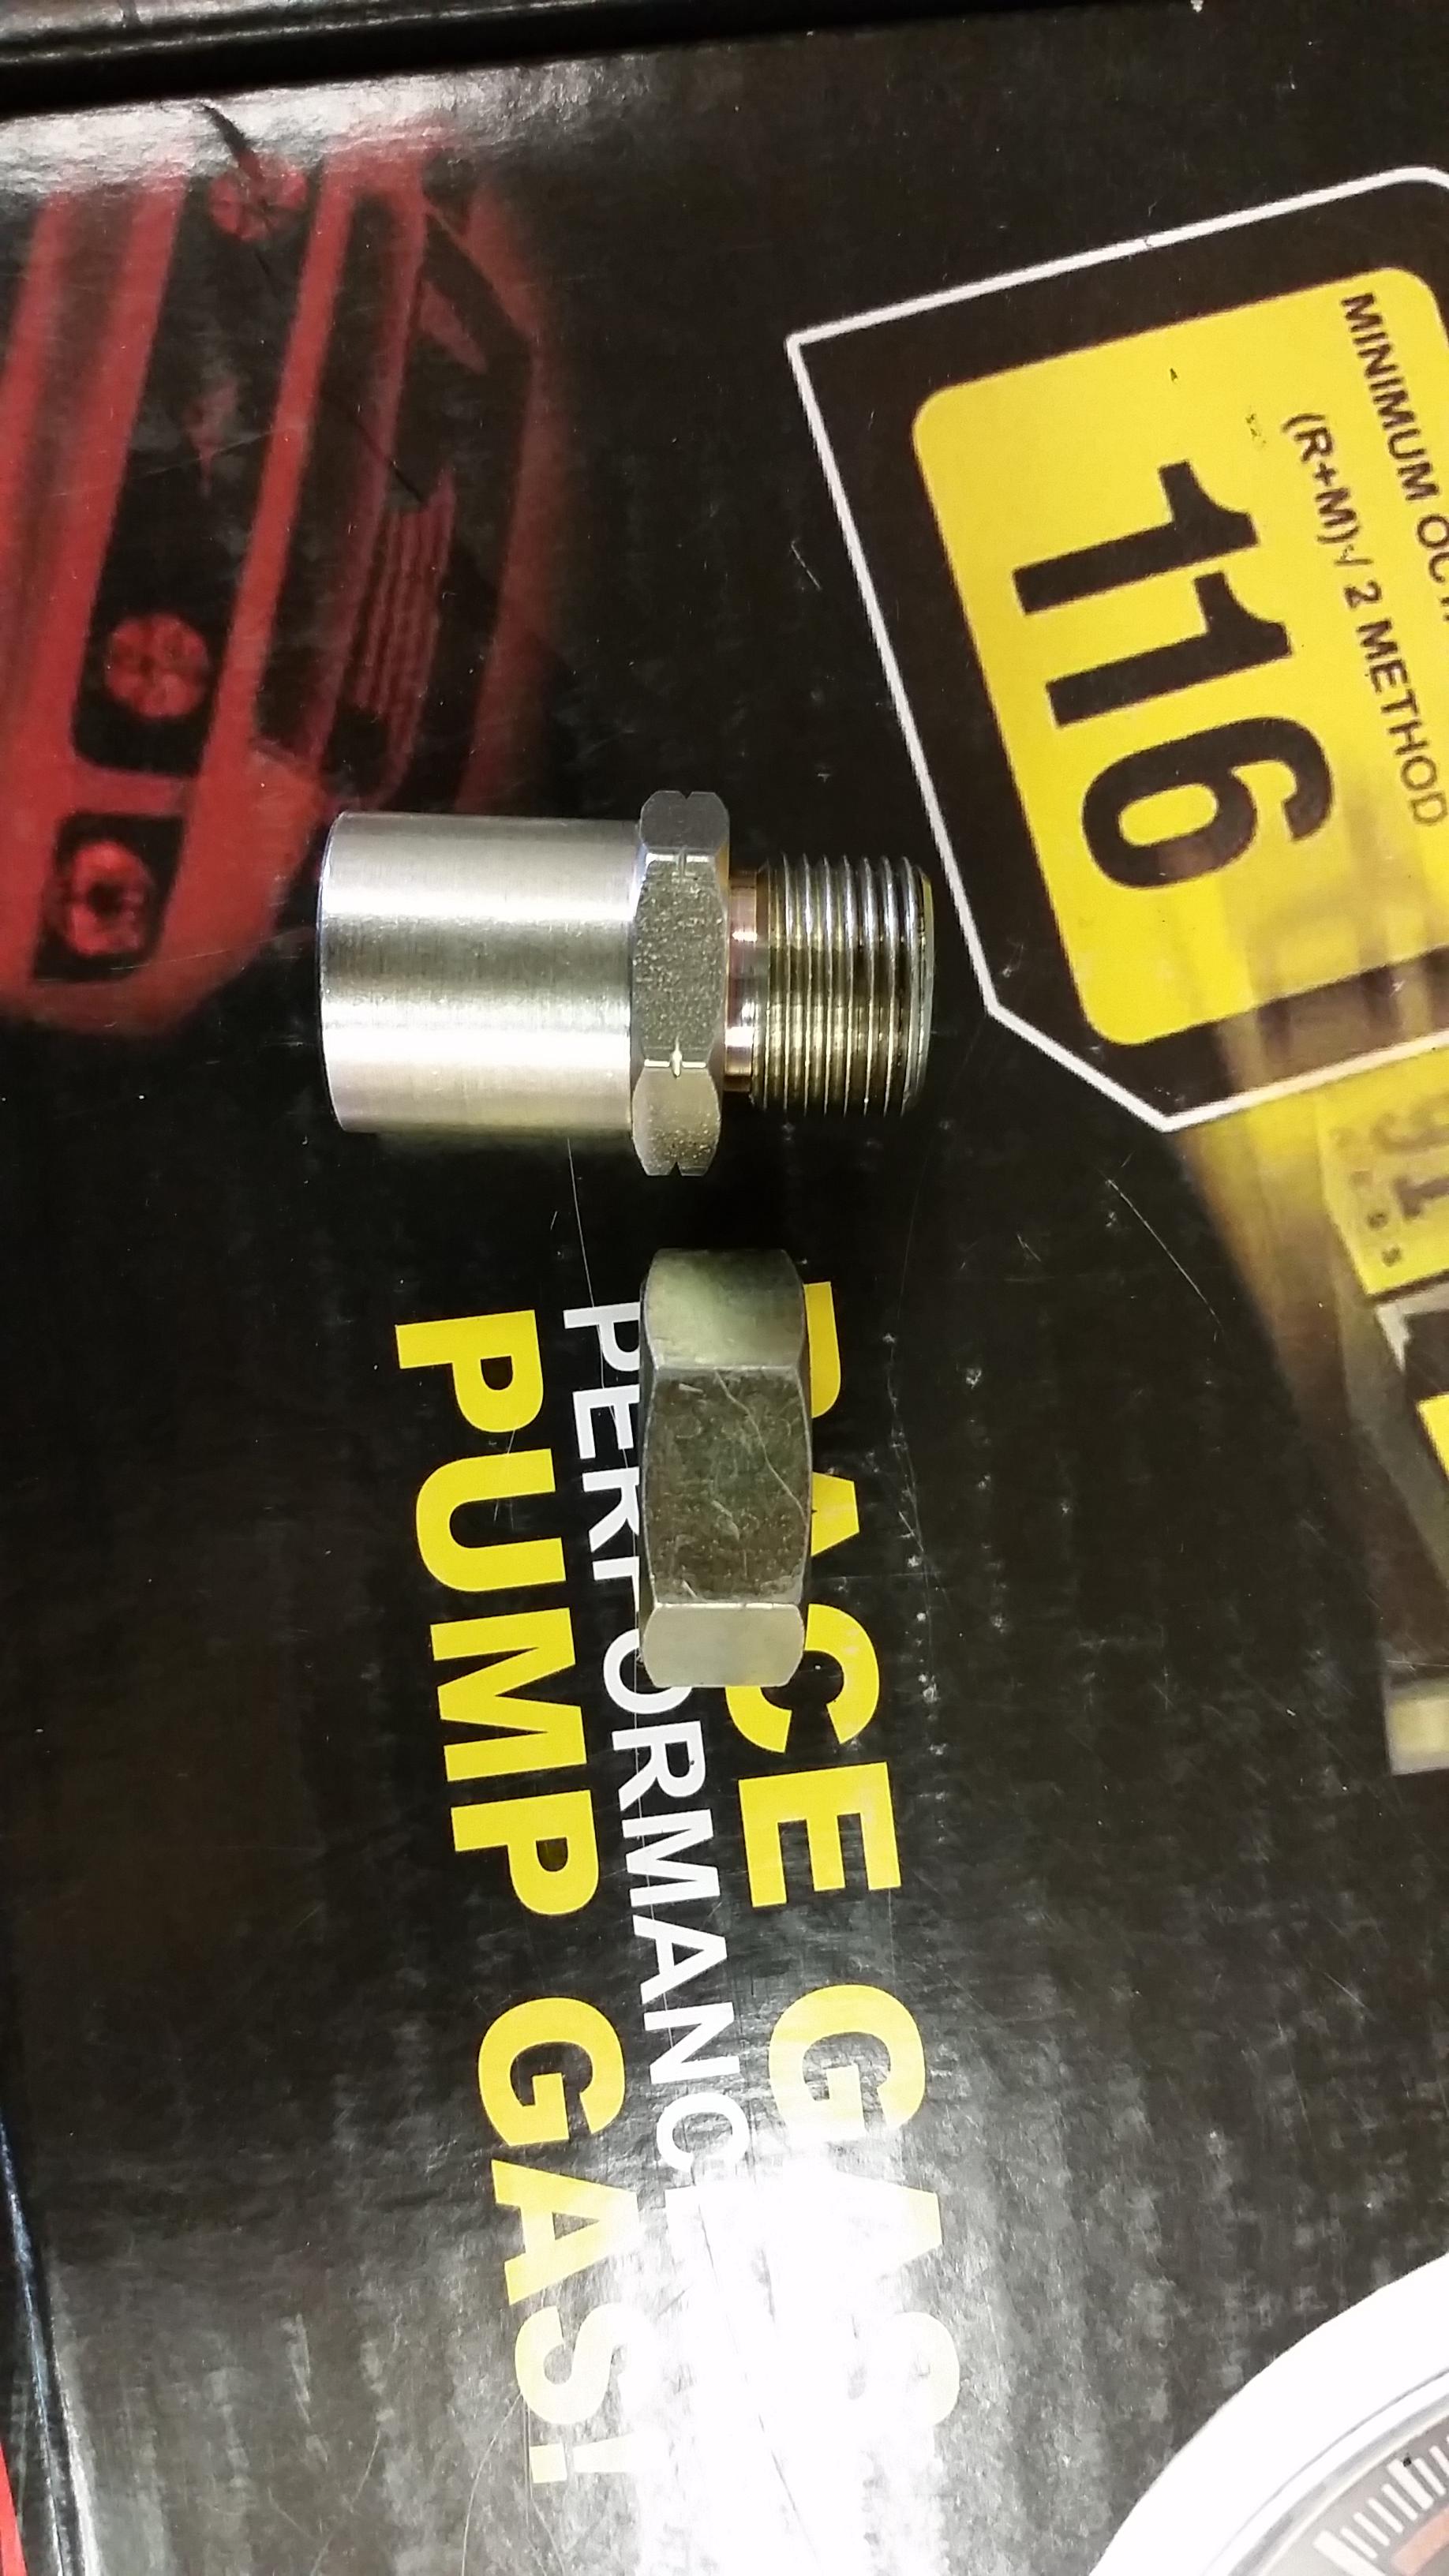
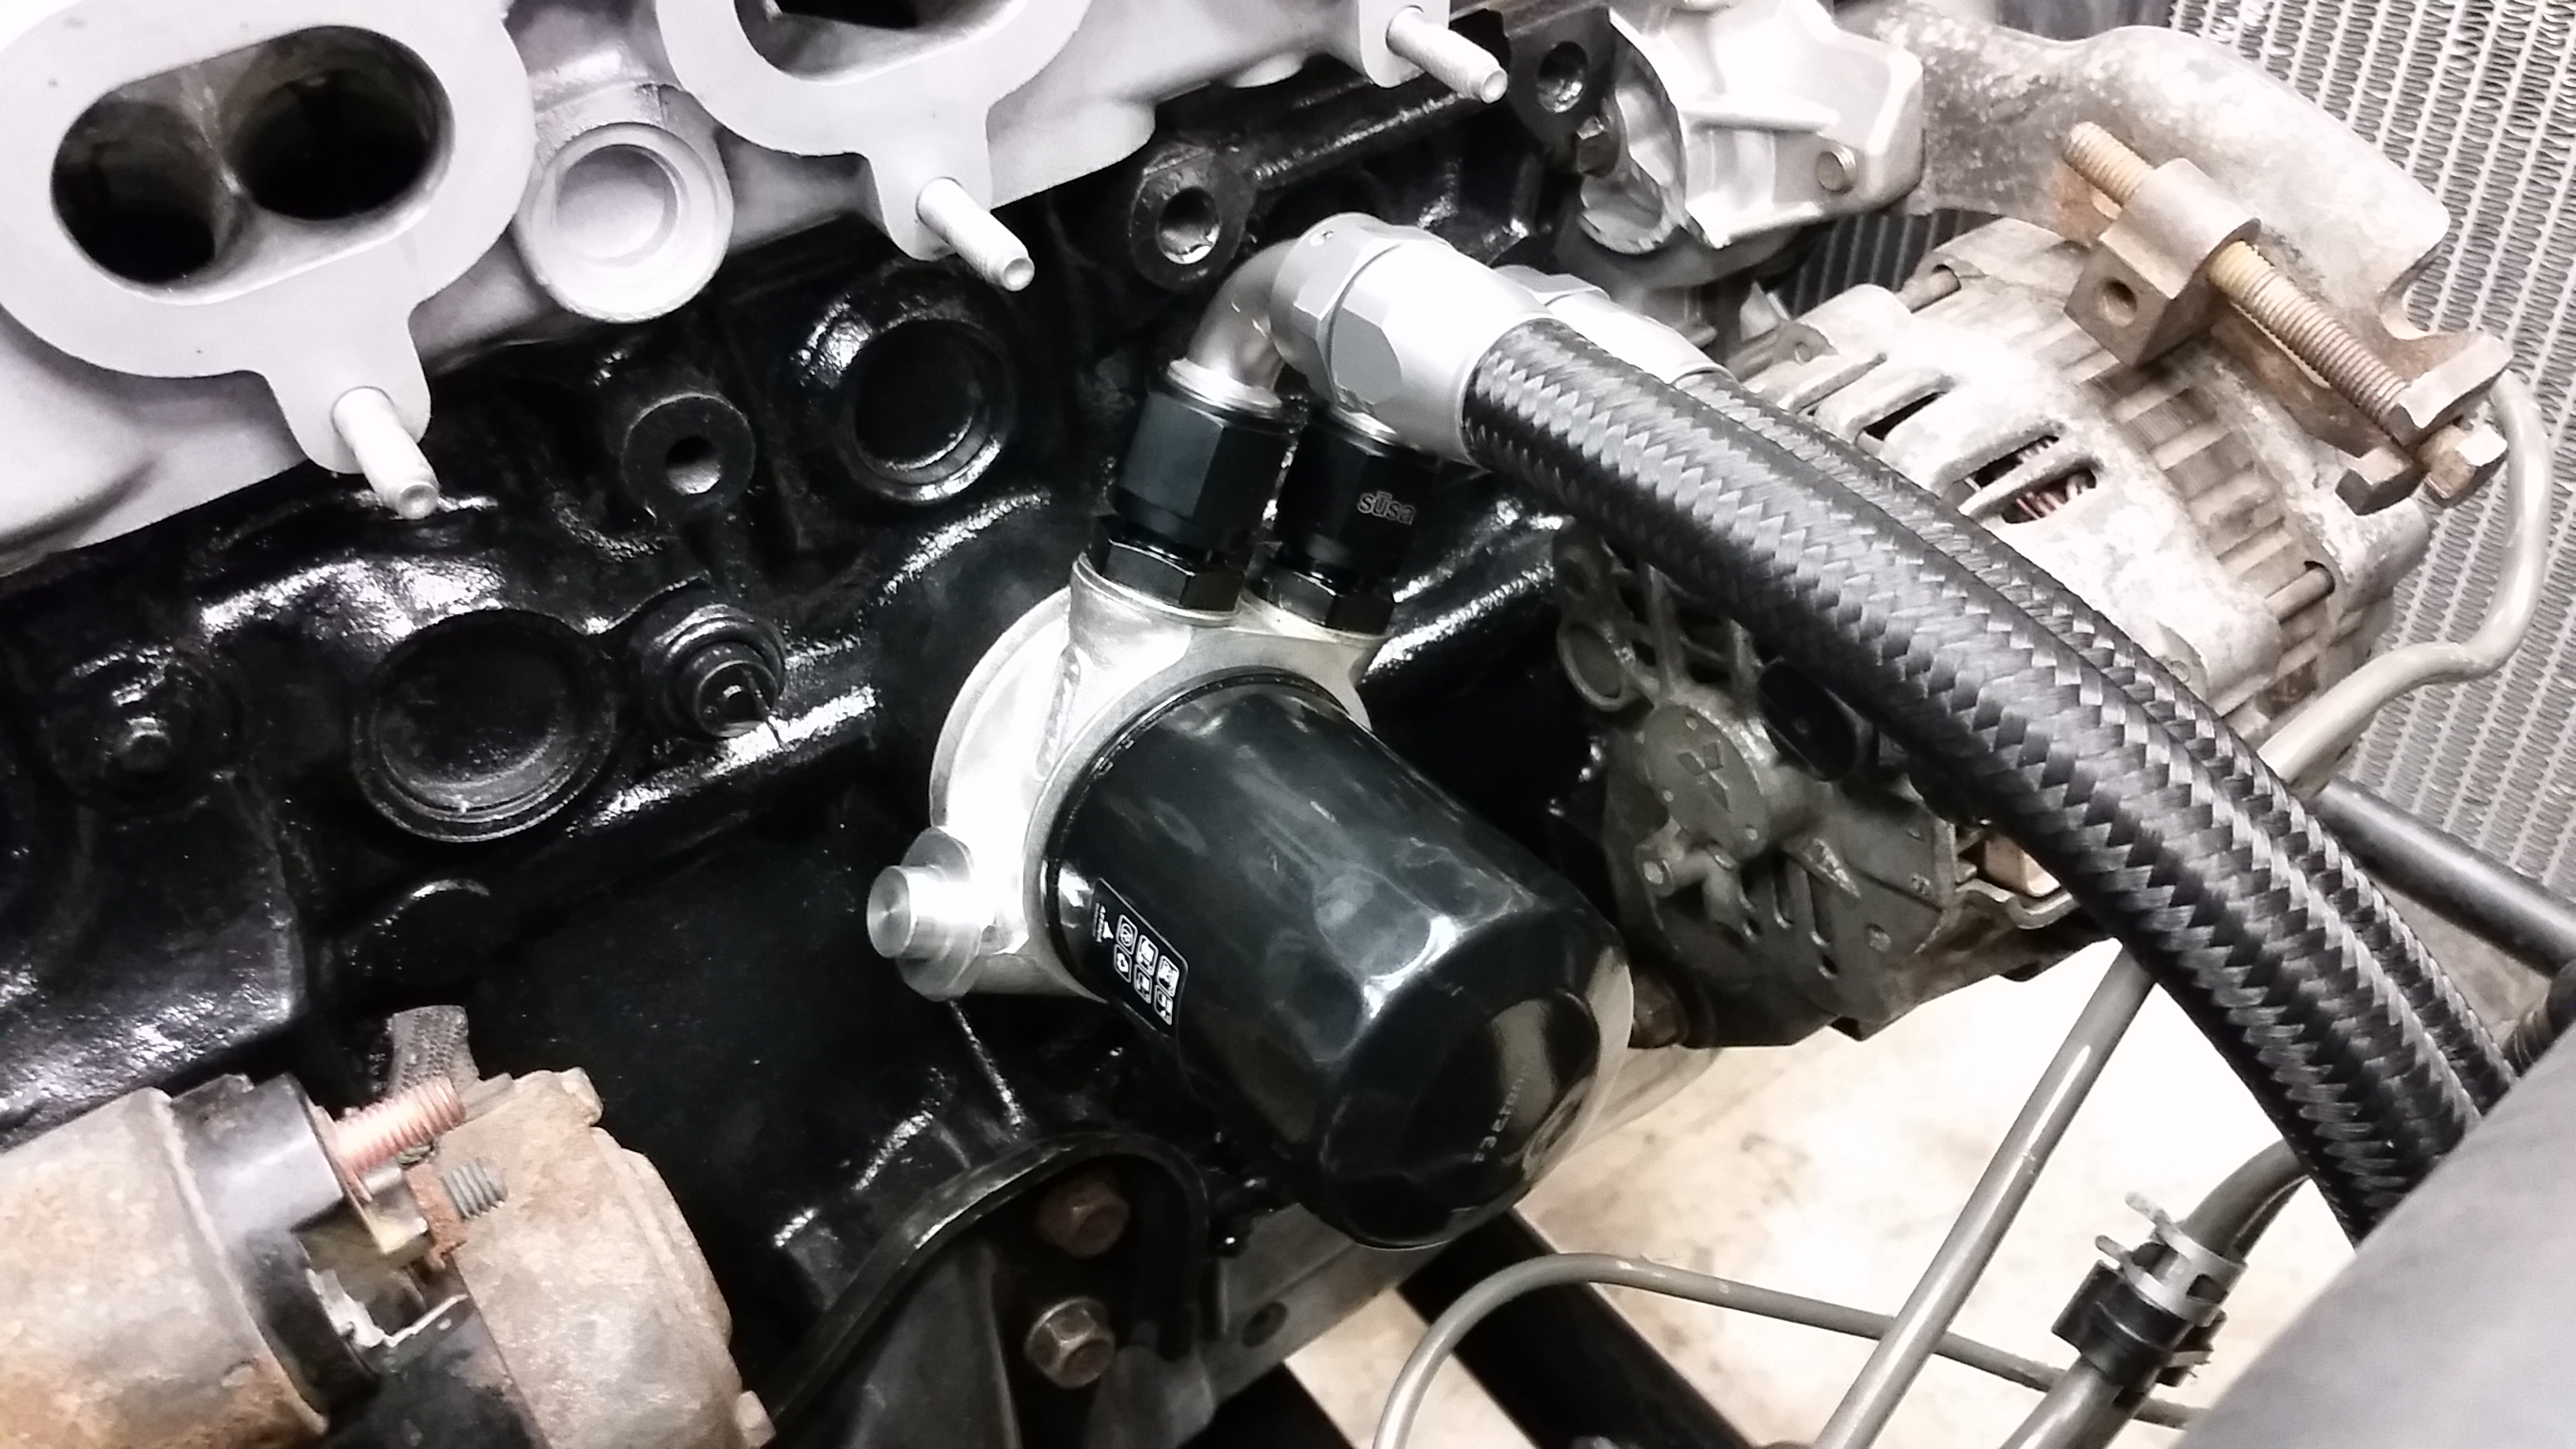
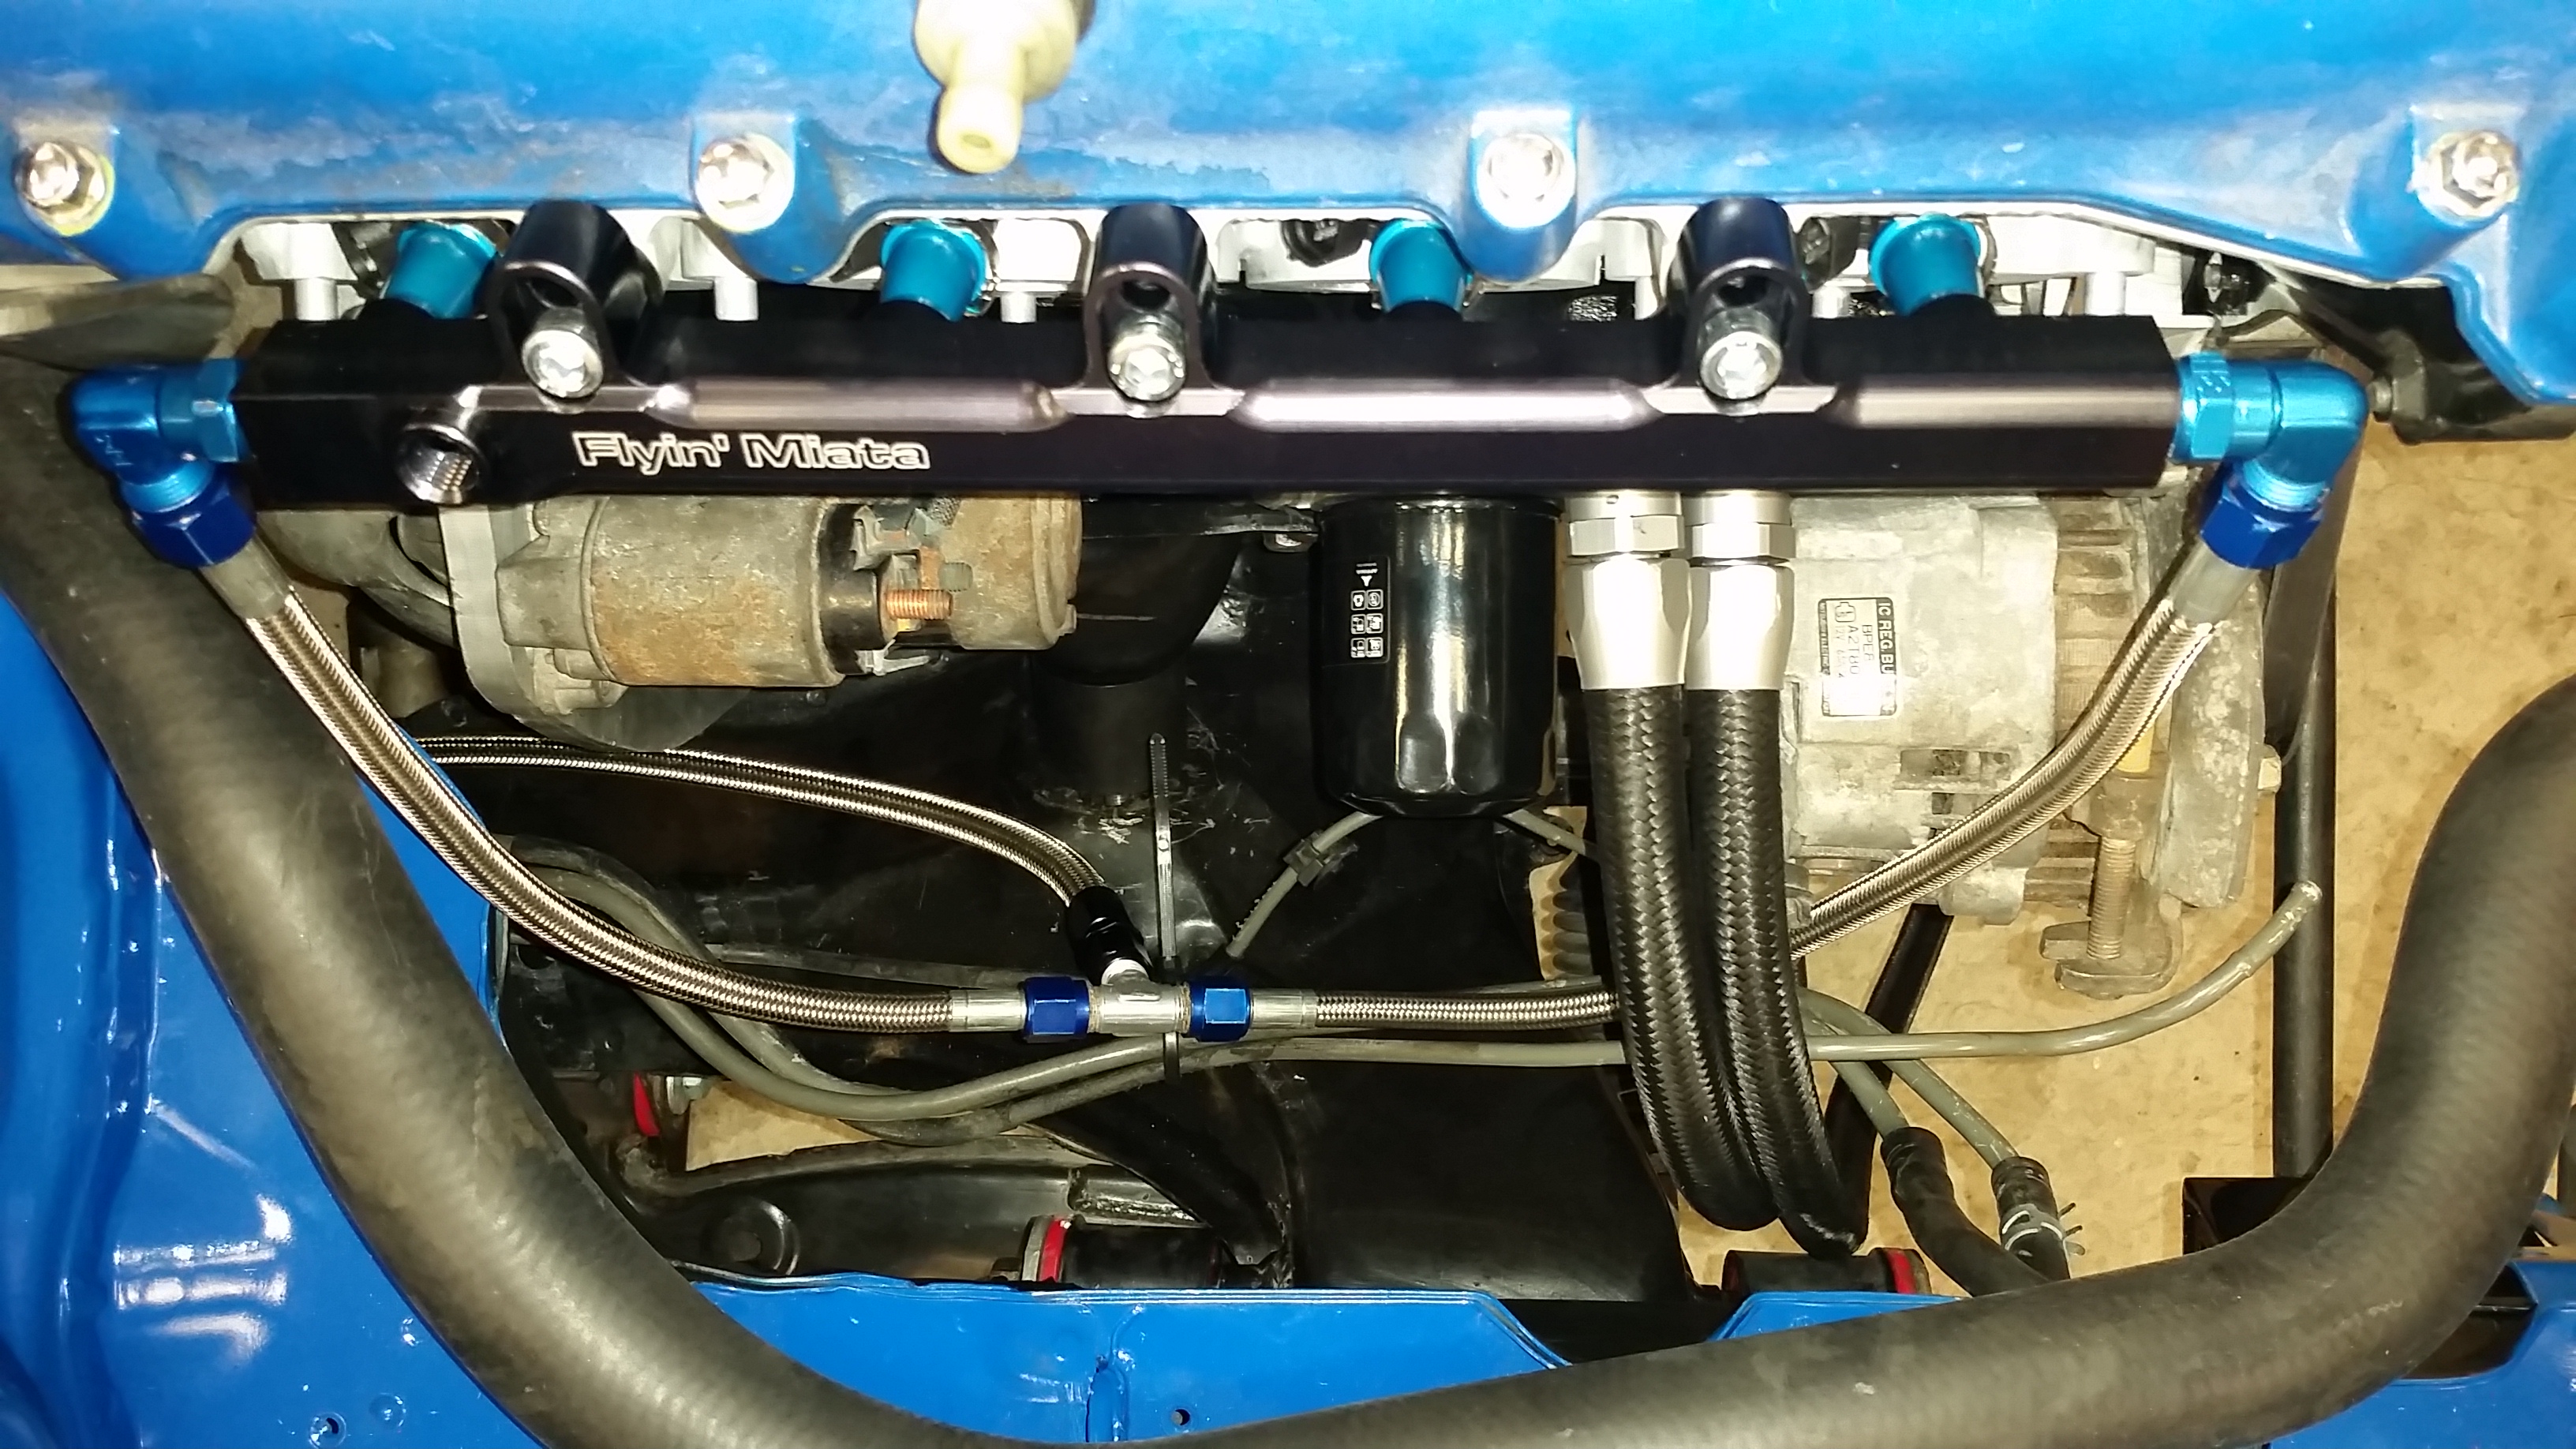
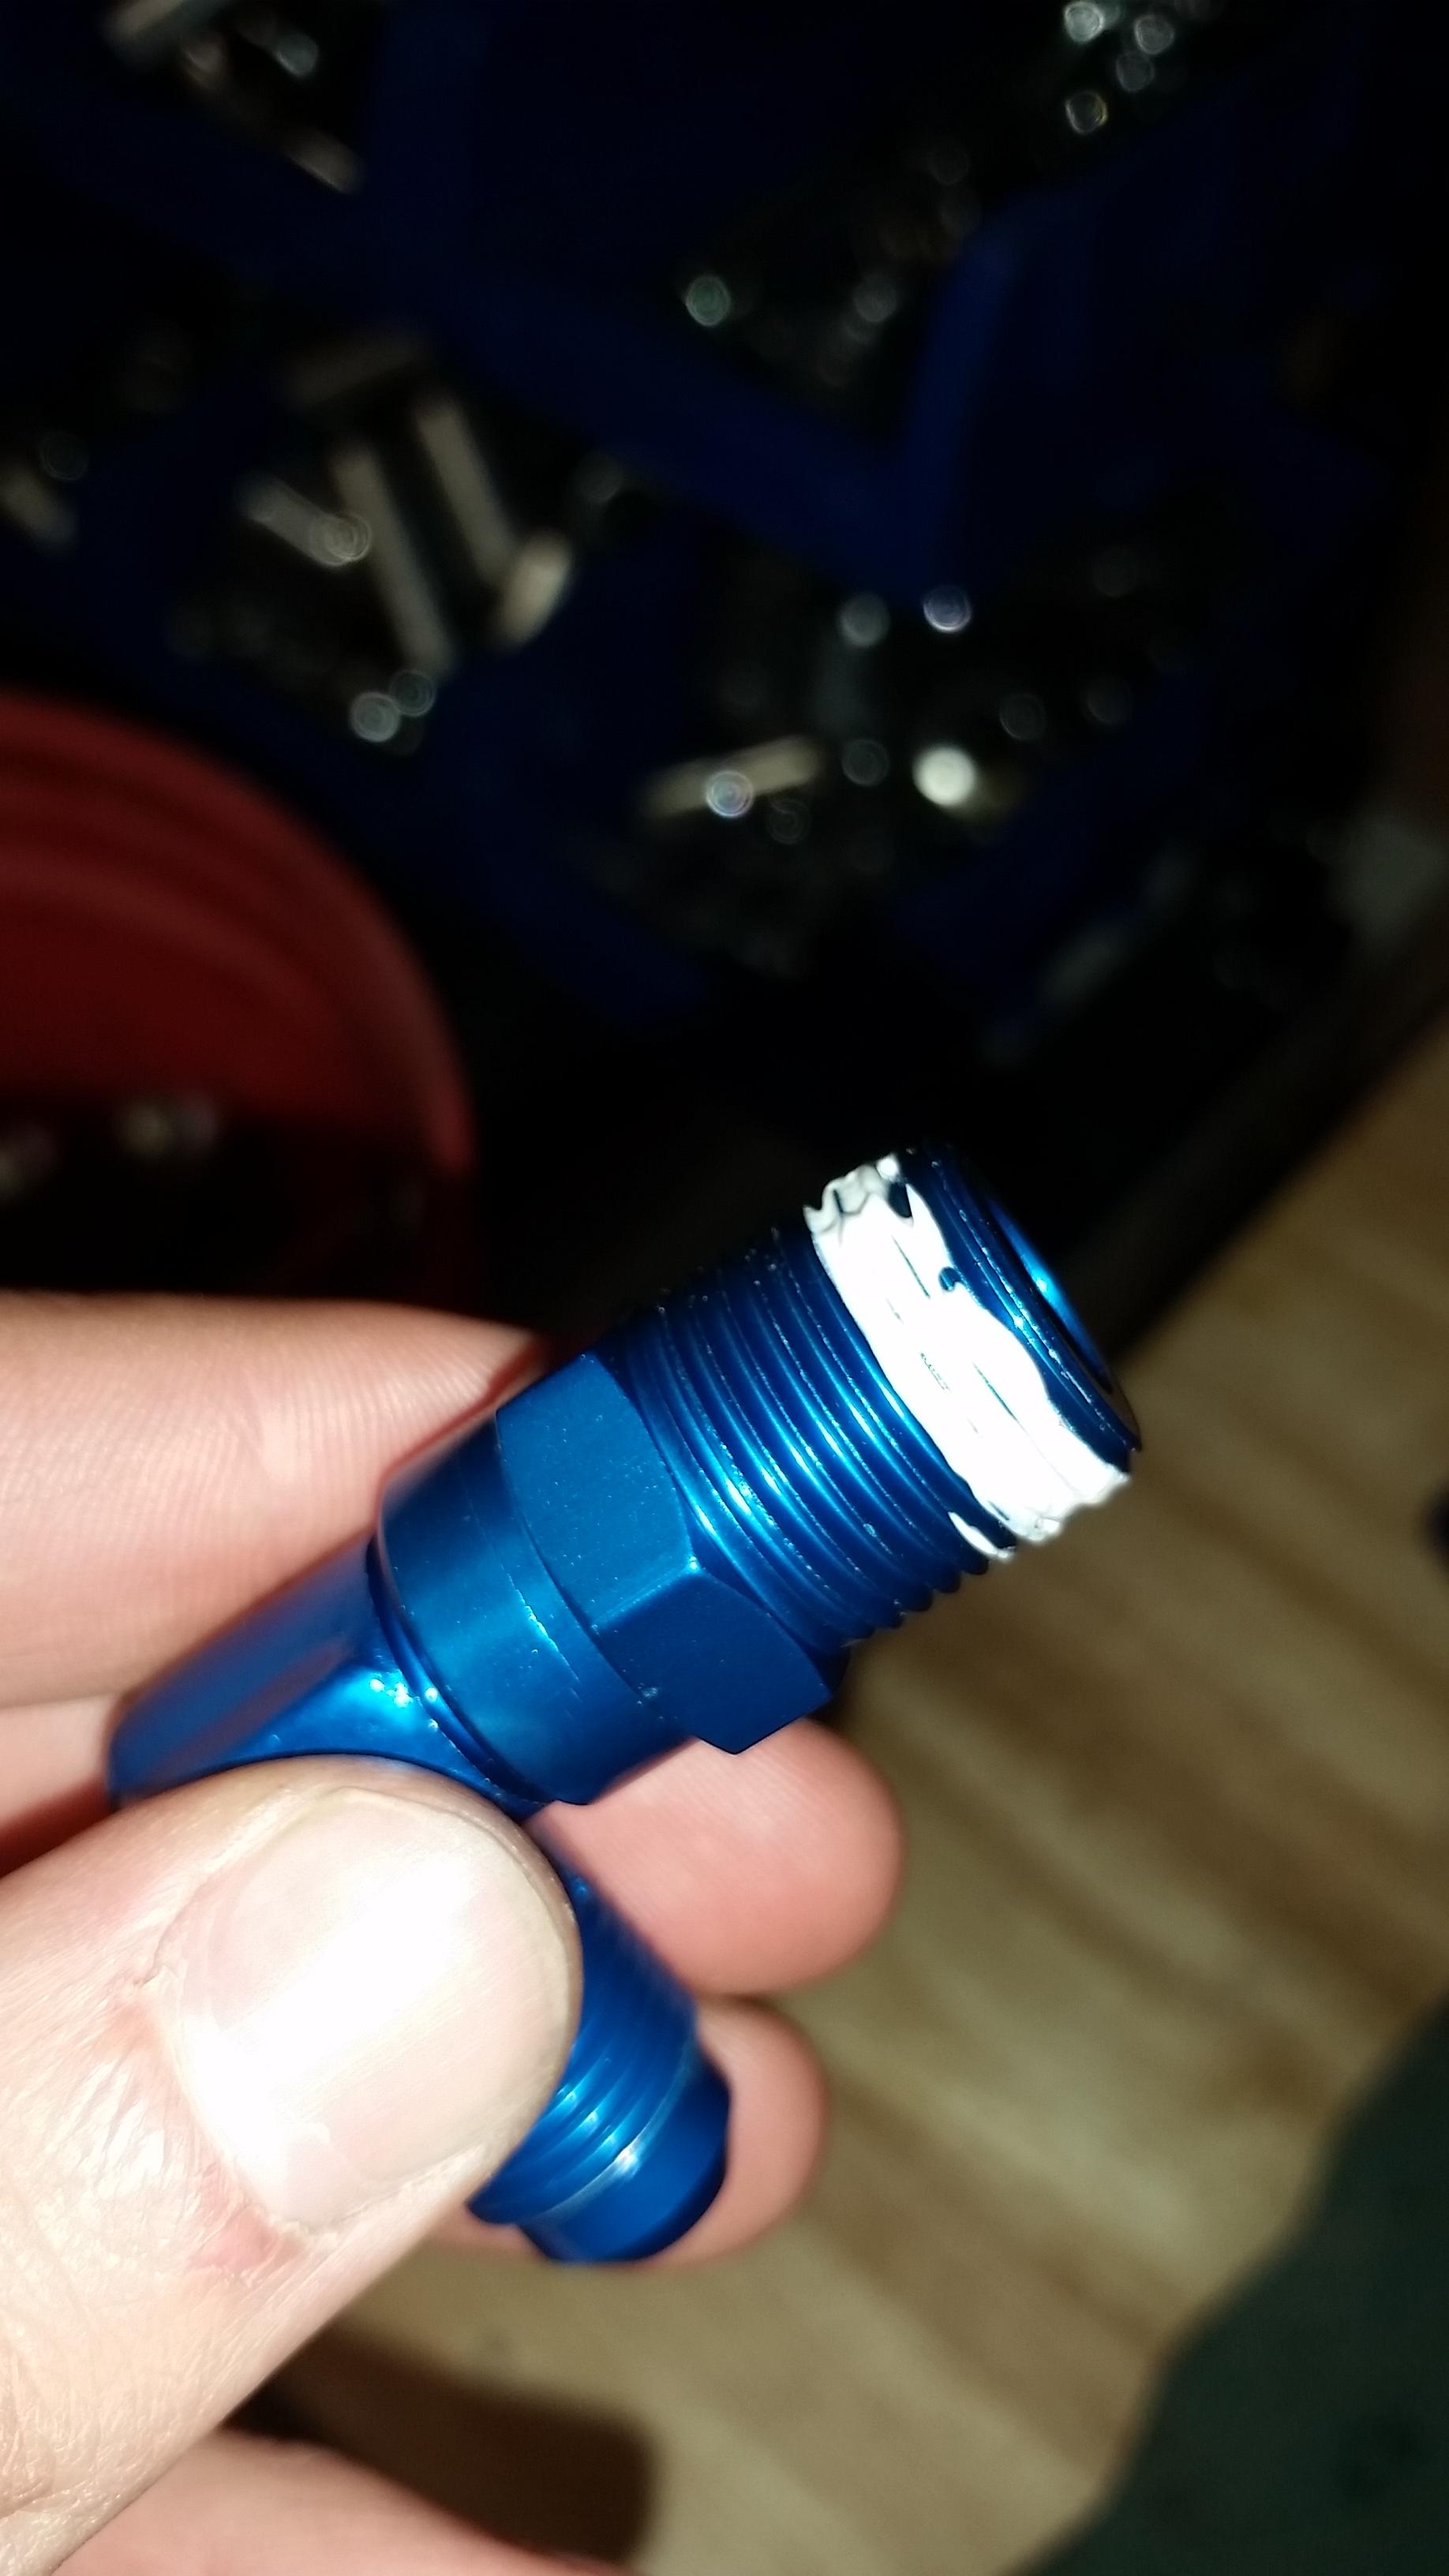
Next up was the Mocal sandwich plate and lines to the cooler. I'm not using the stock sandwich plate so I was trying to figure out how the install should go. I was told I might need to shave down the stud coming out of the block, or some kind of other grinding somewhere. Mocked it up and tried to install the oil filter. Turns out the stock nut is too thick for the oil filter to thread on all the way so it took some grinding. Here's a pic comparing the stock nut to the adaptor that was provided with the plate which I wasn't going to use.
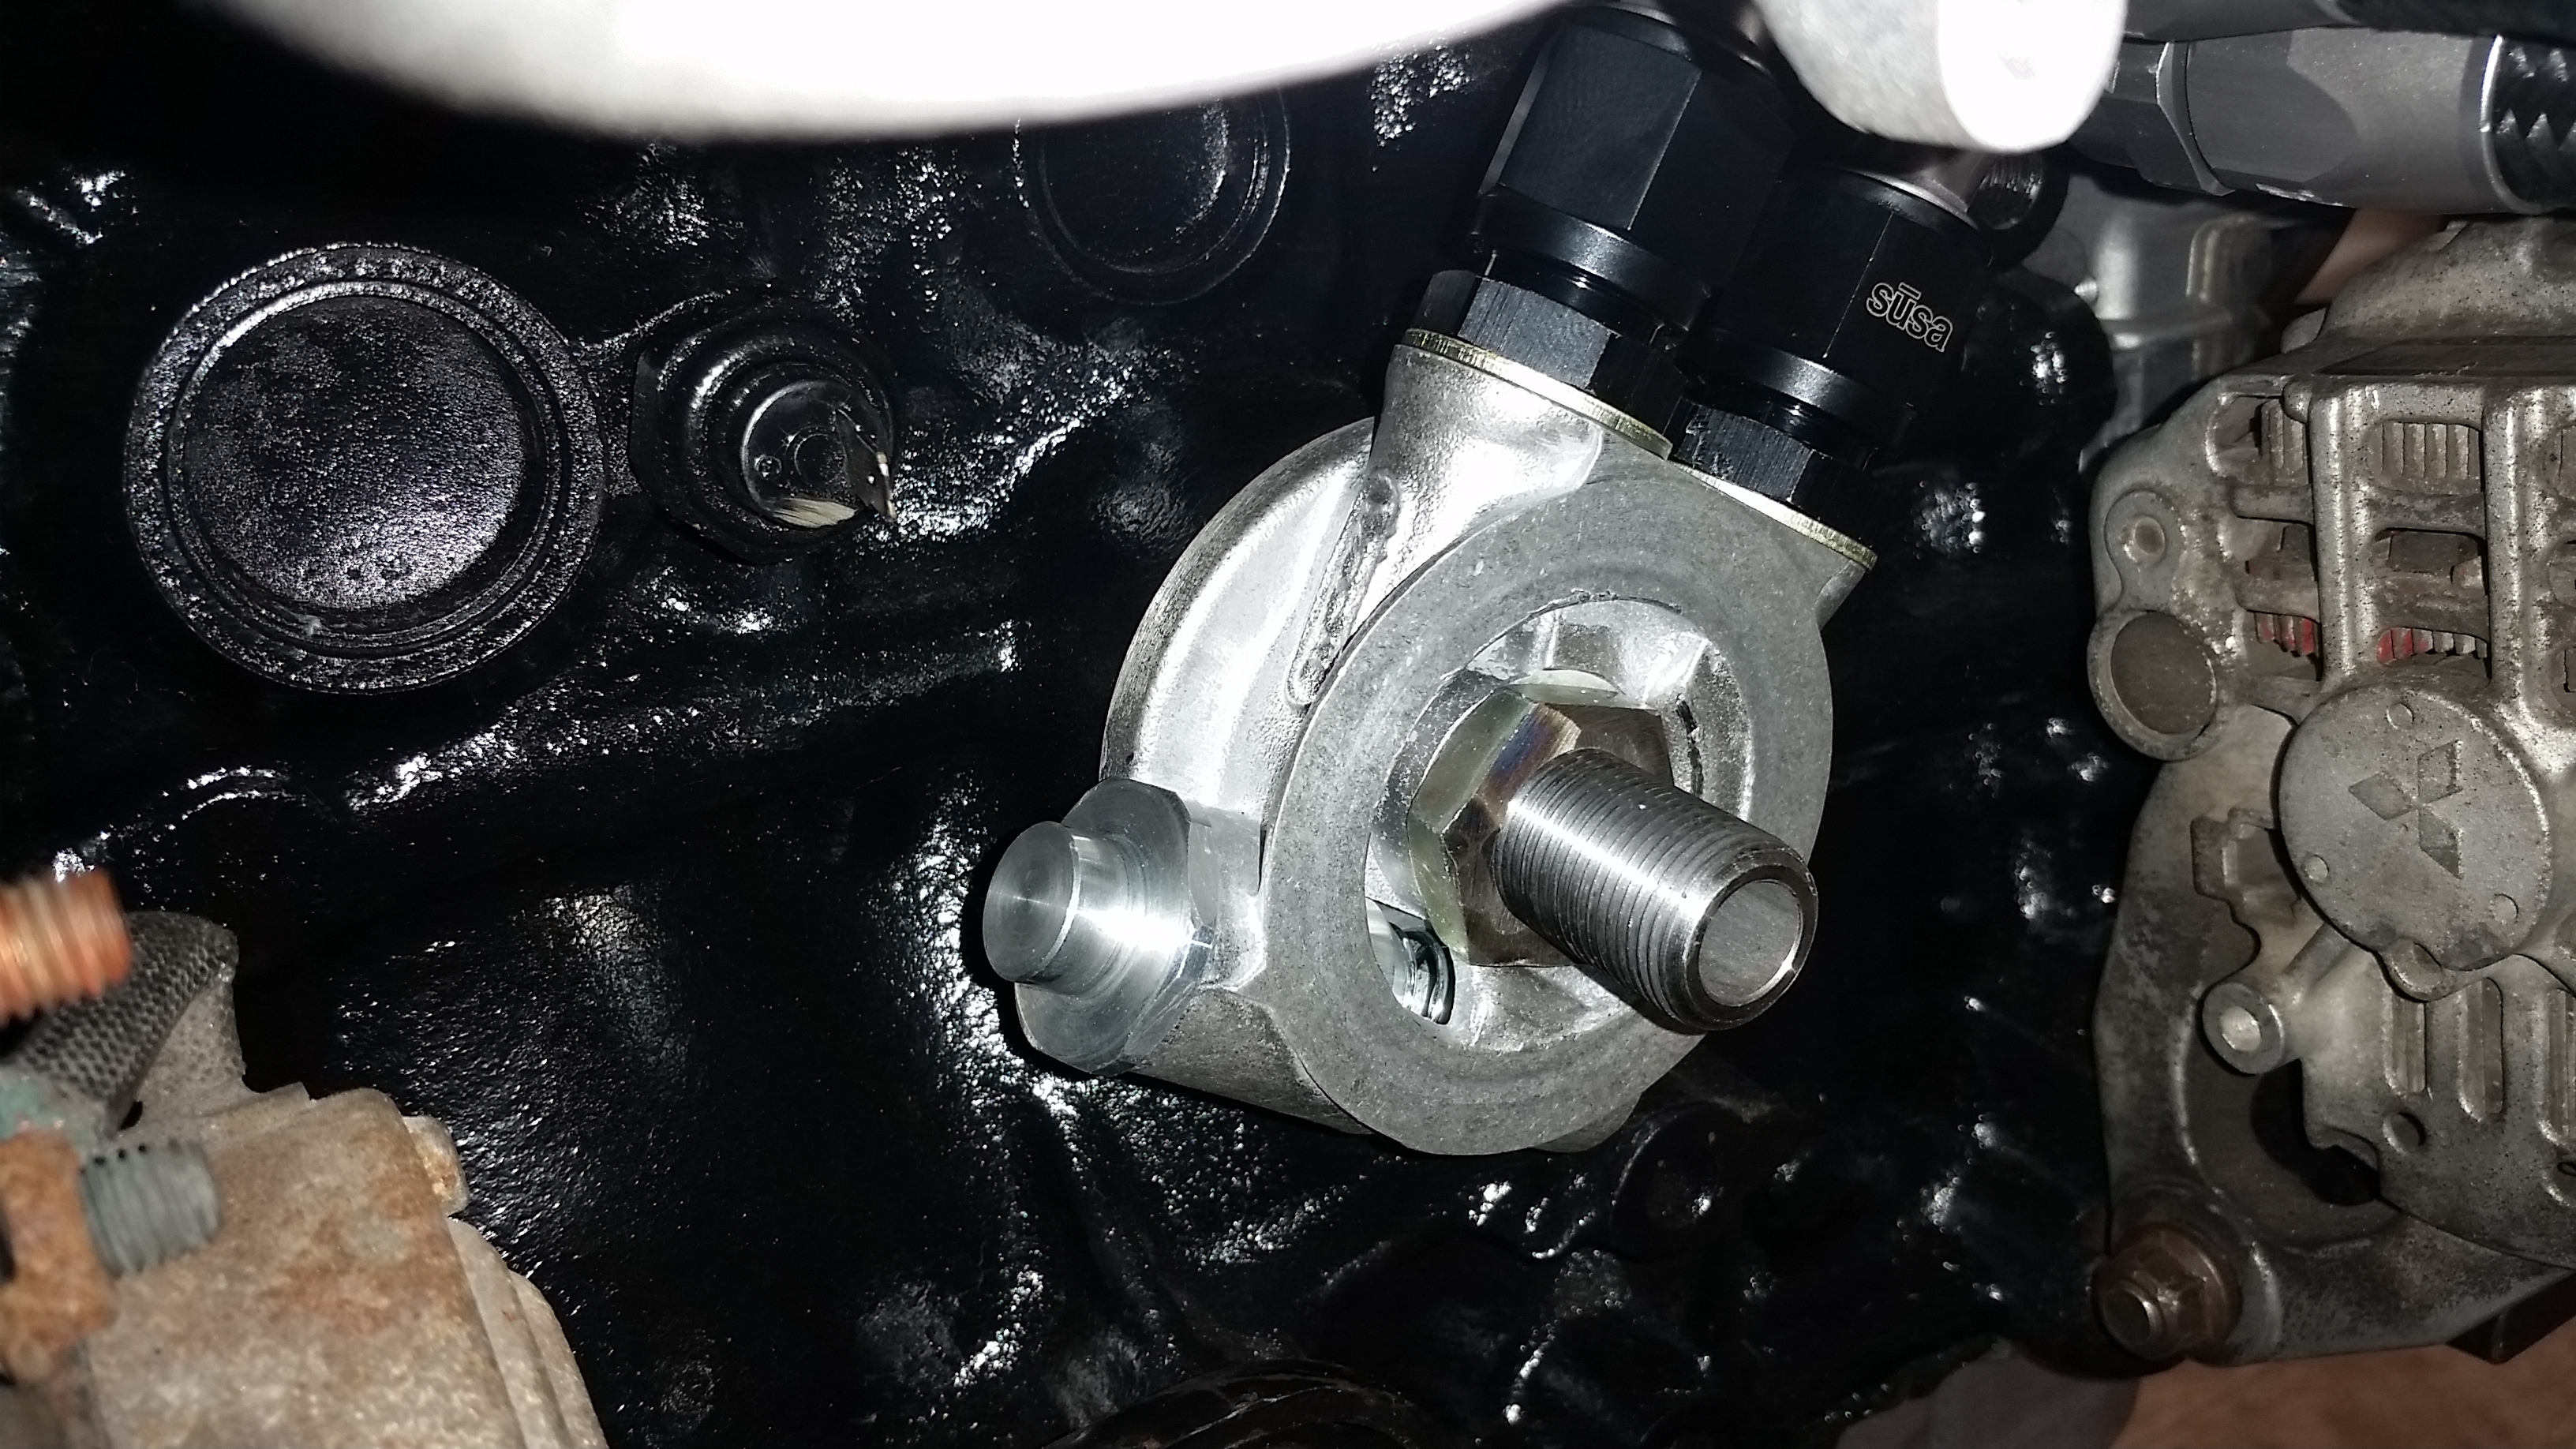
After some grinding I got it to all fit together, made the lines, and put it all in place.
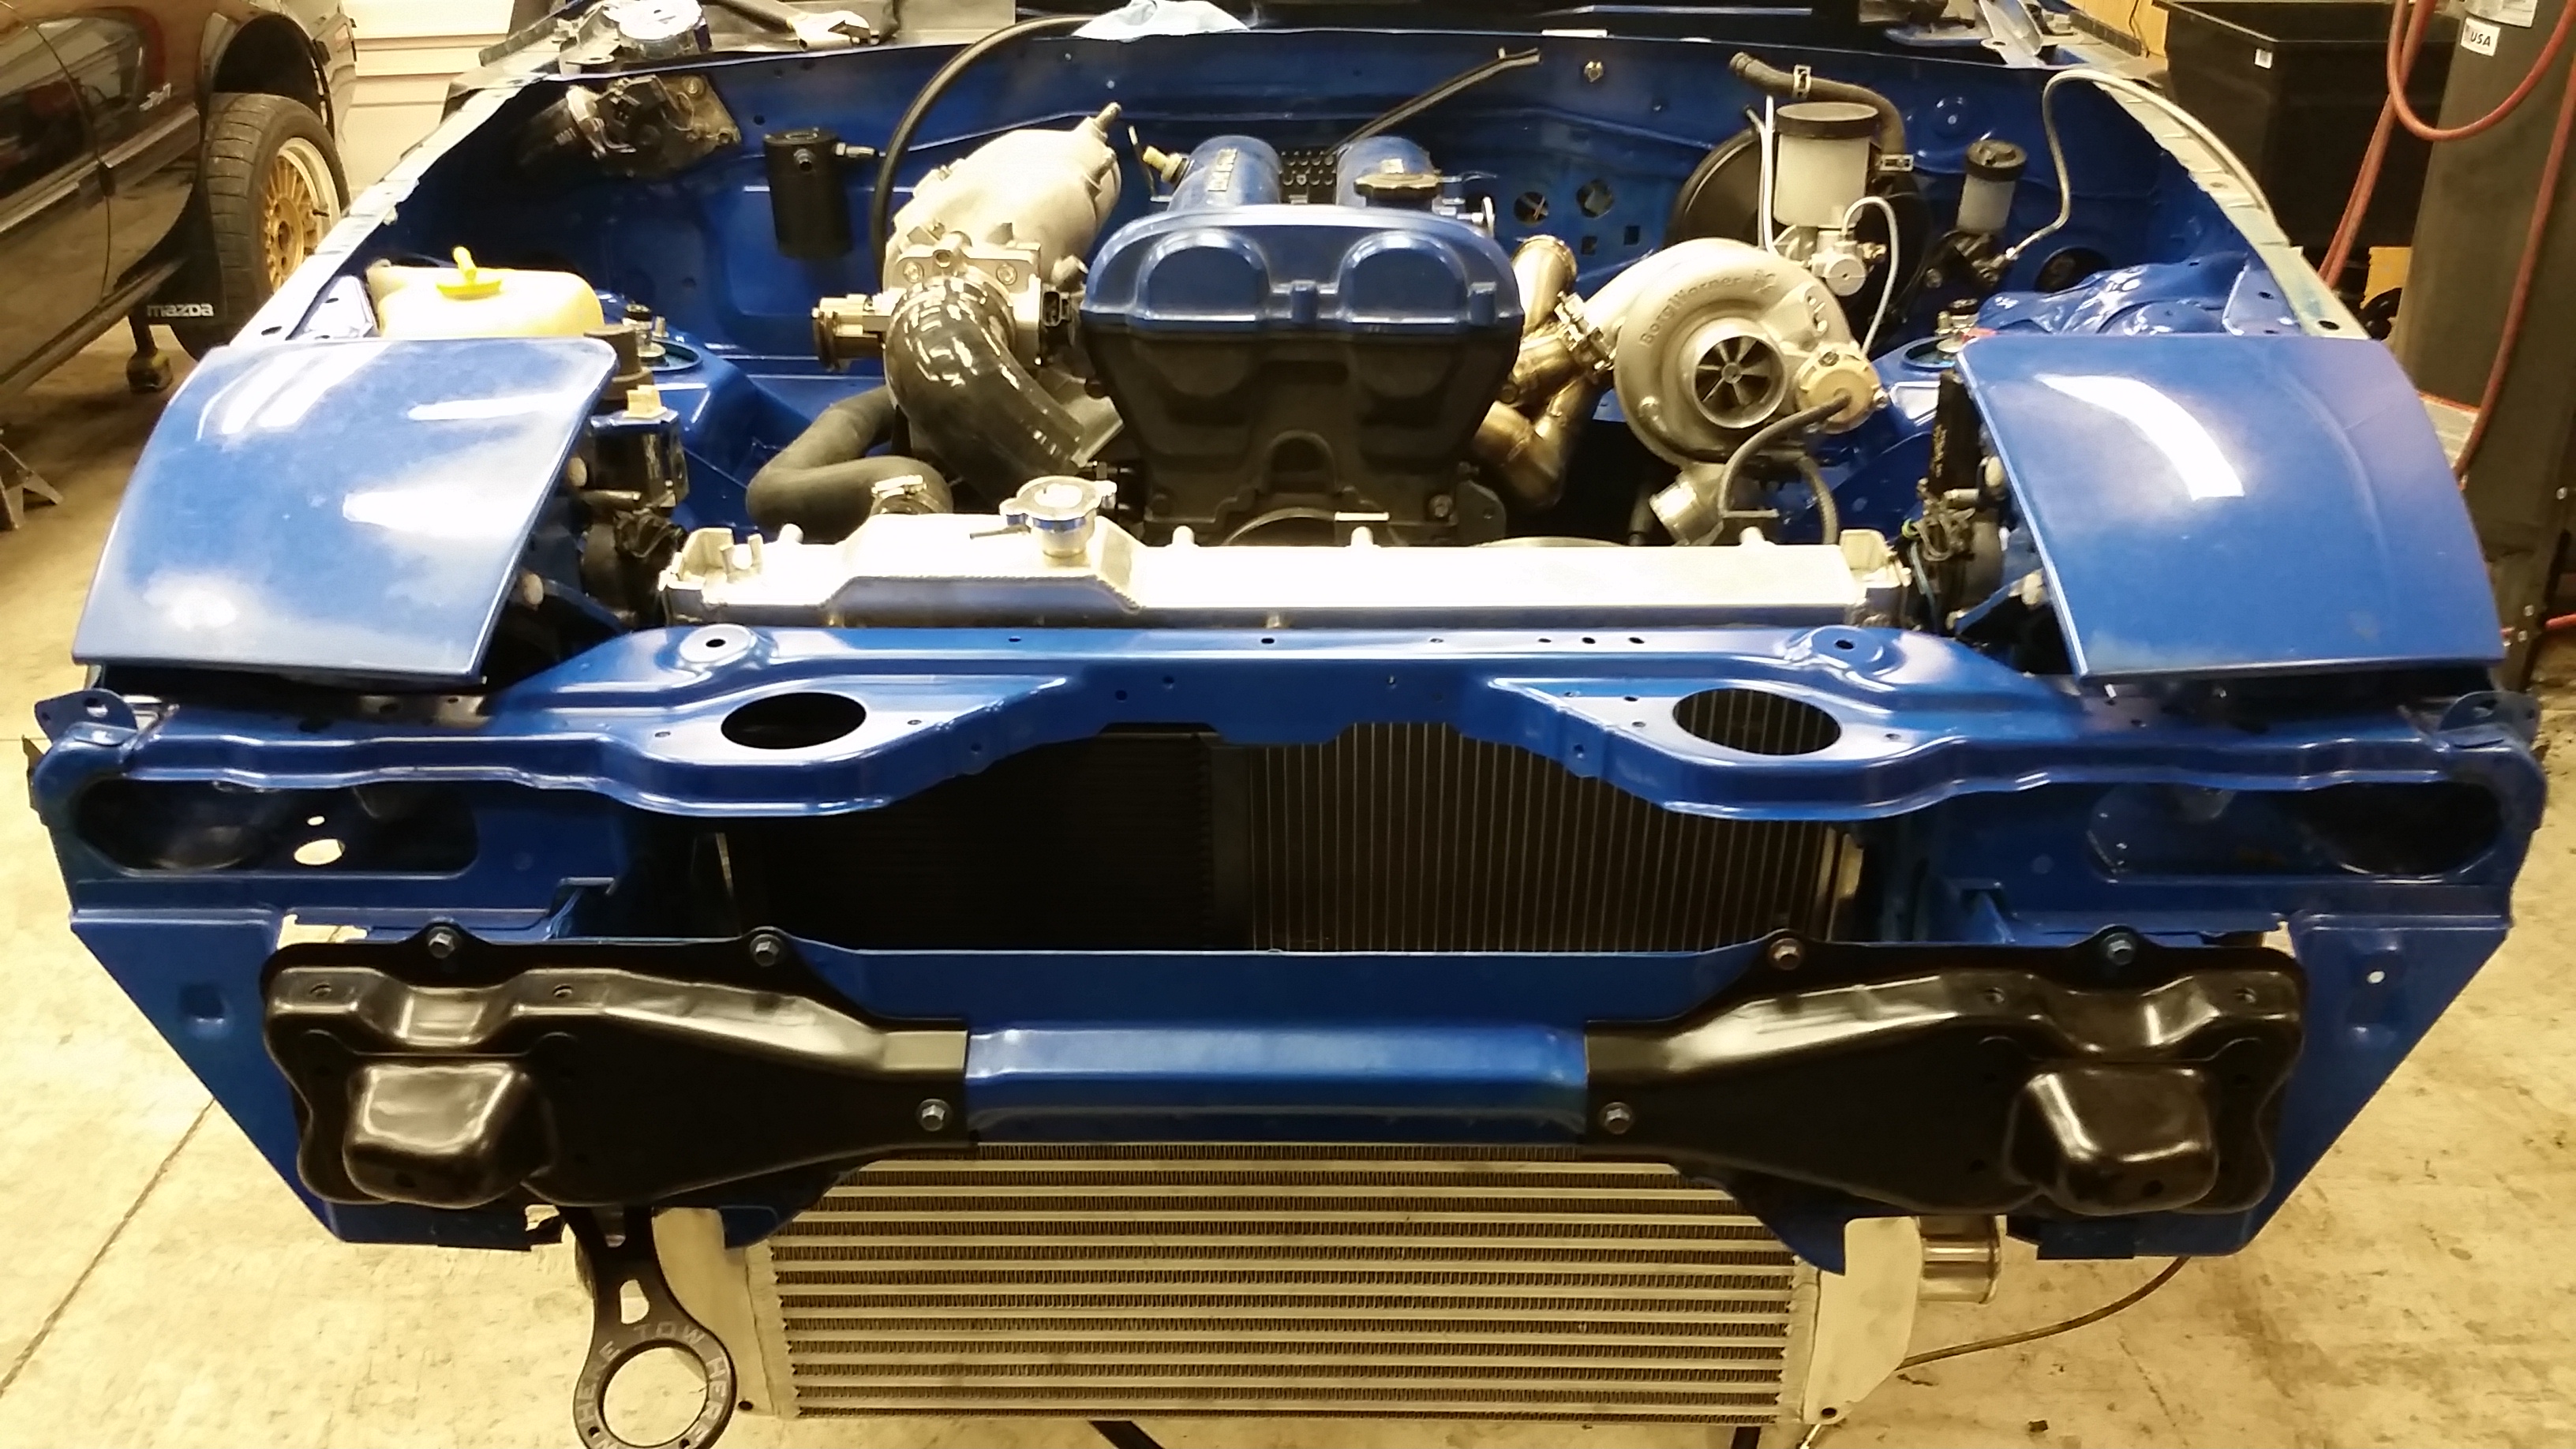
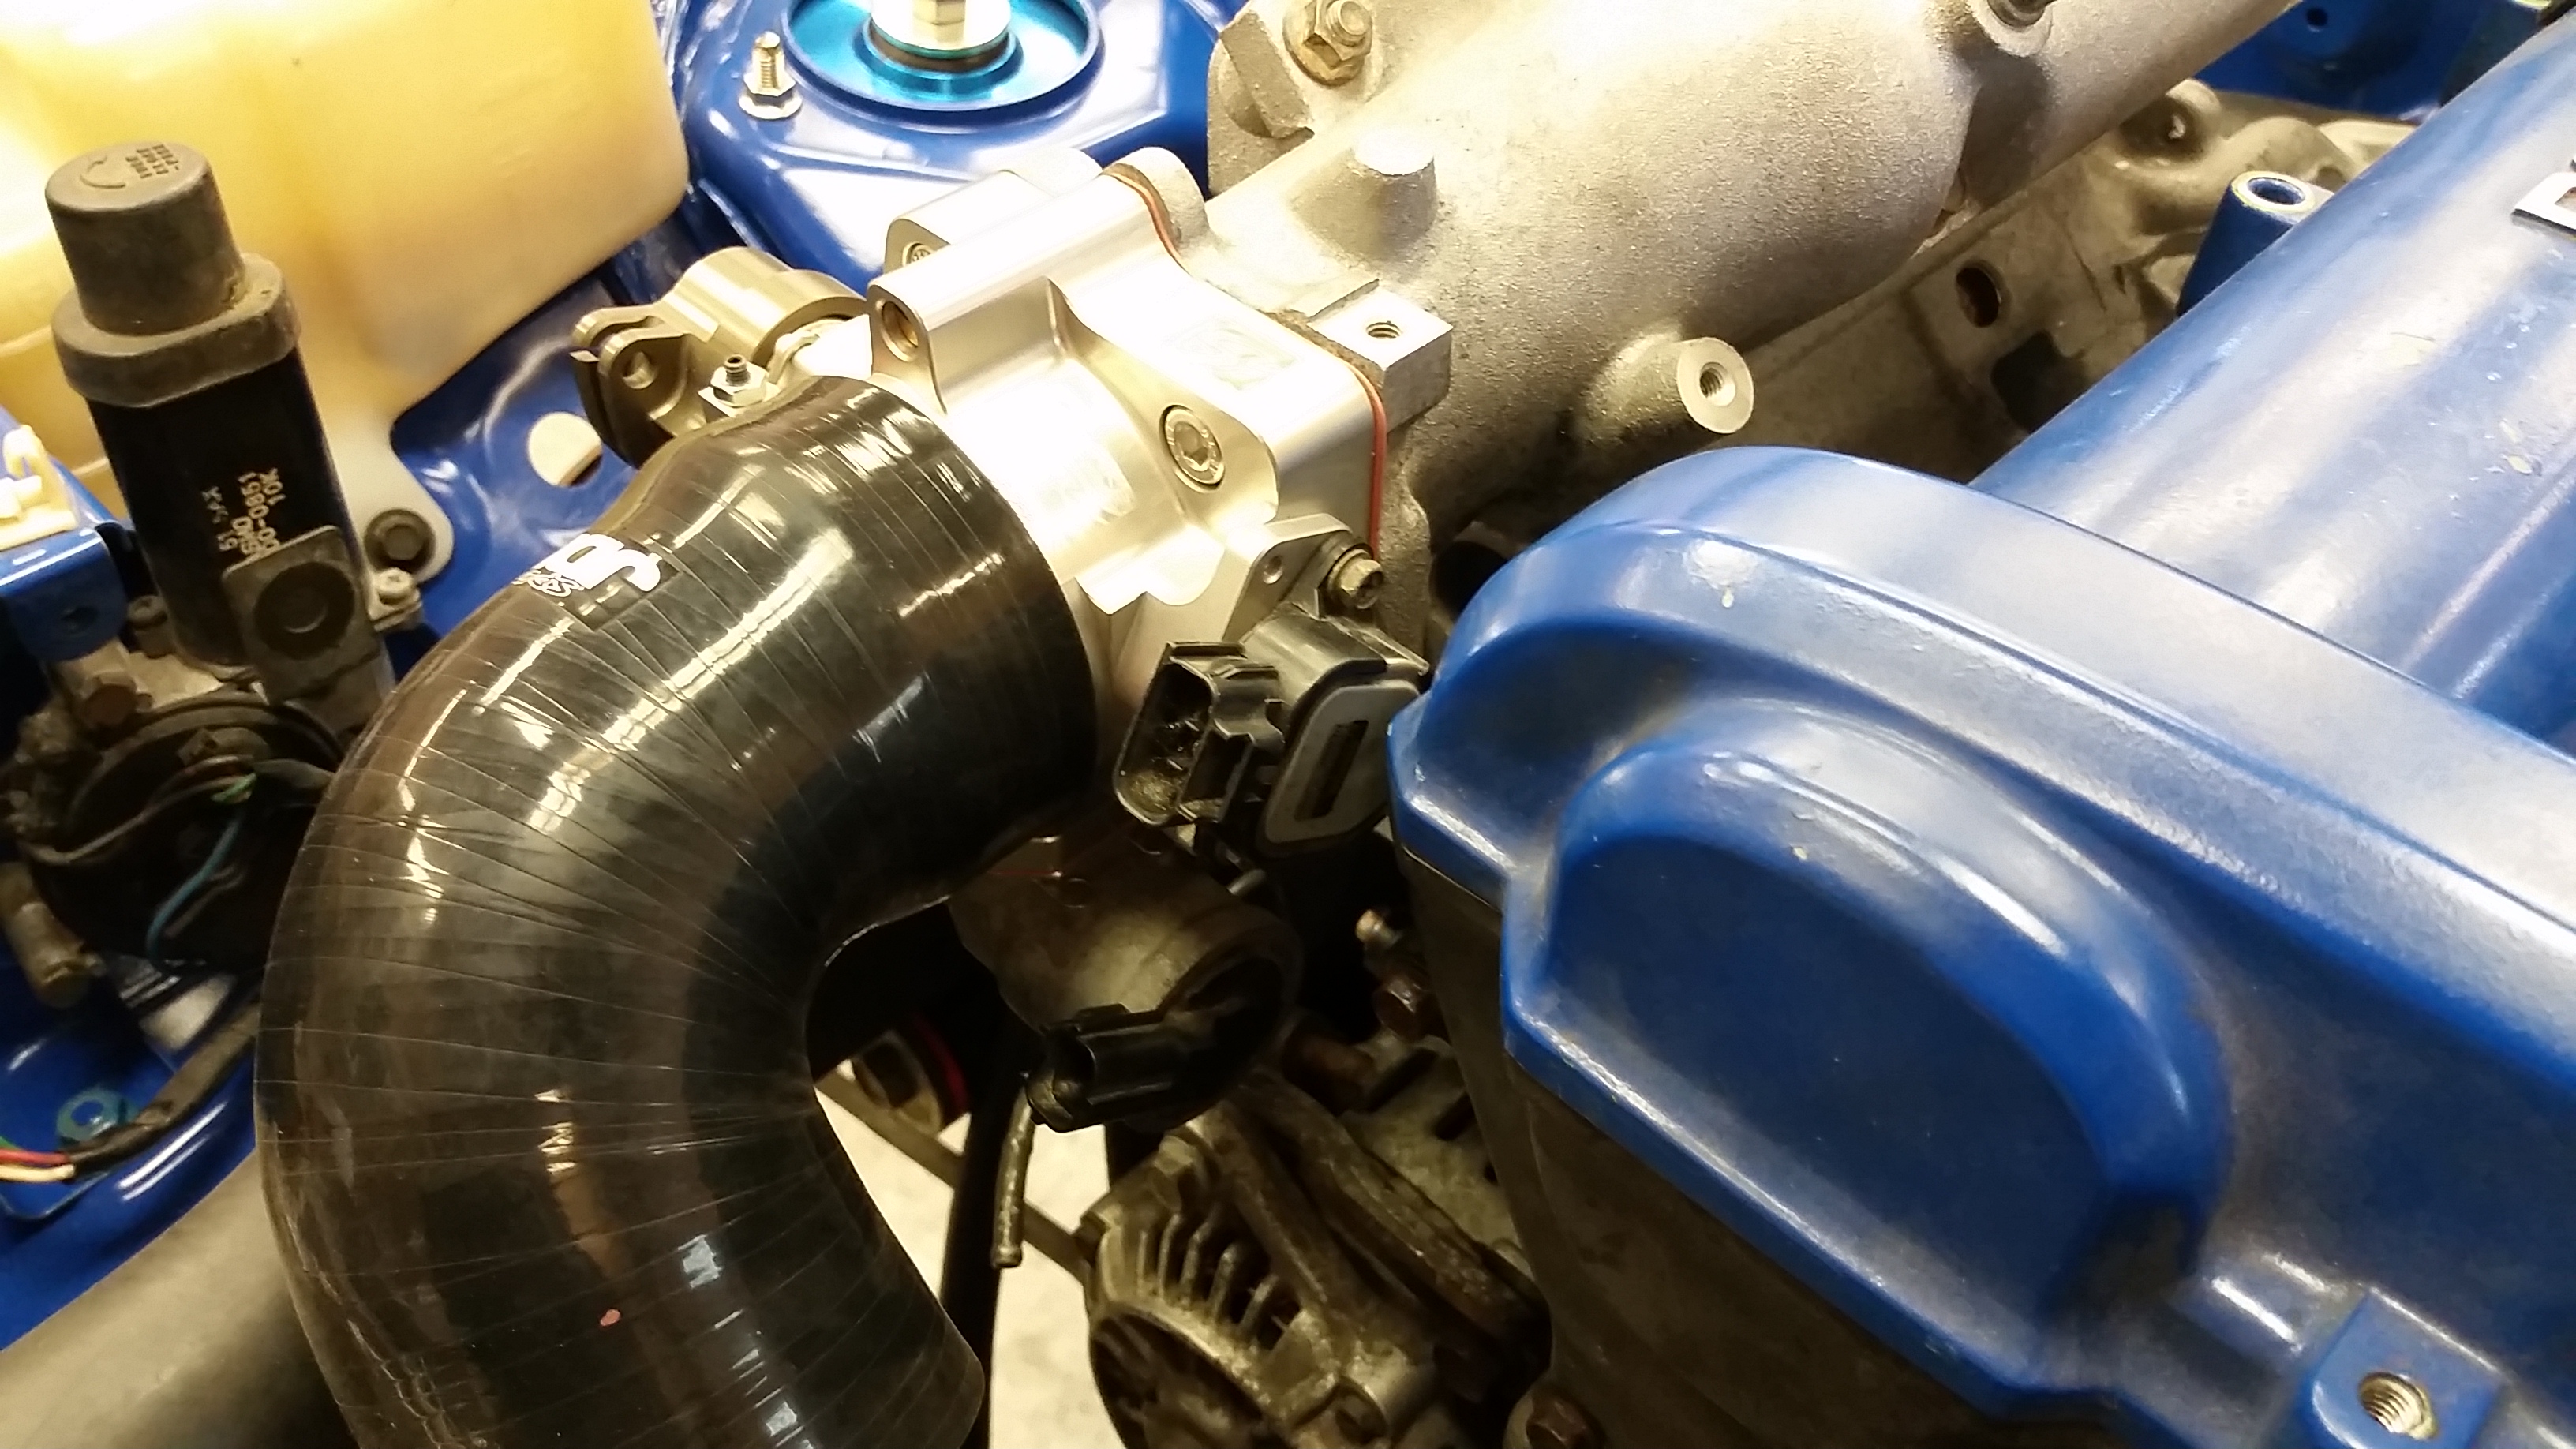
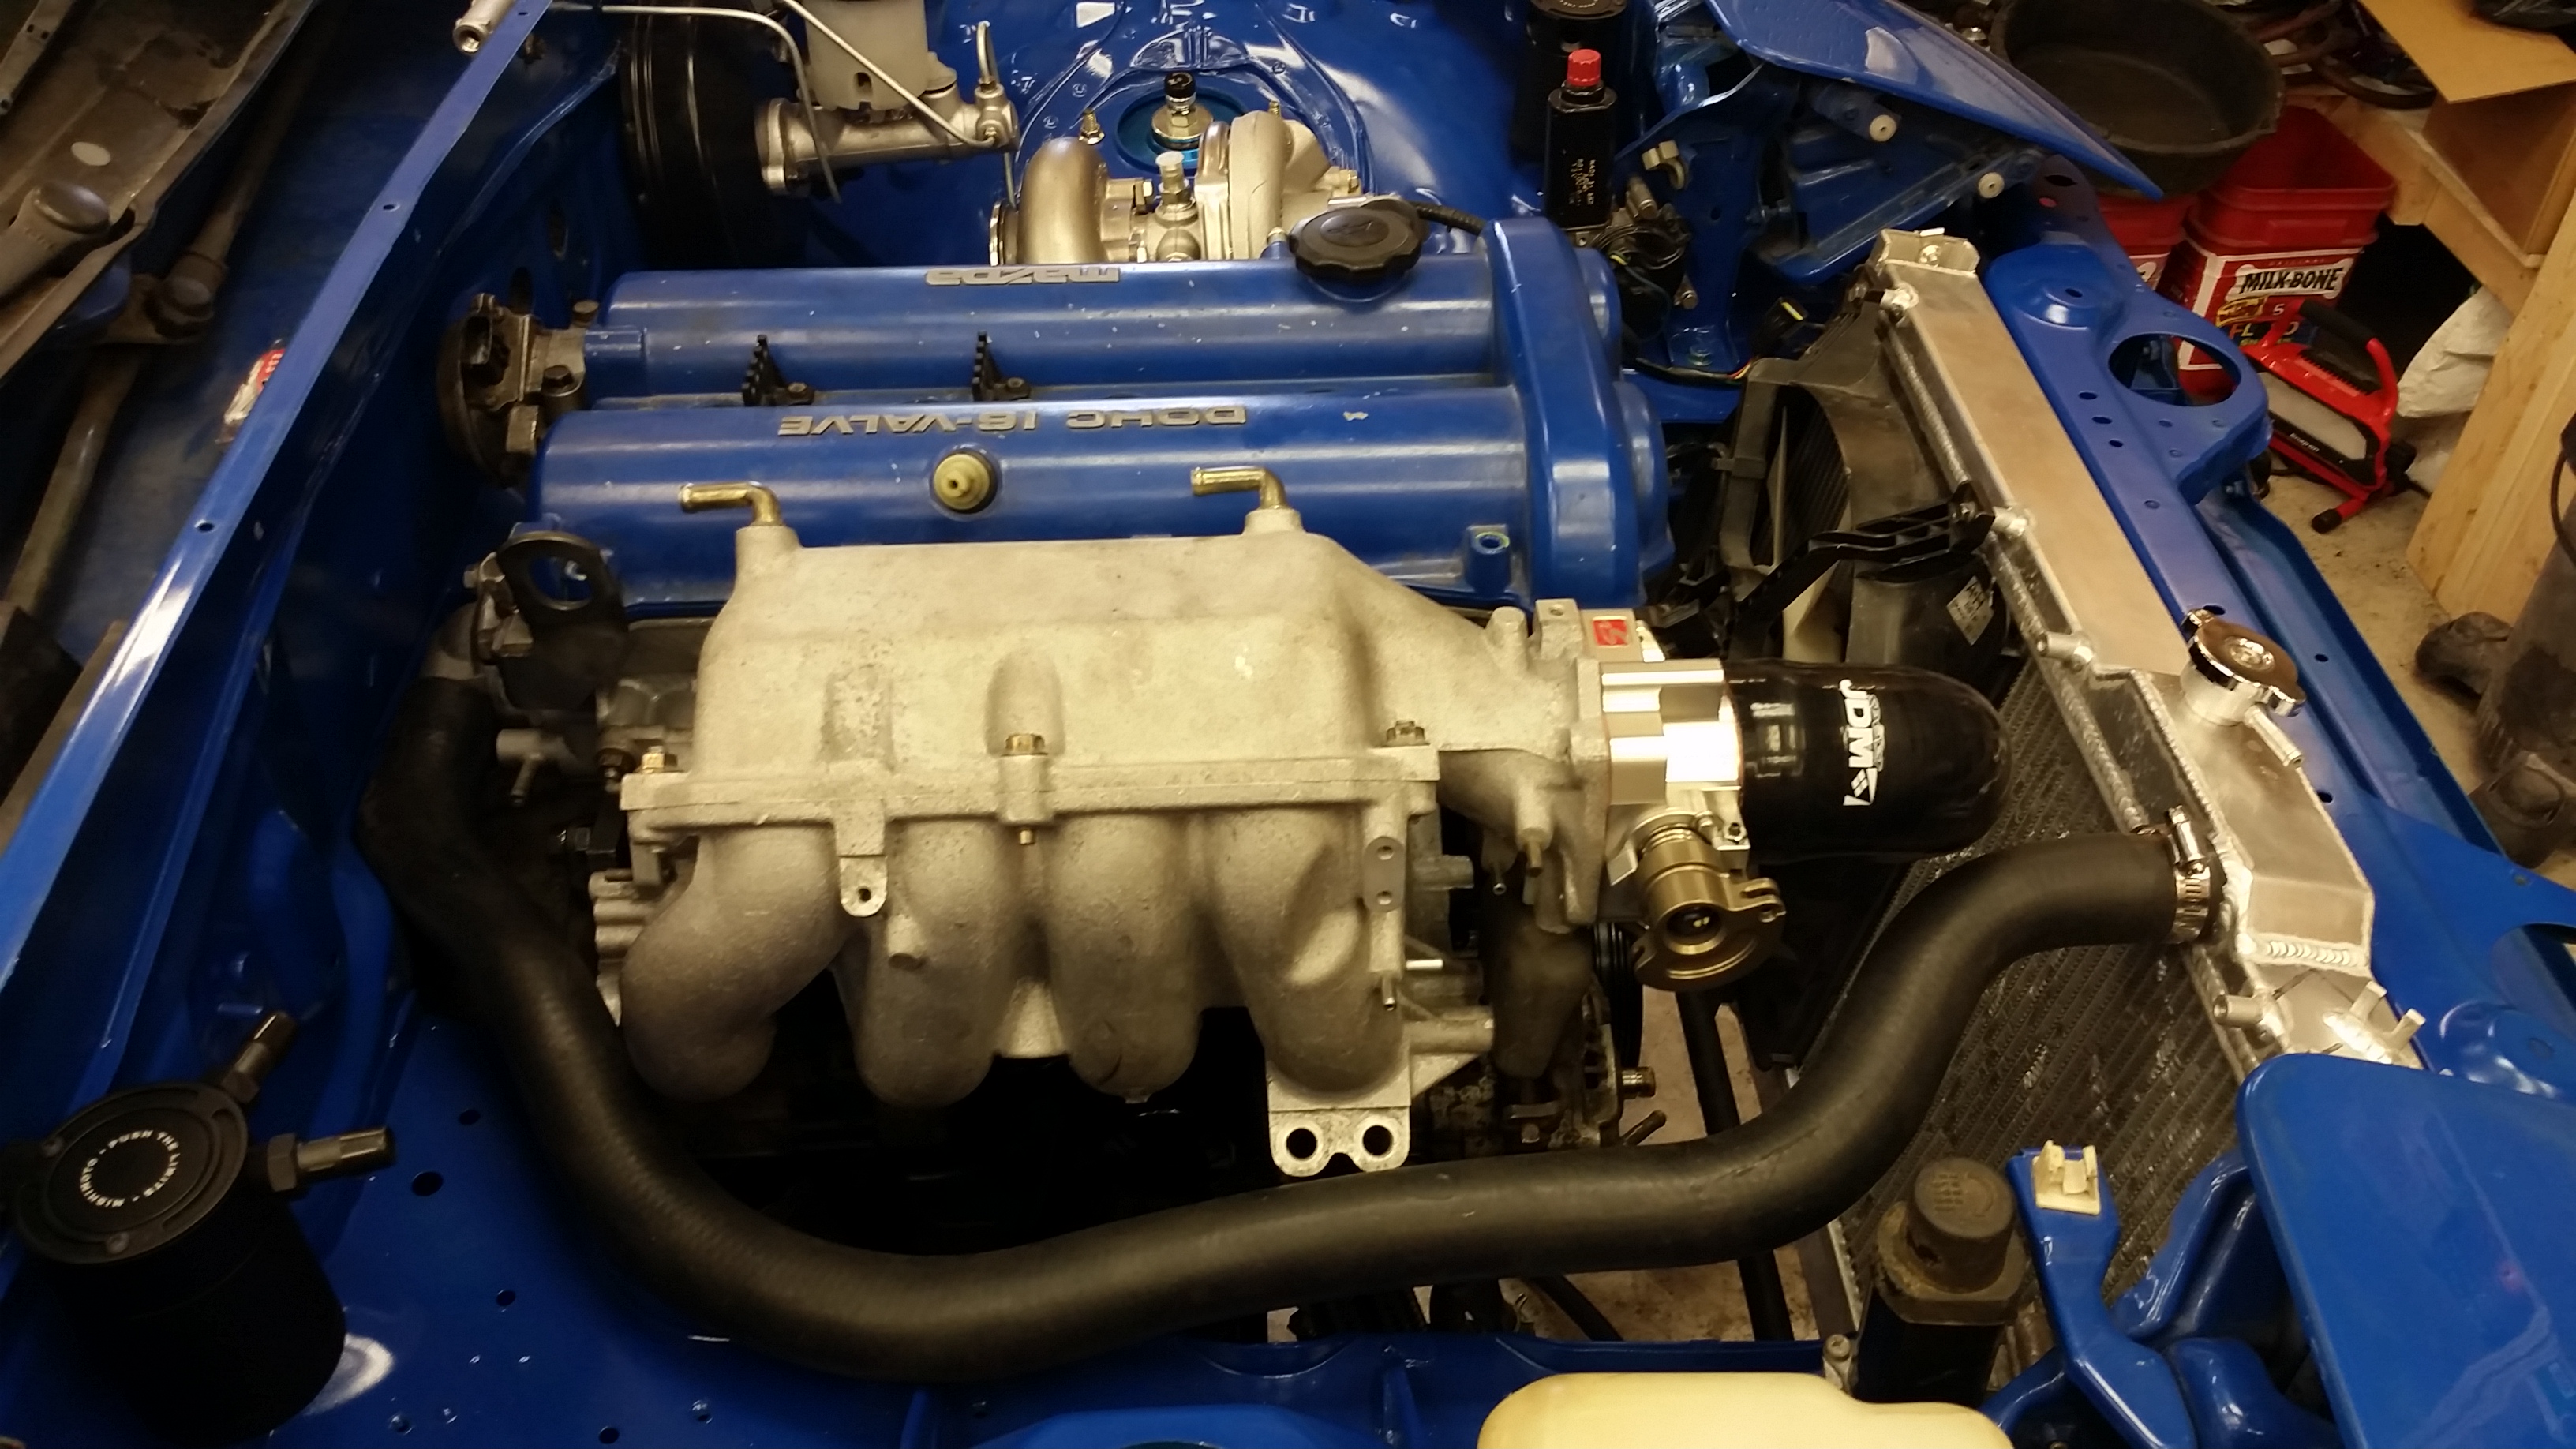
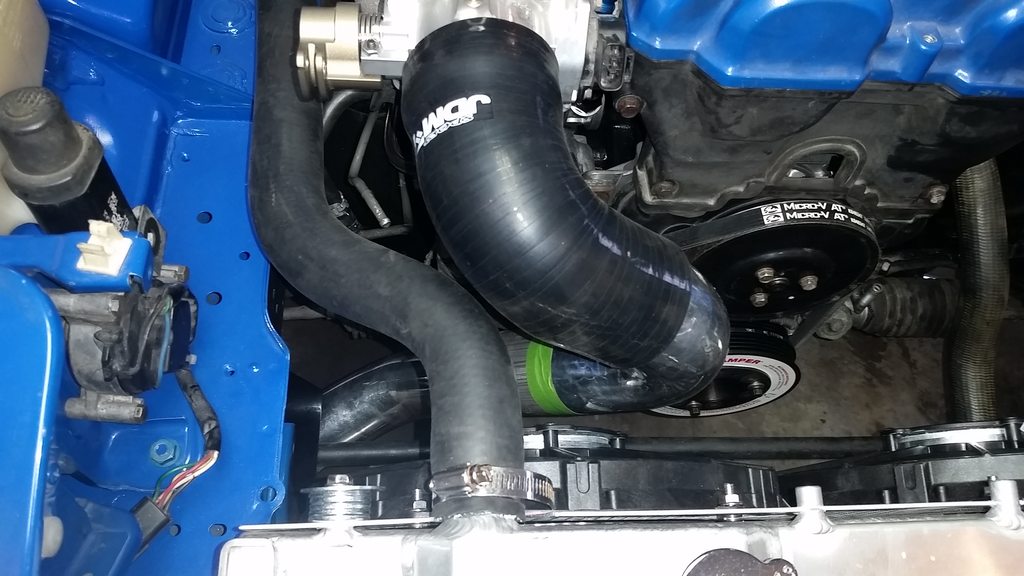
Also installed the new upper rad hose since the old one was cut by the piece of broken rod that flew out of the engine when it blew up. Mounted up the TPS and IAC to the Skunk2 throttle body as well. Looks like there should be just enough clearance between the rad hose and the coupler coming off the TB
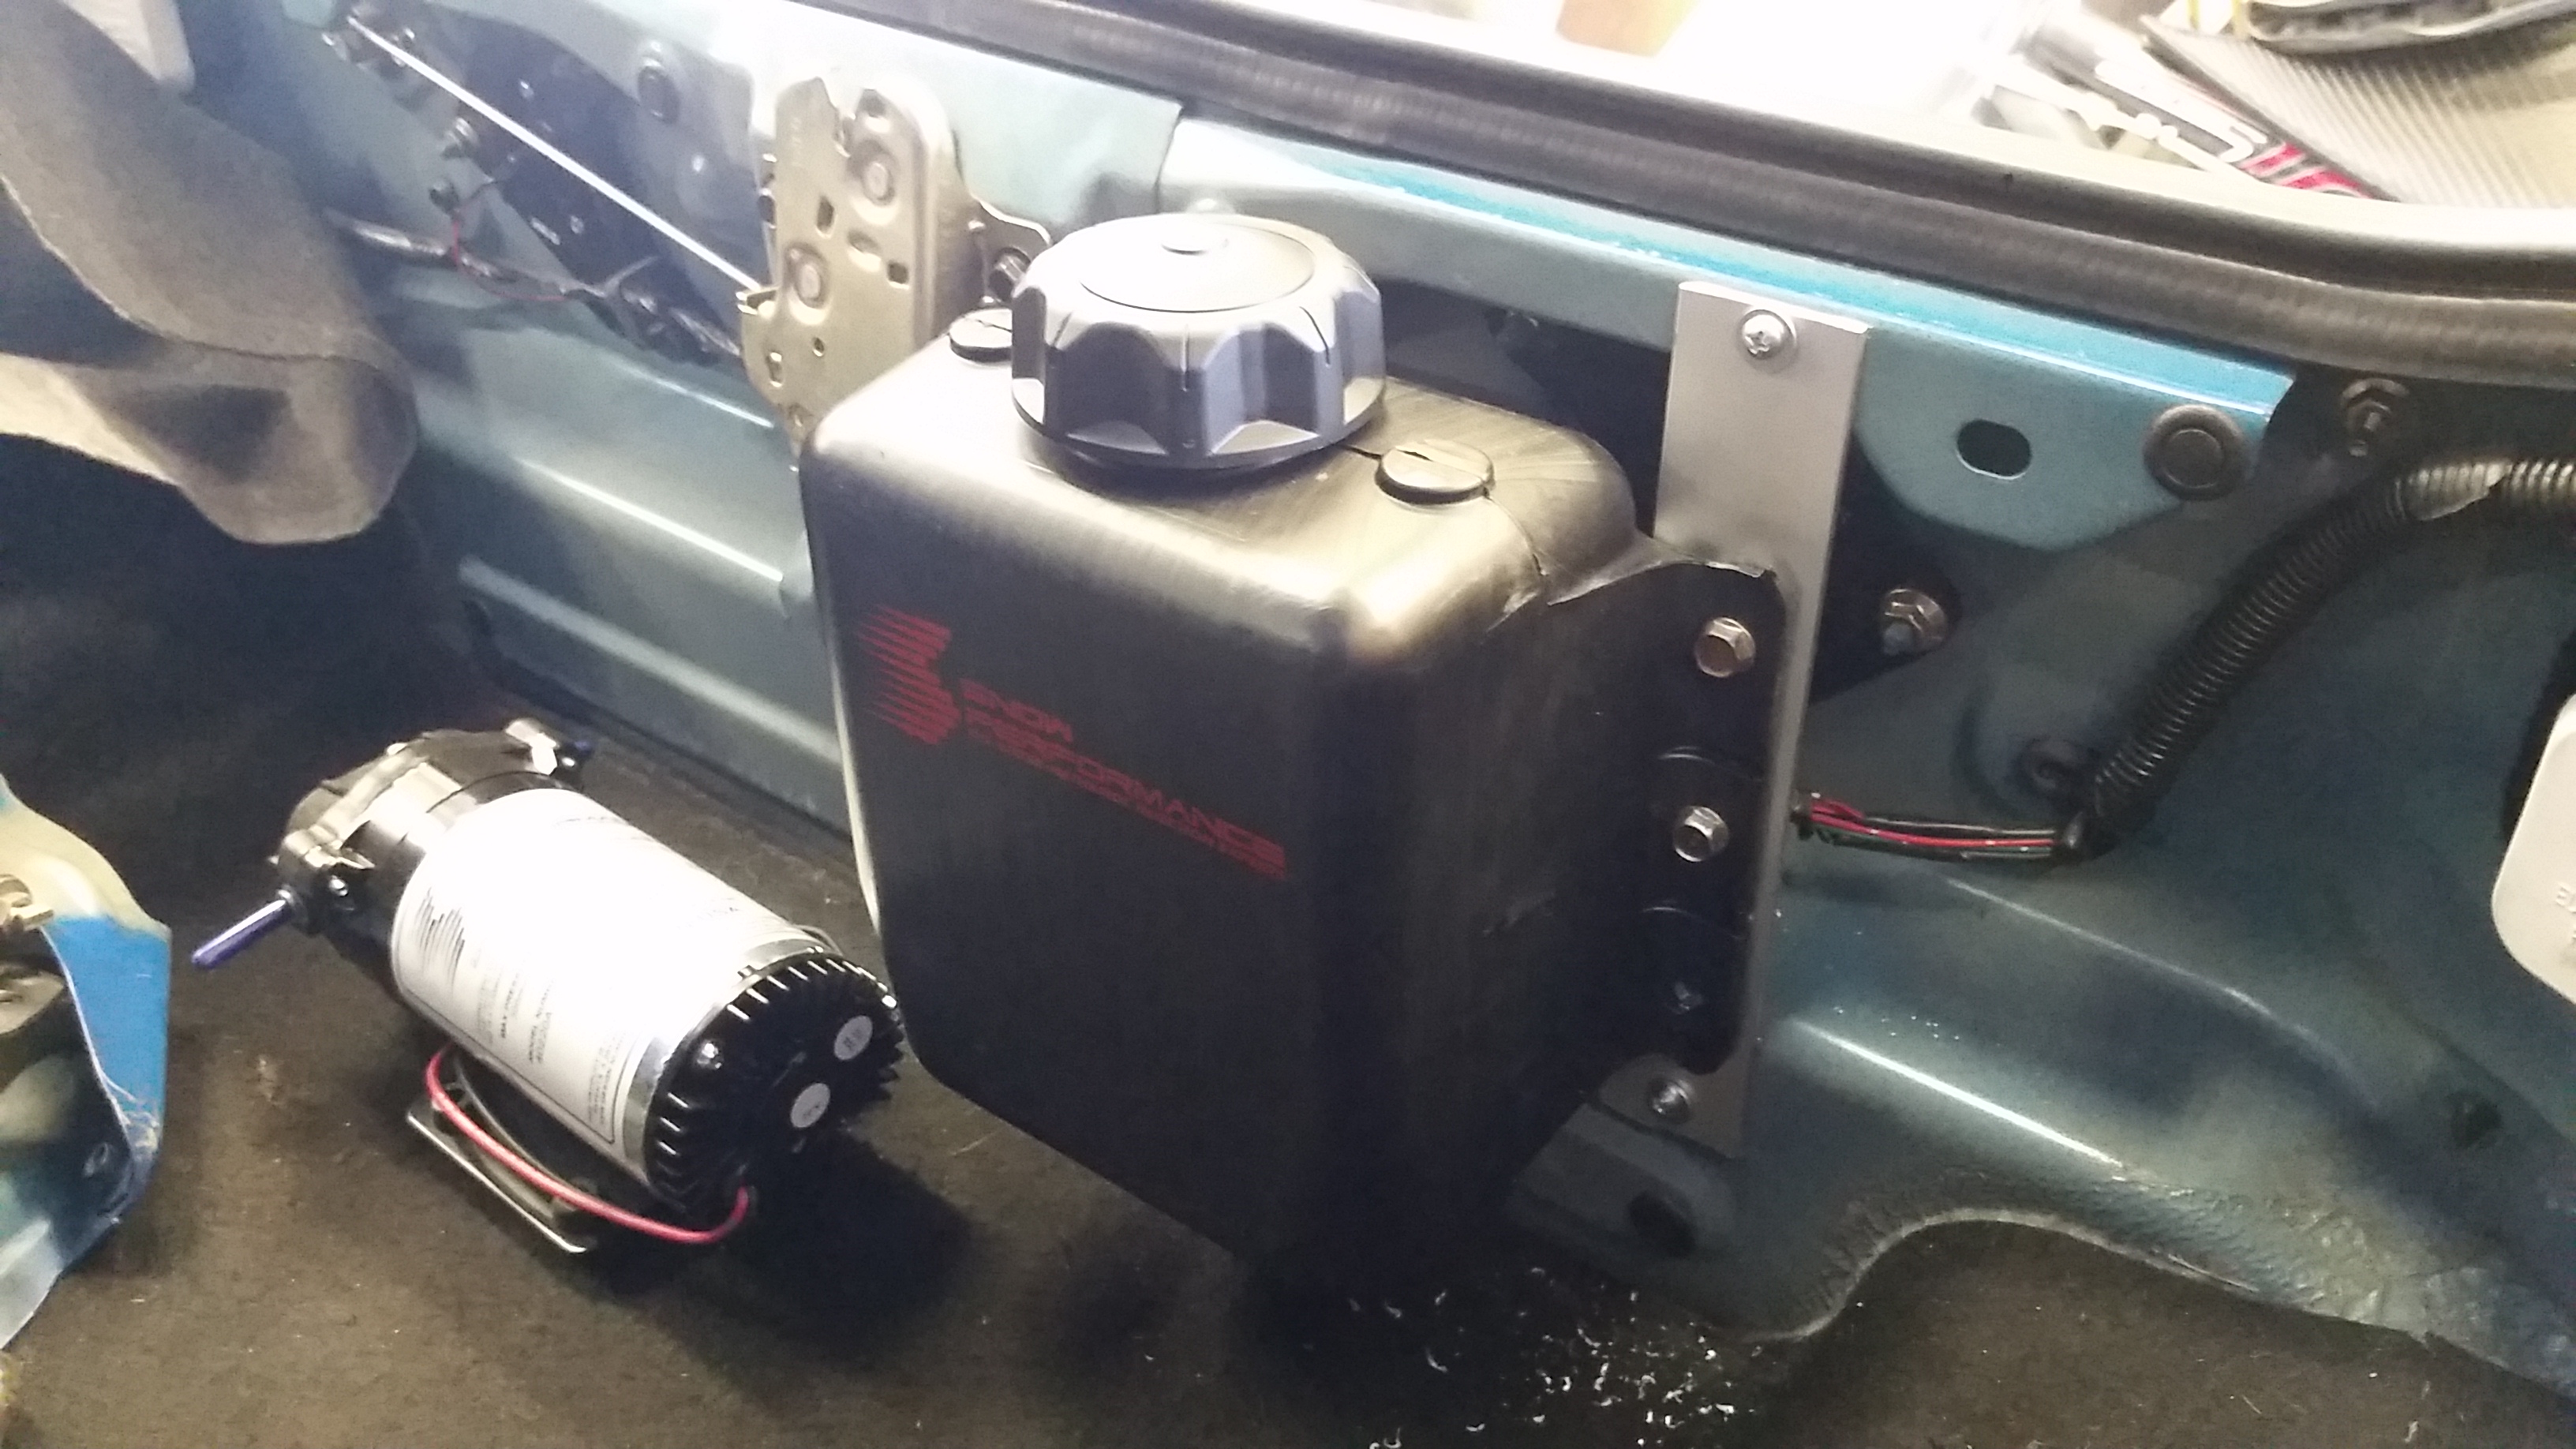
While I was playing around with the aluminum stock for the oil cooler bracket I made a simple bracket to mount my meth tank in the trunk
Mounted up the oil cooler. Really pleased with how this turned out.
Next up was the Mocal sandwich plate and lines to the cooler. I'm not using the stock sandwich plate so I was trying to figure out how the install should go. I was told I might need to shave down the stud coming out of the block, or some kind of other grinding somewhere. Mocked it up and tried to install the oil filter. Turns out the stock nut is too thick for the oil filter to thread on all the way so it took some grinding. Here's a pic comparing the stock nut to the adaptor that was provided with the plate which I wasn't going to use.
After some grinding I got it to all fit together, made the lines, and put it all in place.
Also installed the new upper rad hose since the old one was cut by the piece of broken rod that flew out of the engine when it blew up. Mounted up the TPS and IAC to the Skunk2 throttle body as well. Looks like there should be just enough clearance between the rad hose and the coupler coming off the TB
While I was playing around with the aluminum stock for the oil cooler bracket I made a simple bracket to mount my meth tank in the trunk
Reply
1
1
04-28-2015, 01:07 AM
#292
Junior Member
Thread Starter
iTrader: (1)
Join Date: Feb 2013
Location: Windsor, Ontario
Posts: 403
Total Cats: 65
So not too much has been going on as usual. Was busy all weekend at the 24 hours of lemons at Gingerman. Pretty awesome weekend overall, our team won the award for most heroic fix after we lost an engine with 3 hours left and swapped in a new engine in 2 hours to finish the race.
But as for the miata...
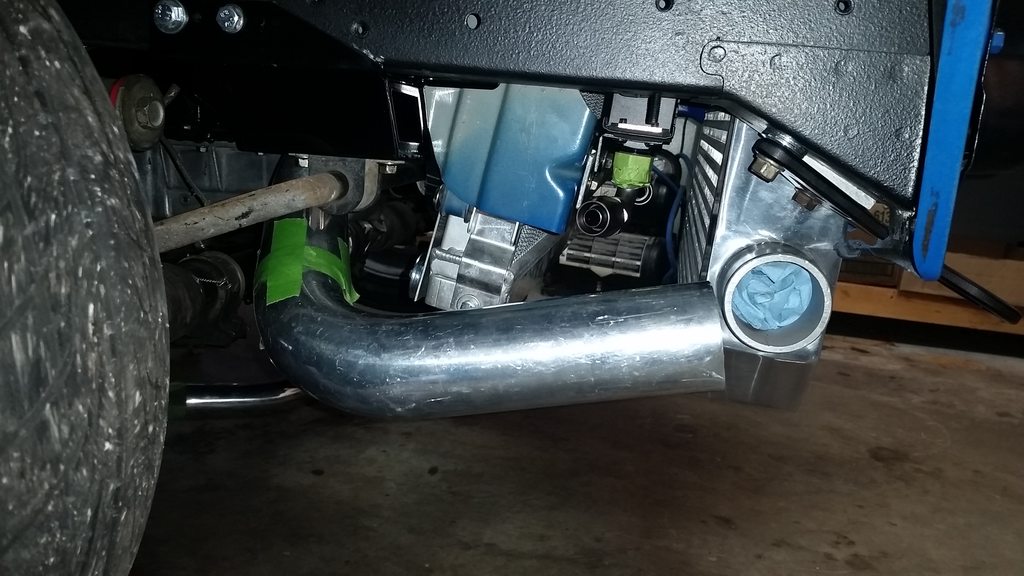
I have an exhaust again
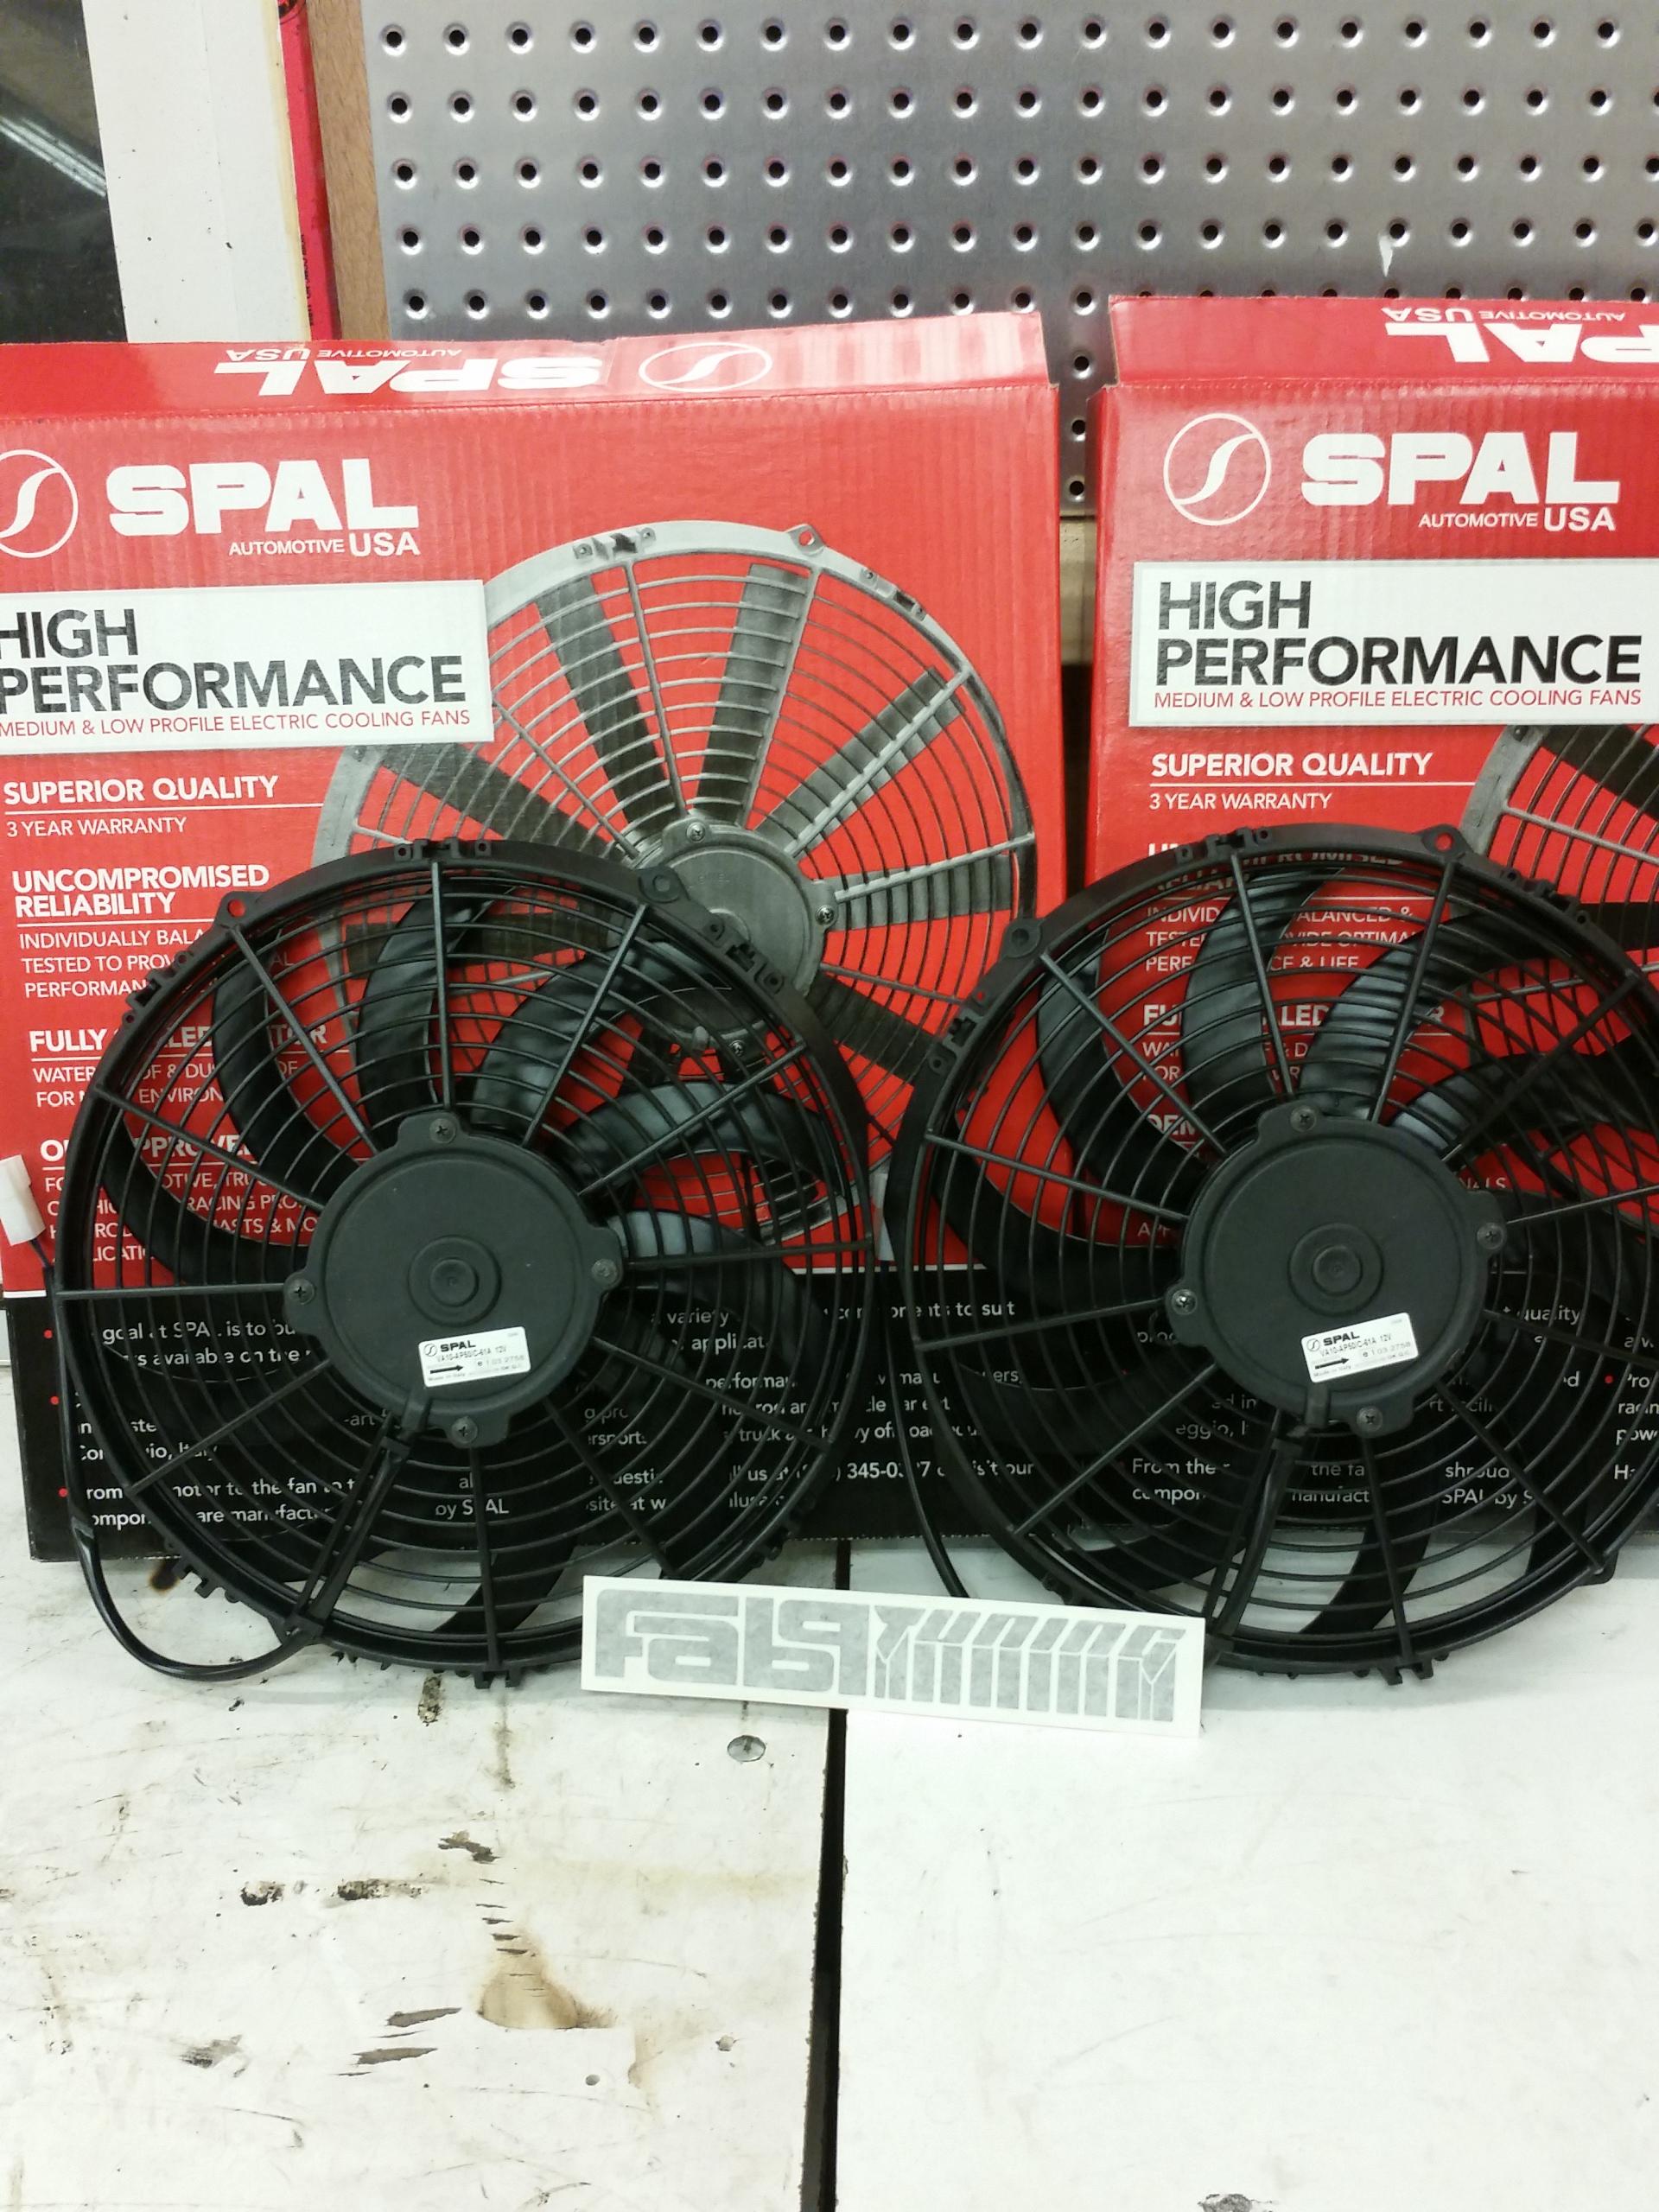
Picked up some fans from Fab9. Two 12" pullers. Hoping to have those mounted to a shroud and on the rad tomorrow.
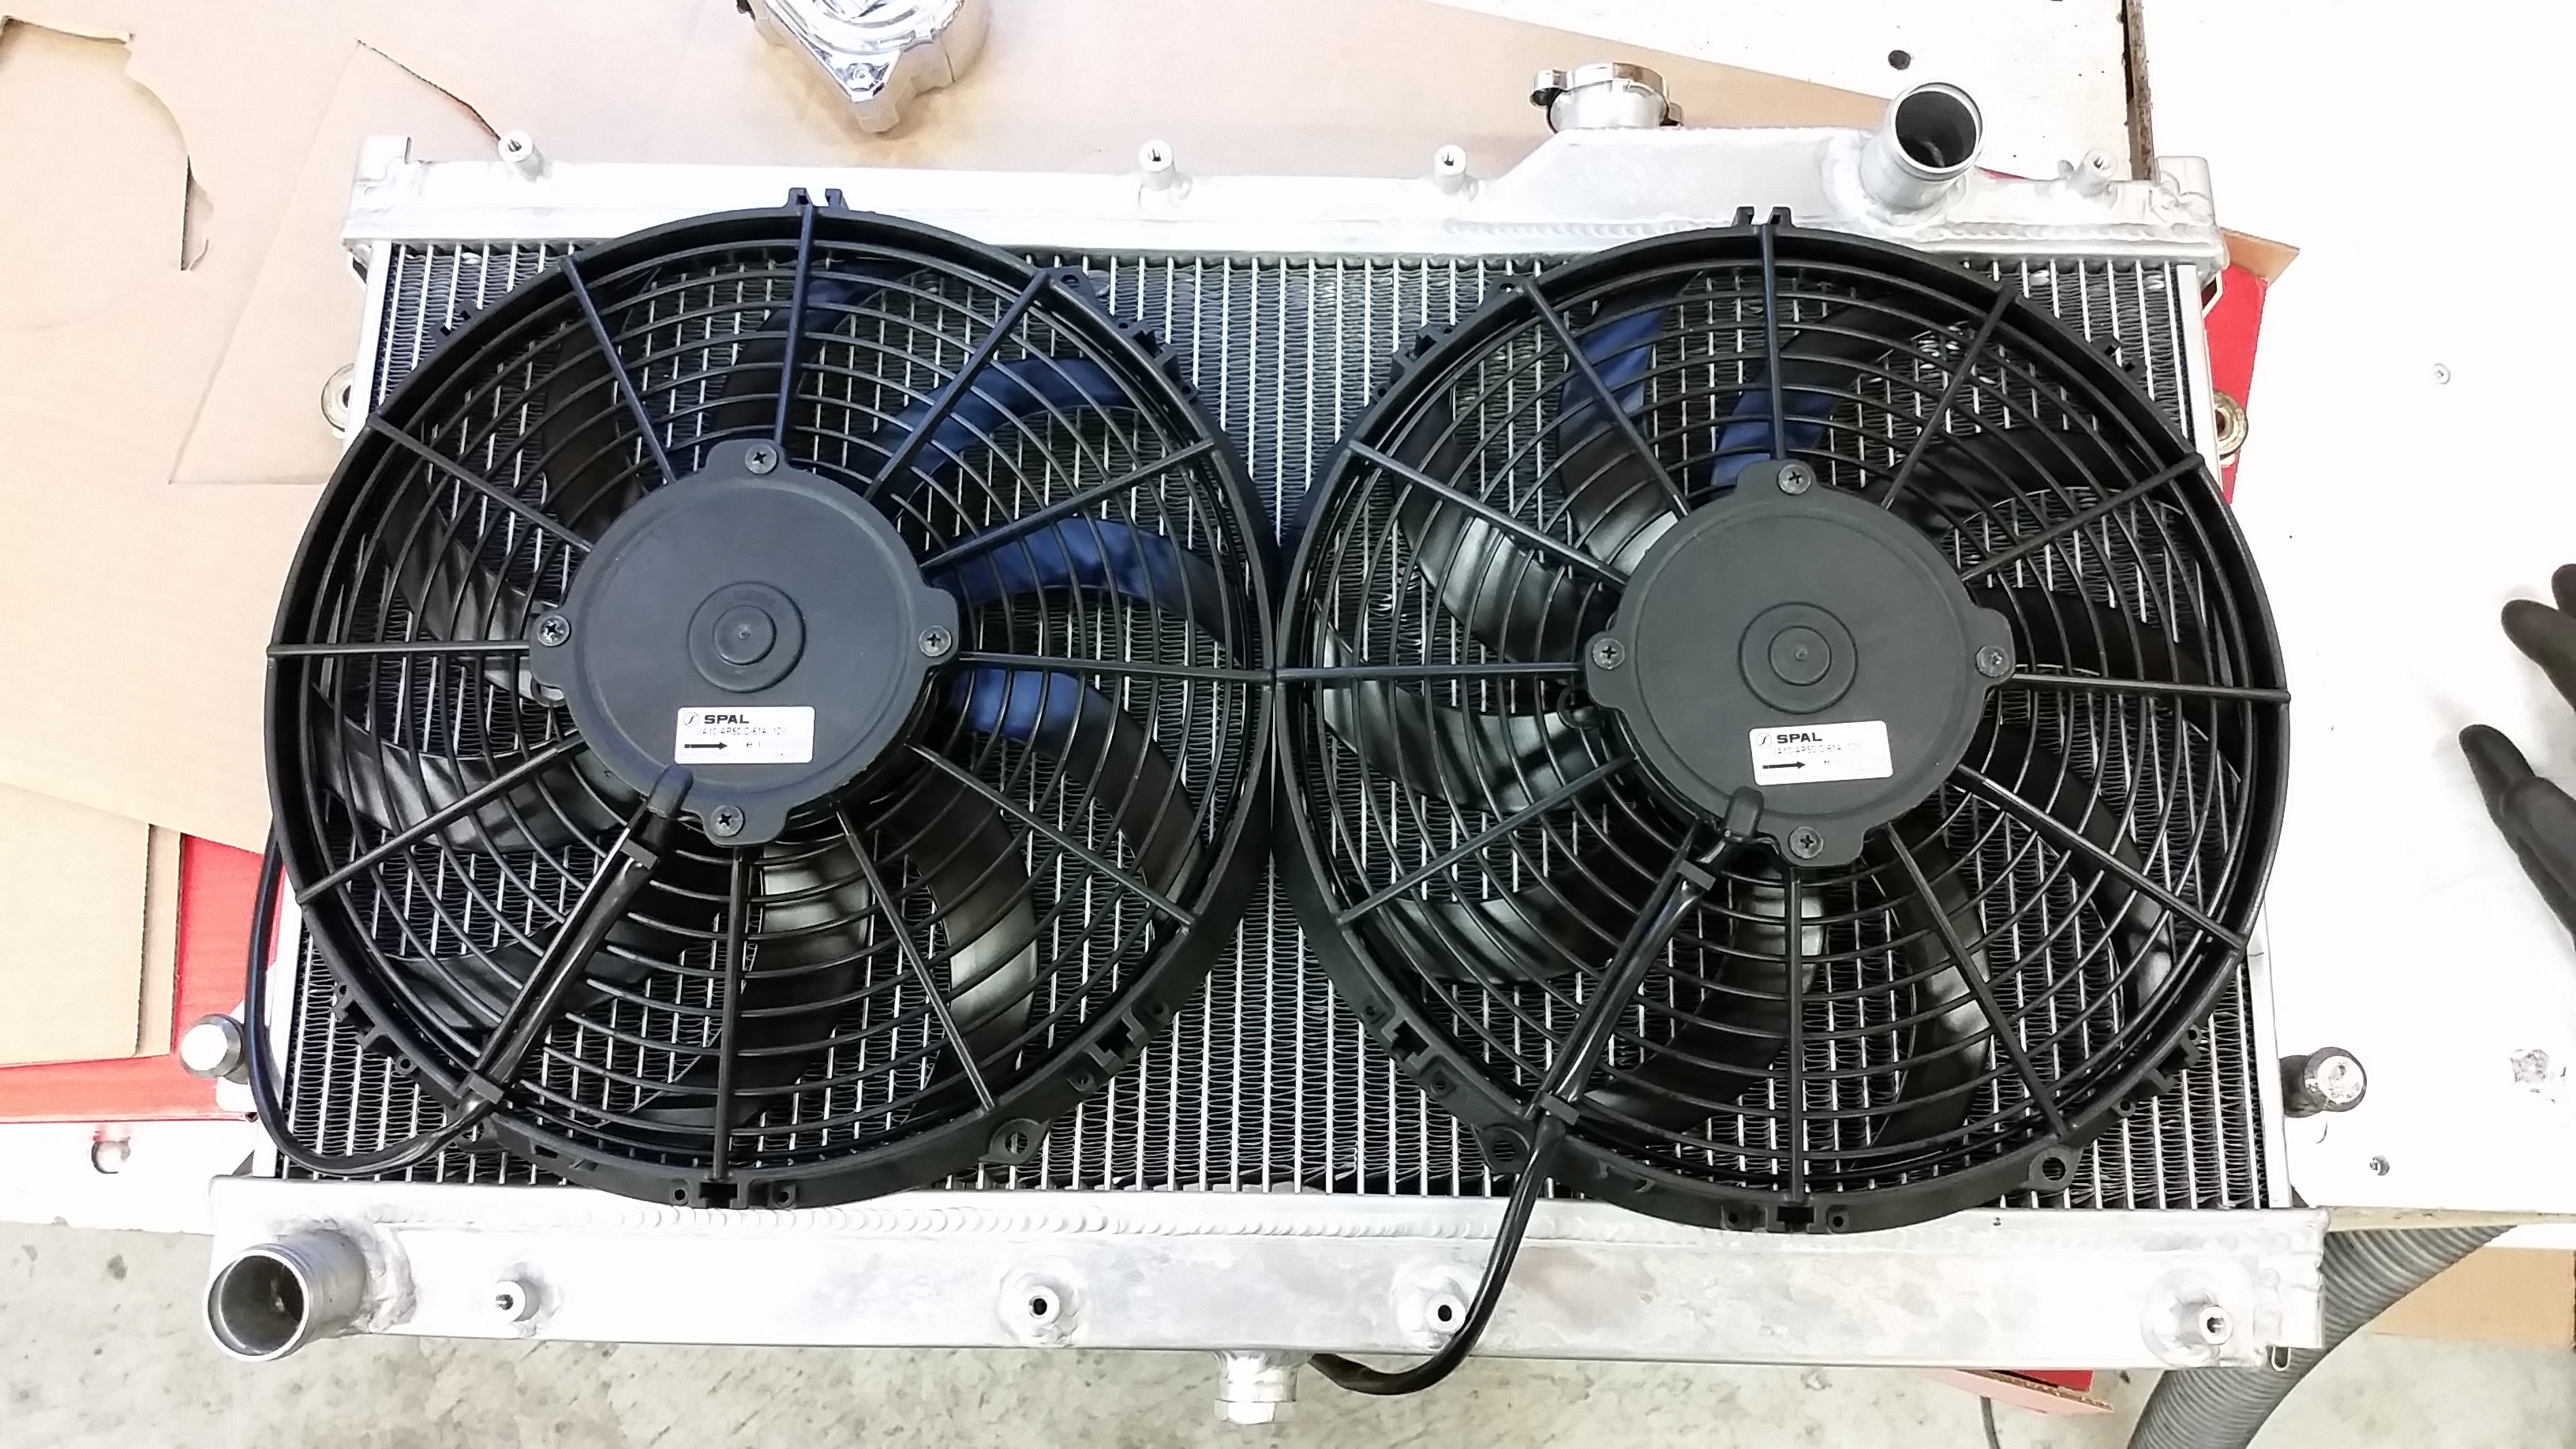
Perfect fit
Next was the driveshaft. Picked it up from shaftmasters today. Only to find out it was made too short. It was supposed to be around 30.25" long, and well, it isn't 30.25" long.
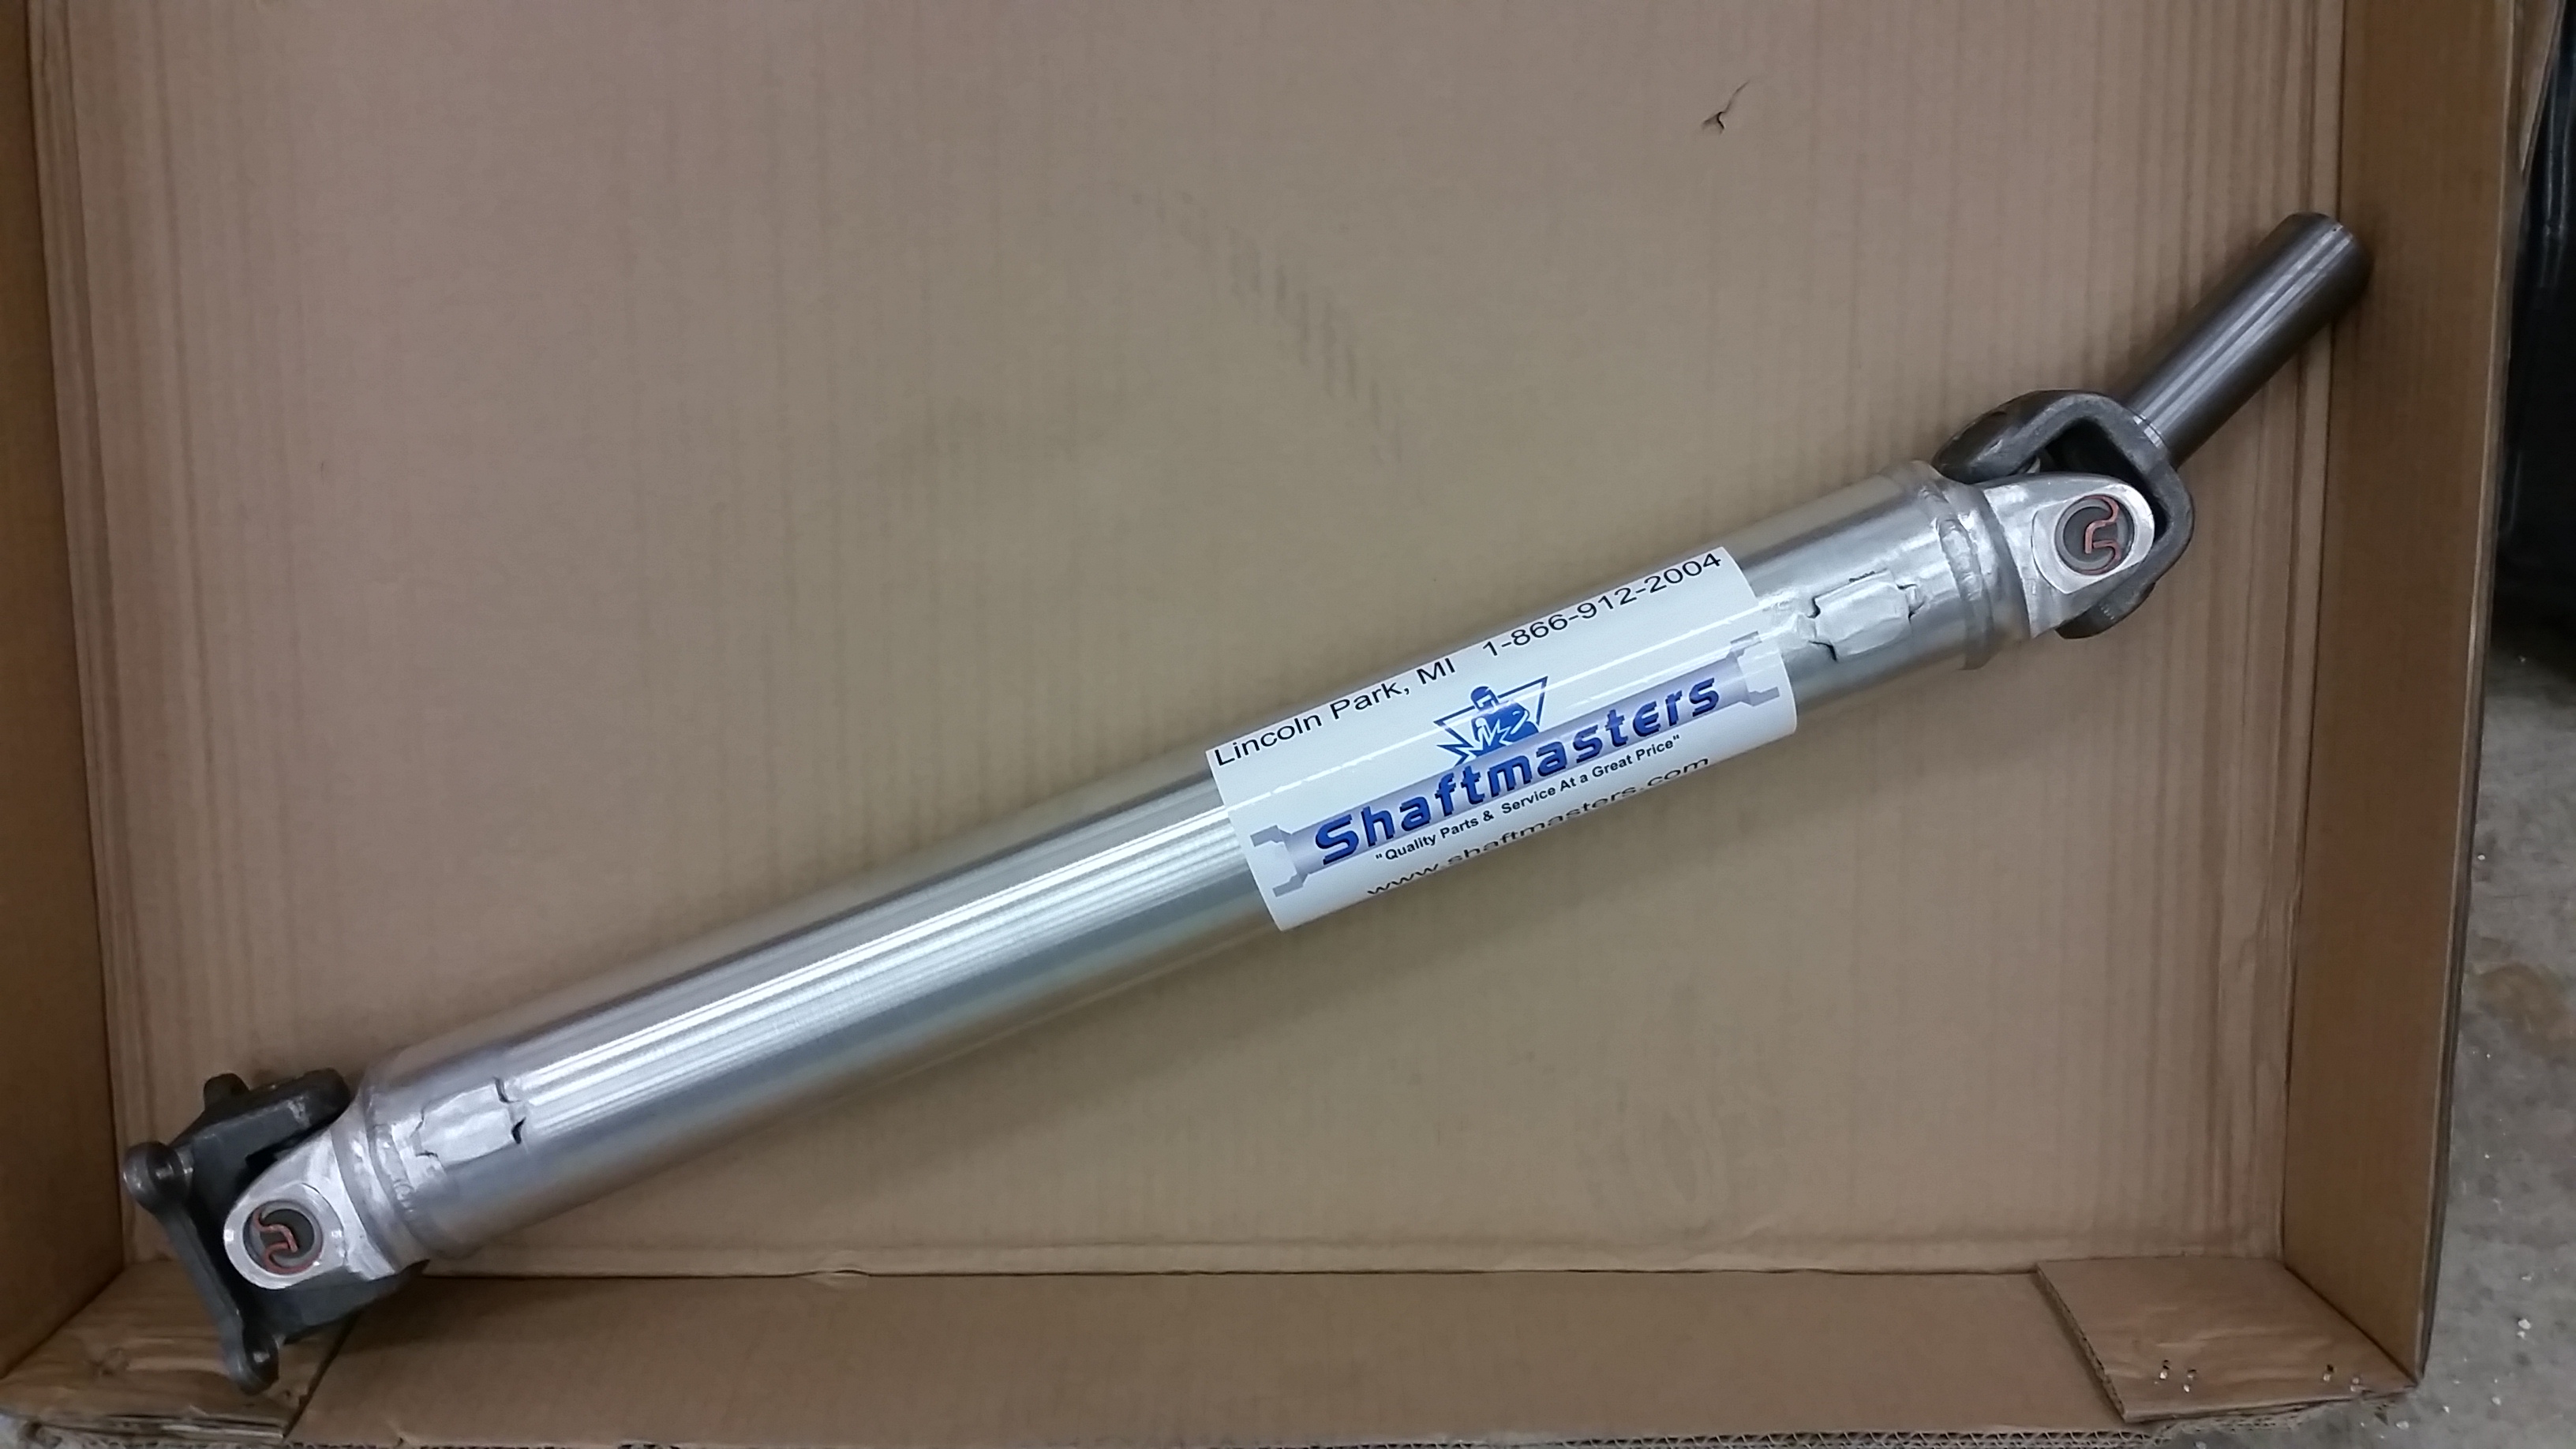
Here it is bolted to the diff, you can see how its too short at the trans.
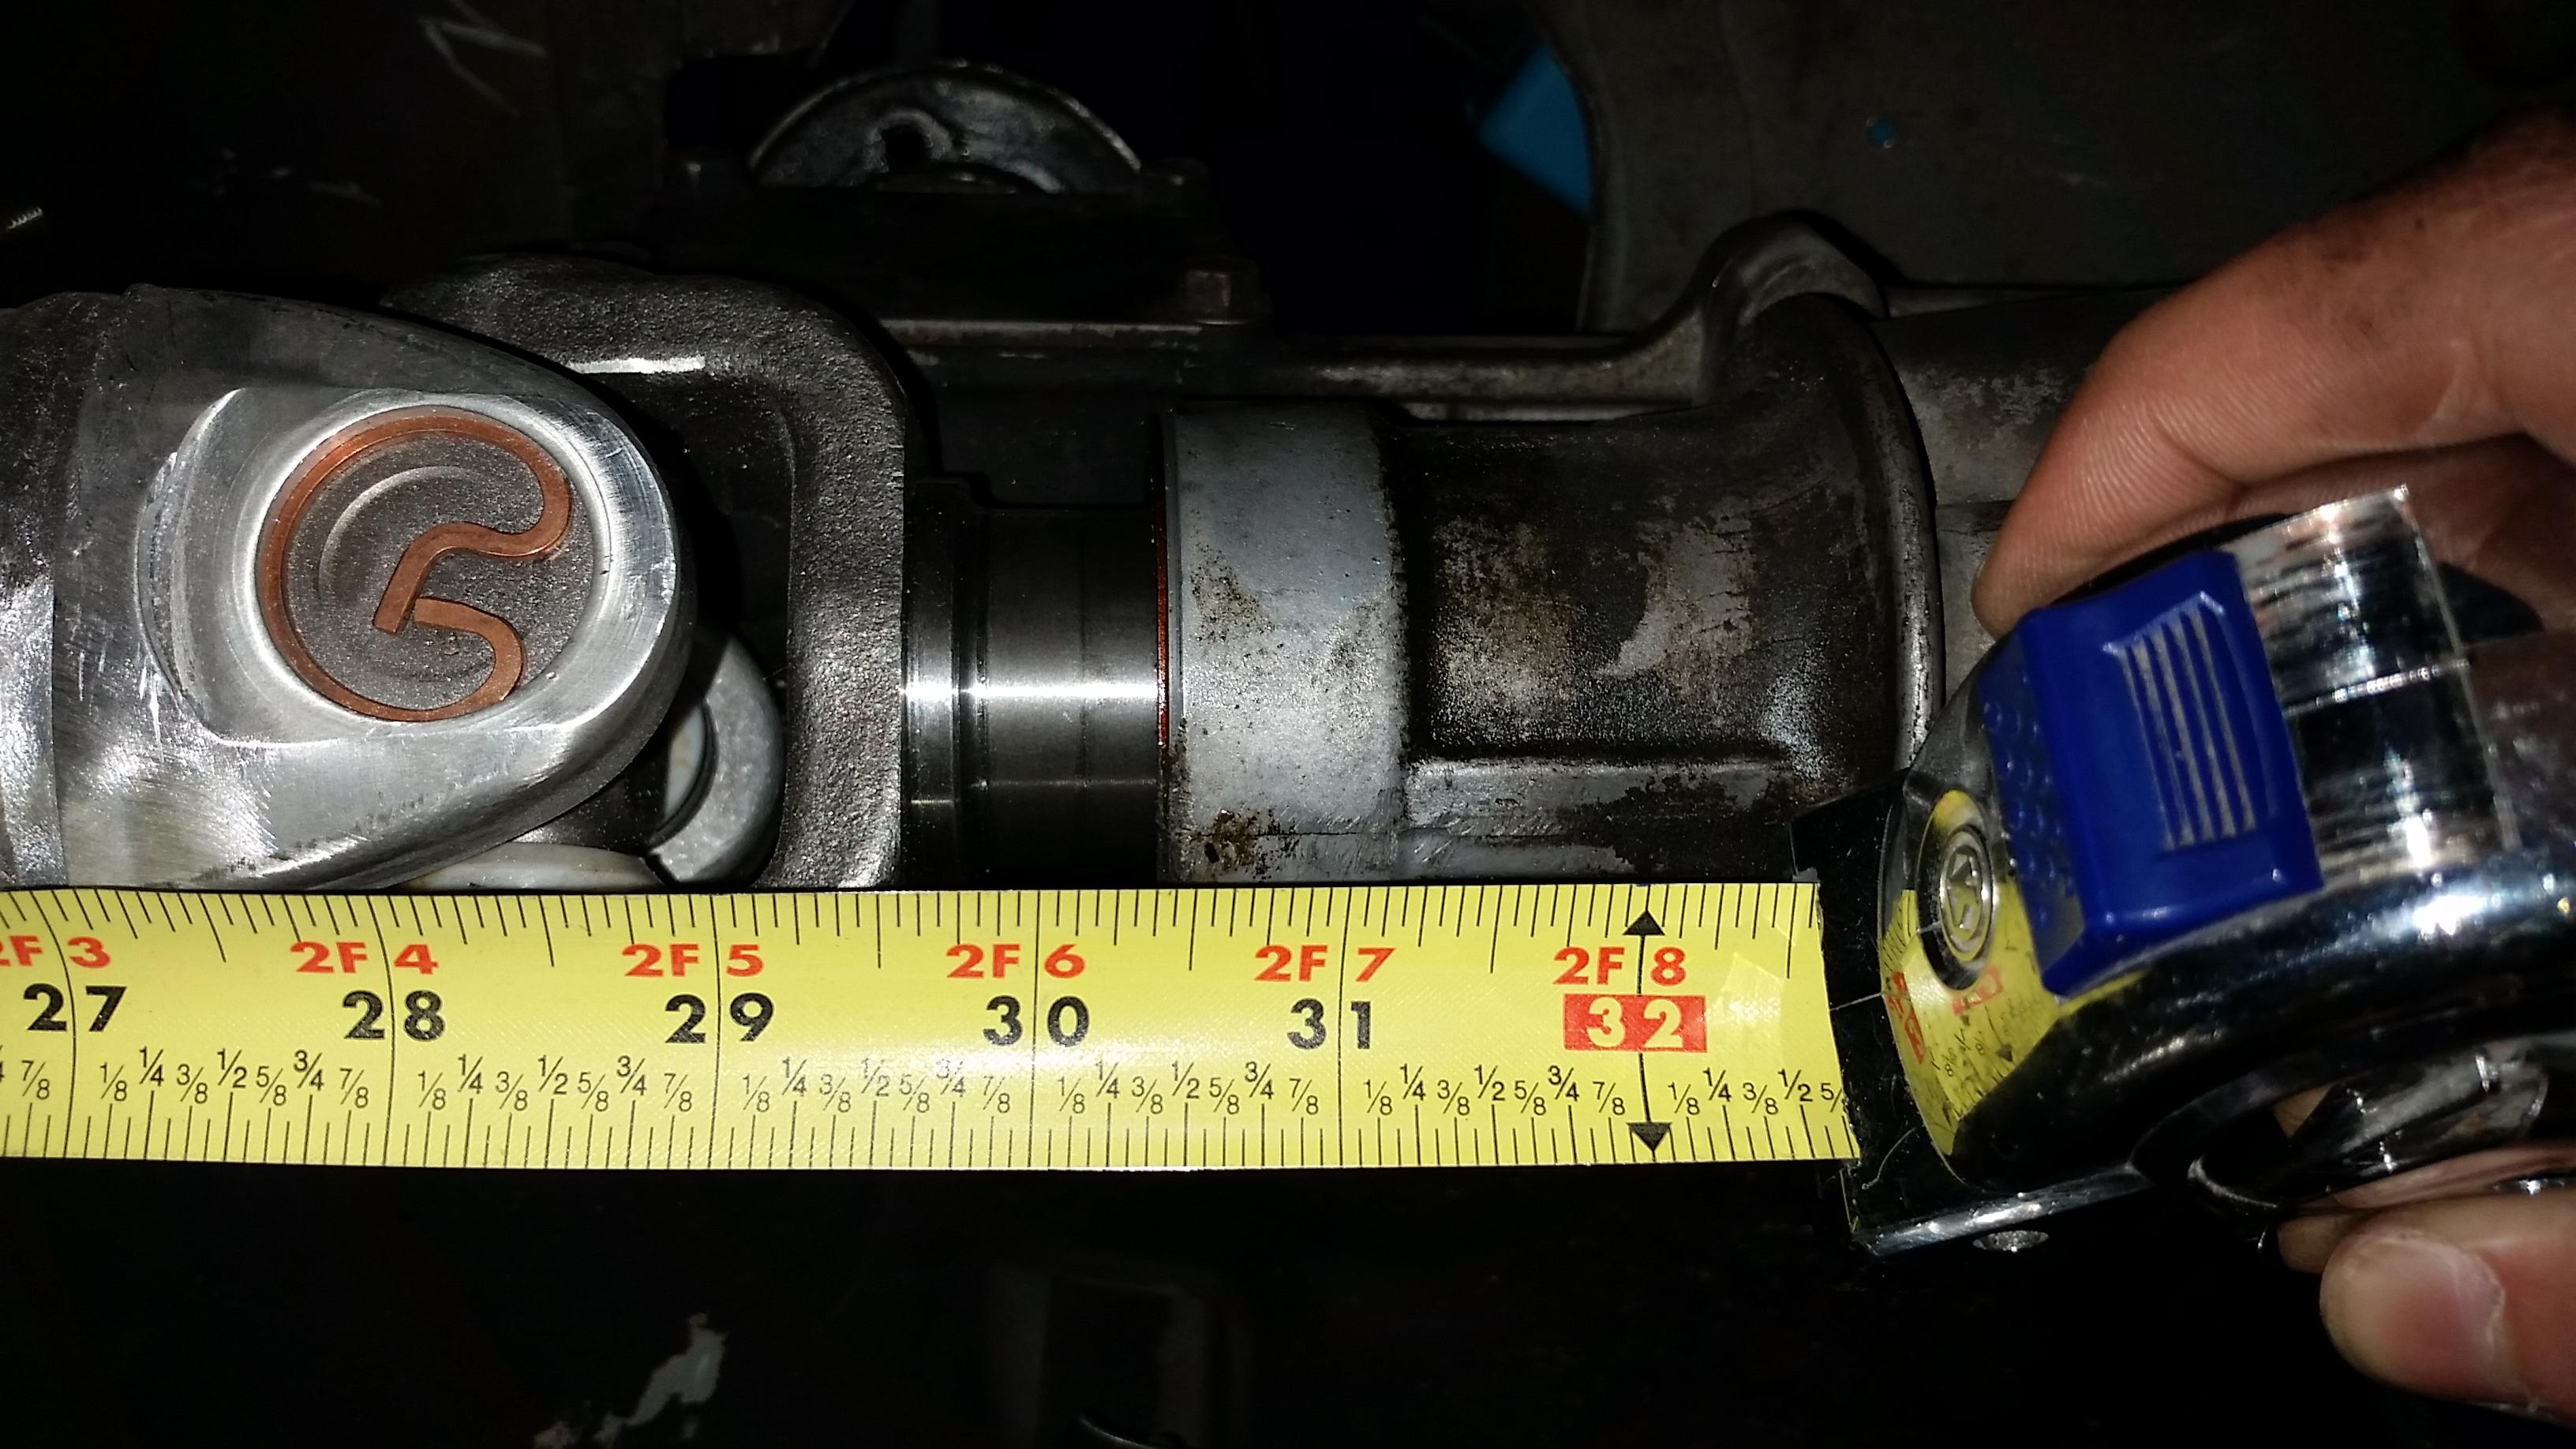
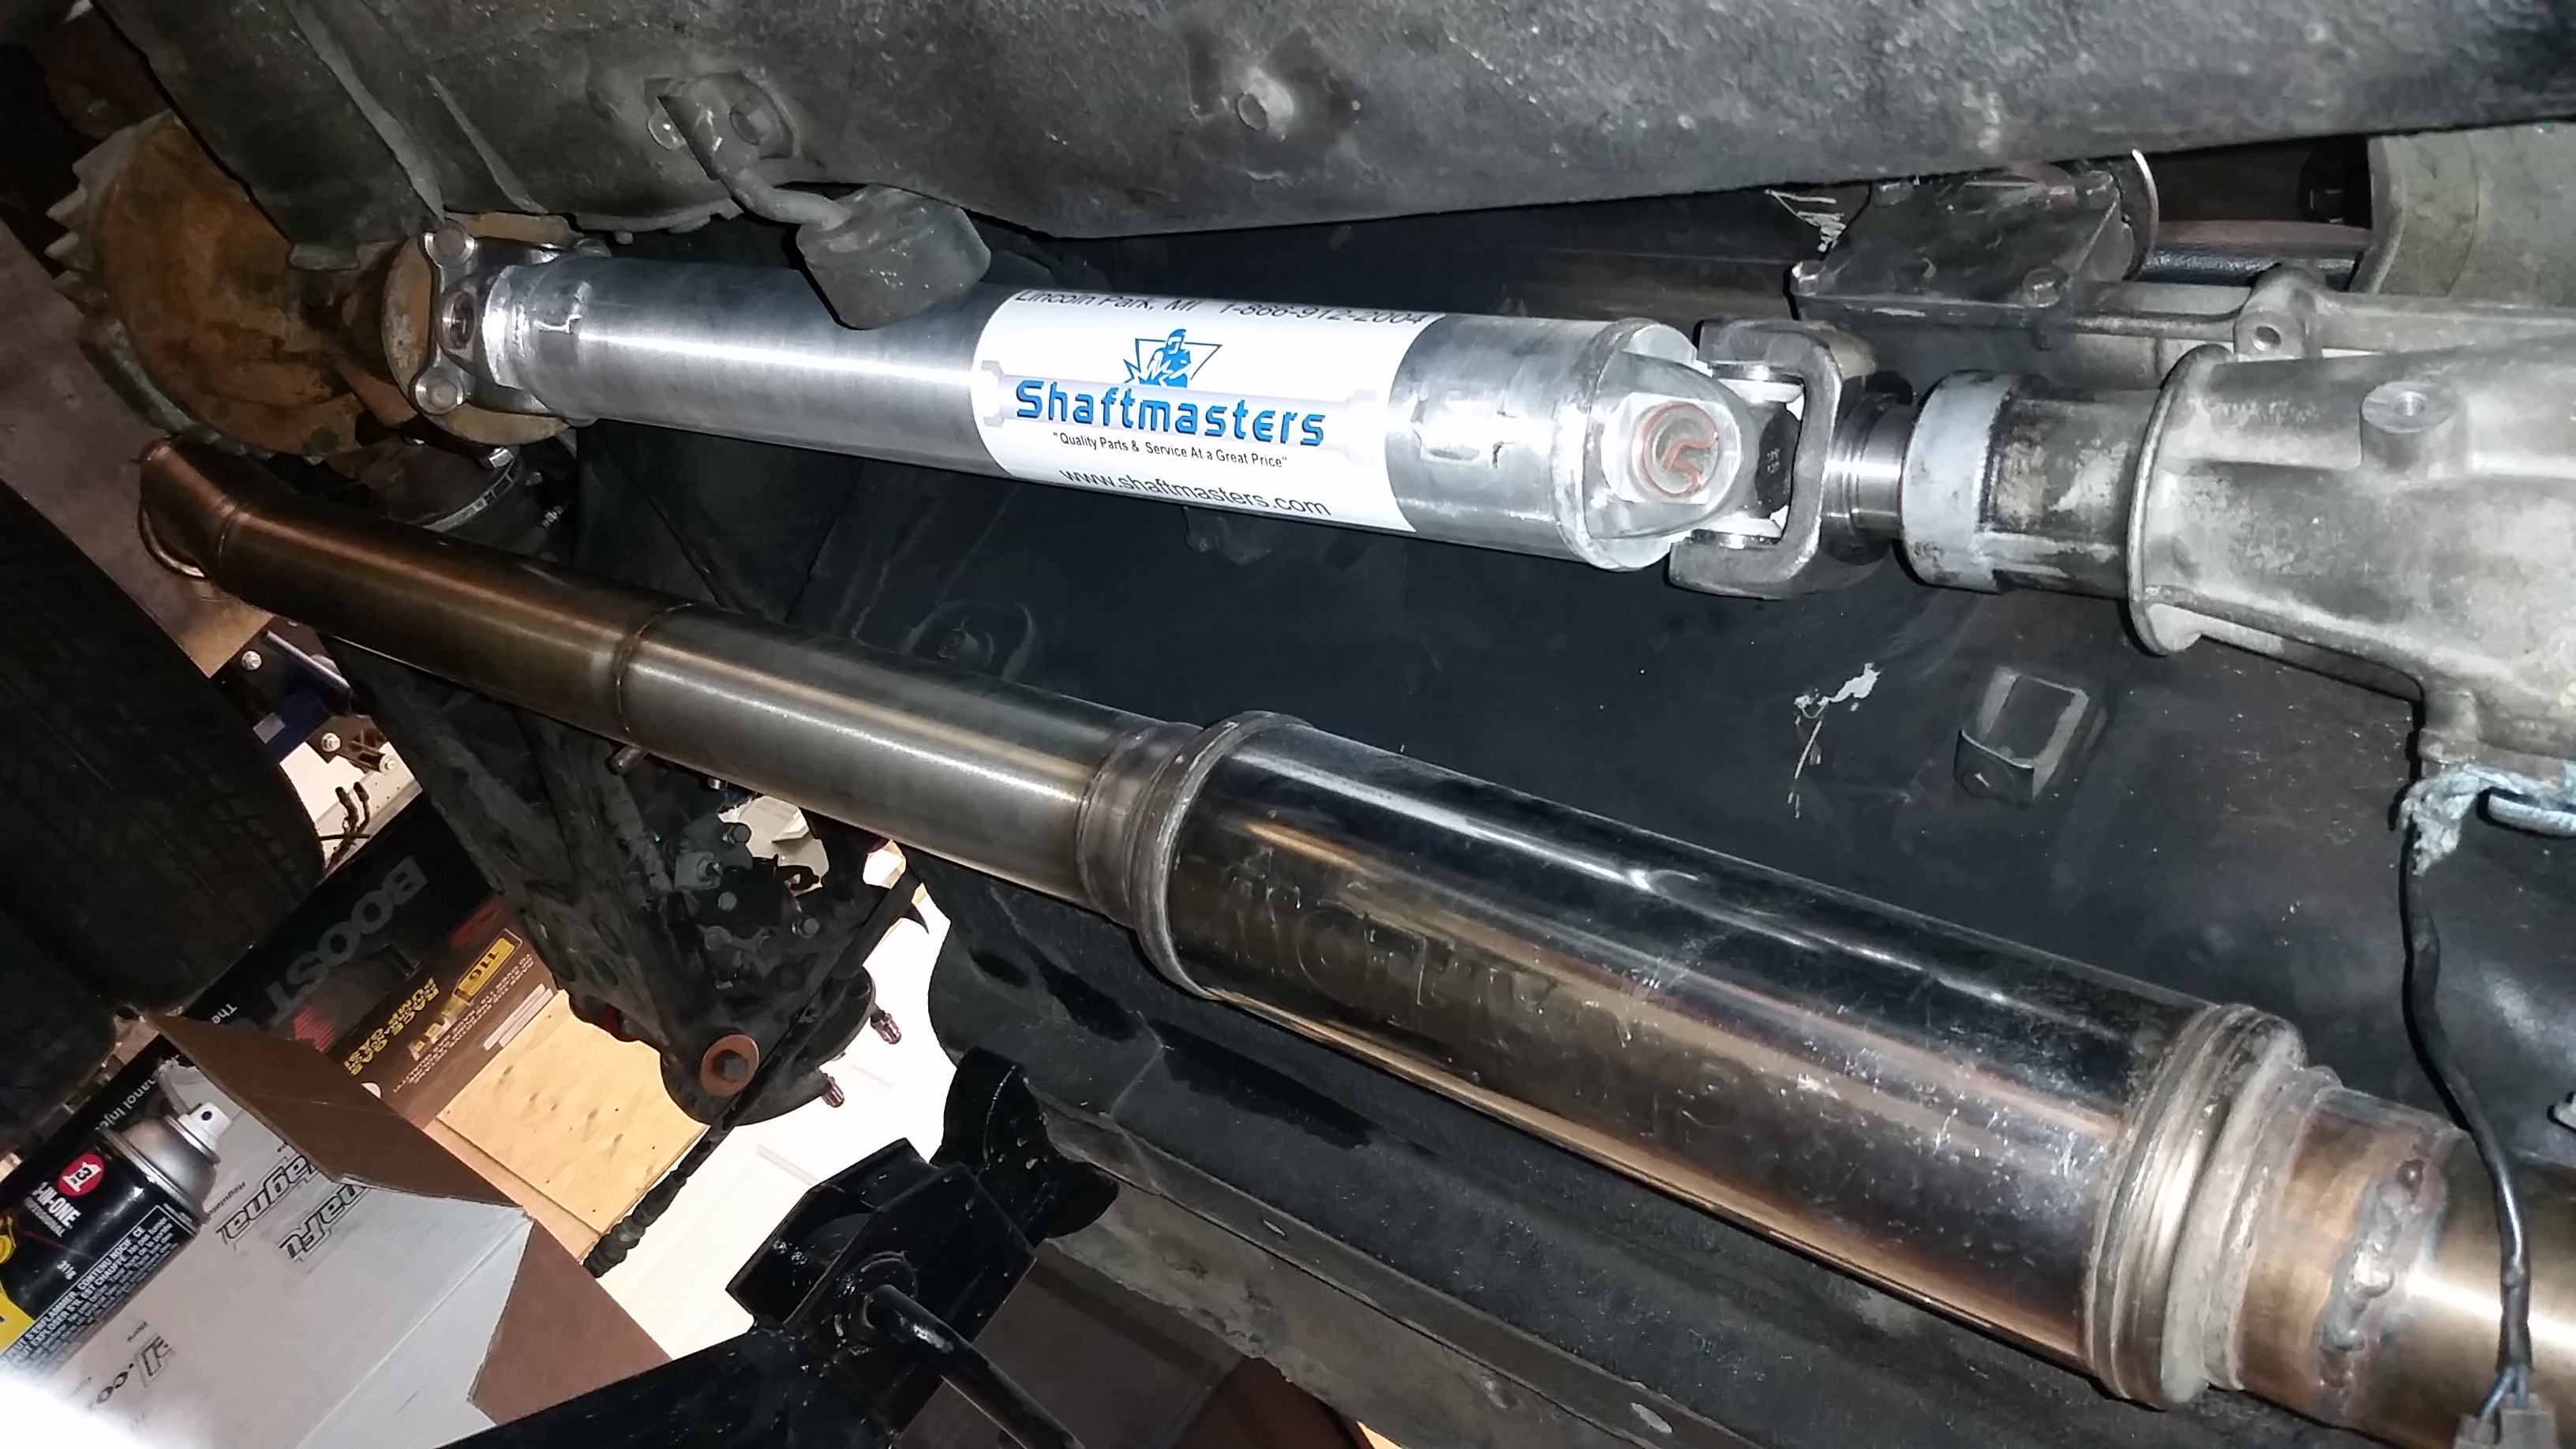
Sent them an email and will see what can be done about it. I don't have it in writing that I said 30.25" but confirmed with them verbally about 3 times. They seem to be a really good group of guys running that place so I'm hoping it can work out.
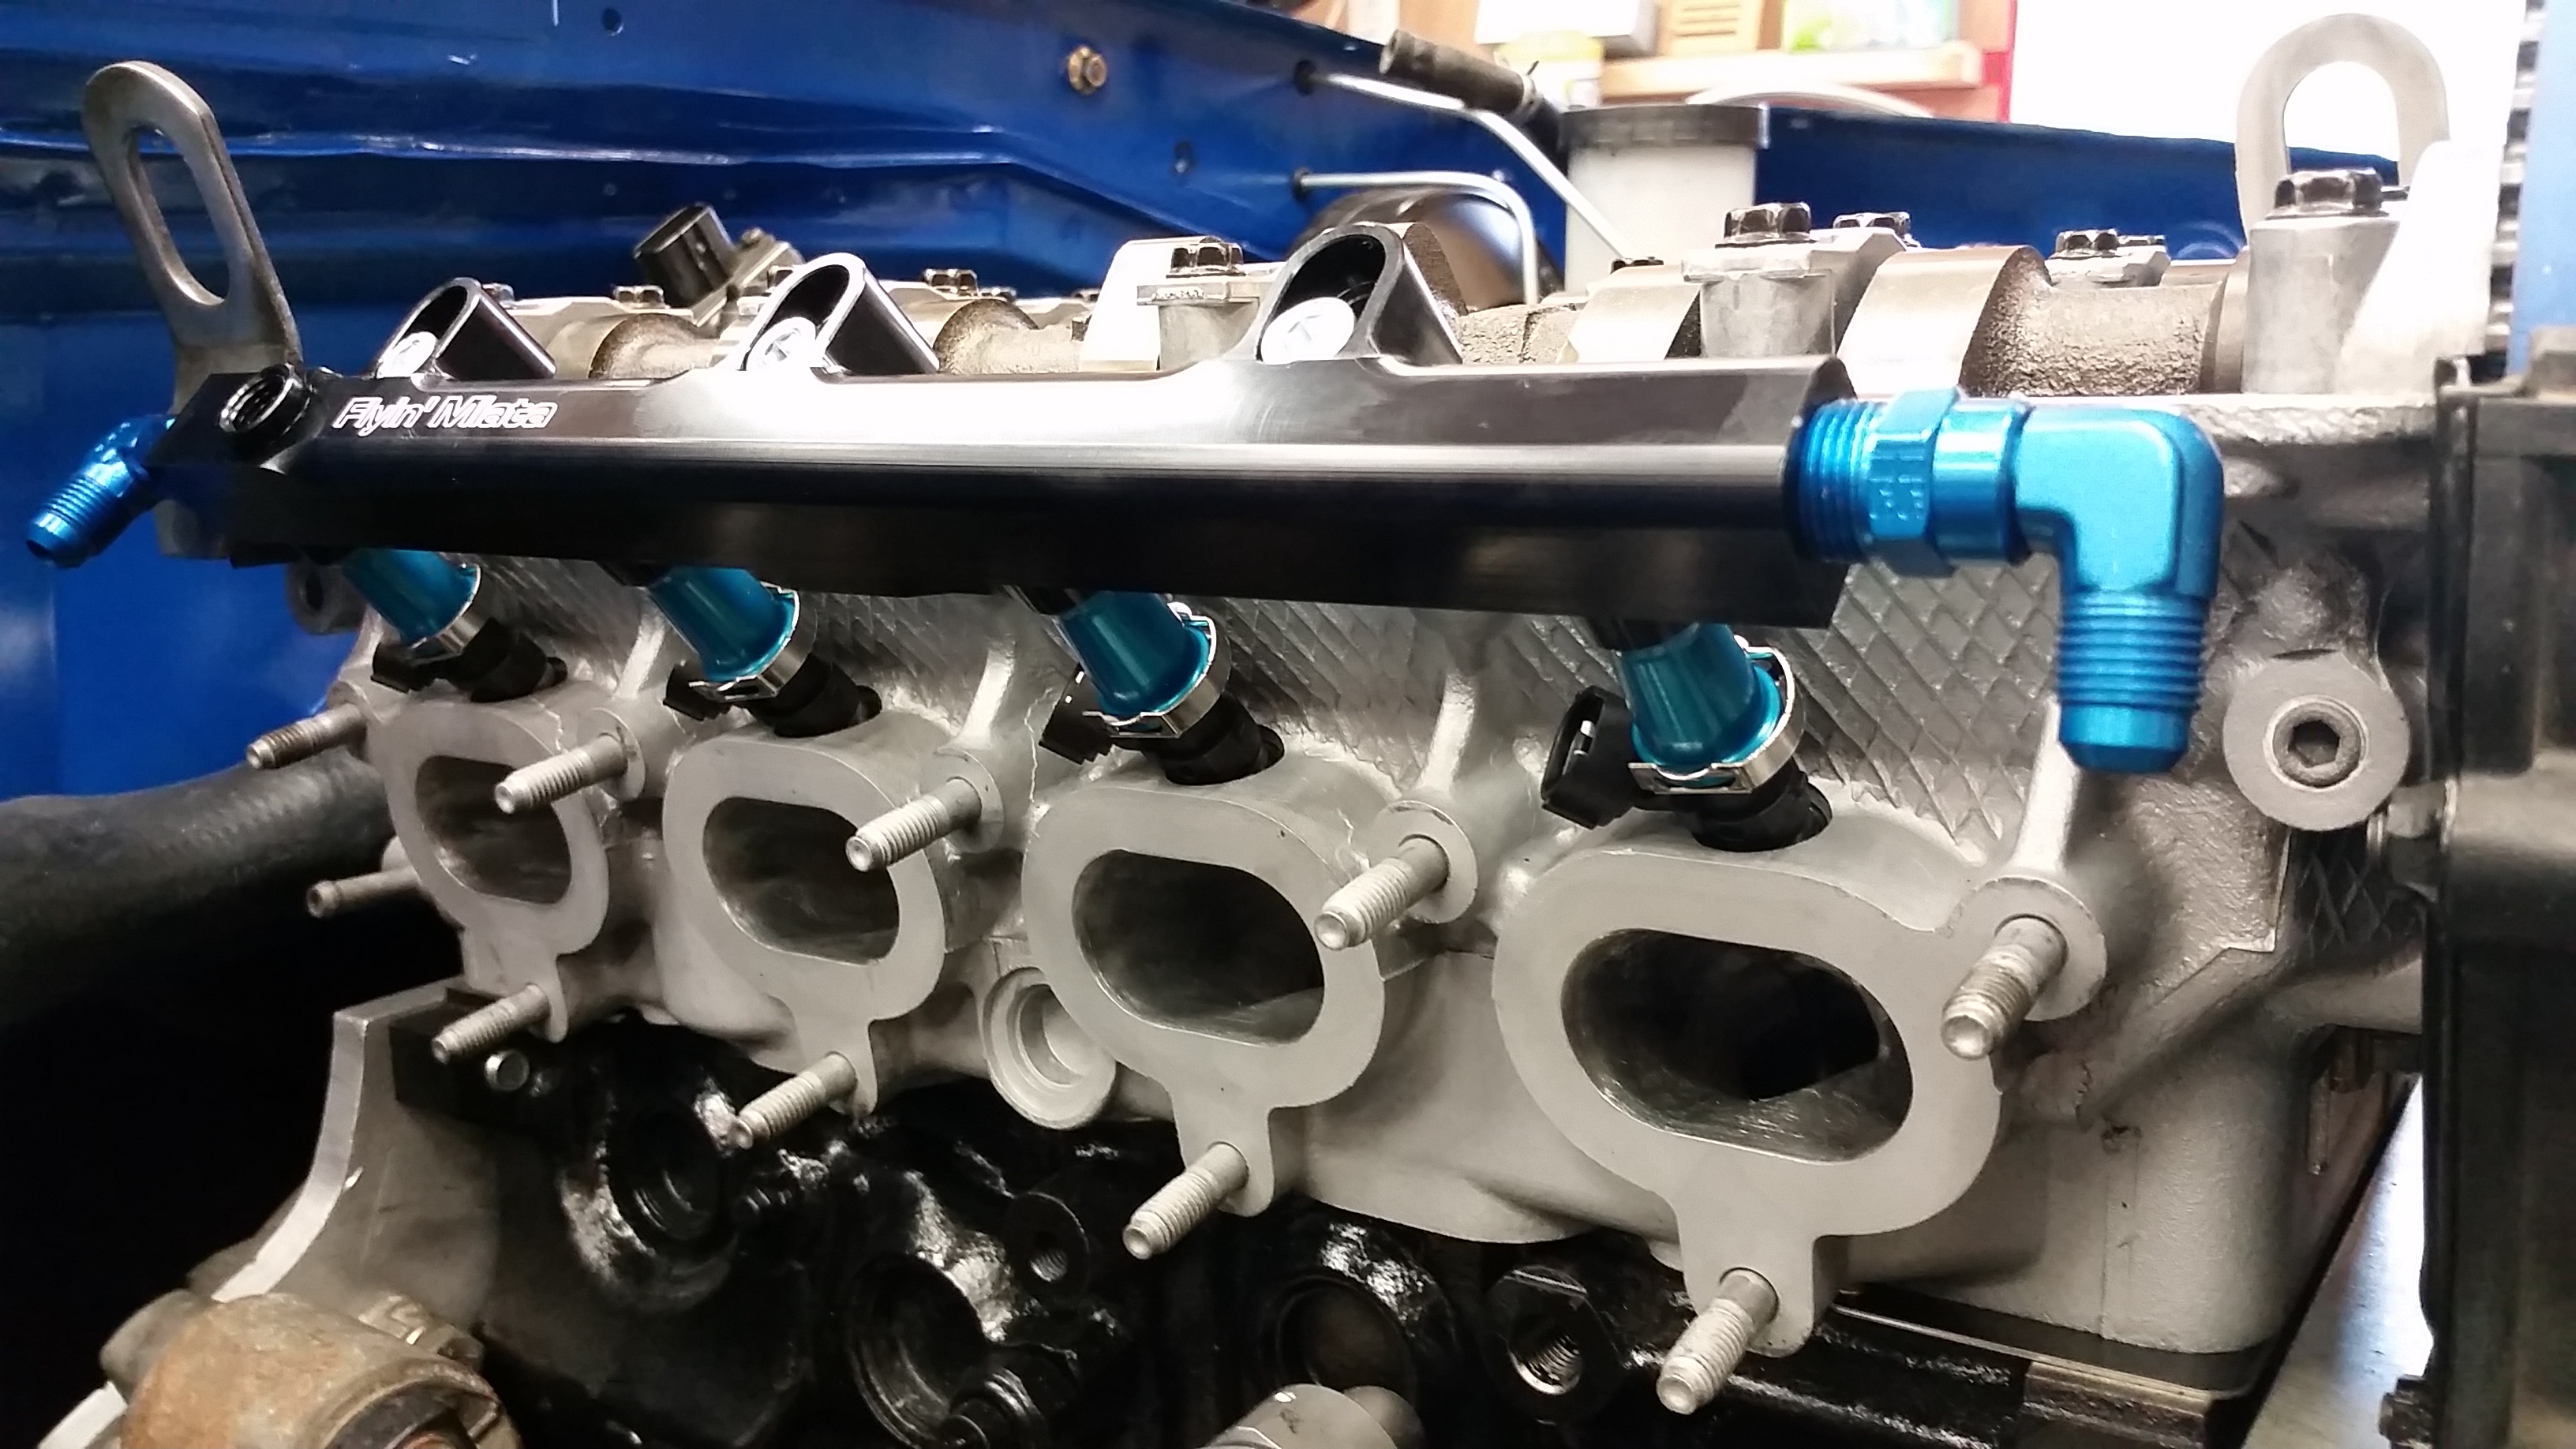
Next up was the fuel system. Picked up my new FM fuel rail and a bunch of fittings for the fuel lines, still waiting on some stuff.
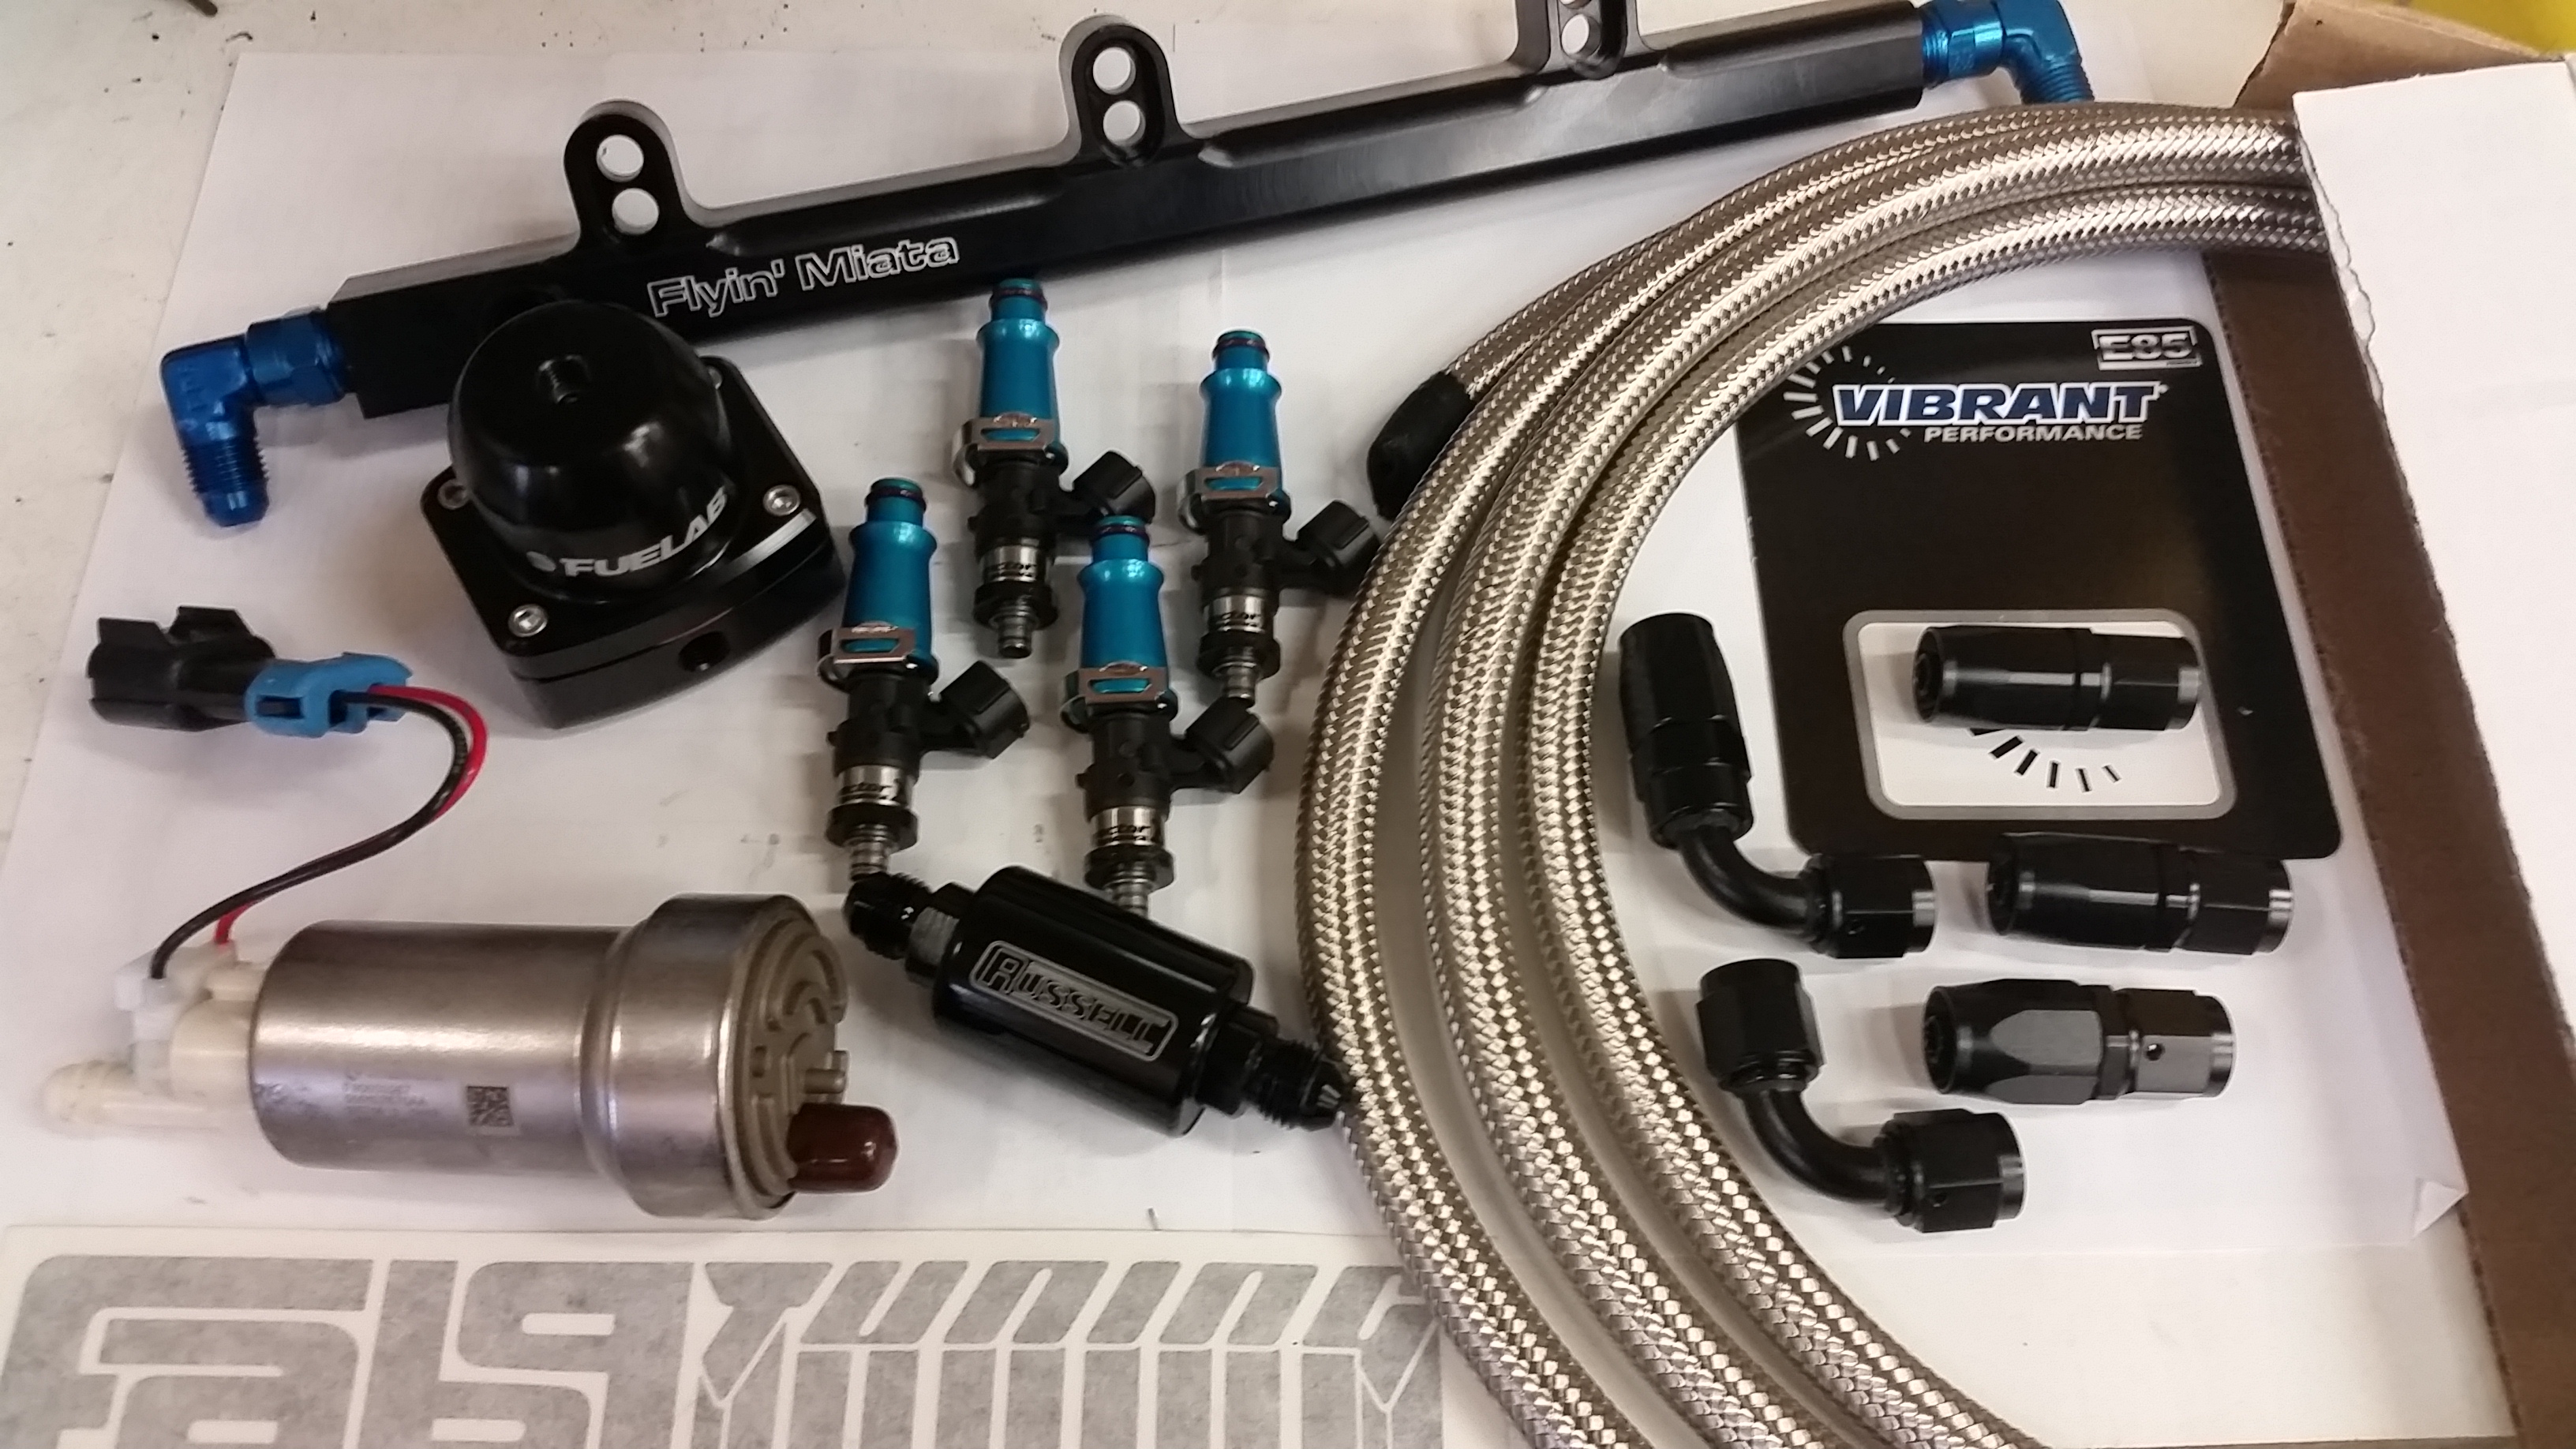
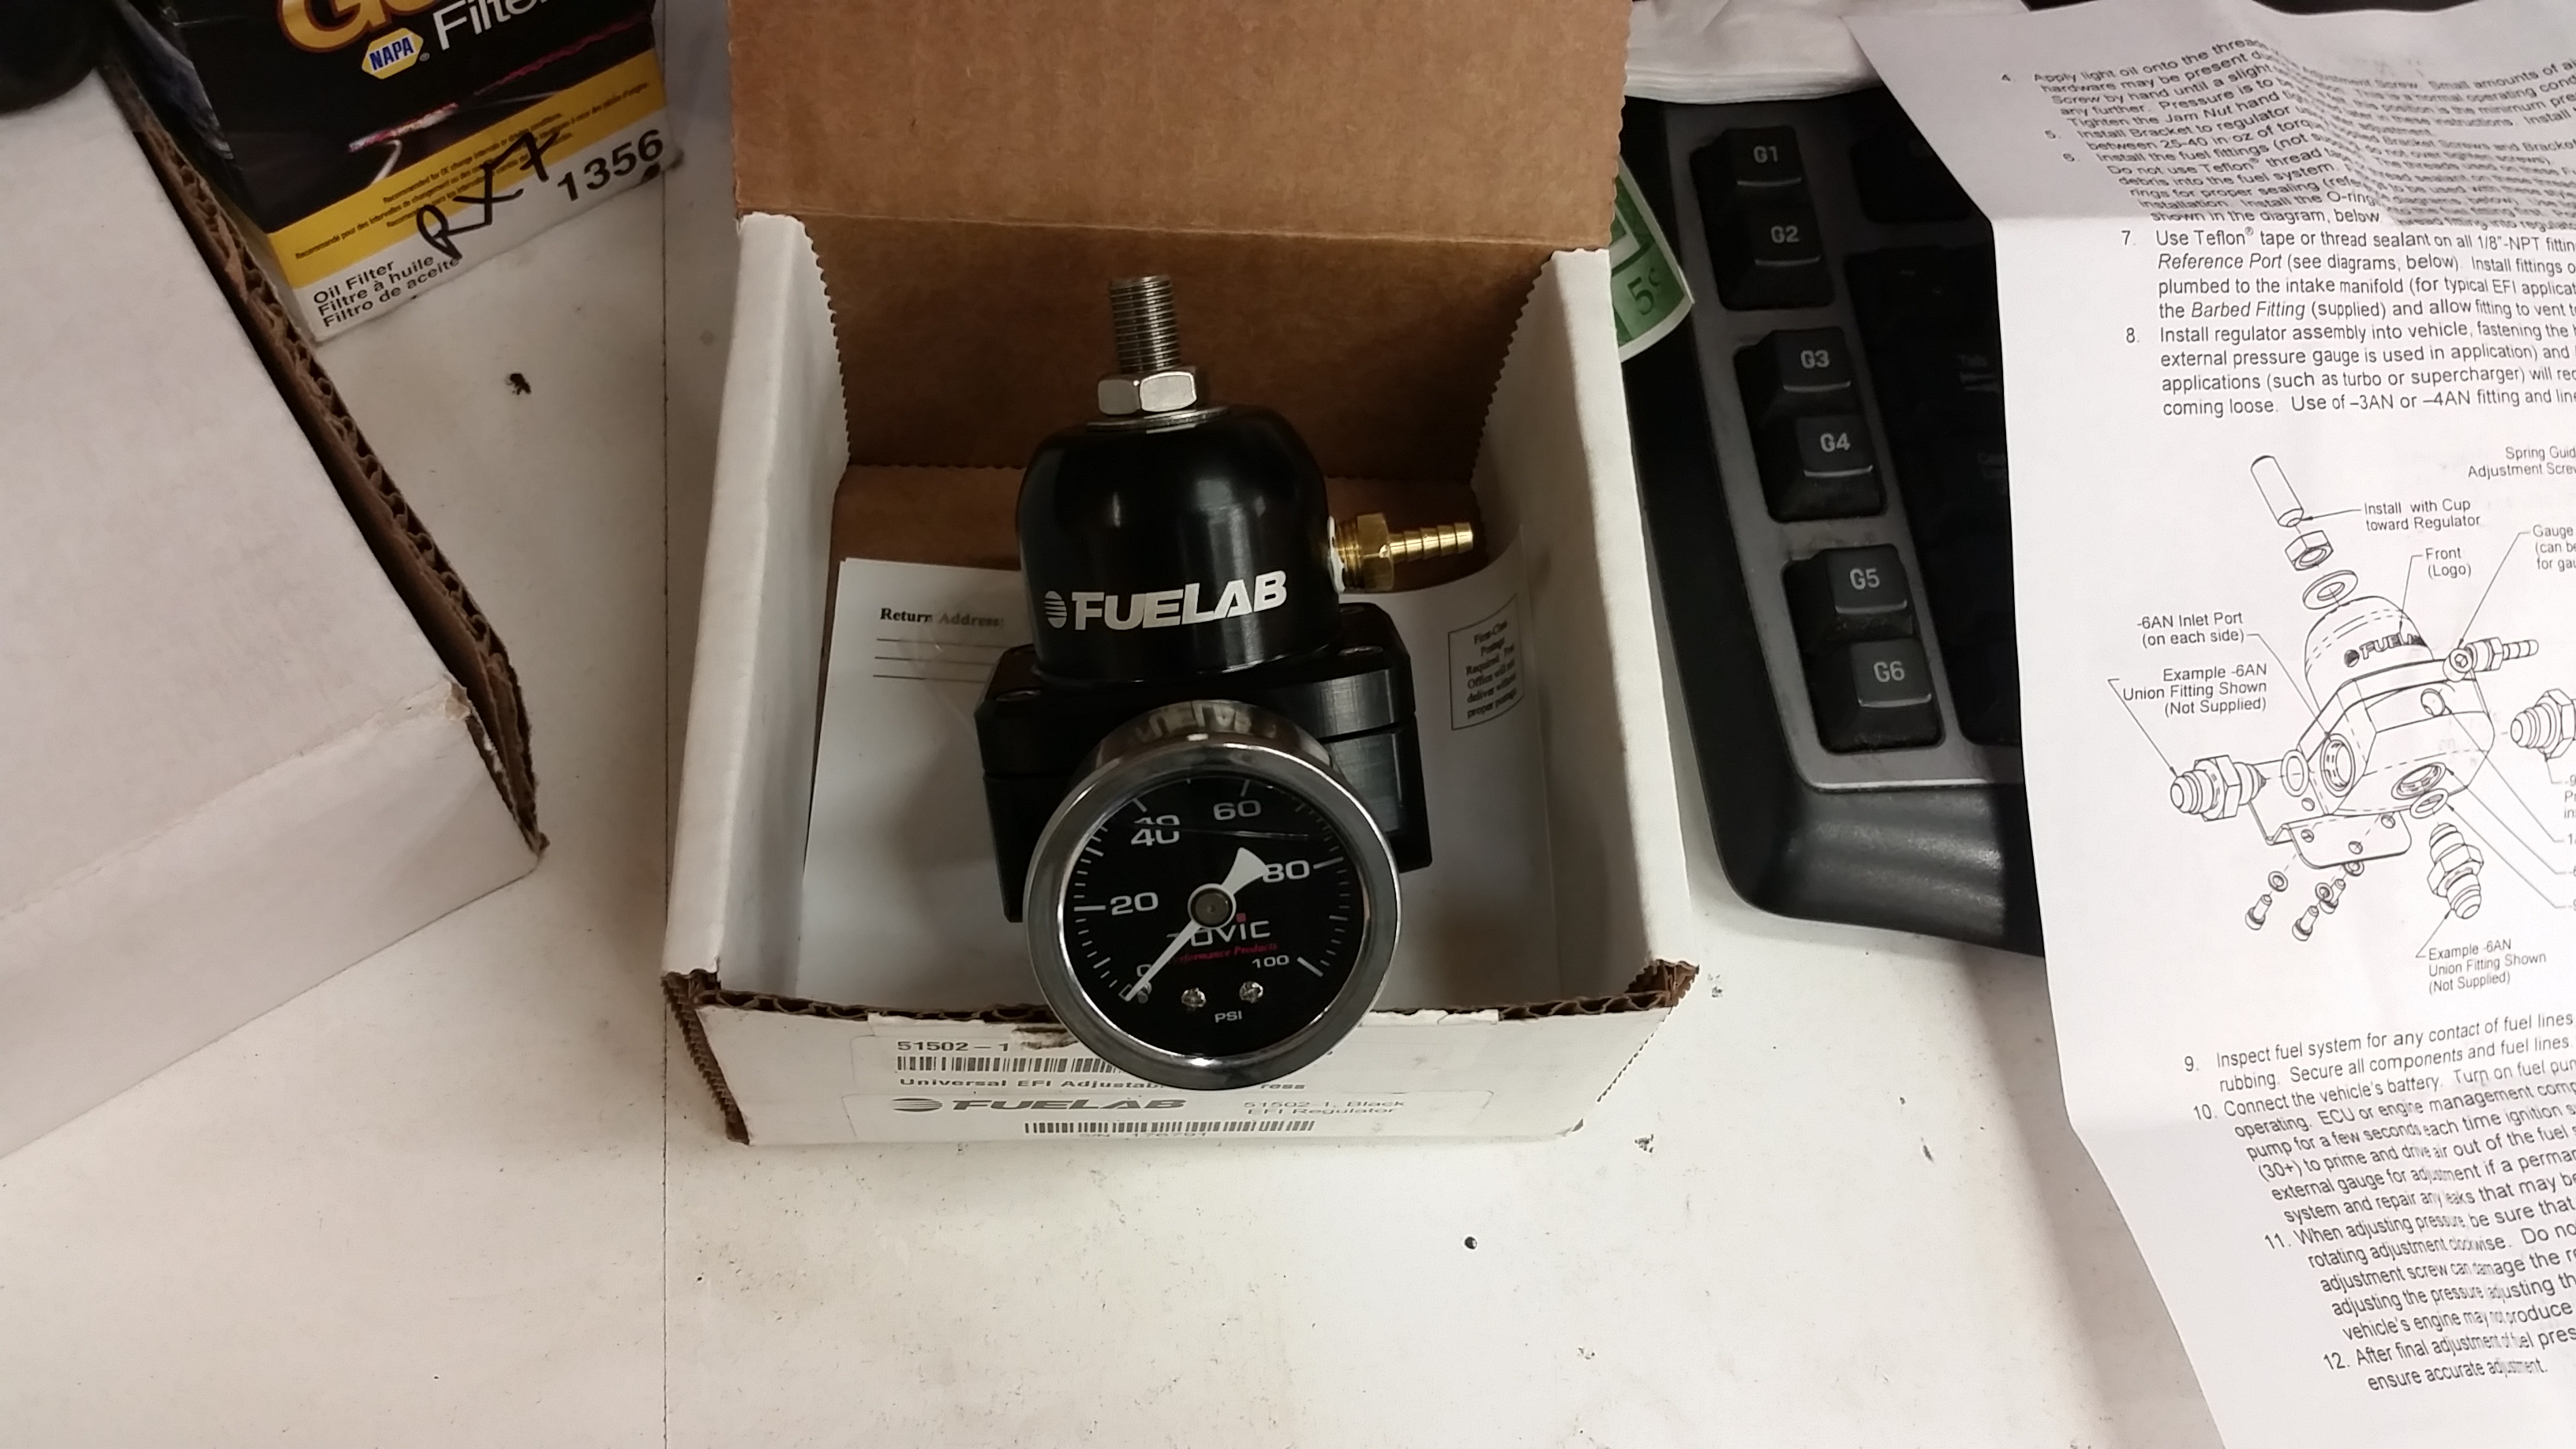
Got the rail mounted and a few of the lines ran before I got distracted by dealing with the FPR.
Waiting on my bulkhead fittings for the fuel pump assembly. Going -6AN or 3/8" line all the way from the fuel pump to the rail. Then -6AN from the rail to the regulator with a stock return line off the regulator. Waiting for fittings for the rail to regulator line as well.
New to do list:
But as for the miata...
I have an exhaust again
Picked up some fans from Fab9. Two 12" pullers. Hoping to have those mounted to a shroud and on the rad tomorrow.
Perfect fit
Next was the driveshaft. Picked it up from shaftmasters today. Only to find out it was made too short. It was supposed to be around 30.25" long, and well, it isn't 30.25" long.
Here it is bolted to the diff, you can see how its too short at the trans.
Sent them an email and will see what can be done about it. I don't have it in writing that I said 30.25" but confirmed with them verbally about 3 times. They seem to be a really good group of guys running that place so I'm hoping it can work out.
Next up was the fuel system. Picked up my new FM fuel rail and a bunch of fittings for the fuel lines, still waiting on some stuff.
Got the rail mounted and a few of the lines ran before I got distracted by dealing with the FPR.
Waiting on my bulkhead fittings for the fuel pump assembly. Going -6AN or 3/8" line all the way from the fuel pump to the rail. Then -6AN from the rail to the regulator with a stock return line off the regulator. Waiting for fittings for the rail to regulator line as well.
New to do list:
Reply
0
0
 04-28-2015, 01:07 PM
#296
Junior Member
Thread Starter
iTrader: (1)
Join Date: Feb 2013
Location: Windsor, Ontario
Posts: 403
Total Cats: 65
Got this response from shaftmasters this morning:
Hello Paul,
From the photo it appears that you have 3/4" of "pull-out".
This should be perfect.
Even though it is an independent rear suspension you still want about 3/4" from the yoke being completely bottomed out against the back of the trans.
Thanks,
David
From the photo it appears that you have 3/4" of "pull-out".
This should be perfect.
Even though it is an independent rear suspension you still want about 3/4" from the yoke being completely bottomed out against the back of the trans.
Thanks,
David
Reply
0
0
05-02-2015, 12:57 AM
#297
Junior Member
Thread Starter
iTrader: (1)
Join Date: Feb 2013
Location: Windsor, Ontario
Posts: 403
Total Cats: 65
Pretty quiet in here..
Got my fans mounted up on a shroud. Just have to seal all the edges, just figuring out the best of way of doing that.
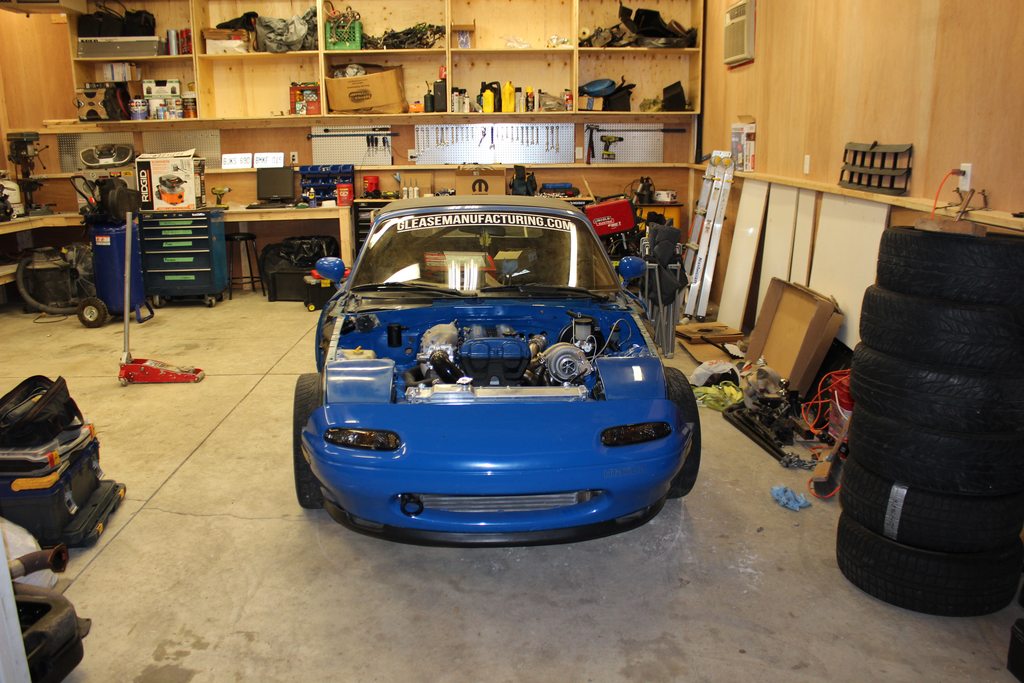
Then things didn't work out with the garage I was keeping the car in anymore so it had to come home where hopefully I'll finish it.
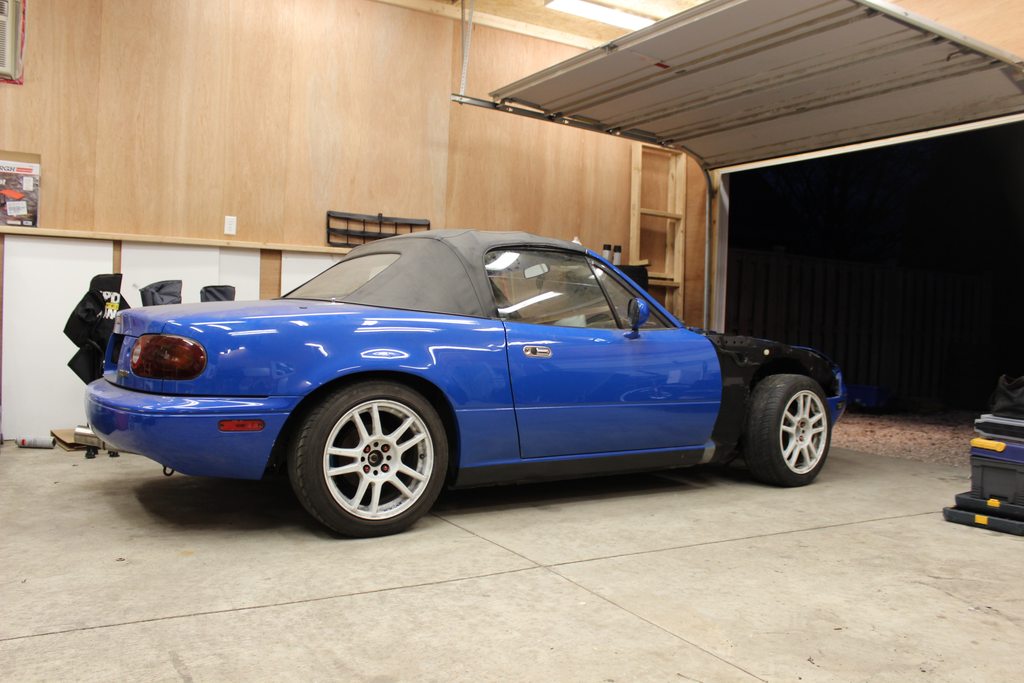
Getting ready to be pushed out. Forgot how small this thing is when its not up on giant jack stands.
Getting loaded up on the flatbed
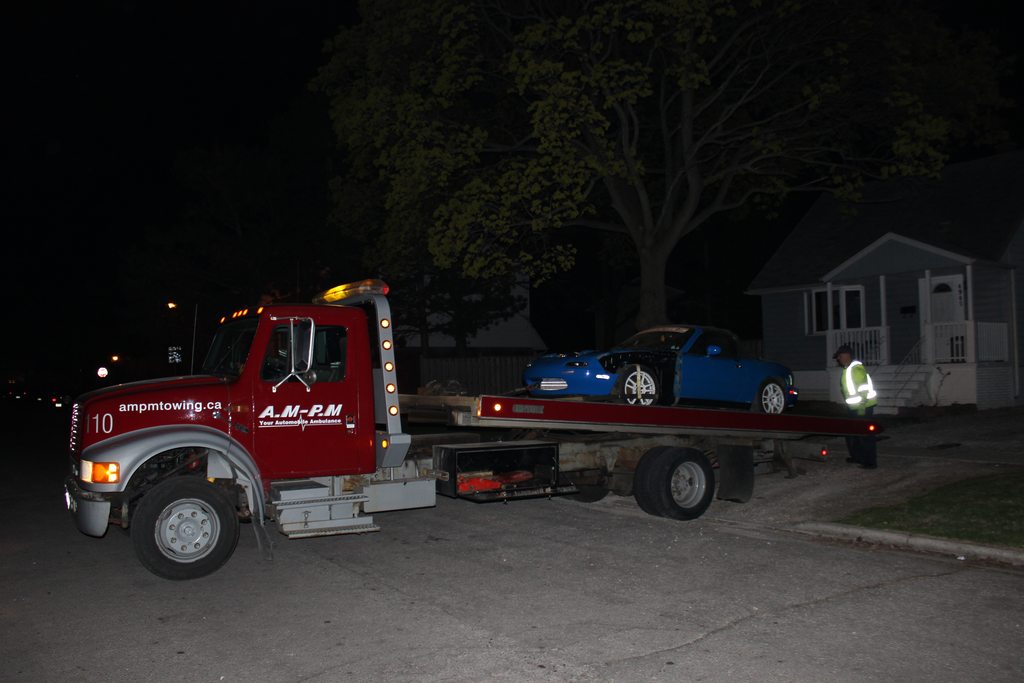
In my parent's garage waiting for me to clean out my garage so it would actually fit. So pretty!
And finally back in my garage!
Also started on intercooler piping. I'm making all the cuts and getting the routing figured out, taping the pipes together and bringing them over the GleaseManufacturing to have them welded up.
Only made progress on the IC > TB pipe and I'm just waiting for a 90* coupler to finalize it.
For the Turbo > IC pipe I'll be doing a 2">2.5" 90* transition coupler with 2.5" tube to the intercooler with a 90* coupler coming right off the intercooler. Those should be in early next week.
Put my EGT probe in and installed the heater core with some new hoses.

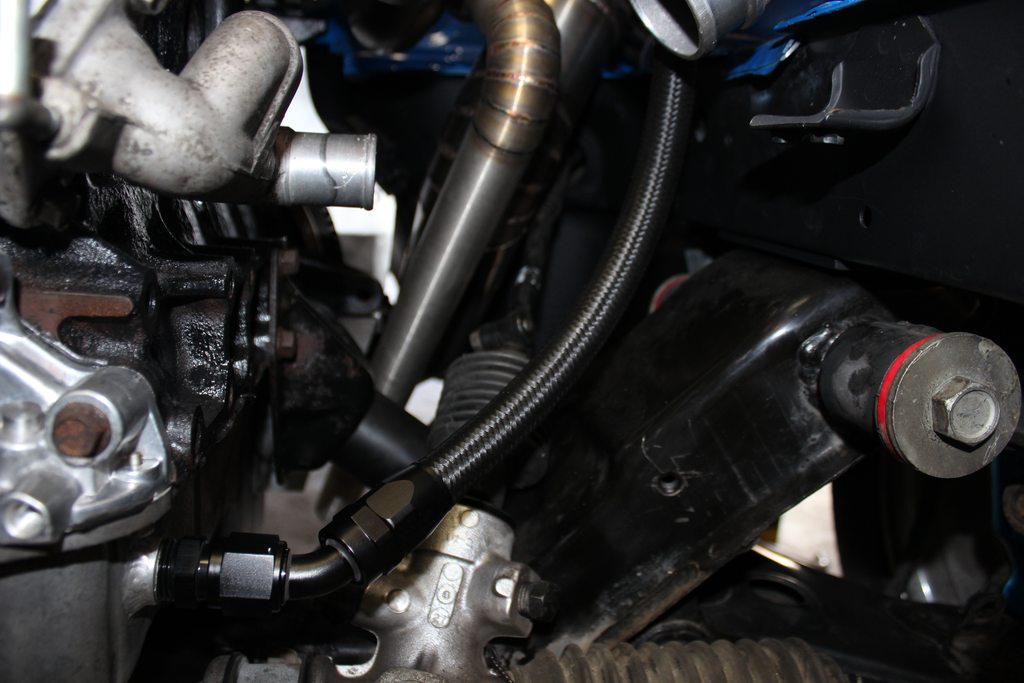
Also made my -10AN turbo drain. Just used the leftover line from the oil cooler.
Hopefully next week will have even more progress and then I can start figuring out what's going to happen with the wiring of this thing.
Got my fans mounted up on a shroud. Just have to seal all the edges, just figuring out the best of way of doing that.
Then things didn't work out with the garage I was keeping the car in anymore so it had to come home where hopefully I'll finish it.
Getting ready to be pushed out. Forgot how small this thing is when its not up on giant jack stands.
Getting loaded up on the flatbed
In my parent's garage waiting for me to clean out my garage so it would actually fit. So pretty!
And finally back in my garage!
Also started on intercooler piping. I'm making all the cuts and getting the routing figured out, taping the pipes together and bringing them over the GleaseManufacturing to have them welded up.
Only made progress on the IC > TB pipe and I'm just waiting for a 90* coupler to finalize it.
For the Turbo > IC pipe I'll be doing a 2">2.5" 90* transition coupler with 2.5" tube to the intercooler with a 90* coupler coming right off the intercooler. Those should be in early next week.
Put my EGT probe in and installed the heater core with some new hoses.
Also made my -10AN turbo drain. Just used the leftover line from the oil cooler.
Hopefully next week will have even more progress and then I can start figuring out what's going to happen with the wiring of this thing.
Reply
0
0
 05-02-2015, 09:58 AM
#299
Former Vendor
iTrader: (8)

Join Date: Mar 2005
Location: Broken Arrow,Ok
Posts: 1,185
Total Cats: 57
Did you end up using the Koyo Hyper V rad? I'm debating between that and the FM crossflow. Were the fans a special order from Bryan? I didn't see them on his site.
I'm sure you have this covered, but I'd suggest some thermal sleeving over the heater lines. They'll get pretty toasty back there.
I'm sure you have this covered, but I'd suggest some thermal sleeving over the heater lines. They'll get pretty toasty back there.
Reply
0
0


