When you click on links to various merchants on this site and make a purchase, this can result in this site earning a commission. Affiliate programs and affiliations include, but are not limited to, the eBay Partner Network.
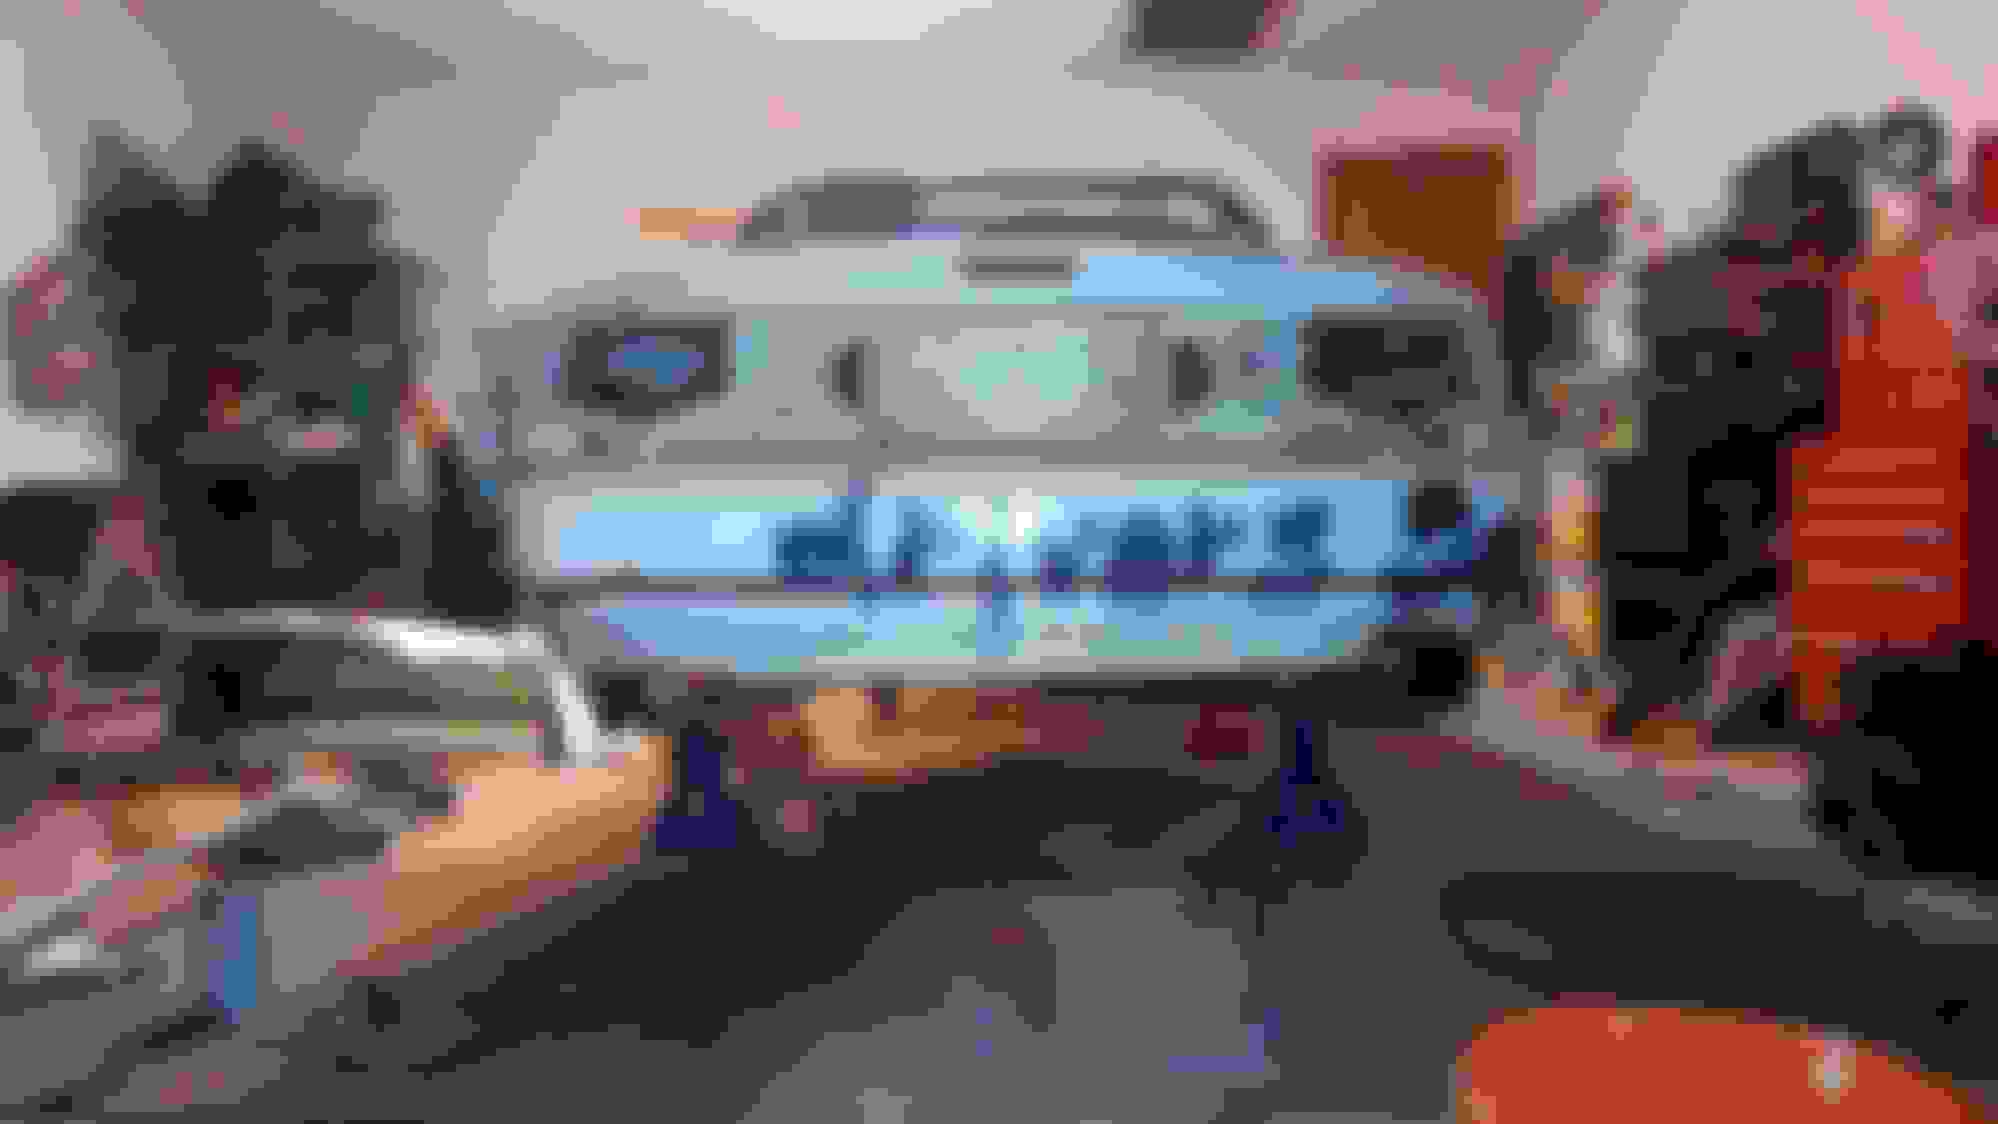
It runs! Half-assed putting the new engine harness and coils on. Checked to make sure each plug was getting spark. Turned the motor over with fresh gas in the tank until I could smell gas (no exhaust manifold). Hooked up the plug wires...and it started. Still have some work to do to make it driveable, but damn it's good to hear it run.
Ok so I've got the car running fairly well now. Took the harness back off and cleaned it up really well. Got the coolant sending unit tidied up and connected all of the hoses. Fans are now working properly. I can't find anything electrical that's wrong with the car. Everything freaking works to my amazement....didn't know what I was getting when I originally started on the car so I'm very relieved.
It should be driveable now and of course the radiator that came with the car leaks like a sieve. So one last hurdle before I can take this damn thing for a drive around the neighborhood. Trying to decide if I should just get a stock radiator unit or splurge for the koyo/mishimoto. I do like the bling factor of the aluminum rad, but I don't know if it's worth the extra money. Money might be better spent towards other goodies. Anyway...hopefully a donut video is in the near future.
Haha....well I noticed the harness had two small spots of bare wires when I first got it and I fixed those before initially putting it on the car to see if it would start. When it did start I put the exhaust manifold on and then the car would start for half a second and then die.
At that point I checked everything I knew to check and ultimately ended up removing the harness and going through it wire by wire. Everything checked out. Then I cleaned the maf sensor and plug. Swapped the intake tube to another I had. Still did the same damn thing. Would start and then die.
Hesitate to admit this after spending the better part of a day seeking a solution, but ultimately it was out of gas! Anyway....that's why its cleaned up.
Slight update...still haven't made a decision on the radiator. Probably gonna splurge on a performance radiator.
Did get a HUGE sheet of aluminum today. 7475 48" x 144" x .063" from the Lockheed C130 line. Apparently Lockheed puts a 6 month shelf life on aluminum so I got a really good deal on the full sheet. Really only needed about a square foot for what I'm doing next. Guess I'm making some door panels, gauge hood, splash guard, rear "diffuser" (maybe), rear finish piece, etc etc. Have a big enough sheet to do about 3 miatas worth of the aforementioned parts.
If you're in Atlanta Mid South Supply has a couple of metric tonnes of this stuff for next to nothing. Good guys too.
I've done a lot and probably forgot to take photos of most of it. Car is finally running and driving after buying a new radiator. Decided to go with a stock one. Went ahead and purchased a set of raceland headers to hold me over until I go to a turbo setup. Hopefully they arrive by Friday so I have the weekend to get them wrapped and installed. Picking up an exhaust tomorrow from craigslist. It's an ISIS exhaust and hopefully sounds ok. Not sure what to do about a cat yet...maybe a junkyard or steal one from the ghettocet to pass emissions.
Last weekend I purchased some 15" x 9" wheels. Tires are seriously too narrow, but I got a good deal on the wheels (I think) and destroying the tires should be fun. Still not sure what brand the wheels are. Maybe someone will recognize them. I'd guess the new wheels weigh around the same as the stock wheels so I'm happy with them.
Lesson learned the hard way...if draining the gas tank go ahead and spend the extra $0.25 on a new crush washer. Had a leak and ultimately had to drain the tank again to put a new washer on.
Just so happened a man 1/2 a mile from my workplace was selling two pairs of sway bar adjustable end links, a cobalt short shifter with a new dust boot and spring washer. He also had a SS clutch line which I don't need since I've got one already, but I picked it up anyway. Pretty sure it's for a NB. Maybe it will work on the ghettocet? All the parts are still new in the package..however they're discontinued so they must've been sitting in someone's garage for a while. Seller has never owned a miata (pretty sure he couldn't as he was a large man). Called moss miata about the end links just to confirm they'll work on my year. Thankfully they do.
Install of end links seems straight forward, but I'm not sure how to properly dial them. Probably need to drive the car more than 1/2 mile before I start trying to tune the suspension components. Same goes for the adjustable shocks...
Shifter kit didn't include a ball bushing. Ordered an OEM bushing which should be here Sunday. I've never had a short shifter in a car. Looking forward it.
Been a somewhat eventful weekend. Picked up a few more parts yesterday from a local miata guy. He had a lot of cool parts!...some of which hurt a little to walk away from, but they were out of my budget. Still bought two windshields, a front bumper, nardi steering wheel (still need the adapter), rear finish piece, an intake heatshield/maf bracket setup, a hood prop rod, and probably some other parts I'm forgetting. Also picked up a new cat, gaskets, etc.
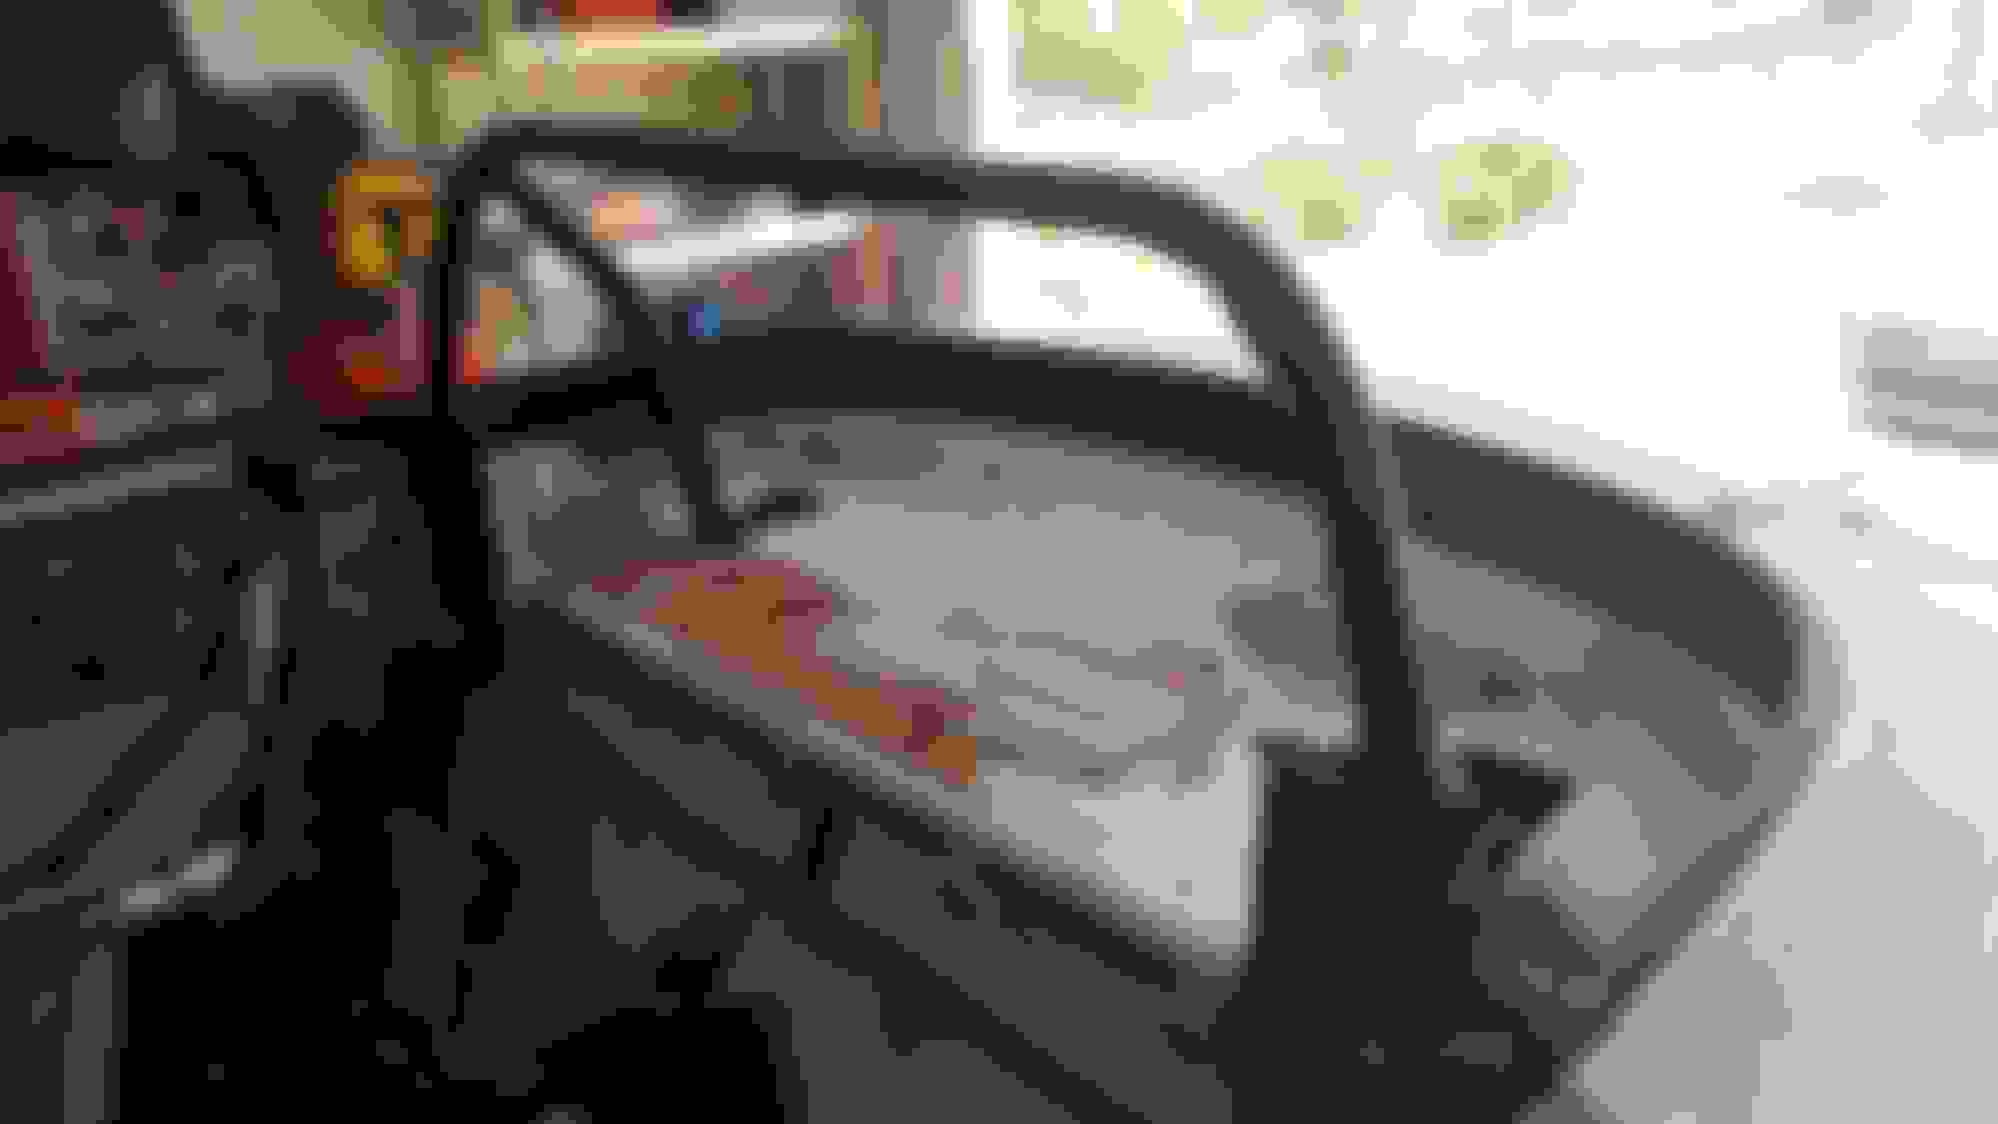
I've found a hard dog "sport" roll bar locally. Hoping to pick it up tomorrow. Going to leave the car on jack stands in hopes the deal goes through. I've touched so much of the suspension and brake systems at this point I fee like I need to come up with a system to ensure everything is tight. Maybe a bright colored paint marker method will work ok...just don't want a control arm coming off at speed. Any suggestions are appreciated.
Polished up the shifter before installing the bushing since it had a small burr/lip on it from the lathe. Figured the burr would eat away at the bushing prematurely. New ball bushing, spring washer, upper plastic washer, and dust boot installed as well. I don't feel like the throw was shortened all that much, but shifts feel a lot more precise. Probably more to do with the new bushings than the shifter itself. The old shift bushing was super loose.
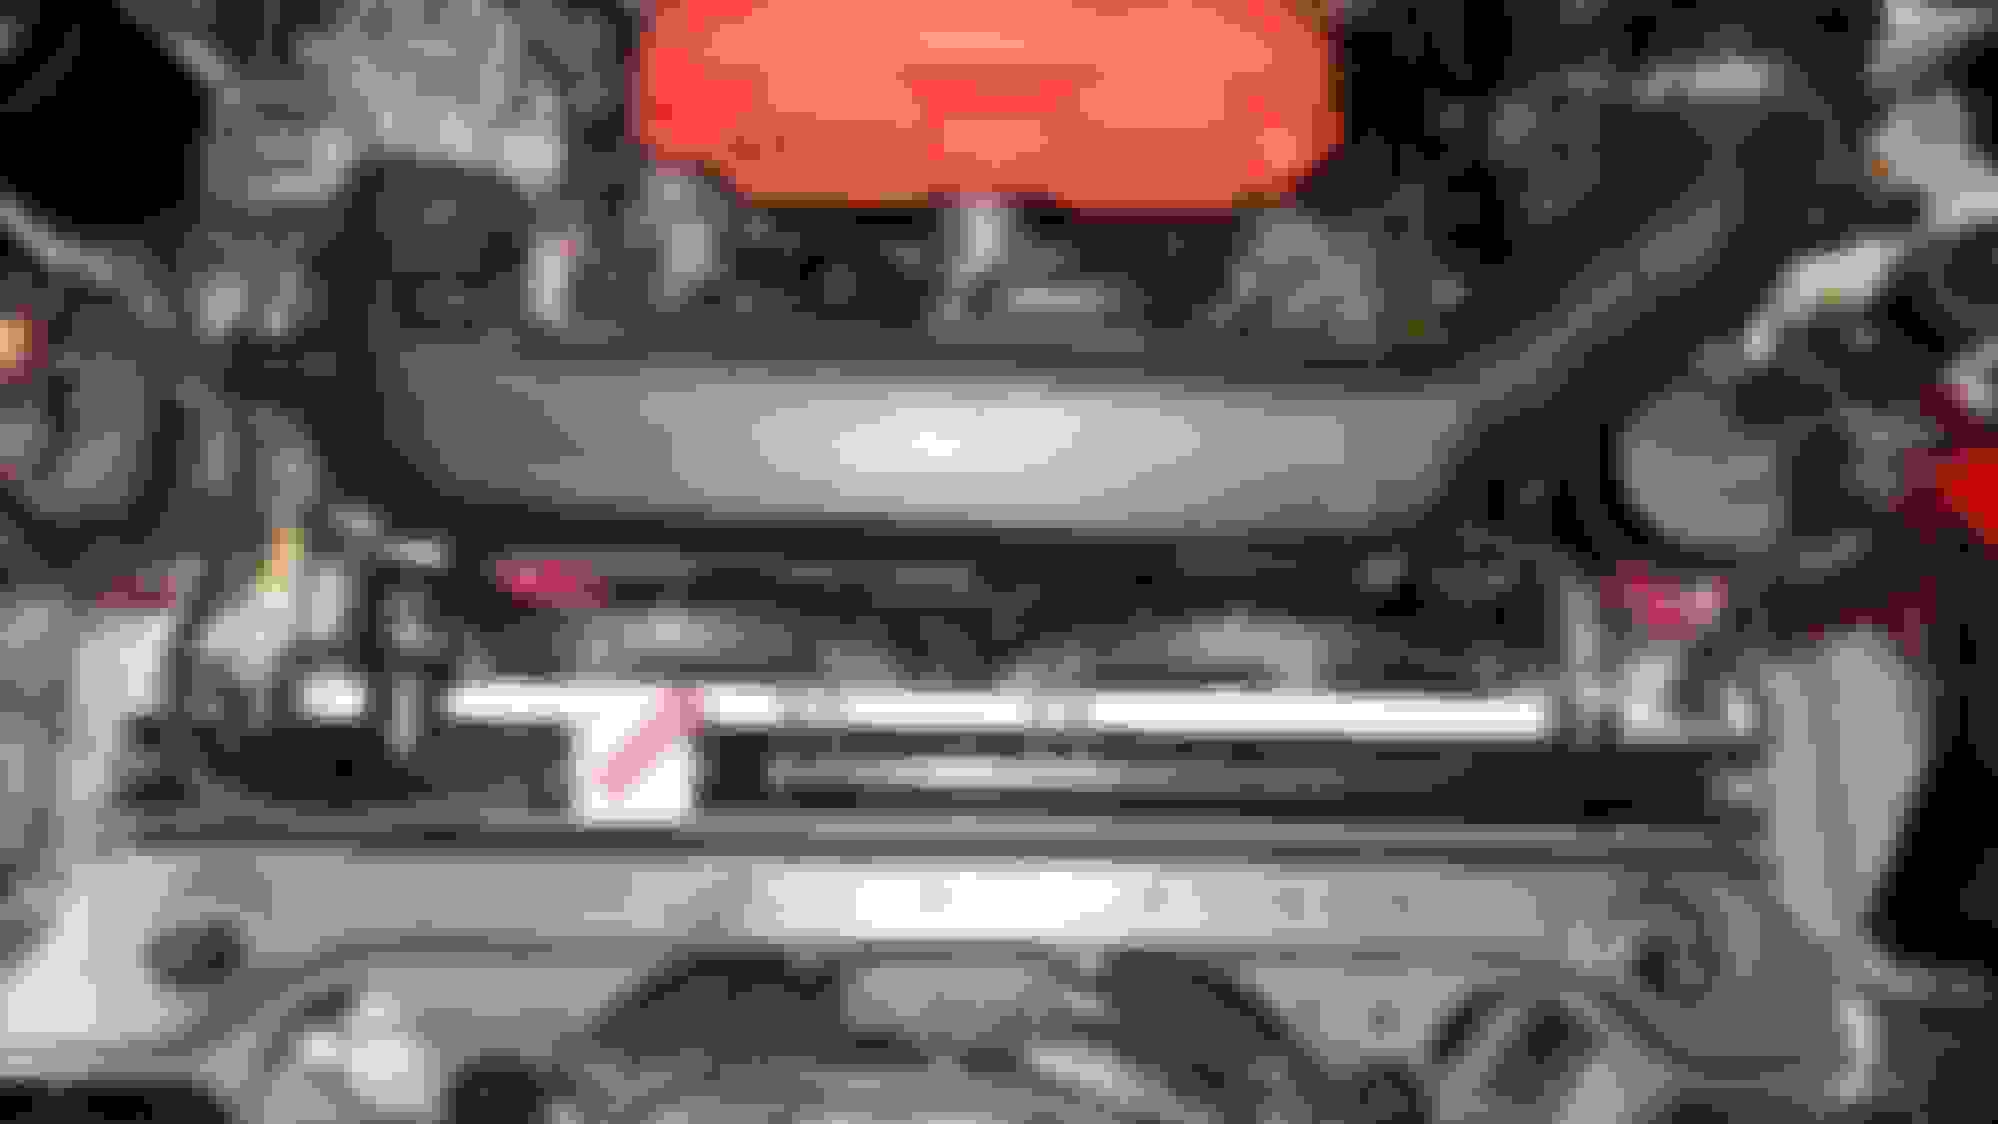
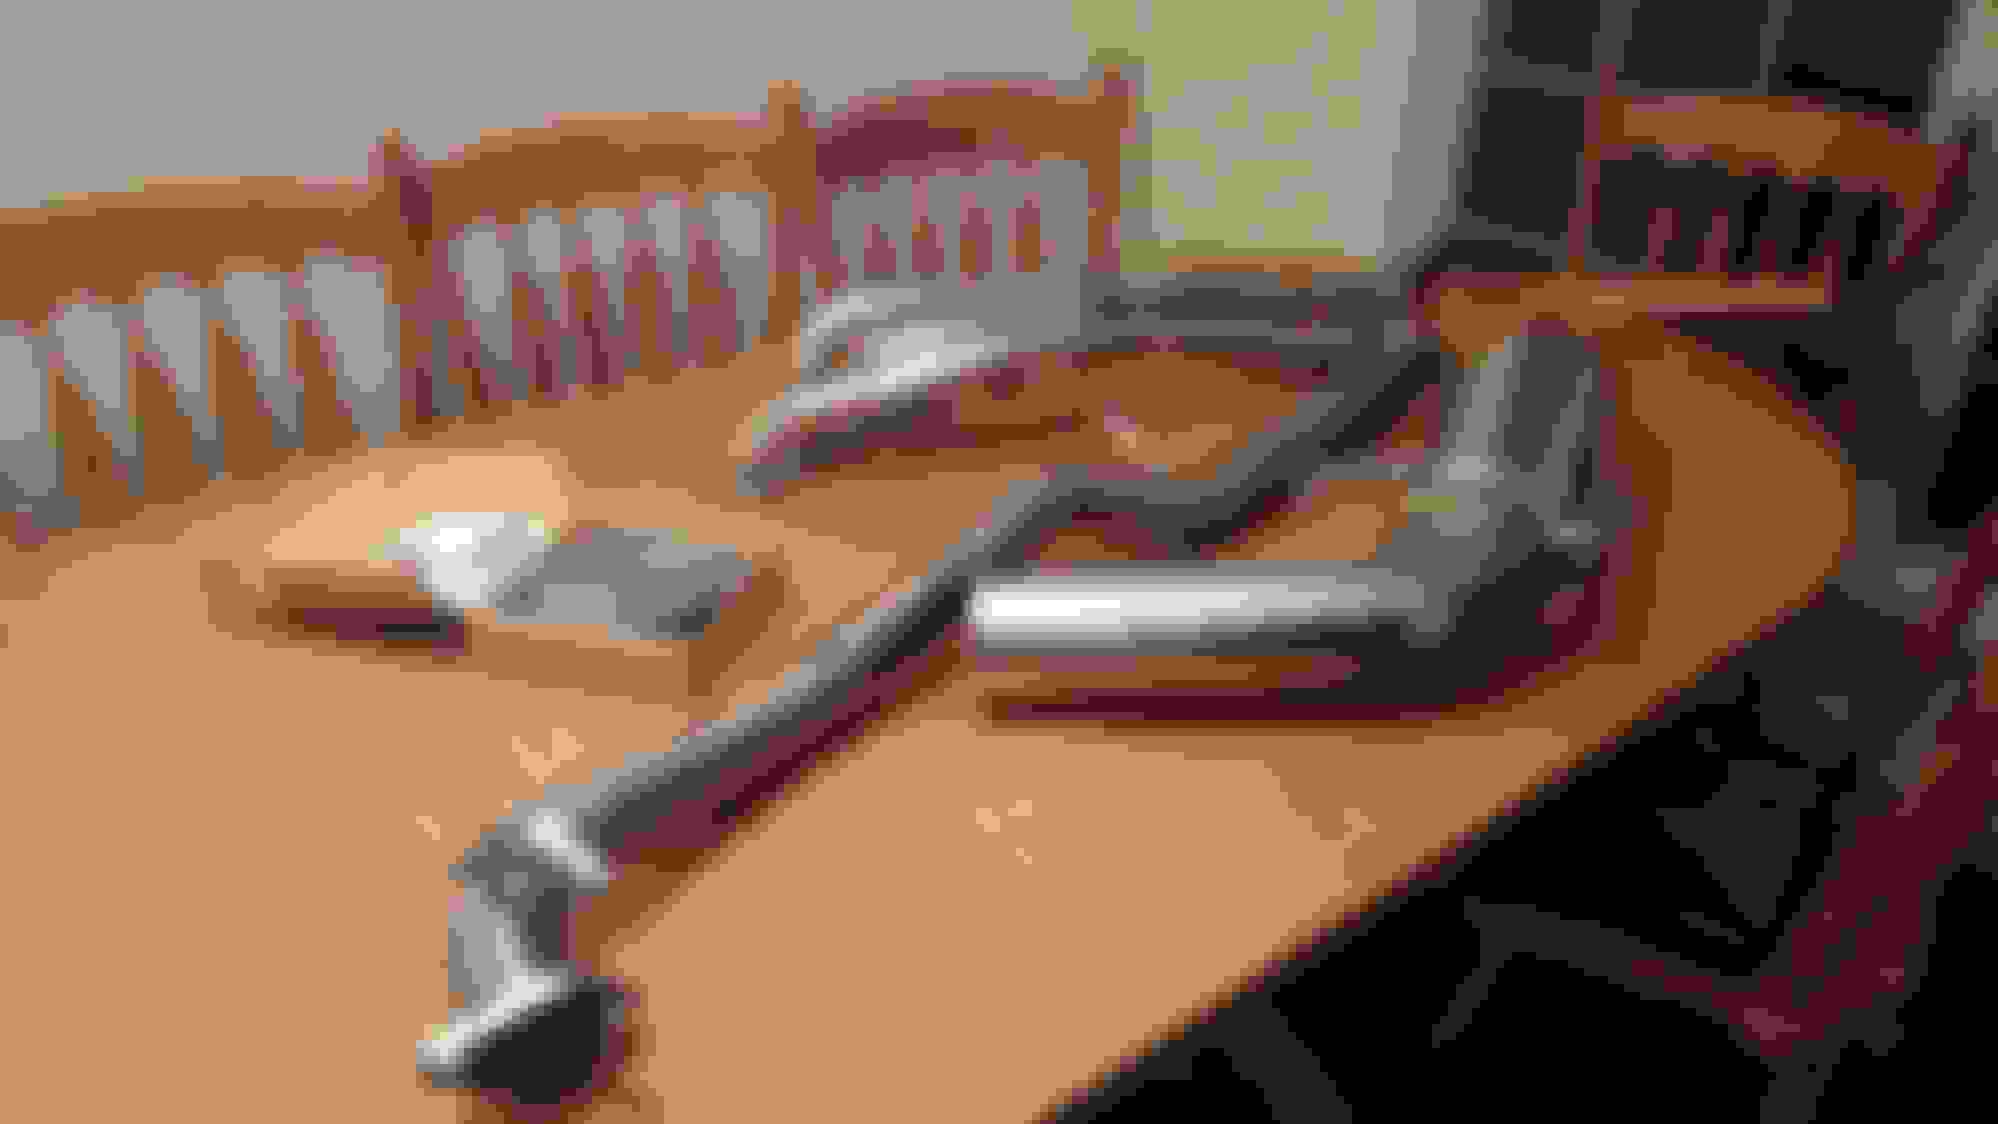
Pretty much got the entire exhaust installed. Getting the old exhaust out was a pain in the ***. Ended up breaking one of the bolts at the collector. Obviously raceland headers are not the best on the market, but mine were very difficult to get into place. Ultimately, had to loosen the motor mount and lift the motor on the exhaust side with the cherry picker to give me enough clearance around the steering shaft. The egr tube doesn't line up correctly. After reading up on it this is pretty common. Going to tackle this tomorrow. I'm probably going to have to remove the coils AGAIN in order to get to the rear egr tube bracket. Went ahead and extended the wires to the O2 sensor since it's further back. Was worried the sensor would be in a bad place...it's actually easier to get to now than the factory location. Have a DEI wire heat shield deal on the way. Need to figure out a way to keep the O2 wres off of the headers. Not much in the the area to zip tie to....
Last exhaust photo shows the exhaust tip hitting the bumper bracket. Probably going to be really annoying to listen to when driving. Looks like I just need to trim the bracket piece, but I'm going to fit the bumper cover on tomorrow to be sure. Could be the hangers from the exhaust need a little massaging.
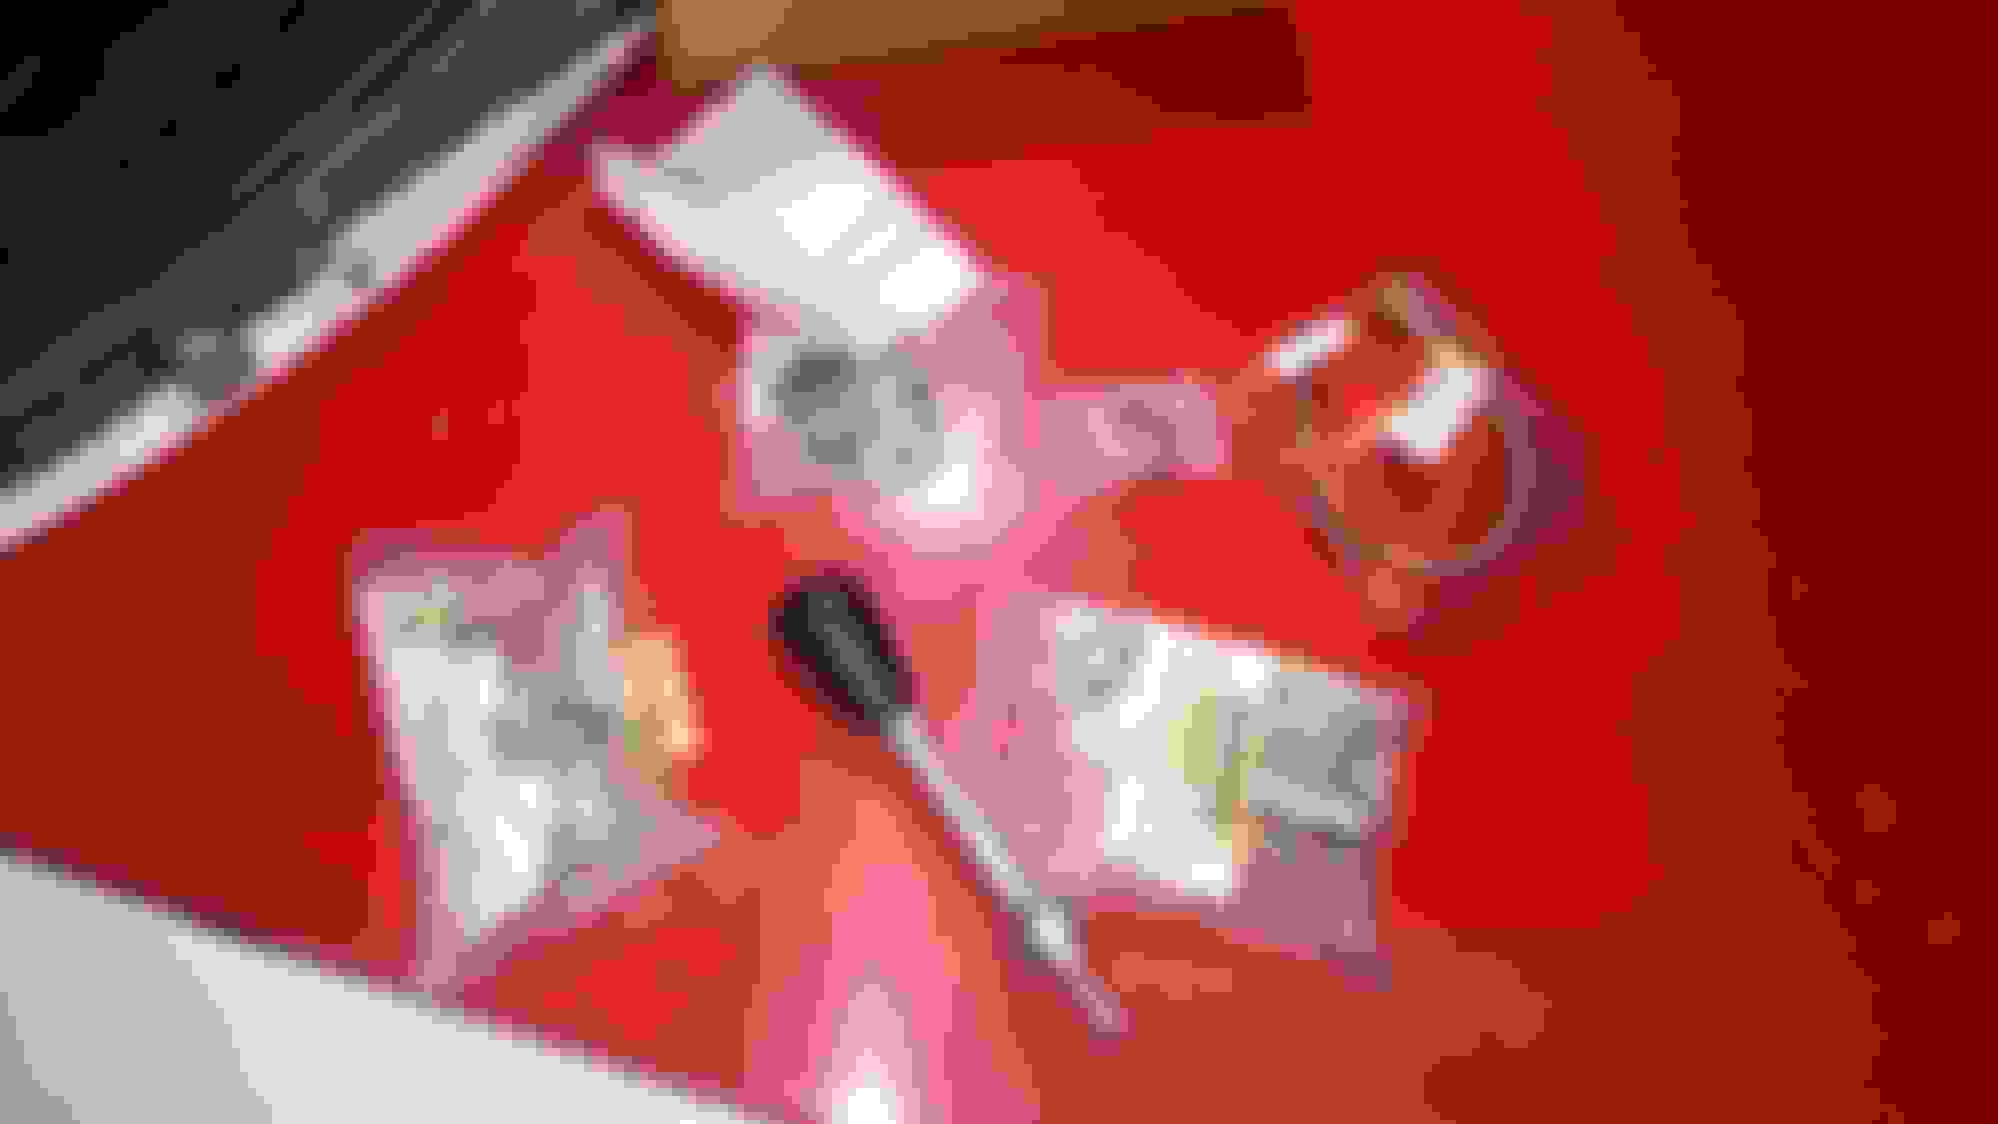
Got the front sway bar end links installed today. They were still new in the package which is cool since the instructions had a 1998 date on them. They still look new and seem to move freely. I'm glad they came with new hardware as the stock sway bar bolts are now holding my cat in place. Links were set up to original length and orientation out of the package. Going to put the rears on tomorrow.
Didn't get as much done this weekend as I had hoped. Mainly due to (insert string of expletives here) raceland headers. Headers are on and EGR tube is connected after a lot of effort. Engine is running well now and idles okay. Probably need to adjust the TPS to get it just right. I tried to record the exhaust sound, but it's too loud for my phone's microphone and makes it clip. It sounds good to me.
Sway bar end links installed front and rear now. For some reason I like the way they look on the car. Purchased a factory shifter dust boot on letgo....original was disintegrated. It was cheap and still in the package so might as well while I'm in there.
Also bought a hard dog roll bar this morning. It's used and at least one of the bolts has damaged threads. Going to purchase new hardware on McMaster where necessary. Installation of the bar looks like a decent sized job so I may wait until I've finished a few other things with the car. Since I'm not in a hurry to install the bar I may look into replacing the fuel pump "while I'm in there" ...gotta research what makes sense for my future turbo dreams.
Began thinking about what I want to do for an intake. I've priced some things on siliconeintakes.com. They have everything I need in one place so I'll probably purchase from them, but it seems overly expensive for what I'm doing. $94 total with shipping and no filter. Photos below.
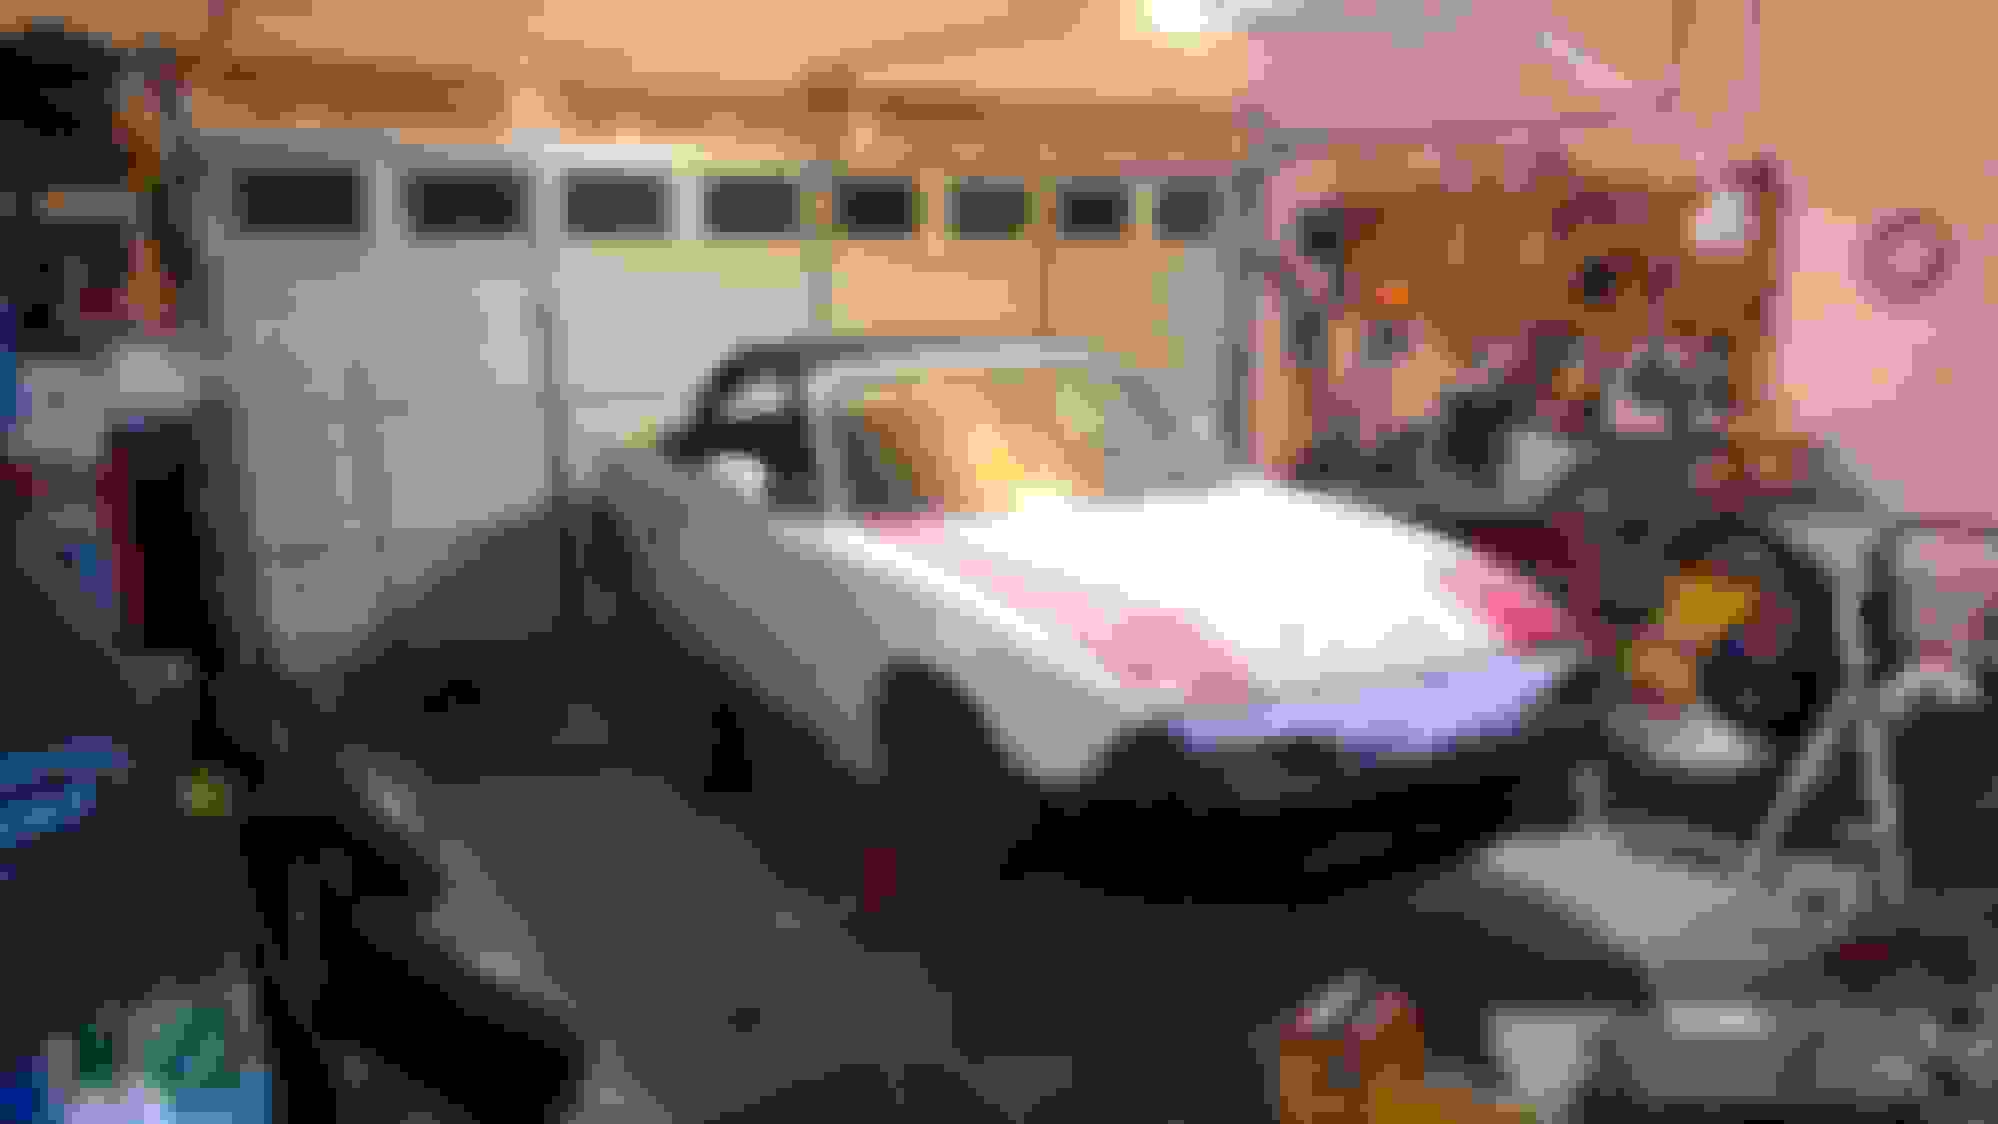
Finally have a windshield. Pretty big milestone as now the car can be left outside and the interior won't get soaked. I've got two windshields and BOTH have the zoom zoom sticker across the top. My "helping hand" today claims they're factory stickers, but I'm not so sure. Going to leave zoom zoom on it for now...
Bought a gallon of primer today so I guess I'm going to start prepping for paint.
The body work begins. Sanding the spray paint gums up sand paper pretty quickly. Going to have to buy a few more discs than I originally thought. I'm glad I have a palm sander....removing the spray paint by hand would be nearly impossible.
Been a while since I posted an update. Still waiting on some fiberglass repair stuff to arrive to begin working on the hard top. Also taking my time to research more about painting cars. It's a steep learning curve... Made a decision this weekend that I'm going to either fix the hard top I have or buy another. Not interested in a soft top...at all. That being said I went ahead and removed the soft top while I was installing the roll bar. Not sure how the sub floor and rear shelf get so dirty...I guess after 240,000 miles dust and dirt gets trapped in that space. Spent some time cleaning it out since I probably won't be in there any time soon.
Stole the fuel pump cover from the ghettocet since the one from this car was very corroded. Painted the rain rail (I believe that's what it's called) even though only part of it shows with the carpet installed.
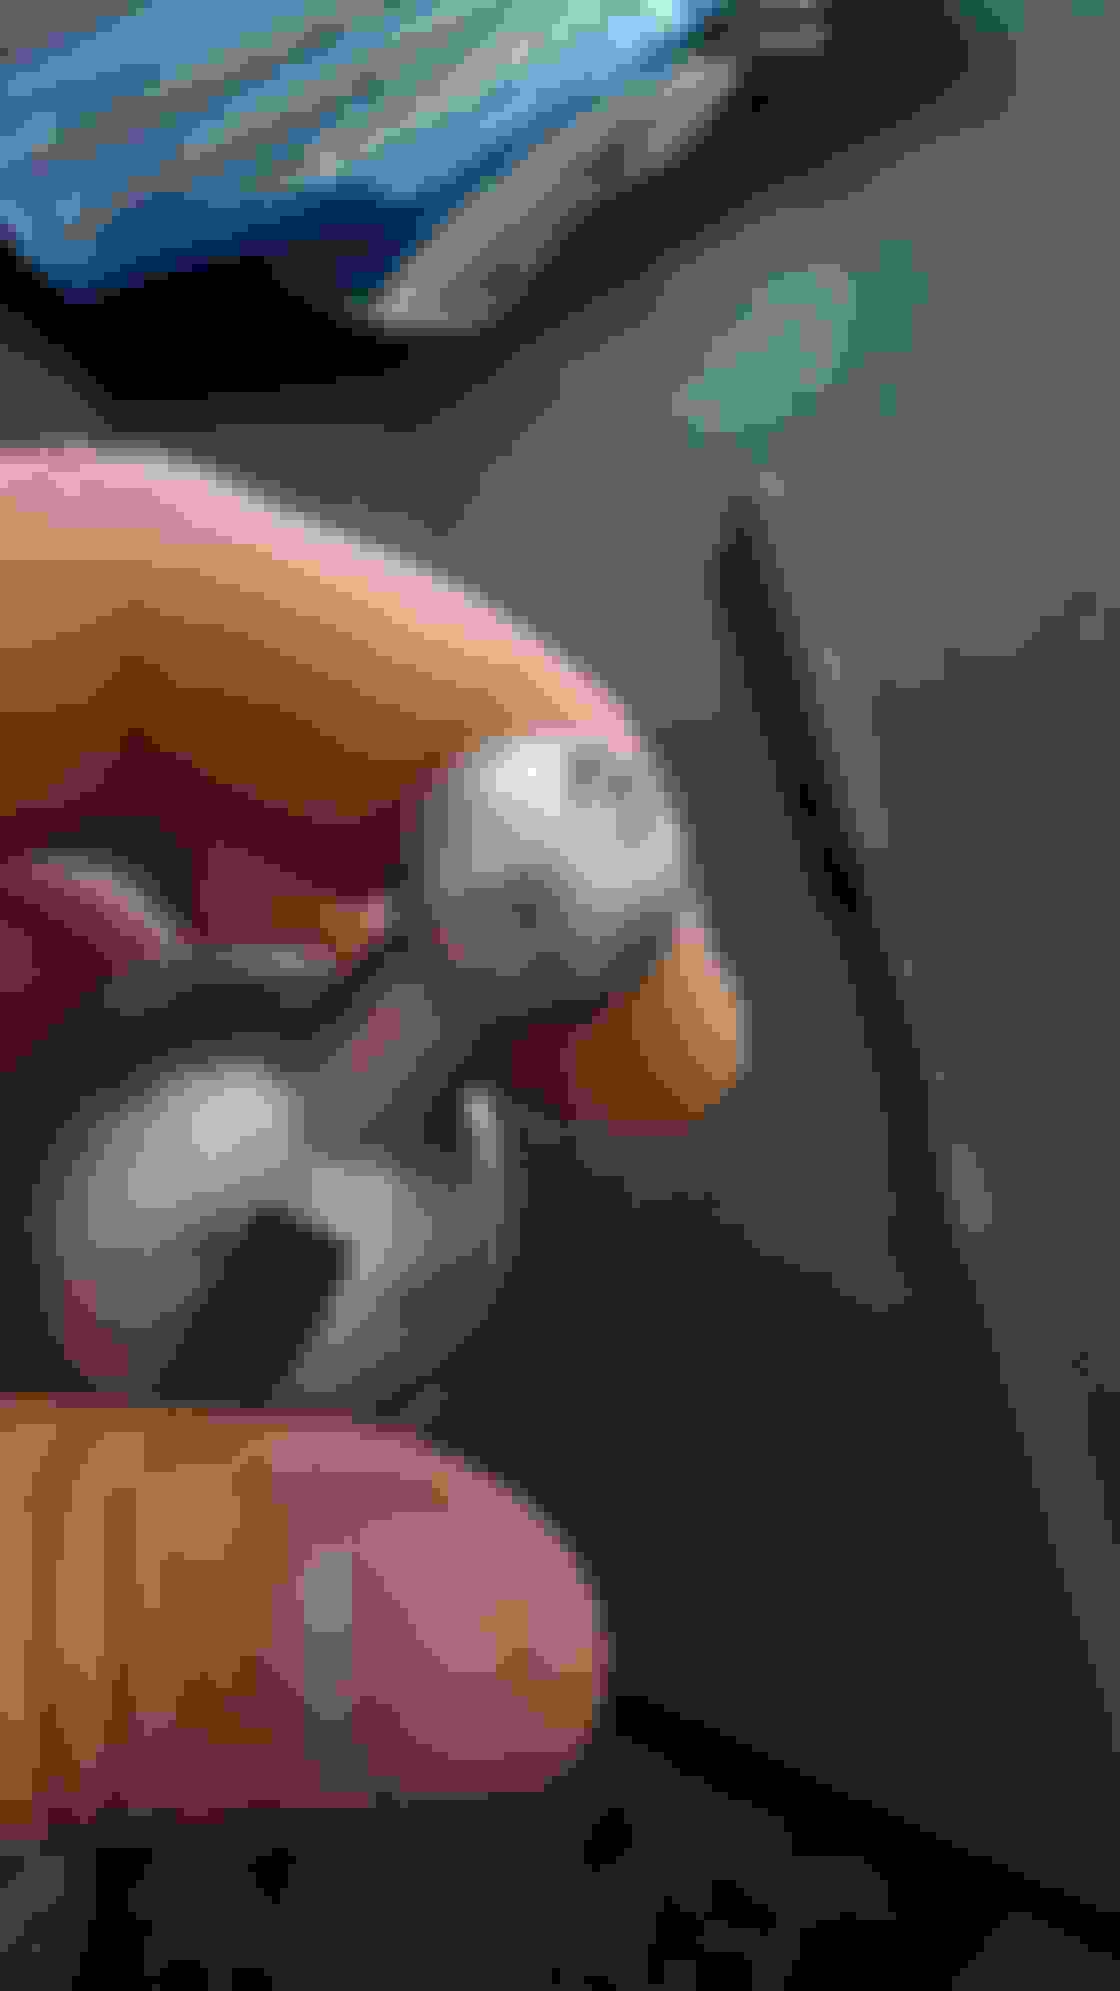
Tool aftermath and my new to me nardi steering wheel. Missing the horn button, but I really like the wheel.
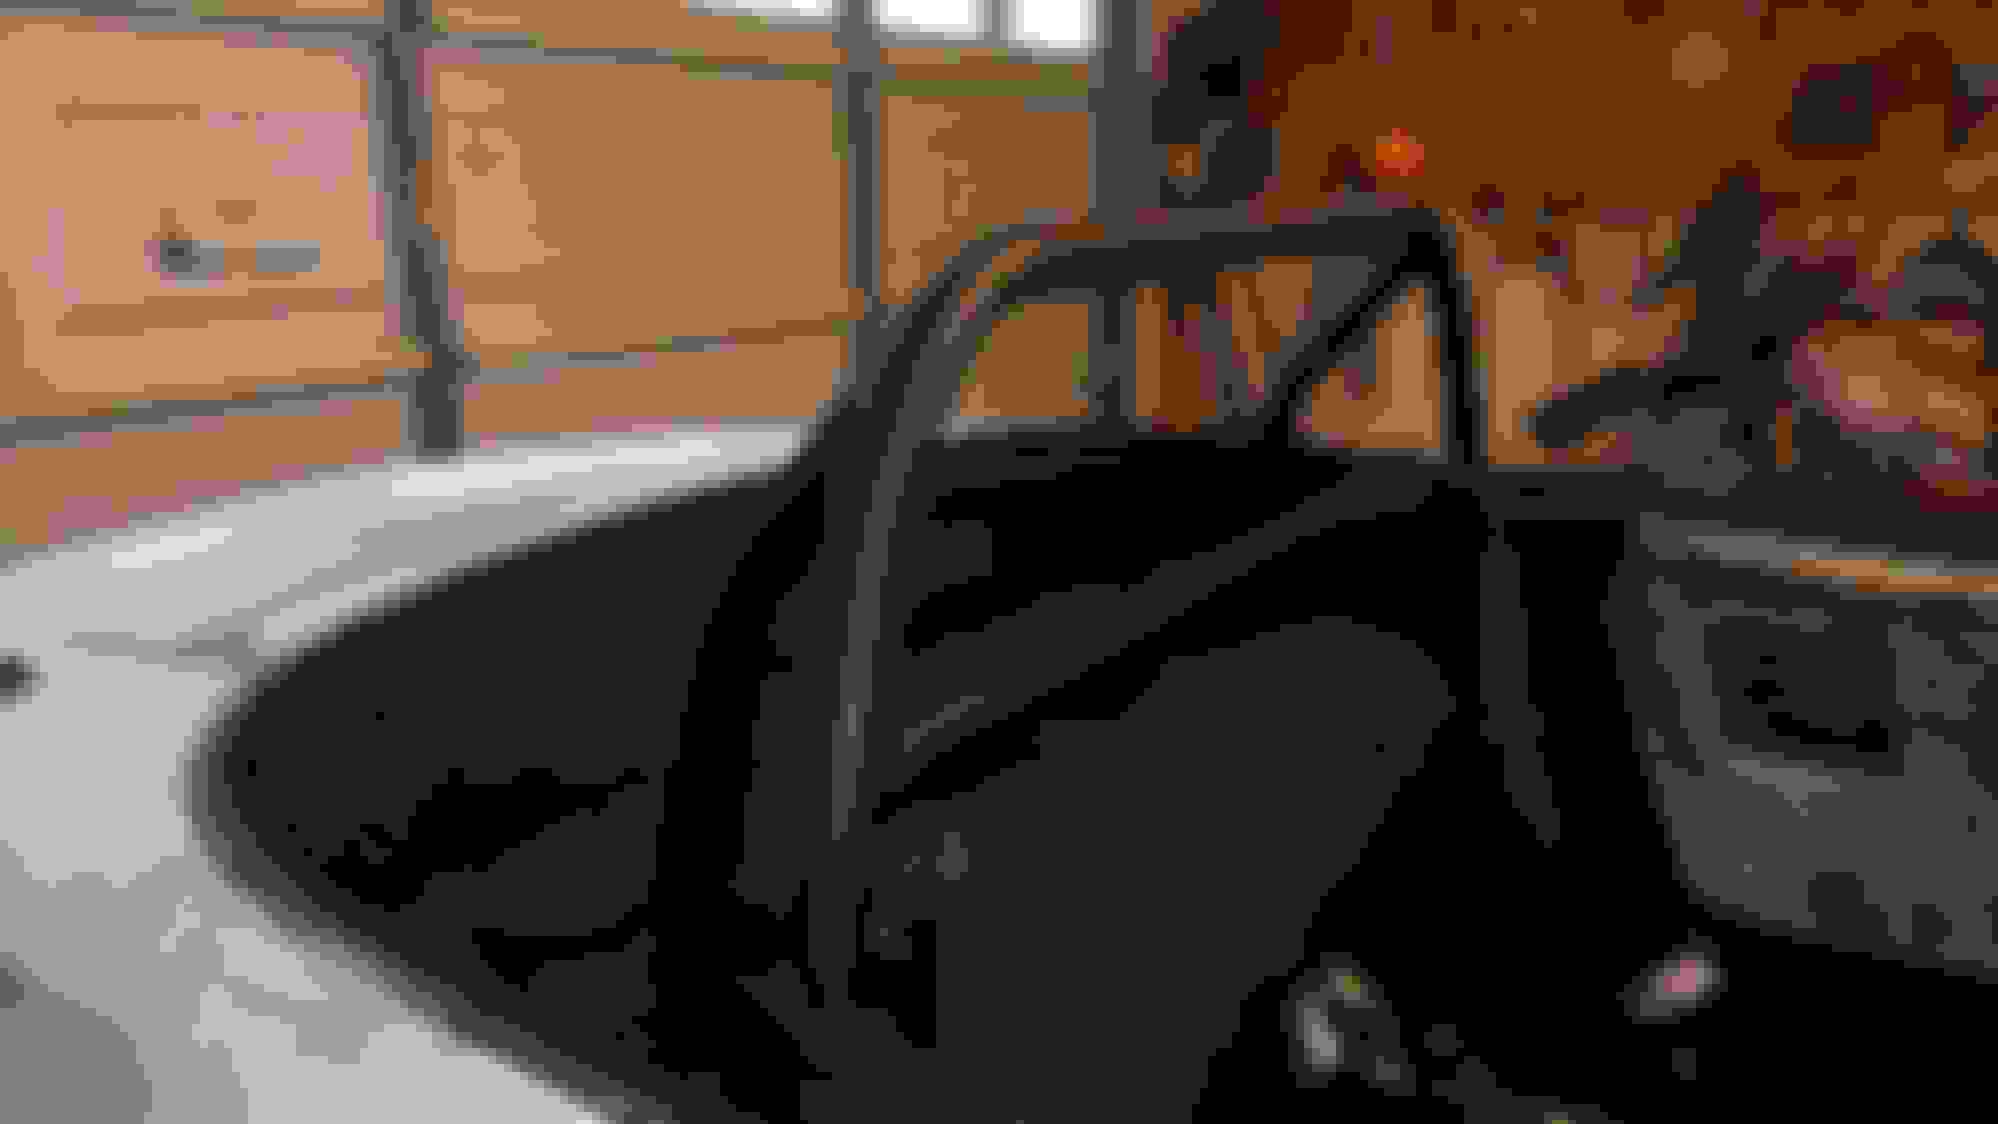
Bar installed. I bought the bar used from a kid and it had a lot of stickers on it....removed the stickers and hit it with some flat black paint. I think the flat black looks good. The c pillar brace installed with the roll bar in. Only had to trim the pillar brace covers a bit, but it's not visible. Really tired of looking at the lack of door panels...
Making progress slowly....been focusing on the hardtop lately. Had to reinforce the inner "channels" that were cracked. Didn't take photos of this. Once they were fixed I glued the front lip of the top back to its inner frame. Used some Thixo 2 part marine grade epoxy and every clamp I own to hold the two together. Structurally the top seems ok now....still need to address the cracked attachment points at the front. Probably going to get creative with this.
Last night I used some spray foam to begin shaping the missing parts. It seemed to work ok. I had to add a bit more foam to the driver's side so hopefully it'll be ok when I get home tonight. Passenger side looks good to me.
While I was waiting for the spray foam to dry I decided my bumper needed to be cut. Still need to cut the bumper support underneath. I guess with it cut there's less to prep for paint. Intend to finish this up tonight along with the first layer of fiberglass over the foam. While the bumper support is off I need to trim the tab that's hitting my exhaust tip. Should be quick work for the sawzall.
Is that vash? Don't remember him having that hood scheme.
Apparently it's the creation of Corey from Calgary. I'm now wanting my hood to have a "reverse scoop". Beginning to feel like this project will never end...
So yesterday I put the hard top on the car for a test fit. During my repair to the inner channels something may have warped. After adjusting the location of the mounts at the Frankenstein studs and "massaging" the top with a mallet until it fit the front windshield frame I think it will be water tight. I definitely got lucky working on the top with it off of the car so going forward I'm only working on it while mounted to the vehicle (or a vehicle...). Debating if I want to do the top work on the project car or pull my parts car down to use as a template. Last night ordered the Jass performance hard top brackets. Compared the few options available and these brackets look like they'll work best with my top. Hoping they'll be here soon as I'm ready to finish the fiberglassing...
Continued working on the bumper cut tonight. While I was in there I went ahead and painted the inner fenders and rear flat black. Wasn't very methodical with the spray paint, but I think it's better than before. You can see in the second photo below that I also trimmed the bumper body mount that hit the exhaust tip. Ran out of time tonight to get the exhaust back on, but just by eyeballing how much was removed it should clear now. Will find out tomorrow night...
Cut the bumper support down. Was a bit of a pain in the ***...one of the bumper support mounts and the nut insert was damaged. Had to pull the bumper support off of the parts car to get a working mount. Cleaned the support and mounts up.
Right before I gave up for the night I slapped the cover back on to see what I've done to my car. I think it's going to look good. Starting to forget what this car looks like on the ground so I will probably put the wheels back on and see how it looks again soon.
The Jass hardtop brackets came in. Got them installed Saturday morning. No photos as I have the car masked up and forgot to take them. They look good though...everything pretty much lined up. Was a little difficult to get the rear brackets on due to the roll bar being in the way, but those kinds of things are to be expected I guess. The top feels very secure now.
Started on the fiberglass yesterday afternoon. Did a first layer very wet over the foam and over the tape underneath. Will do a build up layer today to match the thickness of the hardtop. After that I still have one more hole to fill at the front edge of the top. Wrapping my head around how to approach it as it's probably the most critical repair I need to make to the top.
Went to steal some bolts off the hard top brackets from the parts car and got a pleasant surprise. Almost bought a set of visor blanks about a week ago and it turns out I had them already. Don't see the point of visors in a hard top Miata so the visors are going in the pile and these are going on today.
Got the second layer of fiberglass on yesterday. I built it up higher than the top so that I can sand/file it down to a smooth transition. May have gone a bit too high...not sure. The patch is standing about an 1/8" proud over the actual top surface. In an attempt to use less hardener than I've been using I may have used too little. It was still a bit tacky this morning before I left for work so I may have screwed up. Been looking at ways to help it cure...maybe a second thin layer of resin with A LOT of hardener or even something like saran wrap tonight under a heat lamp? Also considering a heat gun from the inside of the top? i don't know....gonna try a few things before I rip it out and start over. It definitely has cured underneath...just not the very top layer
 06-14-2017, 10:50 PM


 0
0