
Changing some stufff 2004 MSM


Thread Starter
Junior Member
Joined: Dec 2013
Posts: 105
Total Cats: 10
Reply
 0
0

0
Thread Starter
Junior Member
Joined: Dec 2013
Posts: 105
Total Cats: 10
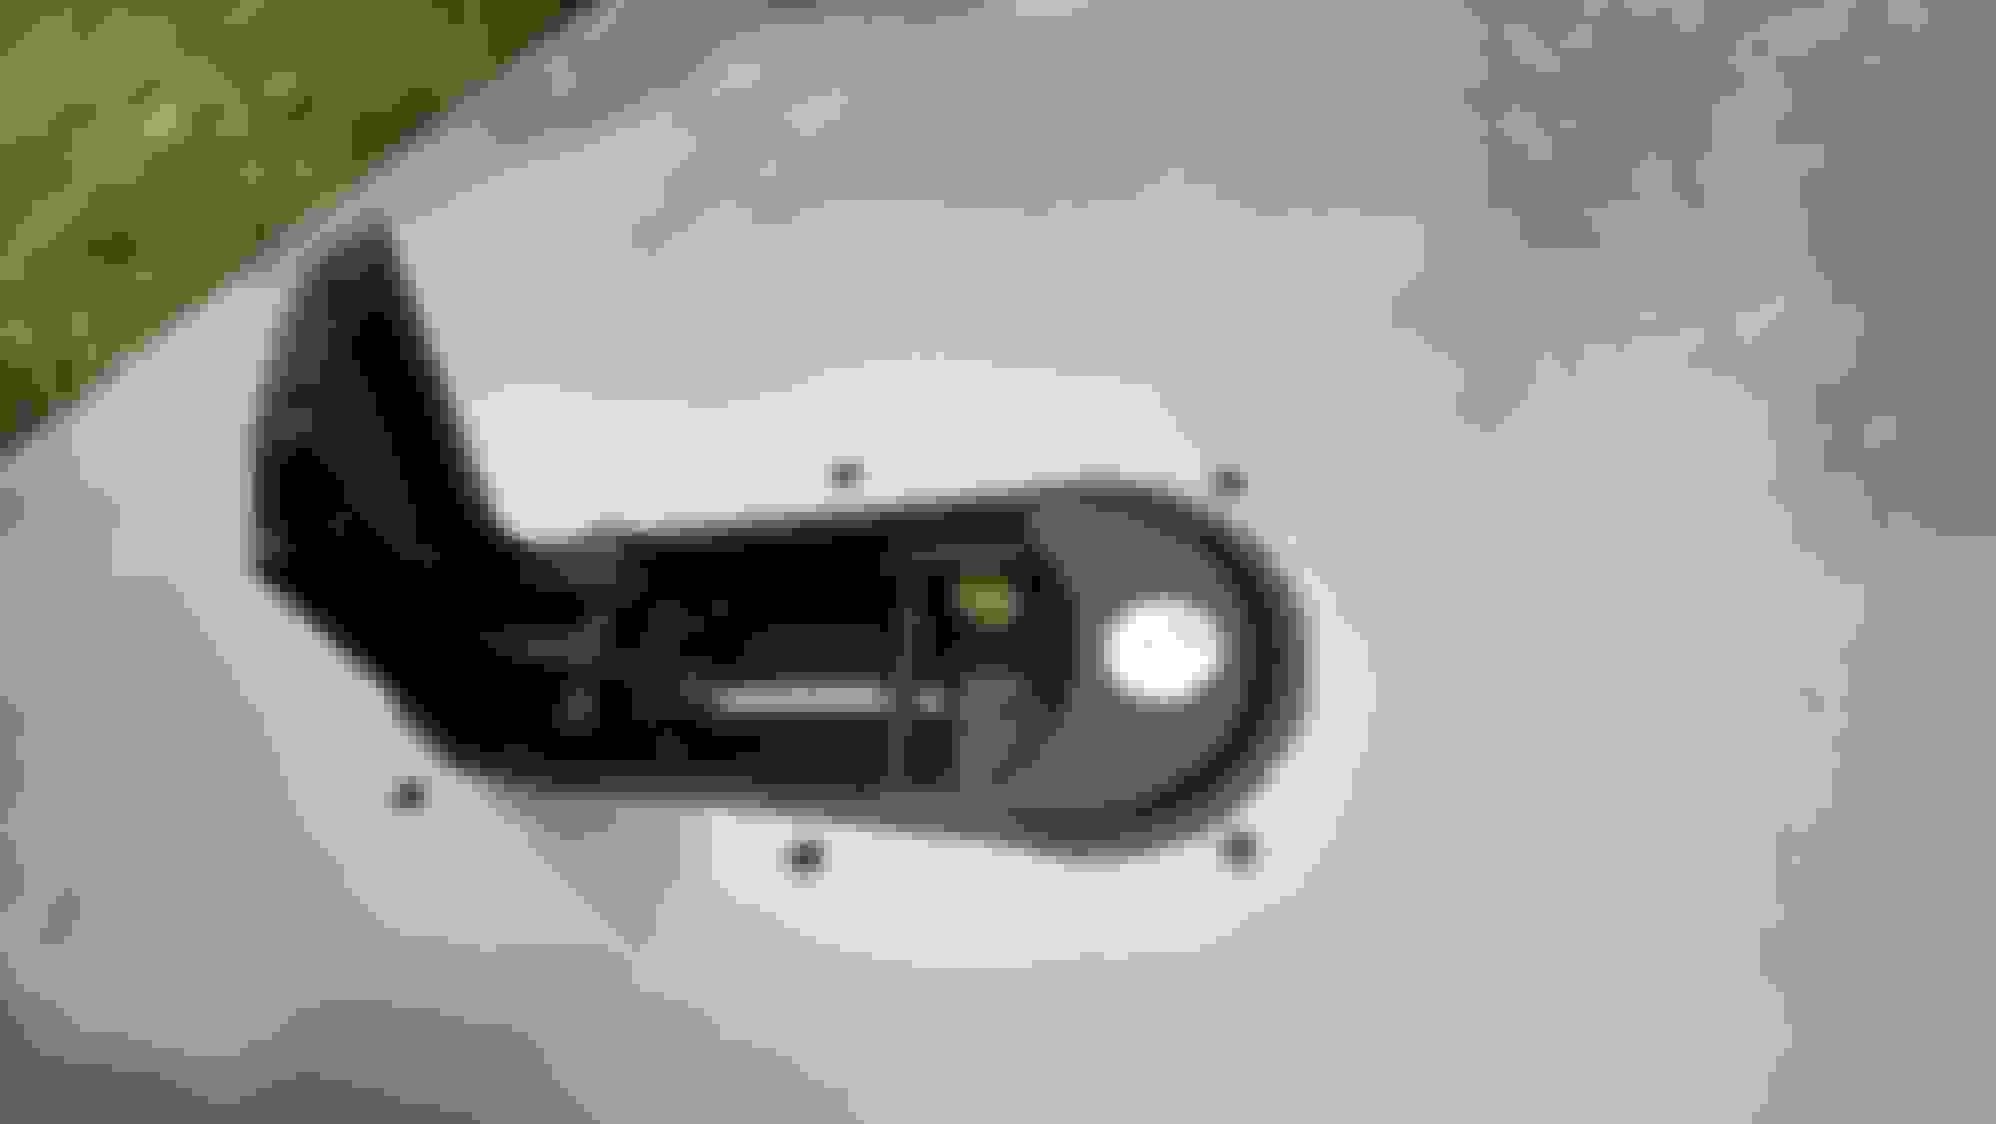
Adding Aerocatch latches: The pin already installed. Putting in the pilot hole for the small hole.
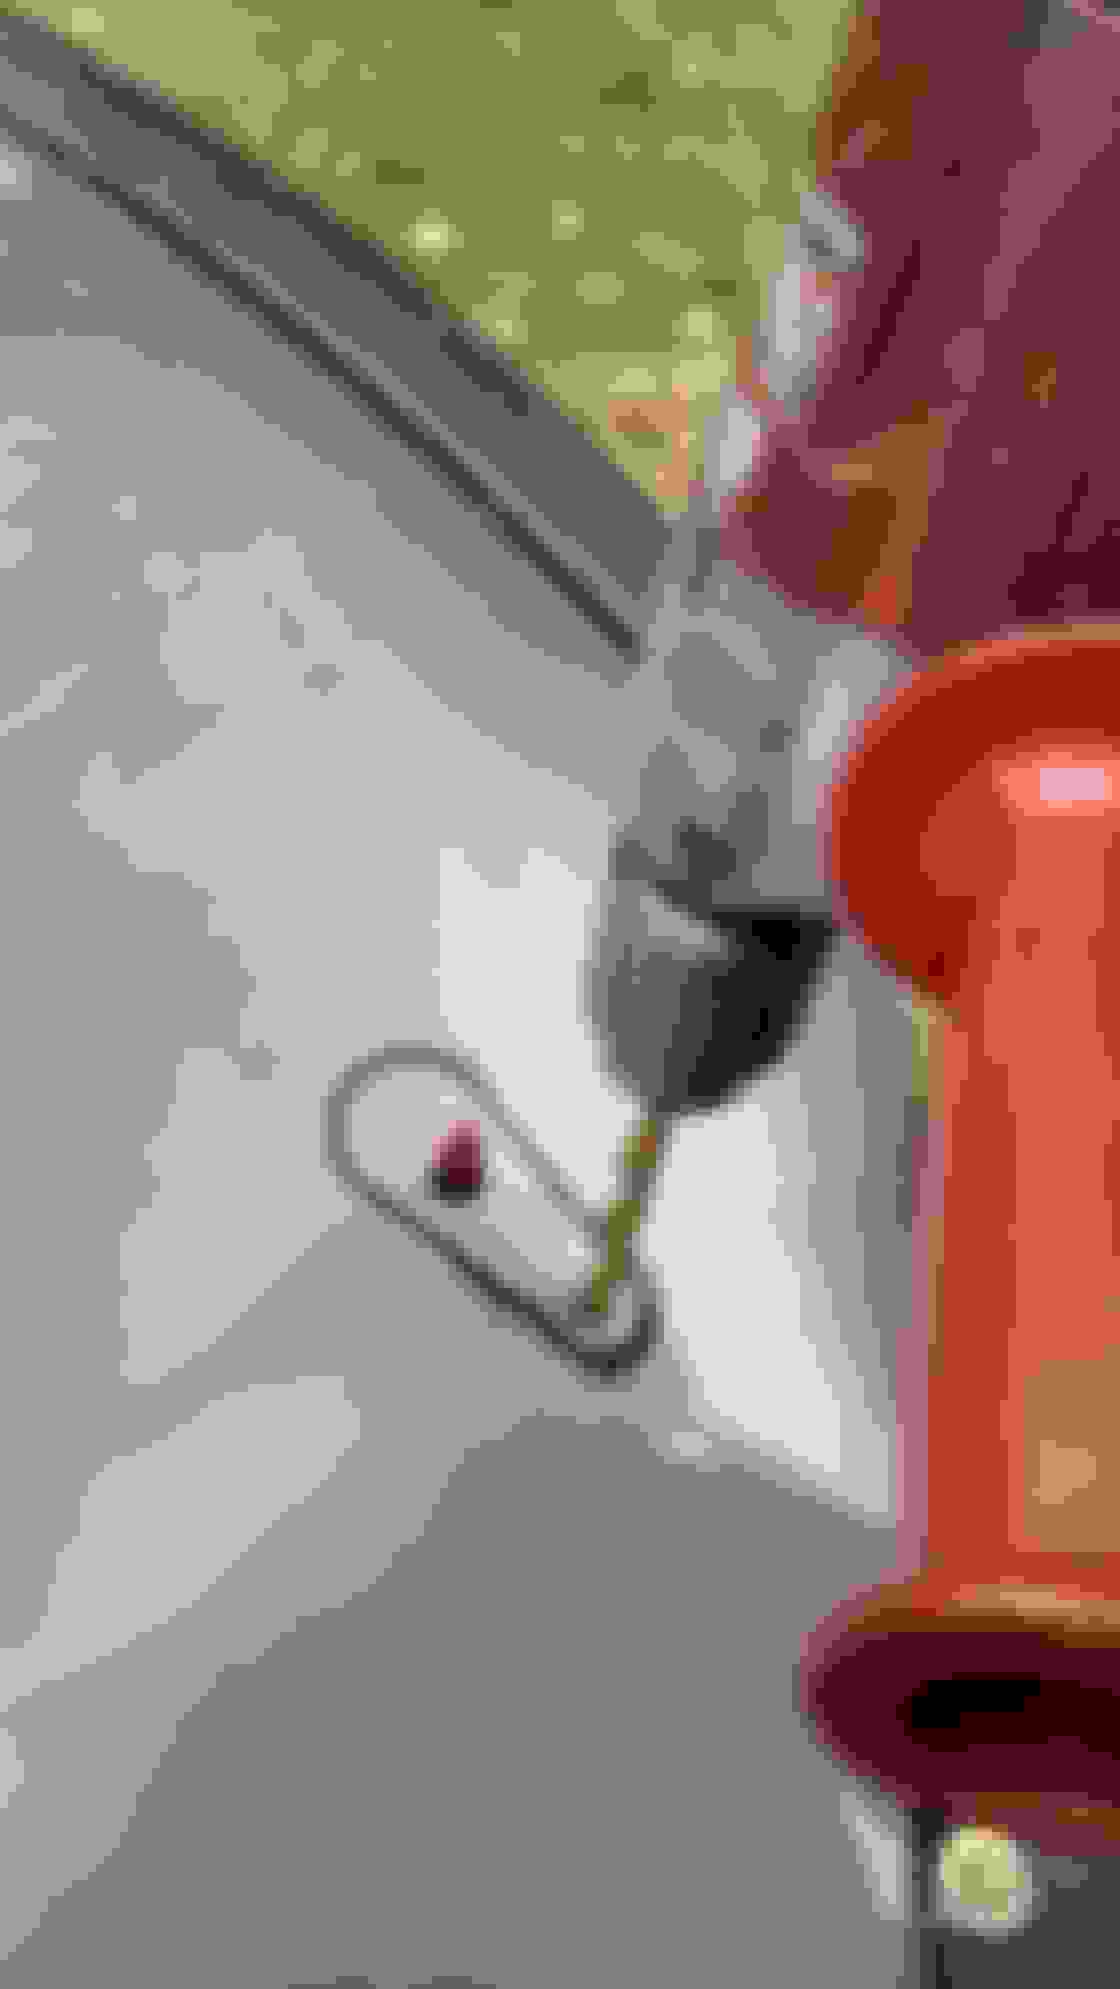
Underneath view.

Chassis punching the small hole.
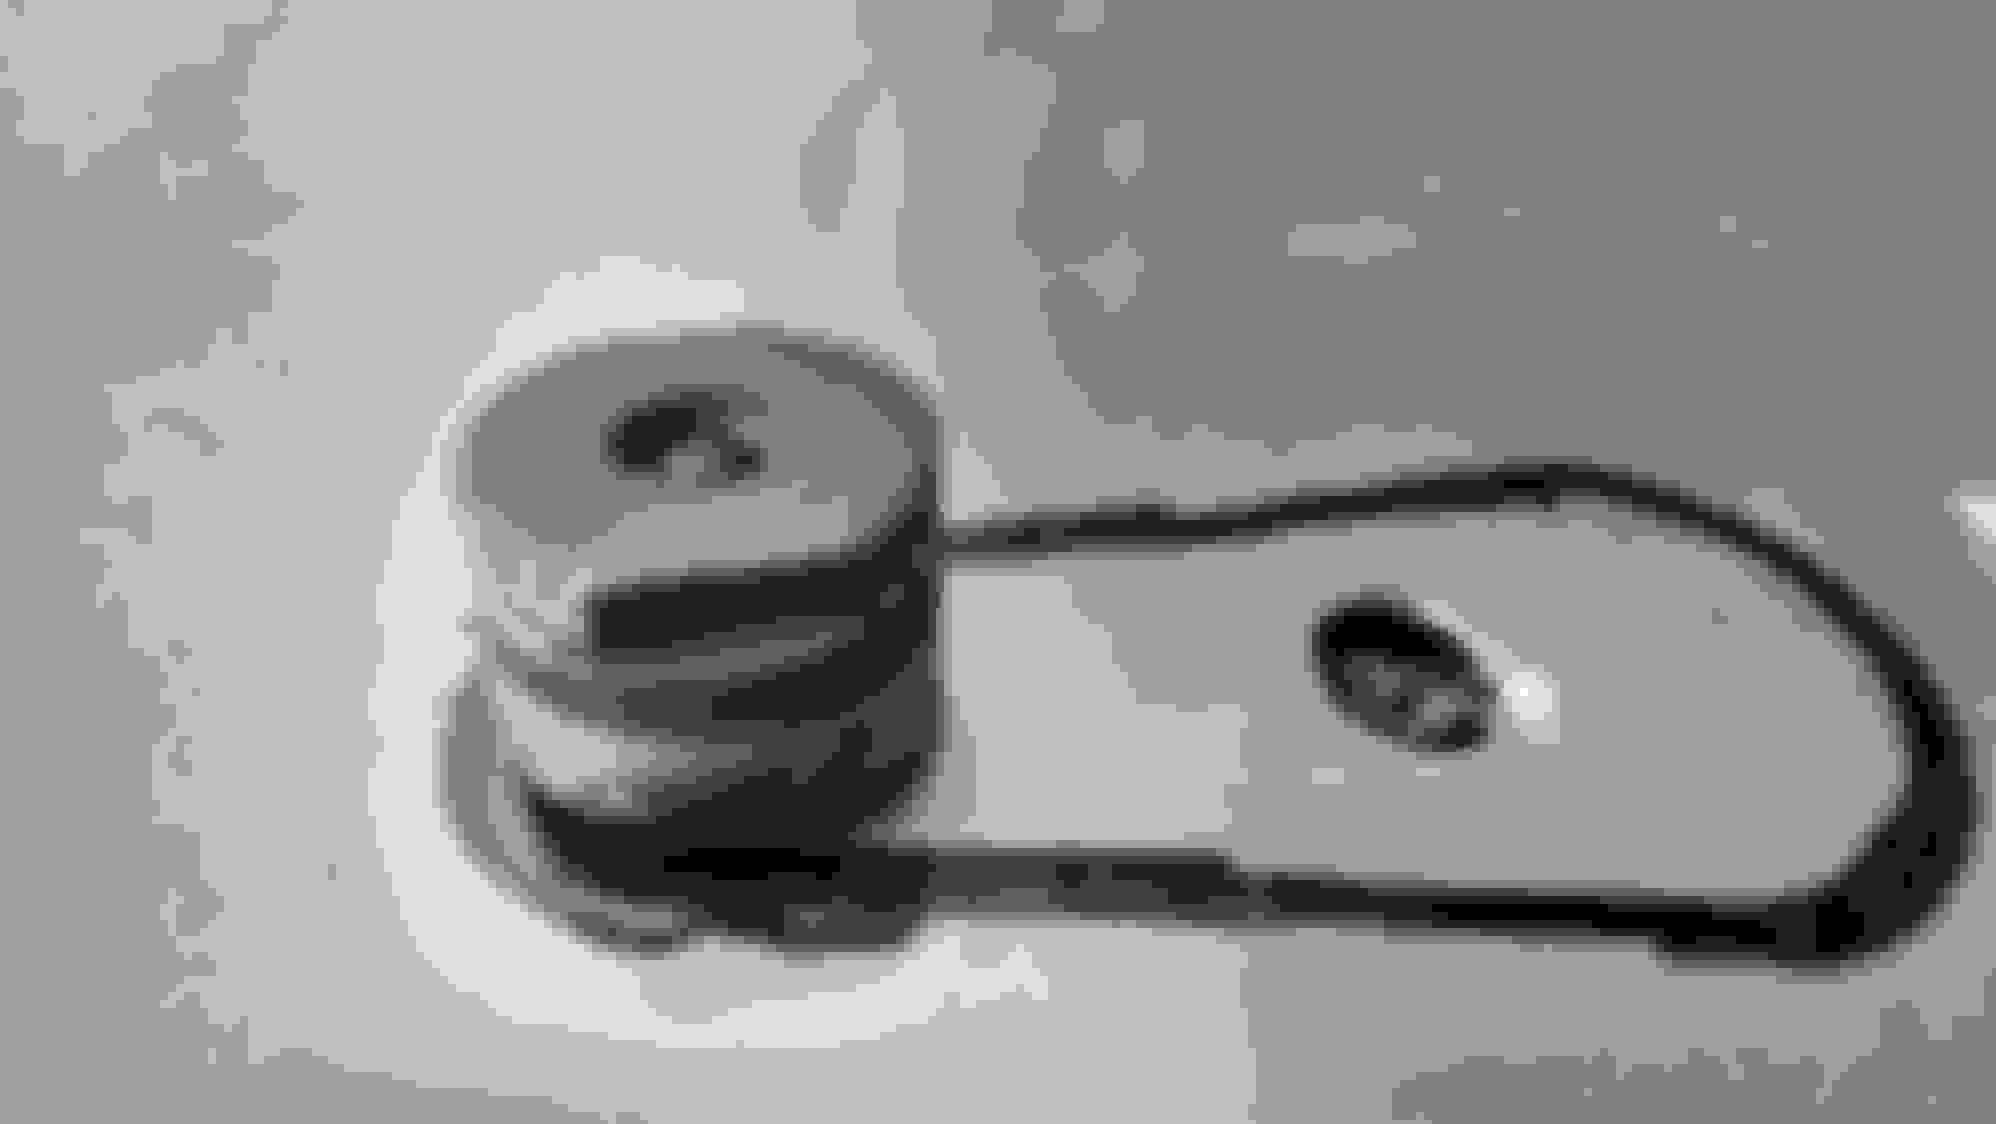
Completing the small hole.
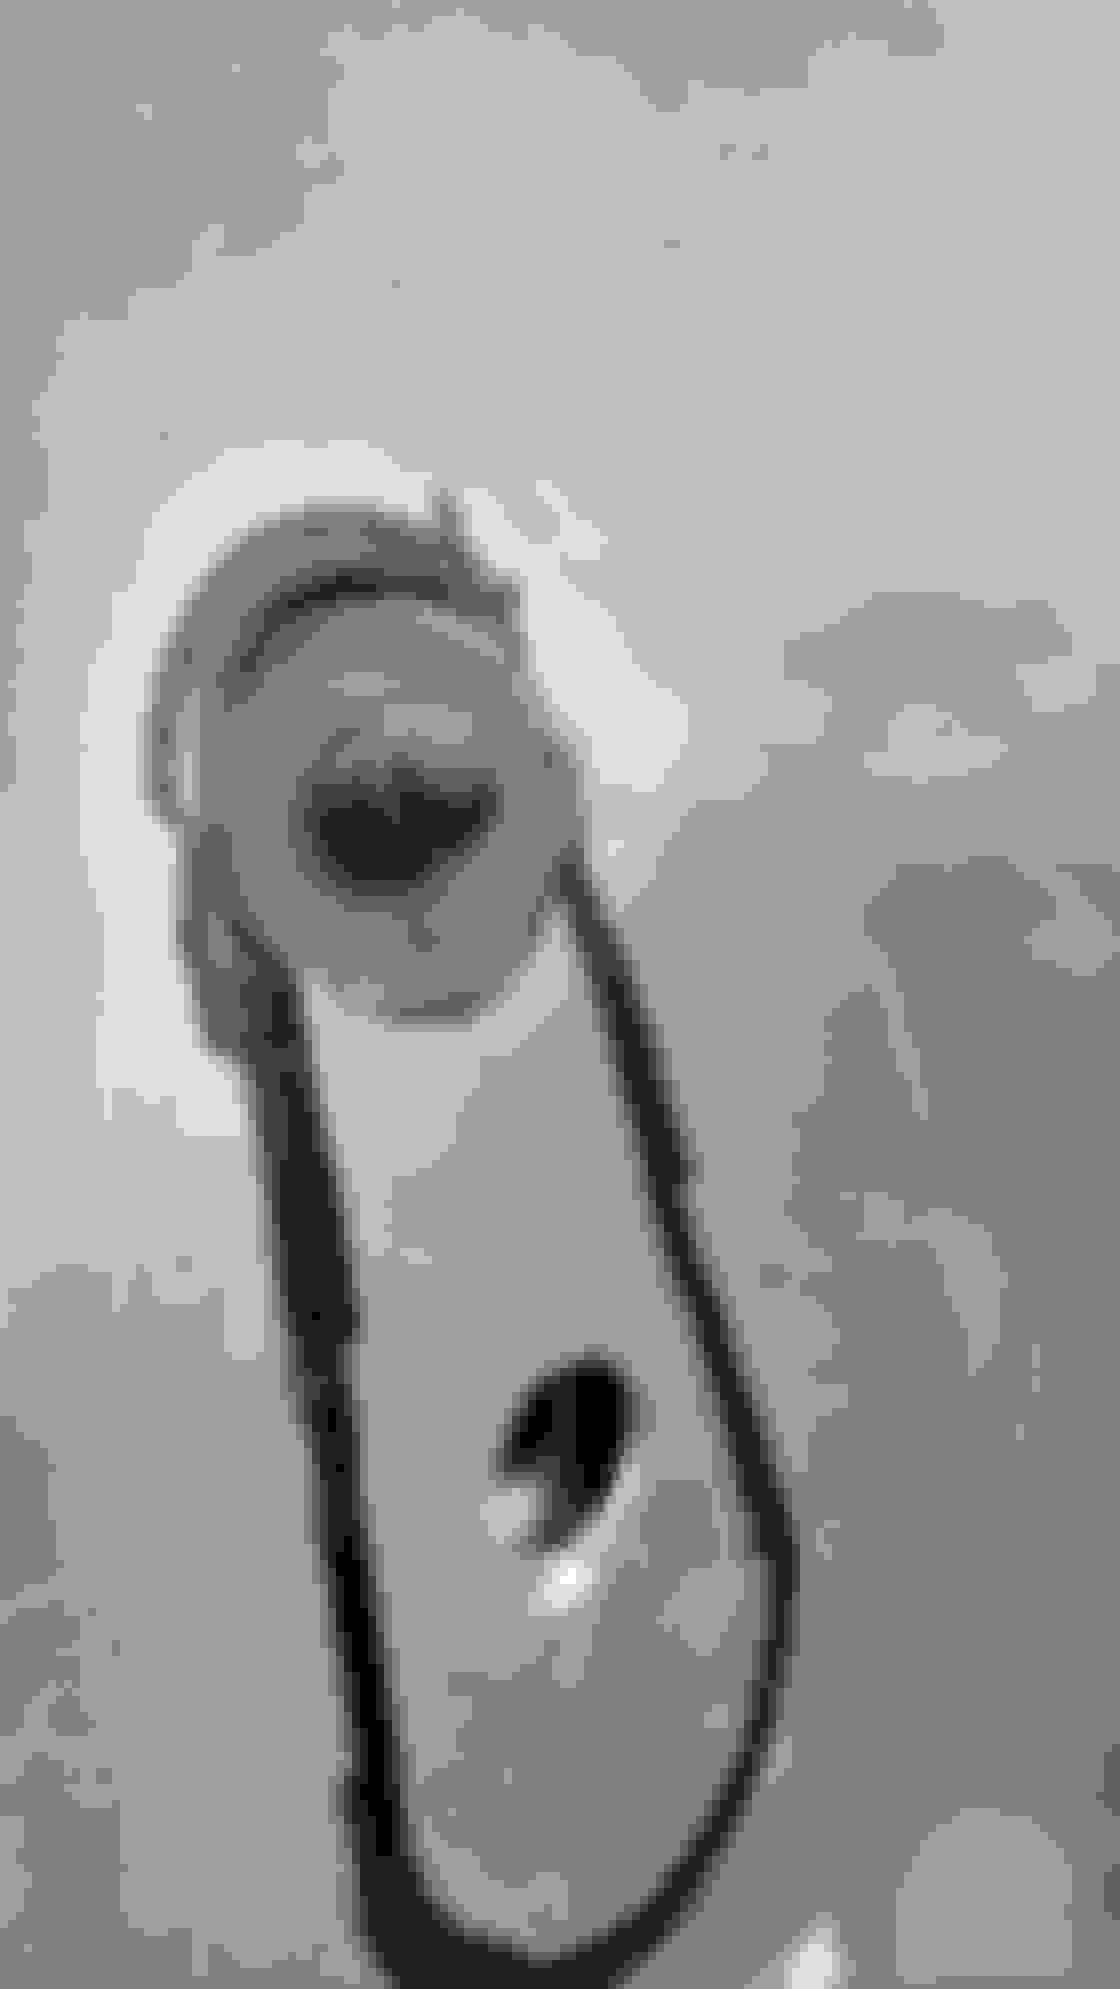
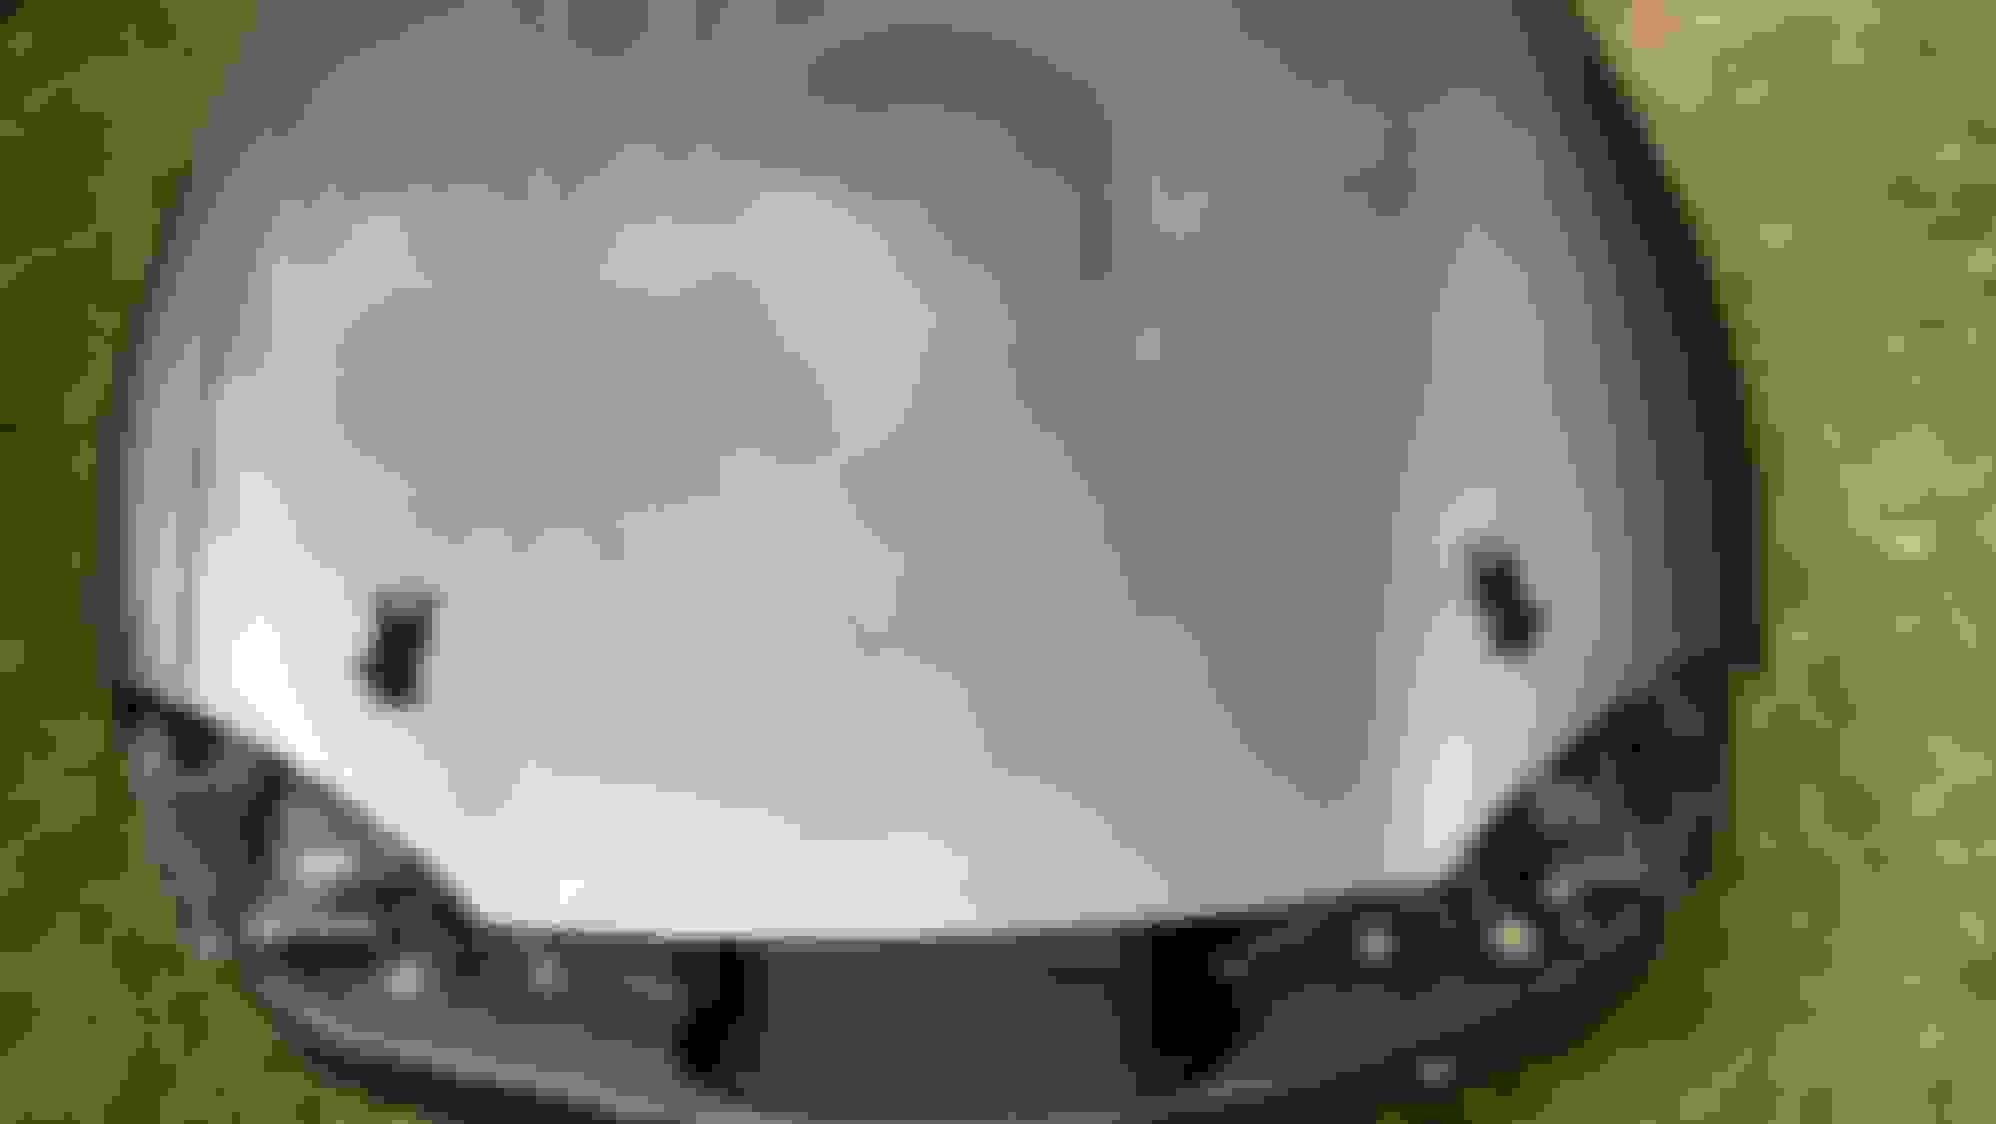
Lining up the big hole.

This will be a hole saw cut because I don't have a chassis punch the right size.
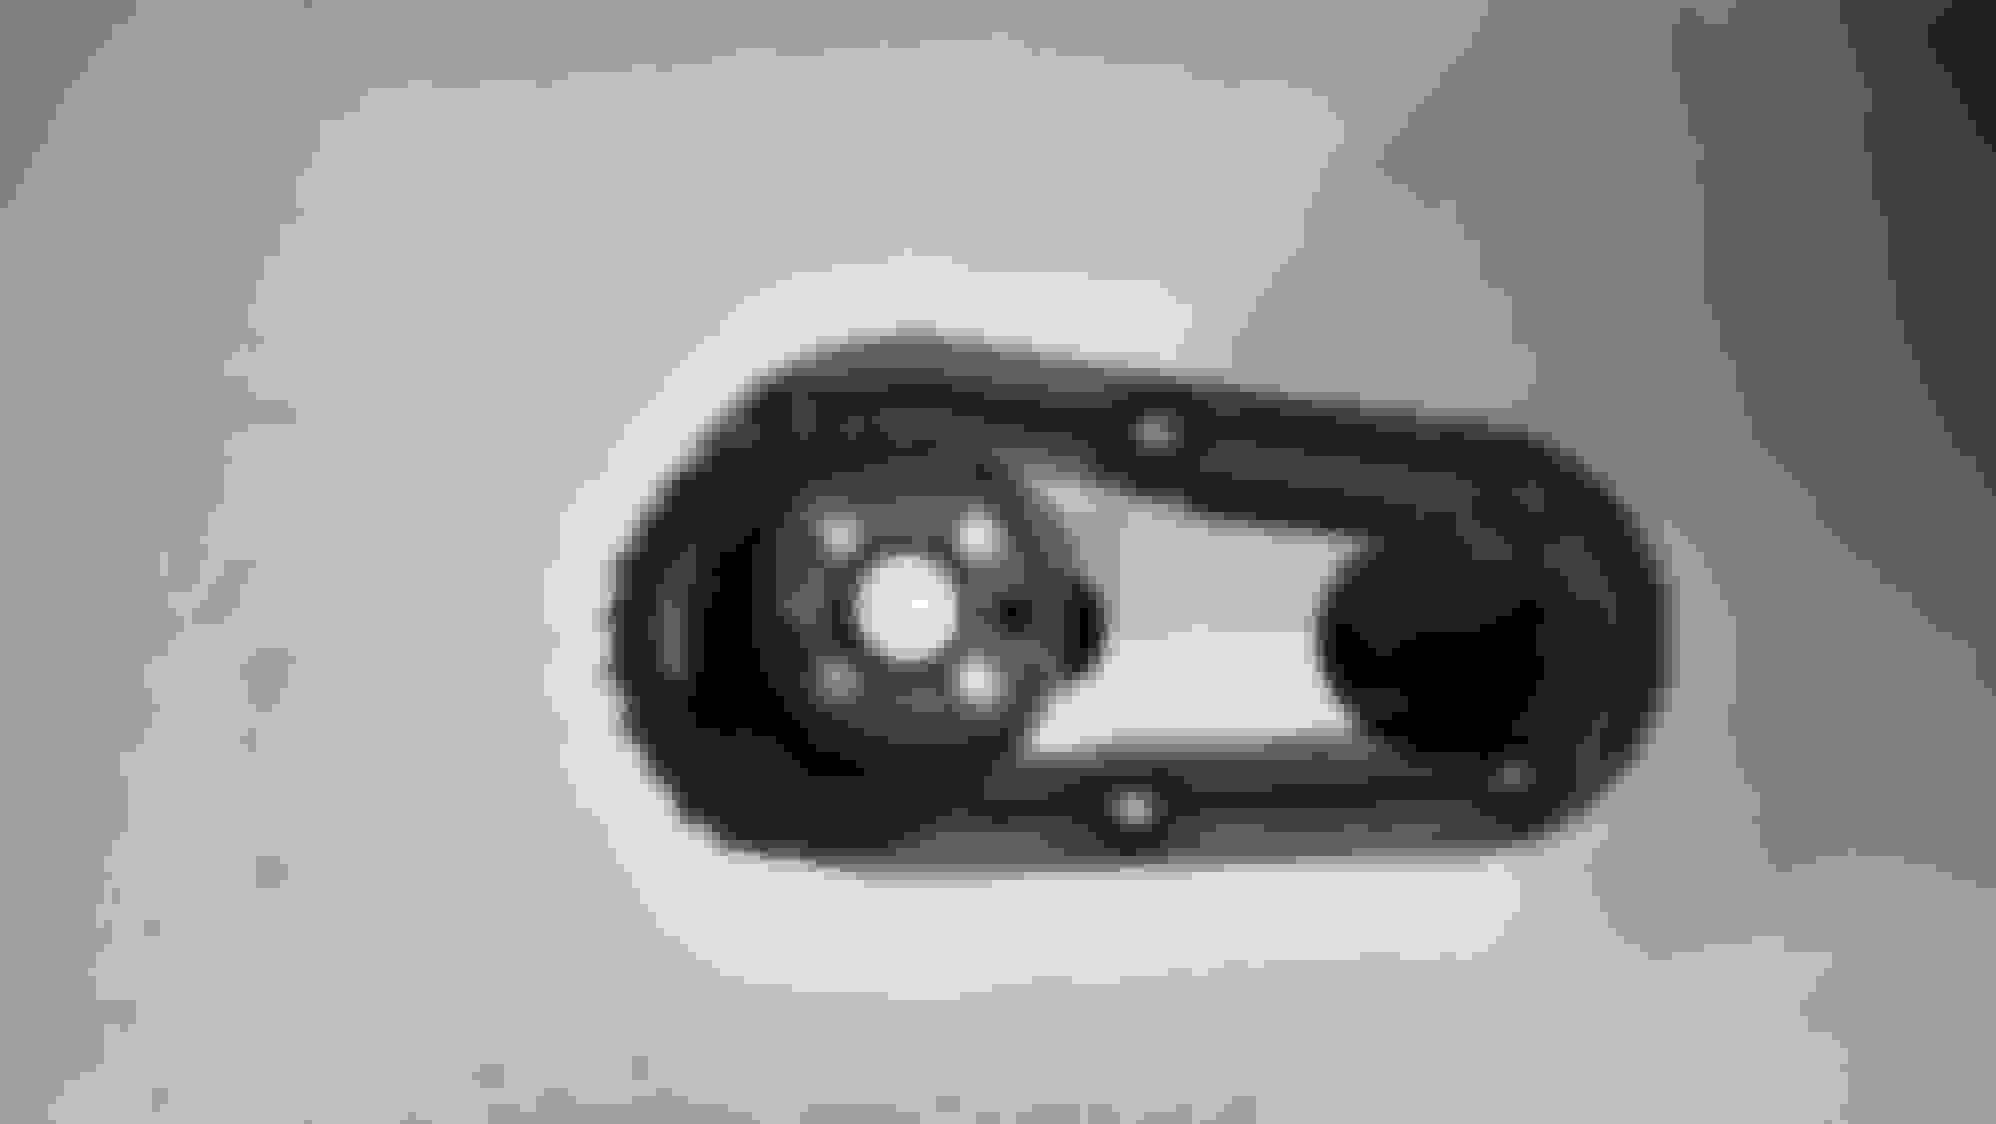
Making the cut.

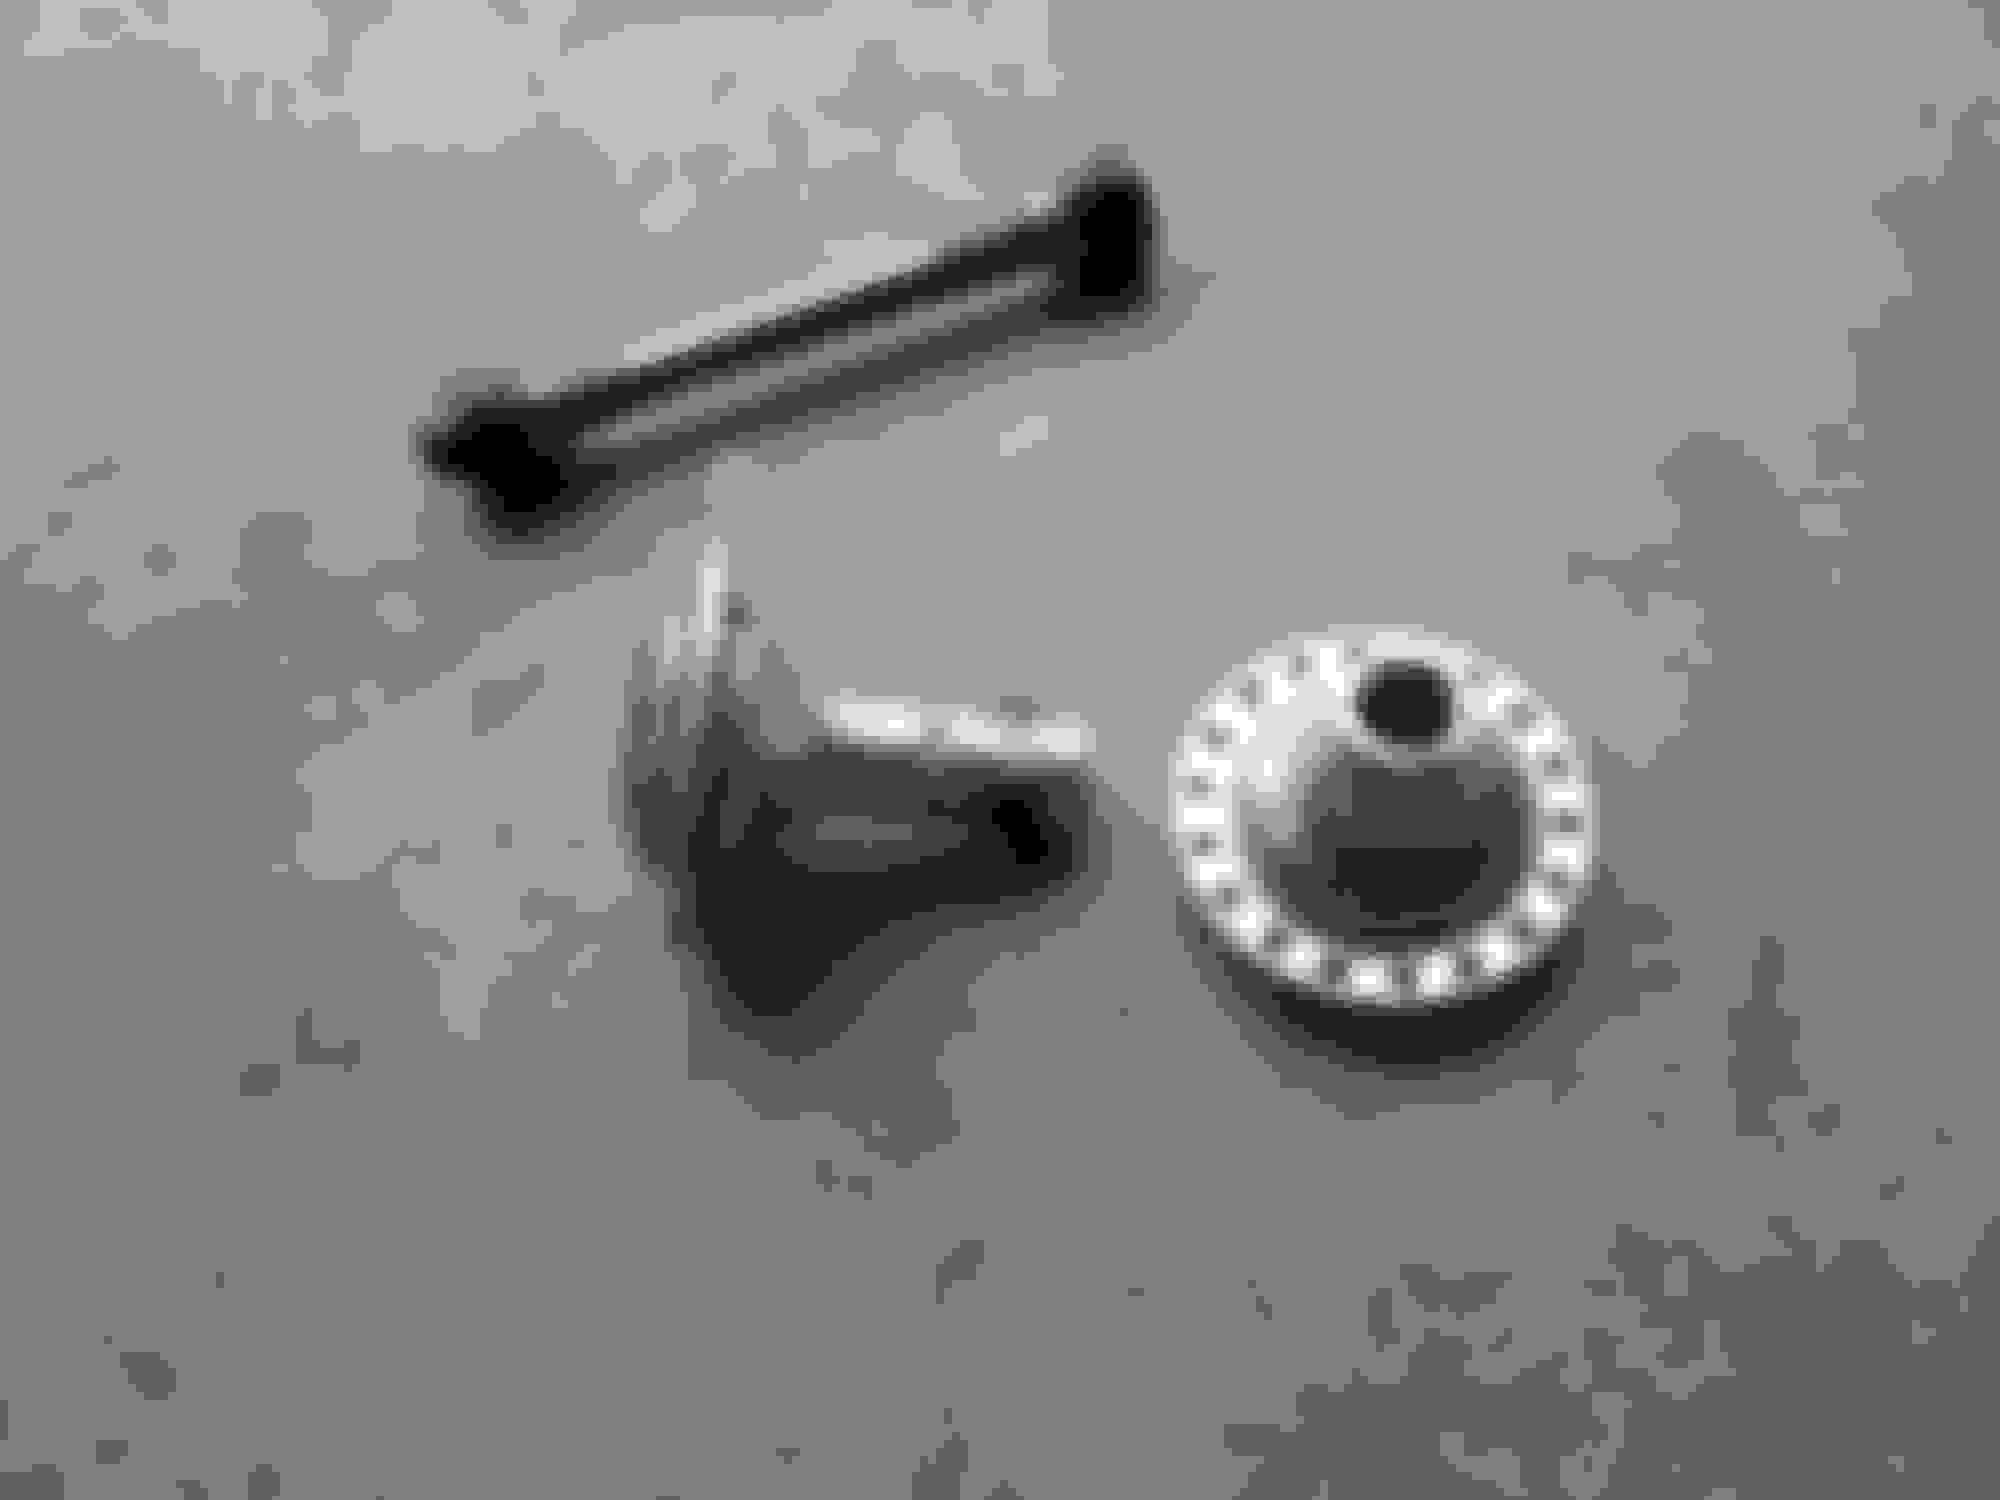
Connecting the dots for the complete shape to accept the Aerocatch latch.

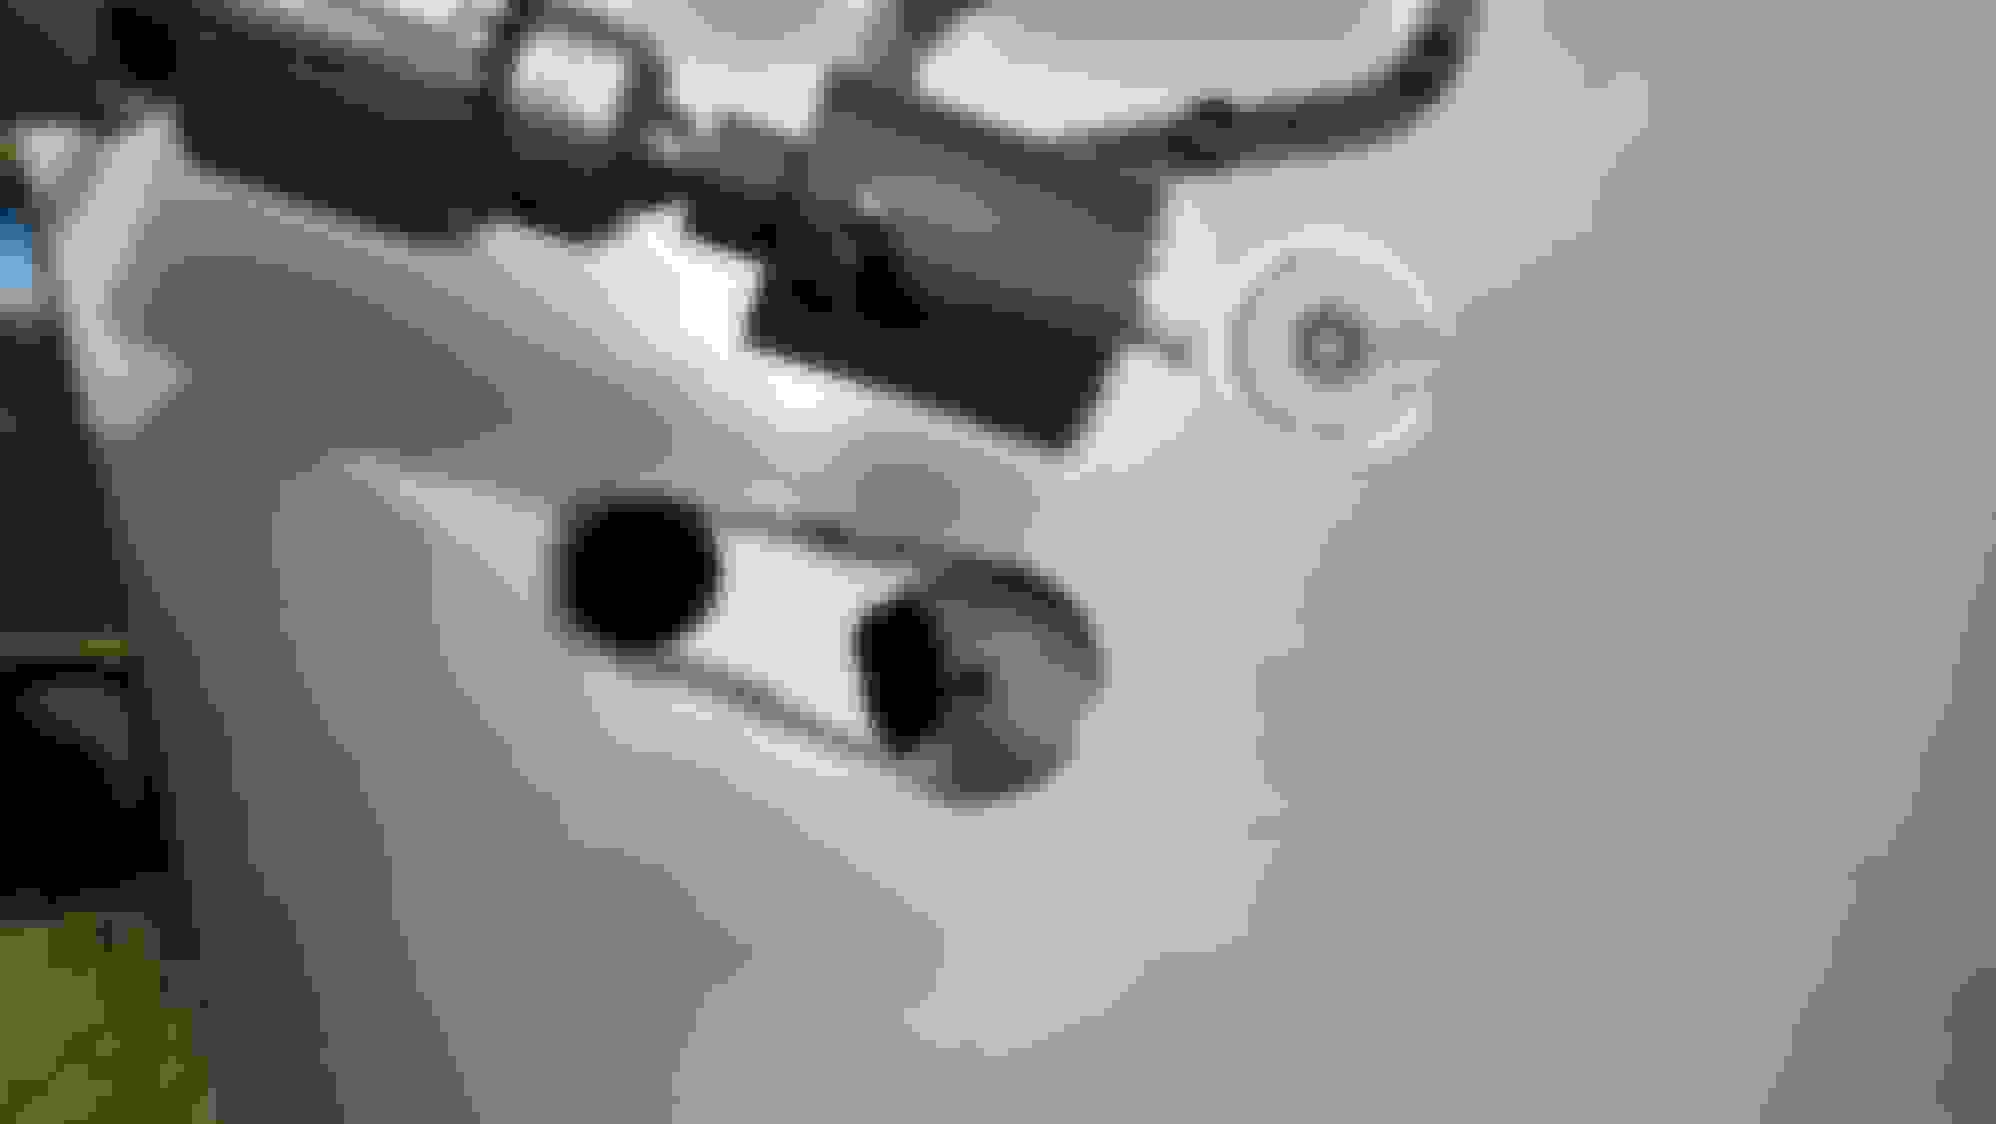
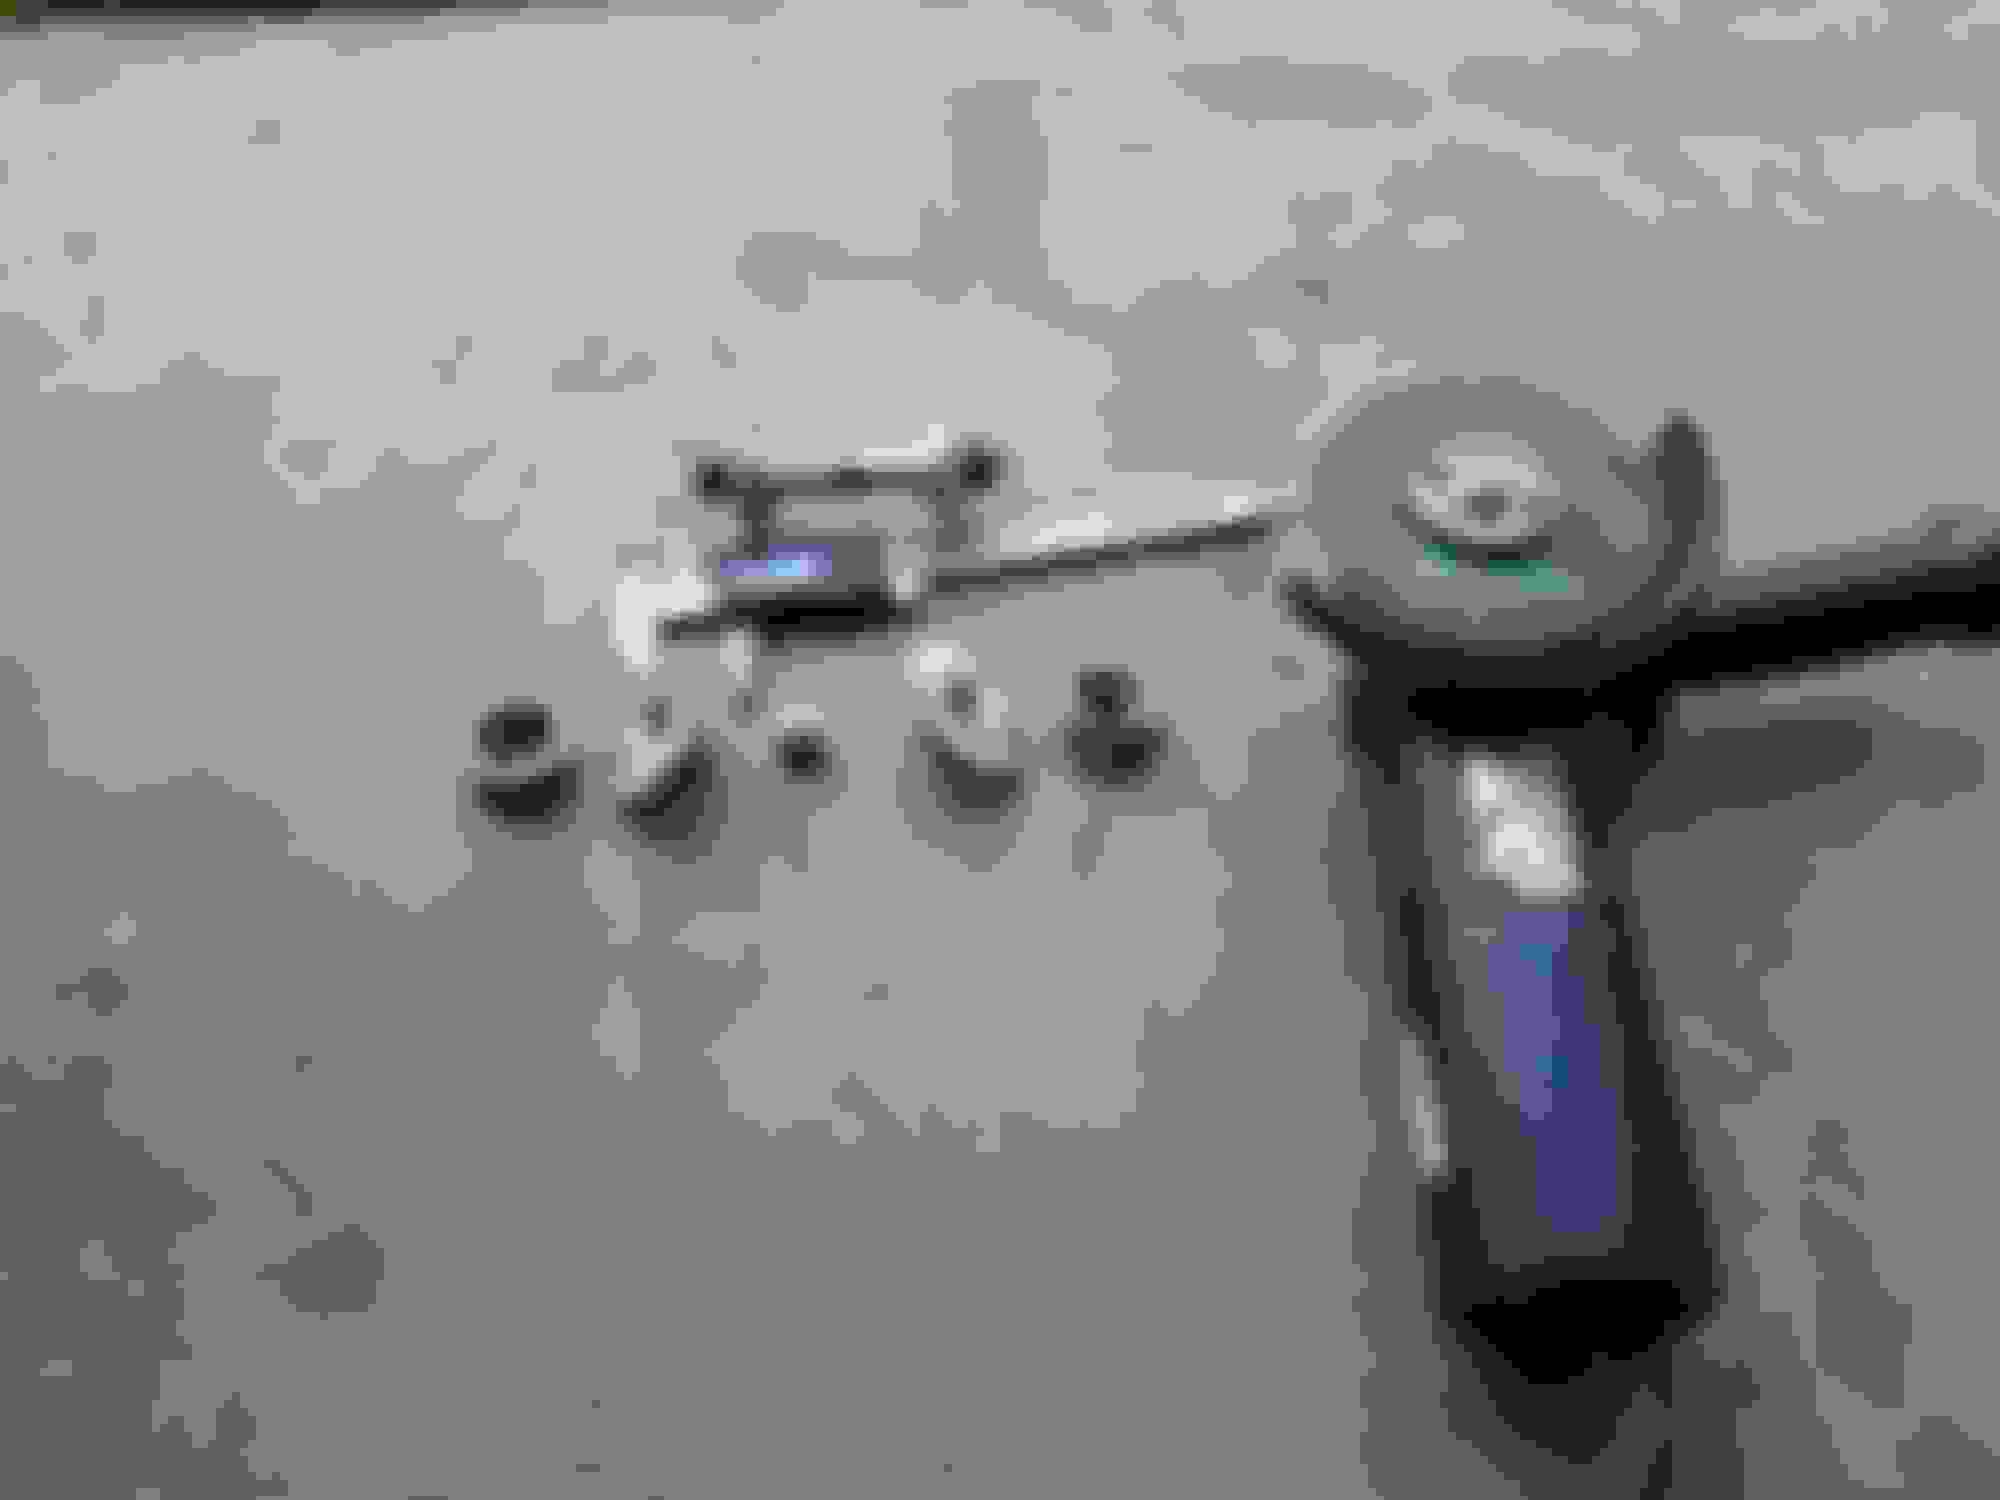
Trial fit the latch from underneath to start drilling the retaining ring mounting holes.


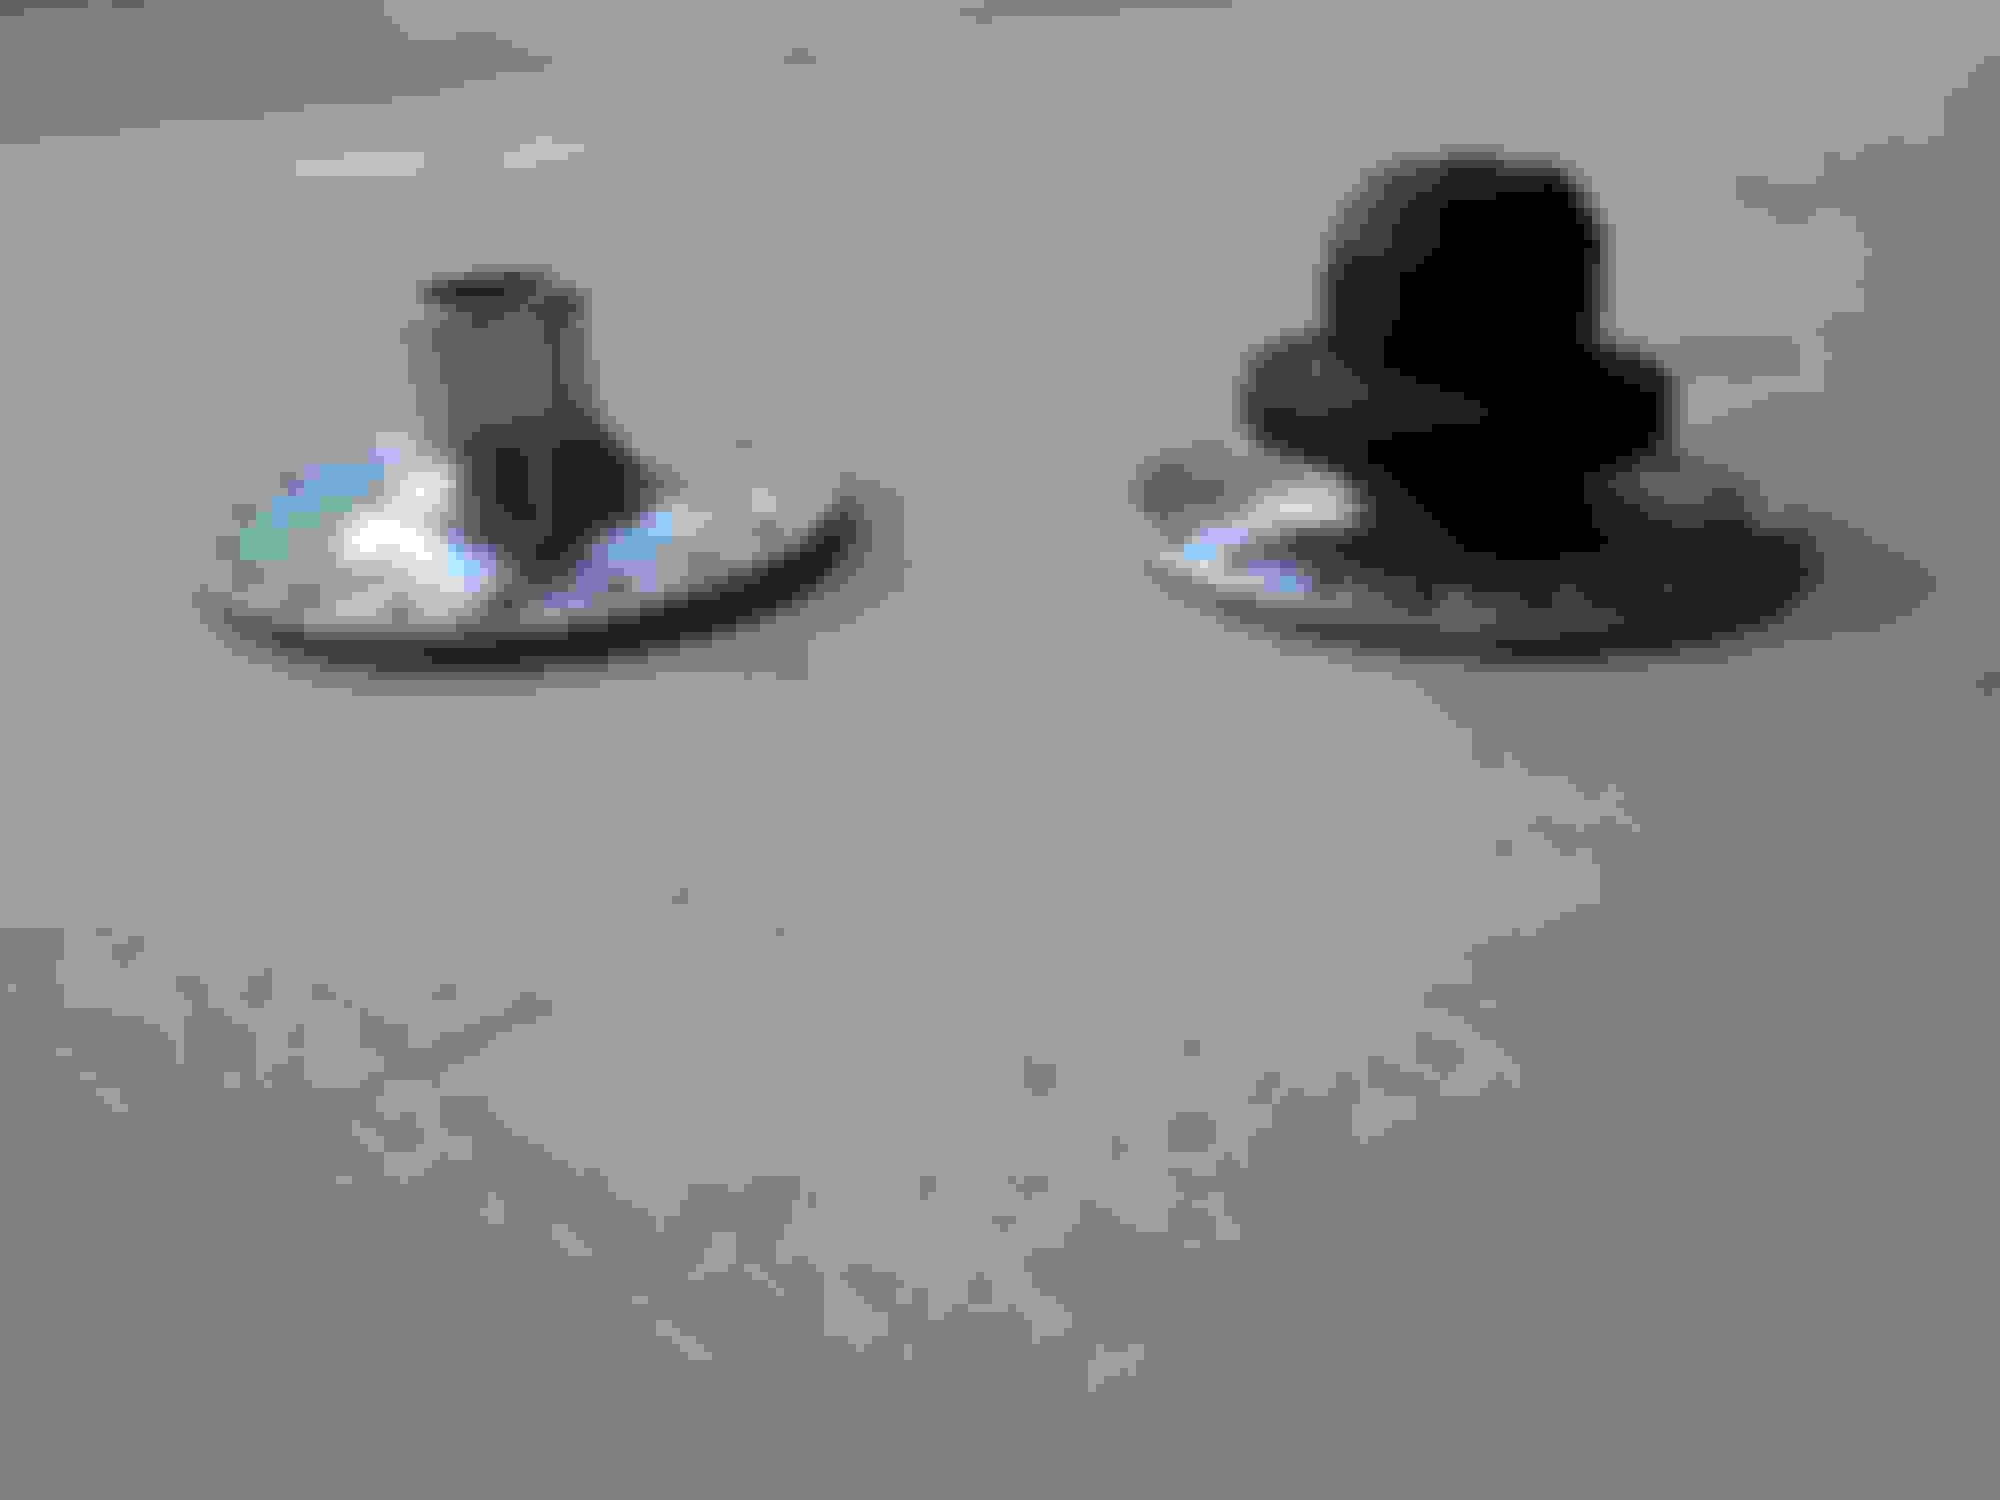
These are the flush fit versions. The retaining ring goes under the hood. I like the look, because there is less less footprint on top of the hood.

Underneath view.

Chassis punching the small hole.

Completing the small hole.

Lining up the big hole.

This will be a hole saw cut because I don't have a chassis punch the right size.

Making the cut.


Connecting the dots for the complete shape to accept the Aerocatch latch.

Trial fit the latch from underneath to start drilling the retaining ring mounting holes.


These are the flush fit versions. The retaining ring goes under the hood. I like the look, because there is less less footprint on top of the hood.


Reply
1
1


Thread Starter
Junior Member
Joined: Dec 2013
Posts: 105
Total Cats: 10
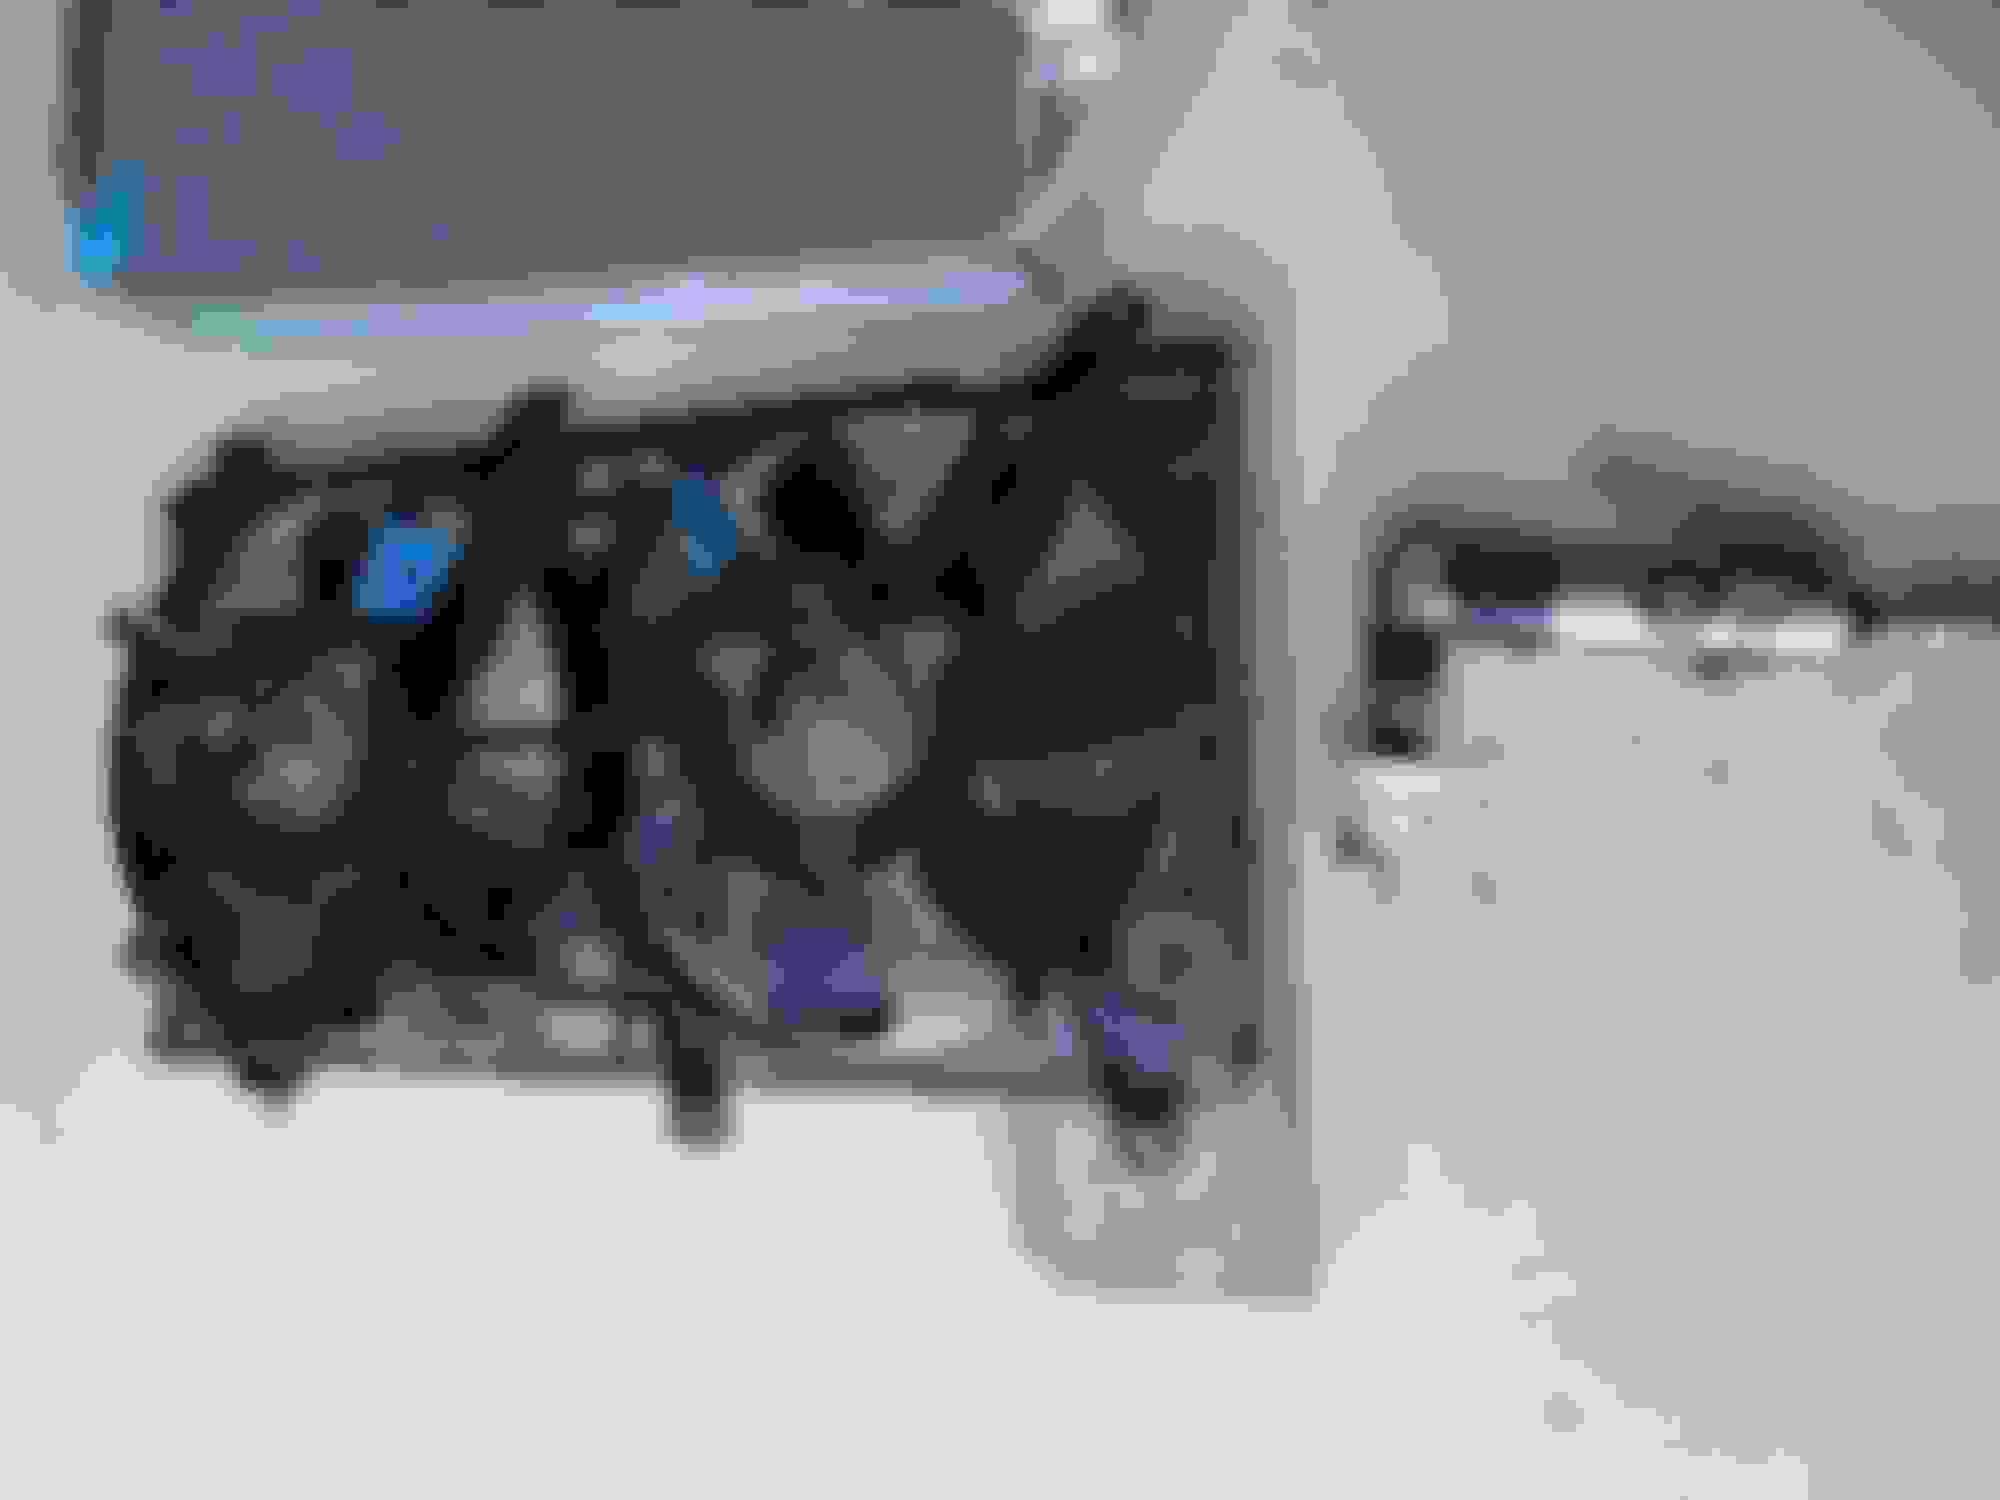
Lining up the MSM fans with the new radiator.

Making cuts to accept the hoses.

Making top mounts with MSM rubber isolators.

These will be welded later to accept the MSM mounting braces.


Making cuts to accept the hoses.


Making top mounts with MSM rubber isolators.


These will be welded later to accept the MSM mounting braces.

Reply
2
2

Thread Starter
Junior Member
Joined: Dec 2013
Posts: 105
Total Cats: 10
Making top mounts with MSM rubber isolators.
These will be welded later to accept the MSM mounting braces.
[/QUOTE]
These will be welded later to accept the MSM mounting braces.
[/QUOTE]

Last edited by overthetop; Sep 4, 2024 at 06:03 PM. Reason: Deleting duplicate photos
Reply
0
0
Thread Starter
Junior Member
Joined: Dec 2013
Posts: 105
Total Cats: 10
These will be welded later to accept the MSM mounting braces.
[/QUOTE]
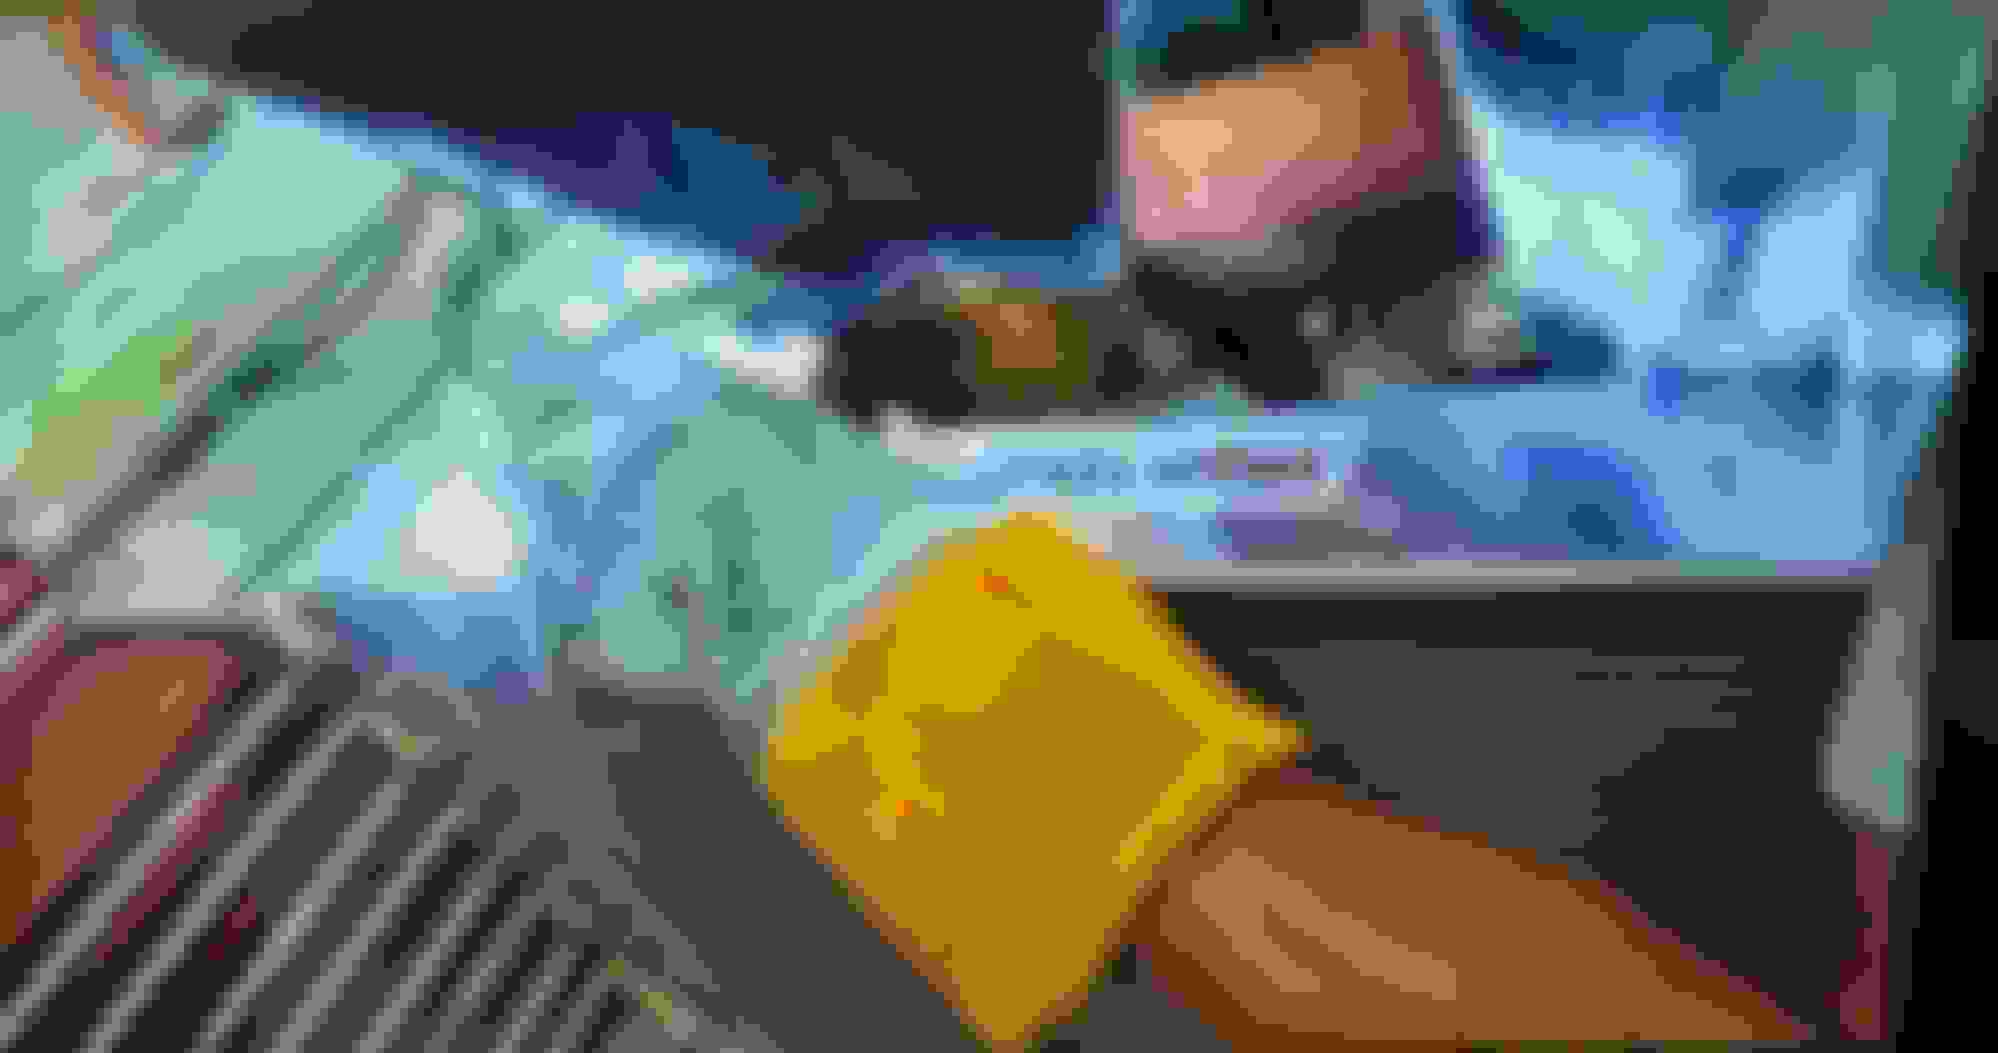
Attaching the fuel lines.
[/QUOTE]
Attaching the fuel lines.
Last edited by overthetop; Aug 19, 2025 at 07:16 PM. Reason: Deleting duplicate photos & text.
Reply
0
0


