Chriscar's build thread
 02-27-2009, 06:52 PM
#1
Elite Member

Thread Starter
iTrader: (24)
Join Date: Dec 2007
Location: Carrollton TX
Posts: 1,709
Total Cats: 15
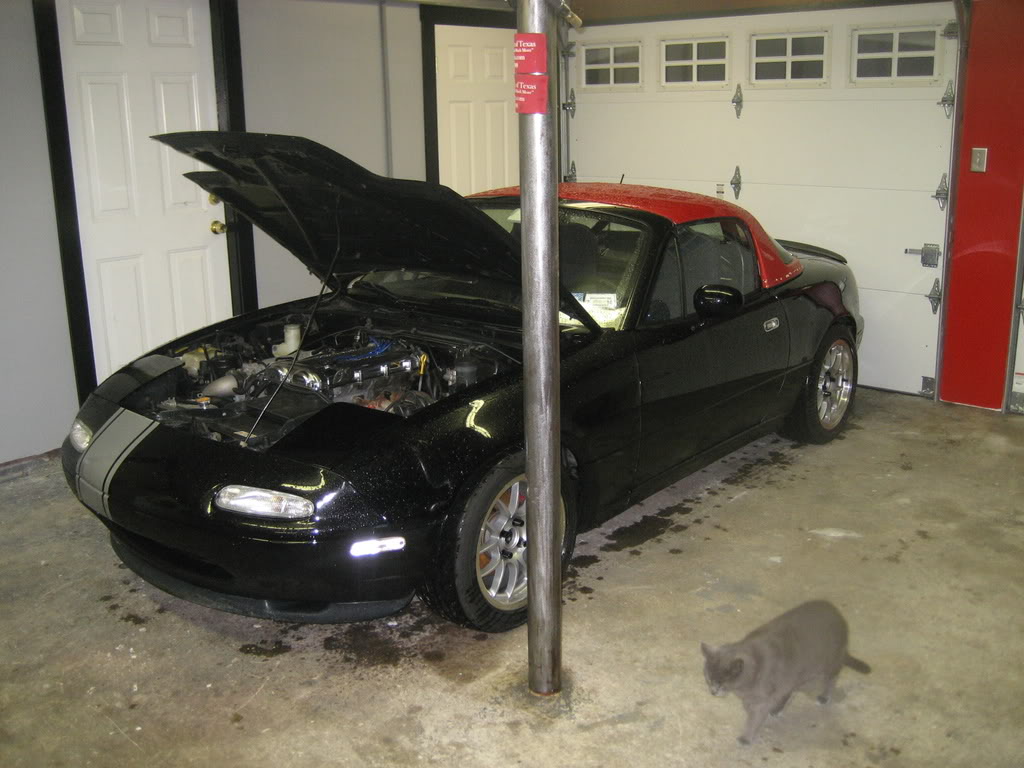
Let the games begin!
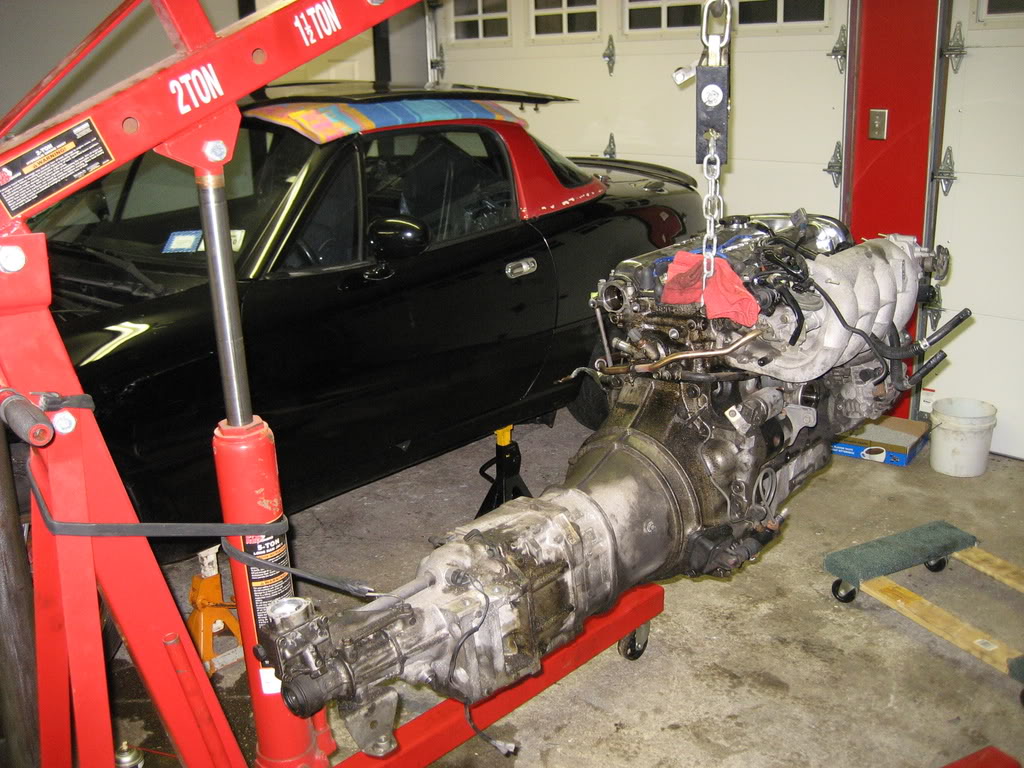
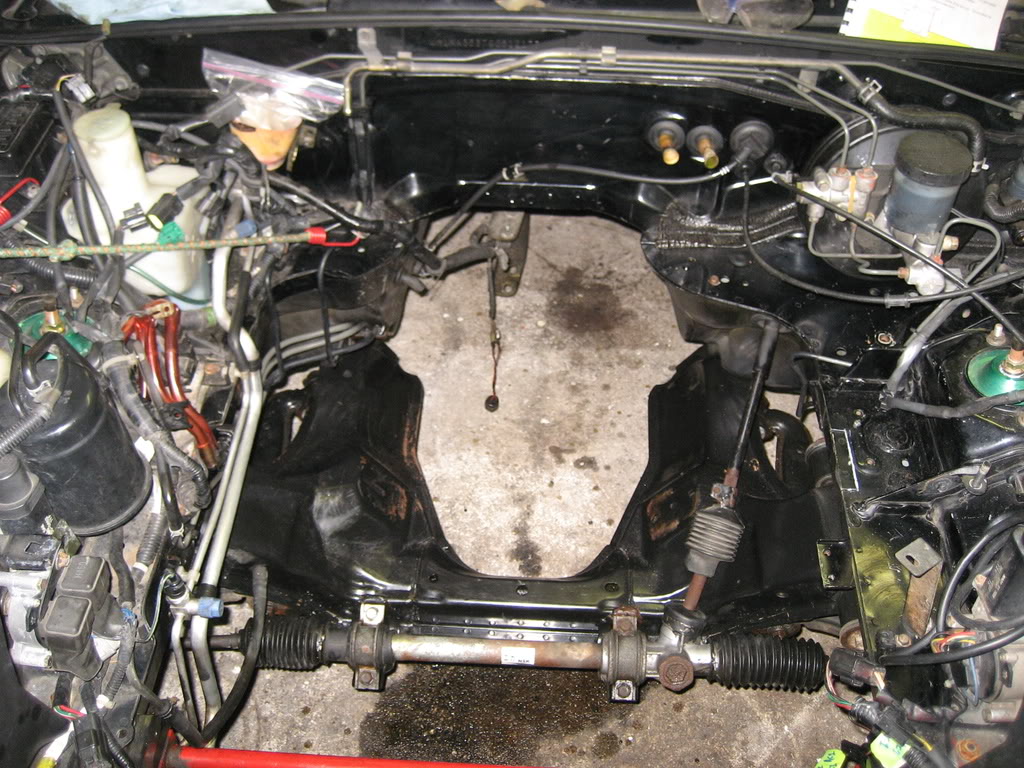
I'm finally tearing into the Miata. Swung the engine out last night, and hope to have everything ready for an 800+ mile road trip to Savannah GA on March 26, with a track day at Roebling Road that weekend.
The to-do list is loooong, and 2 of my weekends between now and D Day are already shot because I'll be away, which leaves me with 21 working days.
So here's the plan:
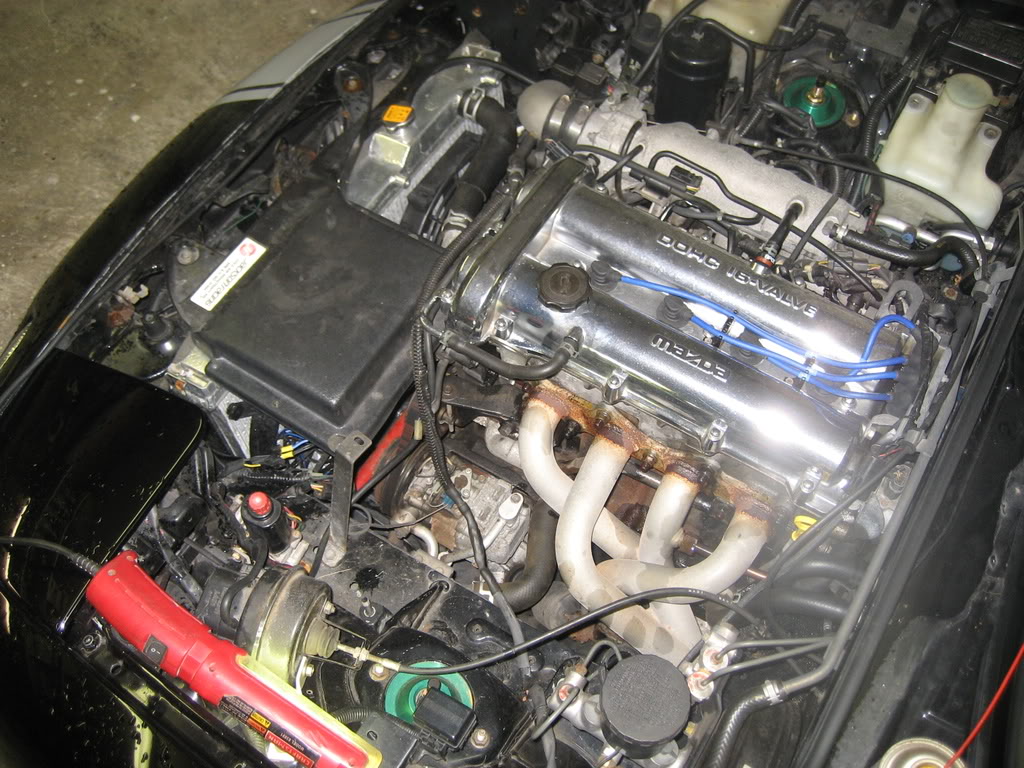
Generally clean 100k+ miles of grime off the engine and chassis.
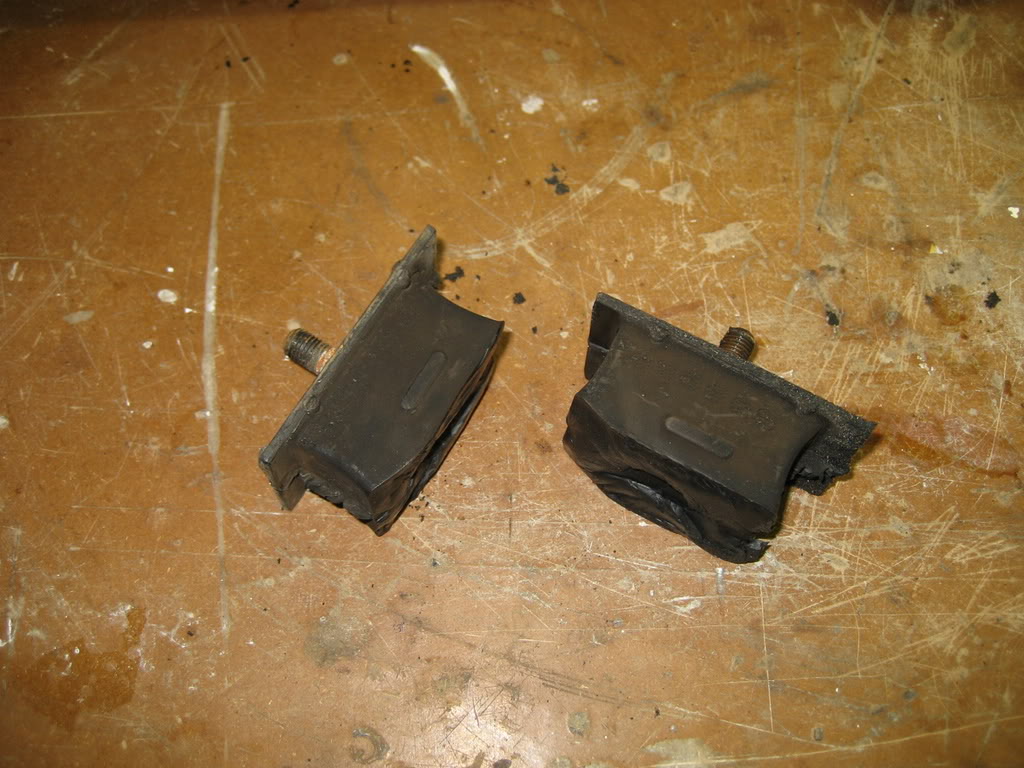
Order placed with Rosenthal for Mazda Comp mounts plus all sorts of gaskets and hoses, to seal the engine up. As the pictures show, its' got a bunch-o-leaks.
Install Spec Stage 2+ clutch & lightweight flywheel, new TOB & pilot bearing, SS clutch line, and slave cylinder rebuild kit.
Drill & tap oil pan for oil return and VDO oil temp sensor.
Re-tap rear water housing for VDO water temp sensor.
Install FM VoodooII GT2560R kit, add RX7 550's and MSPNP.
Install 2001+ Mazda big brakes & Carbotech pads.
Modify gauge cluster, install VDO water temp & oil pressure gauges, in place of stock.
Other goodies going in;
2.5" test pipe
LC1 / XD16
Mazda Comp mounts
Greddy Profec Type S
Hella lights / Osram bulbs
Nardi Classic wheel
Protege valve cover
I also hope to get the hood and nose repainted.. goodbye stripe, you won't be missed!
On to the grimy pics.
In tact for the last time. Until the next time.
Need more tilt.
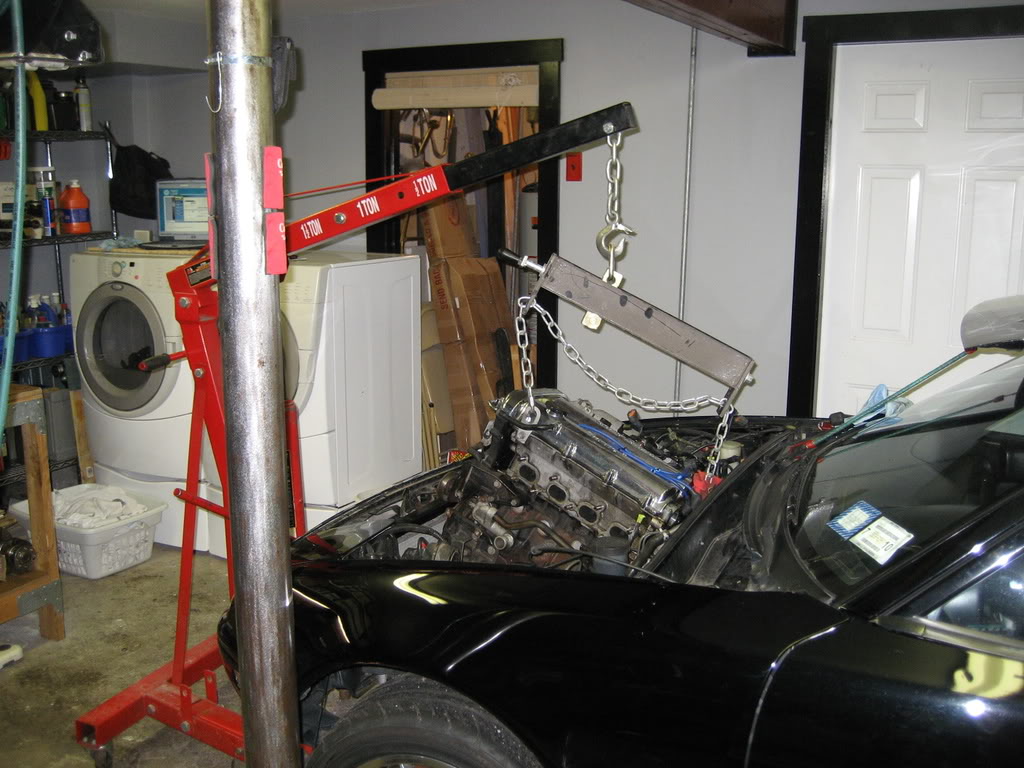
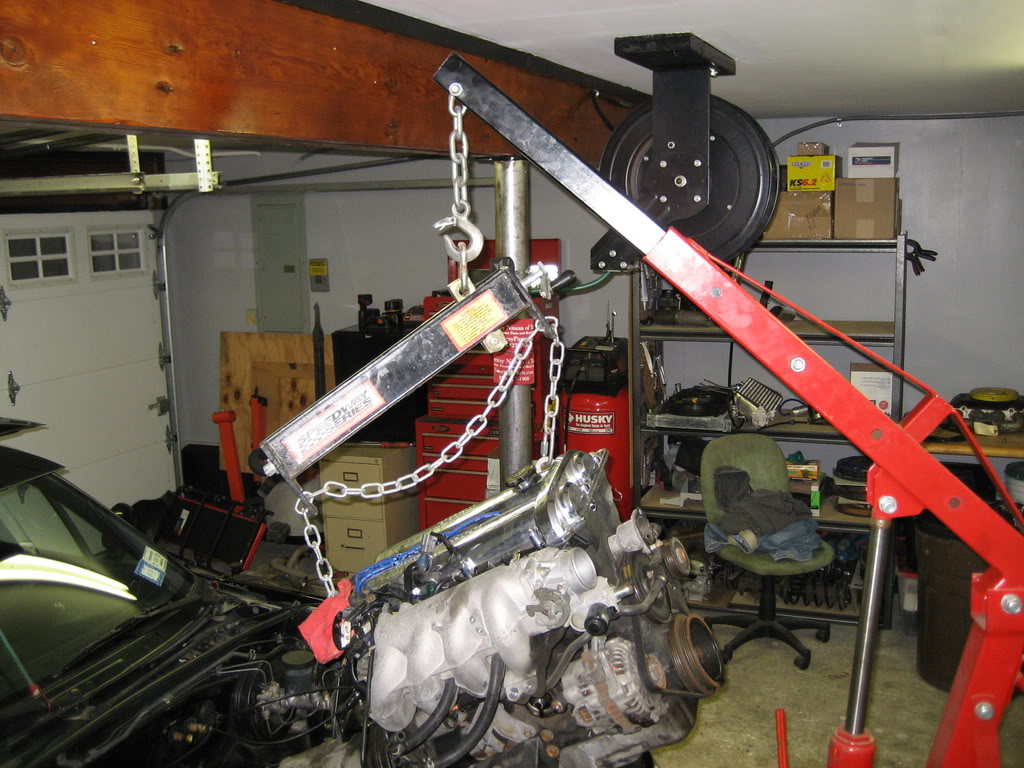
I'd like to thank my load leveler.
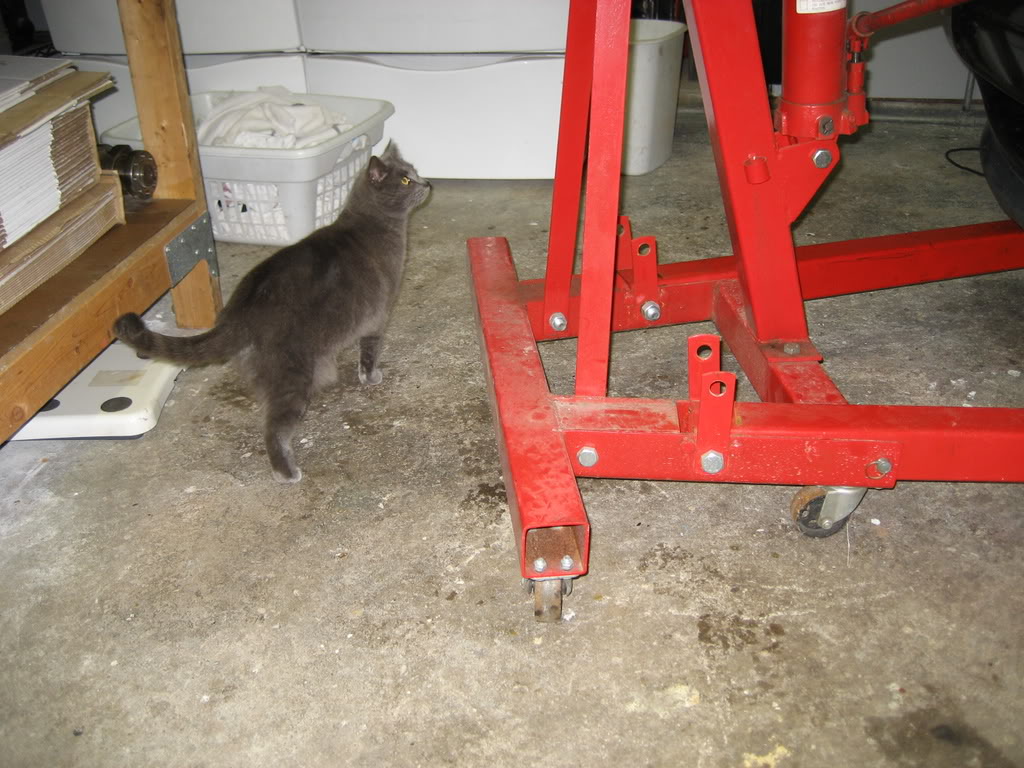
Gratuitous cat pic
Aaaaaand out!
Slightly used, ya think?
I'm finally tearing into the Miata. Swung the engine out last night, and hope to have everything ready for an 800+ mile road trip to Savannah GA on March 26, with a track day at Roebling Road that weekend.
The to-do list is loooong, and 2 of my weekends between now and D Day are already shot because I'll be away, which leaves me with 21 working days.
So here's the plan:
Generally clean 100k+ miles of grime off the engine and chassis.
Order placed with Rosenthal for Mazda Comp mounts plus all sorts of gaskets and hoses, to seal the engine up. As the pictures show, its' got a bunch-o-leaks.
Install Spec Stage 2+ clutch & lightweight flywheel, new TOB & pilot bearing, SS clutch line, and slave cylinder rebuild kit.
Drill & tap oil pan for oil return and VDO oil temp sensor.
Re-tap rear water housing for VDO water temp sensor.
Install FM VoodooII GT2560R kit, add RX7 550's and MSPNP.
Install 2001+ Mazda big brakes & Carbotech pads.
Modify gauge cluster, install VDO water temp & oil pressure gauges, in place of stock.
Other goodies going in;
2.5" test pipe
LC1 / XD16
Mazda Comp mounts
Greddy Profec Type S
Hella lights / Osram bulbs
Nardi Classic wheel
Protege valve cover
I also hope to get the hood and nose repainted.. goodbye stripe, you won't be missed!
On to the grimy pics.
In tact for the last time. Until the next time.
Need more tilt.
I'd like to thank my load leveler.
Gratuitous cat pic
Aaaaaand out!
Slightly used, ya think?

Reply
 0
0

0
 02-28-2009, 10:43 PM
#3
Elite Member
Thread Starter
iTrader: (24)
Join Date: Dec 2007
Location: Carrollton TX
Posts: 1,709
Total Cats: 15
Yay for more grimy-*** pictures!
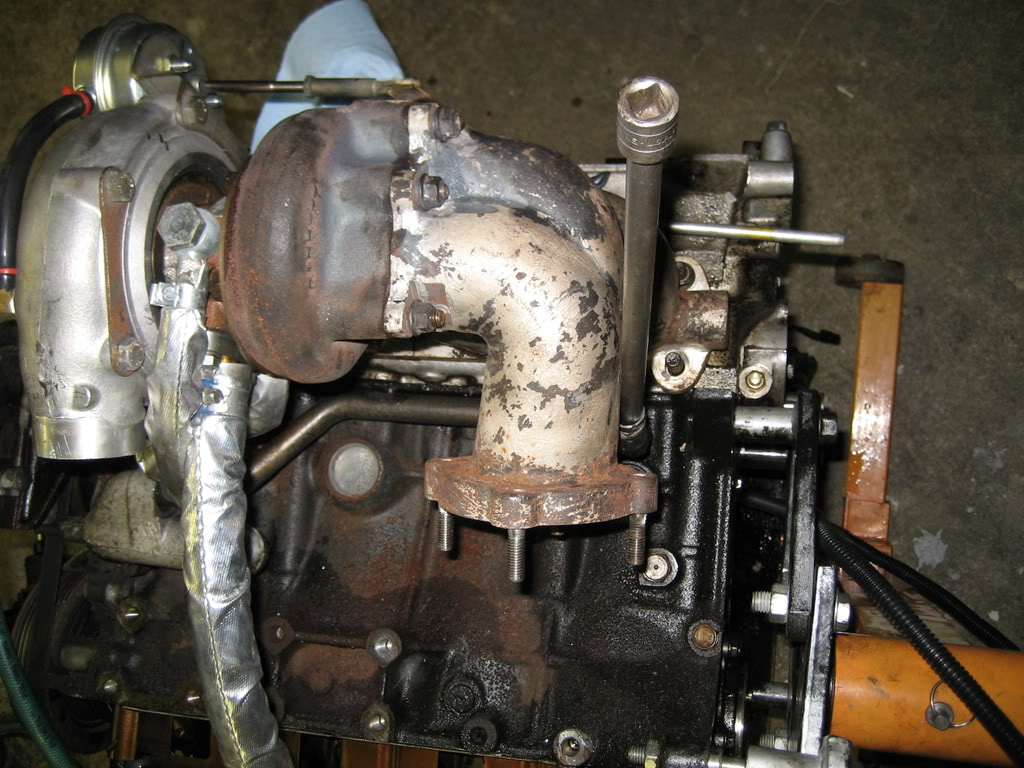
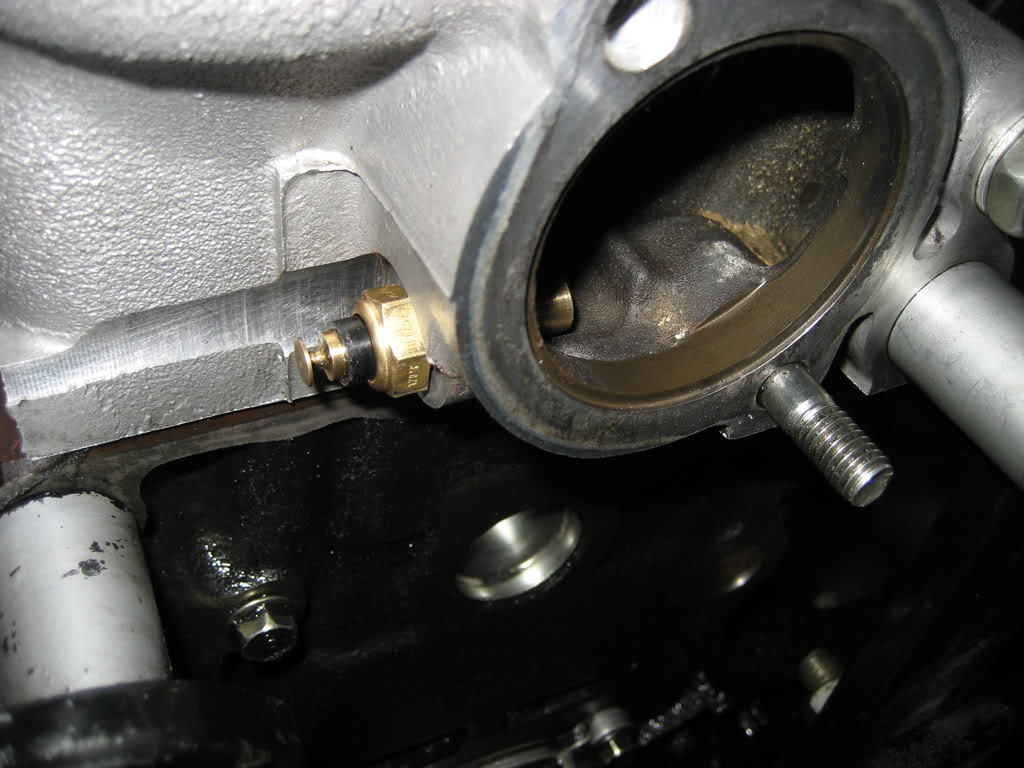
The previous owner snapped 2 bolts in the exhaust manifold when he disassembled the parts for shipment to me. Nice guy that he was, he sent me new studs, bolts and Nordlocks from FM and had a "machine shop" drill out the studs and re-tap the manifold. I say machine shop in quotes because I could have done a better job with a Fisher Price My first Toolbox set. Suffice it to say, the 8mm studs had a bit of wiggle when I went to put them in. My machinist suggested Helicoils instead of 10mm studs, so I went with his suggestion.
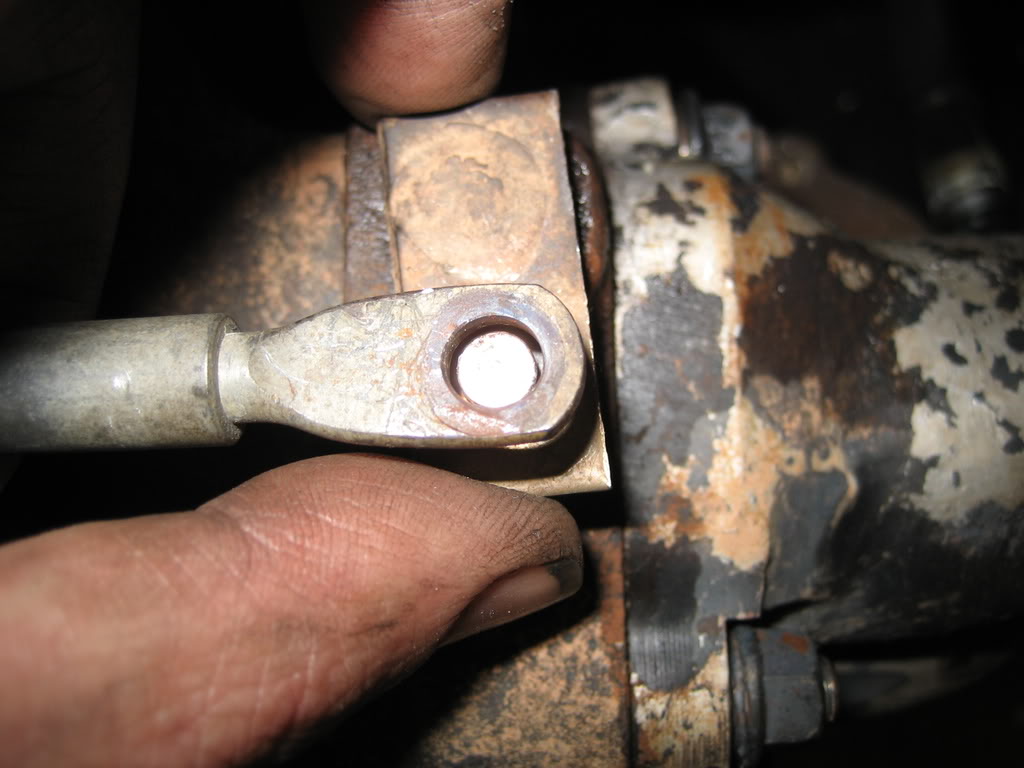
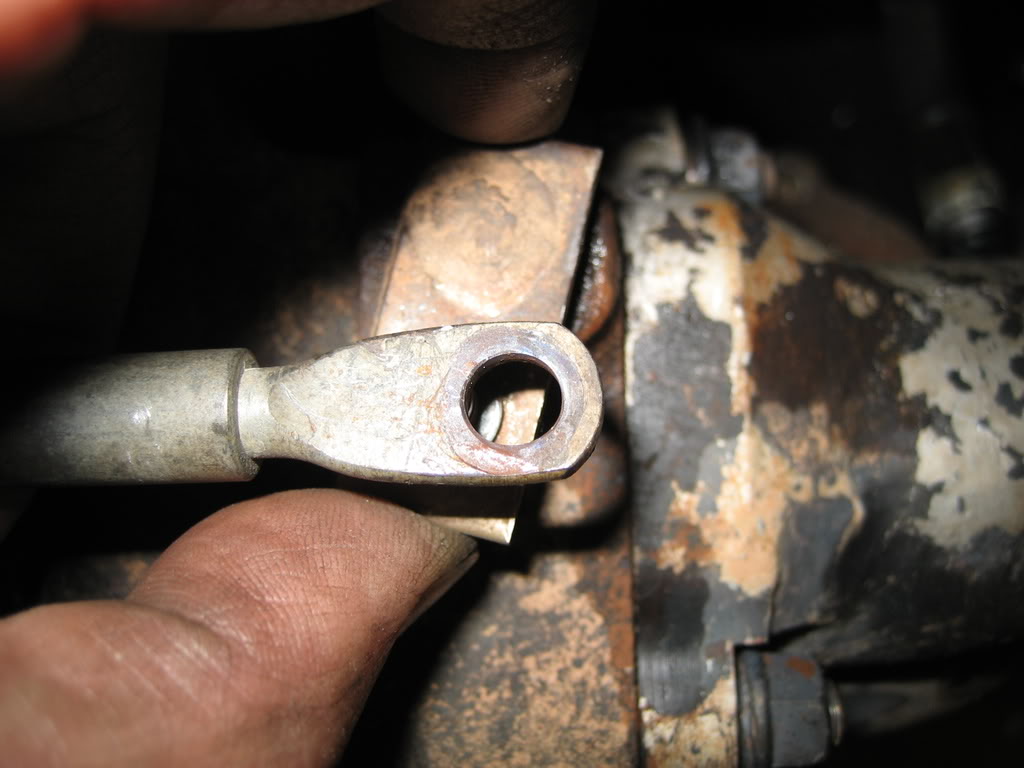
Next on the hit parade was a wastegate with > 1/2" of play. It took 7 1/2 turns of the the actuator to tighten it up. I wonder how much boost was going straight out the *** end of the car 100% of the time.
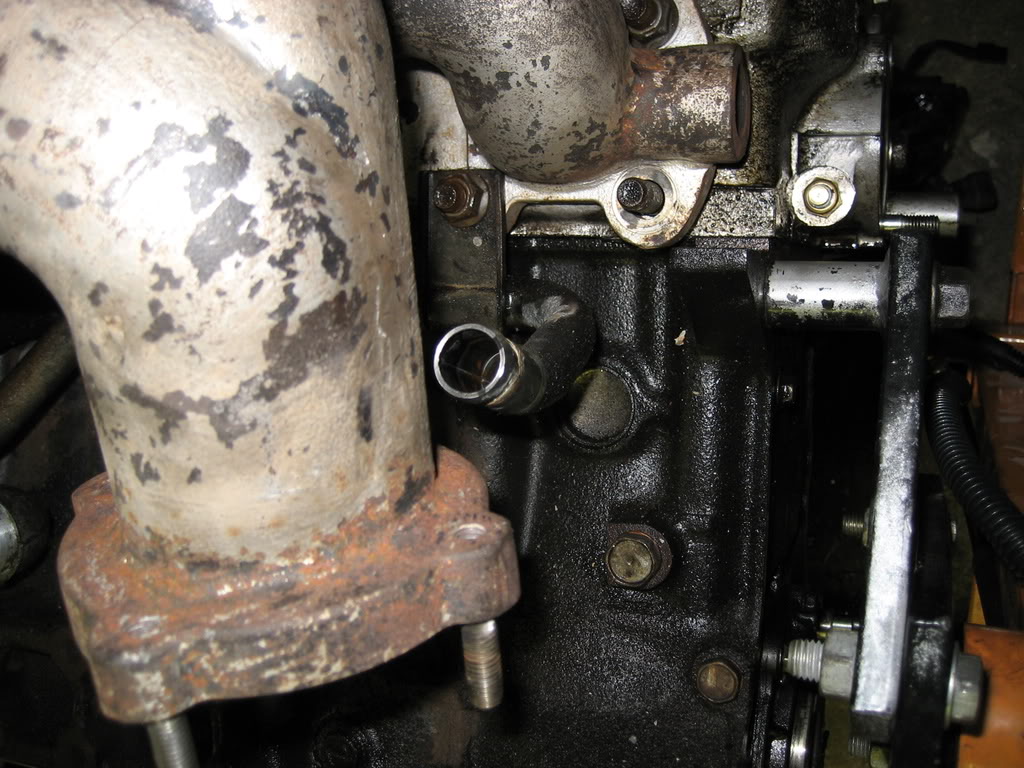
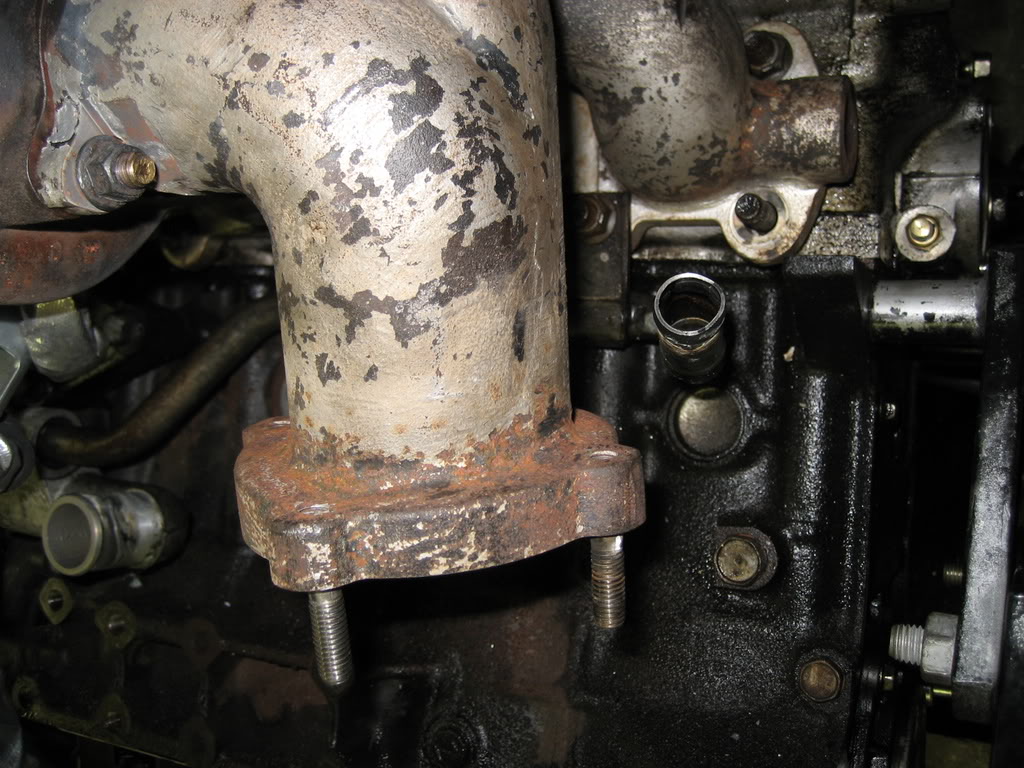
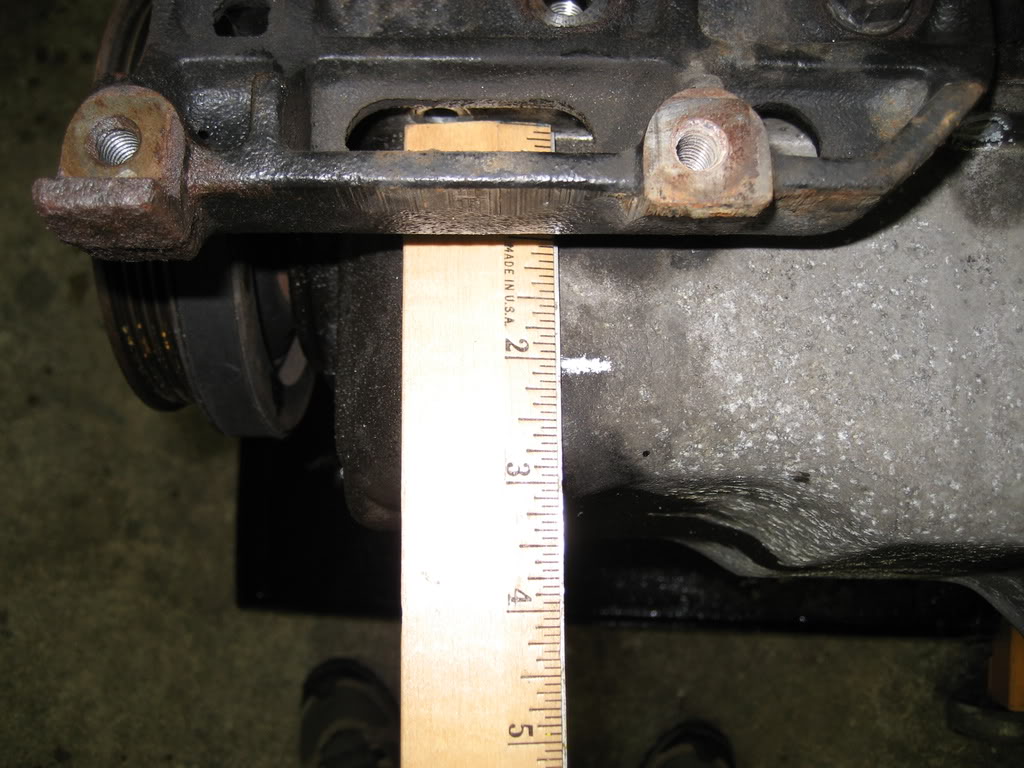
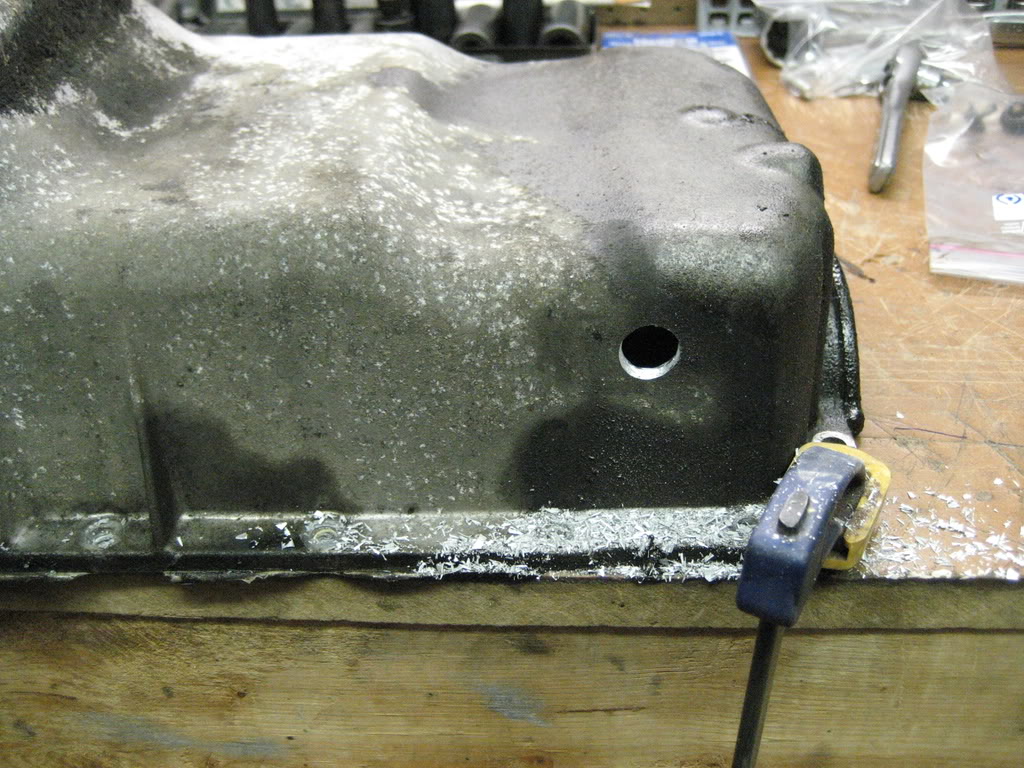
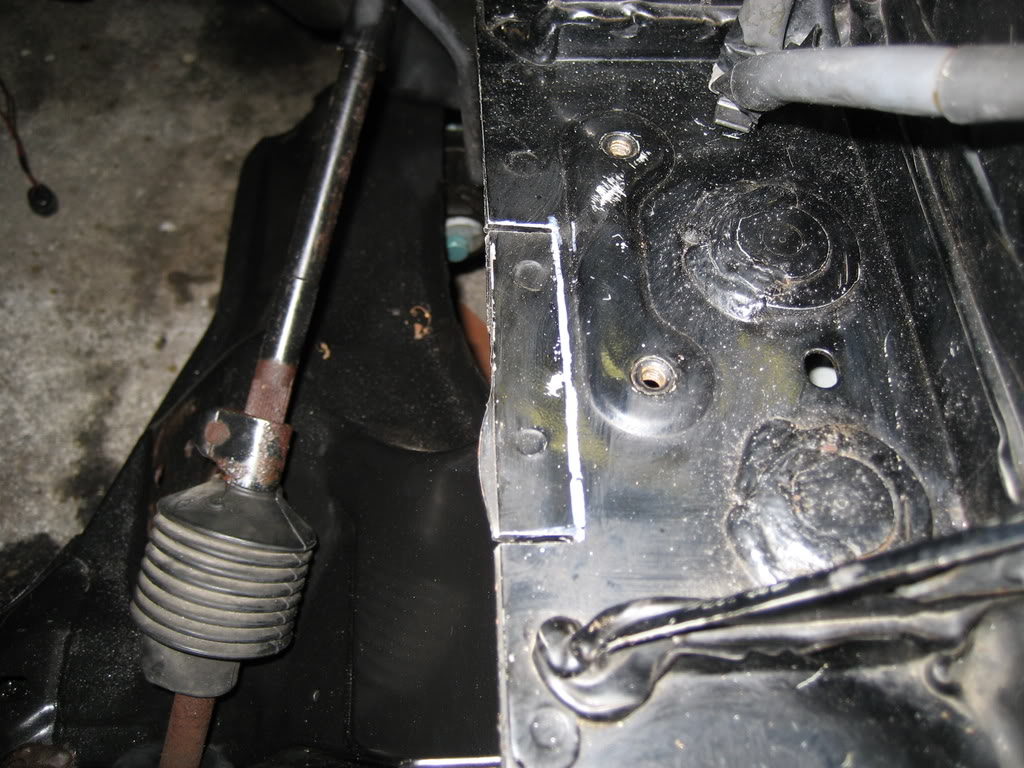
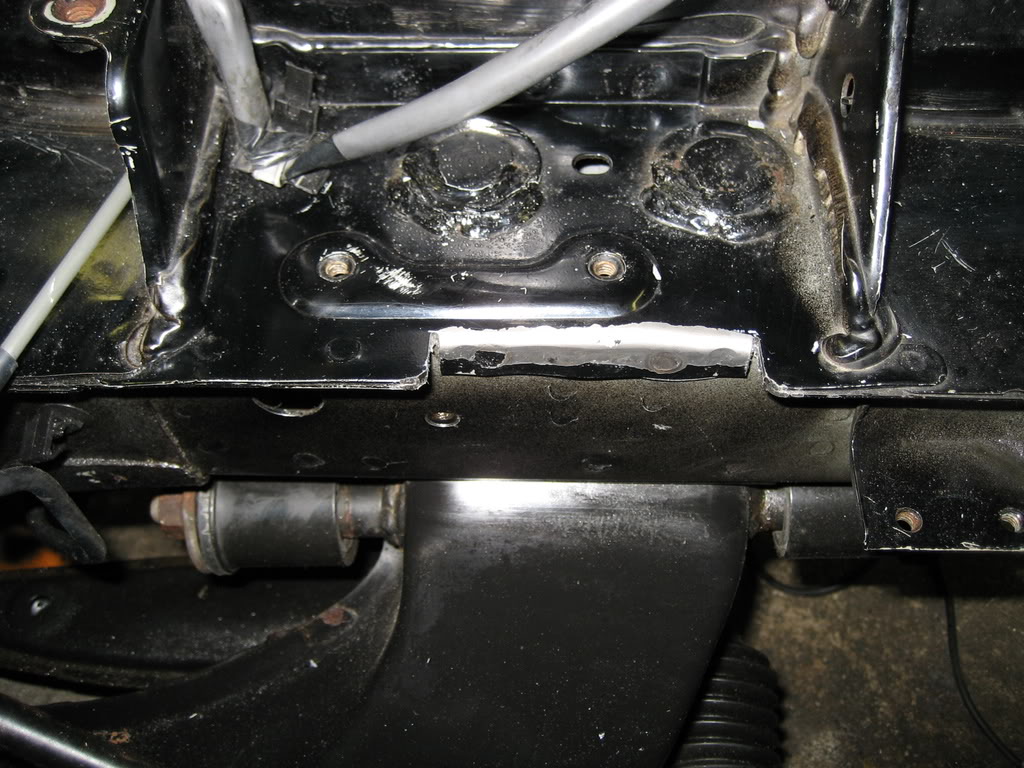
Now let's give that water pipe a little room.
The FM manual says to drill the return 2" below the oil pan flange.
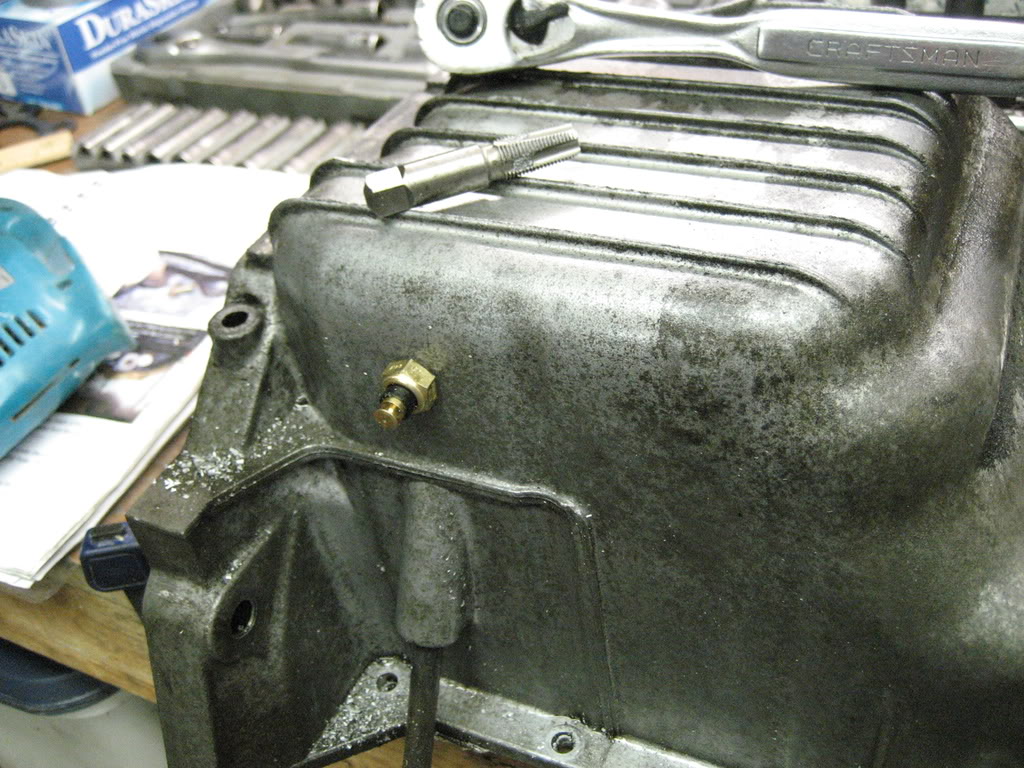
I added an oil temp sensor while I was in there.
That's it for today. Time to order more parts!
C
The previous owner snapped 2 bolts in the exhaust manifold when he disassembled the parts for shipment to me. Nice guy that he was, he sent me new studs, bolts and Nordlocks from FM and had a "machine shop" drill out the studs and re-tap the manifold. I say machine shop in quotes because I could have done a better job with a Fisher Price My first Toolbox set. Suffice it to say, the 8mm studs had a bit of wiggle when I went to put them in. My machinist suggested Helicoils instead of 10mm studs, so I went with his suggestion.
Next on the hit parade was a wastegate with > 1/2" of play. It took 7 1/2 turns of the the actuator to tighten it up. I wonder how much boost was going straight out the *** end of the car 100% of the time.
Now let's give that water pipe a little room.
The FM manual says to drill the return 2" below the oil pan flange.
I added an oil temp sensor while I was in there.
That's it for today. Time to order more parts!
C
Reply
0
0
02-28-2009, 10:50 PM
#4
Nice progress. If your build goes anything like mine, you will become Rosenthall's best friend. lol. I keep finding new stuff to order at about the same rate I get stuff in. If I had just made one huge list and ordered all at once I could have saved loads of money on shipping. ah, well. c'est la vie.
Reply
0
0
 03-01-2009, 09:20 PM
#6
Elite Member
Thread Starter
iTrader: (24)
Join Date: Dec 2007
Location: Carrollton TX
Posts: 1,709
Total Cats: 15
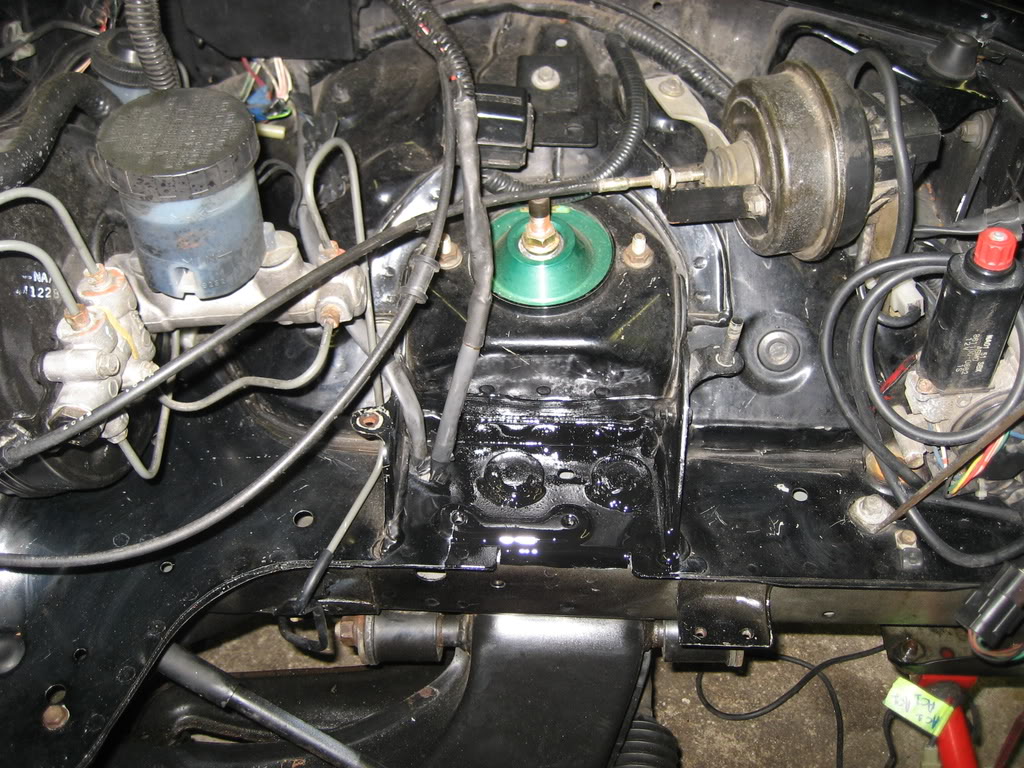
Today's projects were a little engine bay cleanup, new cam seal installation, which gave me the opportunity to learn cam timing, frame clearancing, and VDO water temp sensor installation (needed to re-tap the stock location with a 1/8-27 npt tap).
C
C
Reply
0
0

 03-02-2009, 11:36 AM
#10
Newb

Join Date: Mar 2009
Posts: 2
Total Cats: 0
I didn't notice that custom water hose job either. I love seeing stuff like that!
I can't wait to see how your MegaSquirt stuff turns out! I need to sit down and learn stuff like that...someday...
...uh oh, they must hate seeing them do things aside form drifting!
I can't wait to see how your MegaSquirt stuff turns out! I need to sit down and learn stuff like that...someday...
...uh oh, they must hate seeing them do things aside form drifting!
Reply
0
0
 04-01-2010, 02:34 PM
#12
Elite Member
Thread Starter
iTrader: (24)
Join Date: Dec 2007
Location: Carrollton TX
Posts: 1,709
Total Cats: 15
Damn, it's been over a year since I've posted to this thread. I'm finally driving it on a regular basis, although it really needs more tuning. So far, so good.
Pics from today:
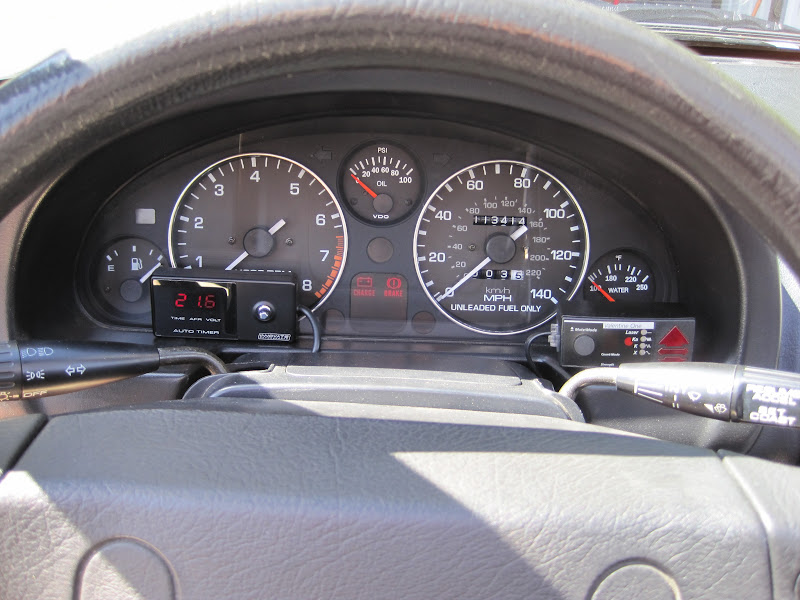
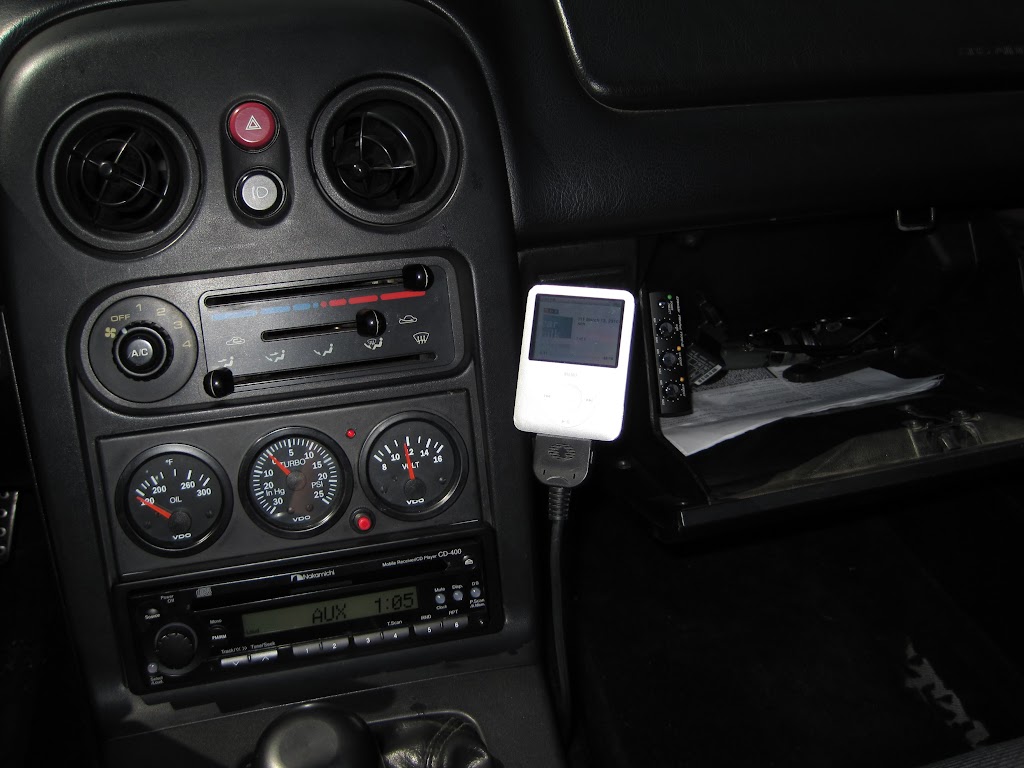

And the ugly truth behind those nice gauges.
Picasa Web Albums - Chriscar - Miata Gauges
C
Pics from today:
And the ugly truth behind those nice gauges.
Picasa Web Albums - Chriscar - Miata Gauges
C
Reply
0
0


 05-09-2010, 11:37 PM
#16
Elite Member
Thread Starter
iTrader: (24)
Join Date: Dec 2007
Location: Carrollton TX
Posts: 1,709
Total Cats: 15
Thanks! I modded the stock cluster to accept the VDO's.
http://picasaweb.google.com/cscarpulla/miatagauges#
C
http://picasaweb.google.com/cscarpulla/miatagauges#
C
Reply
0
0

Thread
Thread Starter
Forum
Replies
Last Post
stoves
Suspension, Brakes, Drivetrain
5
04-21-2016 03:00 PM


