When you click on links to various merchants on this site and make a purchase, this can result in this site earning a commission. Affiliate programs and affiliations include, but are not limited to, the eBay Partner Network.
The story begins:
After my '96 NA8 died an untimely death (Mercedes pulled out in front of it), I was already looking at Miatas while awaiting surgery on my broken leg from the accident.
A few months later, I was ready to buy, and after scouring Craigslist for awhile I came upon a decent-looking NB2, which I went to go see.
I came home with the ride, although while the interior was like new, the exterior was in rough shape.
The PO said he had plastidipped the wheels and bumper in an attempt to make it more "manly" and so that had to go.
After much agony (only one or two coats had been used) the plastidip was removed, and the real project began, which was the whole reason I'd bought the car in the first place: to rebuild an engine.
Since the NA, I'd always longed for a turbo, but didn't have the means, but now that I did, I decided it was going to have the toughest engine I could make, and it was going to stay BP.
So, a couple months ago, I pulled the engine and began digging in, while a steady stream of parts arrived.
I really only somewhat know what I'm doing, probably less than I think, but here's a breakdown of what I've got:
'02 NB2 base with 80K miles, a shitty $100 Maaco respray, Puerto Rico DMV stickers, a possible front end accident in it's past, and a perfect-looking interior.
A garage, an engine hoist, an engine stand, lots of tools, and the will to rebuild an engine
Here's the parts I've got:
JE 84mm 9:1 2618 Piston kit (pins, rings, clips)
Carrillo H-Beam rods (standard length)
King Bearings
ARP Main Studs
BE Stage 2 oil pump
ATI Super Damper
Cometic Head Gasket
Supertech Inconel exhaust valves (+1mm)
Supertech standard intake valves
Supertech dual valve springs
Ported/polished Head
ID1000 Injectors
FM Big Flex Fuel Kit
QMax Reroute
FM Happy Meal Stage 2 Clutch/Flywheel
ME221 ECU
Innovate MTX-L Wideband
FM Crossflow radiator w/ Stage 2 fan kit
The plan is:
Disassemble the engine
Learn how to build an engine
Build an engine
Make it run
Tune the engine
Turbo it to the heavens
Possibly install BMW transmission
Use less bullet points
So far, i'm on the "Build an engine" stage.
I've gotten it torn apart, took it to a shop in Tampa and had it done up right, and now it's back and I'm slowly assembling it.
I've been learning a crap-ton along the way, and after reading a couple books I think I might be able to get it running and tune it (somewhat) myself.
Had to wait for post to be approved so I could add on!
Right now i'm looking at a TSE EFR 6258 setup for down the road, and perhaps the KMiata BMW transmission swap, or I may attempt to build my own adapter plate for something else, who knows!
Spent all day yesterday getting the block washed, dried, wd-40'd, and then spent all night getting the mains and crankshaft cleaned up and installed!
I still need to get around to watching the videos you have done so far.
Heads up on the tuning thing. It's not hard, but the learning curve is like a brick wall.
Yeah, I've been doing a lot of reading about EFI theory and how it all works together, so I feel like a have a handle on the raw basics of how the system works, but I know there's a ton more variables I haven't learned about yet, and I'm sure it will take awhile to get there. Fortunately this is a project car, have a 6th->5.5th gen swapped Maxima and some bikes, so no worries if it's not moving for a good while. I'm down to learn everything I can!
Originally Posted by curly
Good list of parts. Why the ME221?
I built an MS3x (from scratch, the whole multi-board-stack thing) for my previous Miata and probably spent two weeks trying to get it to properly decode the trigger wheel from the stim. I'd reflashed both boards a few times, checked the settings in TS, but just couldn't get it to work. It was my daily so I couldn't bring myself to install it; the MS never left the bench. For this car, I'd seen the ME221 and really liked the mounting method and the clean board design, and it has all the features i'd like, so I figured I'd give it a shot. Worst case I spend another good while getting the MS3x working if it doesn't live up to the claims.
You sound like a smart/organized guy, so I'm gonna be straight up with you:
ME221 is trash. I can understand the frustration in a non-working self built MS, but it's not like there aren't fully assembled and warranty backed pnp units out there. Just saying.
But if you do choose to take the difficult route and run the ME, please document it here so others can learn from your mistakes.
But if you do choose to take the difficult route and run the ME, please document it here so others can learn from your mistakes.
Thanks!
And yeah, I understand that it may not be the best, but I'll for sure be documenting the whole process, both through videos and forum posts about what I find, so at least there's some specifics of what's not working and why. Their support seems to be pretty responsive from what I've found so far (inquiries about flex fuel code) so here's hoping that continues.
I've never heard of anyone maxing out the capabilities of a MS3 basic from Rev, not sure why anyone would think building their own is a better idea.
I've been around electronics for years (learned to solder when I was like 8) and dabble in microcontrollers and little circuit designs. The kit seemed like a good way to build the ECU myself and learn about it, while ending up with something I could use.
Unfortunately, while I had the VR circuits tuned perfectly, it just wouldn't decode the trigger wheel.
Tonight, spent a bunch of time reading about piston rings, end gap, installing them, filing them, etc etc.
On the advice of a friend who has built many a crazy turbo car, and the JE Piston papersheet thing, gapped the rings to 0.018" top, 0.019" 2nd. (more on the tighter side of 0.018")
Took a couple hours of filing, measuring, repeat until I'd set all of the rings, labelled them for each piston as I went along until I had the entire set checked and filed. Top rings take waay longer to file than the 2nd rings, totally different material. Noticed the JE Proseal rings were also using the Napier style wiper on the 2nd ring to help redirect oil back down into the cylinder better.
Spent the rest of the evening reading, watching, and being nervous as hell as I started to clean and assemble the rods and pistons.
Lots learned there about those little circlips, getting them seated well and aligning everything. Friend mentioned to be sure the bearing tangs on the rods are positioned on the side they were when the engine was disassembled (intake side) to prevent any issues.
Slowly cleaned, lubed, and assembled pistons to the rods, and an hour or two later had everything done. Feeling accomplished tonight!
Man, these things are beefy compared to the stock rods.
I noticed that Carrillo specifies that this type of fastener can be retorqued repeatedly as long as it's not overstressed. Hopefully the machine shop didn't do that, I trust them as everything else was done to spec, so hoping I don't need to grab a bolt stretch gauge to validate. I do have a little granite plate with a dial indicator I could technically use. Probably me just worrying about everything.
Tomorrow night will start getting the rings installed and pistons in the block.
I am super happy with my CP ring gaps, don't recall exactly but it's in my build thread somewhere. I burn "zero oil, none" to quote Pat.
Found it! Seems pretty close to what I calculated, but my friend mentioned to run just a little bigger, so that's what I did. It's only a thousandth, right? XD
Anyway, tonight I spent getting the pistons ready for the rings, installing and clocking the rings, and getting them all installed in the block.
Even those 'easy to use' tapered bore piston installers take a bit of skill to understand, and the first piston took me about 5 tries to actually get it in before I got the right amount of force to tap the piston with to get it to just pop inside.
Even ran out to the Autozone to pick up some Marvel Mystery Oil since that's what JE recommends you lube the pistons, rings, and cylinder walls with for installation.
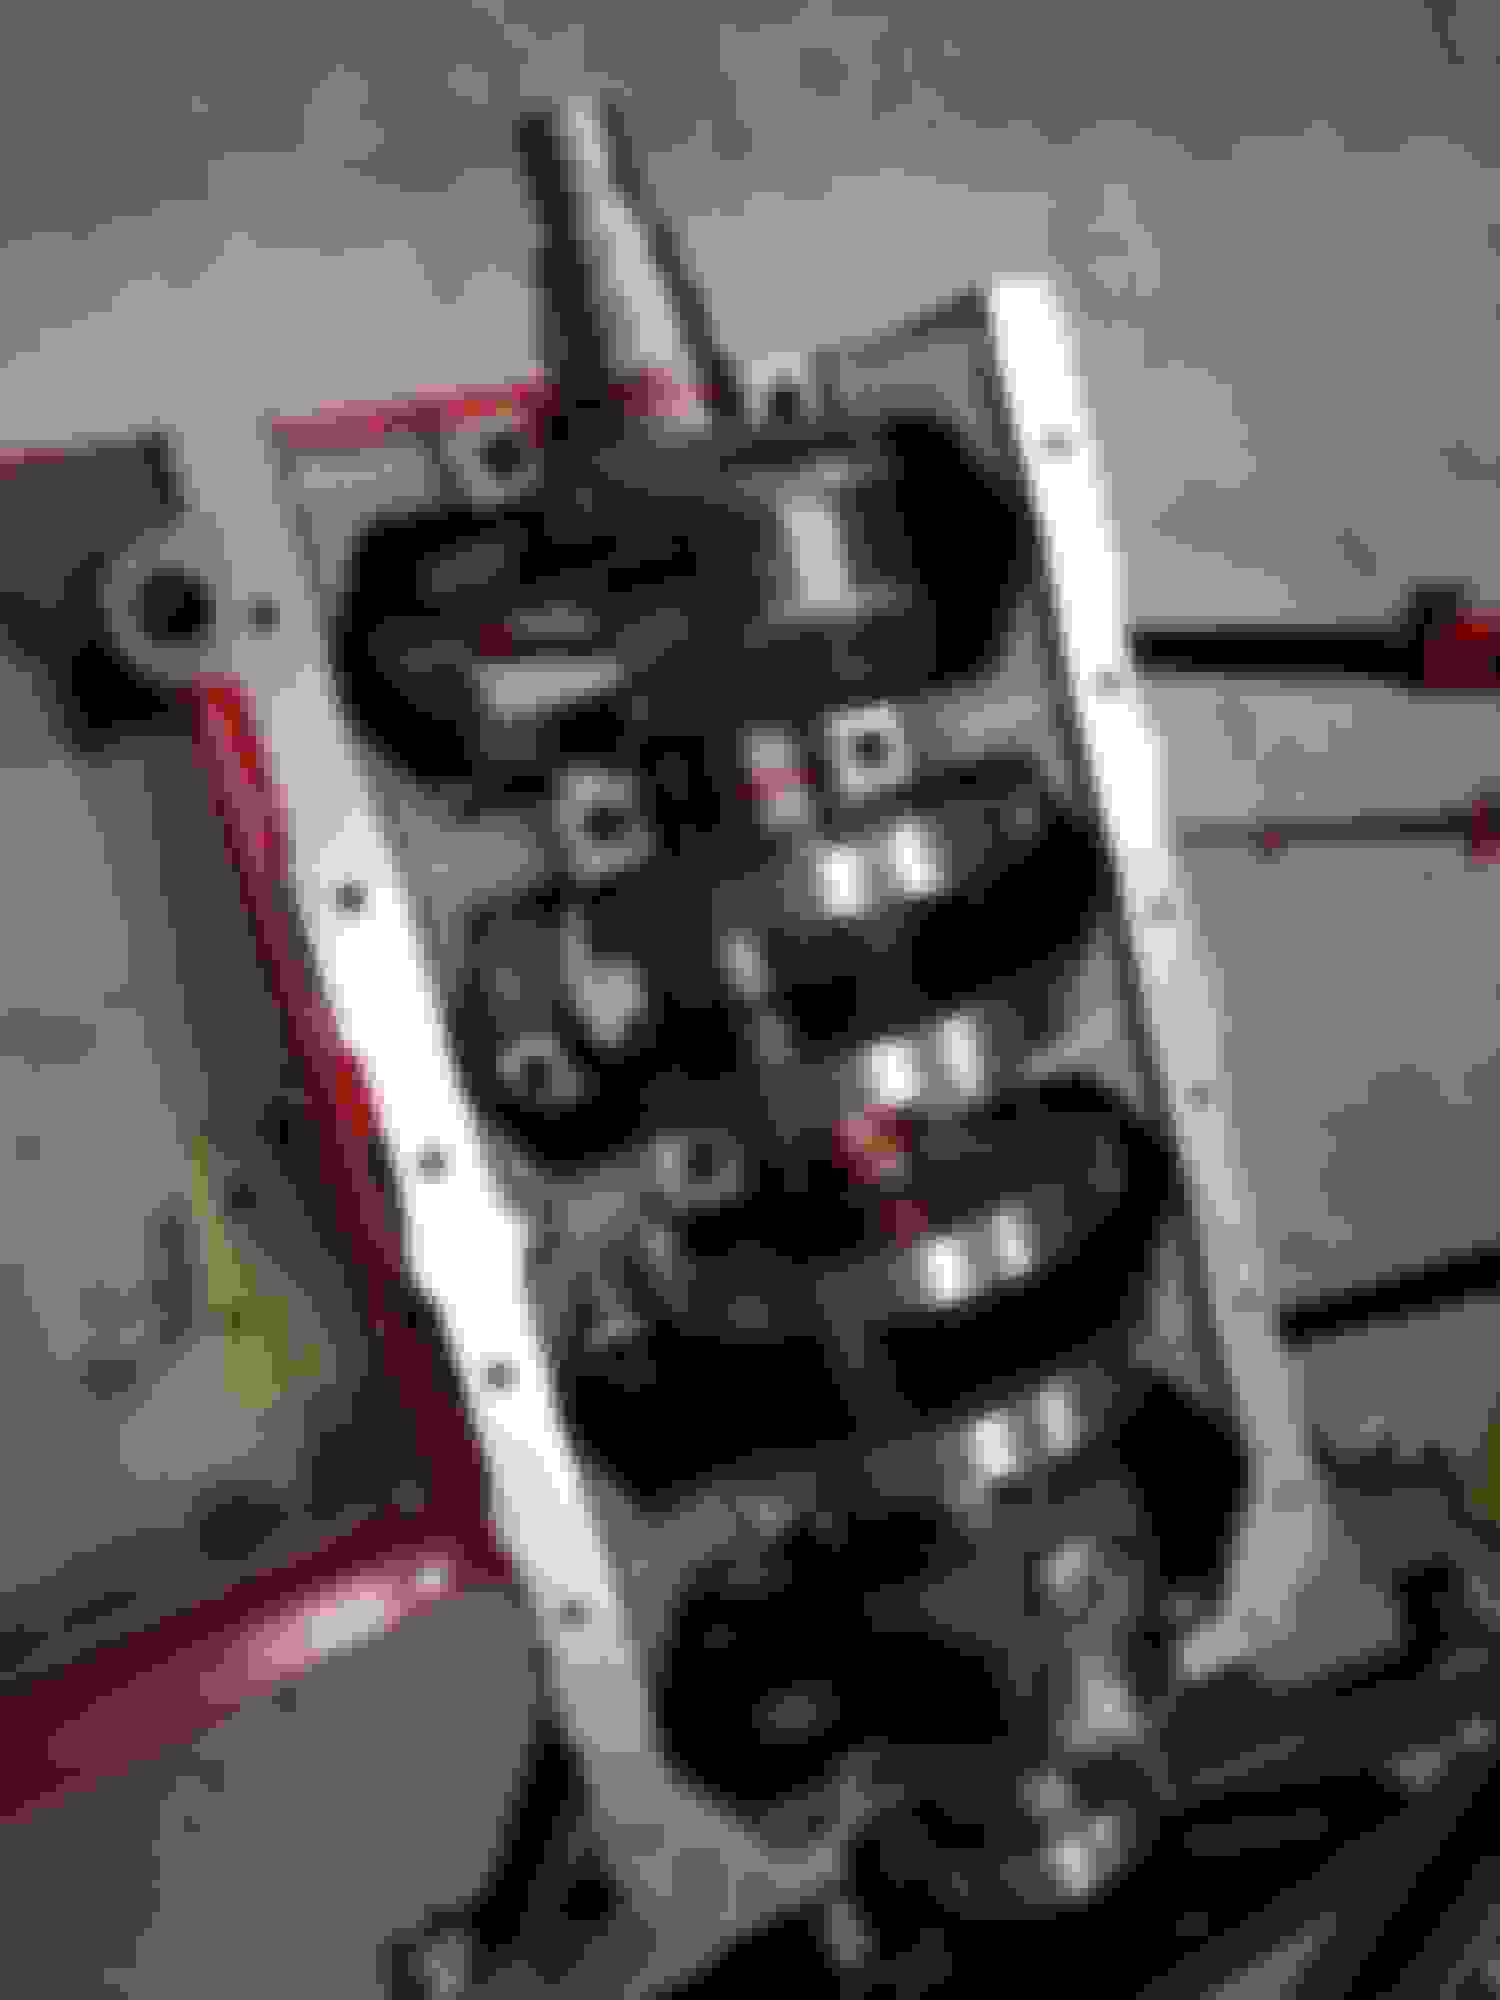
Unfortunately I don't have a ton of pics of the install, but here's what the block looks like now:
The whole mess still seems to rotate freely even with the all studs (mains and rods) tightened up to the correct torque. I suppose that's the most confidence this thing is going to give me until I start it up.
Gonna spend the next day or so editing video, I'm pretty behind on my Youtube uploads...
 02-20-2018, 01:20 AM


 1
1