When you click on links to various merchants on this site and make a purchase, this can result in this site earning a commission. Affiliate programs and affiliations include, but are not limited to, the eBay Partner Network.
After getting the engine to run on EV14 injectors (idle VE was raised from ~48 to ~61 to reach a stoich idle) I fully charged the battery and did the MT-approved deadtime test. Instead of the 1.14ms
stated on the printout that came with the injectors, my results were 0.94ms @ 13.2V. Astonishingly the engine ran smooth with any AFR between 10 and 18 (at that point I didn't dare to go any leaner). The injectors "feel" a lot better than the stock 265cc Miata injectors.
I proceeded to clean up the wiring harness. Color-matched wires from the ECU to each connector, twisted wires, no solder, nylon braided sleeving - the full works. After that, the car wouldn't start or would run rough. After taking everything apart again, it turned out the cam sensor female pin at the ECU connector had a bad connection (the spring inside had become loose).
So, with all issues sorted and the car running great, it of course was time to tear it down. When I bought the VVT engine the seller (who had bought it used but failed to get it running because he owned a 1999 1.6L NB) told me he believed the mileage was around 120,000 km, but he couldn't prove it. I drove it for another 10,000 km. My plan was to tear it down anyway because I wanted to have a totally rebuilt and forged engine for peace of mind and longterm durability.
Upon the previous removal I unbolted the subframe and lifted the chassis up. This time I had help from friends and decided to try the conventional method with an engine hoist. Looking back, I prefer the first method.
ready for lift-off
got myself a nice hardtop
mandatory Fred Flintstone pic
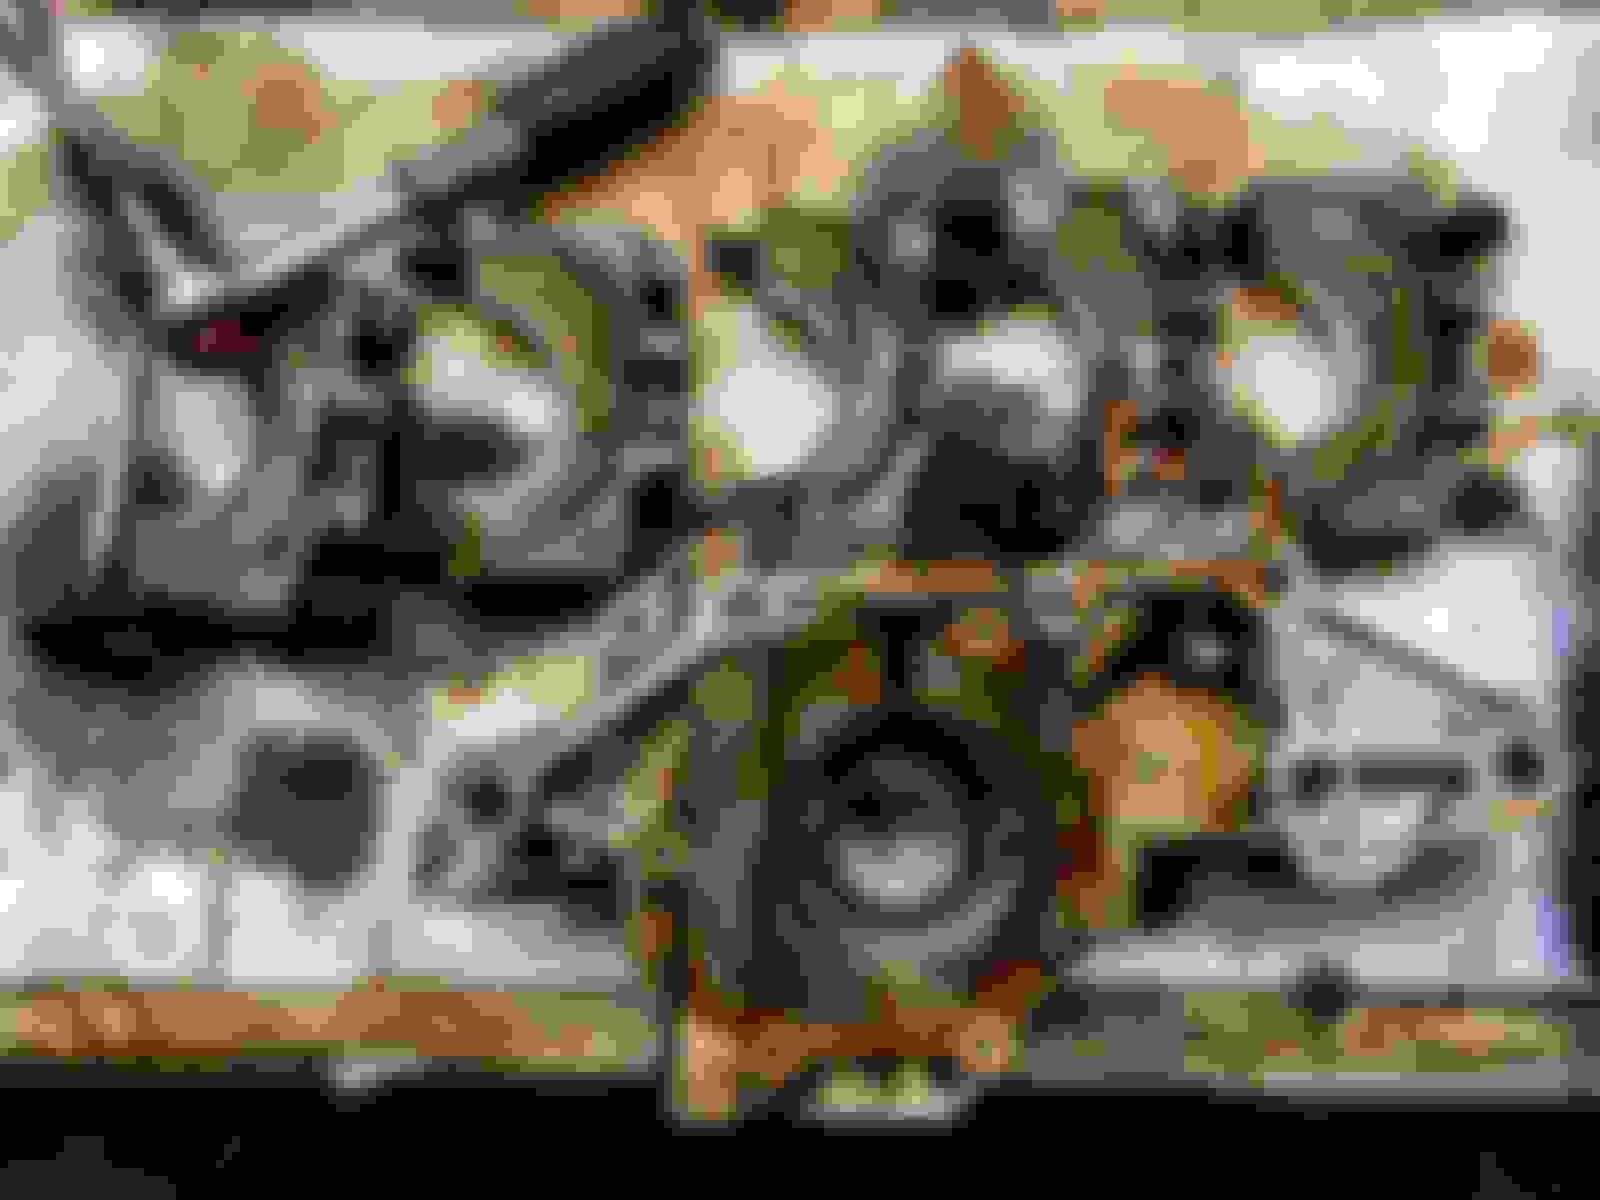
stripping the engine
valve clearance was still within spec
no signs of wear on the pistons, just carbon crud
no scuffs on the crank either
the oil pump will be ditched too, although in perfect nick
these parts will not be reused
short block ready for 0.5mm overbore; valve cover will have dash 10 fittings welded on
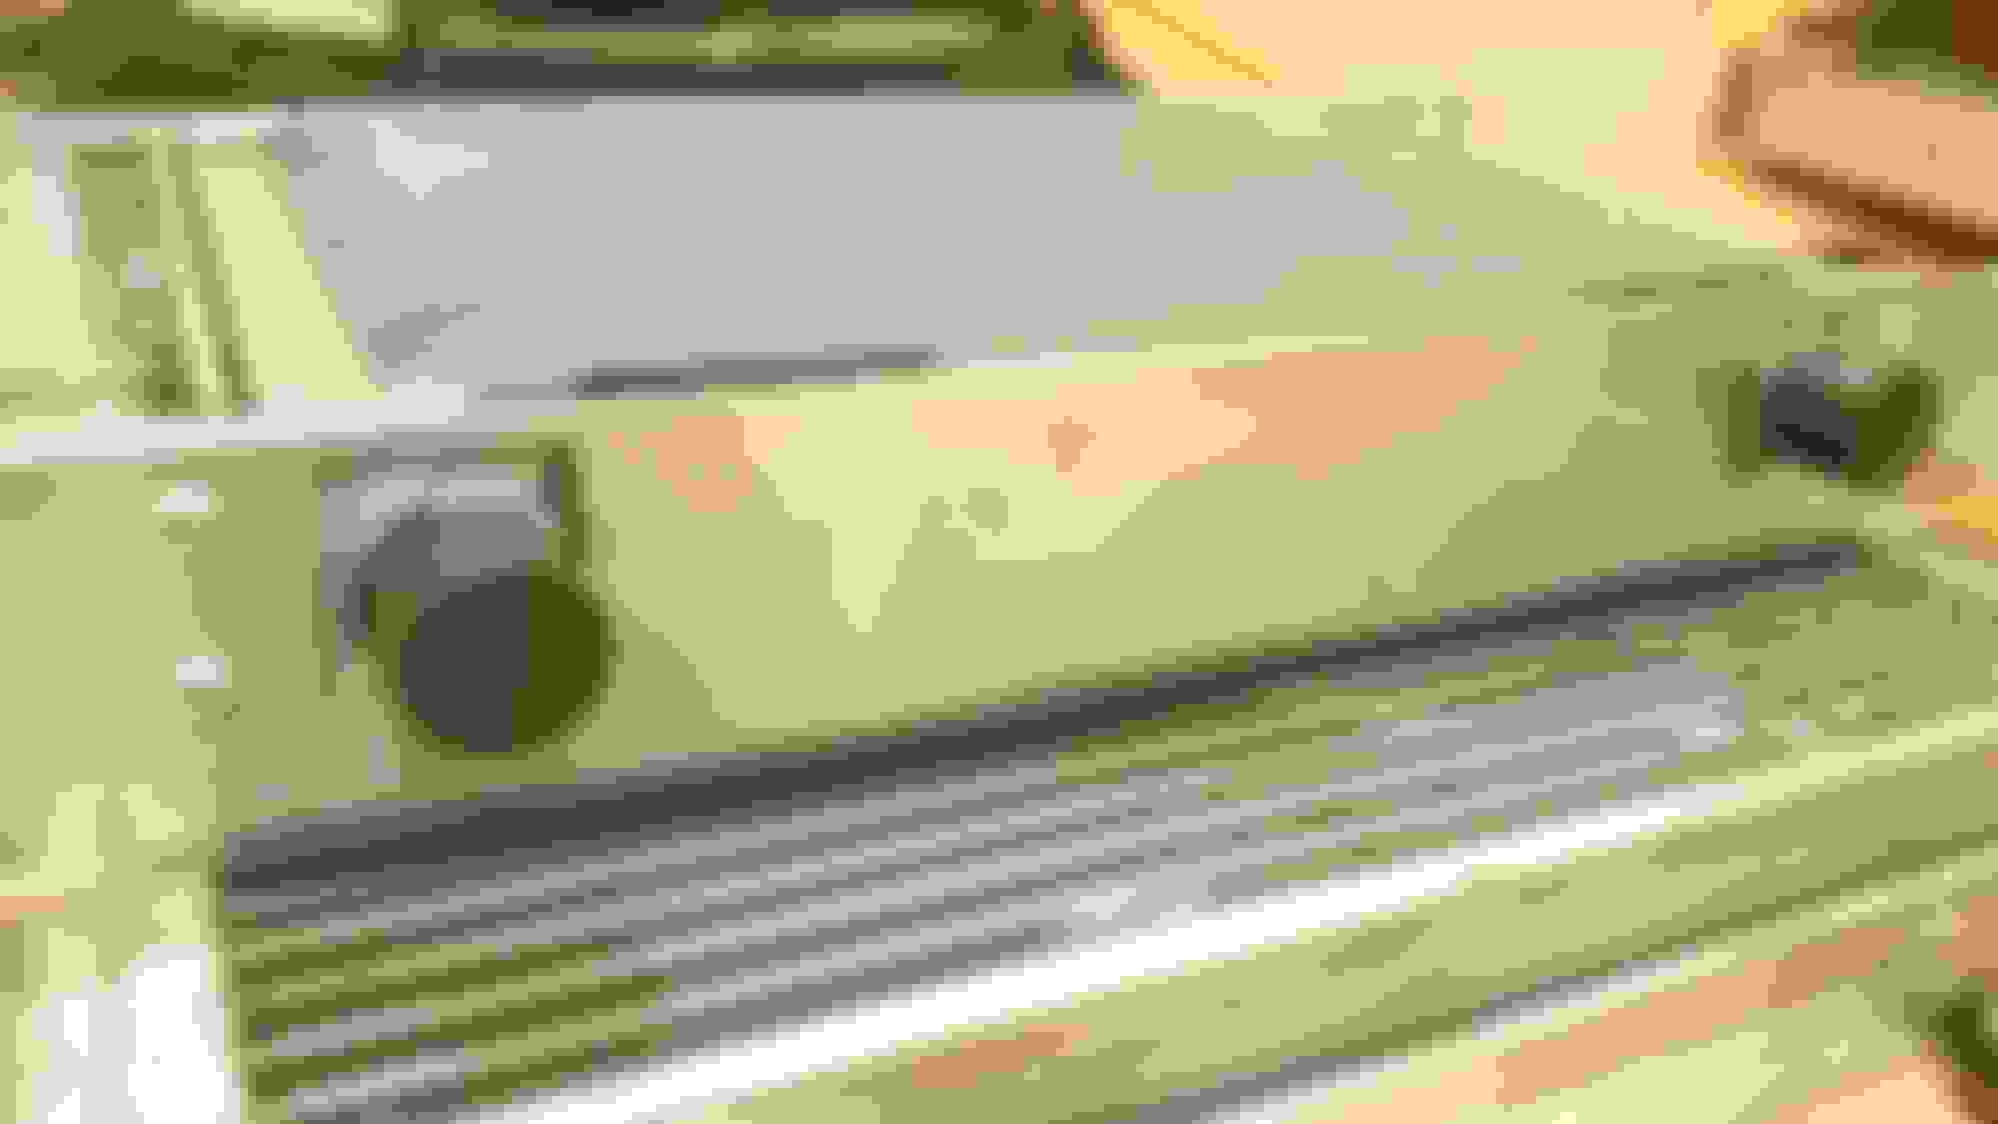
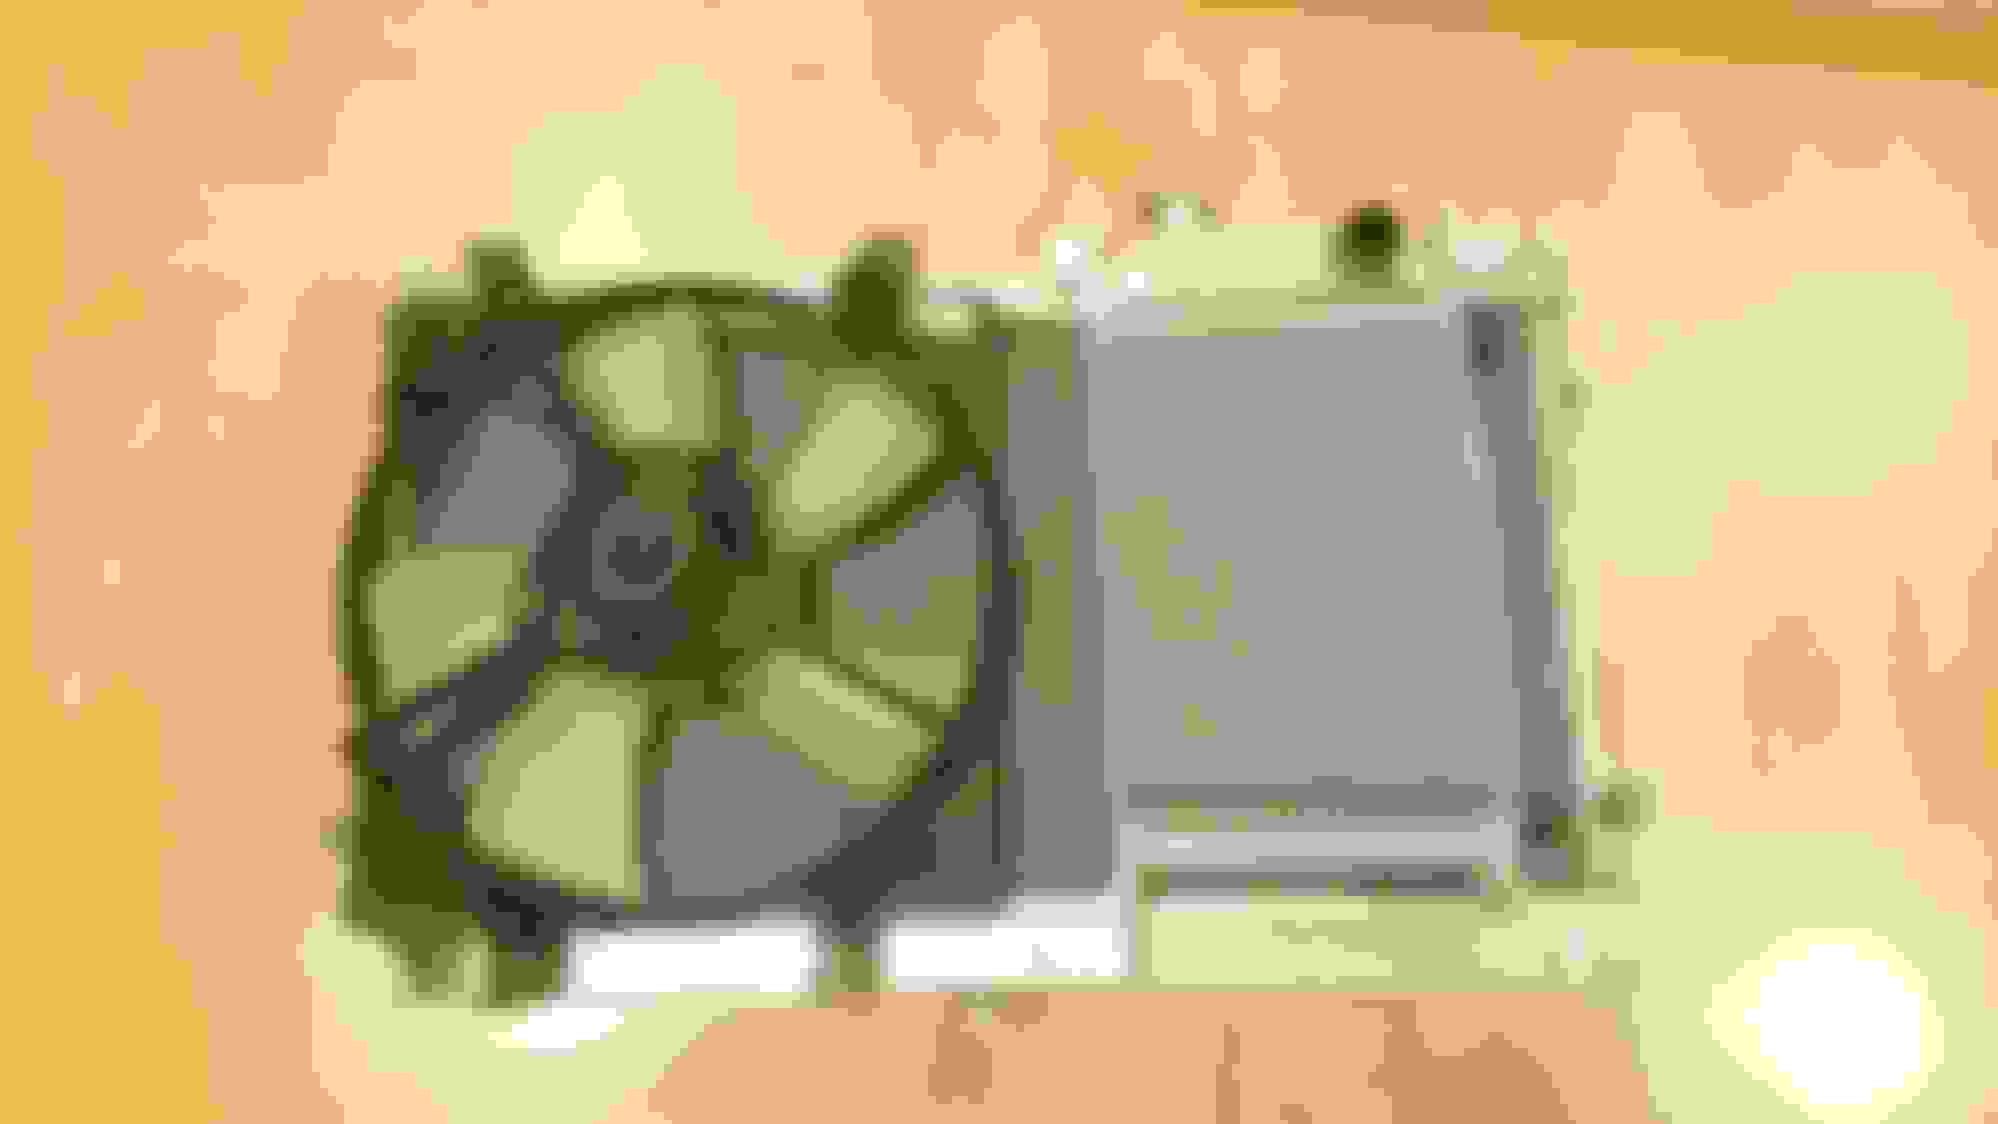
Next Monday I will have the block bored and honed. In the meantime I mounted the 25 row oil cooler to the radiator. I wanted to make sure it was perfectly ducted. I fabbed up a bracket made from 2-3mm aluminium, rivets and a vacuum hose left over from the Megasquirt install. I only have basic tools (a small saw, an electric drill and a hand file) so please don't mind the visual appearance. It really looks like it was chewed off by a blind monkey
chinese oil cooler rad riveted to home-made bracket. additional high-temp RTV makes sure the rad stays put even if the rivets should fail and ducts all the air through the rad
longitudinally cut silicone vacuum line protect the water radiator fins
Engine assembly time! Of course it took way longer than expected because the guy running the machine shop went on holiday and furthermore refused to weld the -10 AN bungs for my double crankcase ventilation system and the oil return line...
first, with the wife at work, I cleaned the intake manifold, oil pan and valve cover
the block was bored and honed to 83.50 mm. After checking for distortion (there wasn't any) I only cleaned the mating surfaces. The head was milled flat tho. I also decided to join the church of "no oil squirters" and removed them. I plugged the holes with M10x1.25 oil drain plugs apparently used on some motor scooters.
also, I checked and painted the 3.63 Diff from a wrecked 10AE. 200,000 km and the pinion didn't show any noticeable signs of wear, so I only replaced the seals. The prop shaft received some anti-rust treatment (phosphoric acid) and flat black paint.
all work was done inside my 2x2m storage room in the basement of my apartment. With all those boxes containing new parts space was... erm... compromised.
The crank was checked and found to be within spec, so I mounted it using fresh ACL bearings and old bolts. I torqued it to 2/3 of the final torque to check for any binding caused by new bearings. Of course there wasn't any, so I disassembled everything again and went to bed.
Today I took all parts to a DIY workshop in order to finally work in an humane environment
I mixed & matched the ebay rods, Supertech pistons and Wiseco rings gor a maximum overall weight difference of 0.5 g
I preliminary bolted the con rods to the crank to verify proper bearing play without binding In come ARP main bolts
...along with the crank
I then proceeded to gap the rings following Wiseco's recommendations for turboed engines. At first I wanted to use my dremel grinder, luckily was smart enough to use 1000 grit sand paper instead. I wrapped the paper around a thin 1 mm sheet of metal to best ressemble the future ring gap and slowly sanded a few 1/100s mm off the rings. Worked like a charm
next parts to be installed were the con rods + pistons, the Boundary Engineering oil pump and ARP head bolts. A 94-00 head gasket was installed too since I'm running a coolant reroute. Then came the cylinder head after thoroughly cleaning with brake cleaner and compressed air.
ARP head studs to keep all those horses inside Machine(d) head with cleaned & lubed cams How it sits now
next steps:
- finish assembly of engine incl. oil cooler and competition clutch/flywheel combo
- make wiring harness for LS coils
- install walbro 190 HP + wiring from battery
- install 6 speed + Torsen diff
- install heat shield
- install poly bushings on the arms
- run in engine
- get tuning shop to ship turbo kit at last... :(
How long on this longest day
'Til we finally make it through
- finish assembly of engine incl. oil cooler and competition clutch/flywheel combo
- make wiring harness for LS coils
- install walbro 190 HP + wiring from battery
- install 6 speed + Torsen diff - install heat shield
- install poly bushings on the arms
- run in engine
- get tuning shop to ship turbo kit at last... :(
Good news is: after a long and tedious day the engine and transmission are finally in
bad news is: I'm still not ready to start the engine after losing time with the installation and running into fitment problems
on Sunday I only had 4h to my avail, so I did the final assembly of the engine. Inside the valve cover I did the "tiny hole mod" by enlarging the passage from the middle chamber to the LHD chamber to approx. 11mm and adding another 4mm hole right next to it. I then added genuine copper sponges to the chambers to add surface area for the oil mist to be caught.
After taking the photo I changed the arrangement of the sponges for fear a tiny bit of copper might make it into the engine. After all, I had cut open two sponges to fit them in the side chambers, but I wasn't sure I had managed to remove all remains of loose copper bits inside those cut sponges. The final arrangement is drown in orange. In the middle chamber there is an entire uncut copper scrubber in hopes it might catch any tiny remaining bit of loose copper. Tiny hole not being tiny anymore
Operation during cruise and overrun
Operation during boost
I then sealed the cover plates and refitted the screws to the VC. Then I finished the assembly of the engine. Lacking the turbo kit, I had to temporarily close the oil drain fitting by attaching a short piece of drain hose with a bolt stuck into it.
Engine ready. Oil drain fitting not yet closed off.
The first big issue I ran into was the 90 degree fitting + check valve mounted onto the inlet manifold. It simply wouldn't clear the hood, or the support bracing respectively. I was considering
- cutting the hood bracing (chance of rattling due to engine movement)
- using an -10AN to push-on hose fitting and relocating the check valve (possible boost leak by blowing hose off the fitting)
- pointing the fitting in another direction (not the clean install I had intended and possibly still contact with the hood)
- a mix of all the above options
- cutting the threaded fitting off the manifold and having another fitting welded at a flatter angle (expensive, 3 days lost, but cleanest option)
I decided to go for the last option
Manifold dash fitting wouldnt clear the hood by approx. 10-15 mm. At least i got the MT.net-approved coolant reroute fitted (spacer, Kia Sephia neck, chevy silverado coolant hose)
Next *****-up was the transmission install. I installed a competition clutch stage 4 and lightweight flywheel. The flywheel and clutch were installed using thread locker and the proper alignment tool. The 6speed transmission spline was lightly lubricated with high temp grease.
still, I couldn't for the life of me get the transmission to fully go on the clutch. There would always be a gap of 10mm or so between the bell housing and engine block. After numerous attempts and endless times lifting the transmission I removed the clutch and flywheel again. The clutch would easily go onto the transmission spline. So would the pilot bearing. Refitted the clutch, but again the transmission wouldn't completely fit.
the solution was to loosen the clutch cover bolts just enough to move the clutch plate with the clutch assembly tool, but not let the clutch move by itself. I moved the clutch disc until the assembly tool would go in and out without even the slightest effort. That meant the pilot bearing and clutch disc were perfectly aligned. I then evenly tightened the clutch cover in several steps, and voil� the transmission went on smoothly.
Heat insulation was another issue. I cleaned the transmission tunnel and added self-adhesive 4mm fiberglass/aluminum heat protection sheets to the driver side and top from the transmission tunnel. Overall length was from the fire wall until the shifter opening. I also added another patch next to the steering rack and plan on adding golden adhesive tape to the clutch and brake master cylinder, plus an aluminium heat shield.
then the engine was installed. This sucked big time and required the help of two fellow hobby mechanics because the engine wouldn't tilt to the driver's side to get the engine mount into the subframe. If I were to do it again, I'll go back to my proven method of installing the engine from below. I had done it that way twice before, all by myself, and it was super quick
another f-up was the installation of various water hoses. Except for the coolant return hose, all hoses are made from silicone and thus thicker than OEM. This means most OEM clamps wouldn't or only barely fit. Damn, I hate those sprung clamps... Also, the silicone hoses wouldn't fit a 100% and required shortening. At least they mount easily when used on combination with brake cleaner
all in all yesterday was a frustrating experience. It took me 12 hrs to finalize assembly of the engine and get everything into the engine bay, only to find out the dash fitting on the intake fouls the hood
Does anyone know what those 3 mount points below the EGR flange on the intake manifold are/were for?
I've got one of these manifolds on my MSM and its OEM VTCS manifold had them too but they're unused.
Jump in the cockpit and start up the engines
Remove all the wheelblocks theres no time to waste
Gathering speed as we head down the runway
Gotta get airborne before it's too late
We're back on track! The first 60 km are done, albeit N/A only (but it can't hurt for the break-in period)
since the -10AN fitting on the squaretop manifold fouled the hood I cut it off at an angle, rotated it slightly to get the fitting mounted lower and then had a colleague weld it back on. He's one of the guys building our prototypes and thus more than capable of welding aluminium. I guess I was lucky I didn't ad-hoc cut a hole in the support of the bonnet. I instead decided to go to sleep and came up with the idea of having the fitting rewelded. My hot-headed me seems to be getting calmer...
Welded at an angle the hose clears the fitting on the VC. The check valve had to be relocated tho.
Lower than the VVT solenoid
I then proceeded to install the 3.63 torsen diff along with PU bushings. The stock rubber mounts had to be modified by cutting off the rubber, so that only the metal bracket remains
250 kph here I come!
I replenished all fluids, removed the plugs and unplugged the injectors. I then cranked the engine for 10 seconds, but there wasn't any oil pressure showing on the gauge. *****! Anxiously I checked the oil pressure sensor, but couldn't find any mistake. In a desperate attempt I cranked for a second time and after 10-15 seconds I could see a slight movement of the gauge needle. Seconds later full oil pressure came on - hooray!
i reinstalled the plugs, and the car fired right up. I let it warm up, took it for a spin around the block, looked for possible leaks (damn NPT plugs in the oil cooler sandwich plate!) and instantly took it for a ride. I gave it the beans, letting it coast down from 5500-6500 rpm to 2500 rpm several times to properly seat the piston rings. Did feel strange to thrash a freshly rebuilt engine though.
after 50 km I pulled in and drained the engine oil. The magnetic oil pan plug only had a minimal amount of metal particles, and the filter was clean. So I filled the engine with new oil and drove it home.
Small metal shavings. I hope this is nothing to worry about? Nothing to see inside the oil filter.
wow, I almost forgot what driving an MX-5 feels like. The nimbleness, the sheer response, the cabin noise,... A very rewarding experience.
a few bad points:
- the 6puck clutch in combination with the lightweight flywheel makes taking off a little more difficult.
- also there is a little bit of drivetrain noise (occasionally). I suppose it's clutch judder, aggravated by the poly bushings in the diff arms.
- oil pressure is crazy. A full 6 bar when cold. When hot, the engine would idle around 2 bar (like before), but rev it beyond 2500 rpm and the needle is almost off scale. Me thinks it's due to the Boundary Engineering VVT oil pump (+1 shim), running thicker 15w-40 oil plus oil cooler and having removed the oil squirters. We'll see whether it gets better once the EFR is in
I will continue with break-in for the next 500 km. In the meantime my new wheels are supposed to arrive any day soon. With fresh rubber, we'll see whether the 6speed transmission will make up for the lack of power due to running 8.6:1 compression in a still naturally aspirated car.
200 km done and I have run into minor problems. The biggest one is an oil leak. First the NPT plugs on the sandwich plate were leaking, but I fixed those. Now I can see small drops of oil on the pan. At first I thought I didn't properly seal the oil pan, but it seems it's coming from the top front end. Maybe cam seals or the VC seal itself. Both were good and dry upon disassembly though.
Maybe the higher oil pressure is to blame. When warm, I get 1.8-2.0 bar at idle, but rev it up to 2,000 rpm and pressure rises to 4 bar. Anything beyond that rpm rapidly reaches the end of the gauge (6 bar). The needle itself is moving freely, so I suppose this is rather an issue caused by removing the oil squirters than having a stuck relief valve. What strikes me is the fact that at idle pressure is the same or even slightly lower than before the build, but give it some revs and pressure goes through the roof.
another issue was the front anti roll bar interfering with my oil cooler. The stock roll bar barely cleared the lower edge of the cooler (think: 1-2 mm), but now that I have an uprated H&R front sway bar (solid 26 mm, still stock 11 mm rear) it just wouldn't clear the oil cooler. It probably would if I weren't running a 50 mm water radiator at the same time. So I had to remove the water radiator brackets, drill new holes and angle it slightly more vertical than it used to sit. Having a 120 kg friend push the radiator forward while inserting the bolts made life easier.
new wheels are in: Japan Racing JR3 15x8 ET 25 in bronze. The weigh a true 6.3 kg each. I have a set of new Federals (205/50/15) waiting in the basement that I plan on mounting on Saturday. Right after my grandma's funeral ( :( ) and before the trackdays on Monday ( )
Haha yes it is indeed. At least they served some in the Kantine. However I'm afraid most crop will have taken a severe hit after a week of winter 2.0
it's crazy, we've been having some 0-5 degrees Celsius over the past week, with constant rain and ******* SNOW (!). I have just completed a 1100 km round-trip to Vienna (good for breaking in the engine) and heading back home we had snowy rain all the way back from Salzburg. There's nothing like driving in these conditions with 13,000 km old Federal RS-R...
On the drive home yesterday
In the meantime on the south side of the alps a friend was having a better time on the Passo di Maniva.
Today I fitted my new wheels. 205/50/15 Federal RS-R on 15x8 Japan Racing JR3. Took some serious roll in the front and rear, plus a slight pull. The arches received a special rust-protection grease to keep corrosion at bay. Working slowly and constantly applying enough heat keeps the paint from chipping, and it all came out great!
 03-18-2017, 03:44 PM


 0
0


 )
)