Hornetball's Build


 06-21-2015, 12:31 PM
#145
Elite Member
Thread Starter
iTrader: (4)

Join Date: Mar 2008
Location: Granbury, TX
Posts: 6,301
Total Cats: 696
So, I'm finally working on the Silver car again. Intended use will be a comfy DD with occasional track time in cooler weather (after all, I've got the Red car for year round track abuse).
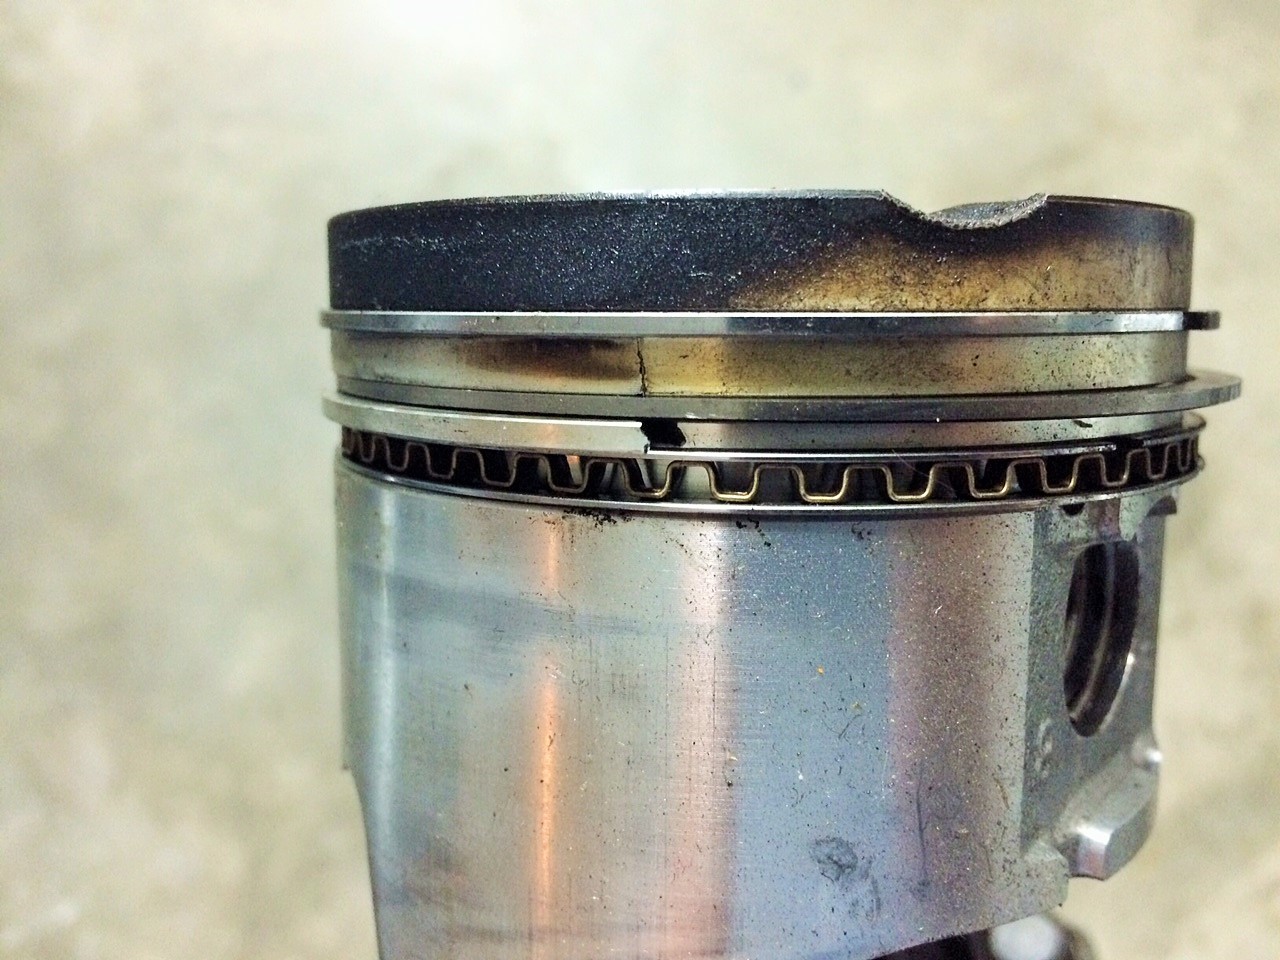
If you'll recall (see https://www.miataturbo.net/build-thr...6/#post1113926), I lost a piston last time I was on track. In the meantime, rebuilt the engine with forged rods but otherwise stock specs. Added an MLS head gasket and ARP studs. Engine is back in the car and now I'm making everything fit and rerouting the charge tubes for the FAB9 intercooler. Here's a picture of that piston . . . busted ringlands:
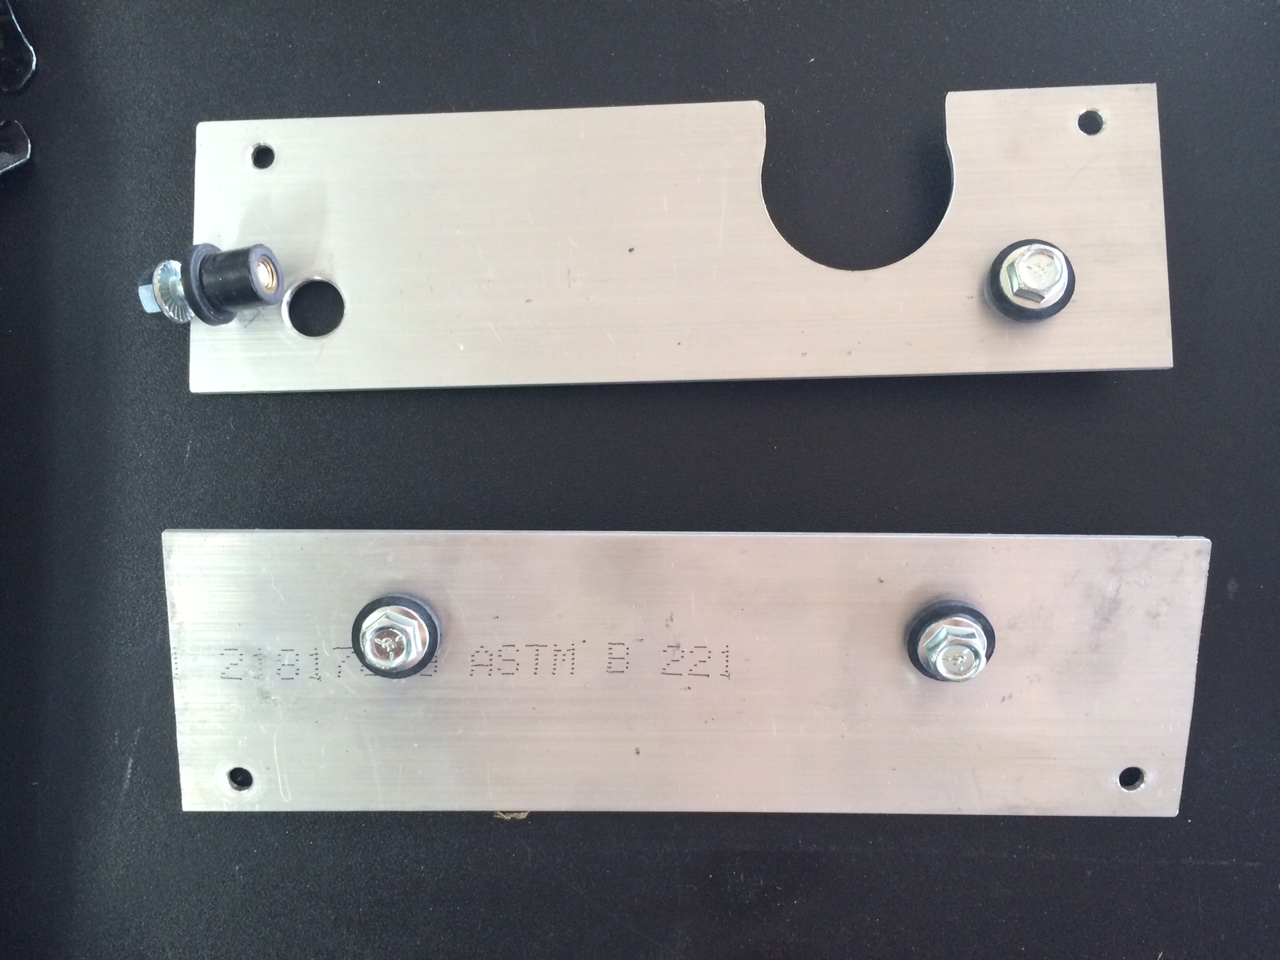
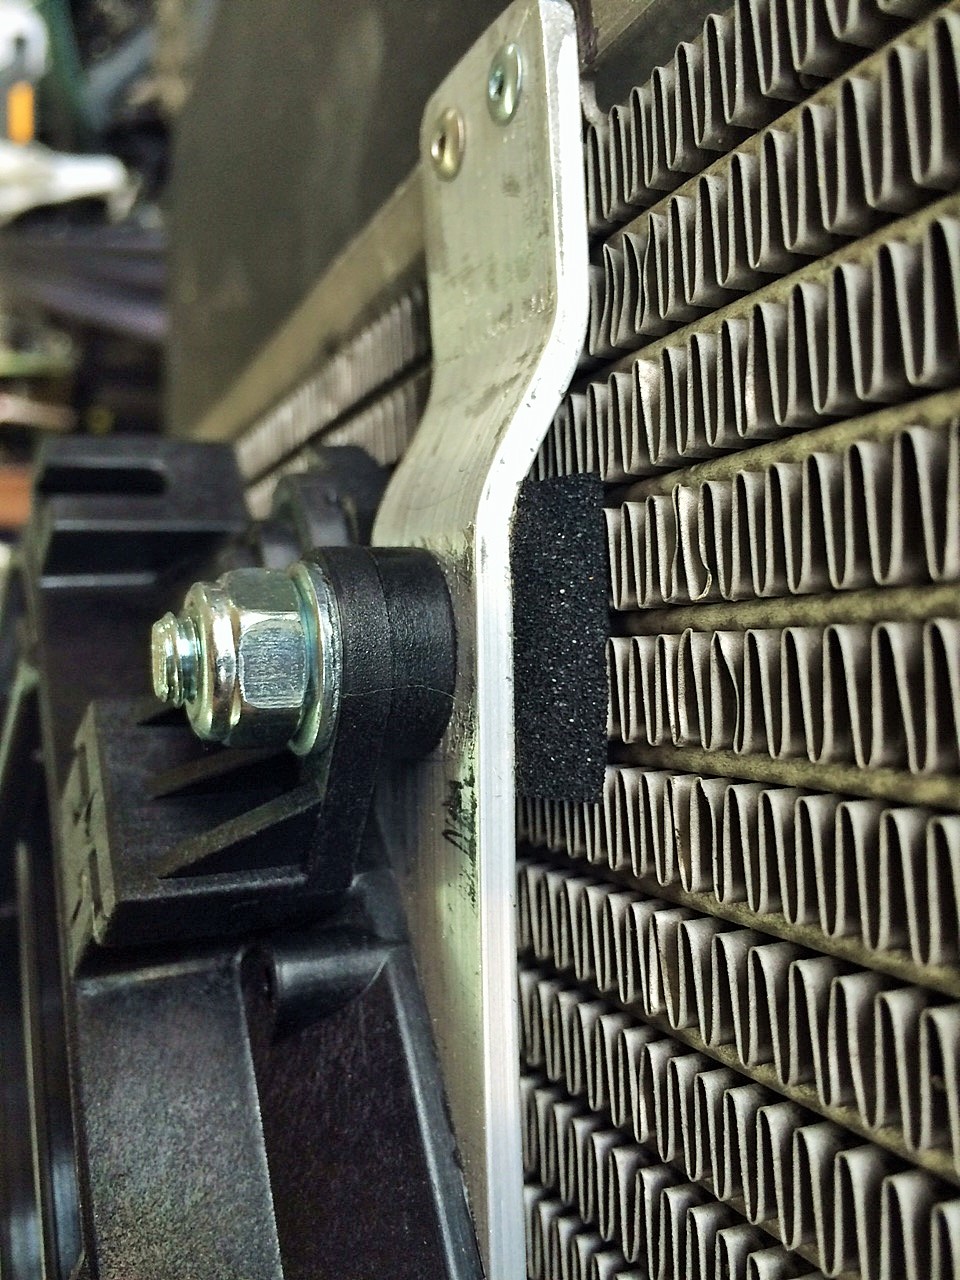
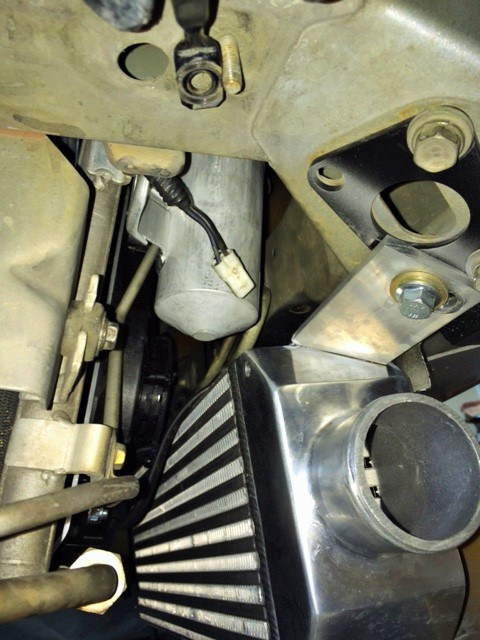
I'm applying lessons learned from the Red car, and am adding a big Tru-Cool oil cooler from Racer Parts Wholesale. These are inexpensive and effective. Built brackets to mount in the AC fan spot. These are 1/8" x 3" aluminum with rubber wellnuts to mount the oil cooler and provide vibration isolation:
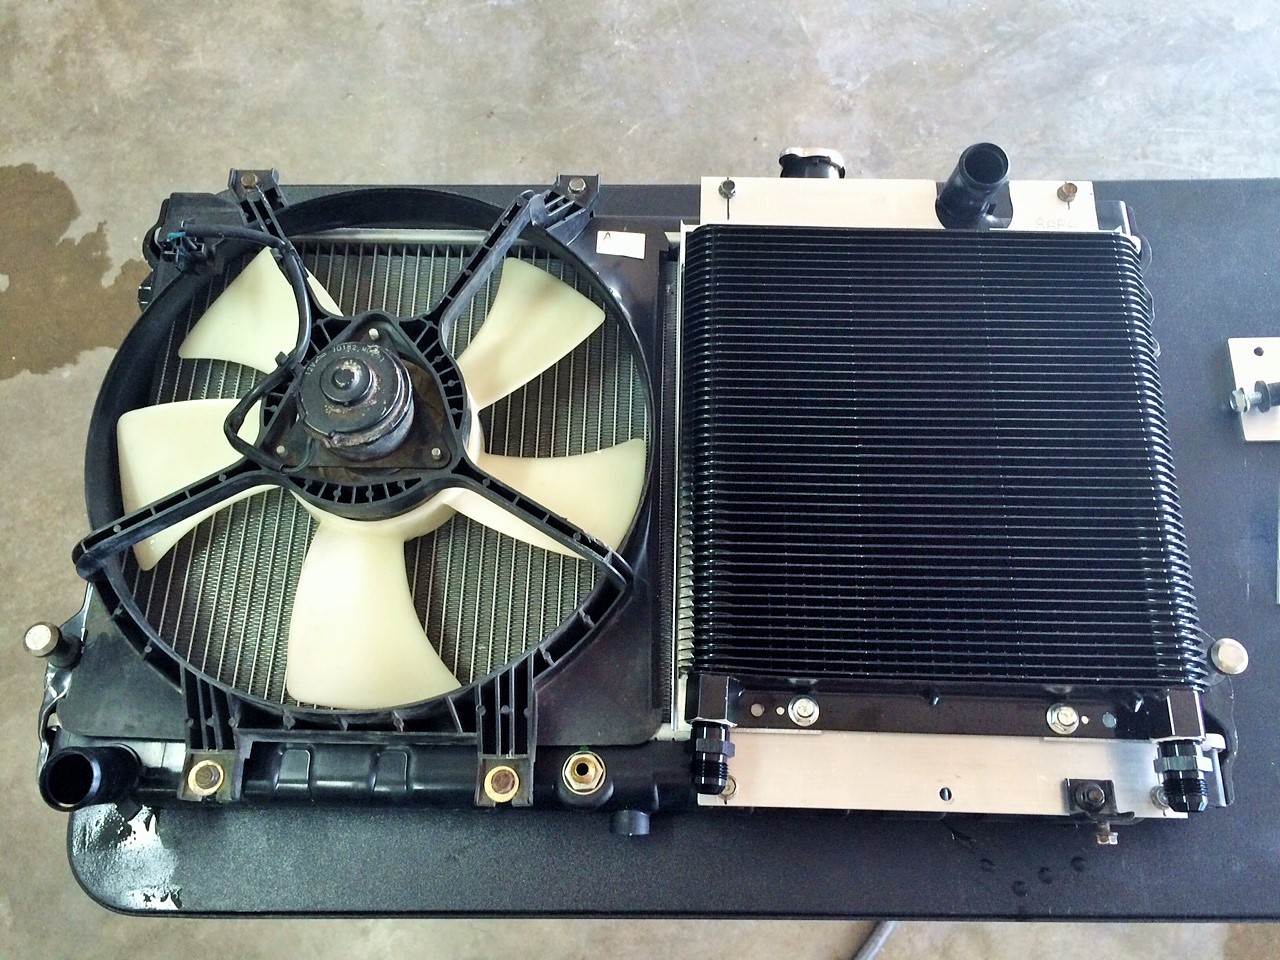
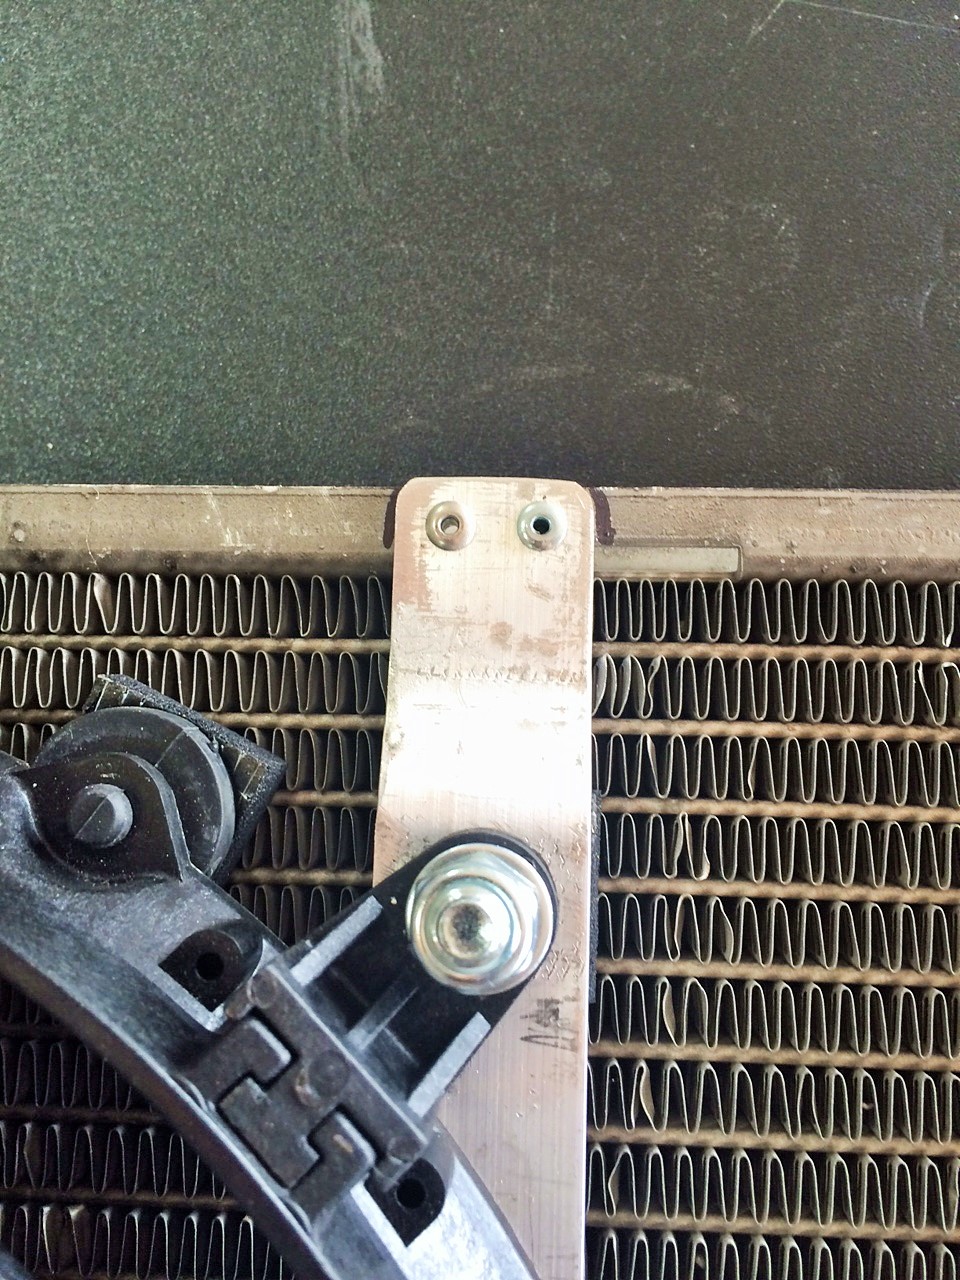
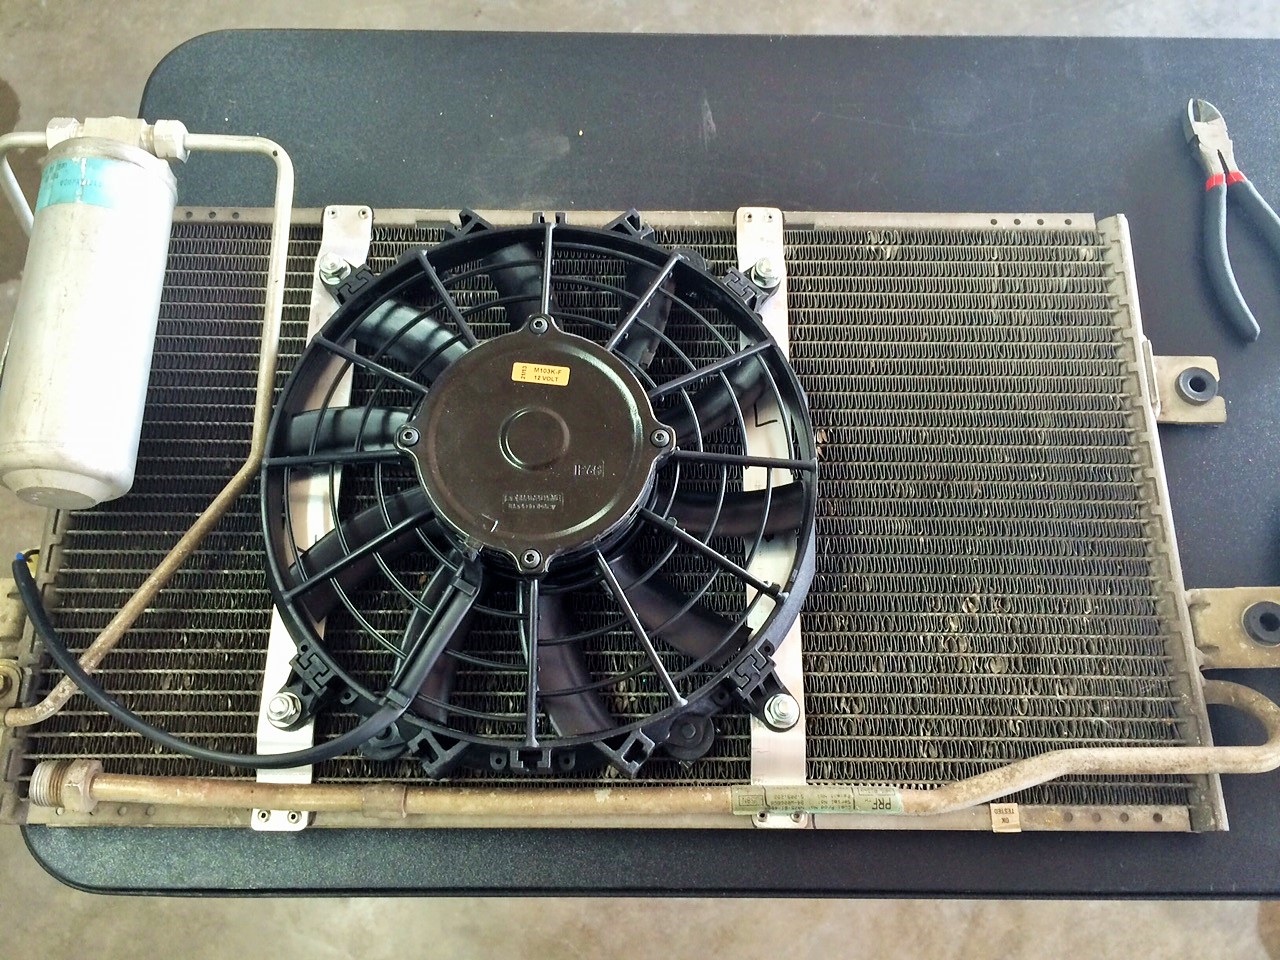
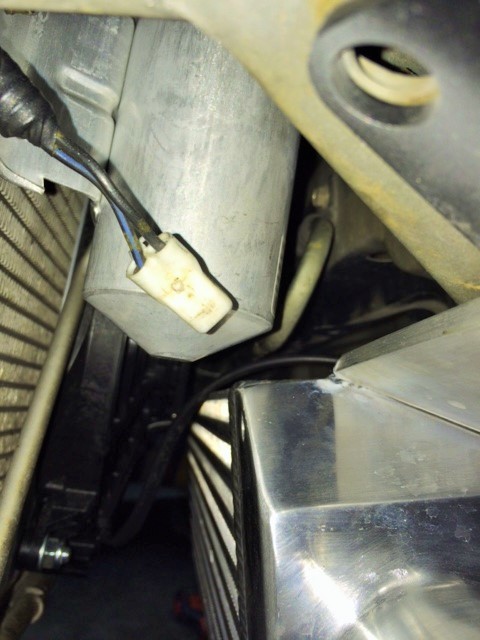
Since I'm running AC, I still need an AC fan. I bought a JEGS-brand heavy duty slim fan (JEGS Performance Products 52160, JEGS Low Profile Heavy Duty Electric Fans | JEGS Performance Products) and mounted it to the condenser in pusher configuration. On my wife's MB, having a pusher fan mounted directly to the condenser was effective for AC cooling when sitting. Previously, the Miata provided almost no AC cooling unless I had forward movement. This fan is too powerful to zip mount to the core (as if I would ever do something like that anyway), so I used aluminum strap to mount to the condenser. I also replaced the 1990 condenser with the 1995 condenser from the Red car to work better with R-134A. Mounting details:
When installing on the car, I had to trim just a bit off the hood latch for clearance. Otherwise, the fit was good.
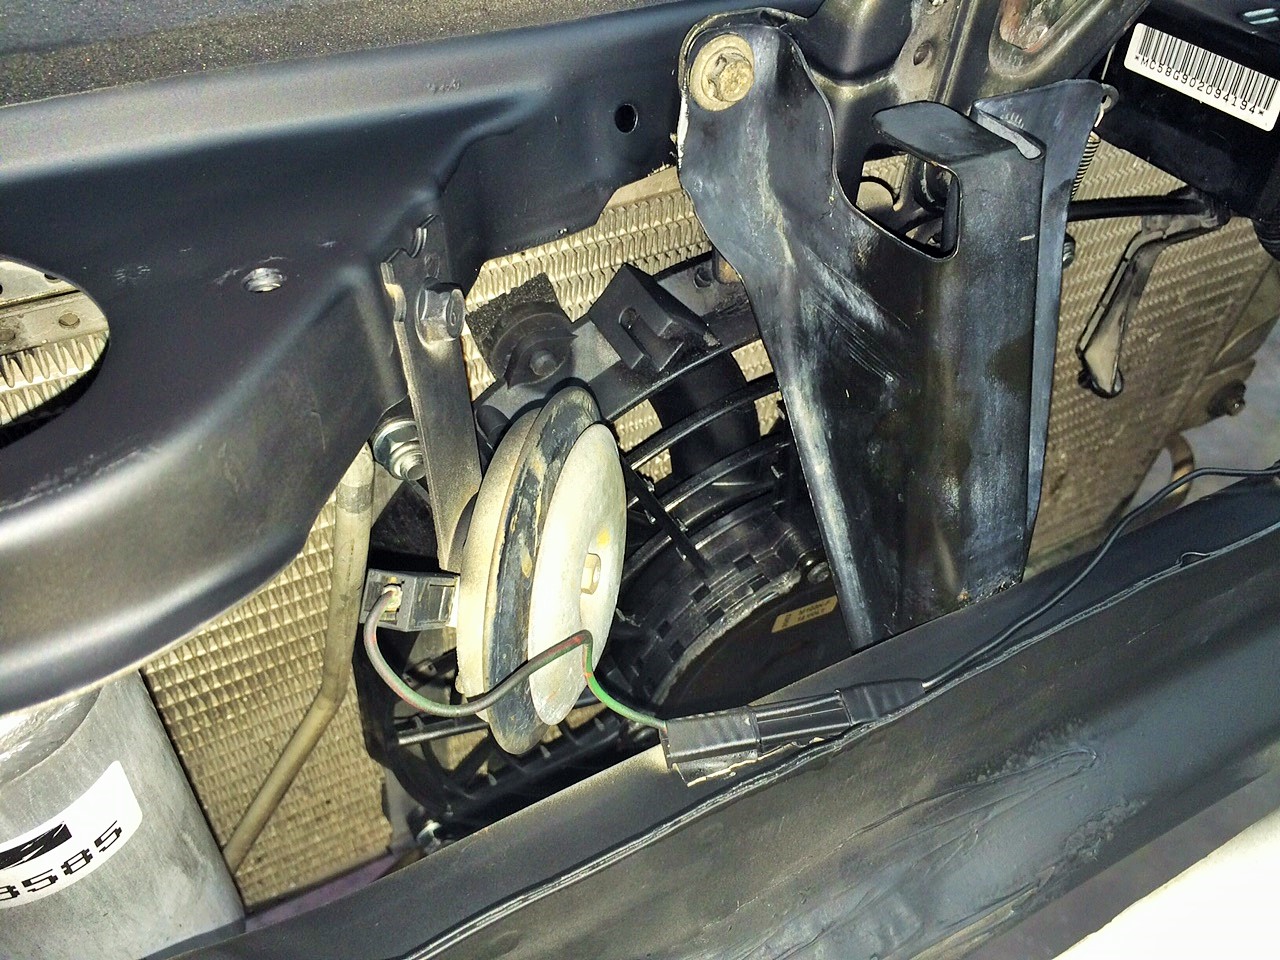
Complete stack. Fit was tight, but there's clearance for everything. Now that everything is in place, I can work on ducting and charge tubing. I'm pretty nervouse about cooling, honestly. It was never an issue when I ran without an intercooler, but the FAB9 intercooler is quite a brick in the nose opening.

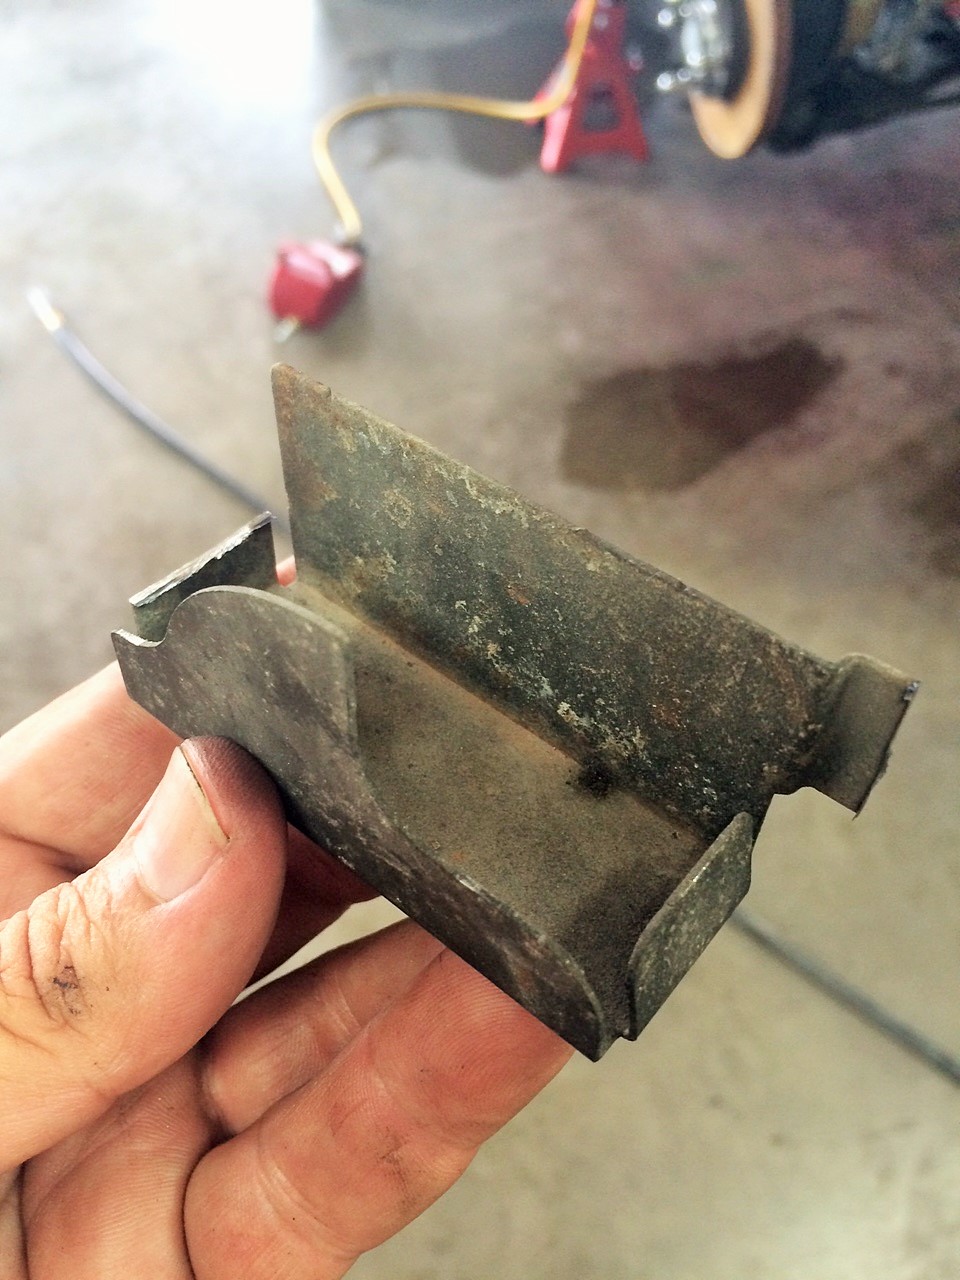
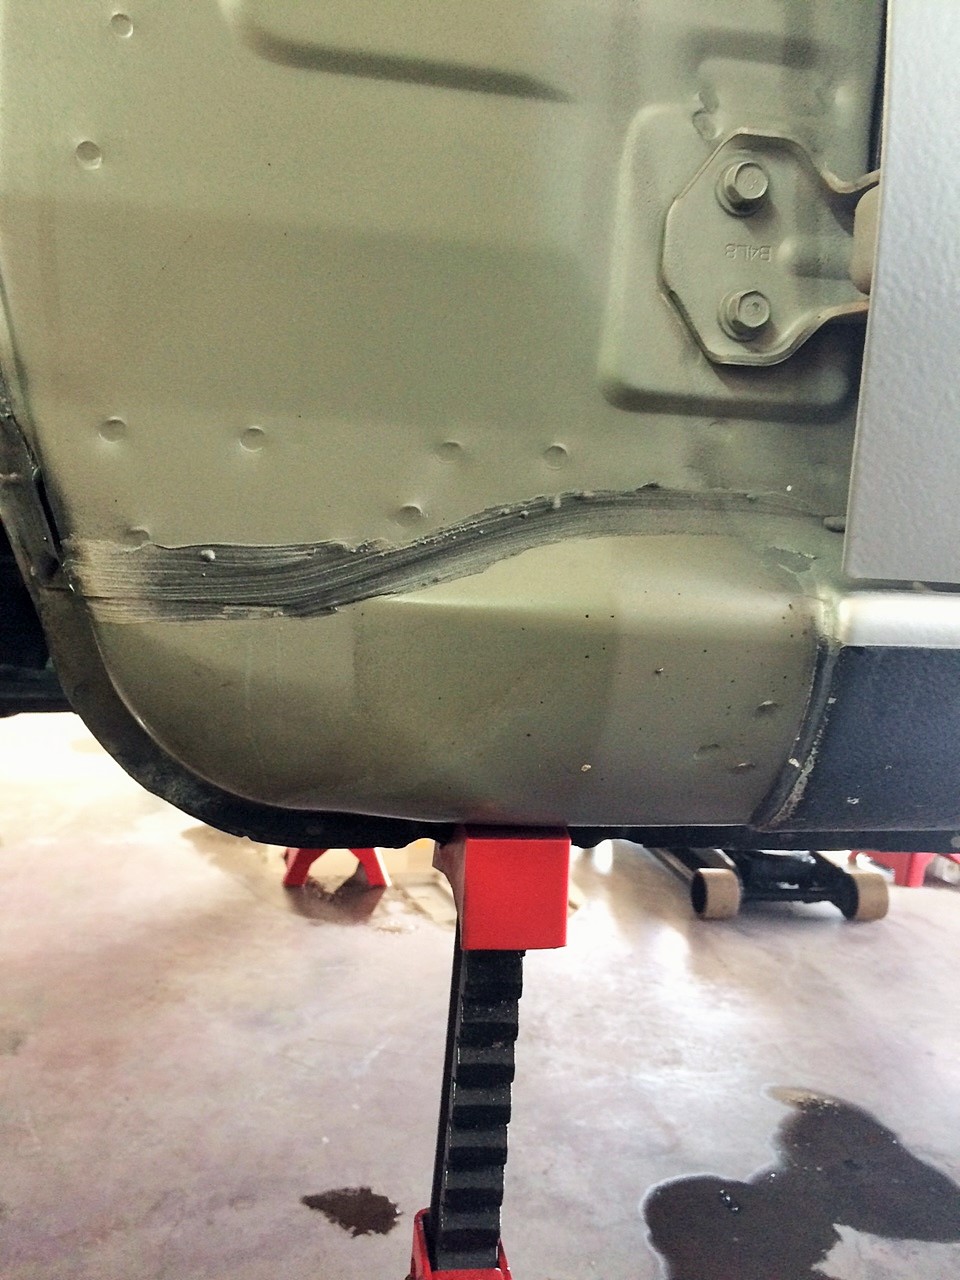
I plan to go through the inner fender with 2" piping, so I pulled off that side. Gosh, I like TX cars. This is a 25 year old example with more than 200K miles. Looks brand new. I really feel for you guys in rust-prone areas.
More to come . . . .
If you'll recall (see https://www.miataturbo.net/build-thr...6/#post1113926), I lost a piston last time I was on track. In the meantime, rebuilt the engine with forged rods but otherwise stock specs. Added an MLS head gasket and ARP studs. Engine is back in the car and now I'm making everything fit and rerouting the charge tubes for the FAB9 intercooler. Here's a picture of that piston . . . busted ringlands:
I'm applying lessons learned from the Red car, and am adding a big Tru-Cool oil cooler from Racer Parts Wholesale. These are inexpensive and effective. Built brackets to mount in the AC fan spot. These are 1/8" x 3" aluminum with rubber wellnuts to mount the oil cooler and provide vibration isolation:
Since I'm running AC, I still need an AC fan. I bought a JEGS-brand heavy duty slim fan (JEGS Performance Products 52160, JEGS Low Profile Heavy Duty Electric Fans | JEGS Performance Products) and mounted it to the condenser in pusher configuration. On my wife's MB, having a pusher fan mounted directly to the condenser was effective for AC cooling when sitting. Previously, the Miata provided almost no AC cooling unless I had forward movement. This fan is too powerful to zip mount to the core (as if I would ever do something like that anyway), so I used aluminum strap to mount to the condenser. I also replaced the 1990 condenser with the 1995 condenser from the Red car to work better with R-134A. Mounting details:
When installing on the car, I had to trim just a bit off the hood latch for clearance. Otherwise, the fit was good.
Complete stack. Fit was tight, but there's clearance for everything. Now that everything is in place, I can work on ducting and charge tubing. I'm pretty nervouse about cooling, honestly. It was never an issue when I ran without an intercooler, but the FAB9 intercooler is quite a brick in the nose opening.
I plan to go through the inner fender with 2" piping, so I pulled off that side. Gosh, I like TX cars. This is a 25 year old example with more than 200K miles. Looks brand new. I really feel for you guys in rust-prone areas.
More to come . . . .

Reply
 1
1

1
 06-21-2015, 05:48 PM
#147
Senior Member

Join Date: May 2011
Posts: 638
Total Cats: 76
are you using the full racer parts wholesale kit? looking at their site it looks like you're using the 48 row kit that has the thermostat. What thread pitch do you have to order for it? love the updates to either of your cars as always.
Reply
0
0
06-21-2015, 06:44 PM
#148
Elite Member
Thread Starter
iTrader: (4)
Join Date: Mar 2008
Location: Granbury, TX
Posts: 6,301
Total Cats: 696
The Miata oil filter thread is M20x1.5. And, yes, the 48 row fits the space for the AC fan almost perfectly and gives a bunch of cooling. On my Red car, I typically see 245F on a 100F day pushing hard (monitored at the oil filter location -- so ~220F monitored in the oil pan).
Last edited by hornetball; 06-21-2015 at 10:23 PM.
Reply
0
0
06-22-2015, 12:49 PM
#149
Elite Member

Join Date: Oct 2013
Location: Cedar City, UT
Posts: 2,764
Total Cats: 951
On that topic thank you again Rick, for showing me your oil cooler mounting solution. I still can't come up with something that is more effective/convenient/non-fab-heavy solution.
Also, your metal work is way good man. That looks like an off-the-shelf part.
Also, your metal work is way good man. That looks like an off-the-shelf part.
Reply
0
0
 06-22-2015, 02:12 PM
#152
Elite Member
iTrader: (37)

Join Date: Apr 2010
Location: Very NorCal
Posts: 10,441
Total Cats: 1,899
"rubber well nuts" Goddammit! I've been trying to figure out what to call these things for years. Thank you! now that I know what to look for these should be much easier to find.
Beautiful work as always
Beautiful work as always
Reply
0
0
06-28-2015, 01:58 AM
#153

Hey Rick, could you get a picture of the clearance between the intercooler and the a/c drier and its lines?
I'm trying to decide how big of an intercooler I can get in there and this would save me some hassle.
I think I'm absolutely going to copy your a/c fan solution.
I'm trying to decide how big of an intercooler I can get in there and this would save me some hassle.
I think I'm absolutely going to copy your a/c fan solution.
Reply
0
0
 06-28-2015, 10:21 PM
#155
Elite Member
Thread Starter
iTrader: (4)
Join Date: Mar 2008
Location: Granbury, TX
Posts: 6,301
Total Cats: 696
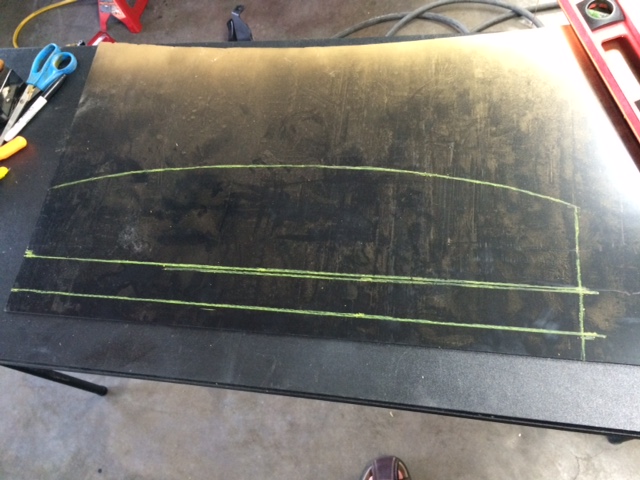
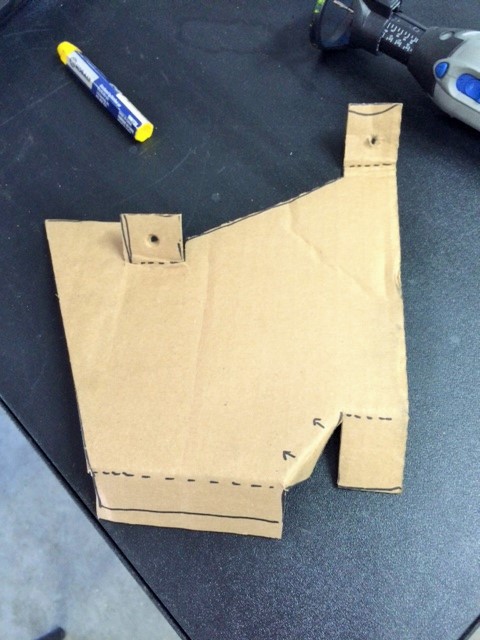
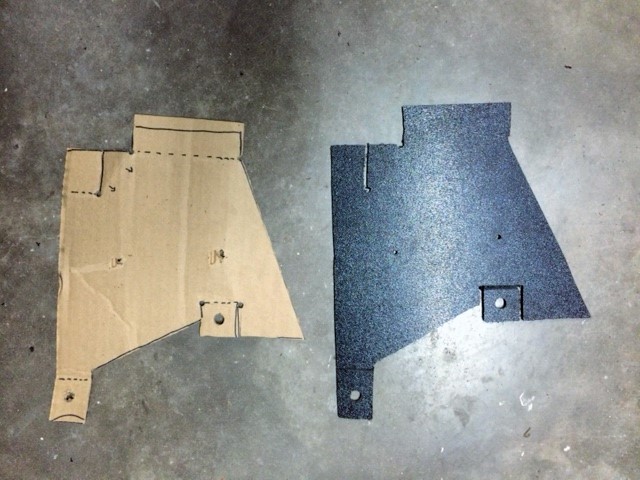
Made a cardboard pattern for the bottom. This encloses the intercooler and mates with the OEM undertray.
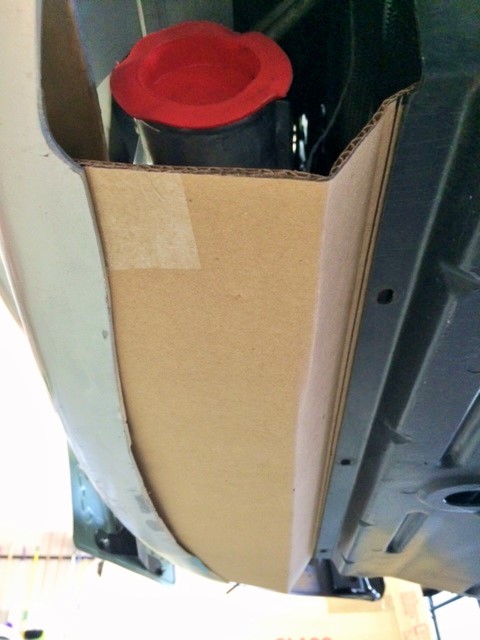
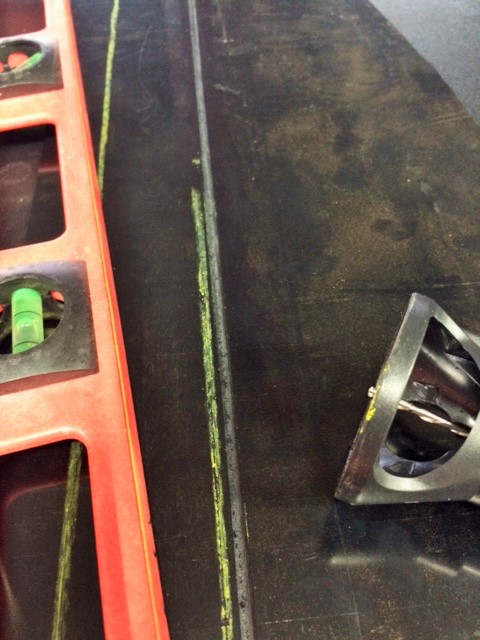
Transferred the pattern to ABS sheet. I cut the sheet and grooved the bends with a dremel tool and router bit attachment.
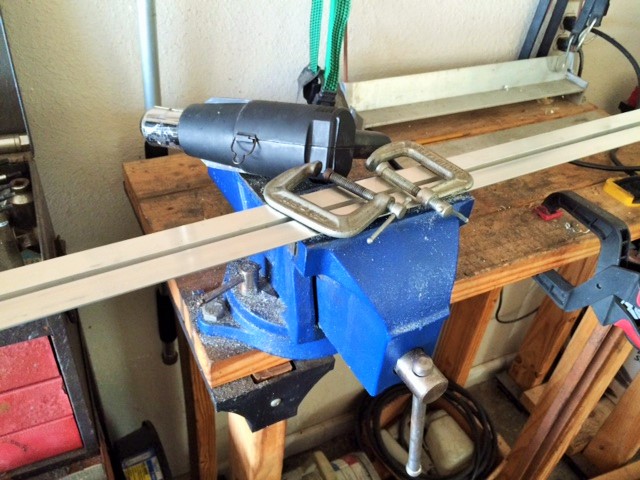
Bending jig:
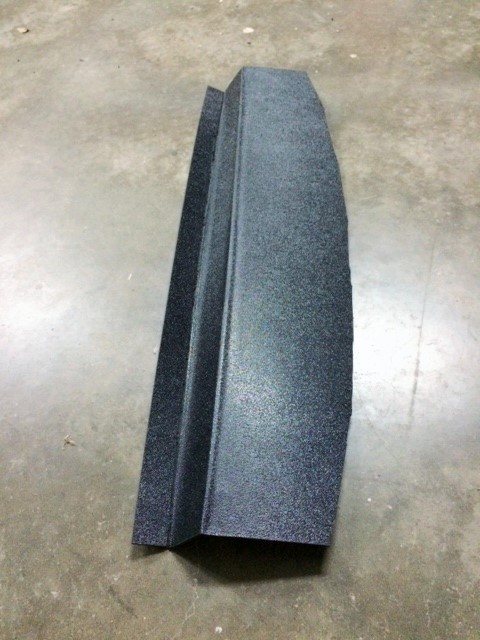
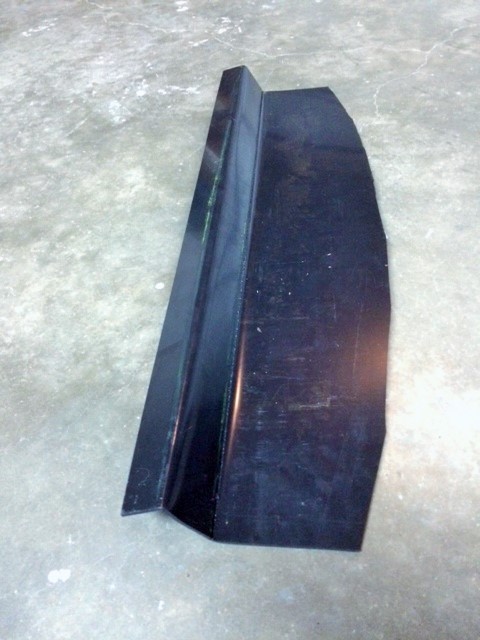
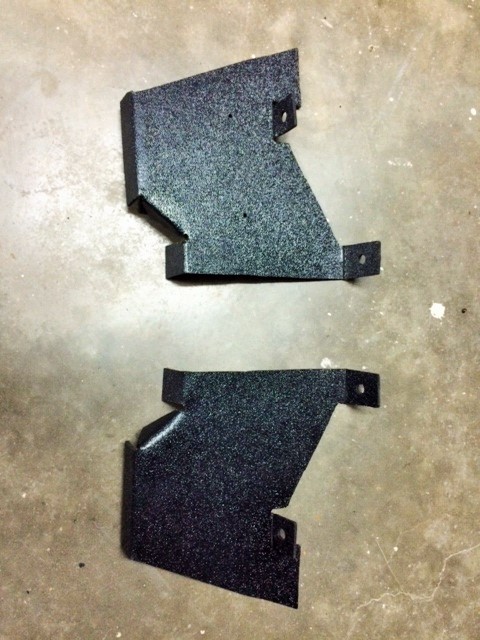
This is how the bottom ended up looking:
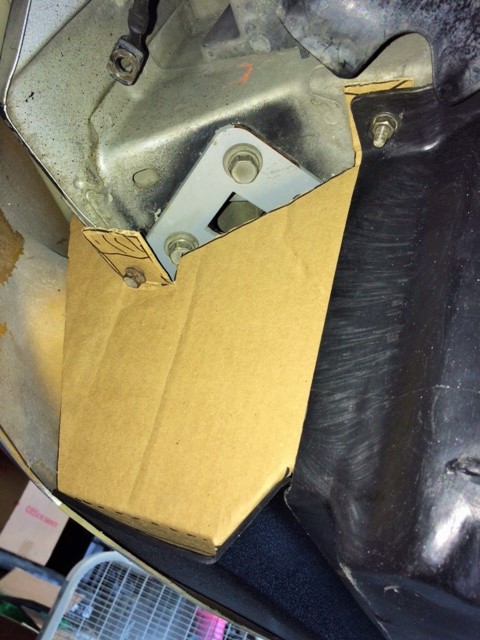
Used cardboard to pattern the end plates, transferred to ABS, cut, bend, blah, blah:
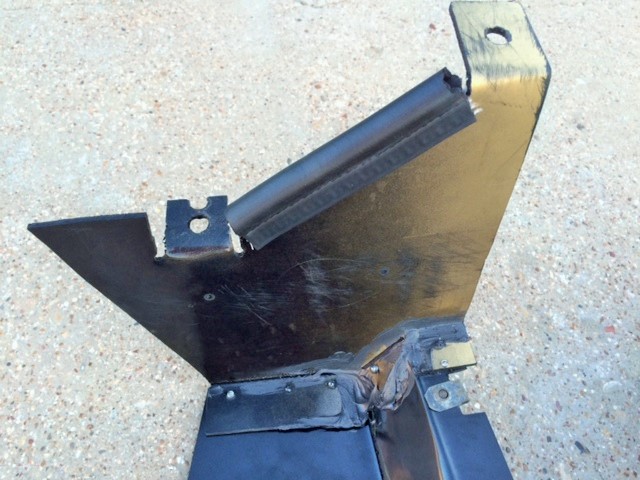
Used rivets and black RTV to join the bottom and sides:
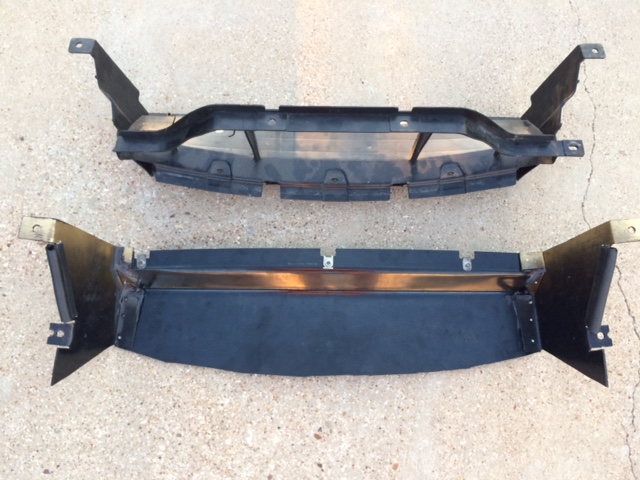
OEM vs. intercooler-friendly air guides:
Blind nuts for OEM undertray:

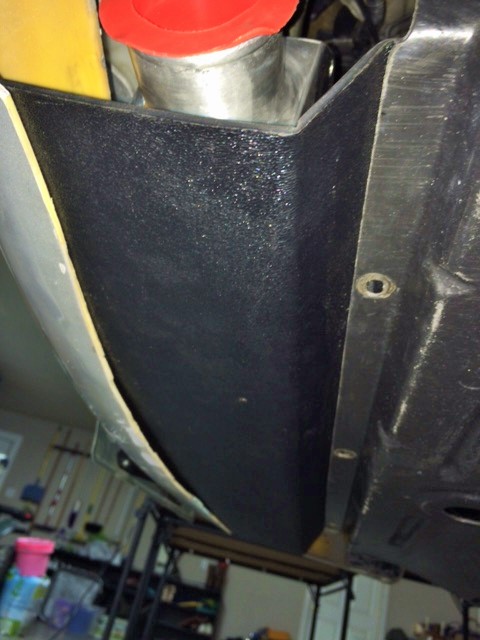
Bolted in place. Front is secured with R-Package spoiler bolts:
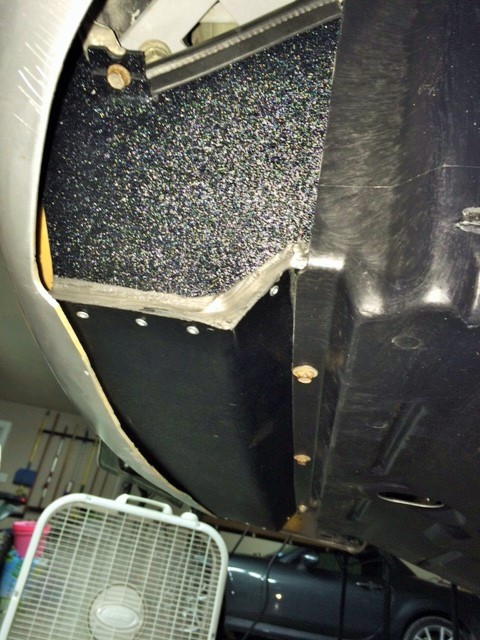

Put couplers on the intercooler and spritzed some silver spray paint to mark the location of the intercooler tube holes:
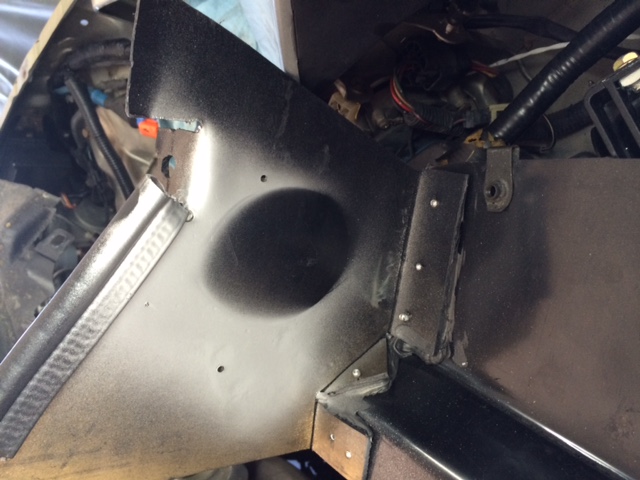
Next up, intercooler tube routing!
Transferred the pattern to ABS sheet. I cut the sheet and grooved the bends with a dremel tool and router bit attachment.
Bending jig:
This is how the bottom ended up looking:
Used cardboard to pattern the end plates, transferred to ABS, cut, bend, blah, blah:
Used rivets and black RTV to join the bottom and sides:
OEM vs. intercooler-friendly air guides:
Blind nuts for OEM undertray:
Bolted in place. Front is secured with R-Package spoiler bolts:
Put couplers on the intercooler and spritzed some silver spray paint to mark the location of the intercooler tube holes:
Next up, intercooler tube routing!
Reply
4
4
06-29-2015, 11:15 AM
#157
Elite Member
iTrader: (37)
Join Date: Apr 2010
Location: Very NorCal
Posts: 10,441
Total Cats: 1,899
That's amazing work, I'd pay money for that. Good job sir, and thank you for taking pics of the design and assembly process, that helps those of us with mediocre fab skills.
Good job sir, and thank you for taking pics of the design and assembly process, that helps those of us with mediocre fab skills.
Reply
0
0
06-29-2015, 11:23 AM
#158
Elite Member
Thread Starter
iTrader: (4)
Join Date: Mar 2008
Location: Granbury, TX
Posts: 6,301
Total Cats: 696
I could make a copy of my templates if it would be useful to anyone. Works with the FAB9 Stage 1 installed on an NA. Might work on an NB with minor adjustments.
Being heavy into the track game, easy maintenance is a big deal for me. I really, really wanted to retain the OEM undertray for that reason.
Being heavy into the track game, easy maintenance is a big deal for me. I really, really wanted to retain the OEM undertray for that reason.
Reply
0
0


