Build Threads Building a motor? Post the progress here.

Inglarīs 2001 Sport

Thread Tools
 
Search this Thread
 
Old 04-20-2011, 02:30 AM
  #141  
Junior Member
 
lassi's Avatar
 
Join Date: Sep 2009
Location: Bergen, Norway
Posts: 128
Total Cats: 12
Default

Originally Posted by inglar
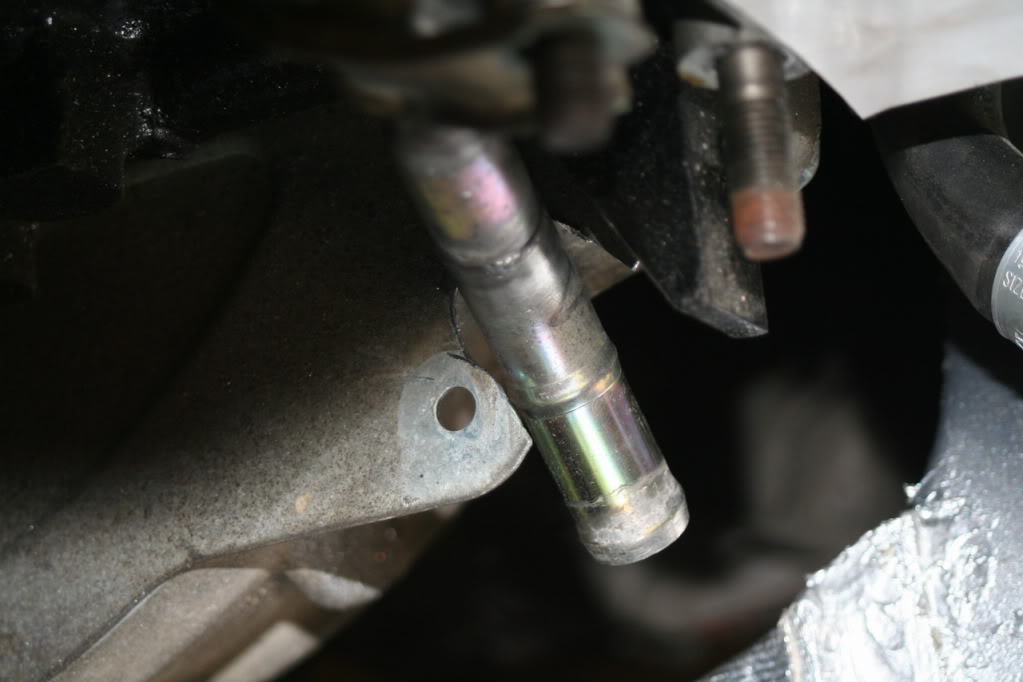
The diff is back in the car now. Used the new pinion spacer. Didnīt bather to chack with the old one. Happy with the help I got from hf-mx5t. have never tried this before so it is great to get help from someone who has done this before. A lot of adjustment before the diff was finished. If you are planning to do this, buy a micromeeter (or what it is called in english )
Did you get a new pinion spacer with the new gearset? Or are you talking about the crush washer? (The collar with a bulge on it...)

I`m STILL waiting on new bearings. Should be here today as long as Posten.no hasn`t gone on easter holiday yet.
lassi is offline  
Old 04-20-2011, 03:27 AM
  #142  
Junior Member
Thread Starter
 
inglar's Avatar
 
Join Date: Mar 2010
Location: Norway
Posts: 189
Total Cats: 0
Default

Sorry, my bad. I reused the spacers/shims form the old pinion hf-mx5t allso did that on his diff. It is the crush washer that I got with the set from Miataroadster. Posten is not the fastest on earth, but hope you get them today. Nice to have something to do during easter.
inglar is offline  
Old 04-21-2011, 05:15 PM
  #143  
Junior Member
Thread Starter
 
inglar's Avatar
 
Join Date: Mar 2010
Location: Norway
Posts: 189
Total Cats: 0
Default

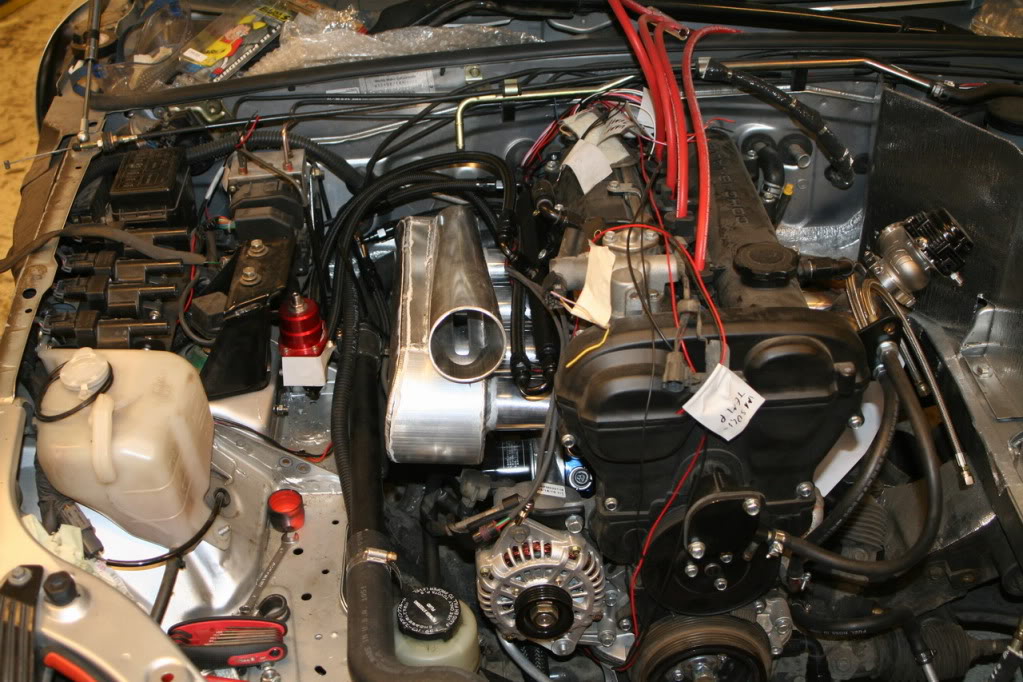
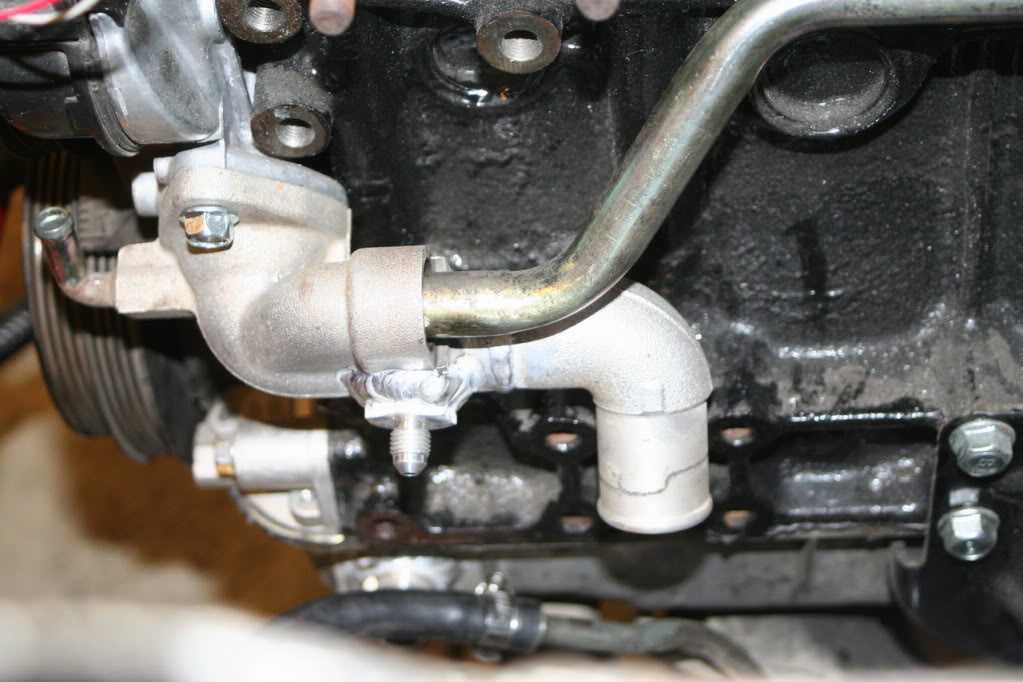
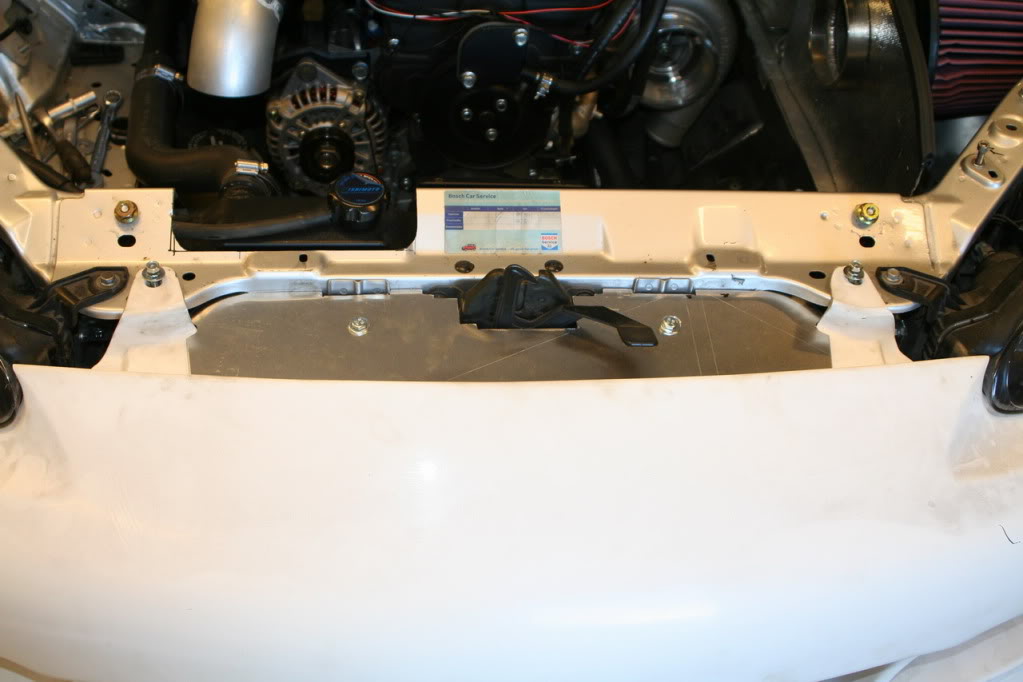
Hooked up the oil coolers and the oil thermostat. And started on the ducting to the coolers and air box.

Name:  oljekjoler5.jpg
Views: 493
Size:  104.4 KB

Name:  oljekjoler6.jpg
Views: 400
Size:  130.7 KB

Name:  oljekjoler7.jpg
Views: 413
Size:  36.4 KB


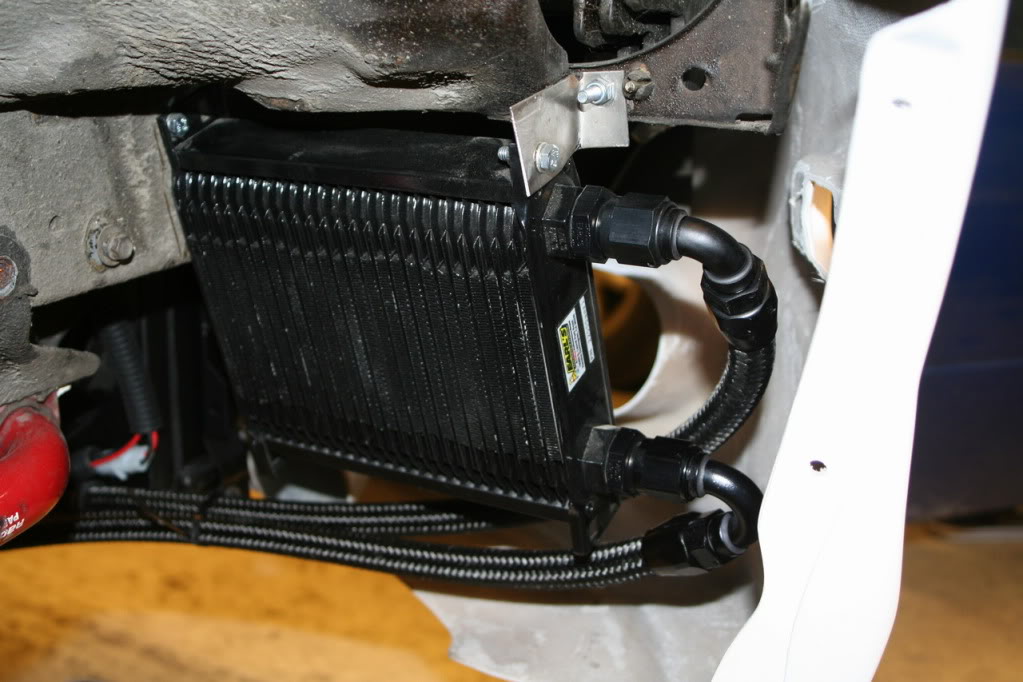
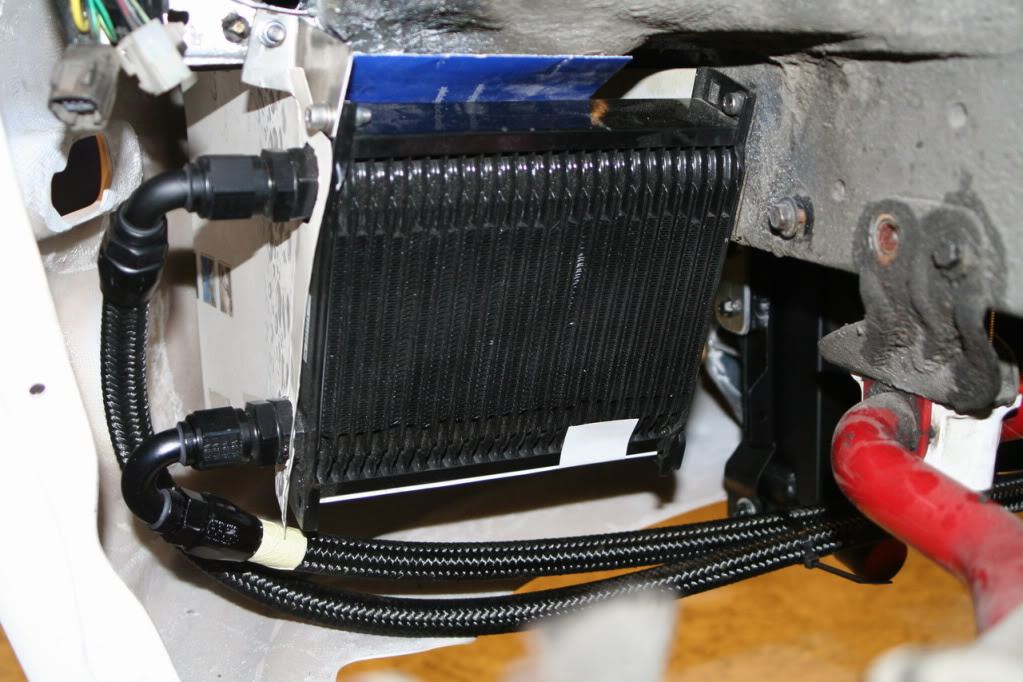
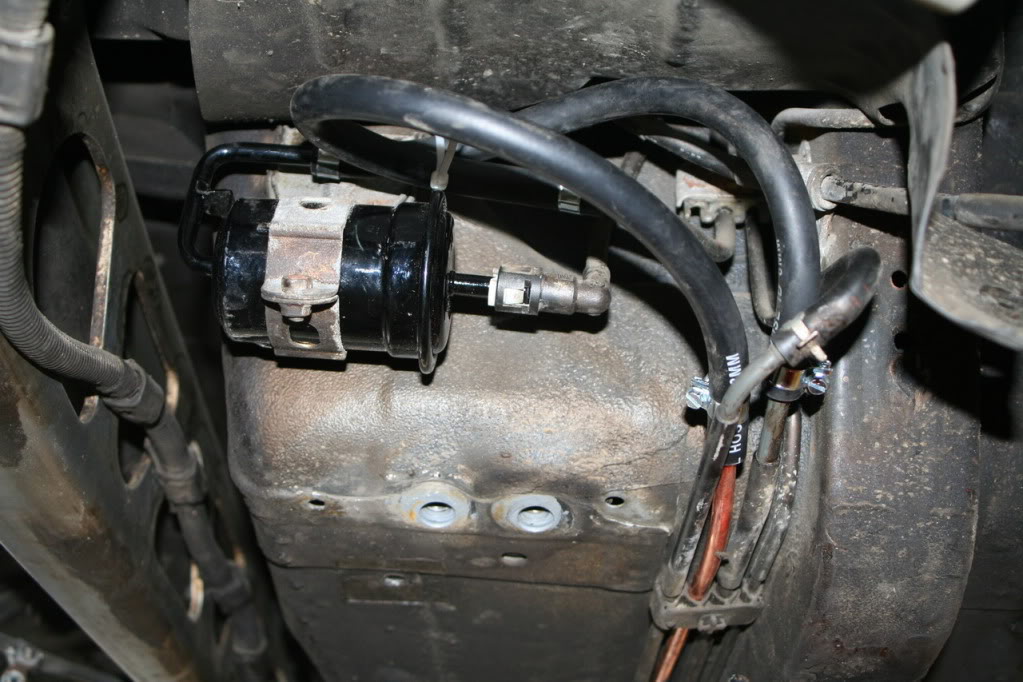
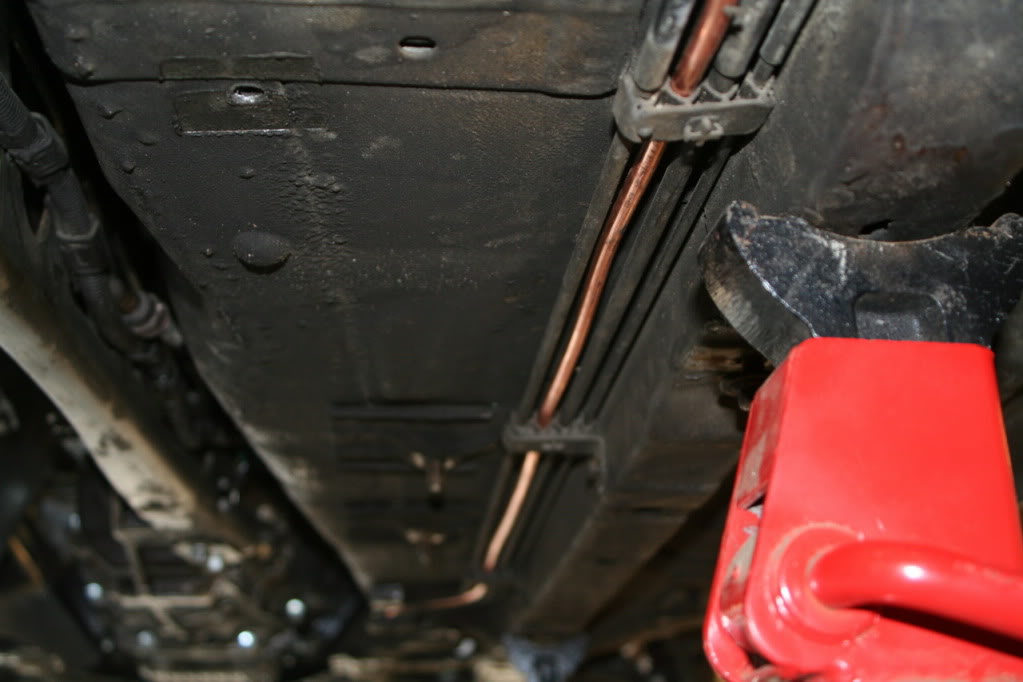
Had to change the fuel lines. Have an external fuel pressure regulator so I had to remove the original one an run a new line to the engine bay. Not my finest work, but it wil hopefully work. Used the free spase where the original lines go. Easy running the new line, but a bitch to hook it all up under the car.

Name:  bensin1.jpg
Views: 497
Size:  123.7 KB

Name:  bensin2.jpg
Views: 394
Size:  78.2 KB

Name:  bensin3.jpg
Views: 465
Size:  111.5 KB
inglar is offline  
Old 04-21-2011, 05:33 PM
  #144  
Elite Member
iTrader: (4)
 
hornetball's Avatar
 
Join Date: Mar 2008
Location: Granbury, TX
Posts: 6,301
Total Cats: 696
Default

On your fuel line, be very careful with copper and vibration. I've had these break on me. Personally, I would use steel or aluminum. If you stick with copper, secure the heck out of it -- don't let anything put a vibrating load on it.
hornetball is offline  
Old 04-22-2011, 02:55 PM
  #145  
Junior Member
Thread Starter
 
inglar's Avatar
 
Join Date: Mar 2010
Location: Norway
Posts: 189
Total Cats: 0
Default

I have used all the original clips allong the underside of the car. Should not be any or mutch vibration.
inglar is offline  
Old 04-29-2011, 07:48 PM
  #146  
Junior Member
Thread Starter
 
inglar's Avatar
 
Join Date: Mar 2010
Location: Norway
Posts: 189
Total Cats: 0
Default

Got the intake manifold back from level grinding today. Hopefully it will be all welded together by the weekend

Name:  innsug11.jpg
Views: 465
Size:  57.0 KB
inglar is offline  
Old 04-30-2011, 07:53 PM
  #147  
Junior Member
Thread Starter
 
inglar's Avatar
 
Join Date: Mar 2010
Location: Norway
Posts: 189
Total Cats: 0
Default

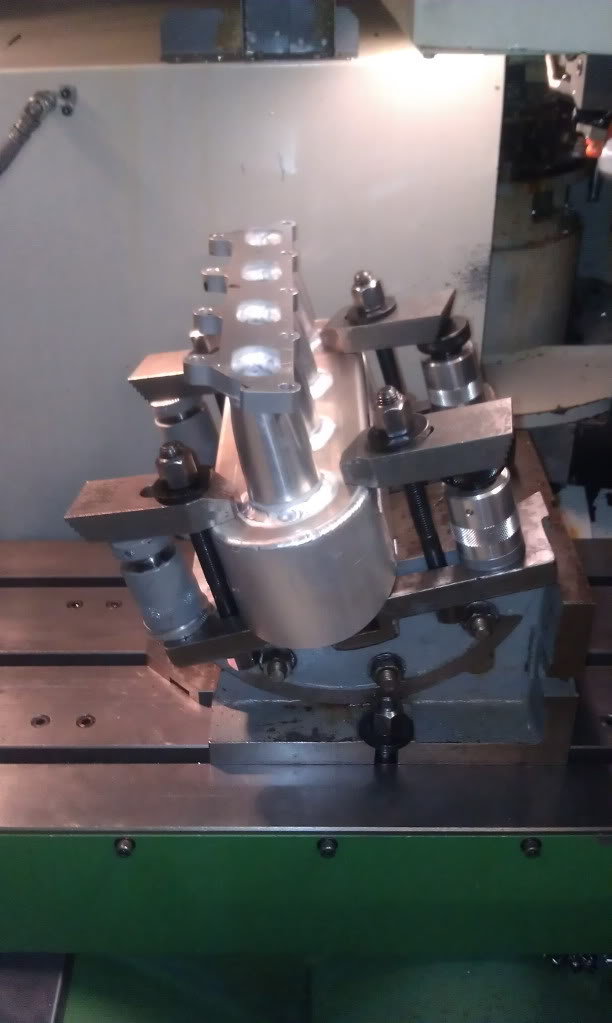
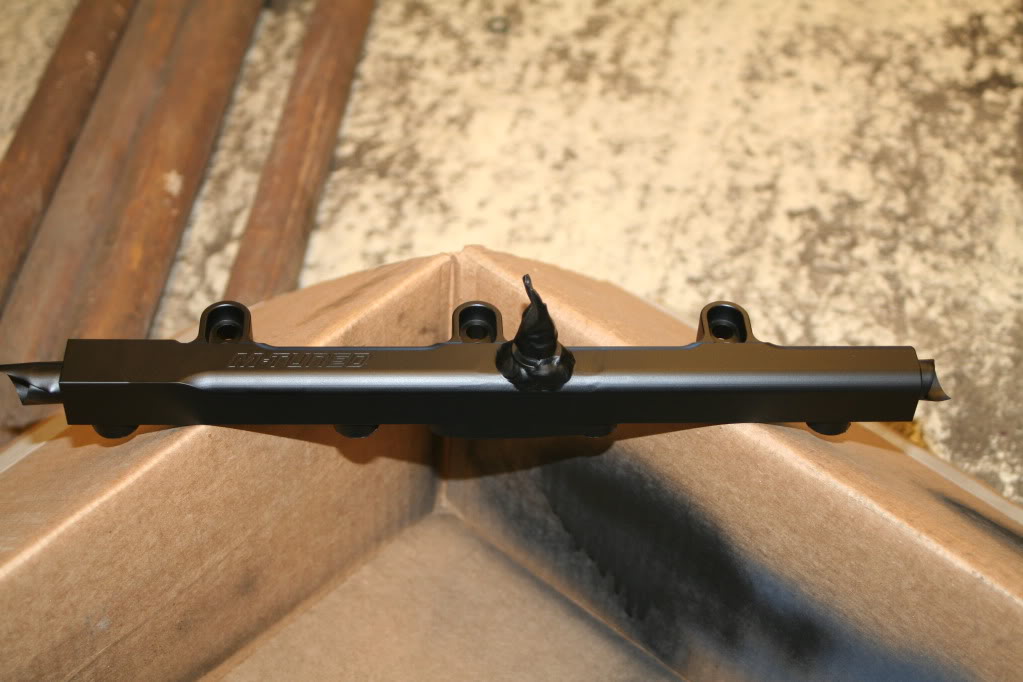
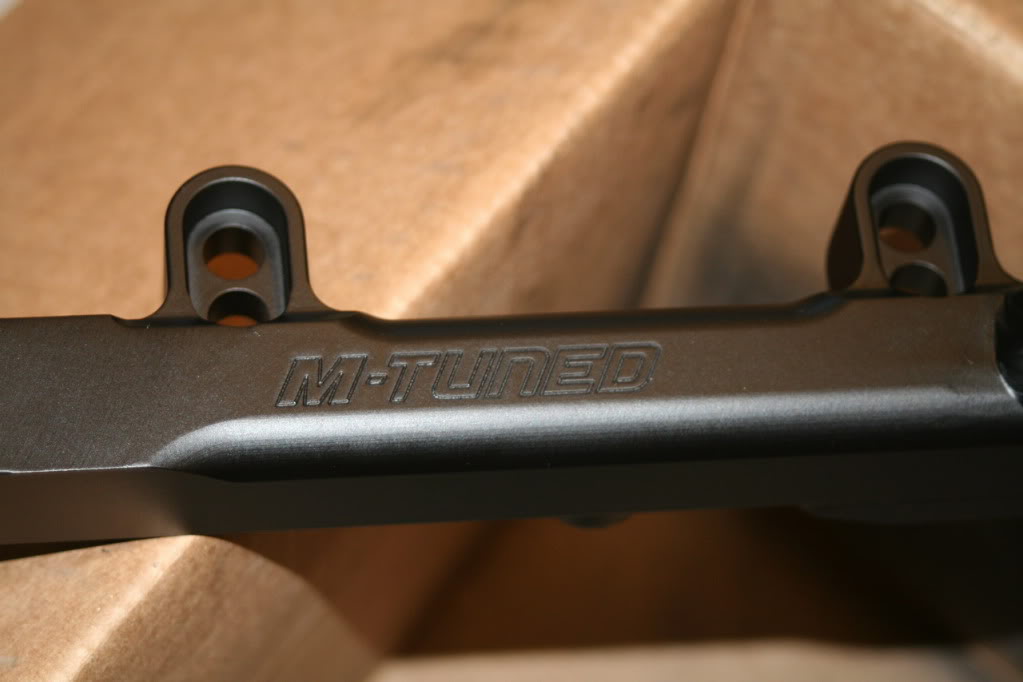
Modified the M-tuned fuel rail. The return outlet was a bit off so it was moved more to the midle to get more even pressure to the injectors.

Name:  fuelrail1.jpg
Views: 478
Size:  78.2 KB

Name:  fuelrail2.jpg
Views: 439
Size:  52.1 KB


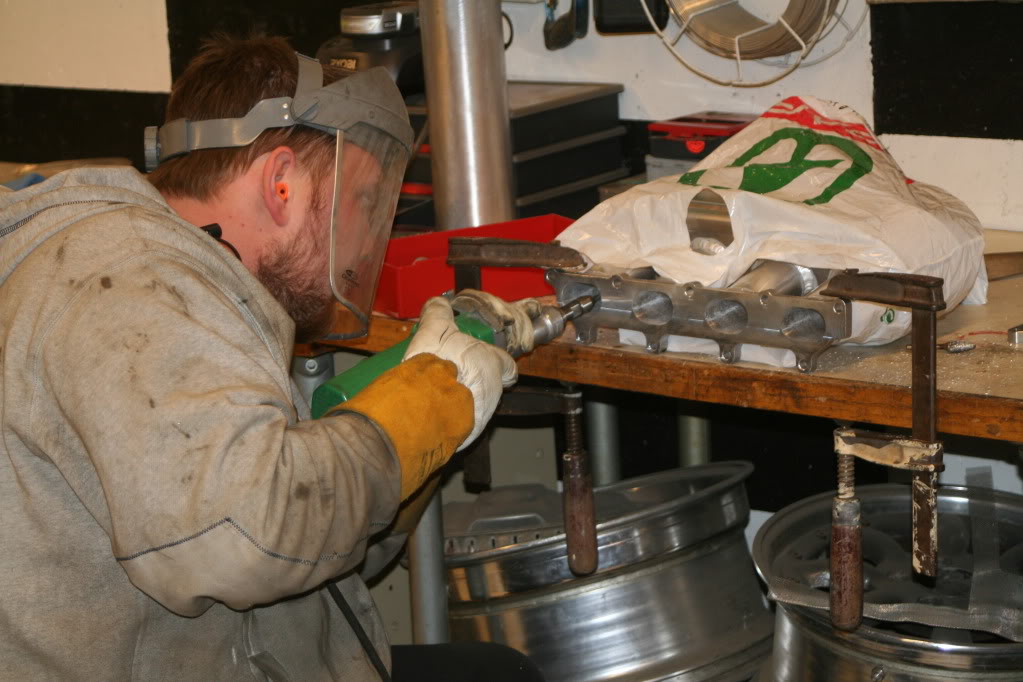
Not mutch left on the intake manifold. A lot of grinding, cutting and welding.

Name:  innsug13.jpg
Views: 406
Size:  104.7 KB

Name:  innsug14.jpg
Views: 510
Size:  158.3 KB

Name:  innsug15.jpg
Views: 470
Size:  118.7 KB

Name:  innsug17.jpg
Views: 482
Size:  107.8 KB

Name:  innsug18.jpg
Views: 434
Size:  157.4 KB
inglar is offline  
Old 04-30-2011, 07:55 PM
  #148  
Junior Member
Thread Starter
 
inglar's Avatar
 
Join Date: Mar 2010
Location: Norway
Posts: 189
Total Cats: 0
Default

Some serious piping from the air filter

Name:  ror.jpg
Views: 464
Size:  84.2 KB
inglar is offline  
Old 04-30-2011, 08:29 PM
  #149  
Elite Member
iTrader: (4)
 
hornetball's Avatar
 
Join Date: Mar 2008
Location: Granbury, TX
Posts: 6,301
Total Cats: 696
Default

This build is just sick!!

So, Vikings can build boats and Miatas, eh?
hornetball is offline  
Old 04-30-2011, 08:32 PM
  #150  
Junior Member
Thread Starter
 
inglar's Avatar
 
Join Date: Mar 2010
Location: Norway
Posts: 189
Total Cats: 0
Default

Thanks.

Well we do try our best
inglar is offline  
Old 05-01-2011, 05:09 AM
  #151  
Junior Member
 
hf-mx5t's Avatar
 
Join Date: Jun 2005
Posts: 286
Total Cats: 235
Default

it kinda looks like you stole my design i like it :P
hf-mx5t is offline  
Old 05-01-2011, 05:36 AM
  #152  
VladiTuned
iTrader: (76)
 
18psi's Avatar
 
Join Date: Apr 2008
Posts: 35,821
Total Cats: 3,481
Default

You two need to have a photoshoot of the two cars as well as videos of the two cars together.

It would be the single most masturbated to video on the internet. You'd probably get 10,000 views from me alone
18psi is offline  
Old 05-01-2011, 06:19 AM
  #153  
Junior Member
Thread Starter
 
inglar's Avatar
 
Join Date: Mar 2010
Location: Norway
Posts: 189
Total Cats: 0
Default

Originally Posted by hf-mx5t
it kinda looks like you stole my design i like it :P
I have nooooooooooo idea what you are talking about
inglar is offline  
Old 05-01-2011, 06:23 AM
  #154  
Junior Member
Thread Starter
 
inglar's Avatar
 
Join Date: Mar 2010
Location: Norway
Posts: 189
Total Cats: 0
Default

Originally Posted by 18psi
You two need to have a photoshoot of the two cars as well as videos of the two cars together.

It would be the single most masturbated to video on the internet. You'd probably get 10,000 views from me alone
There will probably be some (a shitload) of pictures when its done.

Iīll sponser you some paper tishues
inglar is offline  
Old 05-01-2011, 06:26 AM
  #155  
Junior Member
Thread Starter
 
inglar's Avatar
 
Join Date: Mar 2010
Location: Norway
Posts: 189
Total Cats: 0
Default

When weīr not building we do like to have some fun

Name:  potetkanon4.jpg
Views: 429
Size:  34.5 KB

Name:  potetkanon3.jpg
Views: 384
Size:  113.3 KB

Name:  potetkanon1.jpg
Views: 403
Size:  55.9 KB
inglar is offline  
Old 05-02-2011, 01:33 AM
  #156  
Newb
 
petterbw's Avatar
 
Join Date: Aug 2010
Posts: 2
Total Cats: 0
Default

good demonstration on the level of overkill with theese guys.

the potatocannon is using ls2 coils.

"If it's worth doing, it's worth overdoing"
petterbw is offline  
Old 05-06-2011, 06:47 AM
  #157  
Junior Member
 
Loki79's Avatar
 
Join Date: Feb 2010
Location: Oslo, Norway
Posts: 219
Total Cats: 1
Default

Got the pictures blocked by webcoat, but the talk of "having fun", "masturbating", "potato cannon" and "doing" really doesn't make me wanna check this thread when I get home :P

Looking forward to checking this beauty out tonight!
Loki79 is offline  
Old 05-15-2011, 05:32 PM
  #158  
Junior Member
Thread Starter
 
inglar's Avatar
 
Join Date: Mar 2010
Location: Norway
Posts: 189
Total Cats: 0
Default

Long time no pictures. But here is a few.

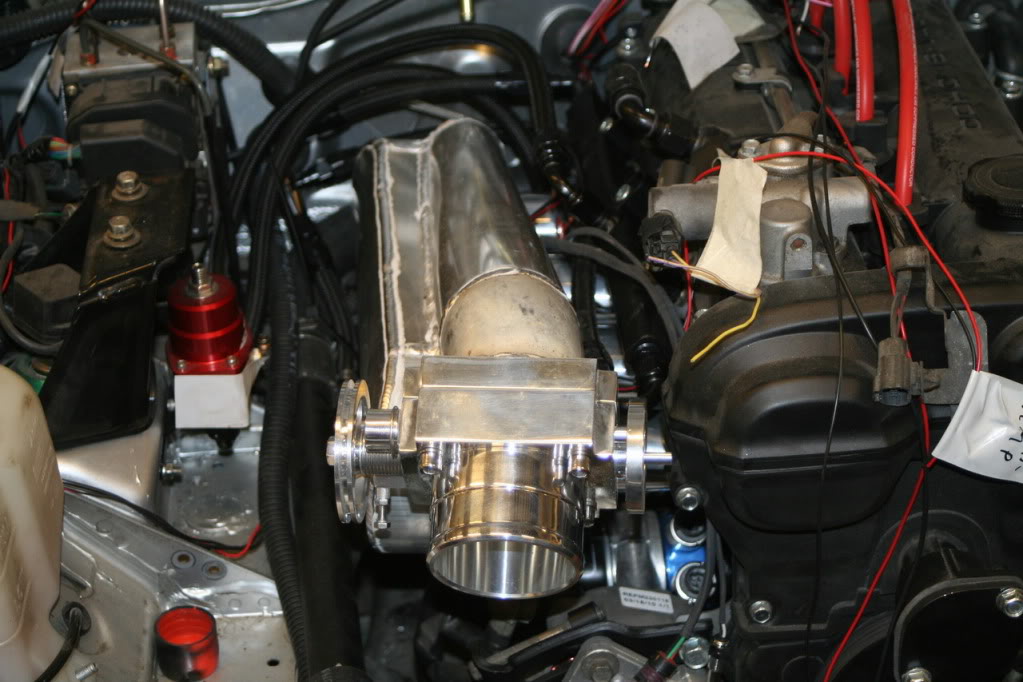
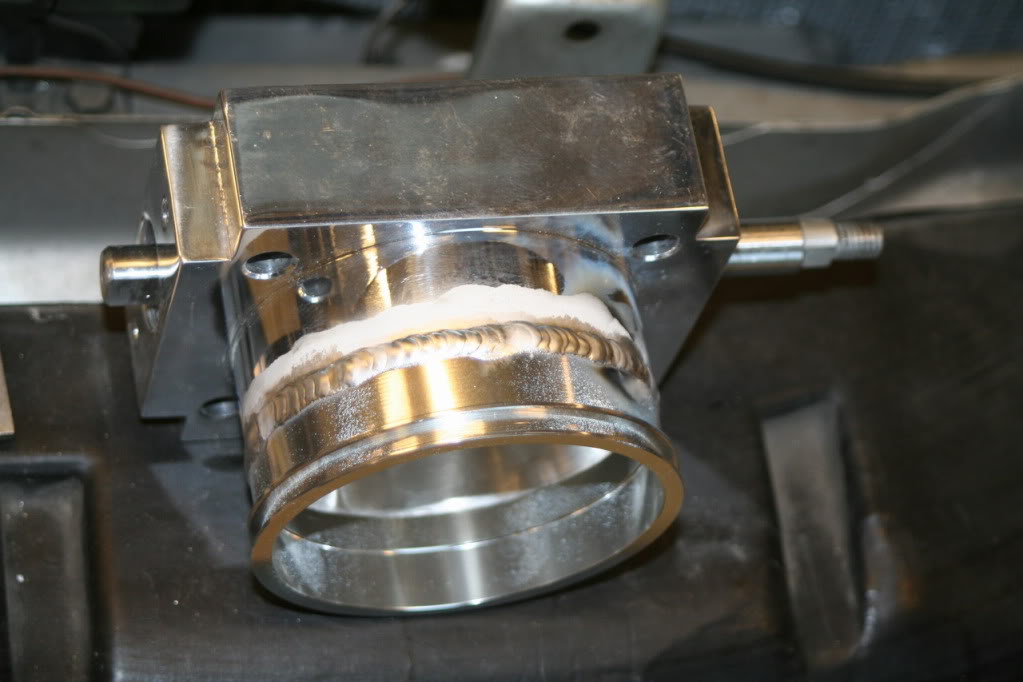
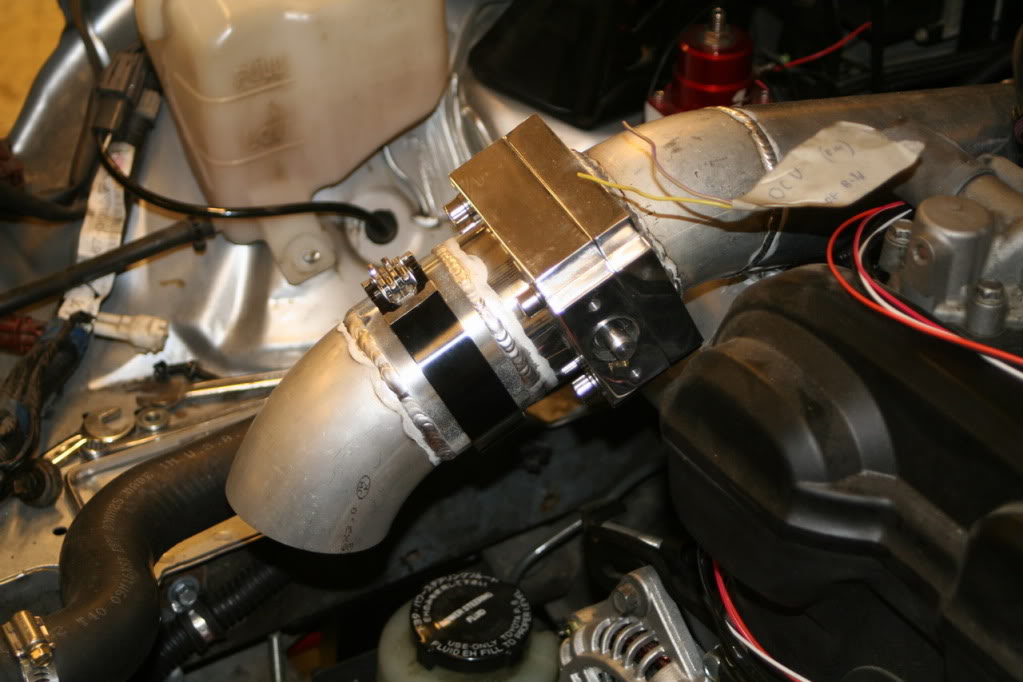
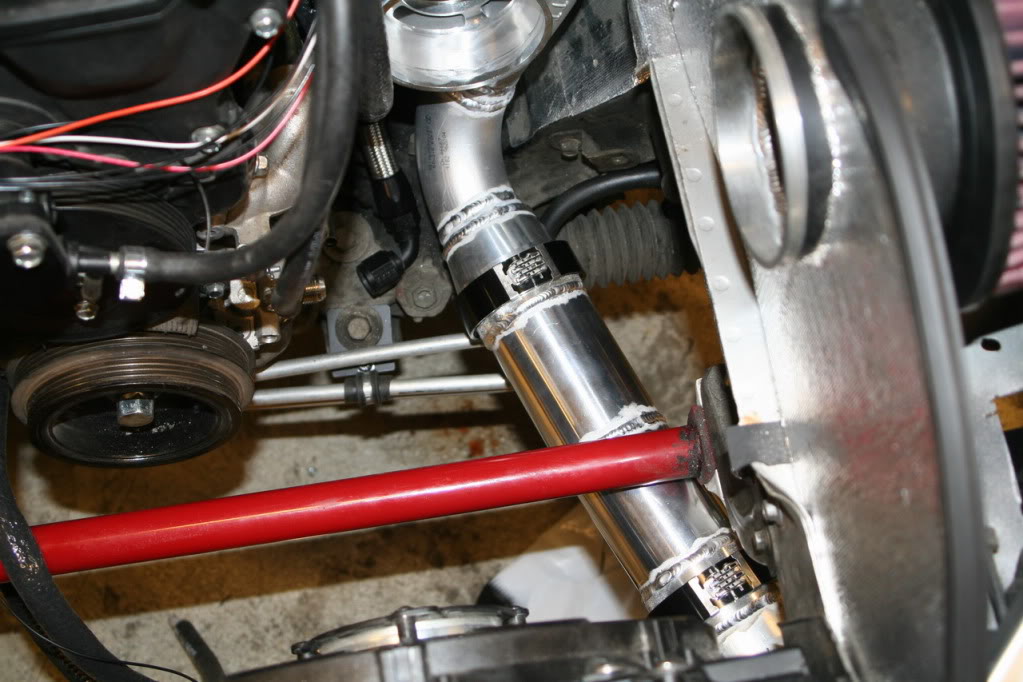
Started welding intercooler pipes, and a new throtle body. Using wiggins (well it is actually fake wiggins, Pegasus. Not willing to pay over $500 a pop for 4") on all the piping.

Name:  intercooler11.jpg
Views: 446
Size:  91.9 KB

Name:  intercooler10.jpg
Views: 407
Size:  101.0 KB

Name:  gasspjell1.jpg
Views: 411
Size:  73.8 KB

Name:  gasspjell2.jpg
Views: 480
Size:  91.7 KB


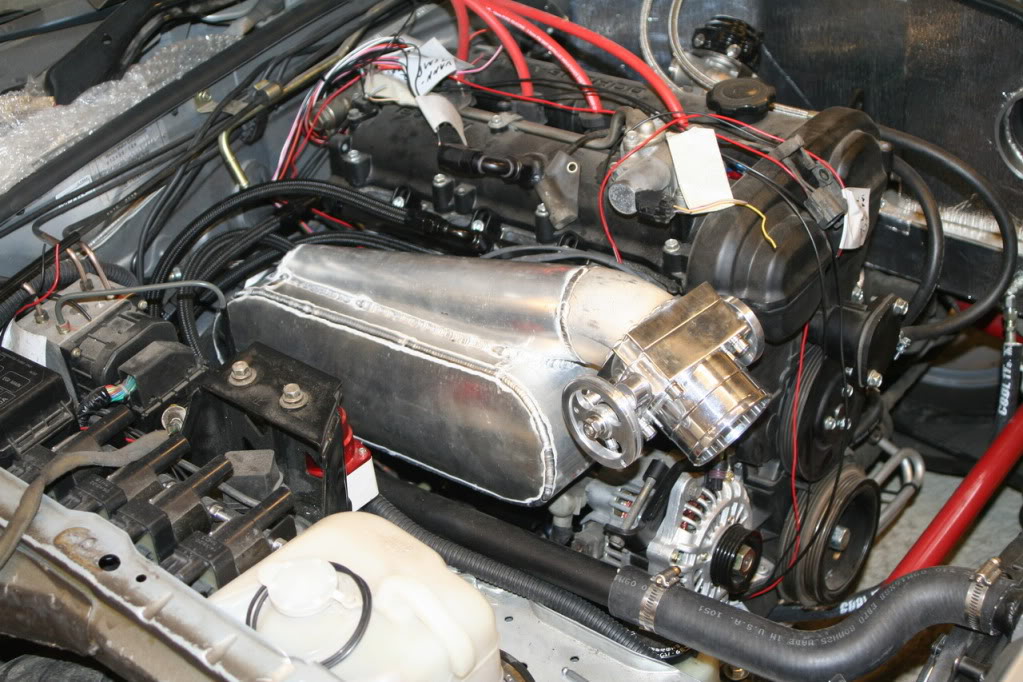
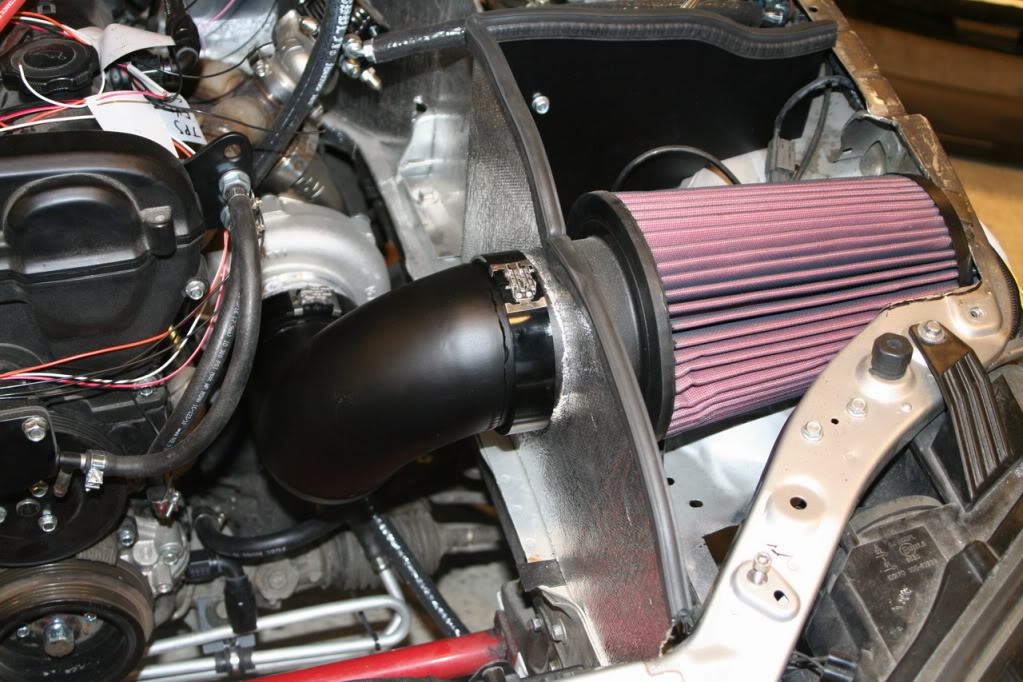
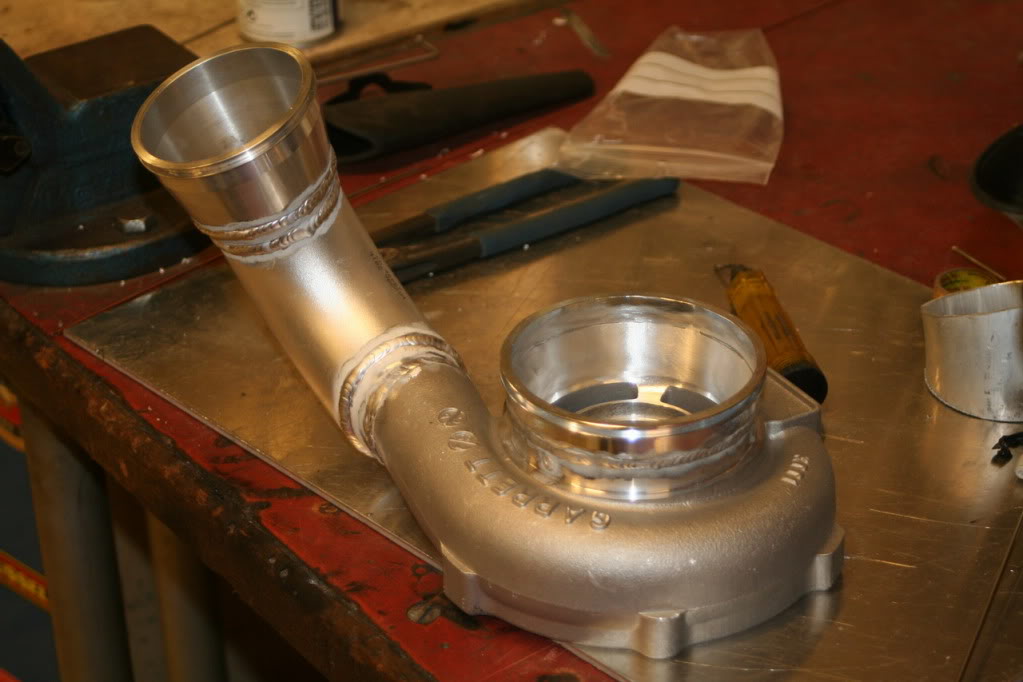
Airfilter to turbo is done. Just need to paint the turbo black.

Name:  luftfilterboks11.jpg
Views: 531
Size:  142.9 KB


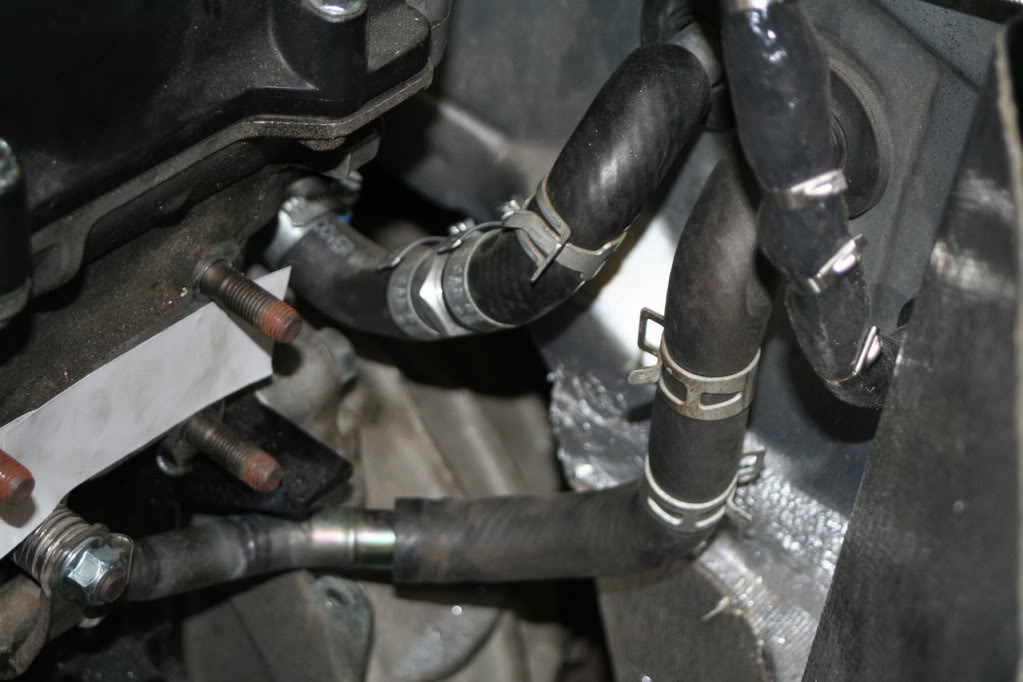
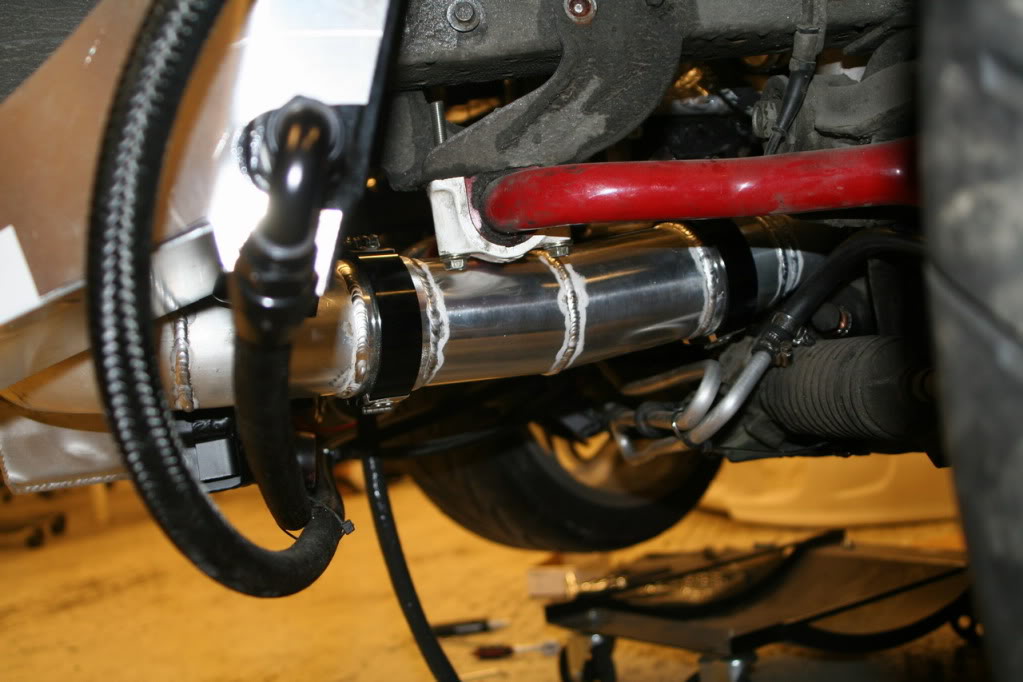
Modified the water lines to get them further away from the exhaust manifold and make better room for the downpipe from the wastegate. Added some weld in bungs ++

Name:  vannror2.jpg
Views: 377
Size:  64.1 KB

Name:  vannror3.jpg
Views: 538
Size:  79.6 KB

Name:  vannror4.jpg
Views: 502
Size:  103.4 KB
inglar is offline  
Old 05-15-2011, 09:53 PM
  #159  
Junior Member
iTrader: (3)
 
kww502's Avatar
 
Join Date: Mar 2009
Location: Birmingham, AL
Posts: 252
Total Cats: 3
Default

Sick build. Subscribed
kww502 is offline  
Old 05-16-2011, 06:22 PM
  #160  
Junior Member
Thread Starter
 
inglar's Avatar
 
Join Date: Mar 2010
Location: Norway
Posts: 189
Total Cats: 0
Default

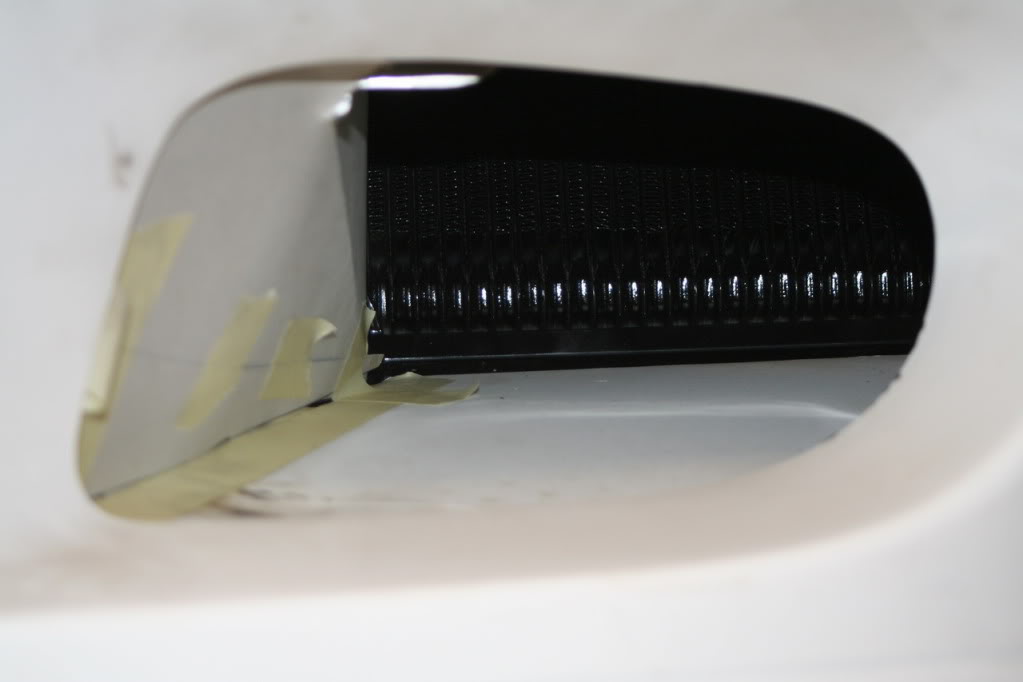
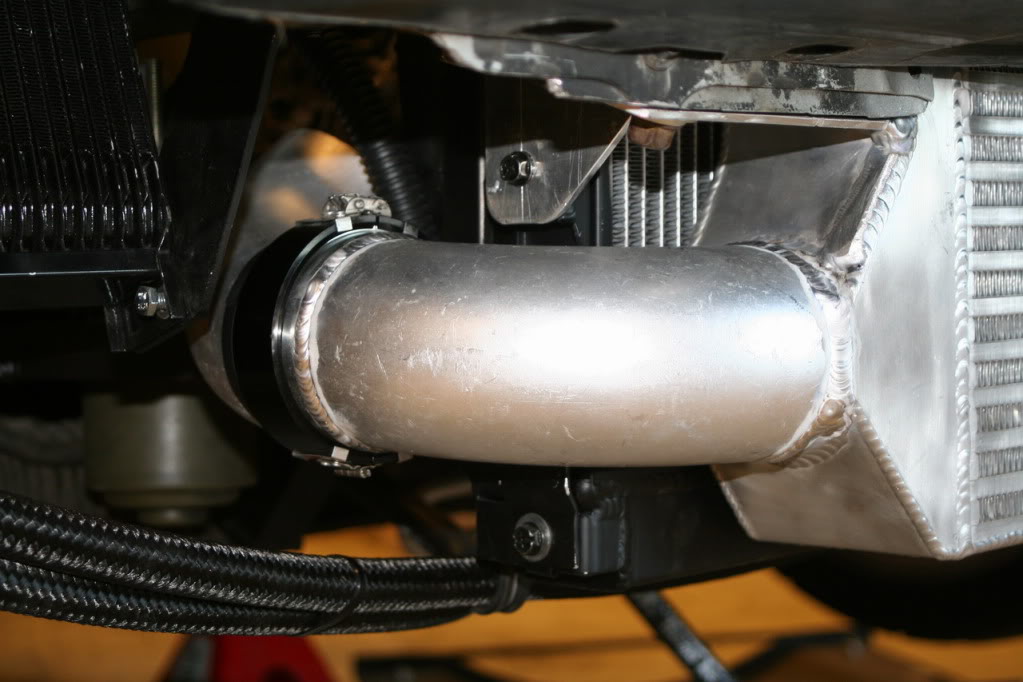
Had to redesign the ducting for the oil coolers but they look better now and clear the front bumper. Just not looking forward to paint the suckers inside.

Name:  oljekjoler8.jpg
Views: 474
Size:  109.3 KB

Name:  oljekjoler9.jpg
Views: 443
Size:  113.9 KB

Name:  oljekjoler10.jpg
Views: 485
Size:  137.3 KB


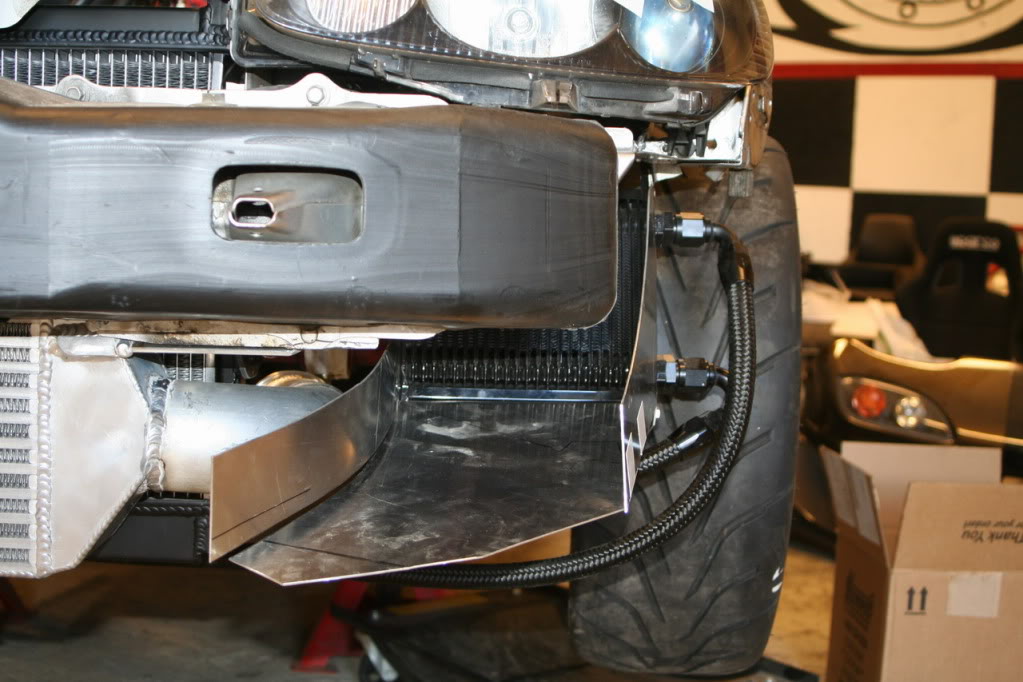
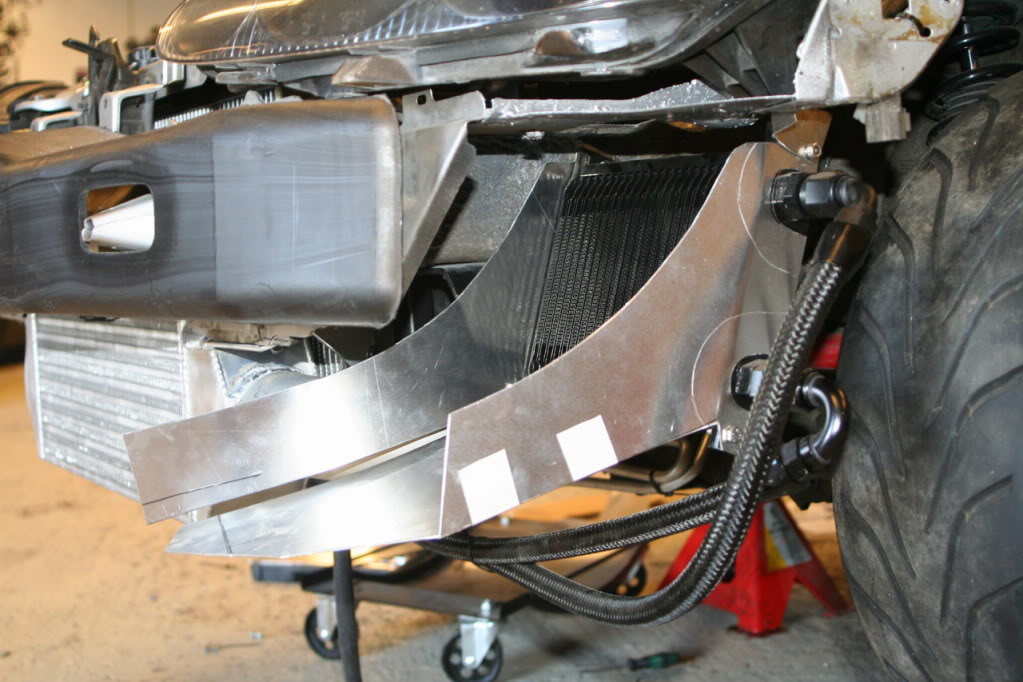
Ducting for the radiator

Name:  ducting1.jpg
Views: 471
Size:  70.6 KB

Name:  ducting2.jpg
Views: 456
Size:  61.6 KB


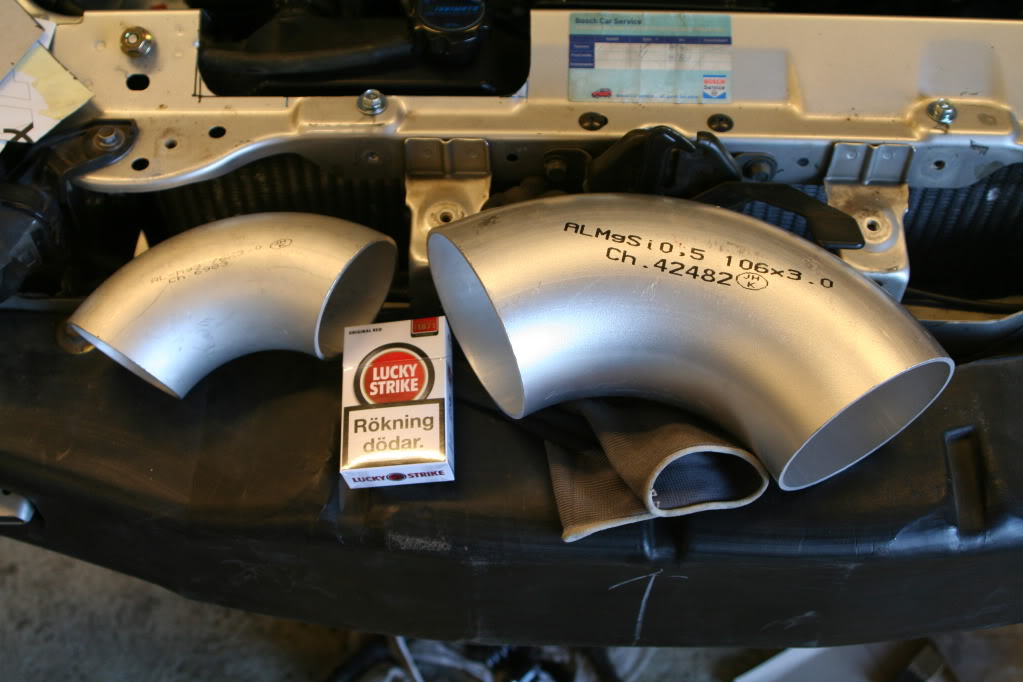
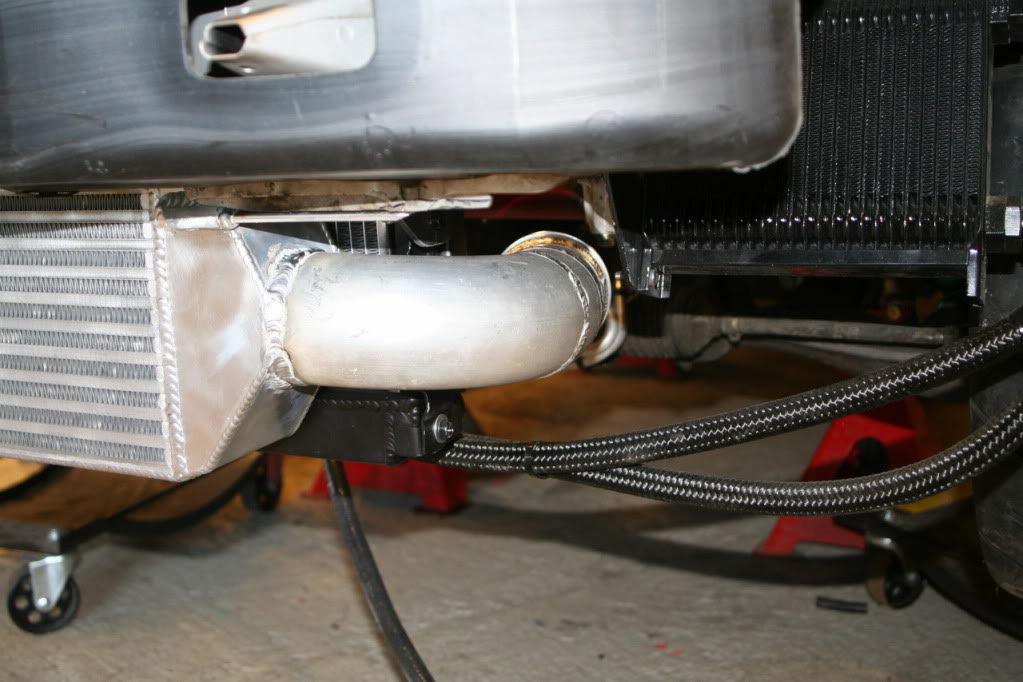
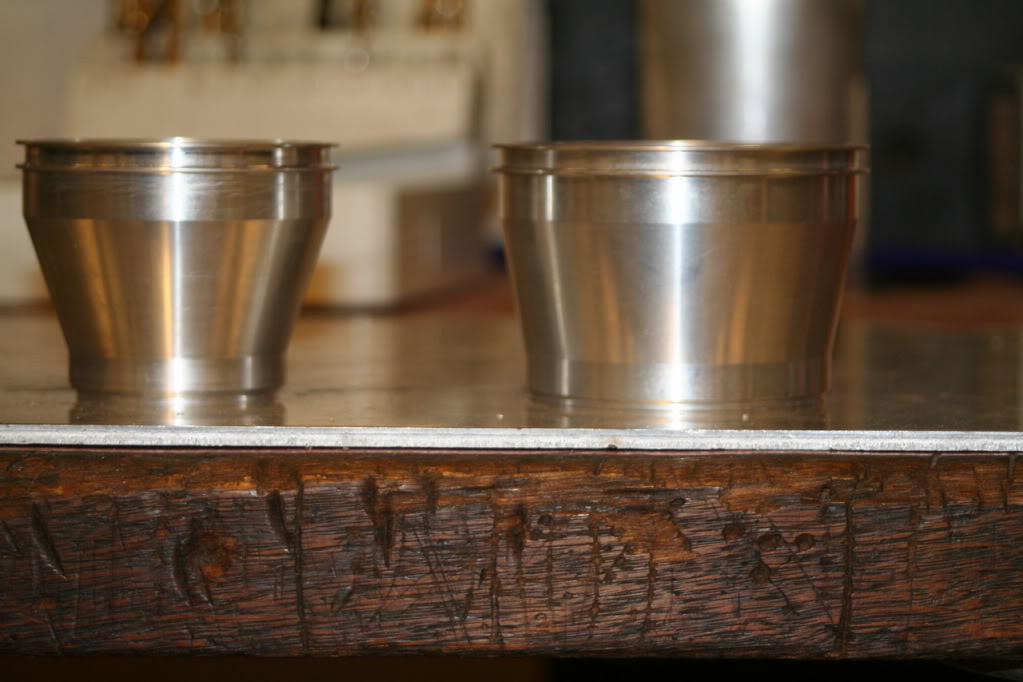
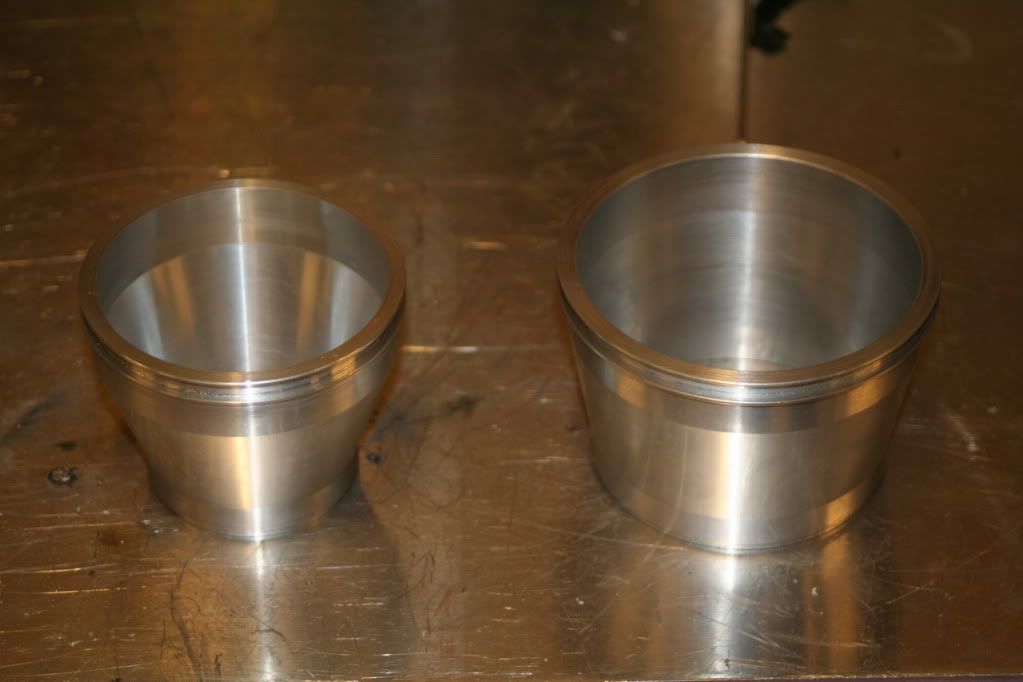
Some home made cones for the piping from the turbo to the intercooler.

Name:  intercooler14.jpg
Views: 422
Size:  85.5 KB

Name:  intercooler13.jpg
Views: 463
Size:  55.4 KB


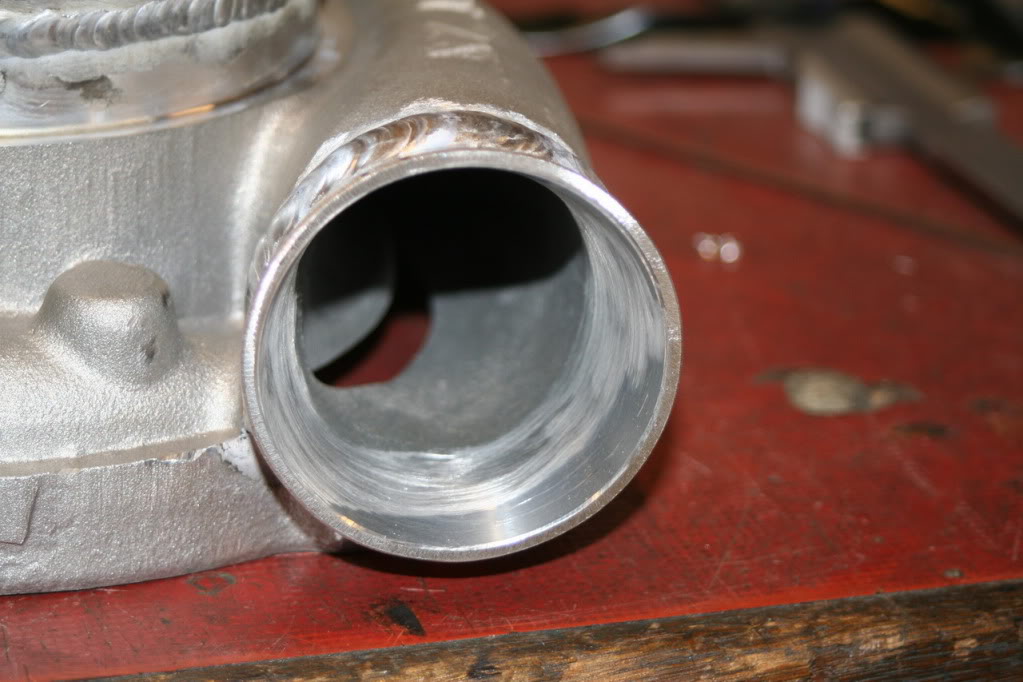
Pipe from the turbo to the intercooler all compleeted. Quite a lot of grinding as well hehe. Just have to paint everything black.

Name:  intercooler15.jpg
Views: 411
Size:  95.0 KB

Name:  intercooler19.jpg
Views: 487
Size:  74.8 KB

Name:  intercooler21.jpg
Views: 436
Size:  111.1 KB

Name:  intercooler22.jpg
Views: 463
Size:  90.1 KB
inglar is offline  


Quick Reply: Inglarīs 2001 Sport


All times are GMT -4. The time now is 12:03 PM.