Mazdaspeed meets EFR, ARTech, MS2E
 11-18-2013, 11:17 AM
#102
Supporting Vendor


iTrader: (1)
Join Date: Sep 2010
Location: Lake Forest, CA
Posts: 7,949
Total Cats: 1,003
Ah man that sucks... I don't understand exactly what went wrong but I feel for ya. Perhaps others can chime in on what might have caused that relief to sieze.

Reply
 0
0

0
11-18-2013, 11:35 AM
#103

First go around with me on my built motor was oil starvation. I had billet gears, but they were not large enough to supply a VVT head. I then coughed up the $$ for a properly sized boundry engineering pump and have been ok since.
Sorry to hear about your problems. I know exactly how you feel.
Sorry to hear about your problems. I know exactly how you feel.
Reply
0
0
11-18-2013, 11:53 AM
#105
Senior Member
Thread Starter
iTrader: (4)

Join Date: May 2012
Location: Vallejo, CA
Posts: 541
Total Cats: 48
First go around with me on my built motor was oil starvation. I had billet gears, but they were not large enough to supply a VVT head. I then coughed up the $$ for a properly sized boundry engineering pump and have been ok since.
Sorry to hear about your problems. I know exactly how you feel.
Sorry to hear about your problems. I know exactly how you feel.
Rev, on the bright side the new ECU started right up! That's for the great tech support!
Reply
0
0


 11-18-2013, 09:58 PM
#112
Luckily I'm one of the engine builds that survived.
Not that I don't have problems ( electrical )
So the plan is to rebuild it? or have you gotten so discouraged with it you give up?
I was telling my boosted s2k buddy about your loss because his motor spun a bearing at ~500mi too because an oil squirter broke off and blah blah.
I know it sucks man.
If there's anything we can do..
Reply
0
0
11-19-2013, 10:31 AM
#113
Moderator

iTrader: (12)
Join Date: Nov 2008
Location: Tampa, Florida
Posts: 20,650
Total Cats: 3,011
My relief seized in the open position and did not allow oil pressure to build. The debris that caused it ti stay open was little bits of plastic from the melted dipstick handle being too close to the hot exhaust.
I don't understand how you had a failure of the engine with the valve stuck closed. It would make very high oil pressure unless you misspoke.
I don't understand how you had a failure of the engine with the valve stuck closed. It would make very high oil pressure unless you misspoke.
Reply
0
0
11-19-2013, 11:23 AM
#114
Senior Member
Thread Starter
iTrader: (4)
Join Date: May 2012
Location: Vallejo, CA
Posts: 541
Total Cats: 48
My relief seized in the open position and did not allow oil pressure to build. The debris that caused it ti stay open was little bits of plastic from the melted dipstick handle being too close to the hot exhaust.
I don't understand how you had a failure of the engine with the valve stuck closed. It would make very high oil pressure unless you misspoke.
I don't understand how you had a failure of the engine with the valve stuck closed. It would make very high oil pressure unless you misspoke.
The relief valve sticking doesn't explain the pump gears rubbing on the housing though. The scores aren't from debris but they look to have been caused by a constant contact between the two. Clearance issue perhaps? I sent the pump back to Travis at BE to take a look.
The motor is back at the machine shop for rework.
All I know is I won't be trailering the miata down to Clearwater when I head down there next week... :(
Reply
0
0
11-19-2013, 12:02 PM
#115
Senior Member
Thread Starter
iTrader: (4)
Join Date: May 2012
Location: Vallejo, CA
Posts: 541
Total Cats: 48
Currently trying to figure out if I should just remove the factory oil cooler on the block( as it no doubt is ruined) and shorten the threaded rod for the filter relaxation adapter or remove the factory oil cooler and buy/install a spacer/sandwich plate with a few ports for aftermarket oil tamp/ oil pressure sensors.
On the bright side my new mocal 16 row oil cooler to replace my existing(566mile old..) 13 row cooler showed up yesturday!
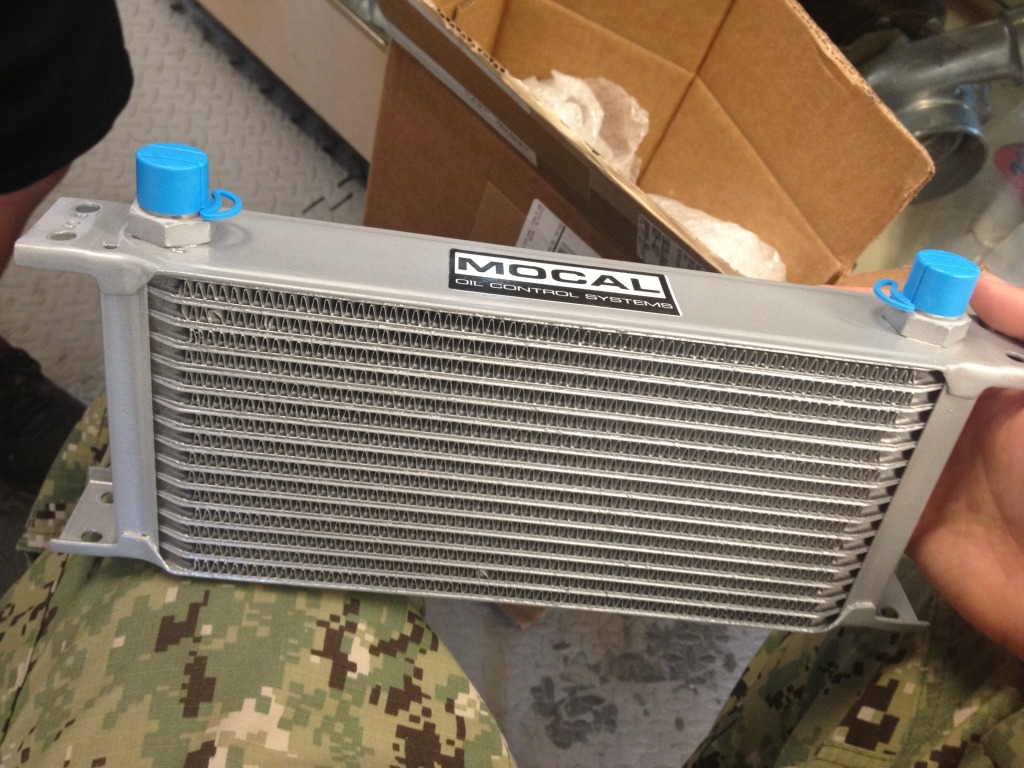
On the bright side my new mocal 16 row oil cooler to replace my existing(566mile old..) 13 row cooler showed up yesturday!
Reply
0
0
 01-28-2014, 10:39 PM
#118
Senior Member
Thread Starter
iTrader: (4)
Join Date: May 2012
Location: Vallejo, CA
Posts: 541
Total Cats: 48
Okay its been a while since I have posted any updates and . I got the car back on Dec 31, 2013 and have put just over 1,000 miles on it so far and it has been running great with one exception. shortly after getting the car back I saw that there was a small oil leak that looked like it was coming from the front main seal. Due to inpatients I stupidly decided to order a seal from Advanced Auto Parts. I tore the front of the engine down and found the the front main seal looked to be tapped in a little crooked. Not thinking much else of it I went to install the new seal and it just fell in.. the outside diameter was too small to seal. I was able to get it back out and return it to the store. of course now I have no seal. I called up O'Reilly's and they said they had one in stock so I rushed over there and picked it up and the outside diameter looked to match the OEM one great. I install it using FM's Big Nose Crank Seal Install Tool. What I didn't realize at the time is that the inside diameter was a hair too big and after installing it my leak was a little worse then with the crooked OEM seal.. At that point I decided to order an OEM seal and when it came in I installed it along with swapping my timing belt over to a Gates Racing belt. Well my seal is still leaking, not nearly as bad as with the aftermarket seal but still leaking. I didn't notice any a burrs or nicks on the pump housing or crankshaft but when the timing assembly is torn apart you can clearly see that the leak is coming from the front main seal area. Short of ripping the engine apart and or getting a new oil pump I am stumped. Any ideas?
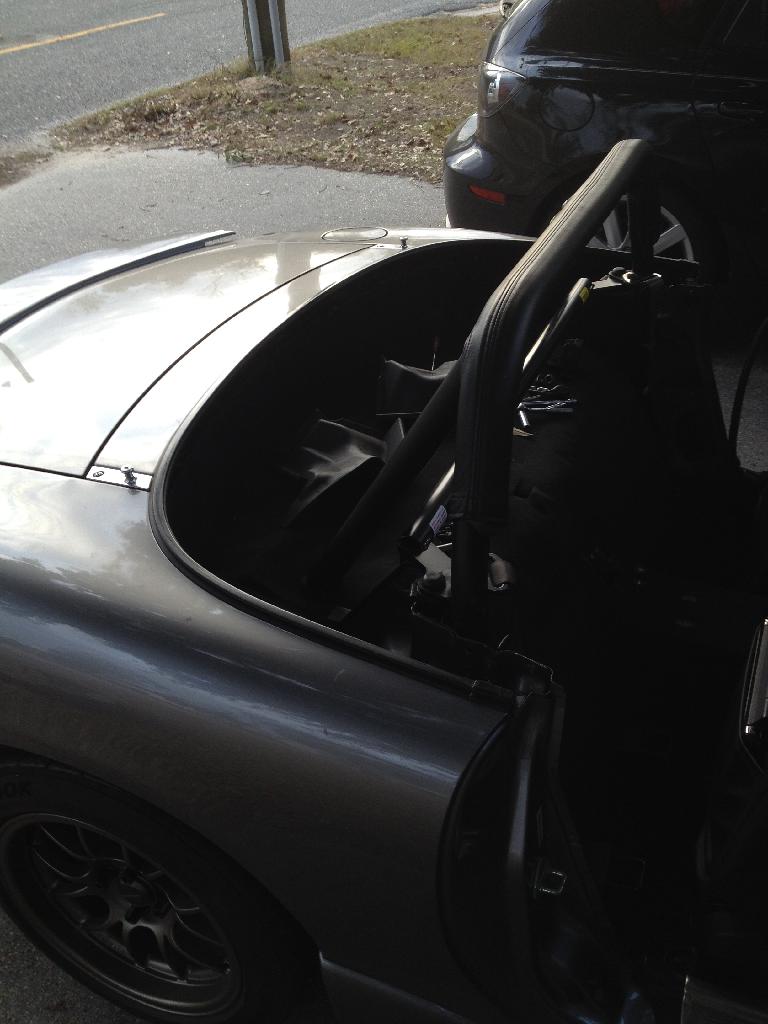
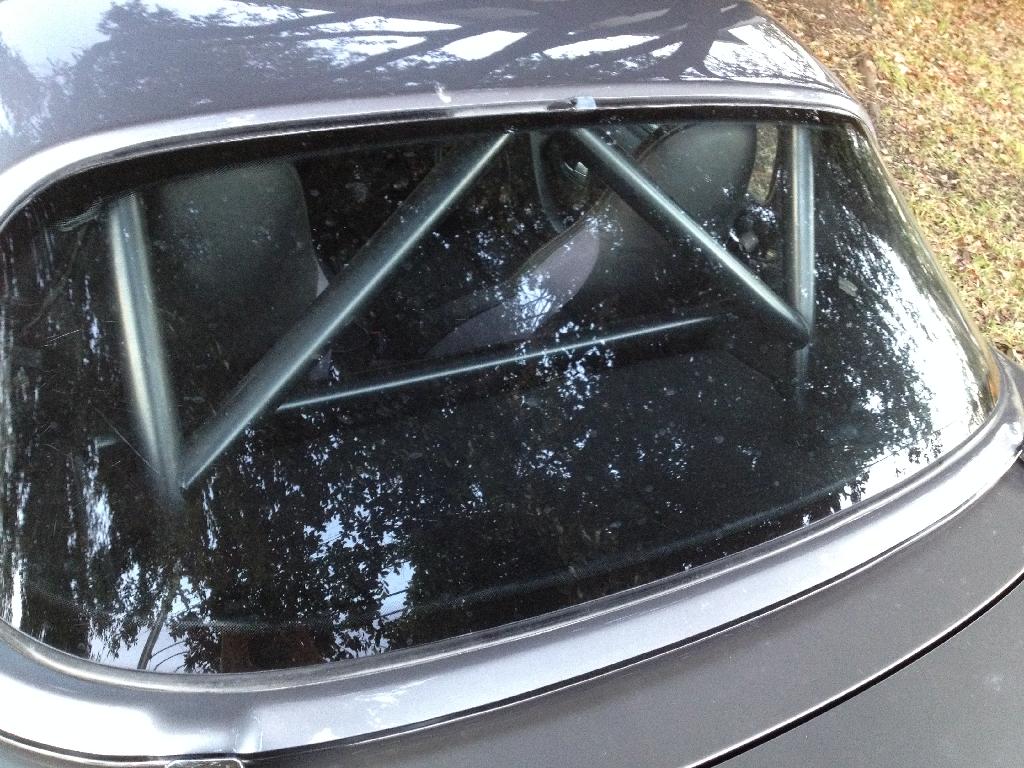
On a softer note, since I never use the soft top I decided to remove it and clean up the inside a little bit.
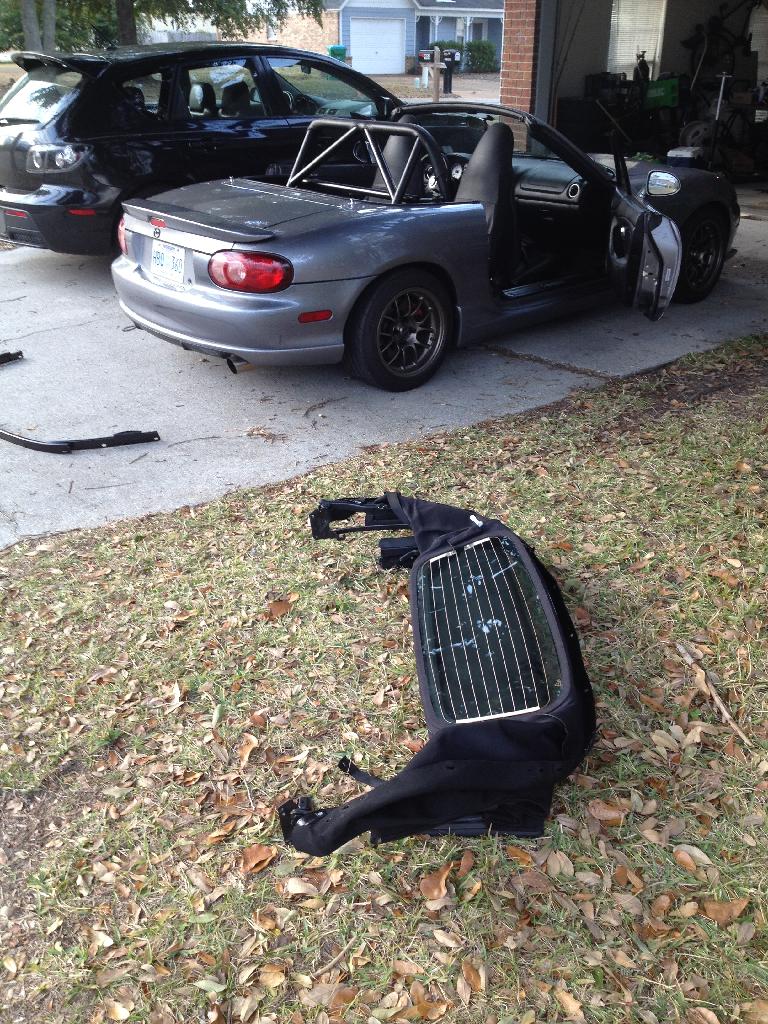
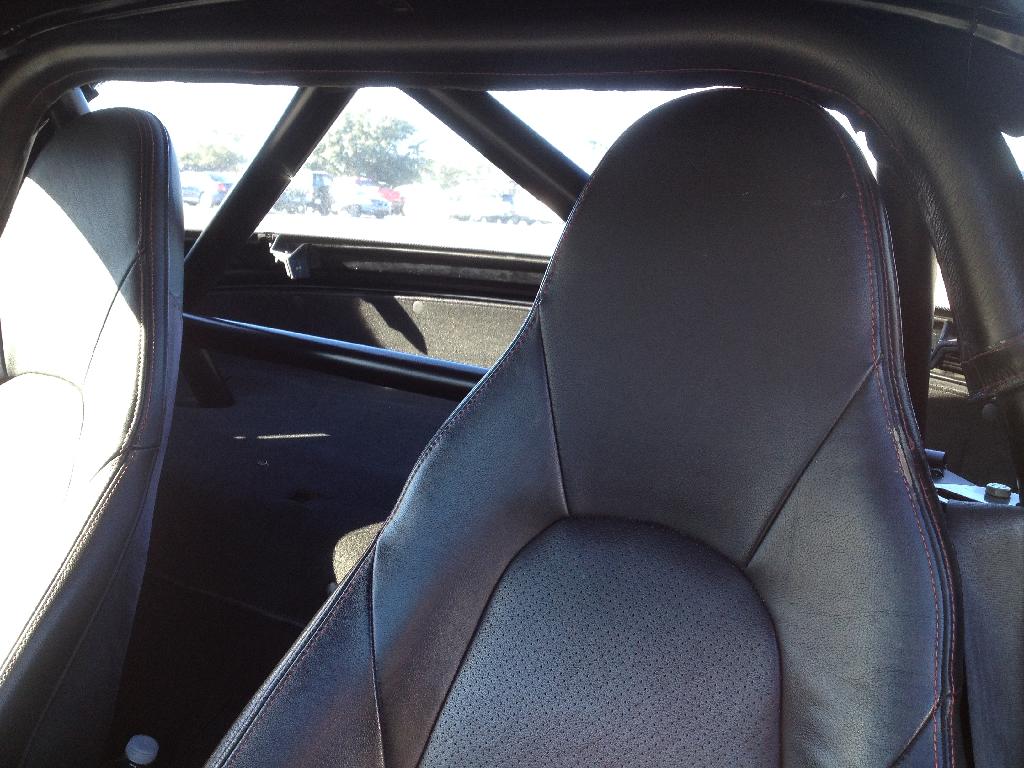
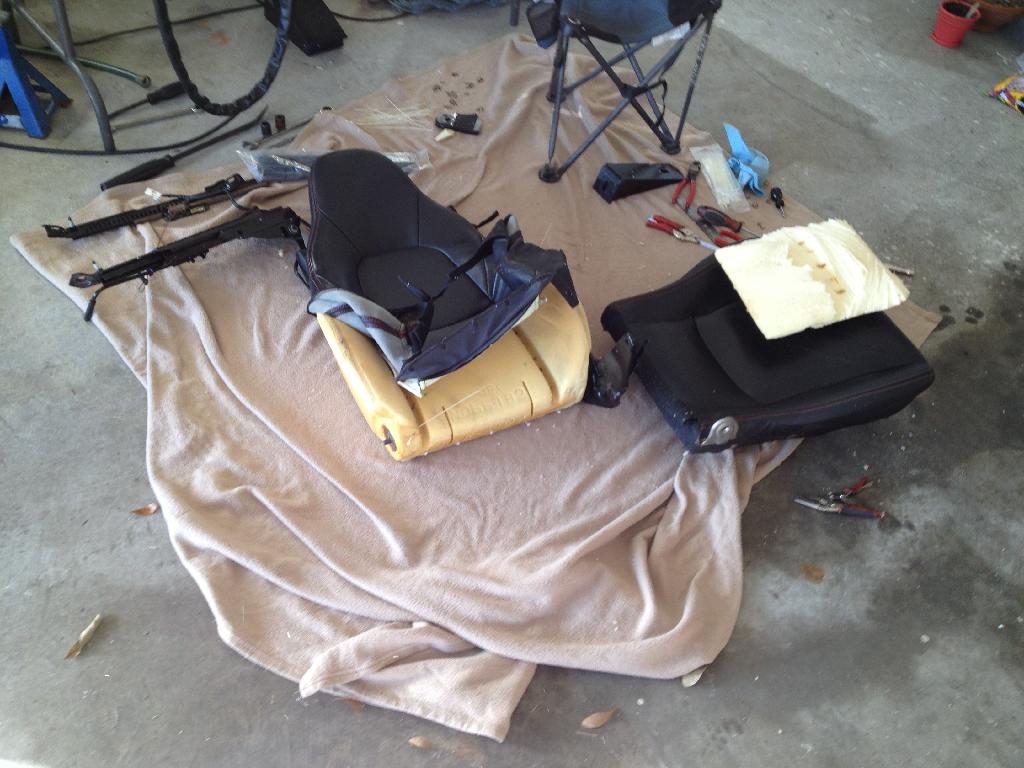
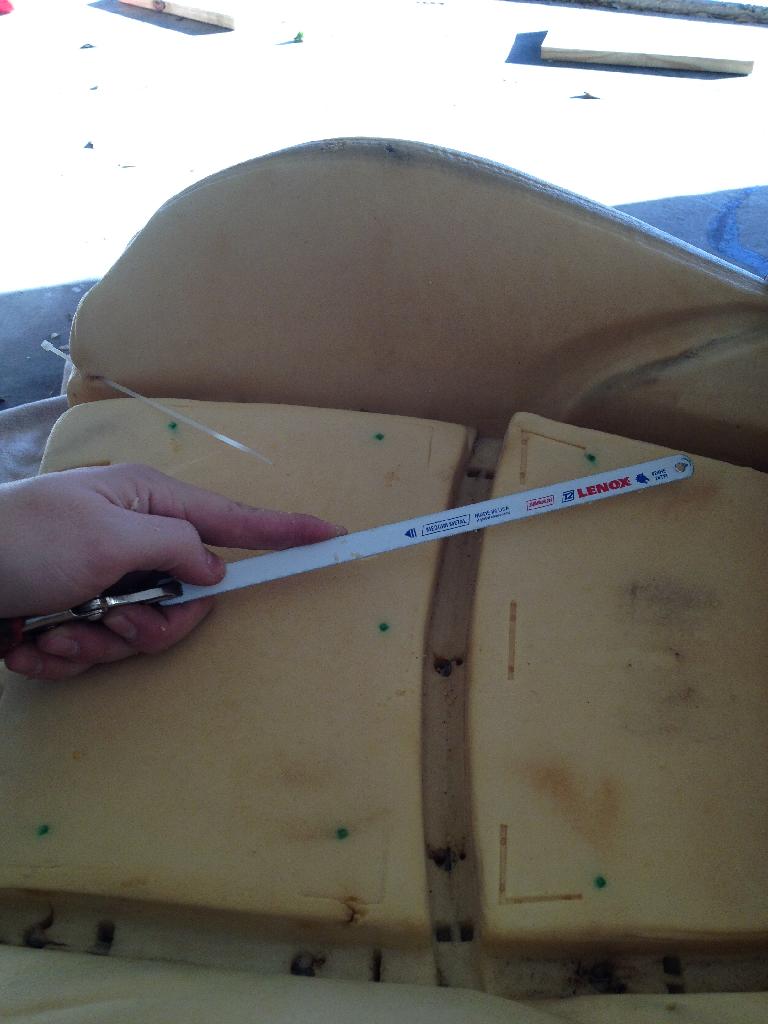
I also broke down and decided to do a foamectomy on my drivers seat. I was a bit skeptical at first since I have the leather seats and I have heard some negative results as far as the leather not stretching when the foam is removed. I'm happy to say that the seat feels a hundred times better after the foamectomy. I removed about 2.5" from the bottom of the seat and then the top portion of the center panel in the seat back. I left the bottom portion of the center panel on the seat back for some lumber support.

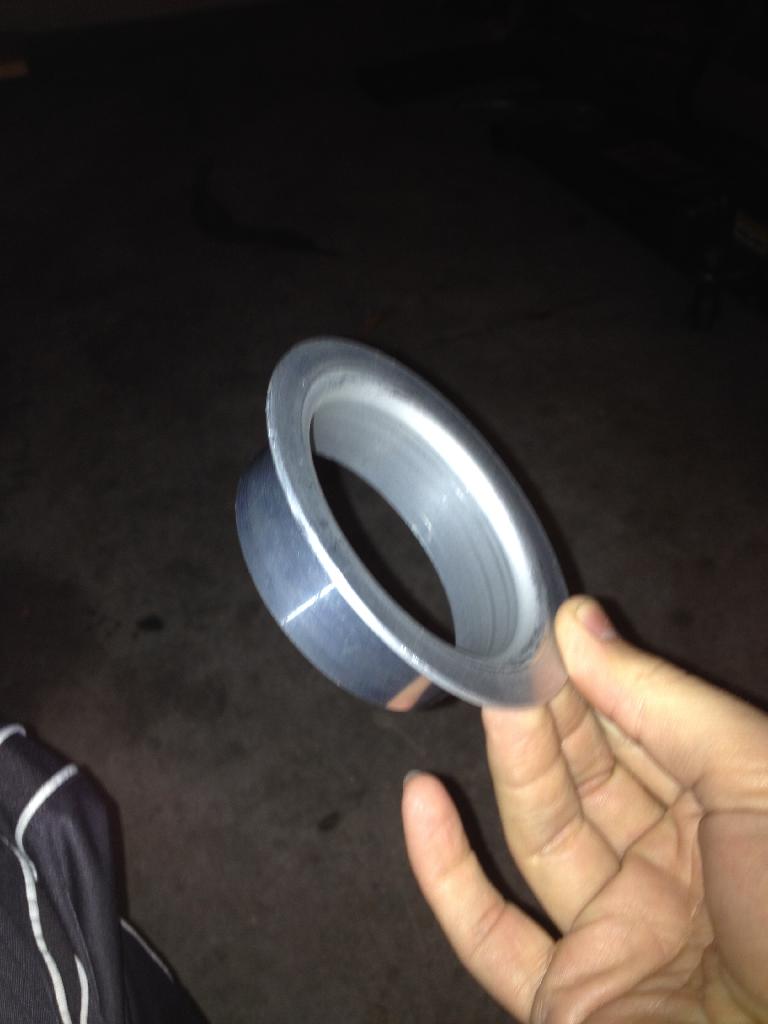
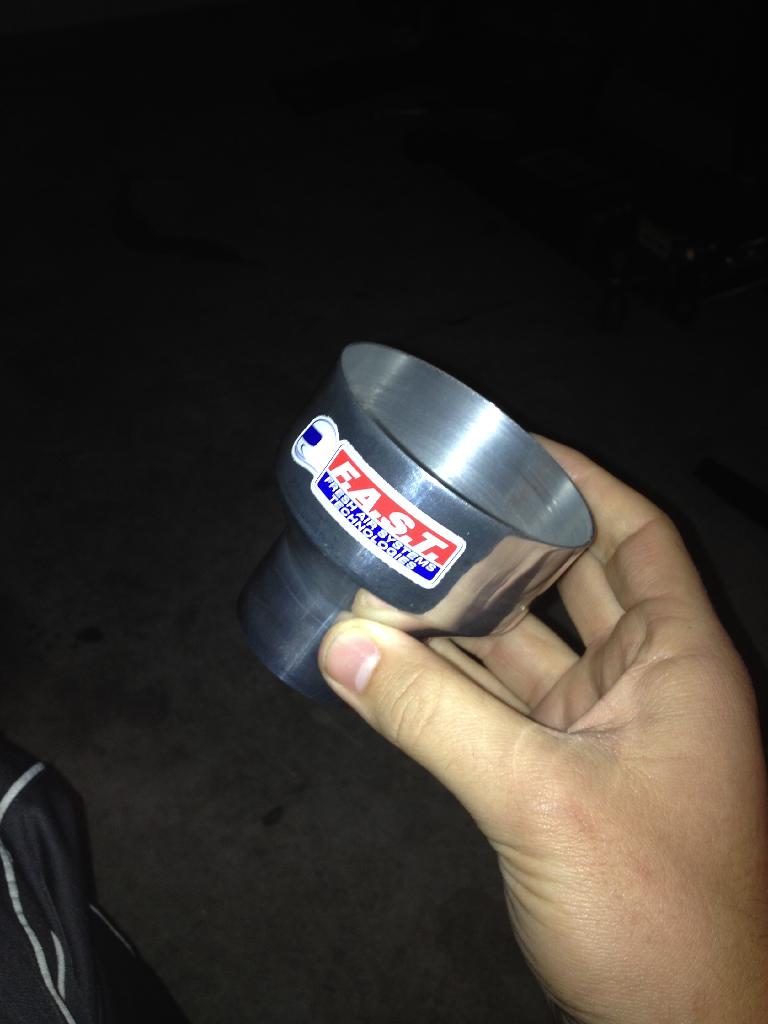
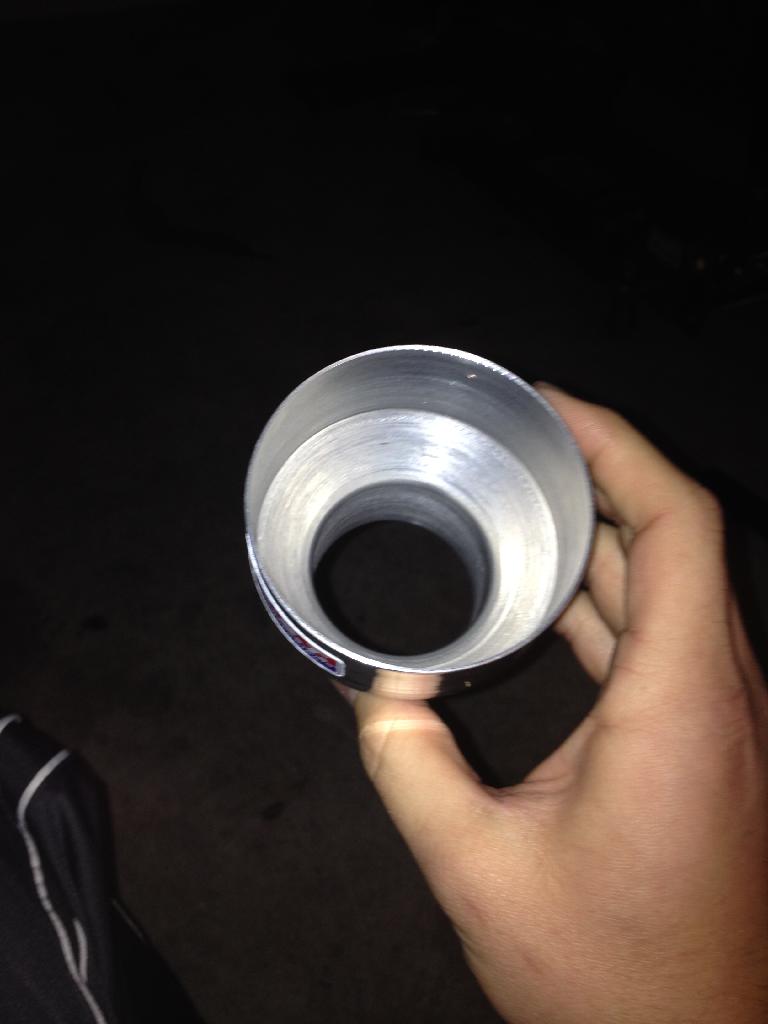
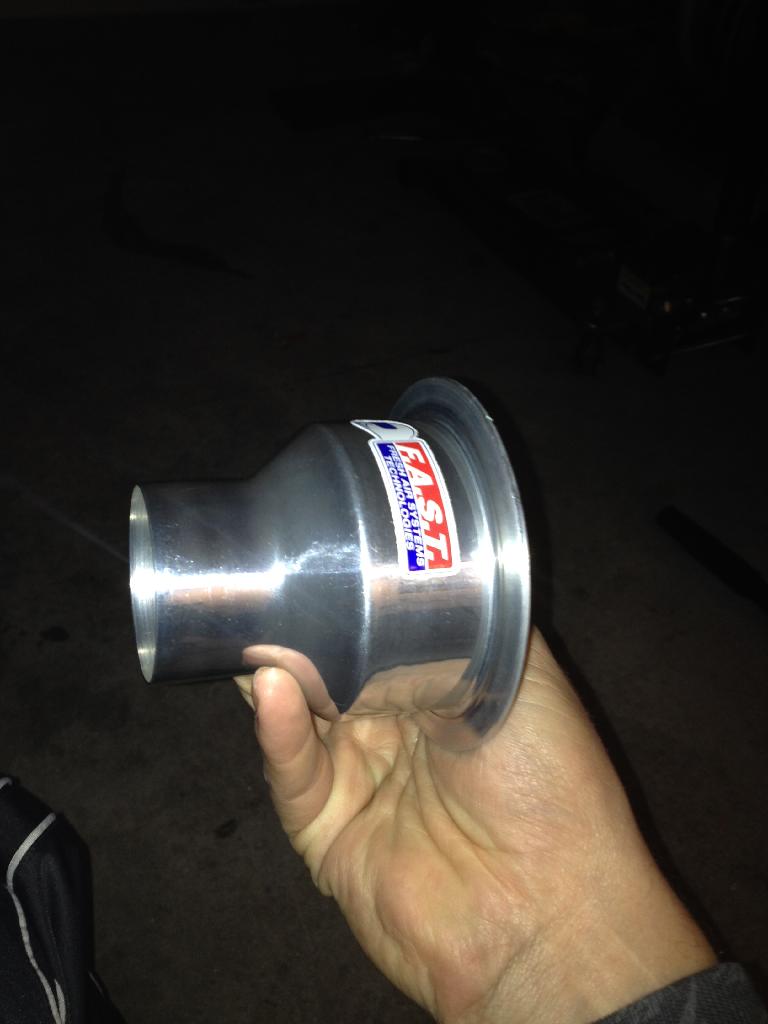
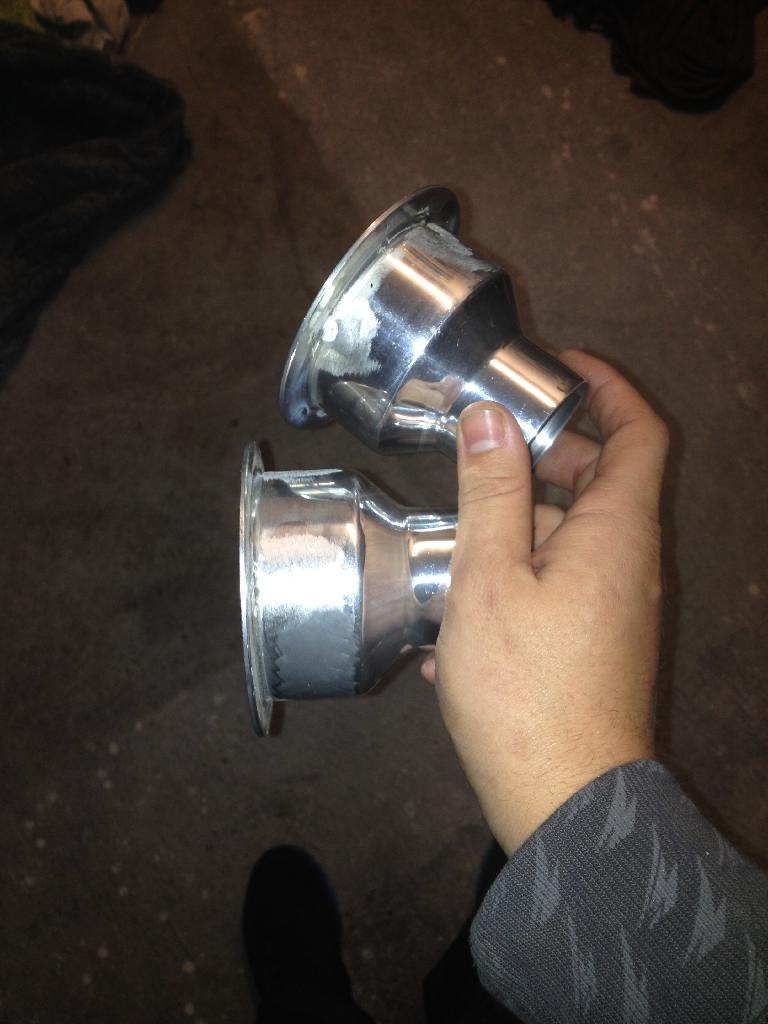
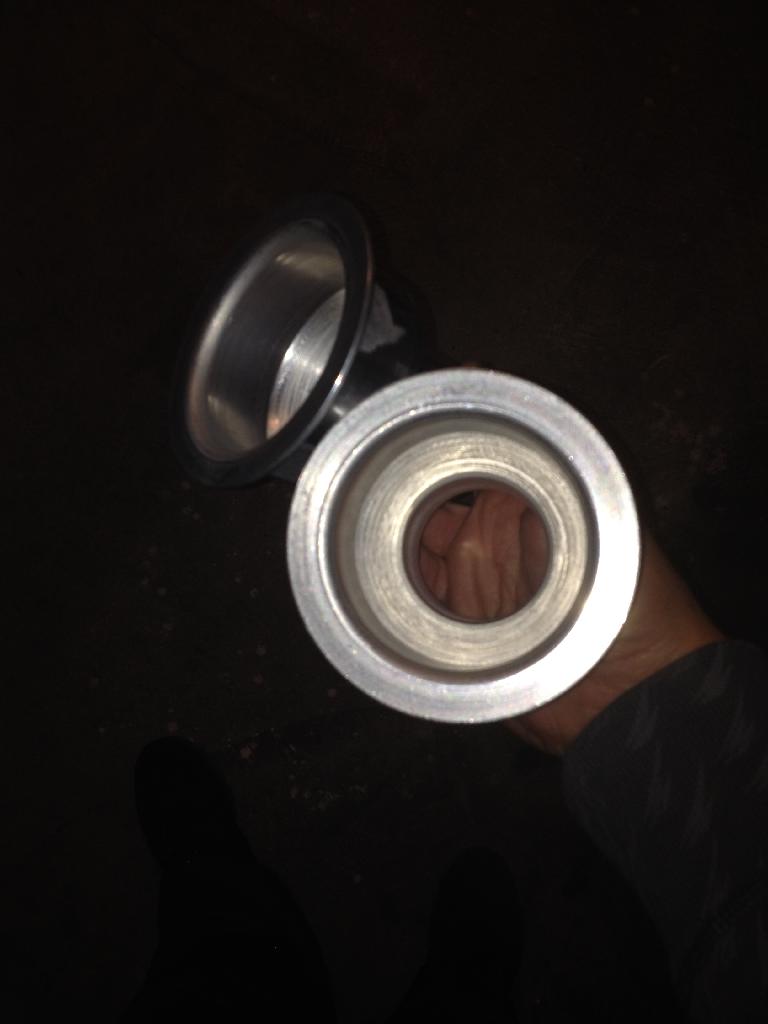
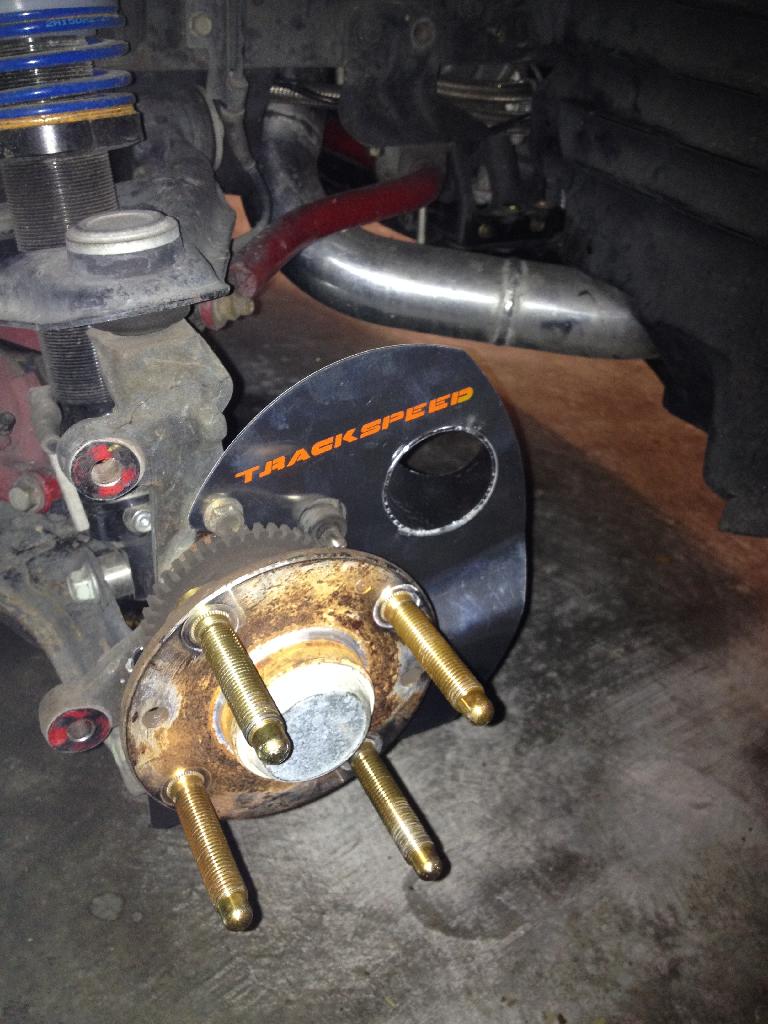
Today I started the install of my fog light brake ducts. I ordered two 4" duct flanges from aircraftspruse.com. Instead of using a 3"-2" silicone reducer to connect the duct flange to a separate 2" aluminum pipe so that I could the 2" silicone hose that runs to the TSE brake ducts I ordered two aluminum 3"-2" reducers from ebay and welded them to the flanges. this way I can directly connect the 2" silicone hose to the now all-in-one flange/reducer.

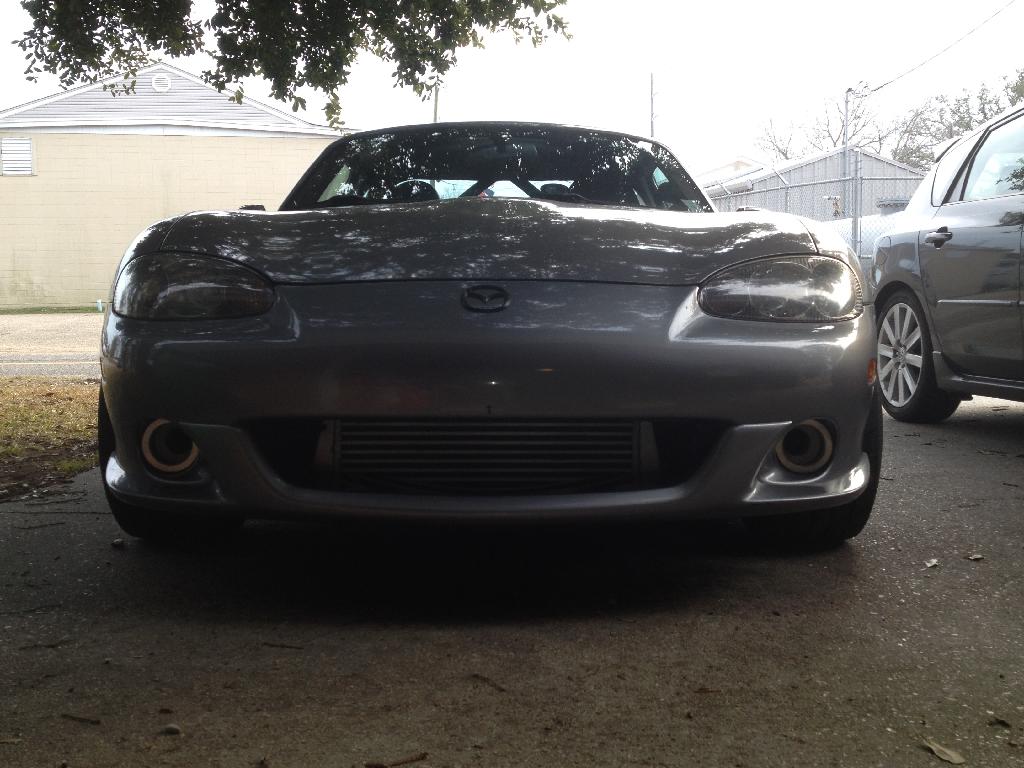
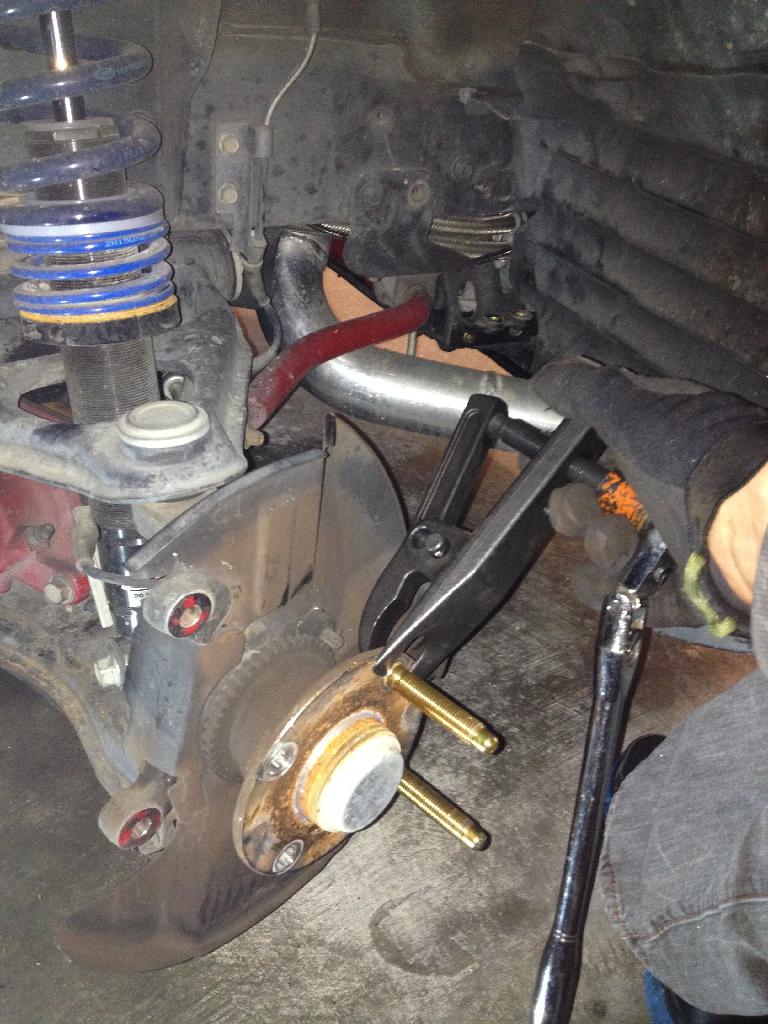
The TSE brake duct install went really smooth. While I was there I decided to start swapping out the stock wheel studs for the ARP extended studs. I didn't use a hammer or a press. I bought a ball joint removal tool from harbor freight and used that to remove and install the new studs and it worked great. It took about an hour per side to install the studs and TSE ducts.
On a softer note, since I never use the soft top I decided to remove it and clean up the inside a little bit.


I also broke down and decided to do a foamectomy on my drivers seat. I was a bit skeptical at first since I have the leather seats and I have heard some negative results as far as the leather not stretching when the foam is removed. I'm happy to say that the seat feels a hundred times better after the foamectomy. I removed about 2.5" from the bottom of the seat and then the top portion of the center panel in the seat back. I left the bottom portion of the center panel on the seat back for some lumber support.


Today I started the install of my fog light brake ducts. I ordered two 4" duct flanges from aircraftspruse.com. Instead of using a 3"-2" silicone reducer to connect the duct flange to a separate 2" aluminum pipe so that I could the 2" silicone hose that runs to the TSE brake ducts I ordered two aluminum 3"-2" reducers from ebay and welded them to the flanges. this way I can directly connect the 2" silicone hose to the now all-in-one flange/reducer.


The TSE brake duct install went really smooth. While I was there I decided to start swapping out the stock wheel studs for the ARP extended studs. I didn't use a hammer or a press. I bought a ball joint removal tool from harbor freight and used that to remove and install the new studs and it worked great. It took about an hour per side to install the studs and TSE ducts.


Last edited by FrankB; 01-28-2014 at 11:21 PM. Reason: Fixed images
Reply
2
2
01-28-2014, 11:53 PM
#120
Elite Member
iTrader: (37)

Join Date: Apr 2010
Location: Very NorCal
Posts: 10,441
Total Cats: 1,899
Brilliant! I need to do that with my brake ducts. Did those just ...friction fit into the fog light openings? I need to steal this. I seem to remember someone recommending something like 1/4" or 1/8" mesh over the ducts to keep out the rocks but admittedly I've been drinking this evening.
Mad props for updates and foamectomy pics. I have a feeling this will be in my future. No idea on the leak though :(
Mad props for updates and foamectomy pics. I have a feeling this will be in my future. No idea on the leak though :(
Reply
0
0


